Wild Wine of the Southwest

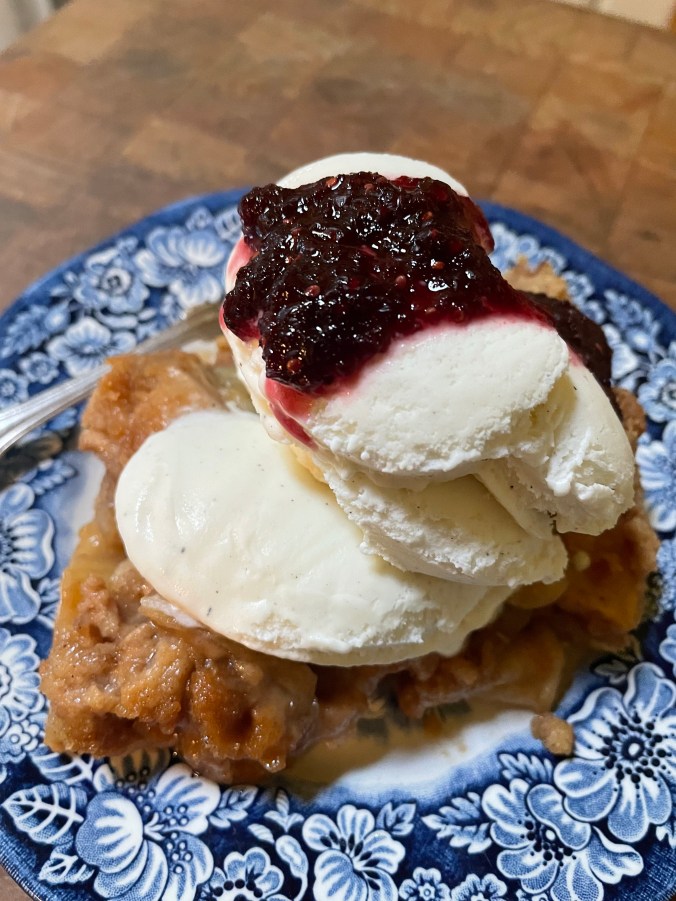
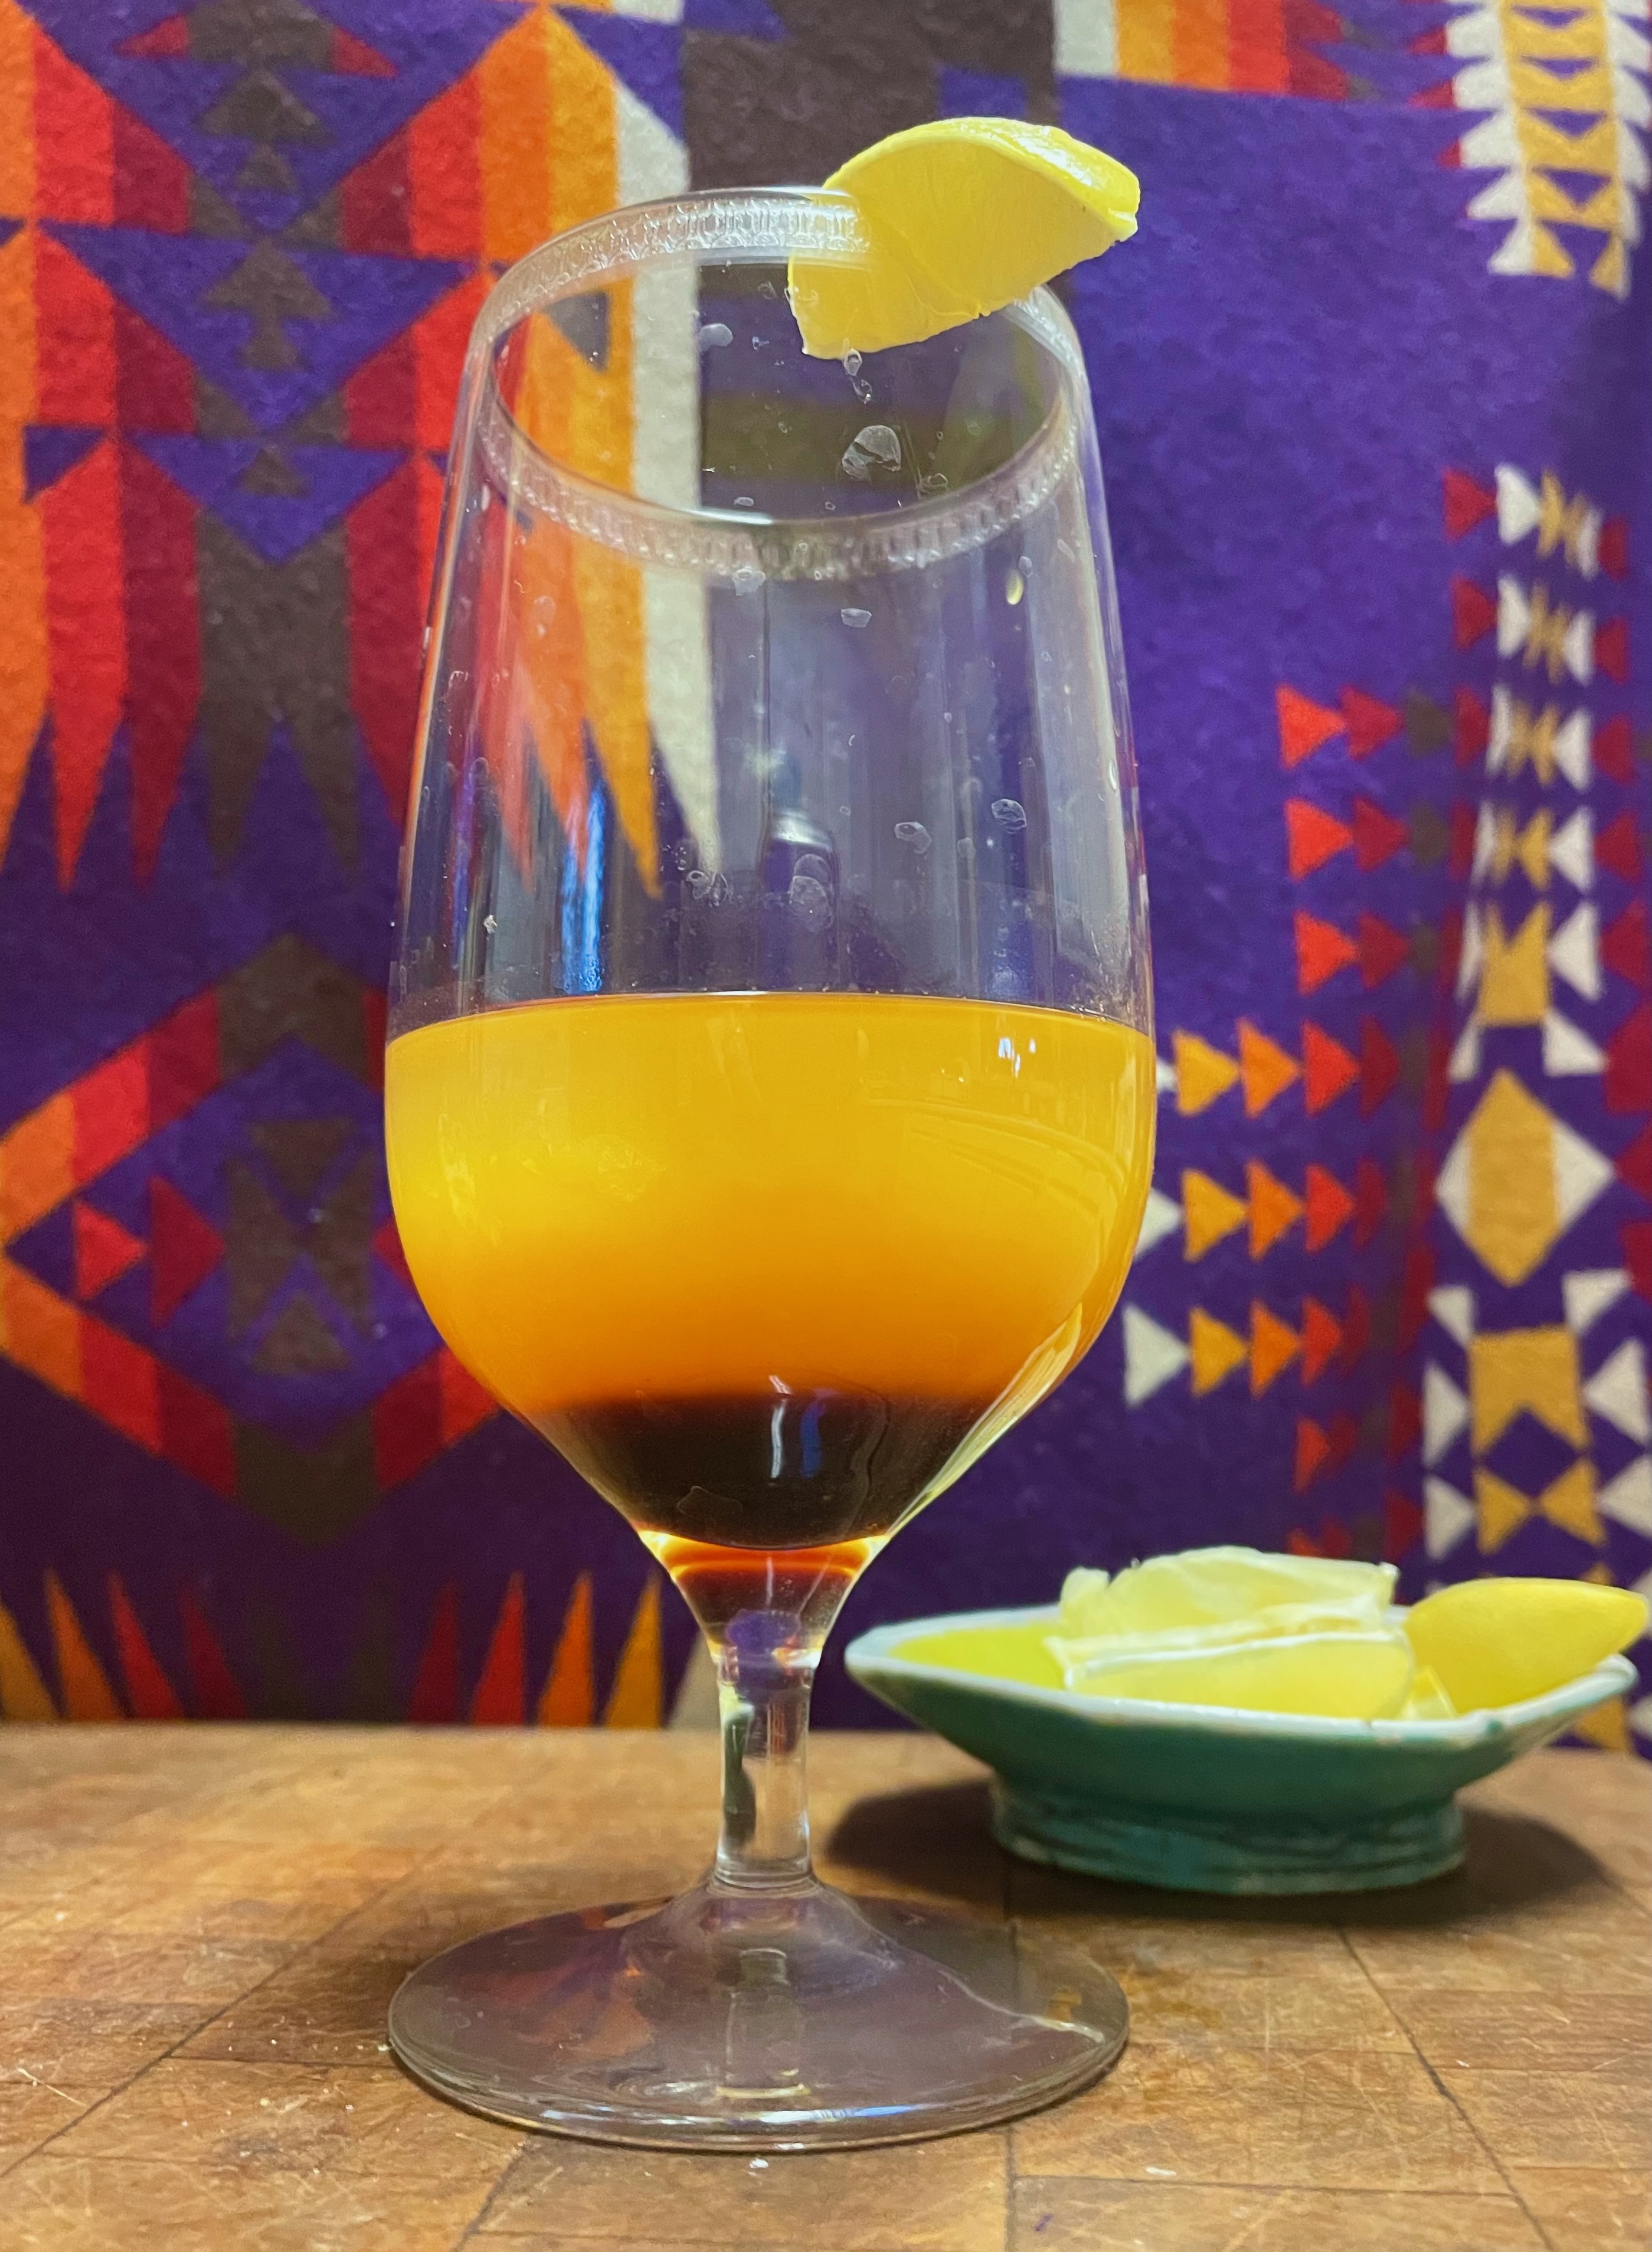
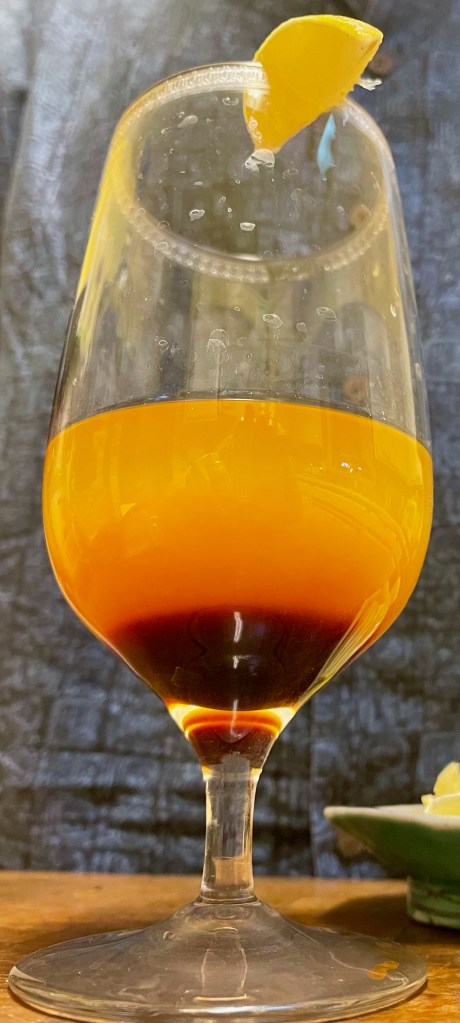
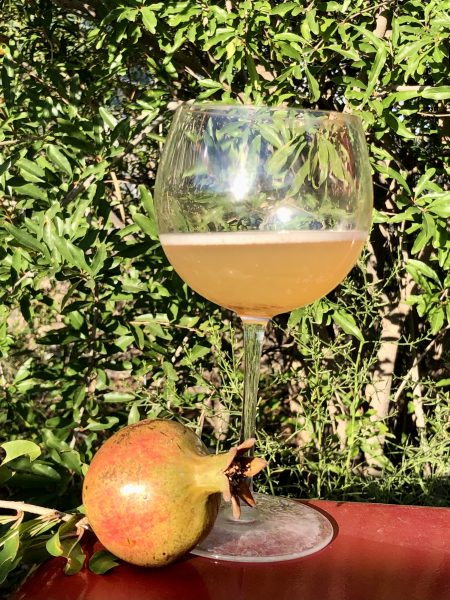
At the end of a year of simple steps, a refreshing glass of pomegranate wine.

(We are continuing our series of guest posts. Today it is Emily Rockey, who for many years was the  garden supervisor at Mission Garden and in charge of the health of dozens of pomegranate trees. This post is a bit longer than we usually send, but if you’ve ever wanted to learn to make wine, Emily will take you on that journey.)

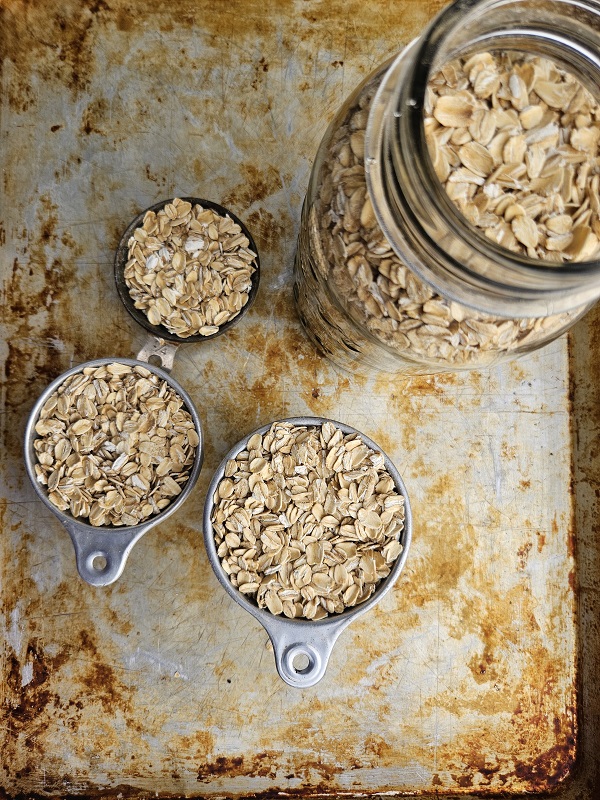
There’s something so sweetly satisfying about sitting down to enjoy a delicious treat that you made from scratch with your own hands. Better yet, something that you wild harvested or grew yourself. For some folks, that might be homemade sourdough bread, prickly pear jelly, or a meal prepared from the garden or desert. But have you ever tried making your own wine? 

Perhaps you’re thinking that you need specialized, expensive equipment, or a degree in oenology (the study of winemaking). It’s possible you don’t have grapes with an impressive provenance which keeps you from crafting elegant fermented beverages. Or that you simply don’t have free time for long brewing processes, bottling, and years for aging wine to perfection. All these are misconceptions! The homebrewing process is quite fun–anticipation slowly building over many weeks as the bubbles of the beverage quietly gurgle away. It’s true that wine takes about a year before it’s ready to drink, but as they say, time flies, and before you know it, it’s time to pop the cork and gather friends to savor the moment. With regard to equipment or ingredients for winemaking, these things can come quite inexpensively, or DIY freely! Continue on for a basic step by step guide from me, guest contributor Emily Rockey. You, too, dear reader, can be a winemaker. 

Winemaking, quite simply, is a natural process of live yeast consuming sugar, converting it to carbon dioxide (bubbles) and alcohol. This process is called fermentation, and with wine it takes place in two basic stages: the first fermentation occurs when fruit or plants are combined with water and yeast in an open container. Soon it becomes active and bubbly. When it slows, a second round of fermentation takes place in a closed container (less oxygen). After about eight weeks, the lively party is over and the wine shifts to a period of relative tranquility, resting in a cool dark spot such as a closet or interior room. After it settles, we’ll siphon the wine (called racking) to separate it from the yeast particles at the bottom, and let it sit for nine months. At last, your calendar will remind you that it’s time to bottle and finally taste your finished wine!

Ingredients: 

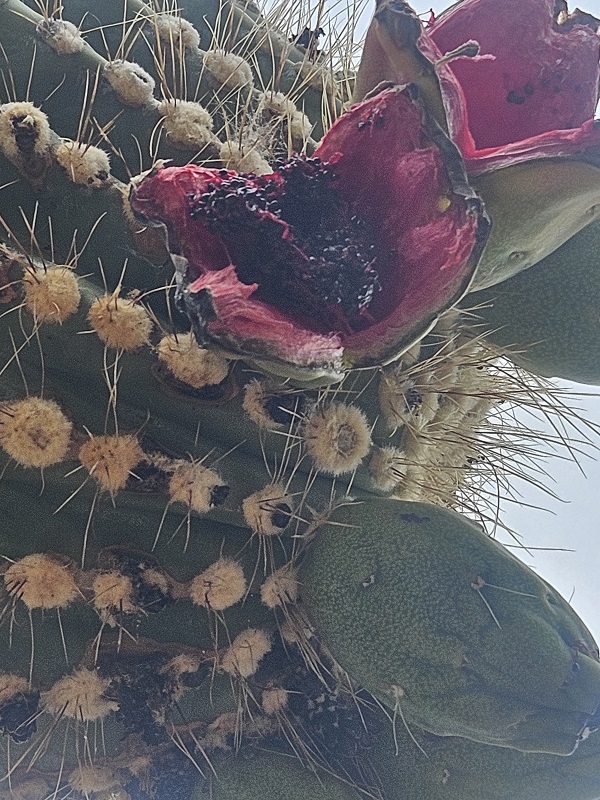
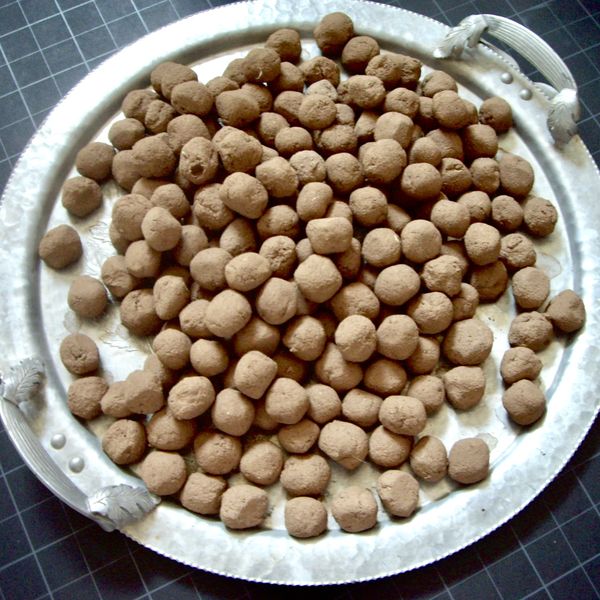
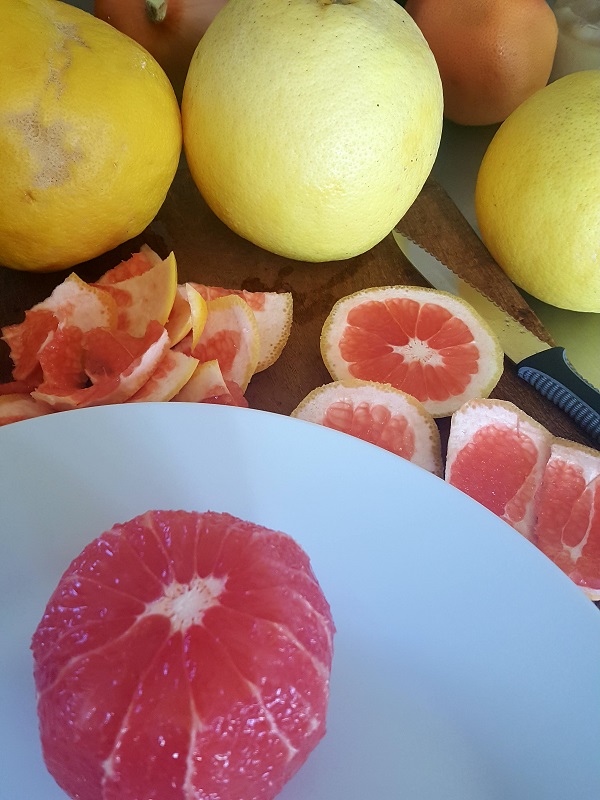
To start, look around for what exists in abundance, or what’s in season. We can make wine from anything that contains sugar: fruits of all kinds, herbs, and even flowers. Prickly pear wine, elderberry, or wolfberry wine? Sure! I happened to have frozen pomegranate arils from Mission Garden

Sugar. Organic cane sugar is the most versatile, but if you like you can experiment with other natural sweeteners (and their flavor profiles).

Brewing yeast: It is possible to make wine without adding packaged yeast, but for a home winemaker like you and me, yeast is easy to find and a reliable way to kickstart fermentation. Brewing yeast is sold at brew shops or online for $2-$3. Experiment a bit, or start with a neutral ale, cider, or champagne yeast. 

For the recipe below, I used a neutral yeast strain called EC1118 which contributes very little flavor or aroma to the finished product. It is quite flexible, thriving in cool or warm temperatures (50-86°F). It also tolerates higher alcohol content.

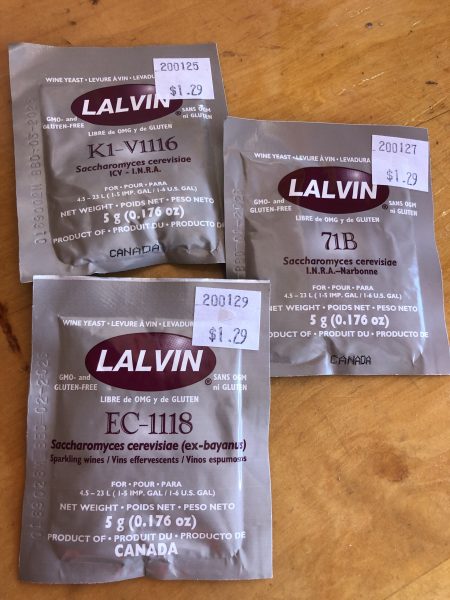
For easiest and most reliable results in making your wine, use commercial yeast.

Time to produce: Regarding the preconception that wine requires significant time to produce, it’s mostly waiting time. My actual hands-on time to make a batch of wine totaled only about four fun hours…spread out over 12 months! The vast majority of the winemaking time is the wine doin’ its thing by itself. 

Supplies for a 3-gallon batch:
The good news is that you may already own or have easy access to the basic equipment. If not, everything is inexpensive or easy to make at home.

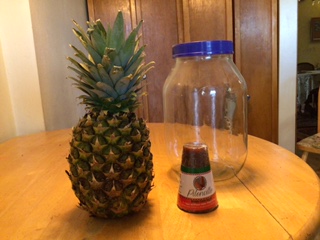
  • A 3-5 gallon vessel for first fermentation. Non-reactive: preferably glass, stainless steel, but many folks use food-grade plastic. Also ceramic crocks in good condition work well.
  • Two or three 1-gallon glass jugs (carboys). The glass jars containing commercial pressed apple juice with the handy little finger handle work perfectly.
  • Airlock and rubber stopper. $5 from your local brew shop or online. Allows CO2 from the brew to be released, but prevents outside air from entering the vessel. (Here’s how airlocks work.) 
  • Siphon. Purpose-made ones go for $15, or make your own for cheap! How-to videos (and siphoning tips) are helpful.
  • Sanitizer. Please use well-cleaned hands, surfaces, and tools, but don’t worry too much about sterilization–I’ve never had a problem. (There were no sanitizers 6000+ years ago in the Mediterranean region where wine was first made.) However, this is an often discussed topic for brewers. I do use inexpensive sanitizer (such as Star San brand) because it’s quite easy, quick, and safe to use.
  • Optional: bottles for finished wine. Or just drink it when ready with a group of friends. 

Now you’re ready to make wine! 

The basic recipe is inspired mostly by Sandor Elix Katz in his book Wild Fermentation. 

This batch was made with Sonora White Pomegranate (Punica granatum), but I’ve successfully made Elderberry-Blueberry Wine (from Sambucas mexicana), Wolfberry Wine (Lycium pallidum), Fig Wine (Ficus carica), Mission Grape Wine (Vitis vinifera), and a funky Quince Wine (Cydonia oblonga) which we quickly transformed into brandy…

Instructions:

*Note: The ultimate ratio of fruit volume to water is approximately 1:1, so for ~3 gallons of fruit (fresh or frozen, defrosted), add ~3 gallons of water. The finished wine will be about 5 gallons. You can make smaller or larger batches by keeping the same basic ratio.

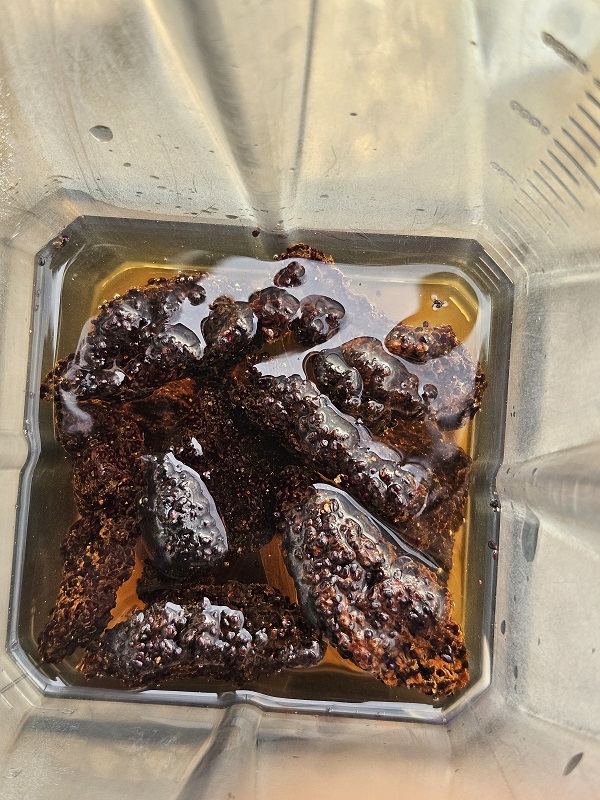
1. Place 1.5 gallons pomegranate arils into a clean container or crock (at least 3 gallons/11+ liters in size), followed by 1.75 gallons boiling water. Cover with a clean towel. Set the container on the counter at room temperature on a cookie sheet to catch drips.

2. The next day, ladle out about 1 cup of liquid in a glass and add to it 3 grams of yeast. I used strain EC1118; see above). Allow it to dissolve and get bubby and active for a few minutes. 

Then add it to the main fermentation vessel, also known as the wine must. Stir well and recover with towel. 

Note: A 5g yeast packet will satisfy a 5 gallon batch. For a 1 gallon batch, use only about 1/4 of the packet, and so on.

3. Within hours, the must will be bubbling vigorously! Use a ladle or spoon to “punch down” the fruit and stir it from the bottom. Recover with towel.

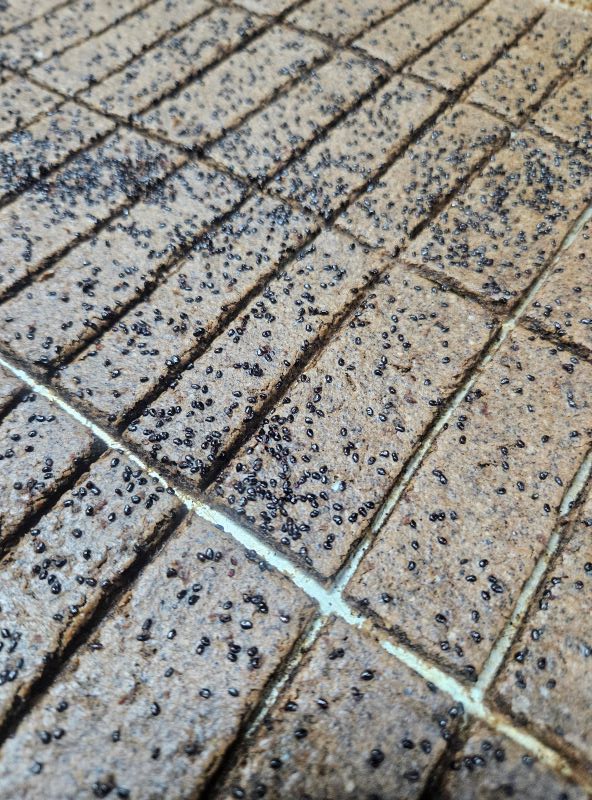
4. The next day, the brew will be bubbling excitedly (audibly!) as the yeast devours the fruit sugar. Each morning, midday, and night (or up to 5 times daily), punch down and stir. Keep covered with towel.

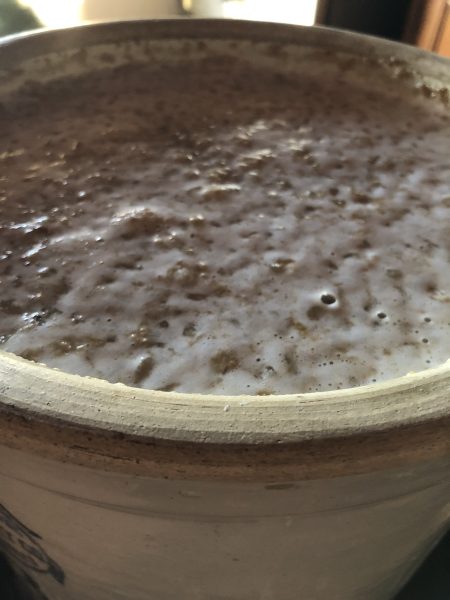
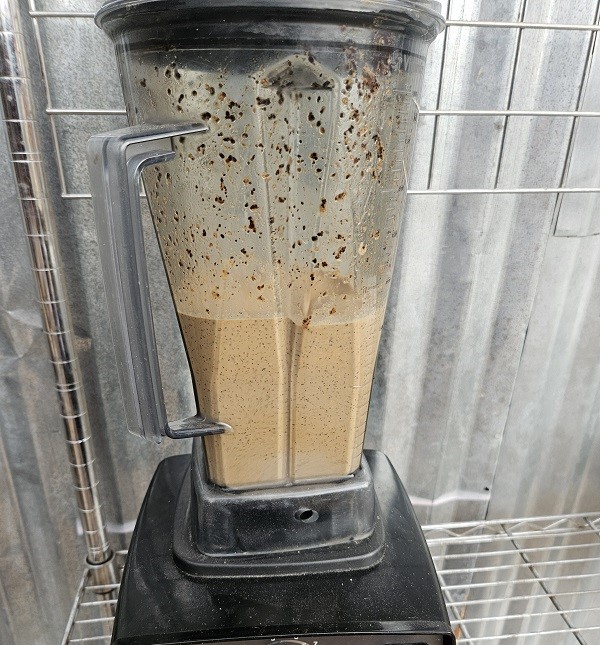
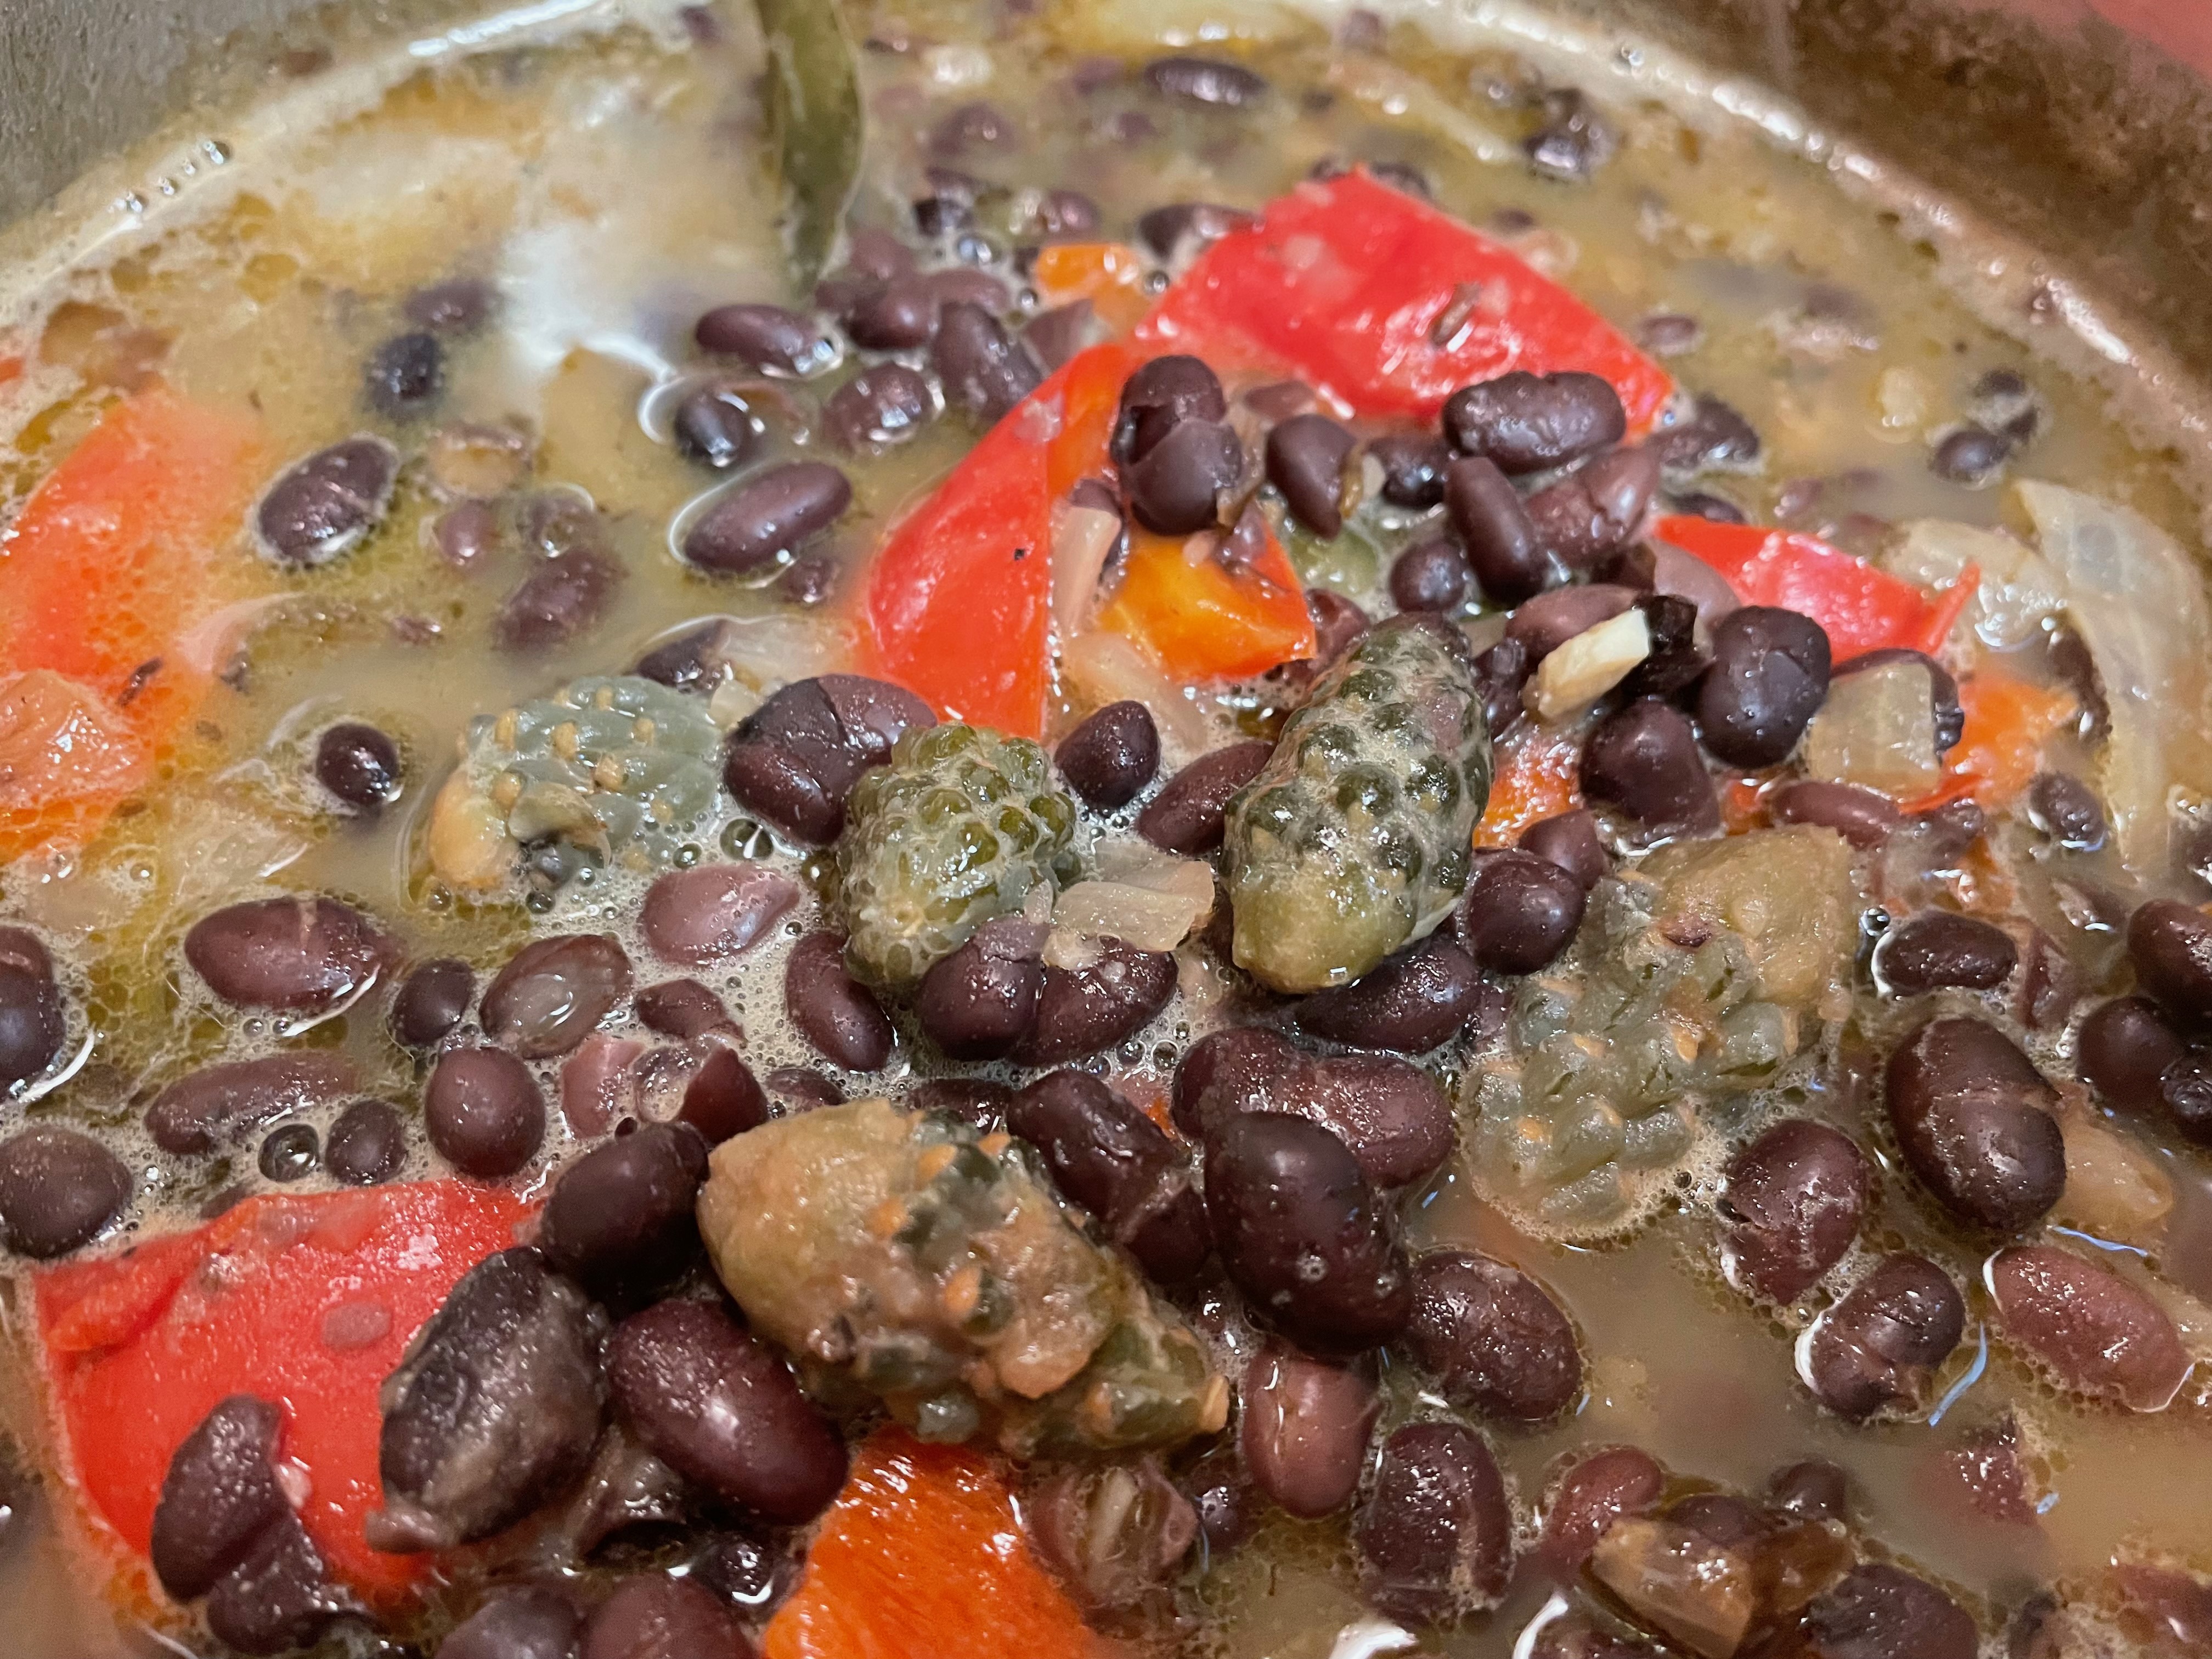
Here is the yeast bubbling vigorously devouring the fruit and water mixture.

5. On Day 3, the yeast have consumed much of the natural fruit sugar, and we need to feed them more. Heat 5-6 pounds pure cane sugar with just enough water to dissolve, cover and cool completely. Add this sugar/water mixture to the wine must, stir well, and cover. (If this seems like a lot of sugar, don’t worry, the yeast will consume most of it.) 

6. Continue stirring 3-5 times daily as it continues to bubble and froth. A taste of the liquid will be sweet with a little alcohol detectable, and some zingy fruity flavors. 

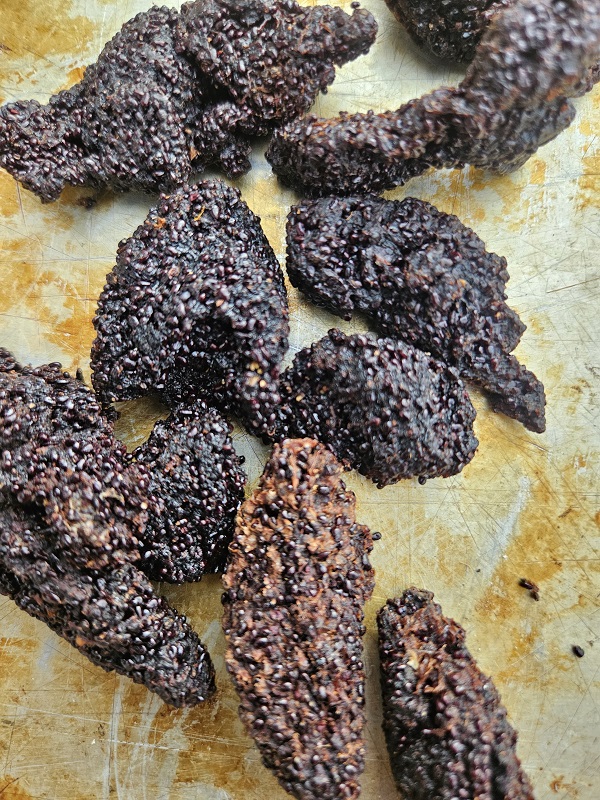
7. On Day 5-6 (or when bubbles are less vigorous upon stirring), it’s time to strain the fruit from the liquid and compost the spent fermented fruit. Using clean hands and tools (strainer, funnel, airlock, carboys), strain the wine to fill 2-3 carboys, avoiding empty space (oxygen) if you can; a few inches headspace is ideal. Properly fill airlocks with water (or vodka) and install. 

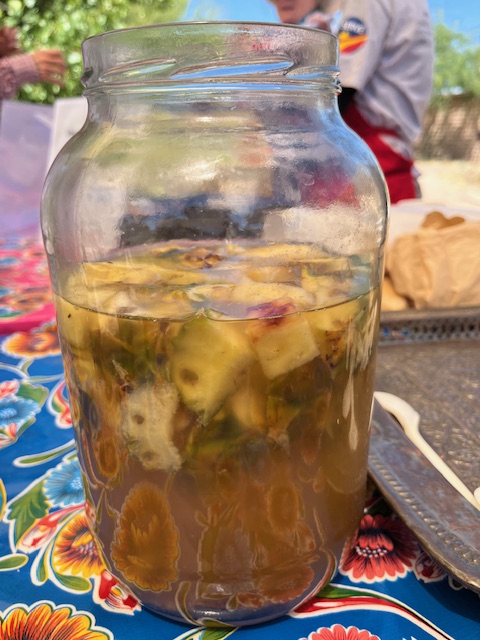
8. Keep in a cool spot for one month. I use my laundry room which stays fairly cool (~70F). Active bubbling resumes and the airlocks gurgle happily, letting carbon dioxide escape. 

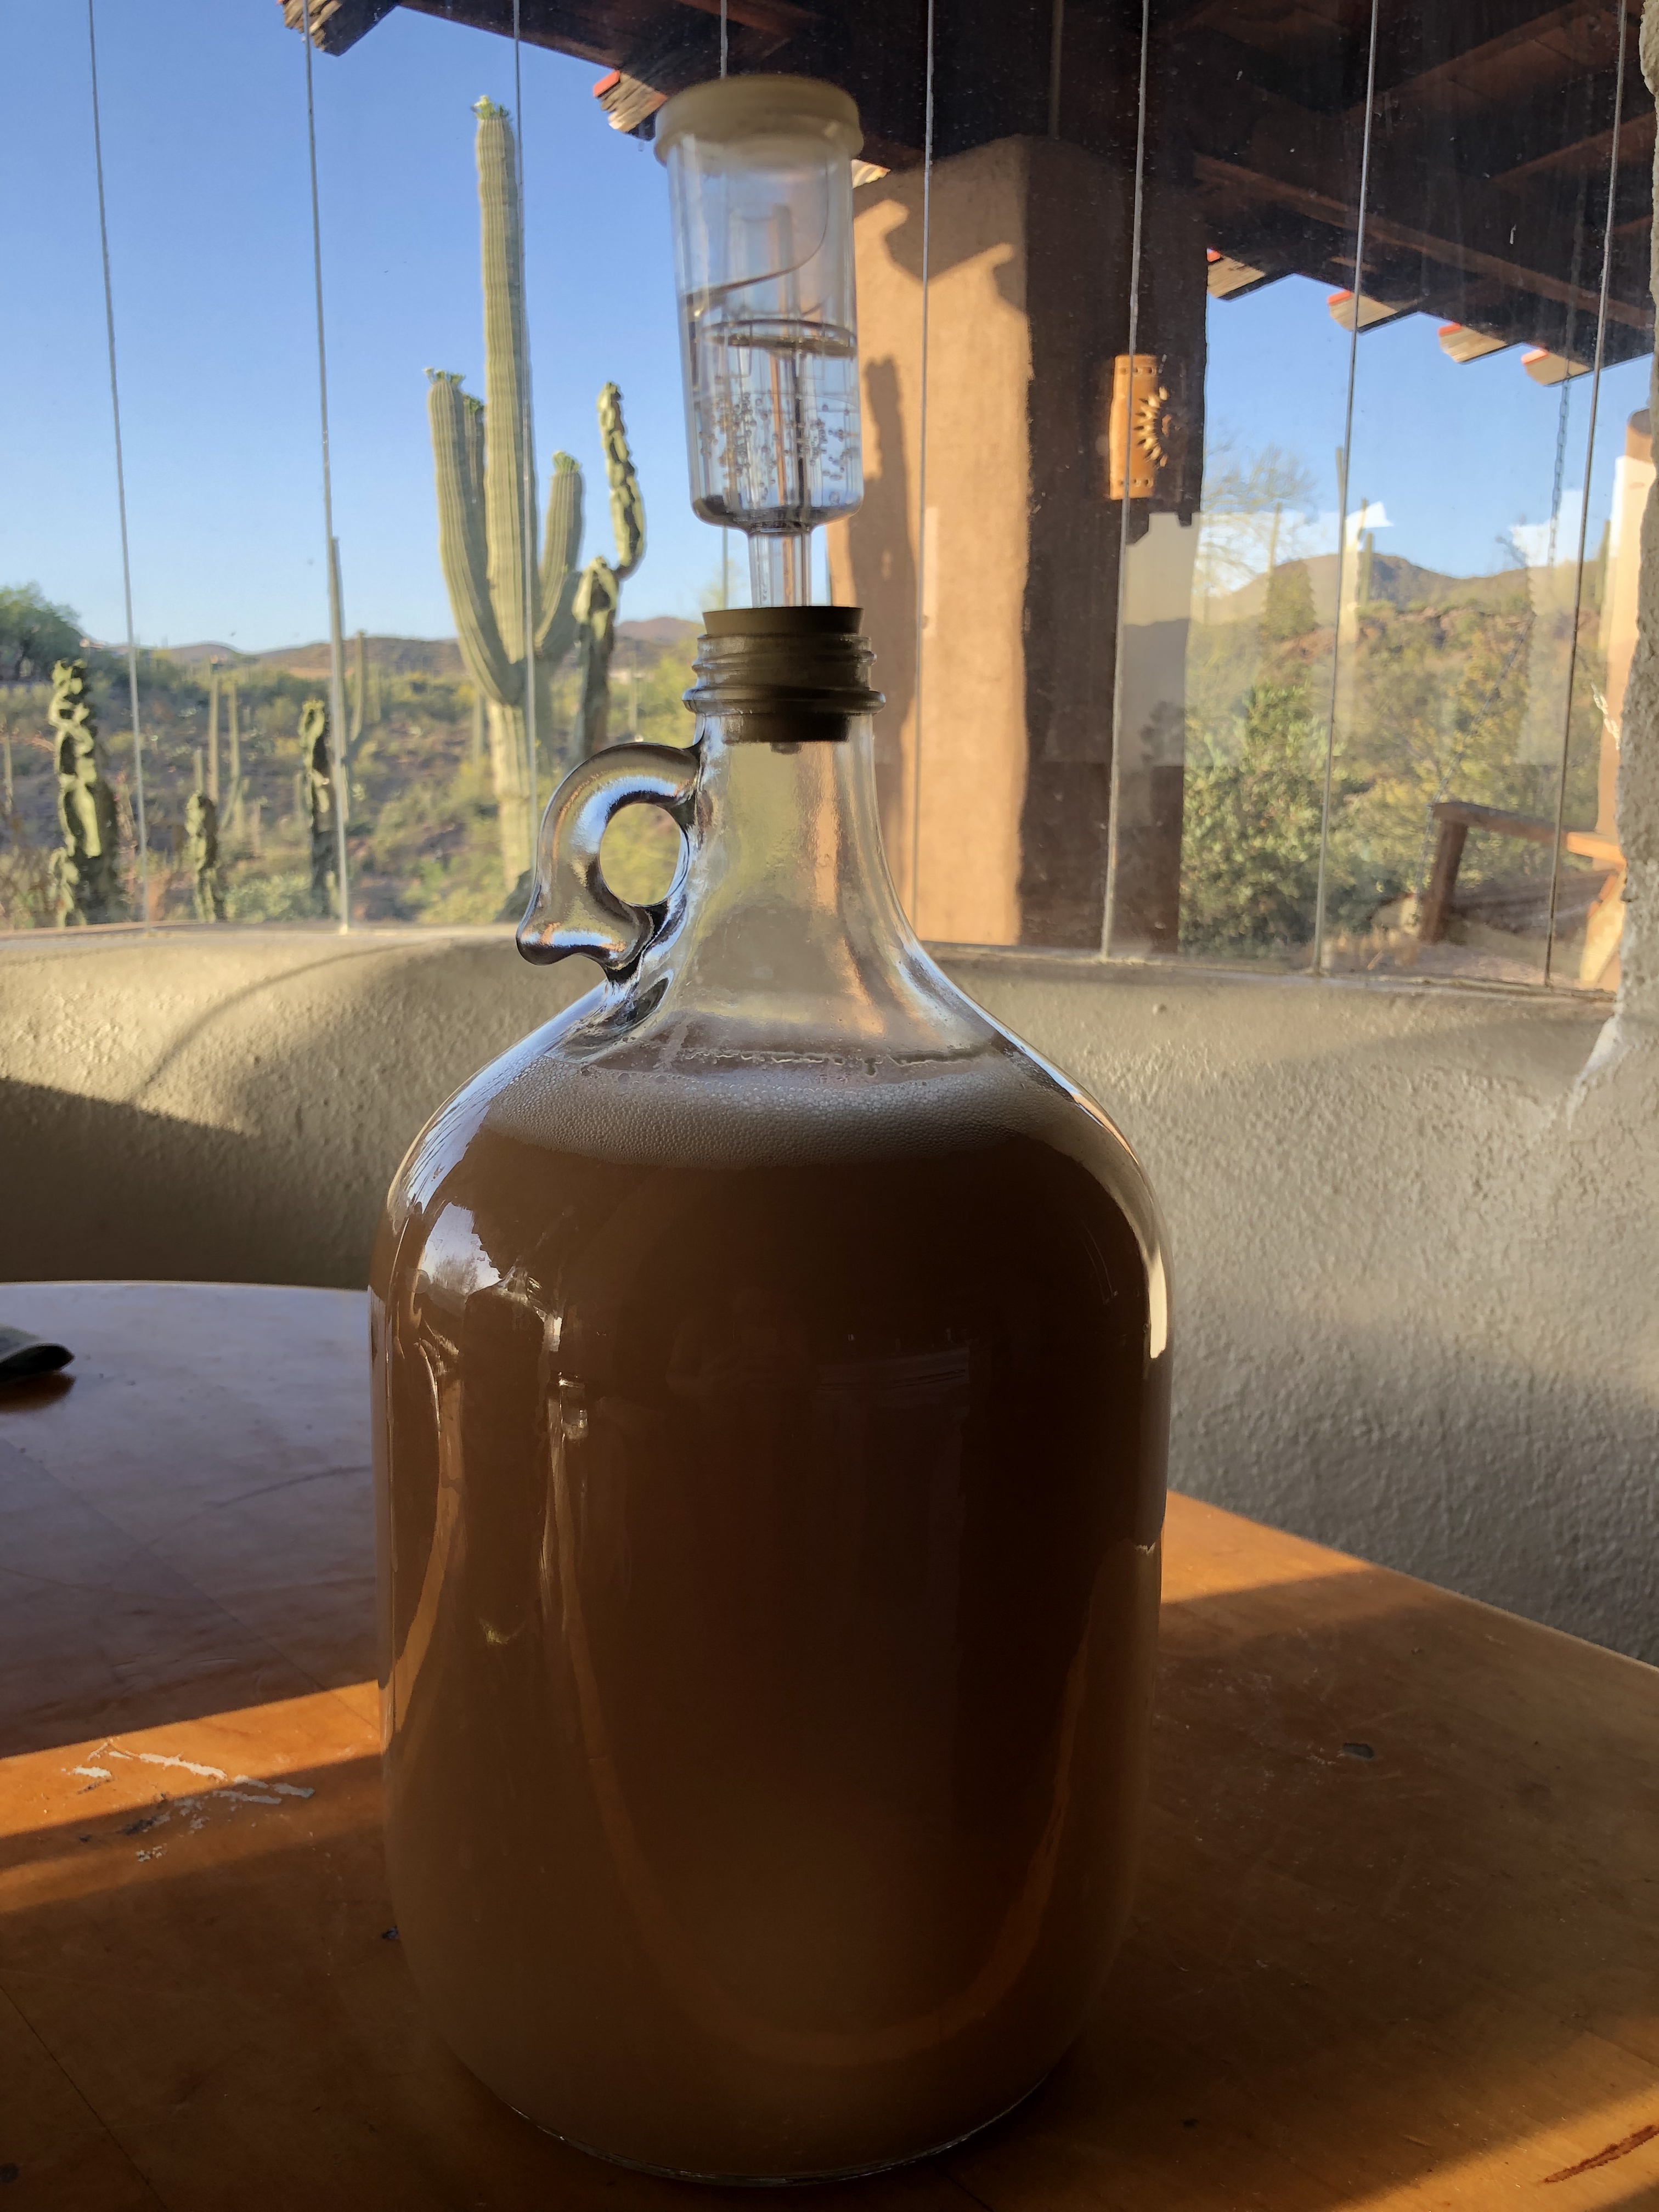
Carboy with an airlock. This will sit undisturbed for a month.

9. After a month, check the sugar content by carefully adding a spoonful of sugar onto the surface of the wine. If it doesn’t immediately respond with active bubbling, the sugar content is just right–replace airlock and wait another month. 

If the wine does react excitedly, add ½ cup sugar, and recheck in a few days (totaling no more than 2 cups). Then, wait another month.

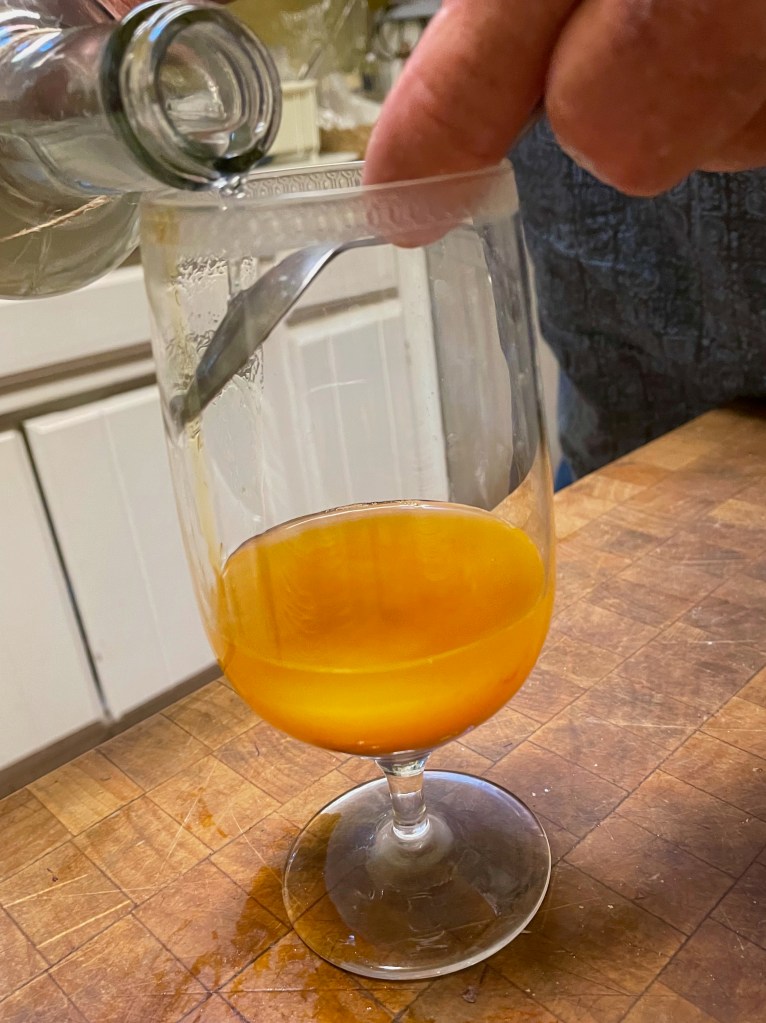
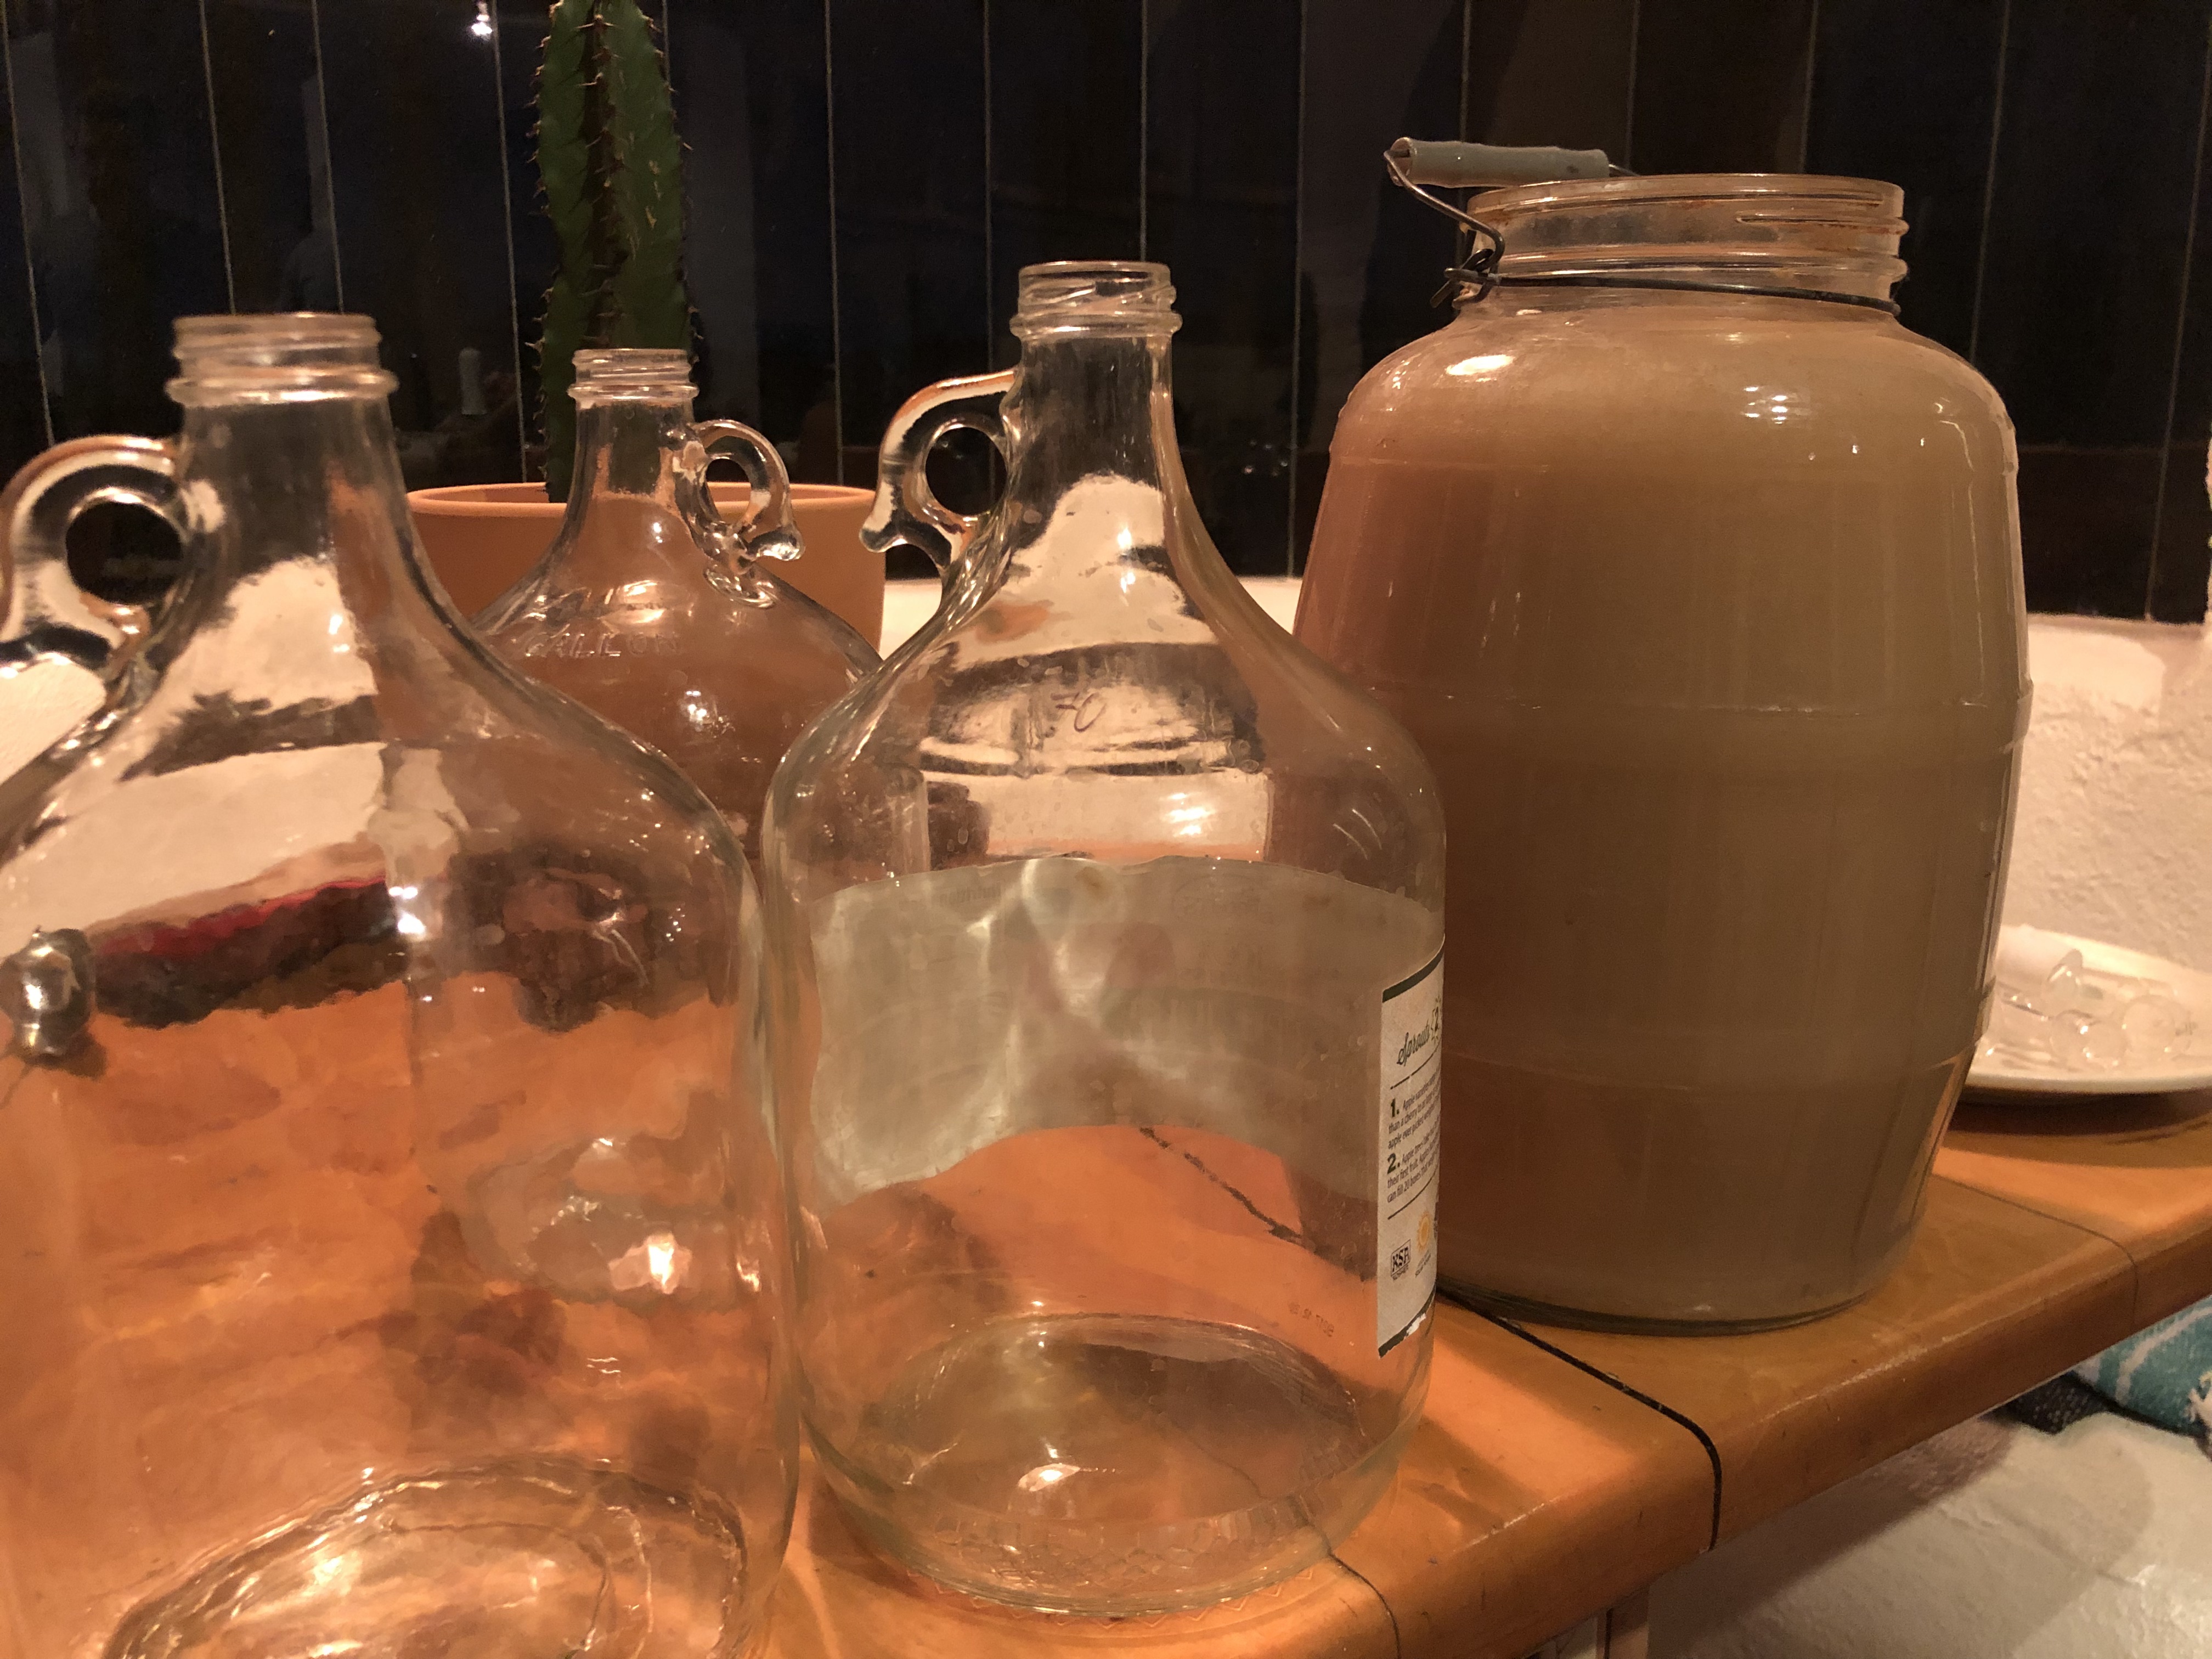
10. After these two months, clean supplies again because it’s time for the second and final siphon/rack! We’ll separate the yeast sediment on the bottom (called lees) from the finished wine. My batch made a little over 2.5 finished gallons, so I used pint sized flip-top bottles (Grolsch) for the partial gallon–just take care when opening these later due to possible pressurization.

11. Now go do something else for nine months. Periodically check that the airlock liquid hasn’t evaporated. When it’s time to sample the wine, try it both chilled or at room temp, and savor the complex and subtle flavors of the fruits of the desert.

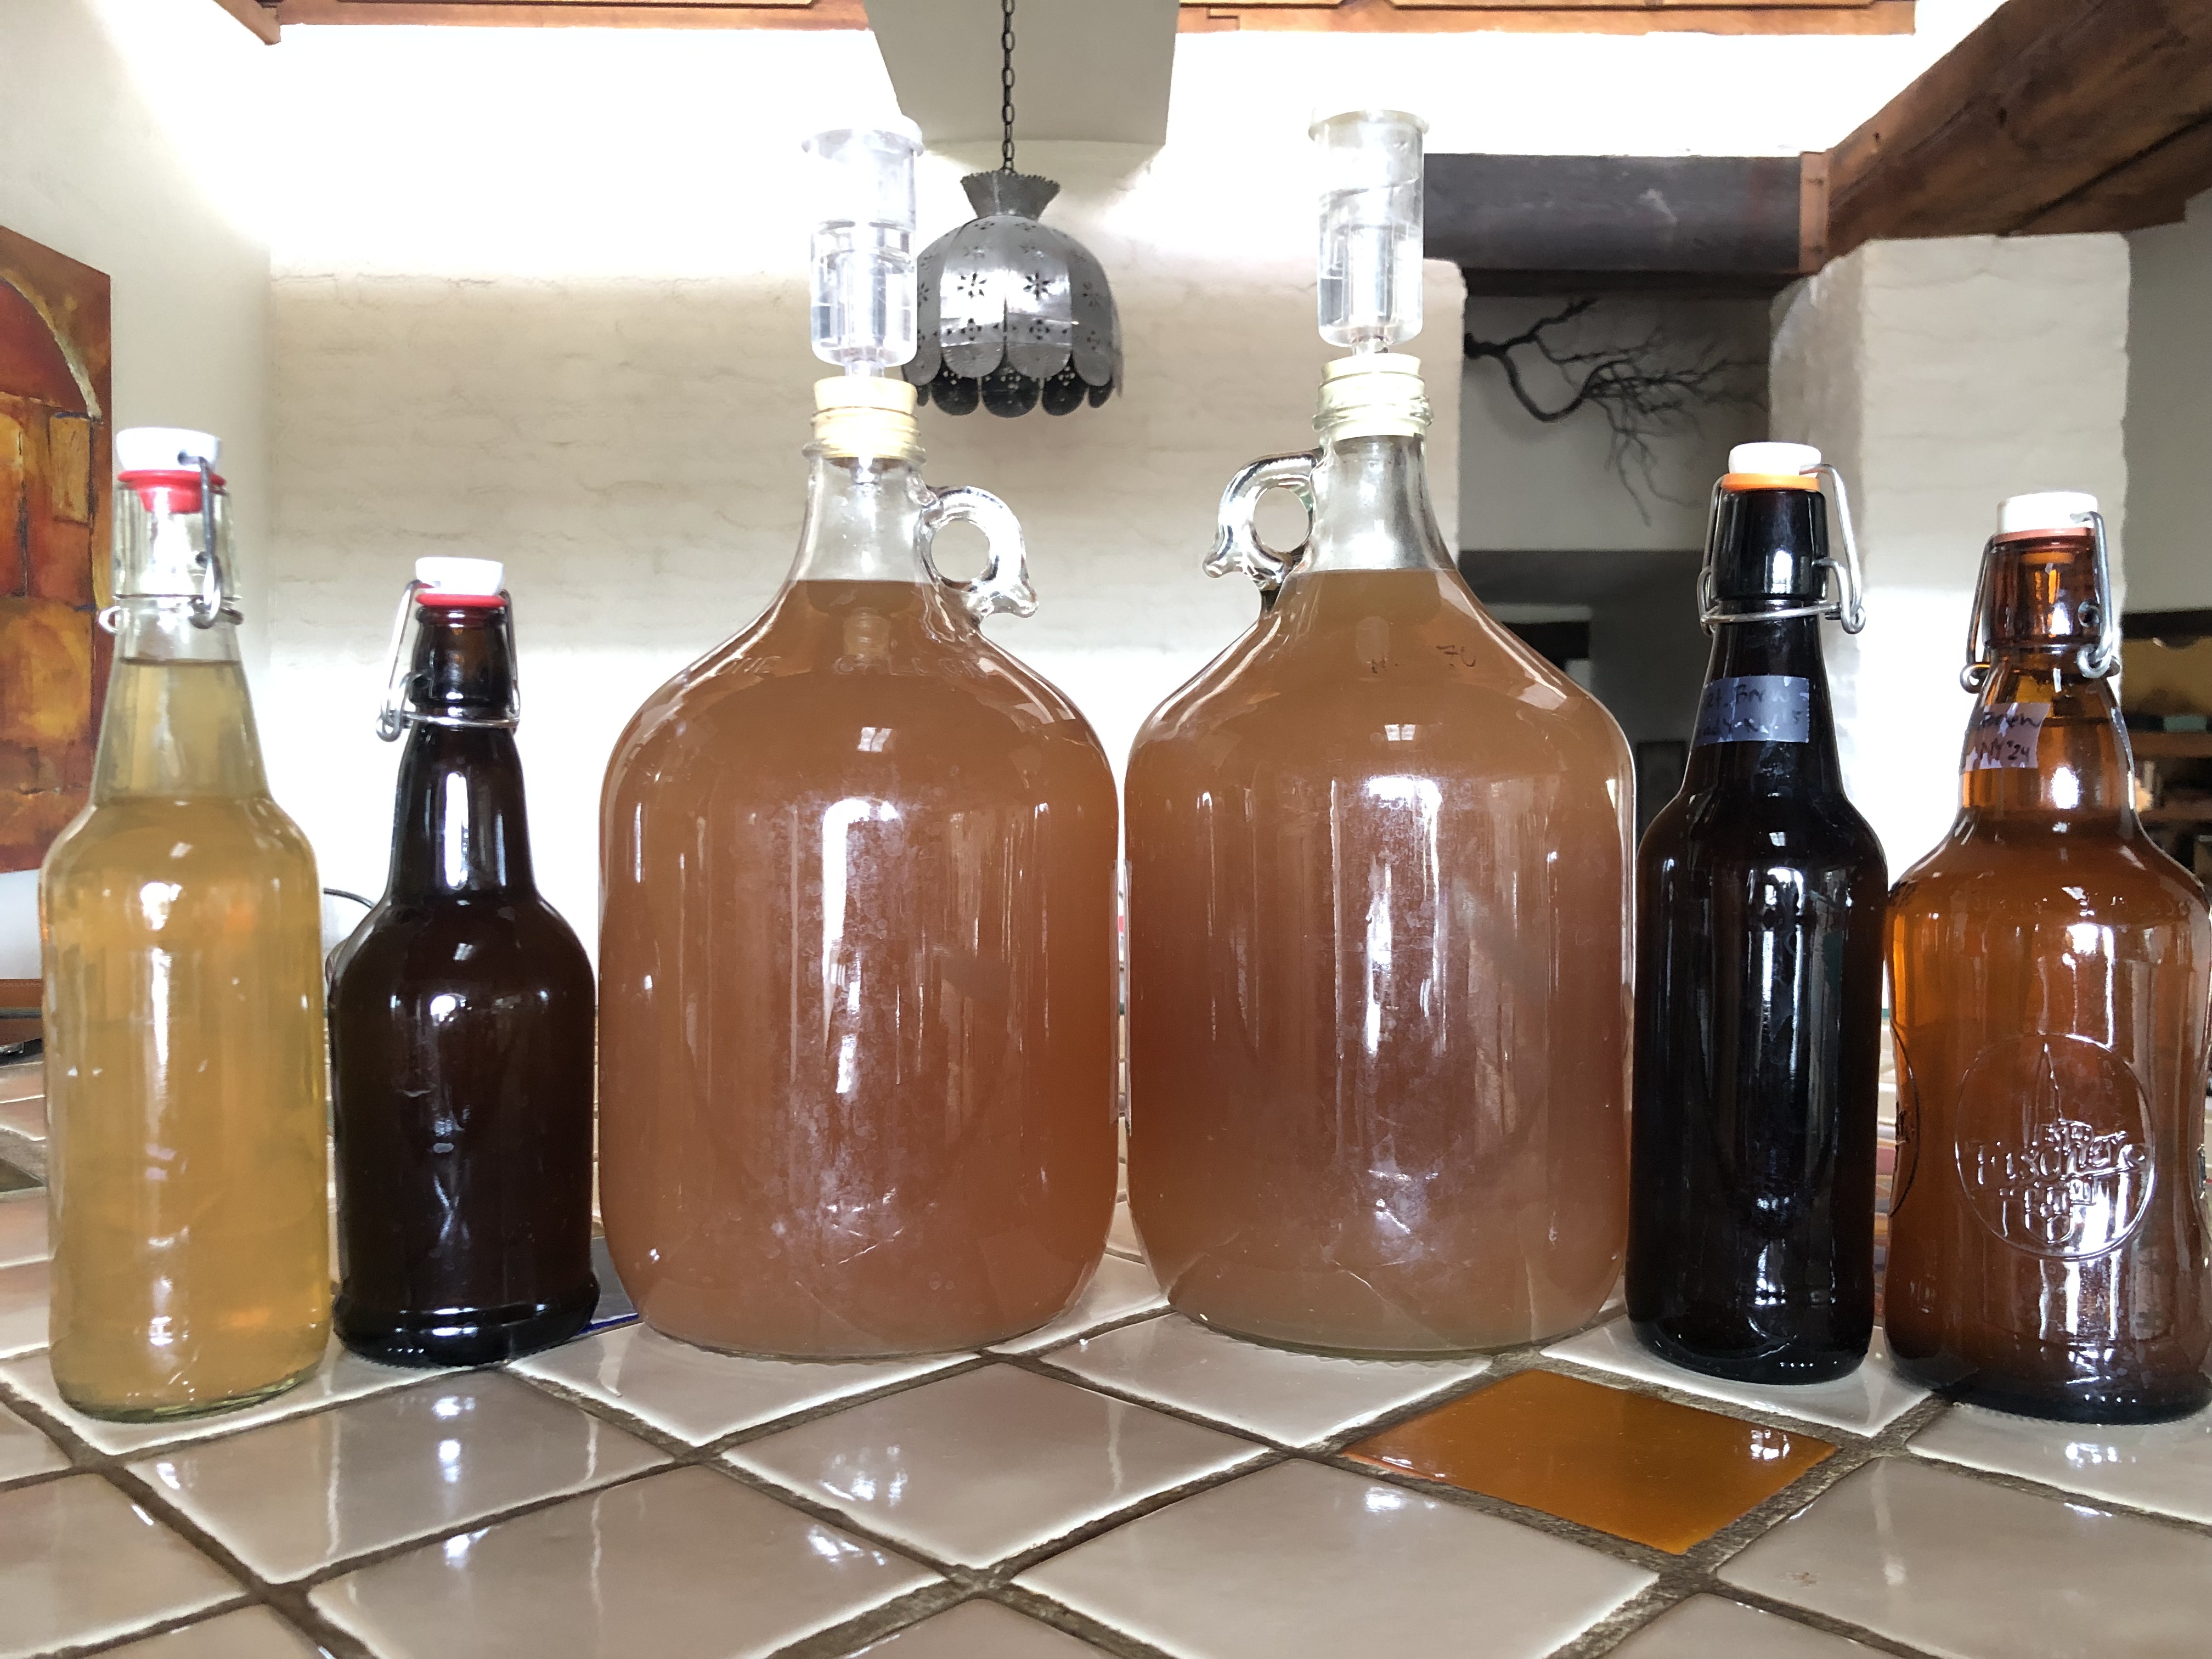
Gallons of delicious finished wine!

Congratulations, winemaker! If the process is fun and you want to try more, there are wonderful books on home winemaking and fermentation. I am partial to Sandor Elix Katz’s guides because of their simplicity and use of natural ingredients. Sometimes I hesitate to embark on a new endeavor because I worry I’ll mess it up. I then remember that wine is a very forgiving process, and I have little to lose if anything goes truly awry. If wine gets exposed to too much oxygen, it will become vinegar (acetic acid), so the worst case scenario is you have some really interesting vinegar with which to cook. Salud!

(Please share below in the comments any wine adventures and experiences you embark upon.)

No roll crackers

Hi friends, it’s true, crackers without the rolling. Amy here sharing this week’s iteration of this miracle recipe I found online. It all started with an abundance of oats…

A friend gifted me many pounds of organic rolled oats. Searching for inspiration to use them, I found Camilla’s Easy No-Roll Oat Crackers ( vegan, oil free, GF). It is a brilliant recipe that I’ve been making often these last few weeks since I discovered it. Besides oats, they contain seeds or mix of seeds. Sunflower makes particularly good crackers but branching out, I remembered Carolyn’s Black Beauty Wafers using saguaro seed. The seeds are strained out when making a syrup so those are a brilliant way to use the seed.

In June, the birds get the first feast of saguaro fruit. If there is more ripening fruit than the birds eat, it falls the ground, often sun dried and intensely concentrated, where I can easily harvest it without poking the plant. No need for a pole!

The ground animals get to feast first before the humans, of course, so we waited. But ripe fruit spoils in the rain, and I would never complain about glorious rain! So this year wasn’t the best saguaro fruit harvest for humans. (below, note the mesquite leaflets for scale)

I had some oooold fruit stored in the pantry so I decided to use the whole fruit instead of just the seeds.

I soaked it in water to soften it.

And blended it enough to grind the seeds. Then I added the oats, salt, baking powder and oil.

The batter is poured onto a greased half sheet pan (or even a bit larger pan to make crackers just a bit thinner).

Instead of rolling the dough, it just needs to be smooth!

I prefer to add just a touch of salt to the batter so I can sprinkle a decent amount on top. I ground my best Mexican sea salt for this.

Then I sprinkled with saguaro seed.

After baking for ten minutes, the crackers can be scored before returning to the oven to finish.

After baking with careful supervision, this batch got darker from the sugar in the saguaro fruit than other batches. A hit of sweetness and delicious! Next time I’ll use a slightly larger yet pan so they are a little thinner. The thinner ones are crispier and more delicate. But think or thin, they are easy to enjoy with spreads, alongside a salad or on their own as a trail snack. Enjoy!

For the recipe, see Camilla’s post on her blog powerhungry.com

Instead of seeds, I added the equivalent weight of dry saguaro fruit. I added a quarter cup of olive oil and reduced the water by that amount. I used approximately 1 teaspoon of coarse sea salt divided between the batter and sprinkled on top with the saguaro seeds. Experiment and have fun!

Tepache: An Sonoran Summer Favorite

Josefina Lizárraga served her tepache at a recent event at Mission Garden in Tucson. Josefina is a font of wisdom on the traditional foods of the Sonoran Desert.

The summer heat has settled in here in Southern Arizona and cooling drinks are the order of the day. Of course, there is always water, but it’s nice to be amused by something more flavorful. 

It’s Carolyn today, bringing you a recipe for tepache, a simple pineapple drink that is a classic regional favorite. It is made with pineapple peels, the part you usually throw away, and a Mexican sugar staple, a hard cone of brown sugar called piloncillo. Properly made, tepache has a slight alcoholic zing. It won’t get you drunk, but it’s best reserved for adults. 

We recently learned how to make tepache from Josefina Lizárraga, who comes often to Mission Garden in Tucson to share her tips for dealing with local fruit. She is affectionately called La Madrina del Jardín. The process is pretty simple.

A nice ripe pineapple, a cone of piloncillo, and a jar are all you need to make tepache.

Tepache Recipe

Choose a ripe pineapple with a nice fruity fragrance. Wash the outside. As you cut off the peel, leave a little more of the fruit than you would if you were tossing it out. Cut the peel and the core into smaller pieces and add to the jar.

Bring about two cups of water to a boil in a small saucepan and add the piloncillo. Turn off the heat and let the sugar dissolve. If you can’t find piloncillo, use 8 ounces of dark brown or turbinado sugar.

Put the pineapple peels into your gallon glass jar and add whatever fruit you won’t be eating as well. Adding some of the fruit will give your tepache more flavor. You can also add a few cinnamon sticks.

Cut the pineapple peel and core into chunks.

Add the dissolved sugar and water and top up the water to about 3/5ths. Cover the jar with a cloth. DO NOT SCREW DOWN A LID. Put the jar on your counter. Josefina says just 4 to 4 1/2 days. Longer will result in vinegar. Refrigerate your tepache and enjoy with ice.

This is Josefina’s tepache she was serving at Mission Garden.

___________________________________________________________

You can learn more about the history of food in Southern Arizona in my latest book A Desert Feast, the story of the last 4,000 years of food in the Sonoran Desert. Want more recipes using  foods of the Southwest? You’d find ideas for collecting and using 23 easily recognized and gathered desert foods in Cooking the Wild Southwest: Delicious Recipes for Desert Foods.  . Recipes from top Southwest chefs are collected in The New Southwest Cookbook. Just click on the titles for more information. You can learn more about me on my website.

Marvelous Mulberries–garden dessert in a desert garden

Yummmmm. If you have never tasted a mulberry–or maybe you remember browsing them as a kid back east or in the Midwest–you will be blown away by the glorious mulberry harvest happening right now at Mission Garden!

Tia Marta here tempting your tastebuds for a gentle, natural sweet treat–but…you have to take action SOON. If you’re in southern Arizona, find a hole in your schedule, and a way to get to the base of Tucson’s A-Mountain this week for a mulberry taste-thrill. It will inspire a new planting in your desert home landscape. Three different mulberries await you in Mission Garden’s beautiful and diverse orchards. Come early–summer hours are Wednesday thru Saturday, 8am-noon.

A sumptuous harvest after this wet winter! Look for trees on the Mission Garden grounds that have a big white fabric tarp underneath, and voila! Shake a branch and dive in for a dark, delicious, delicate mulberry, fresh from the tree. The elongated fruit shown here is Pakistani mulberry (Morus alba x rubra), producing like mad even in Tucson’s heat.

Female trees produce fruit. Male, pollen-producing, trees are controversial in Tucson due to allergenic affects. Somewhere out there, there must be male mulberries; none are growing at Mission Garden, yet we have no dearth of fruit.

Handmade mulberry jams are going fast at the Mission Garden entrance shop! It’s the best jam you ever tasted, made with love by Mission Garden volunteers in their health-department-certified kitchen. You can’t find local gourmet delicacies like this commercially. The closest thing (like frozen raspberries at a grocer’s freezer?) can’t hold a candle to Mission Garden mulberry jam or sauce! ($8 for the 8oz. jar)

Mulberry jam doubles as a gourmet sauce. My pedestrian apple-brown-betty morphed into a fancy dessert with ala mode topped by a dollup o’ Mission Garden’s mulberry jam. (Mulberry seeds in the sauce are minimal and add a tiny crunch texture.)

As you explore further through the Mission Period huerta (orchard) you’ll find yet another gorgeous green mulberry tree with a totally different color and shape of fruit. (Above, looking up into the foliage, and ripe fruit adjacent) This is white mulberry (Morus alba) with a pale pink or lavender color, and a flavor some people describe as “watermelon” or “lingonberry” or “cloud berry.” So juicy you can’t stop….

A big surprise is to learn that we have a NATIVE mulberry “bush” in the arid Southwest–the wild, small-leafed mulberry tree (Morus microphylla). It’s inspiring to know it is adapted to our Sonoran Desert, only needing a little extra water; it grows close to arroyos out in Nature. This may be one of those amazing plants that may help provide food for us in a hotter, drier future…

Each little wild mulberry is a zap of sweet nutrition, packed with healthy complex sugars, dietary fiber, beta carotines, vitamin C and iron.

I can hardly wait until Mission Garden is propagating cuttings of all these several amazing mulberry species. Already I’m figuring where I can plant them in my yard. Whatever we can’t harvest each season will be a gift for the birds!

This coming SATURDAY, MAY 18, is SAN YSIDRO FIESTA, Mission Garden’s celebration of the traditional pilkan harvest (heirloom wheat harvest). I’ve been playing with recipes using these heirloom grains pairing them with mulberries, but I HAD to relay this timely mulberry story for you ASAP, so you could get to Mission Garden this week to jump through this narrow “mulberry window” of opportunity.

Tia Marta hoping to see you at San Ysidro Fiesta Saturday–or sooner, browsing a mulberry tree this week!

Savory Wolfberry Amaranth Balls

Hello friends, Amy here enjoying another great year for the wolfberry bush (Lycium fremontii …I think) in my yard. Tucson’s native species of the Chinese goji berry, they are similarly packed with antioxidants and health benefits. In the tomato family, it’s called tomatillo in Spanish, not to be confused in size, shape, color or taste to the garden variety of husked ground cherries that go by that name. Wolfberries taste somewhat like tomatoes and work well in sweet and savory dishes, when I manage to harvest more than I eat raw from the bush. Thriving on only rainwater, one huge plant produces plenty of fruit for me and the resident phainopeplas.

Inspired by this recipe for millet balls, I used fresh wolfberries in place of dried Turkish barberries.

It was delicious! It reminded me of falafel, crispy on the outside and grainy on the inside. A simple cilantro, garlic, lemon juice, olive oil chutney complimented them perfectly.

So the next time, I decided to use amaranth seeds. I bought this from the store, but you can harvest your own from wild or cultivated plants in the late summer if you’re ambitious.

I toasted them in oil until they became a shade darker and a few of them popped open.

I added water, three times the volume of amaranth seed, and cooked in the solar oven until it was creamy. Then I mixed in fresh wolfberries and enough flour to make a soft dough.

The dough was muuuuch stickier, so I added significantly more flour than for the millet balls and still they looked shaggy. (I used all purpose wheat flour but next time will try amaranth flour).

The toasted flavor came though and I’m glad the only seasoning I used was salt and wolfberries. The dough certainly didn’t need any egg or flax egg to hold together! They baked up just as well as the millet version, but with the texture of a cookie. Next I’ll try them sweetened!

I served them with a lemon pickle but that tomatillo salsa would be good. I took the rest to a picnic among the wildflowers. Happy spring!

processed by AtomJPEG 1.5.0n

50 Years Exploring Wild Foods of the Southwest

It’s Carolyn here today with a walk down memory lane. This year celebrates 50 years since the first publication of my first book American Indian Food and Lore, now republished as American Indian Cooking: Recipes from the Southwest. In 1970, I was a young out-of-work journalist and through an unlikely set of circumstances ended up with a contract for a book on Indian cooking with Macmillan, a major New York publisher. Preliminary research showed that traditional Native American food revolved around edible wild plants and corn, beans, and squash.

My college science was zoology so I had a lot to learn about edible plants. I began by reading every ethnobotany written about Southwestern plants. I found mentors to take me on plant walks, including the late renowned botanist Richard Felger. When I knew enough to ask intelligent questions, I headed out to talk to the experts, Native American women. My first teachers were two lovely Tohono O’odham women on the San Xavier section of the reservation who spent an afternoon teaching me to cook mesquite the way their mothers had. I put the leftovers in the backseat of my car and had a head-on collision on a narrow dirt road on the way home. Woke up in the hospital with mesquite mush in my hair.

Here I am in 1971 trying to learn to distinguish one little green plant from another.

Perhaps that was some sort of christening, so for $150 I bought a Chevy wagon and the summer of 1971, I headed to remote areas on the Hopi, Navajo, Zuni, Havasupai, and Pueblo reservations. Many very generous middle-aged Native women taught me about plants they had gathered with their grandmothers. I worked in an office that winter to gather some money and headed out again the summer of 1972.

Finding a communal grinding stone at Hawikuh (founded c. 1400) near the Zuni Reservation. Imagine the women sitting around the stone doing food preparation.

Then it was time to test the recipes when I had them and develop recipes when necessary. A friend lent me an electric typewriter (such a luxury), and I wrote up what I had learned. A small grant allowed me to pay Jenean Thomson to do the gorgeous and accurate line drawings of the plants.

Jenean Thomson’s ocotillo illustration.

The book was “in press” for two years and was released by MacMillan in 1974. Euell Gibbons had published several well-known books on edible wild plants, but they were all Eastern species. American Indian Food and Lore joined a very few popular books on edible Western plants. Sunset Magazine even came and did an article on my wild food gathering class. Writer and ethnobotanist Gary Nabhan joined me, and one year we did a class we privately called Gary and Carri’s Thorny Foods Review.

After two decades, with changes in ownership, Macmillan decided the book didn’t fit their line, but the University of Nebraska Press liked it. In 1999, they republished the book under their Bison Books line as American Indian Cooking: Recipes from the Southwest with a lovely new cover.

I have followed this title with four more books on Southwestern food, but my first foray into cookbooks with the all the memories I have doing the research remains a high point of my life.

Here is one of the original recipes taught to me by a Navajo cook.

Navajo Griddle Cakes

(Makes 14 4-inch cakes)

Although this calls for lamb’s-quarter seeds, you can substitute amaranth, quinoa, chia, or sunflower seeds.

¾ cup ground lamb’s-quarter seeds

¾ cup whole wheat flour

2 tablespoons sugar or honey

½ teaspoon salt

1 teaspoon baking powder

1 egg

2 cups milk

2 tablespoons oil or bacon drippings.

Combine dry ingredients in a bowl. In another bowl beat together egg, milk, and fat and add to dry ingredients. Heat the griddle and add a small amount of oil. Test the griddle by letting a few drops of cold water fall on it. If the water bounces and sputters, the griddle is ready to use. Bake the pancakes.

__________________________________

Note from SavorSisterTiaMarta:  If you want to find other fascinating, flavorful, and from-the-earth Indigenous recipes that were gifted to Carolyn 50 years ago and which she published in American Indian Food and Lore, you can chase down used book copies via Thriftbooks, Amazonbooks and other sites.  This first book is a treasure trove of totally useful, current ideas!

Cheering with Agave Spirits!

Tia Marta here, tipping a glass to Mayahuel, Goddess of the Agave, for her many gifts–and, in addition, I’m toasting the current voice of Agave: Southwest native foods author/philosopher Gary Paul Nabhan. Heads-up for a not-to-be-missed event SOON!! — Make plans for Saturday, October 21 to meet Nabhan at a totally celebratory book-signing in downtown Tucson for his latest book, AGAVE SPIRITS!

More than just literary, this event will be laced with enlivening tastes of small-batch mezcales! So take note: NOON til 3pm THIS SATURDAY at PETROGLYPHS EMPORIUM at 160 S.AVENIDA DEL CONVENTO just north of El Mercado along the trolley route west loop.

I just got a copy and can hardly wait to dive into Gary’s special way of weaving us into a sensual and spiritual world of amazing culture, botany, cuisine, all with such humor and human sensitivity. Yay another gift from the Guru! There will be plenty of copies of the book for sale at the event, but just in case, you can also find it available at Antigone Books on 4th Ave. Tucson..

Many native species of agave–known as A’ut to Tohono O’odham ancestors who cultivated them long before European colonists arrived in the Sonoran Desert–were and can still be used for food, fiber, drink, and landscaping. To grow your own, check out the agaves for sale at Mission Garden (such as this Agave murpheyi).

For celebrating–yea honoring–mezcal and other agave spirits in their many forms, here is my very local idea for a Century Plant toasting:

The Torch-bearer Mezcal-Saguaro Sunrise–Tia Marta’s recipe

1–In the bottom of a lovely glass, pour 1 TBSP precious thick saguaro syrup (if you have been so lucky to have bought some from a traditional saguaro harvester, or to have made your own syrup last June).

2–Reserve a jigger of small-batch-mezcal (bought or smuggled from a grower, fermenter, or trader.)

3–Dilute 1 jigger mango juice (available TJ’s, Natural Grocers) with 1/2 jigger drinking water to thin its density.

4–To garnish rim, slice a lime harvested from your own tree or a neighbor’s…

5–(a secret from my formerly-bartender partner): Gently pour the diluted mango juice atop the saguaro syrup layer by placing a spoon upside down to slow the flow against the glass interior, thus preserving the horizonal layers of different densities.

6–Similarly as illustrated over clean inverted spoon, gently pour jigger of mezcal for the top “layer.”

7–Salud! a toast to Agave and its Spirit

A step above and beyond the traditional “tequila sunrise,” this glorious libation is named for the Torch-bearer, who, I was taught by O’odham mentors, lights up and brightens the eastern horizon every dawn with the glowing red, orange, yellow of his solar torch…. This drink helps us rejoice in our local saguaro fruit and spirit of Sonoran agave with its colors, flavors–even nutrition.

Celebrate agaves also with notecards of my painting “Sacred peak with Agaves,” available at Buenos Aires National Wildlife Refuge visitor center and at Mission Garden. For 11″x17″ matted prints, call Flor de Mayo, 520-907-9471.

More mezcal ideas await…. Check out SavorSister Carolyn Niethammer’s post about the yearly Agave Heritage Festival in Tucson– with agave roasting at Mission Garden– late April. For specialized mezcal tastings locally, visit ExoBarTucson for Thursday evening samplings–It’s an “educational experience.” And stay tuned for more Agave Spirit posts as the holidays approach. Cheers to Mayahuel, to Nabhan’s new book, and indeed to the patient and giving A-ut plant!

See you at Petroglyphs Emporium this Saturday!

Eat Mesquite and More: a Cookbook for Sonoran Desert Living

Happy Summer, friends!

Amy here, on a hot, hot morning, sitting the shade. Have you seen Desert Harvester’s new edition of the cookbook??? It is 400 pages! with lots of color photographs and original art. It really is worth getting the book for the art alone.

But today I want to highlight the ethics in book. It starts with a poem by Ofelia Zepeda, followed by a land acknowledgement, and a Desert Harvesters ManiFEASTO in English and Spanish. There is a recipe for Abundance and a detailed primer on Reciprocity, elaborating on “Get to Know vs Grab and Go” and “Rewild vs Defiled” and a whole other section on living and eating in place. So yes, even if you don’t live in the desert where these plants grow, and even if you never plan to cook, this is still a tremendous resource and inspiration.

As the title declares, Desert Harvesters has morphed from mesquite milling focused to offering intimate portraits and recipes of over 20 desert ingredients. Have you harvested: mesquite, ironwood, saguaro, acorn, devil’s claw, wolfberry, hackberry, mushrooms, chiltepin, barrel cactus, prickly pear pads and fruit, cholla, chia, agave, palo verde, yucca, ocotillo, globe mallow, purslane, packrats, grasshoppers or cicadas? With detailed harvesting instructions, seasonal timing and expert tips, a novice harvesters can actually get out there and try! Many desert plants offer multiple delicacies, such as ironwood tree as green seeds, mature seeds, flowers and seed sprouts.

There are a LOT of recipes, some easy and some taking days or longer to make. I didn’t count how many recipes are in the book, but it says only 80 of them are bilingual, English and Spanish and 65 are new to this edition. There are a few medicine recipes, too. This book really does have something new for even the most seasoned harvester. The recipes are contributed and tested by community members far and wide, encompassing ancient wisdom and modern innovation from many cultures. It also includes many recipes from us Savor Sisters, Carolyn, Tia Marta and I.

If you still aren’t convinced to buy this book or find it in the library, go to Desert Harvesters Facebook page. There you will see recipes for Seed Balls for planting and Saguaro Fruit Truffles for eating. Don’t mix them up!

Happy Yellow Moon! S-ke:g Oam Maṣad!

April– at last!  The Sonoran Des is in cheer-mode after a long, chilly-wet and wonderful winter-spring!  Our plant neighbors are blessed with deep moisture, so brace yourself as they explode into their glorious garb of yellows. Tia Marta here, inviting you to celebrate a rite of spring with a bow not only to the bunnies and birds but also to buds and beans….

Any rite will be fine. You choose your rite way. Here at Casa Choyita, I have some interesting projects in the works to celebrate spring–both involving cookery but of two different “ilks”:  a creative recipe for heirloom beans and cholla cactus flower buds, plus,  colorful dyes cooked from beans and brittlebush.  Every step of the way we’re honoring the plants with thanks for their varied gifts.

S-cuk mu:ñ c ciolim Frijoles negros con botones de choya–Black beans with cholla buds– by any Borderlands name this combo is delectable. Try my recipe below for a Cubano style. and enjoy! (Dark water from soaking your blackbeans can be saved and used creatively–See explanation below…)

Watch your backyard ciolim (pronounced chee’oh–rlim) closely these next couple of weeks to know when to harvest!

The Sonoran Desert’s staghorn cholla (Cylindropuntia versicolor) and other cholla species’ flower buds will be swelling daily. Those little succulent prongs you see on the buds are actual cactus leaves! (This is the only time we’re able to see real leaves on cholla and prickly pear.)

Wait til the buds are as fat as they can get before blooming to harvest while still in the bud stage….

….These buds are not quite ready, still swelling…..


…. My O’odham teacher instructed me to check when the first cholla flower opens on a plant. Then you’ll have a comparison to know the maximum size the buds will get on that cactus–Now the buds are ready to harvest!

RECIPE: Tia Marta’s Black Beans with Cholla Buds, Cubano style:

Simmer your fresh despined (or prepped, dried, reconstituted) cholla buds ahead, until they are soft.

Pre-soak beans: Cover black beans in water (3x the amount of beans) and soak for 6-8 hours minimum. Strain and SAVE your darkened water for future dye projects. You can soak beans a second time and strain to derive even more dark dye-water.

In a crock pot or sauce pan add lots of fresh water to your drained beans, then simmer until softened, 1-2 hours or more, checking water level.

Add to the cook pot: 1 cup of sauteed chunks of sweet red bell peppers, 1/2 cup sauteed chopped onion, 1 Tbsp fresh minced garlic, 1 tsp wild oregano, 1 tsp cumin powder or seed, 4 bay leaves, sea salt to taste, 1 Tbsp agave nectar, 1 Tbsp wine vinegar, 1/2 cup cooked and drained cholla buds, chiltepin peppers to taste (sparingly). [These are my preferred herbs and spices. Do try your own variations!]

Simmer all ingredients for another hour until it thickens and flavors meld. Serve over steamed brown rice for a fabulous veggie meal, or serve cold for a savory summer dish.

For a Tohono O’odham Community College art class we had experimented dyeing yarn and cotton with blackbean juice (left, gray/taupe), cochineal insect (center, pink/lavender), and brittlebush (right, yellow).
Later (seen in my chicken basket above for the season) I further experimented with a new medium, eggs! My plant dyes, used cold, actually worked–a warm gray from blackbeans, bright yellow from brittlebush flowers, and deeeeep purple from cochineal!
Here’s my close-up process: I placed boiled white eggs (from Mission Garden’s heirloom chickens) into cochineal dye (left) and brittlebush flower dye (right) to bathe for an hour and–voila!–we had Easter eggs. The dye didn’t even penetrate the shells.
Who knows–My next step may be to make fancy deviled eggs with pickled cholla buds….

S-ke:g Oam Maṣad!--a happy Yellow Moon to desert harvesters and Southwest cooks from Tia Marta! May we all celebrate visually and gastronomically!

Since we have a short window of opportunity for collecting cholla buds this month, you are invited to get a head start by checking more blog posts full of great ideas. Here are some good links:

https://savorthesouthwest.blog/2017/04/21/cholla-crepes-with-hollandaise-and-mulberry-compote-yogurt-crepes/

https://savorthesouthwest.blog/2014/03/18/theyre-here-theyre-ready-cholla-buds-grand-opening/

https://savorthesouthwest.blog/2021/04/21/curry-puffs-with-cholla-and-palo-verde/

https://savorthesouthwest.blog/2021/04/30/quiche-sonoraine-a-la-cholla-bud/

Spring Grapefruit Salsa

In Tucson the mesquite trees have fresh new leaves and bags of grapefruits are looking for homes. Happy Spring! Amy here using grapefruits a way I learned from my friend and mentor Barbara Rose of Beantree Farm. You can find the original recipe as well as so much other inspiration in a new edition of the Desert Harvesters Cookbook available to preorder now.

Salsa is commonly made with tomatoes or tomatillos, but when fresh tomatoes are months away, grapefruit are plentiful, juicy, sour and pulpy with a hint of sweet. Yum! Start by cutting the stem end and blossom ends of the fruit.

Then cut down the sides to remove the peel, including the pith. Candy the rinds if you like!

With a paring knife, cut along both sides of each segment to release the pulp in wedges. This goes more quickly than it sounds.

I don’t worry about getting every little piece of pulp since I squeeze the juice out of the membranes left behind.

Remove the seeds and drink some of the excess juice. A mix of different colored grapefruit or even oranges is fun. Use what you have!

I’itois bunching onion tops have a unique onion flavor but any color onion will work: bulbous white, red or yellow, green spring onion tops, shallots… whatever you have.

Besides a smashed clove of garlic, a splash of cooking oil (any kind), a pinch of salt, and rubbed Mexican oregano, the not so secret ingredient is crushed chiltepin! Use as few or many as you like. Allow the salsa flavors of blend and the chiltepin and oregano to rehydrate.

Wanting something to go with the salsa, I made tostadas. Sautéed onion and cooked pink beans are a great base.

Mashed beans stick to tostadas better.

Fry corn tortillas in oil until crispy. In order to not set off the smoke detector, frying outside is the best, especially in beautiful spring weather.

Lettuce or most any green or sprout can all liven up tostadas. Wild mustard greens, like arugula, add a peppery bite.

Assemble and enjoy outside!