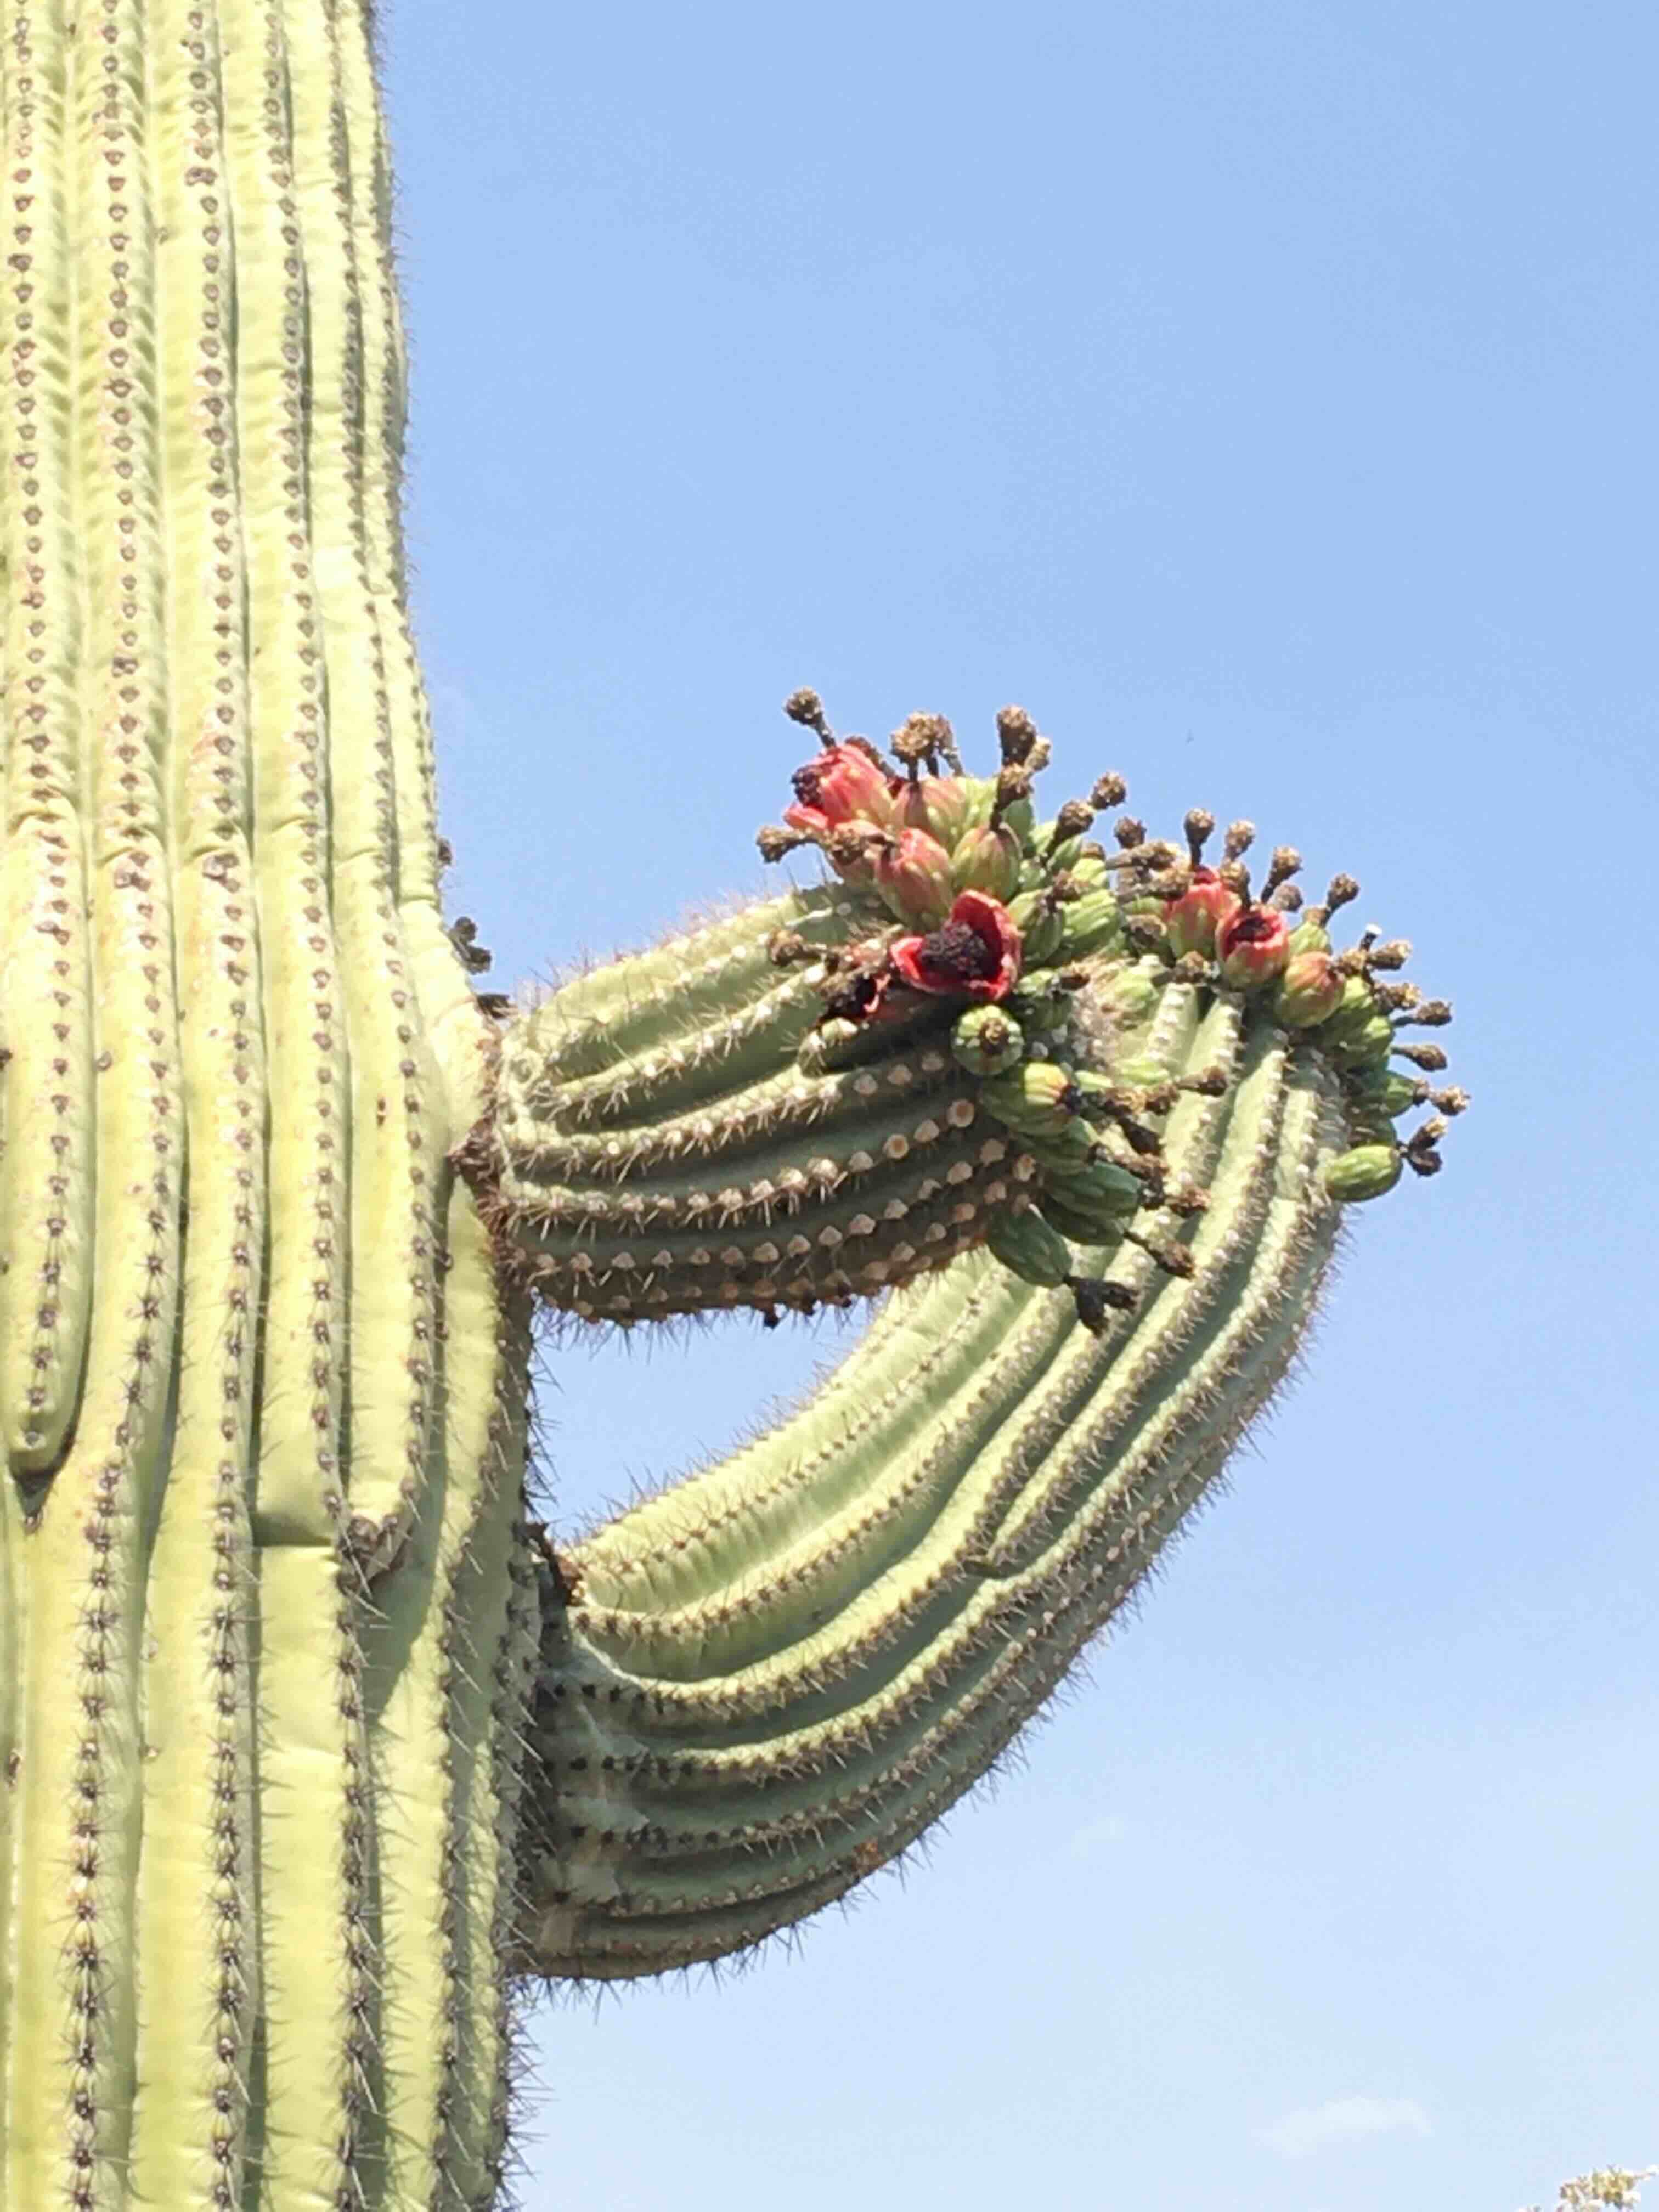
Cheers for New Years now in the Sonoran Desert as we celebrate harvest time for Saguaro fruit! This important harvest around the Solstice and San Juan’s Day marks the beginning of the Indigenous Tohono O’odham desert year.
Fruit timing this year seems off kilter: plants are marching to new, unprecedented “climatic drummers.” Saguaros bloomed and fruited early, then a spring rain spurred a second bloom. Now, in mid June we are seeing a second wave of maturing fruit. With luscious saguaro bahidaj ripening in the desert around us as I write, the sun beating down, and Father’s Day on the horizon, it’s Tia Marta here to share a fun idea for a healthy, locally-sourced Southwest confection for seasonal festivities. A recipe for a saguaro treat awaits….
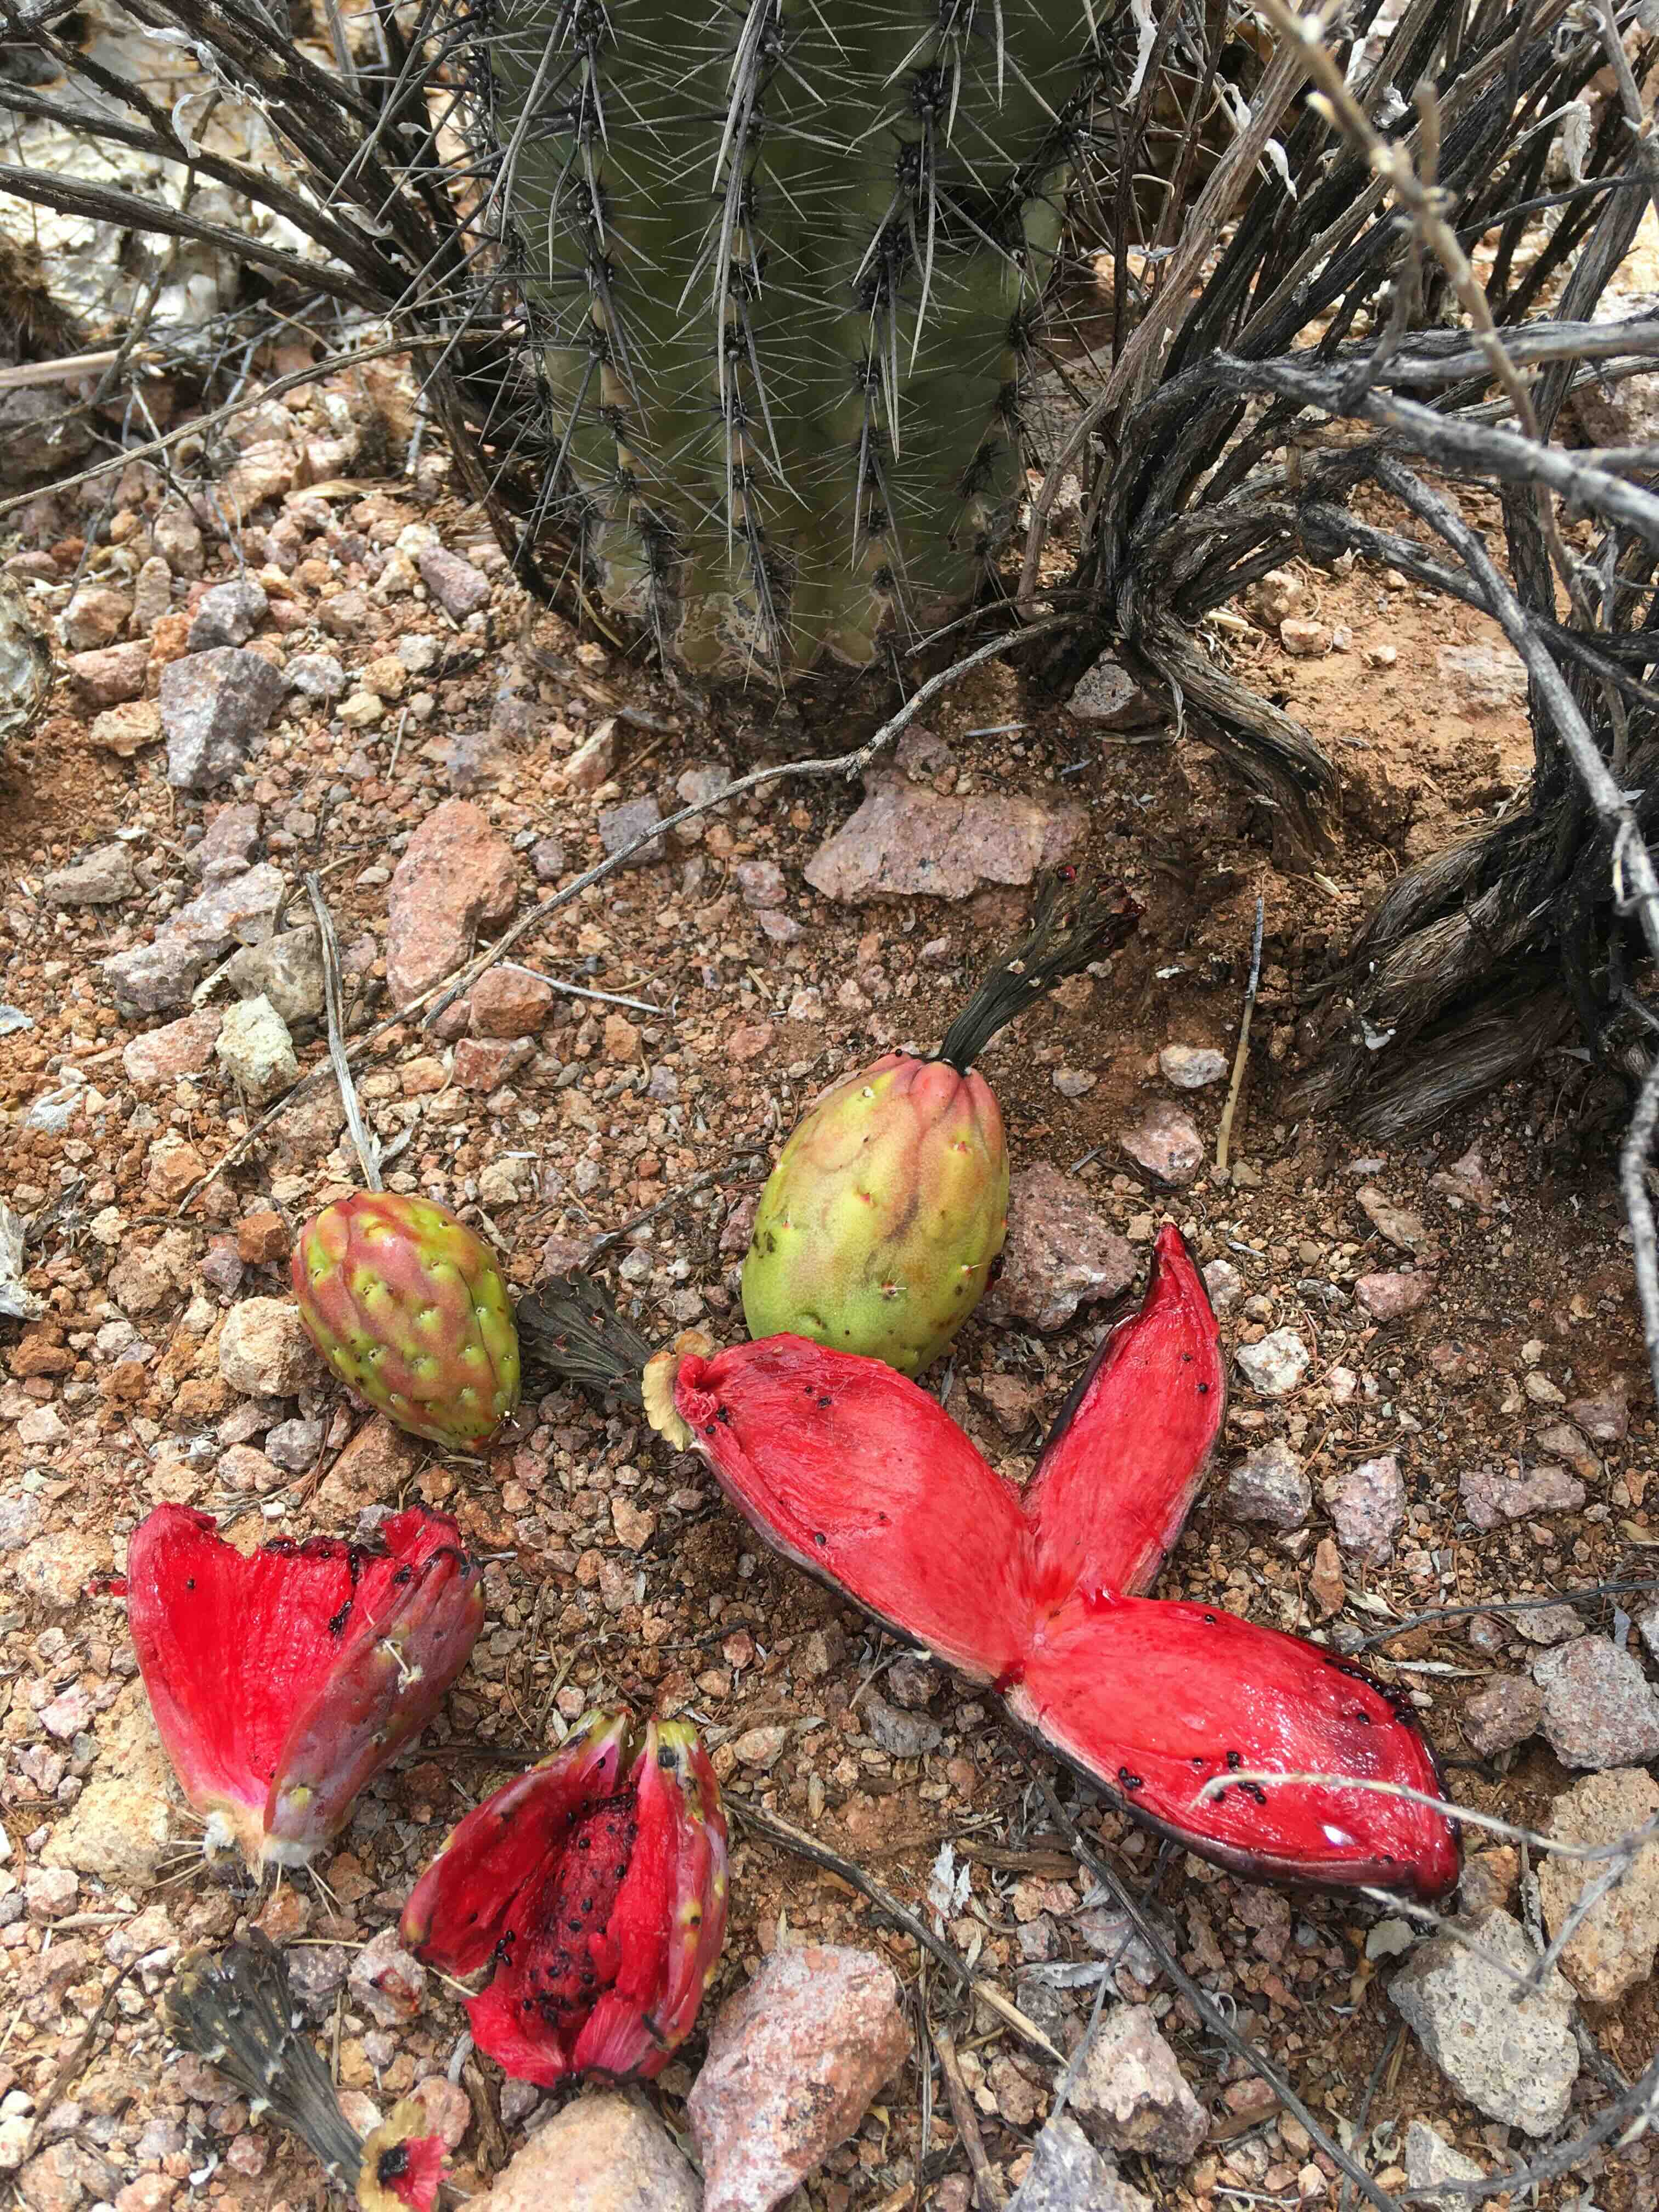
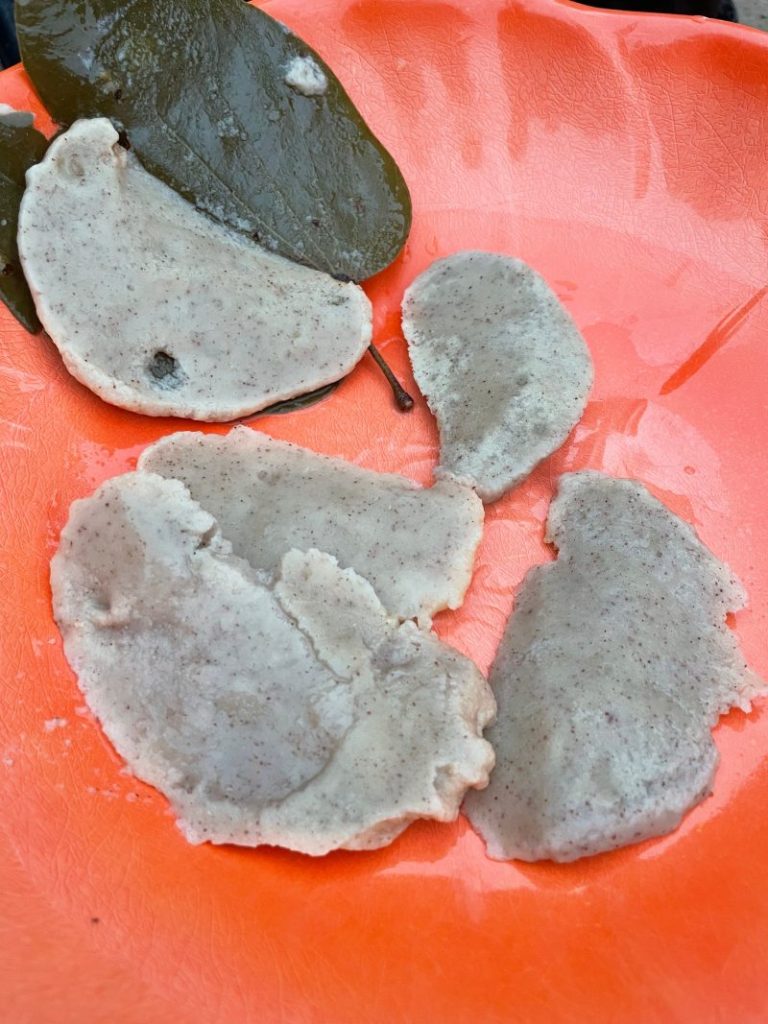
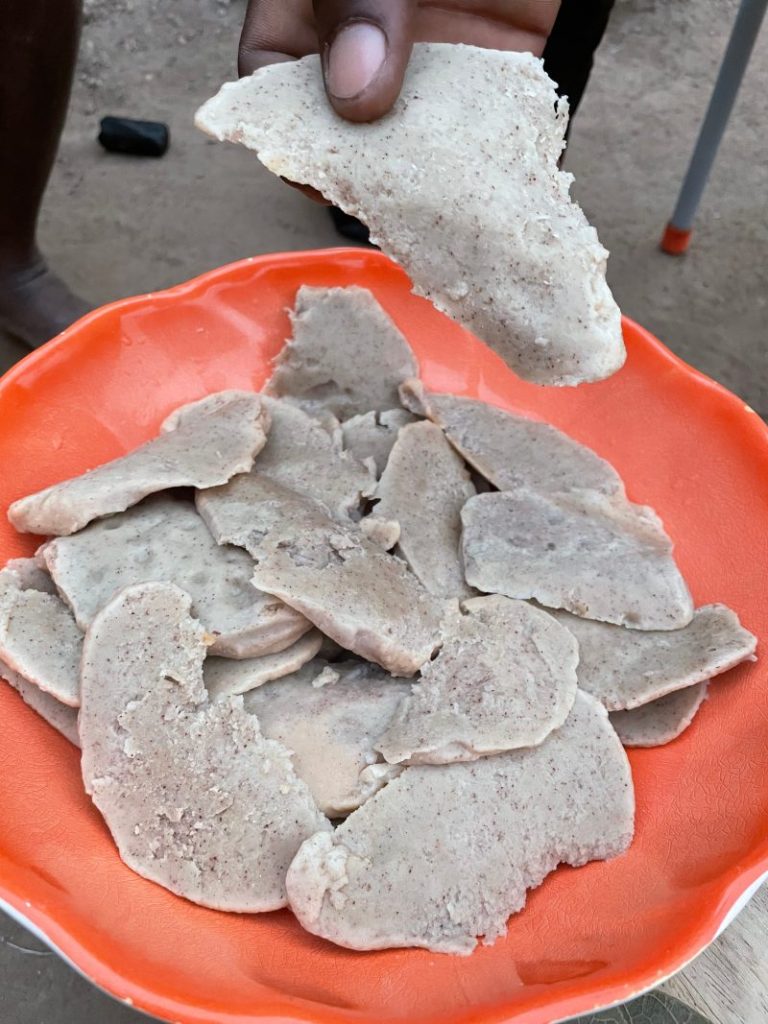
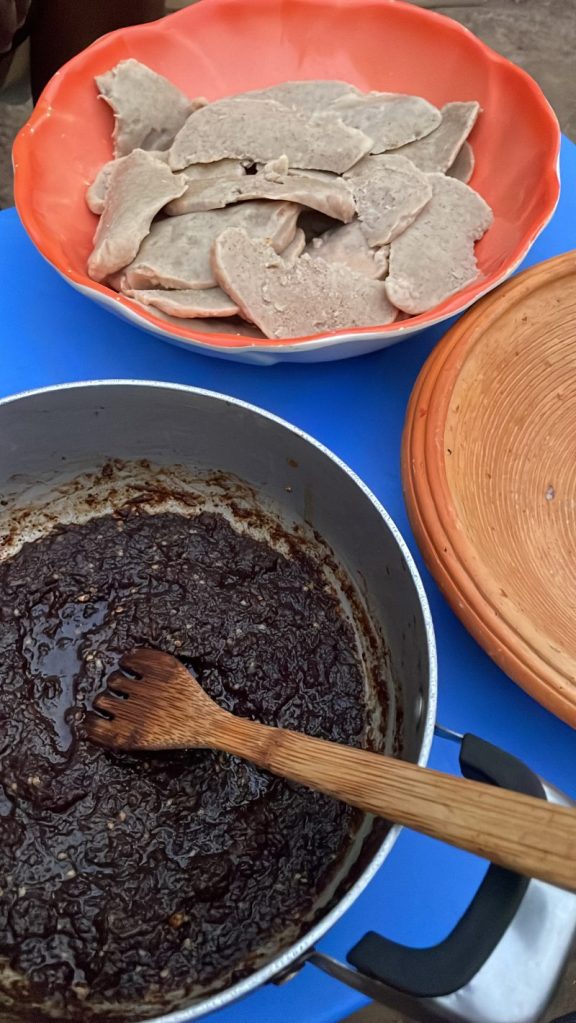
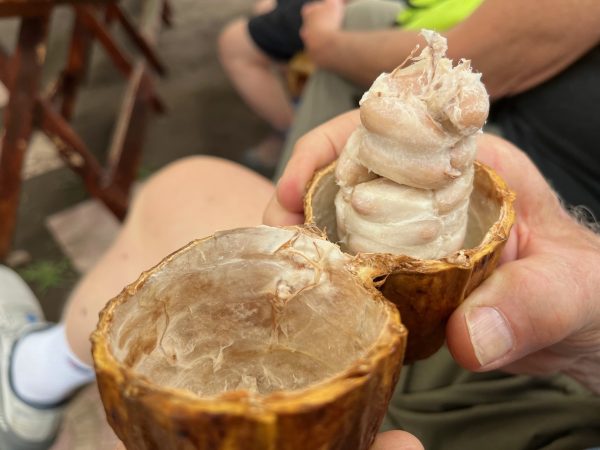
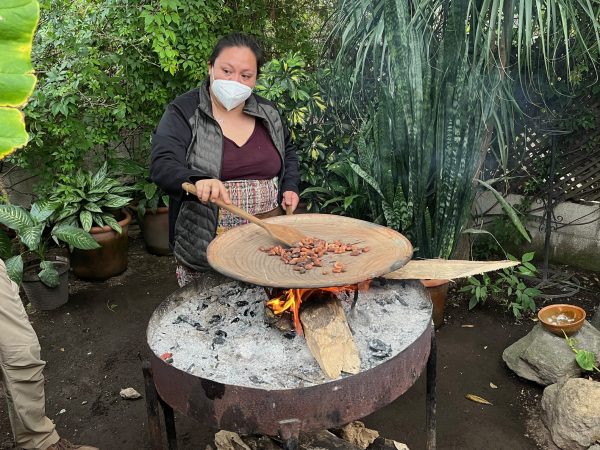
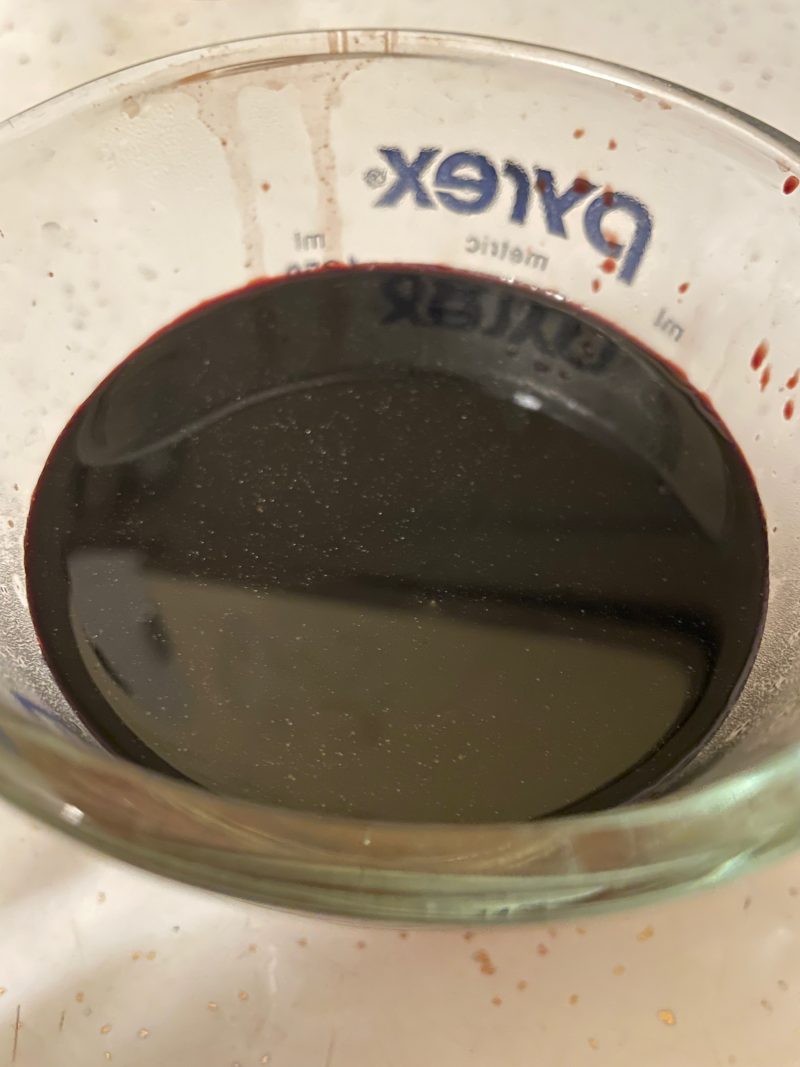
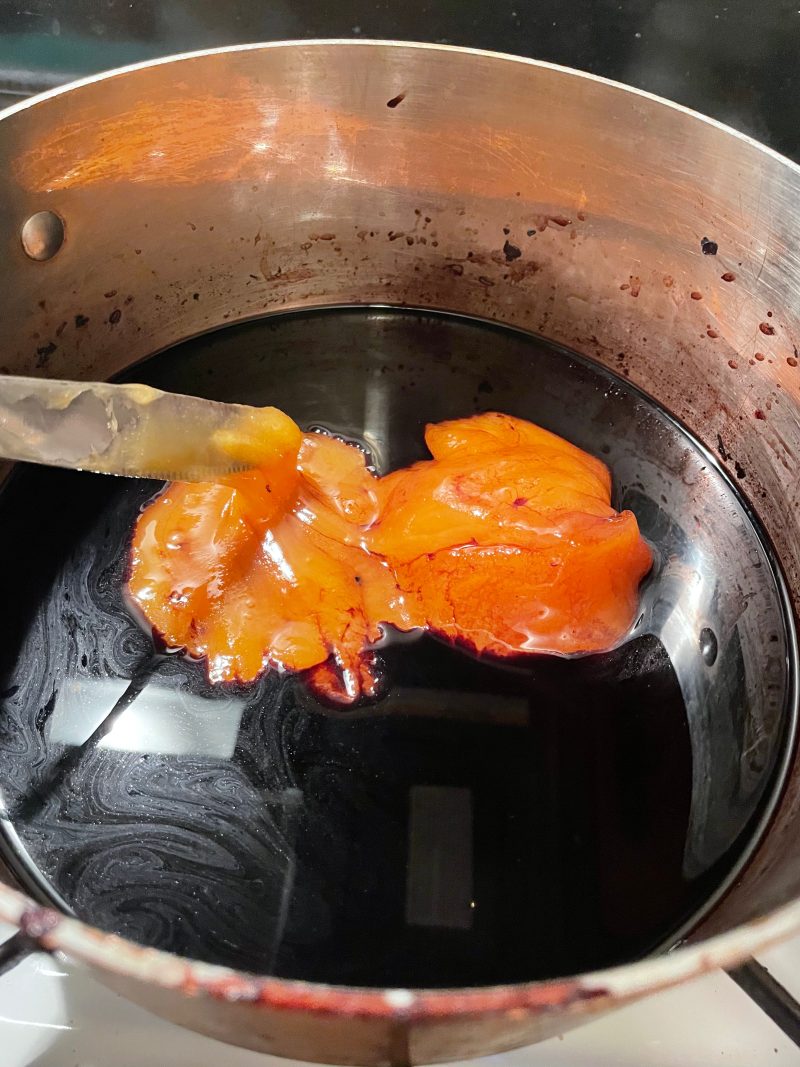
Saguaro fruit, ha:ṣañ bahidaj, is ripe when the outer husk gets a “blush” of red. Peel back the thick rind and inside is a sweet and crunchy treasure. When the moist pulp-seed mass dries it makes a natural fruit-leather called JUÑ pronounced JOONya or just JOON. Dried, it keeps a long time. With juñ you can dress up any salad or sweet–or just eat it joyfully plain, as a gift from Nature and Elder Brother.
We’re going to bake a precious bit of juñ into neat energy bars or biscotti….May this biscotto (literally a twice cooked confection) help you celebrate on many levels!
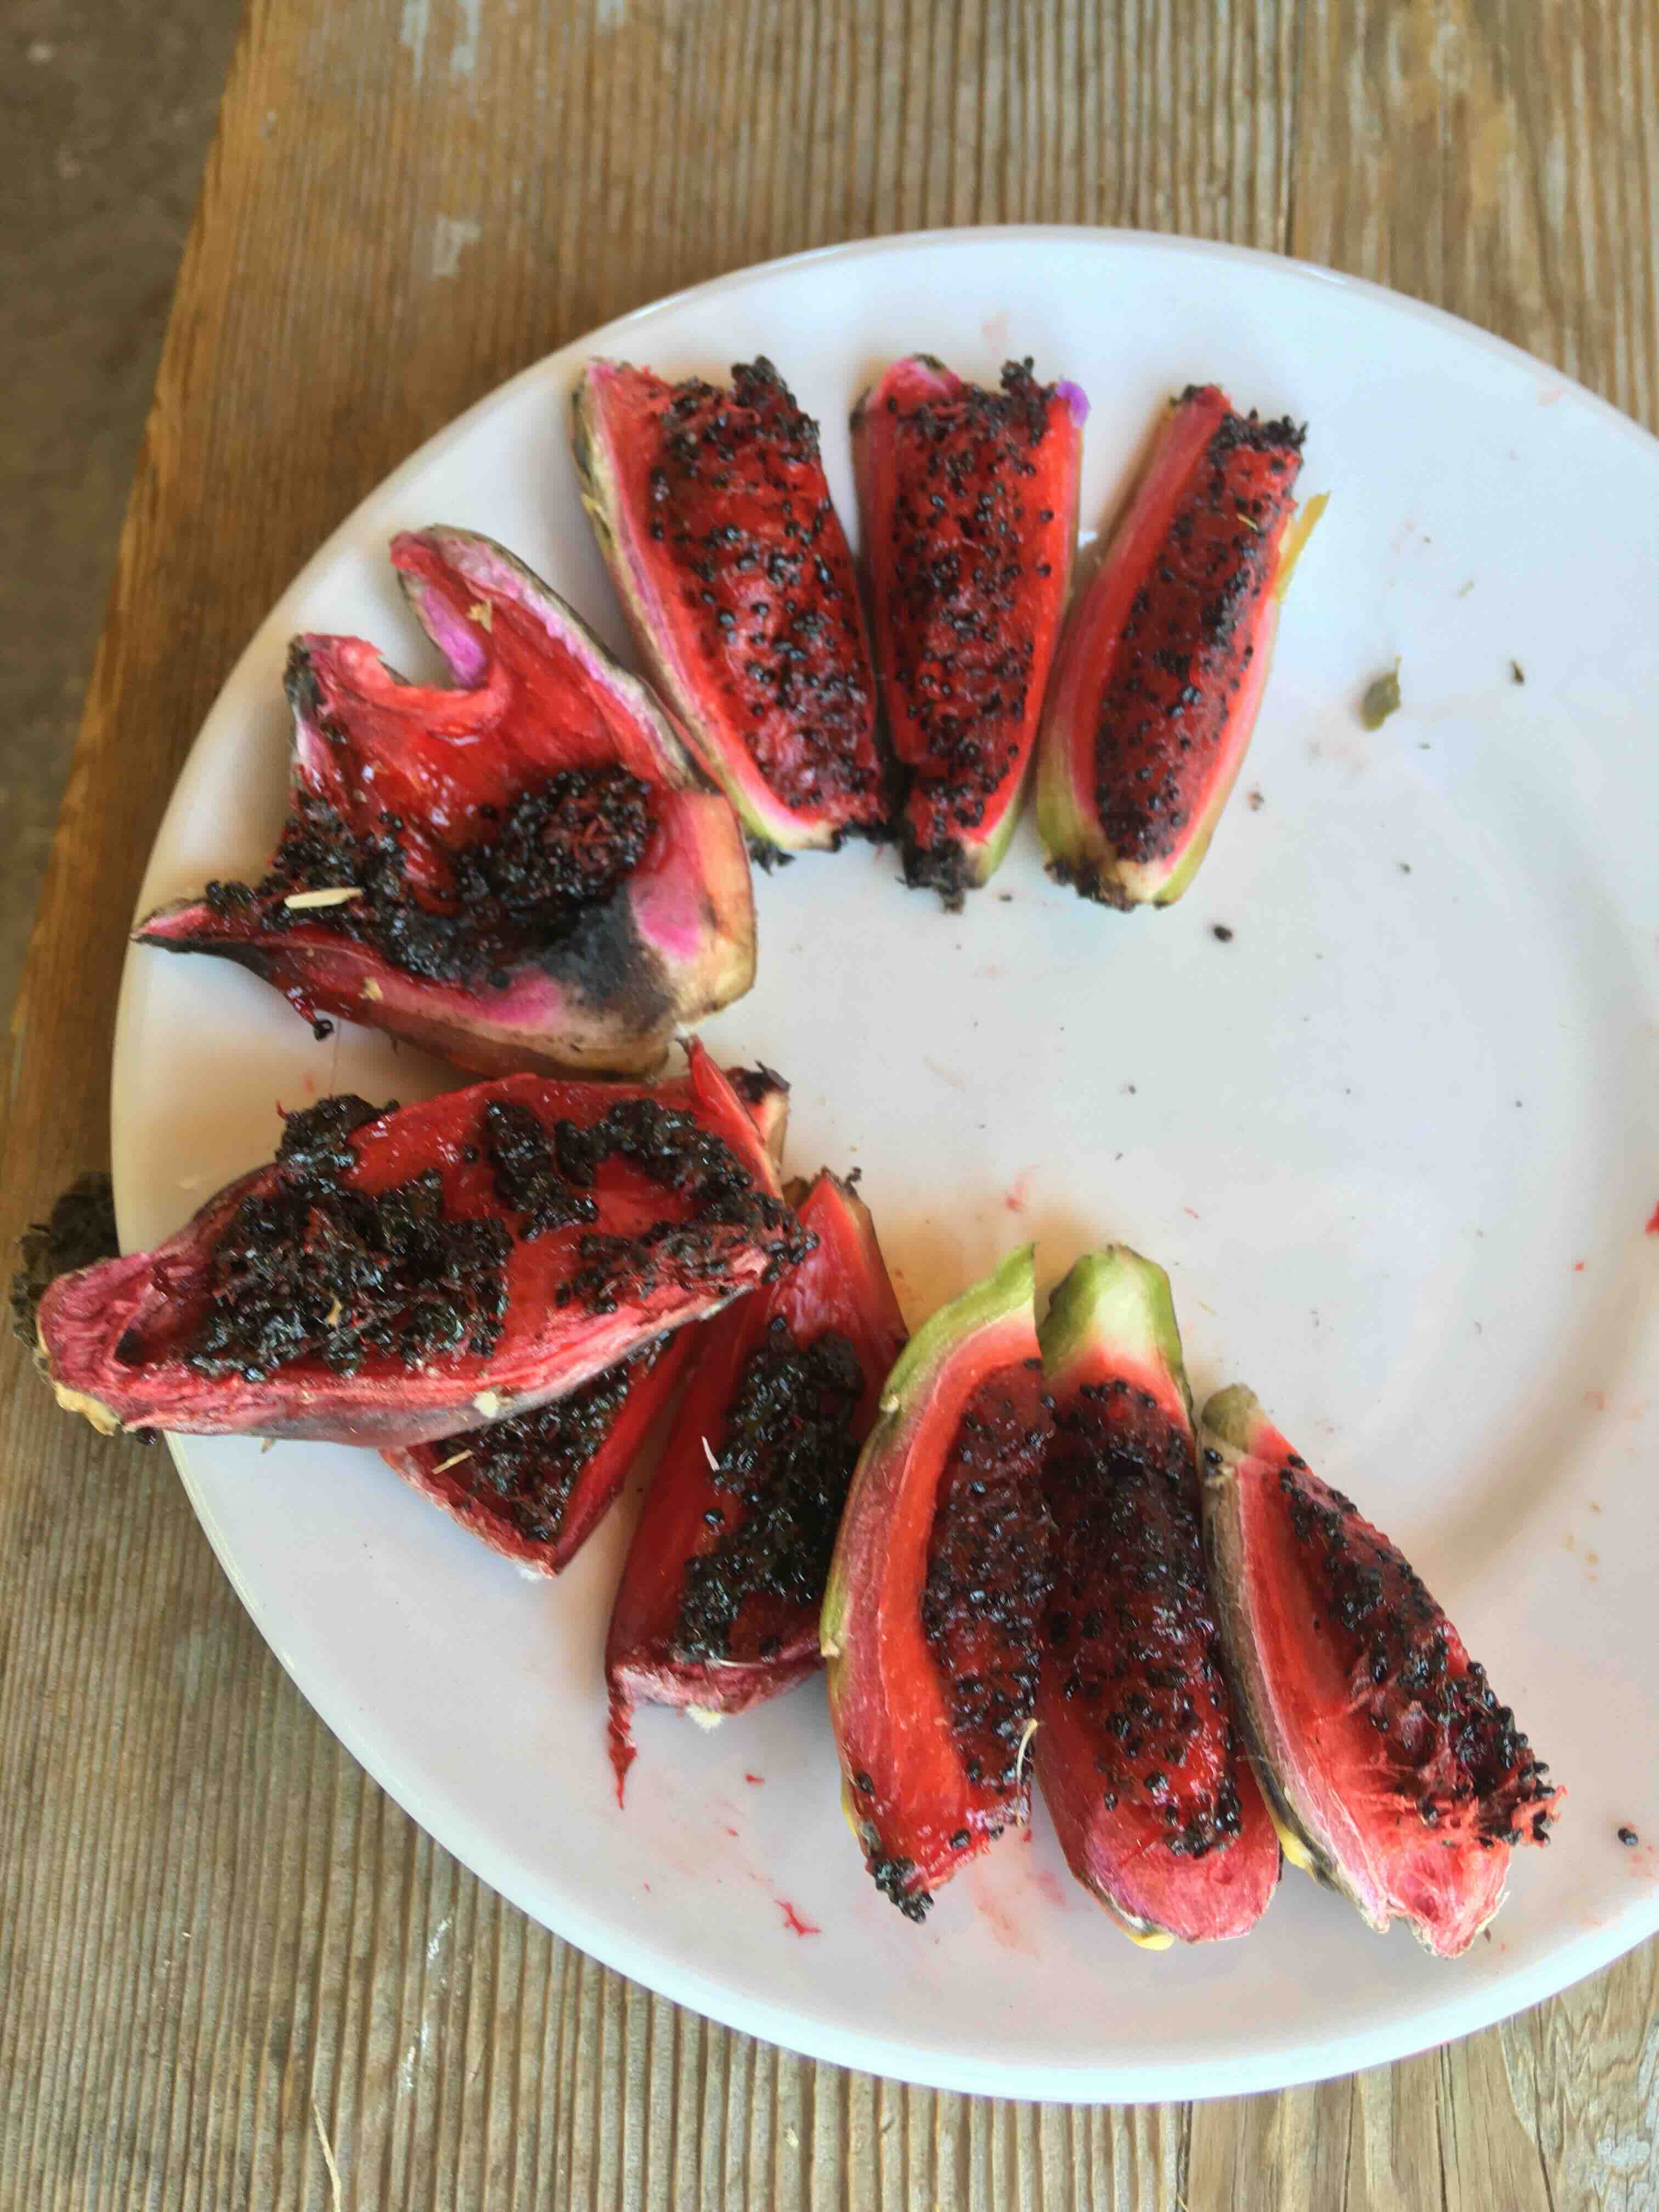
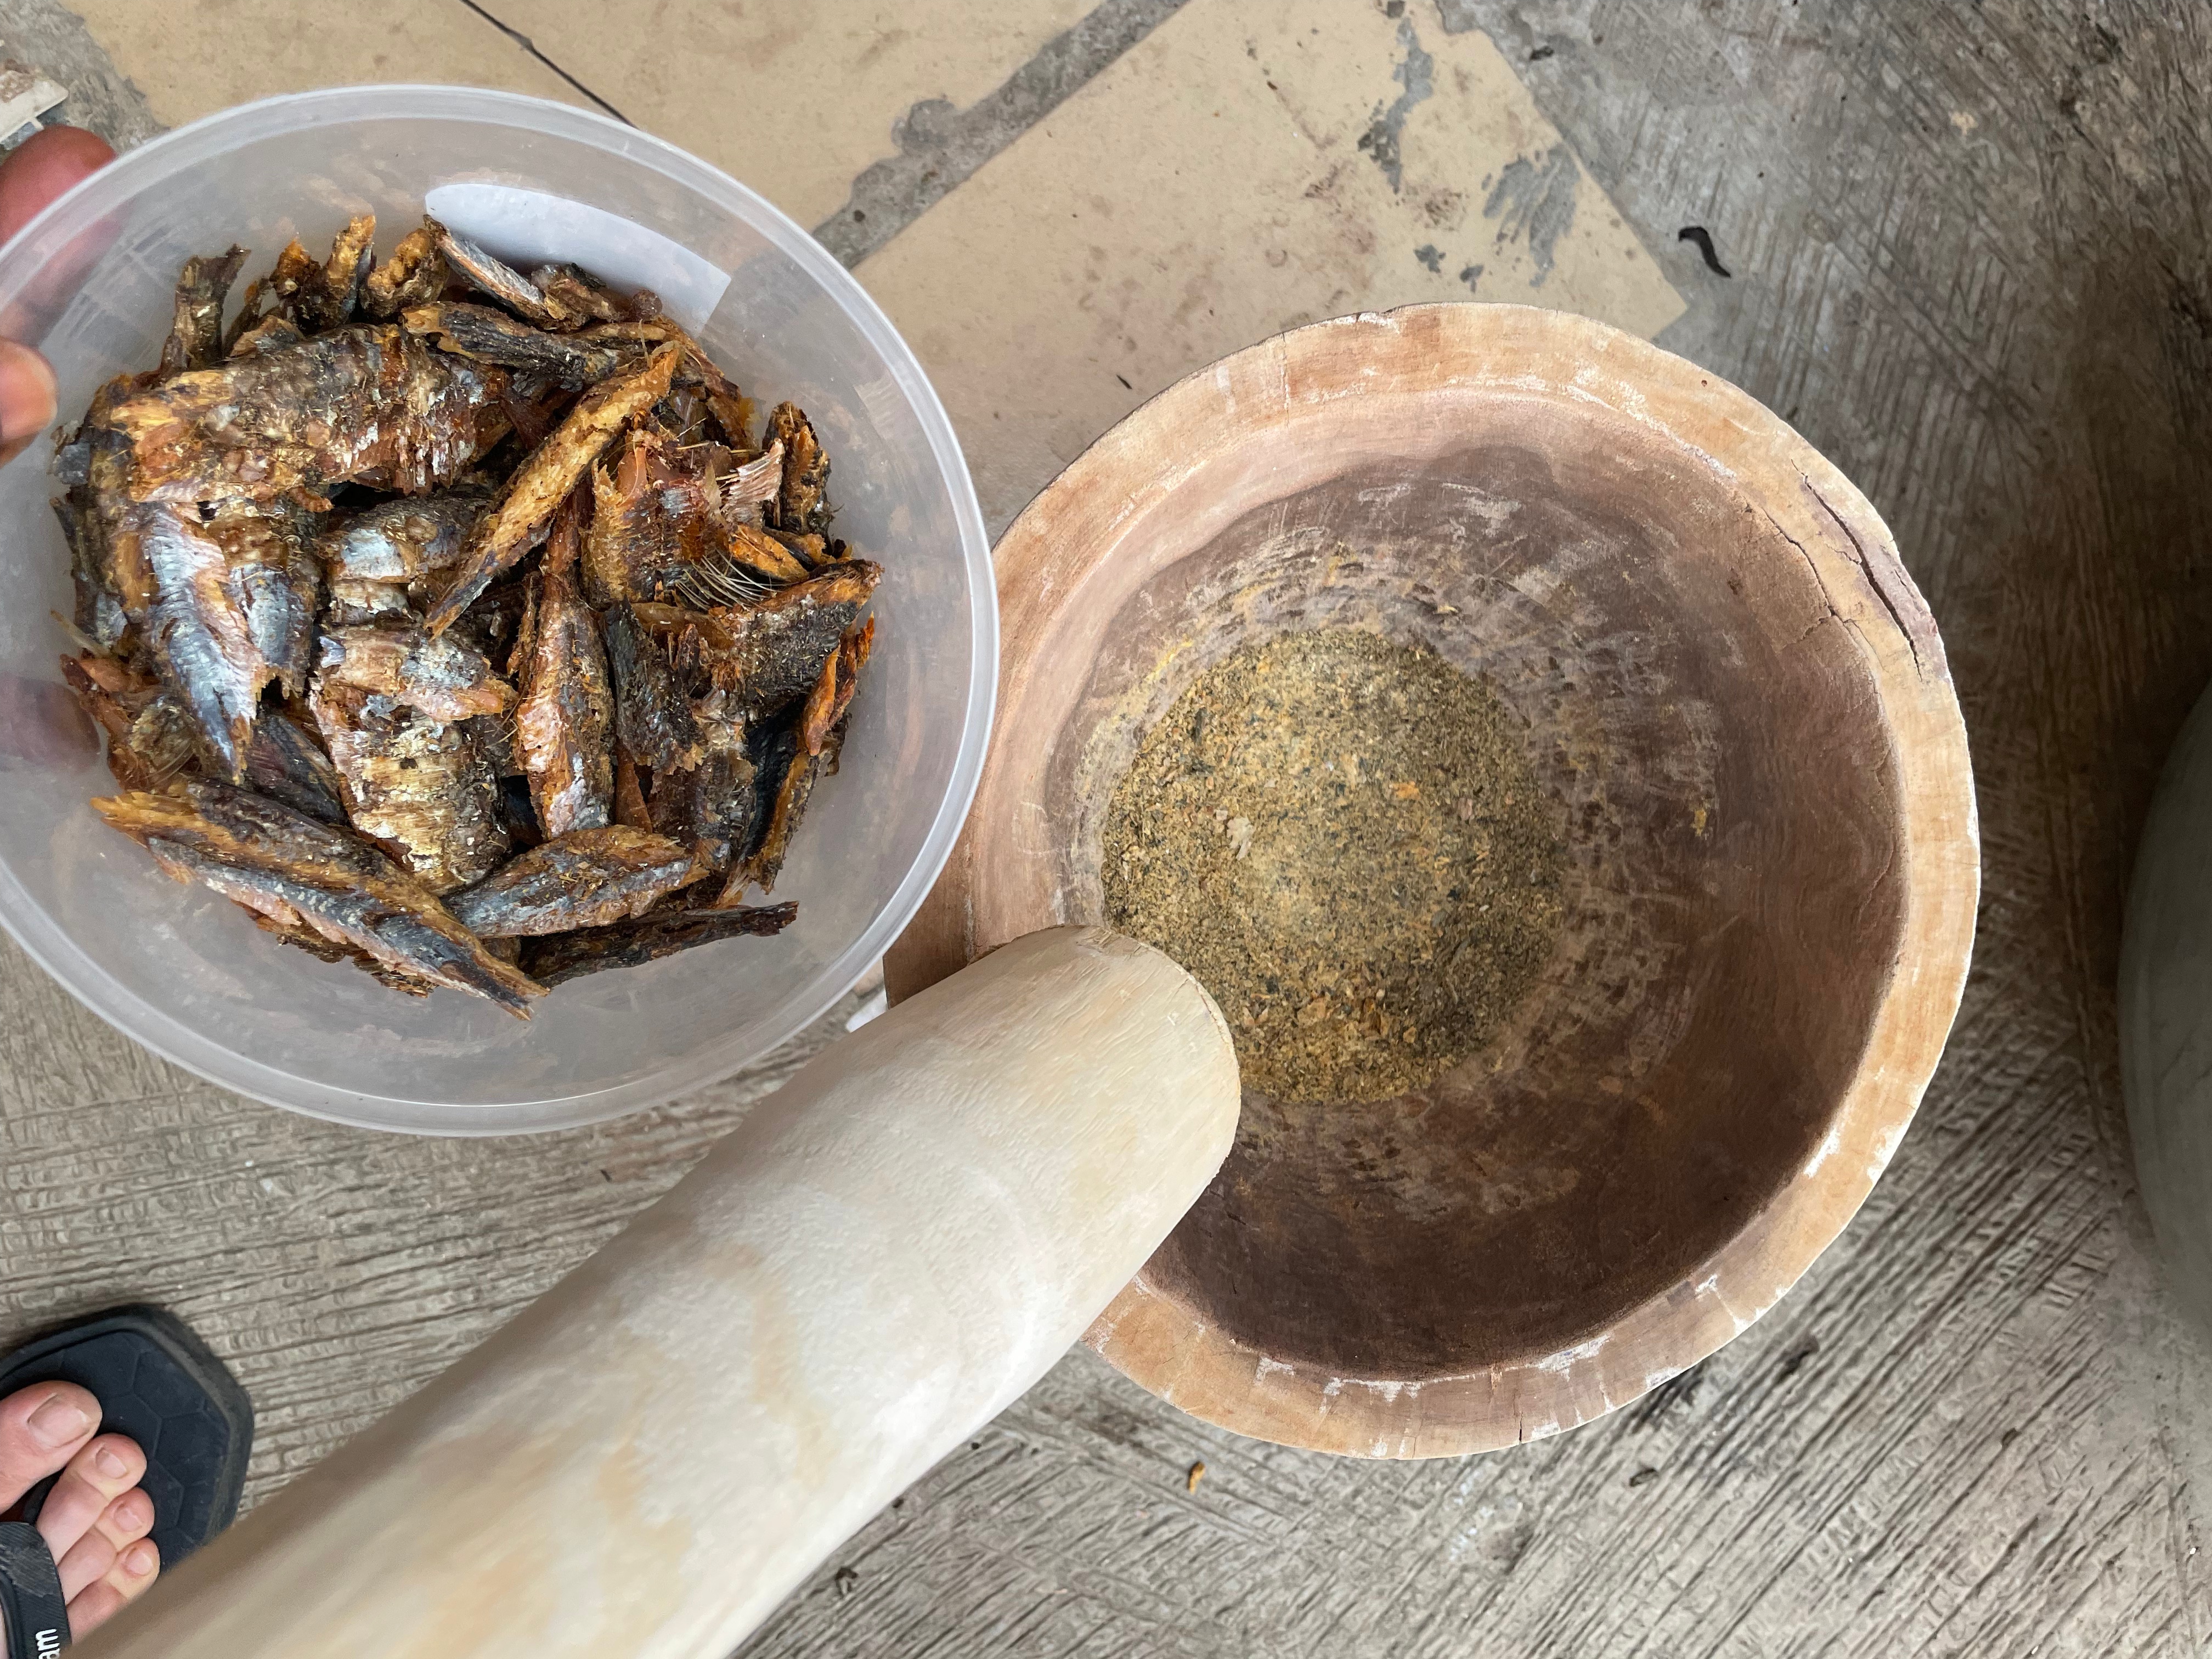
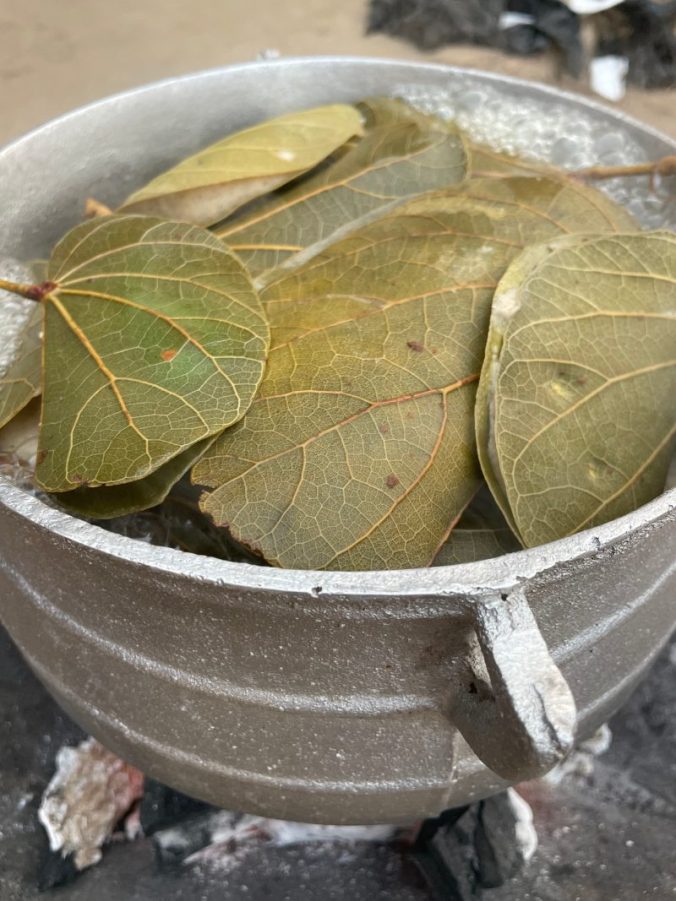
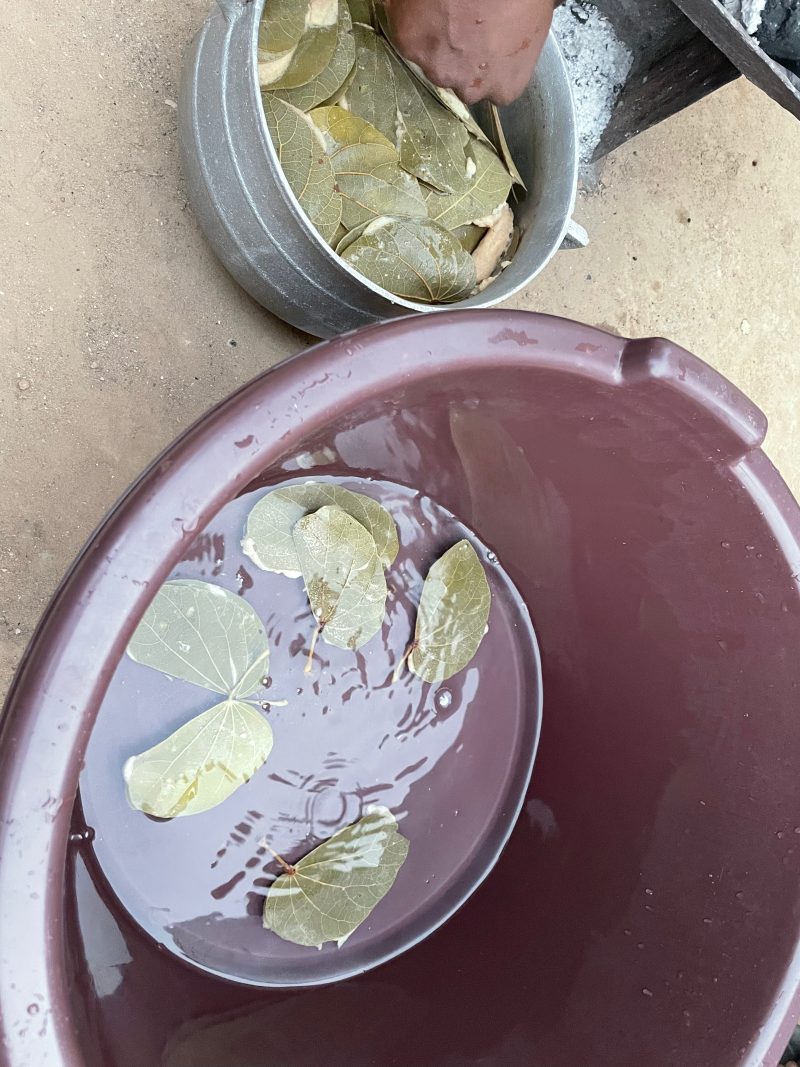
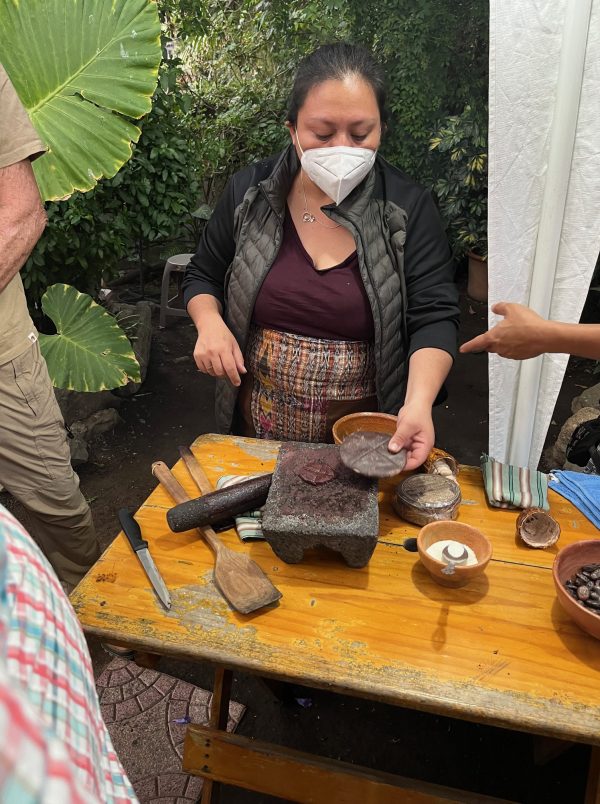
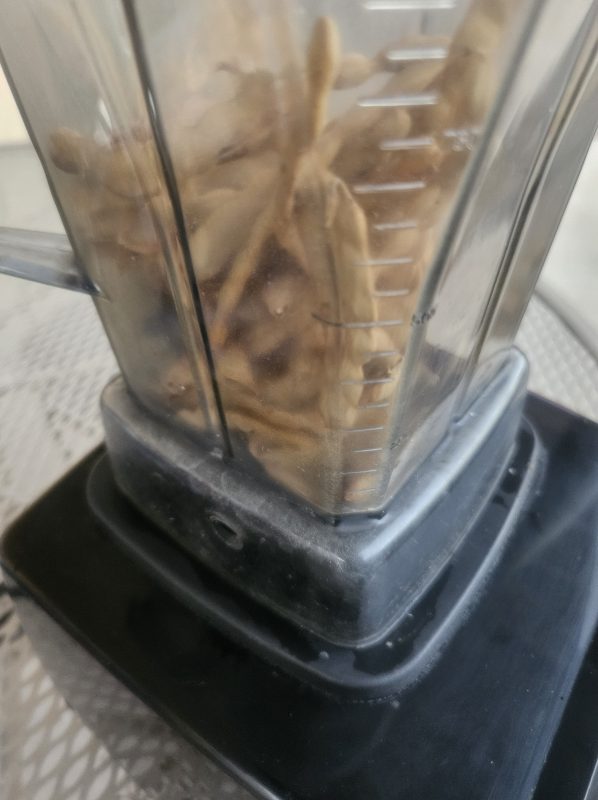
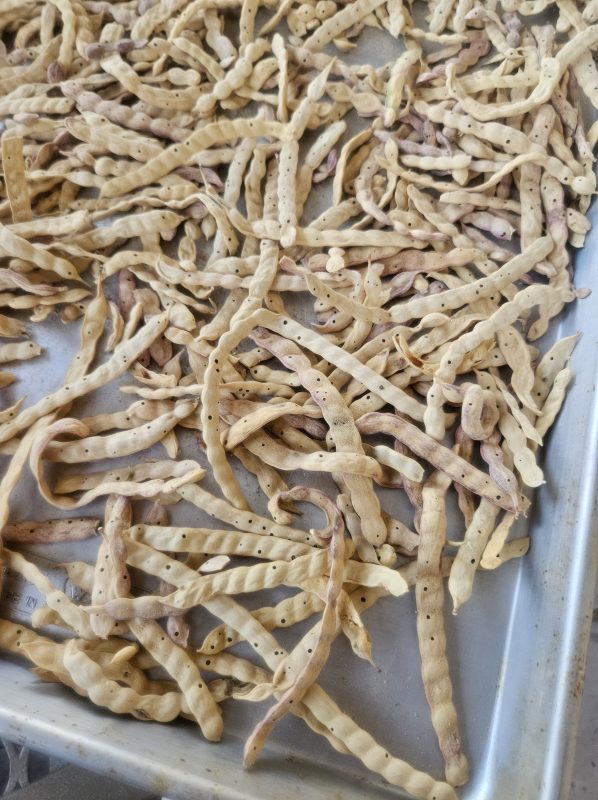
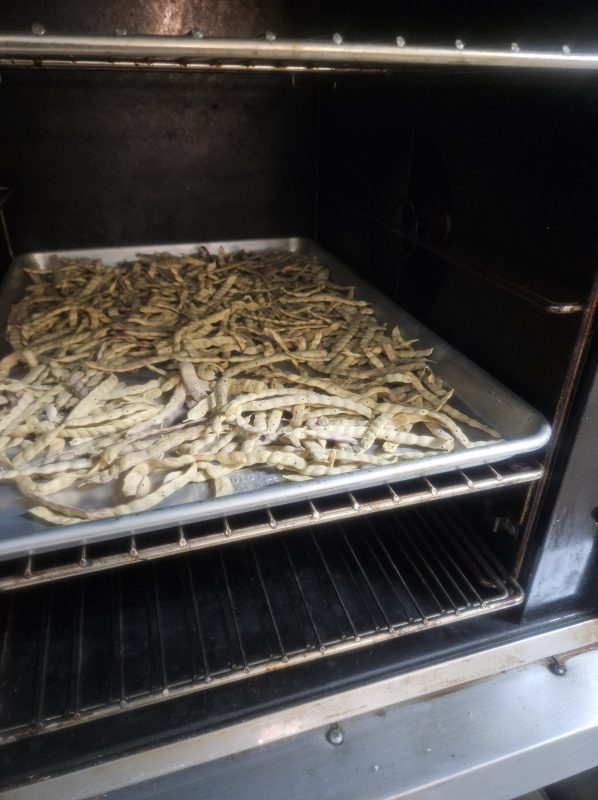
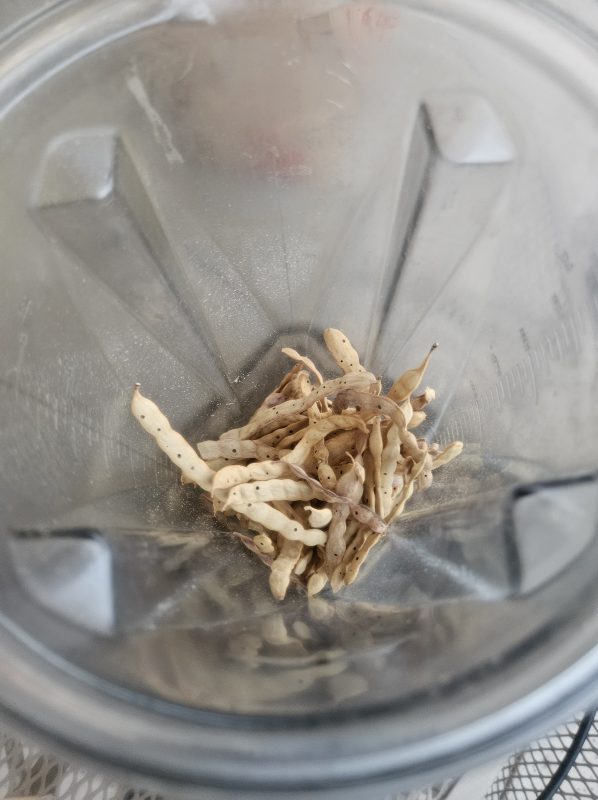
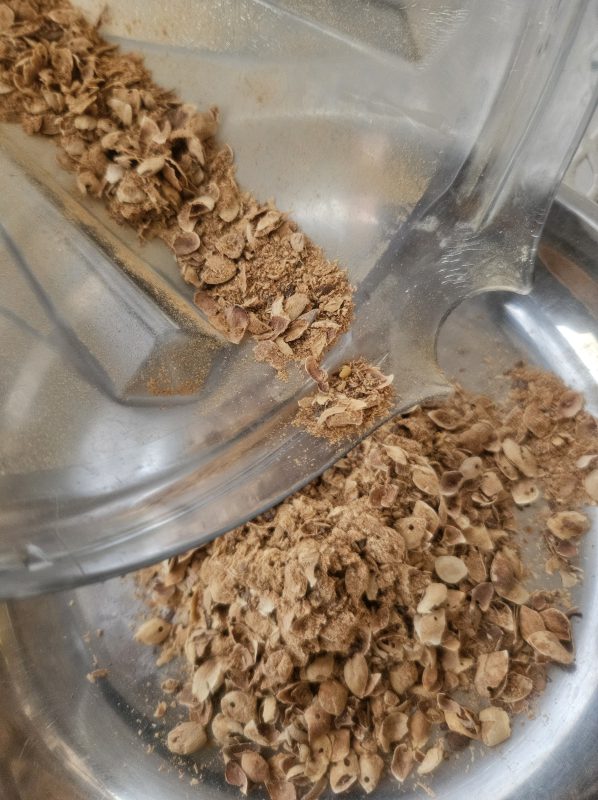
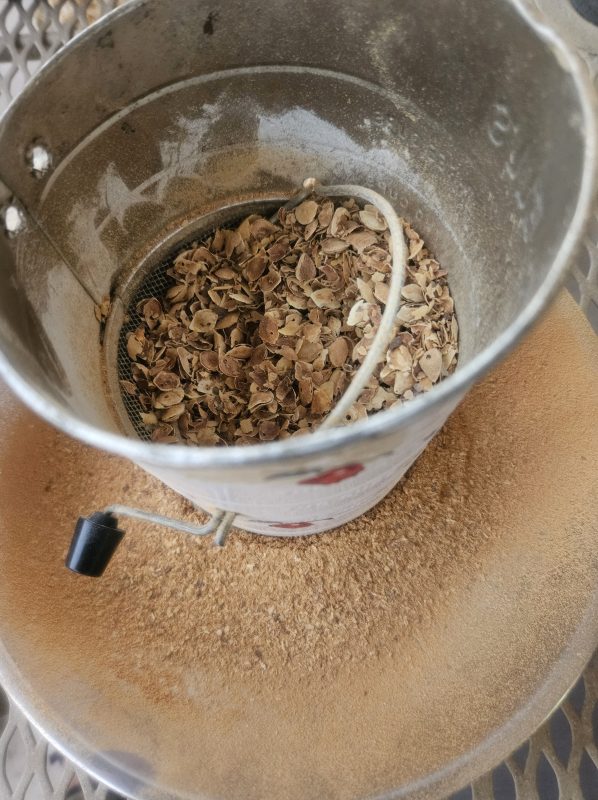
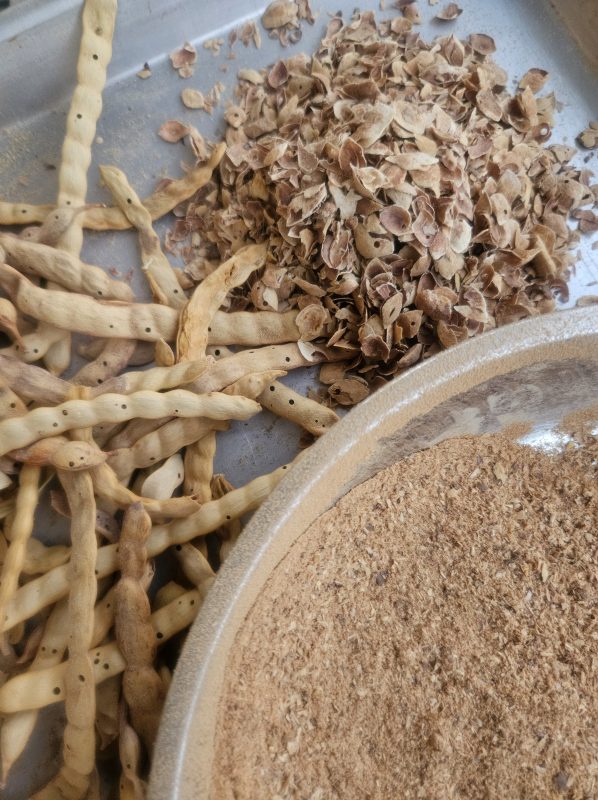
A few days ahead.. separate moist pulp/seed-mass from husk. Dry the pulp mass in hot sun either in screenbox or spread out on cookie sheets covered with cloth to protect from insects, or in a food drier–until crisp. This may take couple of days! When totally dry, work with hands, or with mortar and pestle, to loosen seeds and pulp. You’ll use both seed and pulp in these biscotti.
RECIPE: Bluecorn Biscotti with Saguaro Juñ
INGREDIENTS:
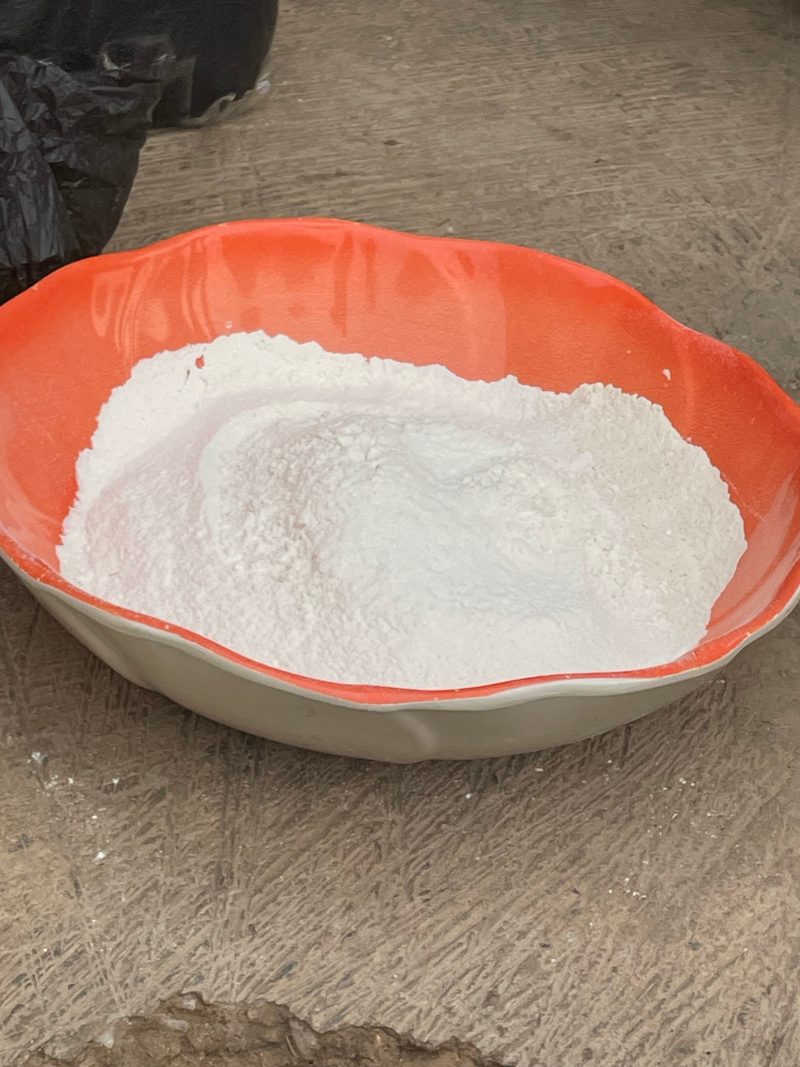
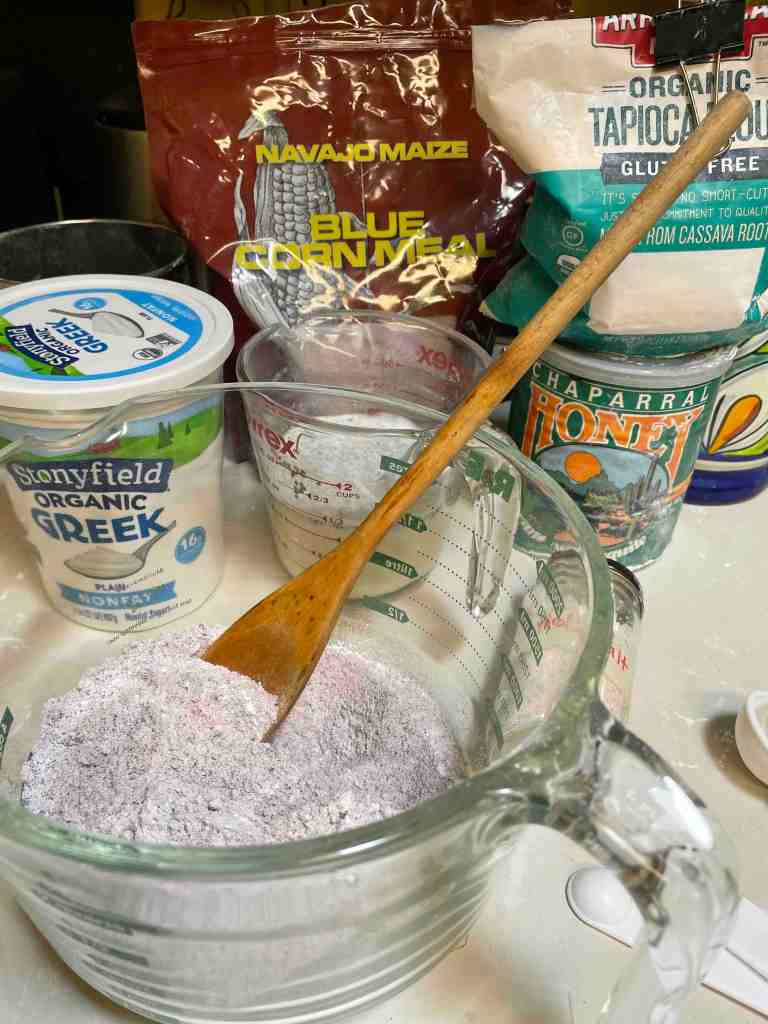
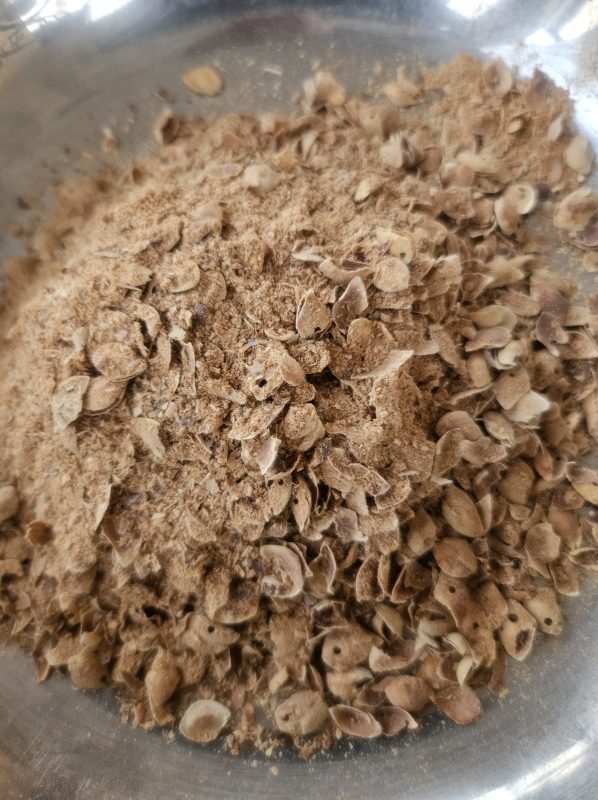
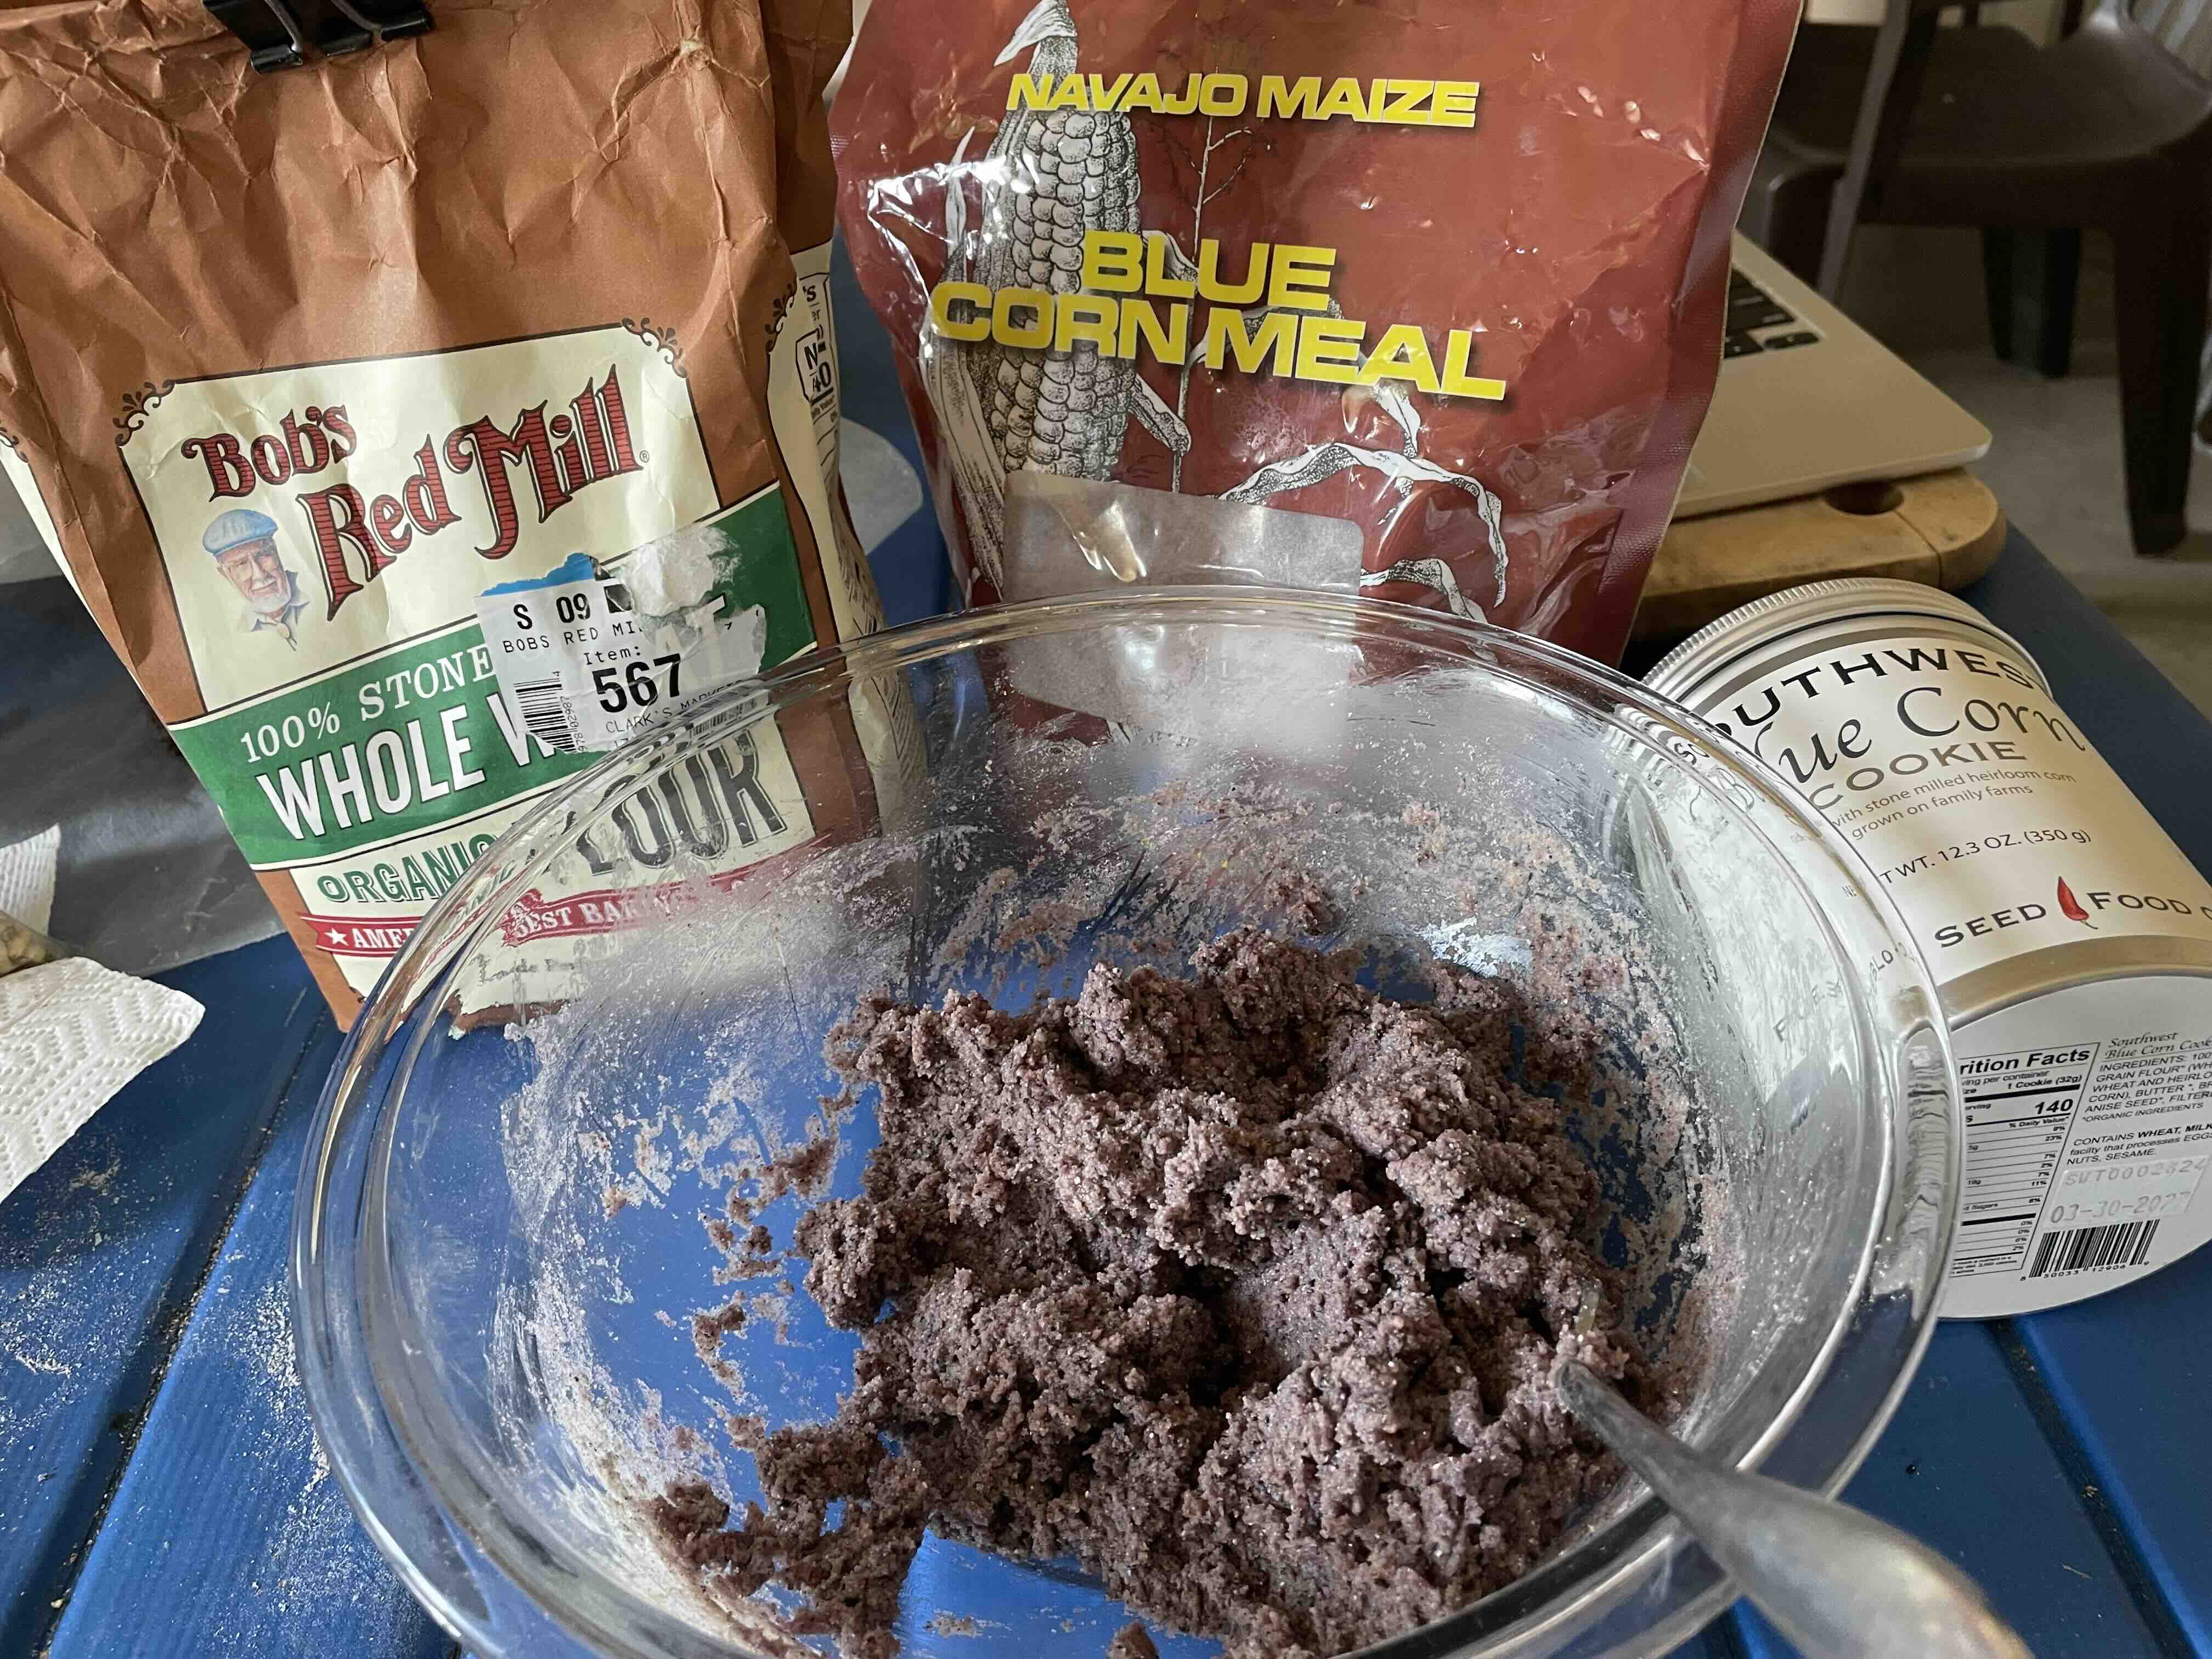
1/2 c. yogurt (non-fat plain yogurt, or butter) 1/2 c. sugar (or agave nectar) 1 egg (or egg substitute). 1 tsp vanilla. 1 c. whole grain flour 1 c. blue cornmeal (available online from NS/S). ¼ c. dried saguaro juñ, pulp and seeds loosened 1 tsp. baking powder. ½ tsp sea salt. (optional additions: 1/8c-1/4 c piñones or chia seed)
Cooking-day Directions:
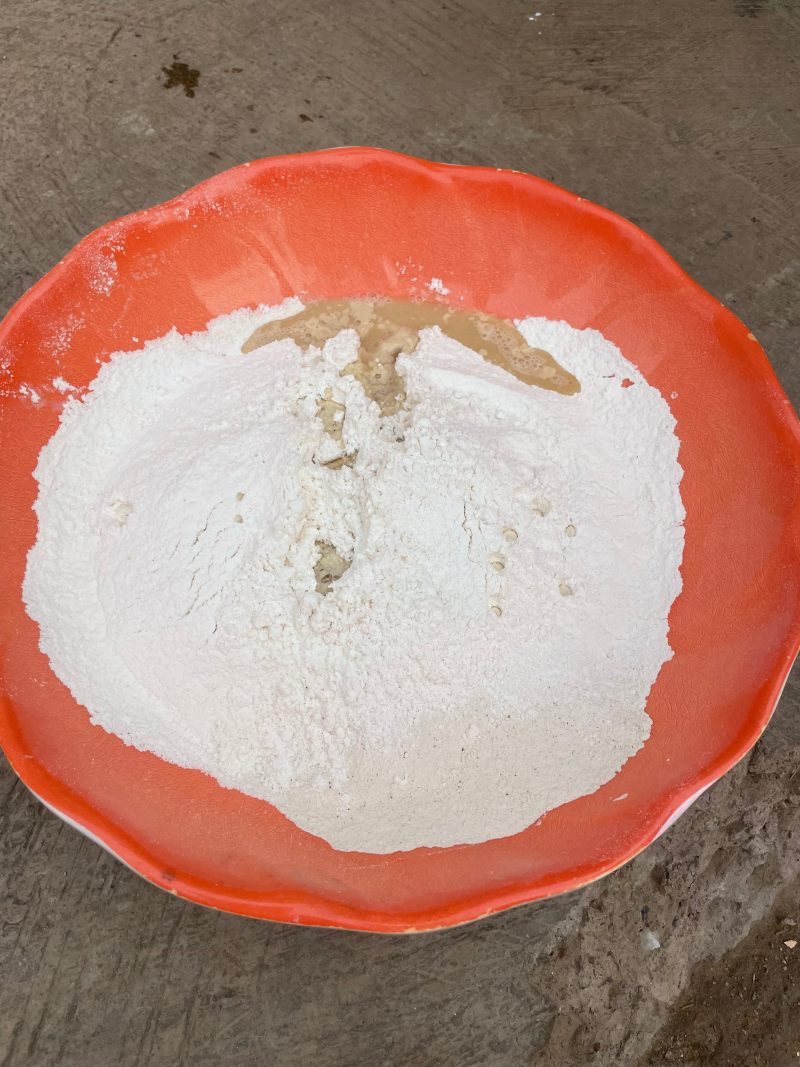
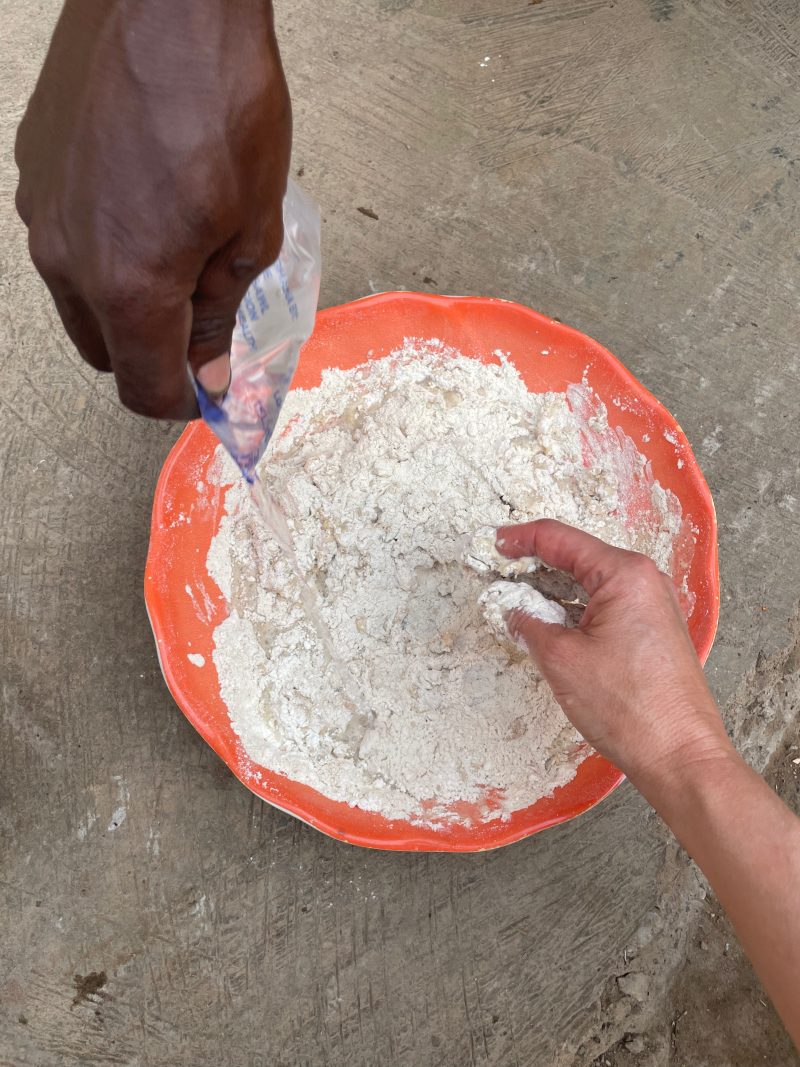
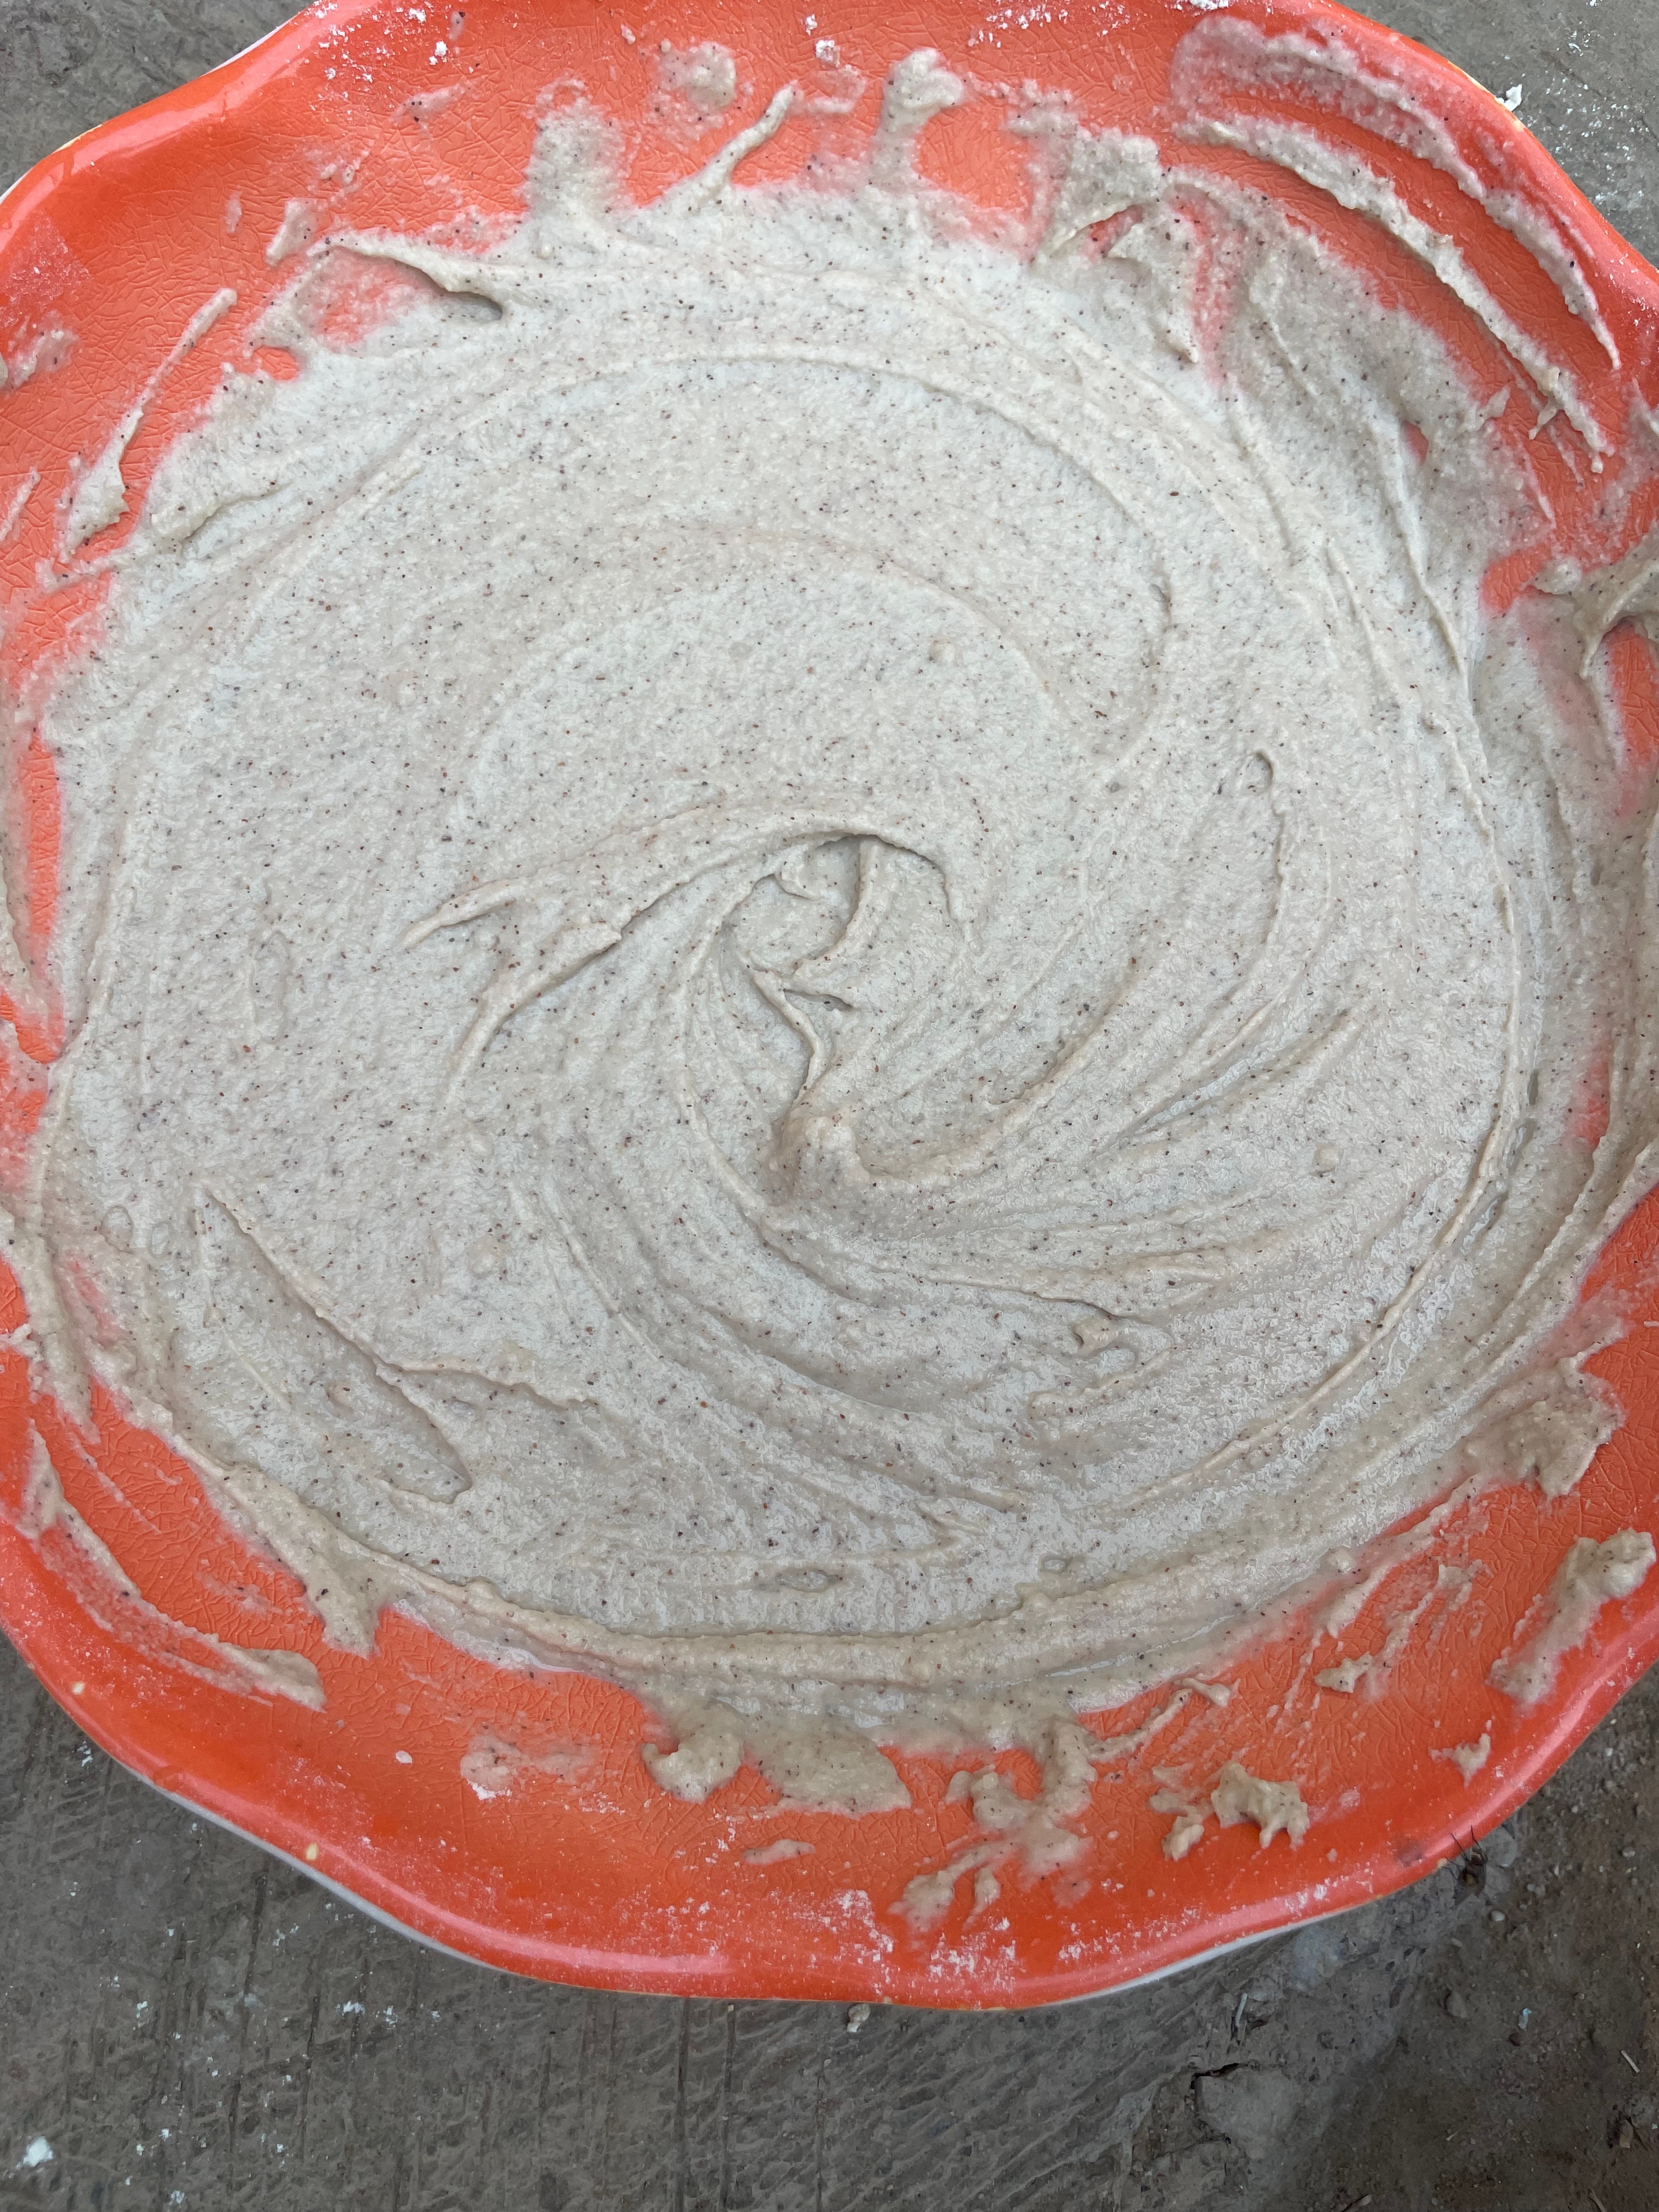
Beat yogurt and sugar until creamy. Beat in egg and vanilla. Sprinkle and mix the loosened Juñ into yogurt mixture. In another bowl, sift together flour, cornmeal, baking powder, salt. Gradually add to yogurt mixture, stirring until completely blended. Dough should be shape-able.
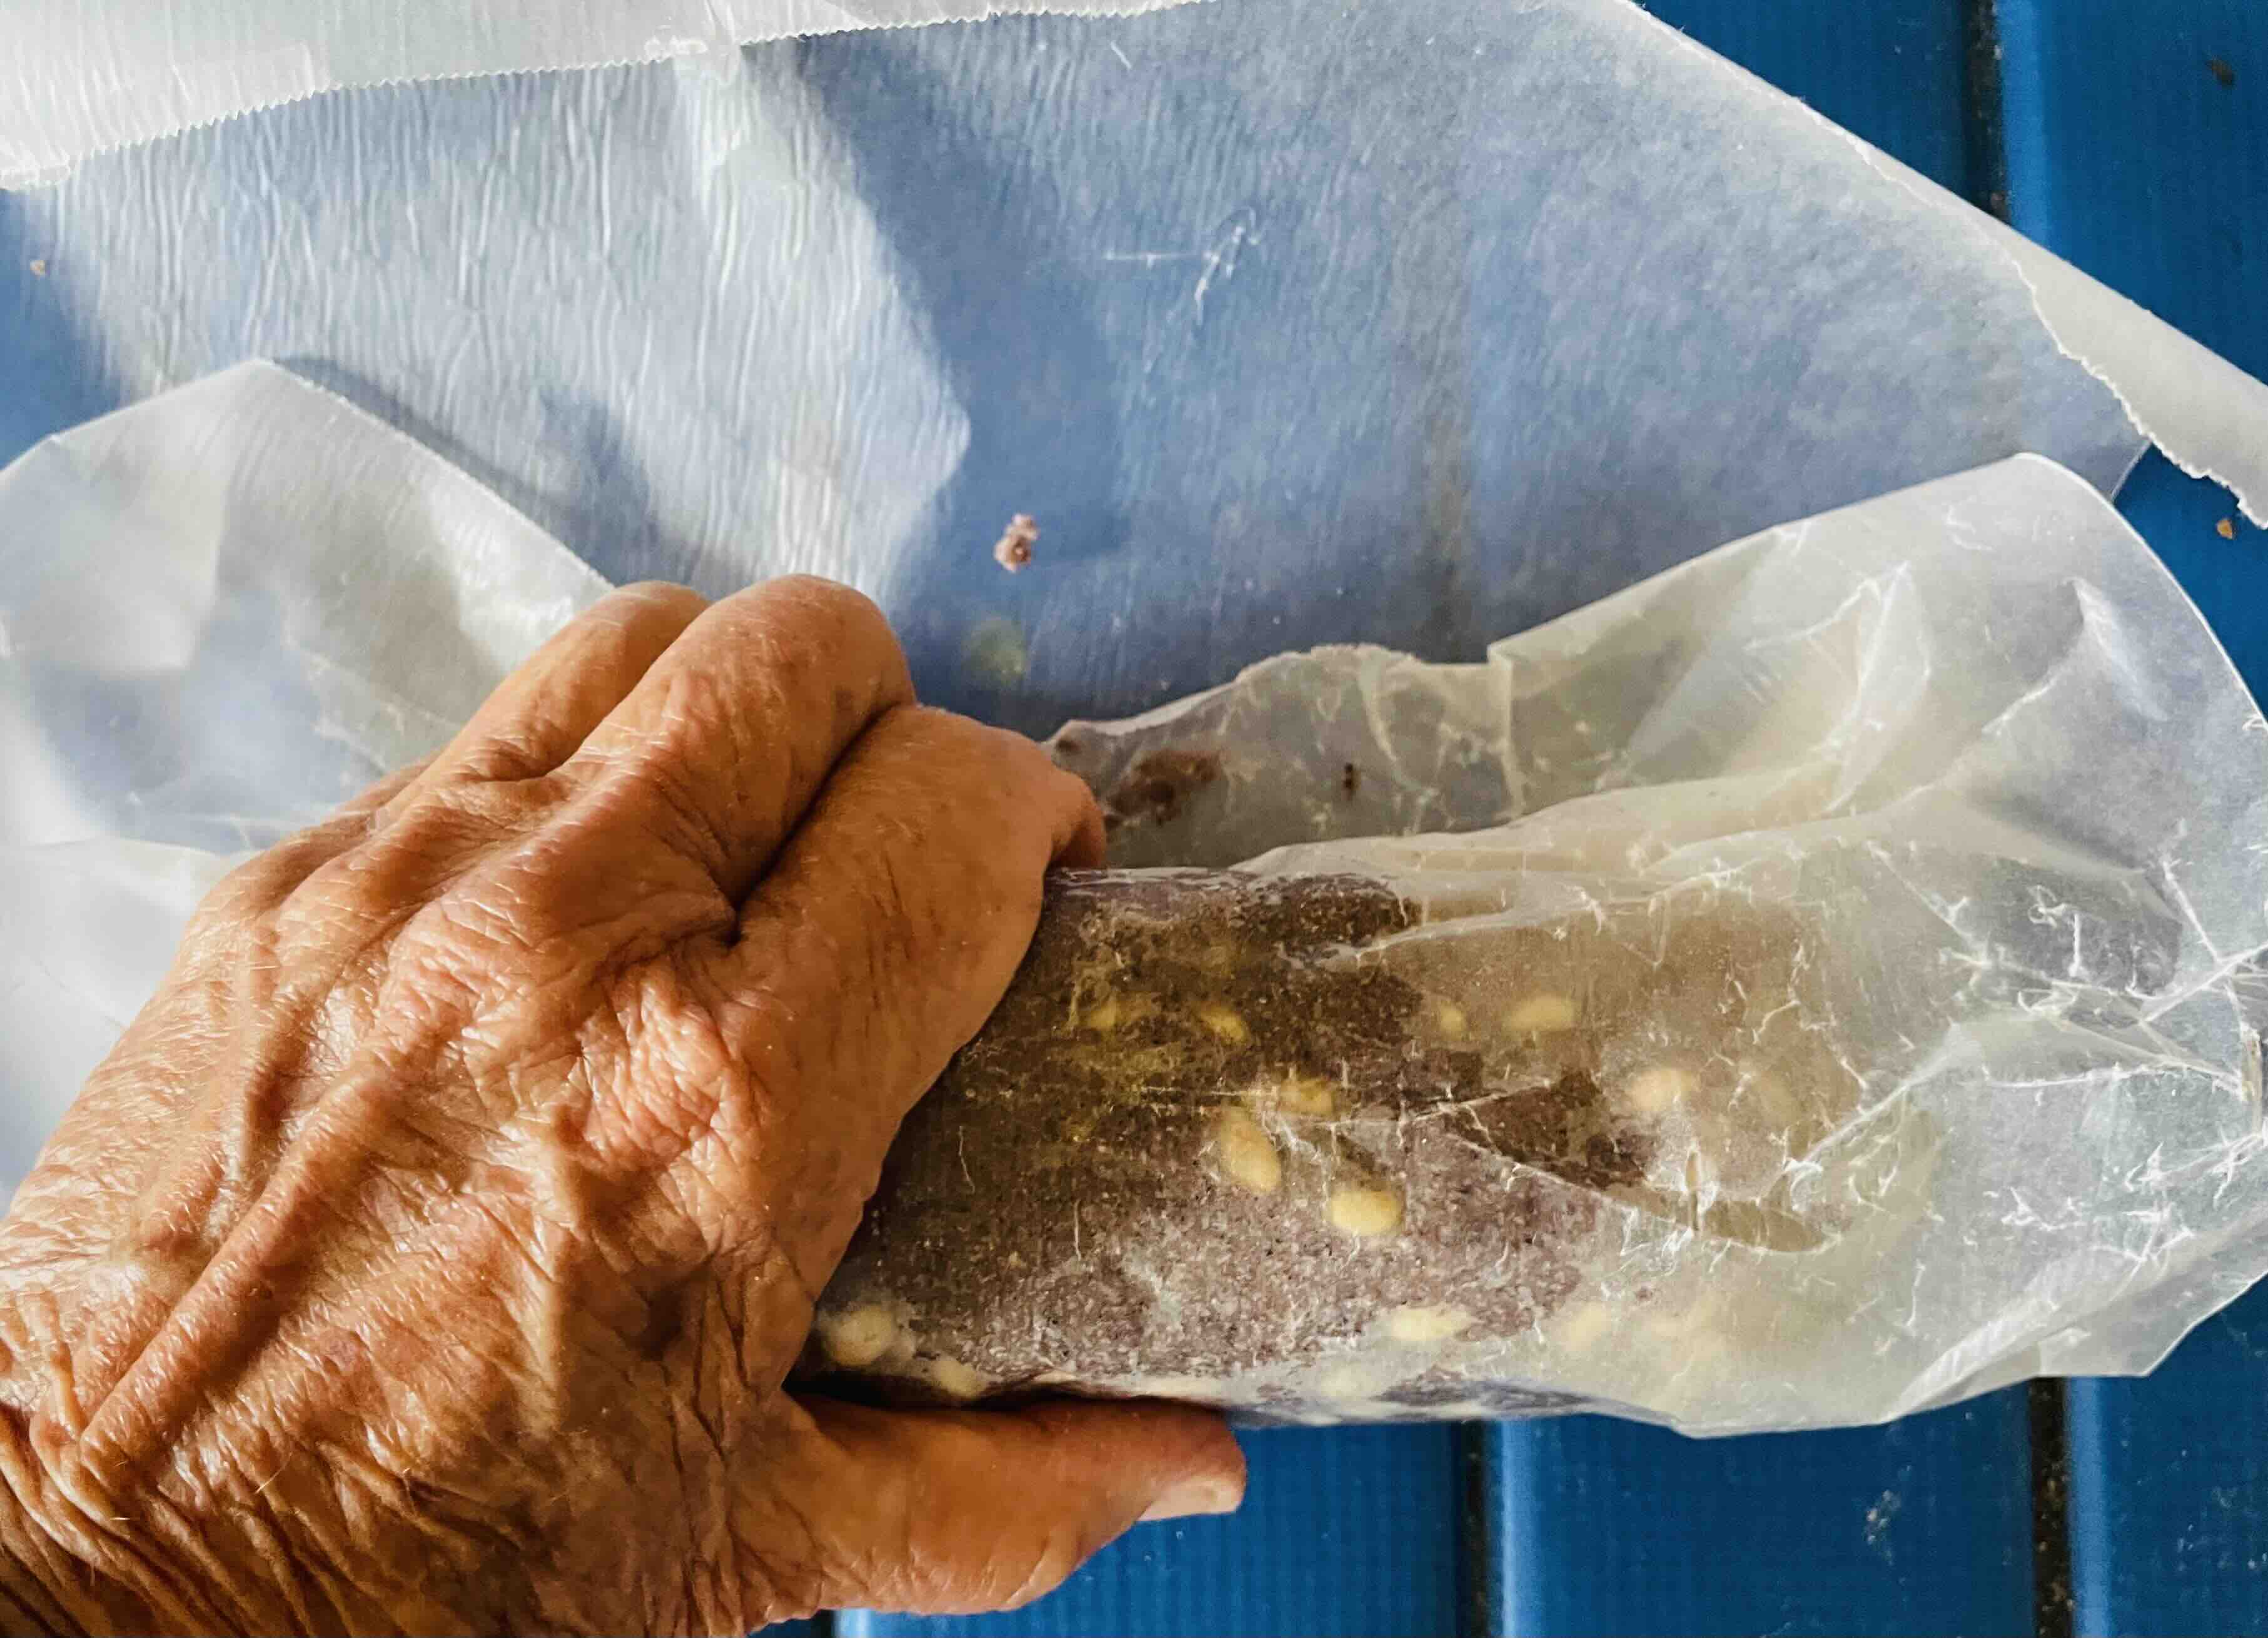
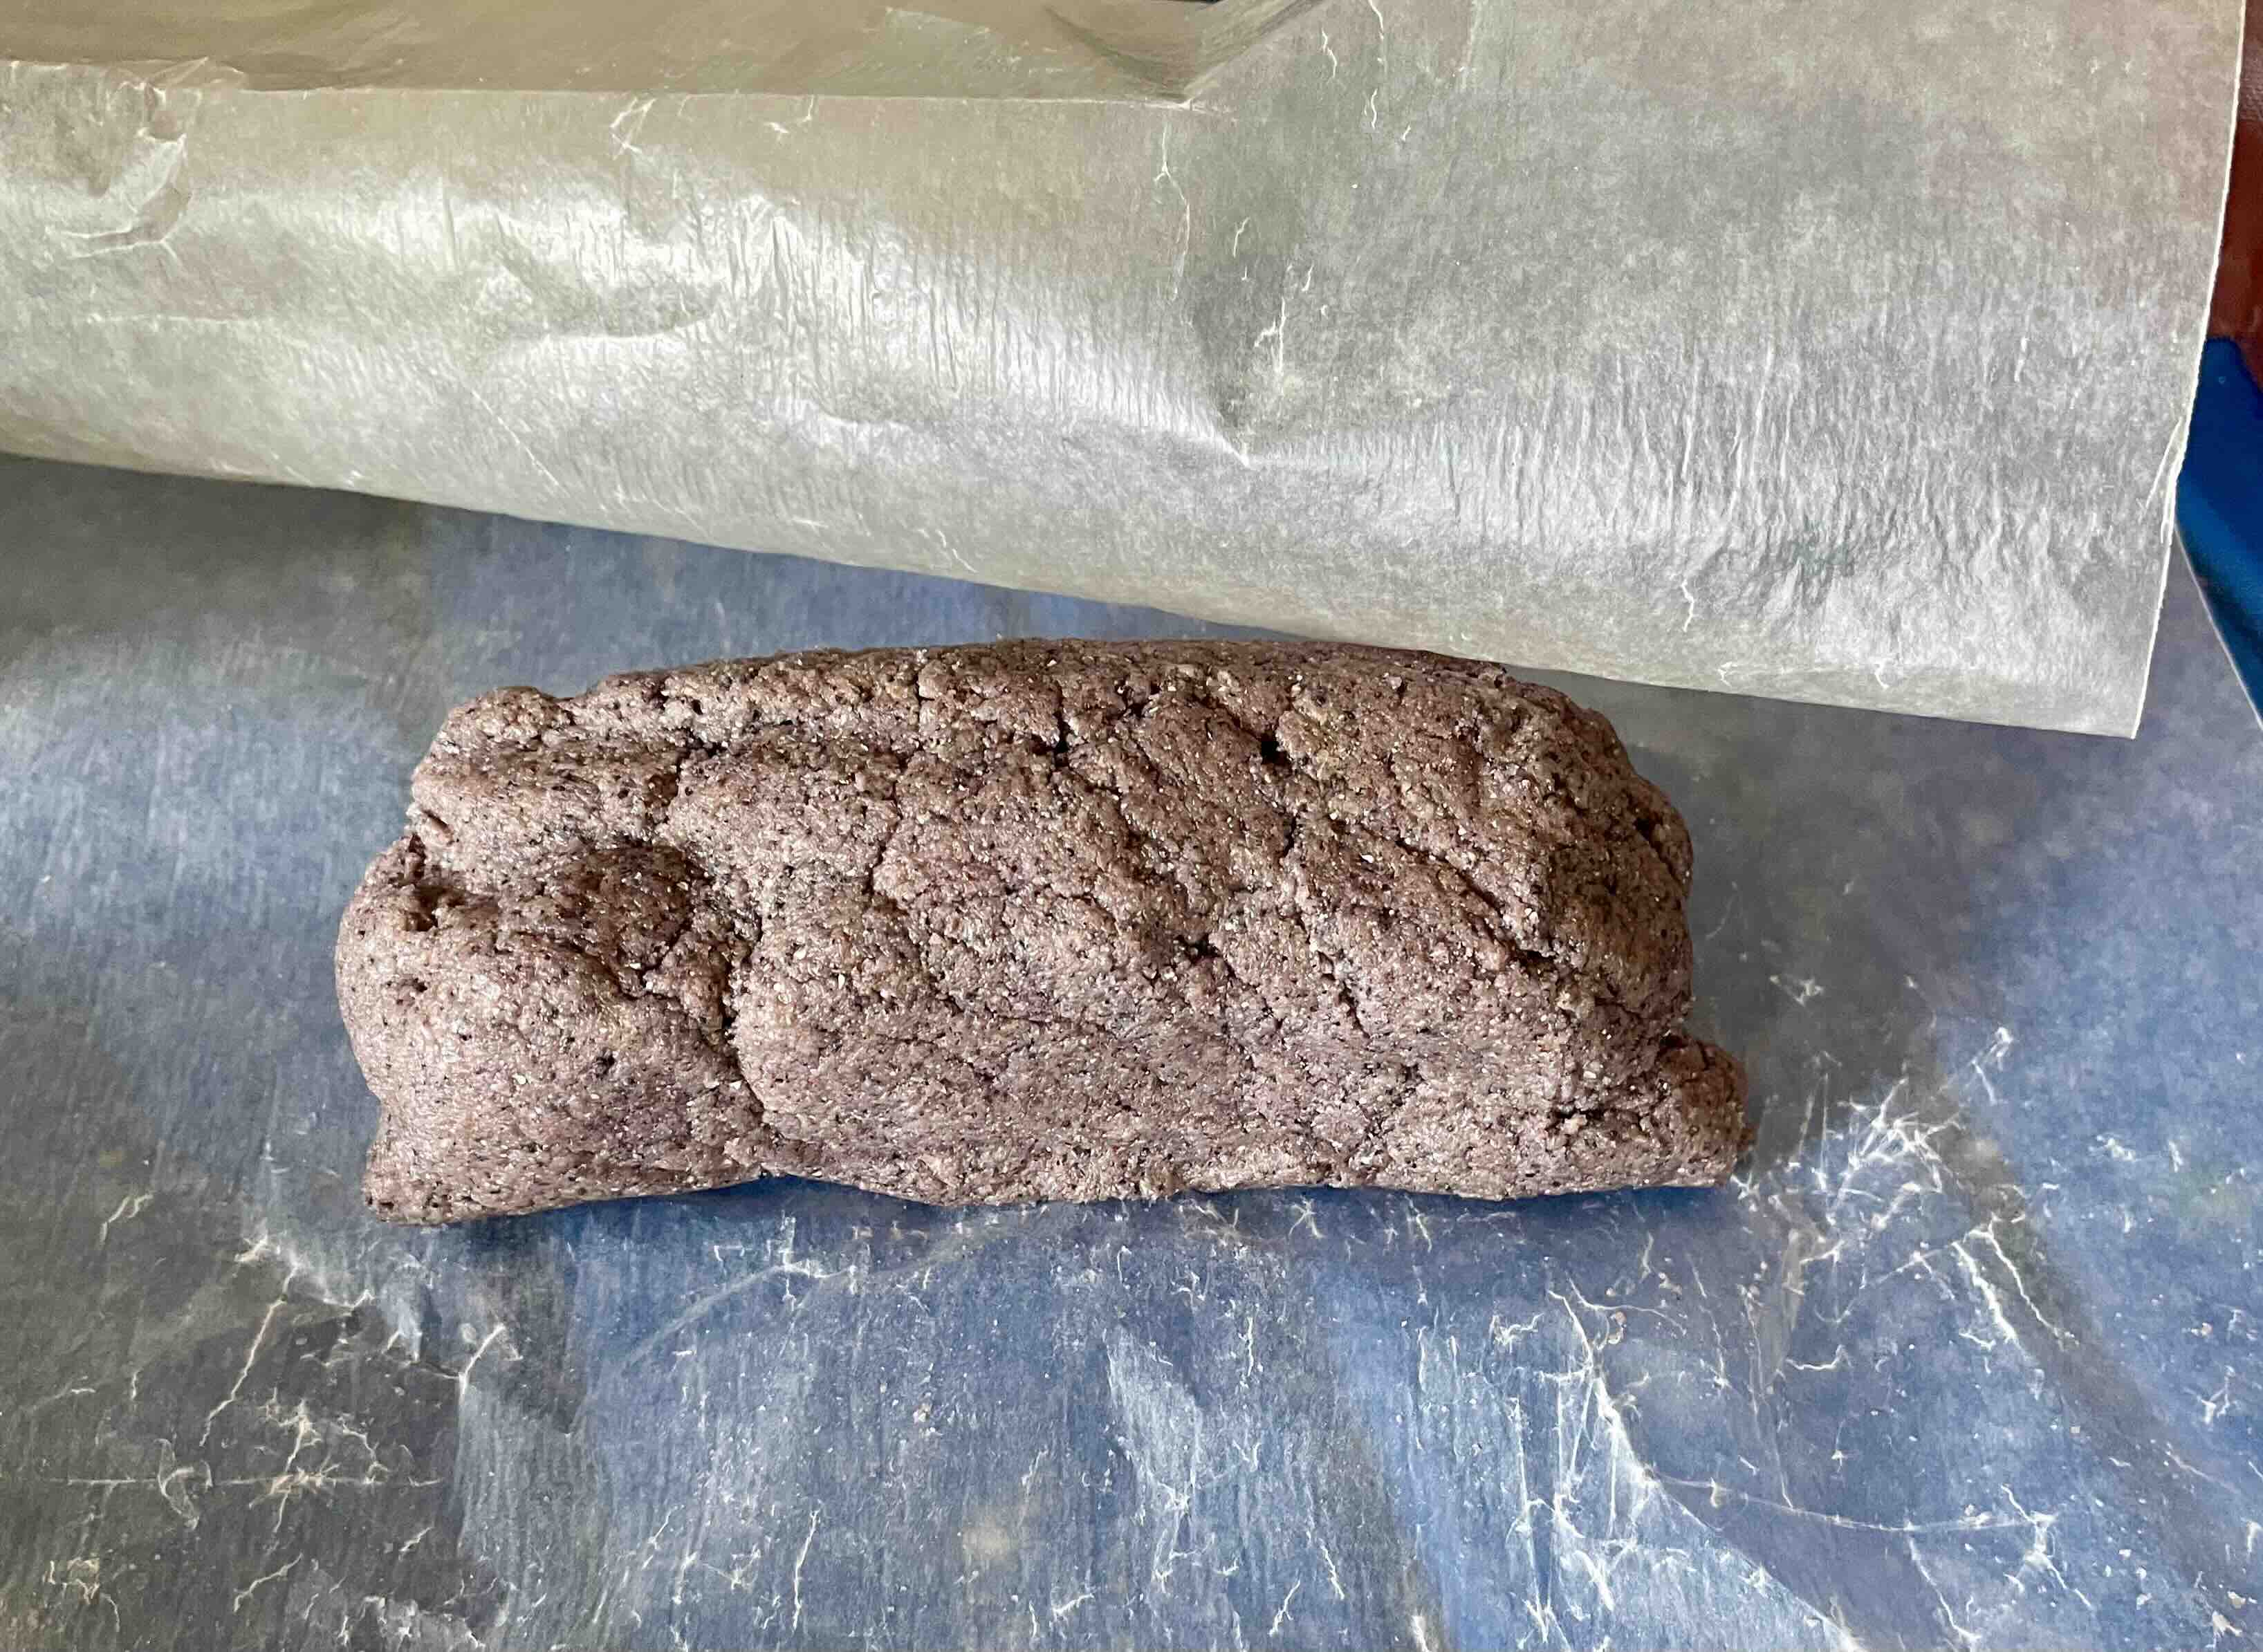
On waxed paper, shape dough into two separate “logs” about 2 inches in diameter. Wrap and chill until firm, at least 3 hours (or up to 3 days).
With my dough for the second “log” I added piñones (in place of usual almond biscotti).
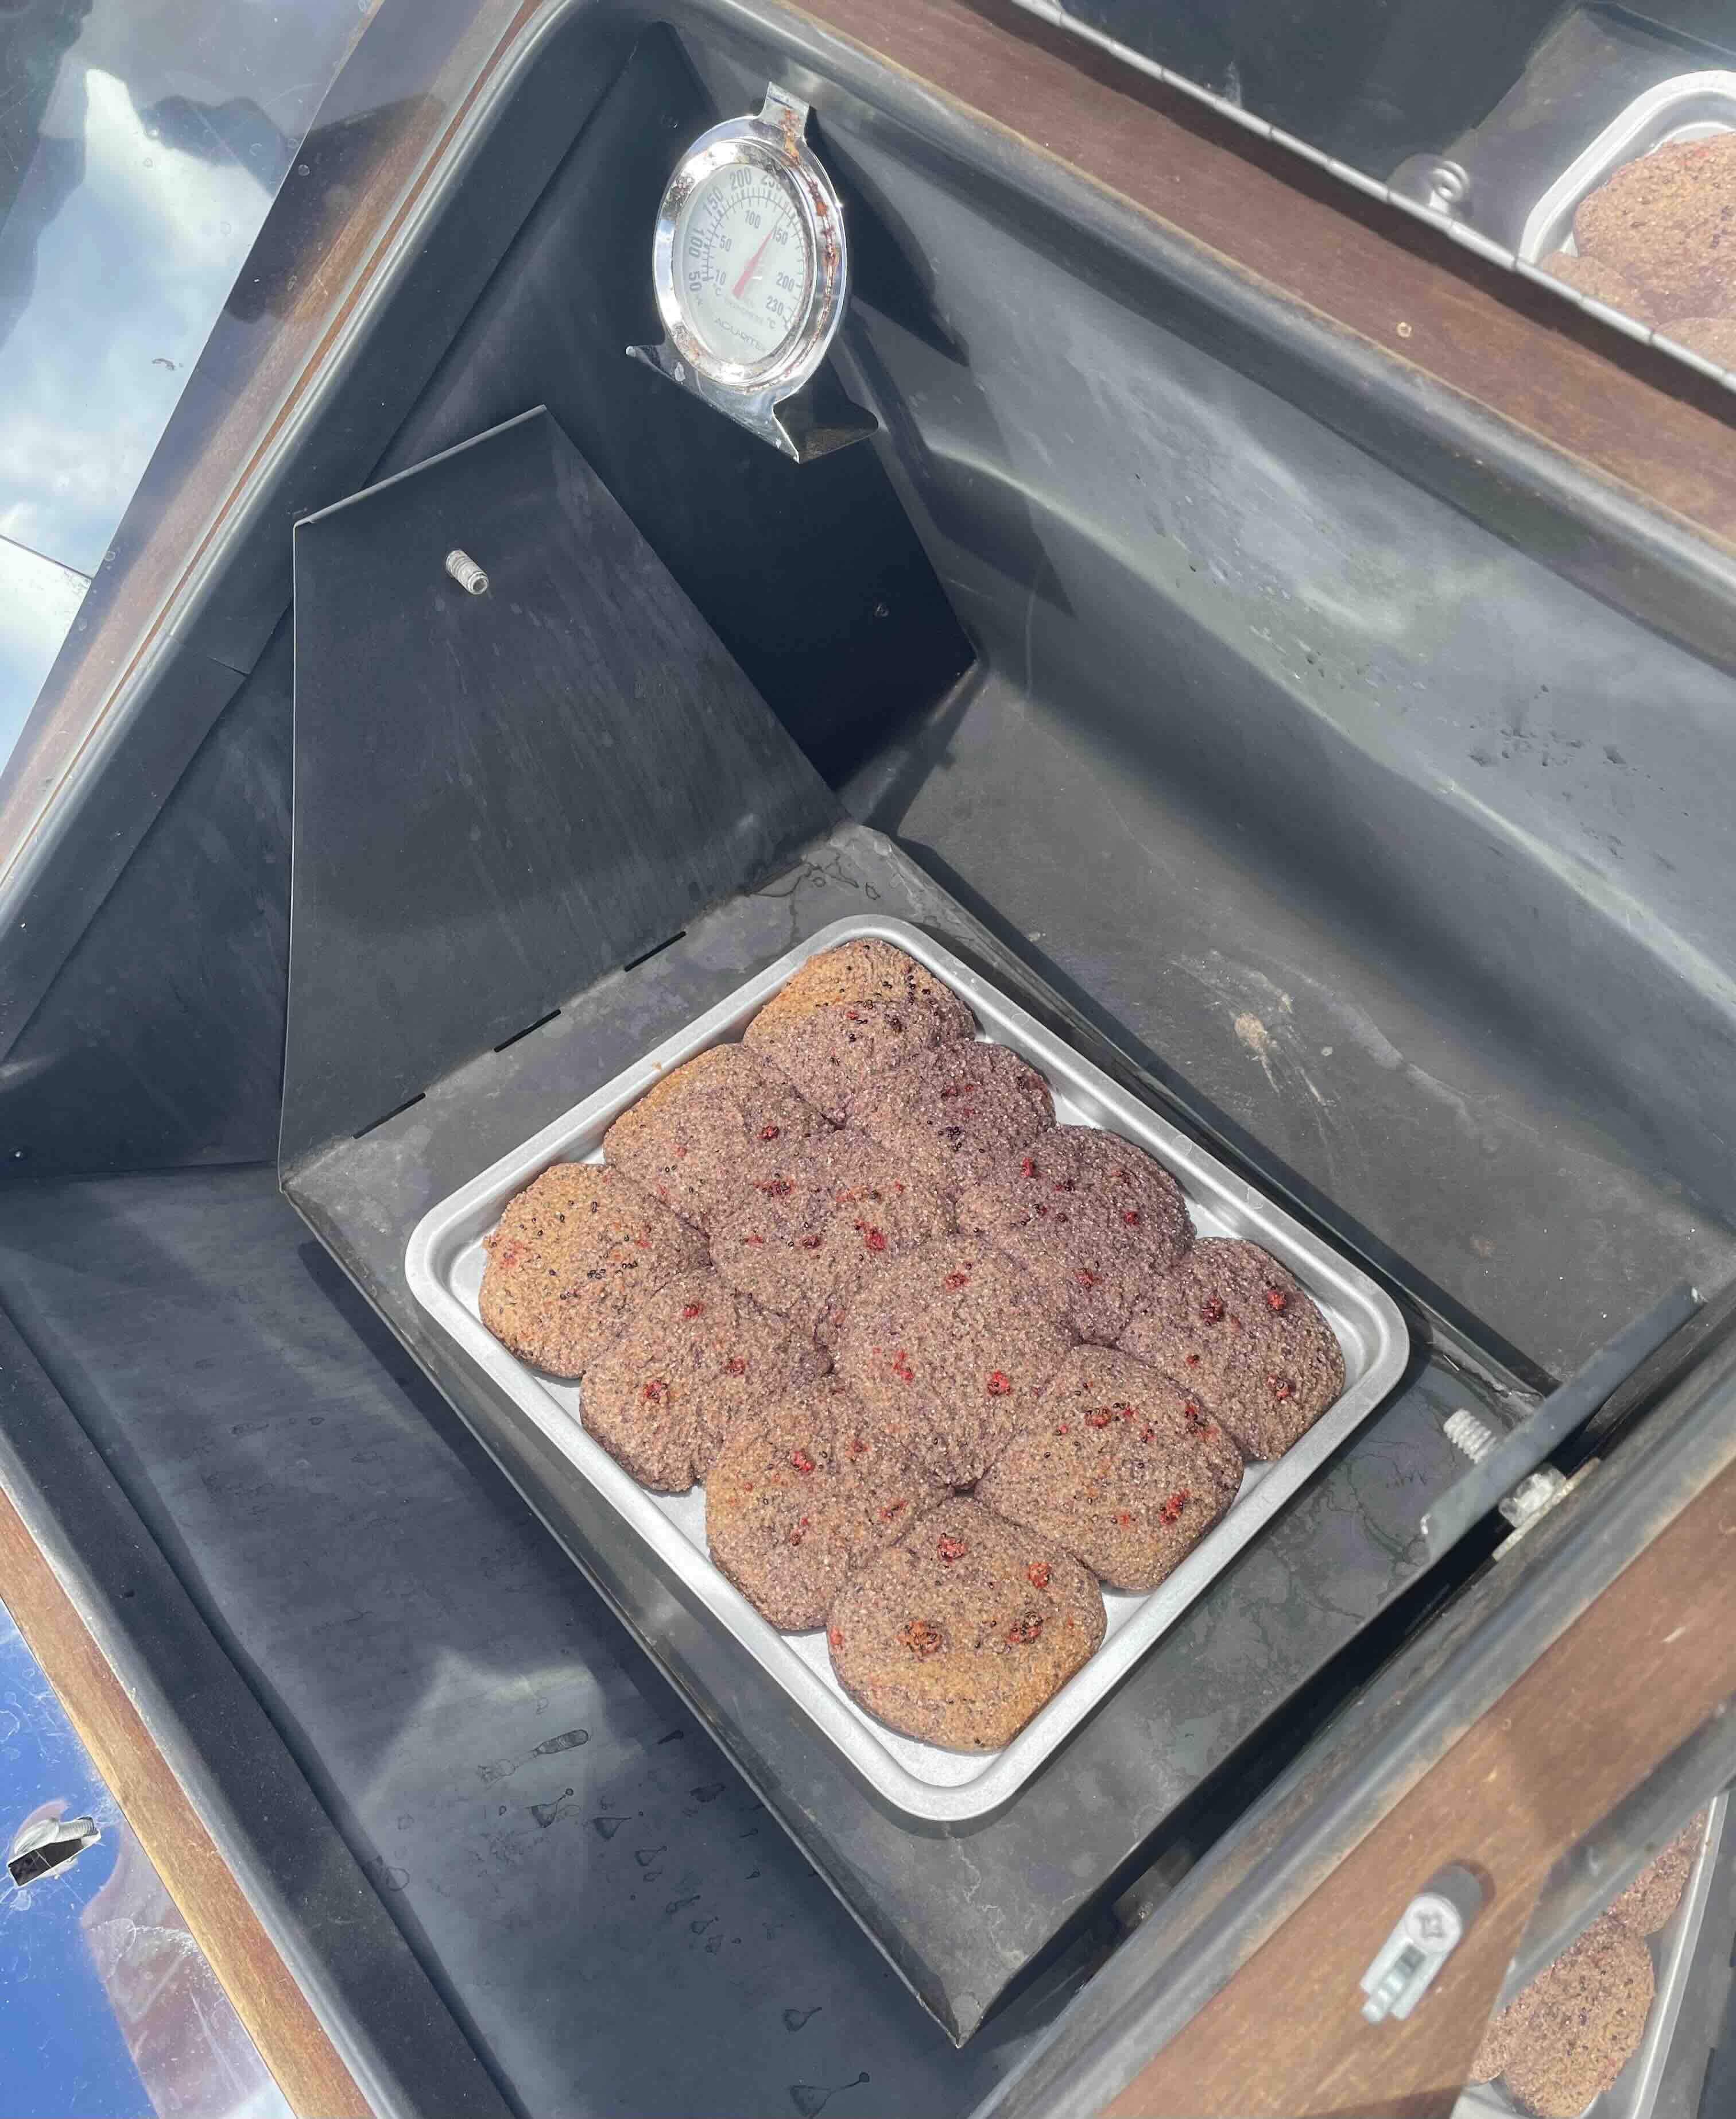
Preheat oven to 325 degrees. (To keep heat out of the kitchen, I love using a solar oven. Heat will be variable so monitoring for sun or clouds is needed.)
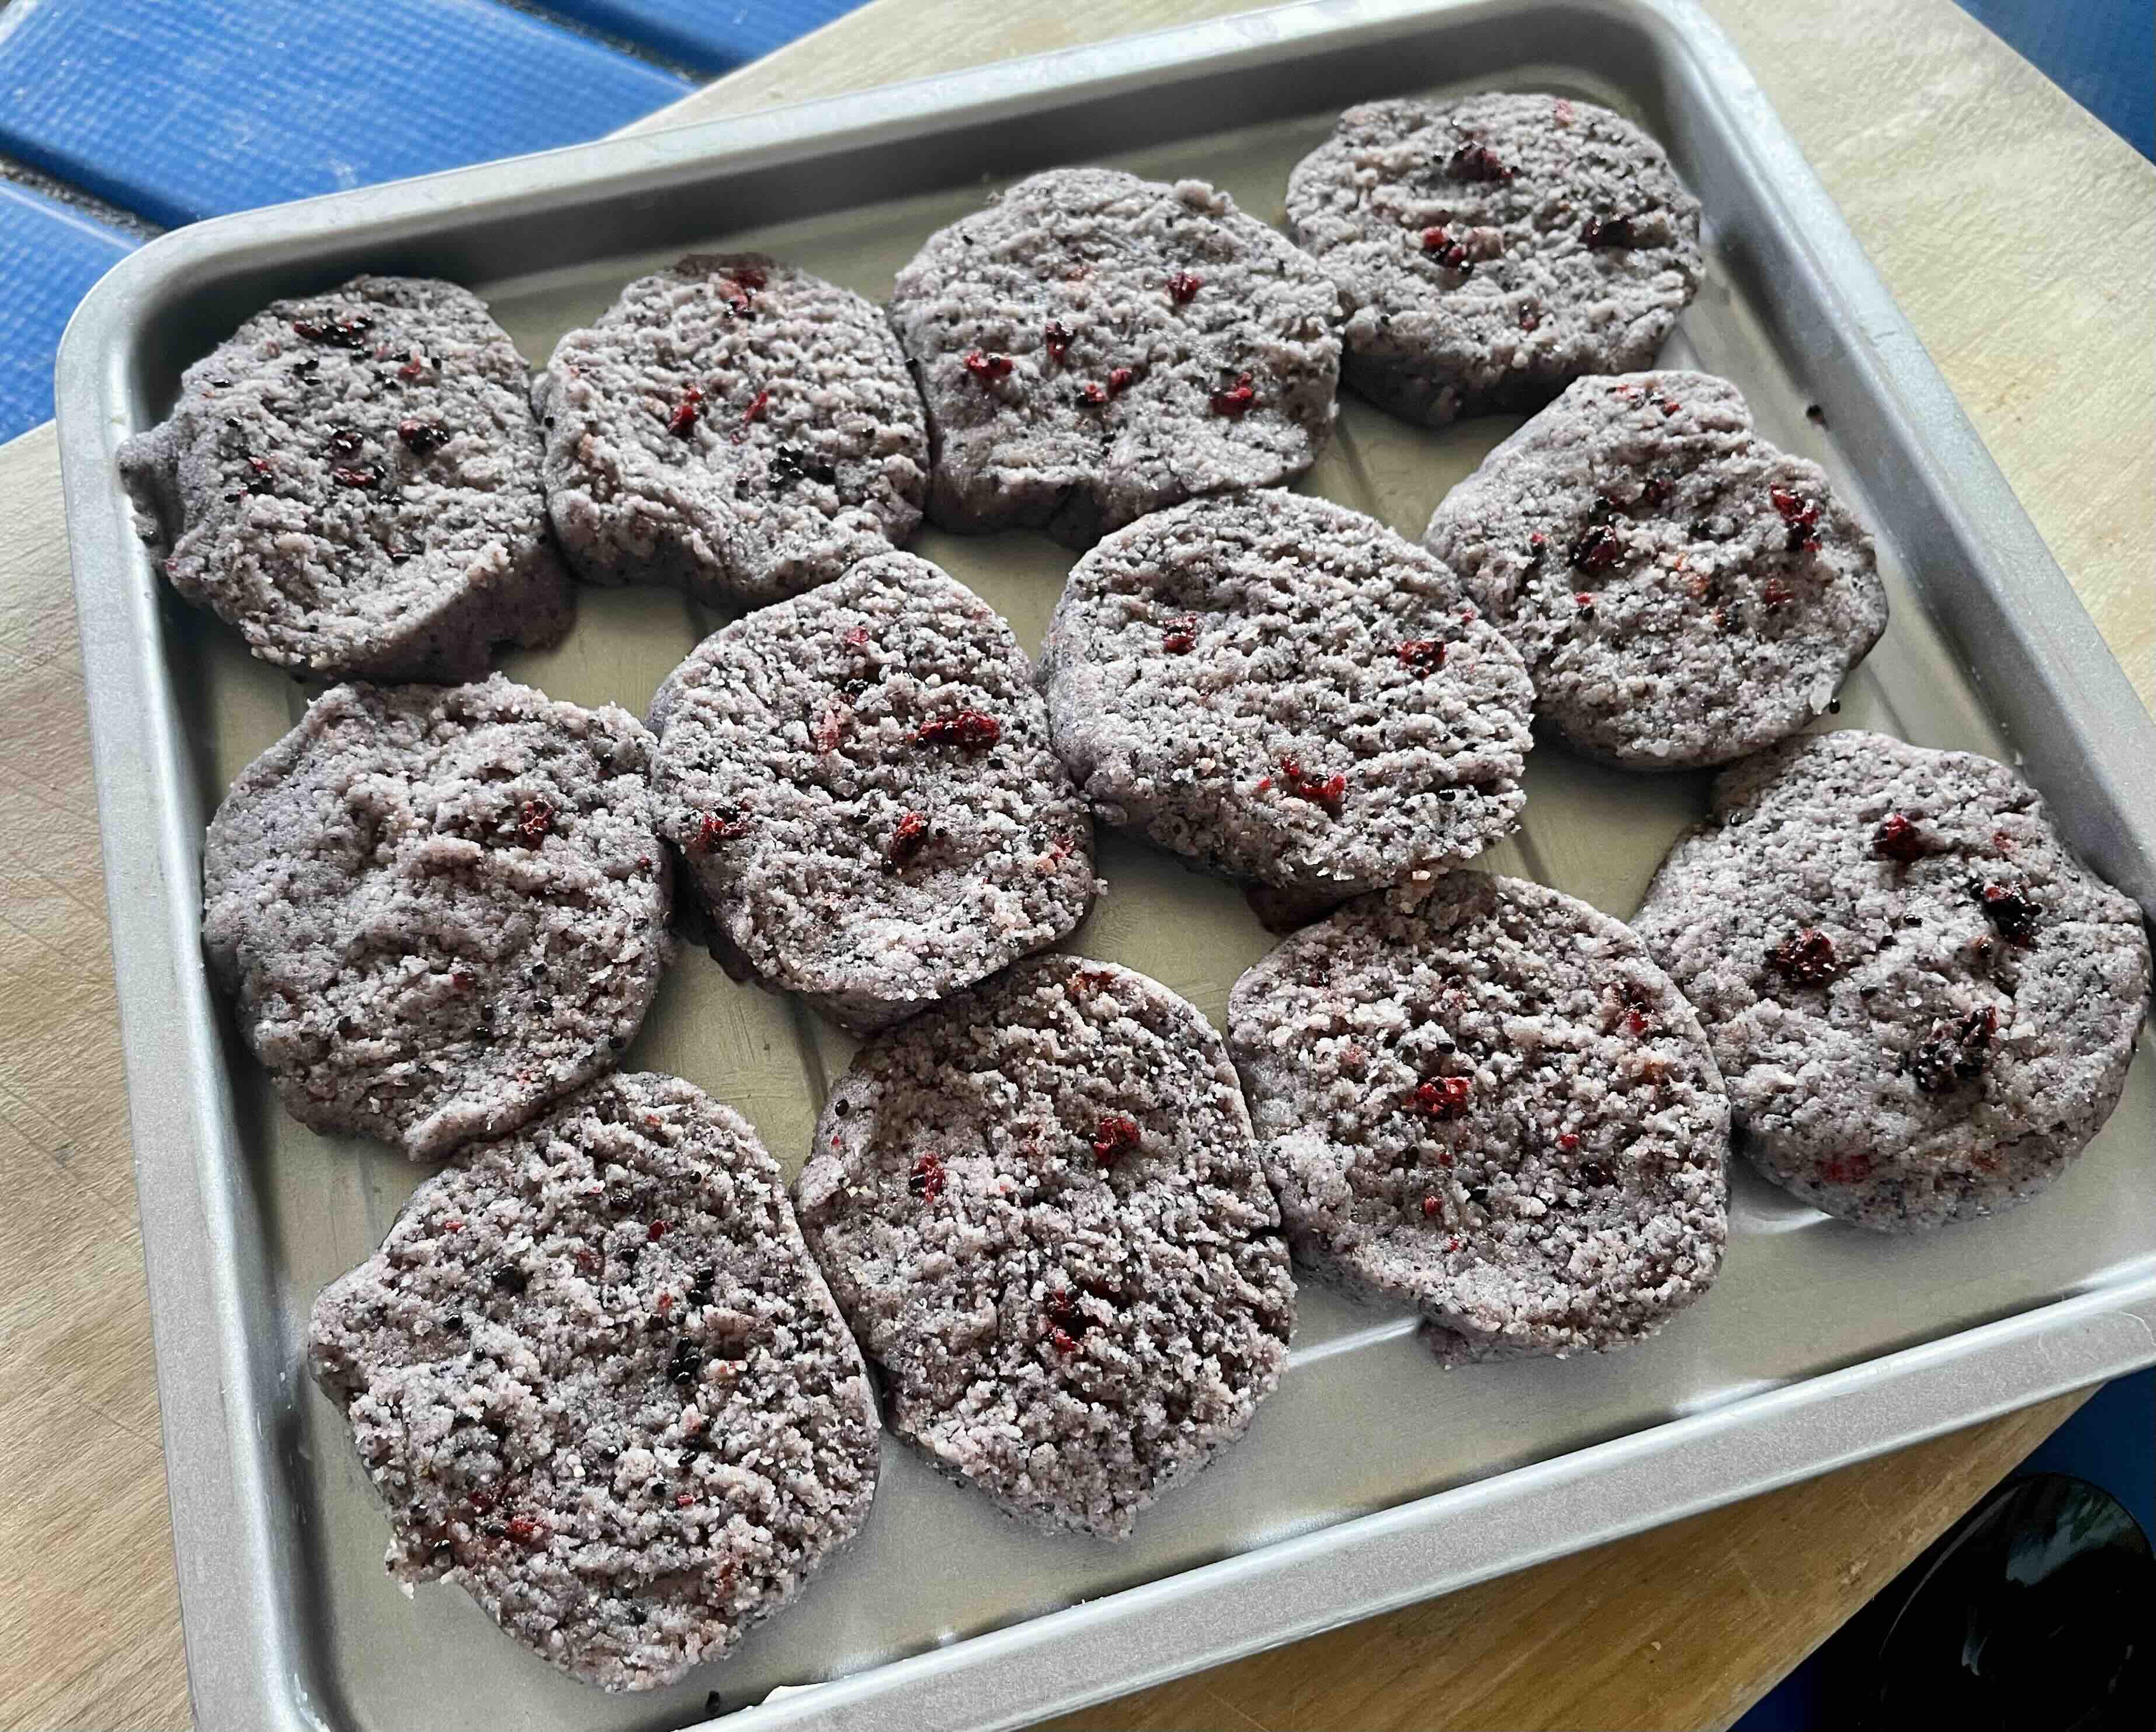
Unwrap dough. Using a sharp knife, cut into 1/4-inch slices. Place slices on greased baking sheets. (Or use parchment paper to avoid greasing.)
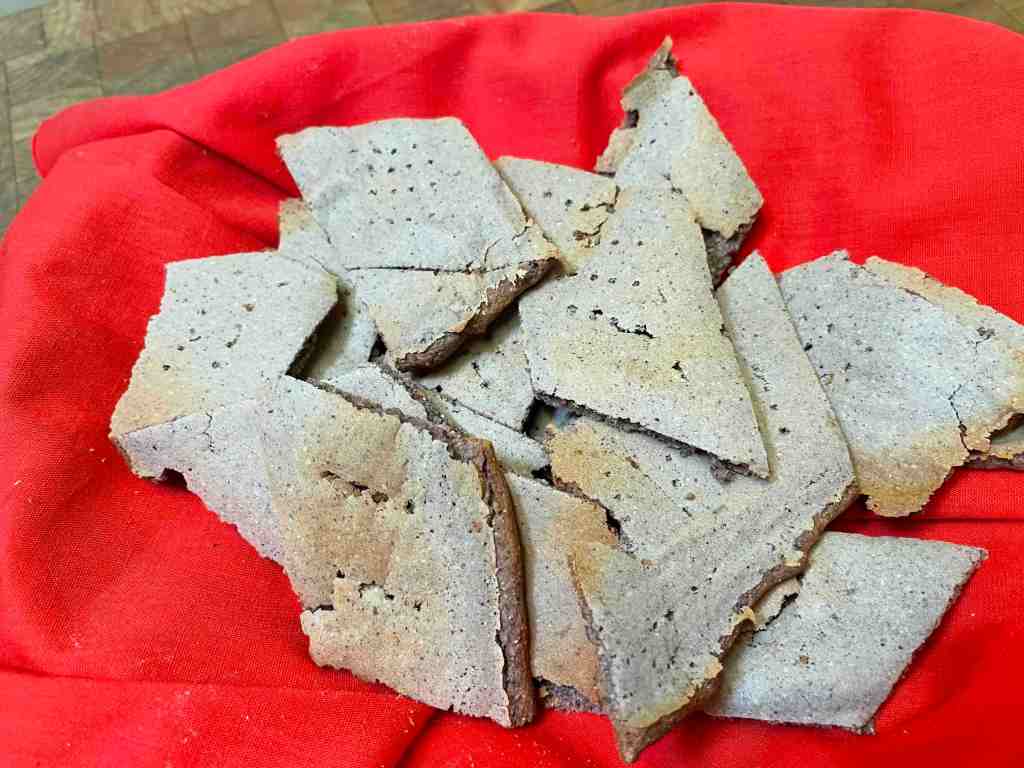
Bake at 325 degrees for 12-15 minutes until slightly brown. Add more time to make biscotti crisper.
Solar oven option: Bake at about 300-325 degrees for 15-20 minutes watching for faint browning. Depending on sun with monitoring it may take more time for desired crispness. Cool on wire racks. Makes about 2 dozen biscotti bars.
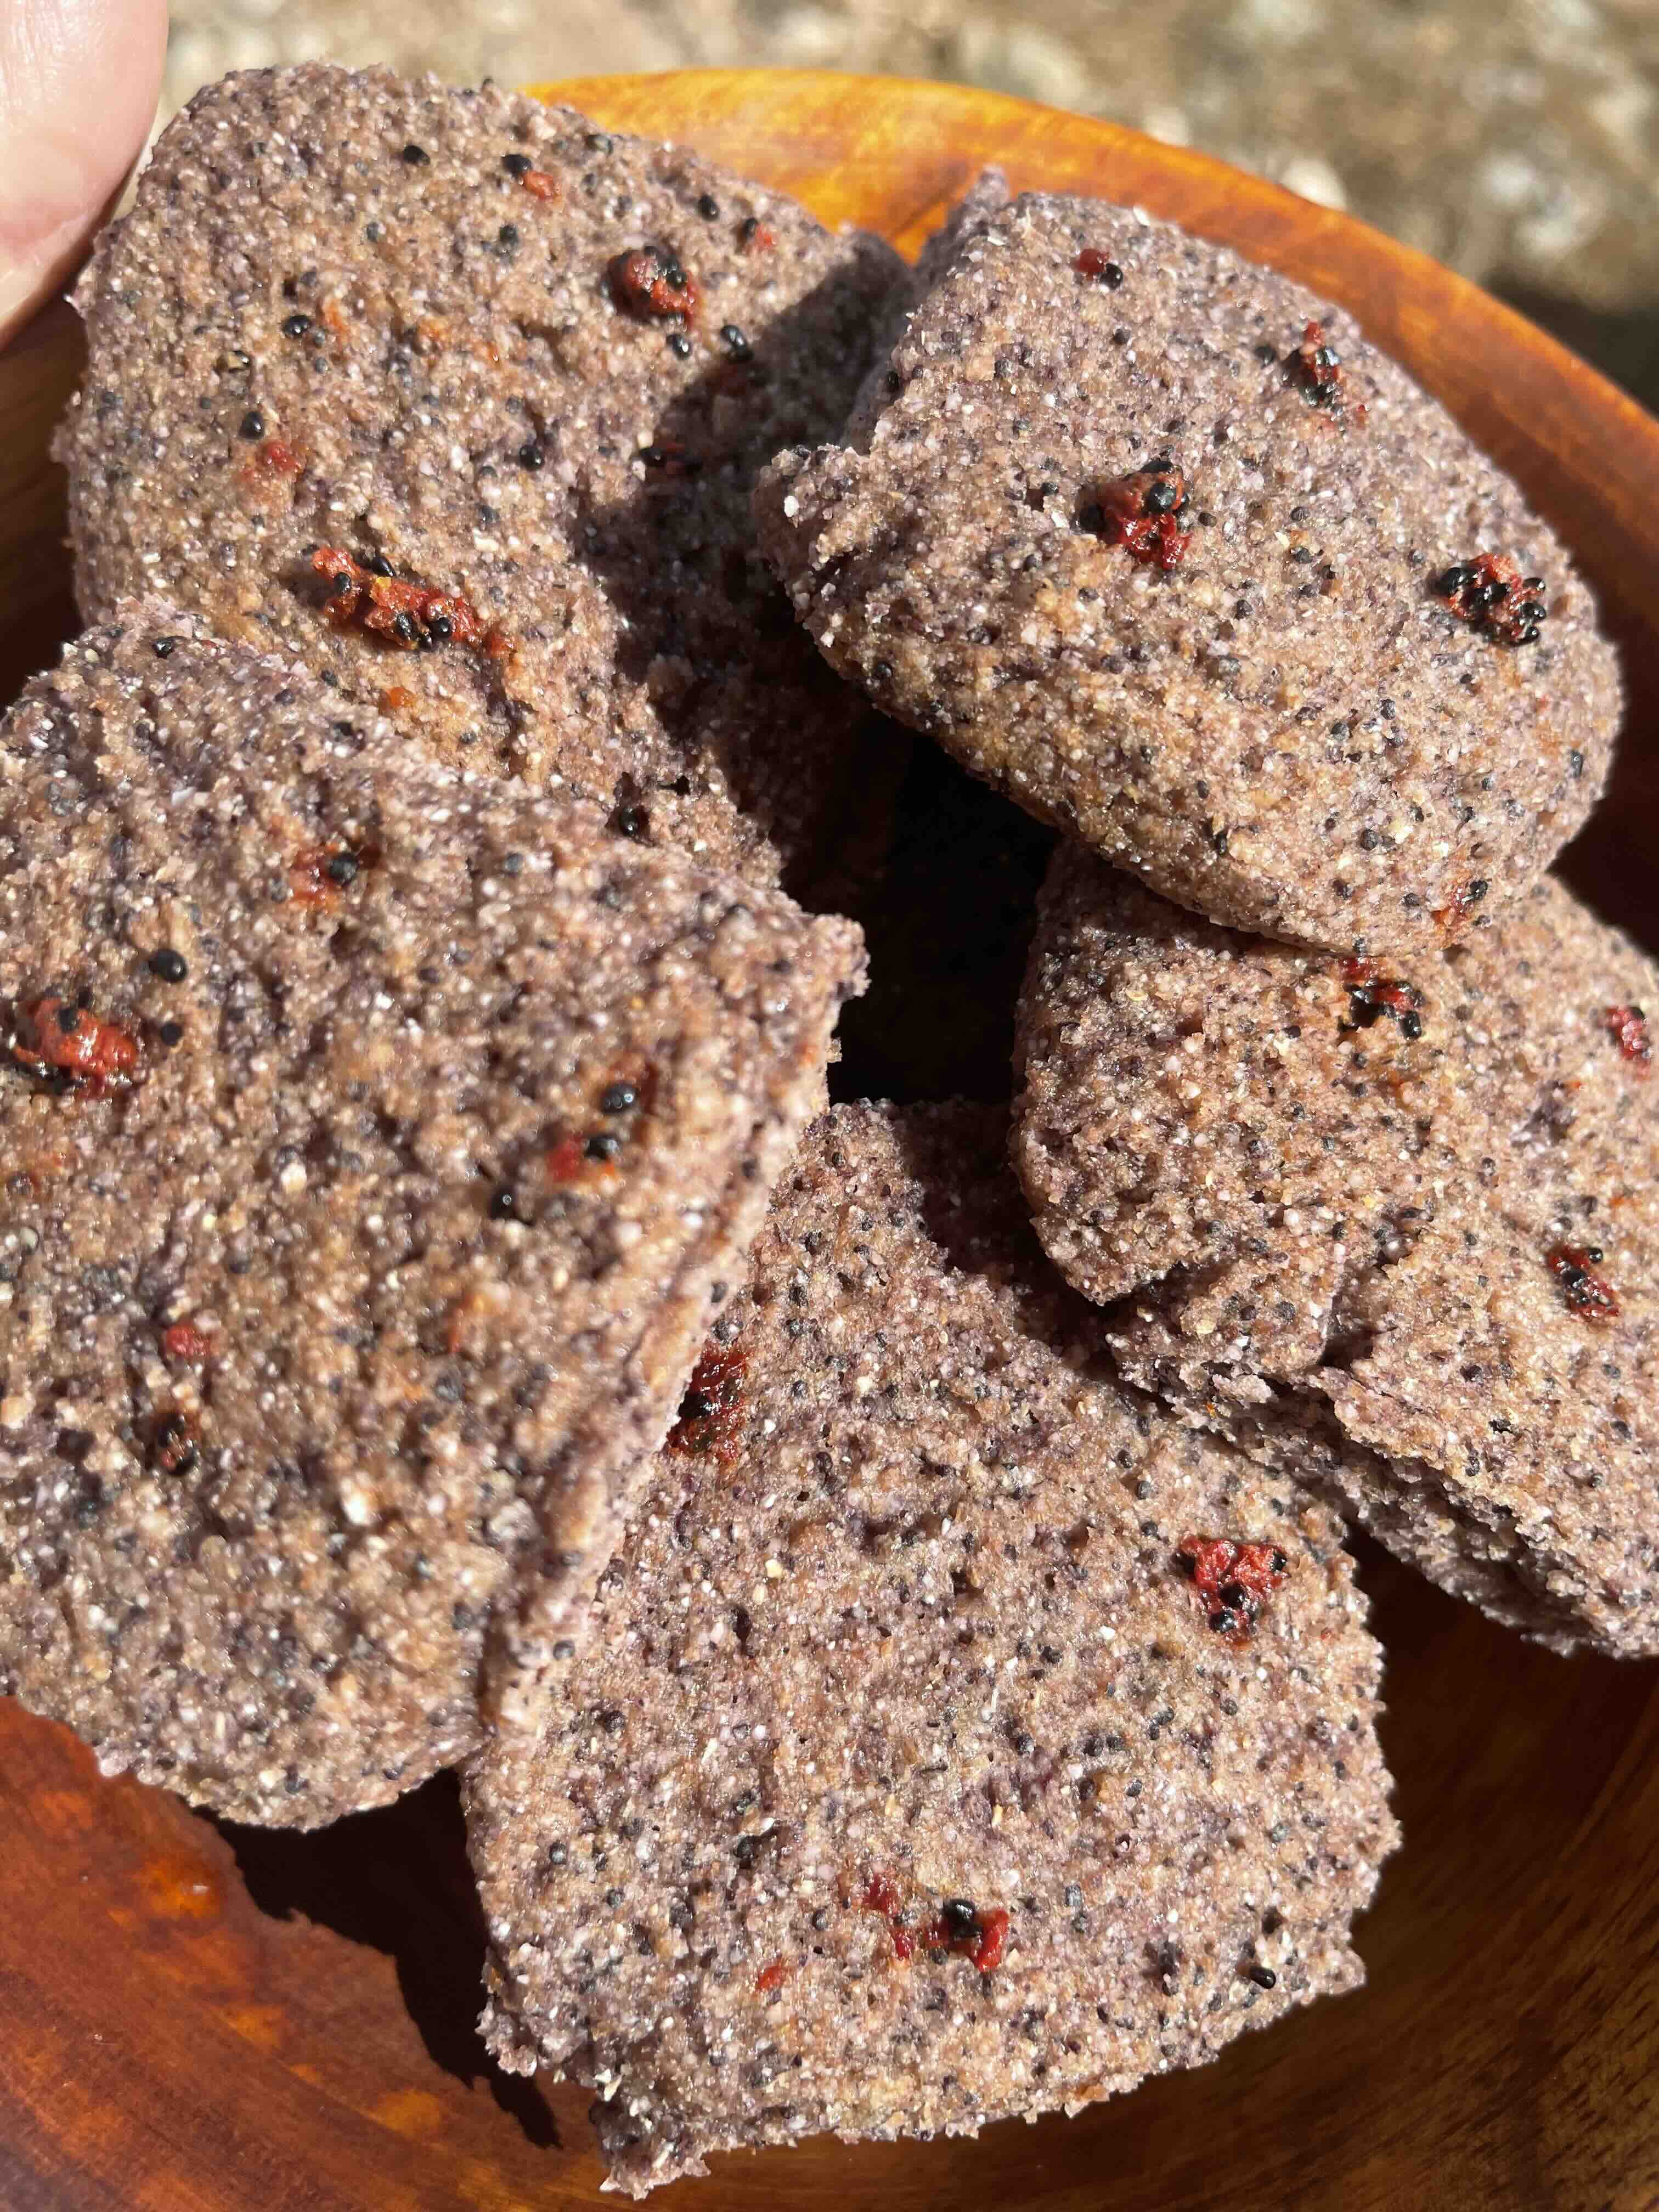
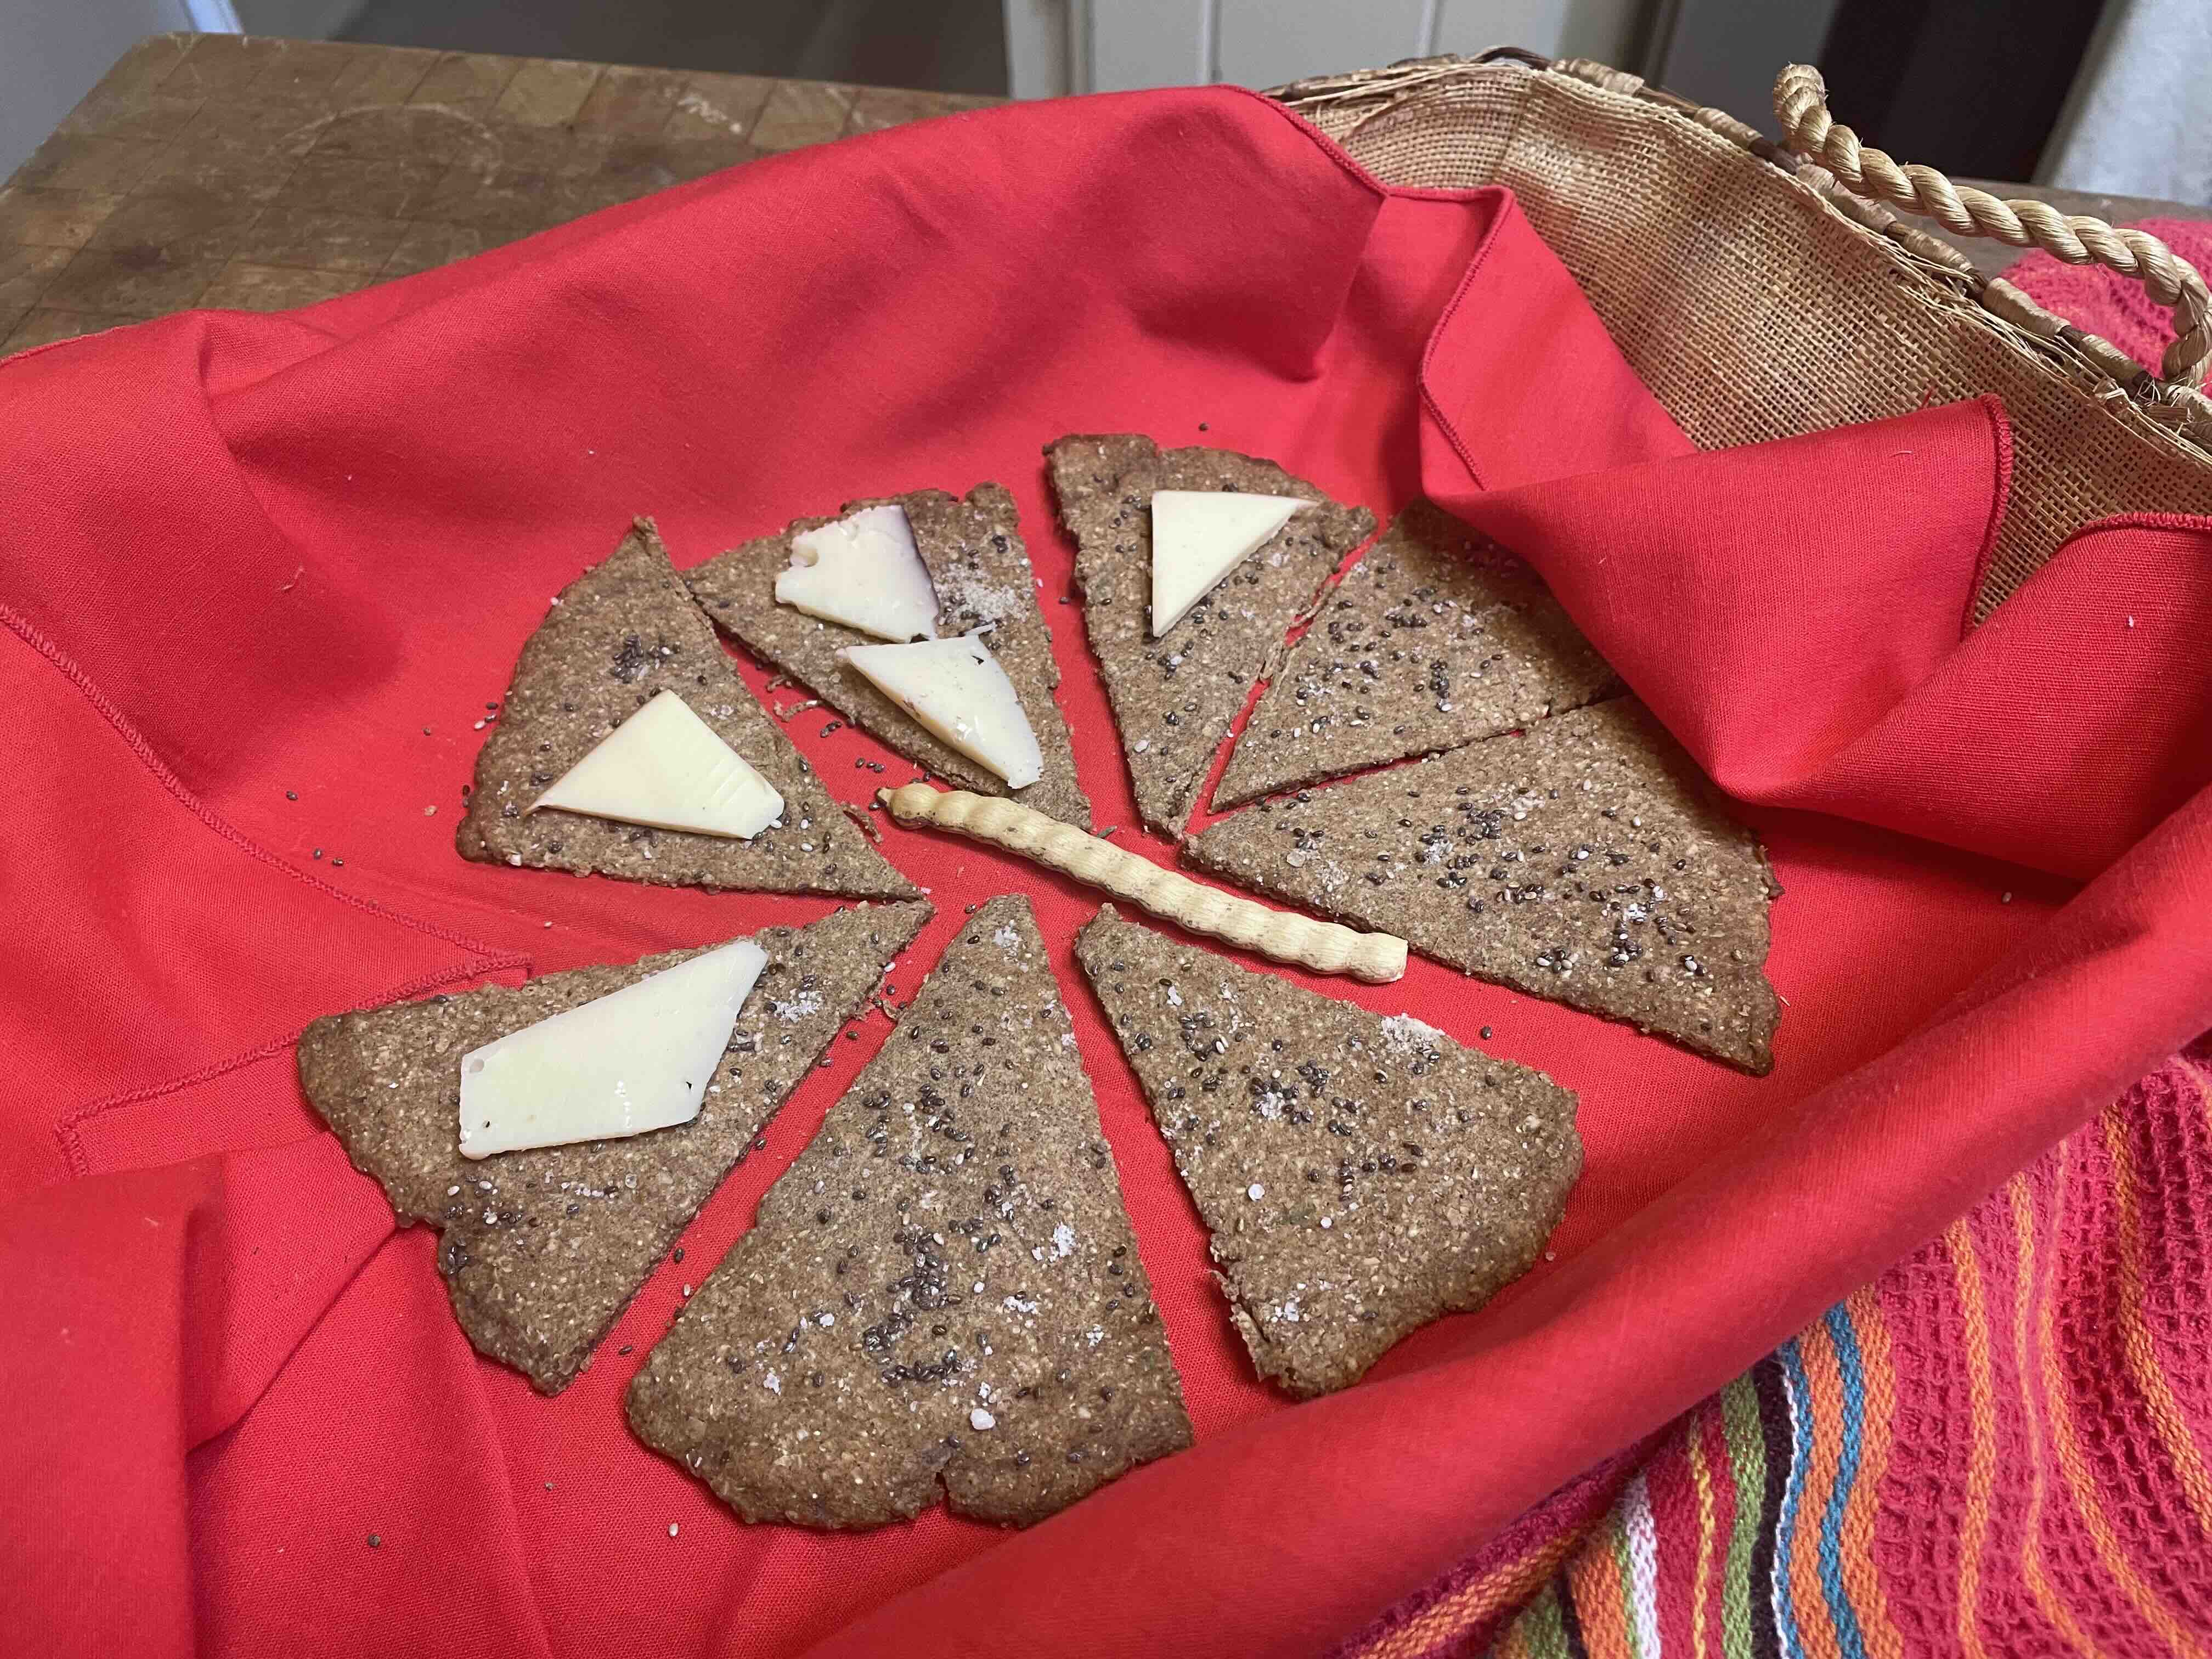
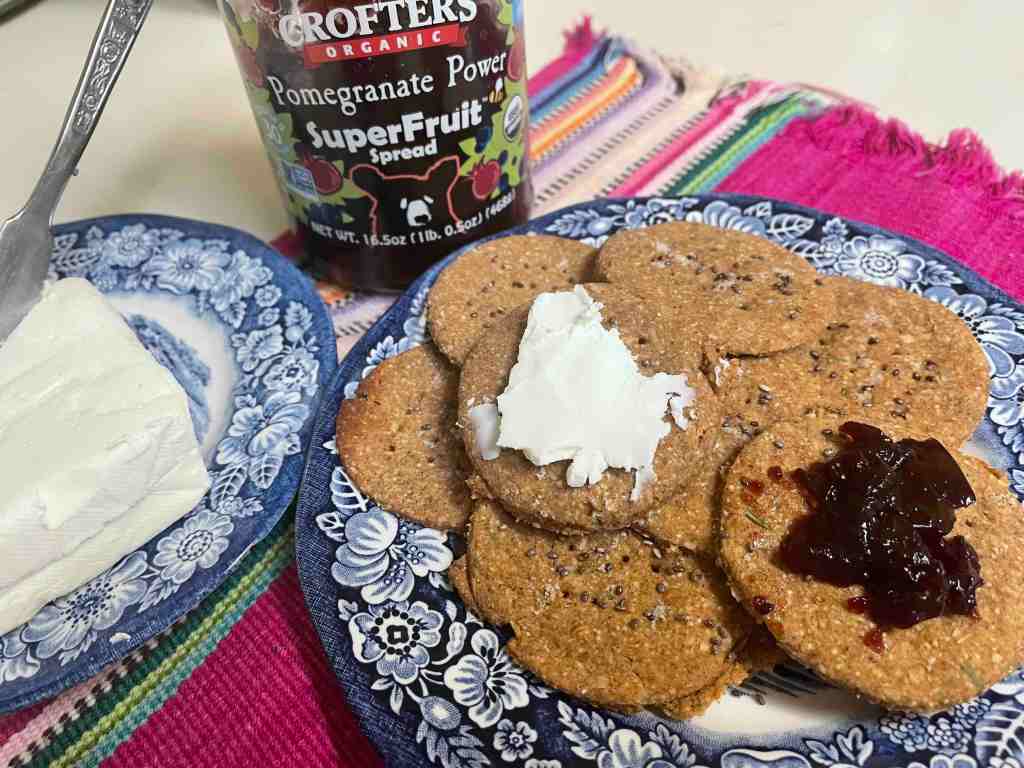
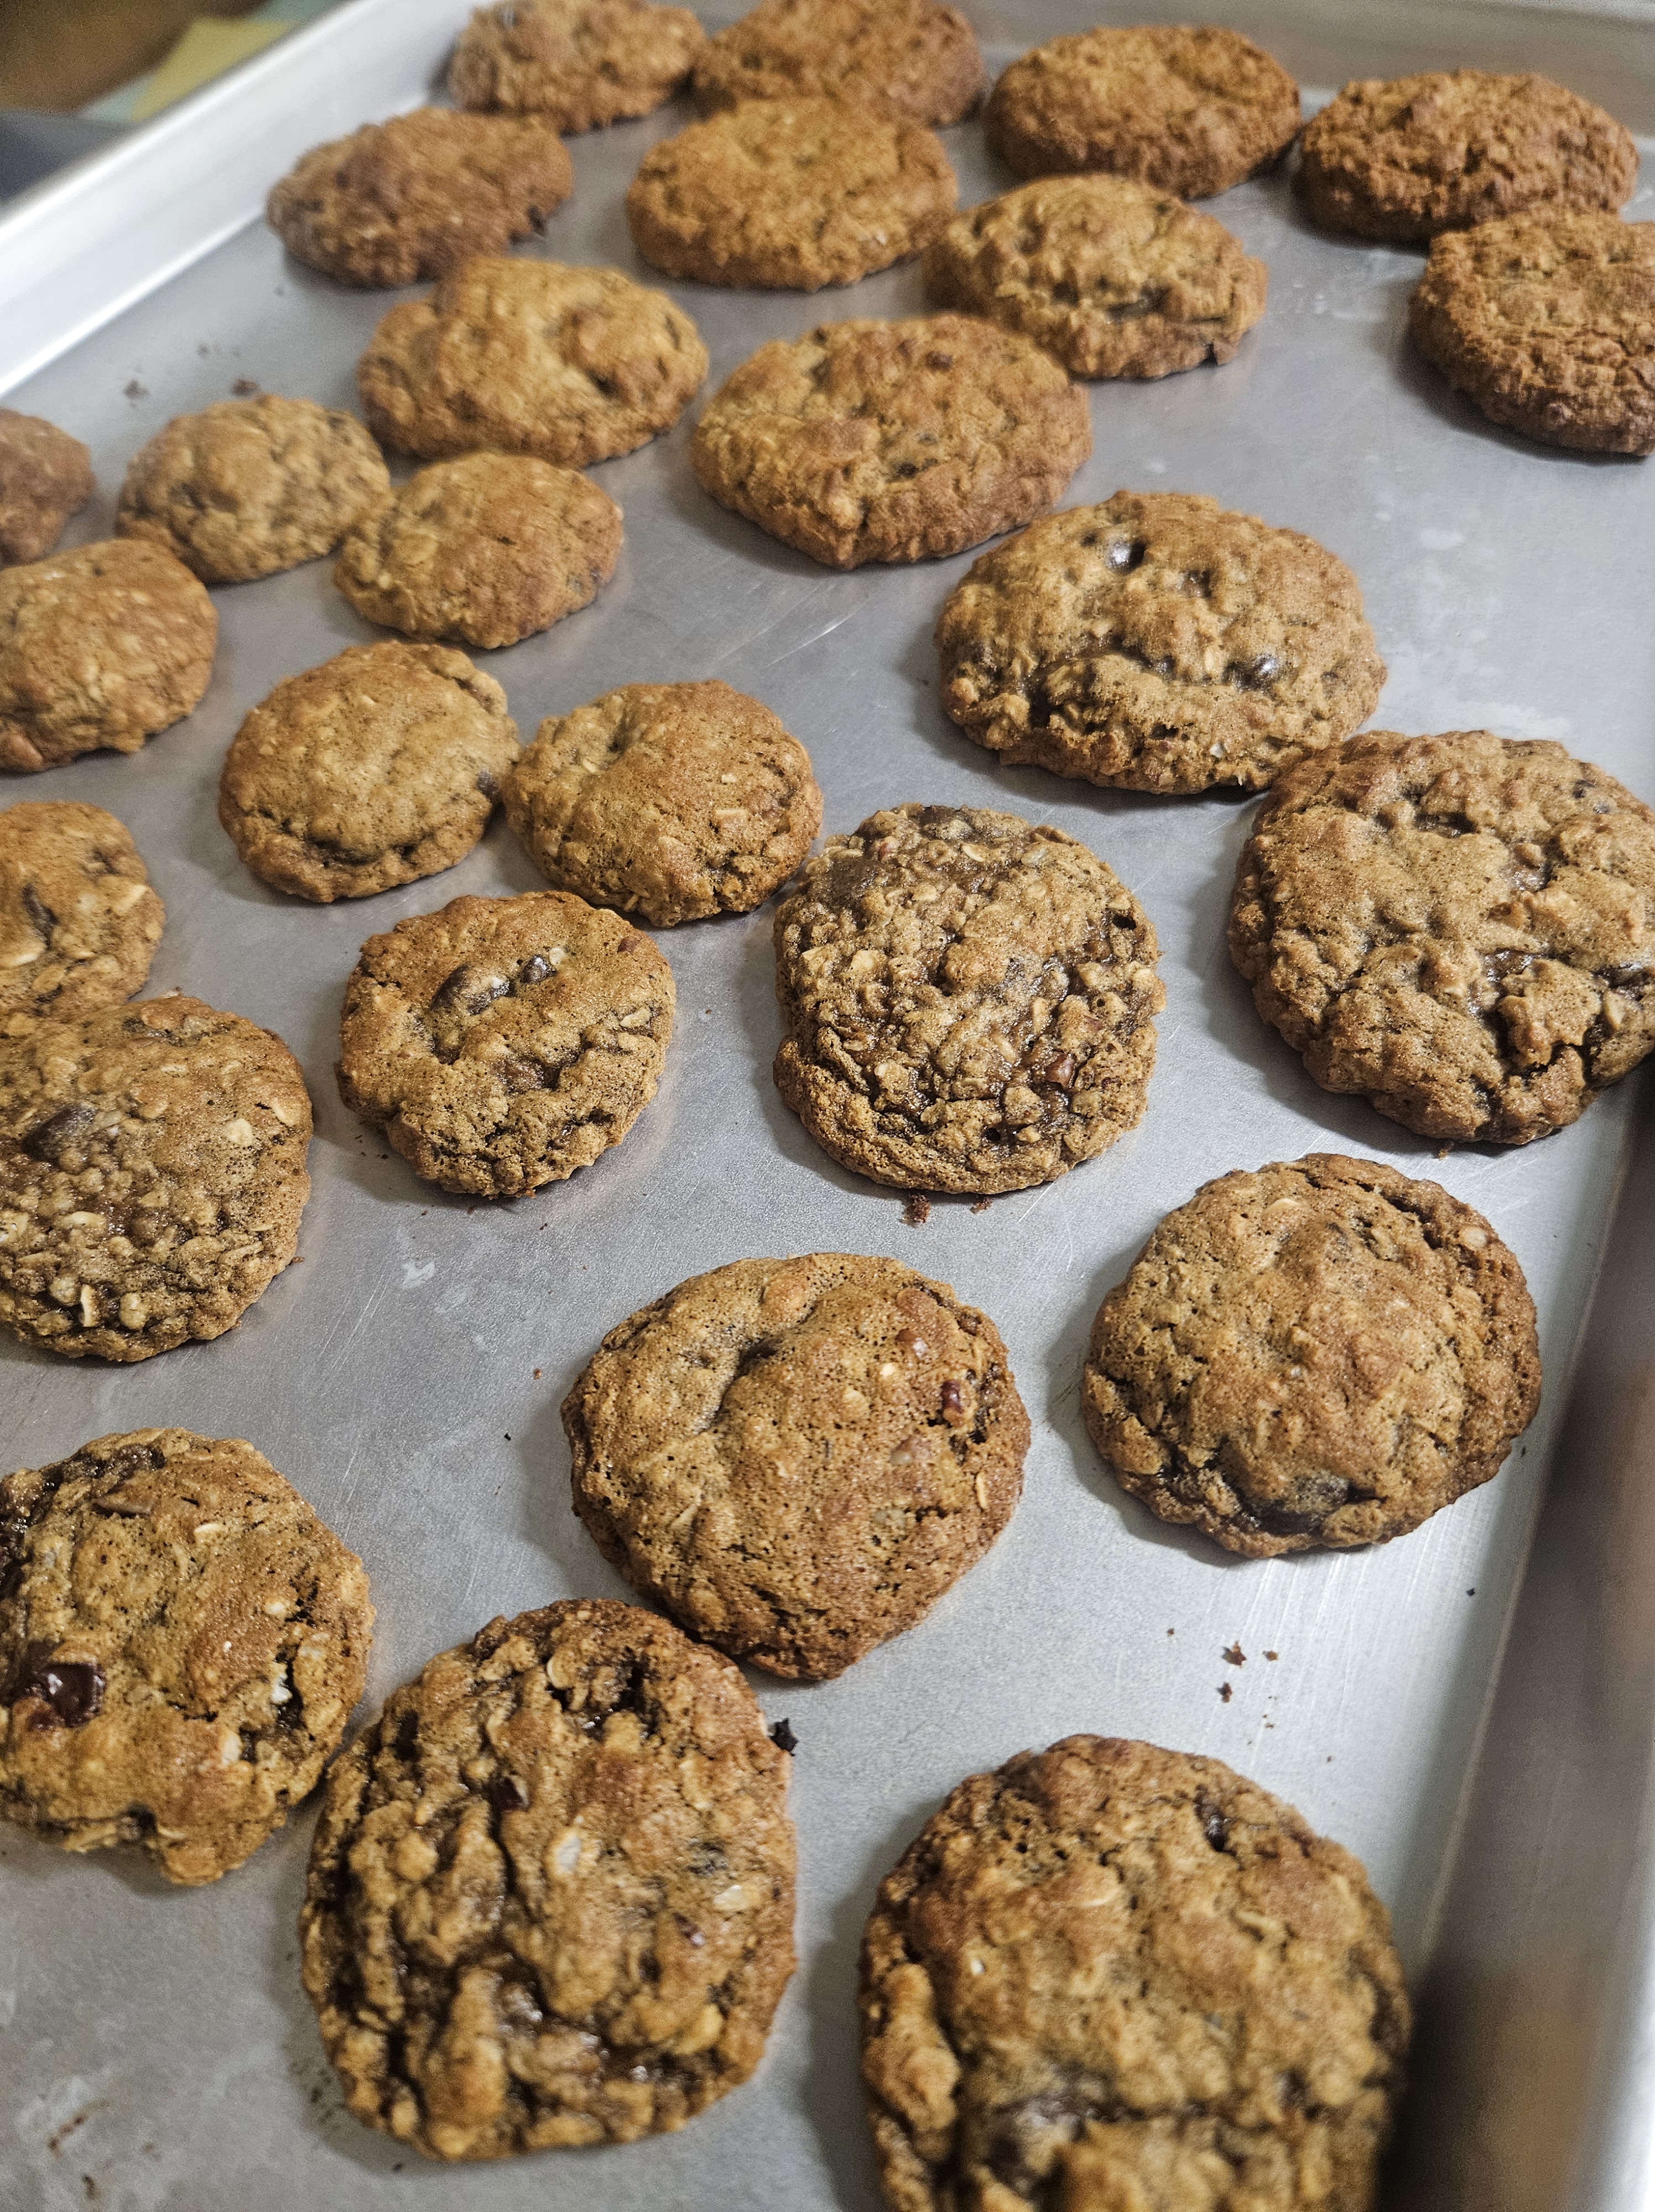
Bluecorn biscotti with Saguaro Juñ–ready to eat! Great for dippers into summertime ice coffee, or served with home-made vanilla sorbet!
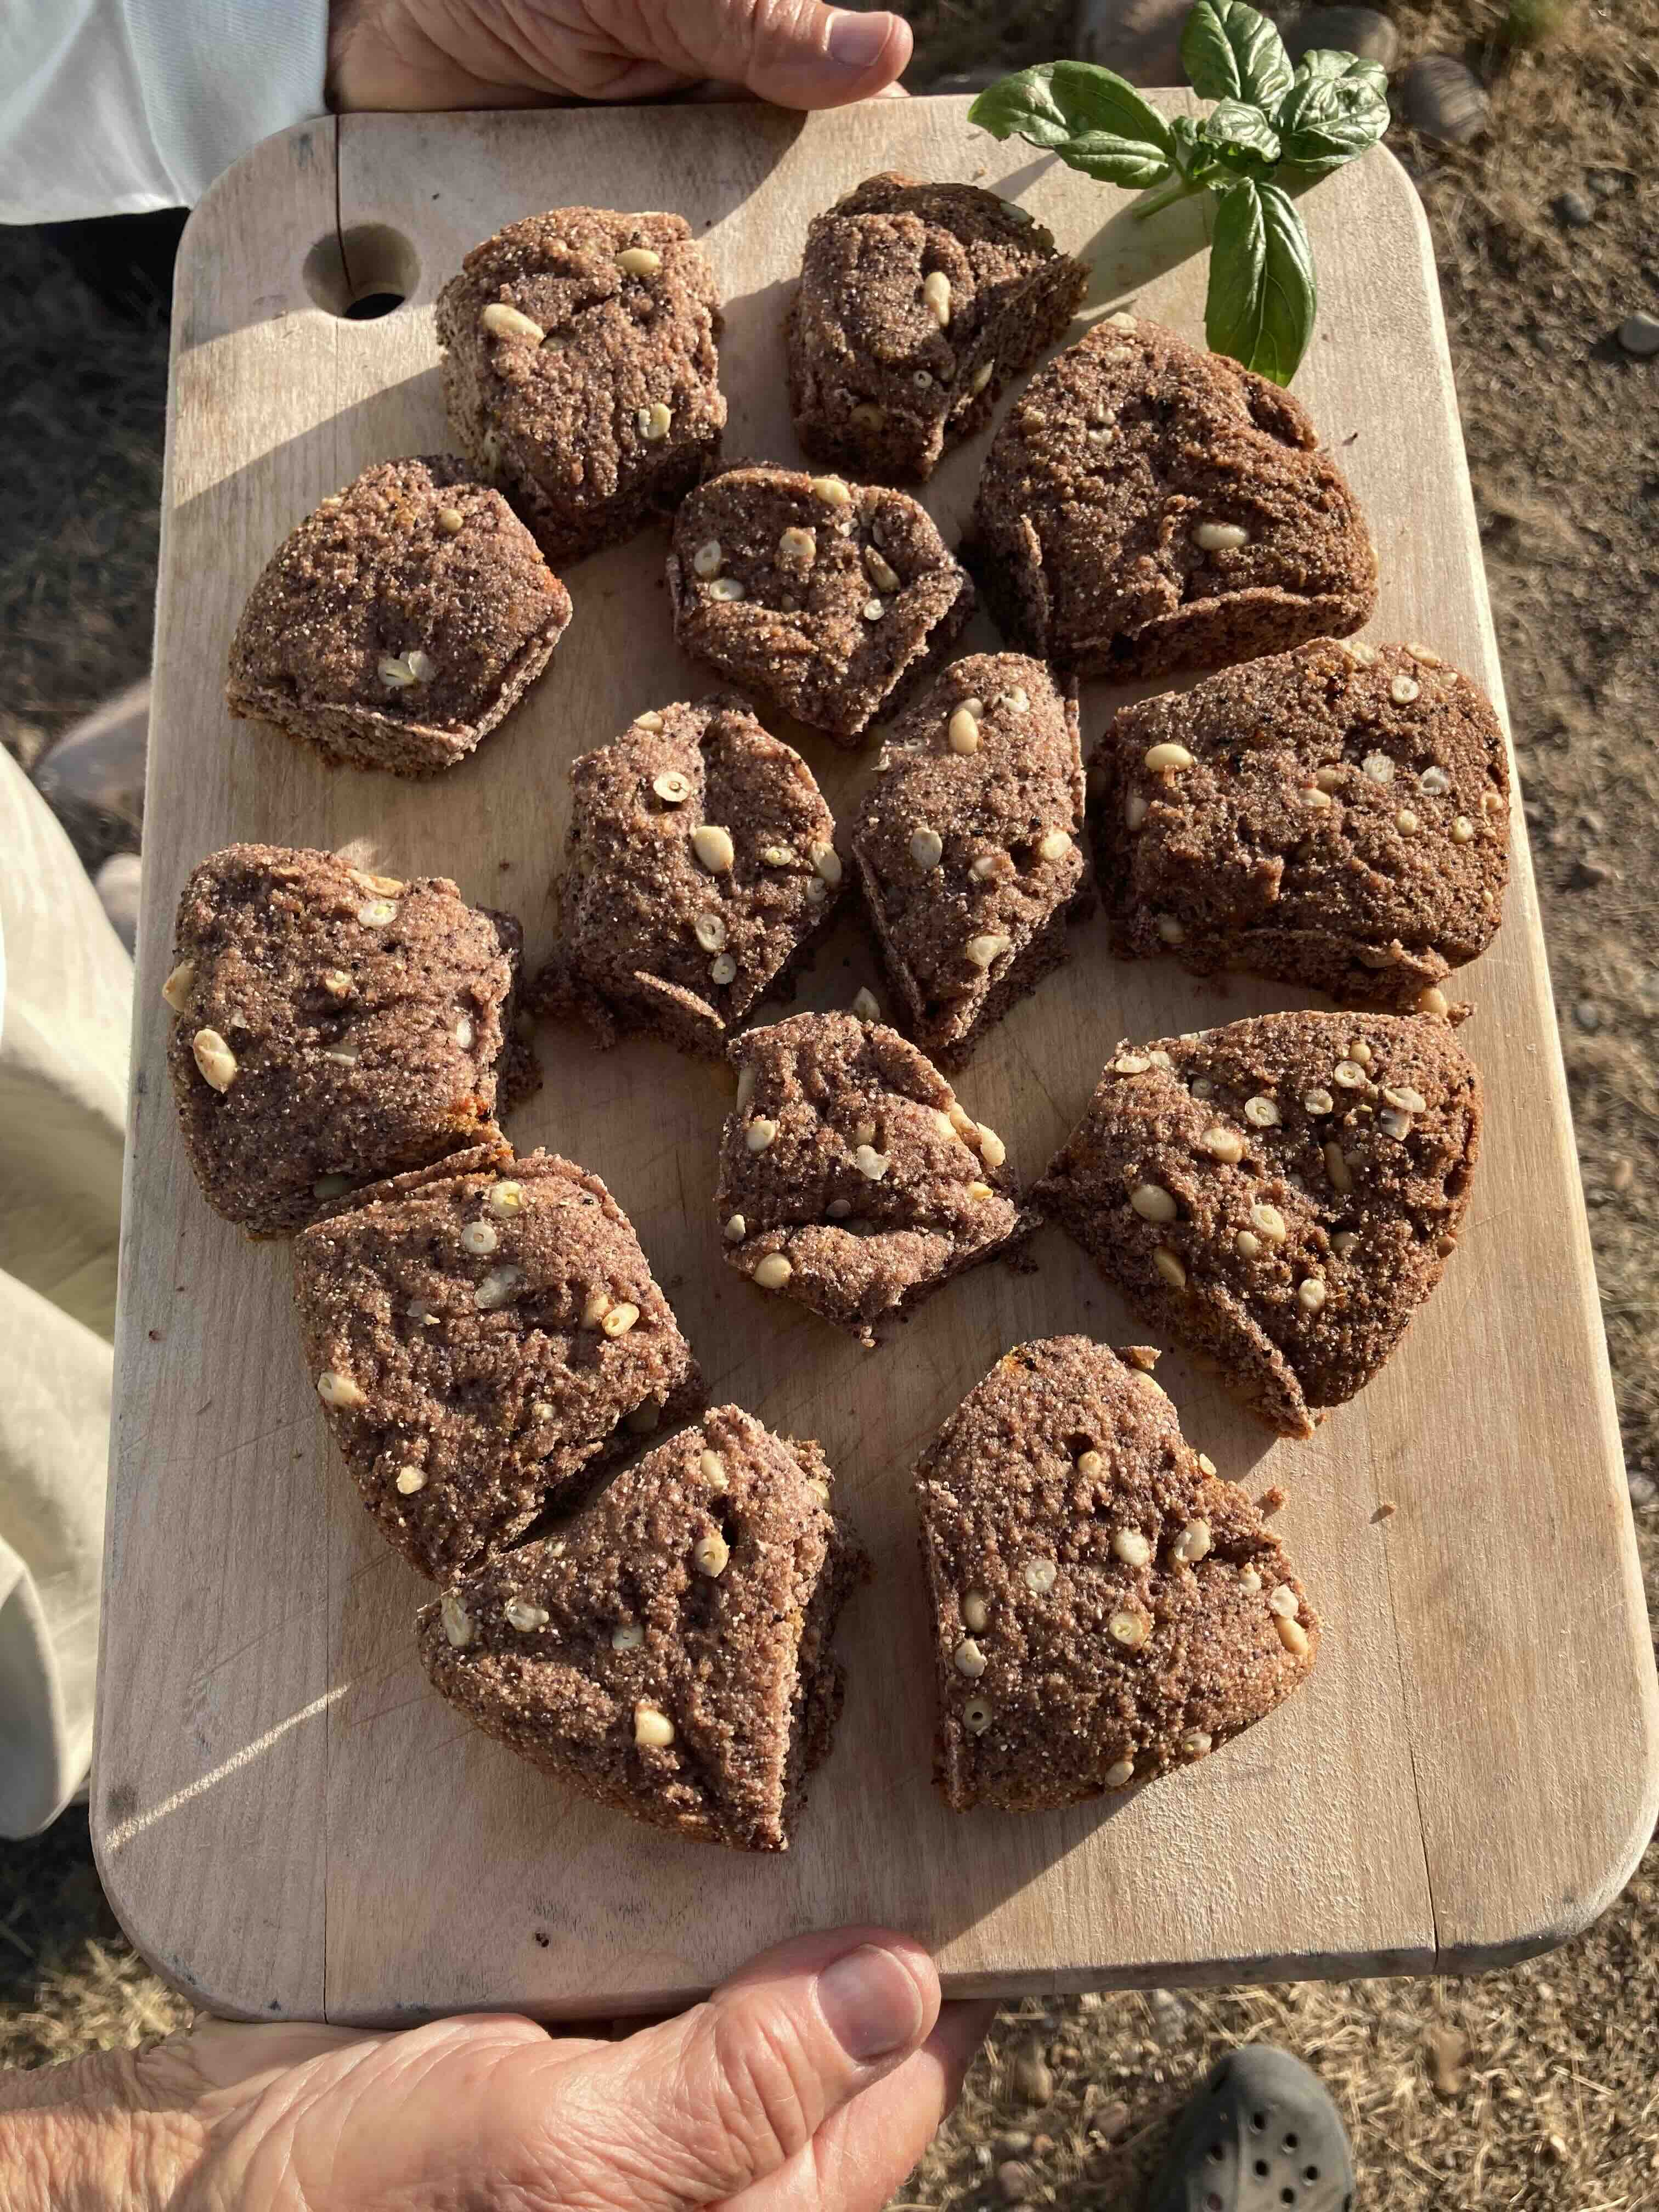
The pine nuts added a great new flavor and texture to these healthful Southwest biscotti. Next batch, I would like to try adding bellotas….
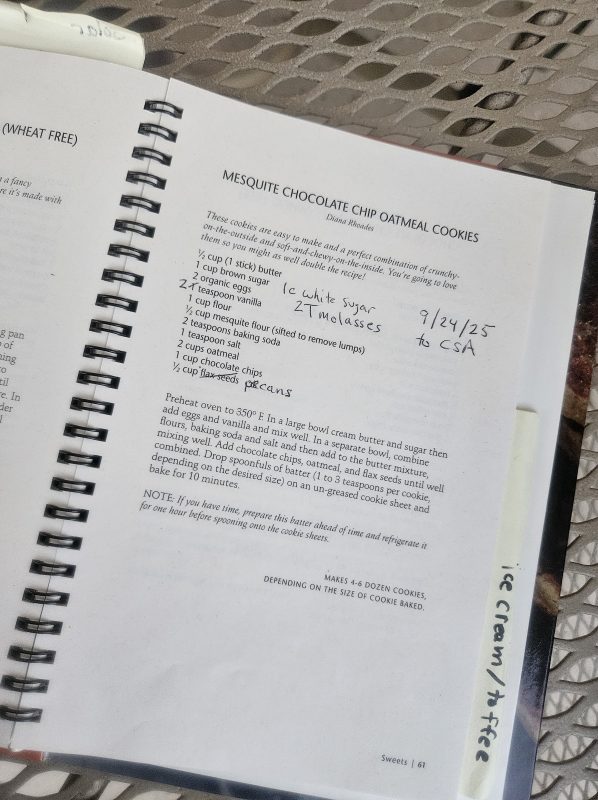
Another easier idea: Add ¼ cup saguaro juñ to NS/S Mesquite Cookie Mix or NS/S Mesquite Poppyseed Scone Mix, or to your favorite sugar cookie recipe
For more ideas with saguaro fruit visit SavortheSouthwest June 2020 blog post on Sonoran Power-Treats.
This saguaro juñ biscotti idea was inspired in part by Betsy Armstrong, infamous NativeSeedsSEARCH staff member and cooks-extraordinaires at NSS. Acknowledgement also to Pueblo Seed and Food Co in Cortez, Colorado (introduced to me by southwest foodie pal Robbie) where you can get fabulous Southwest Blue Corn Anise Cookies. Their ideas sparked me to introduce nutritious low-desert seeds from the generous giant saguaro into this blue cornmeal treat. Here’s to your good health and desert enjoyment, with homage to the saguaros and maize plants as well, from Tia Marta!