Mole Nachos

Hello Friends,

Amy here, sharing a classic dish that I’ve made several times recently. Years ago my young niece showed me how she made nachos. I didn’t grow up with them, and had never before gotten into making or eating nachos. Ava’s authoritative recipe in the microwave was such a delight that afternoon. So even if I make my own version now, I always think of her when I do.

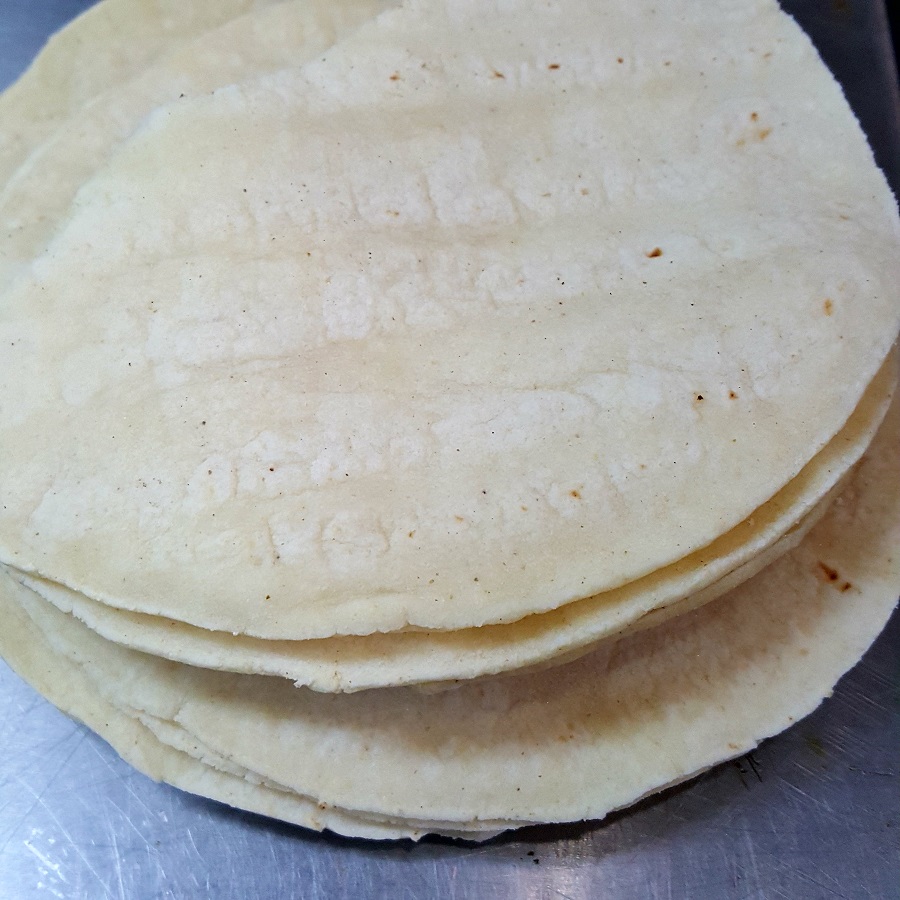
I like to start with corn tortillas. Thin ones are best, and if they’re dried out a little, even better.

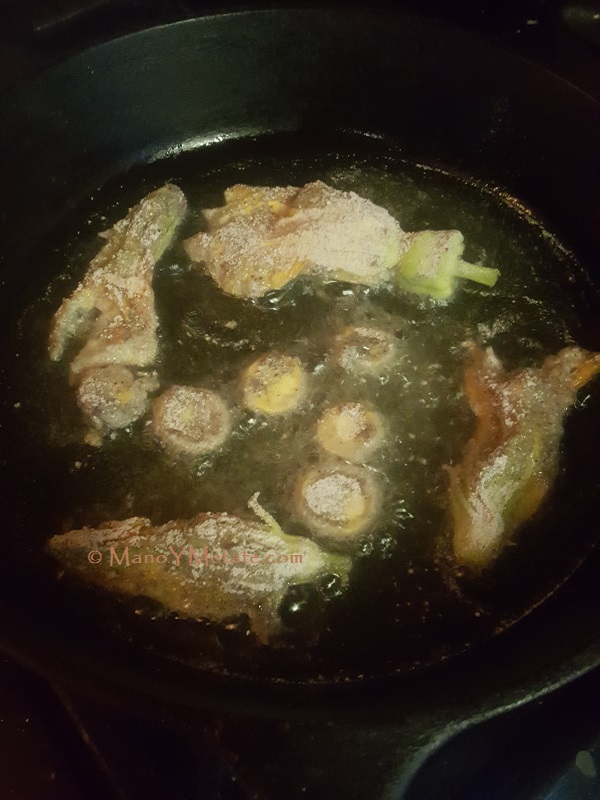
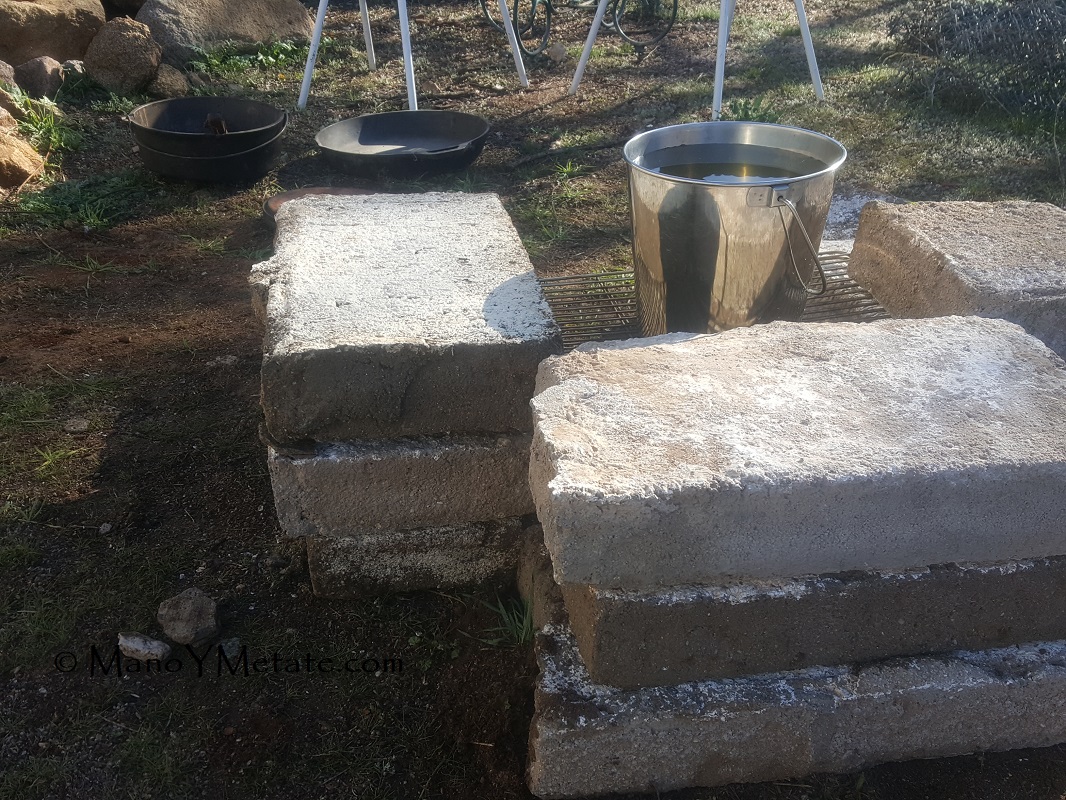
I fry them in a shallow layer of neutral oil until crispy and brown.

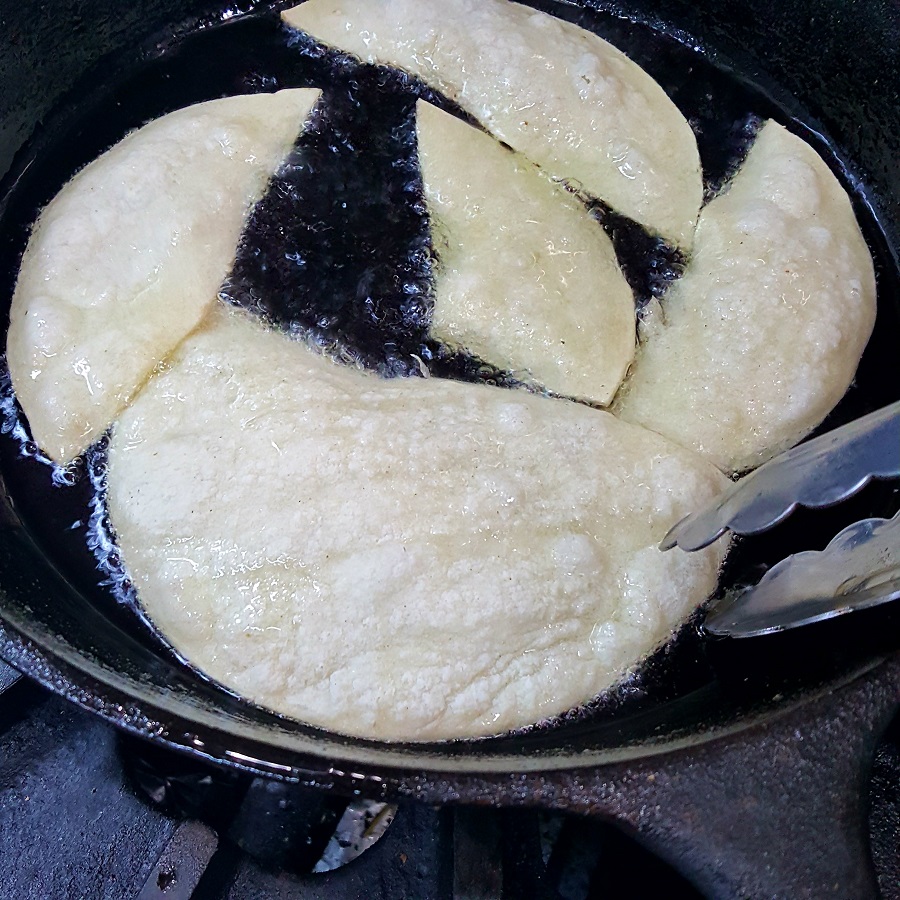
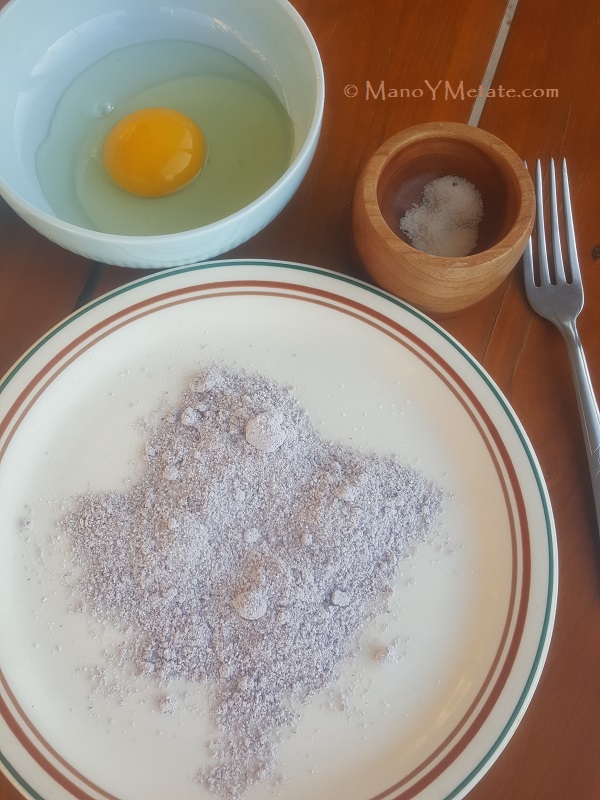
Then sprinkle them generously with salt right after coming out of the oil.

Freshly grated cheese is a must. I like jack, but of course anything that melts is good!

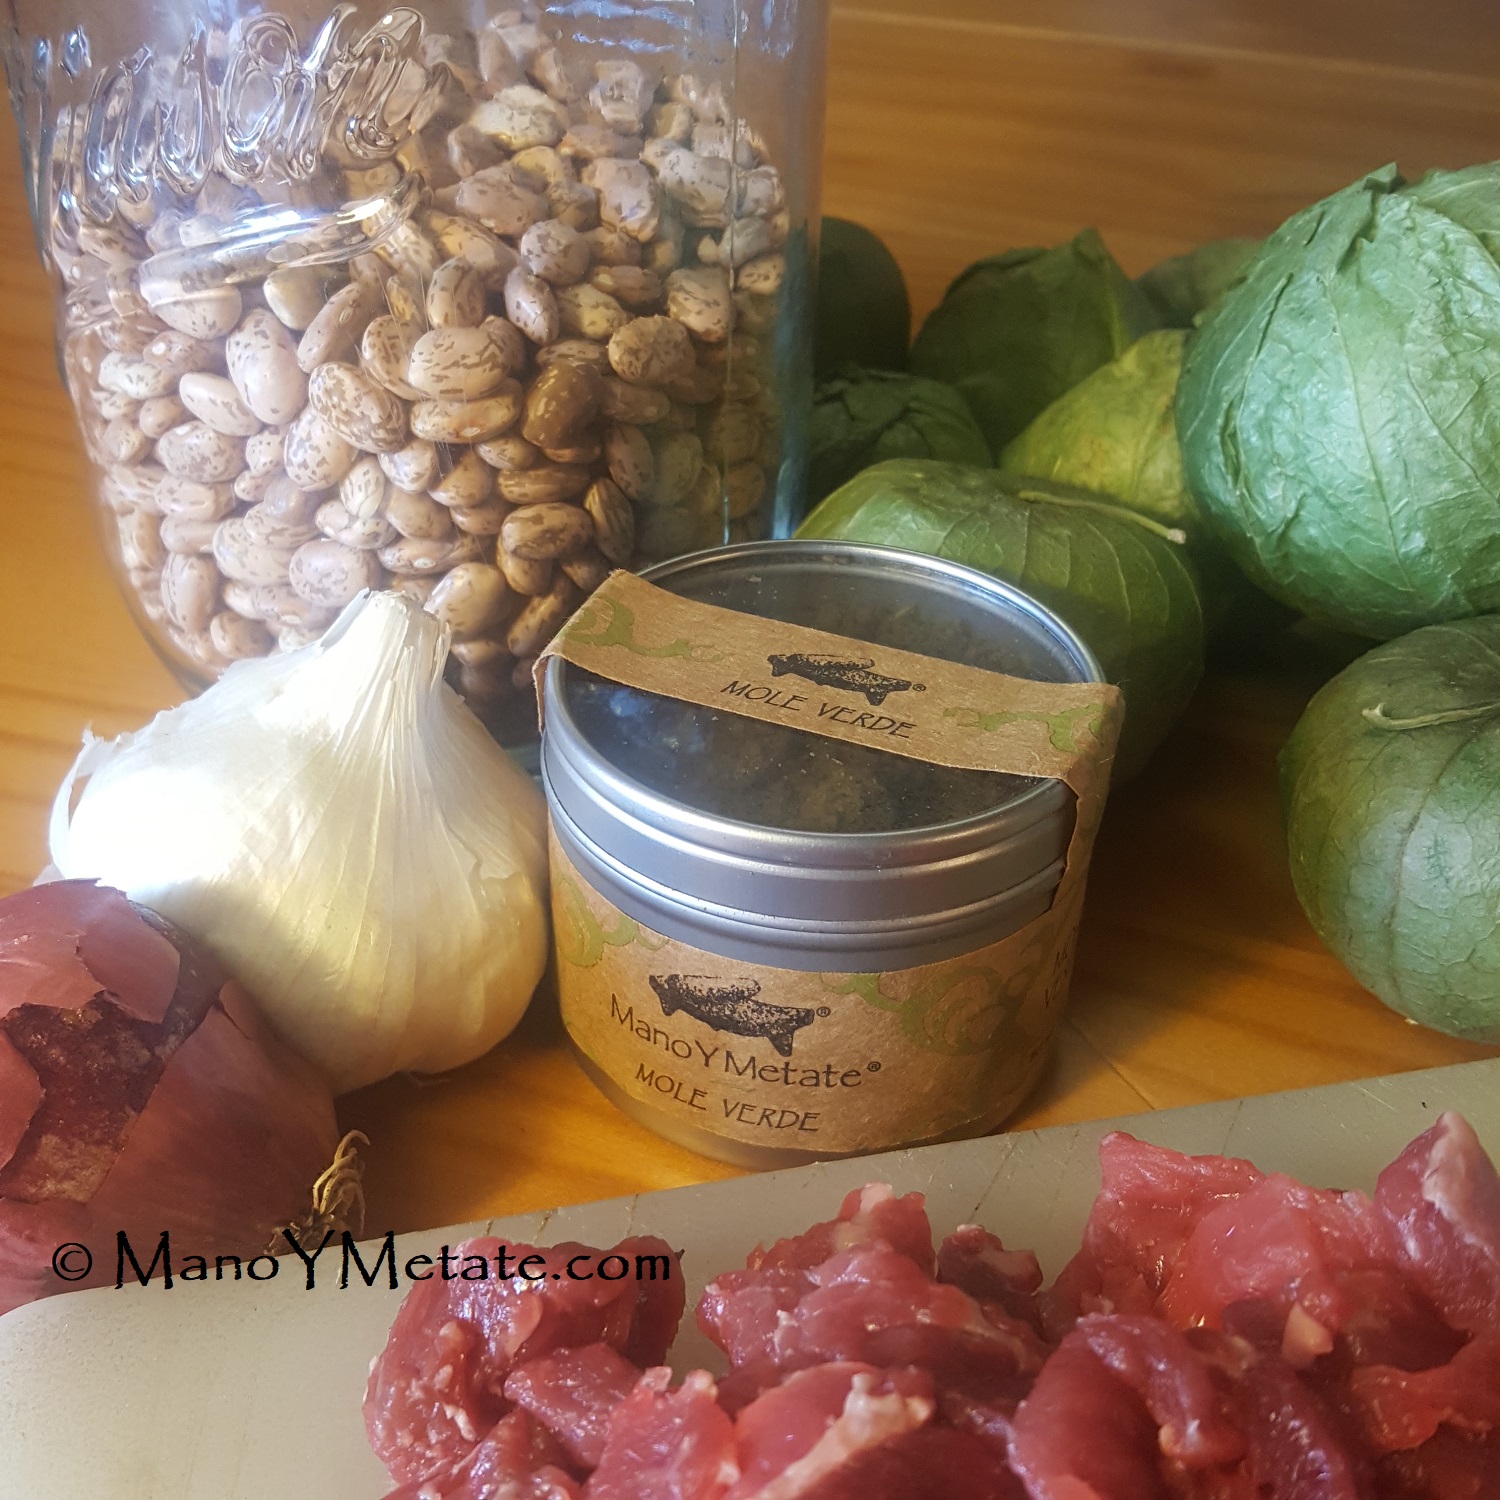
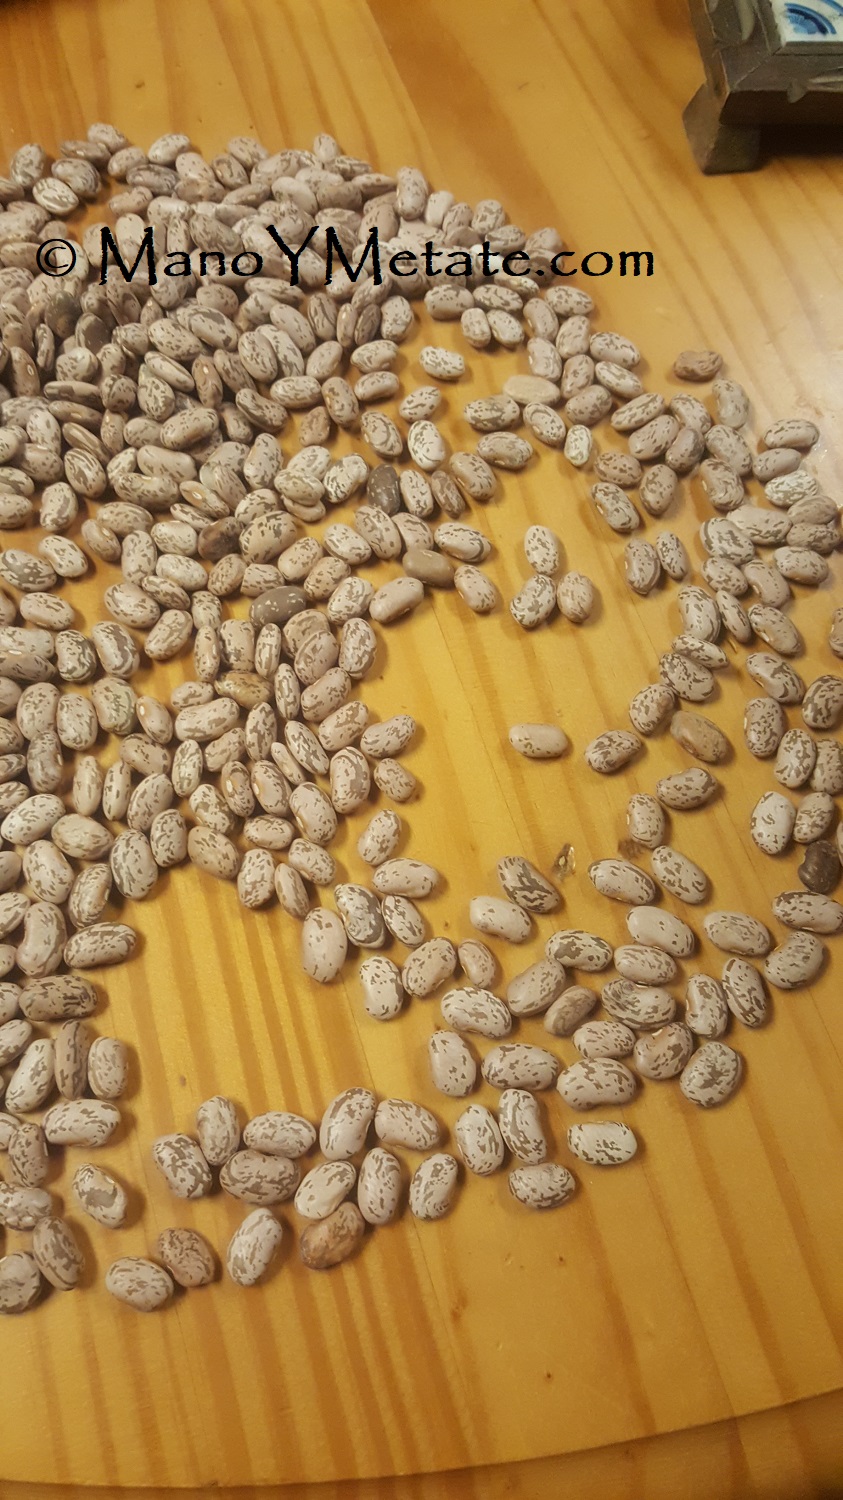
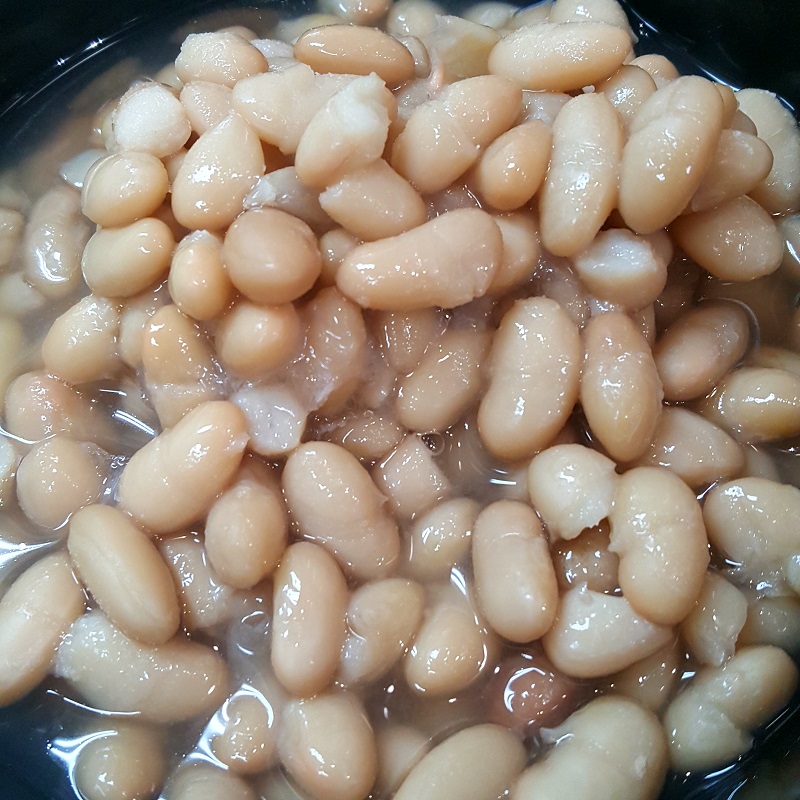
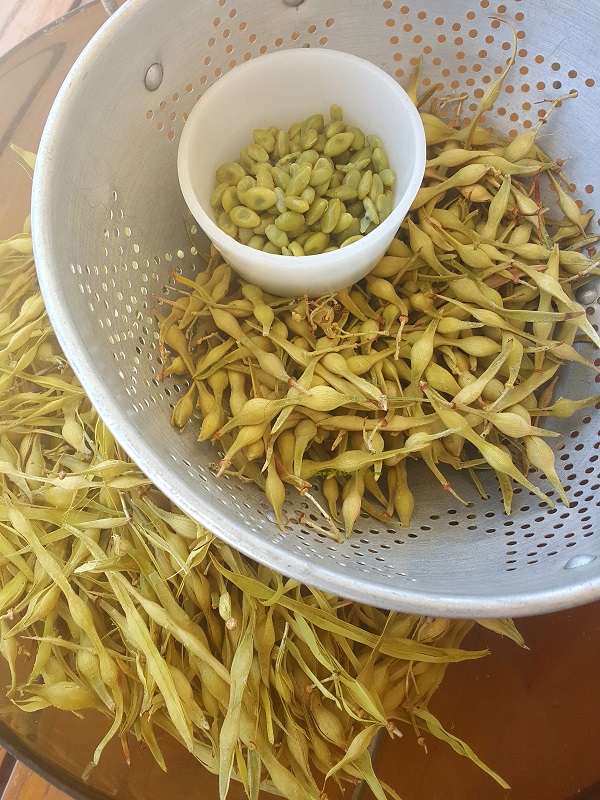
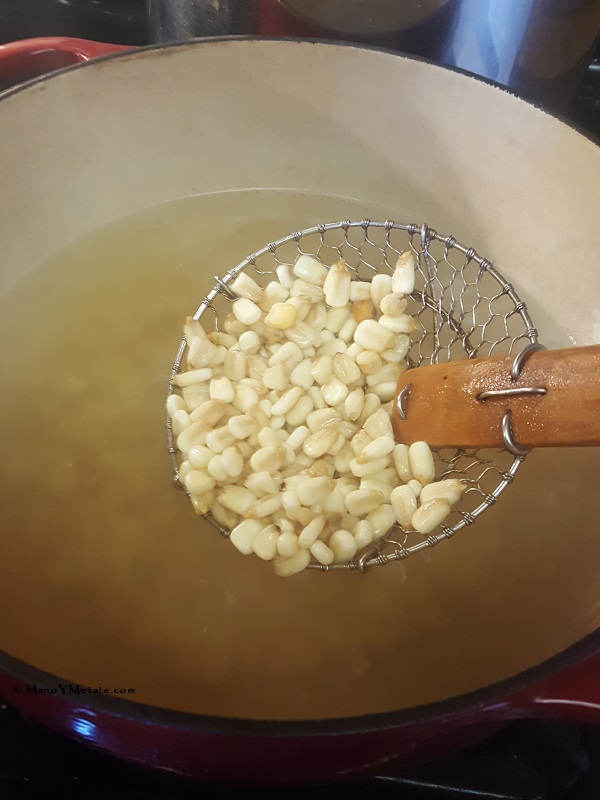
My niece used leftover beans and so did I. These are mayocoba beans cooked with just water, garlic and salt.

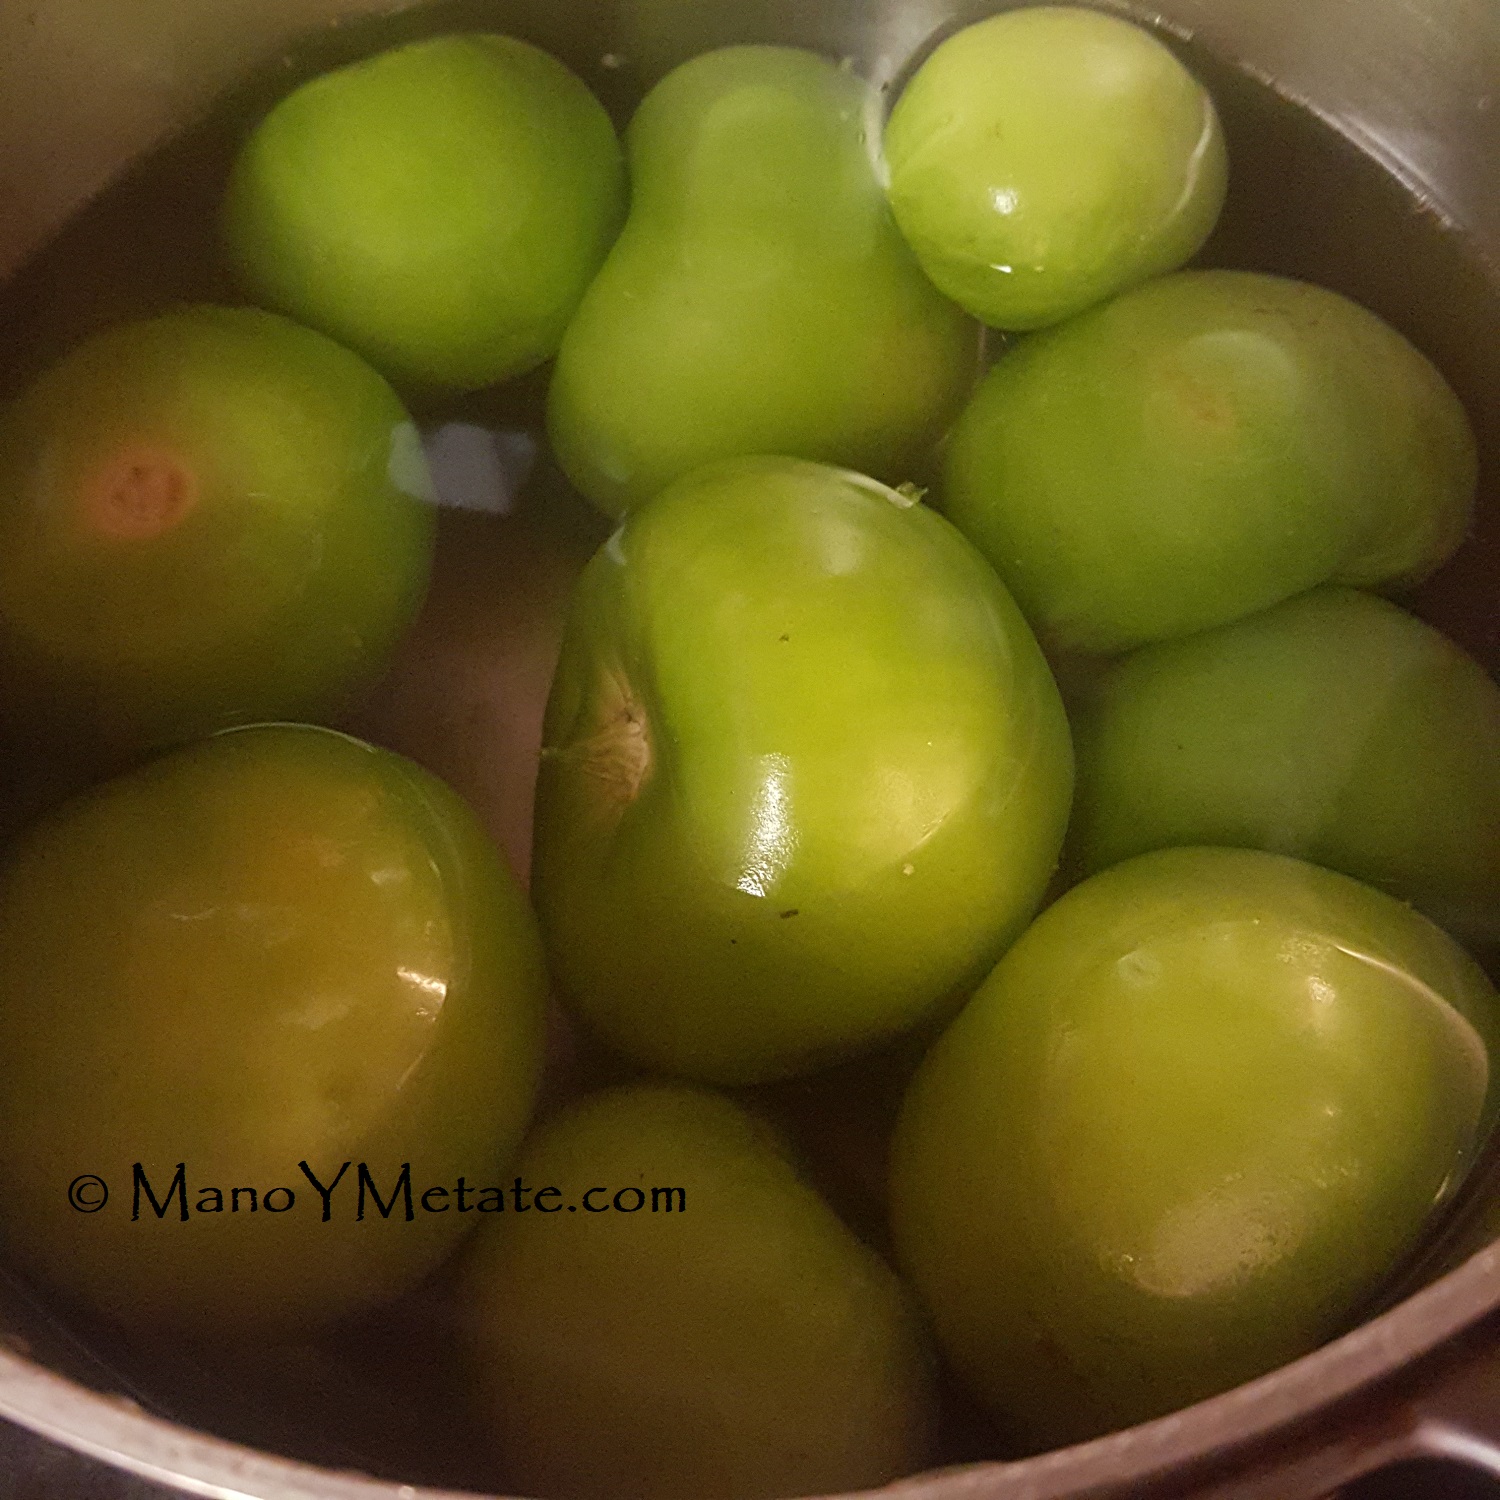
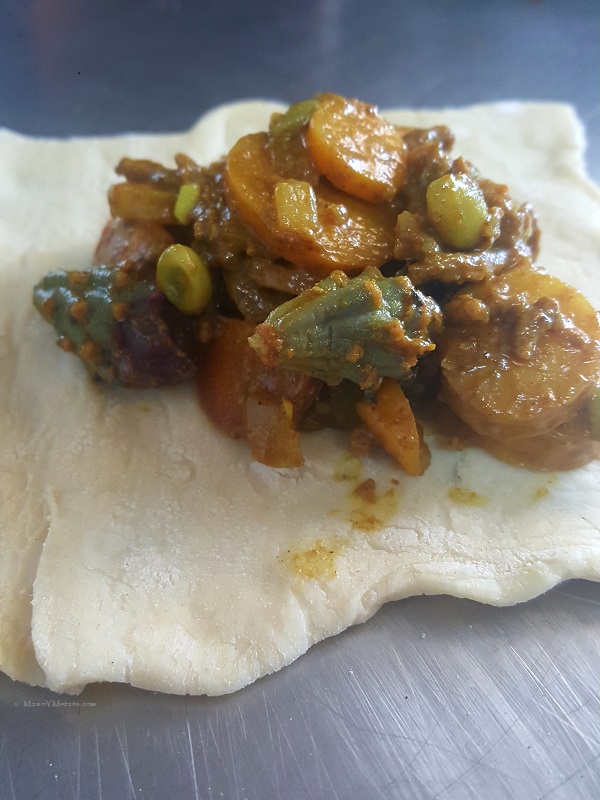
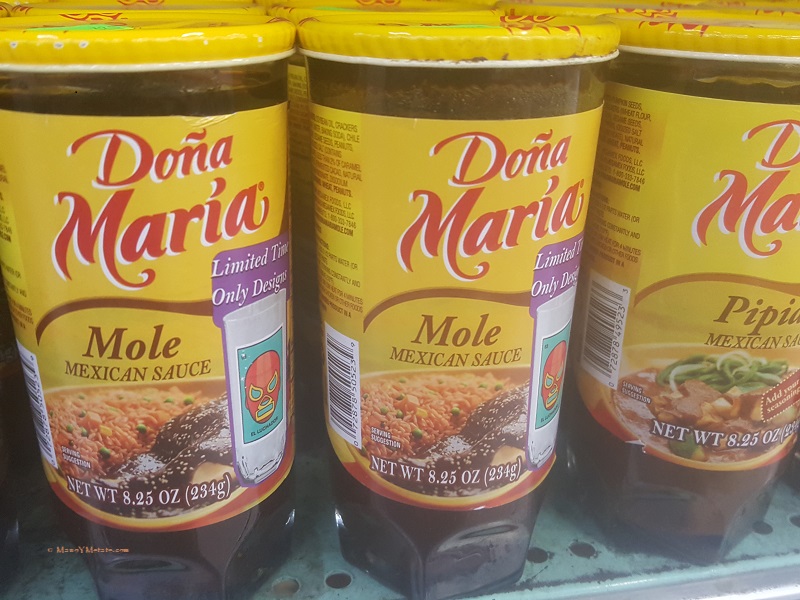
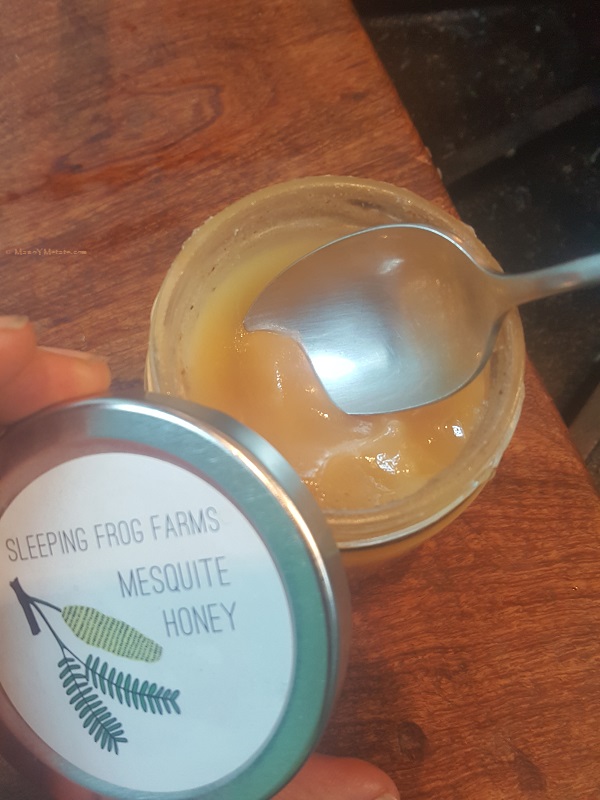
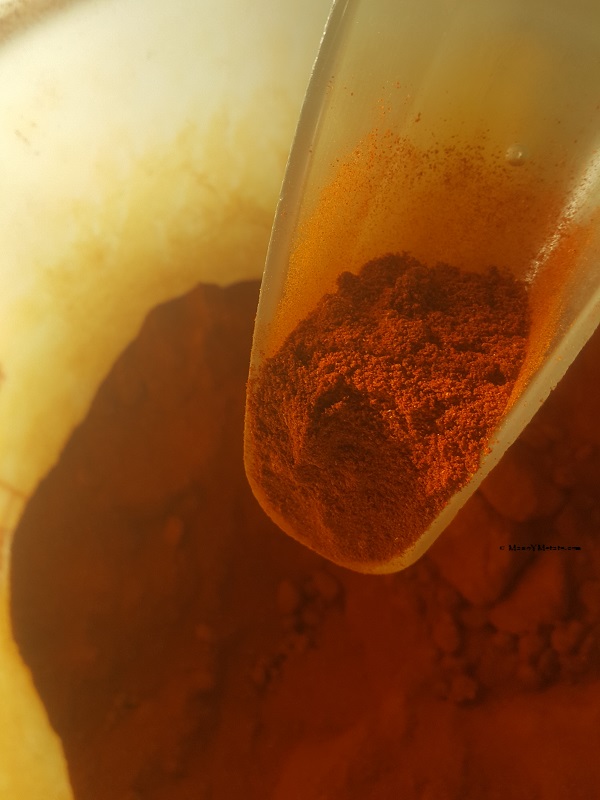
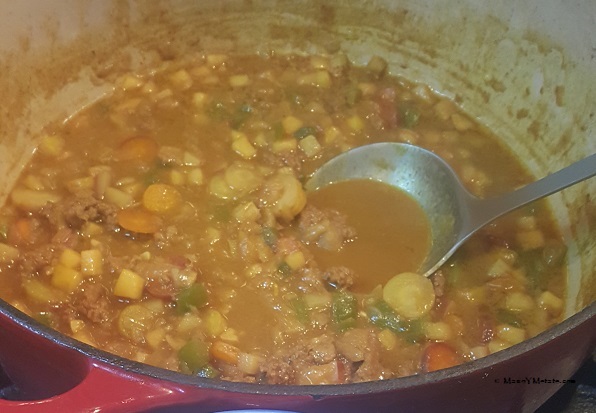
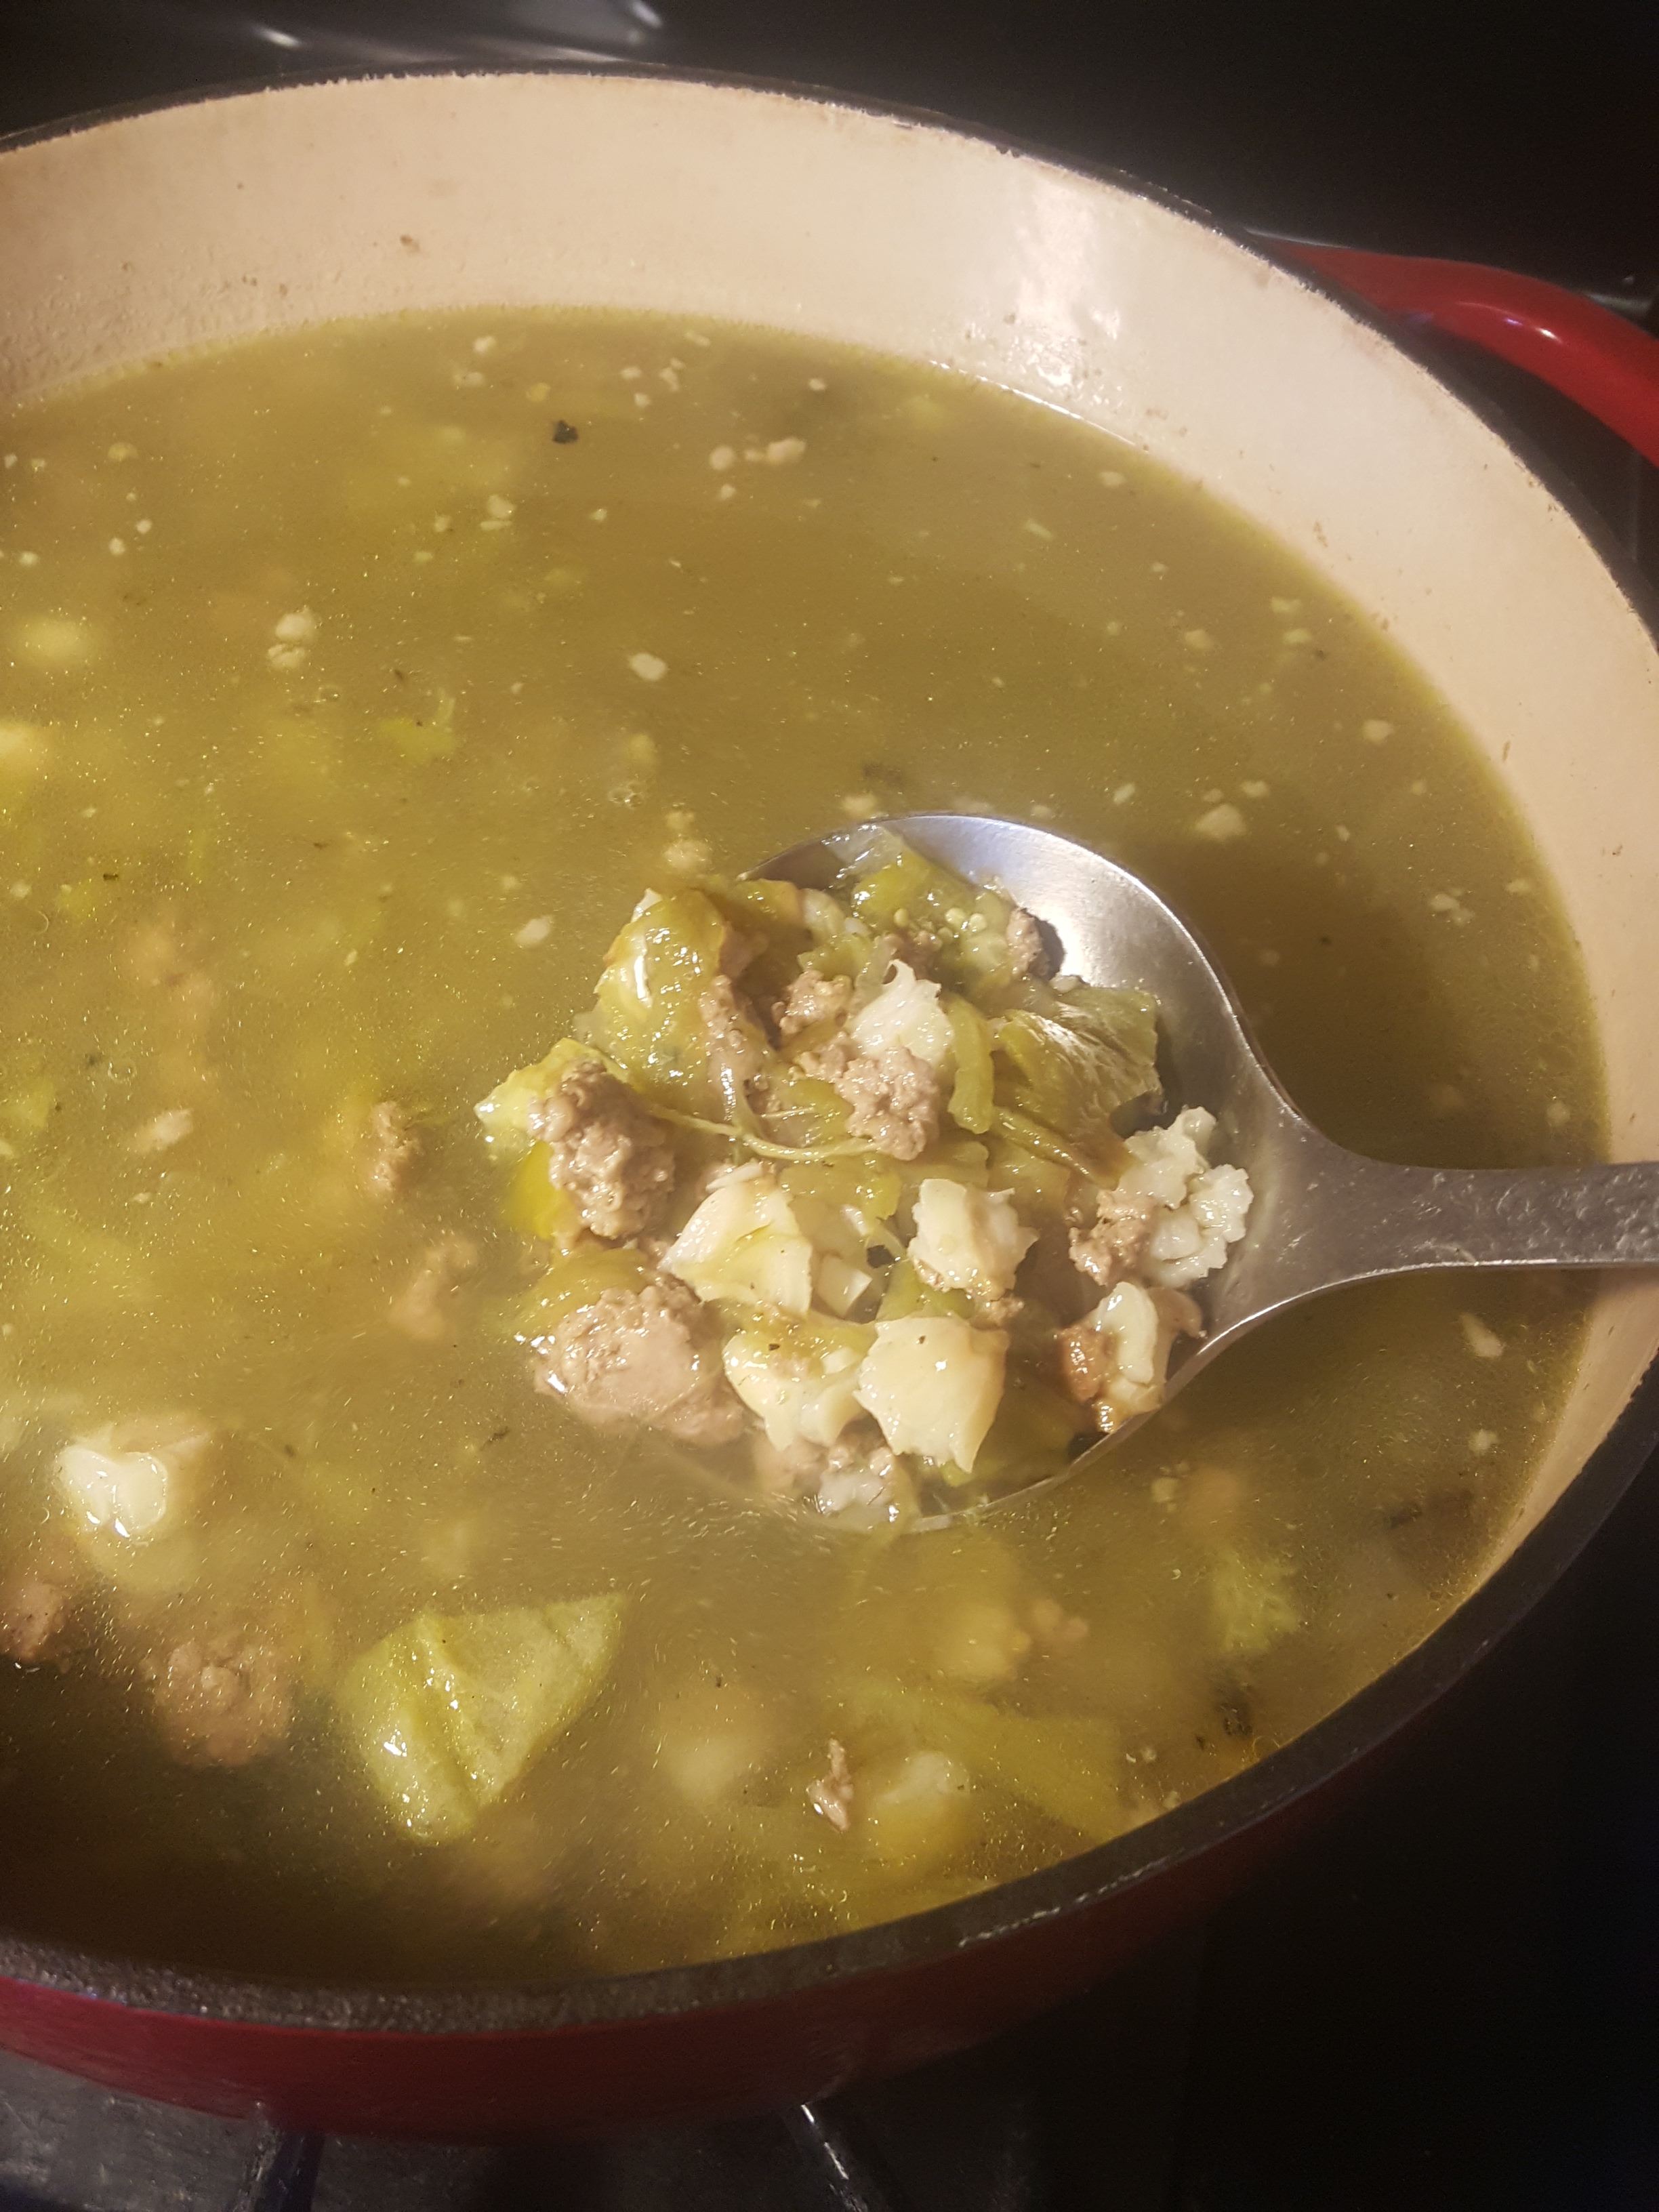
For sauce and spice, I made some Pipian Picante with my Mano Y Metate mole powder and the oil left after frying tortillas.

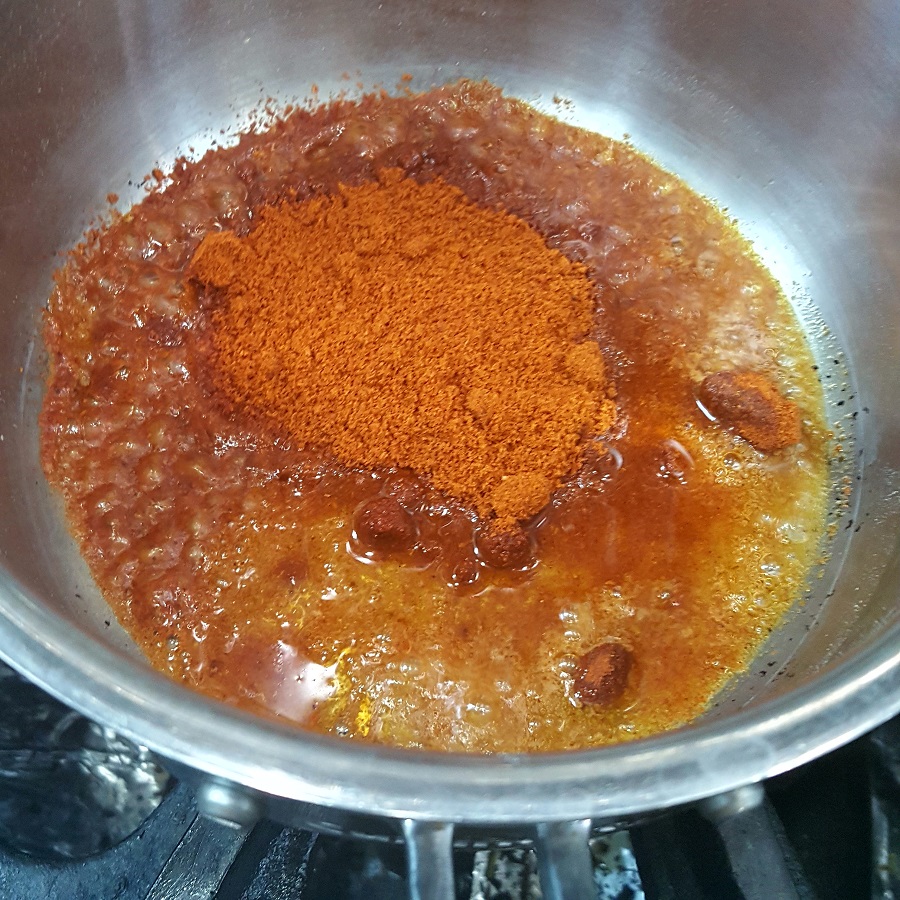
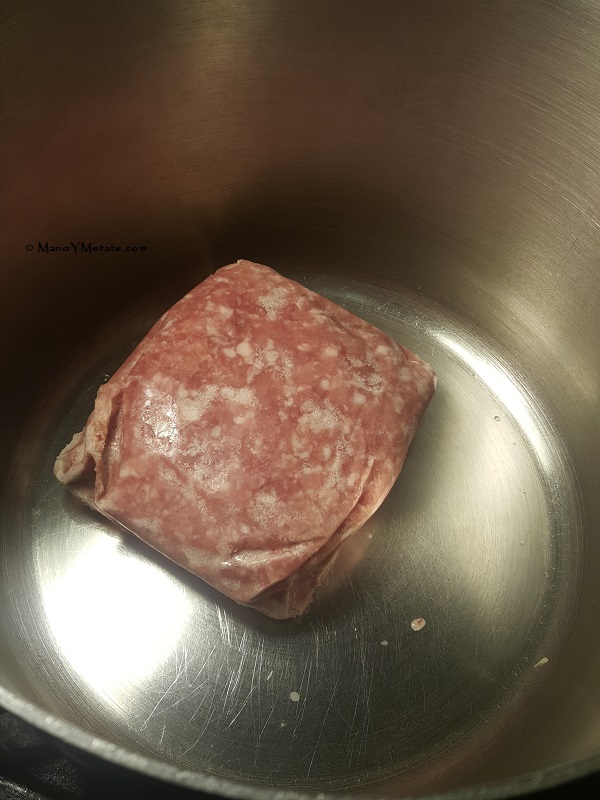
Then I added some leftover carnitas to it!

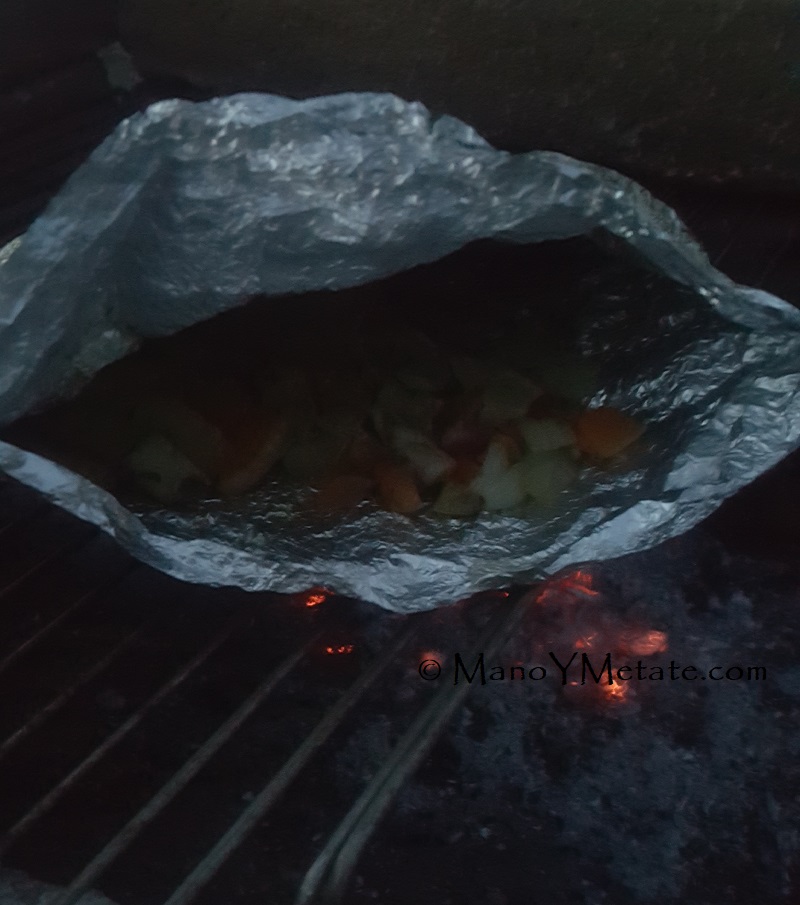
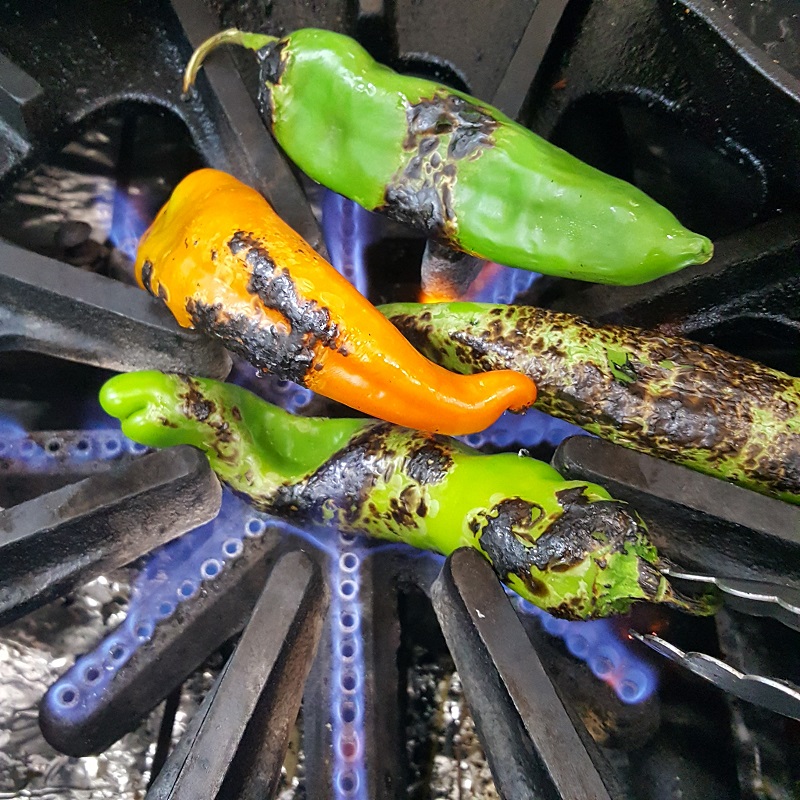
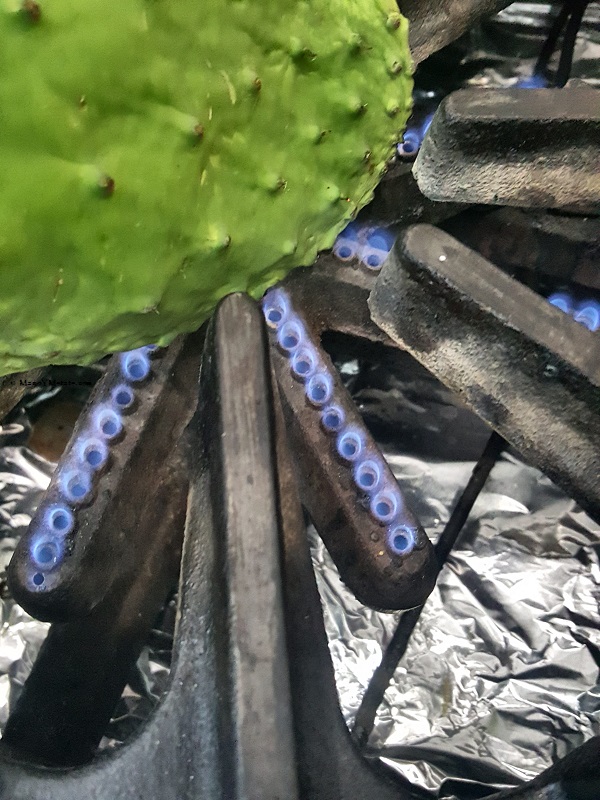
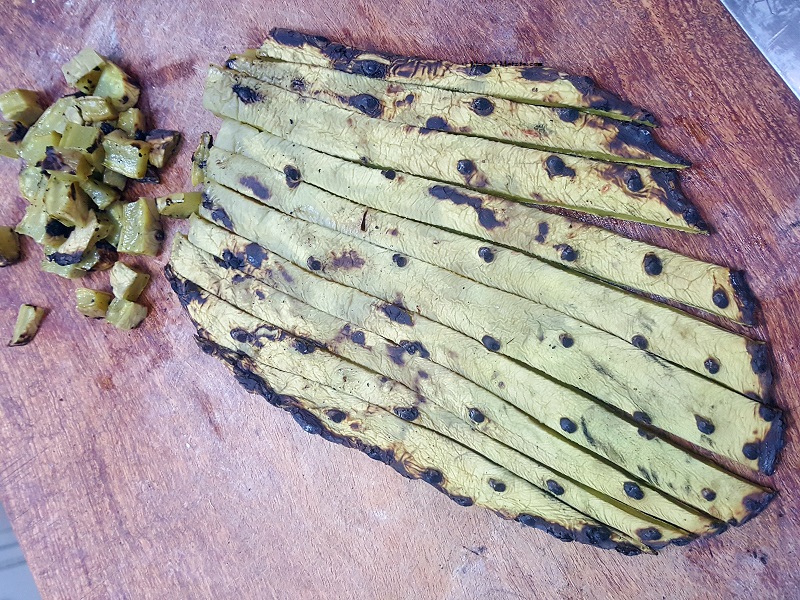
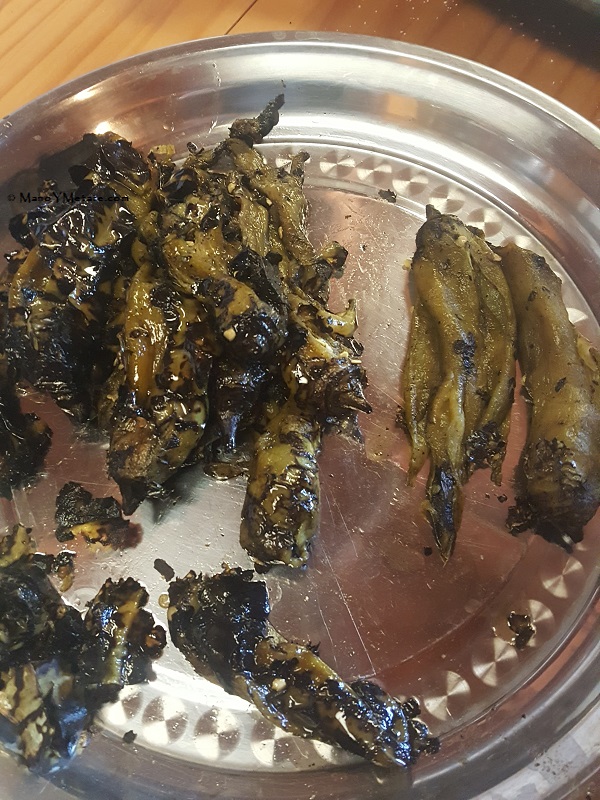
Since it is chile season, I roasted some from the Tucson CSA over the gas stove inside. After evenly charring, I put them in a lidded dry, cold saucepan, allowing them to steam in their own heat. Then the skins slip off easily.

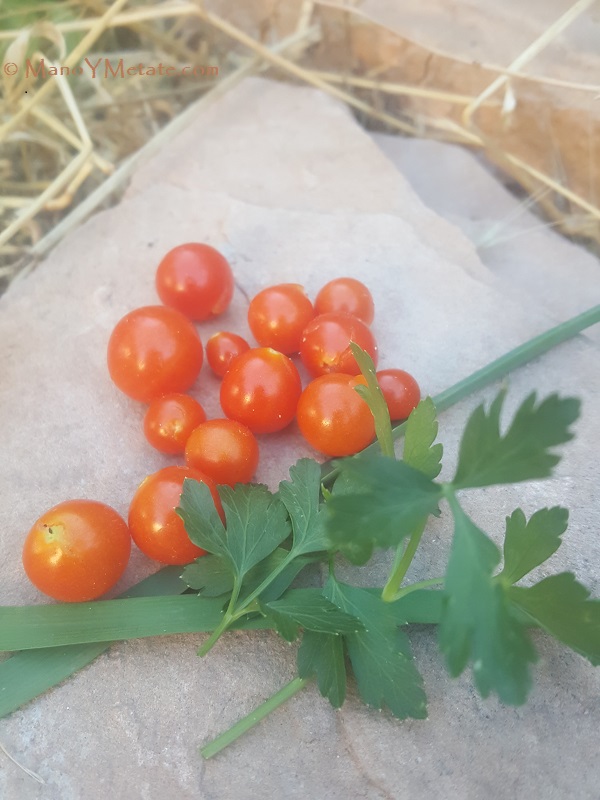
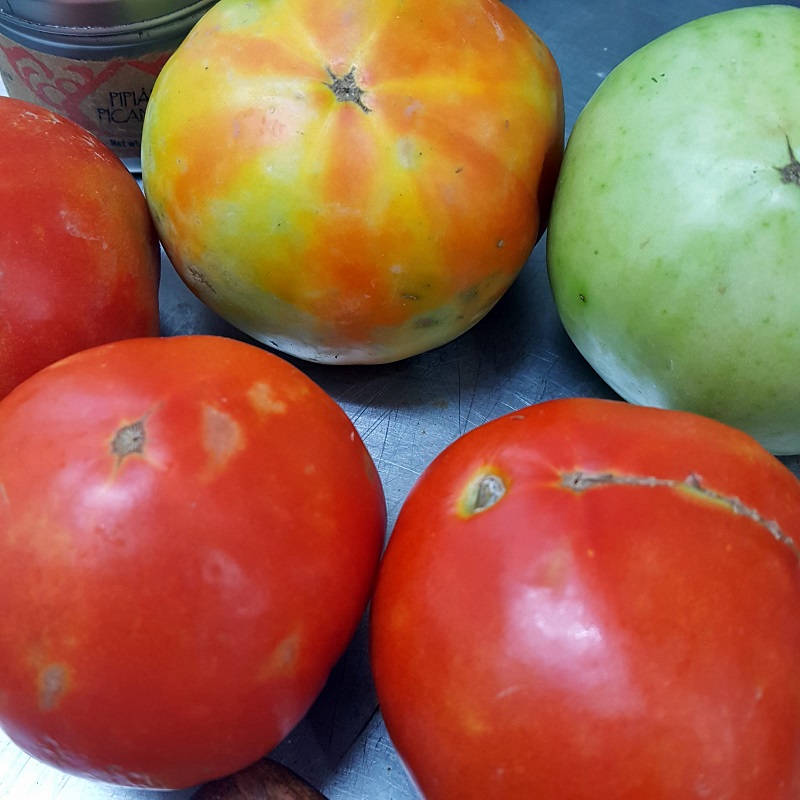
Tucson CSA has had a good heirloom tomato year, so they go in whatever dish I’m making on the day they are ripe. And I sliced some white onion thinly.

I put the tortillas, cheese and beans to heat in the oven.

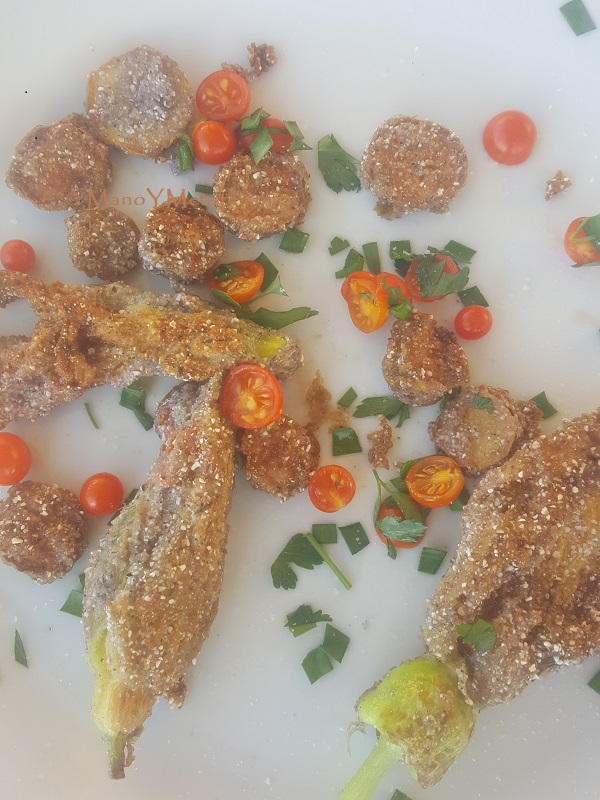
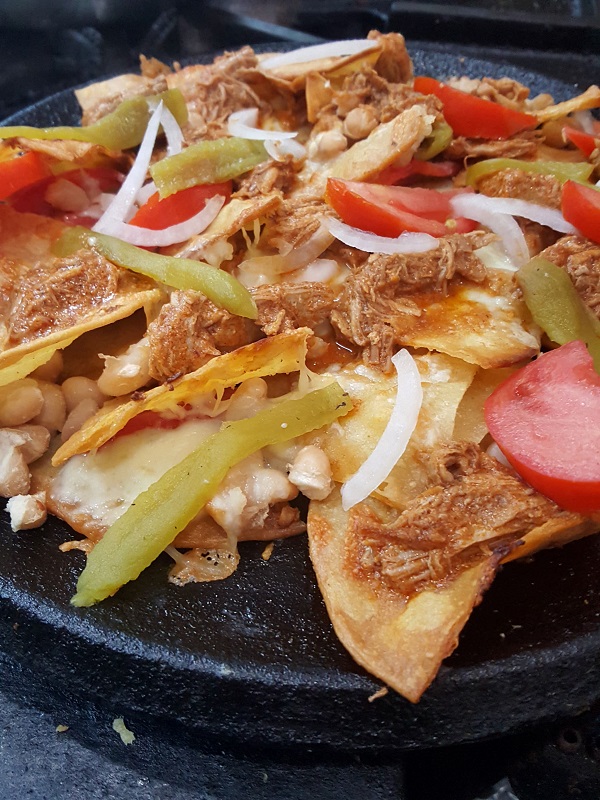
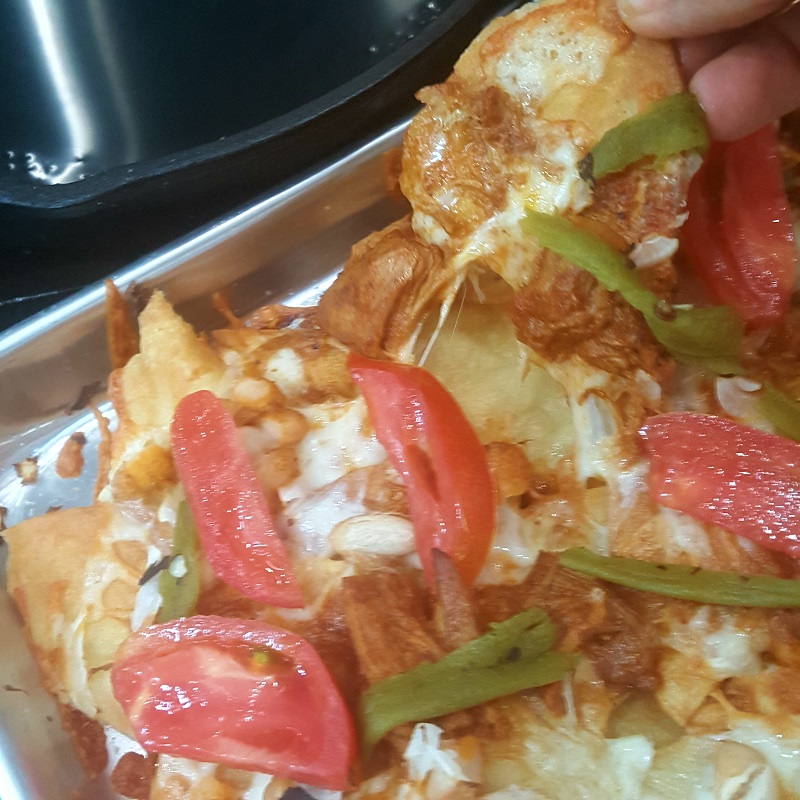
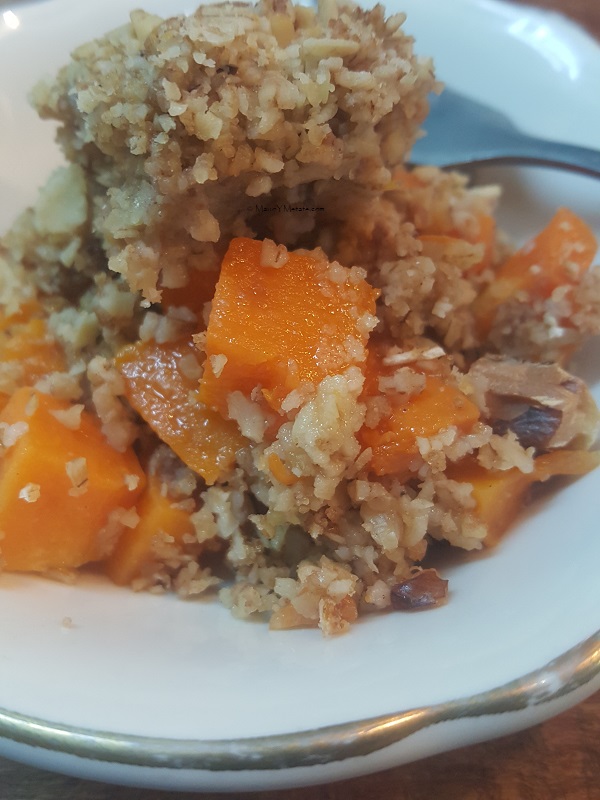
A thin layer of tortillas makes for more edges that can get crisp, but a full sheet pan with extra sauce and cheese is good, too! After baking, I top with the pork in Pipian Picante, tomato, onion and green chile. I recommend eating immediately like I did with my niece, enjoying the outdoors.

Nopalitos Pulao

Hello friends, Amy here making something different out of the same characters I always eat, again and again and again. Eating more locally and seasonally encourages creativity! Nopalitos, young prickly pear cactus pads of many species, are DELICIOUS but like okra need special care to not let them overpower the texture of a meal. Start by harvesting a tender young pad that still has its true leaves, the little cones at the top of the pads seen in the photo below. As the pad matures, the leaves yellow, fall, and a woody internal structure develops. This might be the last I harvest before a new flush of pads comes with summer rains.

Any large spines or tiny glochids can be quickly singed to ash over an open flame, holding the pad with tongs.

Singed nopalitos can be safely touched and if they turn from bright green to pale olive, they are cooked and ready to be eaten.

To showcase this little harvest I made pulao, an extremely flexible rice pilaf from India. I started with a traditional recipe changing to local veggies and nuts. Whole cinnamon, cloves, cardamom, star anise, Indian bay, fennel and black cumin can be toasted in oil or ghee. I wish I had whole nutmeg or mace to add at the beginning, because I forgot to add them as ground spices later.

Then onion, garlic, ginger and a whole green chile (a serrano frozen from last autumn’s harvest) went in to fry. Followed by Tucson CSA carrots.

Then Tucson CSA zucchini, soaked basmati rice and mint from the garden.

After several years without, I now have a great spearmint patch again. A smart gardener gives plant starts away to friends and family for backups and last year I was a grateful recipient. Anybody need some?

After water, salt and 20 minutes covered over low heat, it was ready.

After fluffing, I toasted some local pecans and sprinkled them as well as the nopalitos on top. A totally new taste for my usual veggie friends. If you like this, you make like Tia Marta’s cholla bud jambalaya.

Curry puffs with cholla and palo verde

Hello! Amy here playing with the cholla buds I just harvested! NOW is the time to harvest and our own Tia Marta is teaching a workshop THURSDAY, April 22 on Earth Day! Register here.

The unopened flower buds of the cholla cactus are a real favorite, and one annual harvest I collect every year no matter how busy life gets. It is a very narrow harvesting window, usually in April, depending on the year and elevation. Simply bush off the spines with a bouquet of creosote or bursage, pluck with tongs and boil in water for 5 minutes. They taste tart with a slightest hint of internal texture like nopalitos. But that doesn’t convey how delicious they are.

Plentiful in the desert, harvesting does not hinder its reproduction, which is usually from “cuttings”. But this is the first year my backyard had enough to harvest! Grown with no irrigation at all, it is totally sustainable, low maintenance agriculture. Plus beautiful in the yard!

There are countless ways to enjoy cholla buds, but yesterday I snuck them in Chinese curry pastries, a treat I remember from childhood, from the tiny Chinese bakery that was near my house.

I started with ground beef, onion and garlic. Of course, mixed veggies could be used instead.

Then I added beautiful Tucson CSA carrots and Chinese curry powder. I’m sure any curry powder would work perfectly.

I had some young foothills palo verde seeds from last spring in the freezer. I blanched the harvest and stashed for another day. Learn more about them here.

The delicious, sweet immature seeds taste like young green peas…and also take as much work to shell as green peas.

The filling complete, I folded a spoonful into premade puff pastry.

Gilding with beaten egg is essential to make them look like how I remember them at Lai Wah bakery.

After a few minutes in the oven, it smelled unbelievable.

I can hardly wait to make them for my sister and brother.

Childhood favorites from scratch

Hello friends, Amy here reminiscing about a couple foods I enjoyed as a child. I grew up eating mole with turkey made from Dona Maria mole paste. My grandmother added a few ingredients, like extra chocolate and a little peanut butter, to add sweetness and depth. Its was good but the paste contains unpronounceable ingredients. For my grandmother, it reminded her of eating her mother’s scratch made mole in Aguas Calientes, Mexico. With consultation from my mom, who remembers her grandmother’s mole, I now make Mano Y Metate mole powders with more wholesome ingredients. Cooking dry spices in oil to make a fresh mole paste results in a more vibrant sauce than the premade paste. Plus the cook gets to choose the oil (vegetarian neutral oil, lard, chicken fat, etc.), and that oil does not need preservatives.

As Tia Marta announced last week, curry is in the air! When I was a kid, my sister’s friend’s mom from Japan introduced us to Japanese curry. Apparently the British introduced a westernized Indian curry to Japan in the 1800s, and cooks there made it their own. Sweet and mild, it really tastes like no other curry in the world. Recently, I learned that the spices from the Japanese curry roux bricks I used all these years is available as a powder with no oil, thickener, MSG or anything but the spices!

After consulting many recipes, I started by caramelizing lots of onions and a little garlic in butter.

I then added half as much curry powder as flour to thicken the sauce.

When the flour and spices were moistened by the butter and cooked, I had essentially made the curry paste we always used to buy. To that I added water and ground beef, like I remember my sister’s friend’s mom used. She also used plenty of diced carrots. Tucson CSA carrots are in season now but they are so pretty I left them in coins.

She also used bell pepper and apple, everything cut in tiny pieces or even grating the apple. Potatoes our family added years ago because they were in the photo on the curry paste box. It also makes for a heartier dish, which we often made while camping or backpacking.

As the veggies became tender, I added a few of the fun secret ingredients suggested online to see if I could mimic my taste memory. The suggestions included all manor of sweet and savory condiments, reminiscent of the secret ingredients cooks add to mole for background complexity. I added sake, mirin, soy sauce, miso and honey (Sleeping Frog honey via Tucson CSA). Other suggestions were ketchup, chocolate, coffee, red wine, cheese, yogurt, vanilla, banana, chutney, oyster sauce, Worcestershire sauce, tonkatsu sauce, etc.

Mine needed chile, so I added Santa Cruz Hot from Tumacacori, a kitchen staple with a bright flavor and amazing color.

As the pot simmered, I tasted. After a little more miso and soy sauce to balance the sweet onions and honey, WOW, it really worked! In fact now that I eat so seasonally, I often don’t purchase the apple and bell pepper, but they made a huge difference to this tasting like my childhood memory.

I ate it with Japanese short grain white rice as my sister’s friend’s mom did.

Sweet Squash Crisp

Hello Friends, Amy here with my new favorite way to enjoy winter squash. Some years I find myself with manageable butternuts or stringy cushaws that I only want to puree for soups or sweet dishes. But this year Tucson CSA had Fairytale, Cinderella, Red kuri, and various hubbards all sweet and smooth textured! Also, this fall the apples were so crisp and flavorful that I never got around to making apple crisp. To make up for this, I decided to give winter squash the apple crisp treatment.

I started by dropping a hard shelled winter squash on the patio floor. Crack!

I then scooped out the seeds, cut the skin off, and trimmed the ragged portions that bordered the central cavity. (The inner trimmings simmered in a small amount of water until tender and ended up pureed for another project.) I made the tidy pieces of raw squash into cubes and placed them in a buttered baking dish. I gave those a head start in a 350 degree F oven while I made the topping.

I never use a recipe for the topping but it works. It is different every time but still totally delicious. In the food processor I pulse together about 2 cups of oatmeal, 6 tablespoons butter, a handful of walnuts, brown sugar to taste and a dash of salt and cinnamon. If the mixture seems very dry, I add more butter or a bit of liquid (maybe some mesquite broth). Anything from wet sand to drop biscuit dough will be fine. I like to leave it coarse, but it can be blitzed if you prefer. Coconut oil works in place of the butter beautifully. Basically this is granola, which makes a great substitute for all the other ingredients. In the past I’ve added mesquite meal and different sweeteners and spices. Seriously, just go for it. It is not expected to rise or stay together anyway. Who says baking is not improvisational!

I spread this over the not quite tender squash and put in back in the oven. When the top is browned and the squash tender, it is ready. Serve hot or room temperature for dessert or breakfast. Vegetables in every course, YUM!

Green chile stew

Hello, Amy here, with a classic for cool fall evenings. A friend brought a baggie of roasted green chile back from New Mexico. That was the inspiration. Frankly, I had no idea yet how mild or spicy it was. As I peeled, seeded, stemmed and tore into strips, I starting thinking…

So I lightly browned some ground pork. Even lean pork has a richness that tames the spiciness of chile.

I added water and, cautiously, half of the chile. Then of course, onion and garlic.

I had some tomatillos from Tucson CSA that would be perfect! I skinned , rinsed and chopped them coarsely and slid them right in as is.

Wishing I had potatoes and brainstorming what to add for starch, I found some good dry while corn posole in the pantry. I covered it with salted water and brought to the boil.

Then I let the sun finish cooking the posole in the solar oven, which sometimes needs an hour or two to fully soften, while I shut off the rest of the stew and filled a few mole orders.

When it was soft, I mixed everything together and tasted. Very mild! So added the rest of the chile and some Mano Y Metate Mole Verde powder. It has jalapeno for heat, roasted green chile from Hatch for flavor, and a hint of black pepper. (Tia Ella always said to add black pepper to chile dishes.) Just right. !Buen provecho!

Yellow squash blossoms with blue corn


Hello all, Amy here with my two little summer squash plants growing in the garden. 

They’ve been flowering beautifully, but I’ve only eaten one patty pan. 

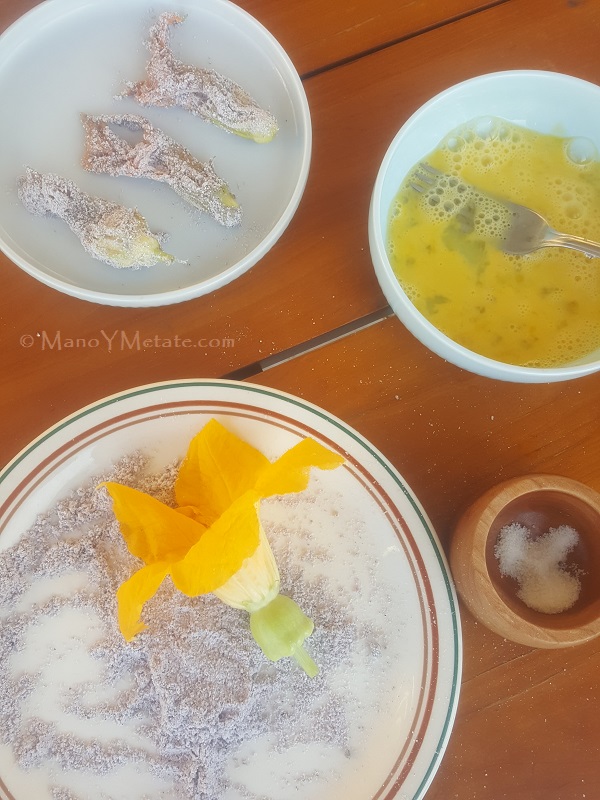
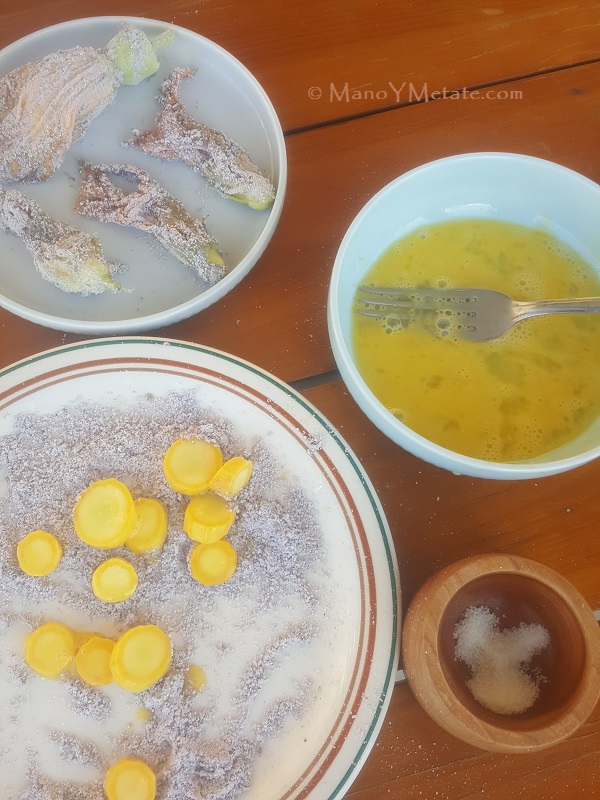
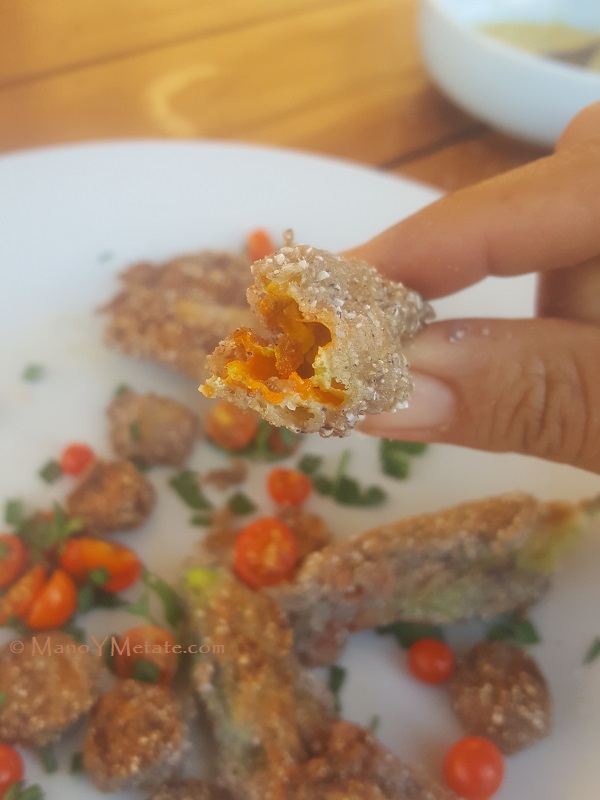
Each squash plant produces flowers that make pollen (male flowers) and flowers that make fruit (female flowers). Each flower only opens for one day. On that day insects (or a human with a tiny paint brush) pollinate from one flower to the next, from the same or different plants, resulting in the famous swelling summer squash. Without pollination, the little fruit withers and dries. Looking at the stem below the flower is the fastest way to determine a fruit or pollen producing flower. Since I don’t plan to save seed and both plants are of the same species, I’m mingling pollen from the pale green patty pans and the yellow patty pans. I won’t see the difference in this year’s crop. Often pollen producing flowers bloom days before any fruit bearing flowers appear, so those are fair game to eat. Unfortunately, I also had many days with only female flowers and no pollen! I did not have any cheese on hand to stuff them like Carolyn used in this recipe, but I did have some lovely heirloom blue corn meal.


After dipping in beaten egg, I dusted the blossoms (a few male flowers from my Tucson CSA share and the females from my garden) in the salted cornmeal.

I also sliced a yellow crookneck from the share and treated it the same.

Then into hot oil…

While that was going, I RAN out to find something fresh to garnish this crispy little dish.

 I found garlic chives, flat leaf parsley and a volunteer “wild” tomato I’ve been babying in a pot since last summer.

After a final sprinkling of sea salt, I ate it immediately, very hot! 

A delicate treat from the garden. There’s plenty of summer left to eat giant green baseball bats. 

Camp cooking at home

Hi all, Greetings from sunny Tucson! Amy here, at my new urban homestead. Taking out a wall left me a pile of old bricks to re-purpose, so I made a little outdoor hearth. This bucket of rainwater helped me level the cooking rack, sturdy enough for my over-sized, seldom used, cast iron cookware.

Making dinner for myself outside to admire the newly cleared yard, I cooked what was on hand from my Tucson CSA share: a butternut squash, Yukon gold potato, yellow onion, and French breakfast radishes. I decided to make a dish from my camping childhood, a foil meal cooked on the fire!

I cut the veggies into bite sized pieces, added a sprinkle of salt, and doused with olive oil and Mano Y Metate Mole Verde powder.

Then I sealed the foil seams very well and made a mesquite fire.

When the fire was almost down to coals, I put the sealed packet on the grill.

After about 45 minutes, the potatoes were perfectly tender and the embers glowing more dimly.

The steam from the veggies and the Mole Verde powder made a slight bit of sauce in the packet. It was mildly spicy and herbaceous from the cilantro, parsley and epazote in the mole powder. Of course, this would work with many other veggie and meat combinations, and any of the mole powder varieties.

I ate my dinner by the fire and dreamed of what might come next on this old urban lot.

Buenas noches, Amy


What to do with tomatillos? Carne en su Jugo

Hello, Amy here, with tomatillos from my Tucson CSA share. Some people asked me what to do with them if they don’t like salsa. Try a soup! Carne en su jugo, meat stewed in is own juices, is a traditional Mexican dish that features tomatilos and makes a little meat go a long way. Mole Verde powder contains lots of green chile and cilantro, so I used that for seasoning and it worked perfectly.

Start by sorting, soaking and boiling pinto beans.

Use any cut of beef; trim and cut into tiny bites. Boil the trimmings to make a broth. Cut a few slices of bacon into tiny bites and fry to make it crispy and render the fat. Set aside the bacon and save the fat in the pan.

Then husk and boil tomatillos in water.

They will start bright green but are done when soft and dull green.

Drain the tomatillos. Then peel and mash, or just puree whole in the blender.

Next, brown the beef in the bacon fat. Salt to taste. Add some sliced garlic and onion, to taste. I used elephant garlic and red onion from Tucson CSA. Then add some home made beef broth and stew until tender.

Add the pureed tomatillos. In a separate pan, I cooked a couple tablespoons of Mole Verde powder in a little oil and then thinned with more beef broth. All that went into the pot, too. Salt to taste again.

Spoon in some cooked pintos. Cook for a few minutes for the flavors come together and the stew thicken a little. At the last moment, stir in the crunchy bacon or sprinkle on top of each serving. Eat with hot corn tortillas. Enjoy!


Raspberry Beet Stem Turnovers

Amy here today, with beautiful red beets! You know, beet stems look like rhubarb…what if…

I had beets from Tucson CSA and from a friend’s garden. There are plenty of beet root dishes I make, like roasted beet salads, pickled or fermented beets, and borscht. Also, I LOVE cooked beet greens, with their salty, mineral character, sautéed in olive oil and garlic or many other ways. I usually chop the stems and cook along with the leaves, but they have a different texture and make the dish more red than green. Like in beans simmered with greens, or in a quiche, I want less of that hue. What to do with extra beet stems? Since they look like rhubarb, would they work as a substitute????


Rhubarb, and wild desert rhubarb (See Tia Marta’s desert rhubarb upside down cake and pie on this blog) are much more tart that beet stems, so I could add lemon. Strawberries are the classic pair with rhubarb, but raspberries have the tartness I wanted. I harvested wild raspberries in the mountains last summer for the freezer, but they were long gone. A little carton of raspberries from the store had the same volume as the chopped beet stems I had, so that’s what I used.


I simmered the beet stems, raspberries, a lot of lemon juice and zest, sugar and a shot of vanilla, then thickened with cornstarch. A delicious compote. It totally worked!!!!!
There wasn’t enough to fill a pie plate, so I made a few turnovers.


A simple short pastry: butter cut into all-purpose flour, a pinch of salt, a bit of cold water to make it come together, and refrigerated until firm.

After dividing the dough into 8 balls, I rolled one thinly. Then filled with the compote, moistened the edges with water and folded. On ungreased parchment paper, I crimped, poked steam vents, wet the tops with water and sprinkled with sugar. Maybe next time they’ll get egg wash or fancy sugar.


At 425 degrees F they took 20 minutes to get golden brown top and bottom.


They came out flakey, tart, and beautiful color. Don’t waste those beet stems!

Raspberry and Beet Stem Turnovers

by Amy Valdés Schwemm

Filling:

1 cup red beet stems, chopped

1 cup red raspberries

1/2 cup lemon juice

1/4 cup sugar

1 teaspoon lemon zest

1/2 teaspoon vanilla

1 teaspoon cornstarch

Pastry:

1 cup all purpose flour

5 tablespoons cold butter

dash of salt, if using unsalted butter

1/3 cup cold water


Cut butter (and salt if using unsalted butter) into flour to make uneven crumbs. Add water to make a dough, form a ball and refrigerate until firm.

Simmer the beet stems with sugar and lemon juice until tender. Add raspberries and lemon zest, and cook until reduced and the raspberries fall apart. Mix the cornstarch in a tablespoon of water, add to the pan and cook until clear and thickened. Stir in vanilla and allow to cool.

Preheat the oven to 425 degrees F.

Divide the dough into 8 balls. Roll one ball into a thin circle and fill with two tablespoons of the compote. Moisten the edges with water and fold. Place on a baking sheet lined with parchment paper; no need to grease. Crimp the edges with a fork or fingers and poke steam vents in the top with a fork or knife. When all are formed, wet the tops with water or a beaten egg and sprinkle with sugar.

Bake for 15 to 20 minutes or until golden brown, top and bottom.

Enjoy!