An Interview with Gary Paul Nabhan
by a SavortheSouthwest.blog Fan
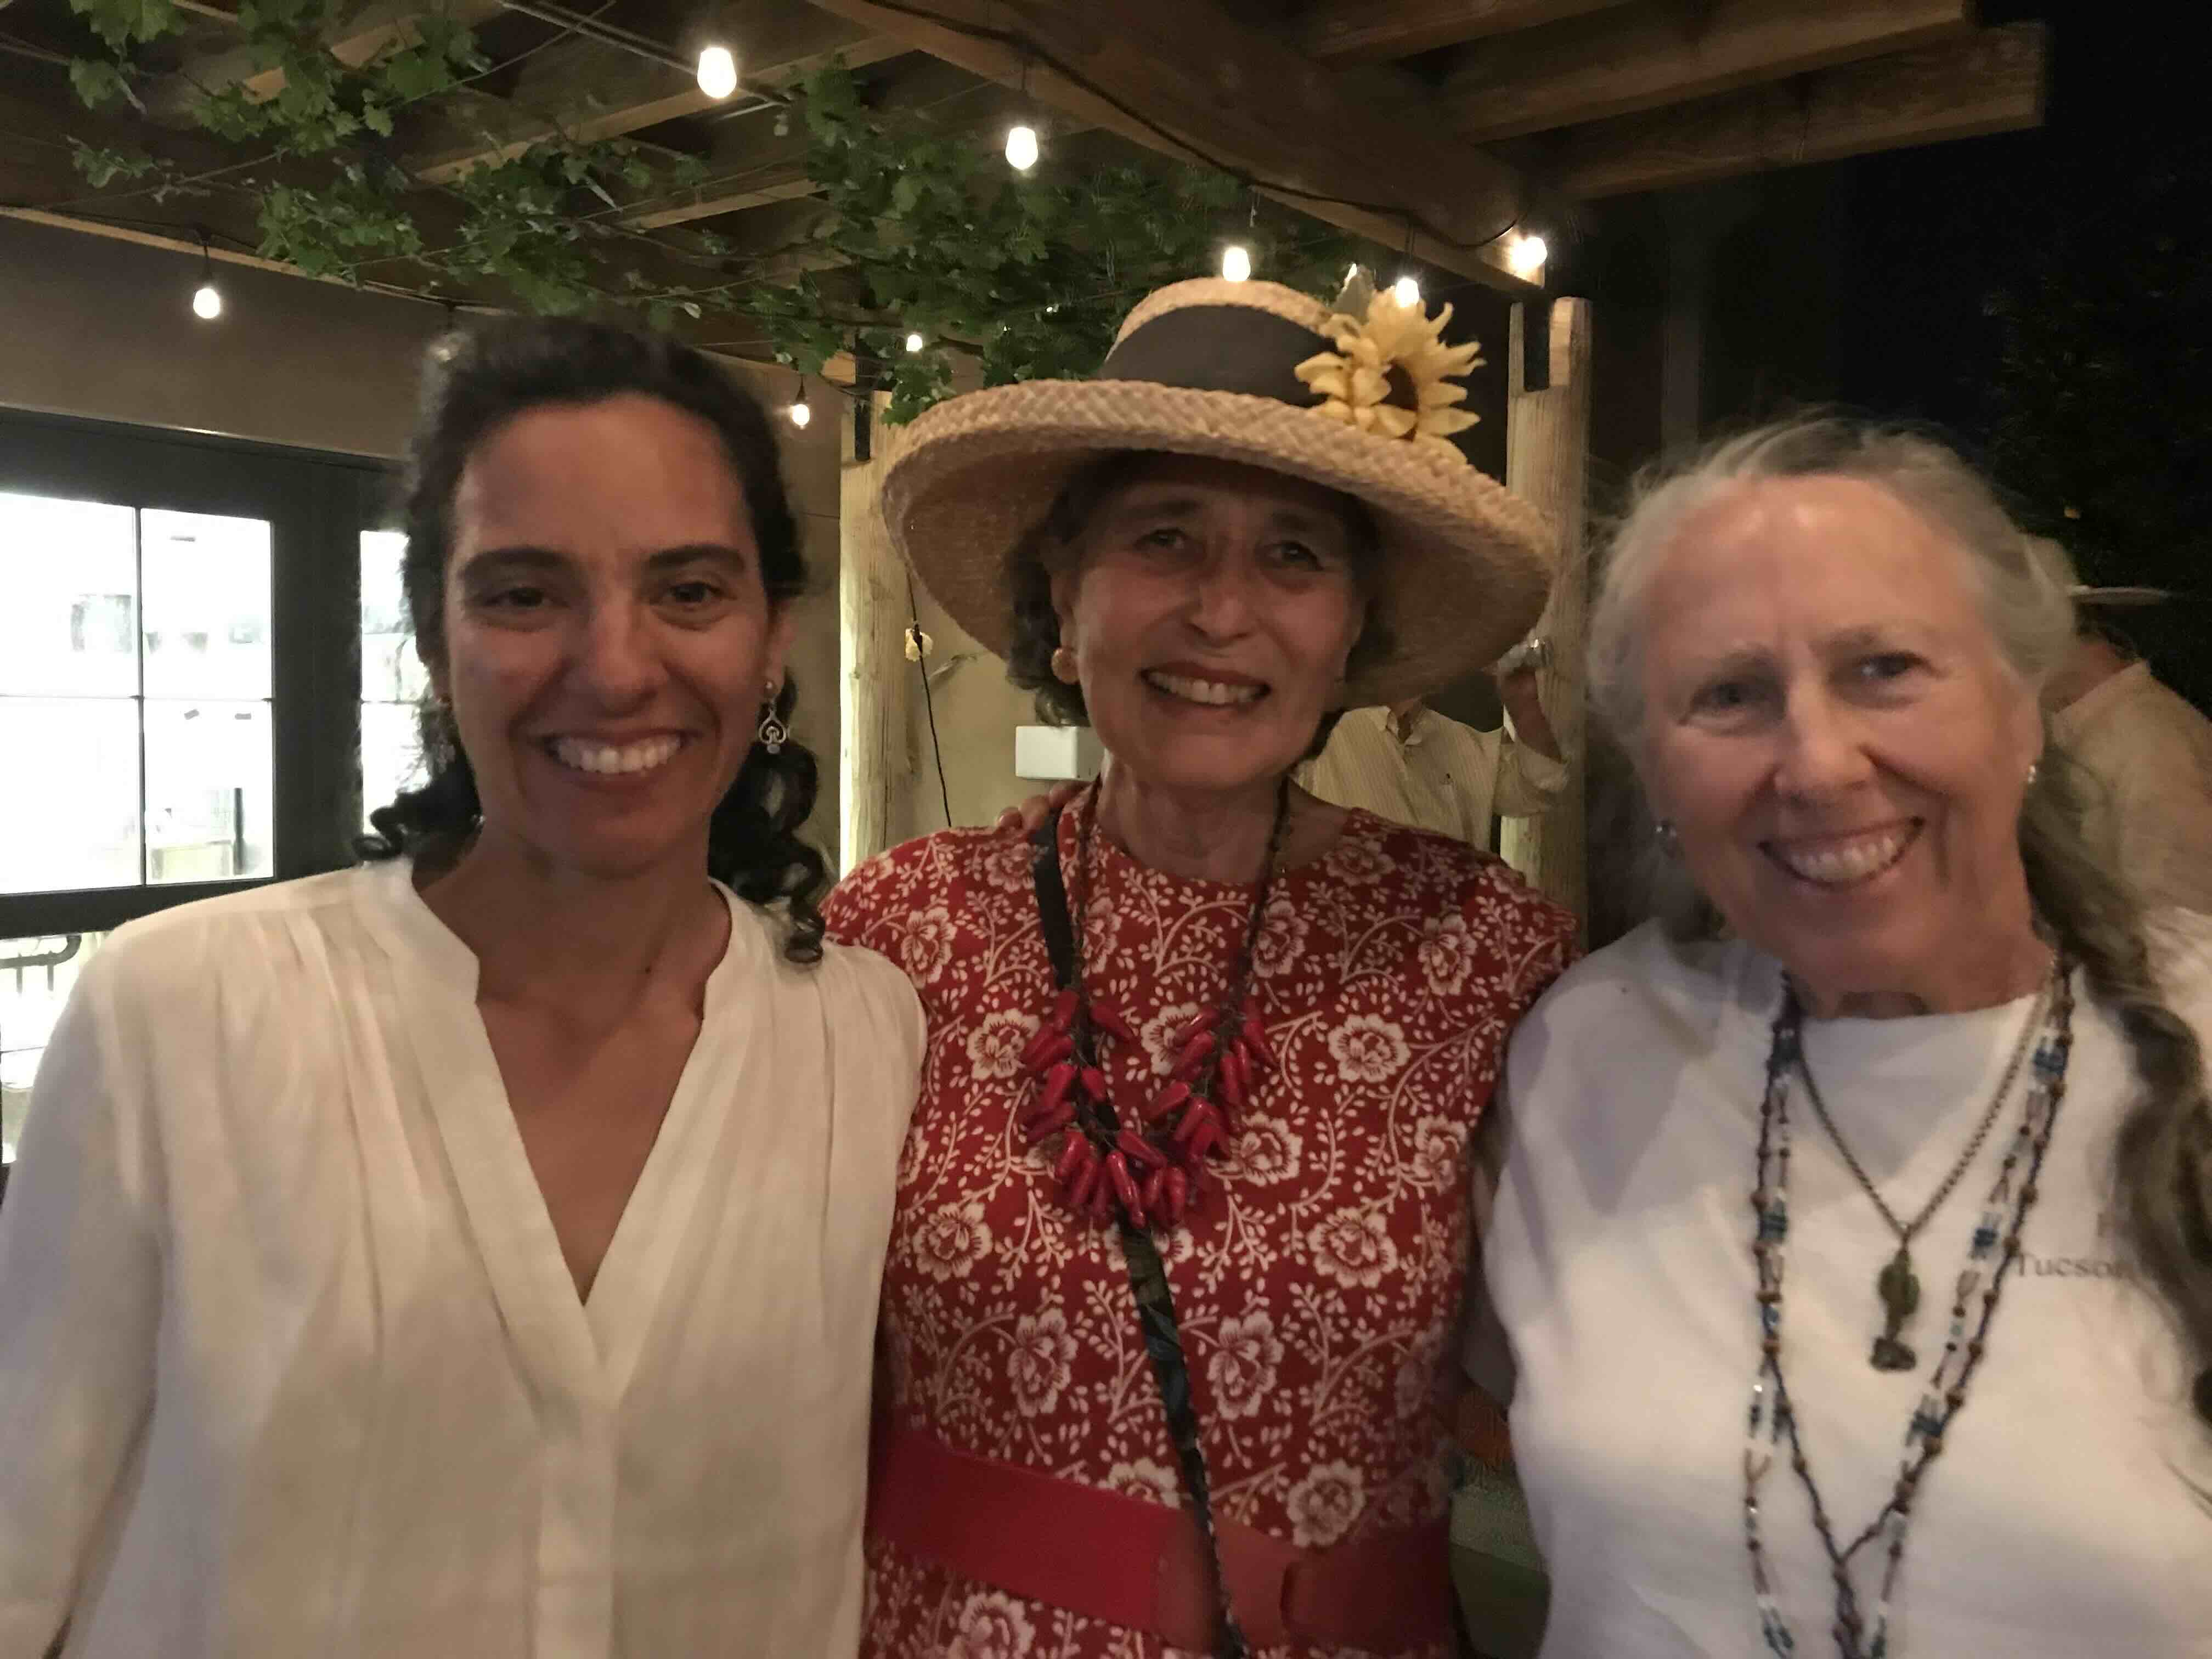
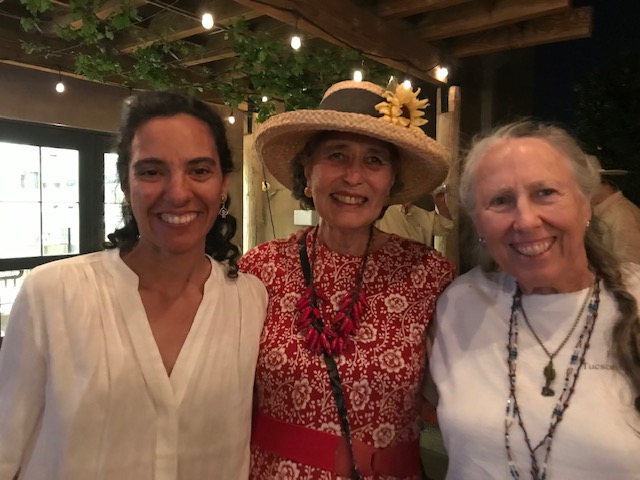
Caption: Faces behind the blog–the SavorSisters left to right: Mano y Metate Molera Amy Valdes Schwemm, Author/Culinary Artist/Hostess Extraordinaire Carolyn Niethammer, and Flor de Mayo Prickly Harvester/Frijol Aficionada Martha Ames Burgess
[Esteemed SavortheSouthwest Blog Readers: Our friend, colleague, desert foods philosopher, orchardist, inspirational instigator of culinary action, and author Gary Paul Nabhan asked to be interviewed. We were super-honored to learn he is such a fan of our blog! Here are his shared off-the-cuff remarks.]

Author Gary Paul Nabhan, with local beef and lamb grower Dennis Moroney, owner/founder of Sky Island Brand Meats (enjoying a concert by musician- grasslands botanist-author Jim Koweek in Sonoita, AZ)
INTERVIEW FOLLOWS
Question from a SavortheSouthwest.blog Fan: So Gary, why are you eager to celebrate these Southwest foodies’ lifework, that of Carolyn Niethammer, Martha Ames Burgess, and Amy Valdés Schwemm?
Gary: Aside from the fact that they have had enormous influence, not just on me but our whole community, each of them has been a remarkable pioneer or innovator with Southwest foods. I value their friendships –but also their brightness.
Question: When and how did you get to know each of them?
Gary: When I moved to Tucson in 1975 or so, both Kit Schweitzer and Lloyd Finley heard of my interest in food ethnobotany and said I had to meet Carri. She was probably working on her book American Indian Food and Lore by then, which was one of the first regional books on Indigenous cuisine in the Southwest. We did some field harvesting workshops together on seasonal wild foods in the Tucson area, calling it “Gary and Carri’s Thorny Food Review.” Next we worked together on Pima County Public Library’s amazingly innovative live-talk series, the Sonoran Heritage Program.
With Muffin, in the 1970s we were both engaged with the Arizona-Sonora Desert Museum and with Tumamoc Hill’s Mescal,Marching,&Menudo Society. As fellow grad-students, we’d practice our research findings on each other with presentations and potlucks. Later, we were conserving seeds and traditional planting know-how with NativeSeedsSEARCH [the organization Gary co-founded] and shared by Indigenous farmer friends. To this day, no single educator of nature and culture has eclipsed Muffin’s capacity to bring Tucsonans out for hands-on experiential programs. I recall an event that she organized, a Desert Museum program with Tucson explorer Tad Nichols showing his 1943-44 film of flying over the newly-exploding Paricutin volcano. Over 600 people were attracted to Tad’s presentation thanks to Muffin’s enthusiasm. We both had friendships with Tohono O’odham Elder women on the Nation, so traveled out there together a lot, learning from them. She actually was a model for one of the characters in my first book.
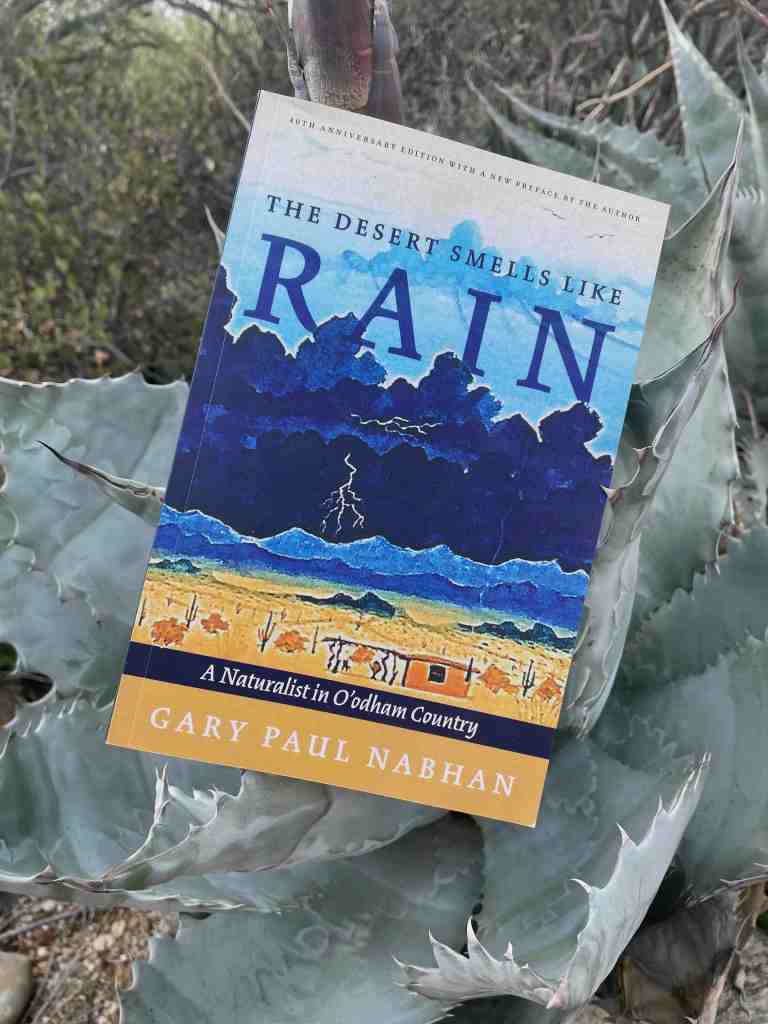
[Nabhan’s book The Desert Smells like Rain, a Naturalist in O’odham Country, first published in 1982, has been reprinted recently by University of Arizona Press!]
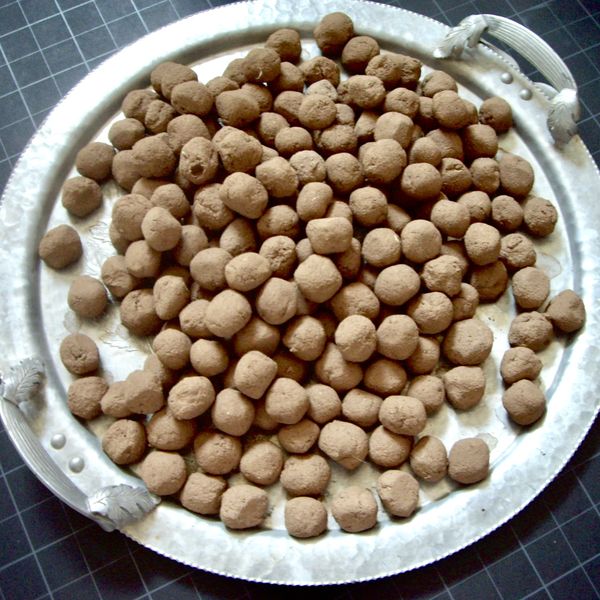
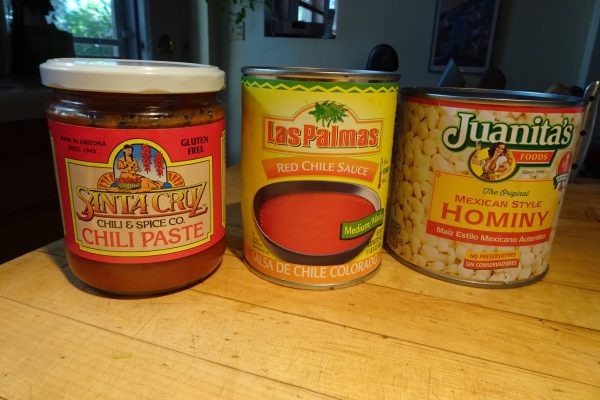
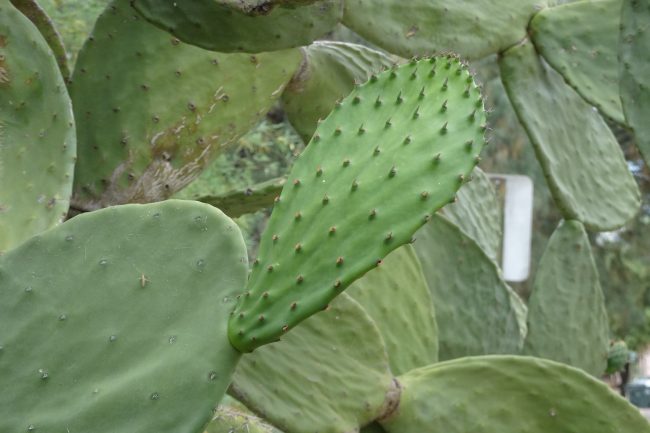
I got to know Amy later through her work with Mano y Metate and Desert Harvesters. Her Mano y Metate moles—which she re-created from scratch when NativeSeedsSEARCH’s Mexican mole source vanished–have always been extraordinary in both honoring tradition–and in kicking fragrances up a notch. Amy agreed to cater one of the first dinners we had in Patagonia when I founded the national network on rare food conservation called Renewing America’s Food Traditions. Our guests from all over–Deborah Madison from Santa Fe, leaders in Chefs Collaborative, and Slow Food USA–loved her creativity as much as I did.

[Amy’s Mole mixes make being a gourmet cook almost instantly possible!]
Question: What do you think these three Savor-Sisters have in common, in terms of values and strategies for promoting Southwestern foods?
Gary: That’s easy to respond to: They all have deeply listened to Indigenous and traditional home cooks, rather than –excuse my Espanglish—simply sitting on their nalgas in front of their desks to make up mierda without any tangible ties to historic traditions. Carolyn’s first book was really a food ethnography acknowledging dozens of Southwest Native women and their traditional foodways. Muffin has done the same with Tohono O’odham women–listening and participating in food harvesting and preparation with elders. And Amy has continued the traditions of her own grandmothers. Not every writer or chef takes that time: each of these three Tucsonans stands in the tradition of Paula Wolfert, Diana Kennedy and Lois Ellen Frank.
Question: Any other thoughts you dare share about these Three Mesquiteers?
Gary: Actually yes–one more thing: One of the aspirations that Jonathan Mabry, head of Tucson’s City of Gastronomy program, and I had when we were submitting the proposal to make Tucson the first UNESCO City of Gastronomy in the U.S. was this: to continue the elaboration and celebration of the unique gastronomy of this place and its many cultures. Shortly after getting that designation, I knocked on Carri’s door and said, “Tag, you’re it! No one else can offer the detailed overview of Tucson’s complex culinary legacy in print better than you. What still needs to happen is to create or articulate a collective identity for a Sonoran Desert cuisine that is identifiable, unique—as it is in New Orleans, Charleston, Boston, or Santa Fe. So, it’s up to you to express what a distinctive regional cuisine means for us, and illustrate it with great sample dishes, sample menus.”
That’s really a huge task—larger than what one book can ever do—but she started that process. She had Tucson’s home cooks, chefs, growers–young, veteran, Indigenous—even brewers and distillers all understand what they, as a community, have to build on– that no one in Phoenix, El Paso or Albuquerque can touch. The result was her latest book A Desert Feast: Celebrating Tucson’s Culinary Traditions.

Each of Carolyn’s books is a treasure trove of local food delights, ideas and info.
Question: Okay, so what are you up to these days as Extinguished Professor Nabhan? We’ve heard a rumor that you sometimes write books in the middle of the night.
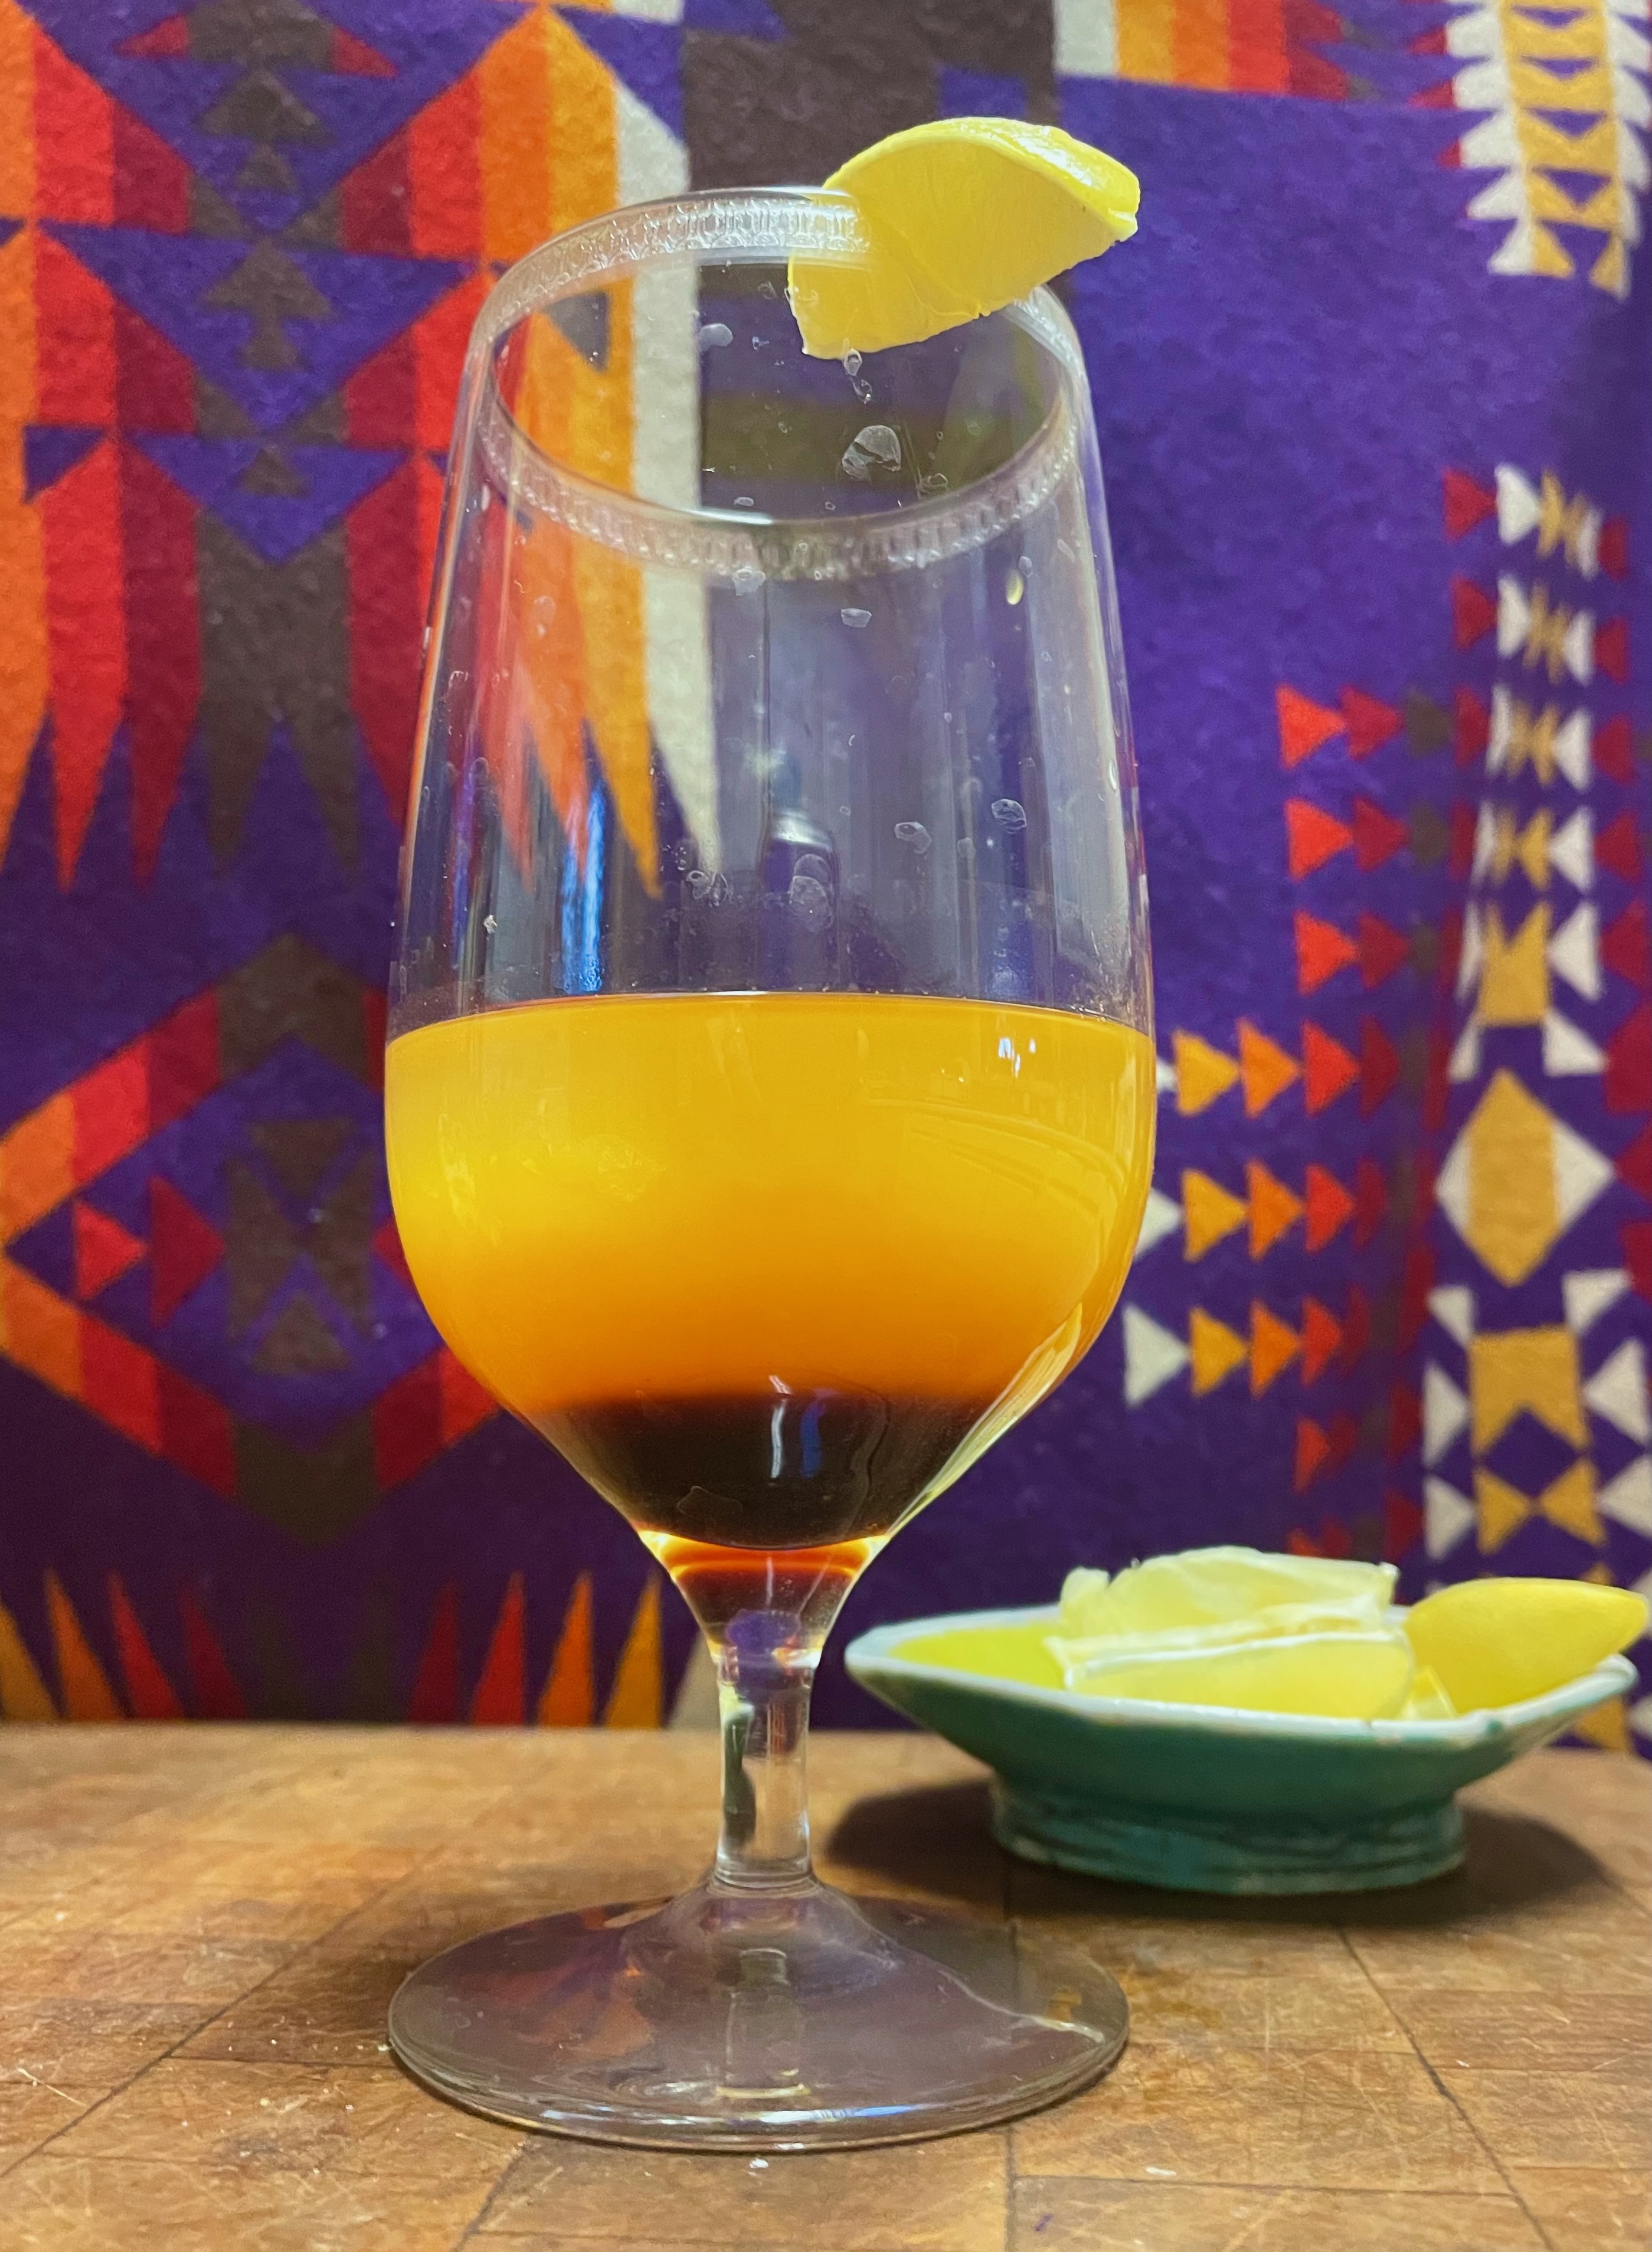
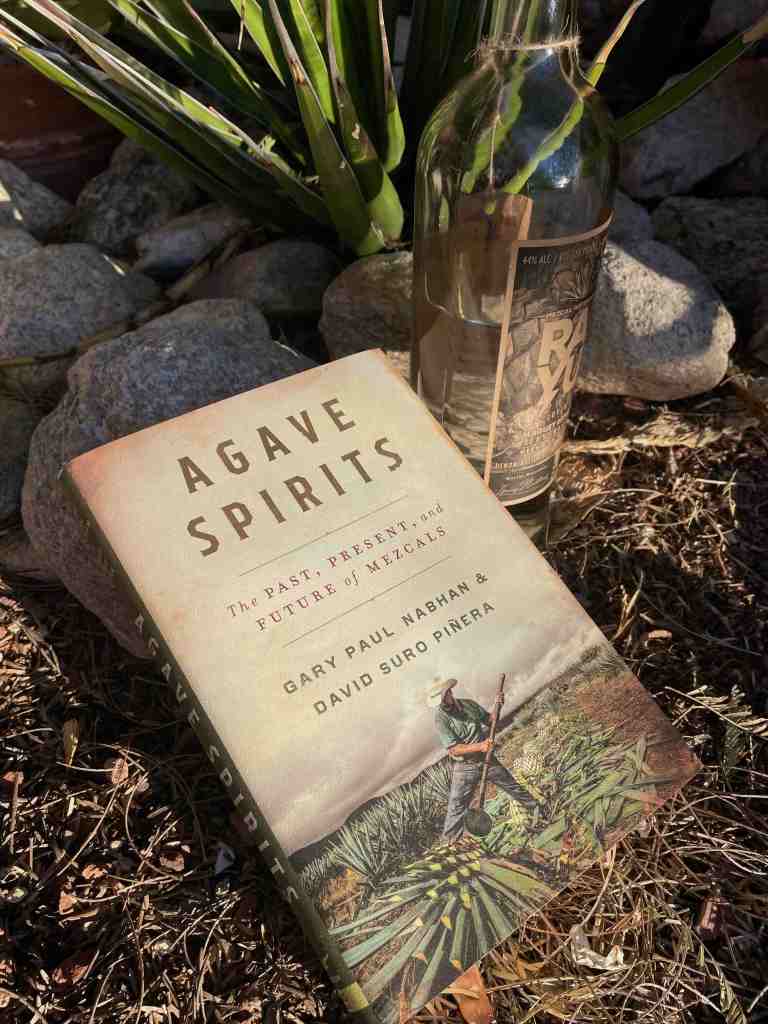
Gary: Yeah, sleeplessness is my only real asset. Of course, I’m still rambling around festivals promoting Agave Spirits, my latest book coauthored with David Suro. But I’m also at work on a book with James Beard-award-winning chef and food writer Beth Dooley on the links between and benefits of desert cuisines from around the world in this time of rapid climate change. We’re showing a commonality between what people grow and how they prepare foods from the deserts of India and Persia, through the Middle East and North African “Maghreb”, to the Canaries, Caribbean, northern Mexico and the U.S. Southwest. These will be recipes so aromatic and full of healthful antioxidants that no one will ever say again that living well and eating sustainably in a hot dry world is difficult–if not impossible. And most hopeful, these deserts’ foods can even buffer us from heat stress, dehydration and damaging solar radiation… So stay tuned!
[The Savor-Sisters thank you, Gary, for your candid thoughts and perspectives about us and our mission in sharing what we do via this blog. Indeed all of us, dear blog readers included, are anticipating Gary’s next book. (We can hardly keep up with his blistering writing rate.) Bravo to him for continuing to share his significant desert stories, and to inspire us resiliently into hotter, drier times! With appreciation, Carri, Amy, and Muff]