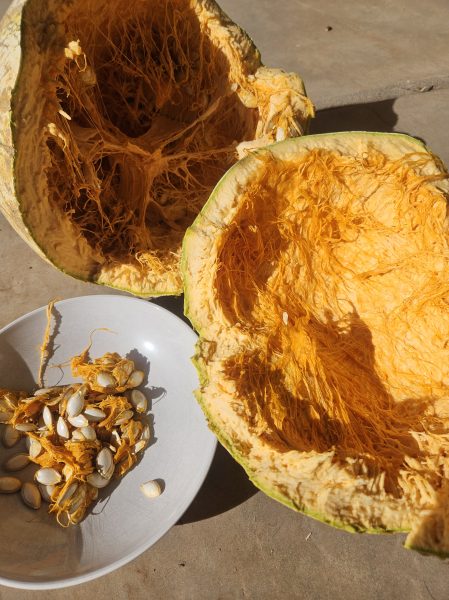
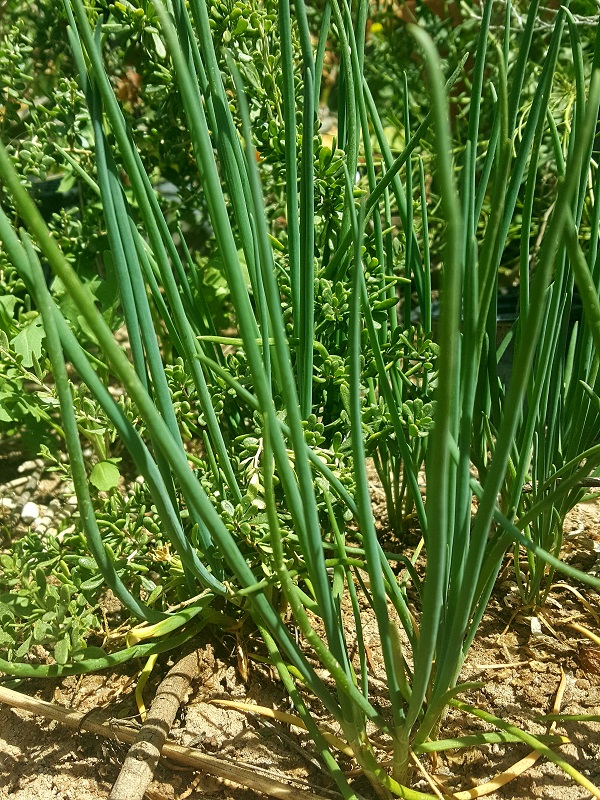
Have you seen an area like this recently?
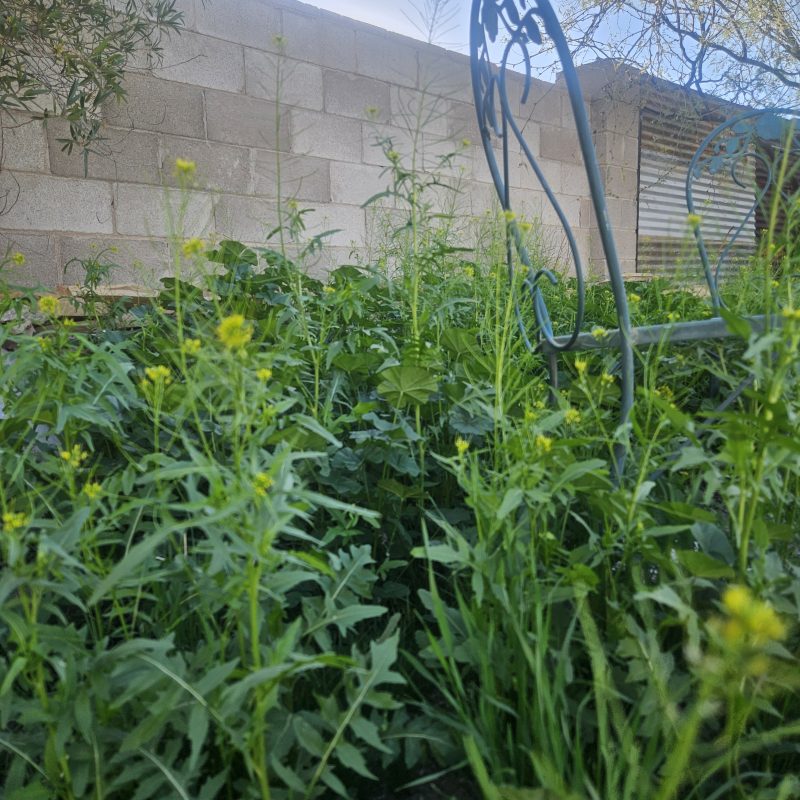
Wonderful! Amy here, celebrating the yellow flowered wild mustards growing my yard and in the desert. Sisymbrium irio grows in dry, disturbed soil around the world but is orginally from the Middle East, southern Europe and northen Africa. One of its names, London Rocket, supposedly refers to how it uncharacteristically took over there after the Great Fire of 1666. (It loves disturbed soil, in my garden or elsewhere!) Arugula, another mustard family plant also known as rocket, has big white flowers and is actually classified as different genius.

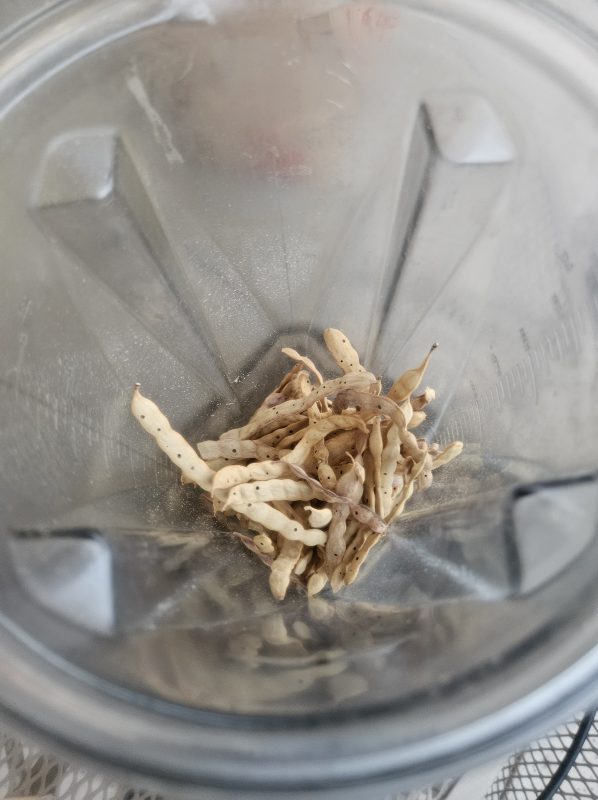
Of course the leaves are edible and tender on the short, young basal rosettes. But the small leaves on the tall, flowering plants are suprisingly tender. The flavor of the leaves from mature plants is spicier, but I think it has more to do with the warming weather of the season as the plants mature. The seeds are edible too but are much smaller than commercial mustard seeds and are difficult to harvest.
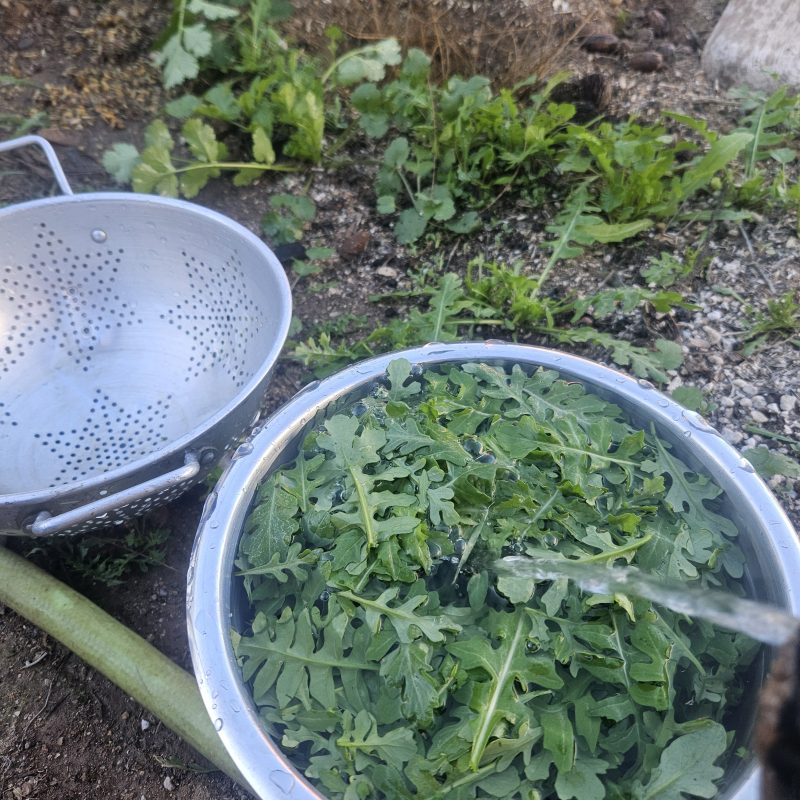
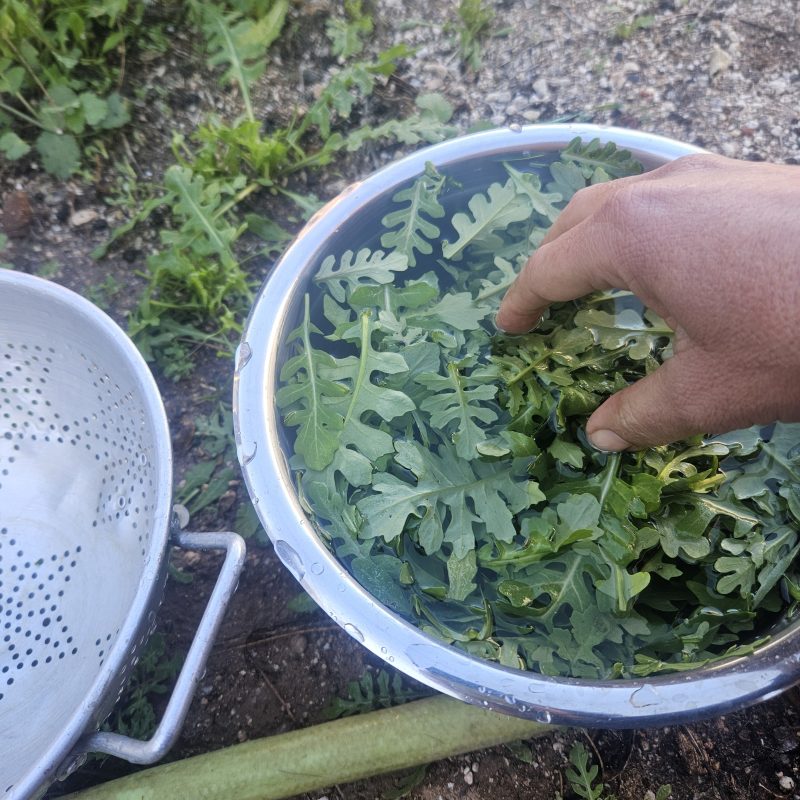
Instead of triple washing, I like to wash once really well, where the wash water going to the garden. After swirling in plenty of water, I lift the leaves out of the water by hand and drain.
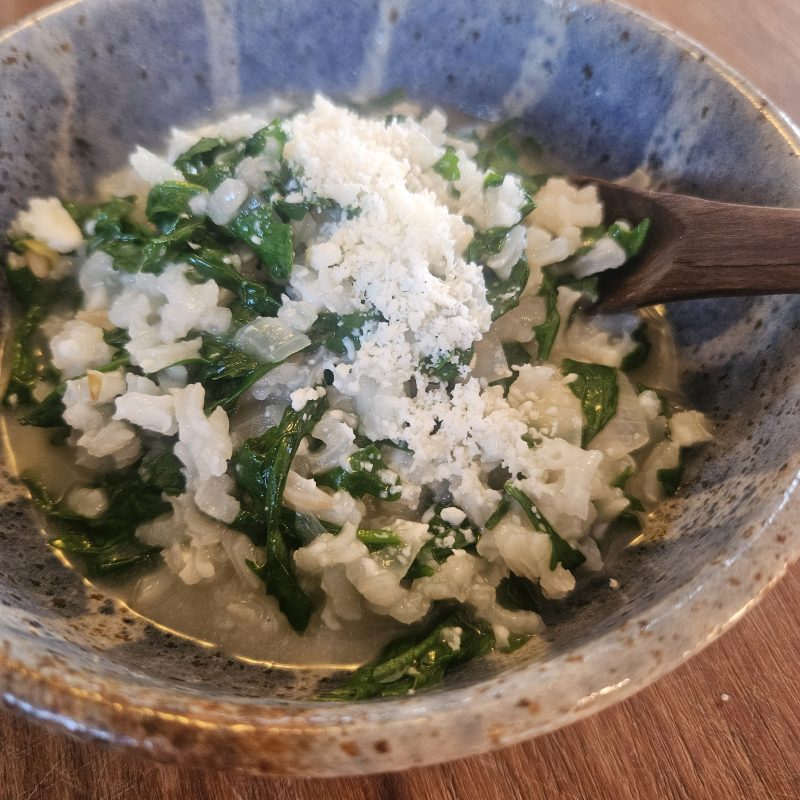
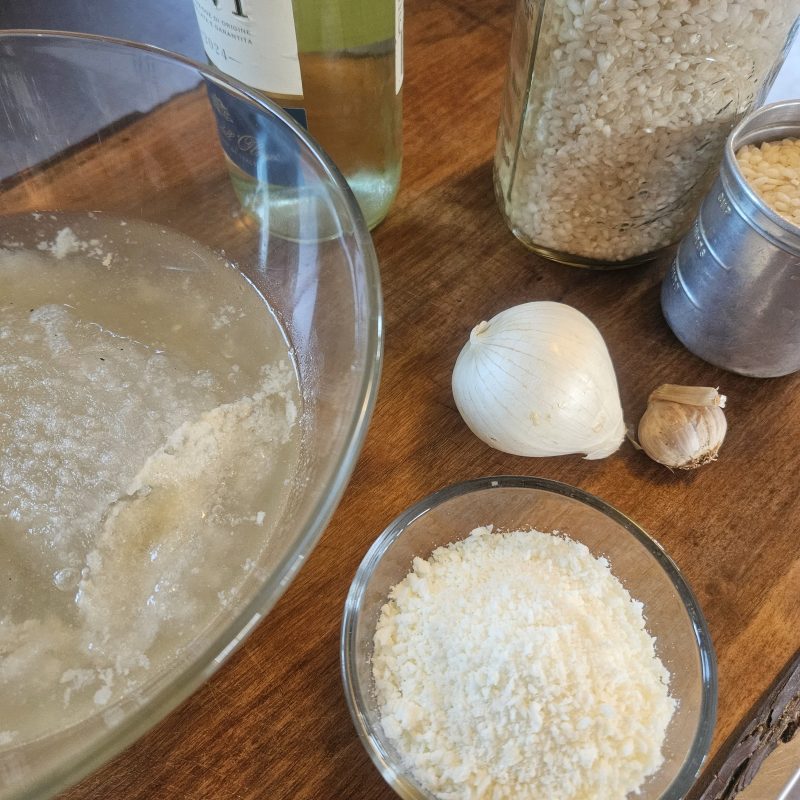
Wild rocket has countless possibilities in the kitchen. The leaves make a spicy salad or garnish on a sandwich, like arugula. My favorite way to enjoy it is wilted into a risotto. Homemade chicken broth (from the freezer) and a splash of wine make it special.
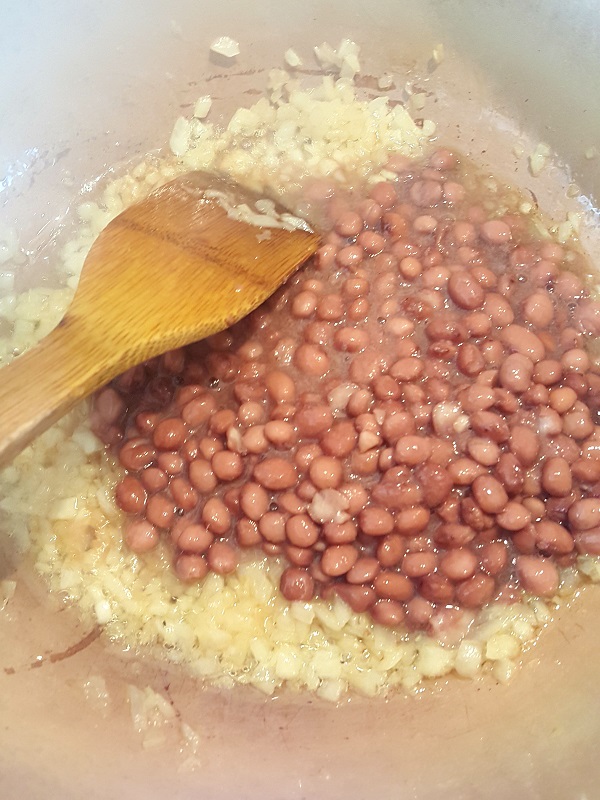
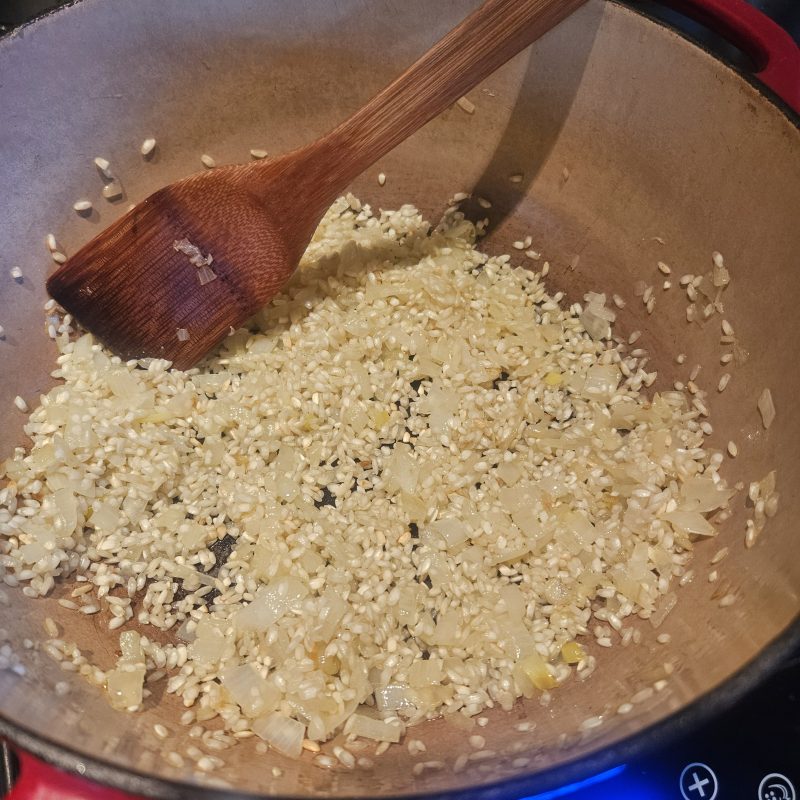
I start by browning rinsed aborio rice, onion and garlic in olive oil.
For traditional risotto with the creamiest texture, add hot broth a little at a time and stir constantly. For the easiest risotto, I just add plenty of broth and simmer slowly in a heavy pot with a lid. Three times the volume of liquid to rice is usually where I start.
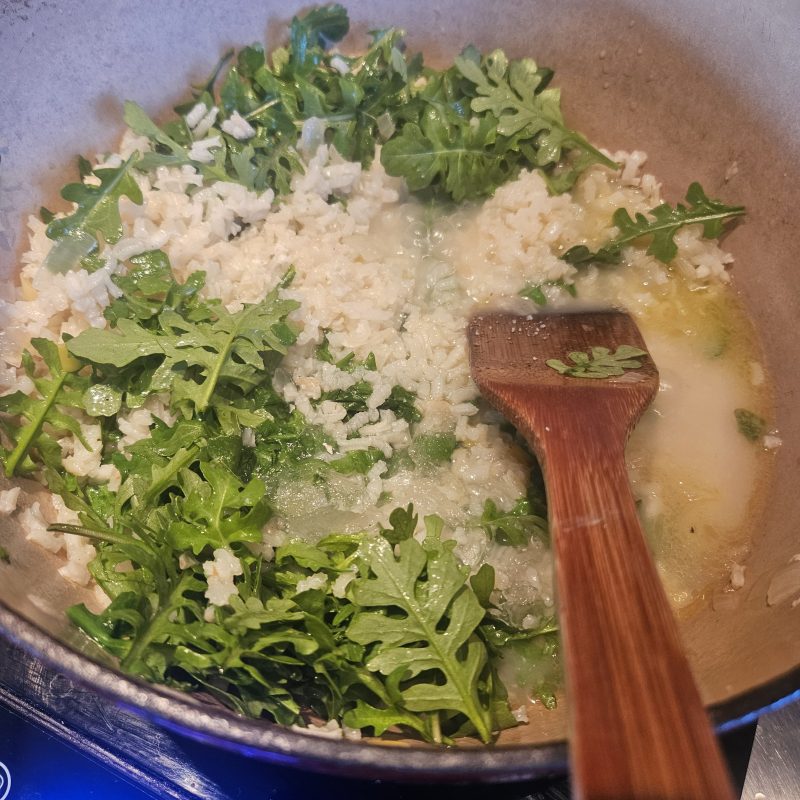
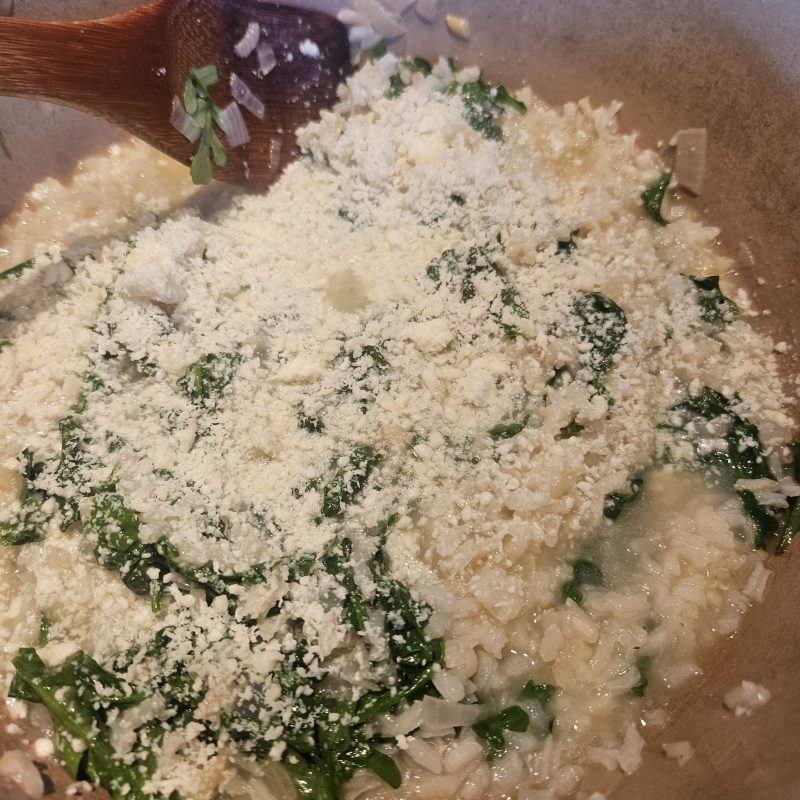
When the rice is tender, I remove the pot from the heat and fold in the whole little leaves. Sprinkle with any cheese, in this case a dry and salty fresh goat cheese. Enjoy right away or at room temperature on a picnic.
Depending on temperature and moisture, we might be eating wild rocket for a couple more months into the spring. What other dishes do you like to make with wild rocket?