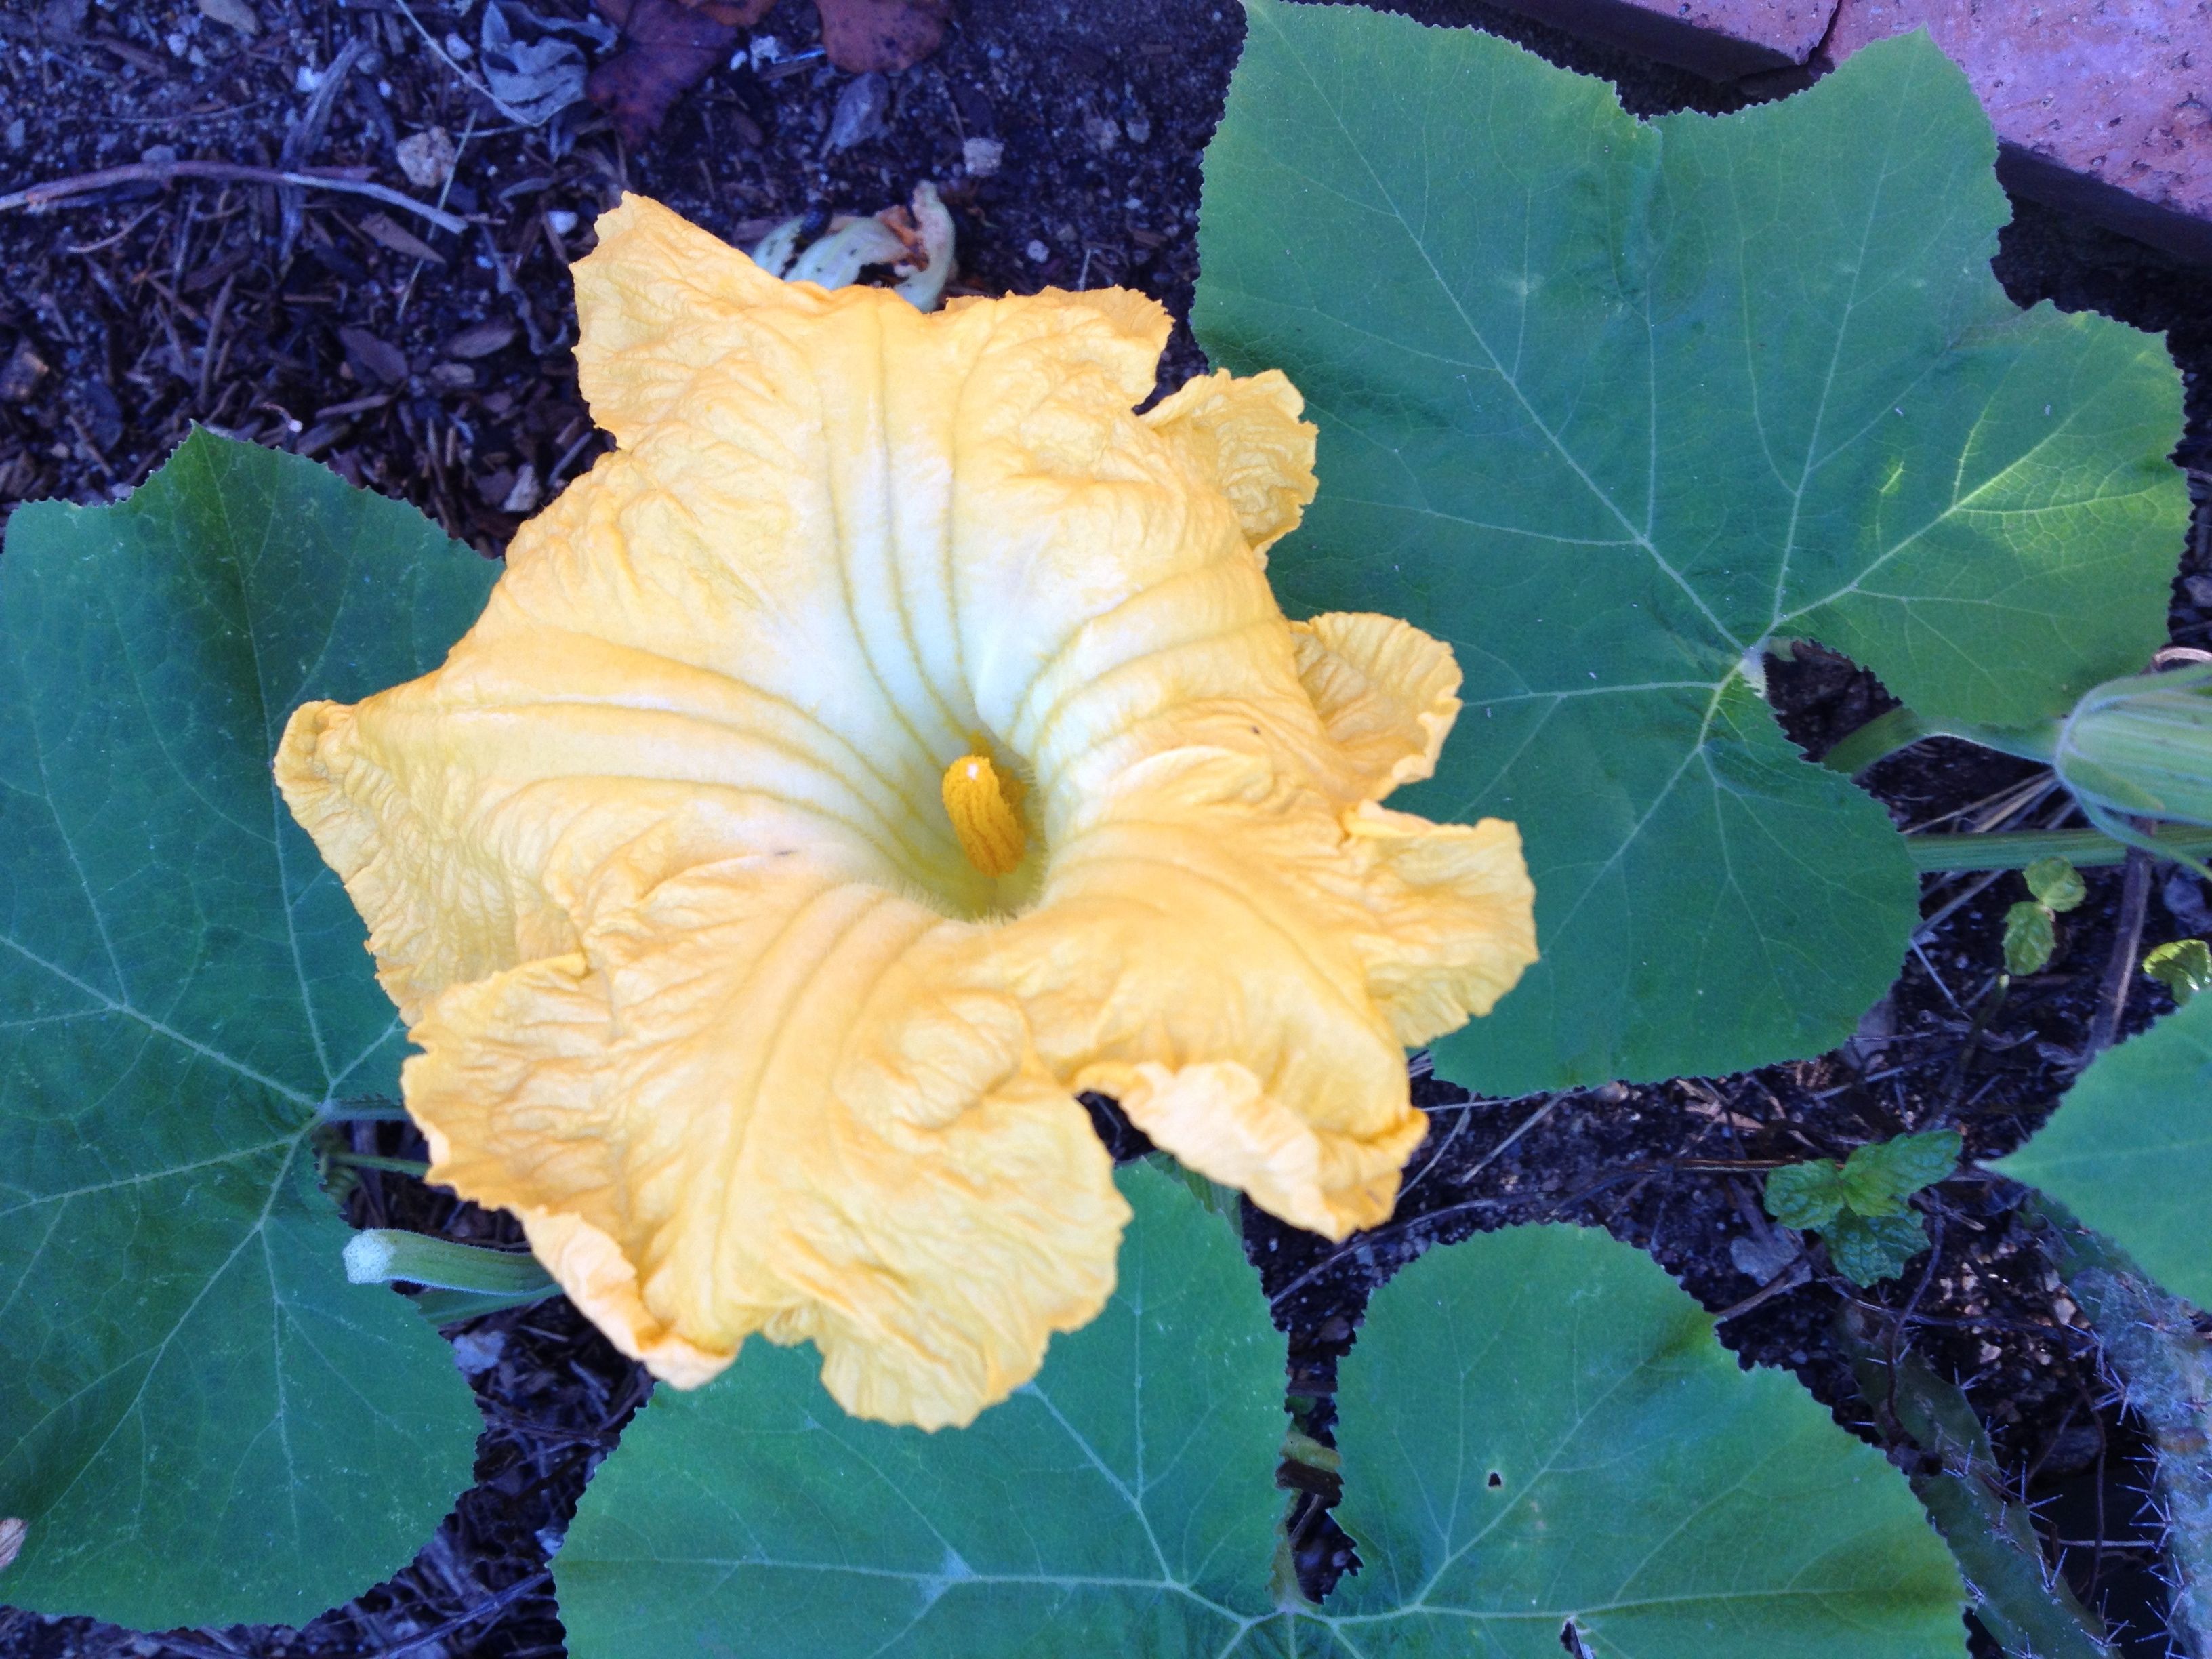
Male flower Magdalena Big Cheese squash (MAB photo)
Tia Marta here to celebrate the pumpkins and squashes that are now plumping up in every garden and popping up in farmers markets. These sculptural fruits of the vine are our visual signal of autumn and herald cool weather cuisine. So many people ask, “What’s the difference between pumpkins and squashes?” Really there is not much difference, except that, to some ears, “pumpkin” sounds fun but is never eaten, while squash sounds like something your mother made you eat and you didn’t discover how good they are until you discovered Mexican food! (Yum, calabacitas.) Often pumpkins refer to the jack-o-lantern type squash—a Cucurbita pepo—but many squashes of other Cucurbita species are also called “pumpkin” so the term is not cut and dried.
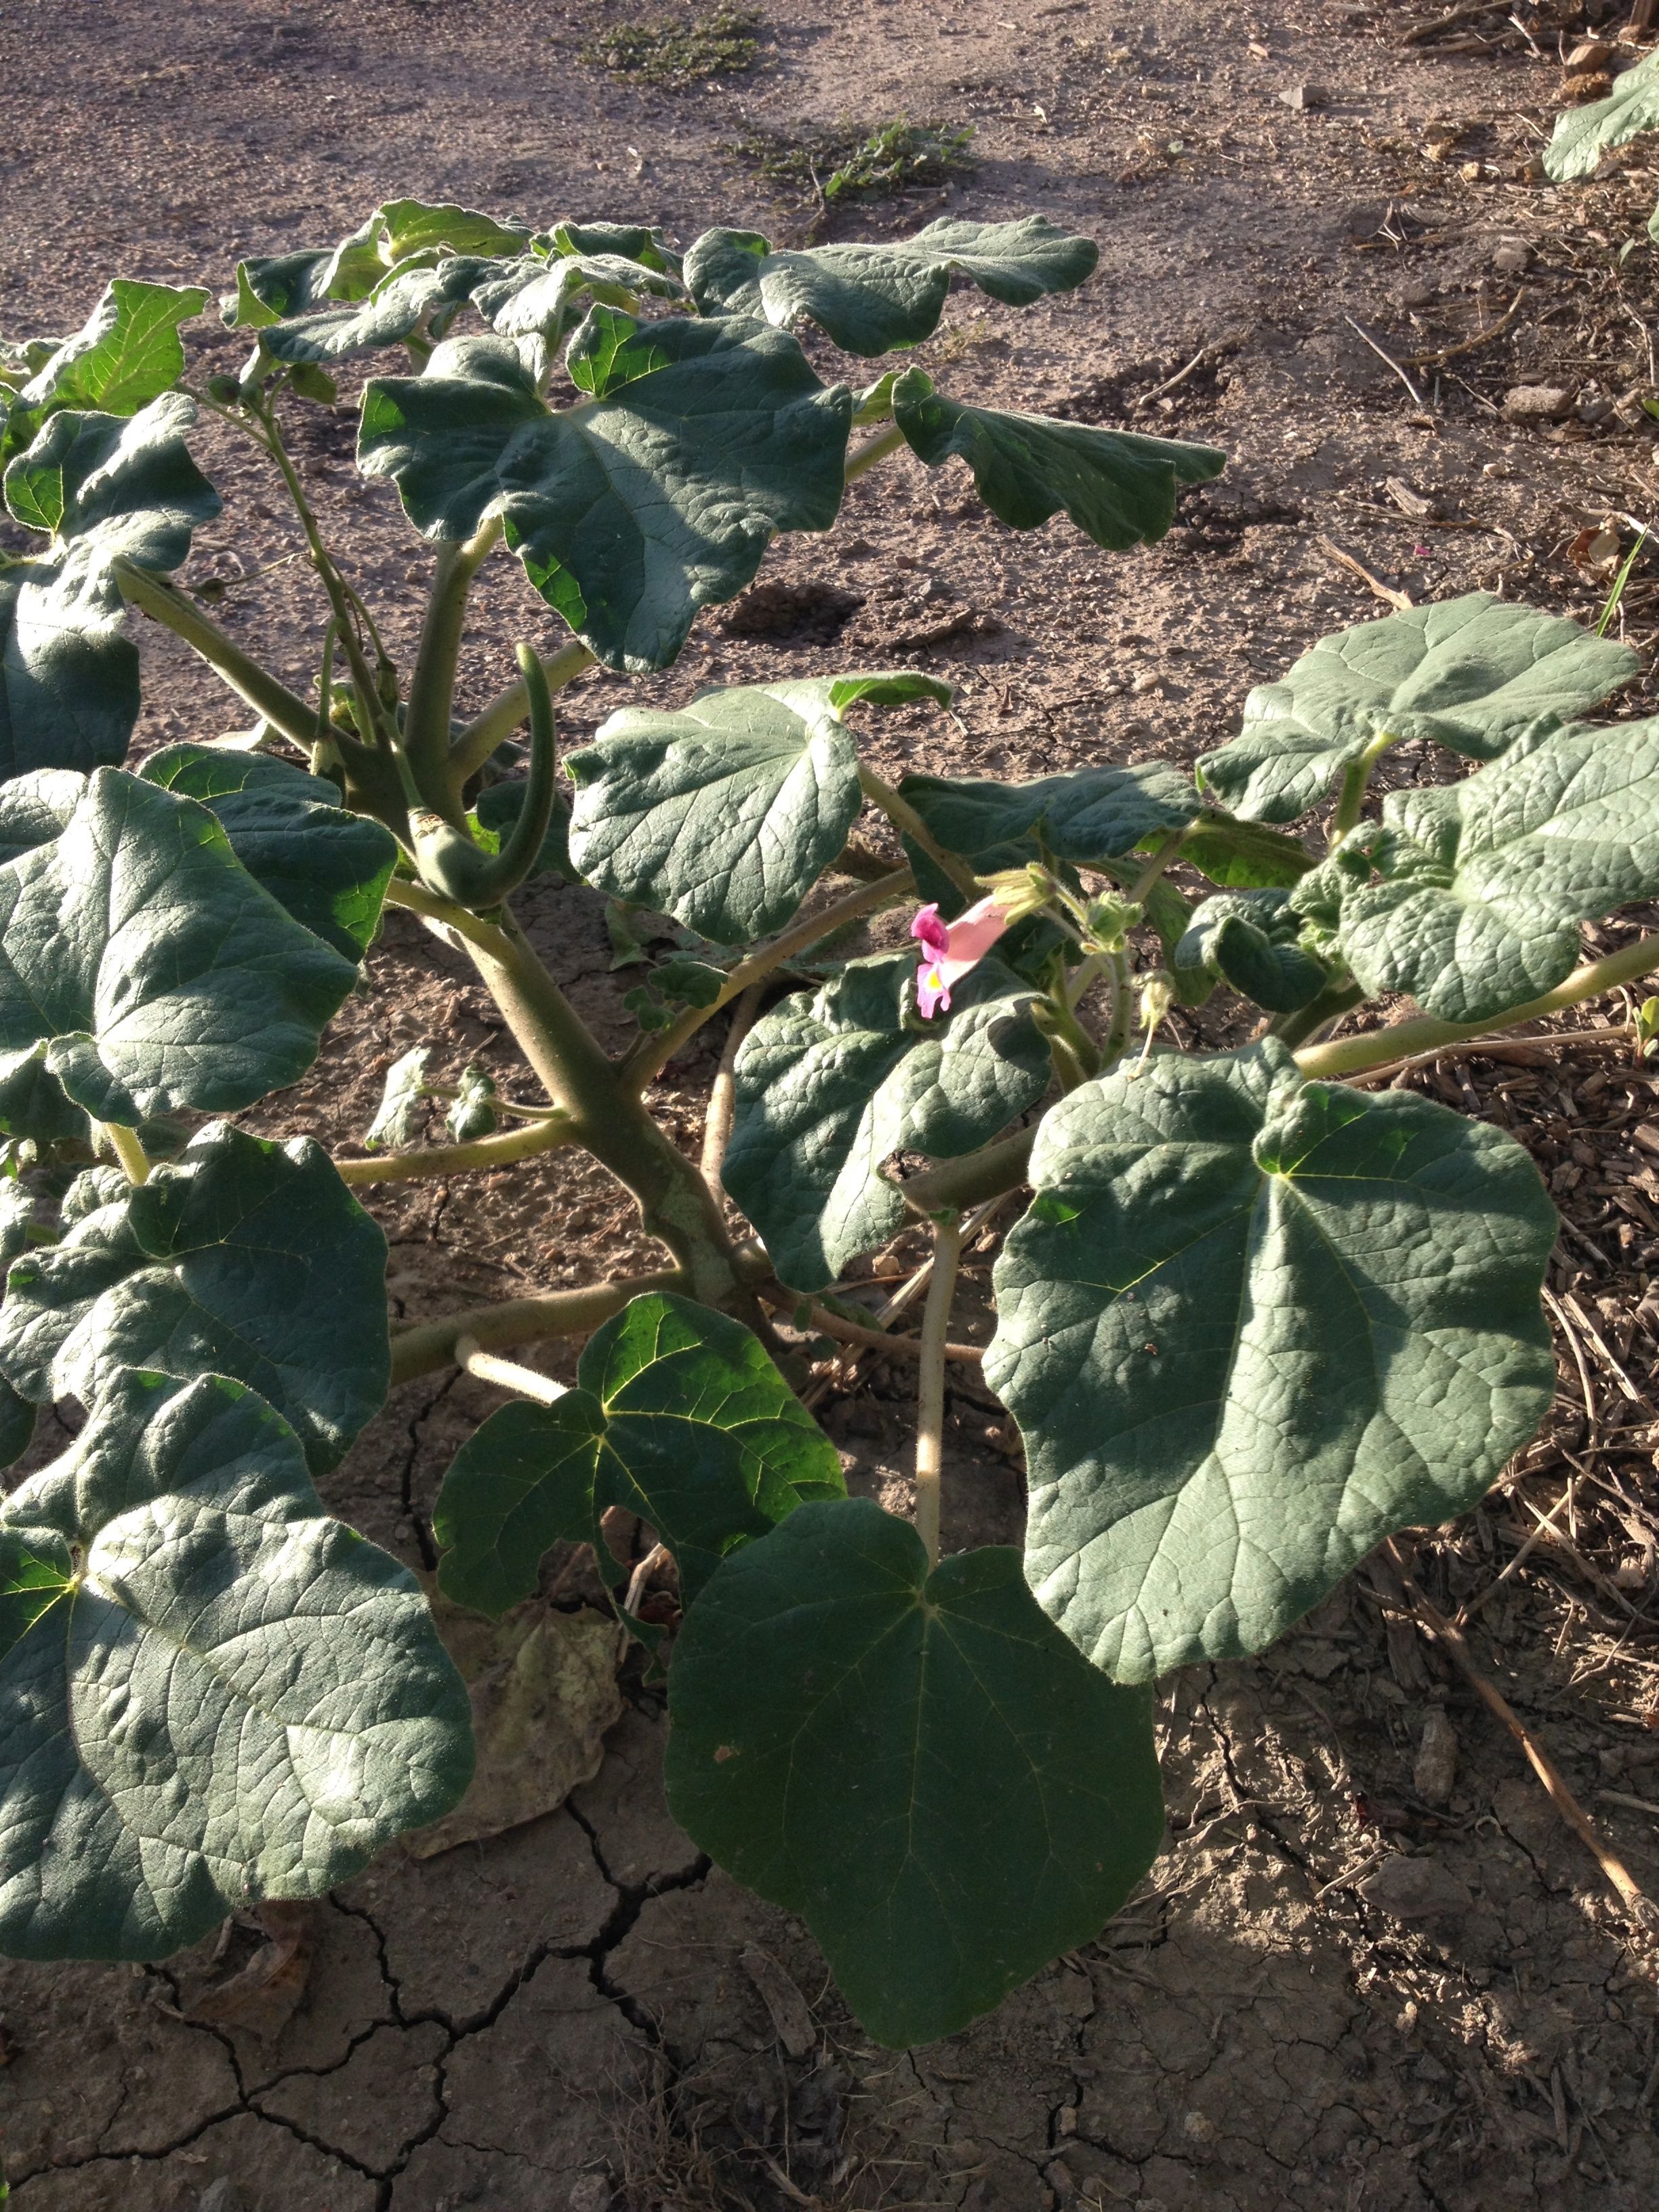
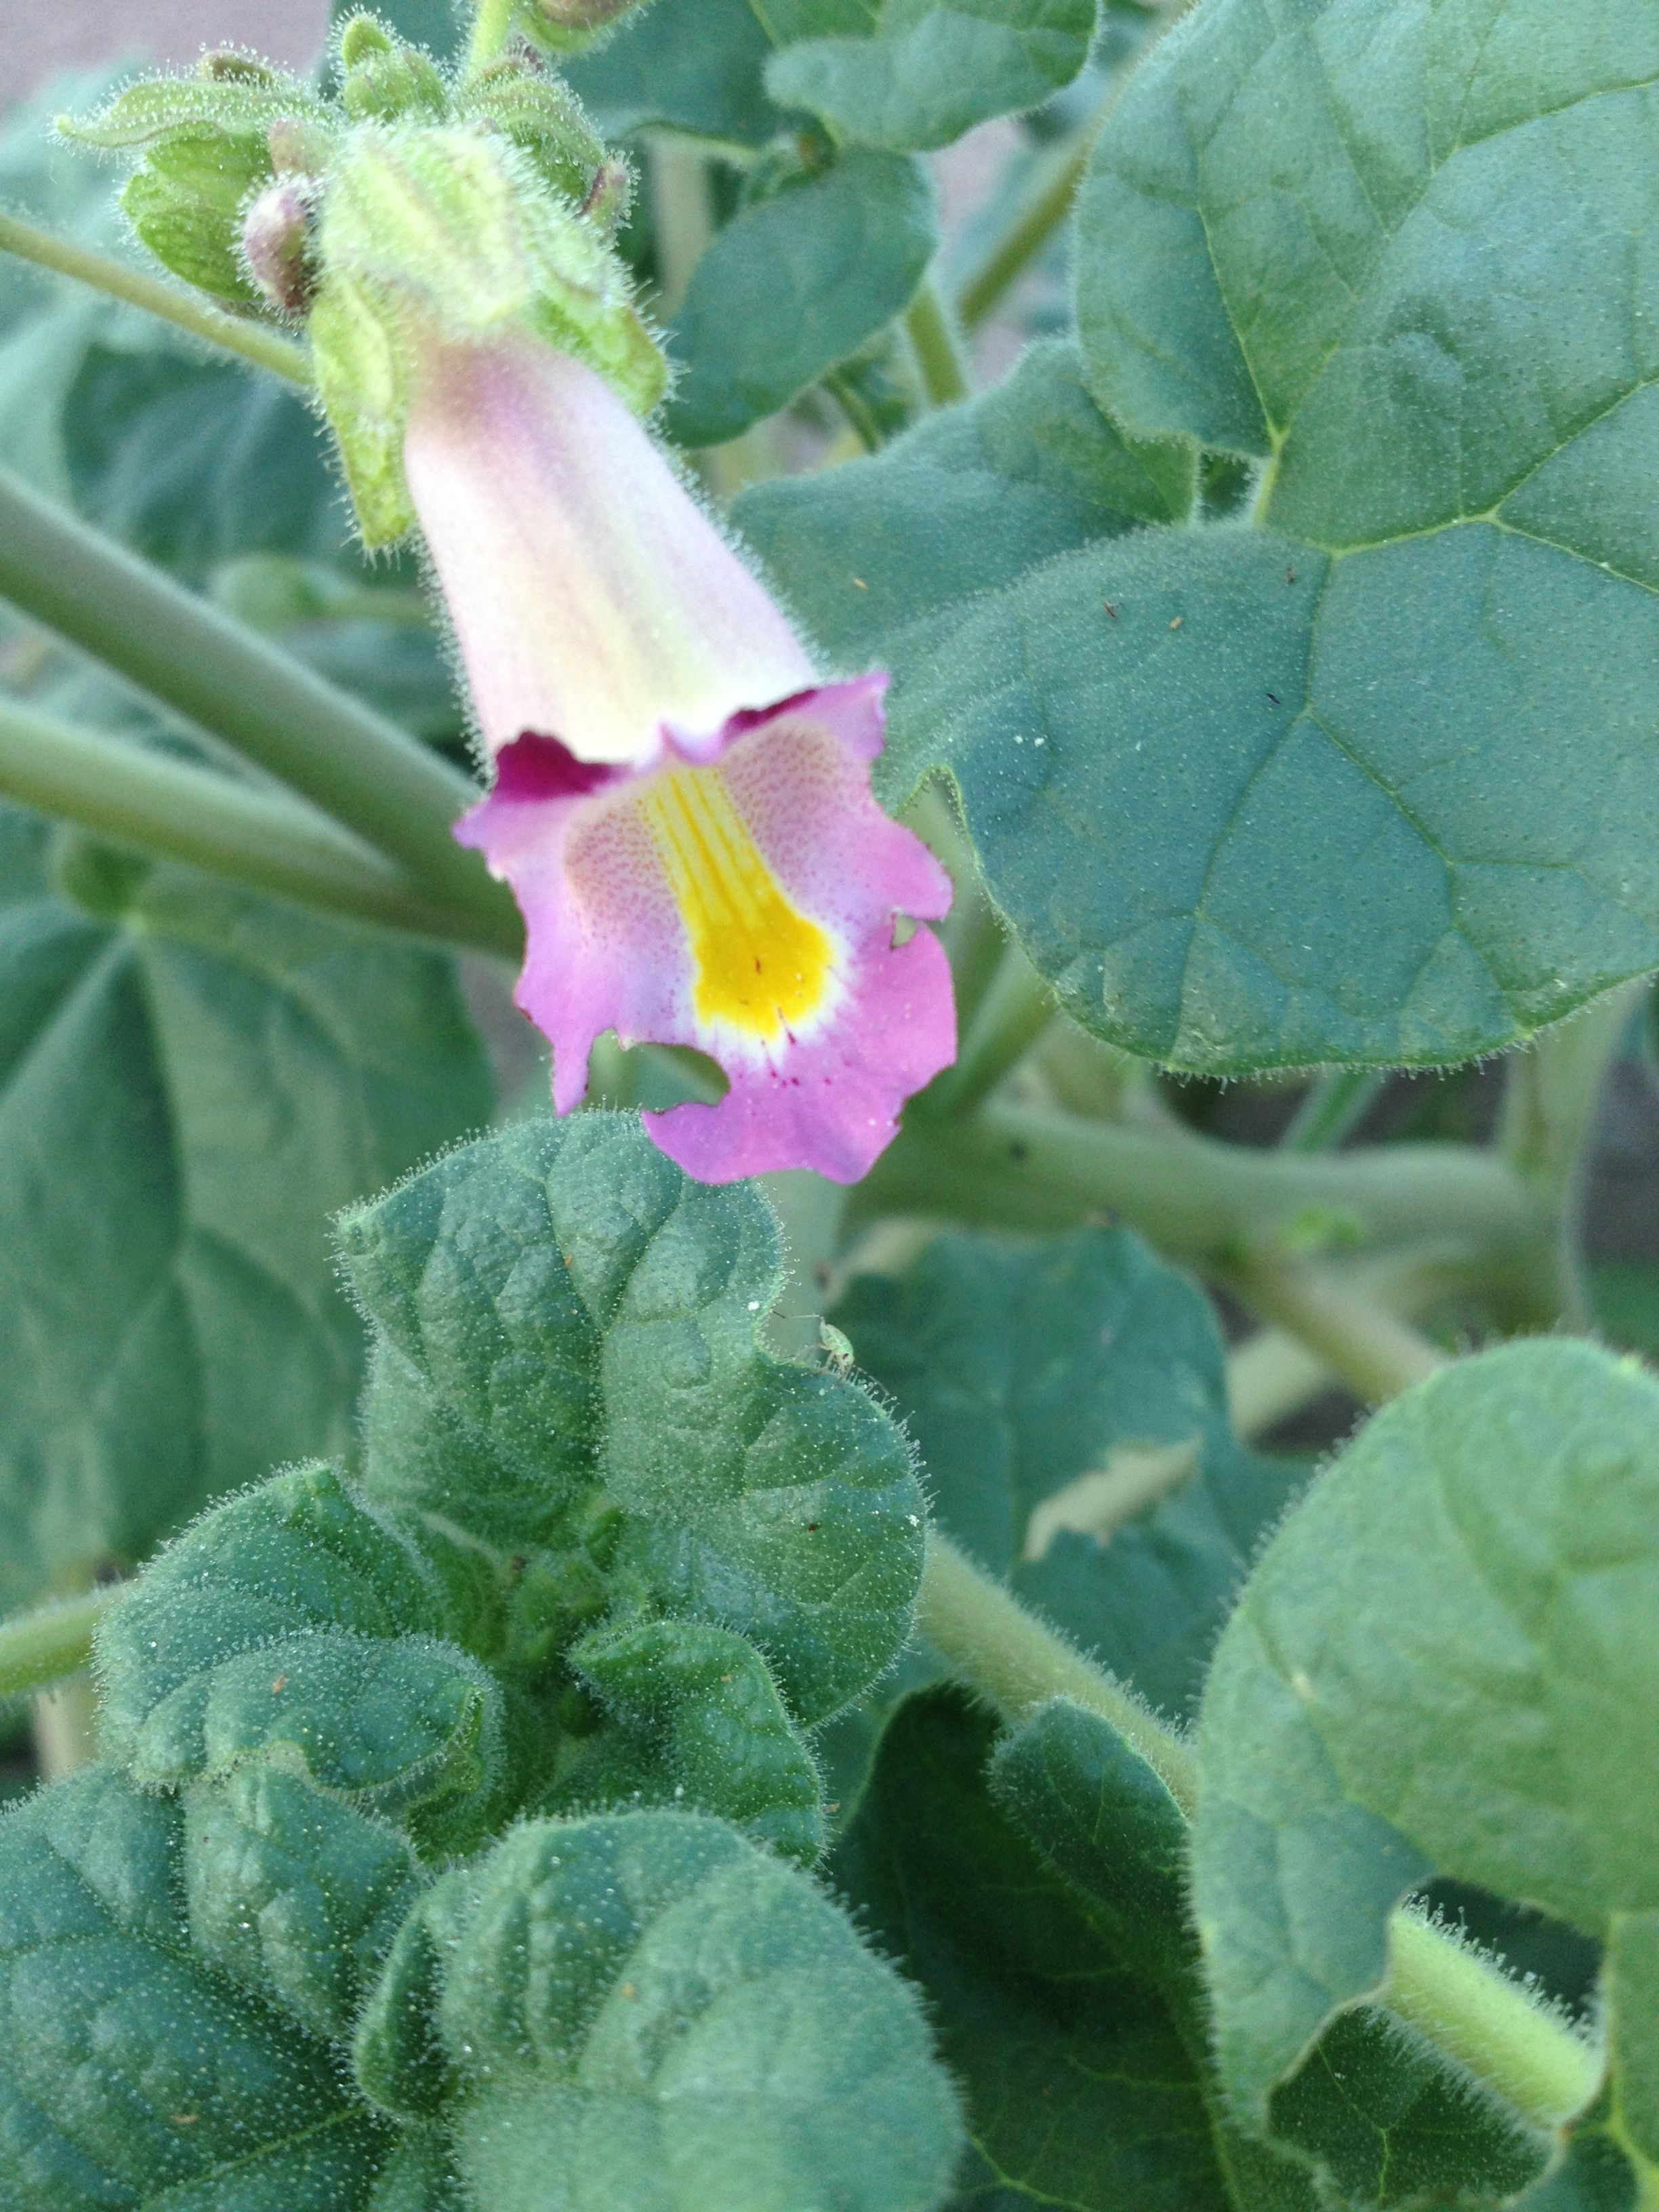
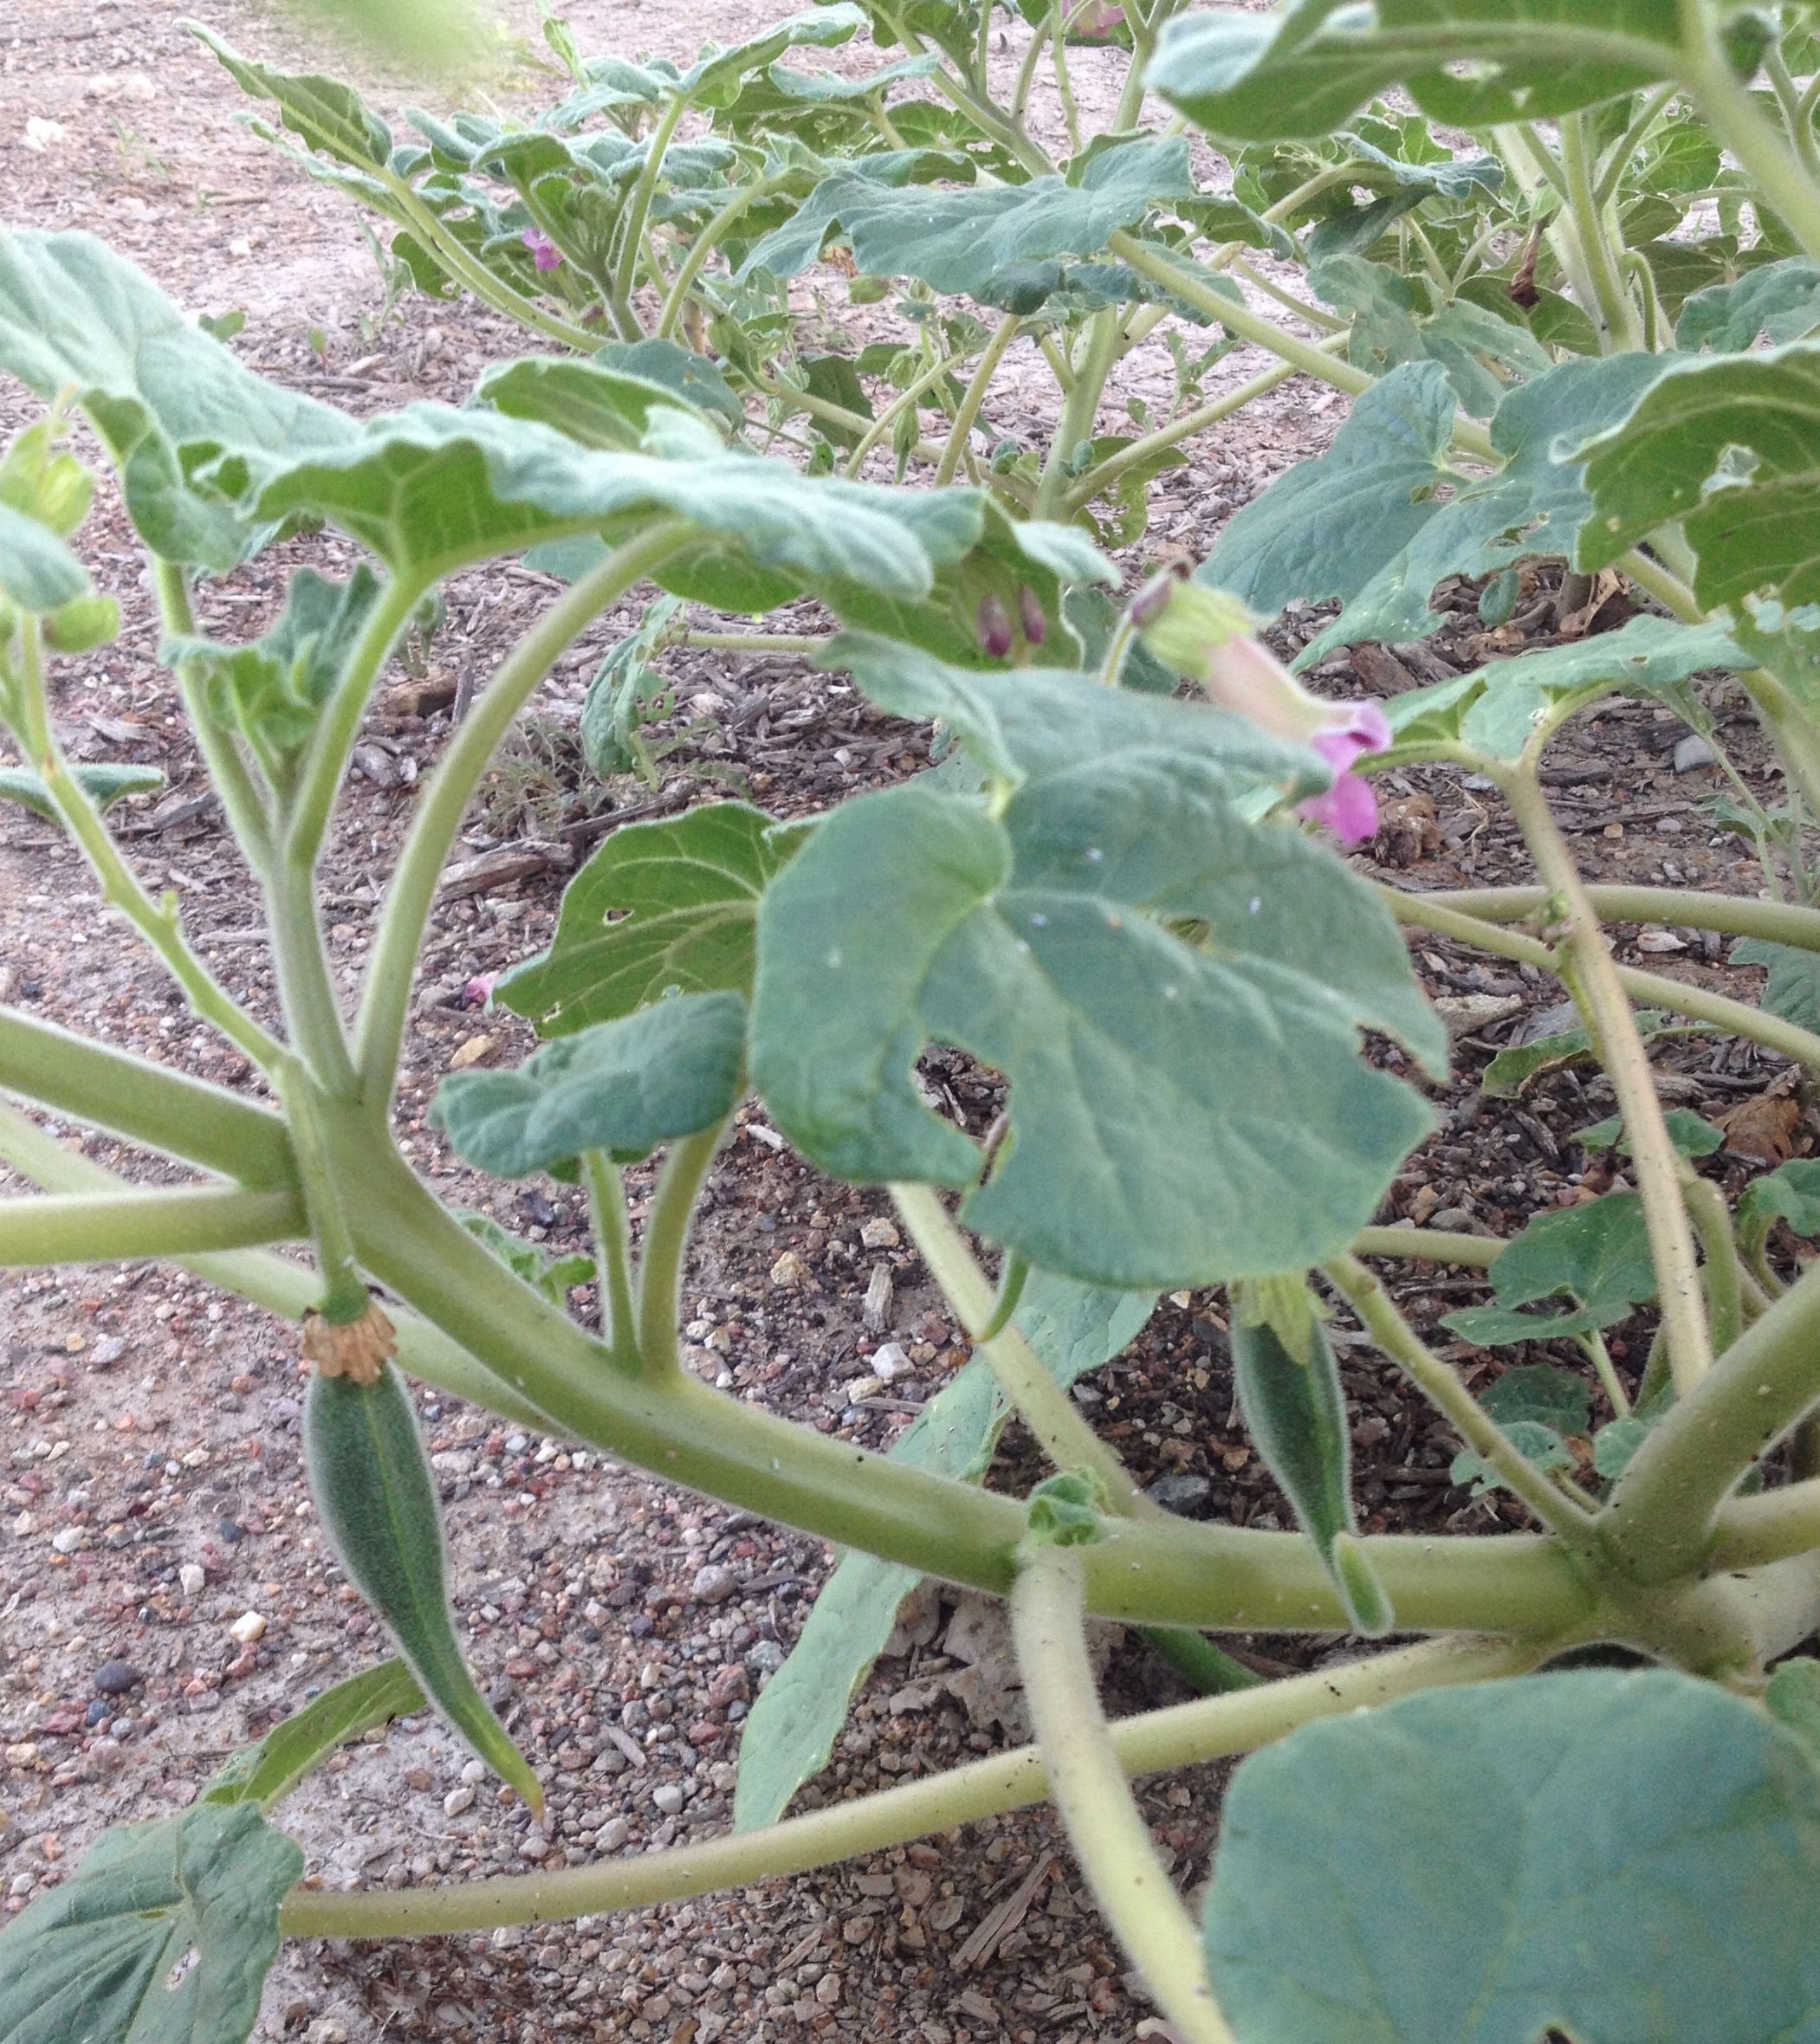
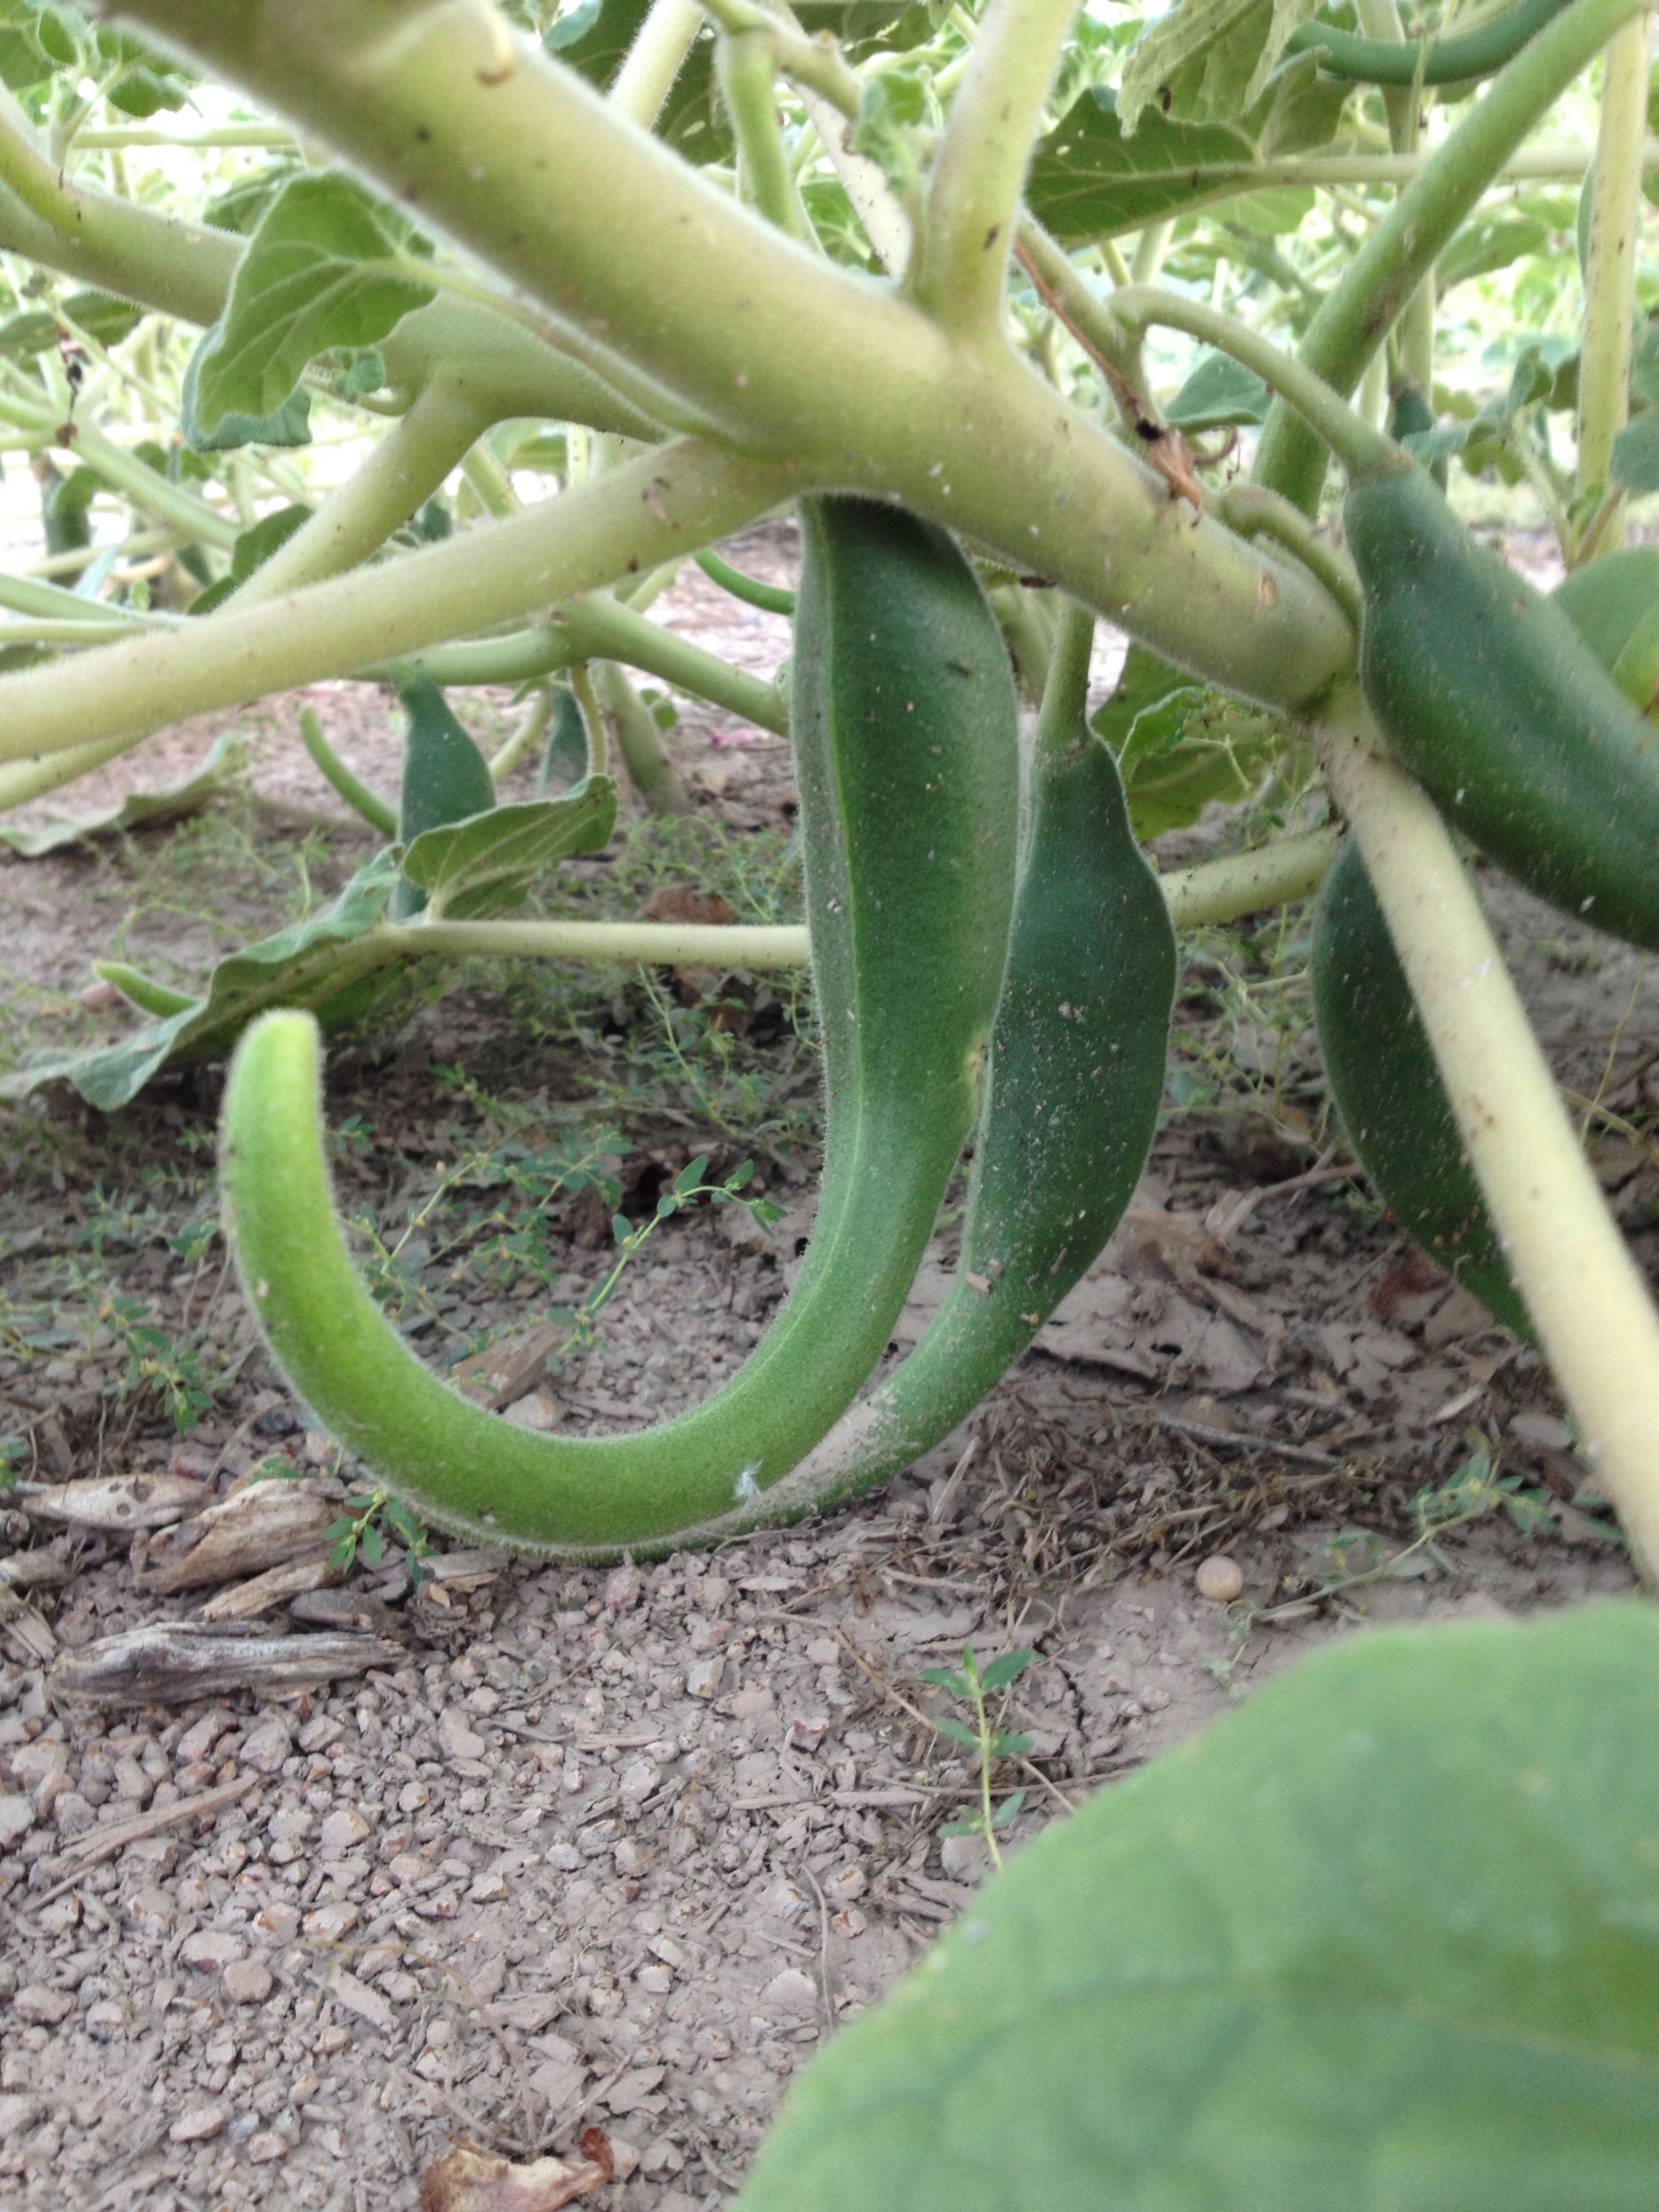
While chubasco rains keep sprinkling our desert, my squash vines have continued to elongate and to flower into the fall. I’m hoping to have winter squashes coming on until the frost hits. Meanwhile, I can go out each morning to assist in pollinating any female flowers with the hefty stamens of the male flowers. Then, what a treat it is to take the plucked, spent male flower and sauté it with eggs for breakfast!
Tohono O’odham Ha:l and curry pumpkins at SanXavierCoop booth, SantaCruz Farmers Market (MABphoto)
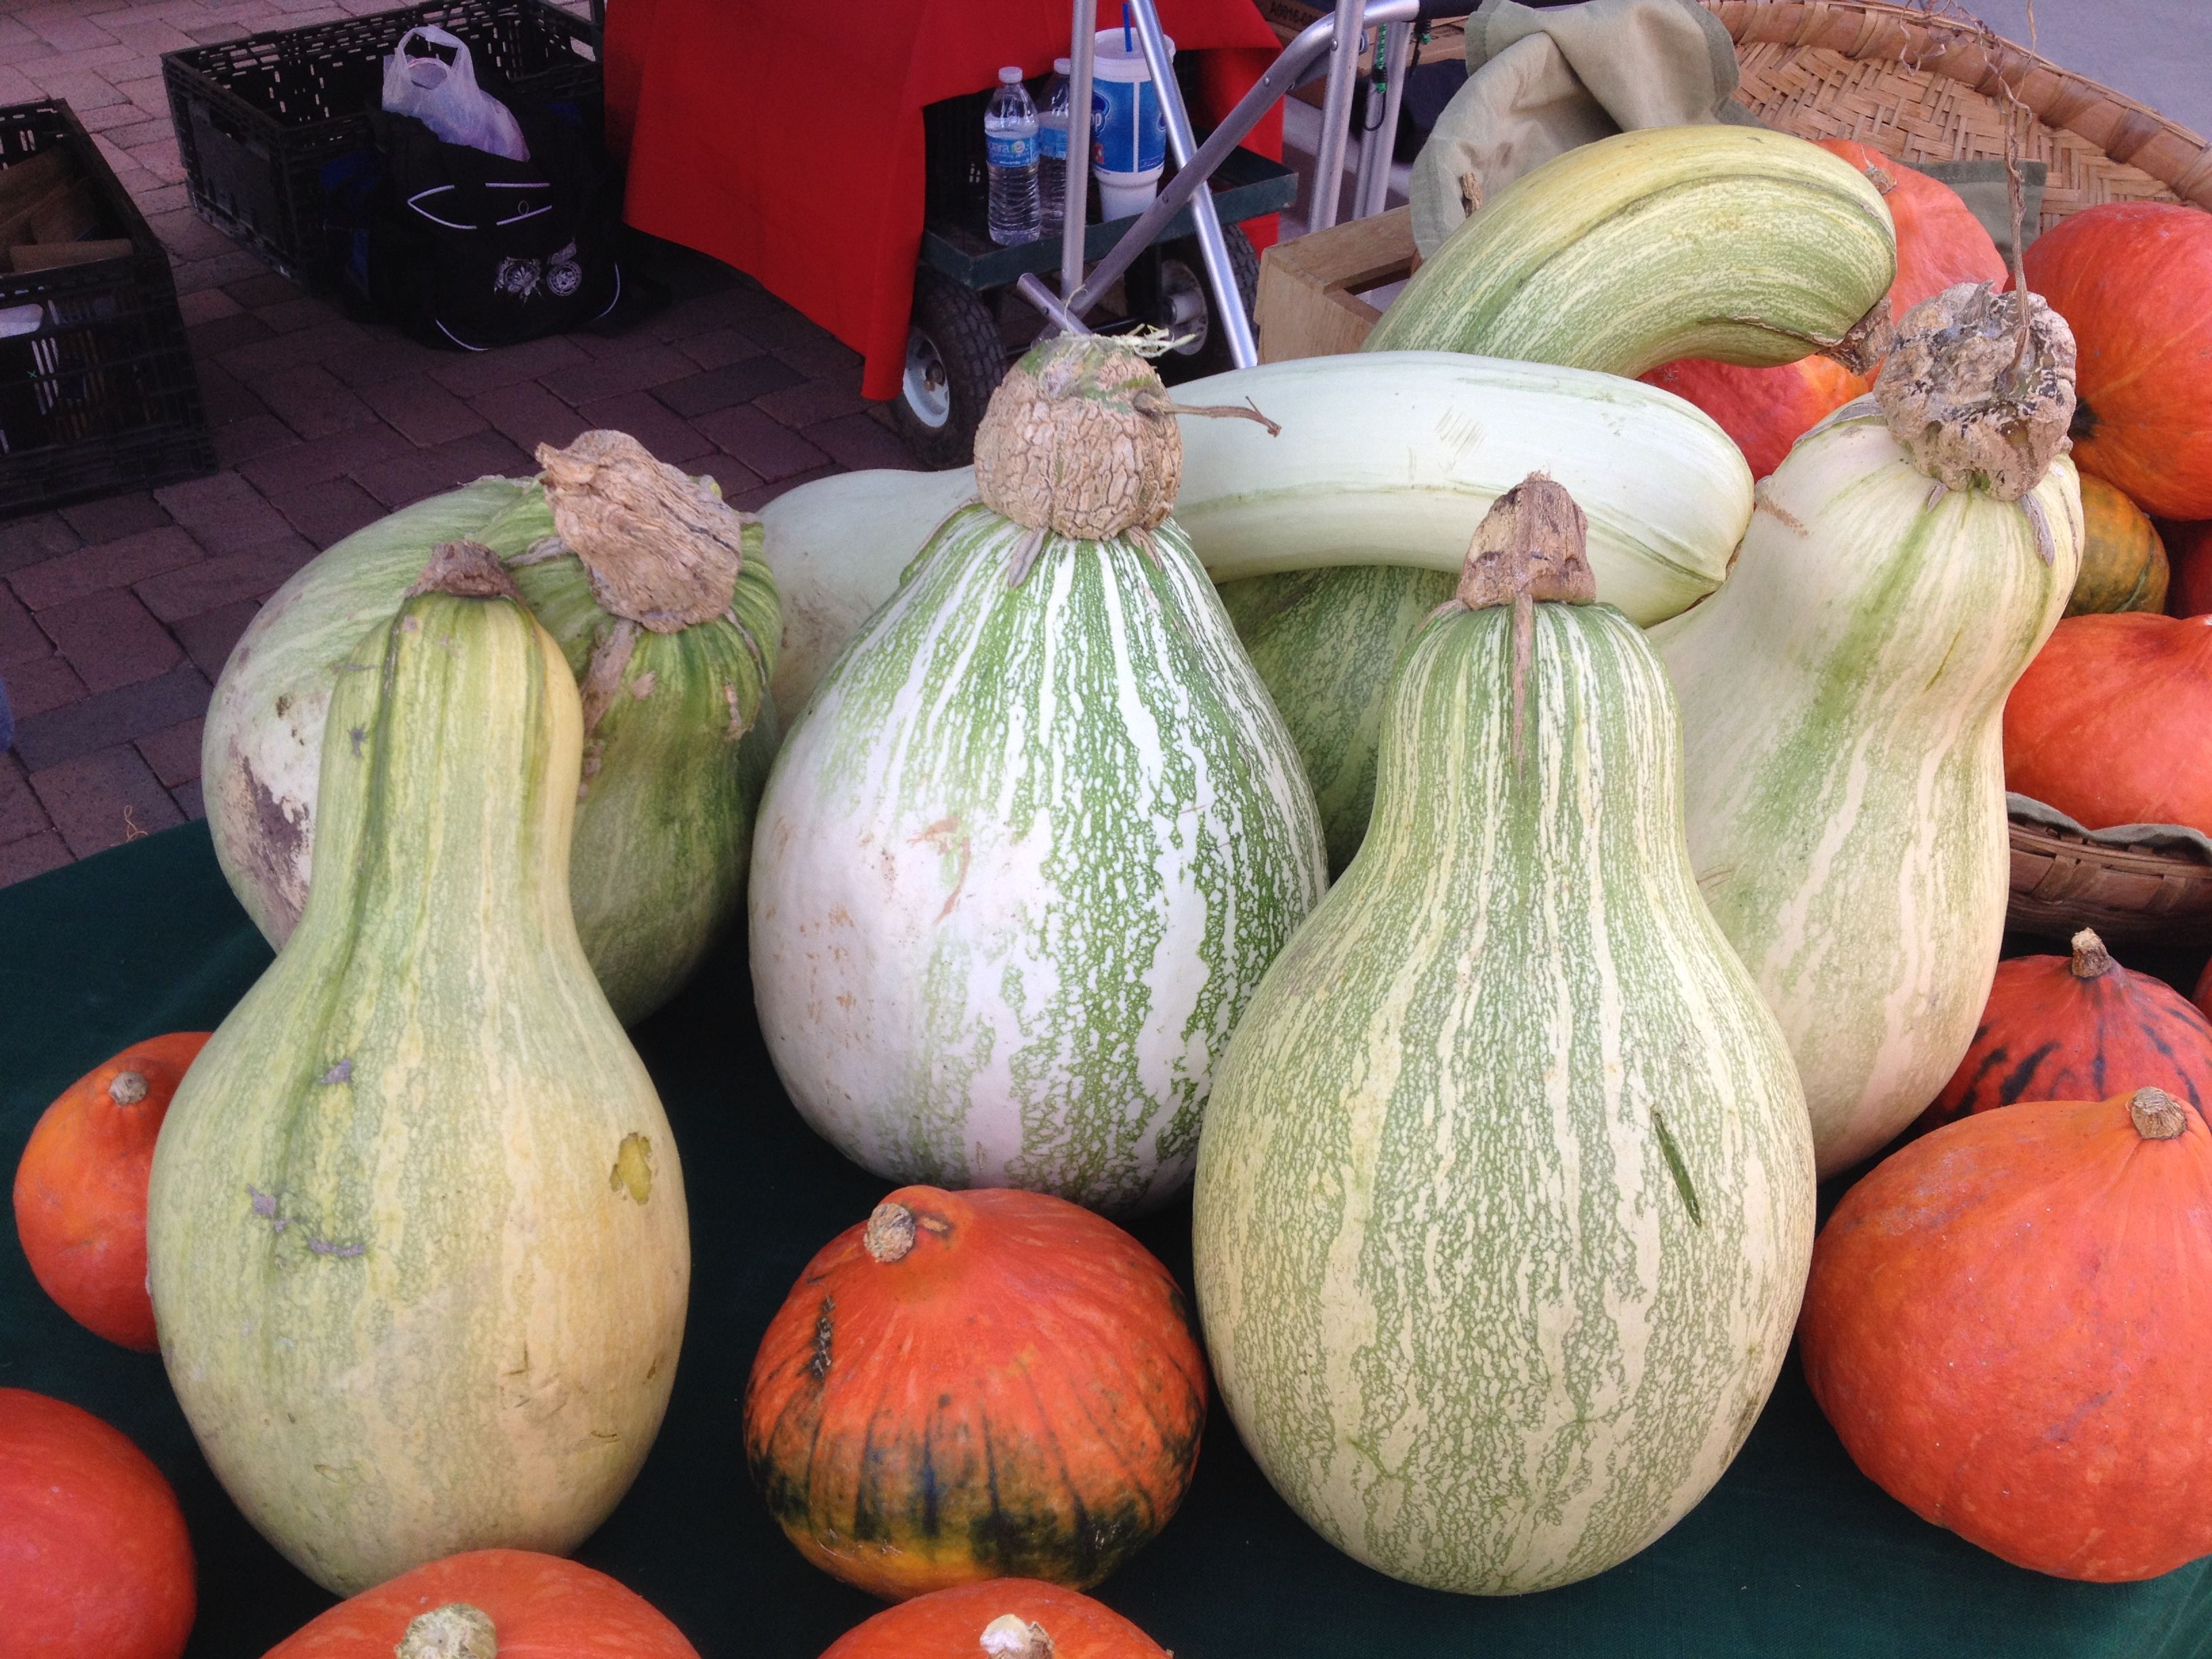
Native People domesticated several varieties of squash or pumpkin centuries before Europeans invaded North America. We all know the Pilgrims’ Thanksgiving story, but here in the Baja Arizona borderlands we should be giving a lot of thanks to the Tohono O’odham, the Yoreme, the Guarijio, and the Raramuri for the gifts of fabulous squashes they have given to all desert gardeners and farmers. From the Tohono O’odham comes the giant cushaw winter squash, known as Tohono O’odham Ha:l or “Papago Pumpkin,” (Cucurbita argyrosperma) with its bulbous pear shape and thick corky peduncle (its vine attachment.)

Tohono O’odham Ha:l “Papago Pumpkin” showing characteristic corky attachment and colorful stripes (MABphoto)
From the Yoreme or Mayo comes the round, oranged-fleshed Mayo blusher (Cucurbita maxima). From the Guarijio comes a grand segualca (Cucurbita moschata). And from the Raramuri or Tarahumara, comes the striped mini-pumpkin with sweet orange flesh (Cucurbita pepo). This last one is the pumpkin Native Seeds/SEARCH grew in plenty last year and returned to drought-stressed Tarahumara farmers in a cross-the-border sharing. Check out http://www.nativeseeds.org for images of each of these lovely squashes, or visit the Mission Garden at the base of A-Mountain to see maturing fruits from the monsoon planting. Then plan ahead for next year to plant some of each in your own monsoon garden for great winter cookery and for sharing with neighbors.
All of these Native pumpkins/squashes are the ultimate in desert adaptation. They grow well in the heat with monsoon rains, AND, they keep for long periods of time without refrigeration over the winter. Talk about an easy, low-tech way to preserve food! I have kept the hard-shelled Tohono O’odham Ha:l outside in the shade of my back porch from October’s harvest into May of the following year when temperatures soared. That’s what you call a keeper.
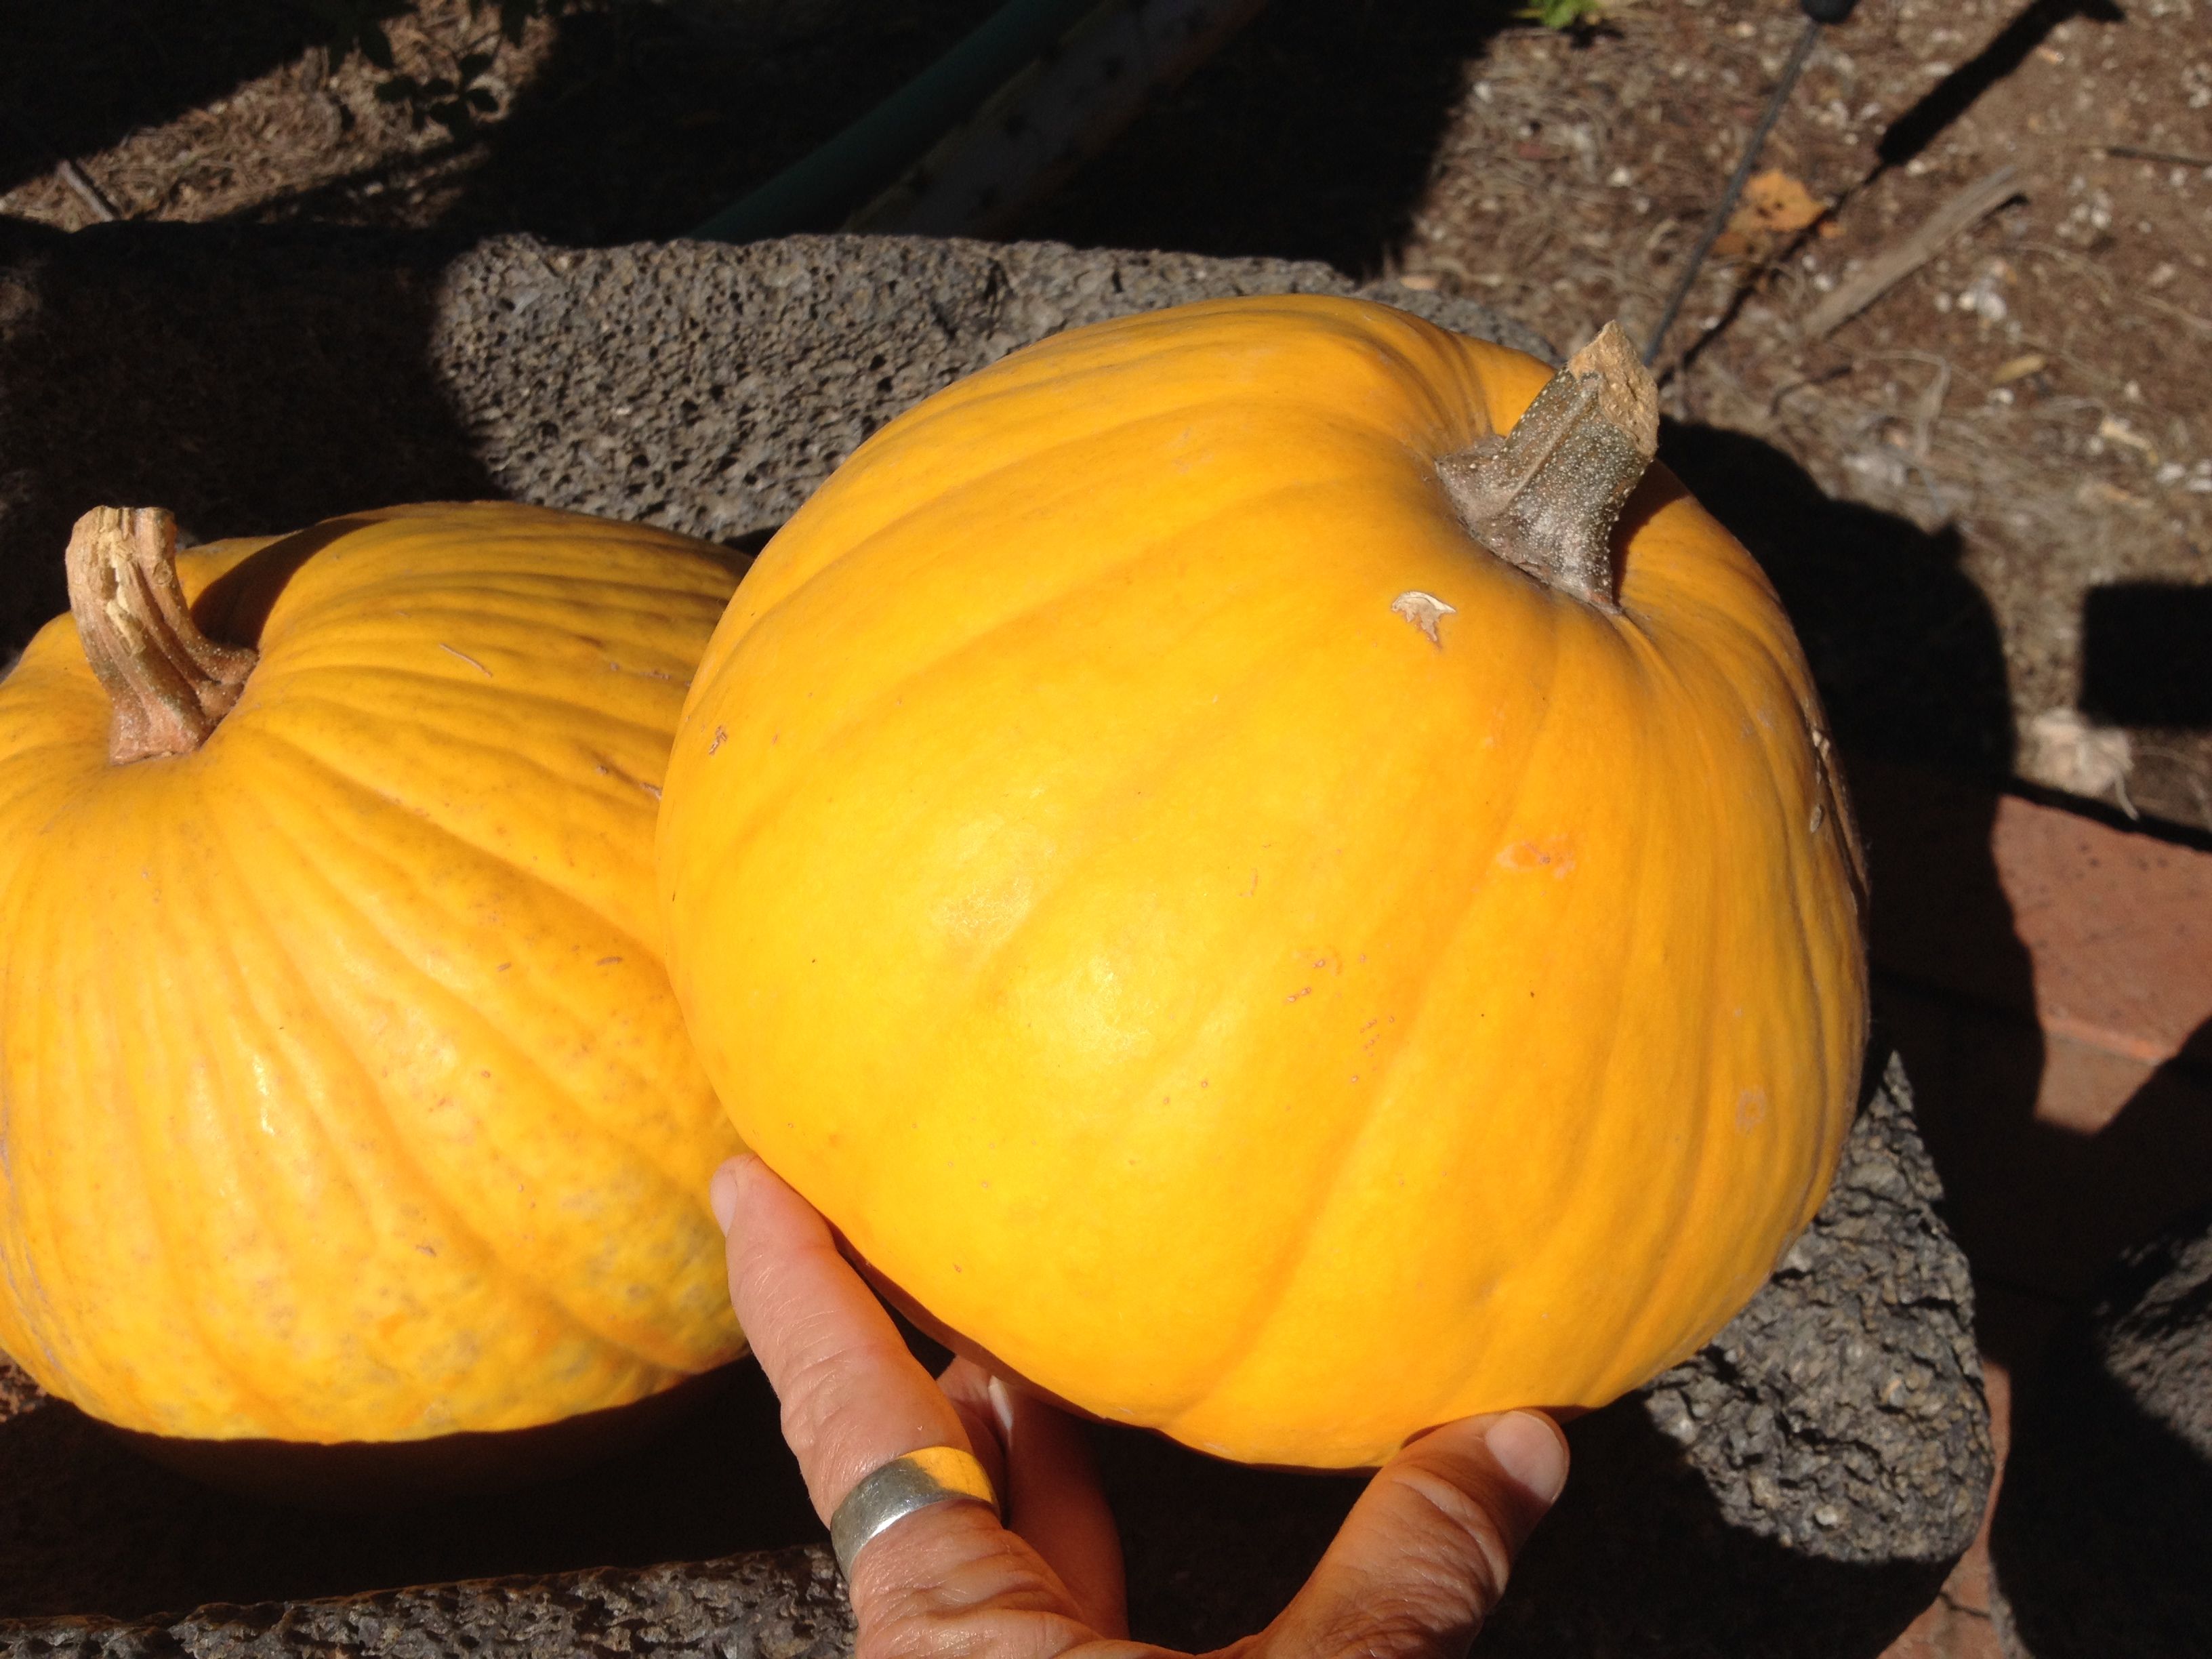
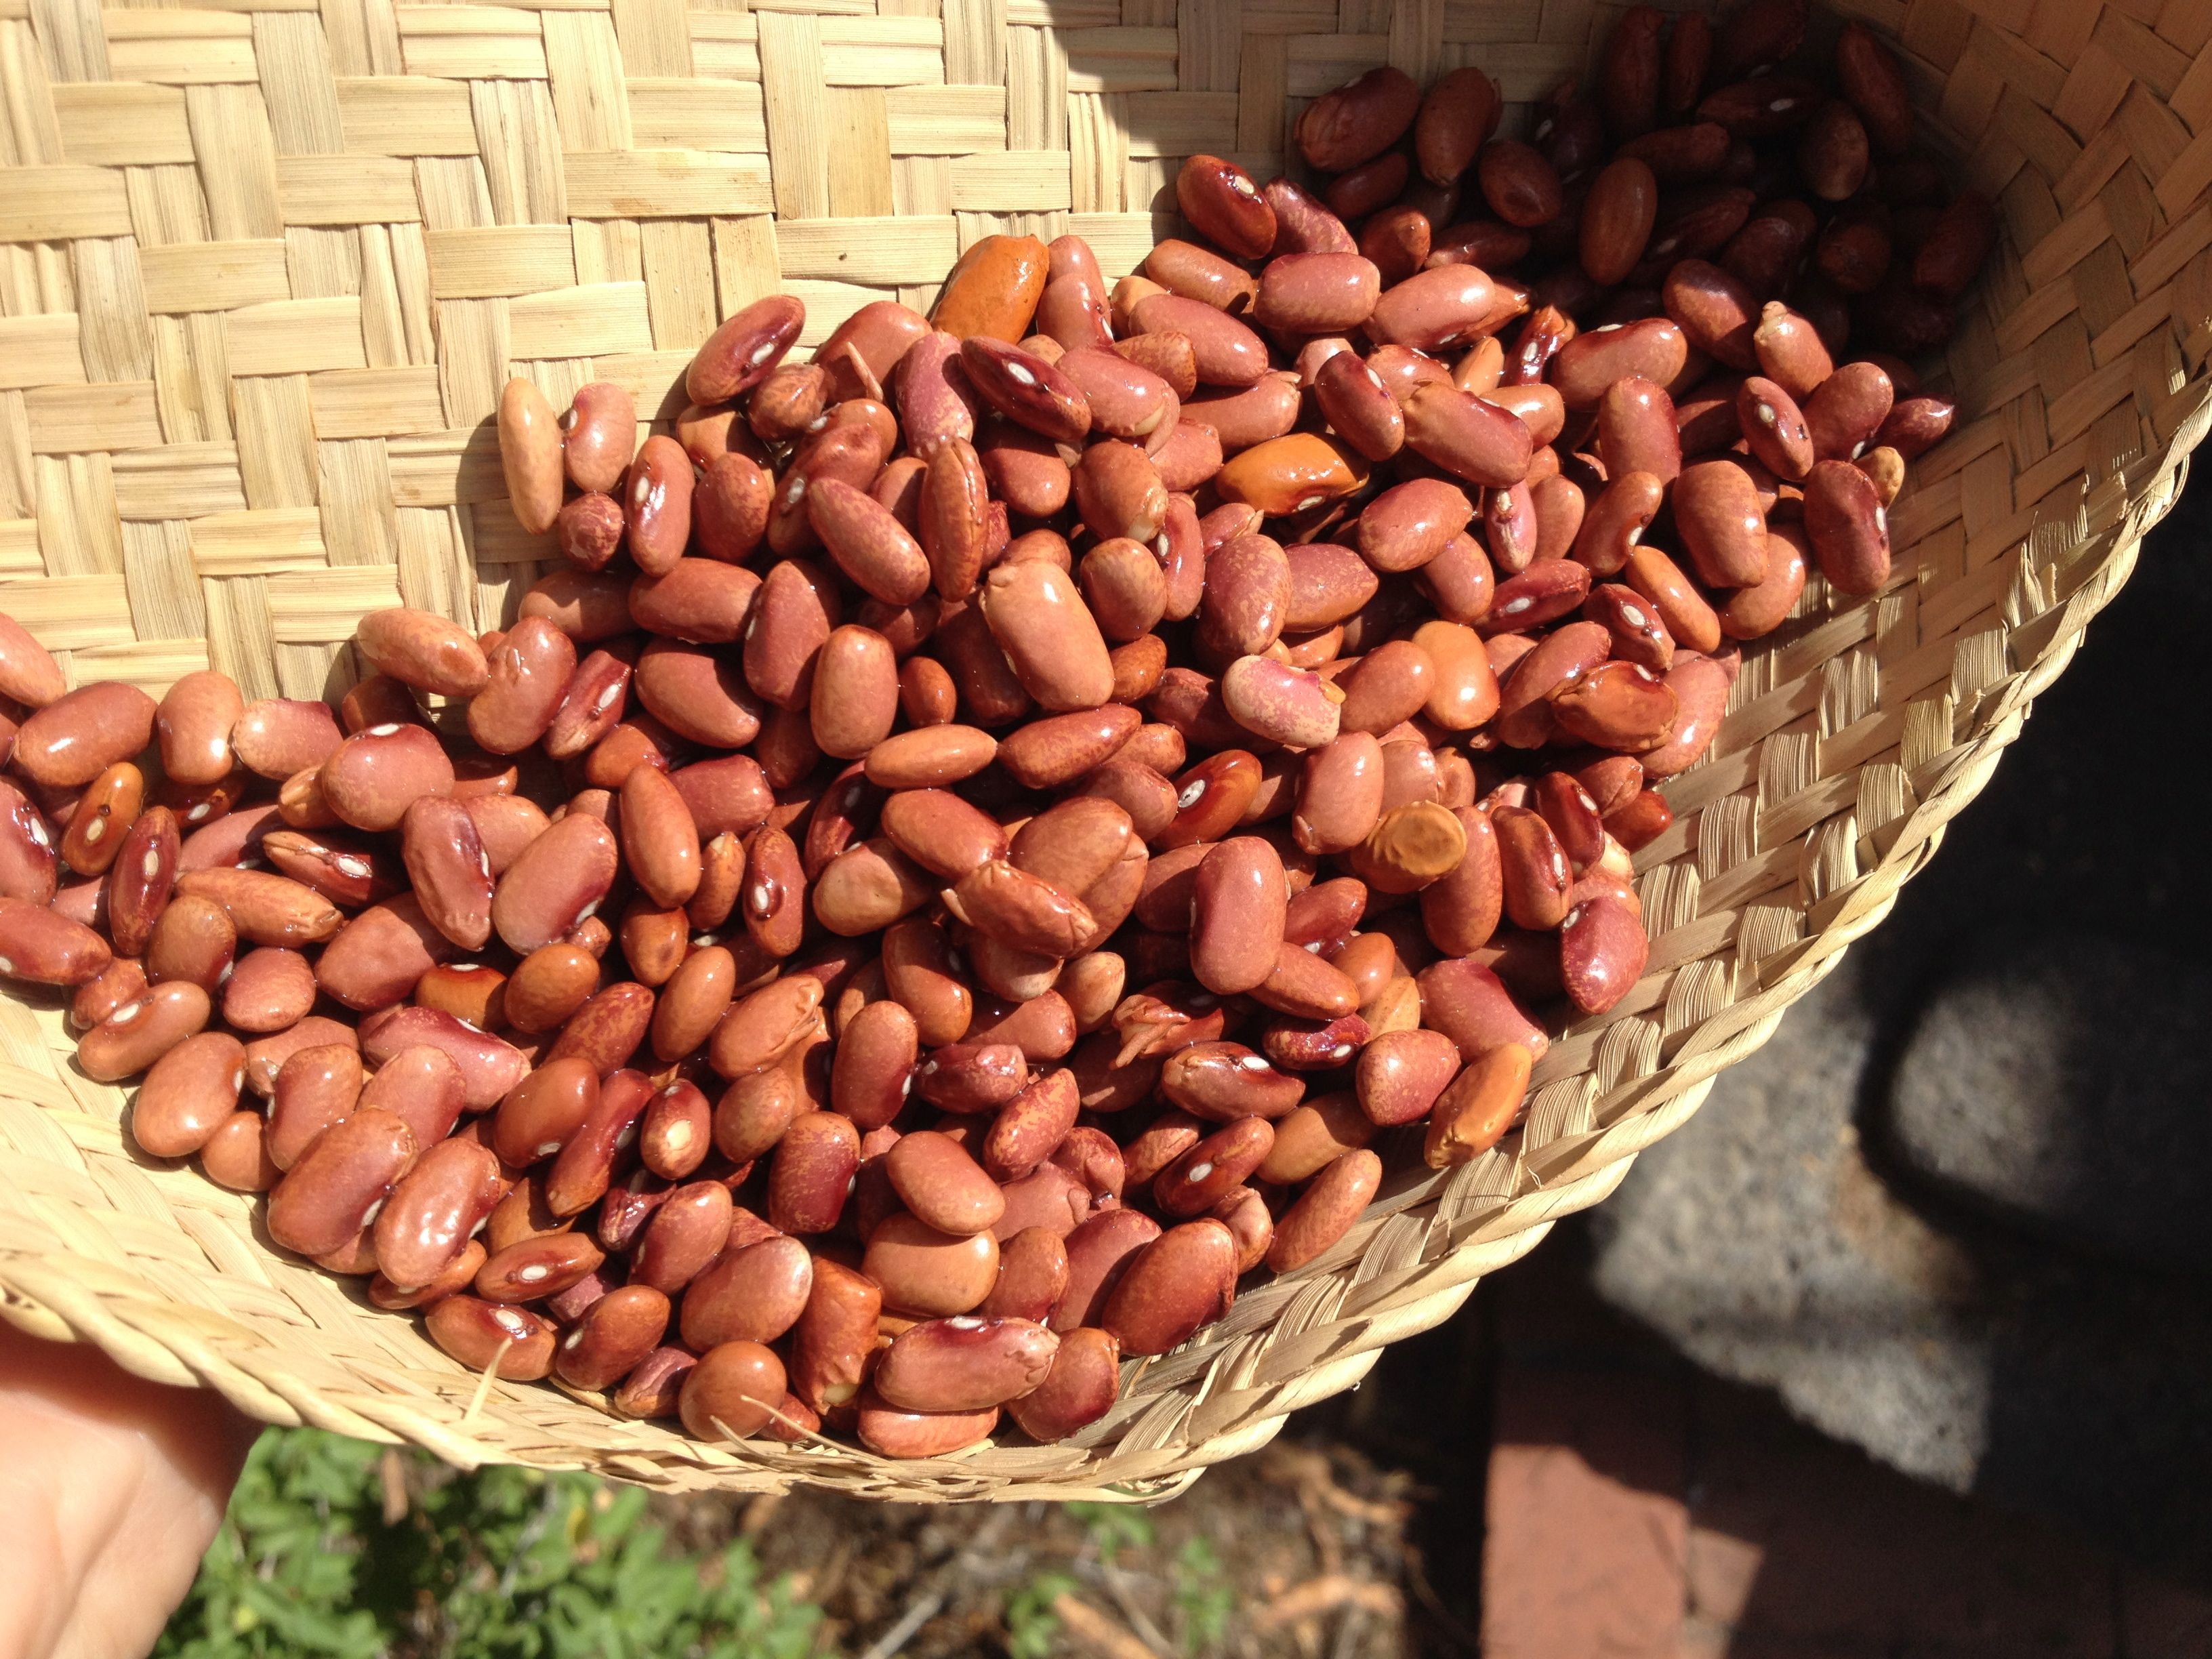
Tarahumara pumpkins Oct2014 from 2013 harvest (MABphoto)
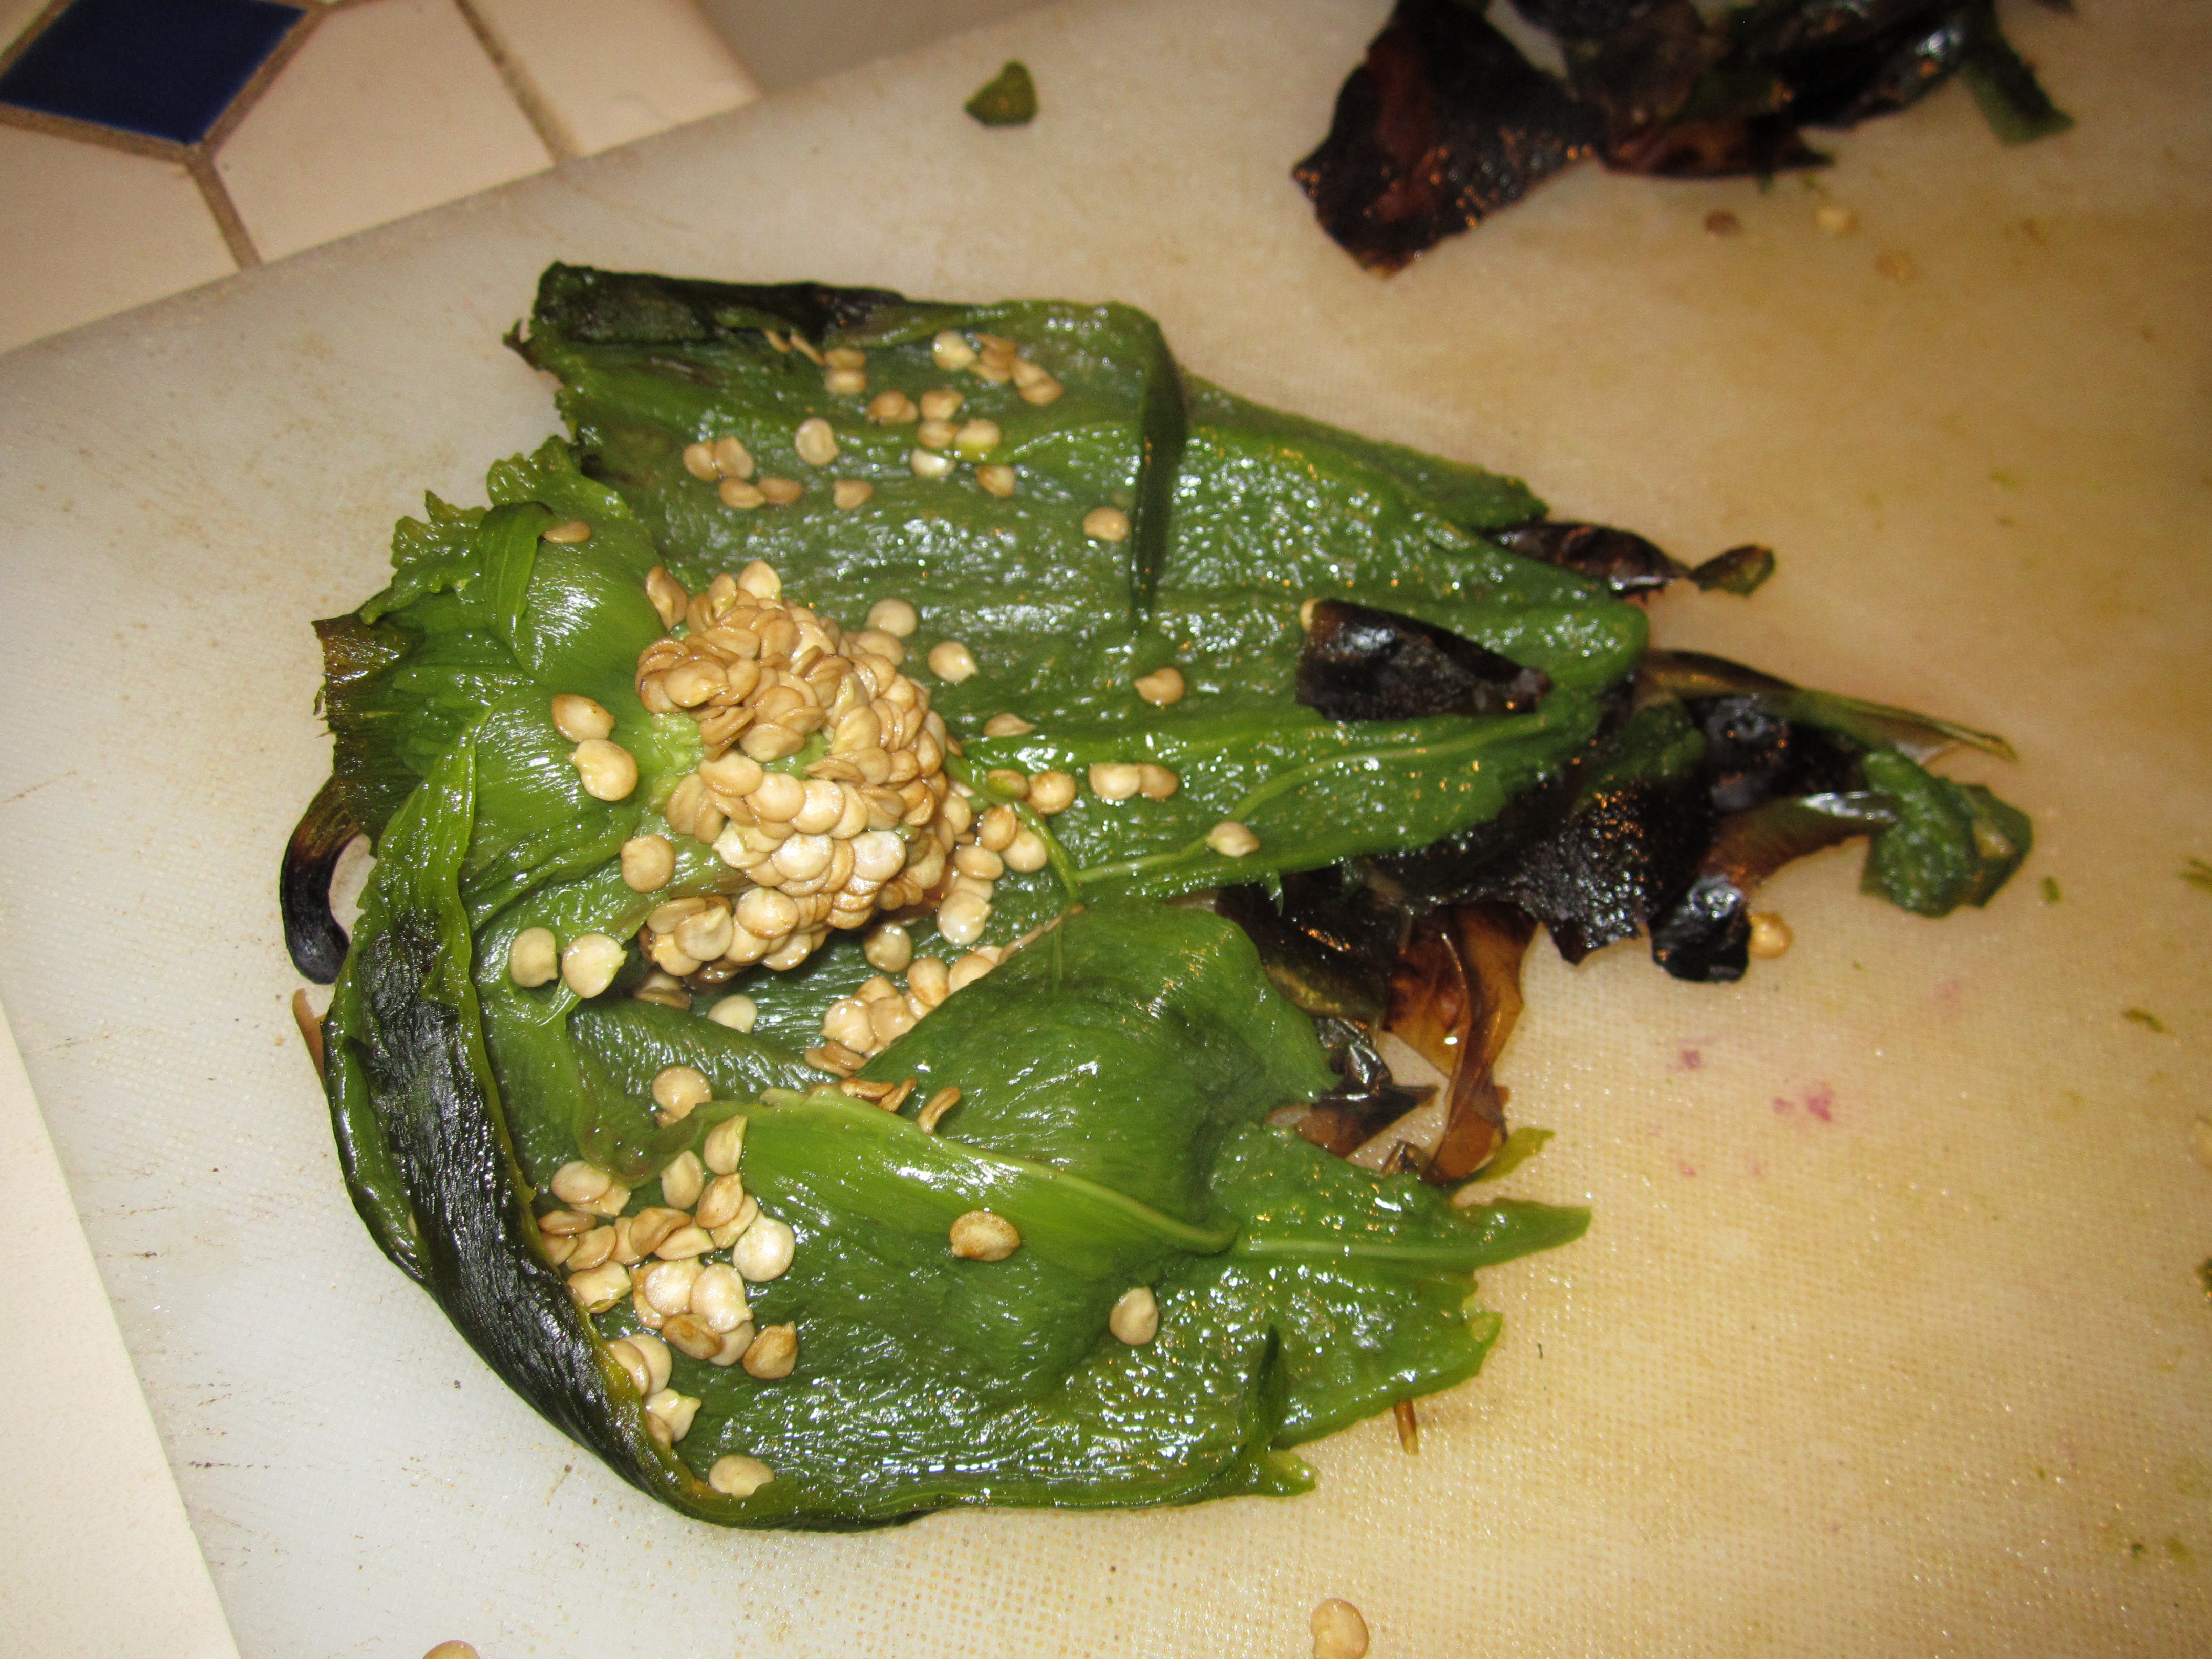
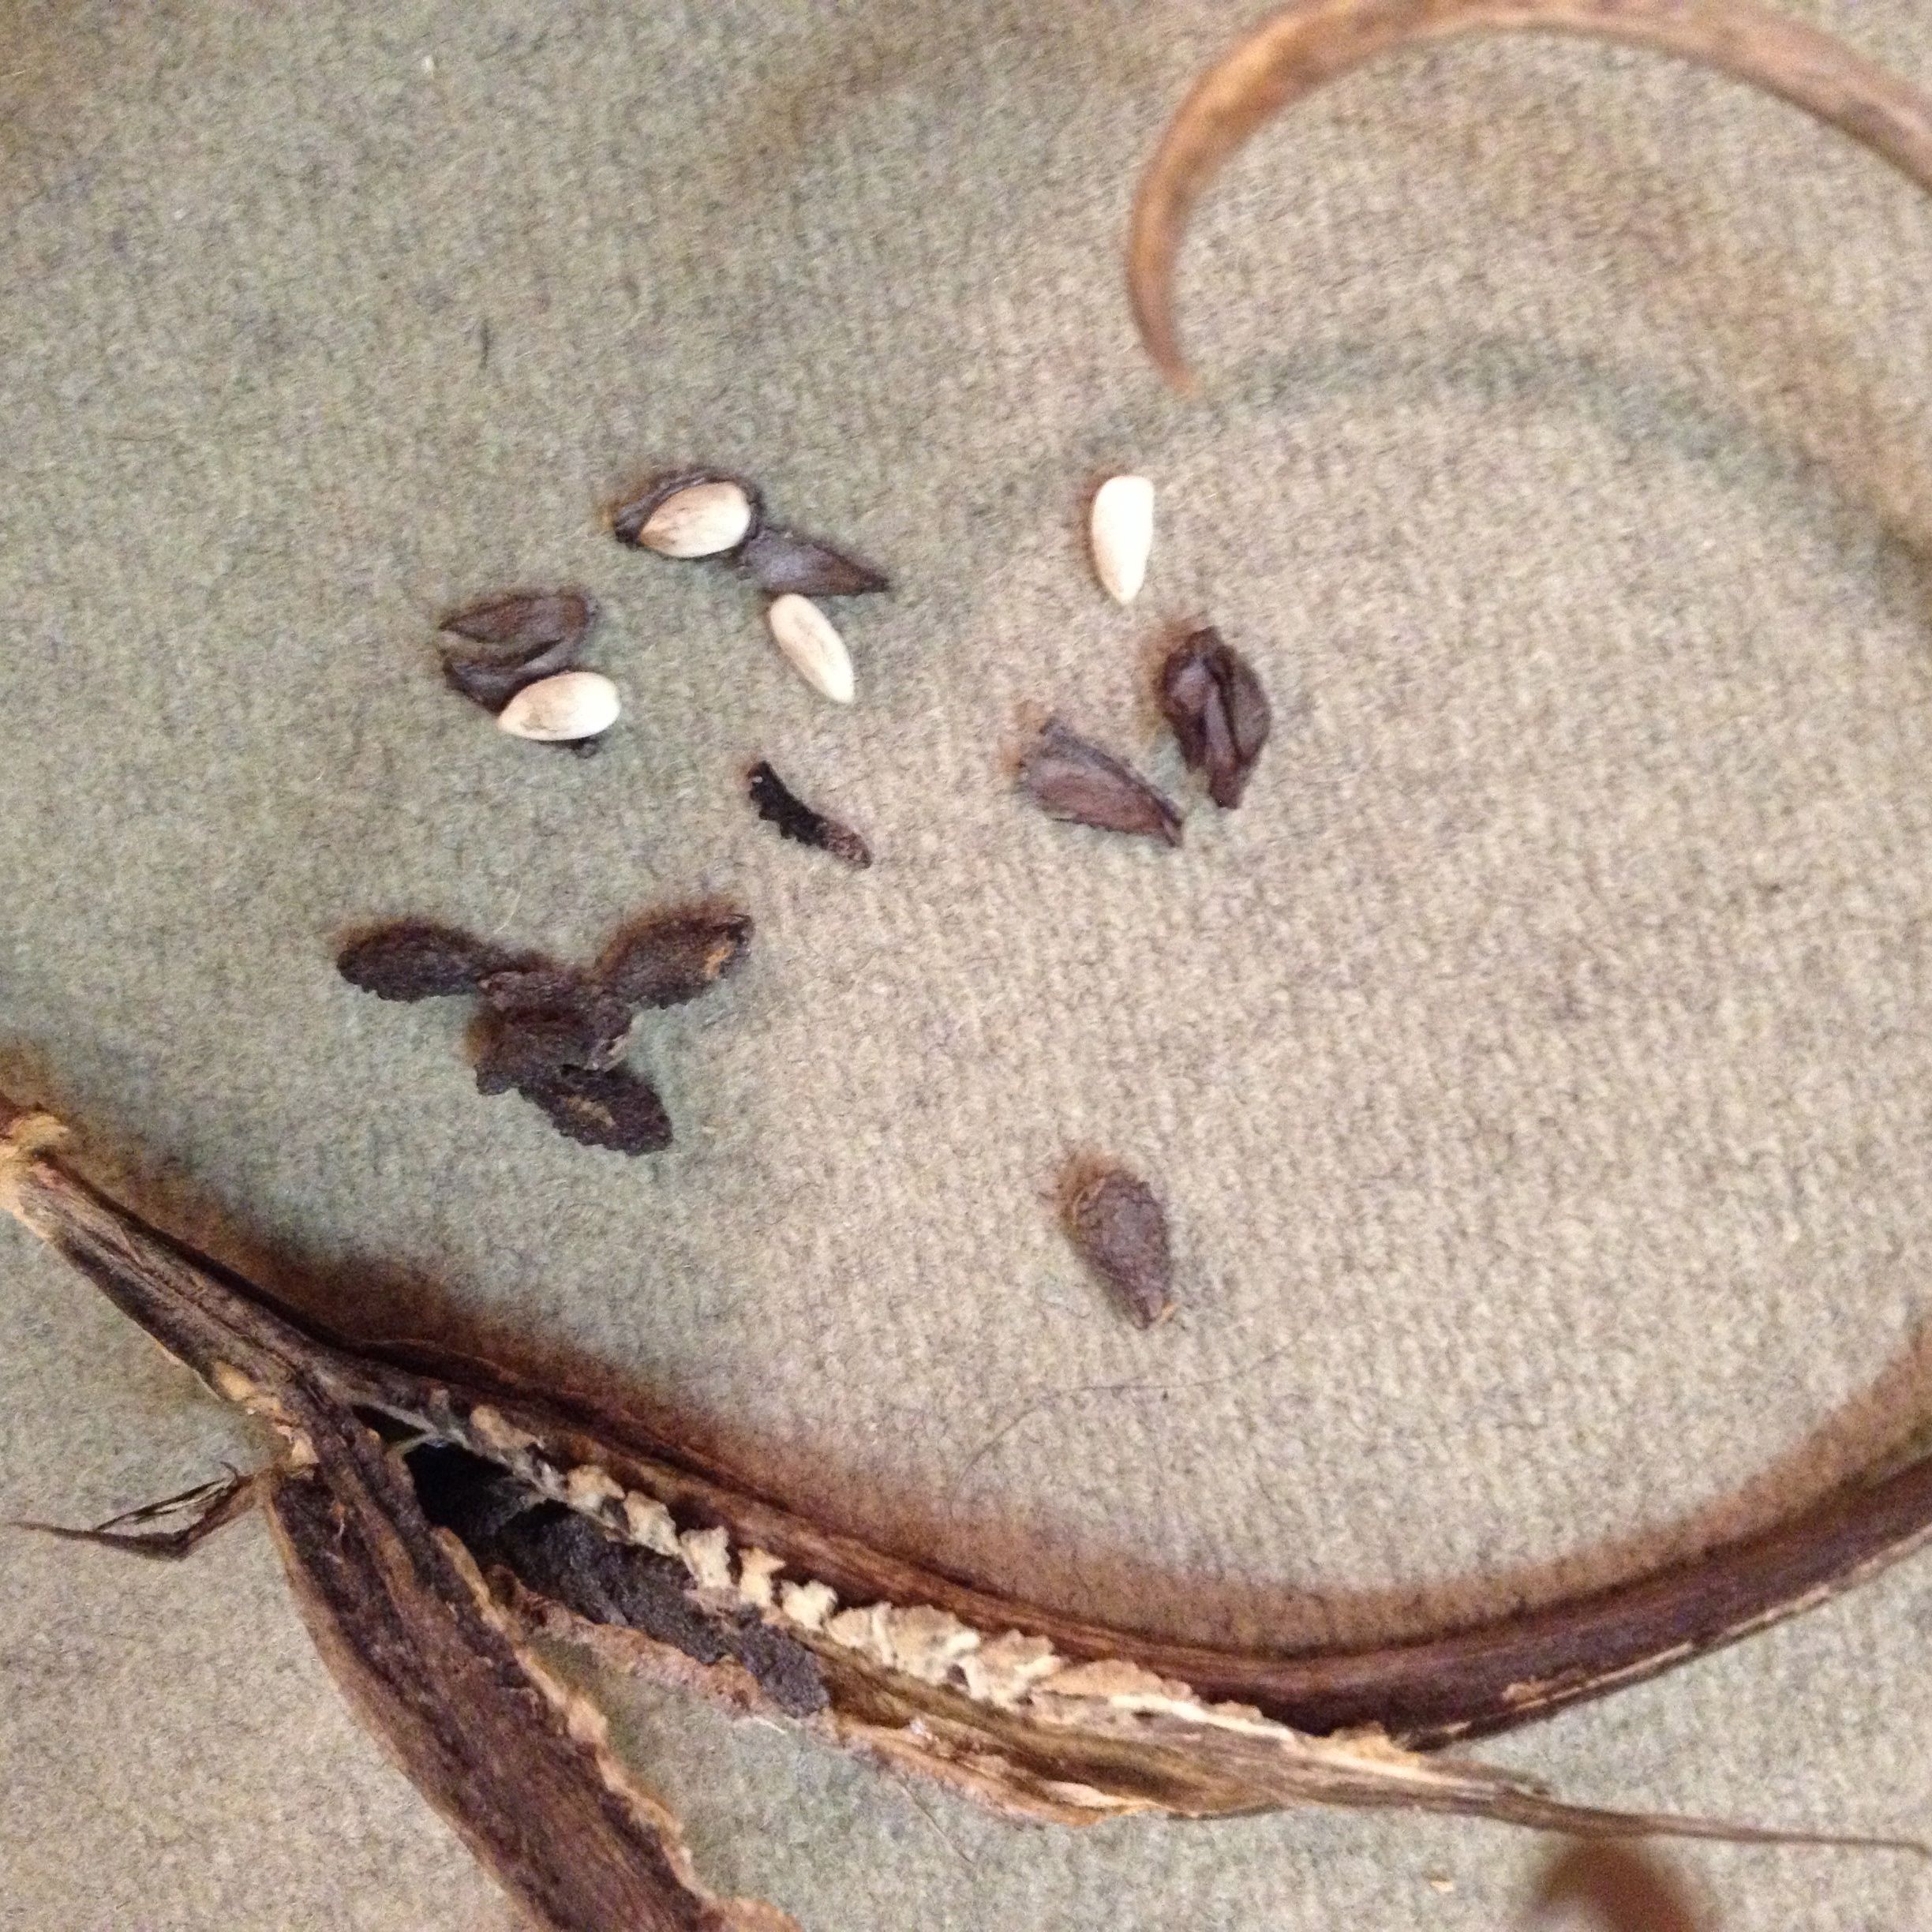
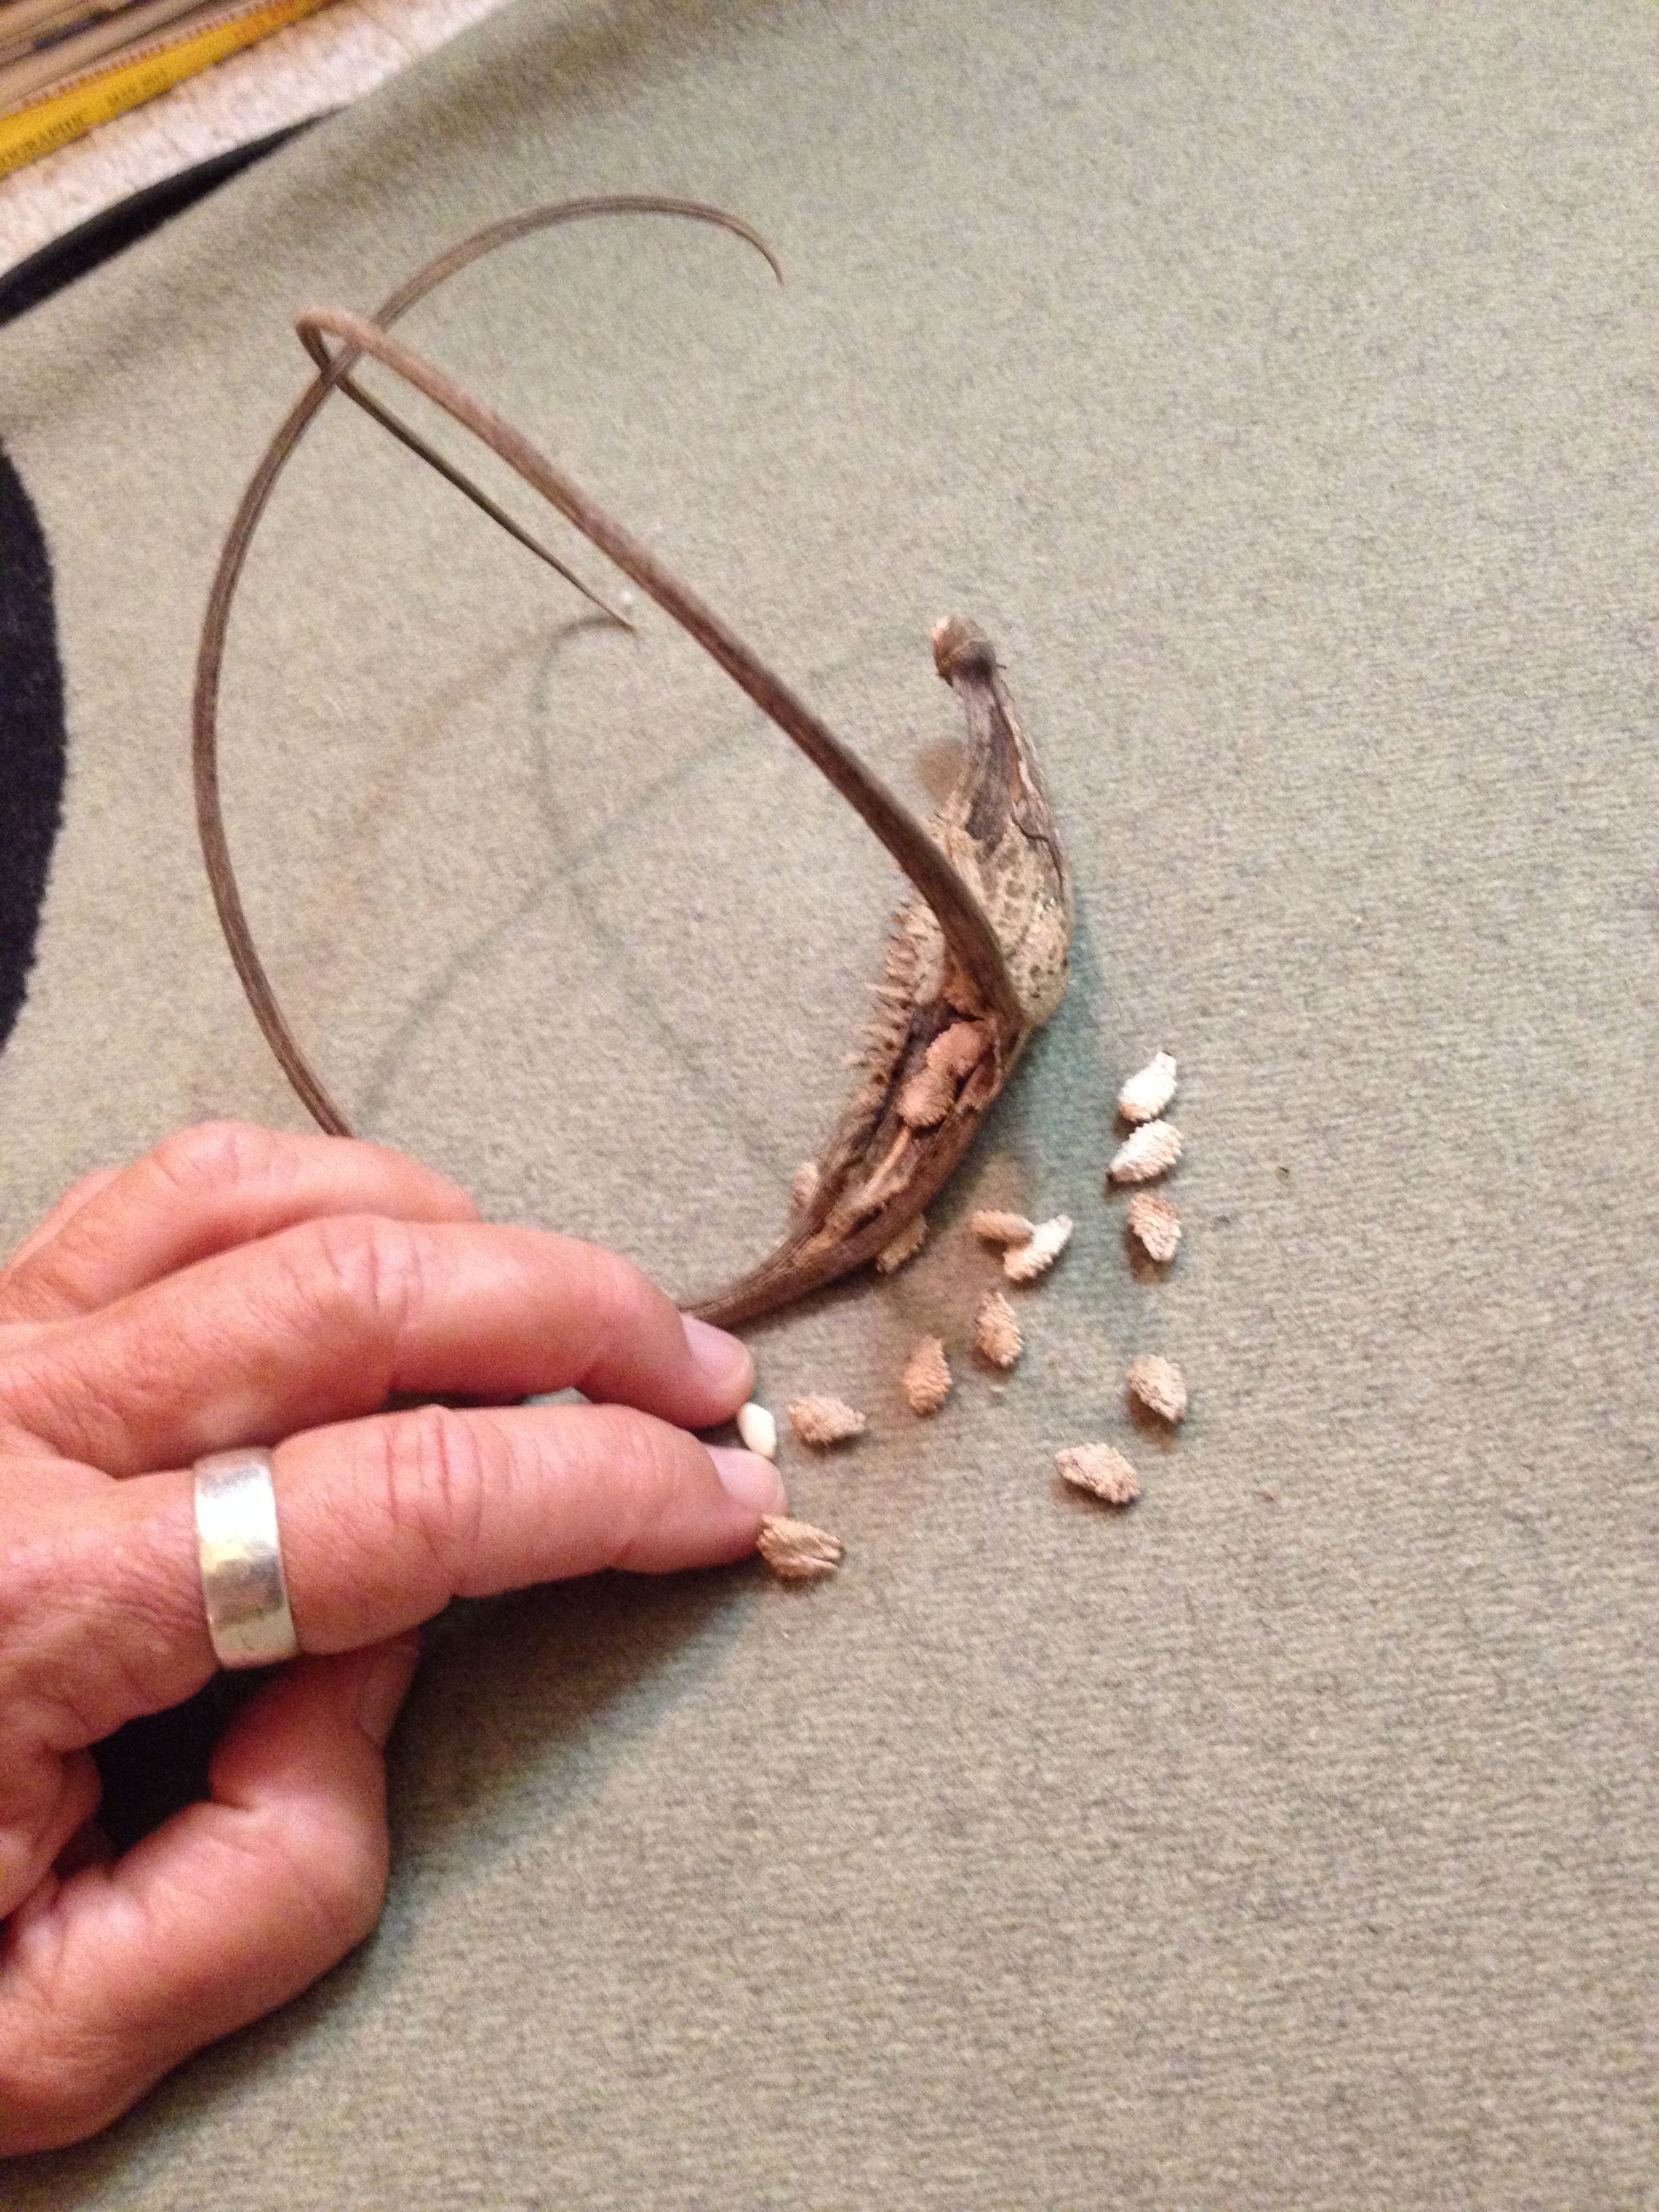
With last fall’s harvest of Tarahumara pumpkins, I started another experiment in non-refrigerated storage. I kept 2 medium-sized pumpkins inside on a tile floor out of direct sun. Over the summer they turned from green striped to bright yellow-orange on the outside. I had no idea this week what they would be like inside when I opened them at last for cooking. To my surprise and gladness the flesh was still firm and gorgeous—bright with beta-carotenes—and the seeds were plump and not-yet-sprouted.
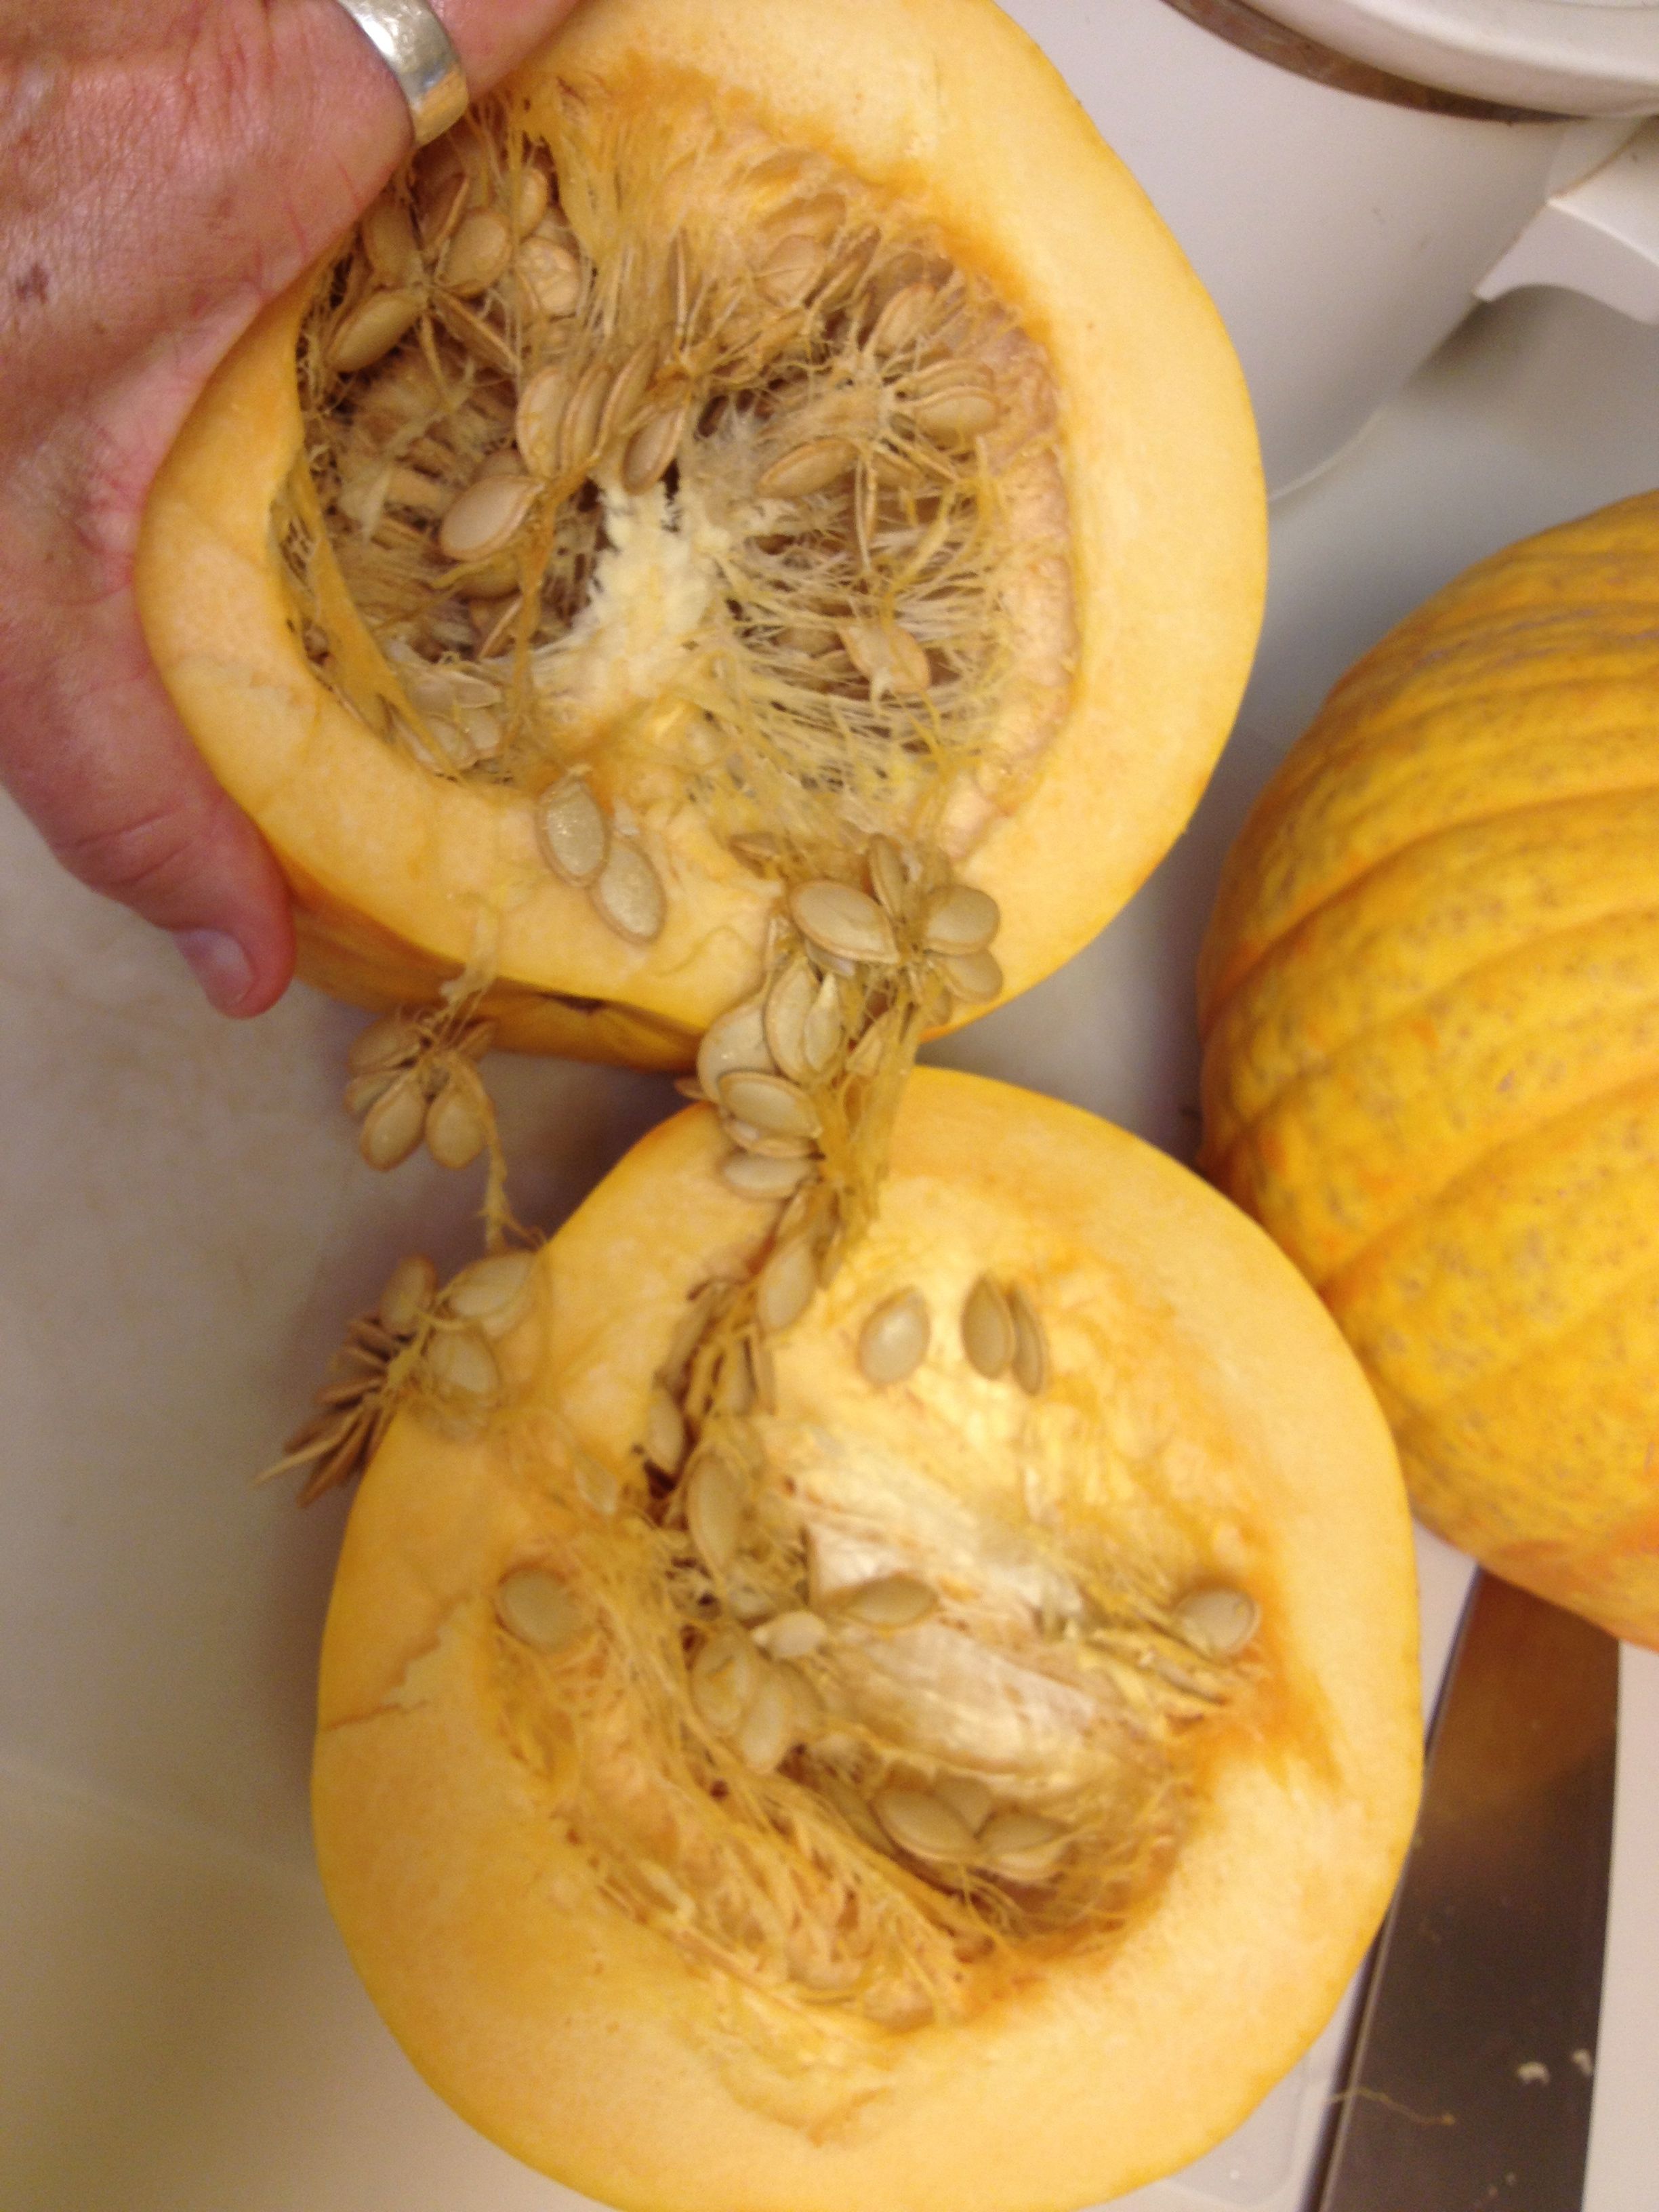
Rich flesh and seed of Tarahumara pumpkin (MABphoto)
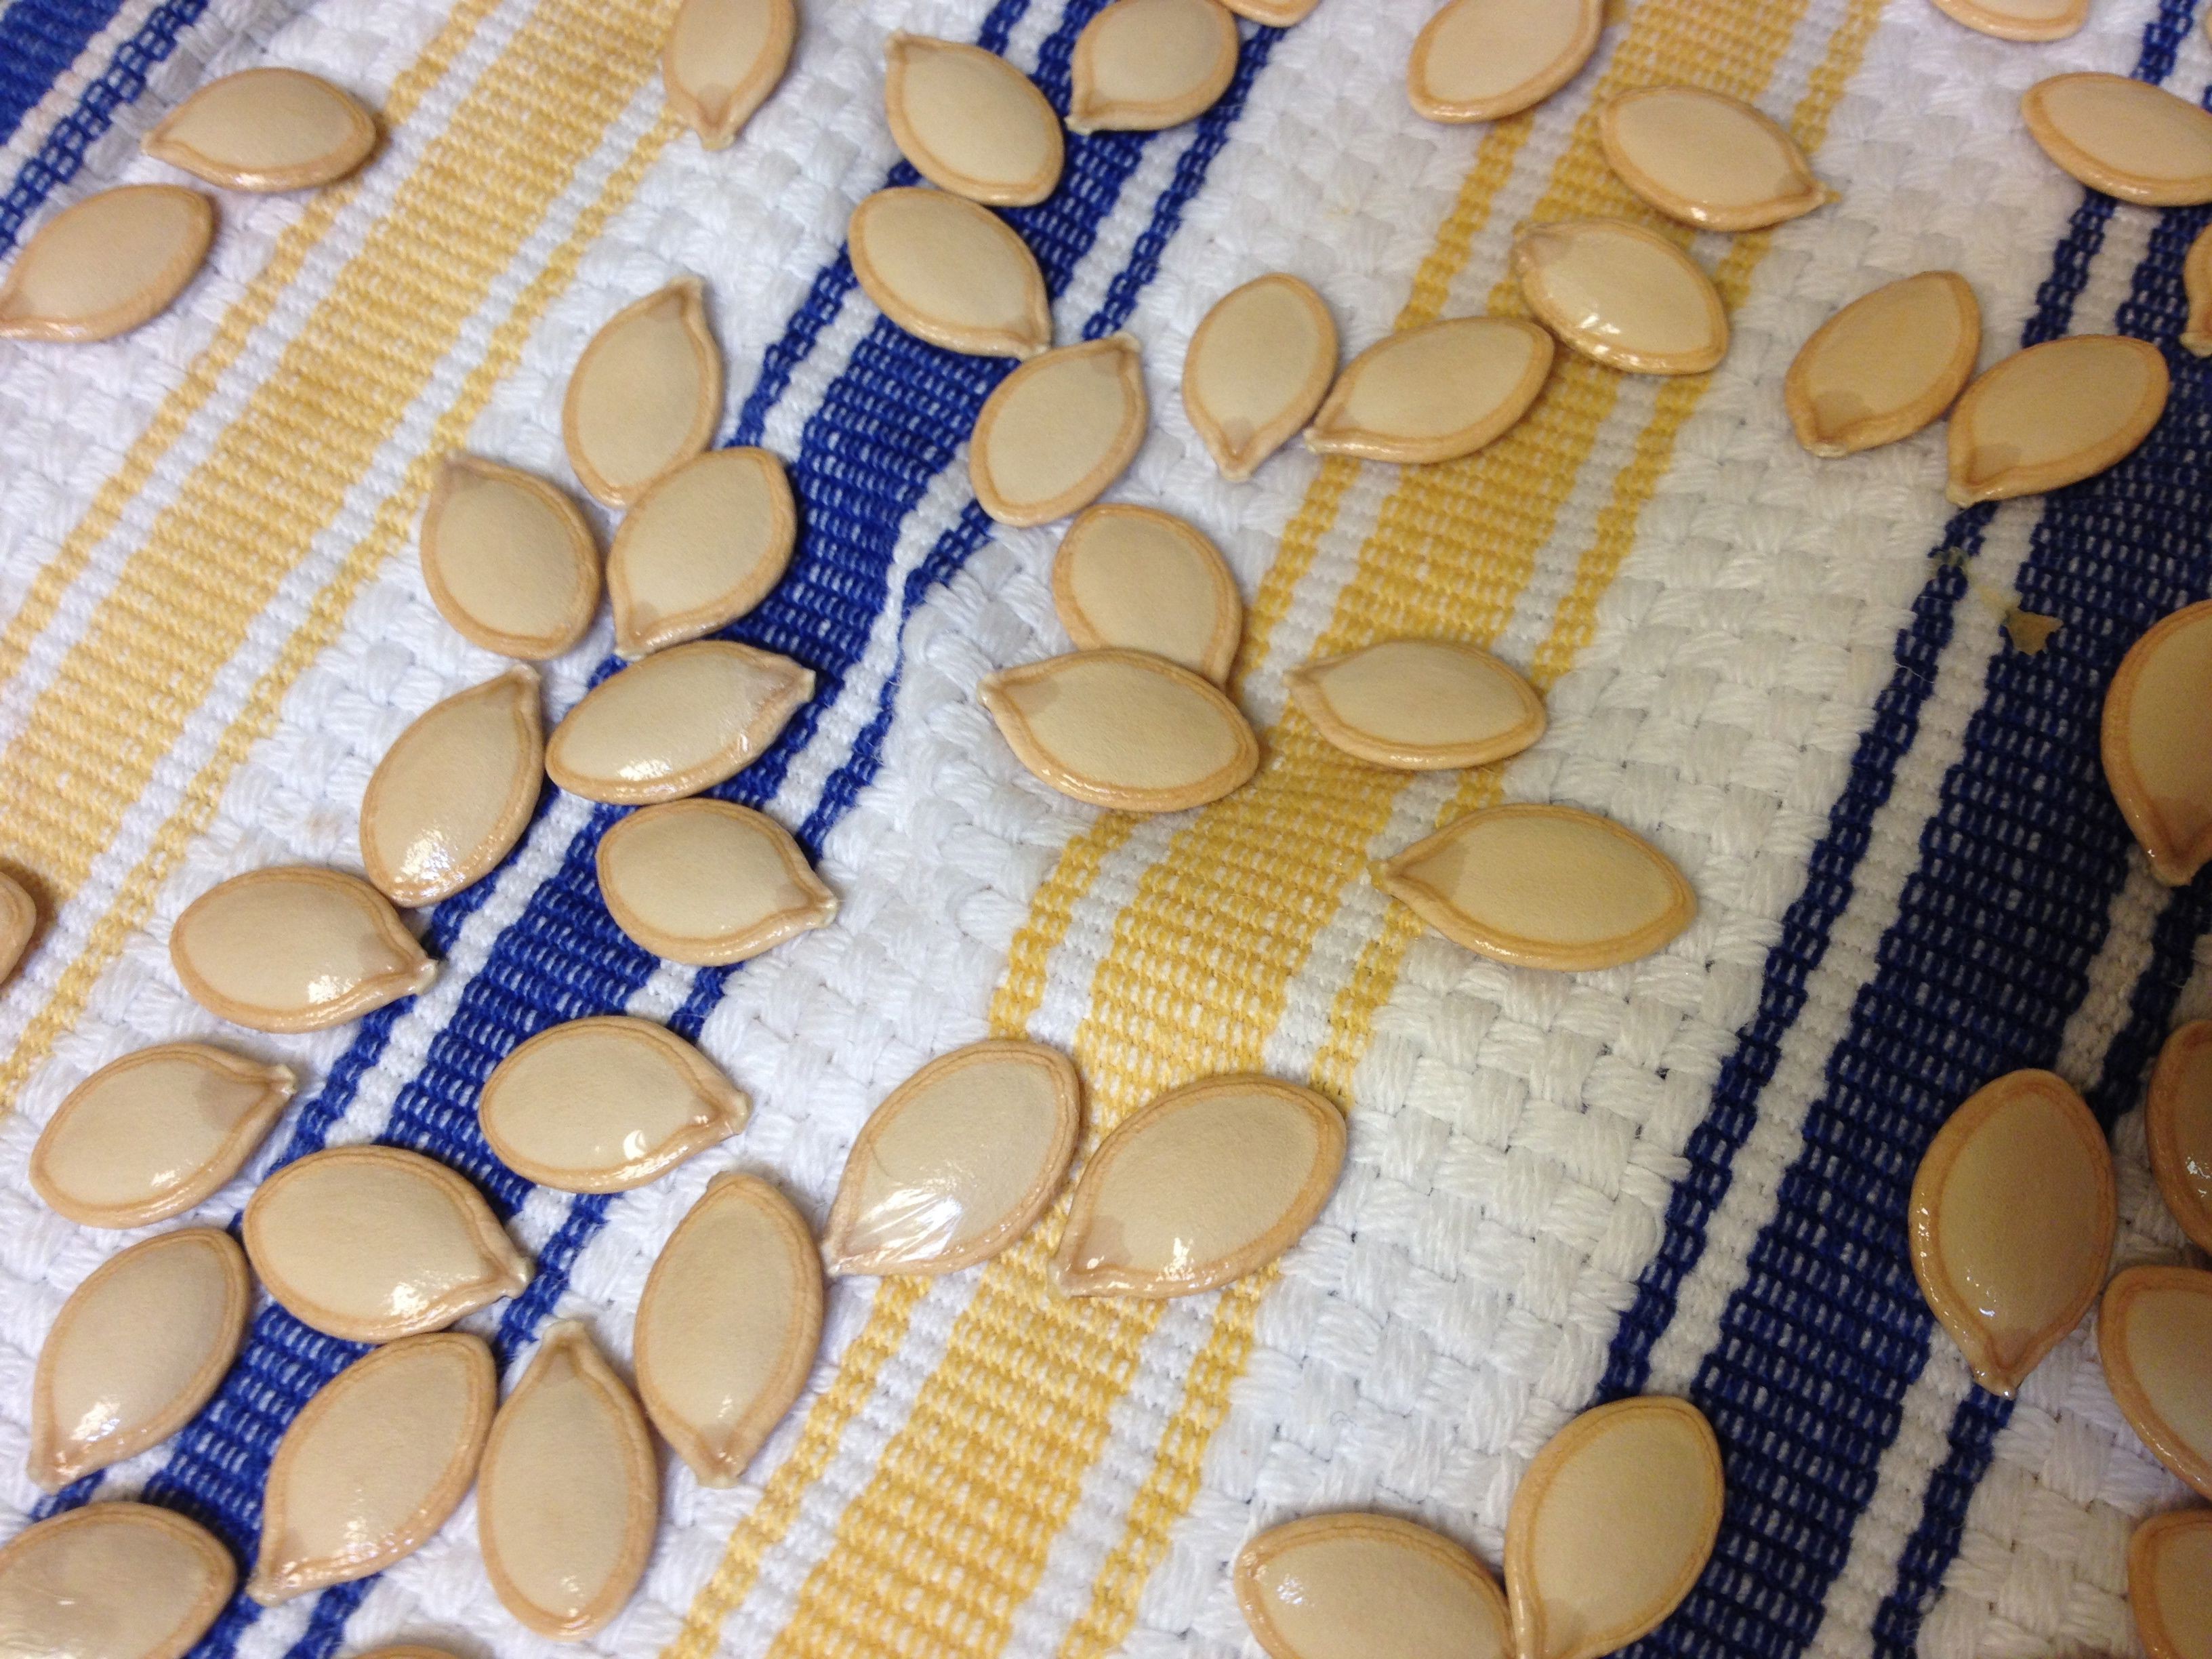
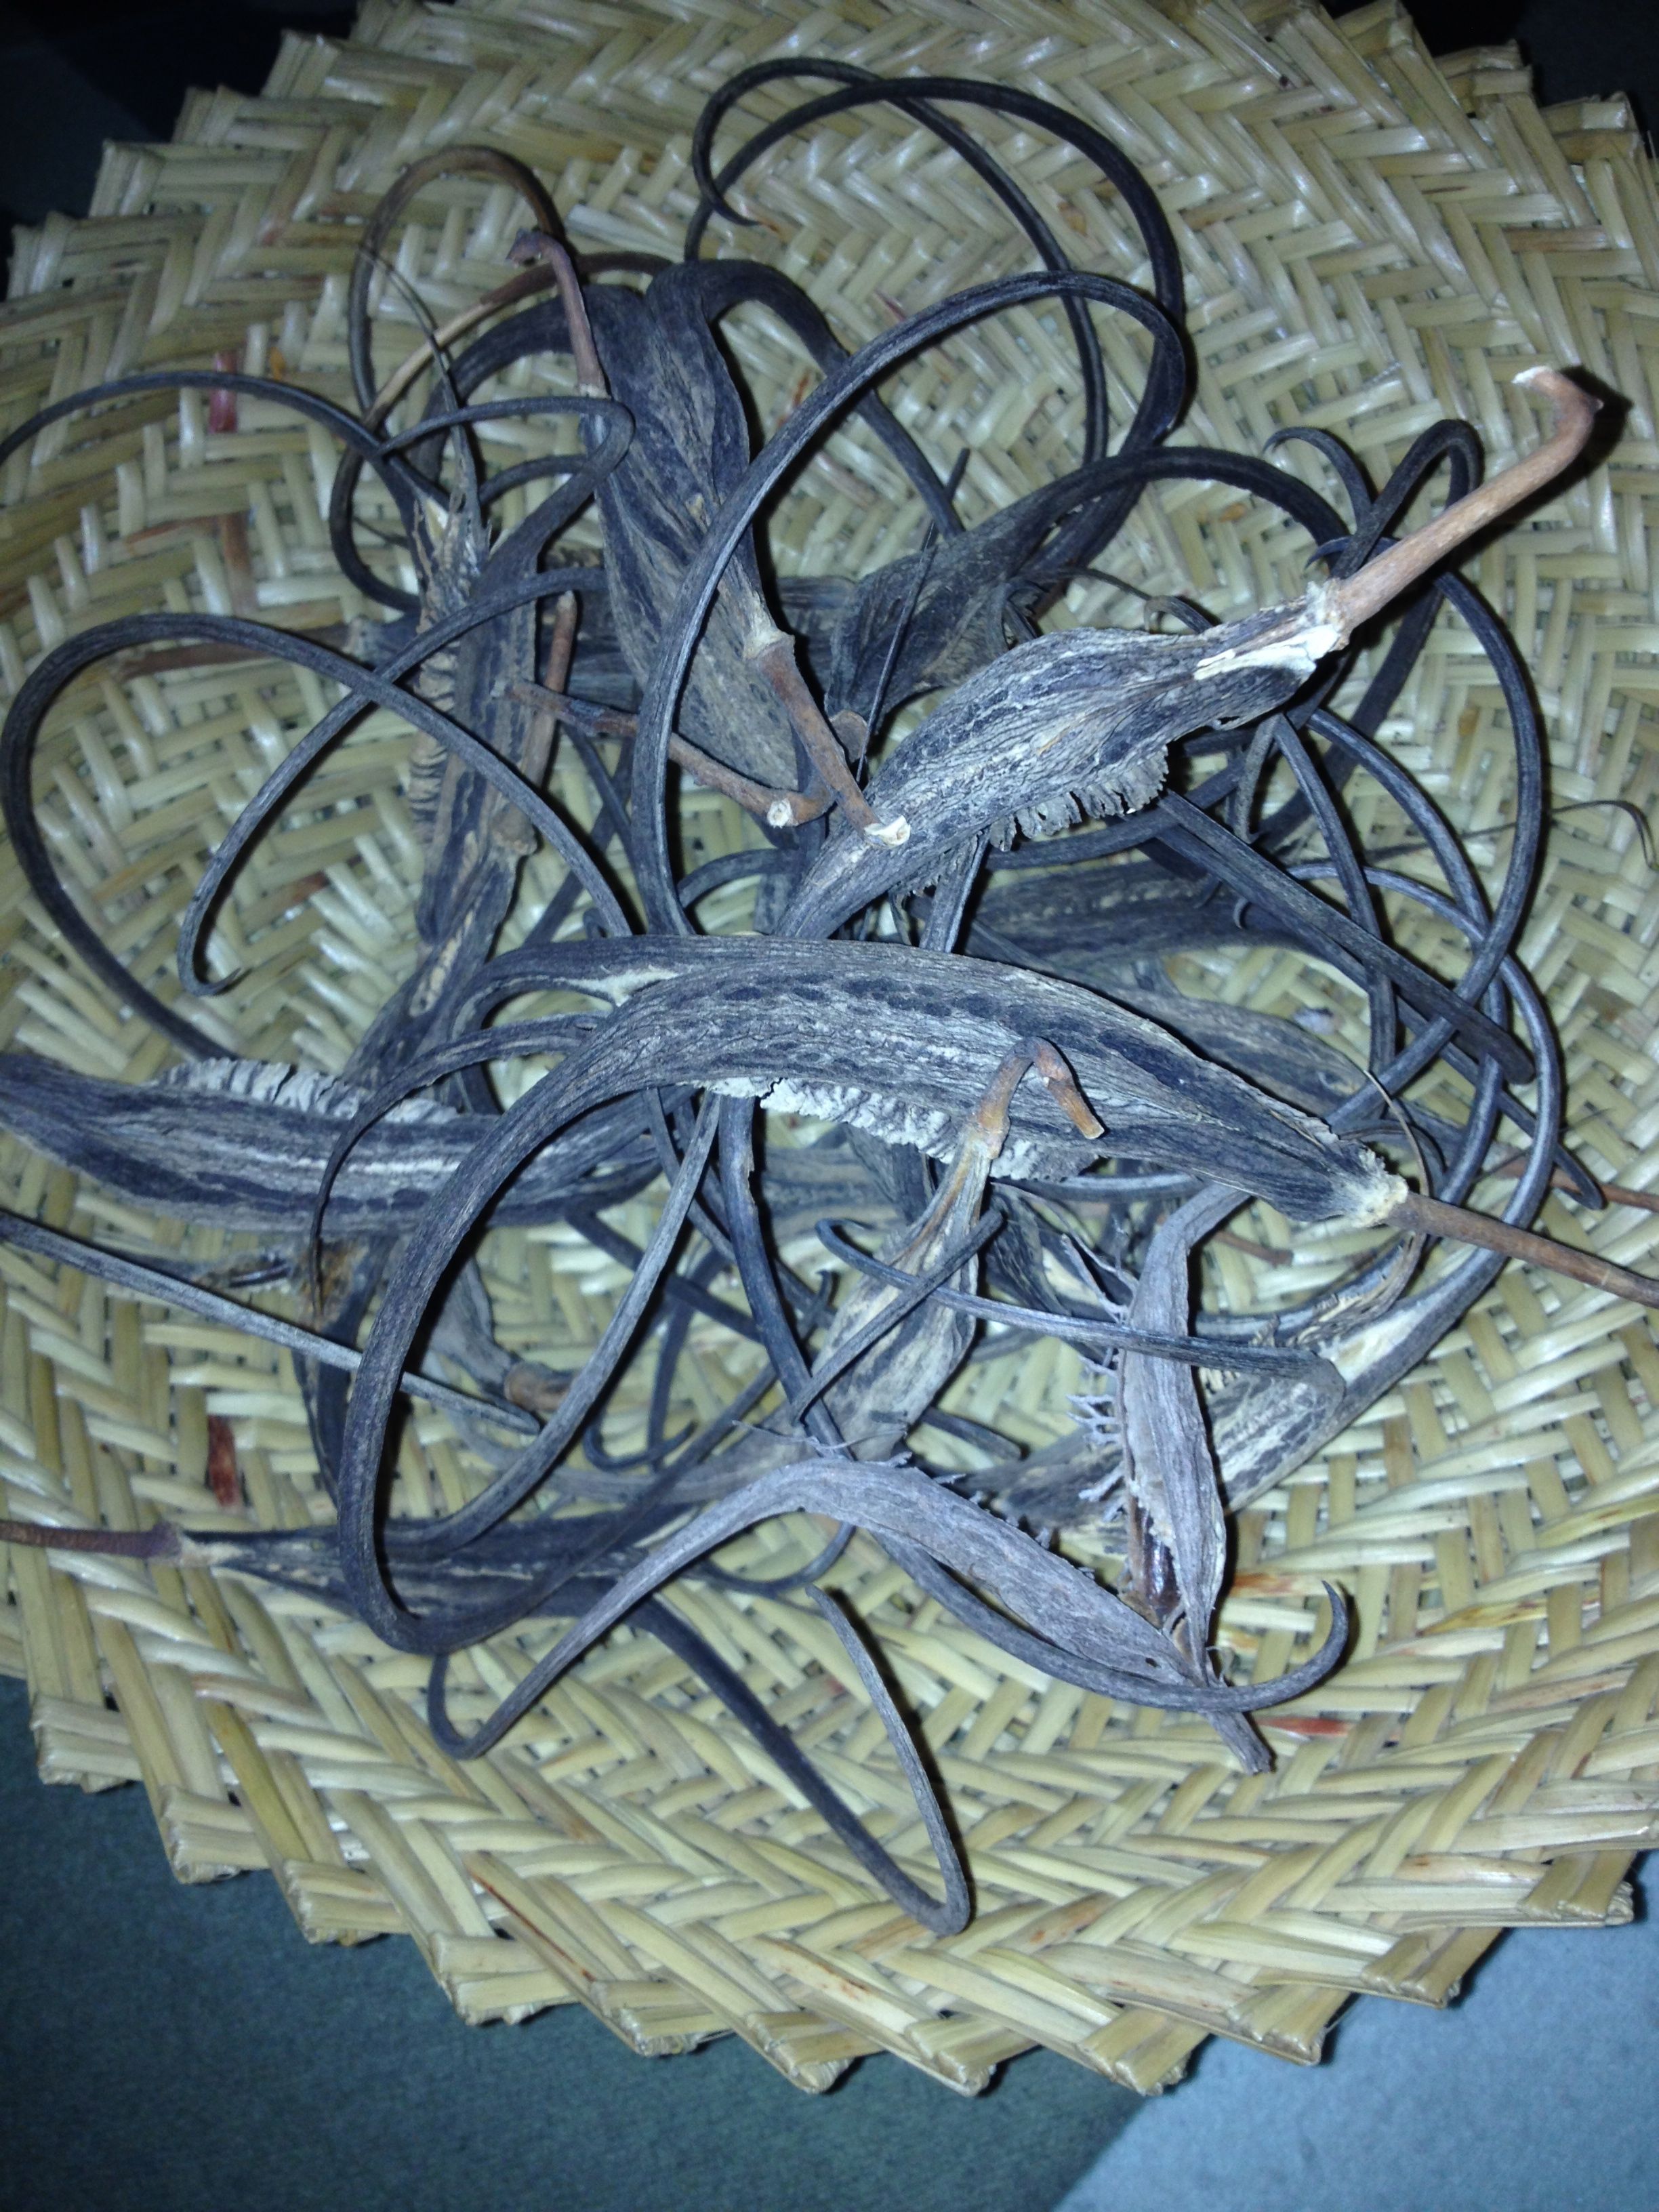
Pumpkin seeds cleaned to dry and save for next year’s planting (MABphoto)
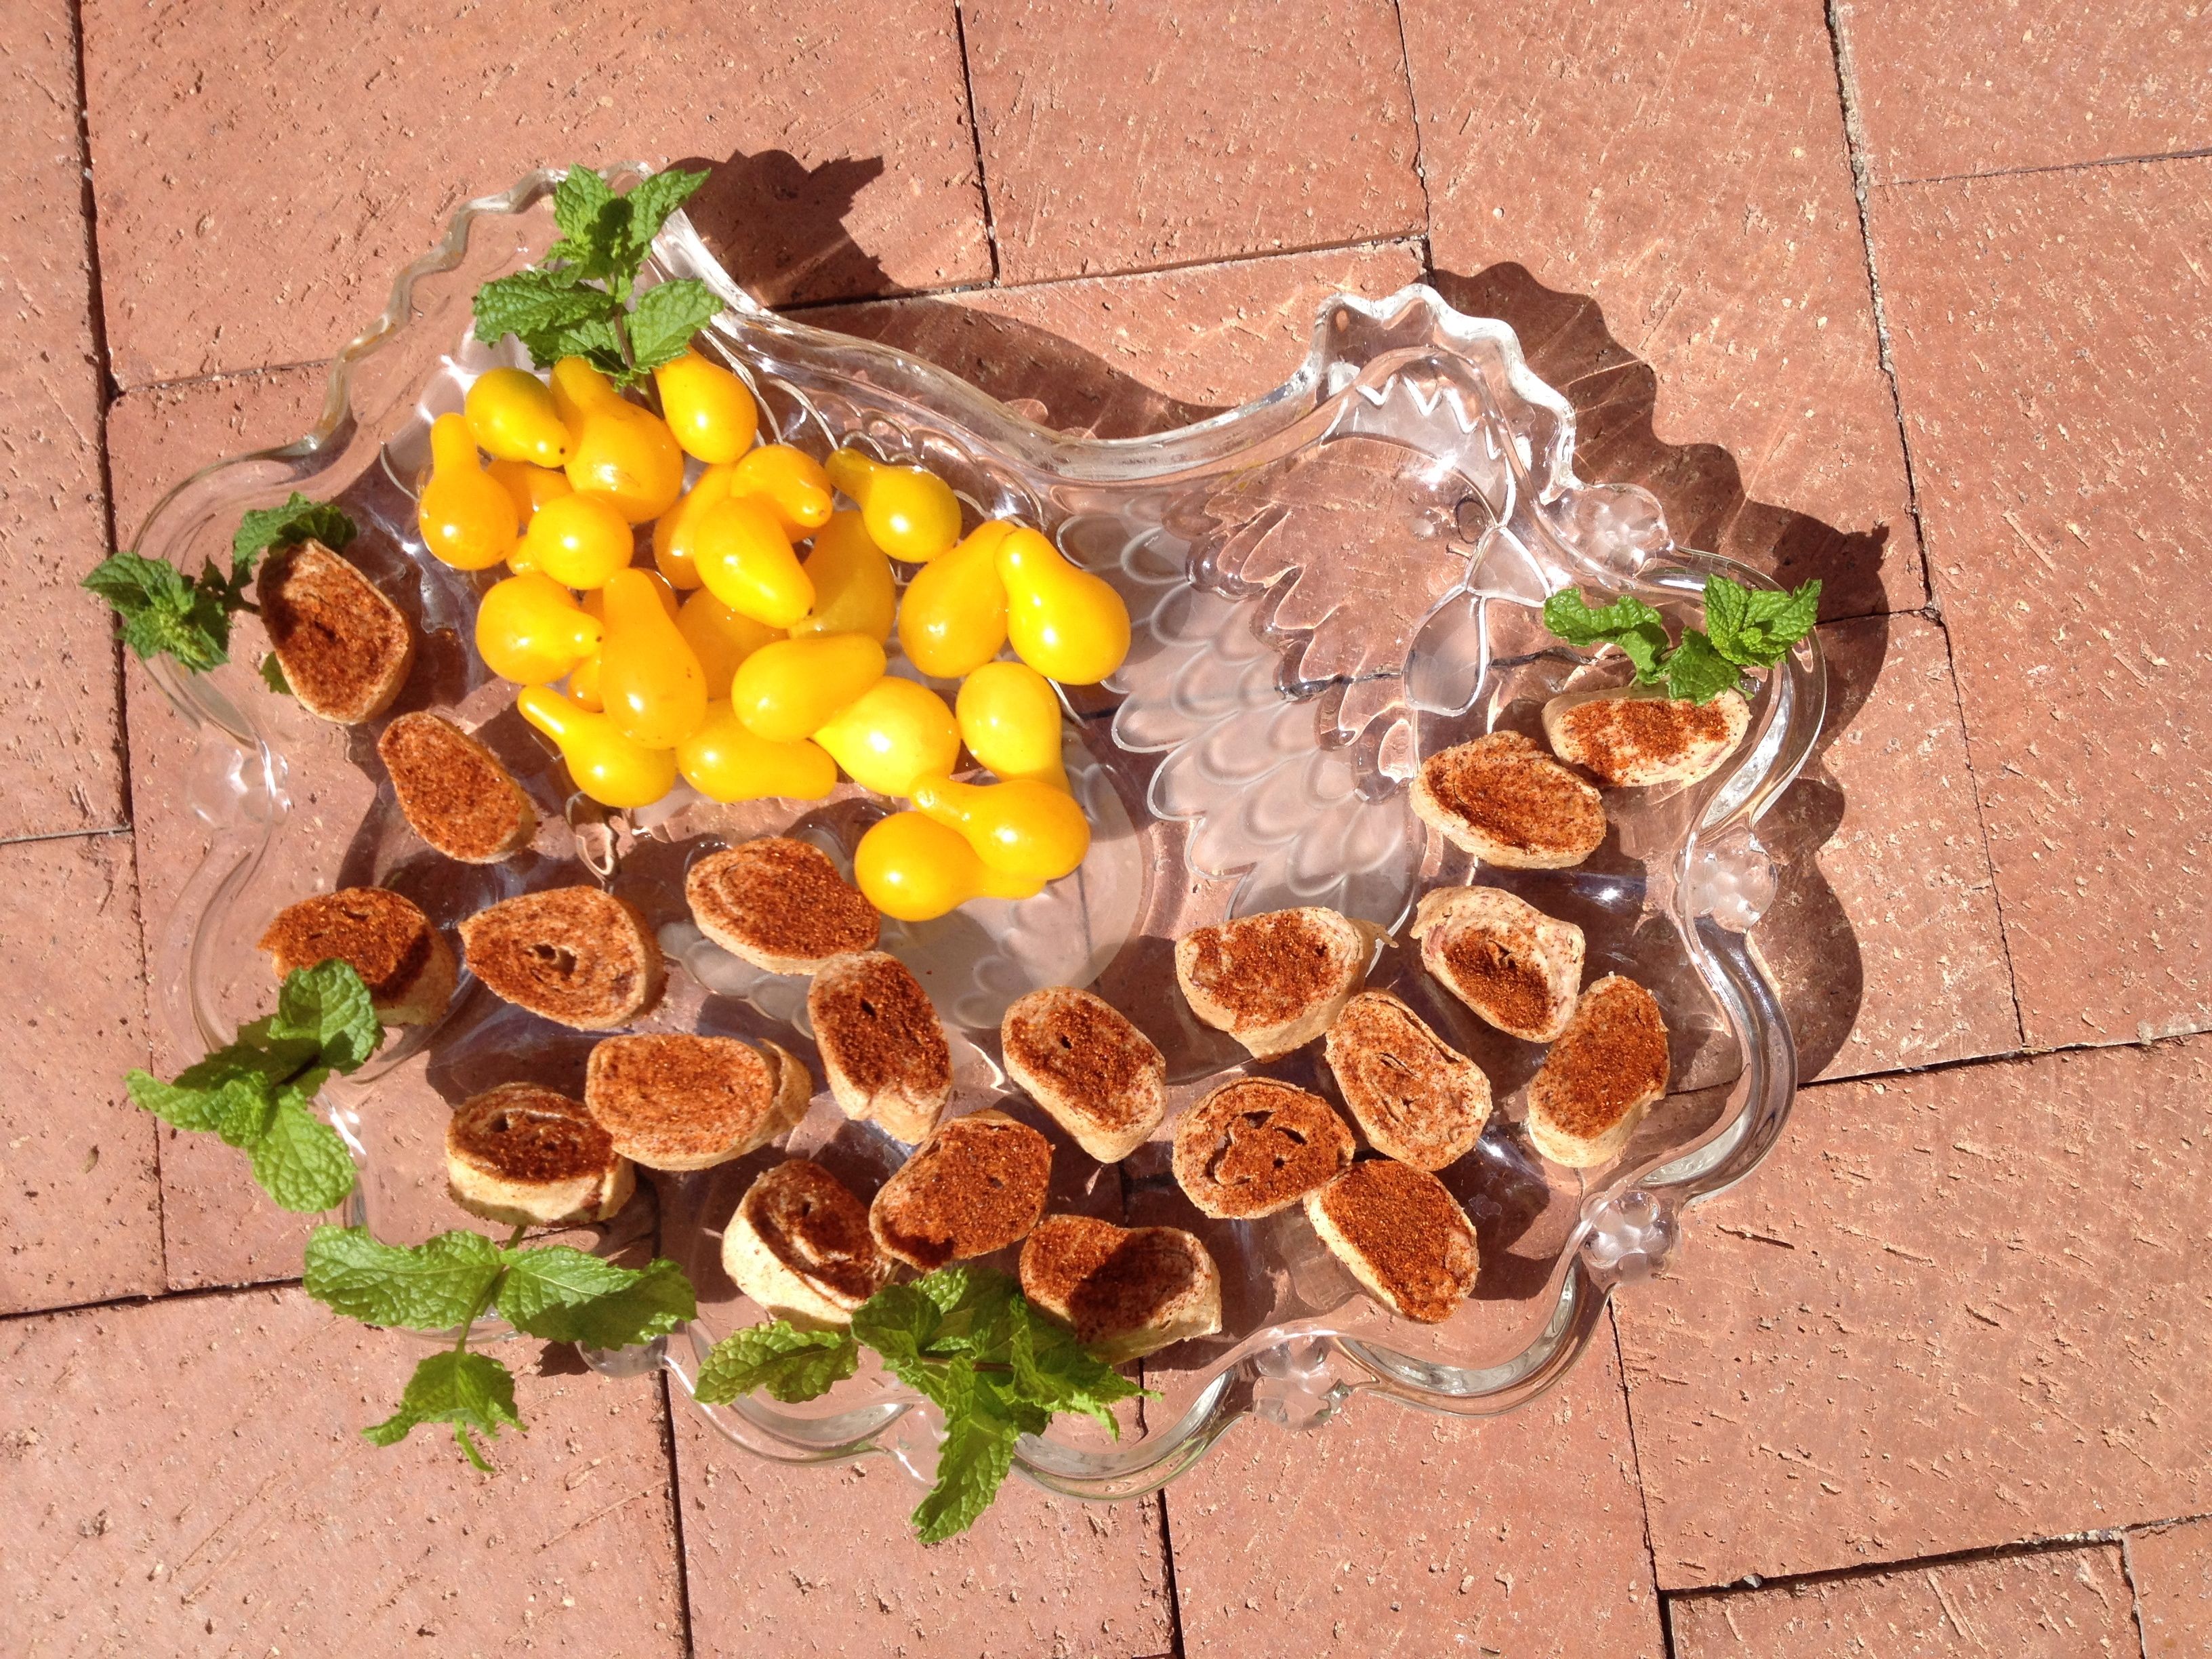
With such luscious pumpkin seeds, some had to be saved for next summer’s garden and some had to become snacks. Here is what I did to them. Give it a try with your next opened pumpkin:
Spicy Sweet Pumpkin Seed Snacks
(Makes 1 cup)
1 cup of pumpkin seeds, cleaned
1/2 tablespoon of olive oil
1/2 tablespoon of honey
1/2 teaspoon of sea salt
¼ tsp of chile powder (choose mild, medium, or hot, depending on your palette)
Preheat oven to 375 degrees
(Some recipes call for boiling seeds first, for 10 minutes in 4 cups of water then draining before the next step. It helps to soften the hulls but may remove some nutrients. This step is optional–I don’t bother.) Transfer seeds to a bowl, toss with the honey, oil, and spice ingredients until fully covered, then spread them out evenly onto a baking sheet that has been coated lightly with cooking oil or non-stick spray.
Bake for about 12-15 minutes, tossing once, or until the seeds are crispy and lightly golden brown. Let them cool before serving — they will get even crispier. Pumpkin seeds contain zinc which is great for fall-weather immune fortifying. They also contain L-arginine which is especially good for guys. Enjoy this tasty Southwest snack!
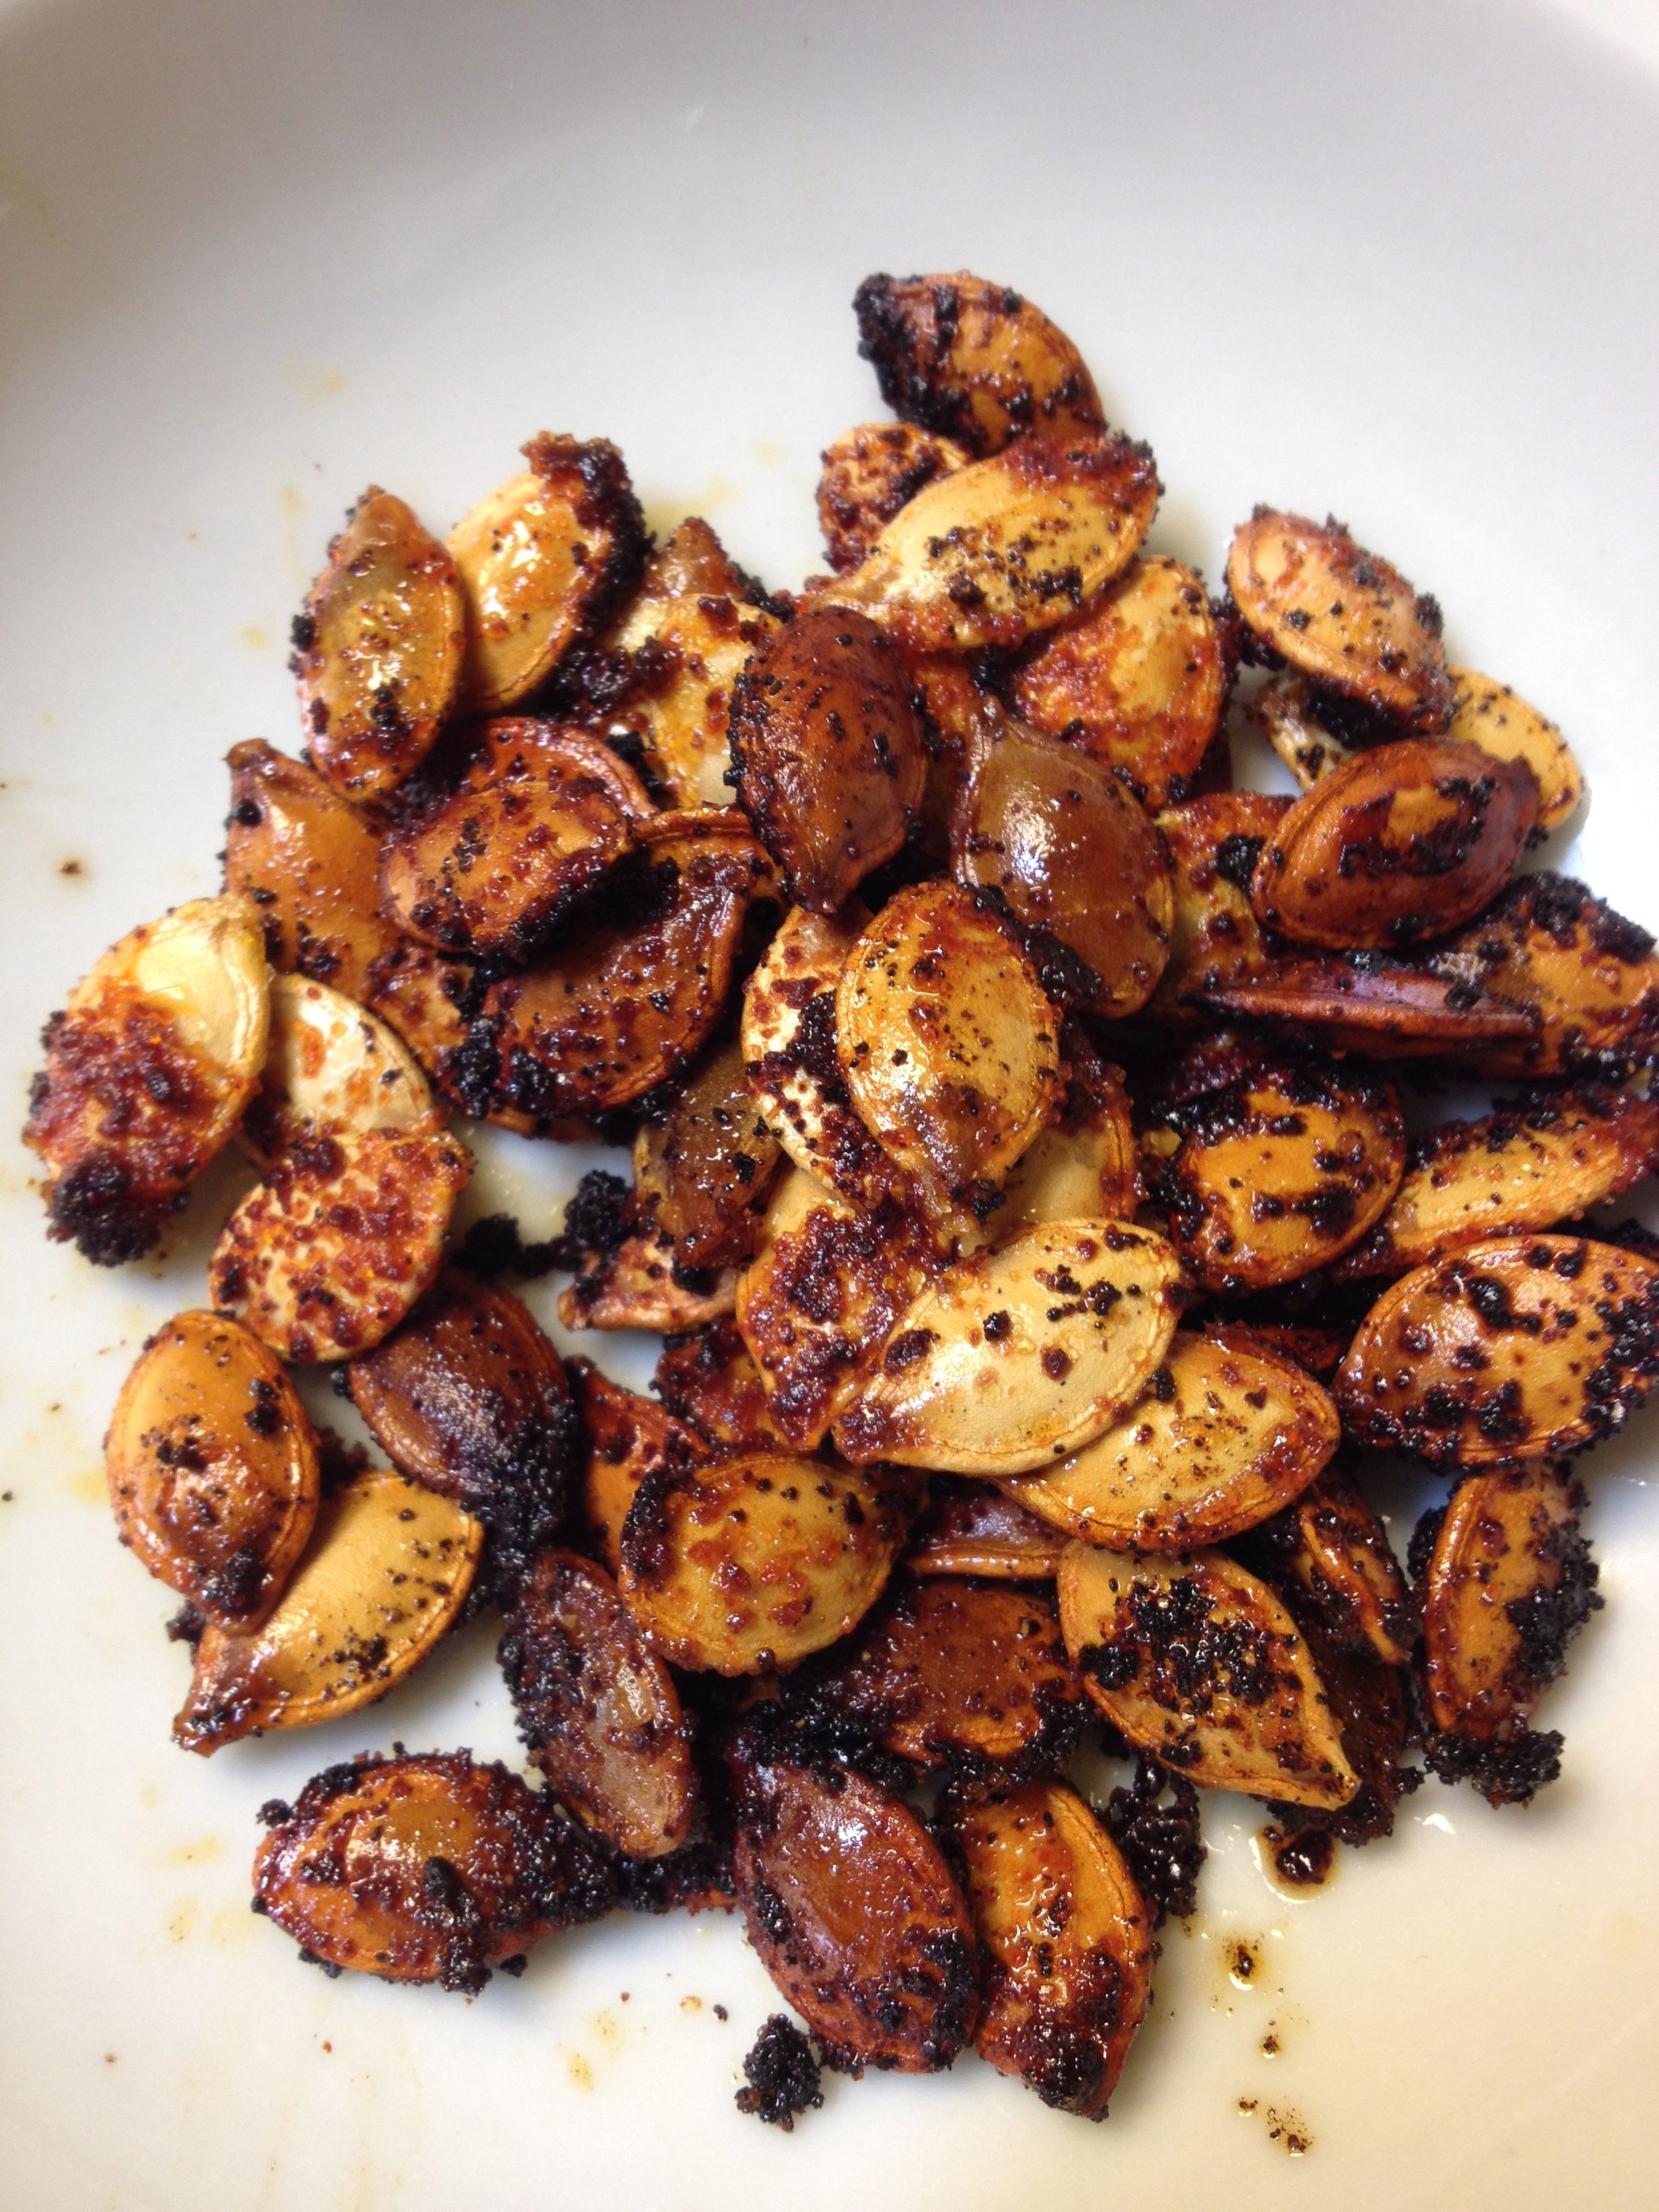
Chile-and-honey-roasted pumpkin seed snacks (MABphoto)
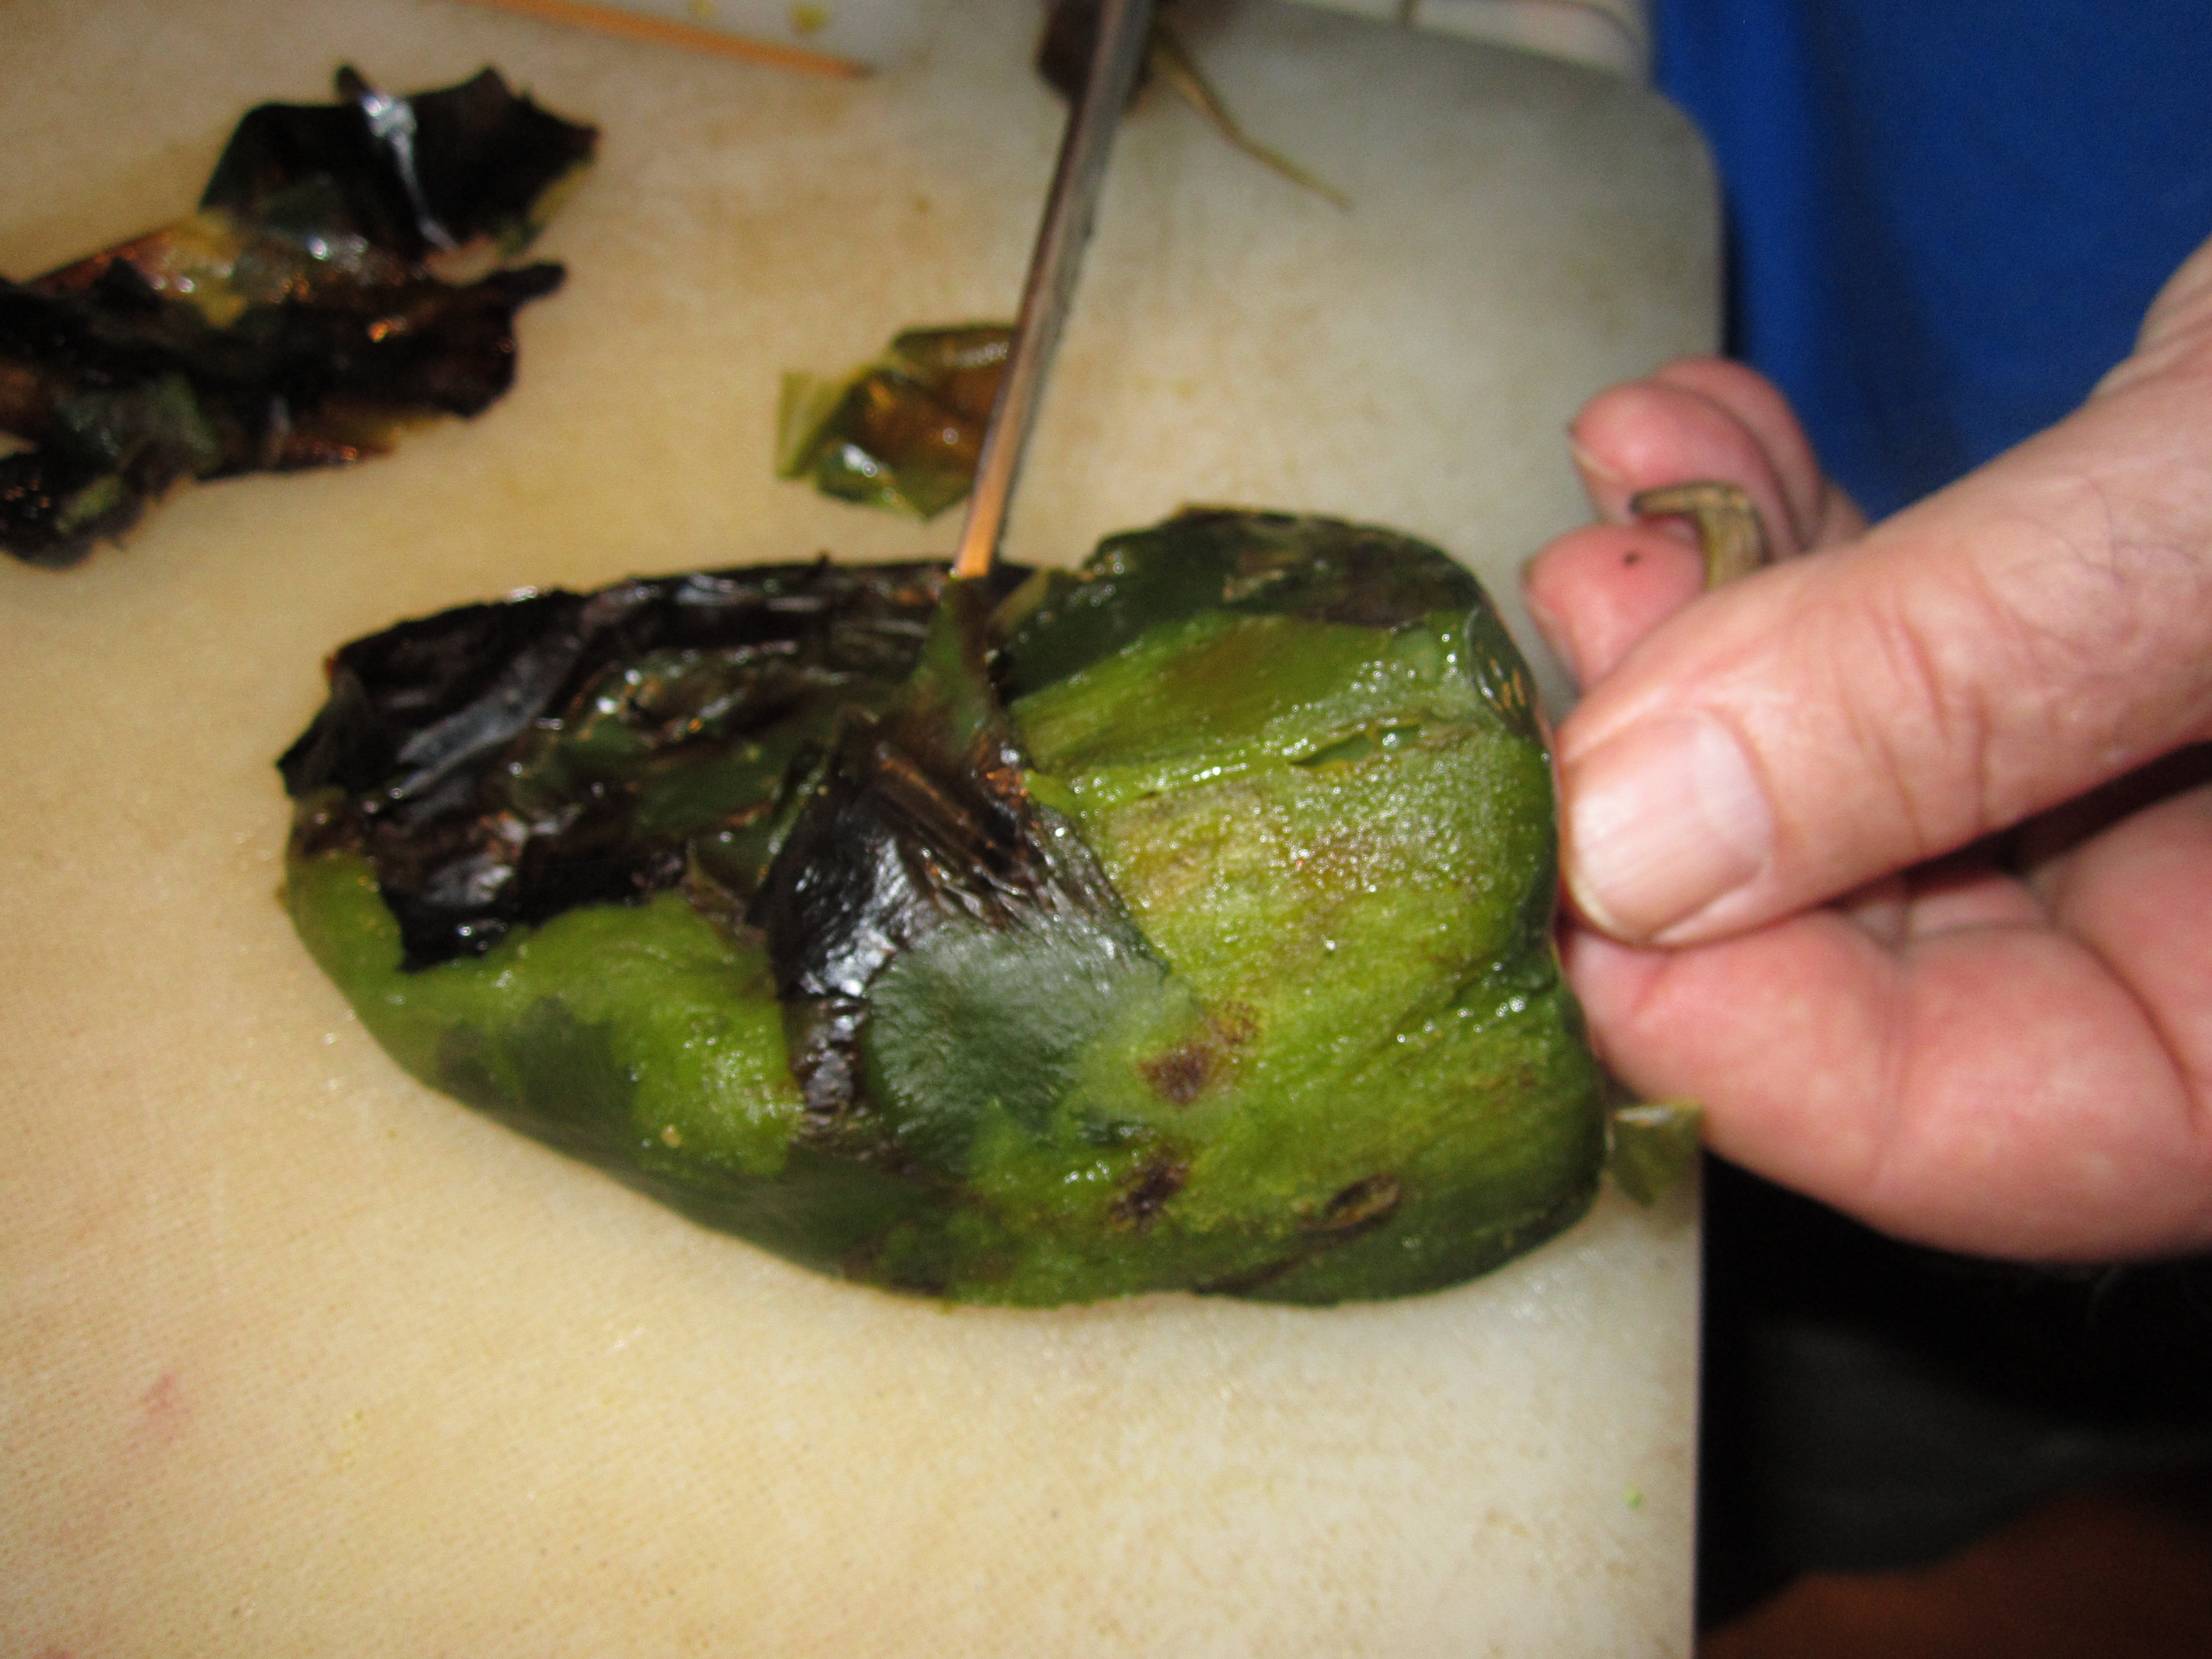
Next I prepared the Tarahumara pumpkin itself for a truly local autumn dessert. It takes a cleaver to carefully open a winter squash and to chunk it into segments small enough to fit into the saucepan. After you scoop out the seeds and fiber, you can boil, steam or bake the pumpkin chunks with skin or shell on. When softened and cooled, scoop out the pulp. Don’t hesitate–serve it with butter and sea salt as a hot vegetable right away. With the remainder, mash or puree it, storing it in freezer for later using in pies, empanaditas, or—as you’ll see below—in a fabulous Sonoran Pumpkin Cake!
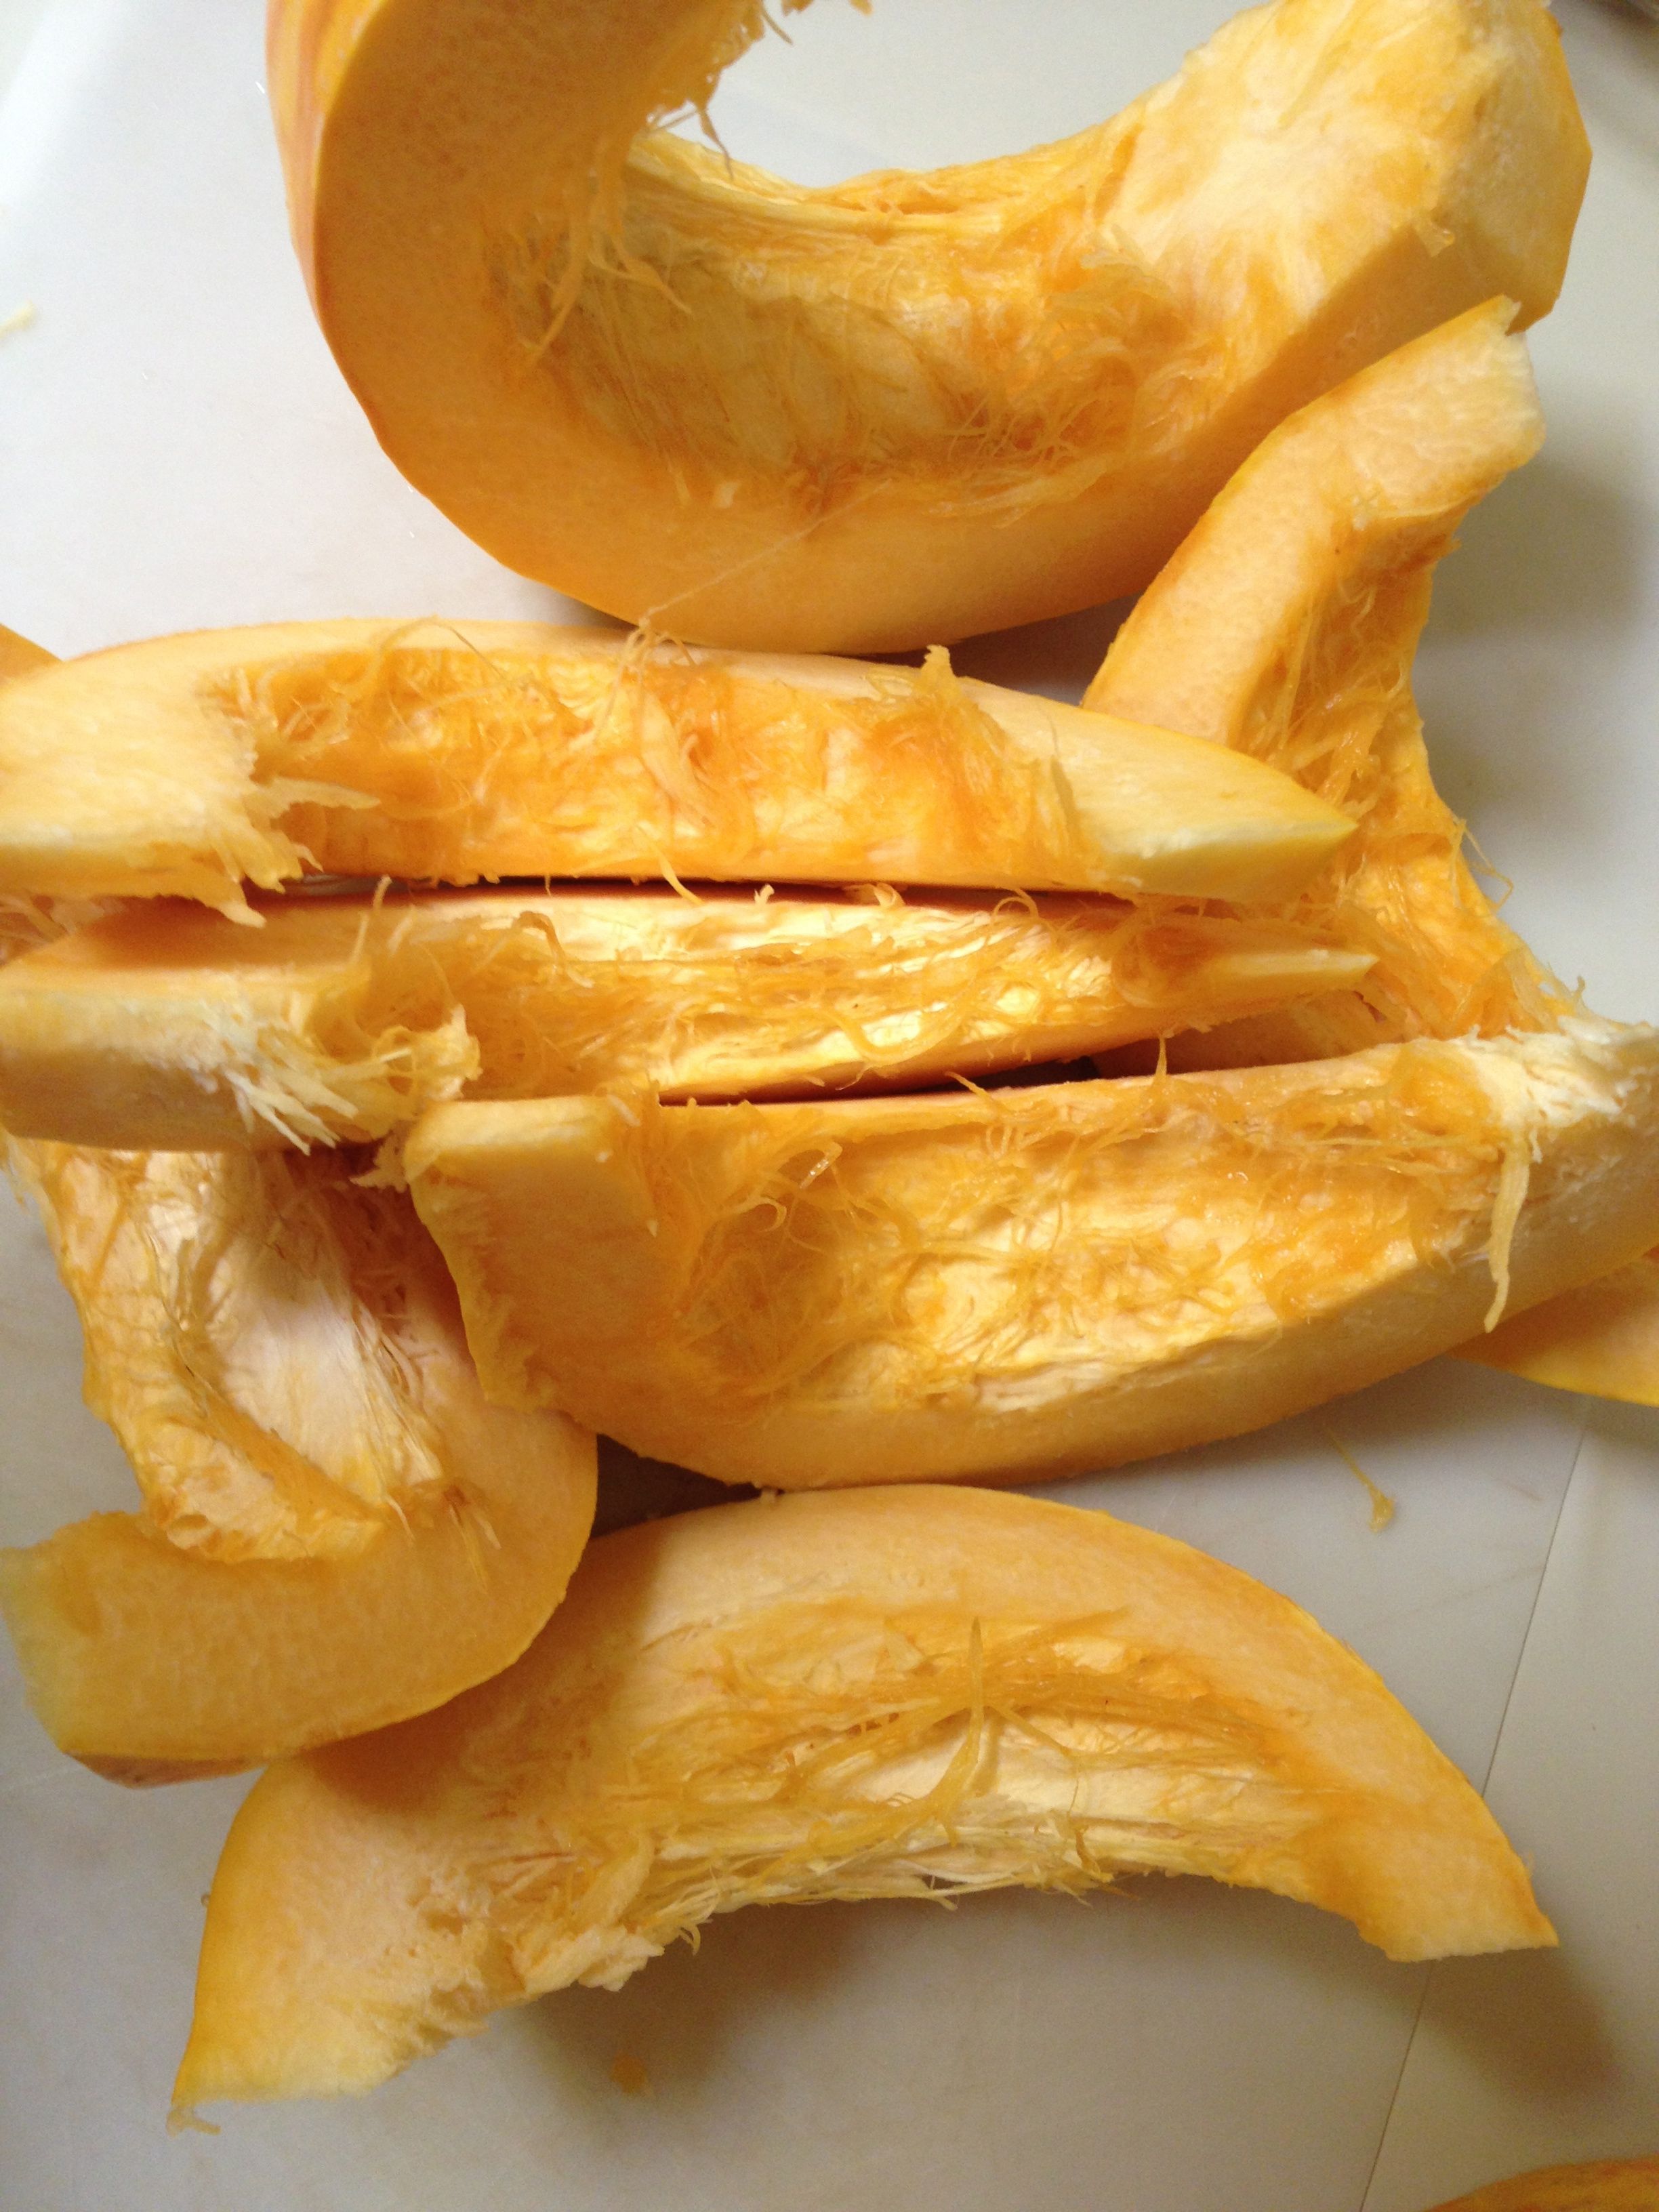
Tarahumara pumpkin cleaned and chunked for cooking (MABphoto)
SONORAN PUMPKIN CAKE with White Sonora Wheat and Mesquite
(inspired by NativeSeeds/SEARCH pot-luck favorite volunteer Ed Hackskyalo)
Recommended for Halloween, Thanksgiving, and other autumn occasions.
INGREDIENTS
Preheat oven to 350.
2 cups sugar (or alternative sweetener such as agave nectar or honey)
1 cup vegetable oil or softened butter (adjust less with liquid sweeteners)
4 large eggs
1 teaspoon vanilla extract
2 – 2 ½ cups heirloom White Sonora Wheat pastry flour (fresh-milled flour needs adjusting)**
¼ – 1/2 cup mesquite pod meal**
2 teaspoons baking soda
1 teaspoon baking powder
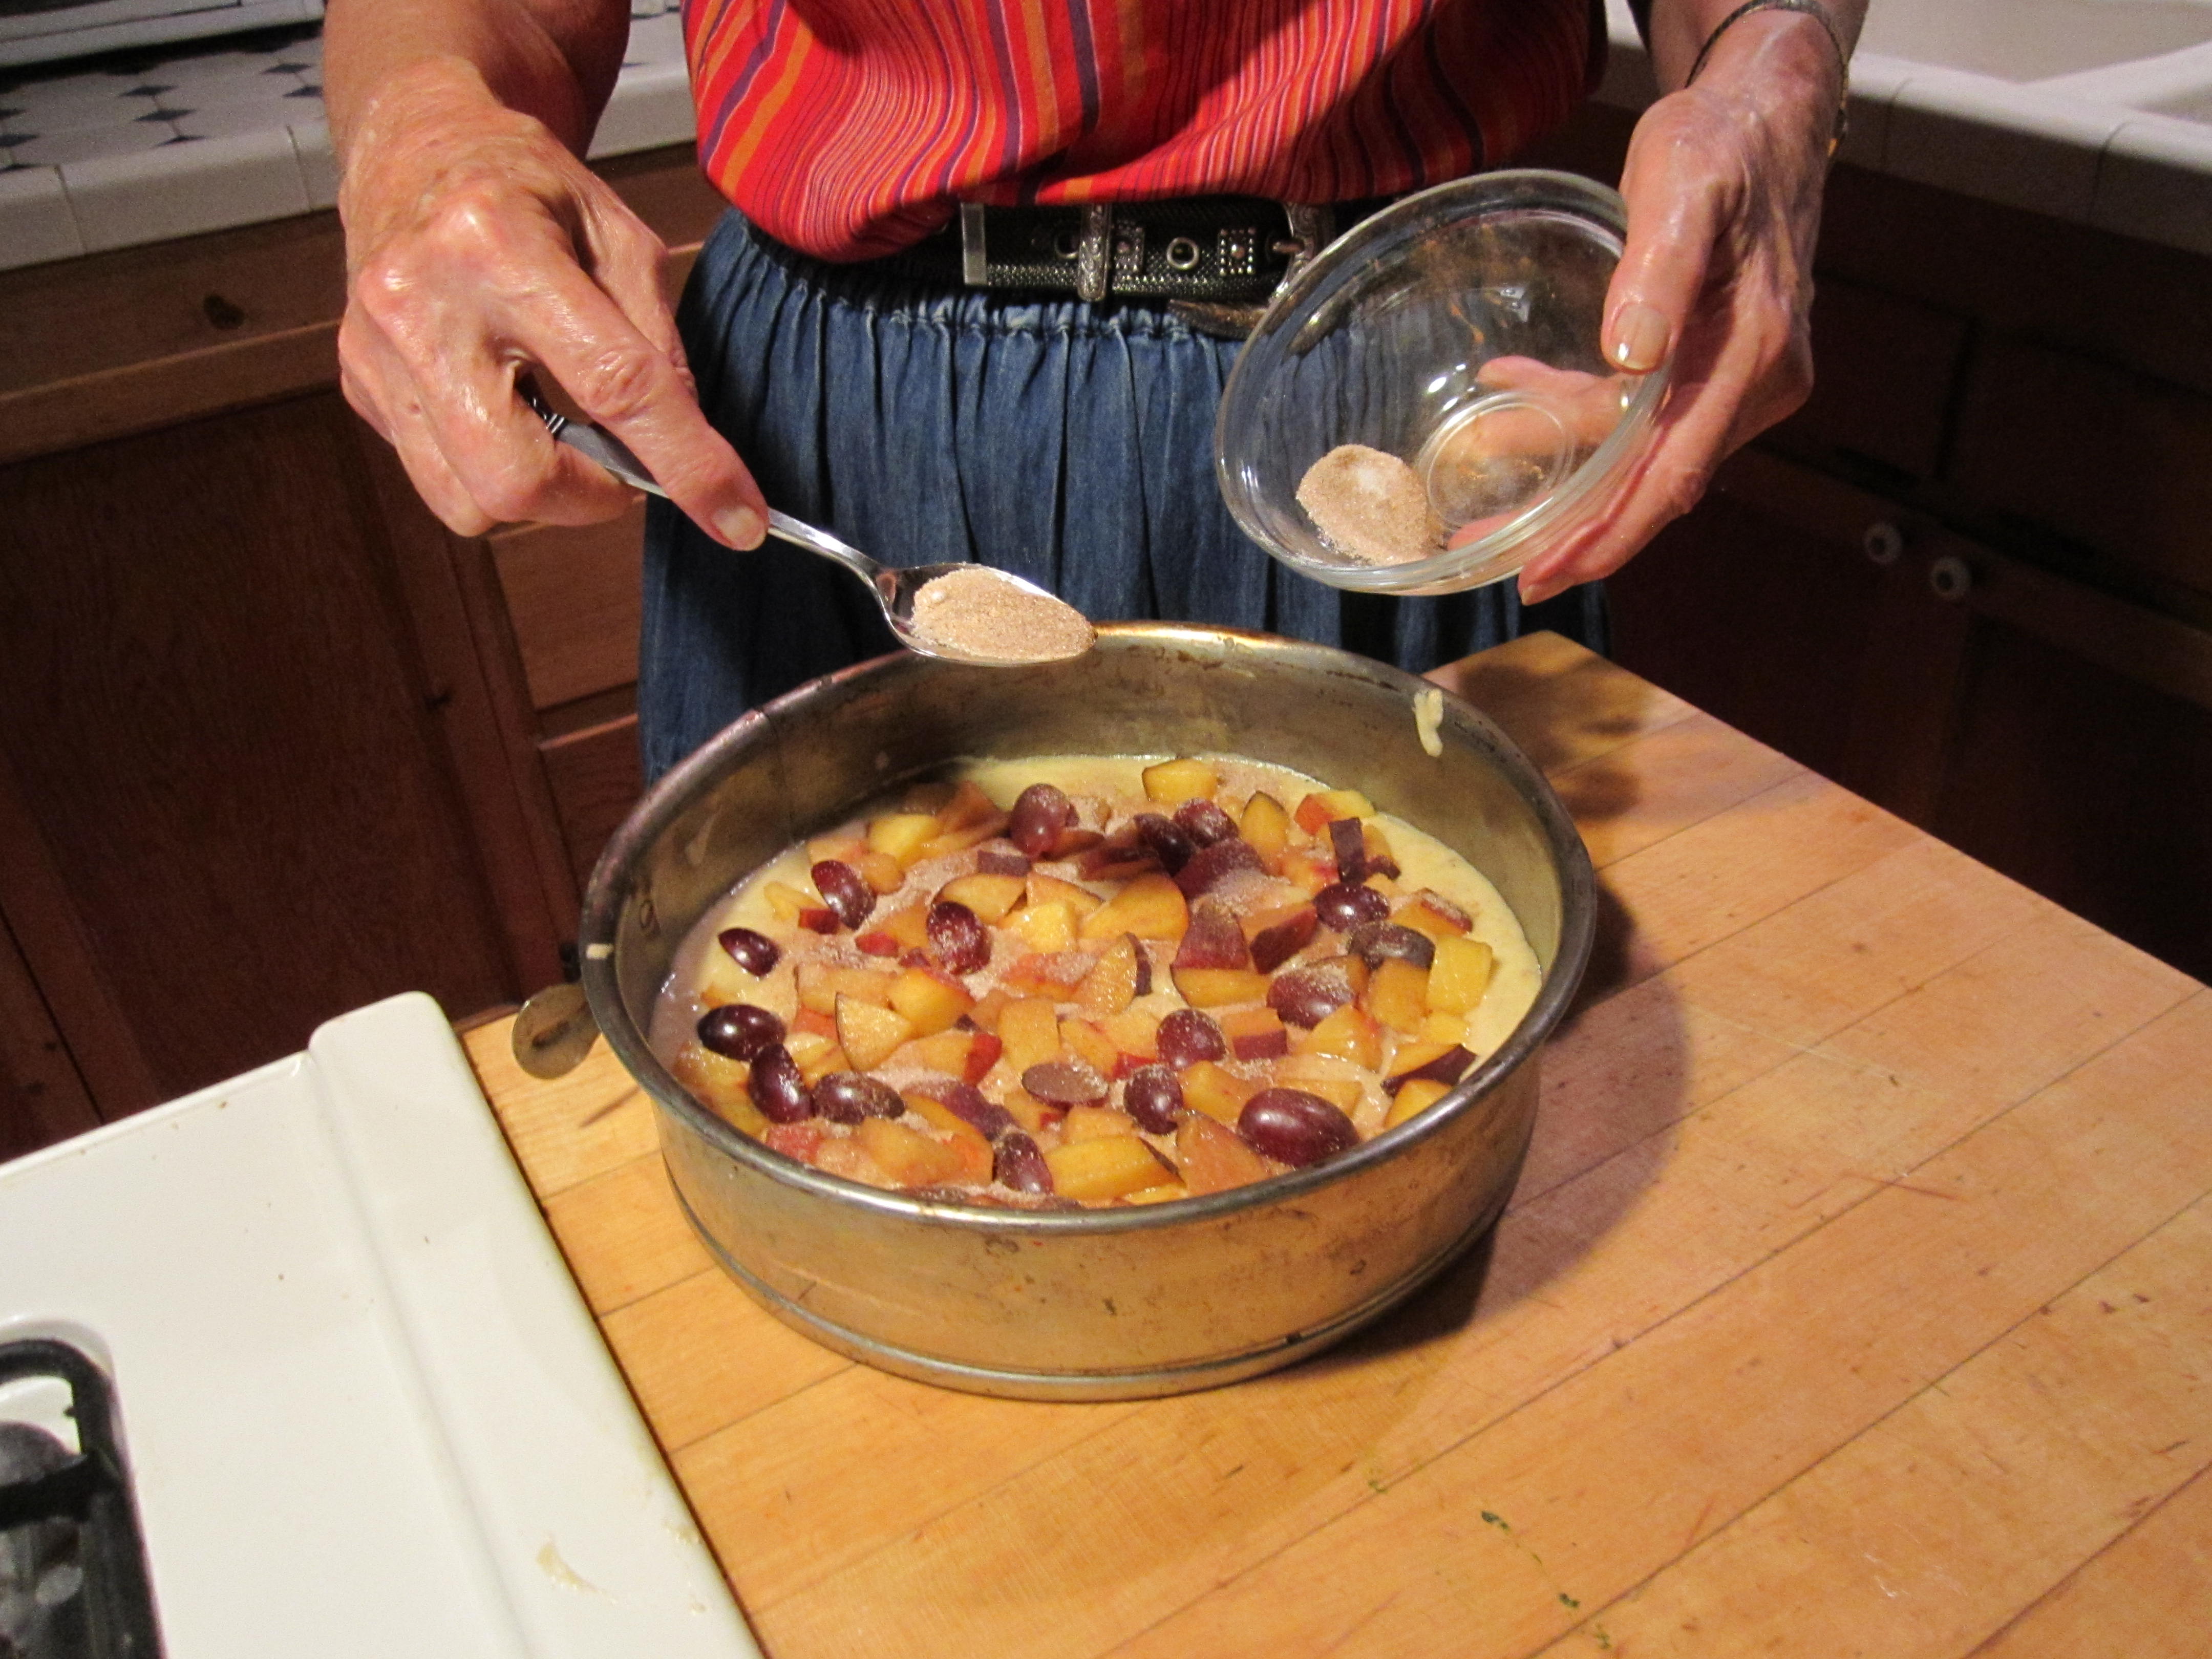
2 teaspoons ground cinnamon
1 teaspoon ground ginger
1/2 teaspoon sea salt
2 cups “Papago Pumpkin” or other native squash, cooked and pureed (or pumpkin puree)
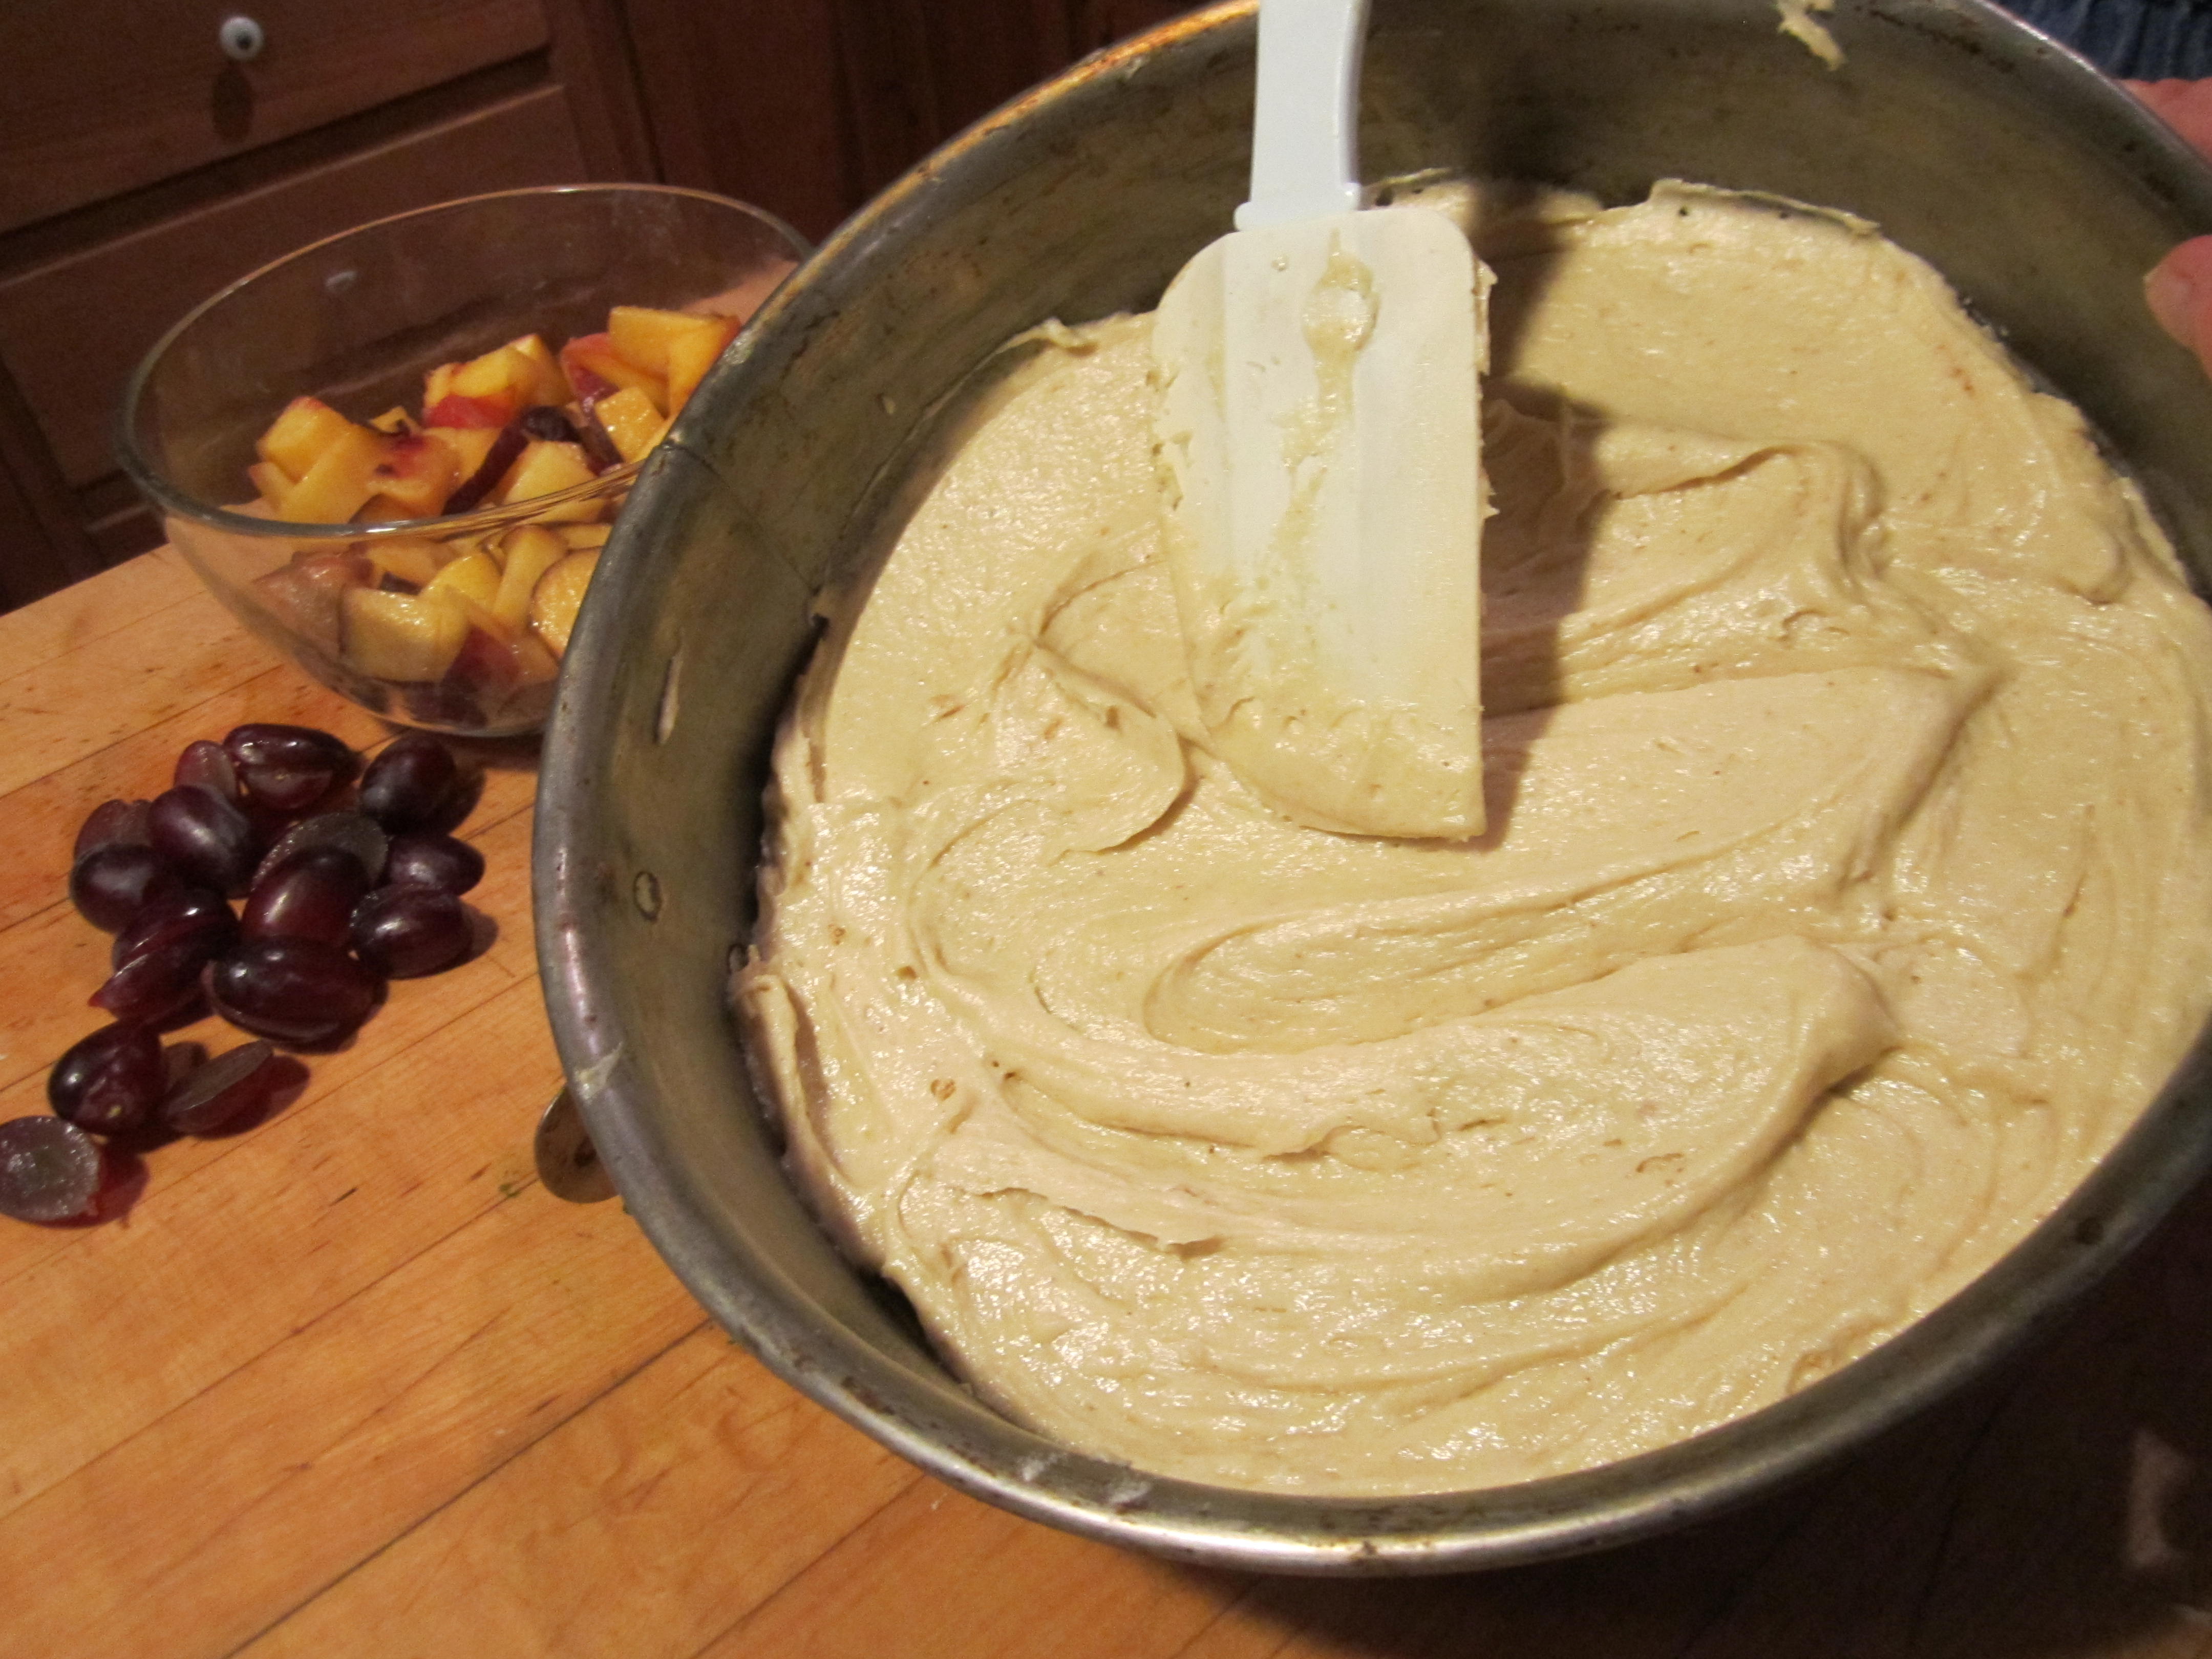
Combine sugar, vegetable oil, and eggs in a large mixing bowl; mix well. Sift dry
ingredients into a separate bowl; stir into liquid mixture, beating well. Stir in pumpkin puree.
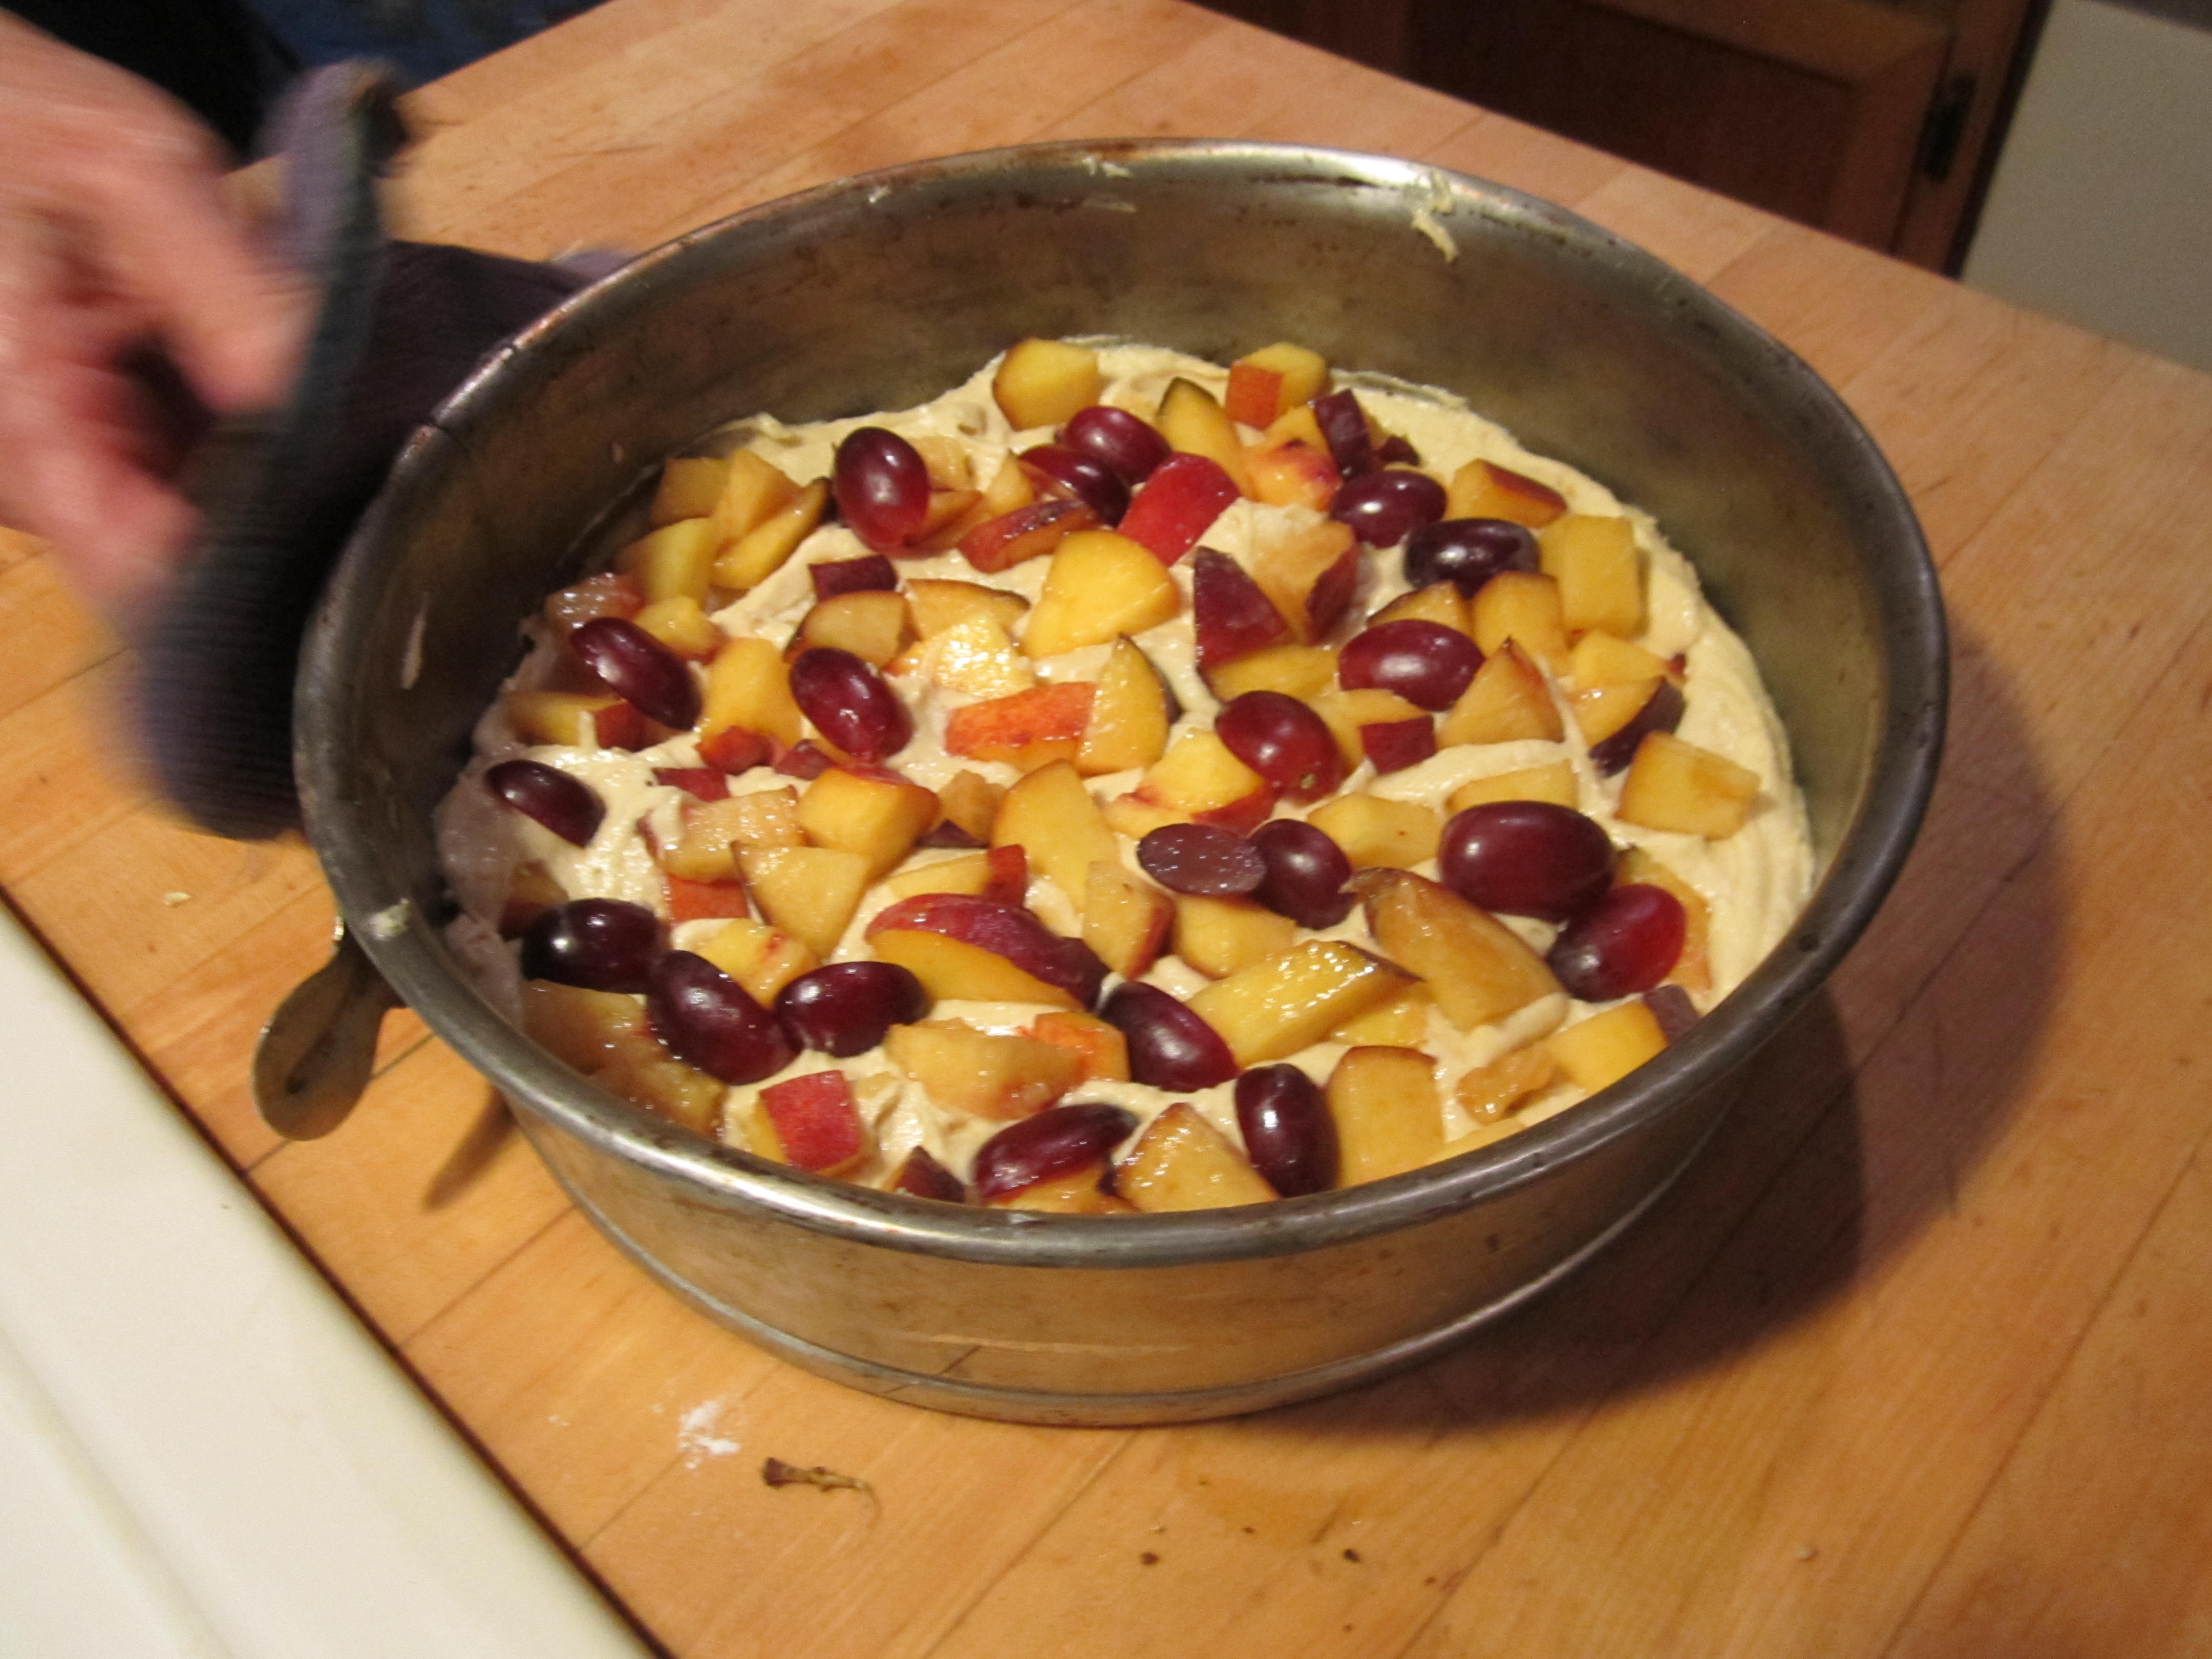
Pour batter into two greased and floured 9 inch cake pans. Bake at 350 degrees for
35 to 40 minutes. Turn out onto racks to cool.
CREAM CHEESE FROSTING and FILLING
l package (8 ounces) reduced fat cream cheese, room temperature
2 cups confectioners’ sugar, measure then sift (use less to taste, as less sweet is nice contrast to cake)
½ – 1 teaspoons vanilla extract (as needed for smoothing)
Combine all ingredients in a large mixing bowl; beat well until smooth. Makes enough
for a 2-layer pumpkin cake. Frost pumpkin cake with cream-cheese frosting and sprinkle with chopped pecans or pine nuts for extra decor.
**Organic heirloom White Sonora Wheat-berries and flour, and local mesquite pod meal ,are available from Flor de Mayo at St Phillips farmers market on Sundays, or http://www.flordemayoarts.com or 520-907-9471. Whole grain organic White Sonora Wheat-berries for home-milling and mesquite meal are also available at NativeSeeds/SEARCH, 3061 N Campbell Ave, Tucson, or online http://www.nativeseeds.org.
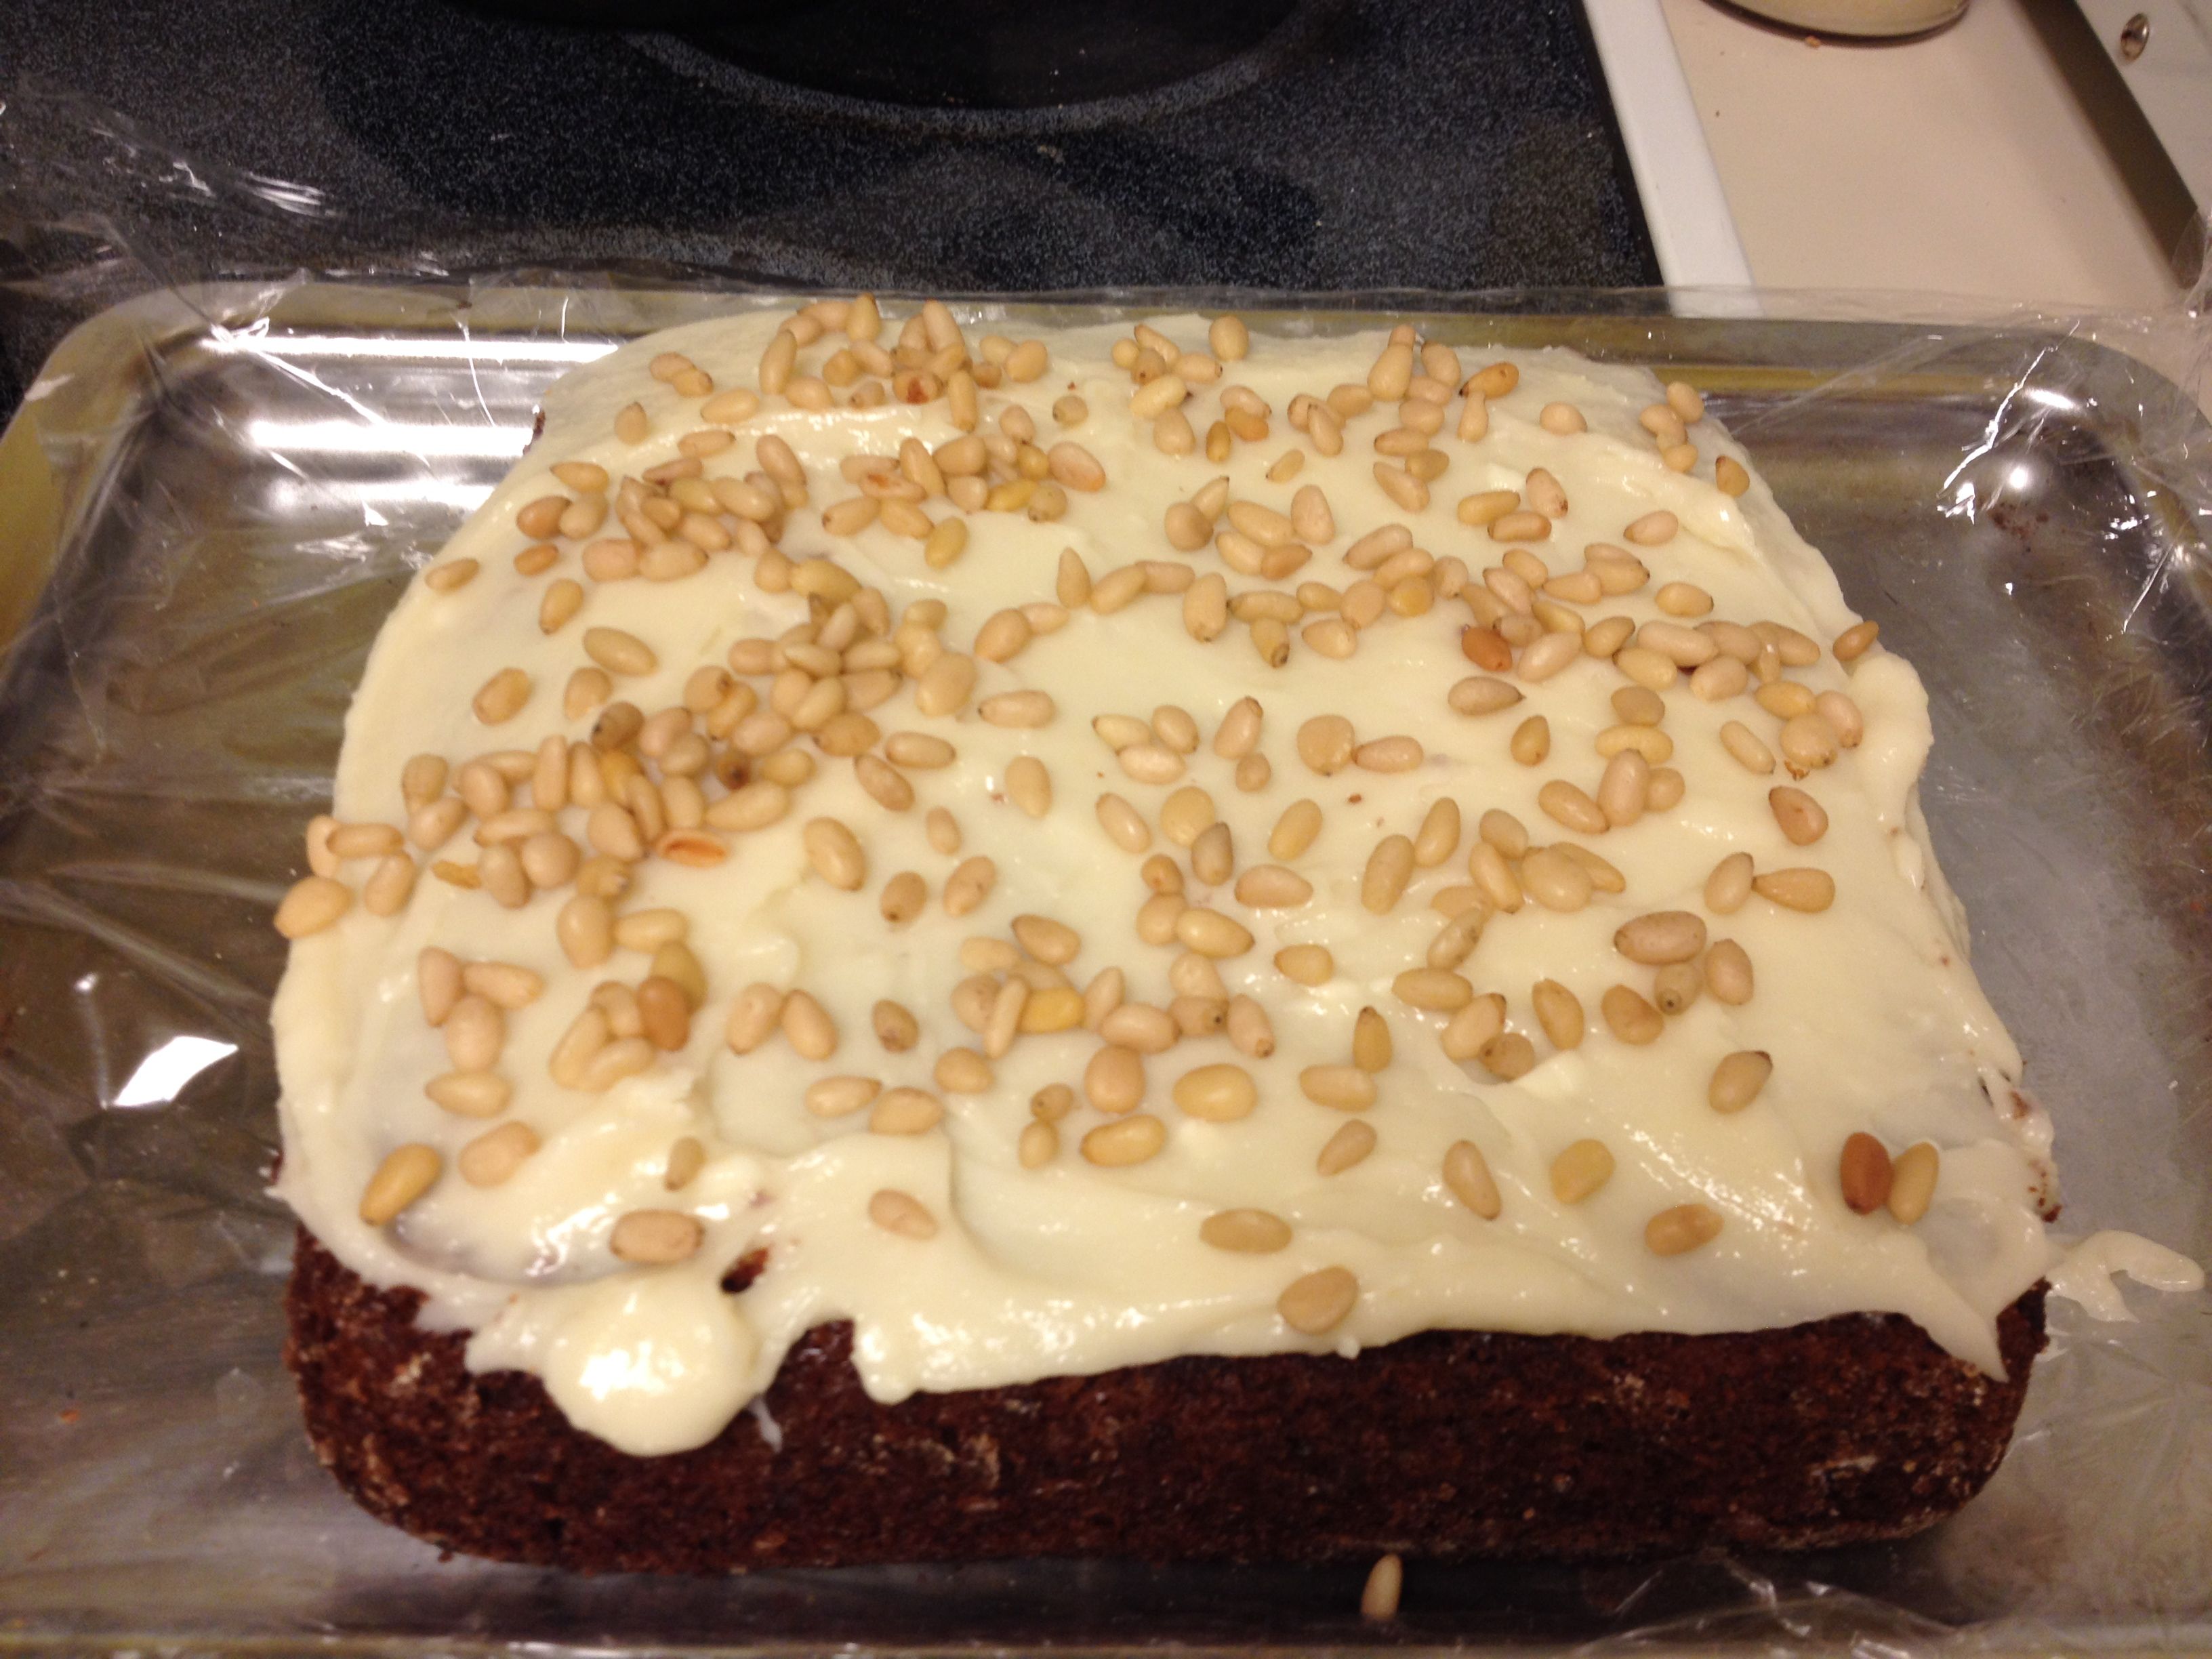
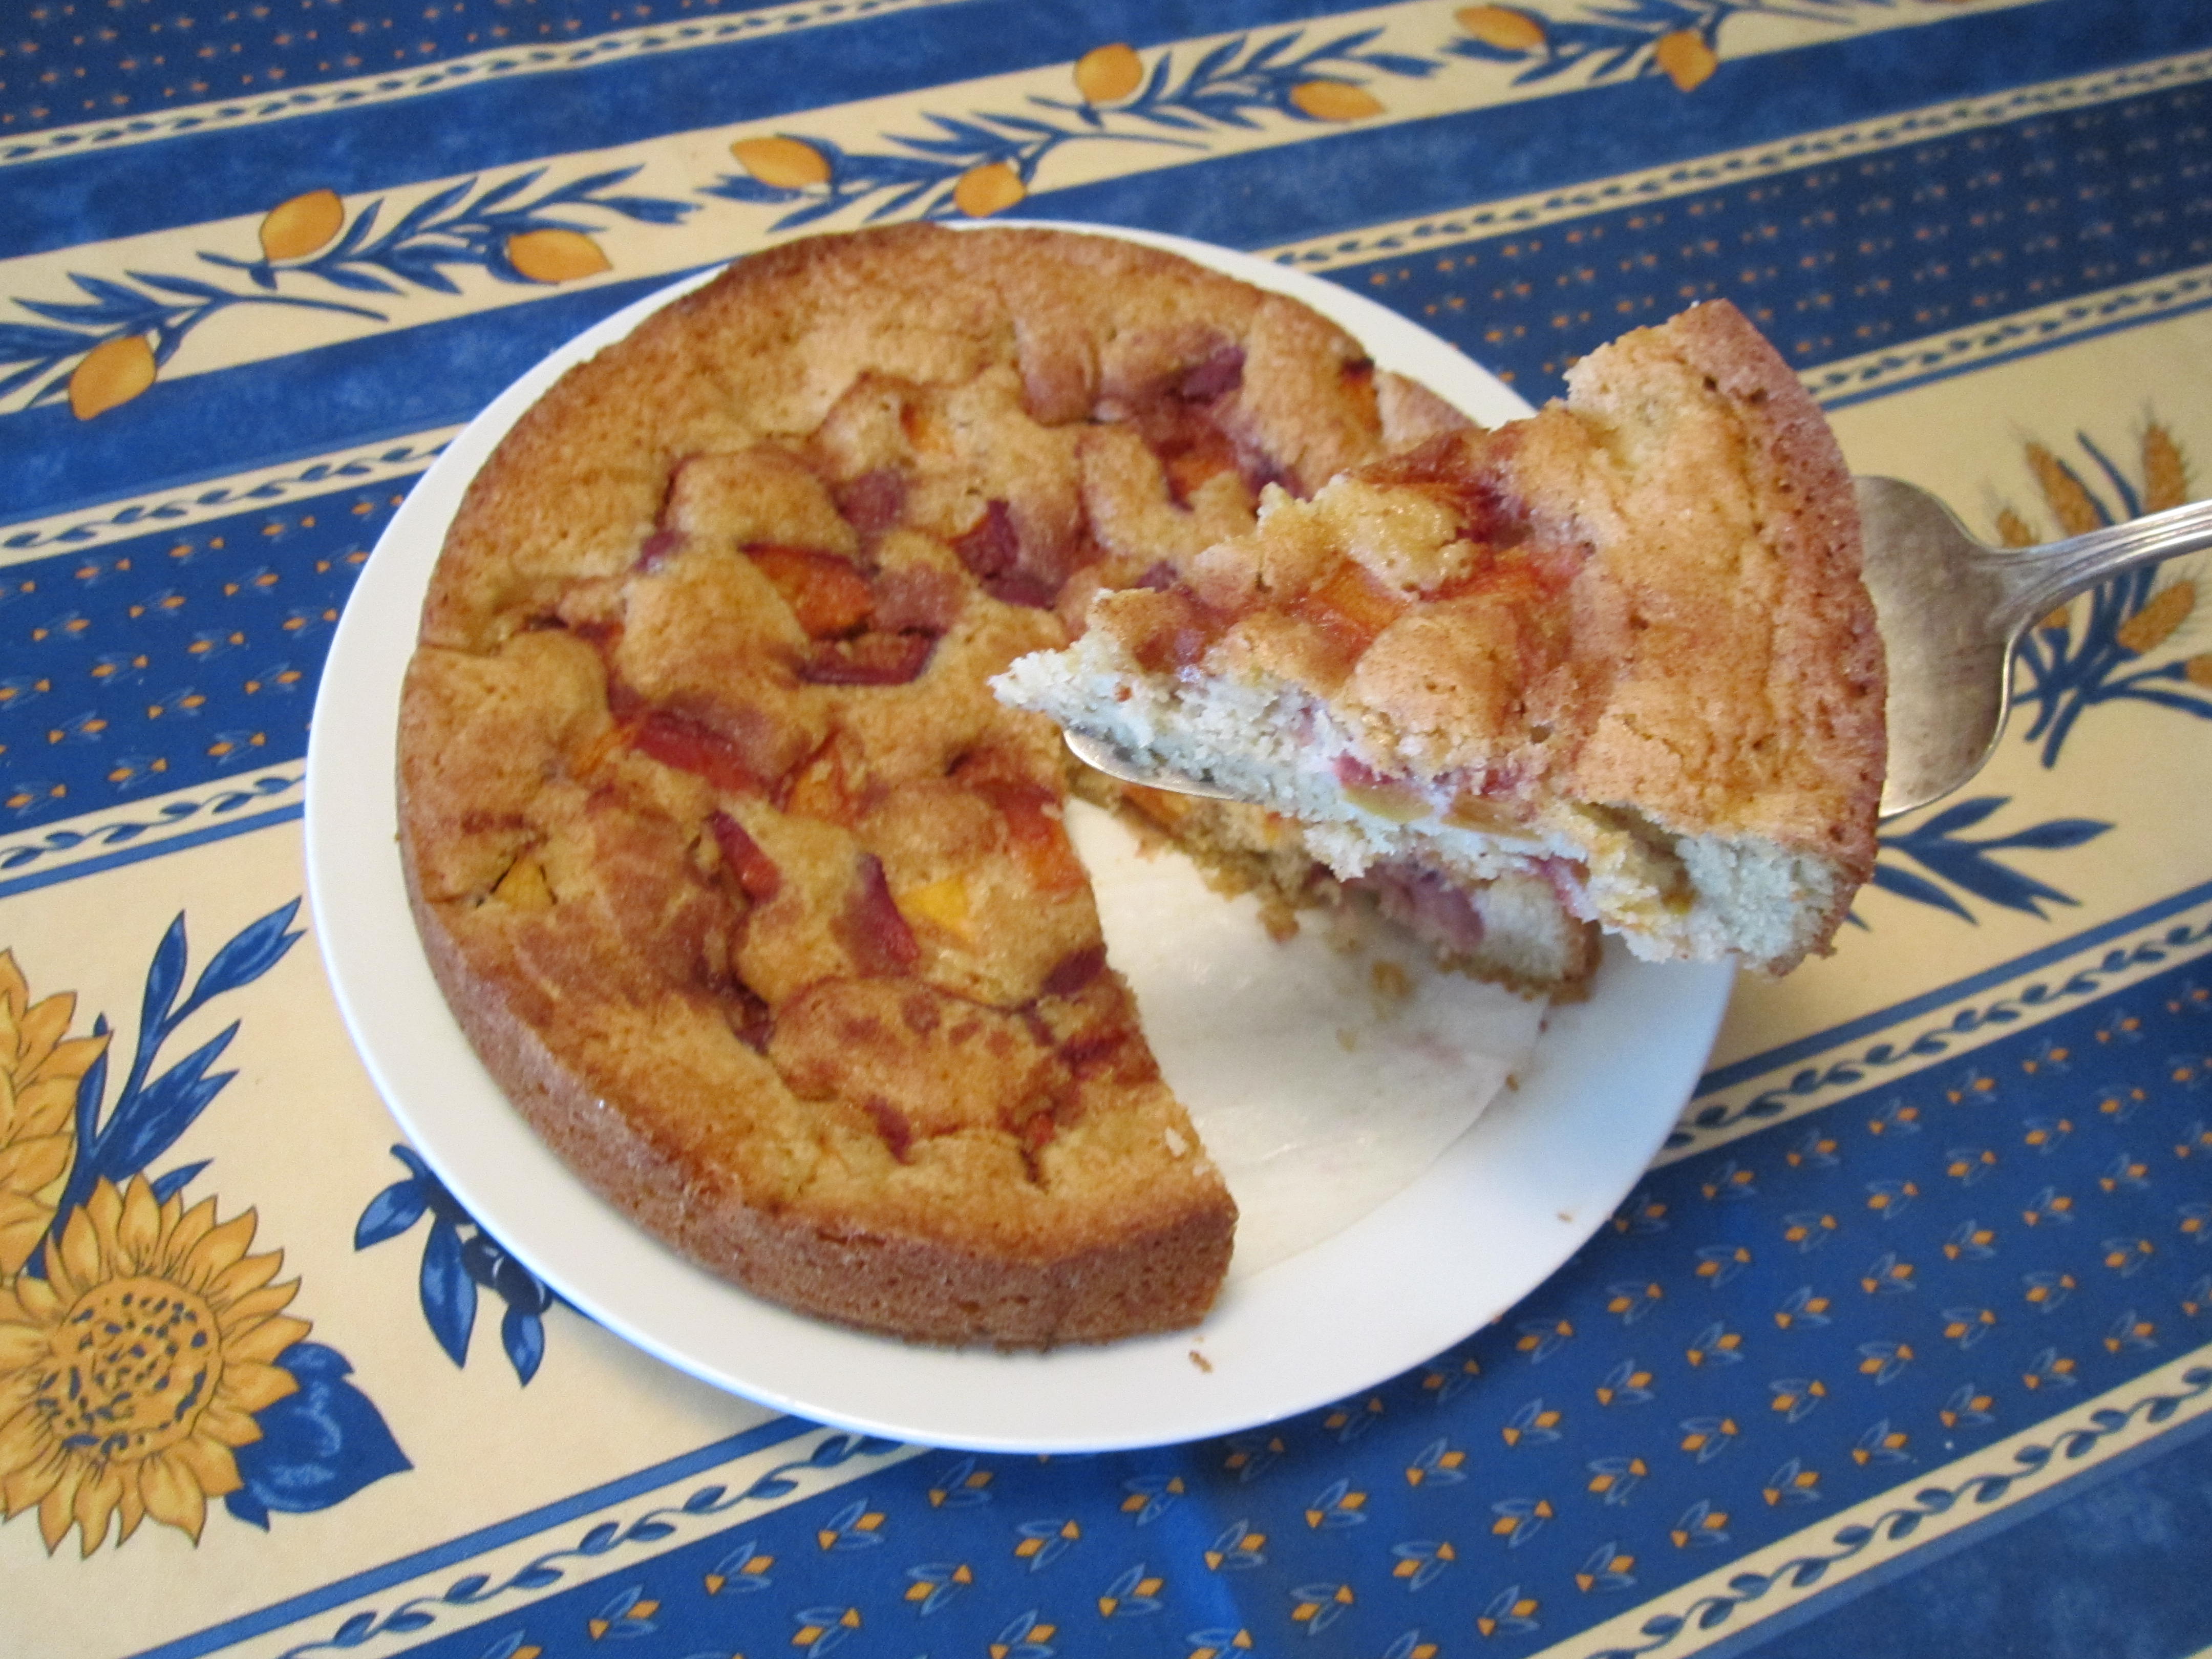
Sonoran Pumpkin Cake made with organic heirloom White Sonora Wheat and mesquite (MABphoto)
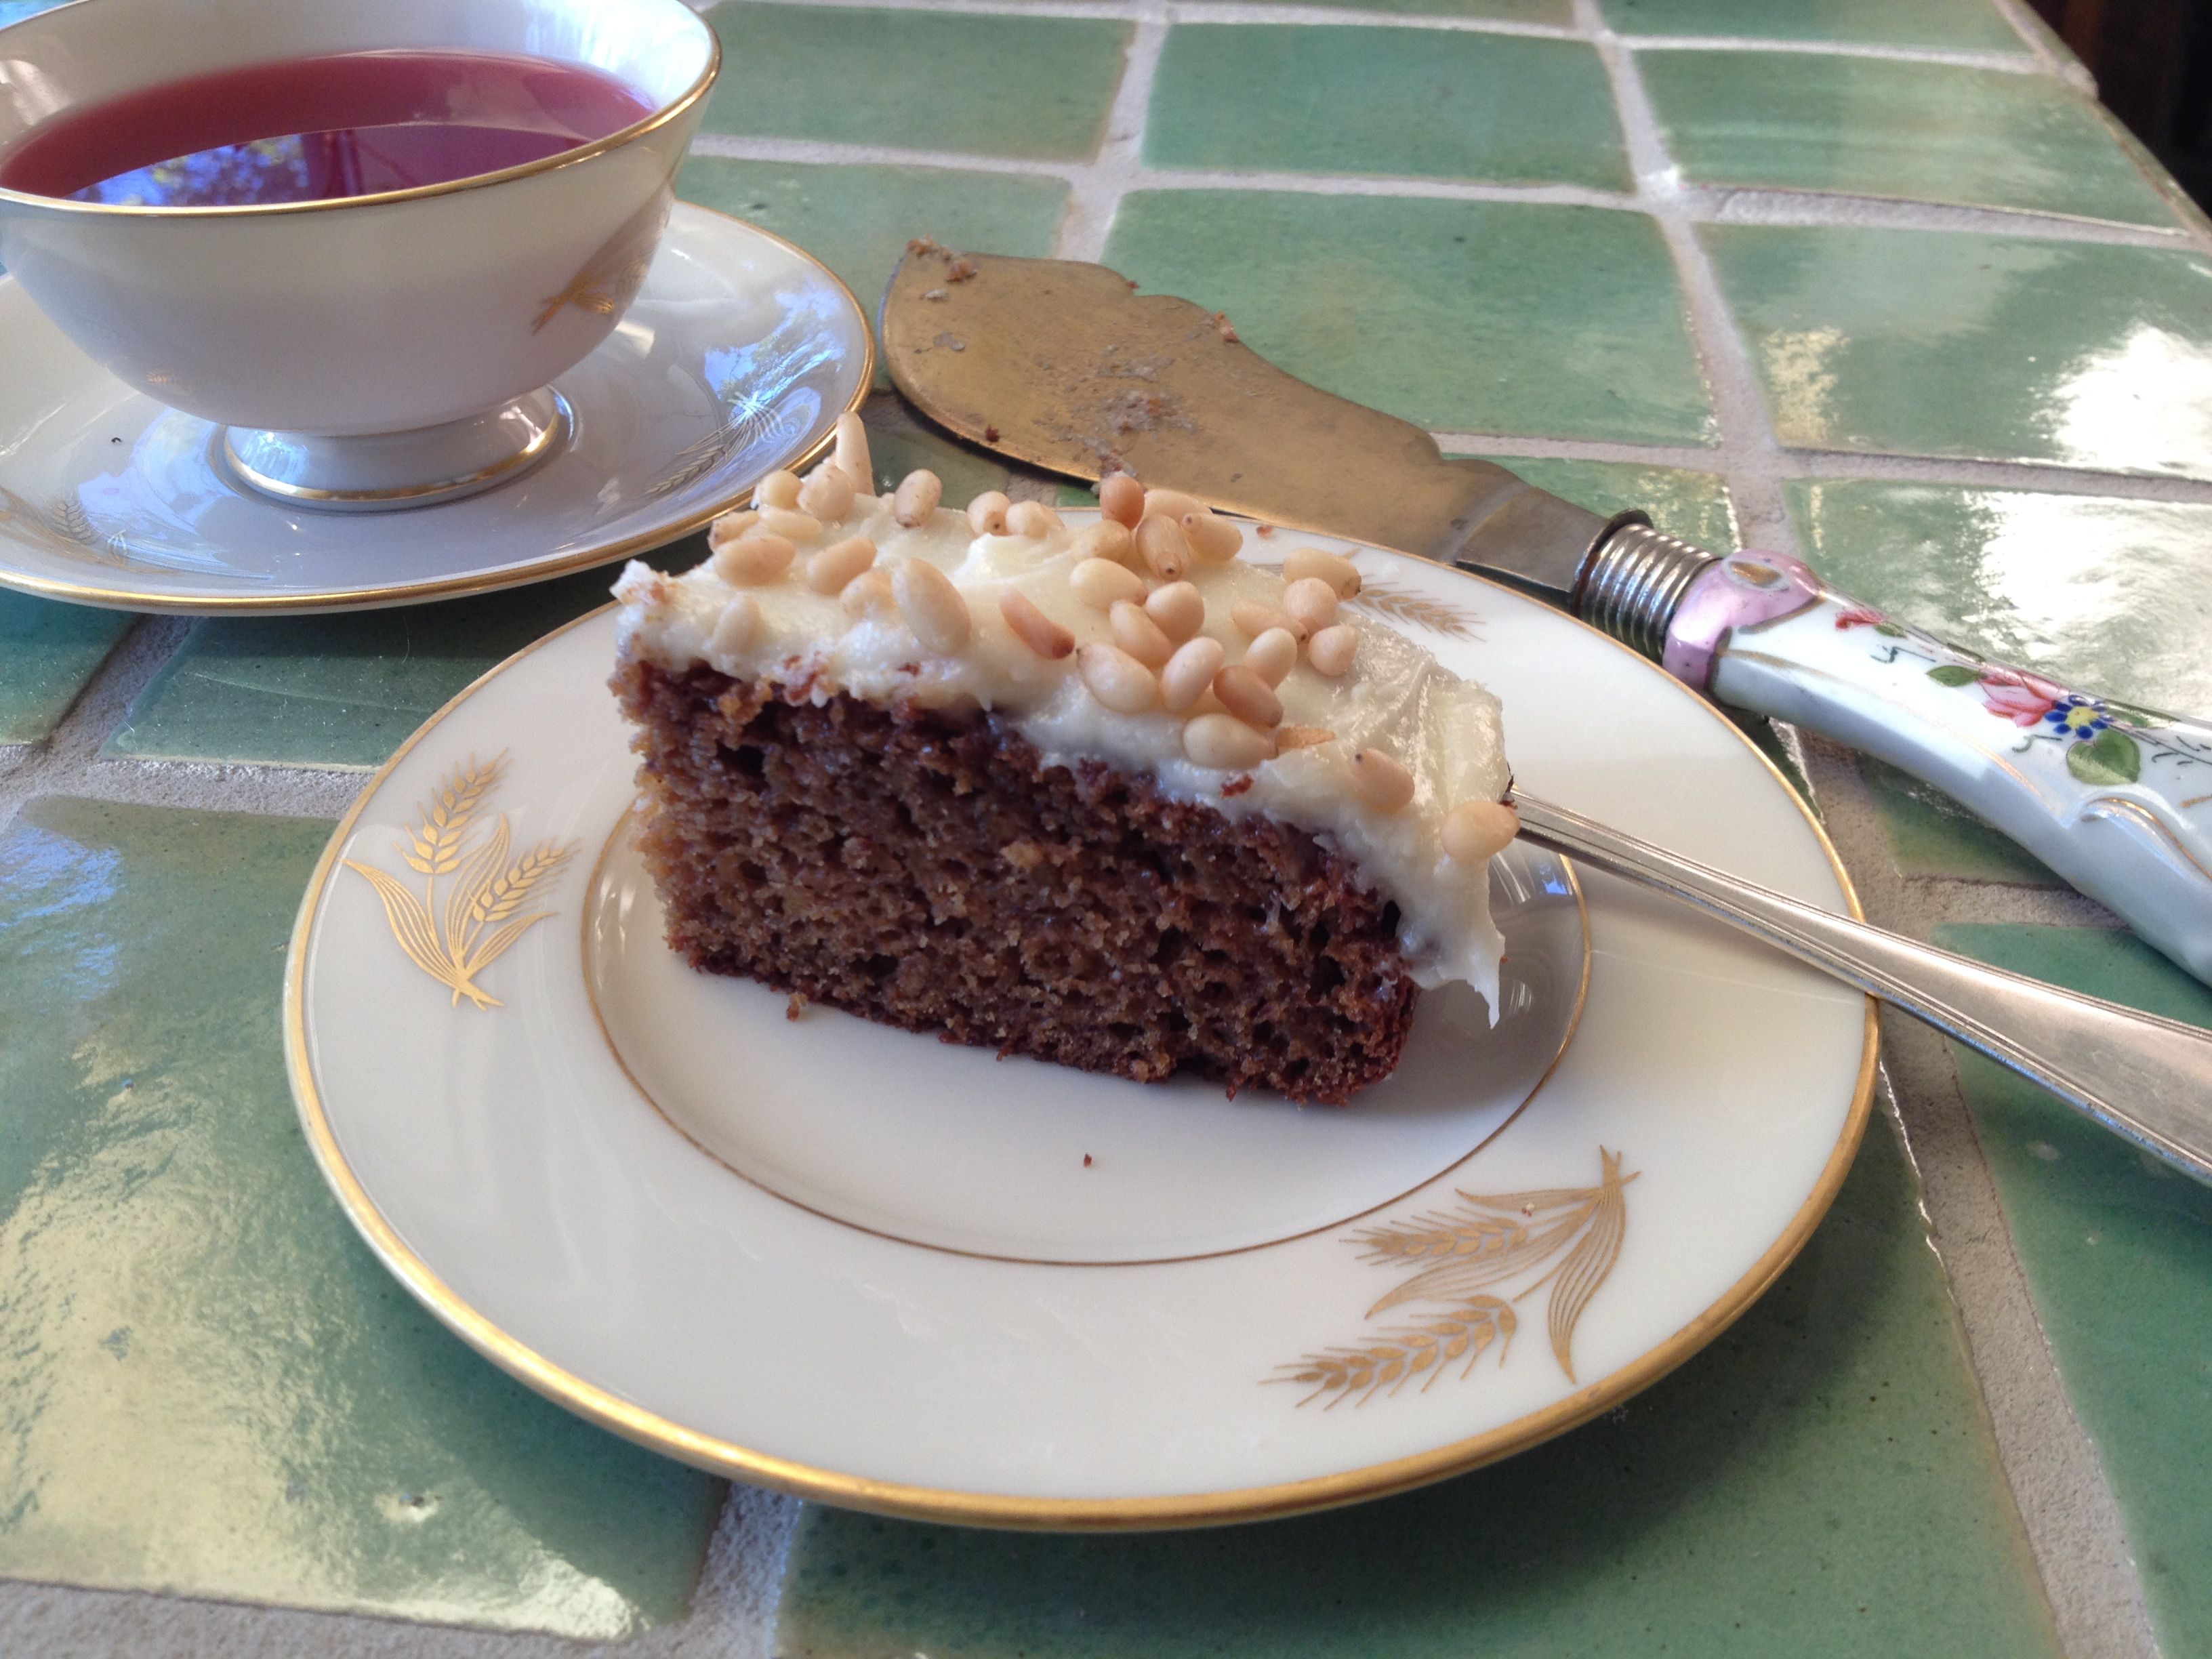
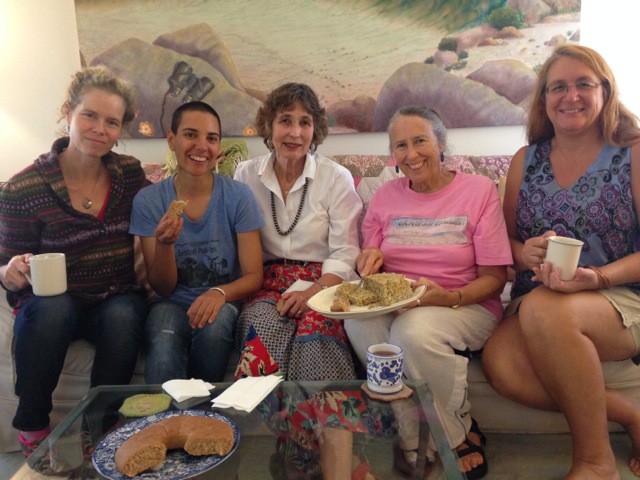
Sonoran Pumpkin Cake tea time on wheat china to honor the Wong Family farmers who are helping to save the ancient white Sonora wheat (MABphoto)
Now in their fifth generation of farming, the Wong Family of BKWFarms in Marana, have taken a rare heirloom wheat–the White Sonora Wheat that Padre Kino introduced into the Sonoran Desert over 300 years ago and “saved” by Native Seeds/SEARCH seed conservationists–and have made it a certified organic and sustainable crop again for the Southwest. Bravo to the Wongs for making this low-gluten food treasure available to us!

Organic Wheat Farmer Ron Wong, Big Jim Griffith, and Karen Dotson of BKWFarms at Tucson Meet Yourself 2014 (MABphoto)
BKWFarms and Flor de Mayo gave out samples of White Sonora Wheat-berry sprouts and a fabulous Sonoran Shortbread made with the White Sonora Wheat flour at the recent Tucson Meet Yourself festivities. Coming up….Come try samples at the Flor de Mayo table this next weekend at the Chiles Chocolate and Salsa Event, Tohono Chul Park, Oct 25-26. Every Sunday at St Phillips Farmers Market you can find taste surprises made with White Sonora Wheat-berries or mesquite at the Flor de Mayo booth–Stop by and visit Tia Marta and Rod! And tell your friends in Phoenix not to miss our Flor de Mayo display at the Dia de los Muertos celebration, Desert Botanical Garden Nov 1-2.