Onion Planting Time!

allium BUR HPIM0665

The Southwest is ideal for gardening all year long.

Jacqueline Soule with you here to share some timely planting tips.  Speaking as a gardener – one of the best things about living here in the Southwest is that every month is the month to plant something! Right now, in these cool months with short days and long nights, it is time to plant onions.

If you have never before had a vegetable garden, onions are a great way to start. Of all the garden vegetables, they are tolerant of abuse and forgiving of mistakes. In the ground, in large or small pots, under the shrubs in the front yard of your HOA home (the weed-police are mollified by “bulbs”), wherever you have a little space you can plant some onions. As long as we get rain every ten days, you may not even need to water them. Onions fresh out of the ground have so much more flavor you owe it to yourself to try them.
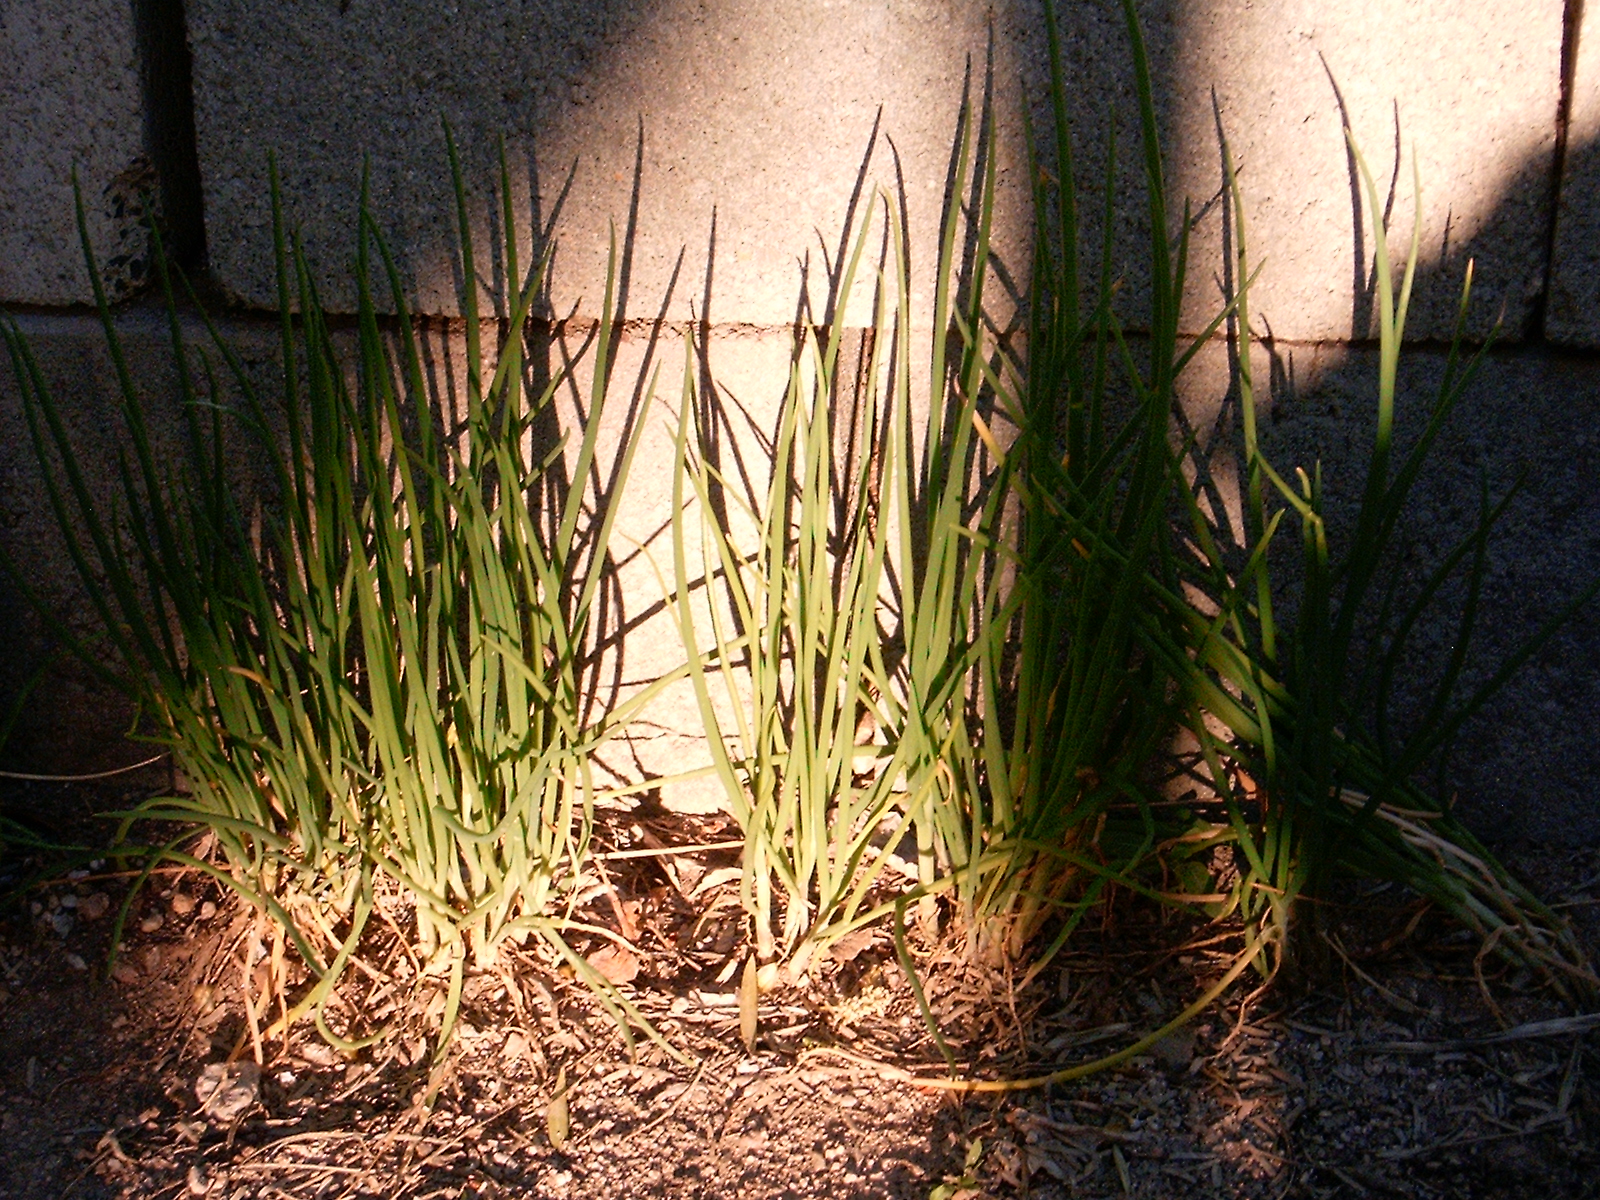
allium I'itoi BUR HPIM0664

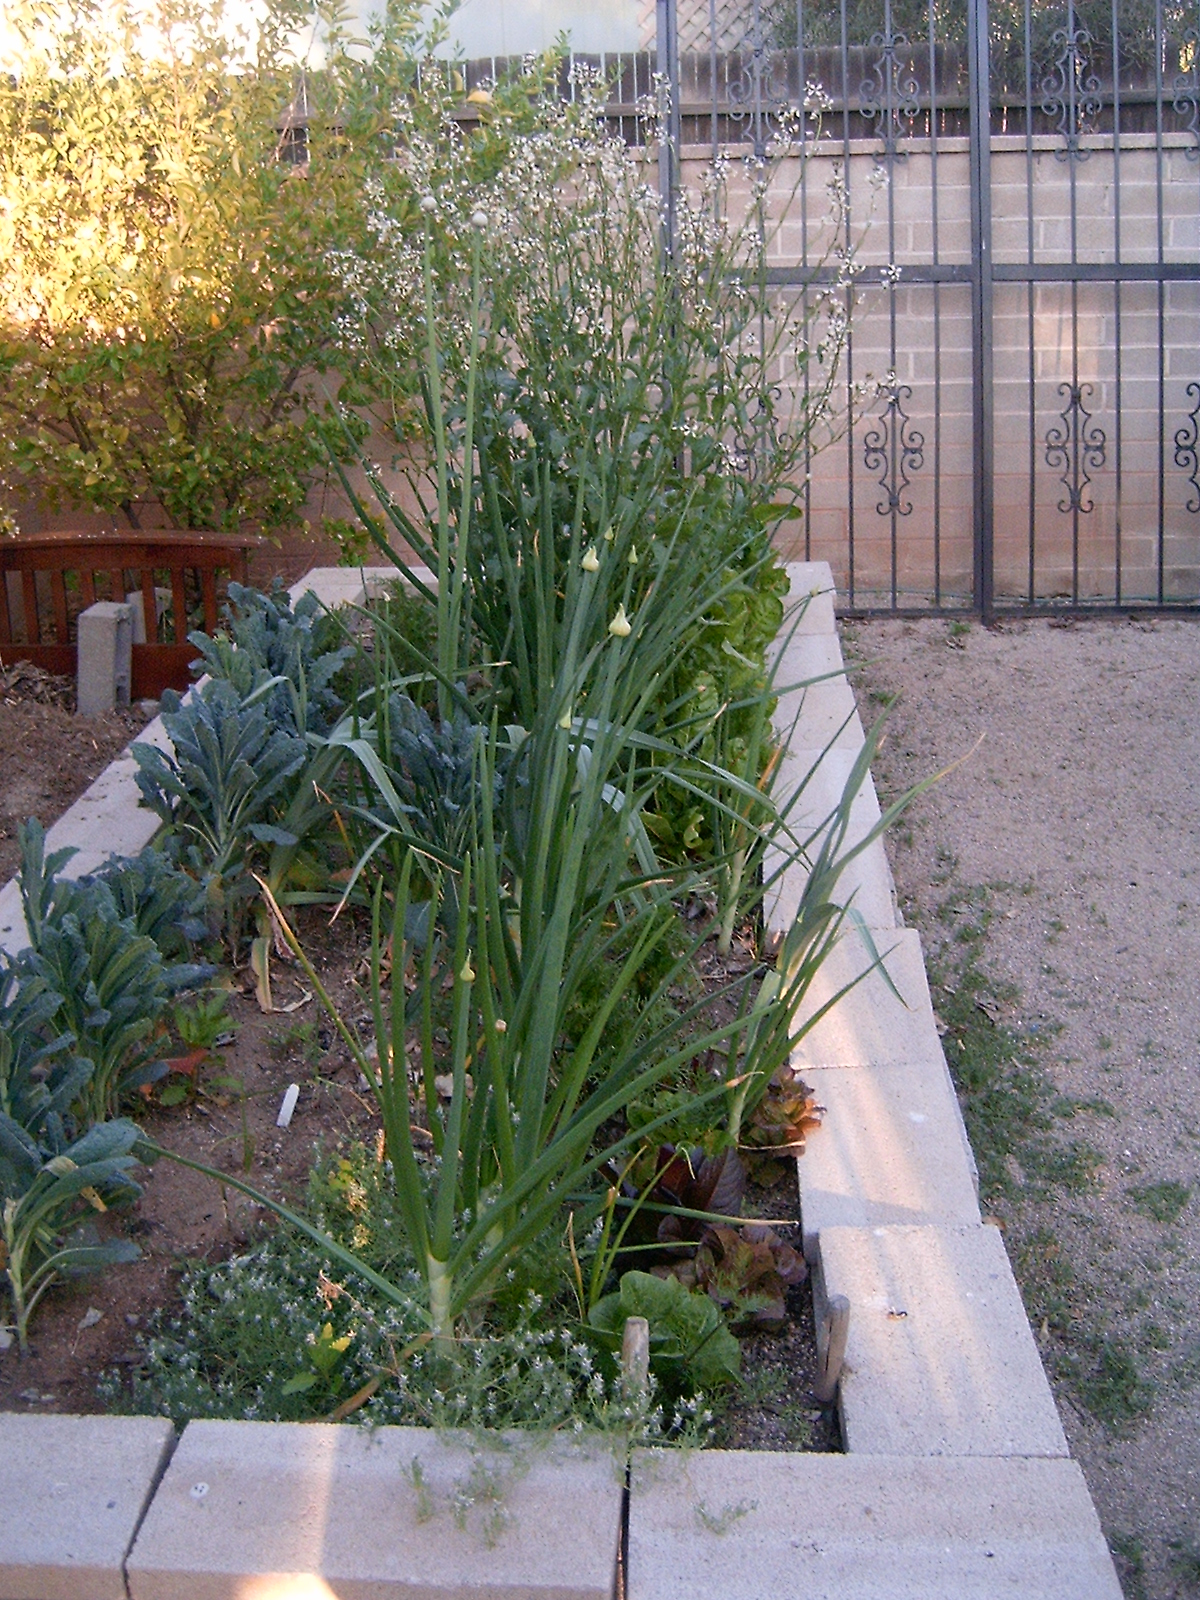
Onions can be tucked into almost any space in the yard. These I’itoi onions stay small.

Which ones? There are more varieties of onions than you can shake a stick at, a number of different types with conflicting names (bunching, bulbing, multiplier) and technically a few different species, but rather than start a discourse on all of that, lets just key into the fact that the days are short, thus you need to plant “short day” varieties.
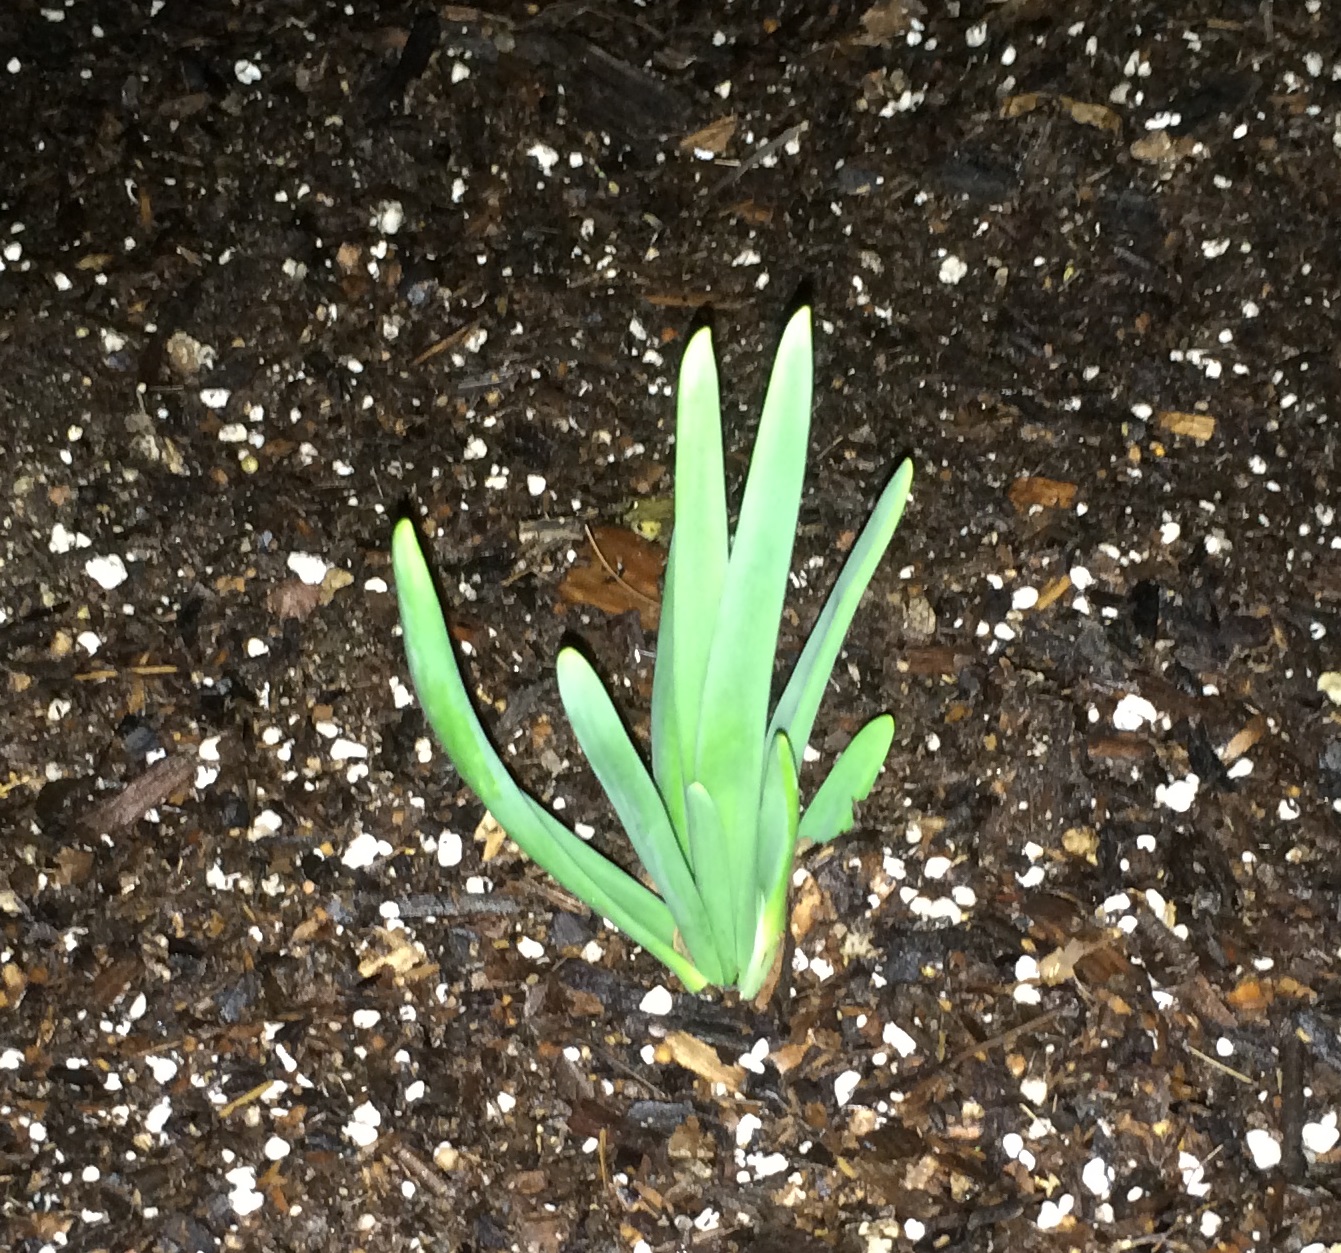
allium AMP set 001

Onion sets can be planted in pots with potting soil.

Now? In the coldest time of year? Yes! But you will plant “sets” not seeds. Sets are already started from seed onions, or, in the case of multiplier onions and garlics, they are divisions off a larger bulb.

How to plant sets? Just set them into the soil. (Sometimes gardening terminology makes sense.)  Plant with the green side up, the bulb entirely below the soil.
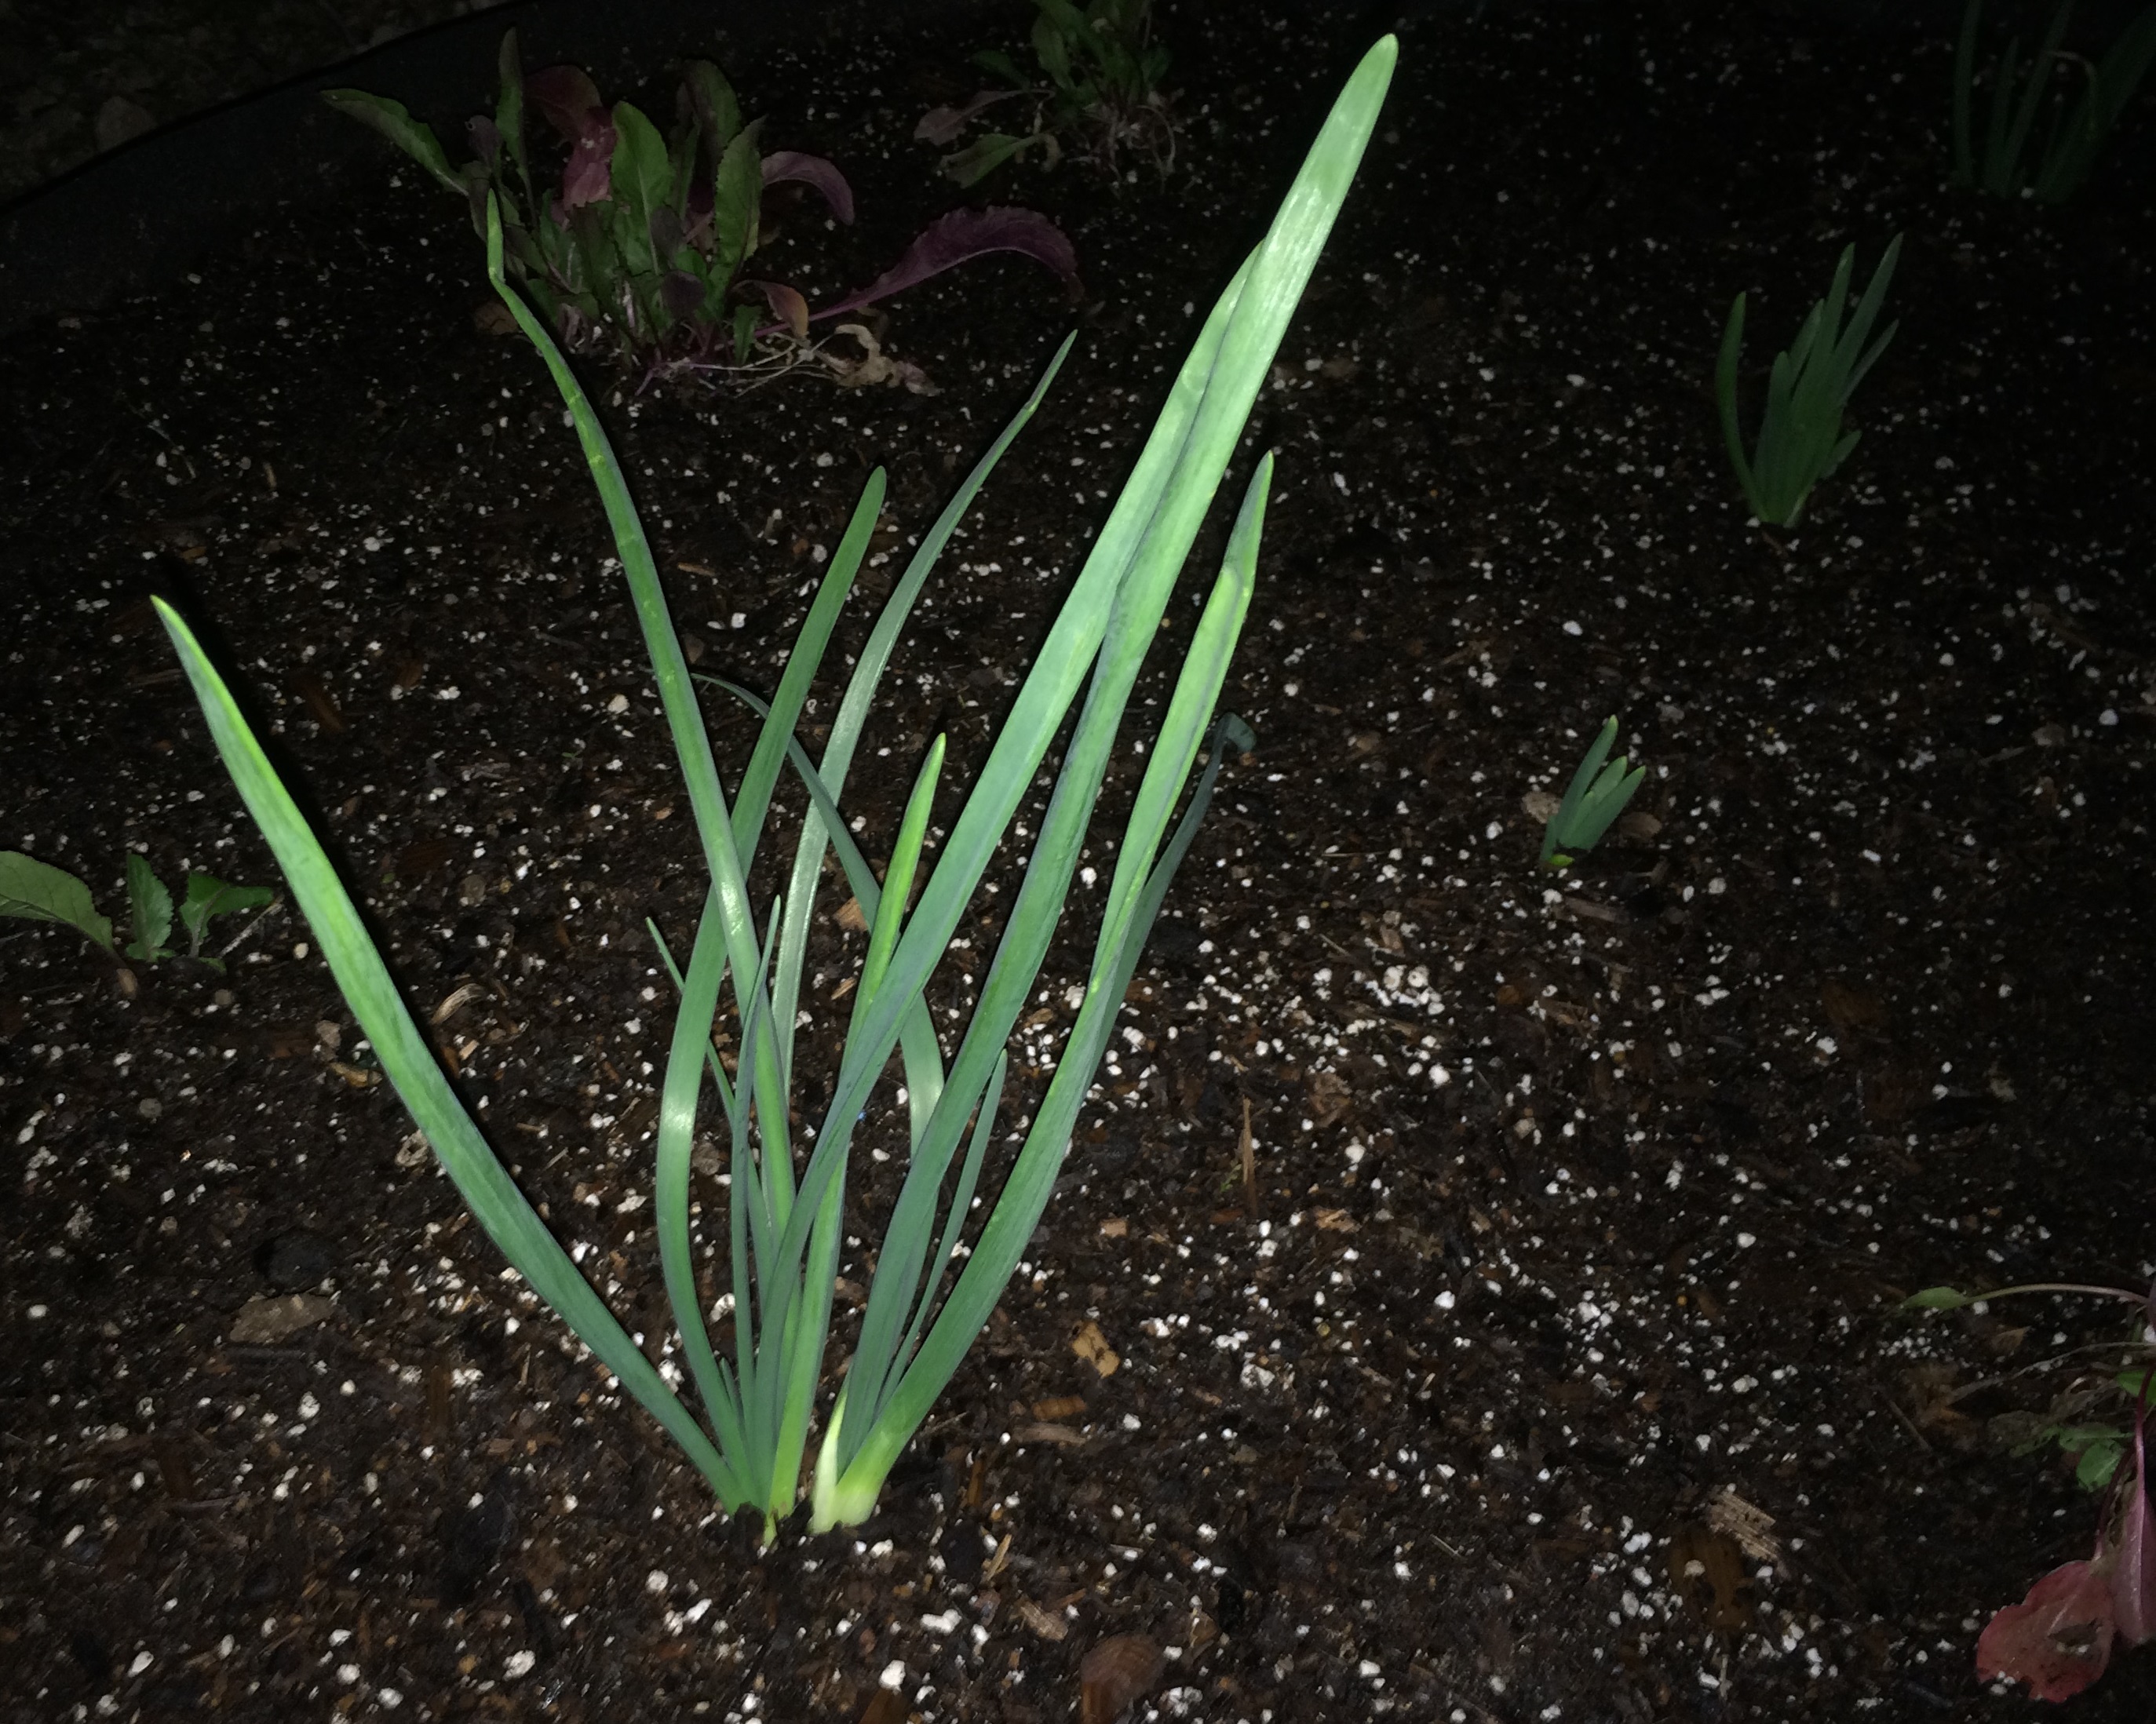
allium AMP set 002

Look in the background in this shot. Some varieties will grow faster than others.

Most of our local nurseries know that now is the time for onions and have a selection of sets to choose from. Big box stores don’t – just another reason to shop local. In past years some of the Farmer’s Market vendors also offered onion sets.

A general planting guide follows.

Light.  Remember the whole “short day” thing?  The short days of winter will mean that the onions will need as much as you can give them.

Soil is not as critical as with most vegetables. But for best overall health, plus full flavor and good final size of your crop, an improved garden soil is recommended. Or plain potting soil if you grow them in containers.

Water is needed on a regular basis for nice fat bulbs and succulent leaves. In general this means two or three times per week, but maybe more if the onions are in pots.

Fertilizer is not much needed by onions. If you want to, use one for root crops, high in nitrogen and potassium. Avoid fertilizer for flowers, like a rose or tomato food. Flowering takes energy away from creating succulent bulbs.
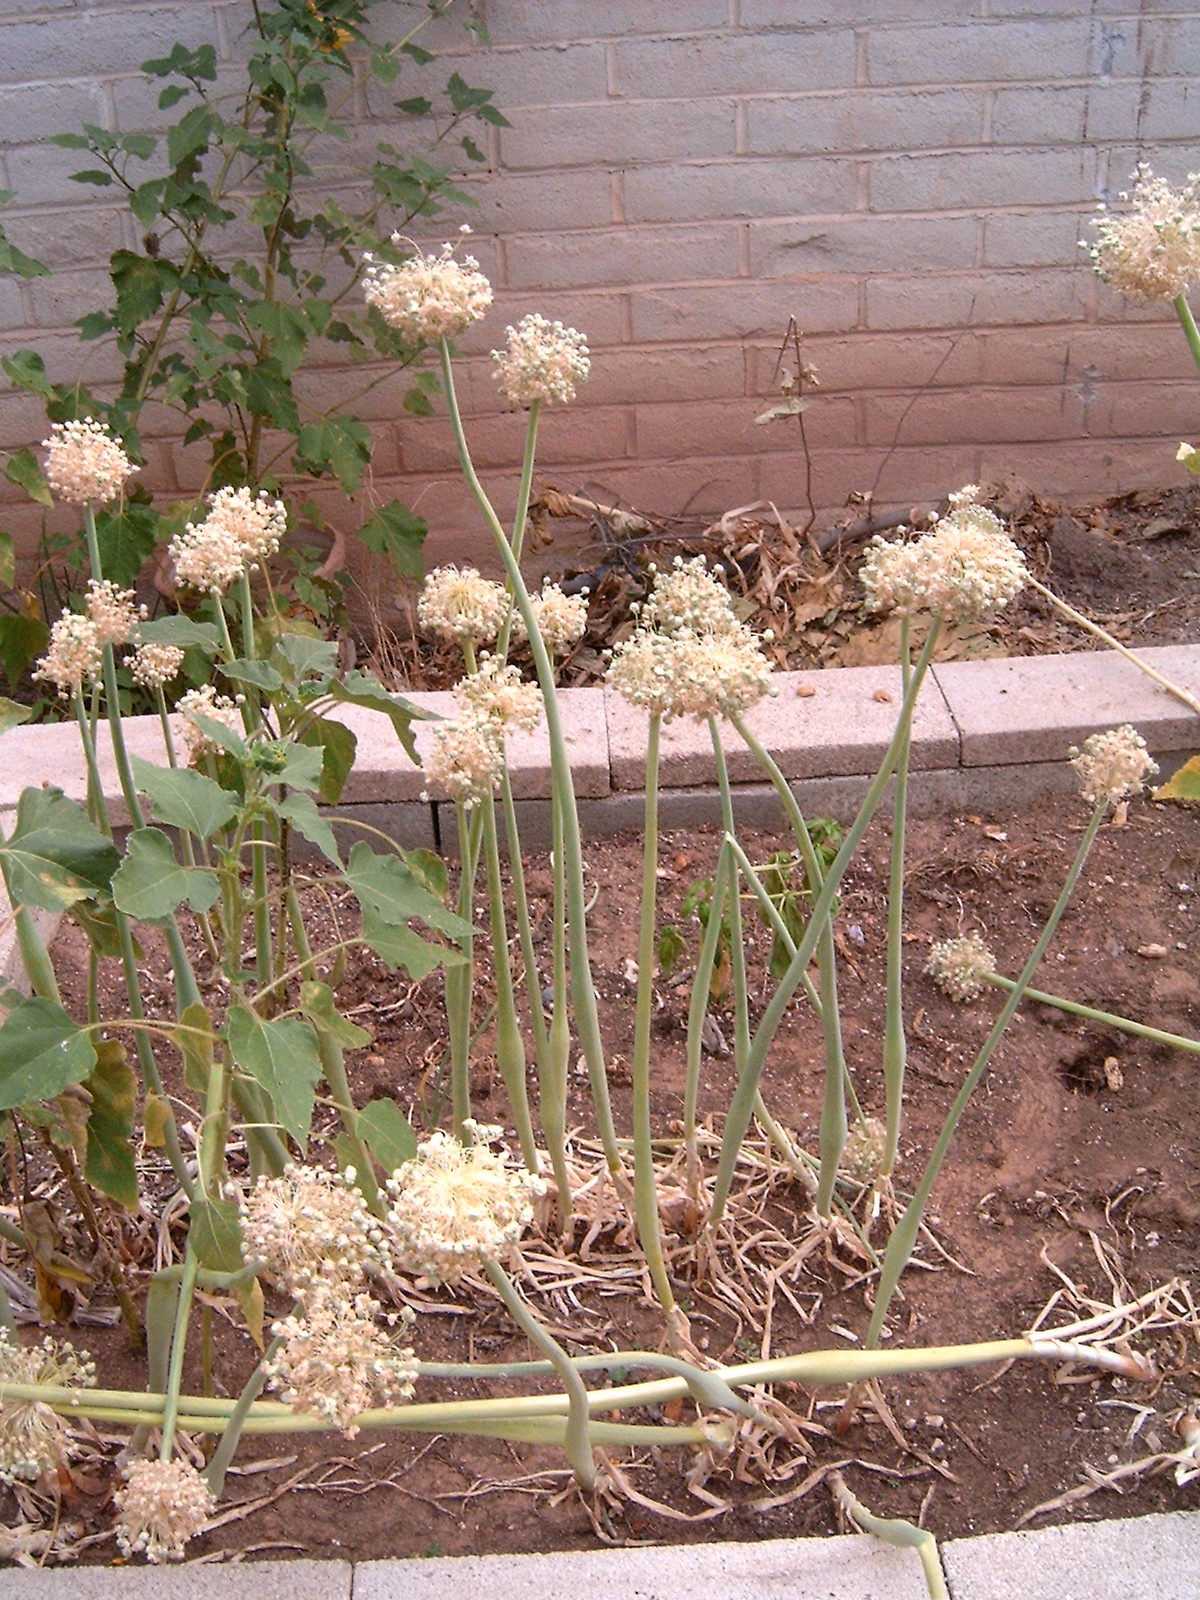
Allium_onion_flowers_J001

These onions got too much flowering fertilizer. Rather than develop good bulbs, they spent their energy producing flowers and seeds.

Harvest – once the tops die down and start to turn brown (usually in late May into June).  For long term storage the garden books from “back east” tell you to dry your onions in the sun – but don’t do that here!! – they will get sun scald and taste yucky. Dry onions in a cool dark place that does have good air flow. I put mine on screens in the laundry room and leave the ceiling fan on low for about three days. Once they have dried onions will store without rotting.

Storage & Use. Some varieties of onions store better than others. Plan on about four months maximum for best flavor and texture. (Ours are eaten so fast this is not an issue.) Don’t forget to save your onion skins to make a great natural dye for Easter eggs and textiles.
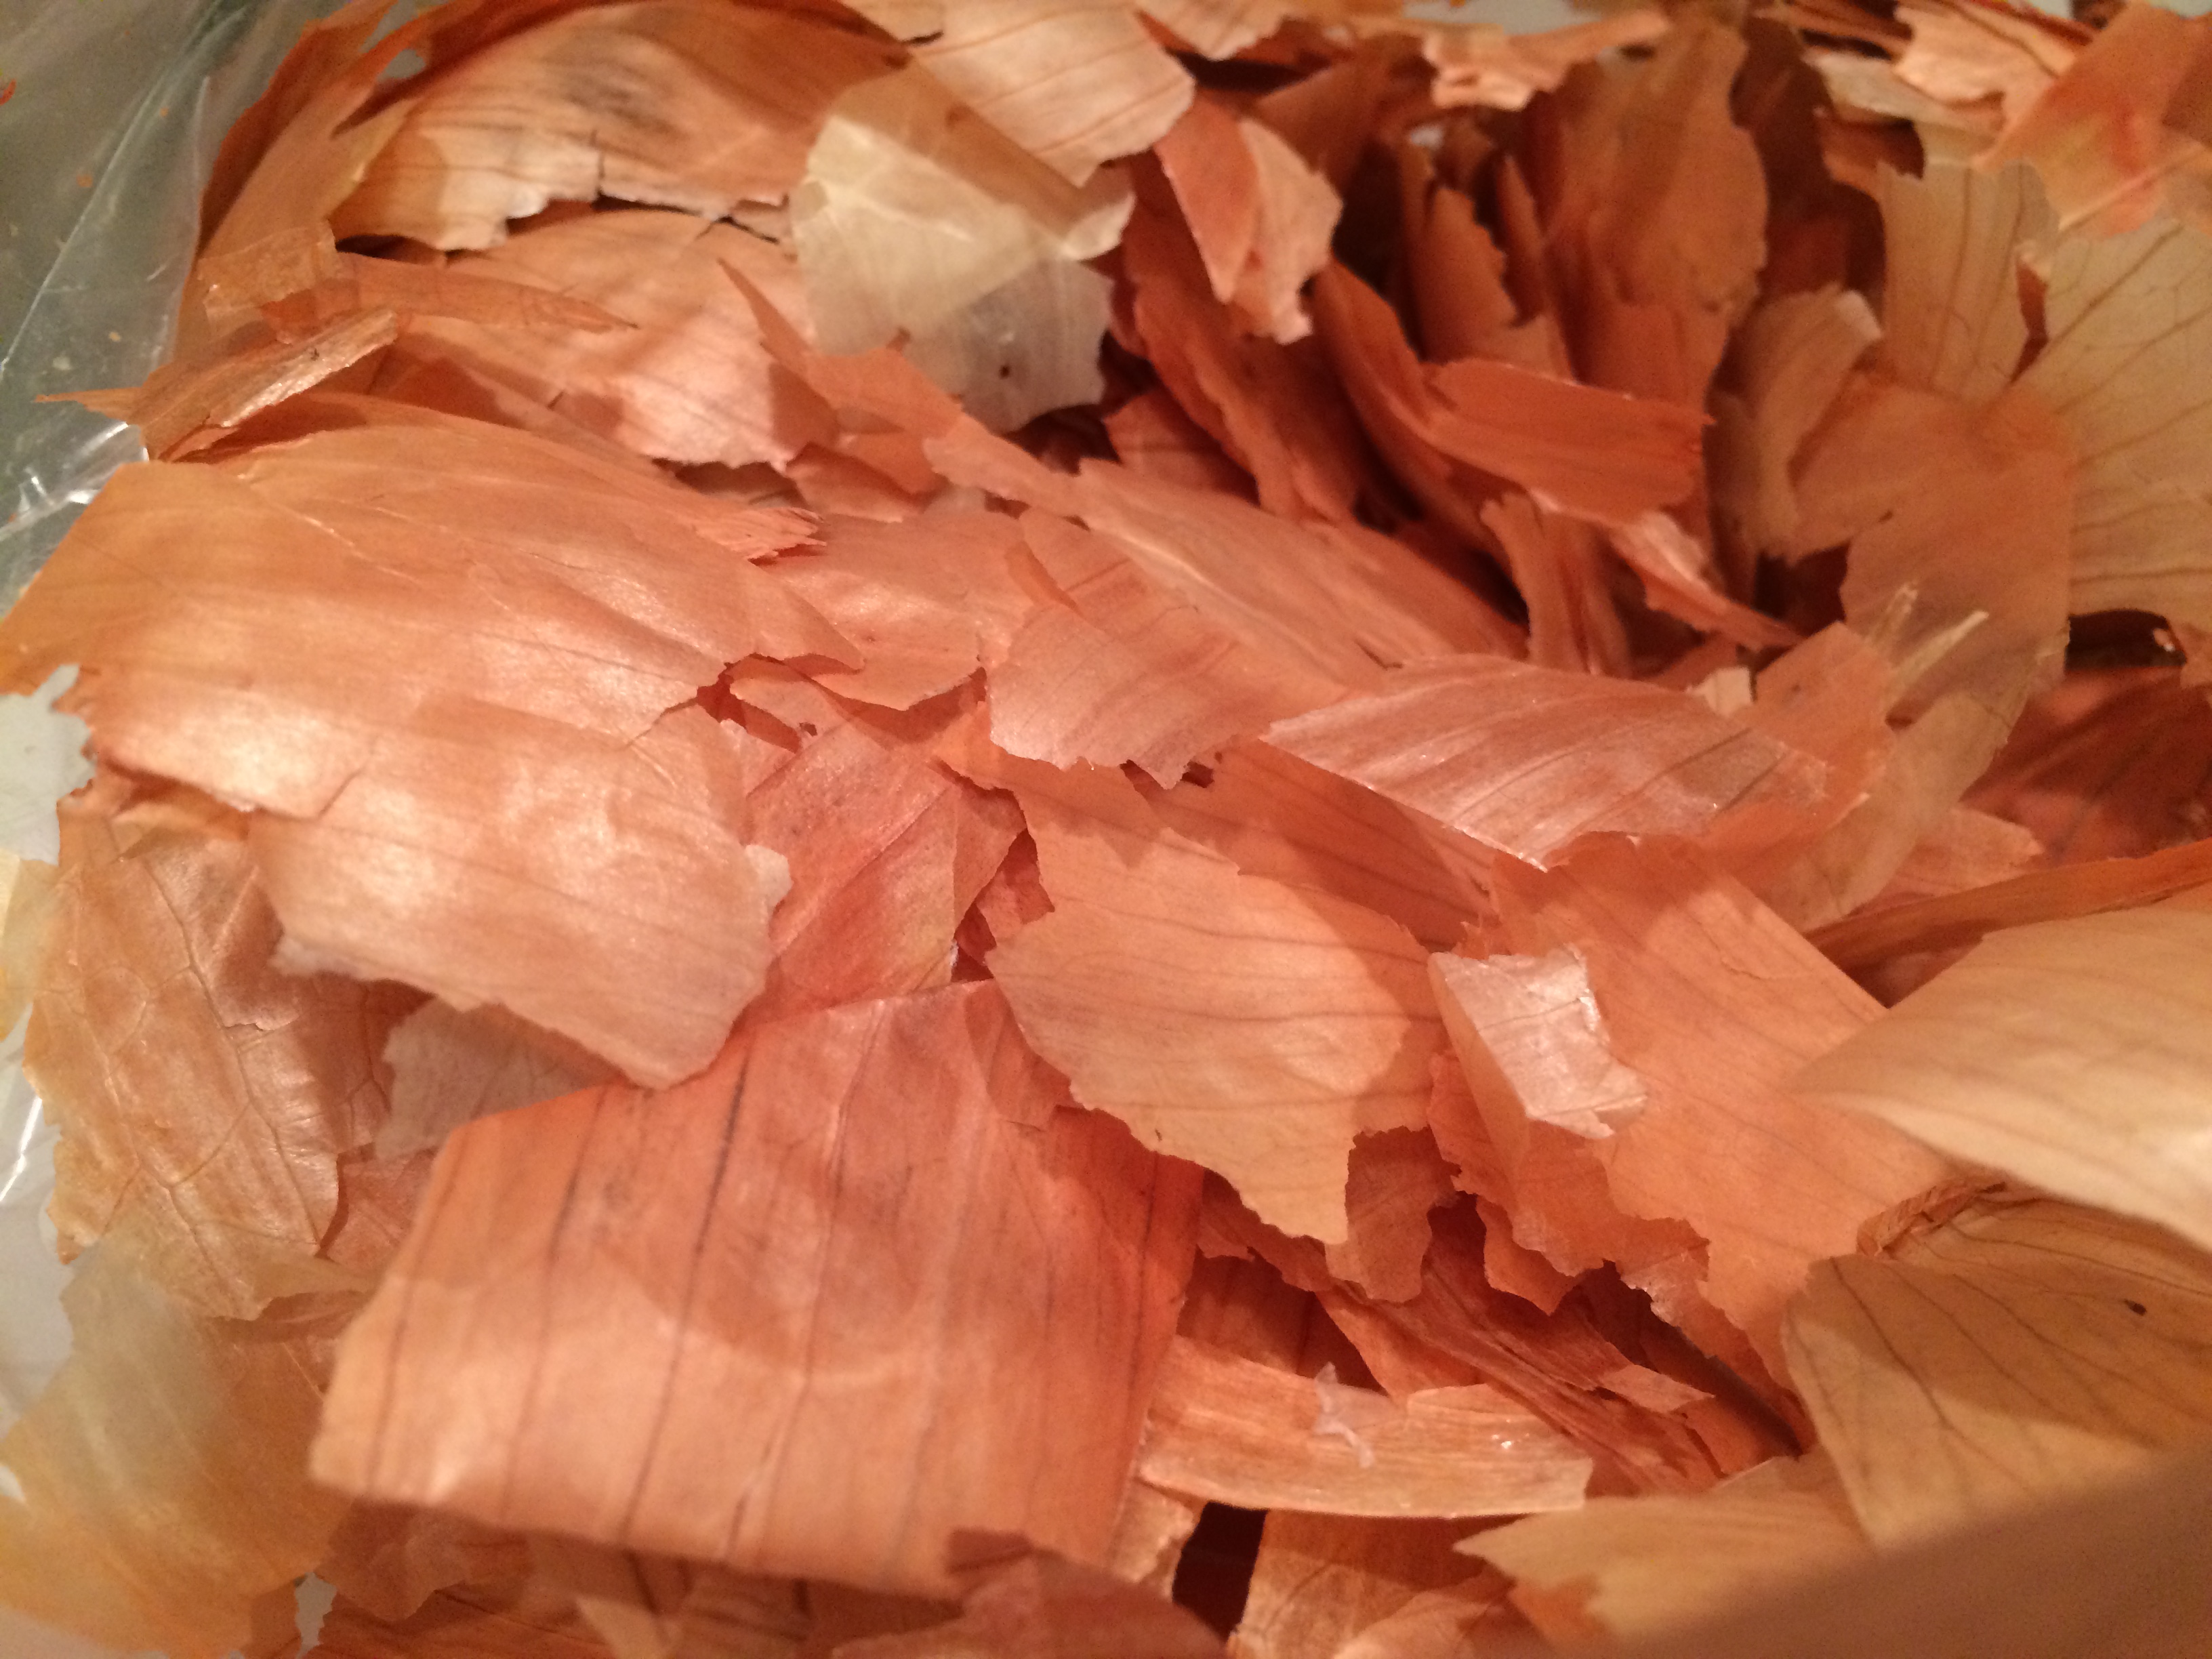
onion skin IMG_2348

I keep a bag to add my onion skins to every time I cook.
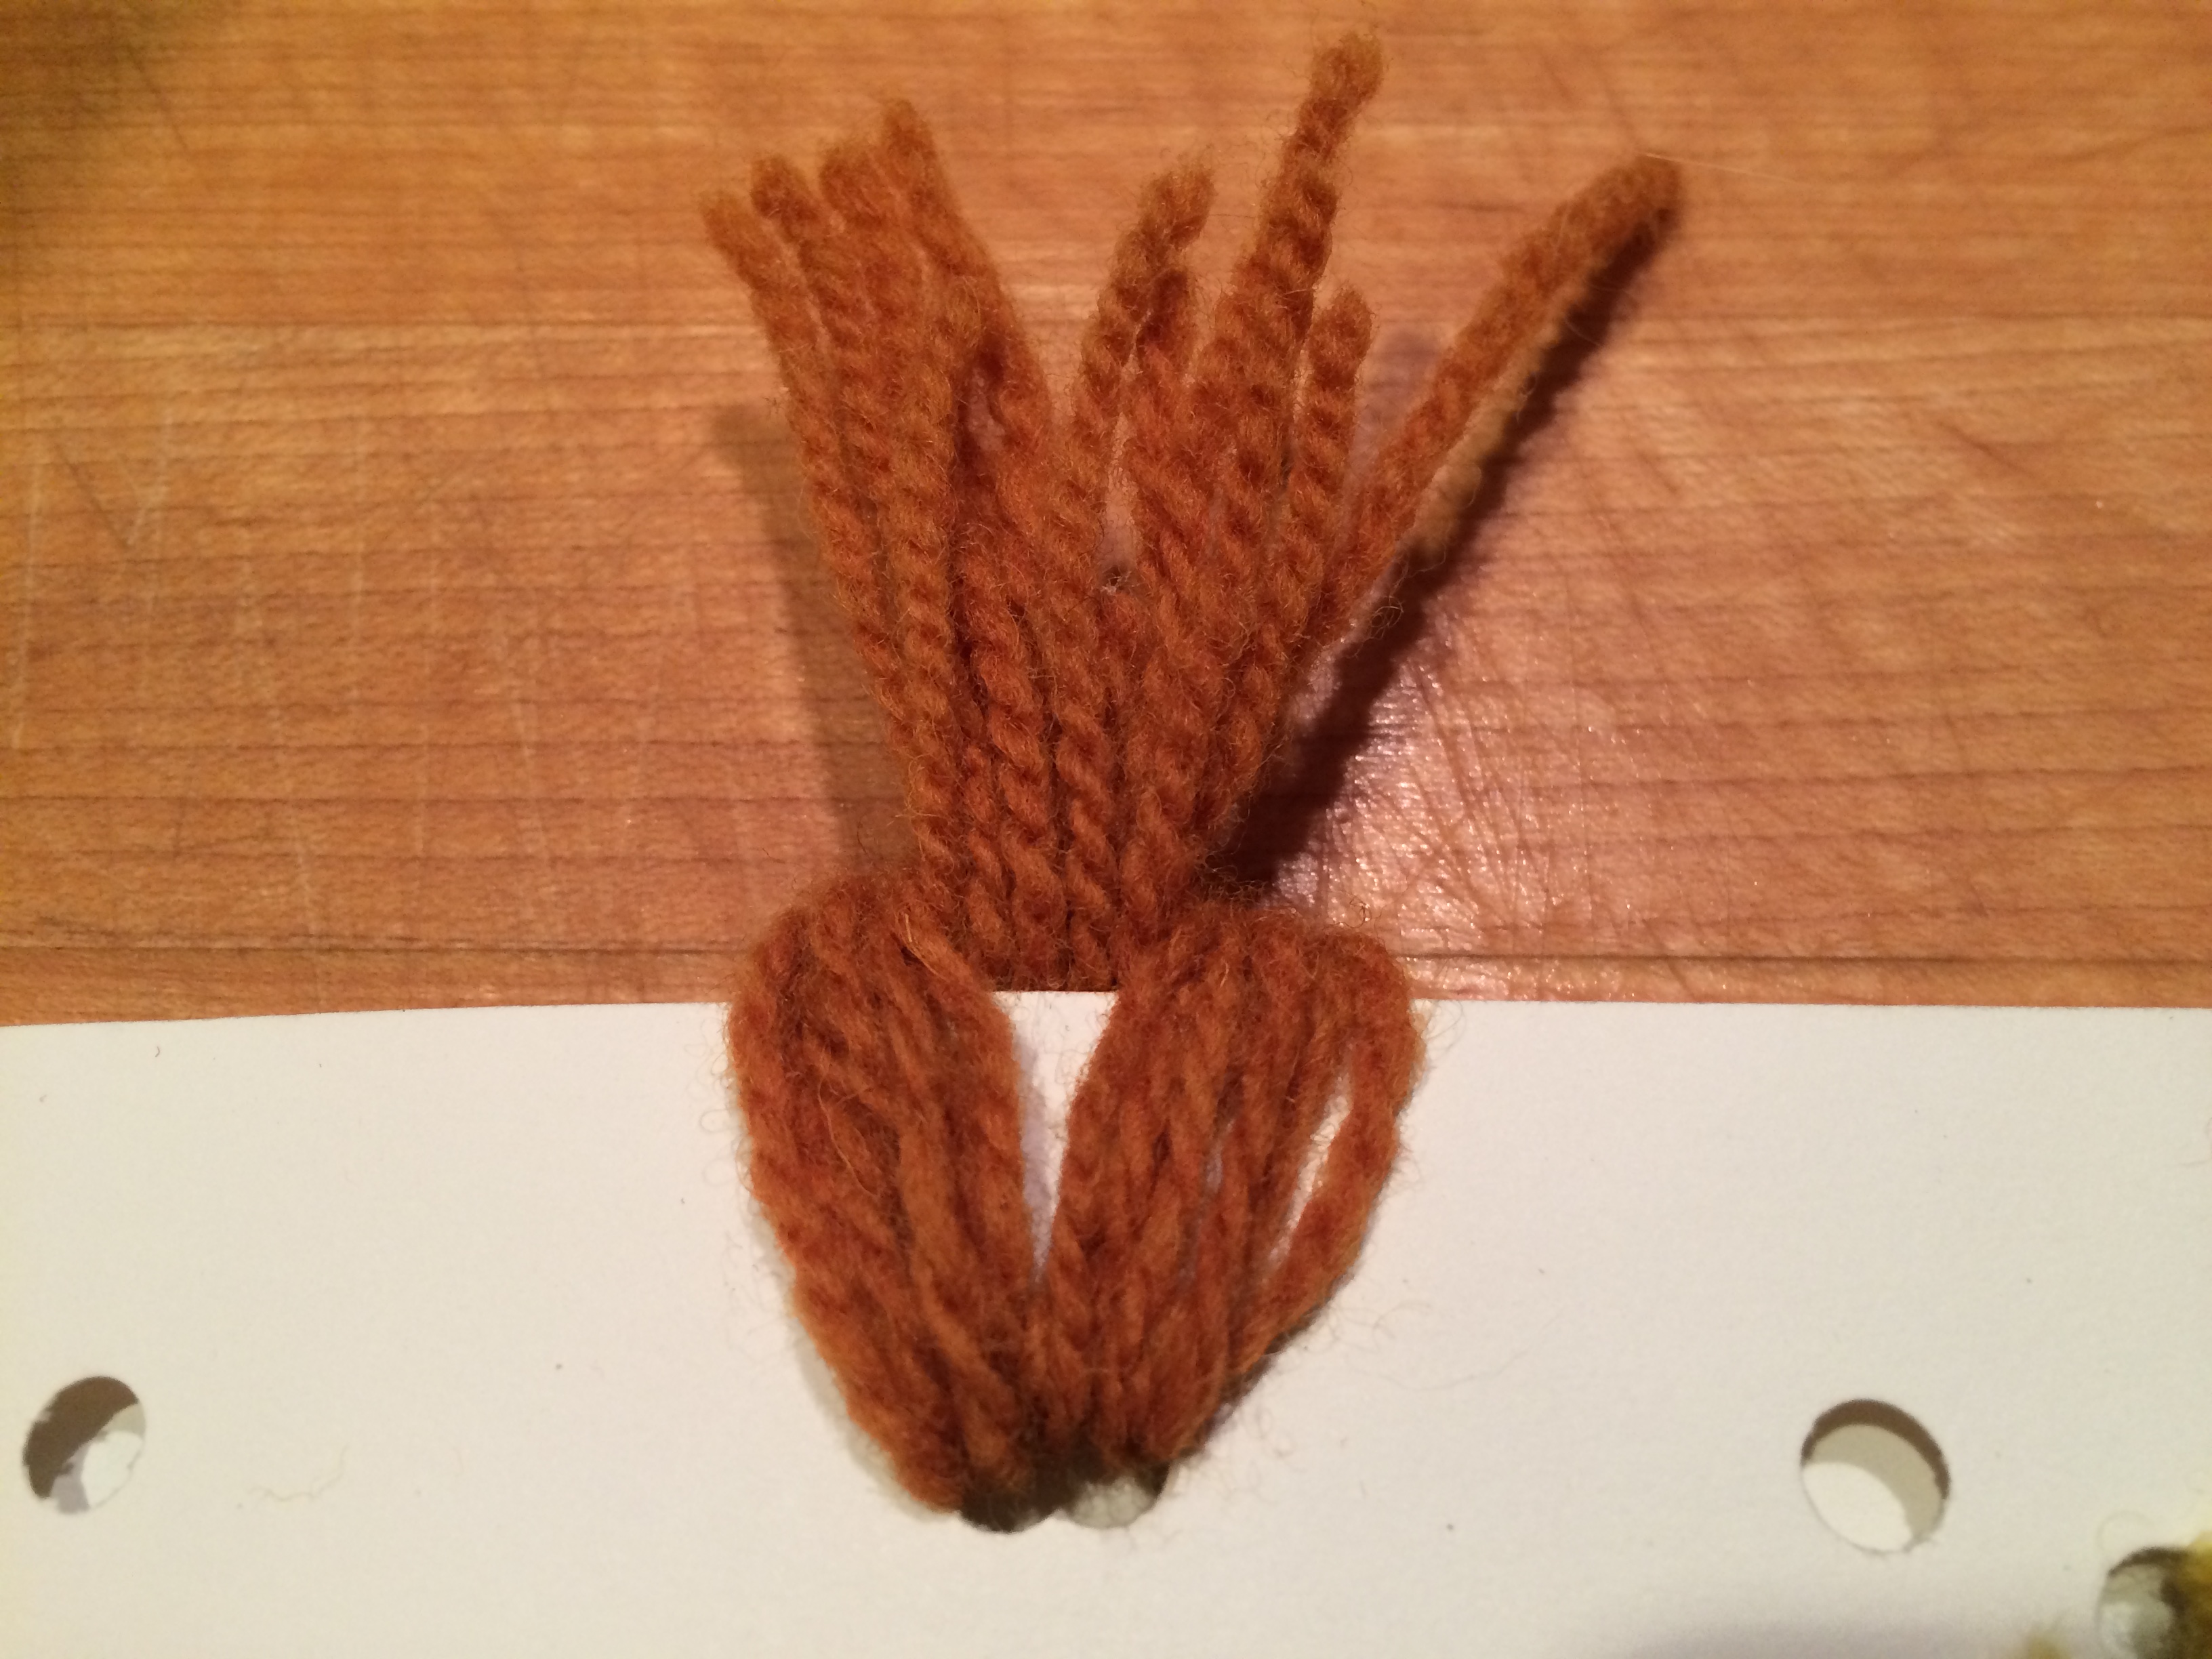
onion skin IMG_2349

Onion skins produce a warm brown dye.


For more about onions and other vegetables and fruits that will thrive in your Southwestern garden, please consider my book Southwest Fruit and Vegetable Gardening (Cool Springs Press 2014), available at Antigone, Arizona Experience Store, local botanical gardens, state parks, and nurseries.

© 2015, Jacqueline Soule.  All rights reserved. I have received many requests to reprint my work. My policy is that you are free to use a very short excerpt which must give proper credit to the author, and must include a link back to the original post on our site. Please use the contact me if you have any questions. JAS avatar

 

Playing with Washingtonia palm fruit

Washingtonia filifera (California fan palm)

Washingtonia filifera (California fan palm)


It’s Carolyn this week, taking you backstage to a food experiment. As we move into a hotter, drier climate here in the Southwest, we’ll have to consider agricultural products that can handle the changes. Although I’ve been playing with edible wild plants for decades and Tia Marta (Muffin Burgess) has put in similar years of work, it’s always exciting for us to find something new. We’re going to do a two-part investigation of what to do with a wild food new to both of us.


Big box of palm fruit.

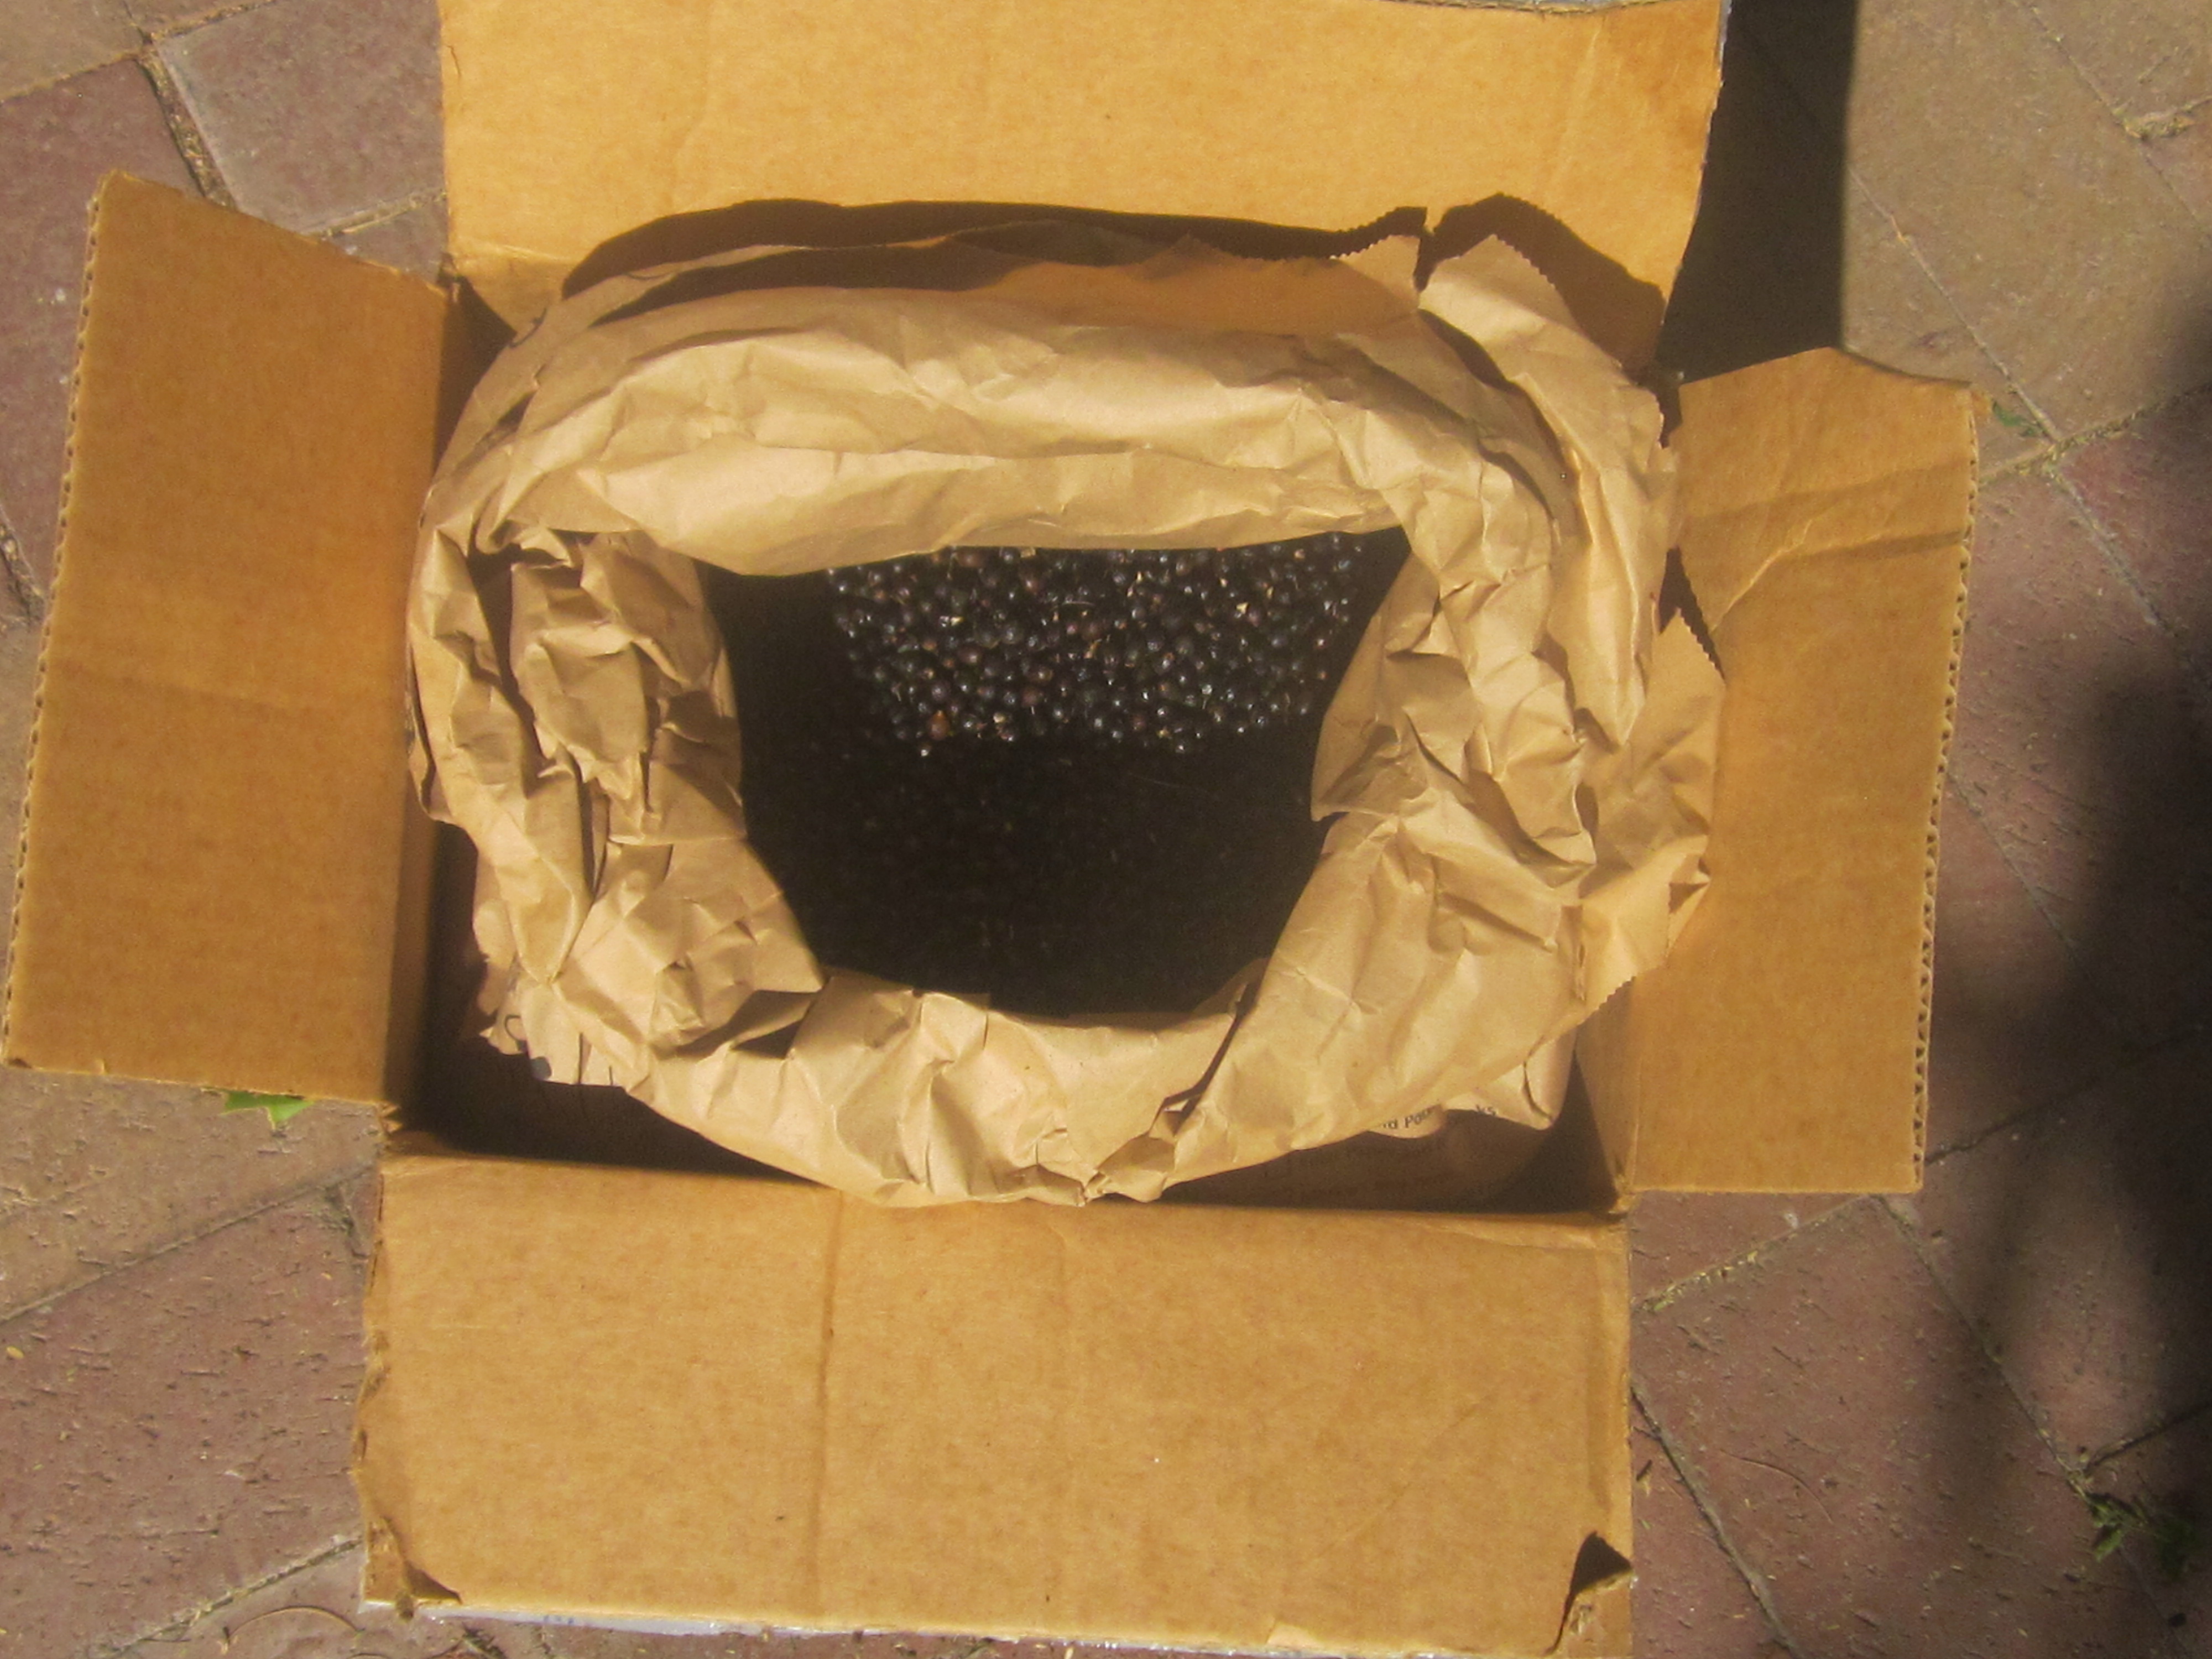
A big box of  W. robusta palm fruit arrived at my house.


Last fall I received an email from noted ethnobotanist Dr.Richard Felger. He and a colleague, Dr. Don Hodel, an environmental horticulturist for the University of California Cooperative Extension, were working on some wild palm fruits, two species of Washingtonia, also called Mexican or California fan palm. He wondered if I could come up with some recipes. Back in the early 1970s when I was just beginning work with wild edibles, Dr. Felger took me on one of my first plant walks and over the years has answered many questions for me. I figured I owed him. I also asked Tia Marta if she wanted to join in the fun.

After a couple of days,  FedX deposited a box with about 10 pounds of tiny hard black nodules on my doorstep – Washingtonia robusta fruit gathered from a park in Signal Hill, Calif. , near Long Beach. Not promising, they were little more than skin on seed with almost nonexistent flesh, nothing like their cousins the palm fruits we know as dates. Humans have a long history of using palm fruits – in fact some scholars think that the honey referenced in the Bible was actually date syrup.

Wendy Hodgson, THE expert on wild desert foods, says in her book Food Plants of the Sonoran Desert, that the Washingtonia fruits were very important to the Cahuilla and Cocopa. She writes, “They made flour from the ground dried fruits and mixed it with other flours and water to form a mush.” We don’t eat much mush anymore (unless you consider oatmeal for breakfast), so I’d have to devise something else to do with them.

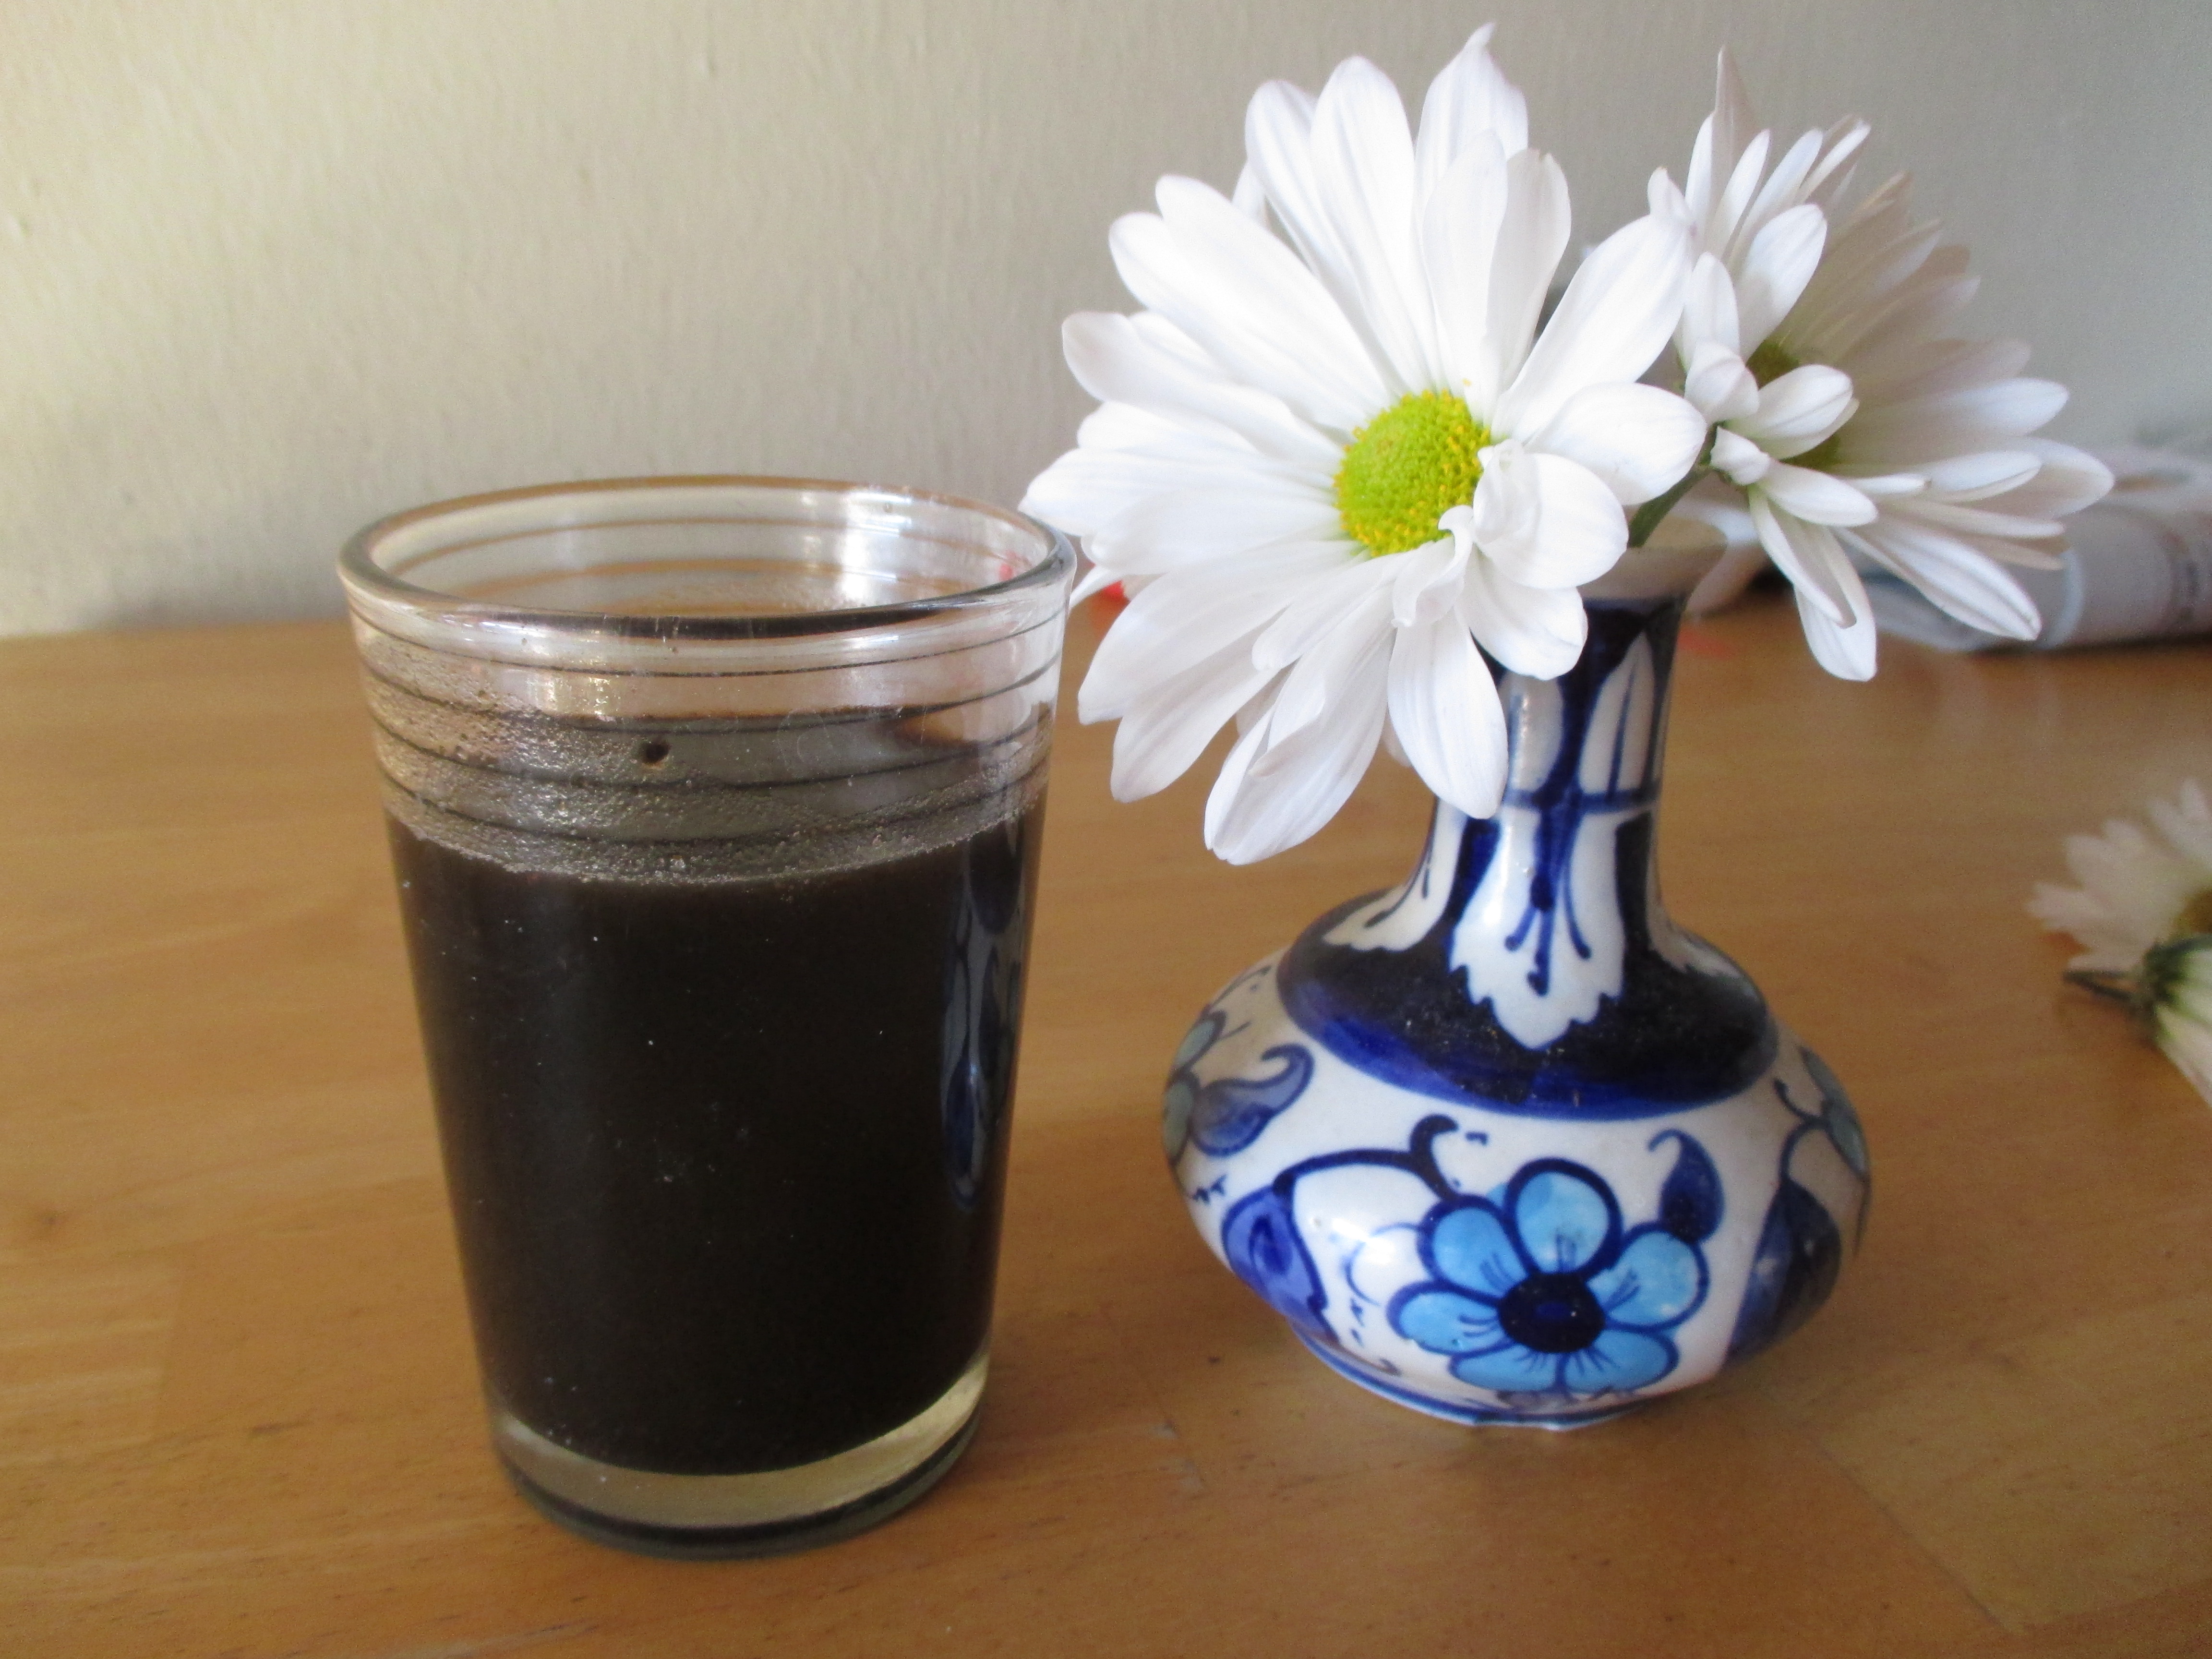
I took 4 cups of fruit and covered them with 8 cups of water. Brought it all it to a boil, then simmered uncovered for 30 minutes. I ran the softened fruit through a blender in batches and strained the liquid, ending up with 5 cups of almost black liquid that tasted something like prune juice.

Even flowers don't make this liquid look appetizing.

Even flowers don’t make this liquid look appetizing.

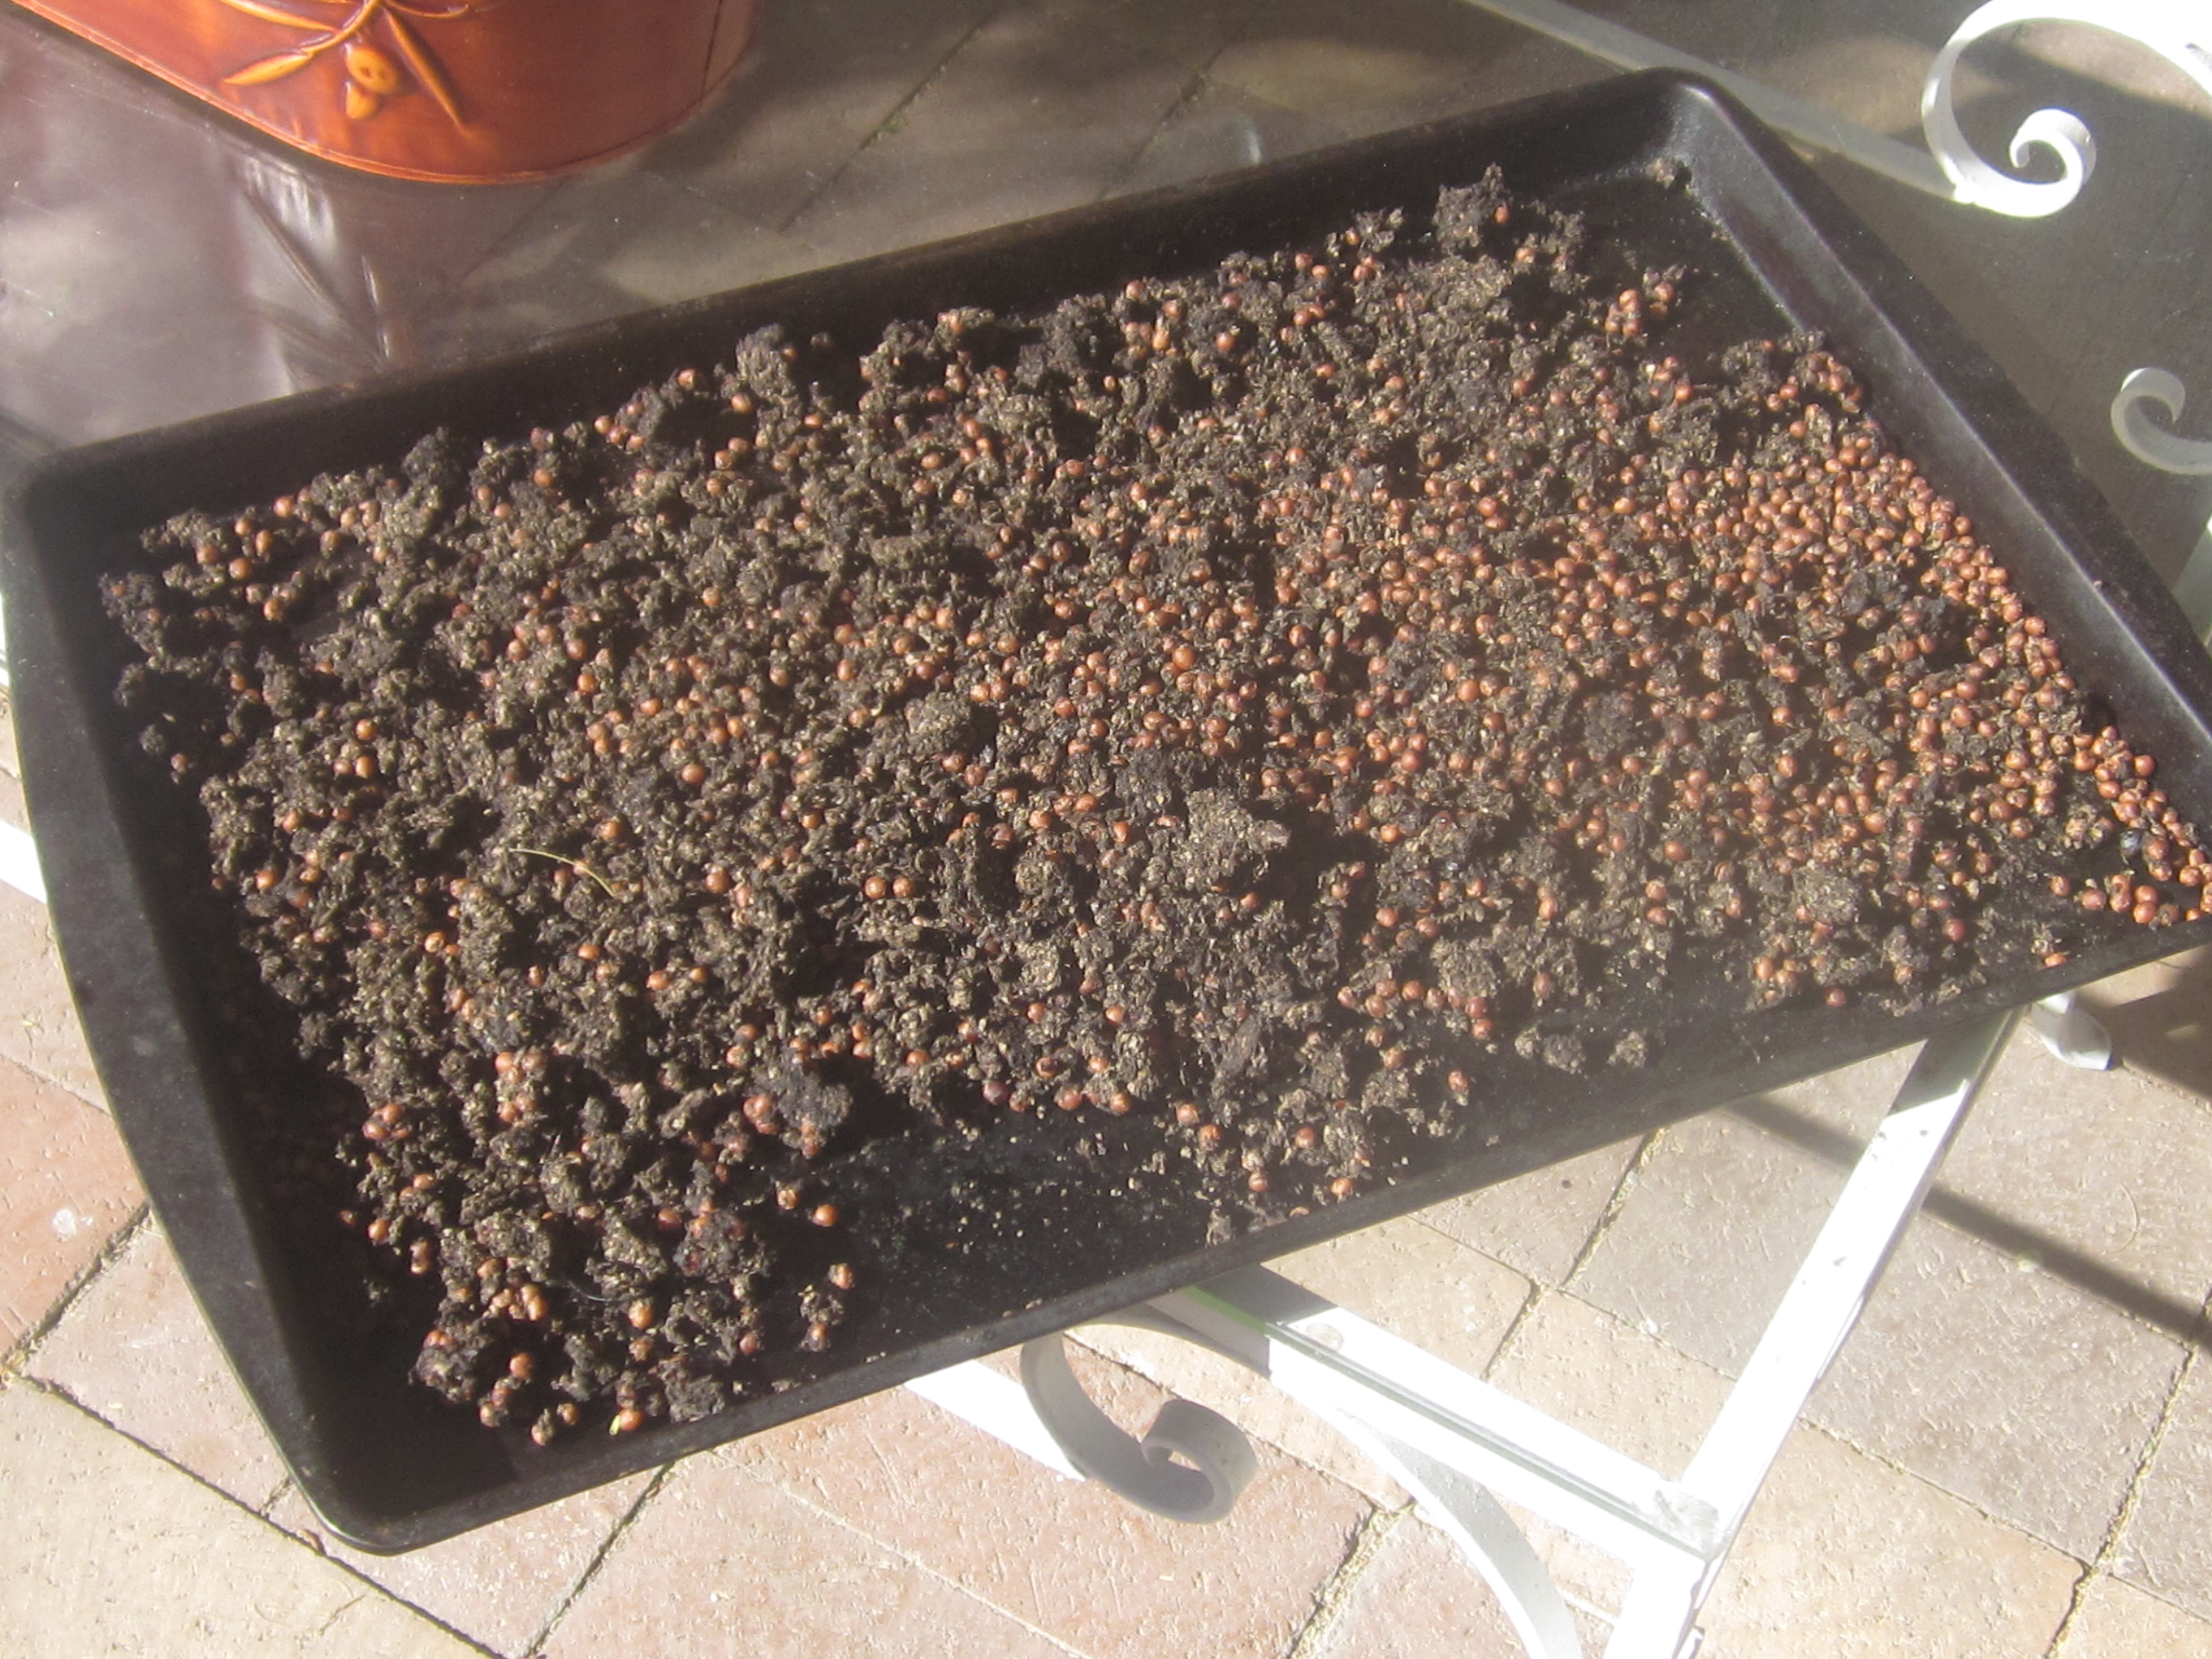
. I simmered it until reduced to ¾ cup pulpy liquid then spread the remaining pulp and seeds on a cookie sheet and put it in sun to dry. Later, I sifted out ¼ cup dried flakes and discarded the hard seeds.

Pulp and seeds drying in the sun.

Pulp and seeds drying in the sun.

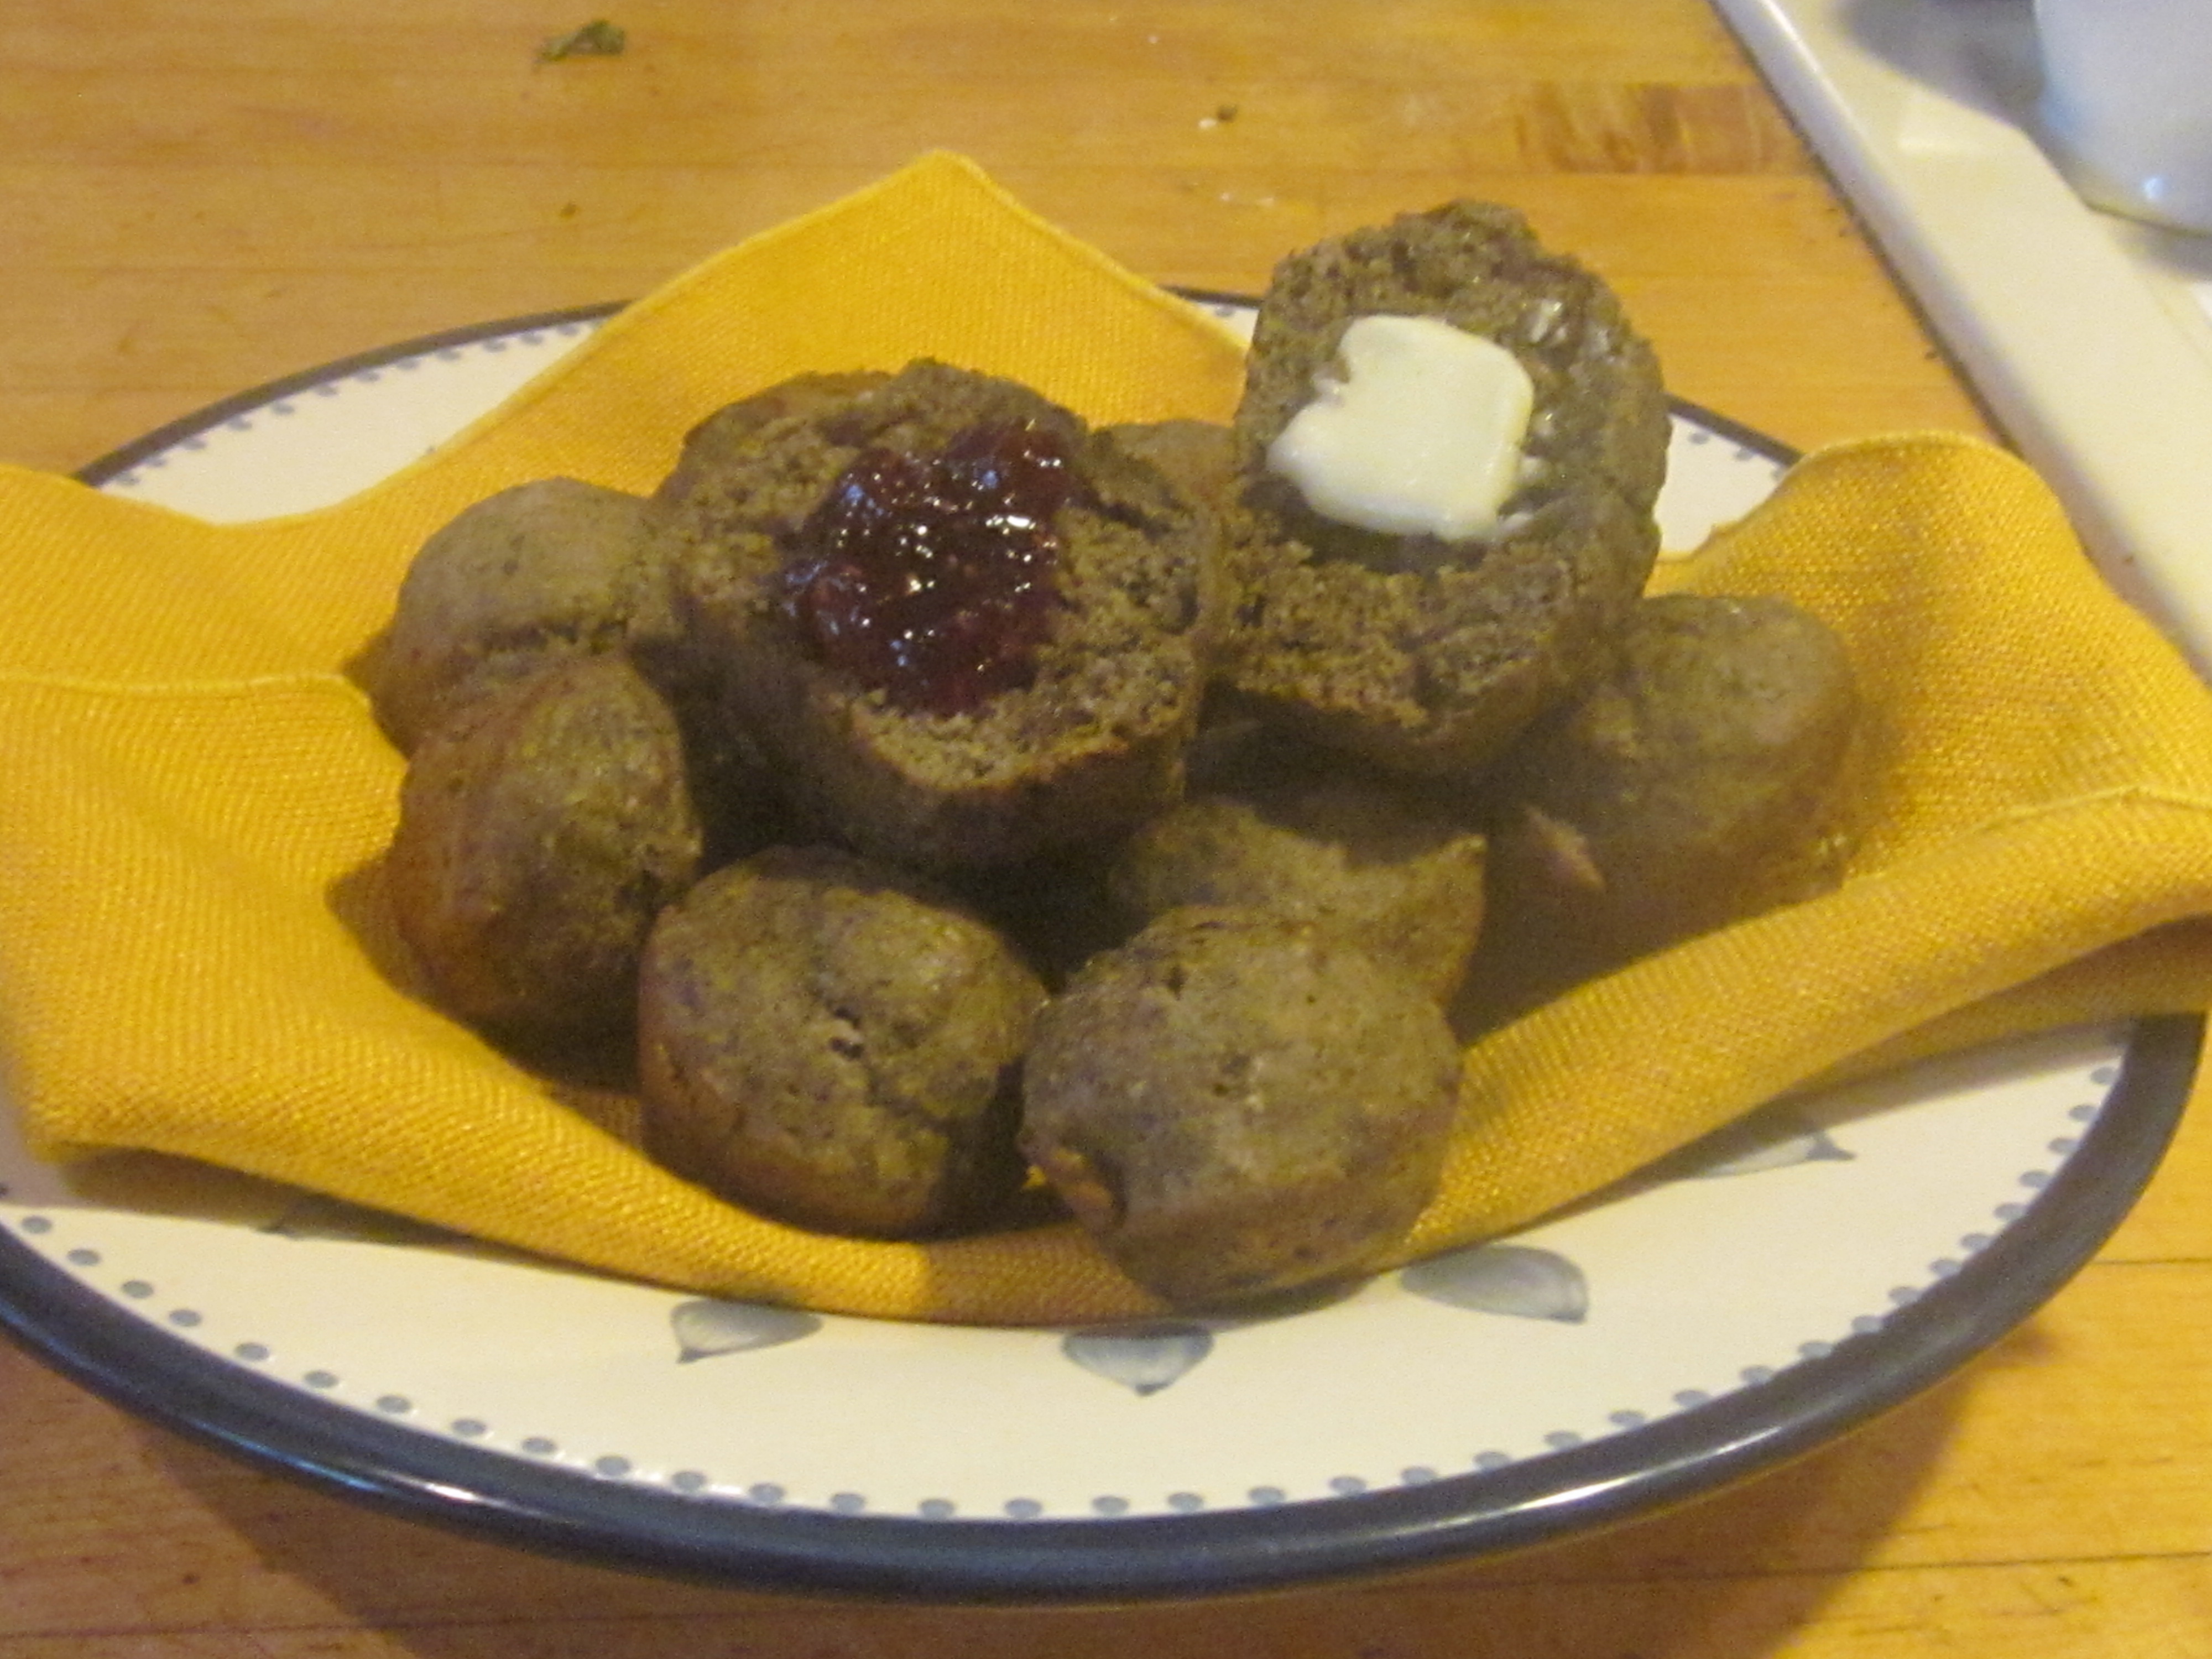
At this point I wrote Dr. Felger my scientific assessment: Sweet — but definitely not yummy. I pressed on and made some tasty muffins. Since there is interest in natural sweeteners, I concentrated on that aspect. Using a standard muffin recipe, I substituted the palm syrup for the liquid milk and reduced the sugar. I added the dried flakes just because I had them and to add some texture.

Muffins with palm syrup and dried flakes.

Muffins with palm syrup and dried flakes.

Fan Palm Muffins

Makes 1 dozen

1 ¾ cup unbleached white flour

¾ teaspoon salt

2 teaspoons baking powder

2 tablespoons sugar

¼ cup dry powdered milk

¼ cup dried Washingtonia  flakes

2 eggs

¾ cup pulpy Washingtonia syrup

3 tablespoons melted butter

Mix dry ingredients in a bowl. In another bowl, mix eggs, Washingtonia syrup and melted butter. Stir wet ingredients into dry ingredients. Do not overmix; some lumps are OK. Bake in greased muffin tins at 400 degrees F for about 15 minutes or until they appear done.

Washingtonia filifera fruit (about 1/4 inch) on left and W. robusta on the right.

Washingtonia filifera fruit (about 1/4 inch) on left and              W. robusta on the right.

Meanwhile, Dr. Hodel acquired some Washingtonia filifera fruit from a street tree near Indio, Calif., and sent another 10 pounds. Oh boy. They were still tiny, but bigger than the robusta. I put them through a similar process of simmering, blending, straining and reducing. The taste difference was subtle – more date-like than prune-like. Better.

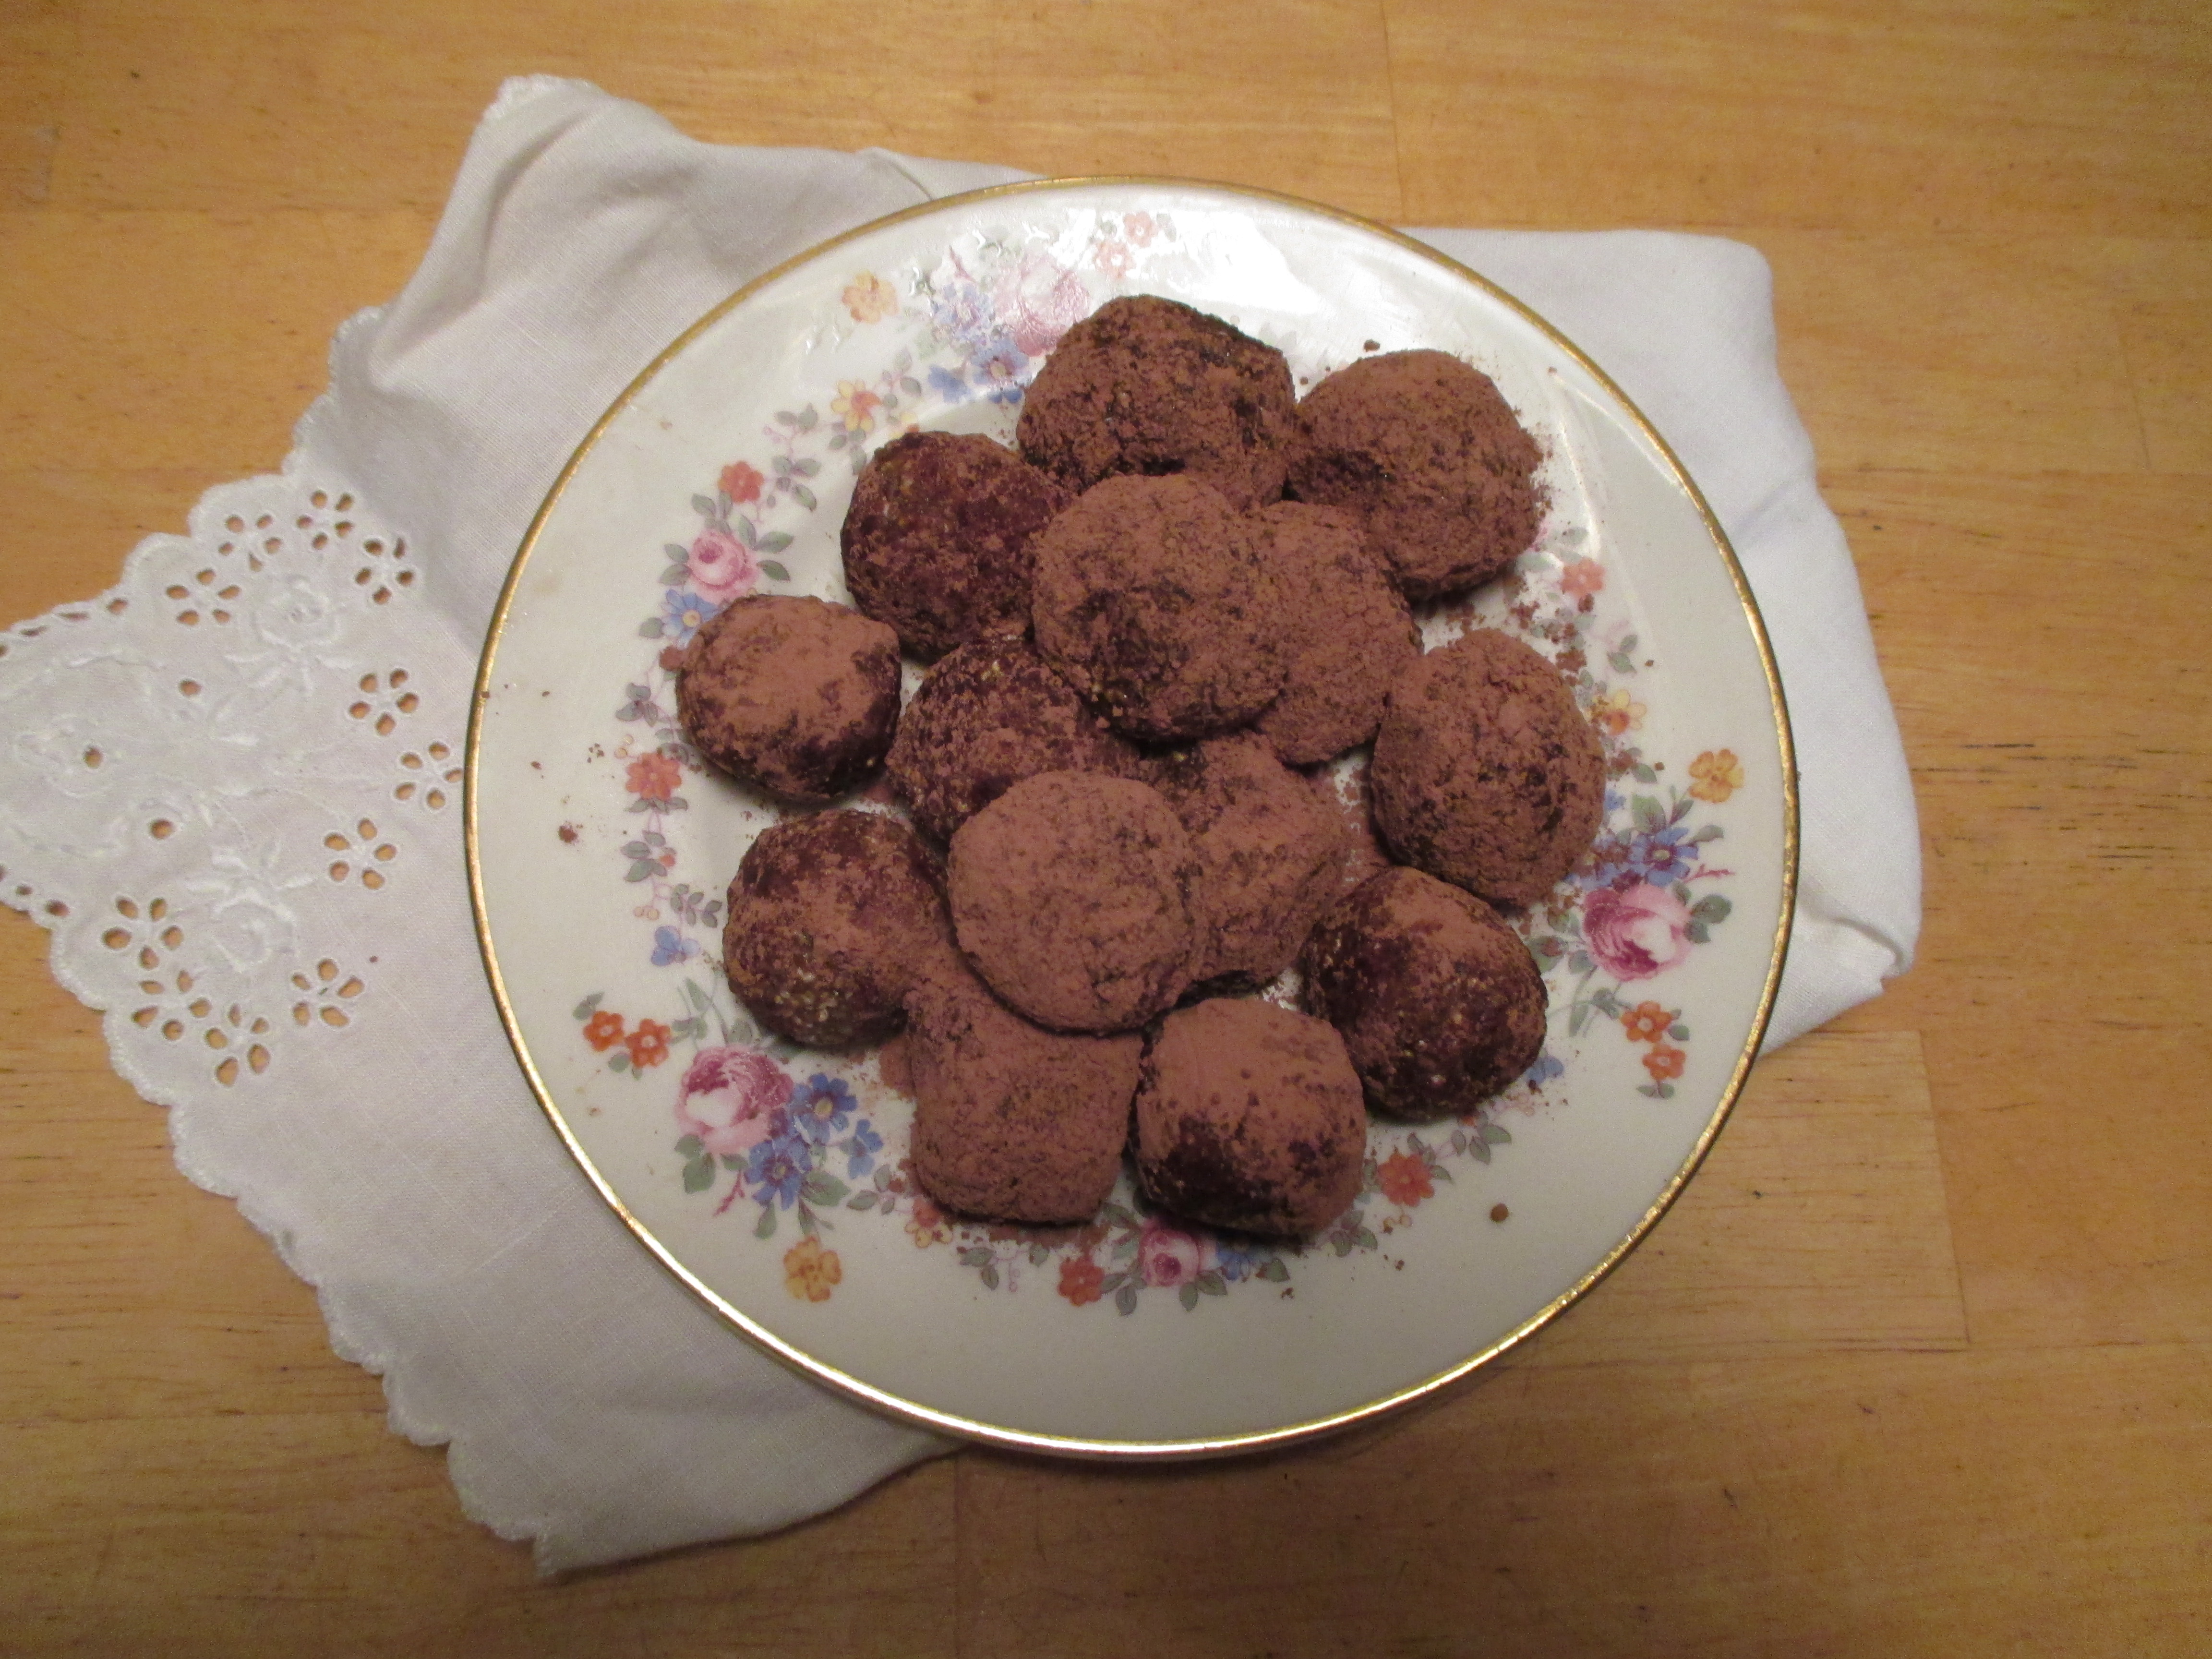
I decided to use the filifera syrup in a healthy treat, showcasing its natural sweetness, and came up with these truffles. I used almond butter, but other nut butters will do.


Nutty truffles sweetened with W. filifera syrup and rolled in cocoa.

Nutty truffles sweetened with palm syrup and rolled in cocoa.

Nutty Truffles

Makes 1 dozen

½ cup almond butter

½  cup popped amaranth grain

¼ cup ground popped amaranth

6 tablespoons Washingtonia filifera palm syrup

1/3 cup cocoa or carob powder

Combine all ingredients except cocoa in a bowl and blend with a spoon. Form into 12 small balls. Roll each in cocoa. (You can buy popped amanranth at Native Seeds SEARCH)

 ♥  ♦  ♥  ♦

What’s the point of trying to find a way to use the fan palm fruits? With climate change bringing hotter, drier summers to the Southwest, ethnobotanists like Dr. Felger and Dr. Hodel are looking for plants that can take those conditions and still produce food.

I don’t expect a rush of  people heading out to gather bushel baskets of fan palm fruits. They’ll appeal to the more ardent wild food enthusiasts who, like me, want to taste every berry on every bush.  But  they may have uses in more industrialized food production. They are sweet and easy to harvest and process. Some entrepreneur may see opportunity there. After all, nobody I know makes their own agave syrup.

(Check out Dr. Richard Felger ‘s article at  “Arizona Native Food Plants for a Dry Future” in The Plant Press: The Arizona Native Plant Society vol. 37, no. 2: 1, 3-5.)


Celebrate the Solstice-tide with Heirloom Bean Treasures

Our ancestors did it—and we still do it today in many ritual ways—we await and call out to the returning light. Indeed in these holy-days of Solstice, Hanukkah, Shálako, Christ-mass, the Yule, we still hope and pray that the light will return to our hearts and our communities throughout our small planet!

Four Corners Gold beans in a Tarahumara madrone scoop

Four Corners Gold beans in a Tarahumara madrone scoop

Tia Marta here to share some ideas of foods that have assisted in traditional winter rites, and which can grace our  tables anew for these holy-days.

To me, sprouts, more than anything else, symbolize the return of longer light, the rebirth of life–on so many levels. Out of the darkness and dormancy a sprout brings new life, vitality, a tiny, fragile but hopeful future. Nutritionally, a sprout is a wave of exuberant phytonutrients surging with life-giving properties for itself–and for those who might consume it.

Four Corners Gold bean sprouts on the 2nd day just emerging from seed coat

Four Corners Gold bean sprouts on the 2nd day just emerging from seed coat

Ancient cultures of the Southwest have used sprouts in ceremony since time-immemorial, helping communities through rough times of transition, phases of seasons, new homes and life changes. My special favorite for sprouting is the beautiful Four Corners Gold bean, a bright mottled golden-yellow Jacob’s cattle bean, a genetic gift from Native Zuni farmers over the centuries. I sprout the beans by first soaking a ½ cup of dry beans overnight in a cup or bowl, then rinsing and draining them at least 2-3 times daily over a 3-5-day period. Watch life virtually explode out of those little packages of potential! I use the sprouts as a respected garnish or as a flavorful addition to salads or stir-fry. It is like a form of communion to eat sprouts–ingesting renewal.

Four Corners Gold beans up close--check out the difference with Yellow-eye--very different tastes--both wonderful

Four Corners Gold beans up close–check out the difference with Yellow-eye–very different tastes–both wonderful

These colorful dry Zuni beans cooked from scratch also make a hearty and nutritious soup or chile-bean dish for chilly wintry nights. On sunny winter days I like to cook the dry beans (pre-soaked the night before) in the solar oven and have them “at the ready” later in the frig. A pot of beans on the back burner during the holiday season can help make a party happen. Cooked beans are a wonderfully patient food you can have waiting to leap into culinary action when company pops in unexpectedly, or if teenage appetites require between-meal satisfaction.

Heirloom Scarlet Runner Beans washed and ready to soak for cooking

Heirloom Scarlet Runner Beans washed and ready to soak for cooking

Here’s a hearty Tia Marta recipe for enlivening a holiday season buffet:

BARBECUED Heirloom SCARLET RUNNER BEAN Dippers
These make the perfect vegetarian hors d’oeuvres to serve at a holiday buffet or to have ready to heat for drop-in company!

Start them the day before you want to serve them by soaking 1 cup of dry Scarlet Runner Beans.
Soak beans in plenty of water (3-4 cups) for at least 12-24 hours until fully plump and twice their original size.
Drain beans, and add 3-4 cups drinking water.
Simmer on low (stovetop or crockpot) for 3-4 hours until done through and pass the taste test, beyond al dente. The beans should keep their shape and integrity. This will produce extra beans to freeze for other recipes or for doubling the recipe. You will need about 8-10 oz or 1 generous cup of cooked beans for this barbeque recipe.

BBQed Scarlet Runner beans glazed and delicious after simmering in sauce

BBQed Scarlet Runner beans glazed and delicious after simmering in sauce

Ingredients:
1 large or 2 medium onions, diced                                                                                                                                                                                                                                                      1 Tbsp. olive oil                                                                                                                                                                                                                                                                                  3-4 Tbsp. butter                                                                                                                                                                                                                                                                                    1 tsp. sea salt
4 Tbsp. molasses
1-2 Tbsp. prepared mustard
1/2 cup mild chile salsa
1 Tbsp. cider vinegar
1-2 tsp. Worcestershire sauce
Dashes of Tabasco or Red Devil hot sauce to taste

To make the Barbeque sauce:
Saute onion in butter until clarified. Add all seasoning ingredients to sauteed onions, stir and simmer for 5 to 10 minutes or more.
Add in cooked, drained beans–8-10 oz cooked Heirloom Scarlet Runner beans (about 1 generous cup).  Simmer smothered beans and sauce 10 minutes or longer (the longer the better).  Making the BBQ scarlet runners ahead, you can refrigerate them at this point.  Heat before serving.
Serve smothered beans on a hot platter or in a chaffing dish with a fancy toothpick in each bean for a wonderful party surprise that is more satisfying than meat-balls.  Serves a gang of hungry party-ers.

(By doubling this sauce recipe you can use all your cooked beans in it.) Bon appetit! And happy holidays to you and your guests!

Barbequed Scarlet Runner beans as hors d'oeuvres--each one is a perfect tasty bite!

Barbequed Scarlet Runner beans as hors d’oeuvres–each one is a perfect tasty bite!

At New Year’s, our family tradition, with one branch hailing from the South, has always been Black-eye Peas. It is a joy to know that there are Native People here in Baja Arizona who adopted black-eye peas into their own traditional cuisine when European padres first brought them from the Old World. Locally-grown black-eye peas (u-us muñ) may still be available from a Pima farm at http://www.ramonafarms.com and sold through the Native Seeds/SEARCH store.

Heiloom Yellow-eye Bean--a delectable alternative to black-eye peas for New Years or great as baked beans anytime!

Heiloom Yellow-eye Bean–a delectable alternative to black-eye peas for New Years or great as baked beans anytime!

For those who want to break away one step from tradition, it is fun to try a delicious alternative New Year’s bean—the yellow-eye. Natives of New England introduced it to Colonists and it became the real Boston Baked Bean long before newer varieties like navy beans or great northerns ever came on the scene. Yellow-eye has a flavor like no other bean and is worth trying in different dishes. I especially like yellow-eyes spiced with freshly ground pipian rojo móle from our own local Mano y Metate (www.manoymetate.com).

We think of cranberries as a holiday fruit but have you tried cranberry beans for warming winter dish? There are many Italian recipes for cranberry bean. My stick-to-the-ribs favorite, which delectably uses winter’s plethora of fresh greens, is cranberry beans-and-greens. Tucson’s Mission Garden is producing bundles of the best acelgas greens ever—available at Thursday’s Santa Cruz farmers market at Mercado San Augustine. I invite you to scroll back to last December 2013’s savorthesouthwest.wordpress blog for more great holiday bean recipes.

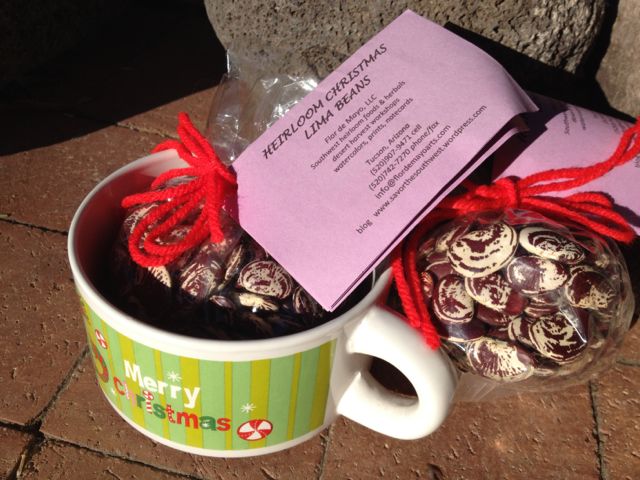
Heirloom Christmas Limas can lend themselves to our BBQ bean recipe as well

Heirloom Christmas Limas can lend themselves to our BBQ bean recipe as well

Until I was introduced by Dr Barney Burns (co-founder of Native Seeds/SEARCH) to the diversity of Southwestern heirloom beans, I was a beans-out-of-the-can cook. Indeed even now, with growing awareness of heirloom foods, there are many folks whom Rod and I meet at our farmers market booth who are daunted by the idea of cooking beans from scratch. Yes, dry beans do take time—but with simple low-tech tools like the crockpot or solar oven, multitasking is a breeze. Nothing could be simpler! Cooking one’s own beans opens up a whole new array of flavor possibilities. It’s a color and flavor rainbow of Native American, Hispanic, and pioneer traditional beans which we now have available (largely through the exploratory Southwest seed-saving by Native Seeds/SEARCH over the last 30+ years). All beans are not created equal. Each heirloom has its own unique flavor and bouquet well worth tasting, and its own adaptations to the Baja Arizona desert well worth planting in your garden. Scarlet runner, for example, is long season. Plant it under a mesquite and watch it vine up into the branches, blooming with red flowers for the hummingbirds—the best in edible landscaping! Harvest the giant pods in the fall for next year’s holiday feast.

For limited budgets, buying and cooking dry beans also saves money—big-time. One pound of dry beans when cooked will yield the equivalent of 4 to 6 cans of heat-and-serve beans. Nor will you find our rich SW variety of heirloom beans on any grocery shelf. The Native Seeds/SEARCH store at 3061 N.Campbell Ave, Tucson and the NSS website (www.nativeseeds.org), or the Flor de Mayo booth at Sunday’s St Phillips farmers market (www.flordemayoarts.com) are the very best places to experience that AH-HAH moment when you see 18-20 beautiful heirloom varieties spread out before your very eyes.  I look forward to your visit to our market booth!

Christmas limas with recipe ideas--a yummy stocking stuffer

Christmas limas with recipe ideas–a yummy stocking stuffer–at Flor de Mayo Sunday St Phillips market booth

When one thinks of the cultures, the farmers, the planting and harvesting knowledge, the years of patient selection that all this bean diversity represents, it can boggle the mind and can truly humble the best of cooks and gardeners.

Tia Marta and Rod of Flor de Mayo are sending our thanks to those traditional farmers and to the many young  innovative organic food growers.  May the light be born again in us as we share honorable heirloom foods graciously with our family and friends this Solstice-tide!

Mesquite Gingerfolk for Christmas

Mesquite Gingerfolk are tasty treats for the holidays.

Mesquite Gingerfolk are tasty treats for the holidays.

It’s Carolyn today sharing one of my favorite holiday recipes. The flavor of mesquite meal blends nicely with the warm spices we like in the winter.  These Mesquite Ginger Folk are pretty cute and they taste wonderful.  I used good quality margarine rather than butter or Crisco because I like the eventual texture and the flavor is good. This recipe makes a spicy cookie. If you want more of the mesquite flavor to come through, cut down on the spices. The dough must be well chilled before you roll it out, so this is a two-step recipe: mixing first, then later rolling and baking.

Mesquite Ginger Folk (makes about 3 1/2 dozen rolled cookies)

In a medium bowl, combine 2 cups all-purpose flour, 1/2 cup whole-wheat flour,  1/2 cup mesquite meal, 1 1/2 teaspoons ground cinnamon, 2 teaspoons ground ginger, 1 teaspoon allspice, 1/2 teaspoon salt, 1/4 teaspoon ground black pepper.  Stir and fluff with a fork and then set aside.

In a large bowl, use an electric mixer to beat 1 1/2 sticks margarine  with 1/2 cup packed brown sugar until fluffy. Beat in 2/3 cup molasses and one large egg. Then gradually add the flour mixture to make a stiff dough. You may need to give up the mixer for a wooden spoon.  Divide the dough into two thick disks and wrap each in plastic wrap.  Refrigerate until chilled, about three hours.

When you are ready to bake, take one disk from the refrigerator .   You’ll want the dough just warm enough to roll without cracking.  While you are waiting, preheat the oven to 350 F. and put out brown paper or wire racks to receive the baked cookies. You’ll also need lots of flour to keep the dough from sticking when rolled.  So get a small bowl of flour, take part of the disk, and roll it in the flour before you roll out with the rolling pin.

Roll a ball of dough in the flour.

Roll a ball of dough in the flour.

Roll out the dough about 1/8-inch thick on flour-dusted surface. Cut out the cookies and transfer them to the cookie sheet, placing them 1 inch apart. Gently knead the scraps together and roll out again.  When you fill one cookie sheet, bake it for about 10 – 12 minutes while you prepare another sheet.

This cutter gives a nice uni-sex cookie.

This cutter gives a nice uni-sex cookie.

If you wish, you can use raisins and dried cranberries to make eyes, a mouth and buttons.  Chop the dried fruit into tiny pieces.

IMG_0413

Sometimes it is difficult to position those tiny pieces on the cookies. But remember those tweezers you keep in the kitchen to deal with cactus stickers?  Perfect for placing the eyes and buttons.

IMG_0408

To further decorate the cookies, perhaps make some shoes or pants, mix up some white frosting using powered sugar, a little butter and a few drops of milk.  If you have a decorator bag, use it to pipe out some decorations or just draw the decorations with a flat-end toothpick.  Either way, you’ll love your Mesquite Ginger Folk and you’ll love sharing them.

If you’d like to make some mesquite cookies but can’t face the cutting and decorating, you can use the same recipe to make drop cookies. Frost if you have time.

Mesquite Ginger Cookies in simple form.

Mesquite Ginger Cookies in simple form.

If you have not harvested your own mesquite meal, here are a few places to purchase it:  The Flor de Mayo Table at Sunday St. Phillips Farmers Market; the Native Seeds/SEARCH store at 3061 N. Campbell Ave. and http://www.nativeseeds.org for mail order; and the San Xavier Farm Store, http://www.sanxavierfarm.org.  If you are in Phoenix, check the farmers markets there.

For more great mesquite recipes, check out my cookbook Cooking the Wild Southwest: Delicious Recipes for Desert Plants. You’ll learn how to make Mesquite Apple Coffeecake, a fabulous rolled cake with mesquite and coconut, a a dozen other delicious recipes.


Versatile Tomatillo Salsa

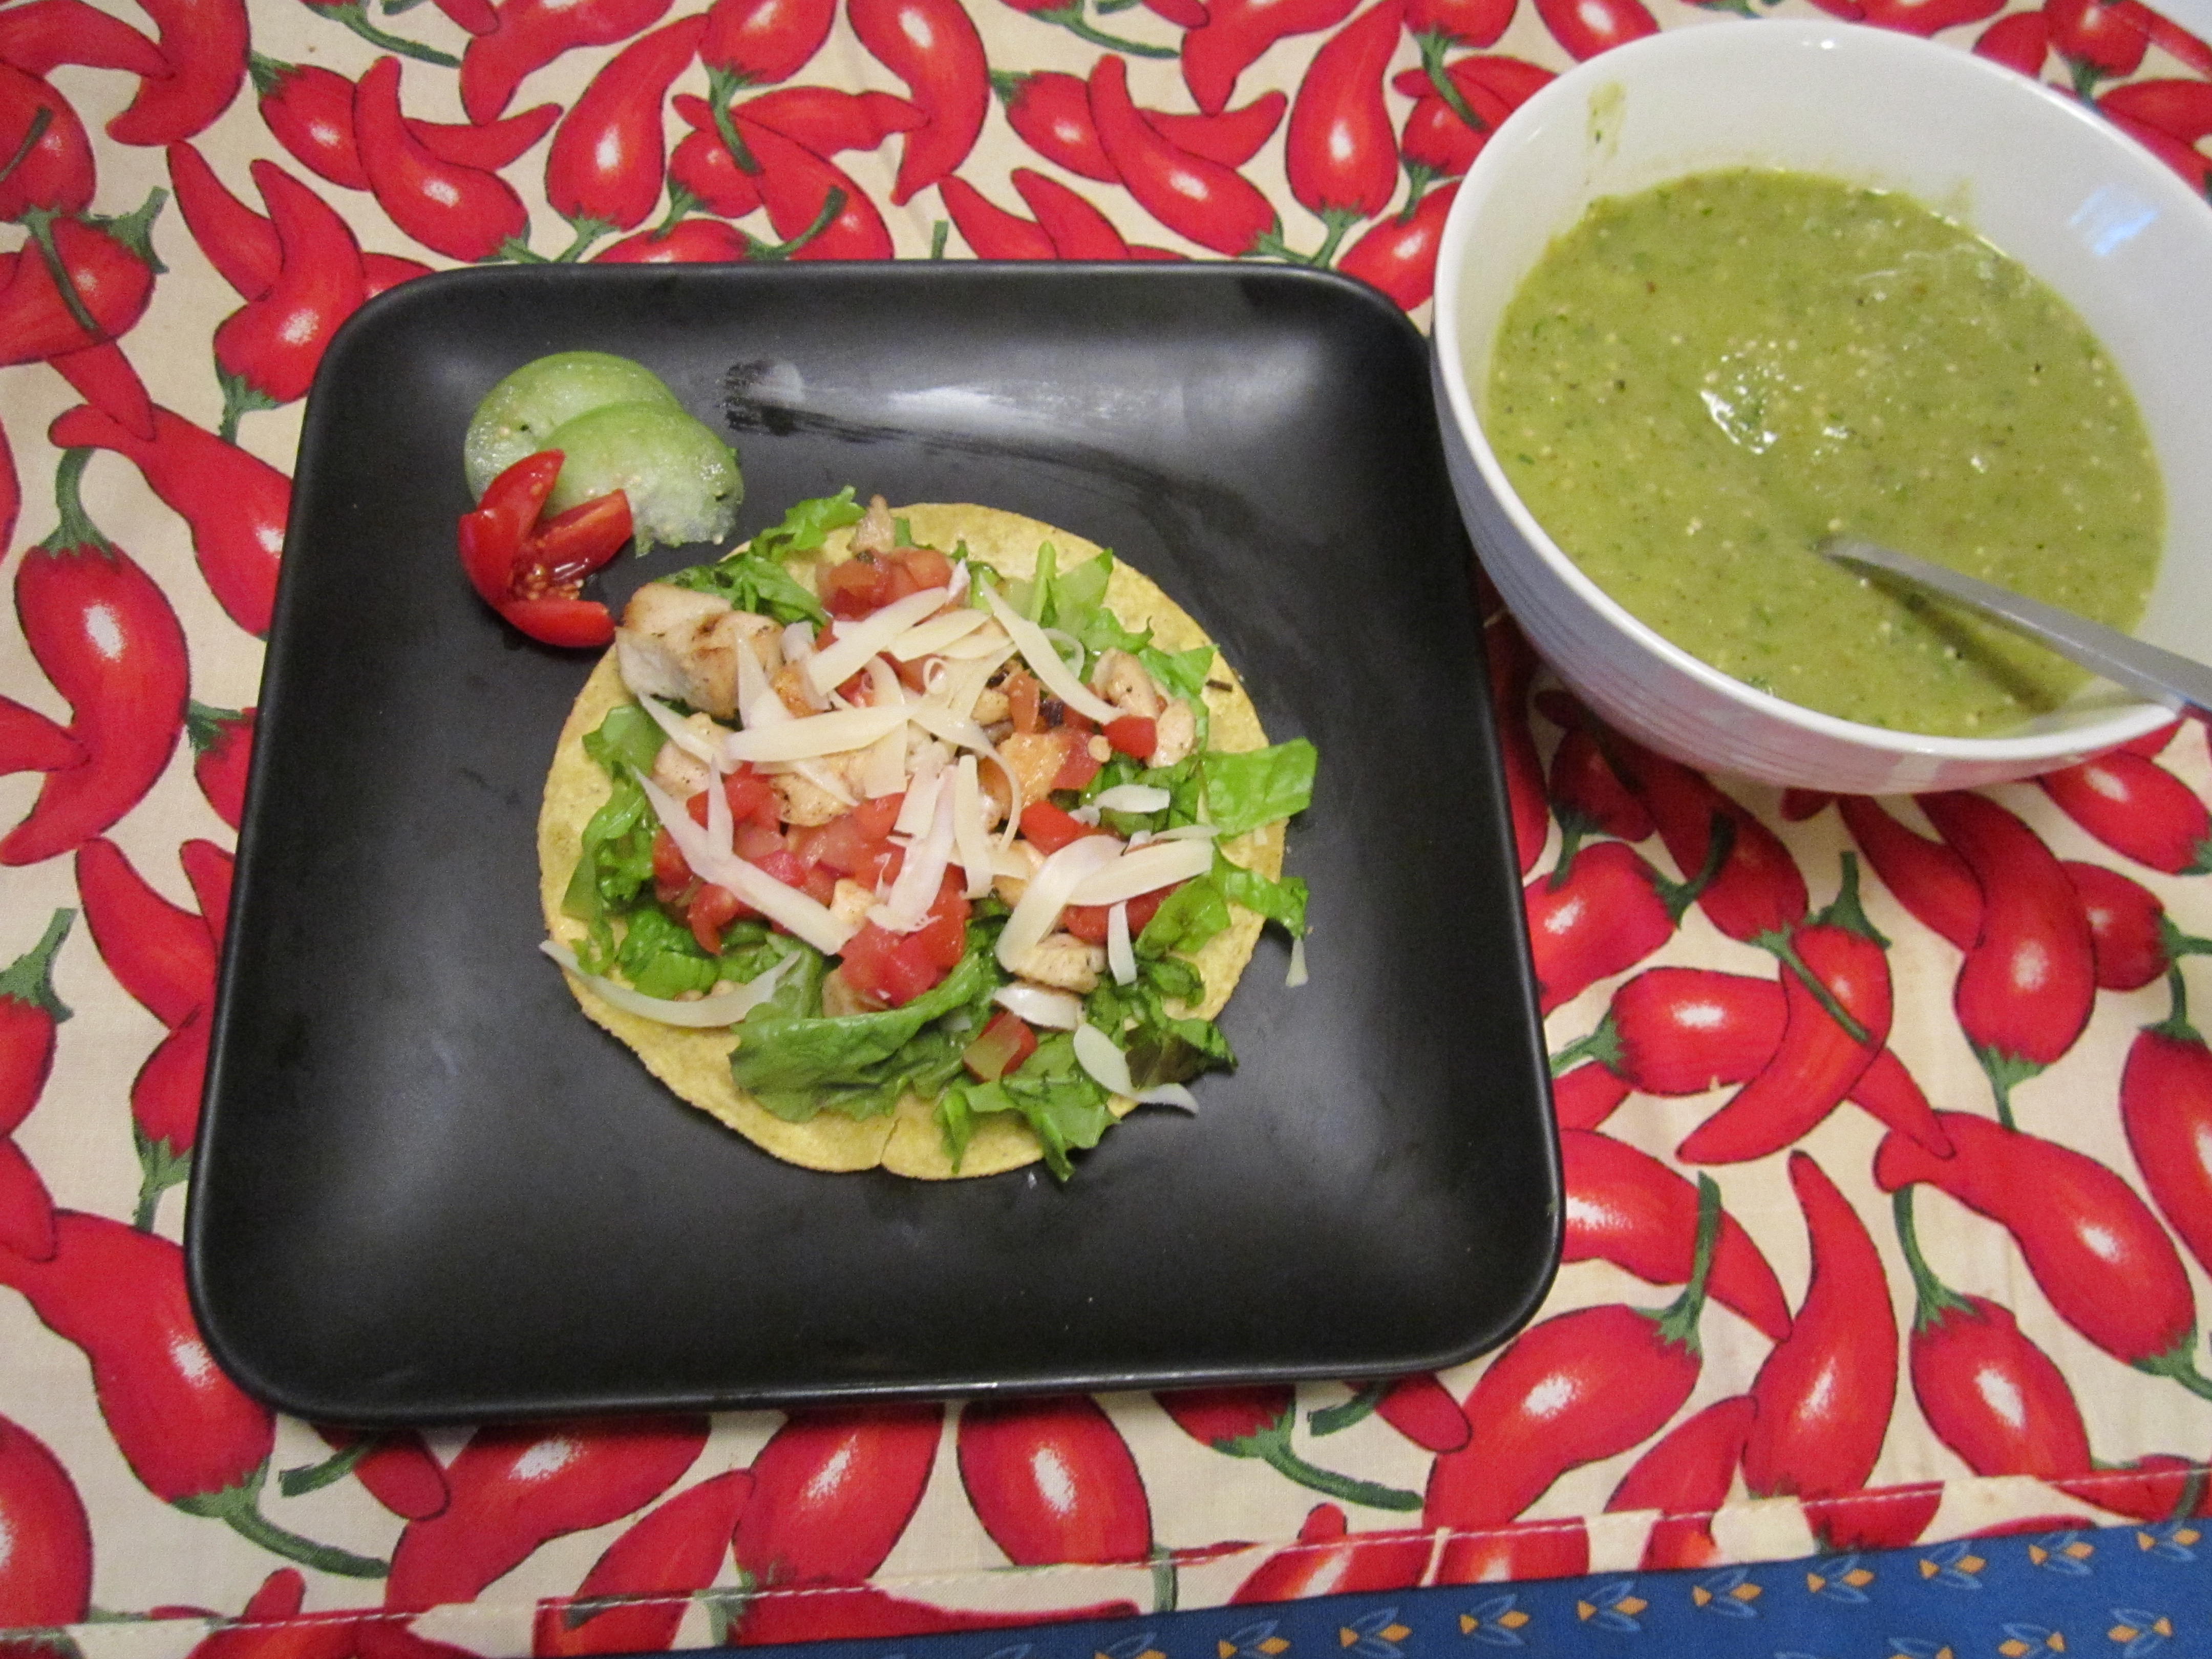
Salsa Verde is the perfect addition to a tostada.

Salsa Verde is the perfect addition to a tostada.

When I was interviewing chefs for my book The New Southwest Cookbook back in 2005, tomatillos were the vegetable du jour — every chef had them on the menu, usually “blackened” or roasted to heighten the flavor.  I gained new respect for how versatile they are.

I planted six tomatillo plants in August and hoped for a plentiful harvest, I even dreamed about making enough green salsa to can or freeze. Alas, my homegrown tomatillos were so tiny they weren’t worth the trouble and I ended up buying tomatillos grown by a farmer who had a better technique.

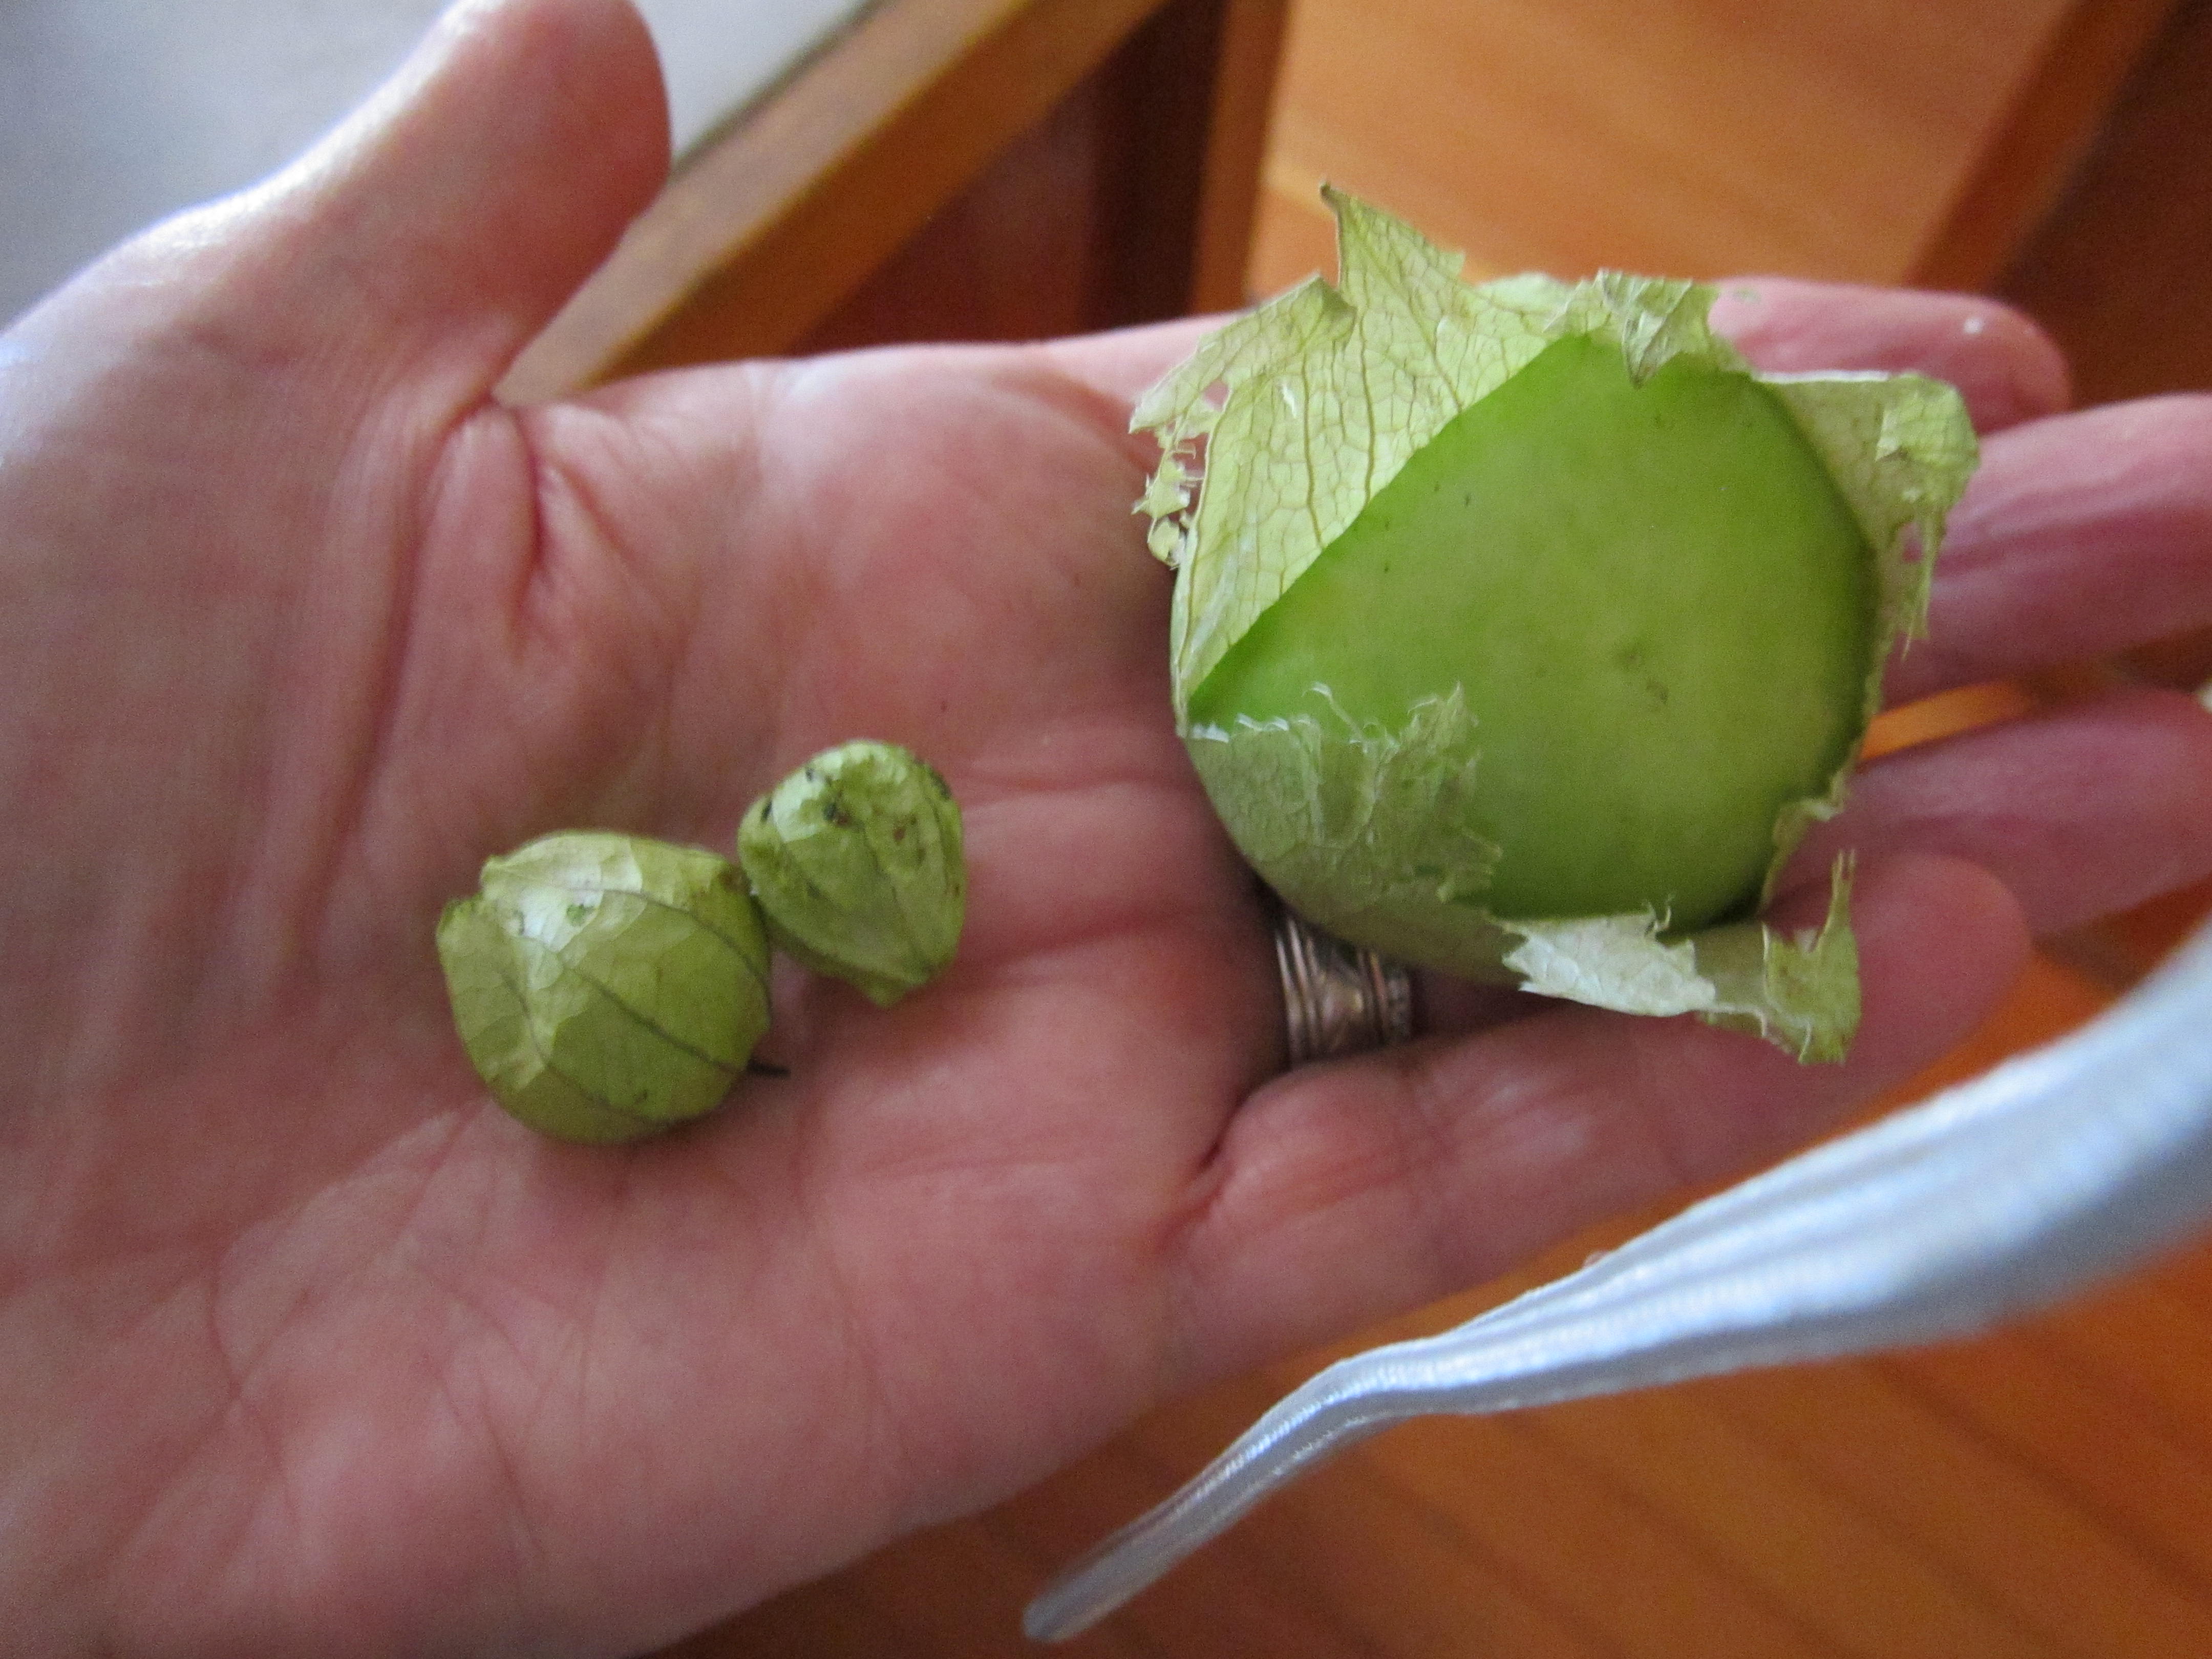
My homegrown tomatillos next to commercial

My homegrown tomatillos next to commercial

In Mexico the tomatillo is called tomate verde, which means “green tomato.” However, tomatillos are not just small, underripe tomatoes, but a distinct vegetable in their own right. Tomatillos are the size of an apricot and covered with a papery husk. They are meatier and less juicy inside than a tomato.  Tomatillos are an essential part of Mexican cuisine and have been since the Aztecs domesticated them. Most tomatillos are harvested slightly underripe when then have a tart, slightly lemony flavor that adds zip to salsas.  As they fully ripen they turn more golden and become sweeter.

Tomatillos are the main ingredient in the classic salsa verde which includes tomatillos, sliced green onions, green chiles of some variety, garlic and cilantro.  Salsa verde can be served raw or very lightly cooked. Of course, you can always put your own spin on salsa verde by using the herbs you have fresh in your garden.

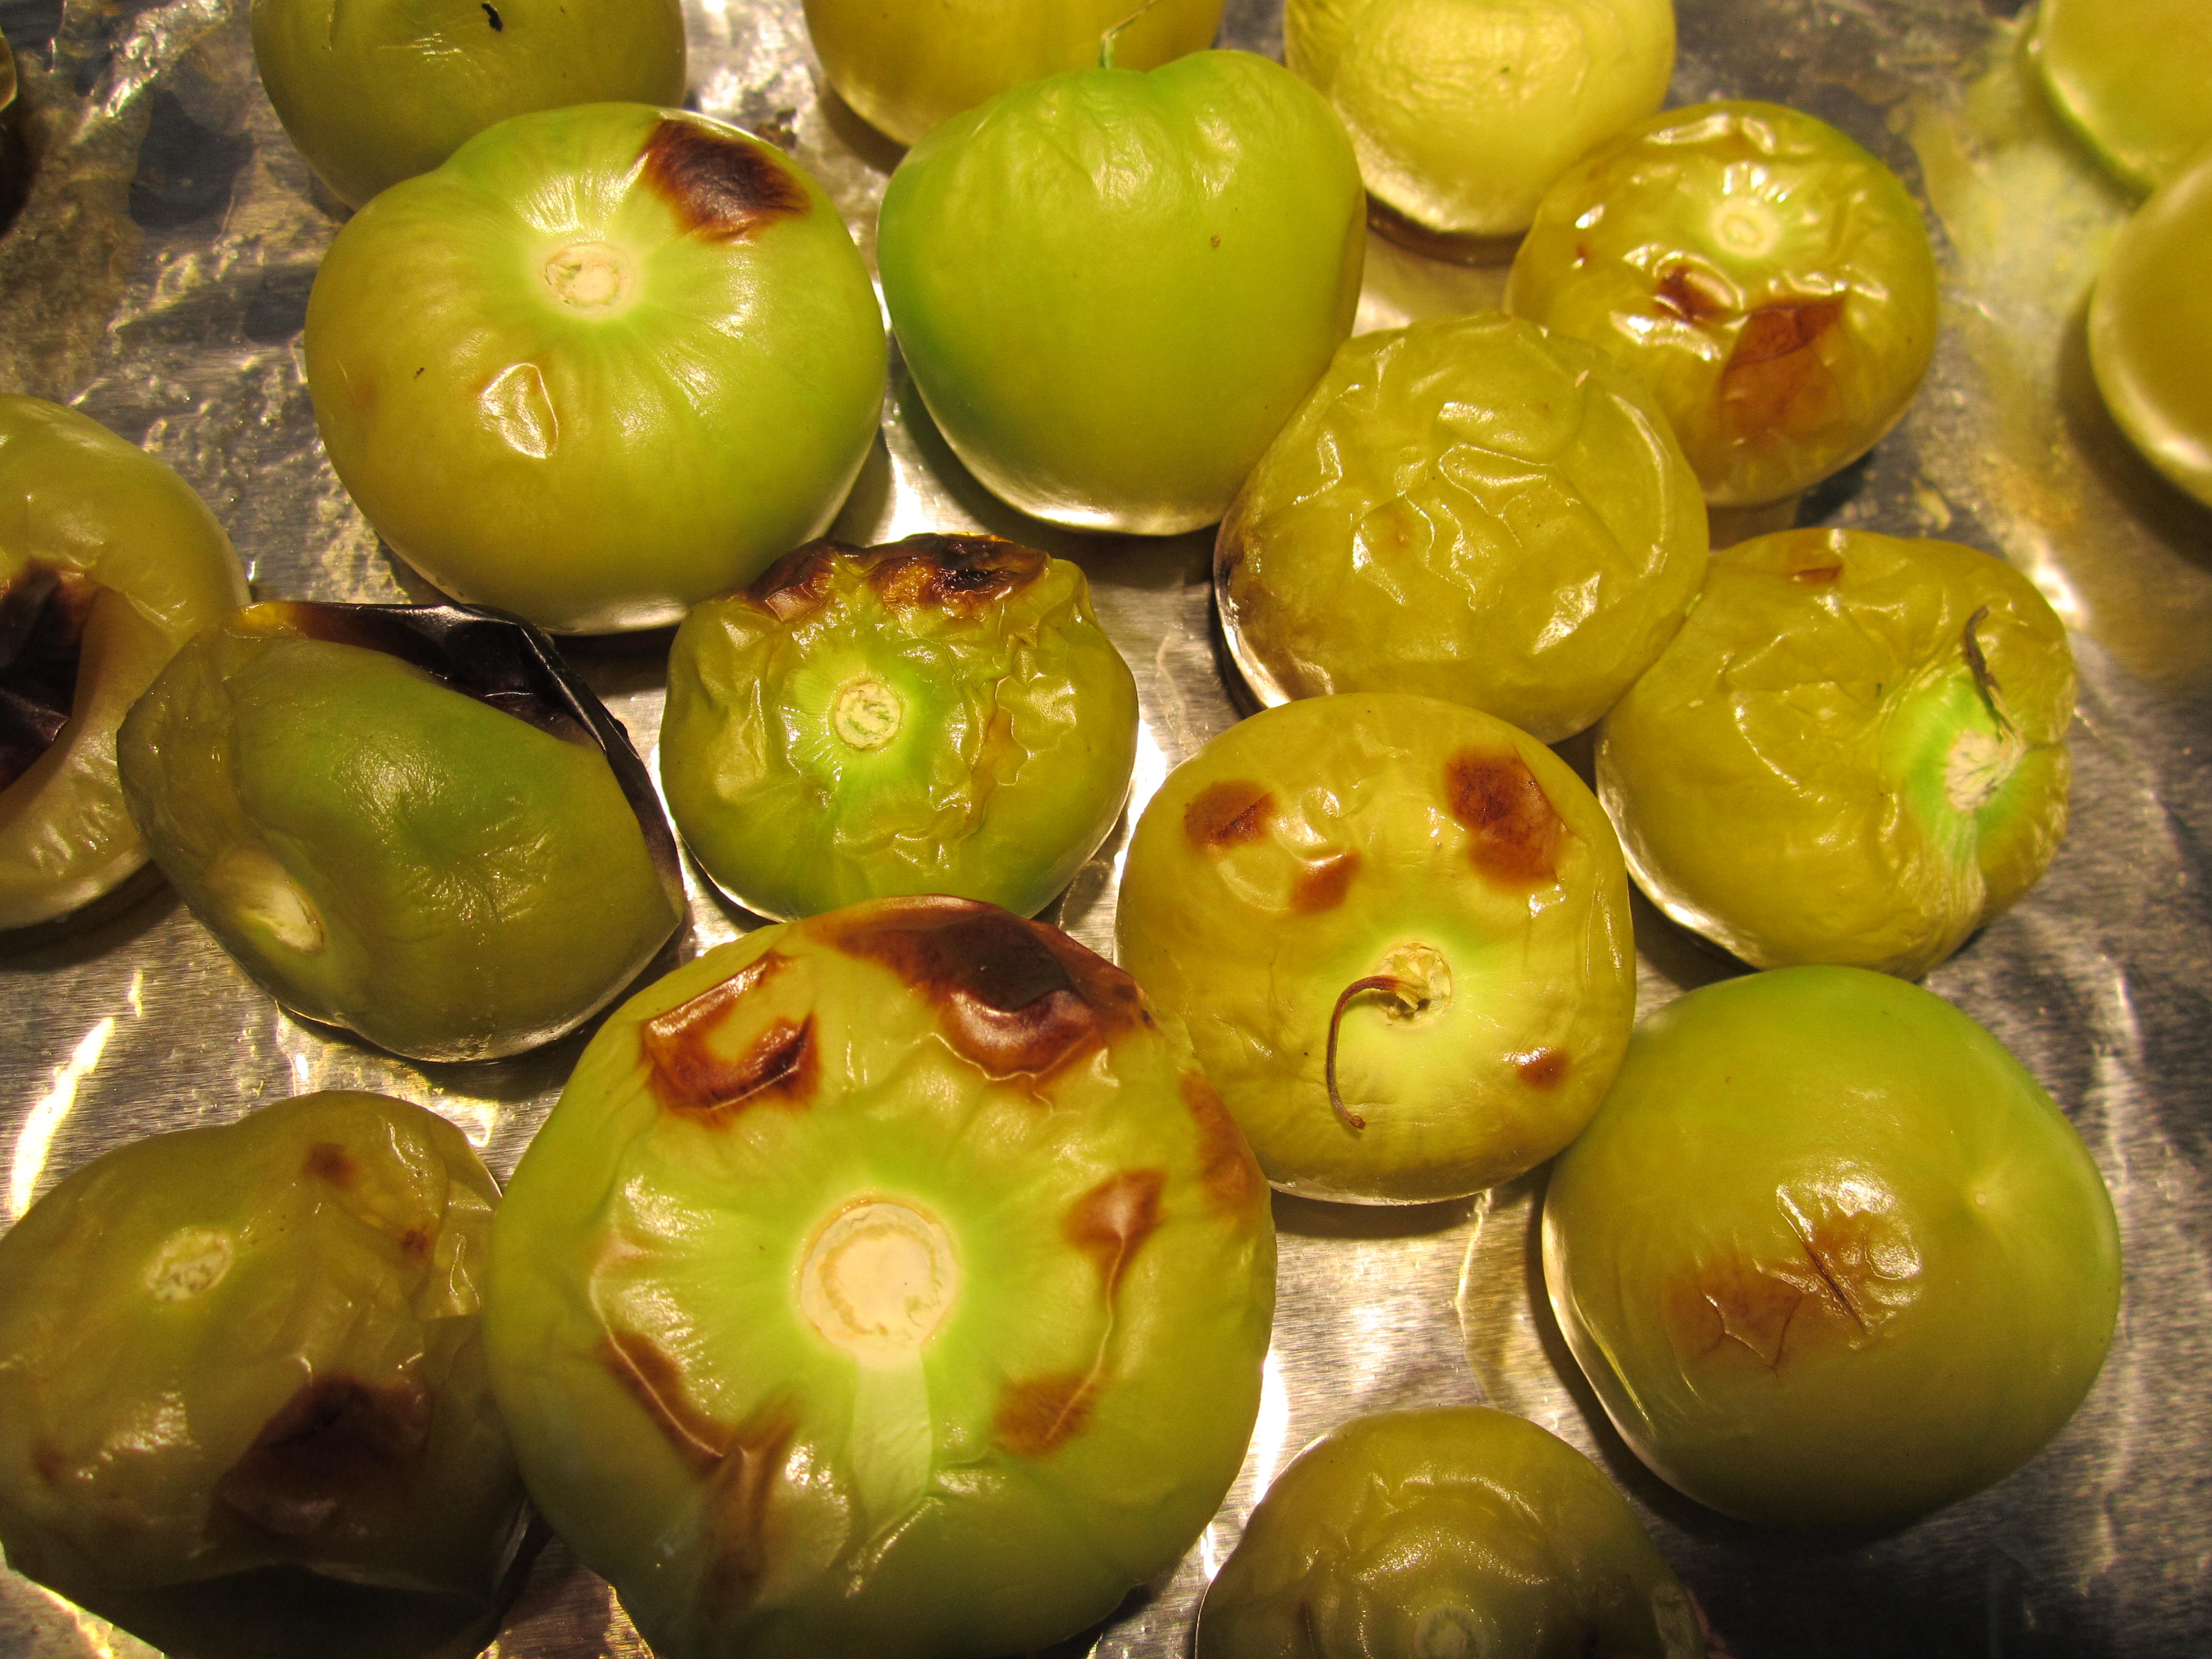
To prepare tomatillos, remove the husk and rinse off the stickly substance on the skin. Rub them with a little oil and then put them under the broiler until they are soft and just slightly brown.

Roast the tomatillos until soft.

Roast the tomatillos until soft.

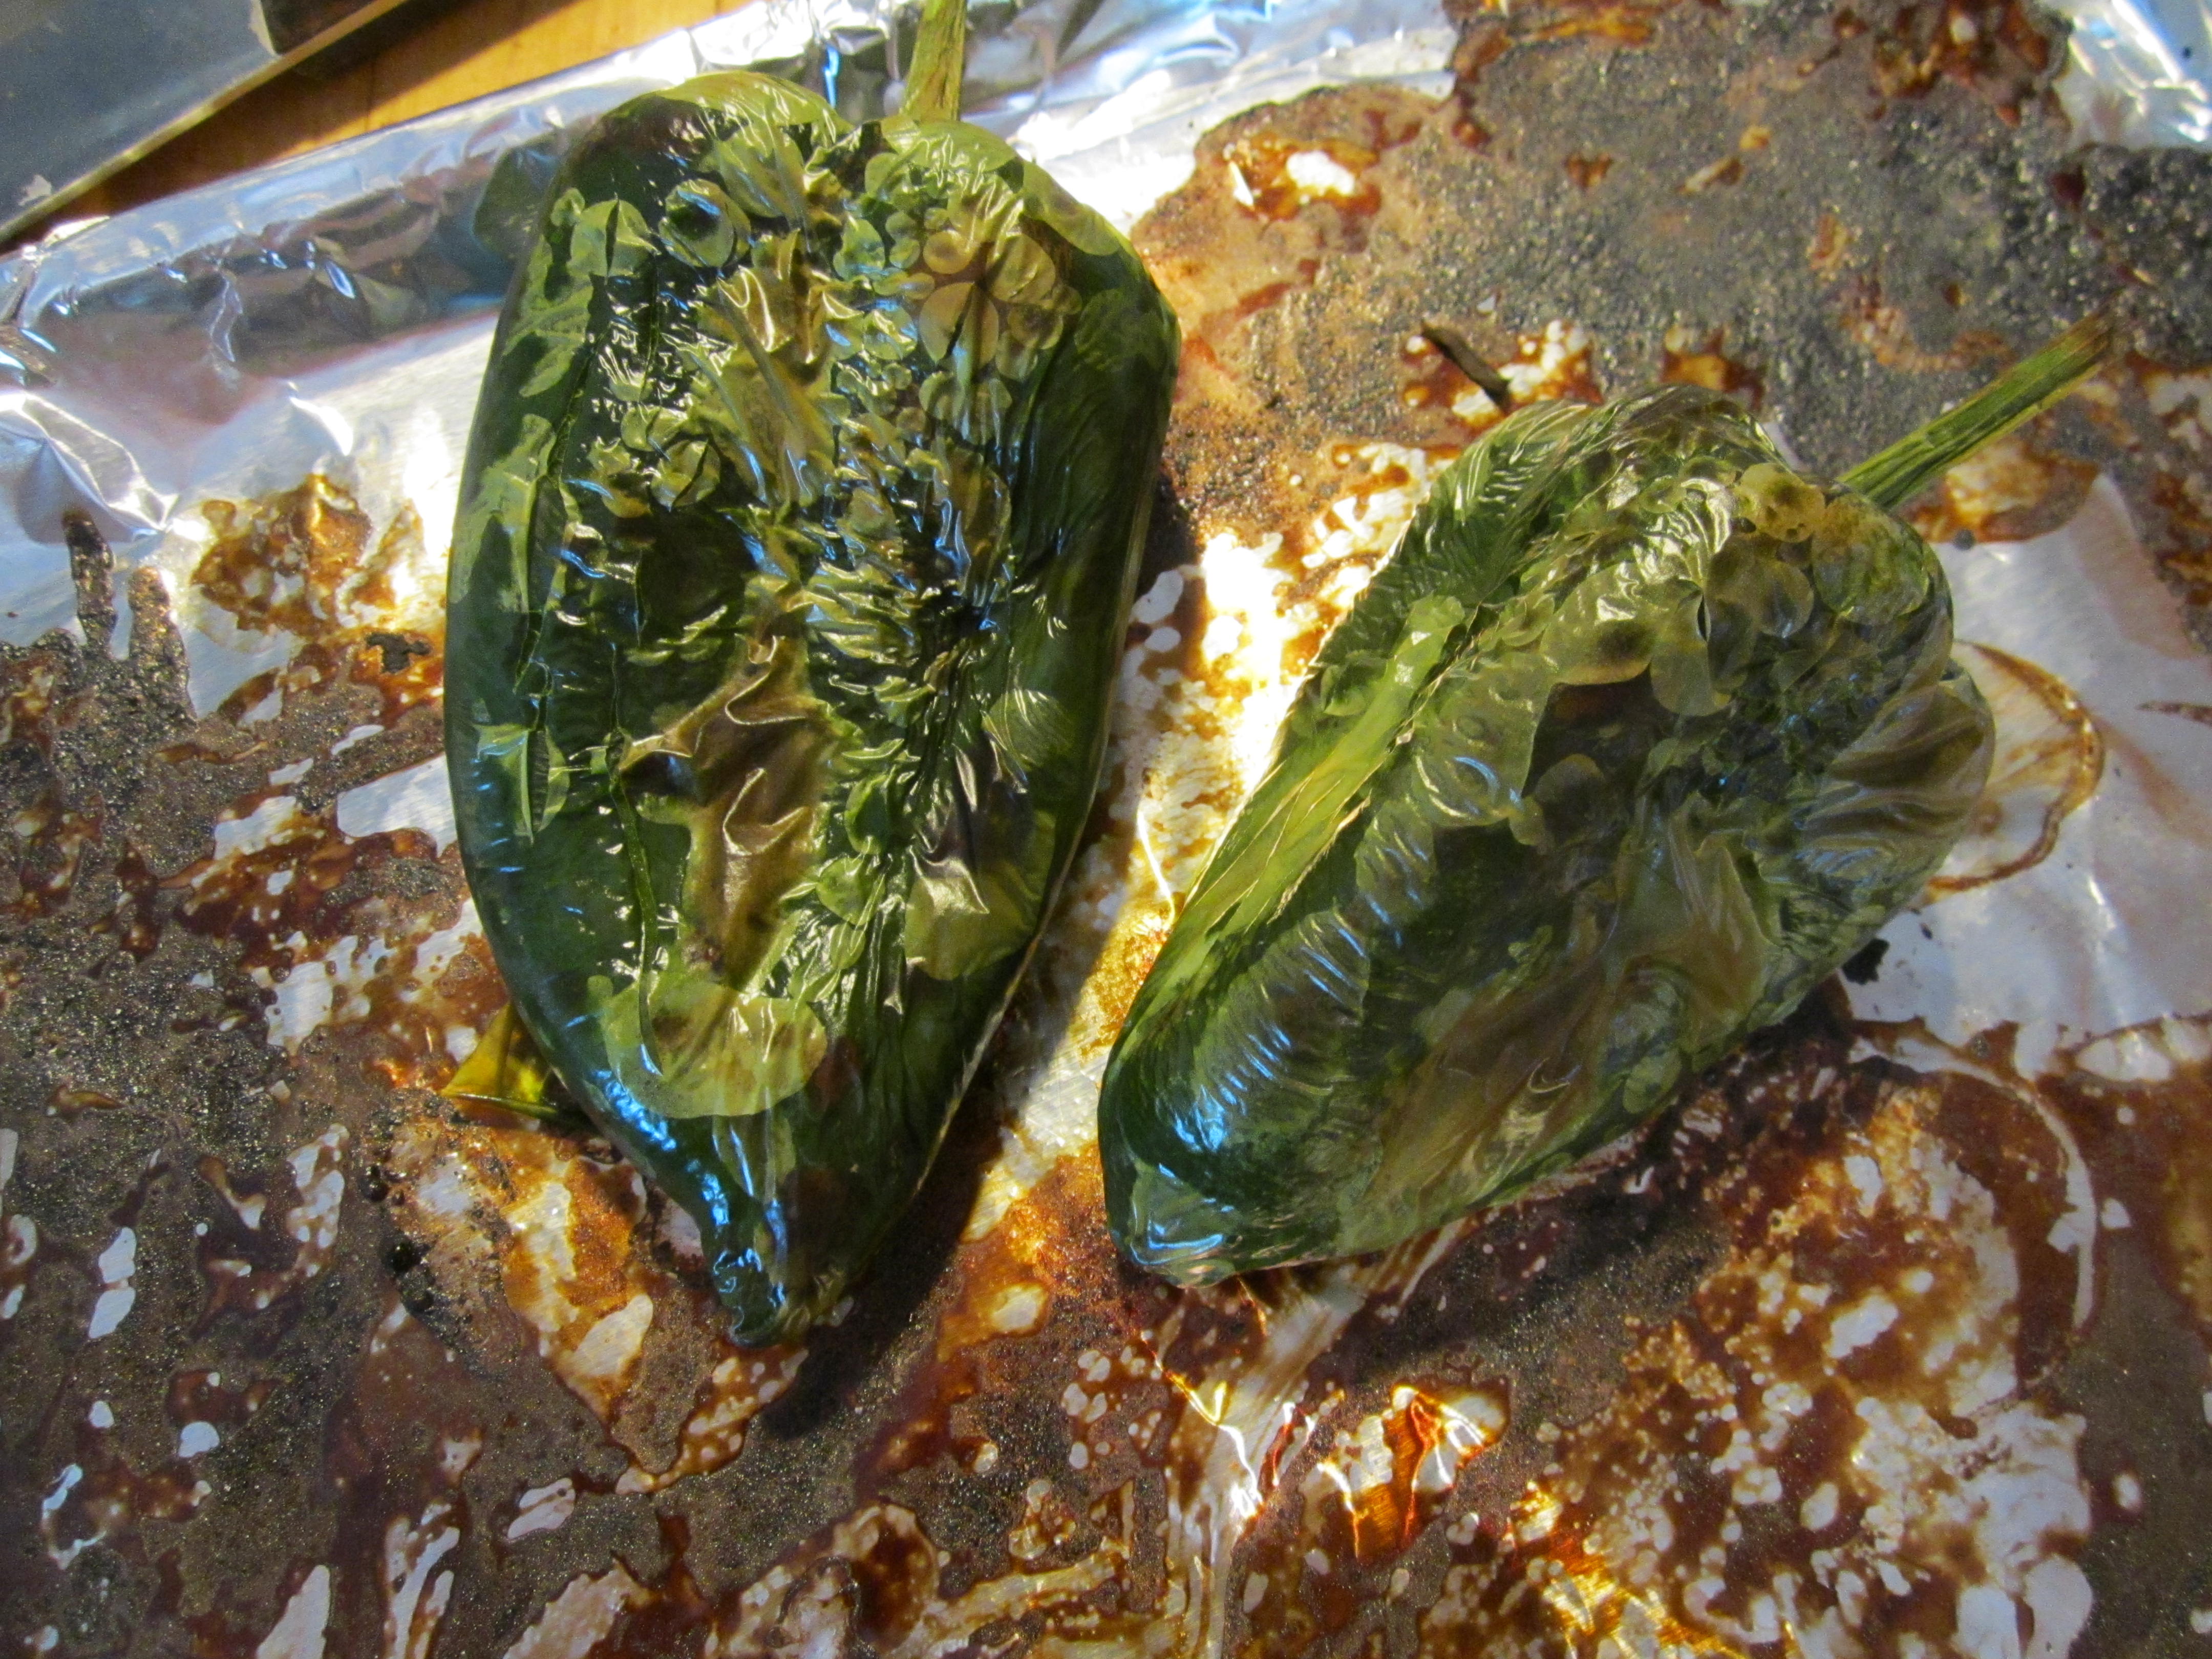
I love the flavor of poblano chiles in anything, so I roasted a couple of those while the tomatillos were cooling.  When their skins were charred on all sides, I put them in a paper bag to sweat for about 10 minutes (OK, 5 minutes, I was impatient).  This makes them easy to peel.  Also take off the stem and the seeds.

Nicely charred poblano chiles.

Nicely charred poblano chiles.

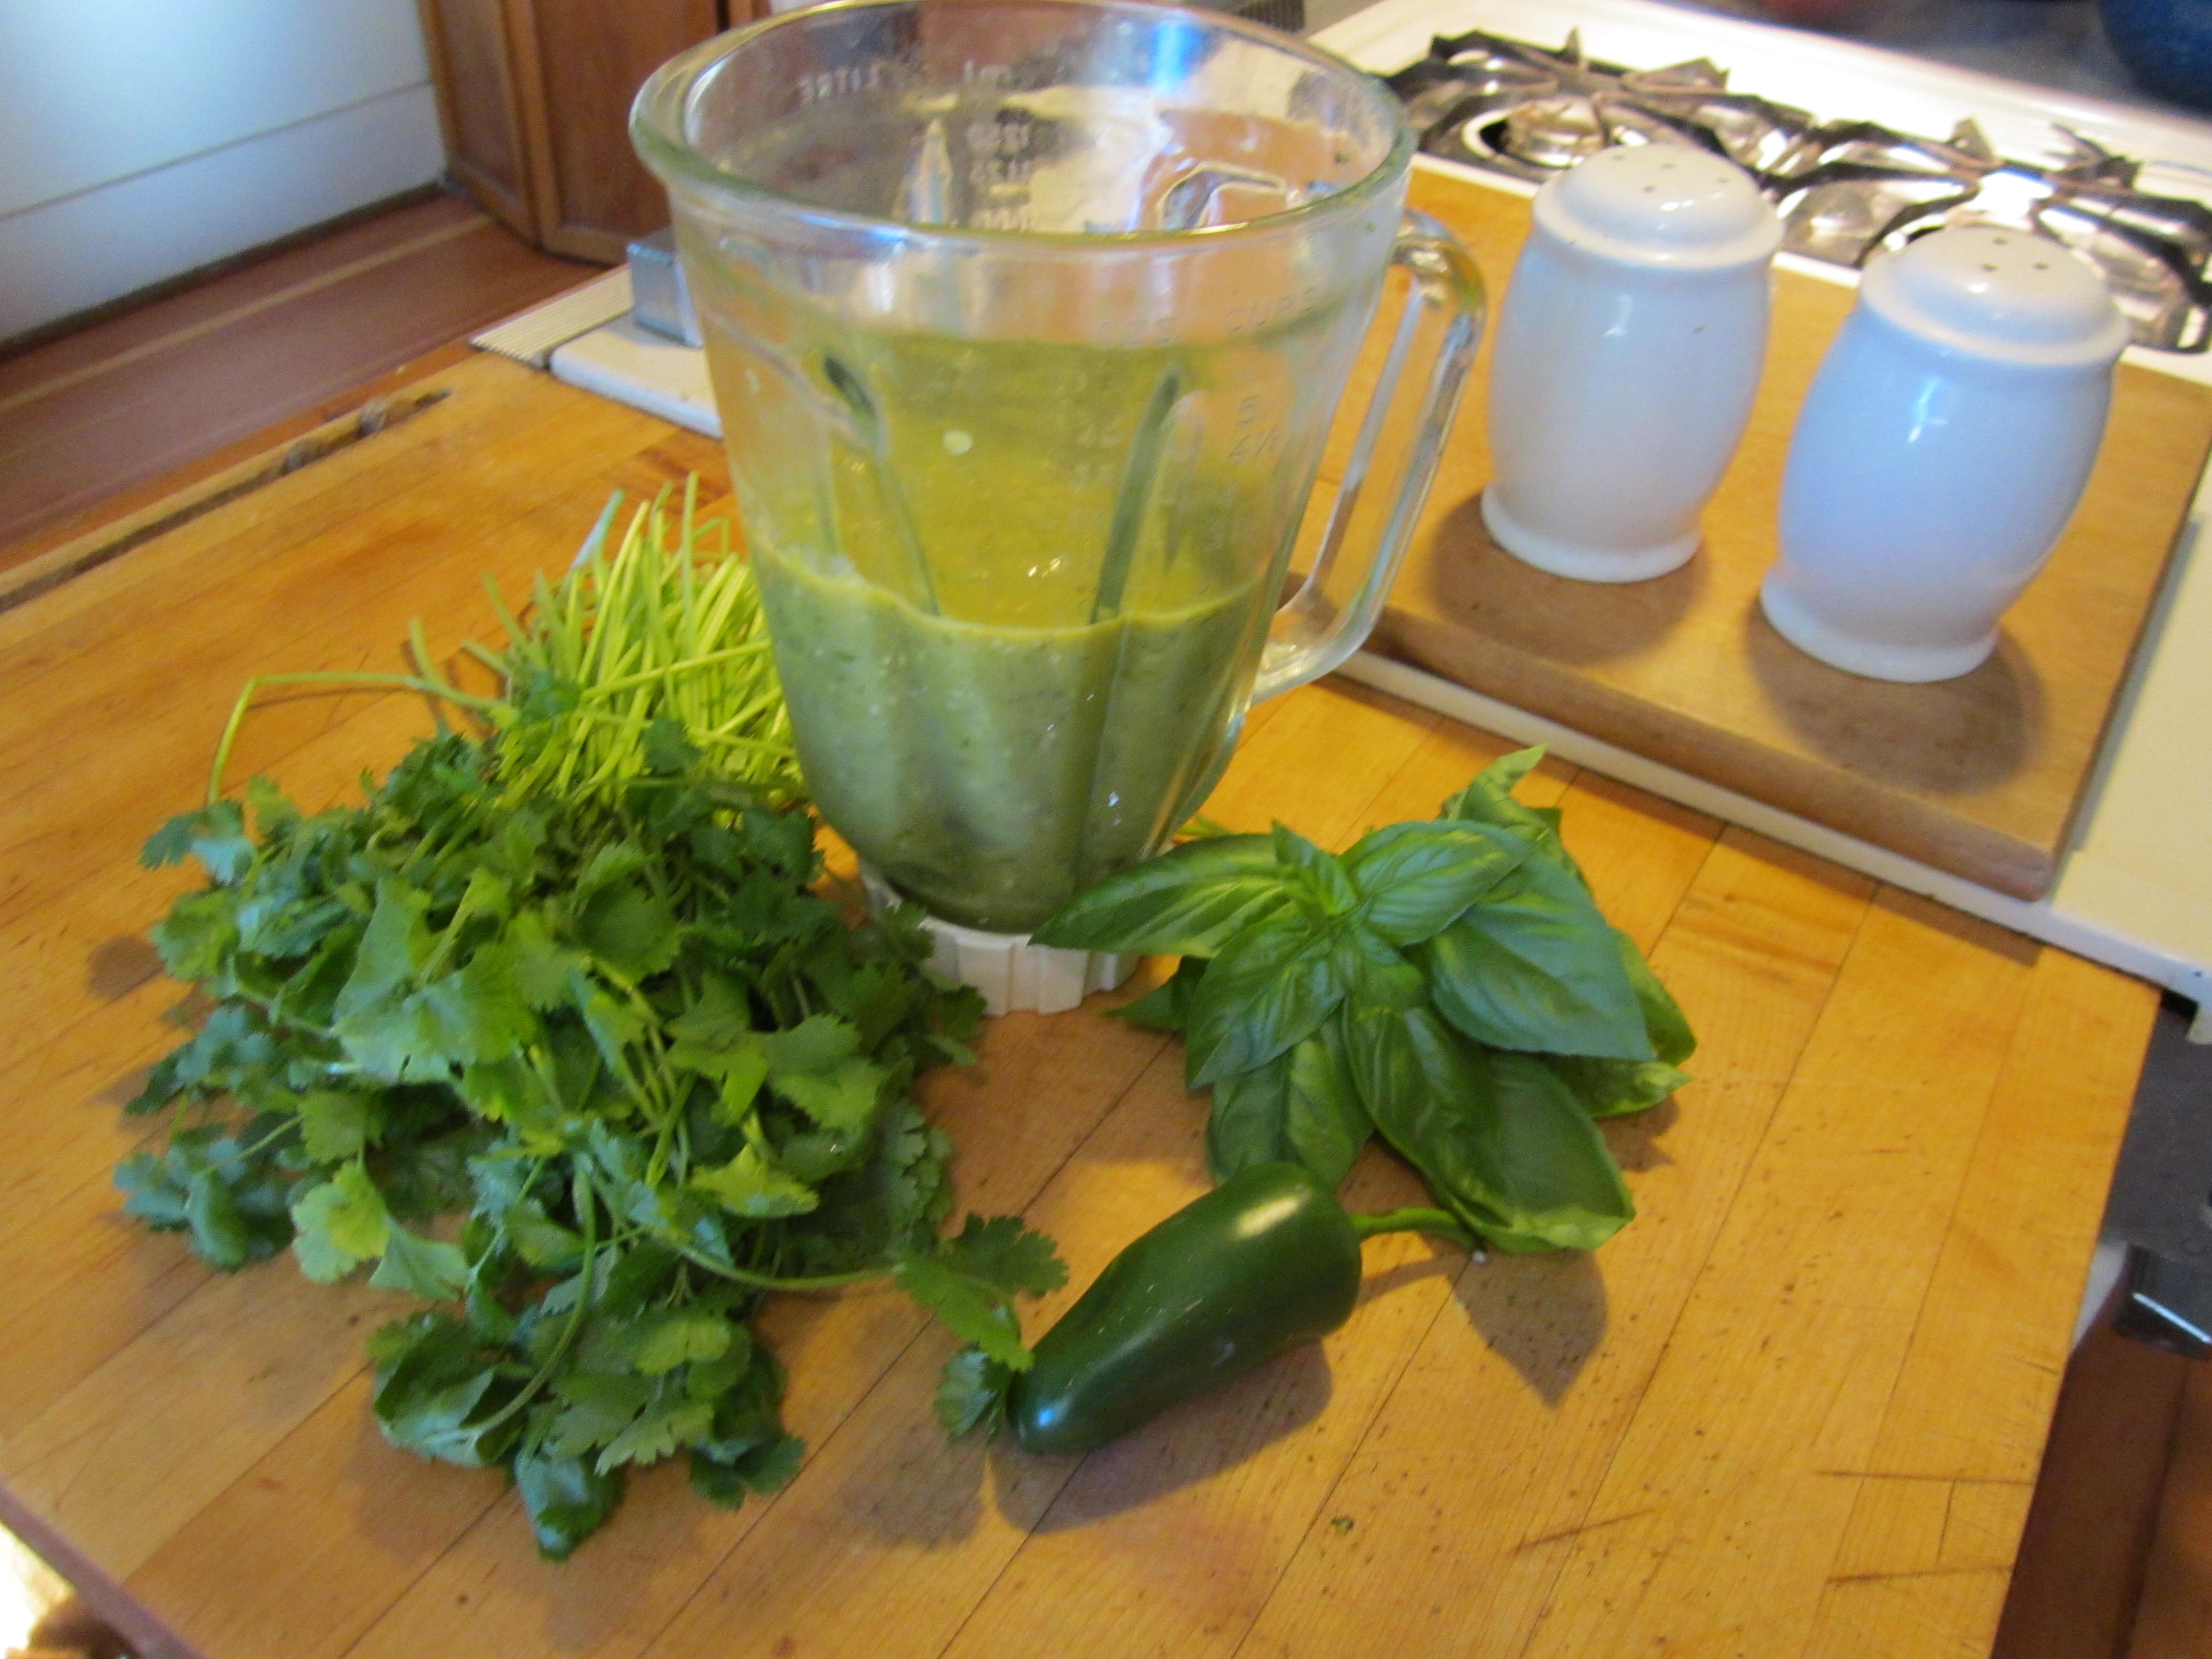
Next it is time to get creative.  Put your tomatillos, skin and all into the blender with some sliced green onions, some peeled garlic cloves, and the peeled chiles. If you want a little more heat, add a half or whole jalapeno, chopped. (And of course you remember to use gloves while chopping the jalapeno and don’t touch your eyes.)  Add some chopped cilantro. I had some lovely fresh basil, so I added that as well. Blend well until you have a nice smooth consistency.  The chef at Medizona, a top Scottsdale restaurant, added a little apple juice to mellow out the tartness.


Blend together tomatillos, chiles, onions, garlic and herbs.

Blend together tomatillos, chiles, onions, garlic and herbs.

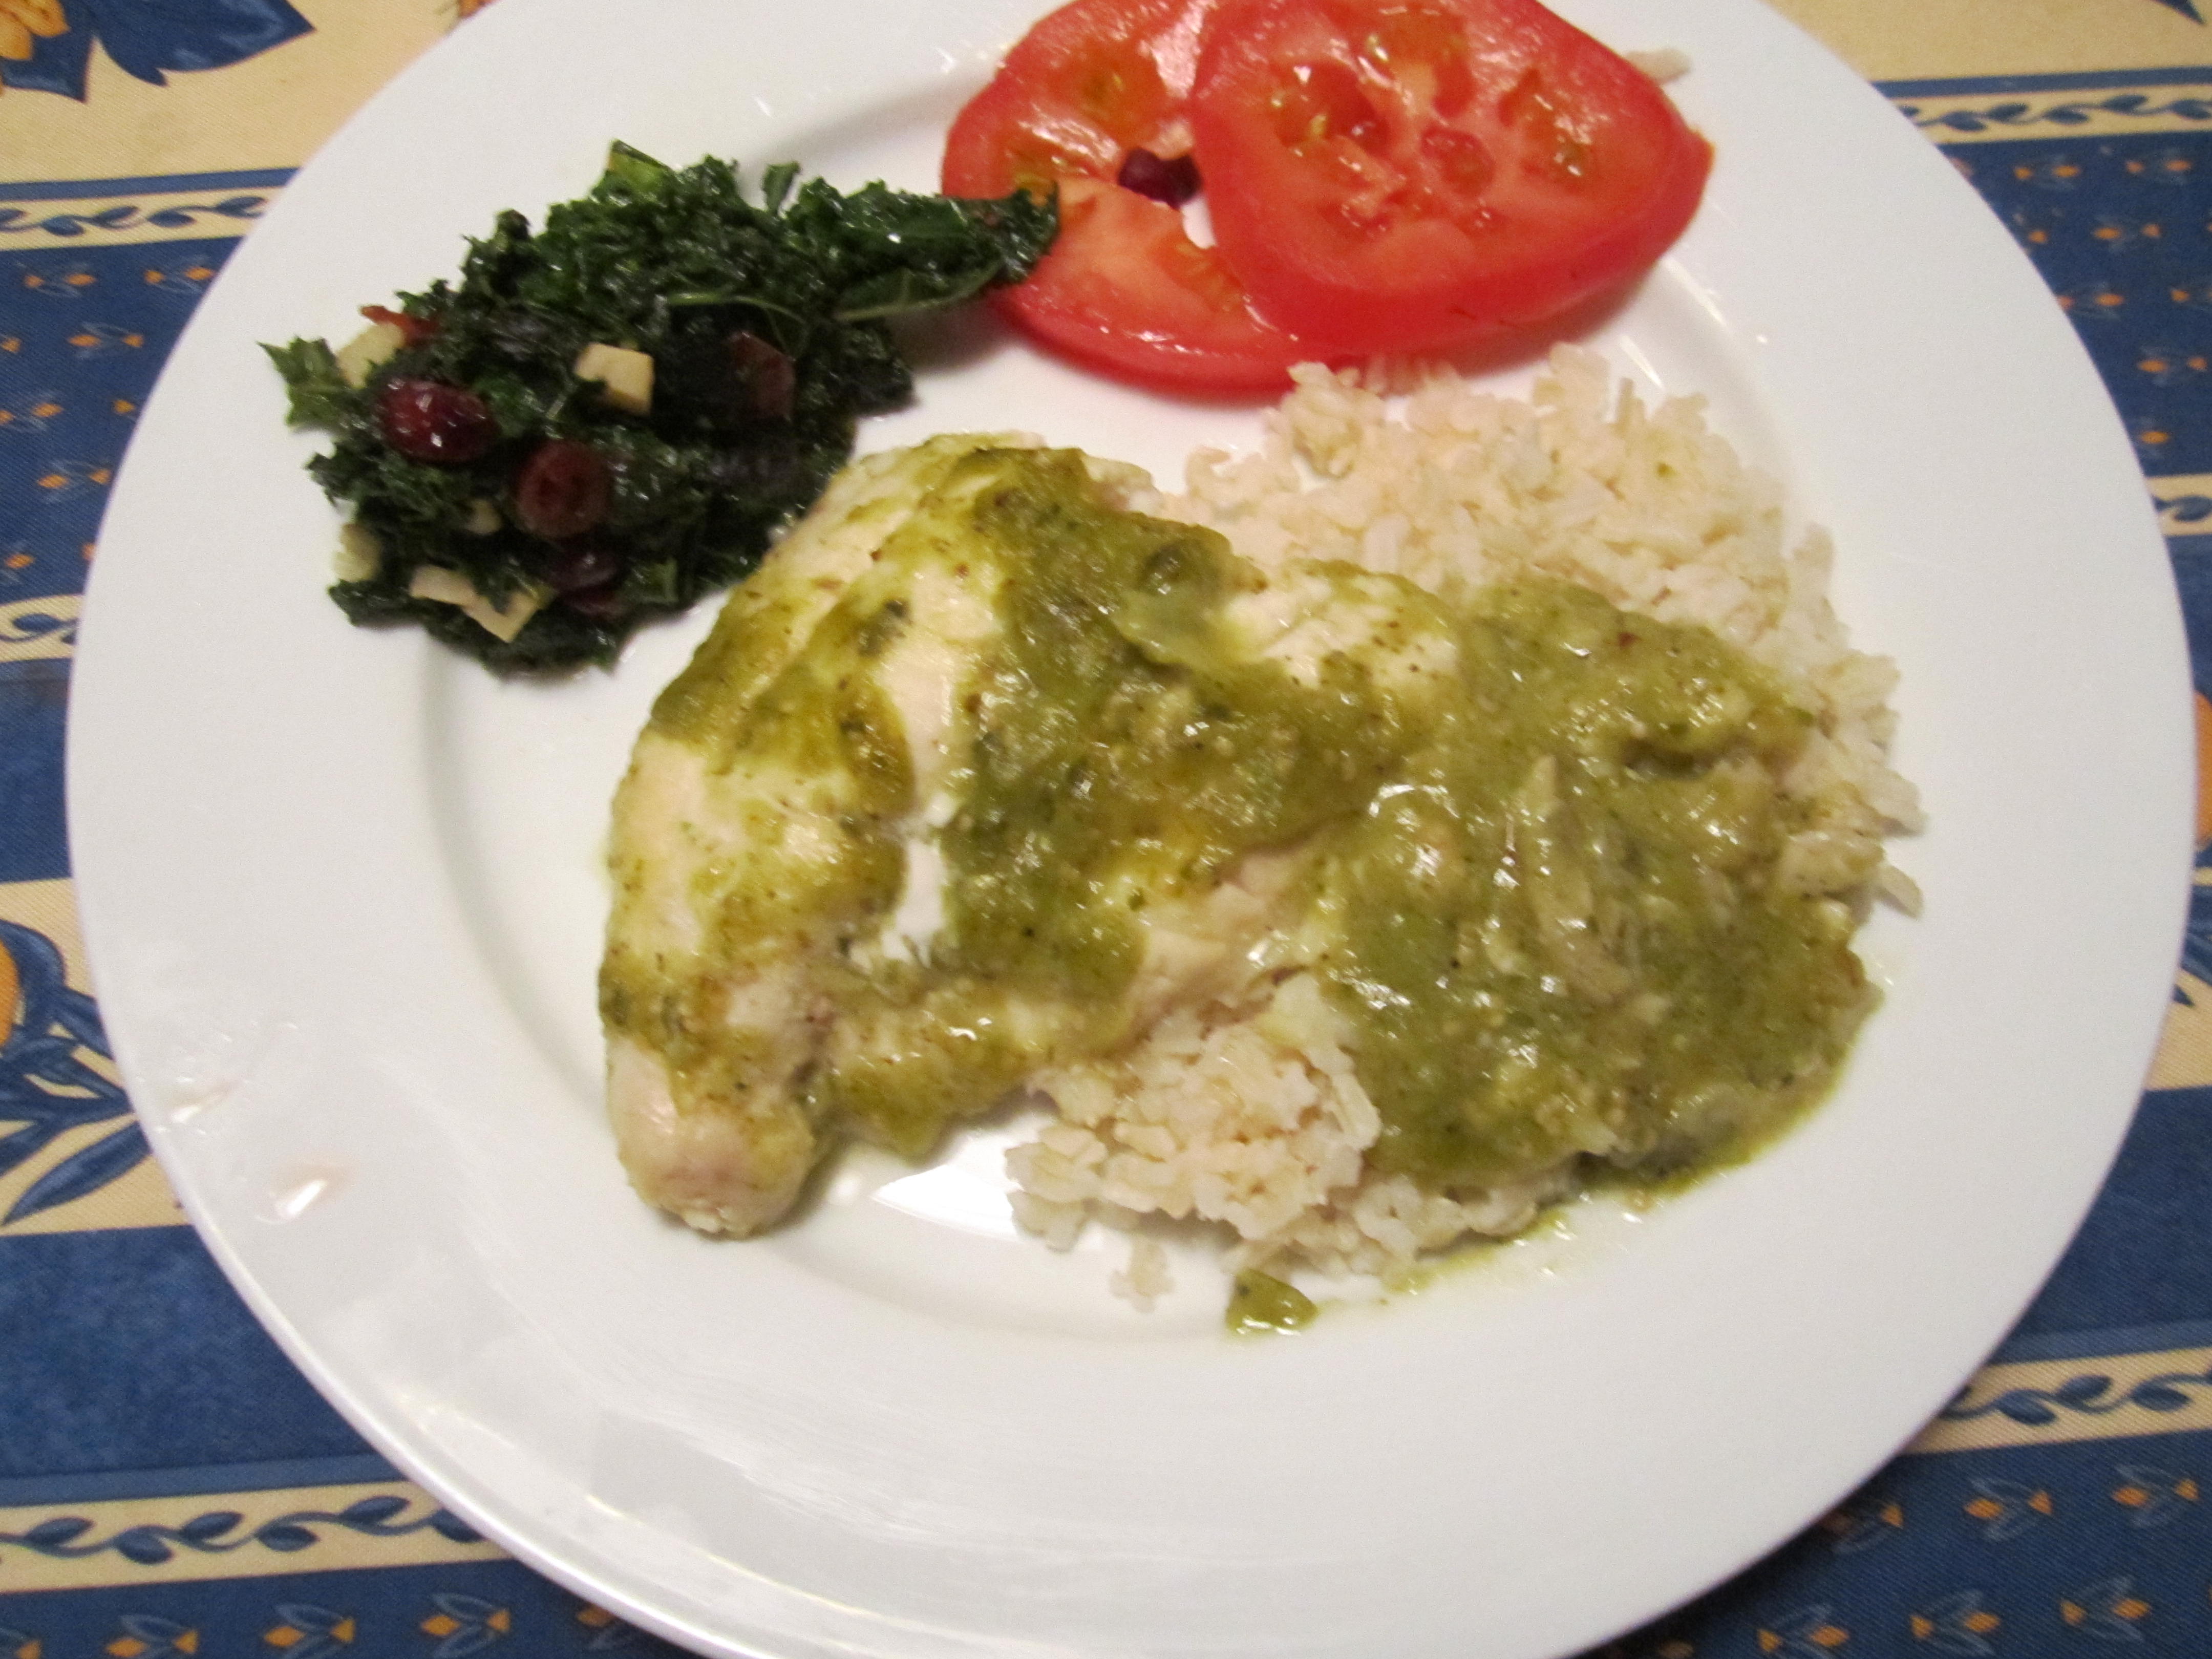
So now you have this wonderful salsa.  How to use it?  Try it on tacos or tostadas (photo top of post) or as a sauce for chicken, pork chops or even shrimp.

Salsa Verde on broiled chicken.

Salsa Verde on broiled chicken.

Charboiled Tomatillo Sauce from Medizona

Feel free to vary the amounts in this recipe.  As they say, “for reference only.”

1/4 pound tomatillos

1 tablespoon olive oil

2 poblano chiles

1/2 jalapeno (optional)

3 green onions, sliced

1/2 cup chopped cilantro leaves

5 cloves garlic, peeled

1/4 cup apple juice

Salt and pepper to taste.

1. Remove husks from tomatillos, wash and rub with oil. Put under boiler until soft and slightly browned. Let cool.

2. Broil or grill poblano chiles until all sides are charred. Sweat in paperbag until skins remove easily. Peel and deseed.

3. Combine all ingredients in a blender and whirl until smooth.  If using on hot food, heat in a saucepan before serving.


And just for fun, here’s a garnish tip I learned from Chef Janos Wilder. Carefully loosen the husk from tomatillos, peel them back and you have a lovely flower. They are a great addition to a cheese plate or relish tray for a party.

IMG_0130____________________________

For more great Southwestern recipes using local ingredients or fruits and vegetables from the wild, check out my cookbooks Cooking the Wild Southwest (University of Arizona), The Prickly Pear Cookbook (Rio Nuevo Press), or The New Southwest Cookbook (Rio Nuevo Press). 


Within & Without: WILDFLOWER Honey Facial Mask (DIY)

Aunt Linda here, on this breezy Tucson morning. IMG_7283 As I write, the full moon shines powerfully in the west, as it sets. The bee yard is aglow. The beams of moonlight bounce off the hives;  alight upon the honey house roof;  shine through west facing doors and windows. The bees are hunkered down in their hives this morning. They will not launch into their foraging flights as early as they did in the summer. They are solar beings, and navigate with the sun. Being past the equinox , and with less sunlight available, their first flight begin later and their return home in the evening, earlier. They are also affected by cooler temperatures,  and are not partial to the winds we have been having. We are all, bee and human, between night and day; between summer and winter. As the cycles of flow and blossoming  constantly change, so do the stores of nectar, pollen and honey within the hive. The “inside” of a hive here in Tucson reflects the light yellow color/light aroma of Mesquite Flows from earlier in season, to the darker, stronger tasting and smelling honey of desert wildflowers of late summer and fall. The pollen comes in different colors as well. So it is that bees, in the process of their practicality, create mosaics of pollen and canvases of honey, depending on what is available to them regionally and seasonally. Below: you can see the variation of color and texture of pollen both on the bees’s “pollen baskets” on their hind legs, as well as in their “mosaic” of pollen stores within the hive. IMG_2744

IMG_7186

See how this desert wildflower yields a bight orange colored pollen (back legs of bee) as compared to the lighter yellow in the above photo.

By now you may be reveling in all the colors and tastes (and smells!)  of honey. Visit your local beekeeper at a farmers market  or health food store this weekend, and see how real and raw honey differs from the “honey bear honey” sold on many grocery store shelves. Bees have “honey stomachs” that they use to carry nectar back from the flowers, and into the hives to produce honey. The variation in plant nectars account for the variation on types of honey.

DSC_7013

Note the difference in color of the  very light Mesquite Honey (in the exquisite photo ABOVE – taken by Ben Johnson; you can learn more about this talented man at ben@benjohnsonart.com) as compared with the deeper colored Cactus Flower honey (photo below).

IMG_7793 True Fall Wildflower honey is usually an even deeper brown (bottom photo) and has higher antioxidant levels, which may be better for our skin! IMG_7218  Within and Without:  WILDFLOWER Honey Facial Mask (DIY)

Ingredients: raw honey and time How To:

This simple facial mask takes us from our own pores to the pores of plants.  As you can see in the photos,  the honey produced inside the hive literally reflects the environment around it. When we plant a garden or keep a hive, we move from being being a food consumer, to a participant in our food production. So, too, with our health products. It is wildly fun, and often more economical,  to use your own honey (or to purchase directly from a local beekeeper!!! That is a powerful act which moves you closer the “source”), than to purchase a  prepared product.

Honey has been used for skin repair and nourishment for thousands of years. Literally.  It is a humectant,  an anti-oxidant (darker, fall wildflower honey shows higher anti-oxidant levels than other types of honey,  in scientific studies),  and aroma “therapy” (is smells so, well, sweet!).

The idea here is as much about the Ritual as the Result.  Enjoy the smells and sensations WHILE applying the honey. Place the attention we so easily abdicate to the external world within once again. Our attention is rarely our own anymore, and a ritual as simple and everyday as washing our faces, can be a vehicle to practice enjoying the moment.

1) Exfoliate, however you like. This allows the properties of the honey to do their magic, without the barriers of dirt and oils.  Rinse. (Facials are not for everyday … at least not in my world.   I like to do the facial mask in the shower, on days when I wash my hair (which is not everyday) in order to utilize the humidity that the shower provides to open pores. (Water is a precious element in the desert, and I like to use Permaculture wisdom of “stacking functions” in order to lessen my water use.)    Truthfully, I do this facial mask less frequently than I should.

2) Right as you apply your conditioner, apply the honey to your face. Then wrap up your conditioning hair in a towel and step out of the shower  for about 20 minutes.  Who knows … during those magical twenty minutes you might even the feel the flights of the worker bees,  the “waggle dance” as specific foraging information is passed along,  the way the flowers tip and bend in the breeze, the smell of flower,  the sacred offering of pollen at dawn.  Once you have soaked up both the tangible and intangible properties of the fall facial mask, rinse (both face and hair, if you are doing a duo) and apply your favorite facial cream. Your skin will GLOW.

More Wild-Flower Foraging Fotos IMG_7193 The photo above shows how the hairs on a bees body gather pollen; note head on left bee. The photos  below show honey bees (and native bees) foraging in a variety of desert plants; and what “uncapped” honey looks like.   IMG_0748 IMG_1293 IMG_7804 IMG_1886 IMG_2173 IMG_7071

Soup Weather: Adobo Mixed Veggie Stew

013 Hello, this is Amy. I always love a bowl of hot soup, but especially when evenings are cool. We’ve been camping in the yard this week with our new dog, Leila and eating lots of soup. I have many basic templates and here is one of the easiest. Adobo powder really brings together the disparate characters in the veggie drawer. The entire CSA share in one big pot!A1 tin

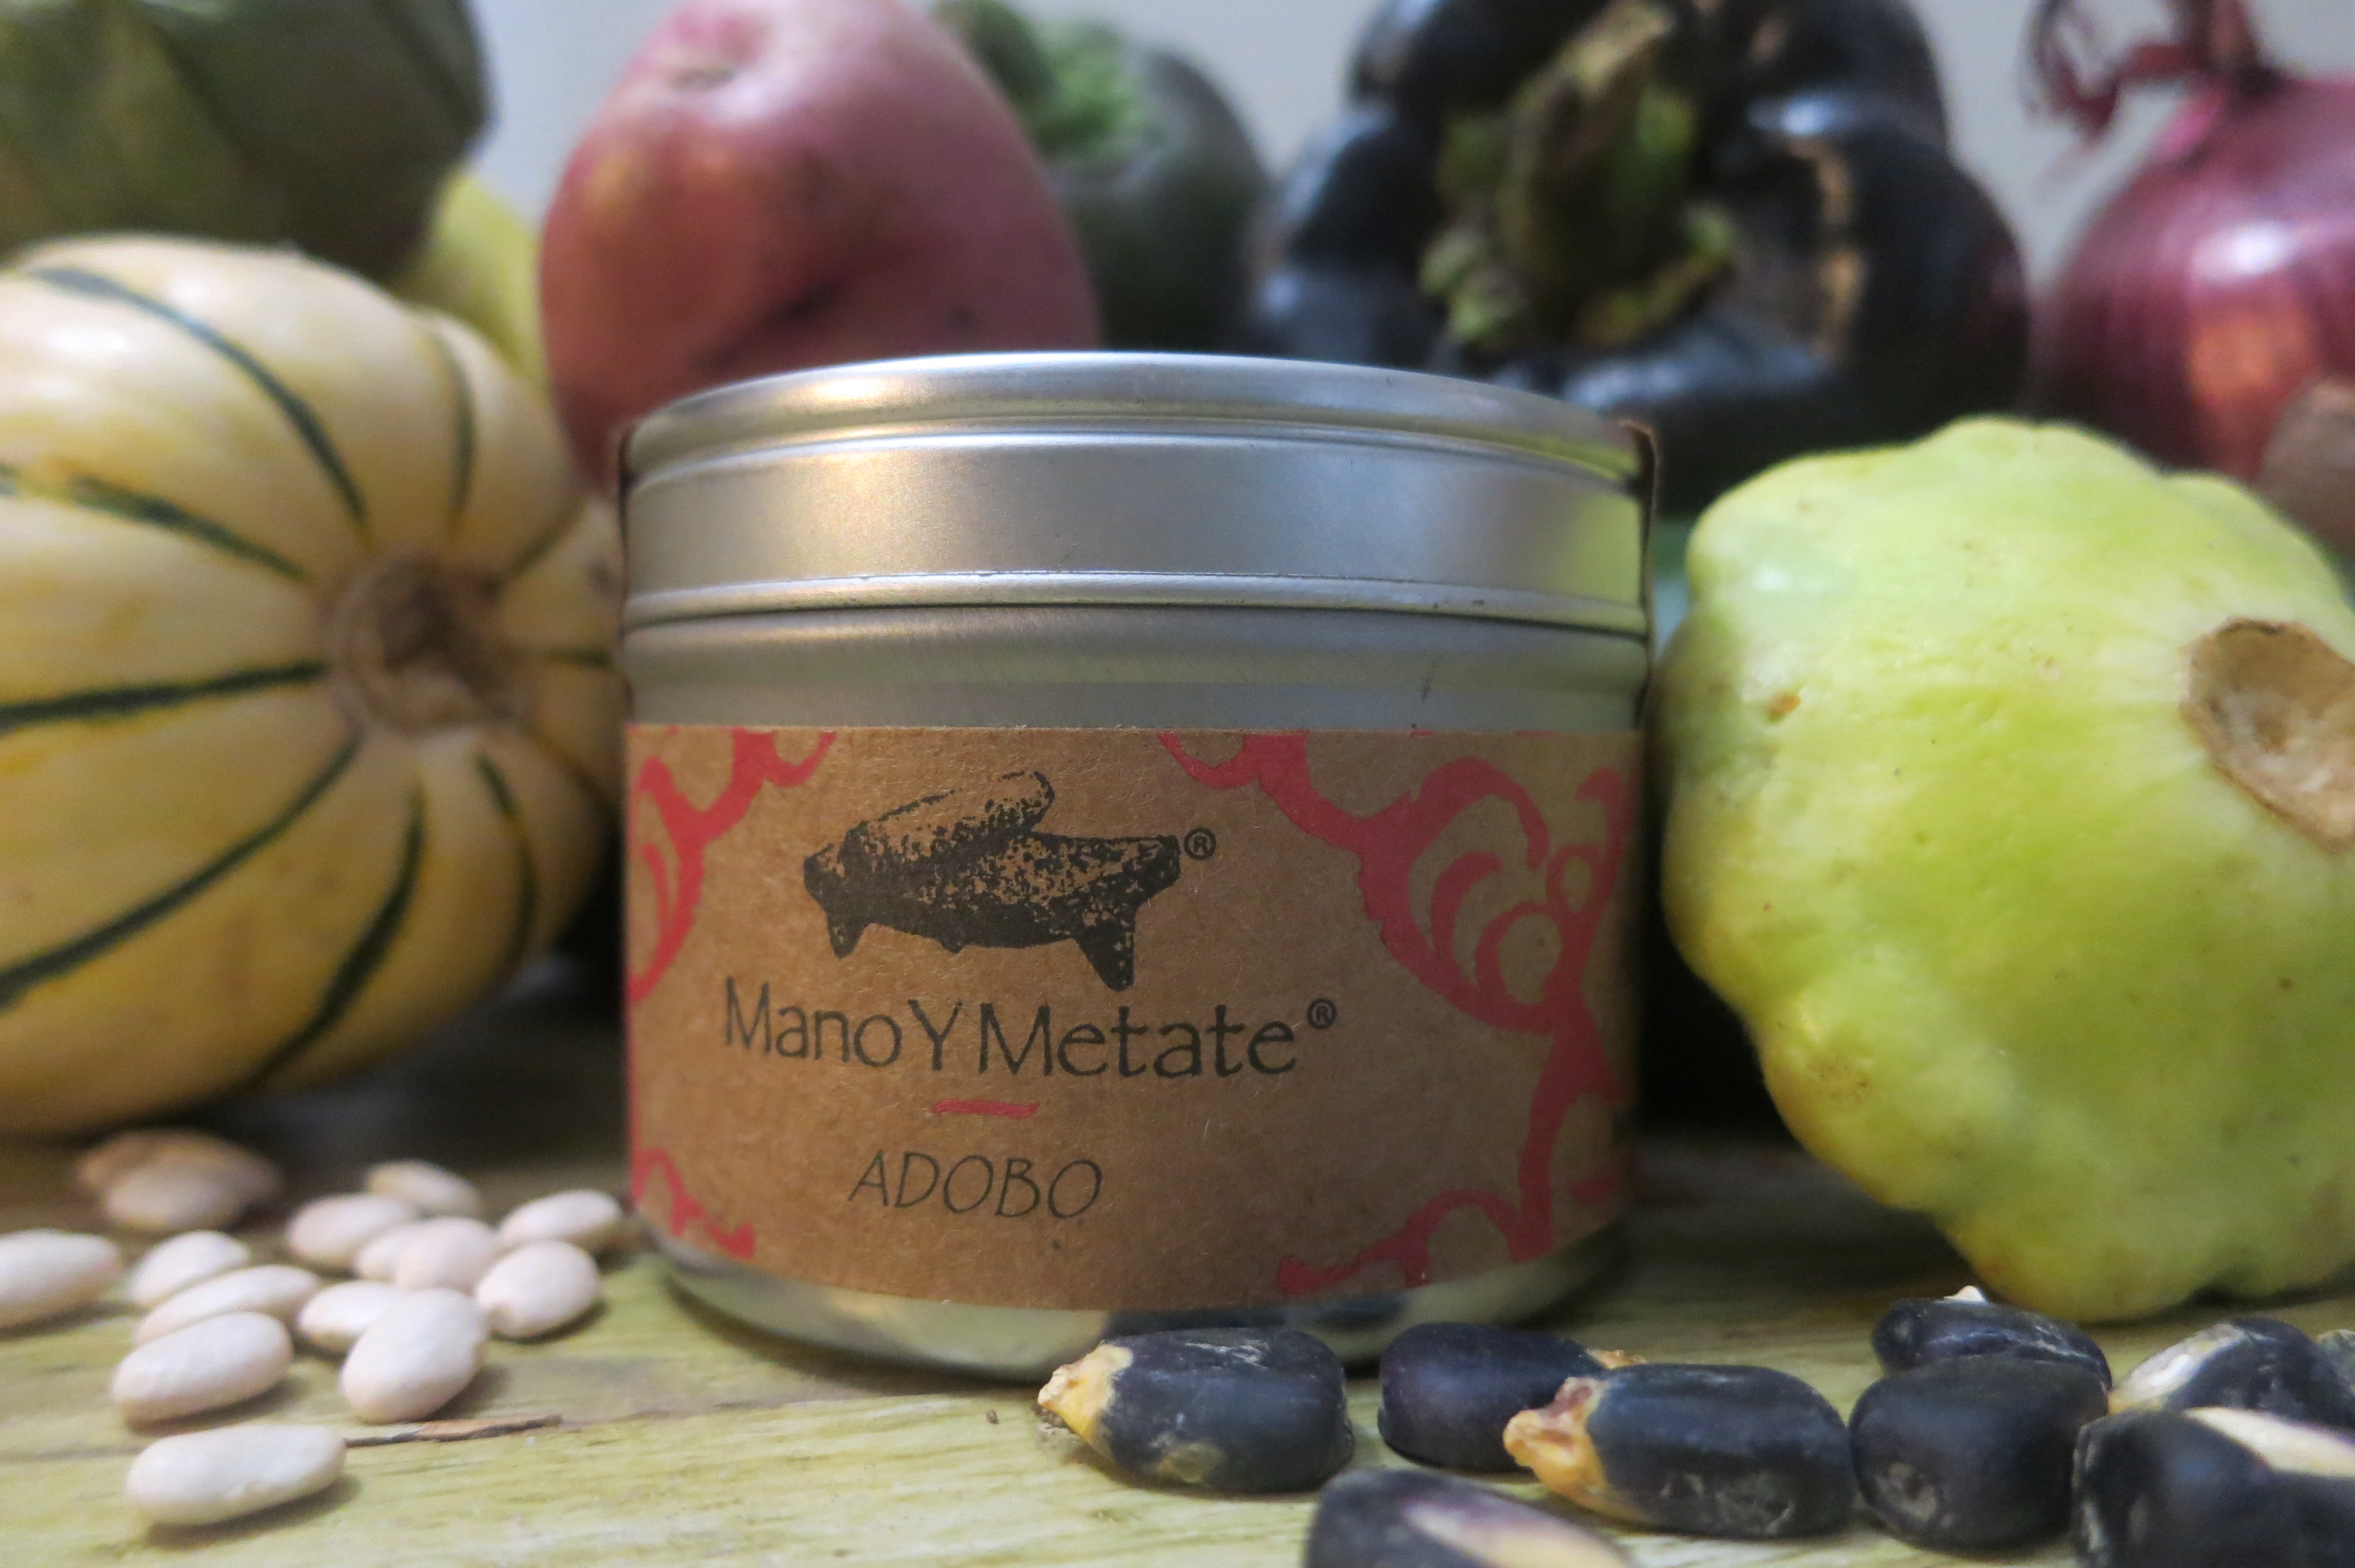
Adobo refers to many different things around the world. It comes from the word adobar, to marinate. Made into a sauce (especially with vinegar) or used dry, it does make an excellent marinade. Mano Y Metate Adobo is made with Santa Cruz Chili, hot. This is very special chile from Tumacacori, Arizona. That bright red color! I pair that with a little chile ancho for depth. Sesame seed and organic corn tortilla meal give the finished soup or sauce some body. Cumin and Mexican oregano are two of the standout spices, with cloves and Mexican cinnamon in the background. Five flavors: spicy chile, the little bit of ancho has a hint of bitter, plenty of salt and evaporated cane juice for balance. All that’s missing is sour from a lime wedge squeezed into the bowl.

A2 pdr

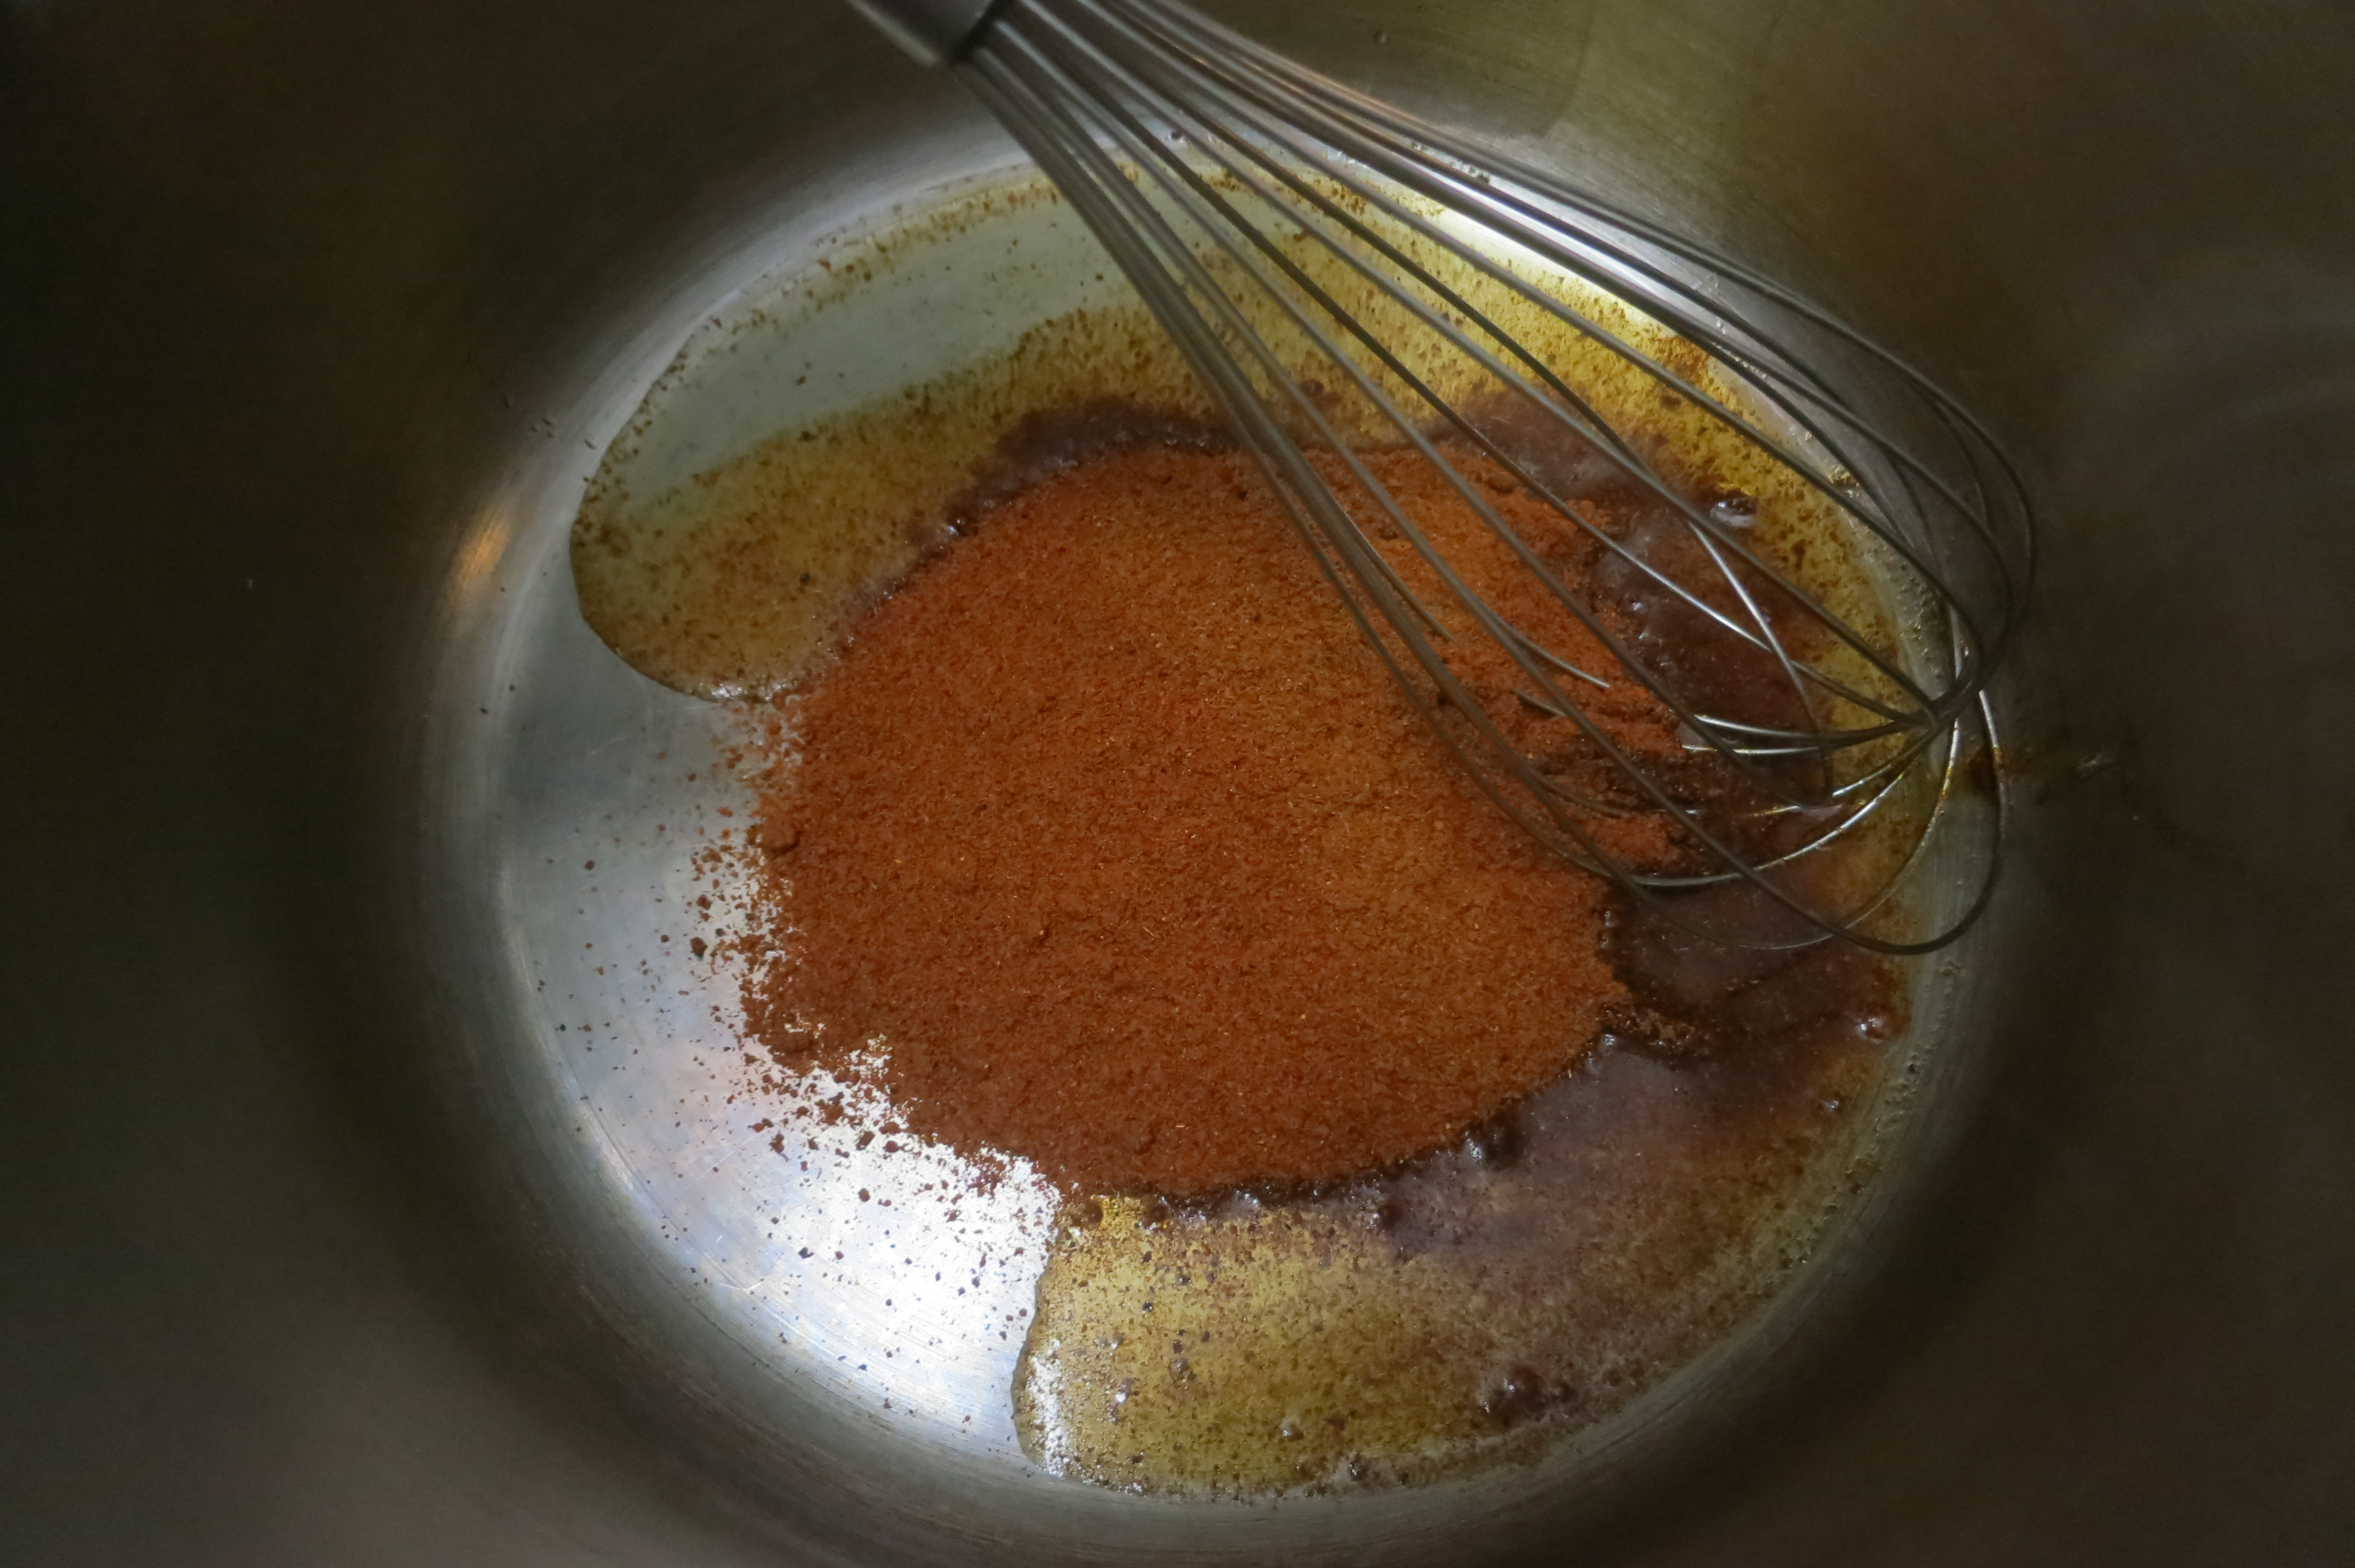
To make a soup, put a tin of Adobo powder and a few tablespoons of oil in a soup pot.

A3 paste

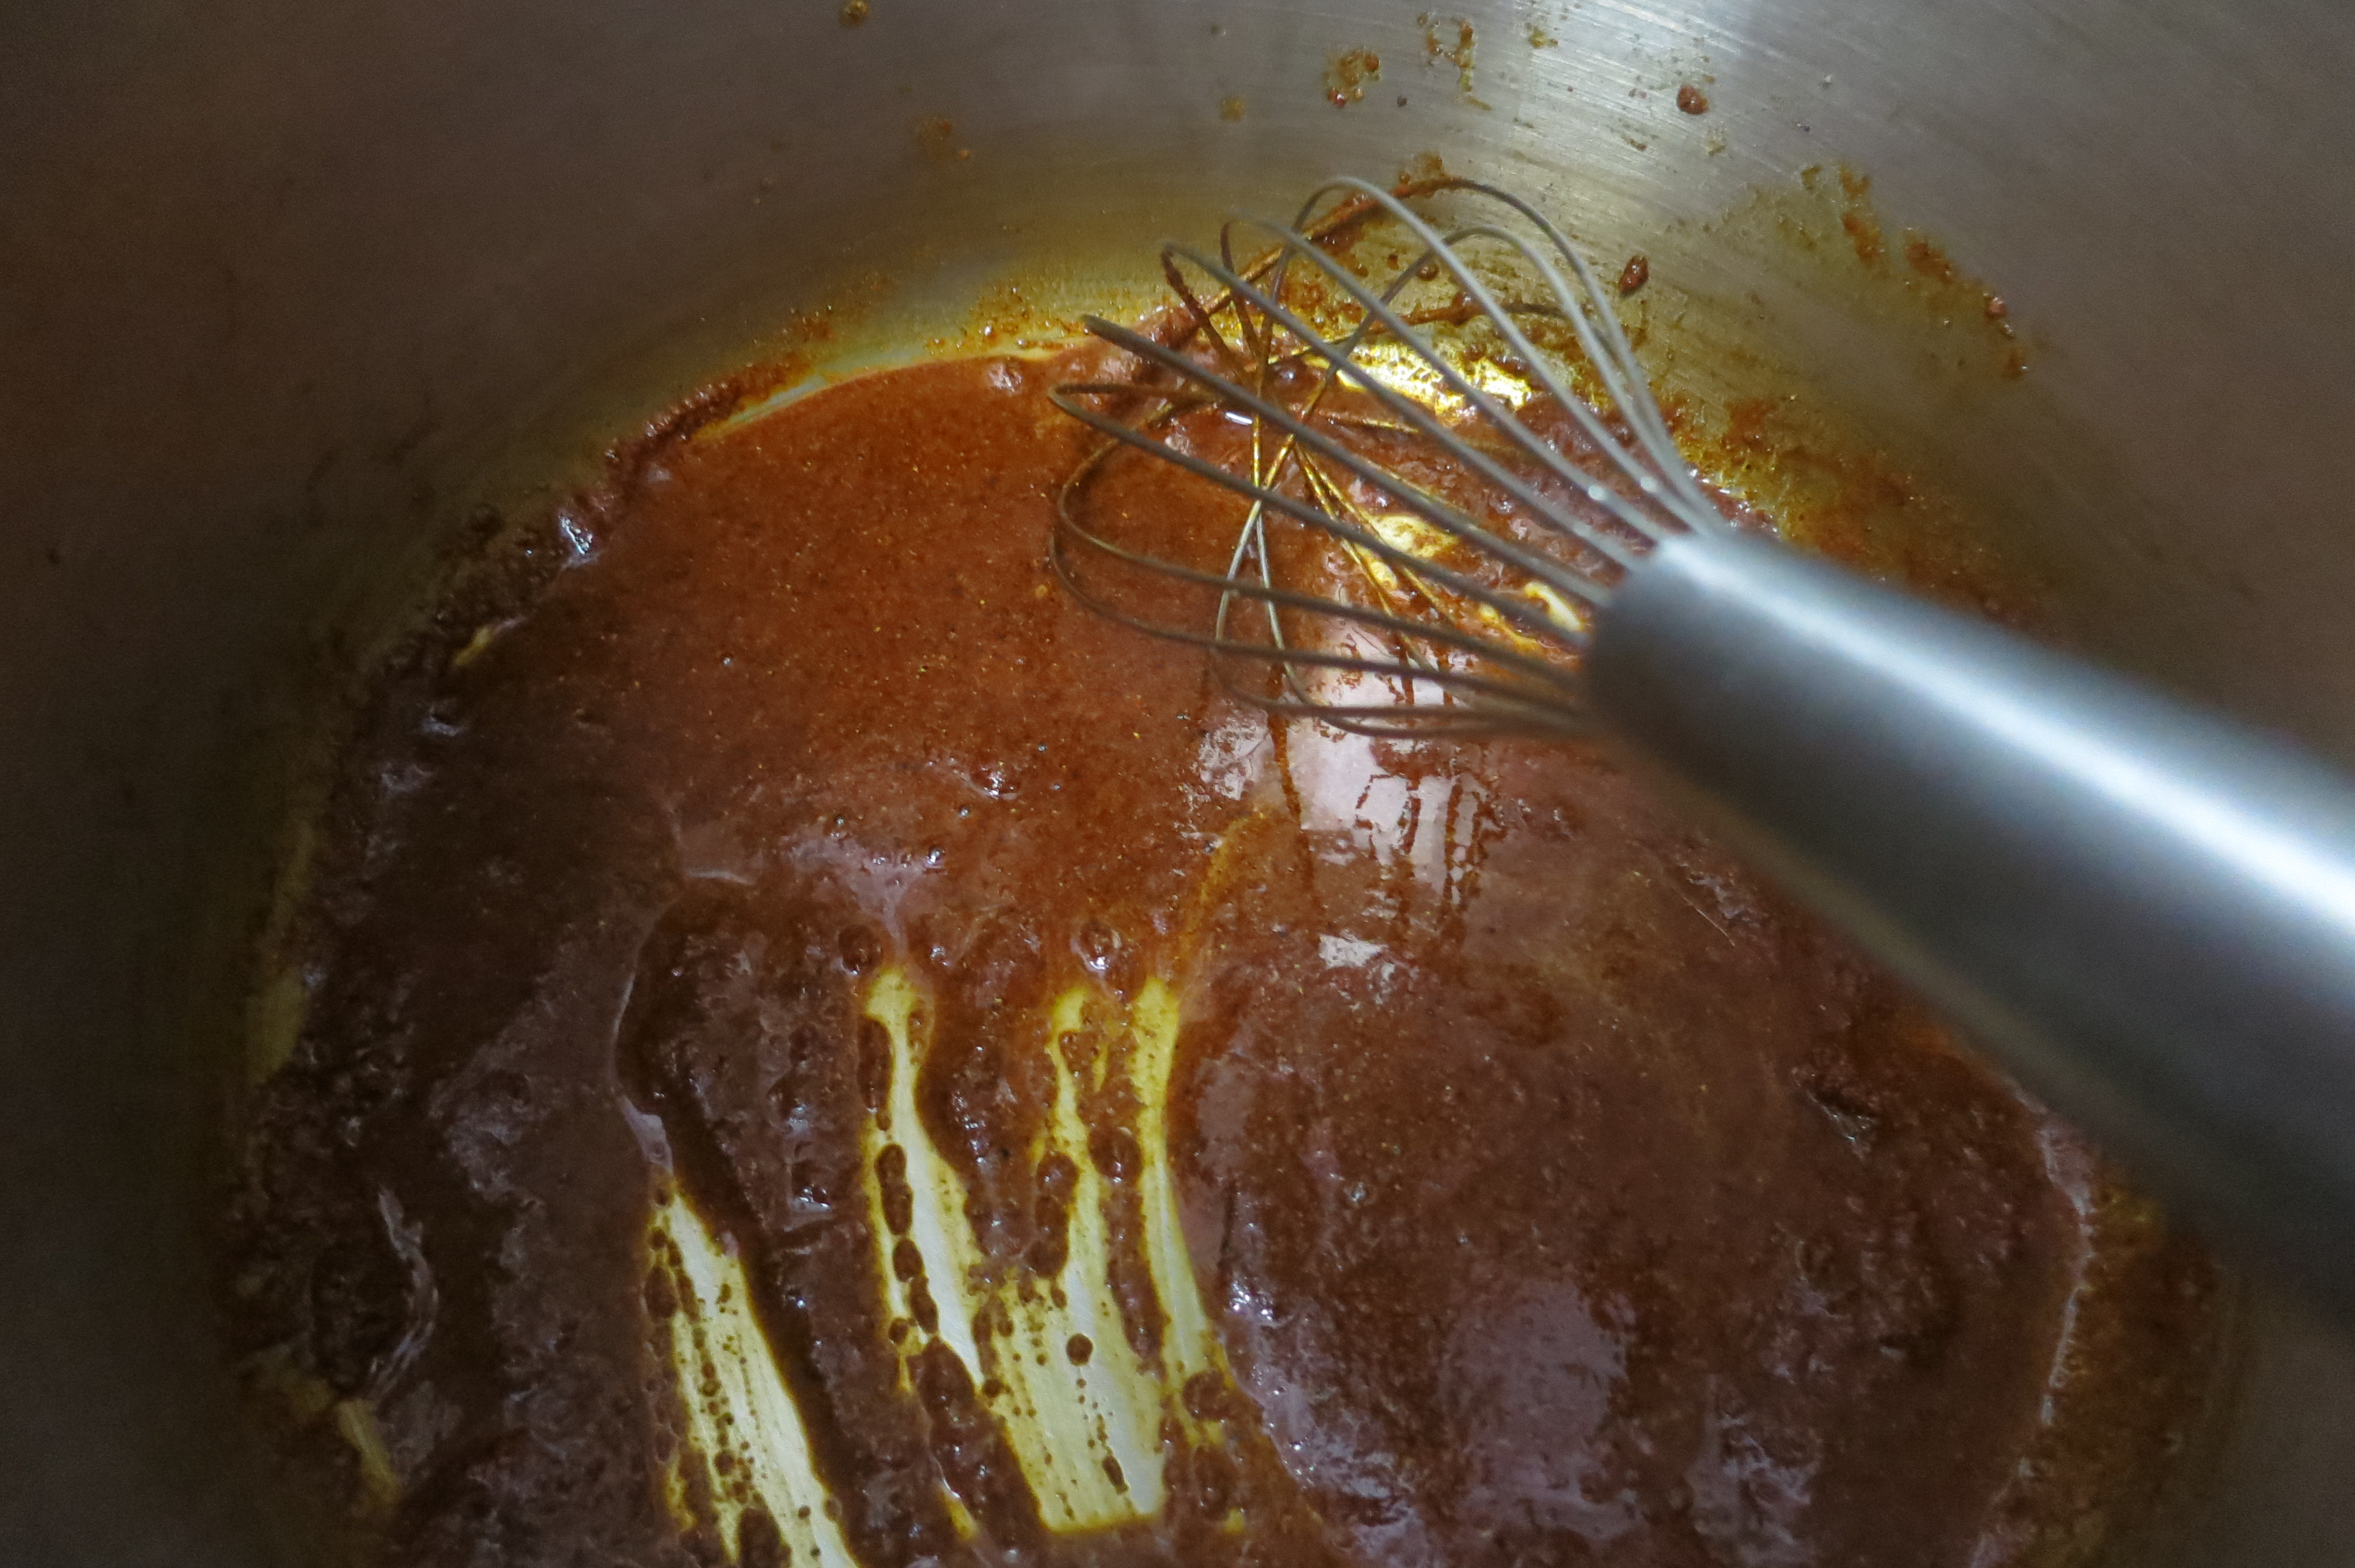
Cook over medium heat until it turns a shade darker in color and smells fragrant.

a4diced veg

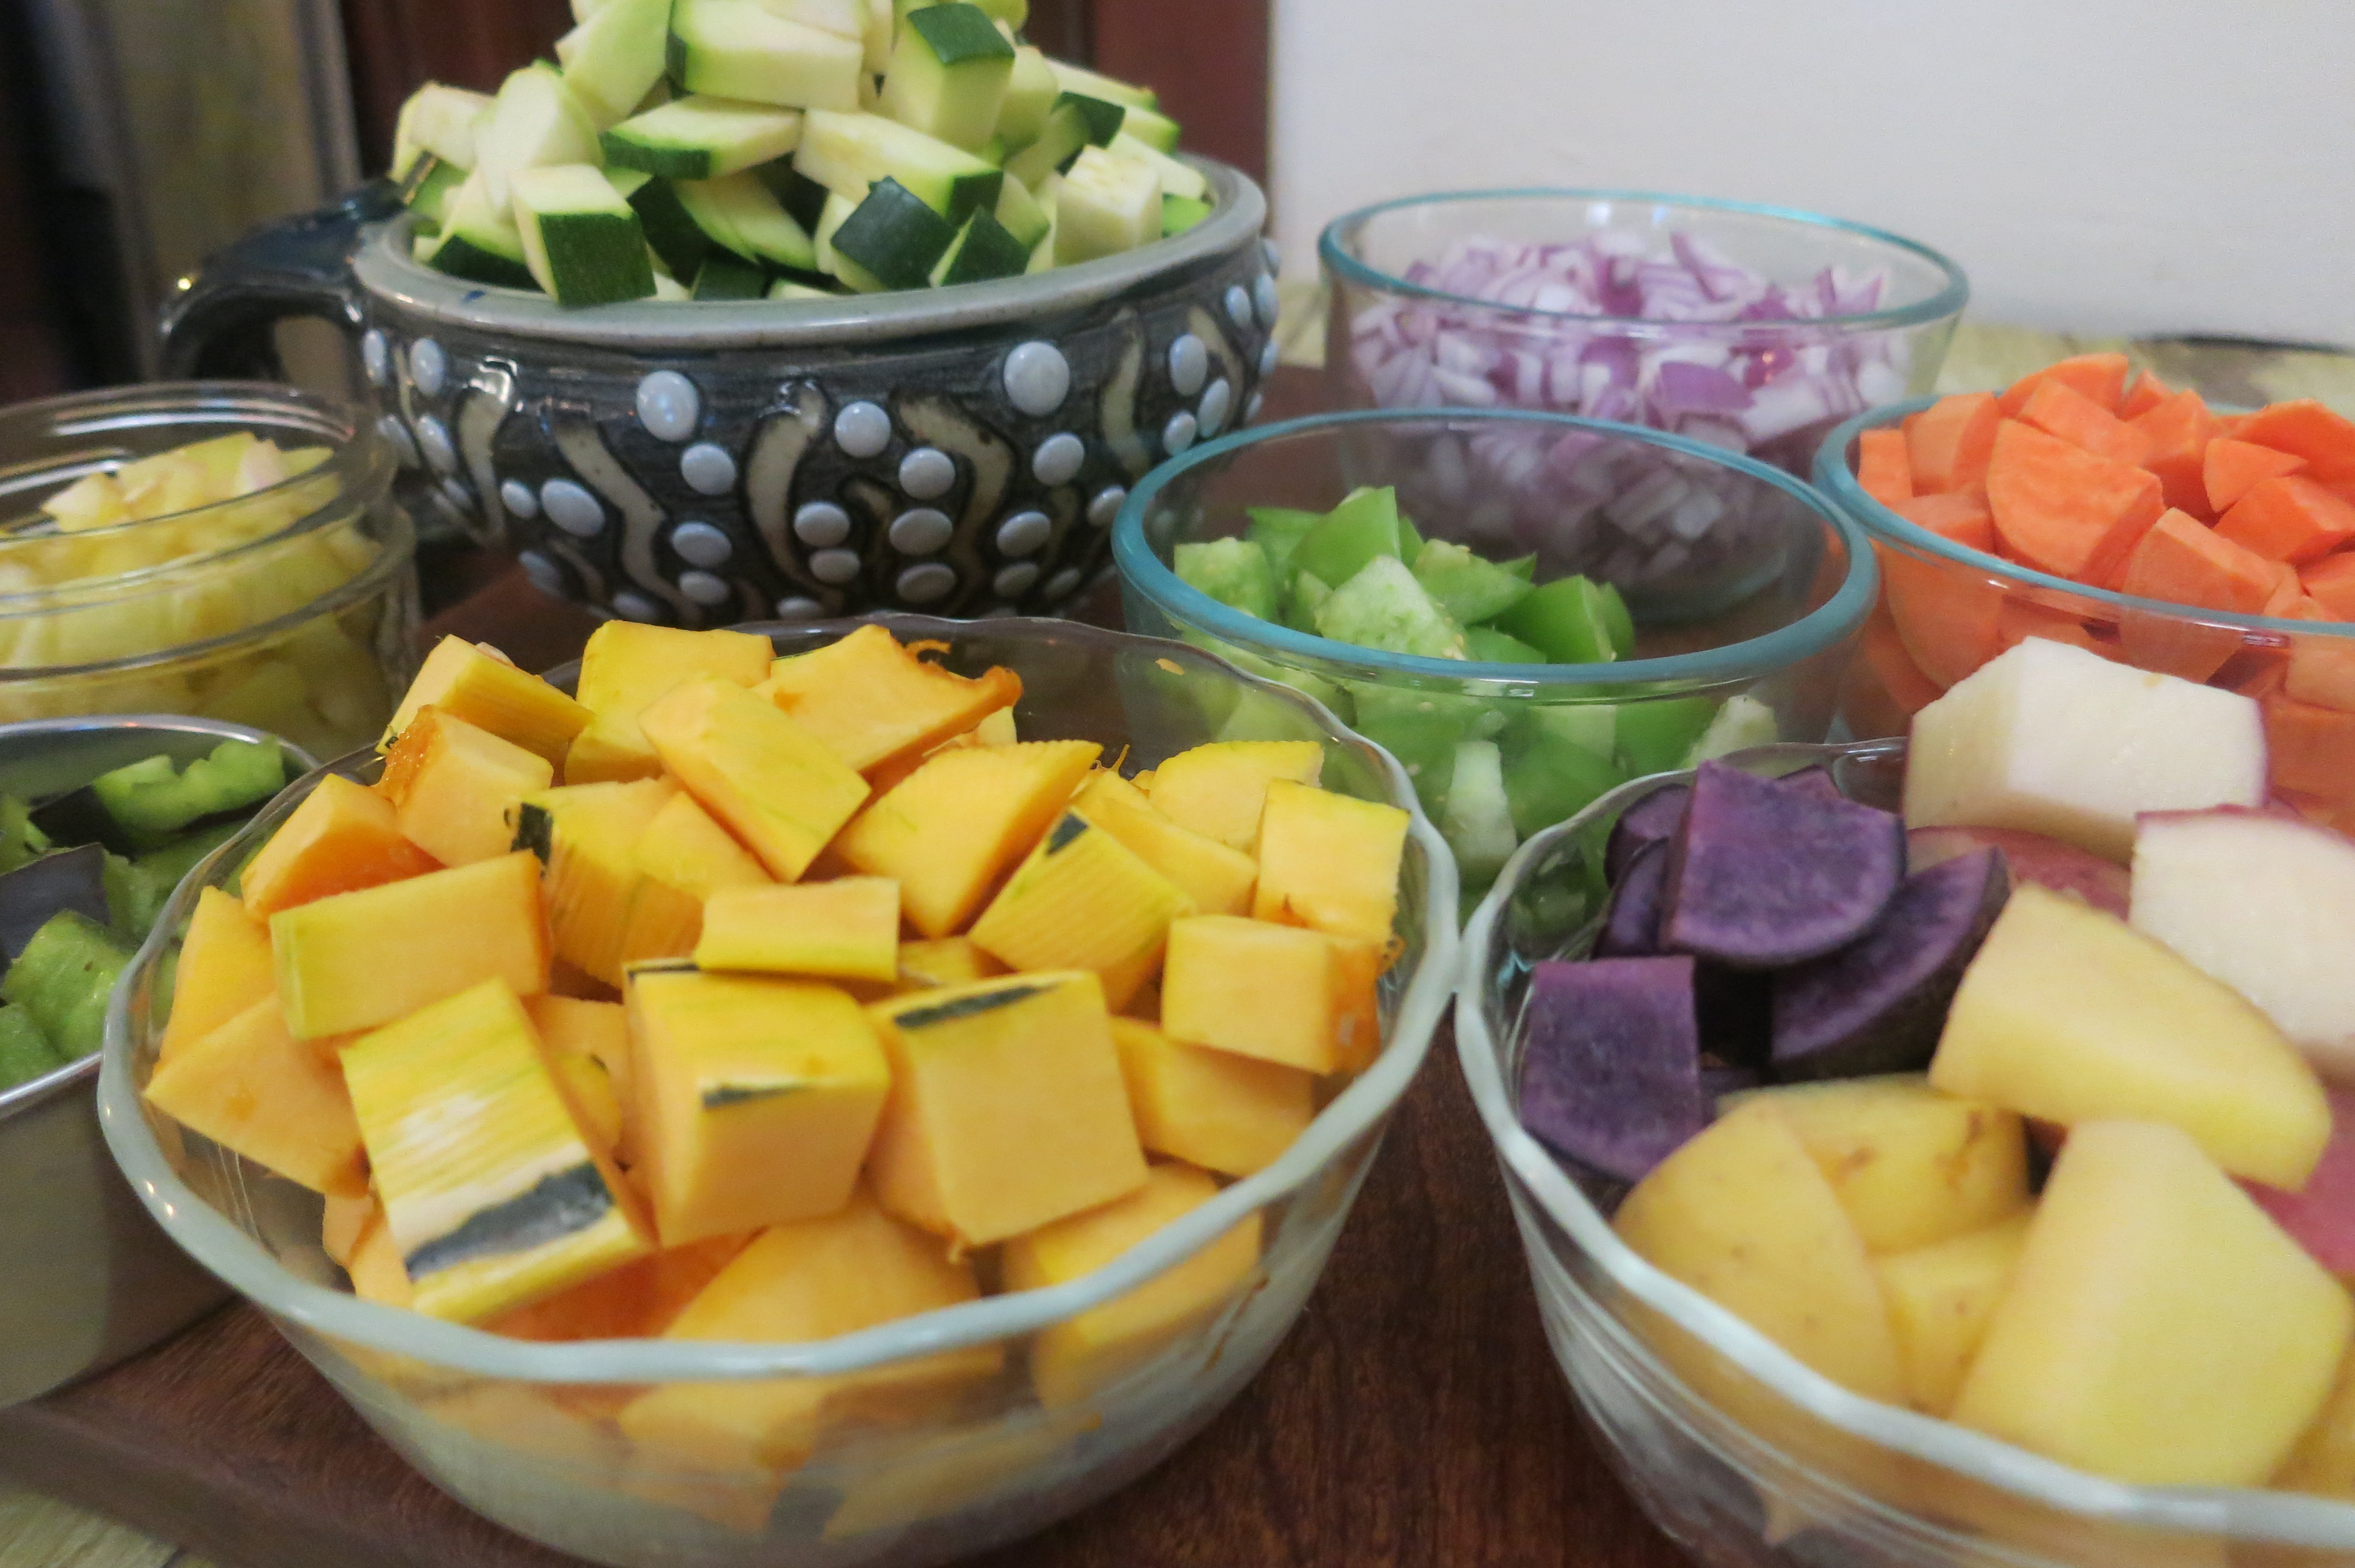
I have listed below some of the specific vegetables I used simply because I love them. Use what you have and love. Fresh or leftover meat is a great addition. Every single ingredient in this recipe is optional.

a5add veggies

Add the longer cooking veggies and stir to prevent sticking. Before it burns, add a quart of water or broth. When making Adobo into a sauce, I insist upon using broth. However, for this soup water works fine.

a6blue posole

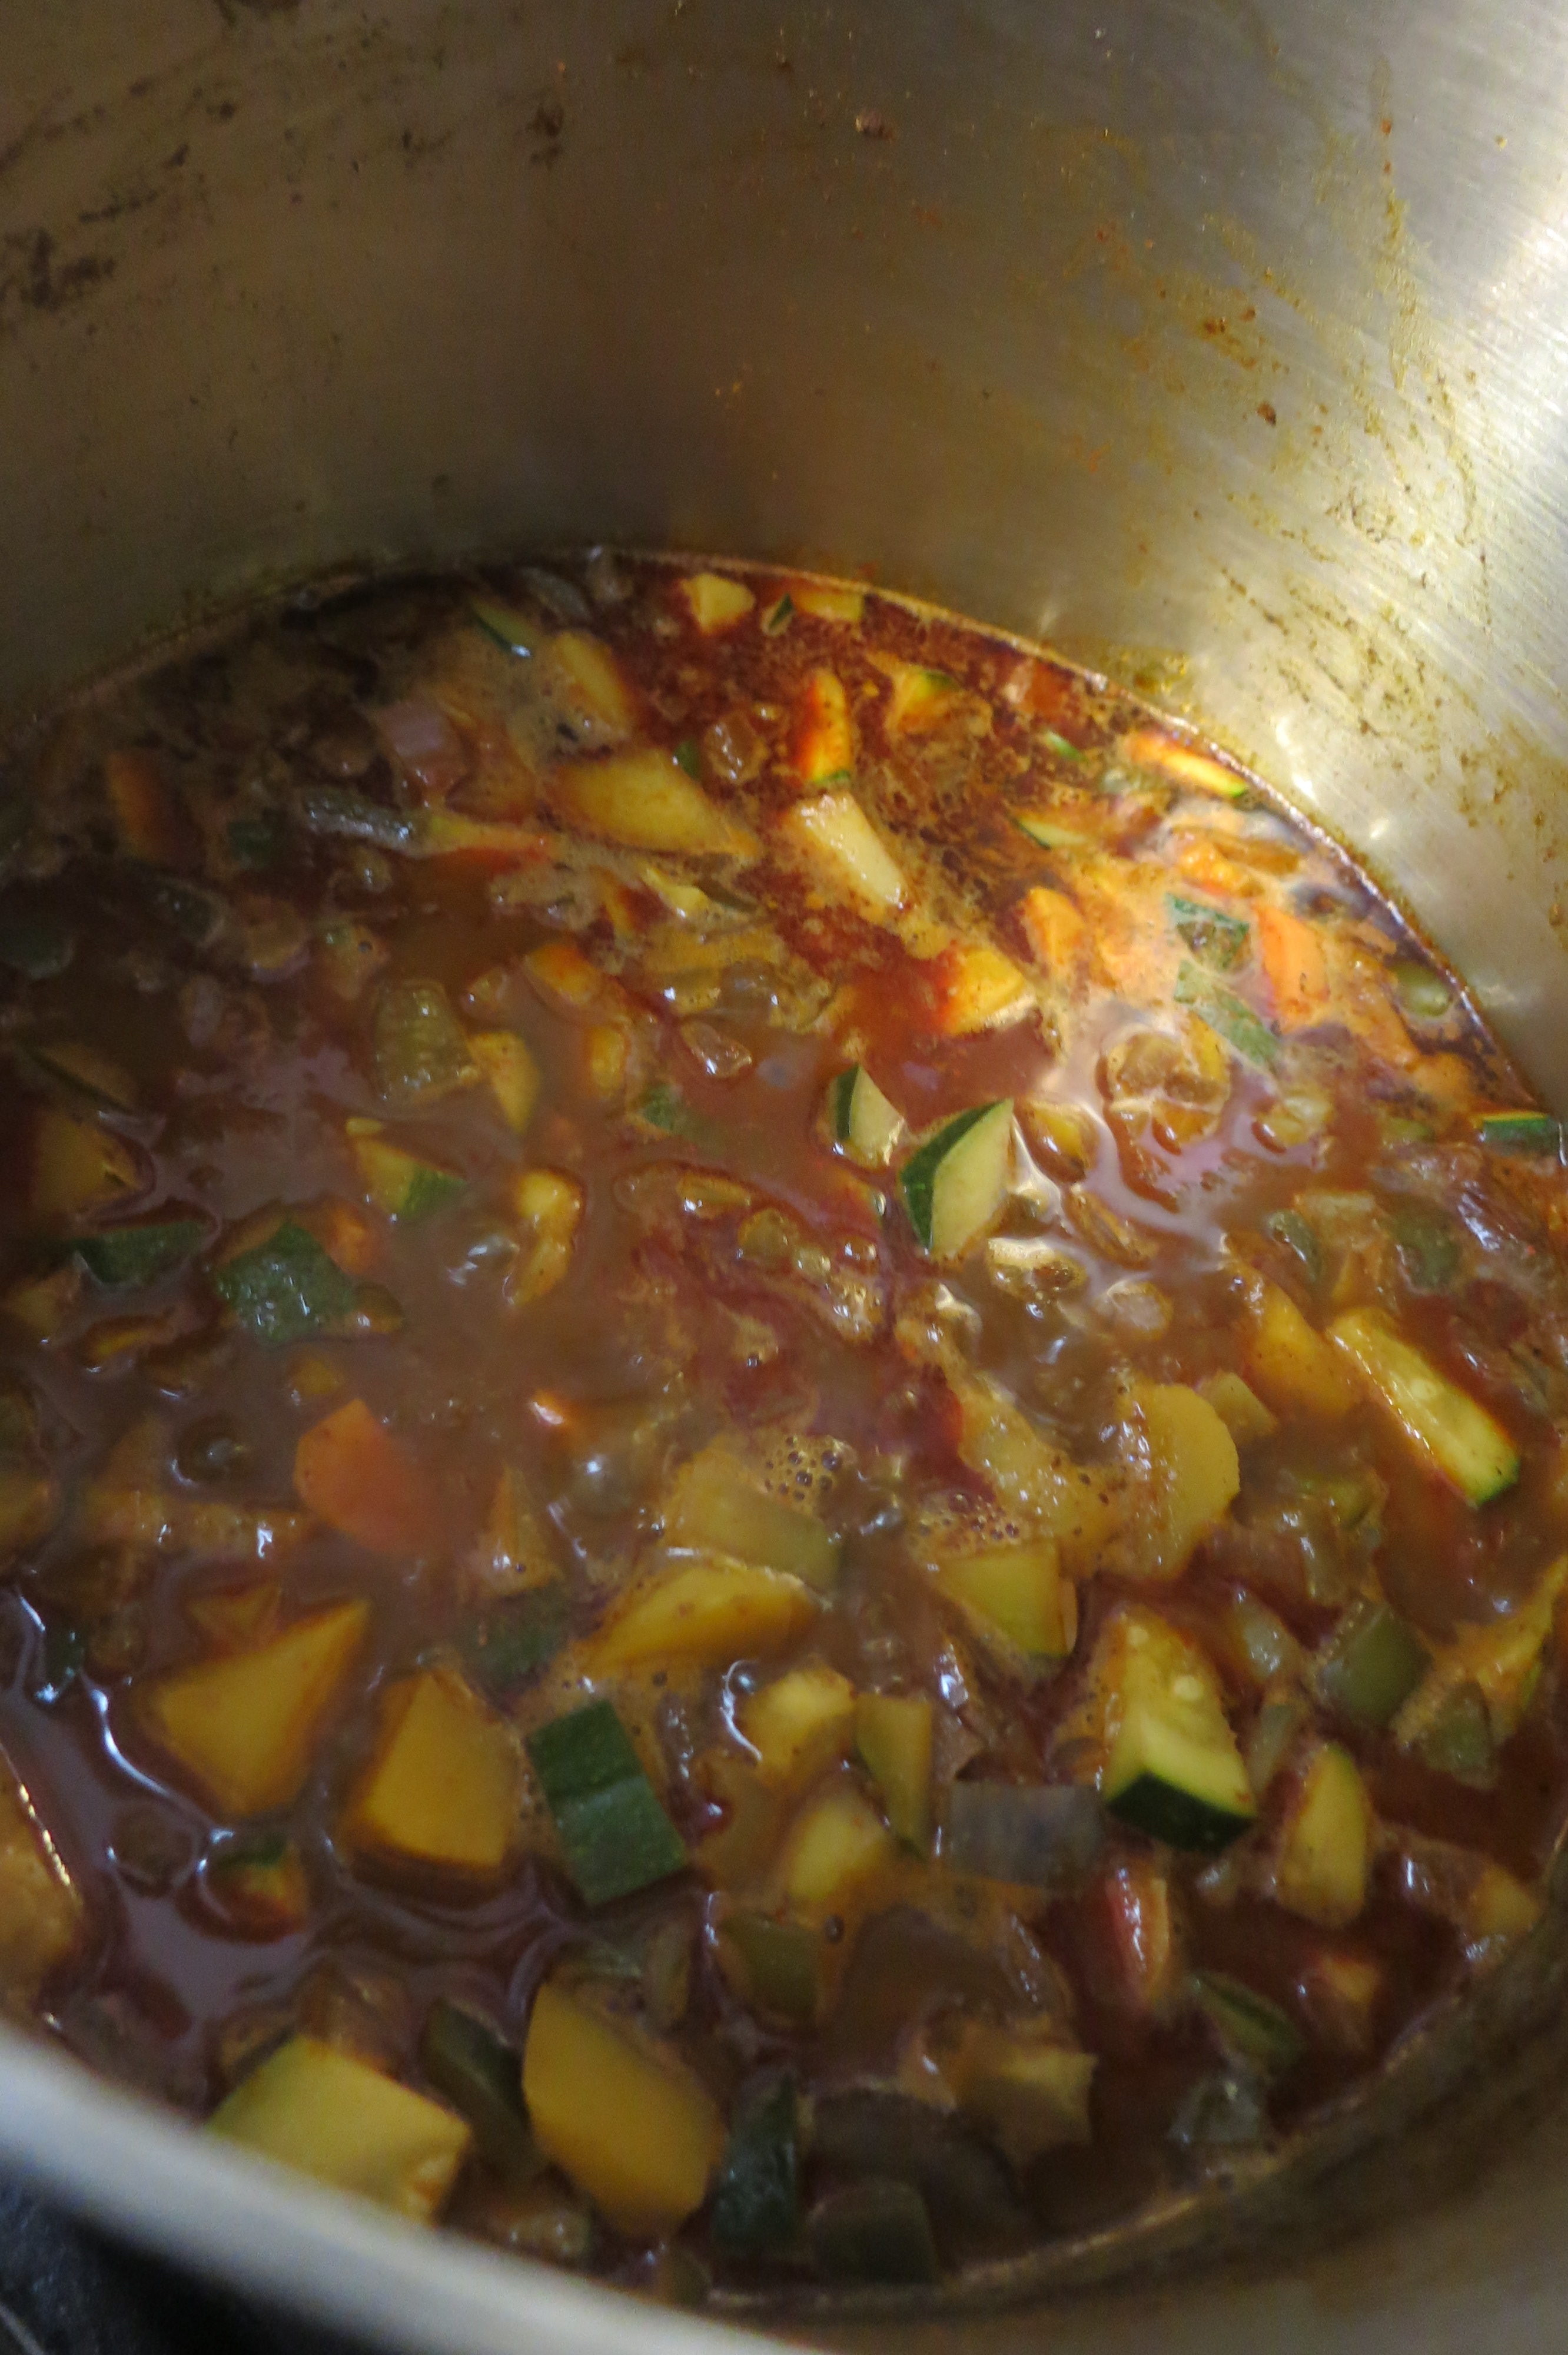
Add the quicker cooking veggies as inspired, including precooked posole or beans, if using. I cook the posole and beans separately to ensure that they cook thoroughly but not at the expense of overcooking the tender veggies.

a7 soup cooking

When everything is tender, salt to taste. Garnish with lime wedges, avocado, thinly sliced white or green onion and cilantro.

Ingredients:

Mano Y Metate Adobo Powder
Cooking oil, like mild olive
Water or broth
Summer squash (zucchini, patty pan)
Winter squash (Delicata)
Potatoes (Red LaSoda, Yukon Gold, Purple)
Sweet Potato (Beauregard)
Sweet peppers (various colors and shapes)
Chiles (roasted and peeled, or diced and sautéed in oil first)
Tomatillo
Onion (red)
Garlic
Blue posole (heirloom dry posole available from NS/S or Flor de Mayo. The Savor Sisters promise at least one post soon about traditional posole.)
White Tepary Beans
Salt
Lime wedges, green onion, avocado and cilantro for garnish

Mac and Leila

Mac and Leila

Parsley

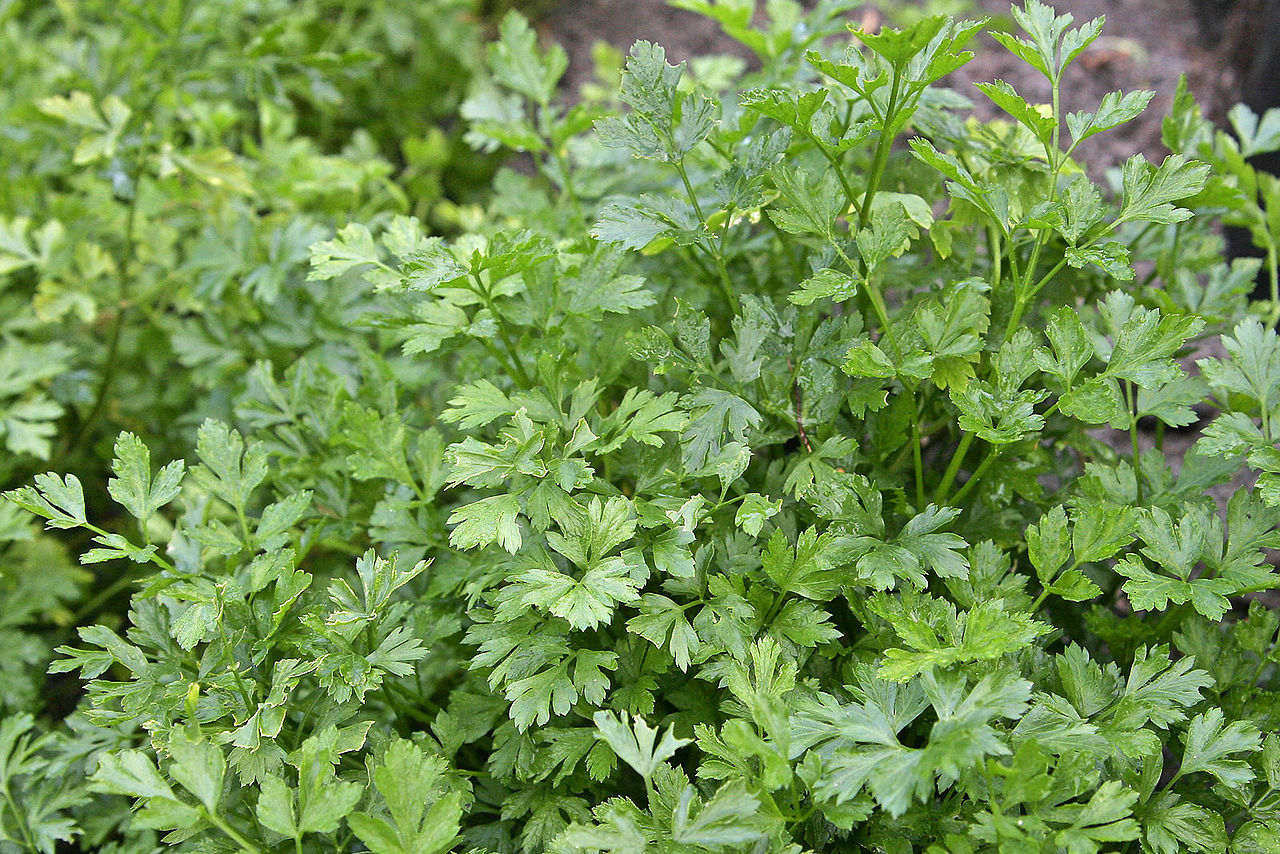
Petroselinum crispum flat leaf parsley

Flat leaf parsley grows well in the winter garden here in the middle desert regions of the Southwest.

Special for Savor the Southwest October 2014 by Jacqueline A. Soule, Ph.D.

Ever notice that restaurants often provide a sprig of fresh parsley on each dinner plate? They may not even know why, but it is a holdover from Victorian times and parsley’s reputed value as a digestive aid. Most diners avoid this strongly flavored green, but they shouldn’t! It may well be the most nutritious thing on the plate! Rich in vitamins A, B1, B2, B3, B5, B6 B9 (folate), C, and K as well as the minerals calcium, iron, magnesium, phosphorous, potassium and zinc. Parsley also helps the body in manganese absorption, a mineral important in building and maintaining healthy bones.

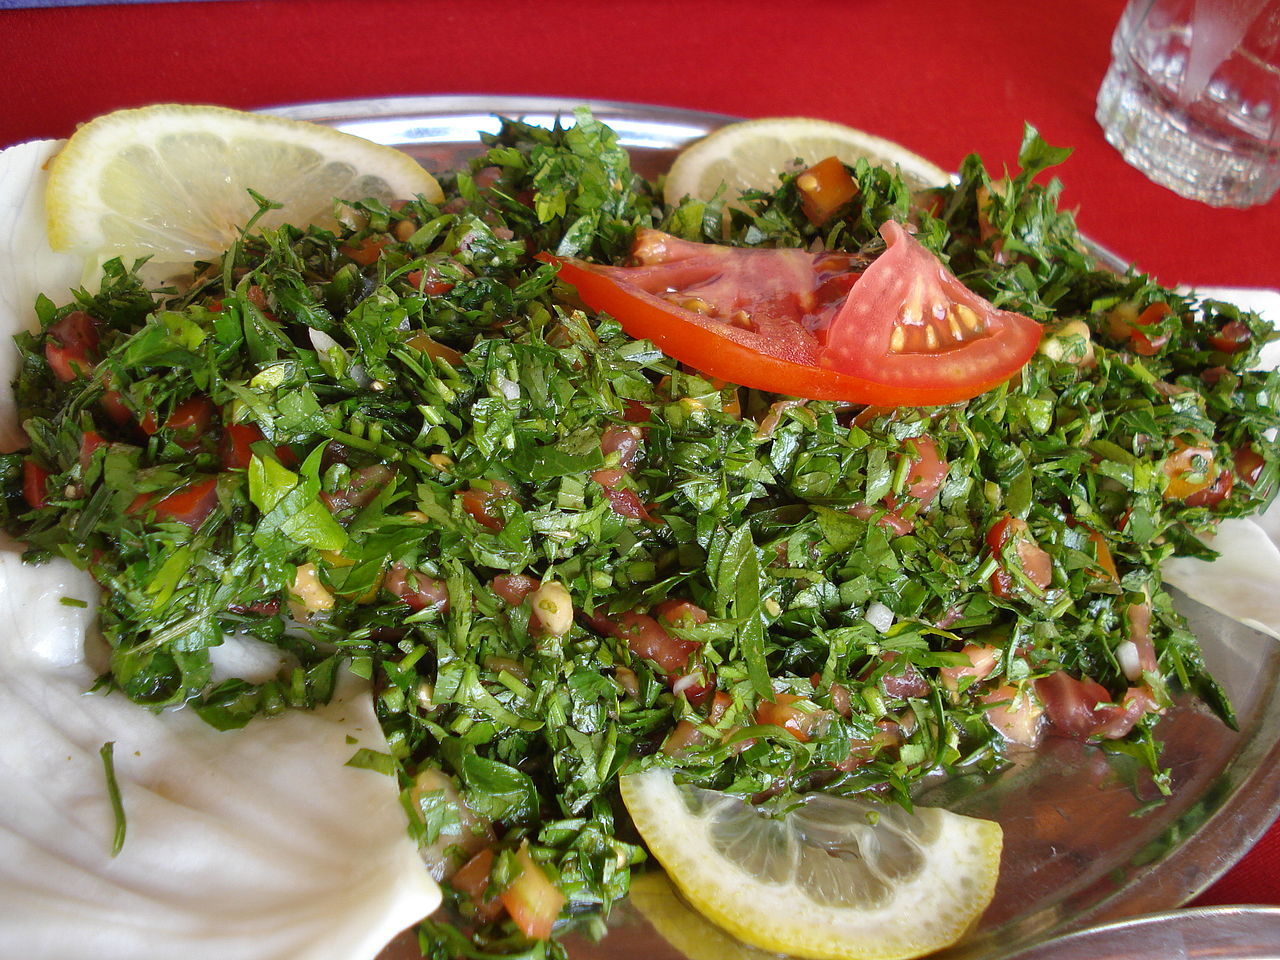
Petroselinum crispum salad

In Europe, salads may consist of parsley, onion and tomato, lacking the salad greens often seen in American salads.

Parsley is one of those plants that is easy to add to the garden, or even just a pot on the patio. And now is the time to plant them! First – there are several parsleys to choose from. Curly leaf parsley (Petroselinum crispum) or flat leaf parsley (P. neopolitanum), and popular for stews, parsley root (P. crispum var. tuberosum). All of these forms of parsley are members of the Carrot Family.   [[By the way, cilantro is als in the same family and can be grown just like parsley.]]


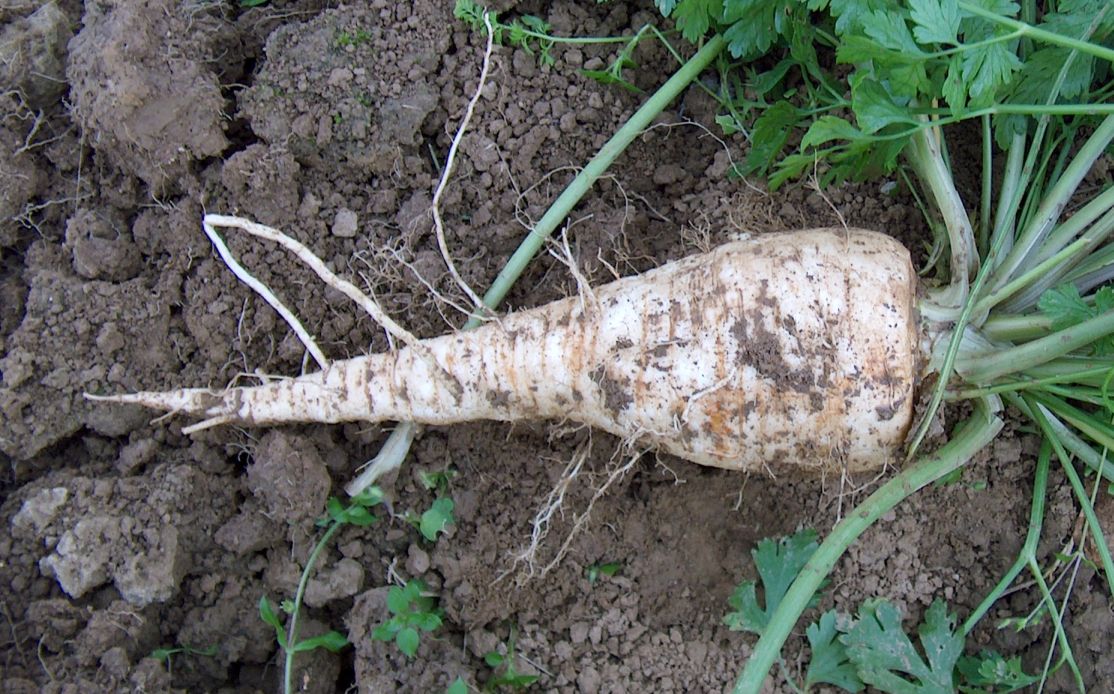
Petroselinum crispum var tuberosum root

One variety of parsley is grown for it’s root – tasty in stews and can be stored for months in a root cellar.

Soil. All carrot kin grow best in a well drained, even sandy, slightly acidic soil, rich in organic matter. That makes them easy to grow in containers. Use a pot one and a half feet deep. Potting soil with some added sand makes a good growing media.

Petroselinum crispum IMG_1371

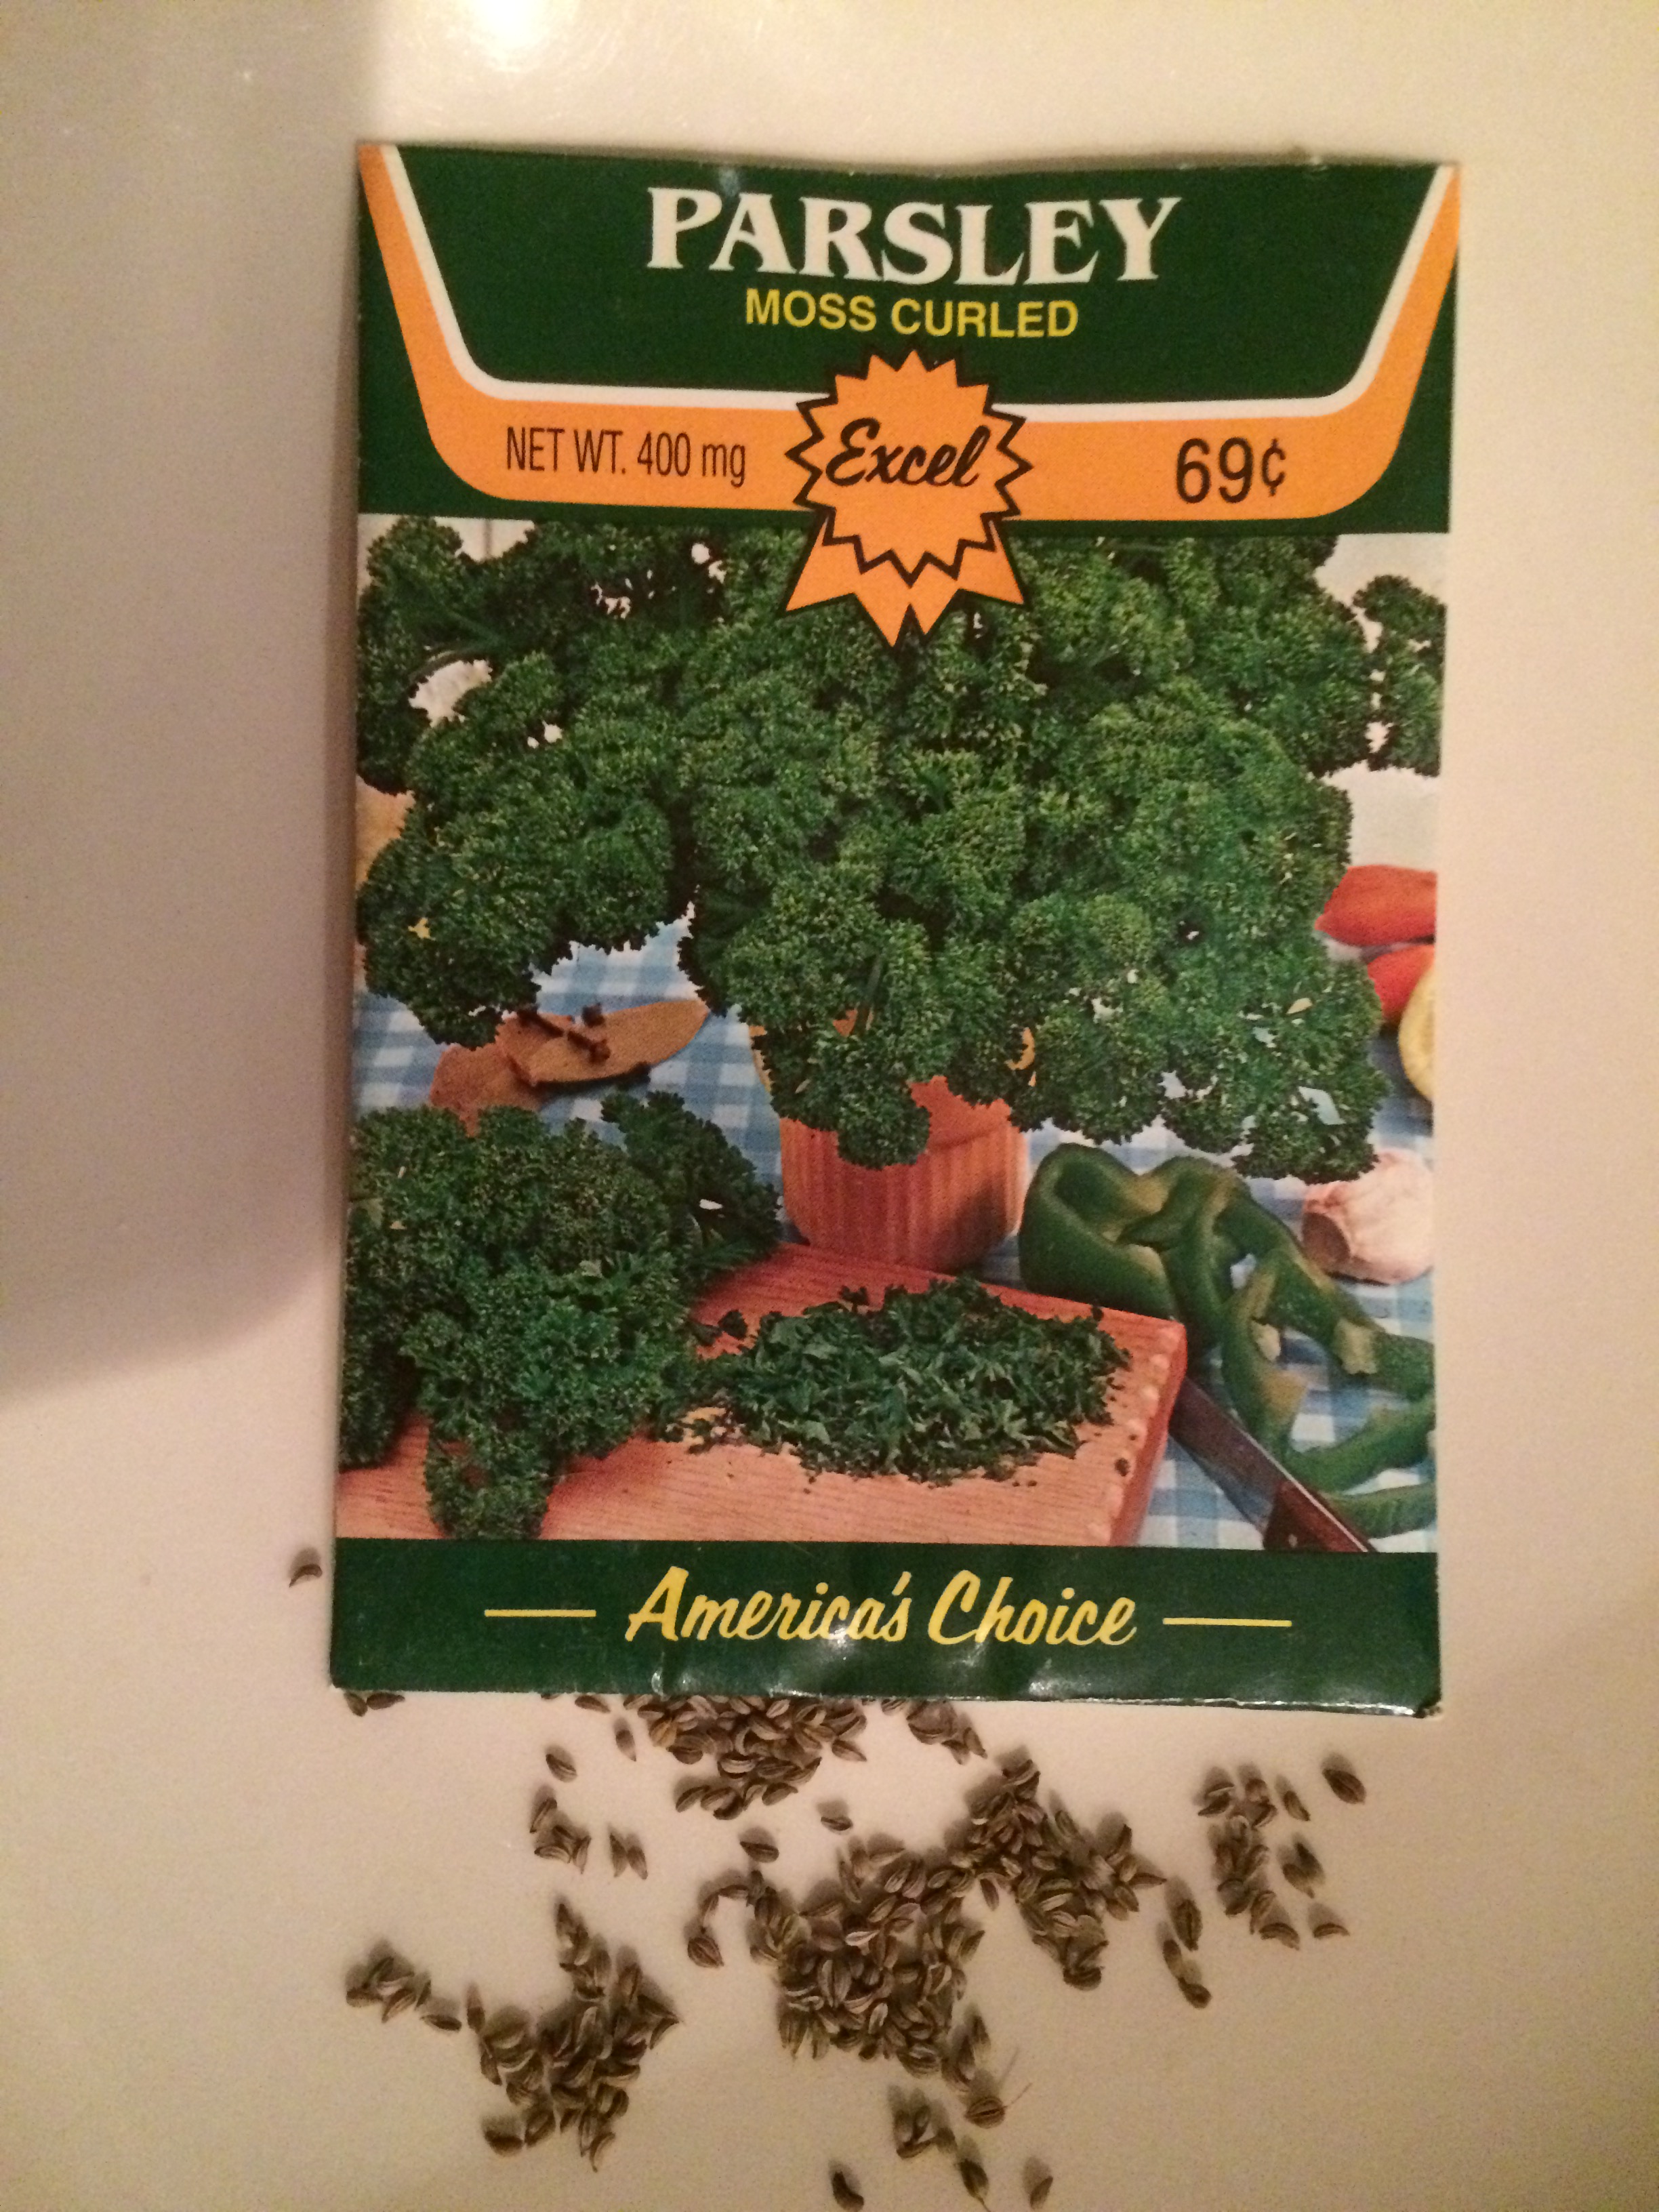
Just a few plants of parsley can be enough so you don’t need a giant package of seeds.

Light. Six or more hours of winter sun to do well.

Plant. Parsley can be bought as a seedling from a nursery or grown from seed. One or two plants are usually enough for most families so seedlings might be a better option.

Water. Keep the soil relatively moist during establishment. You can let parsley dry a little more between water once they get larger. Some people believe this makes their flavors stronger.

Fertilizer. Parsley gets very lush and full with some fertilizer. However, if you amended your soil at the start you don’t need to purchase fertilizer. Plus, avoid fertilizing anything when frosts are a possibility. Come late February you could apply a half strength general purpose fertilizer.

Petroselinum neopolitanum curley parsley_PA_08

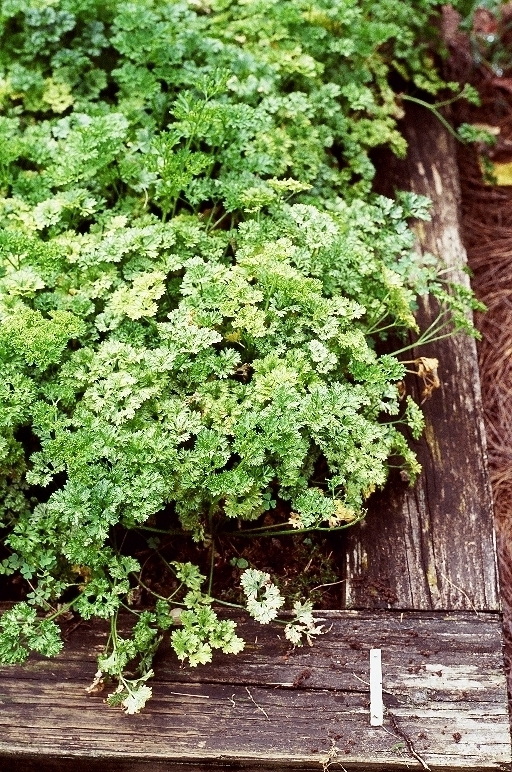
Curly leaf parsley grows well in the arid Southwest.

Harvest and Storage. Parsley tastes wonderful when fresh but loses much flavor when dried. Freezing the leaves retains more flavor. Select healthy leaves, rinse, pat dry but leave some moisture. Chop into roughly quarter inch squares and freeze in a labeled plastic bag or yogurt container. This can be used directly from the freezer.

Petroselinum_neapolitanum_flower

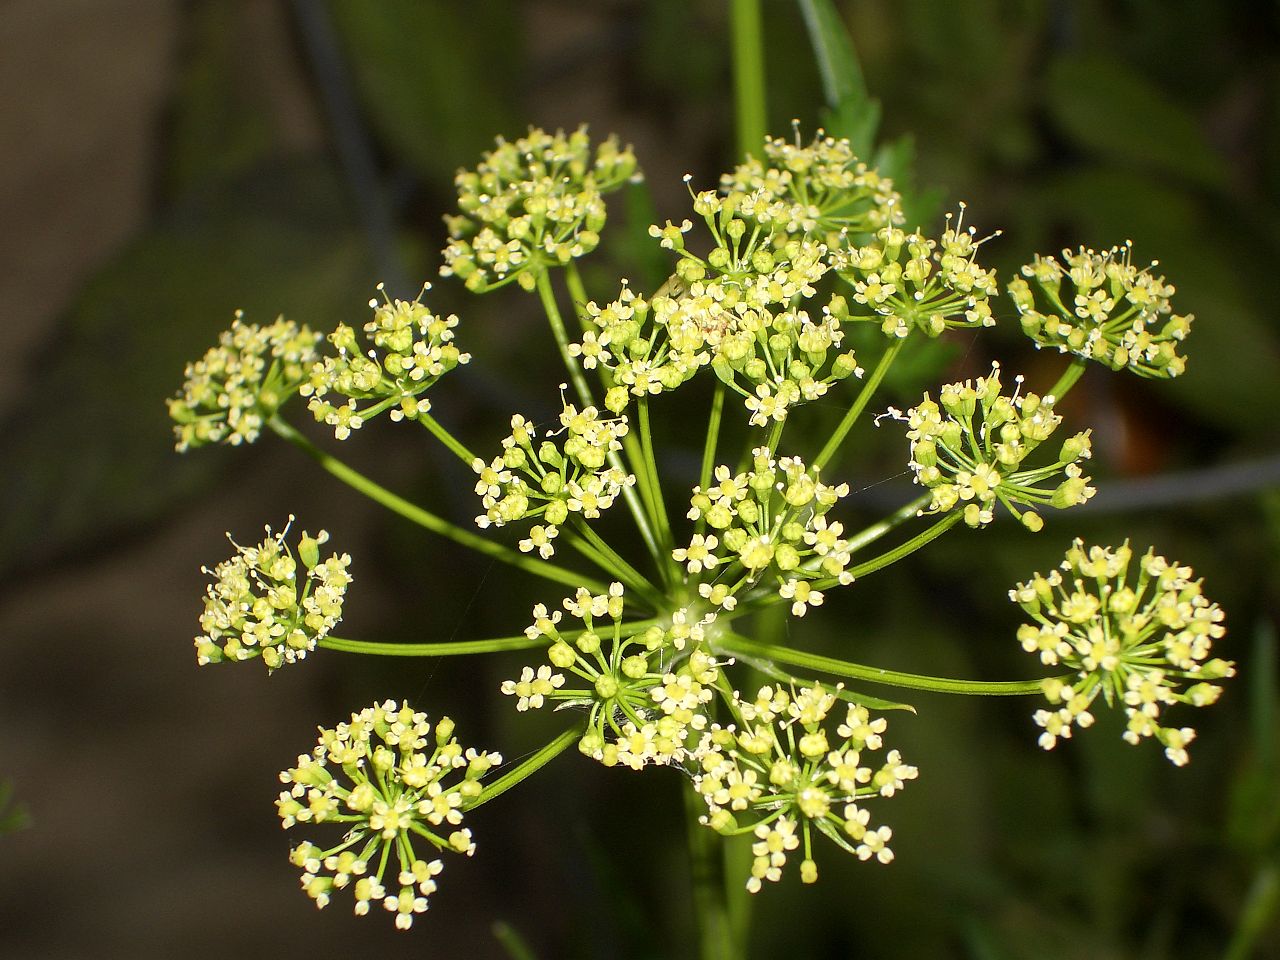
If you let your parsley flower, it should attract butterflies to your garden. Plus you will then get seeds to plant next year.

Not only does parsley look pretty on the plate and in the garden, it also attracts winged wildlife. Indeed, one species of swallowtail butterfly use parsley as a host plant for their larvae. Caterpillar are black and green striped with yellow dots, and will feast upon parsley for a brief two weeks before turning into lovely butterflies. Along with butterflies, bees visit the blooms. Seed eaters such as the lesser goldfinch also adore the seed. I let some parsley develop flowers and go to seed each year so the animals can enjoy it once I am done harvesting the leaves. And I save some seeds for replanting.

Petroselinum crispum seed crop

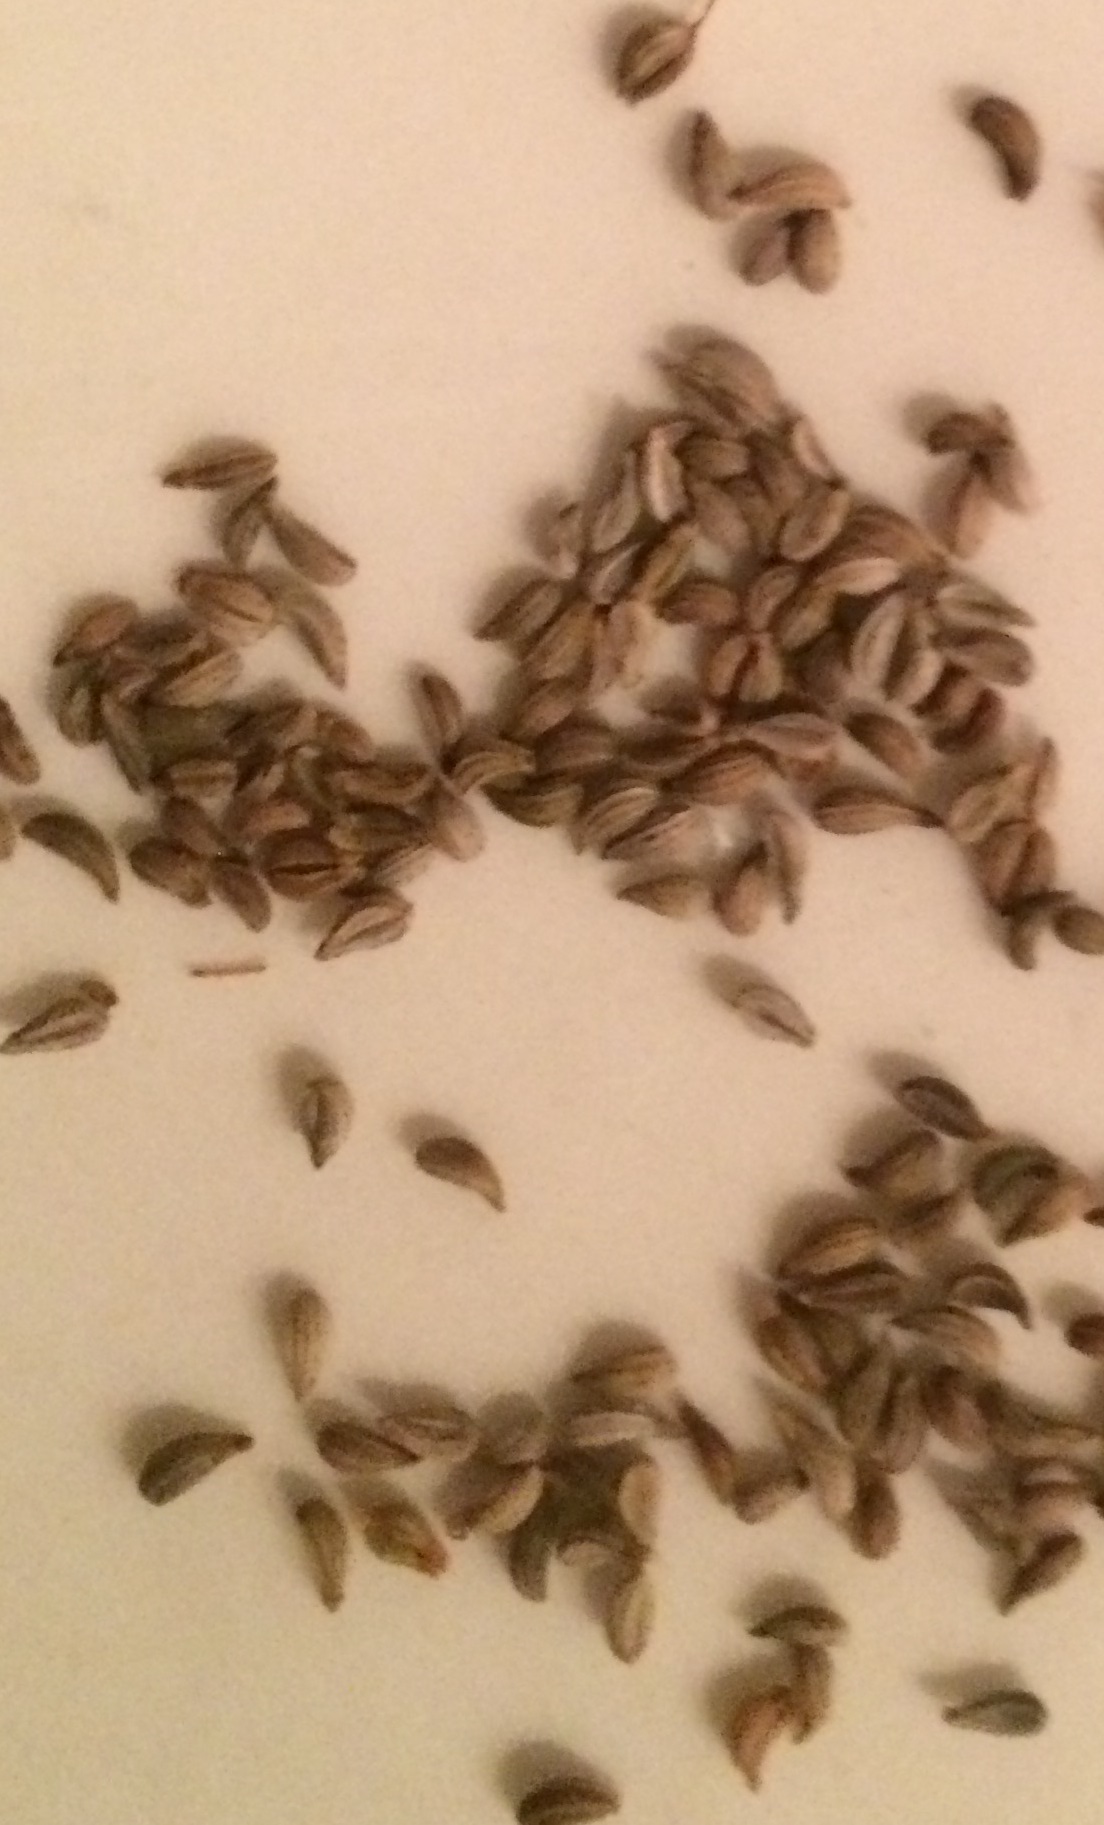
Do save some seed for next year. The best thing to plant in your garden is seed of what did well in your garden!

JAS avatarJacqueline A. Soule has been writing about plants and growing in Tucson for decades. Her latest book “Southwest Fruit and Vegetable Gardening” (Cool Springs Press $22.99) is available at local bookstores and botanical gardens. (Call first though, some venues have been selling out.)

©  Jacqueline Soule.  All rights reserved. I have received many requests to reprint my work. My policy is that you are free to use a very short excerpt which must give proper credit to the author, and must include a link back to the original post on our site. Photos may not be used.

Savoring Our First Anniversary (and Mesquite Cake)

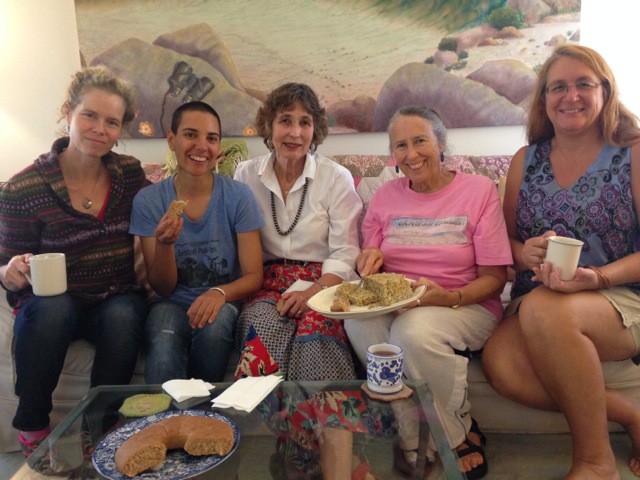
(From left) Aunt Linda, Amy Valdez Schwem, Carolyn Niethammer,  Tia Marta, and Jacqueline Soule.

The Savor sisters: (From left) Aunt Linda, Amy Valdes Schwemm, Carolyn Niethammer, Tia Marta, and Jacqueline Soule.

Carolyn Niethammer here today with this celebratory post. The Savor Sisters, the five writers who bring you Savor the Southwest, got together this week to celebrate the first anniversary of our wide ranging blog about the glories of Southwest food traditions –  traditional, modern, wild and cultivated. The Savor the Southwest month always starts out with Aunt Linda who frequently writes about her bees, recipes with honey, and even making cheese from milk from cows on her ranch. Her posts are lyrical and sometimes spirtual. On the second Friday, you hear from Tia Marta (Muffin Burgess), our ethnobotanist who keeps an eye on what the desert is producing, traditional Native American agricultural products, and ingredients she sometimes uses in her Flor de Mayo products.  I take the third Friday and write about edible desert plants, Southwest specialties and interview other interesting folks in the food world.  On the fourth Friday we hear from Jacqueline Soule who has been taking us through her book Father Kino’s Herbs among other subjects. That’s her gluten-free barrel cactus seed cake Muffin is slicing in the photo. You’ll get the recipe later this month. So far we have only heard from Amy Valdes Schwemm, producer of fabulous spices, on the occasional fifth Friday, but she will be writing more frequently in the coming year.

We are grateful to all of you readers who join us each week as we explore and celebrate the culinary delights of this fabulous area here on the Sonoran desert where we are so privileged to live. Every celebration needs something sweet, so today I’m going to give you a recipe for an easy and delicious mesquite cake that uses whatever fruits are in season. I used peaches and grapes, but plums, pears, apples or even prickly pear would be great additions. This is good for brunch or a not-too-sweet dessert.

Golden Mesquite Fruit Cake

3/4 cup all-purpose flour

1/4 cup mesquite meal

2 teaspoons baking powder

1/2 teaspoon ginger or cinnamon

1/4 teaspoon salt

1 stick soft butter

3/4 cup sugar

2 large egs

1 teaspoon vanilla extract

1 cup chopped fresh fruit

For topping

1 tablespoon mesquite meal

1 tablespoon sugar

1/2 teaspoon ginger or cinnamon

Method:

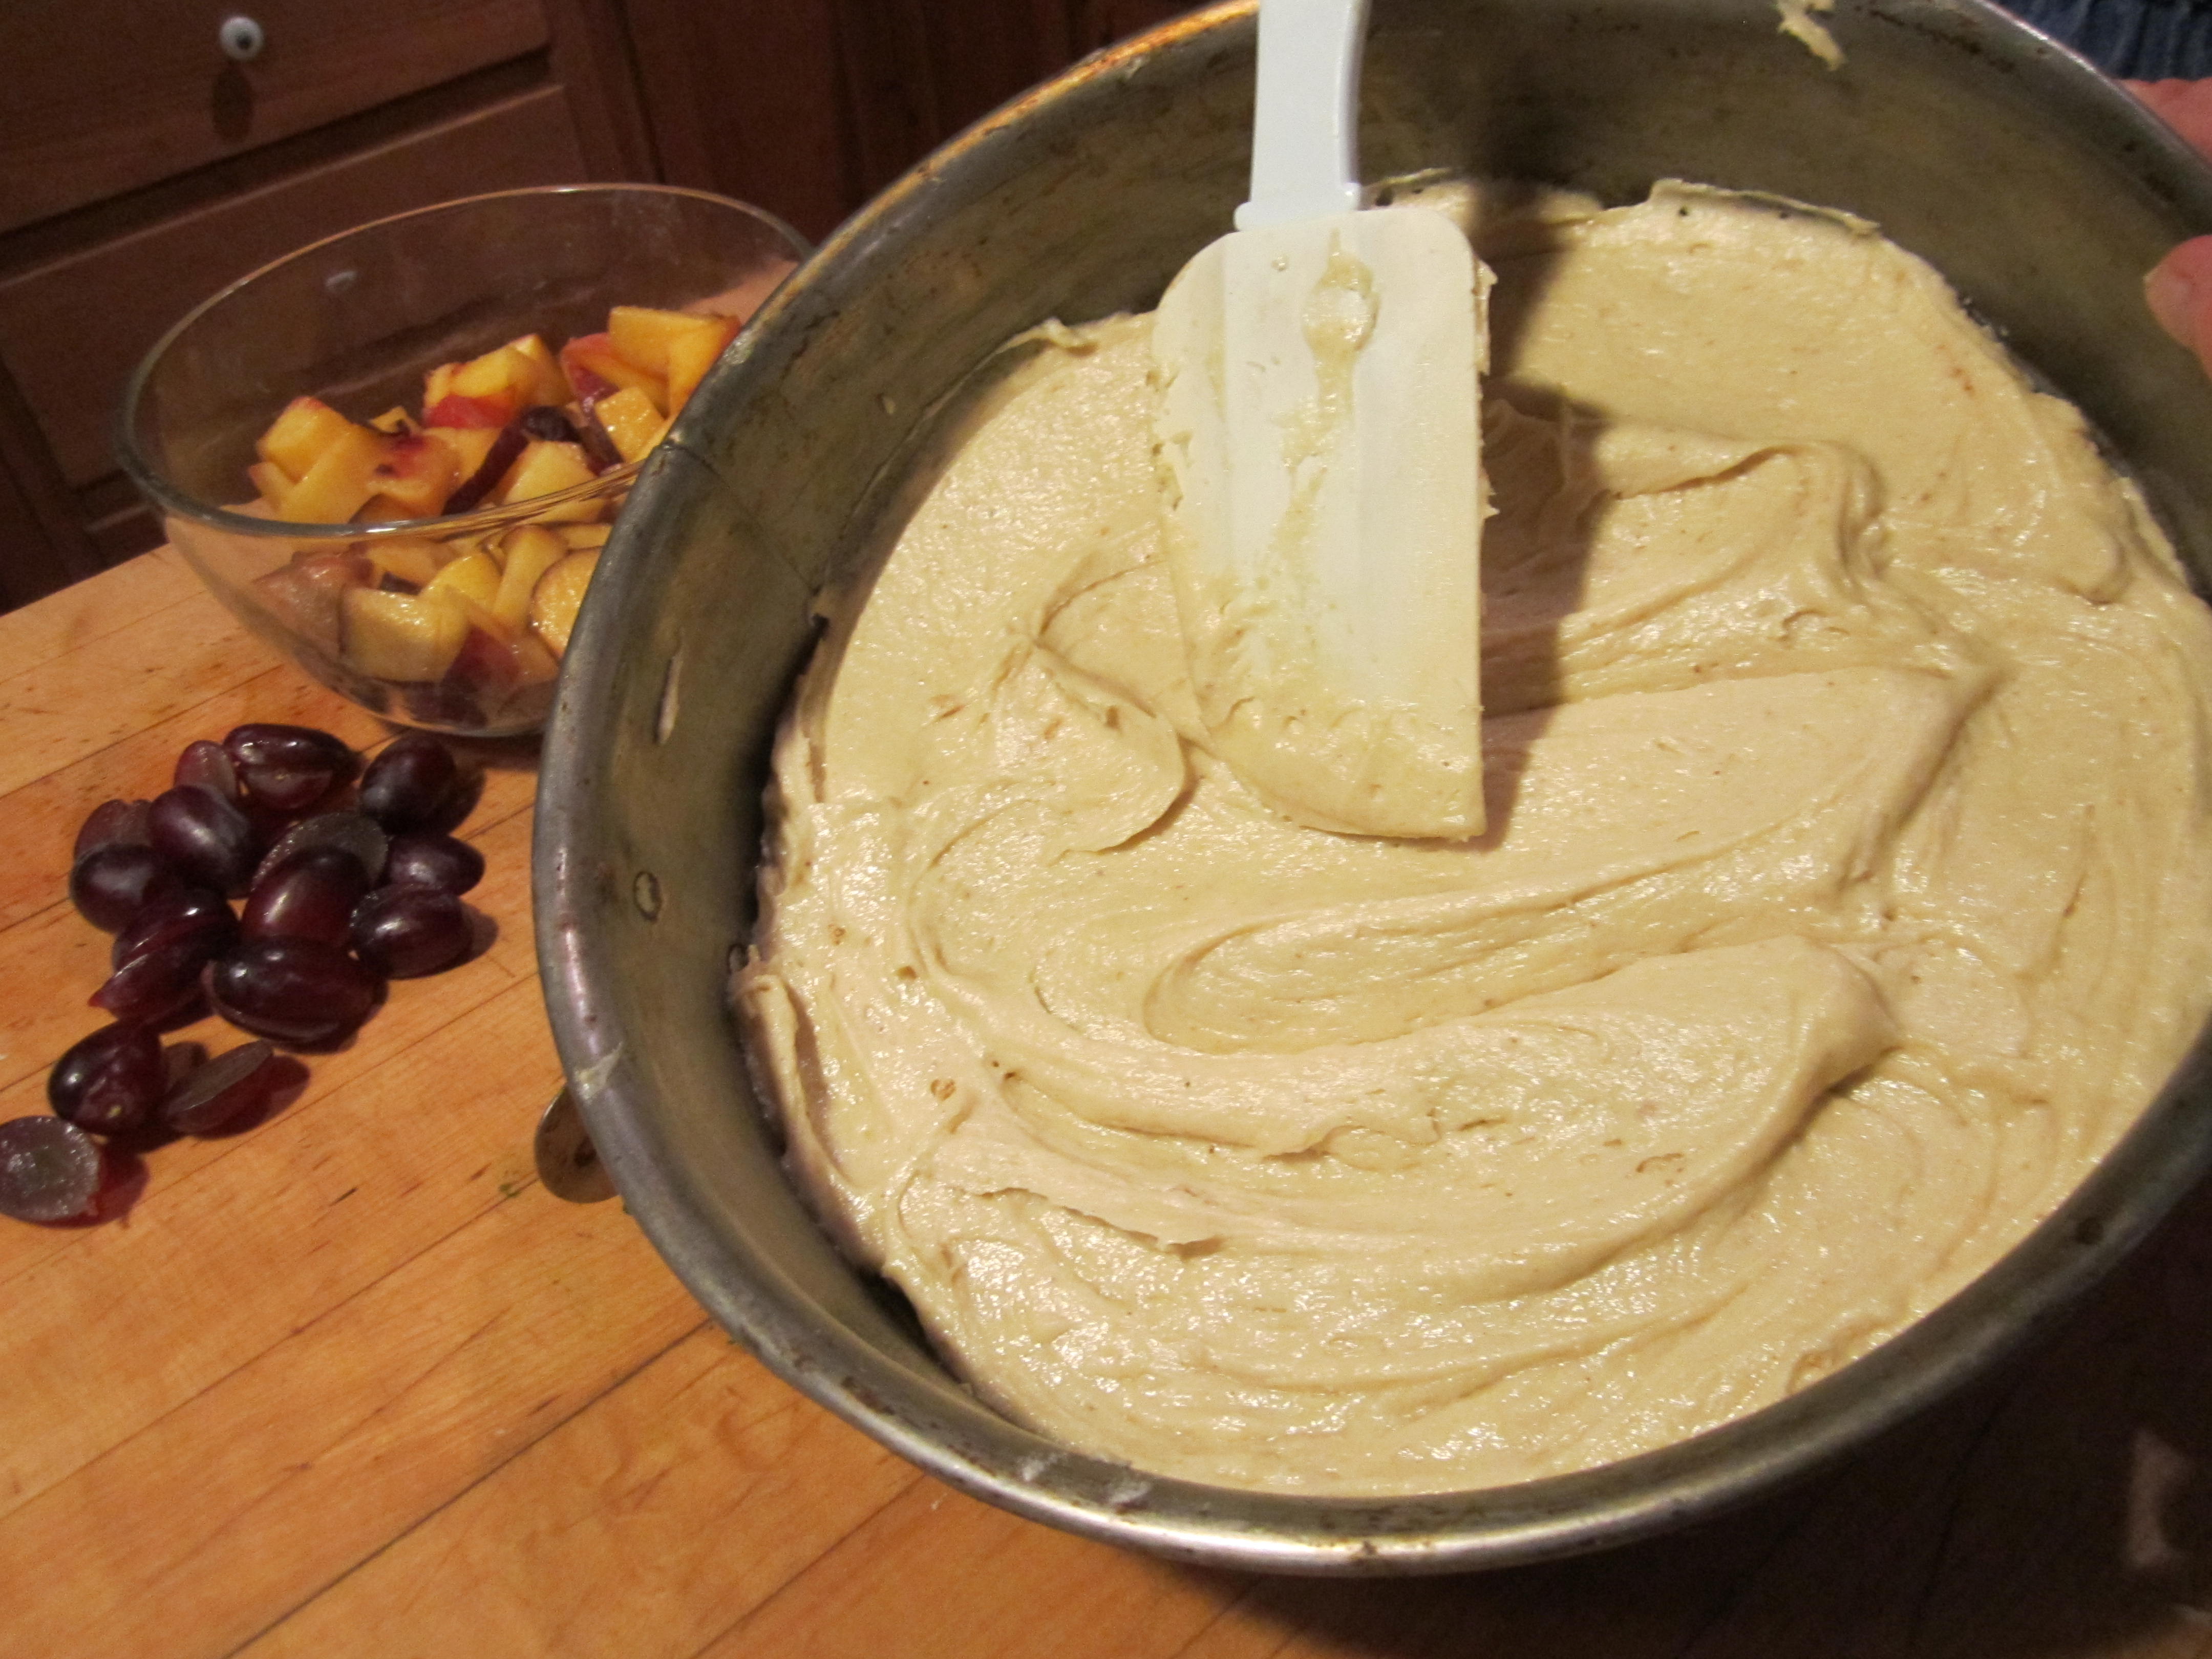
Preheat oven to 350 degrees F with rack in middle. Chop fruit. Lightly butter a springform pan. In a small bowl, whisk together flour, baking powder, salt and spice of choice. In medium bowl, beat butter and sugar with an electic mixer until pale and fluffy. Add eggs one at a time, beating well after each addiotn, then beat in vanilla. At low speed,  add flour mixture until ljust combined. Spread batter evenly in pan.

Spread batter evenly in springform pan.

Spread batter evenly in springform pan.

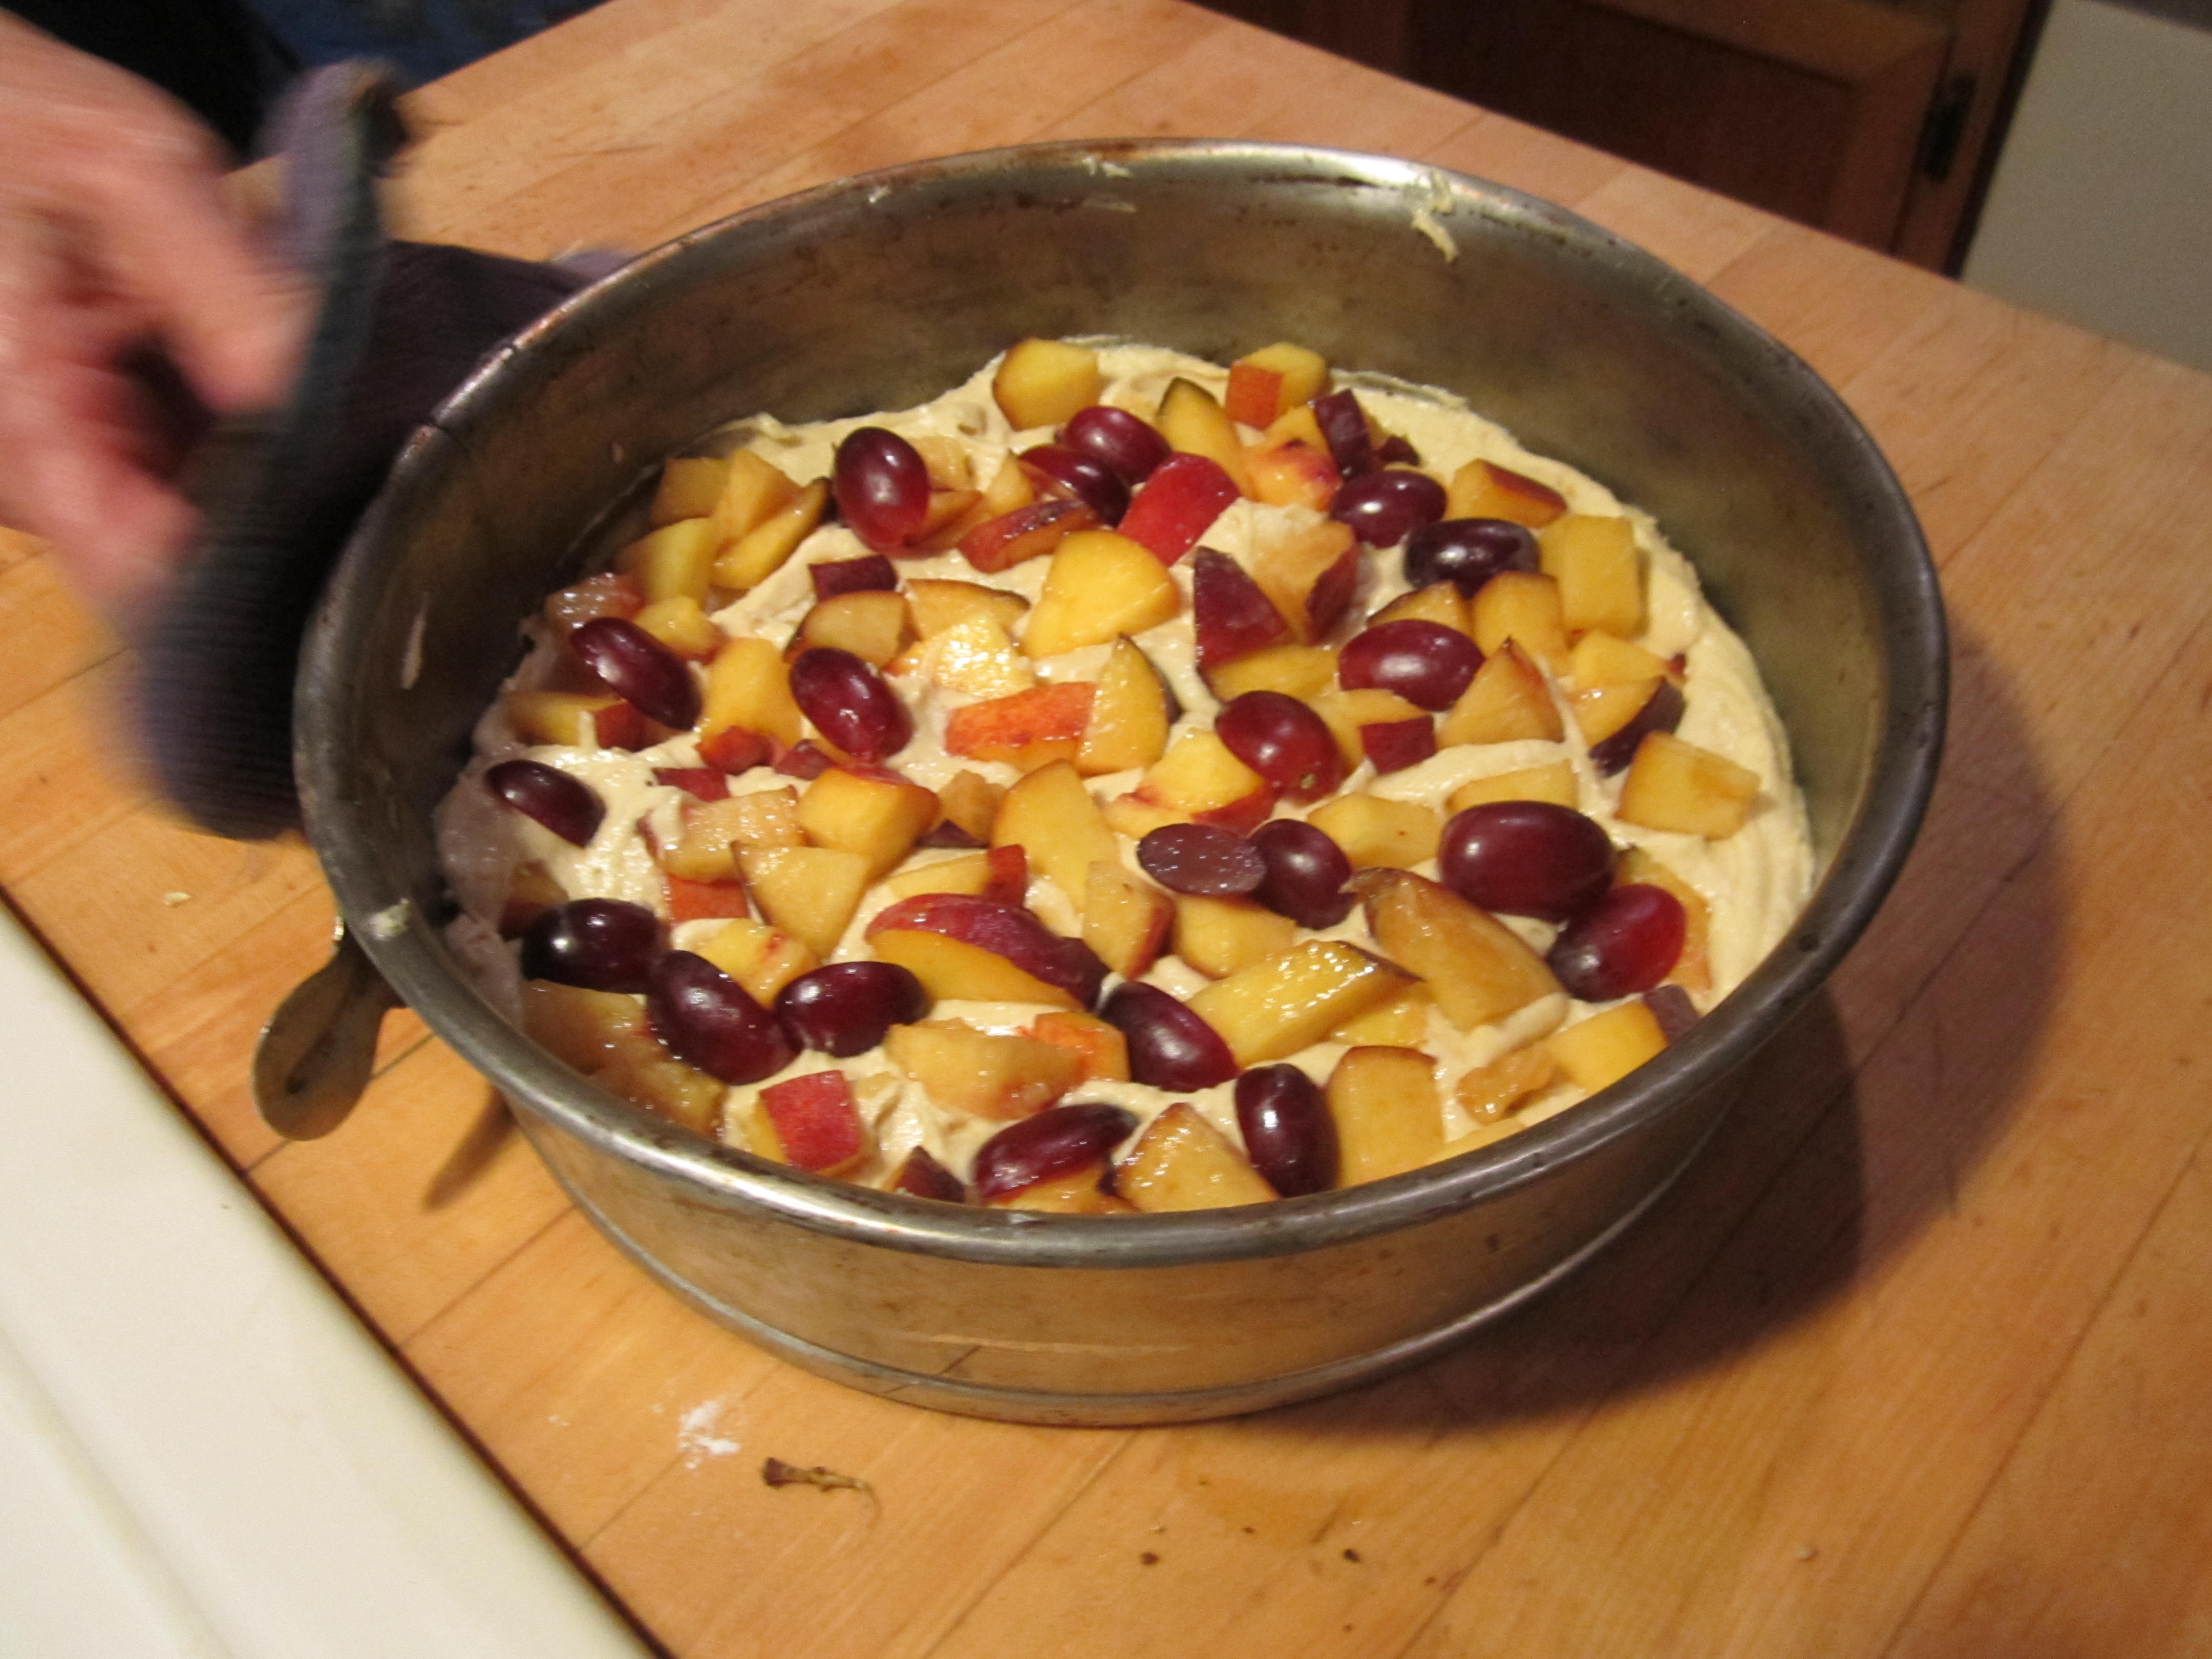
Scatter chopped fruit over top of batter.

Scatter chopped fruit over top of batter.

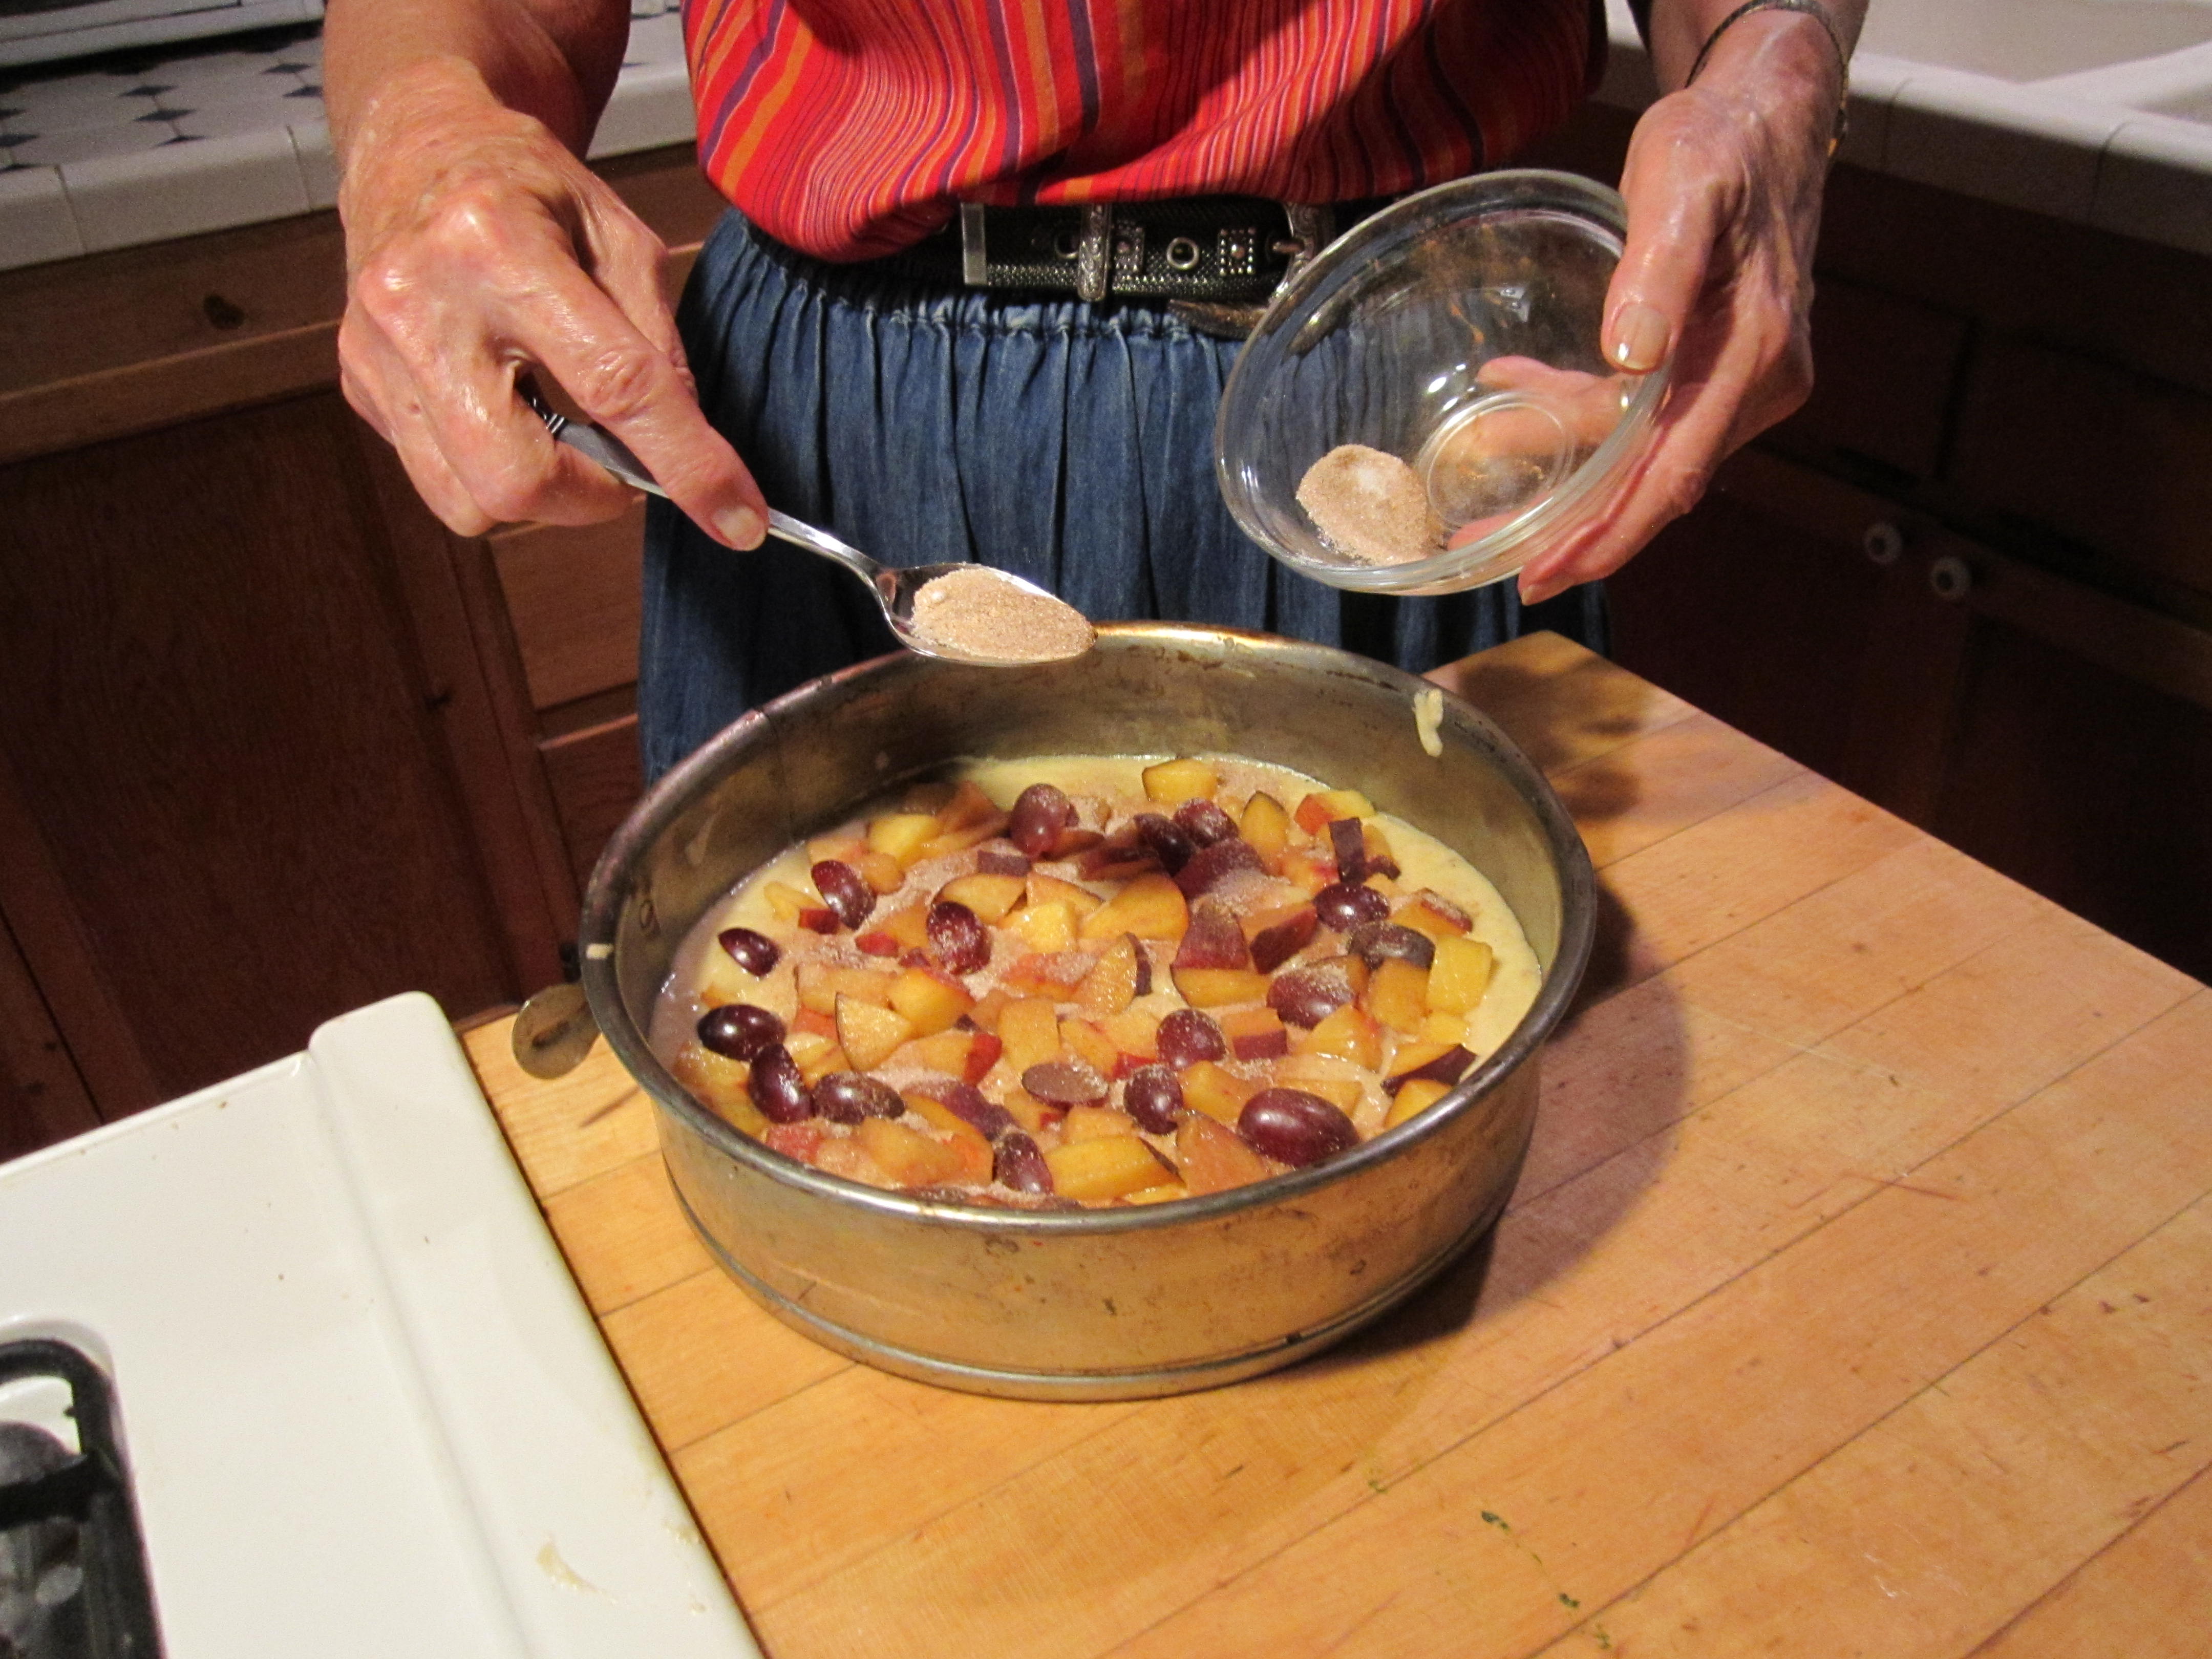
In a small bowl, stir together the topping mixture and sprinkle evenly over the cake.

Sprinkle sugar mixture evenly over cake.

Sprinkle sugar mixture evenly over cake.

Put in preheated oven for 45 to 50 minutes. As the cake bakes it will rise over the fruit. Cake is done when it is golden brown and top is firm but tender when lightly touched. Cool in the pan for around 10 minutes and then remove the sides of the pan. Serve warm or at room temperature. A little whipped cream never hurt anything.

Yummm, warm and fragrant from the oven.

Yummm, warm and fragrant from the oven.

________________________________

Want more delicious recipes using ingredients from the Southwest?  I have lots of ideas for you. In Cooking the Wild Southwest, I introduce you to 23 easily identified and delicious wild plants of the arid Southwest. The Prickly Pear Cookbook is all about the fruits and leaves of the nopal plant. In The New Southwest Cookbook, you’ll meet some of the most innovative professional chefs in the Southwest and get to try the recipes they serve in their restaurants.


A Southwest Twist on Mac ‘n Cheese

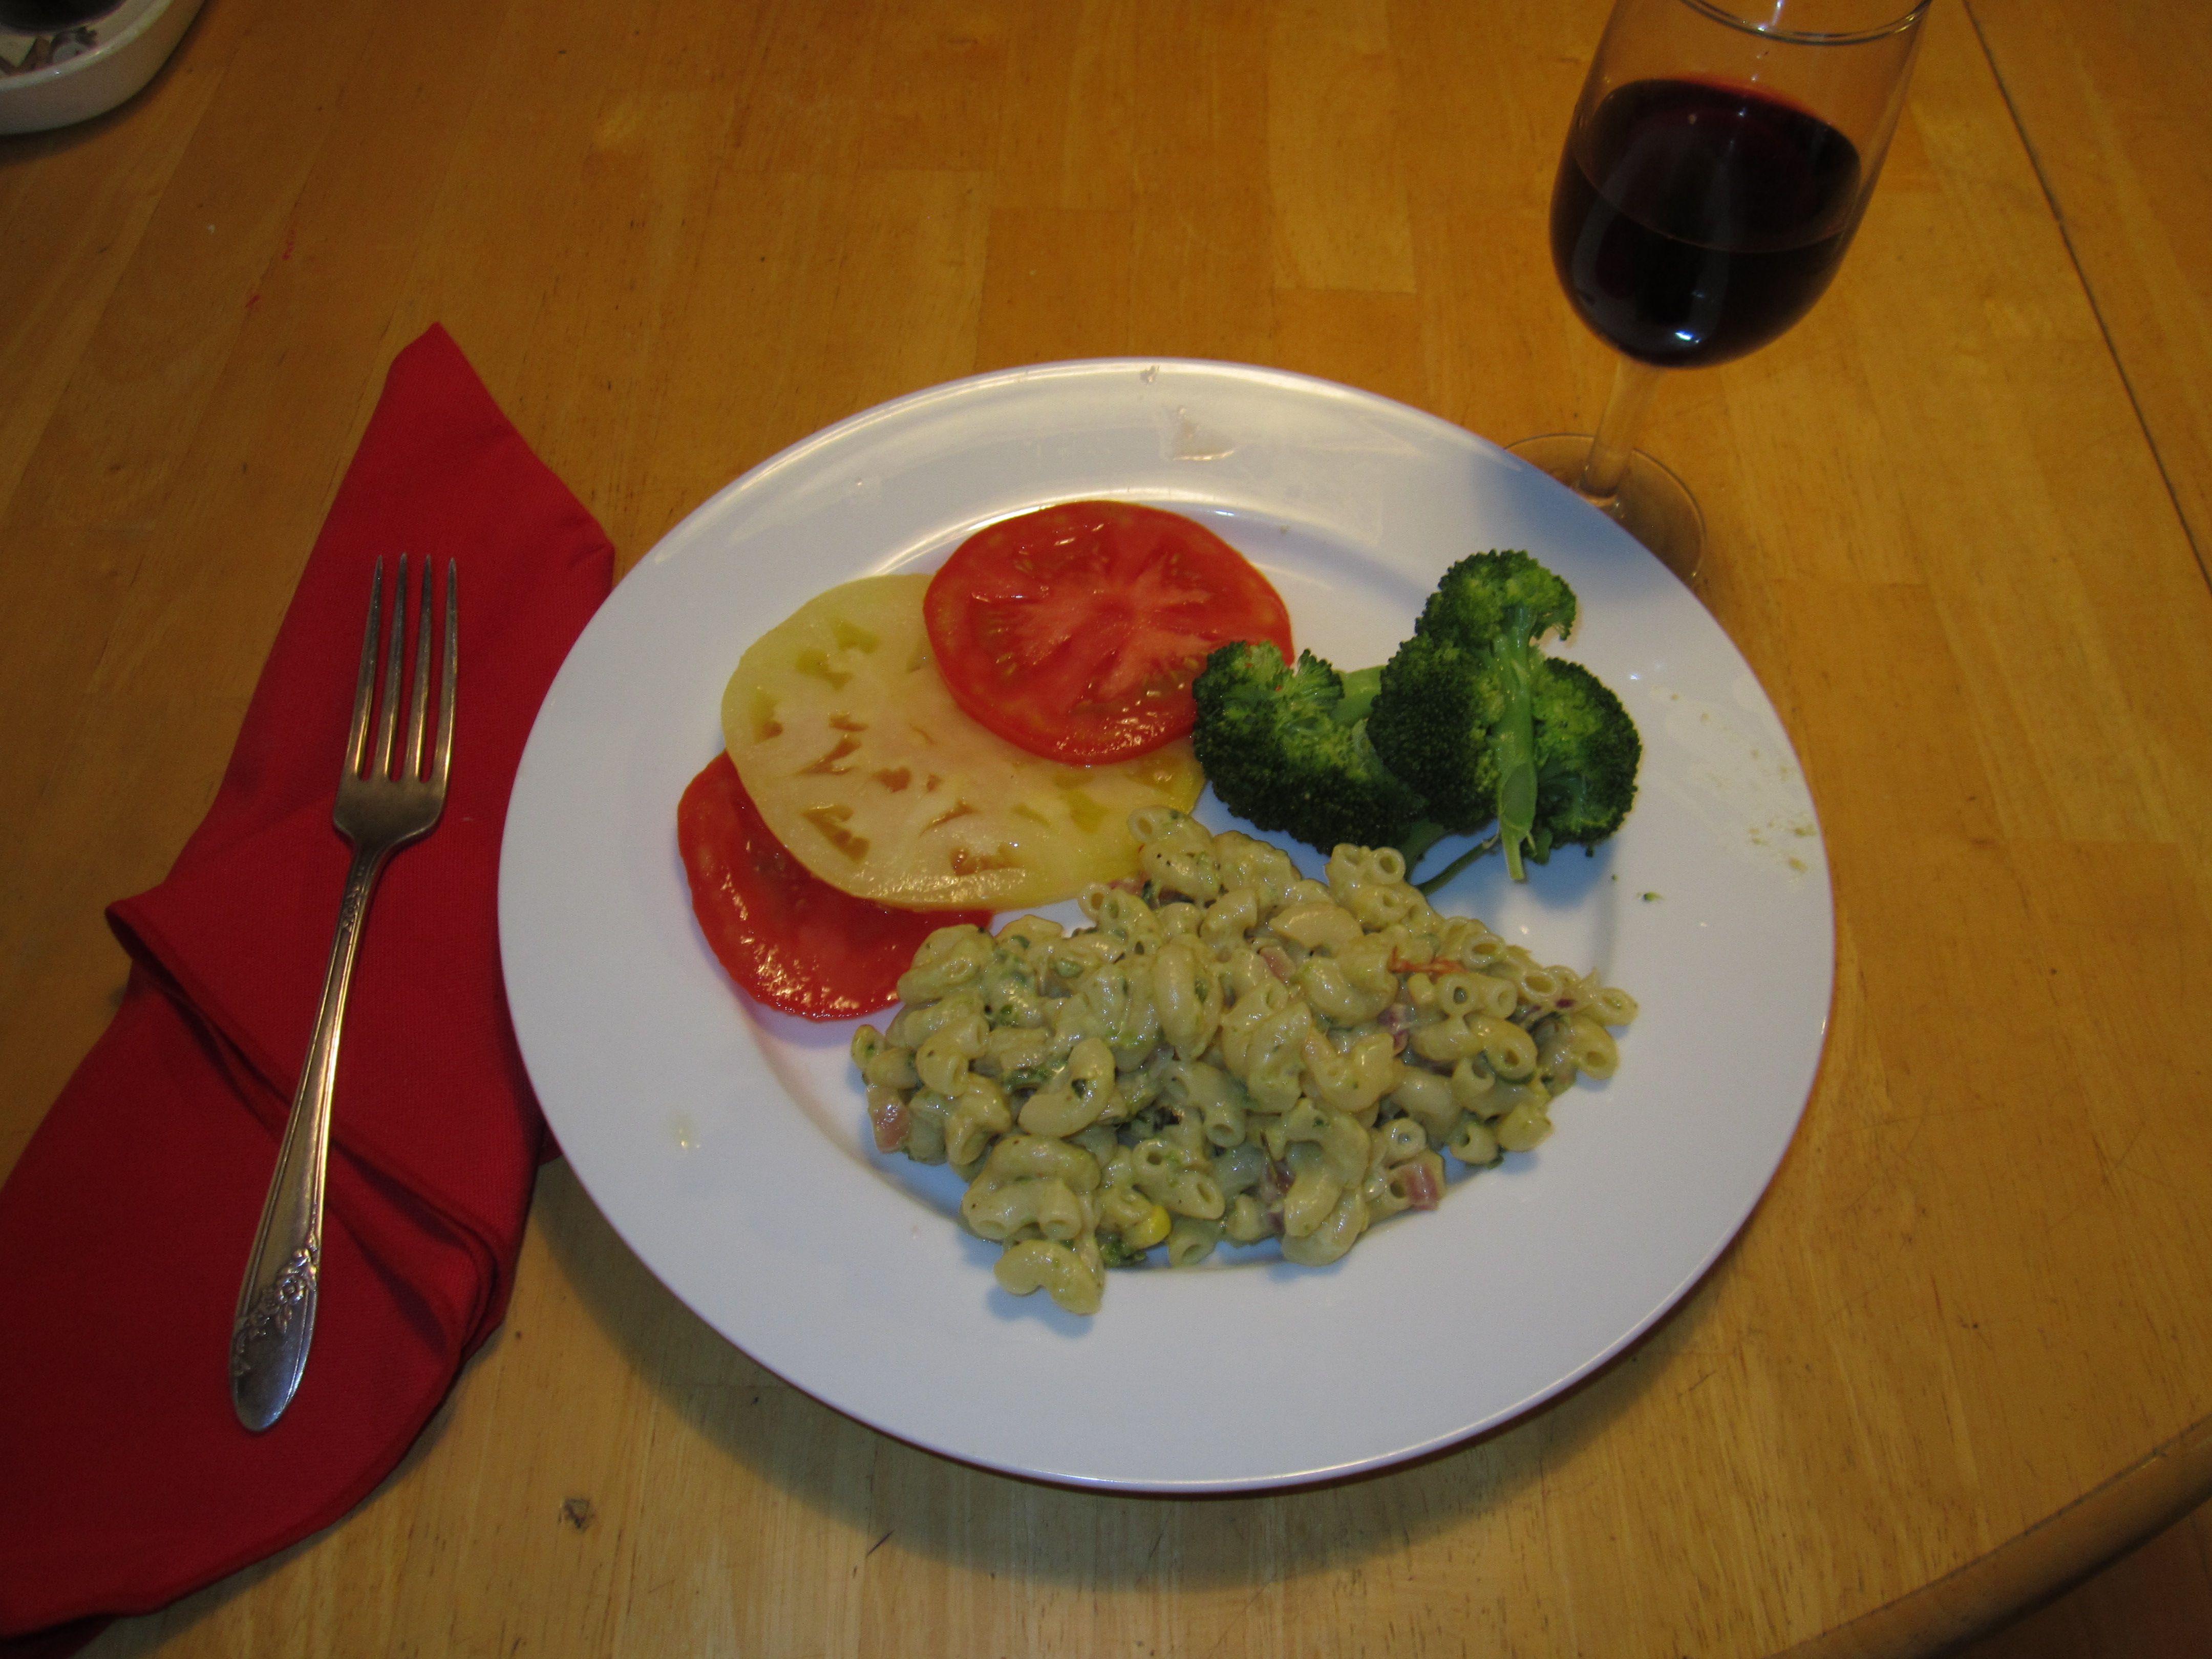
Green Chile Macaroni gives a Southwest twist to everybody's comfort food.

Green Chile Macaroni gives a Southwest twist to everybody’s comfort food.

My husband is good at making breakfast — coffee, fruit, toast. And he can put together a salad if I have plenty of veggies in my garden or the fridge. But recently he decided he should learn how to actually cook something, and we decided on macaroni and cheese. From scratch, not out of a box. I looked in all my old standard cookbooks: The Joy of Cooking (both the 1964 and 1997  versions); How to Cook Everything, by Mark Bittman, and The New Basics by Rosso and Lukins. Ultimately, I decided the best recipe was in my own New Southwest Cookbook. I didn’t devise the recipe; it came from Chef Robert McGrath at the Roaring Forks Restaurant in Scottsdale.

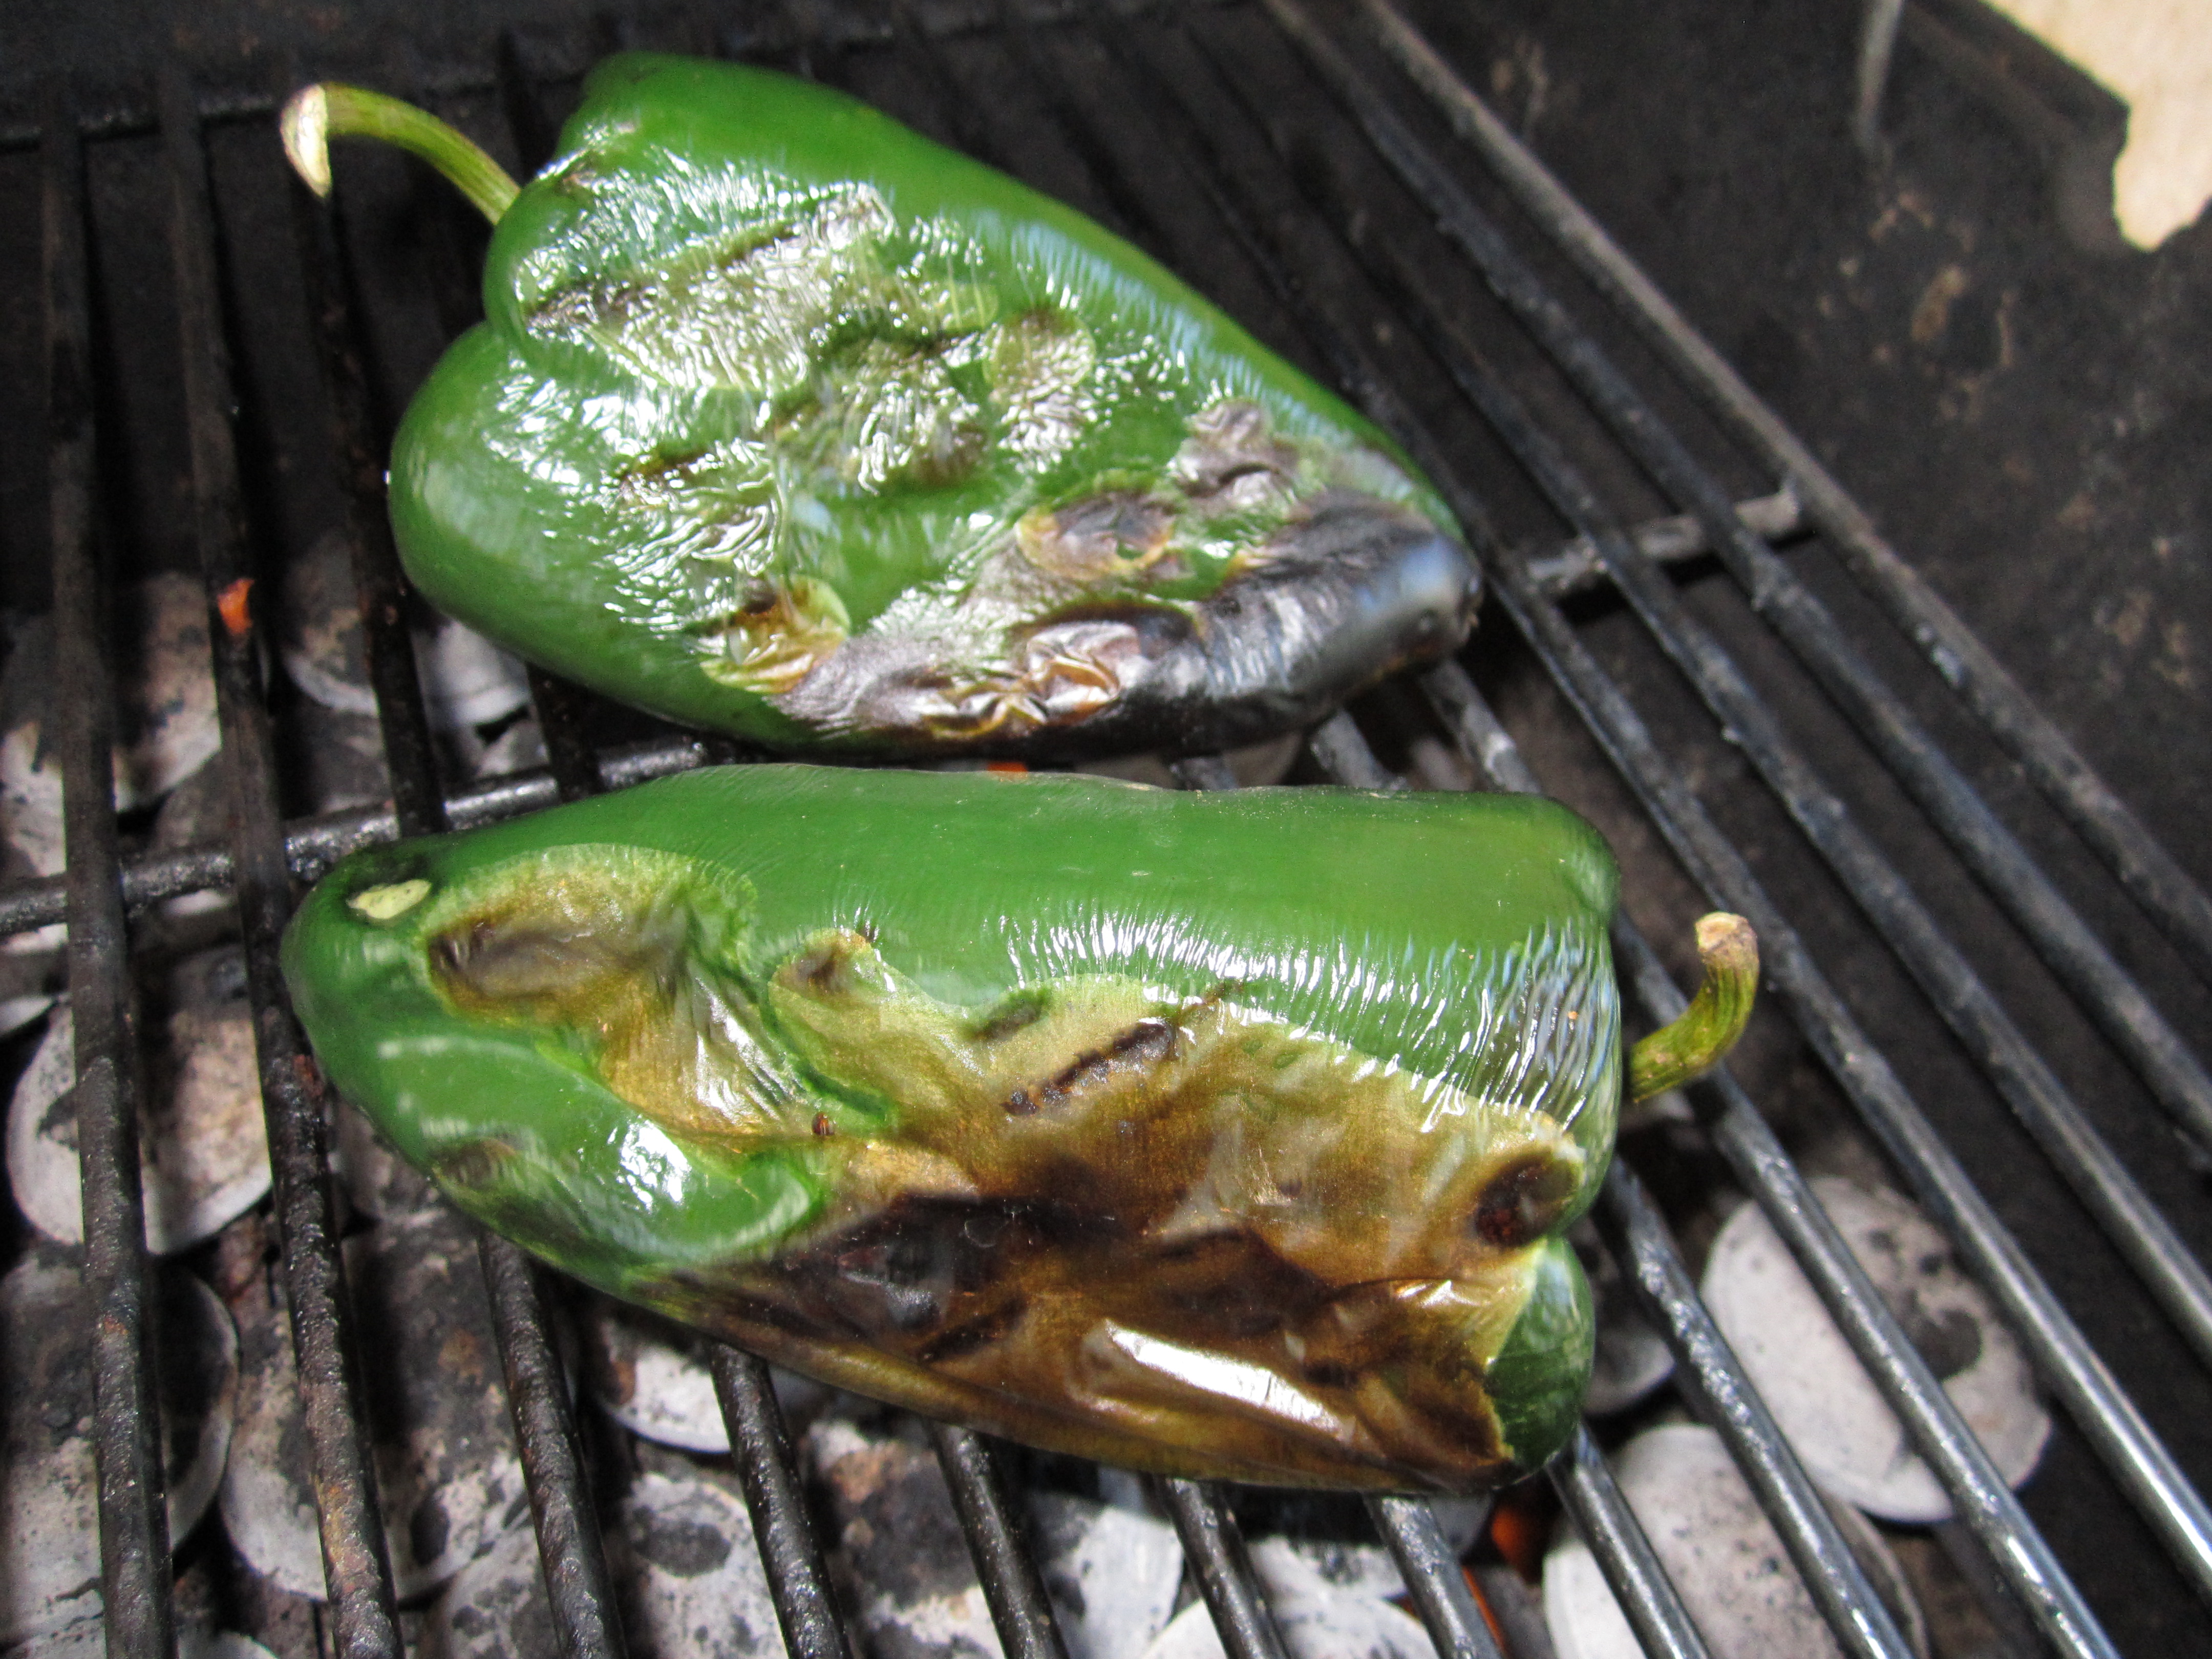
To me the special flavor comes from the poblano chiles. I think they have a better flavor than the typical Anaheims. Frequently, but not always, they are less hot while still giving a great chile flavor. You must roast and puree them first. If you have a grill, roast them there. Otherwise, the broiler on your oven will do. The trick is to the get the skin nicely charred but not to burn the thick juicy chile walls.

These chiles are charred on one side. I have turned them to blacken another side.

These chiles are charred on one side. I have turned them to blacken another side.

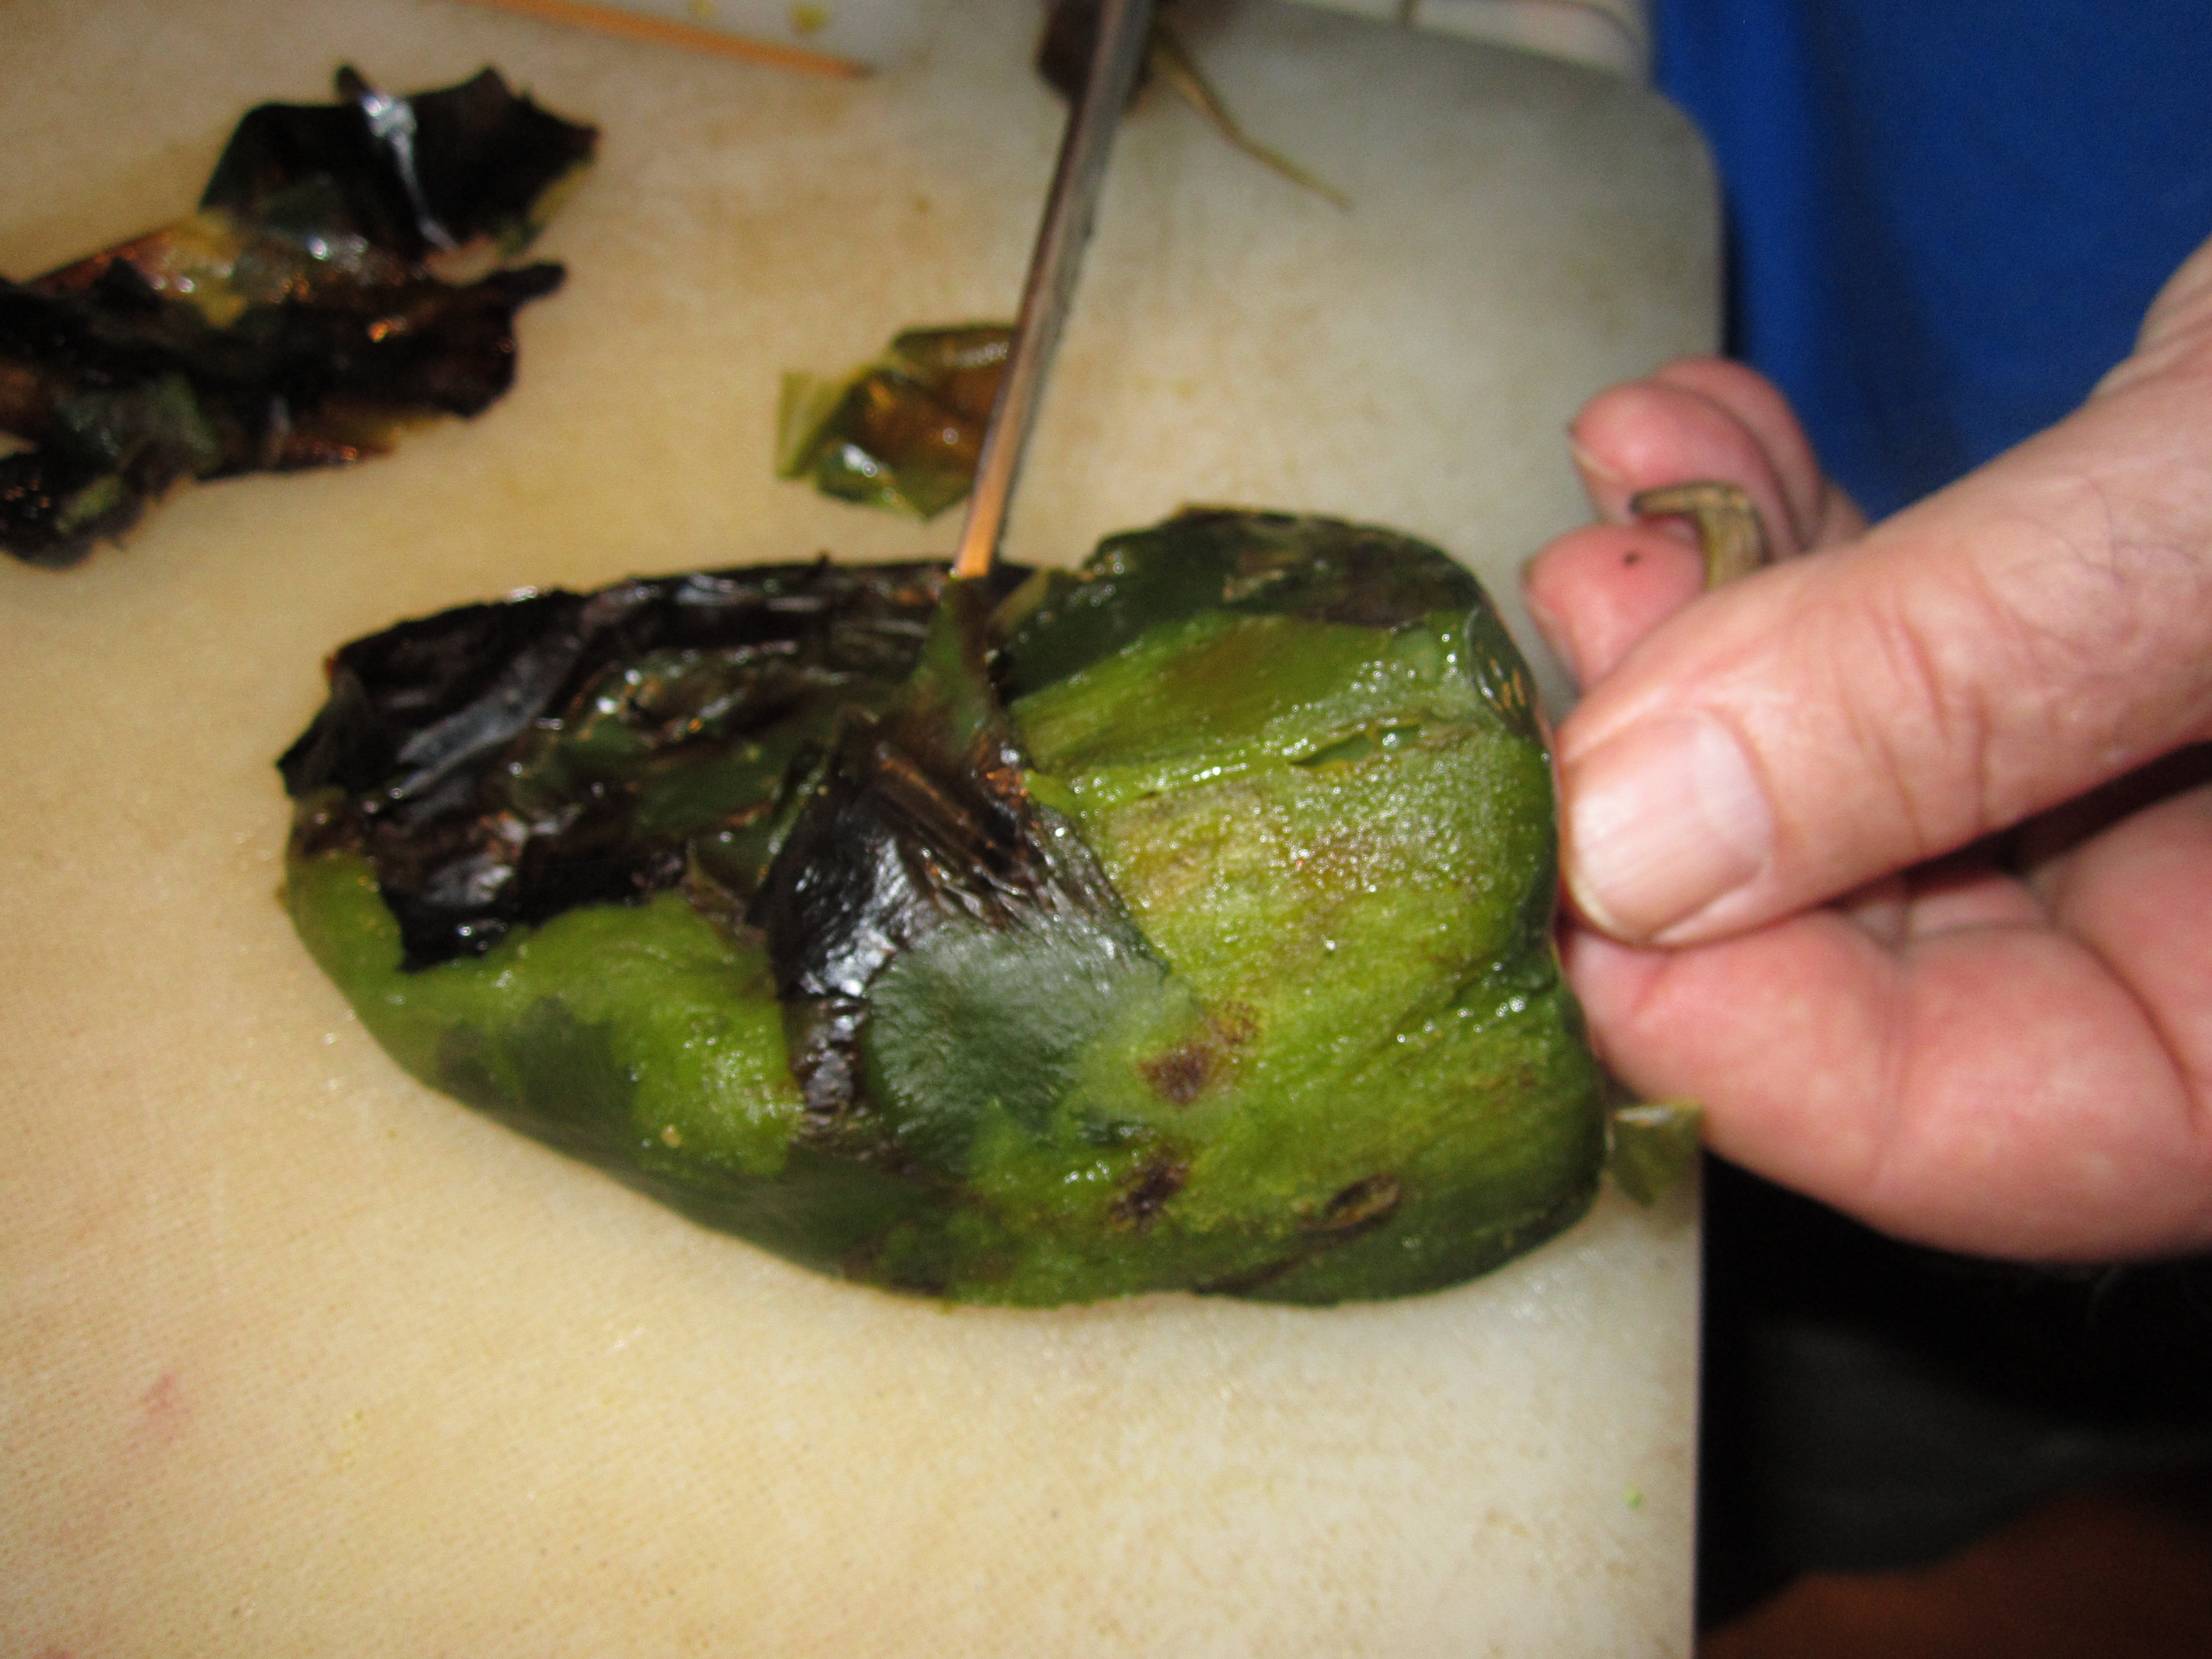
Skin is easily removed after steaming.

Skin is easily removed after steaming.

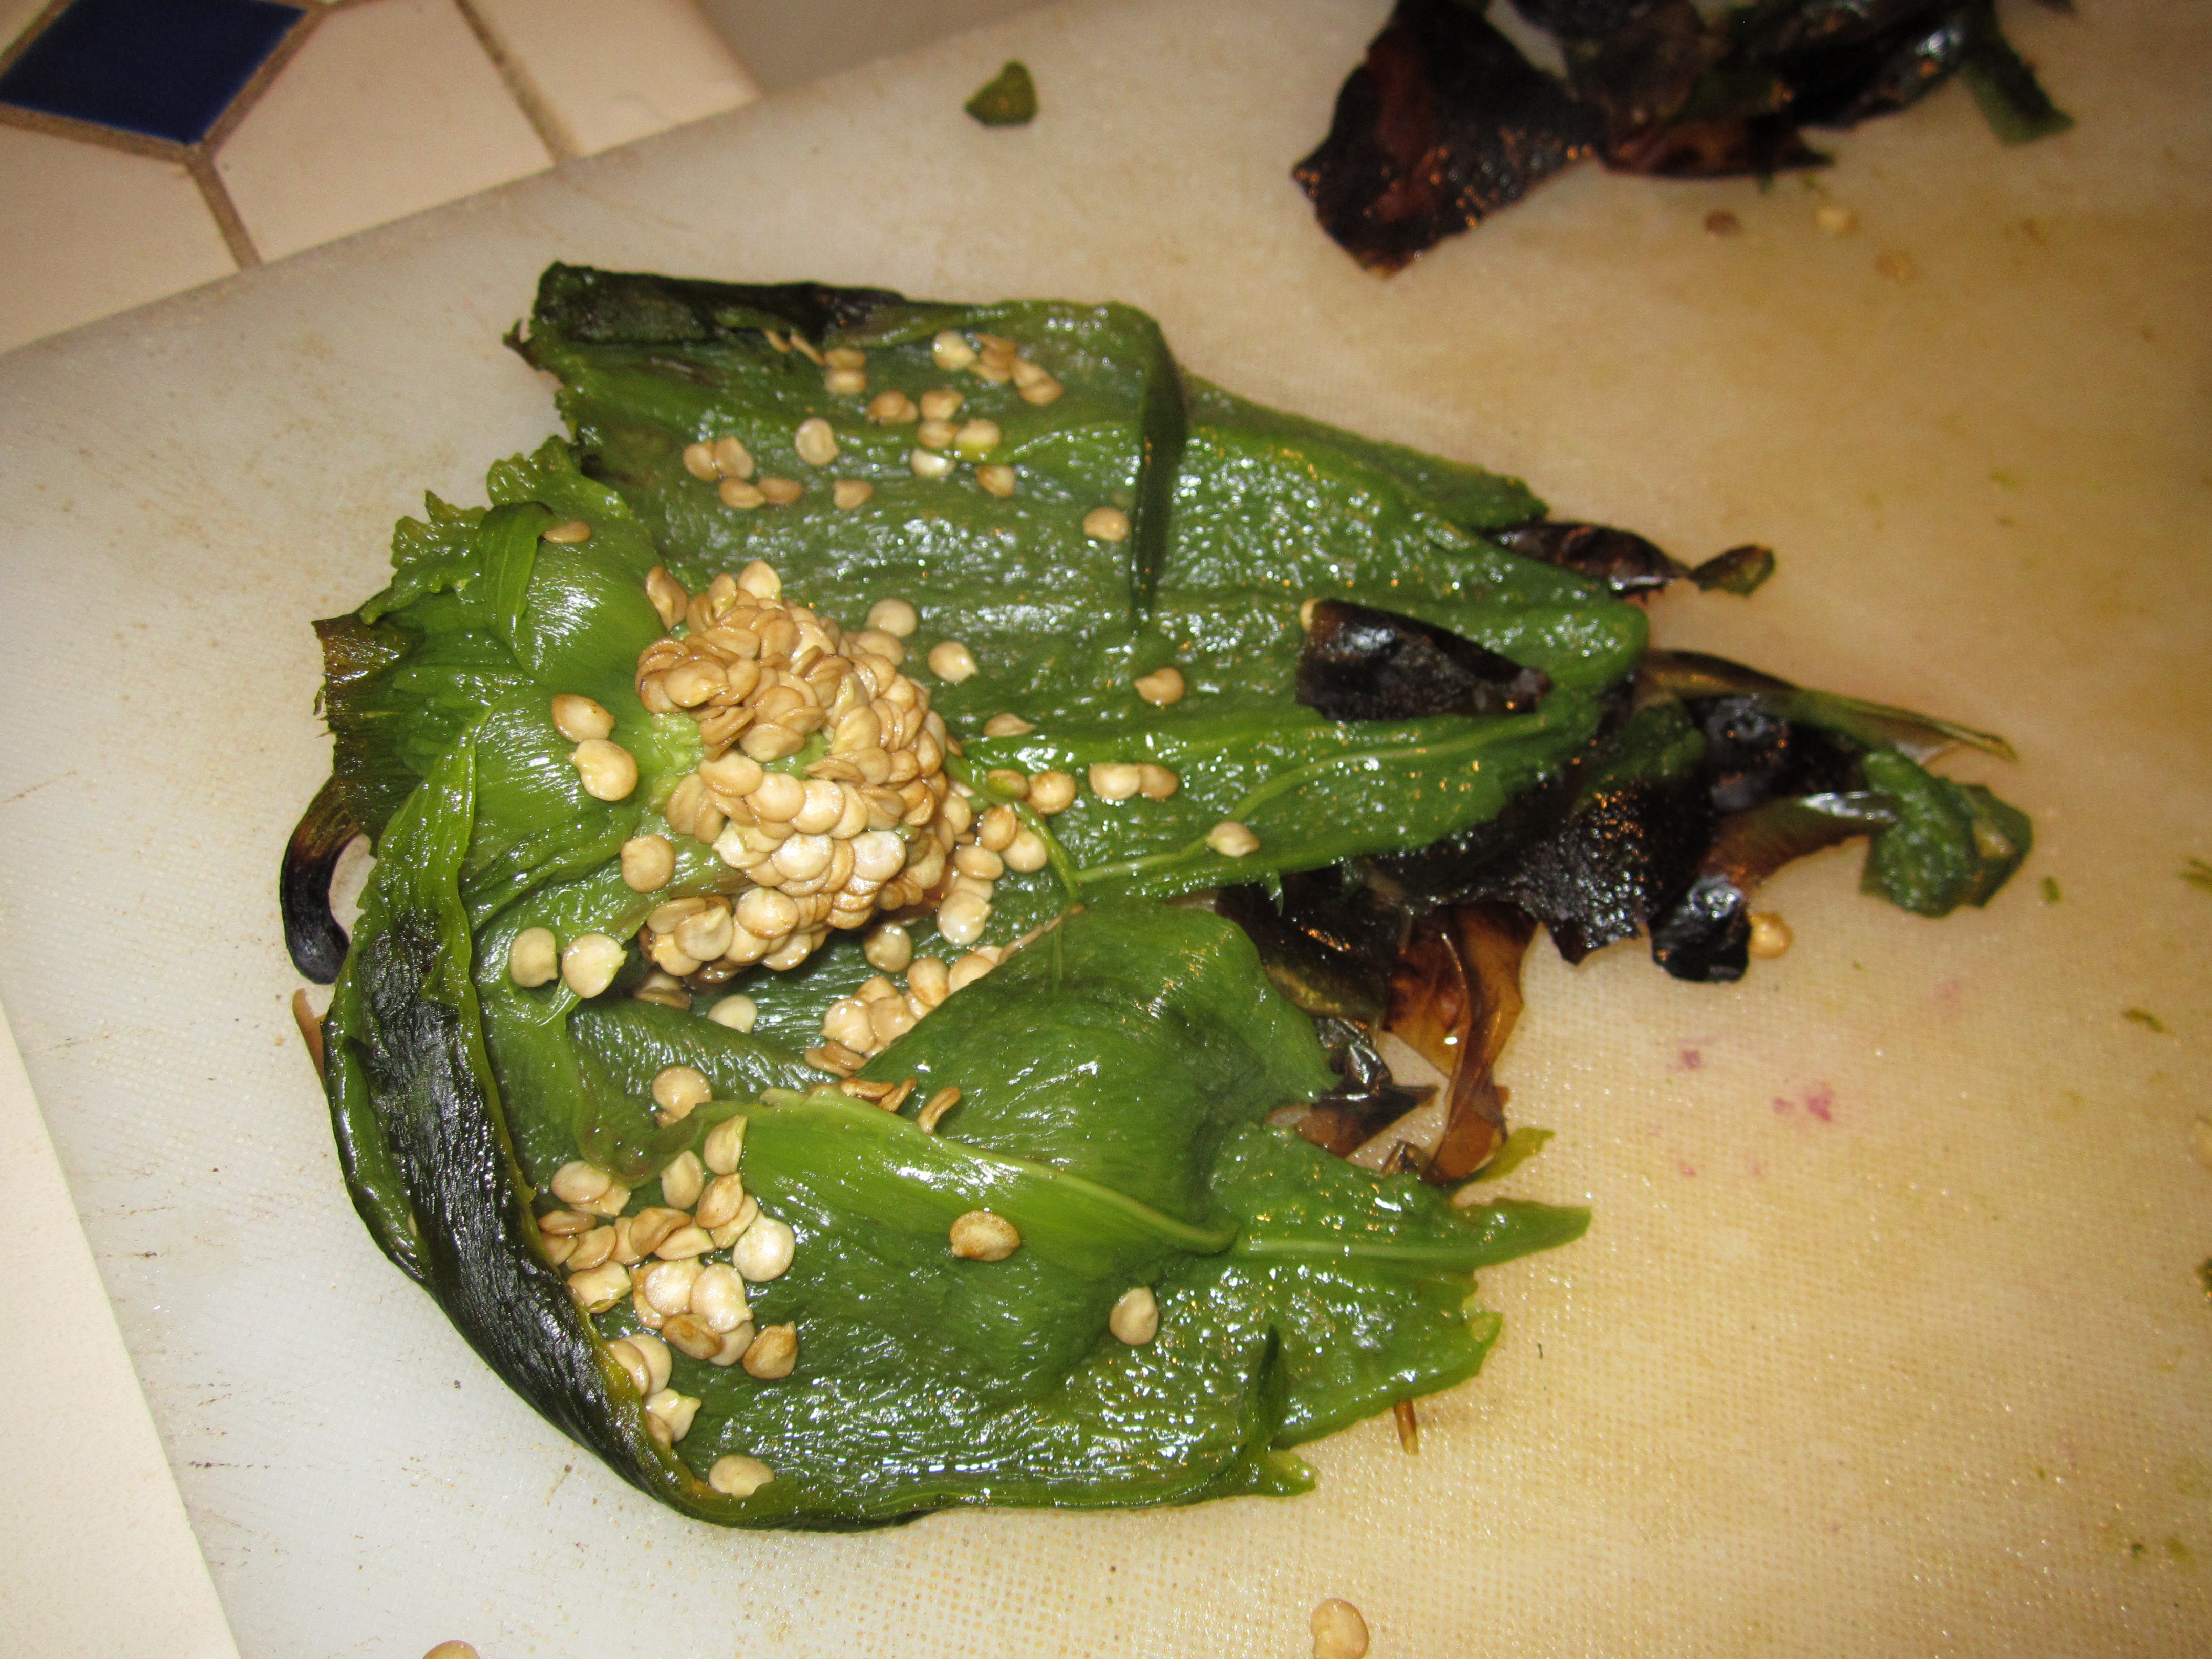
Open chiles and remove seeds.

Open chiles and remove seeds.

Once the seeds are removed, puree the poblanos in a blender or food processor and set them aside.

Put some water to boil for the macaroni. Any shape will do, but I used the classic elbow-shaped. While the water is boiling and then the macaroni is cooking, you will have time to grate the cheese, and chop and saute the red pepper, onion, garlic  and corn. Use can use fresh corn cut from the cob or just canned works also.

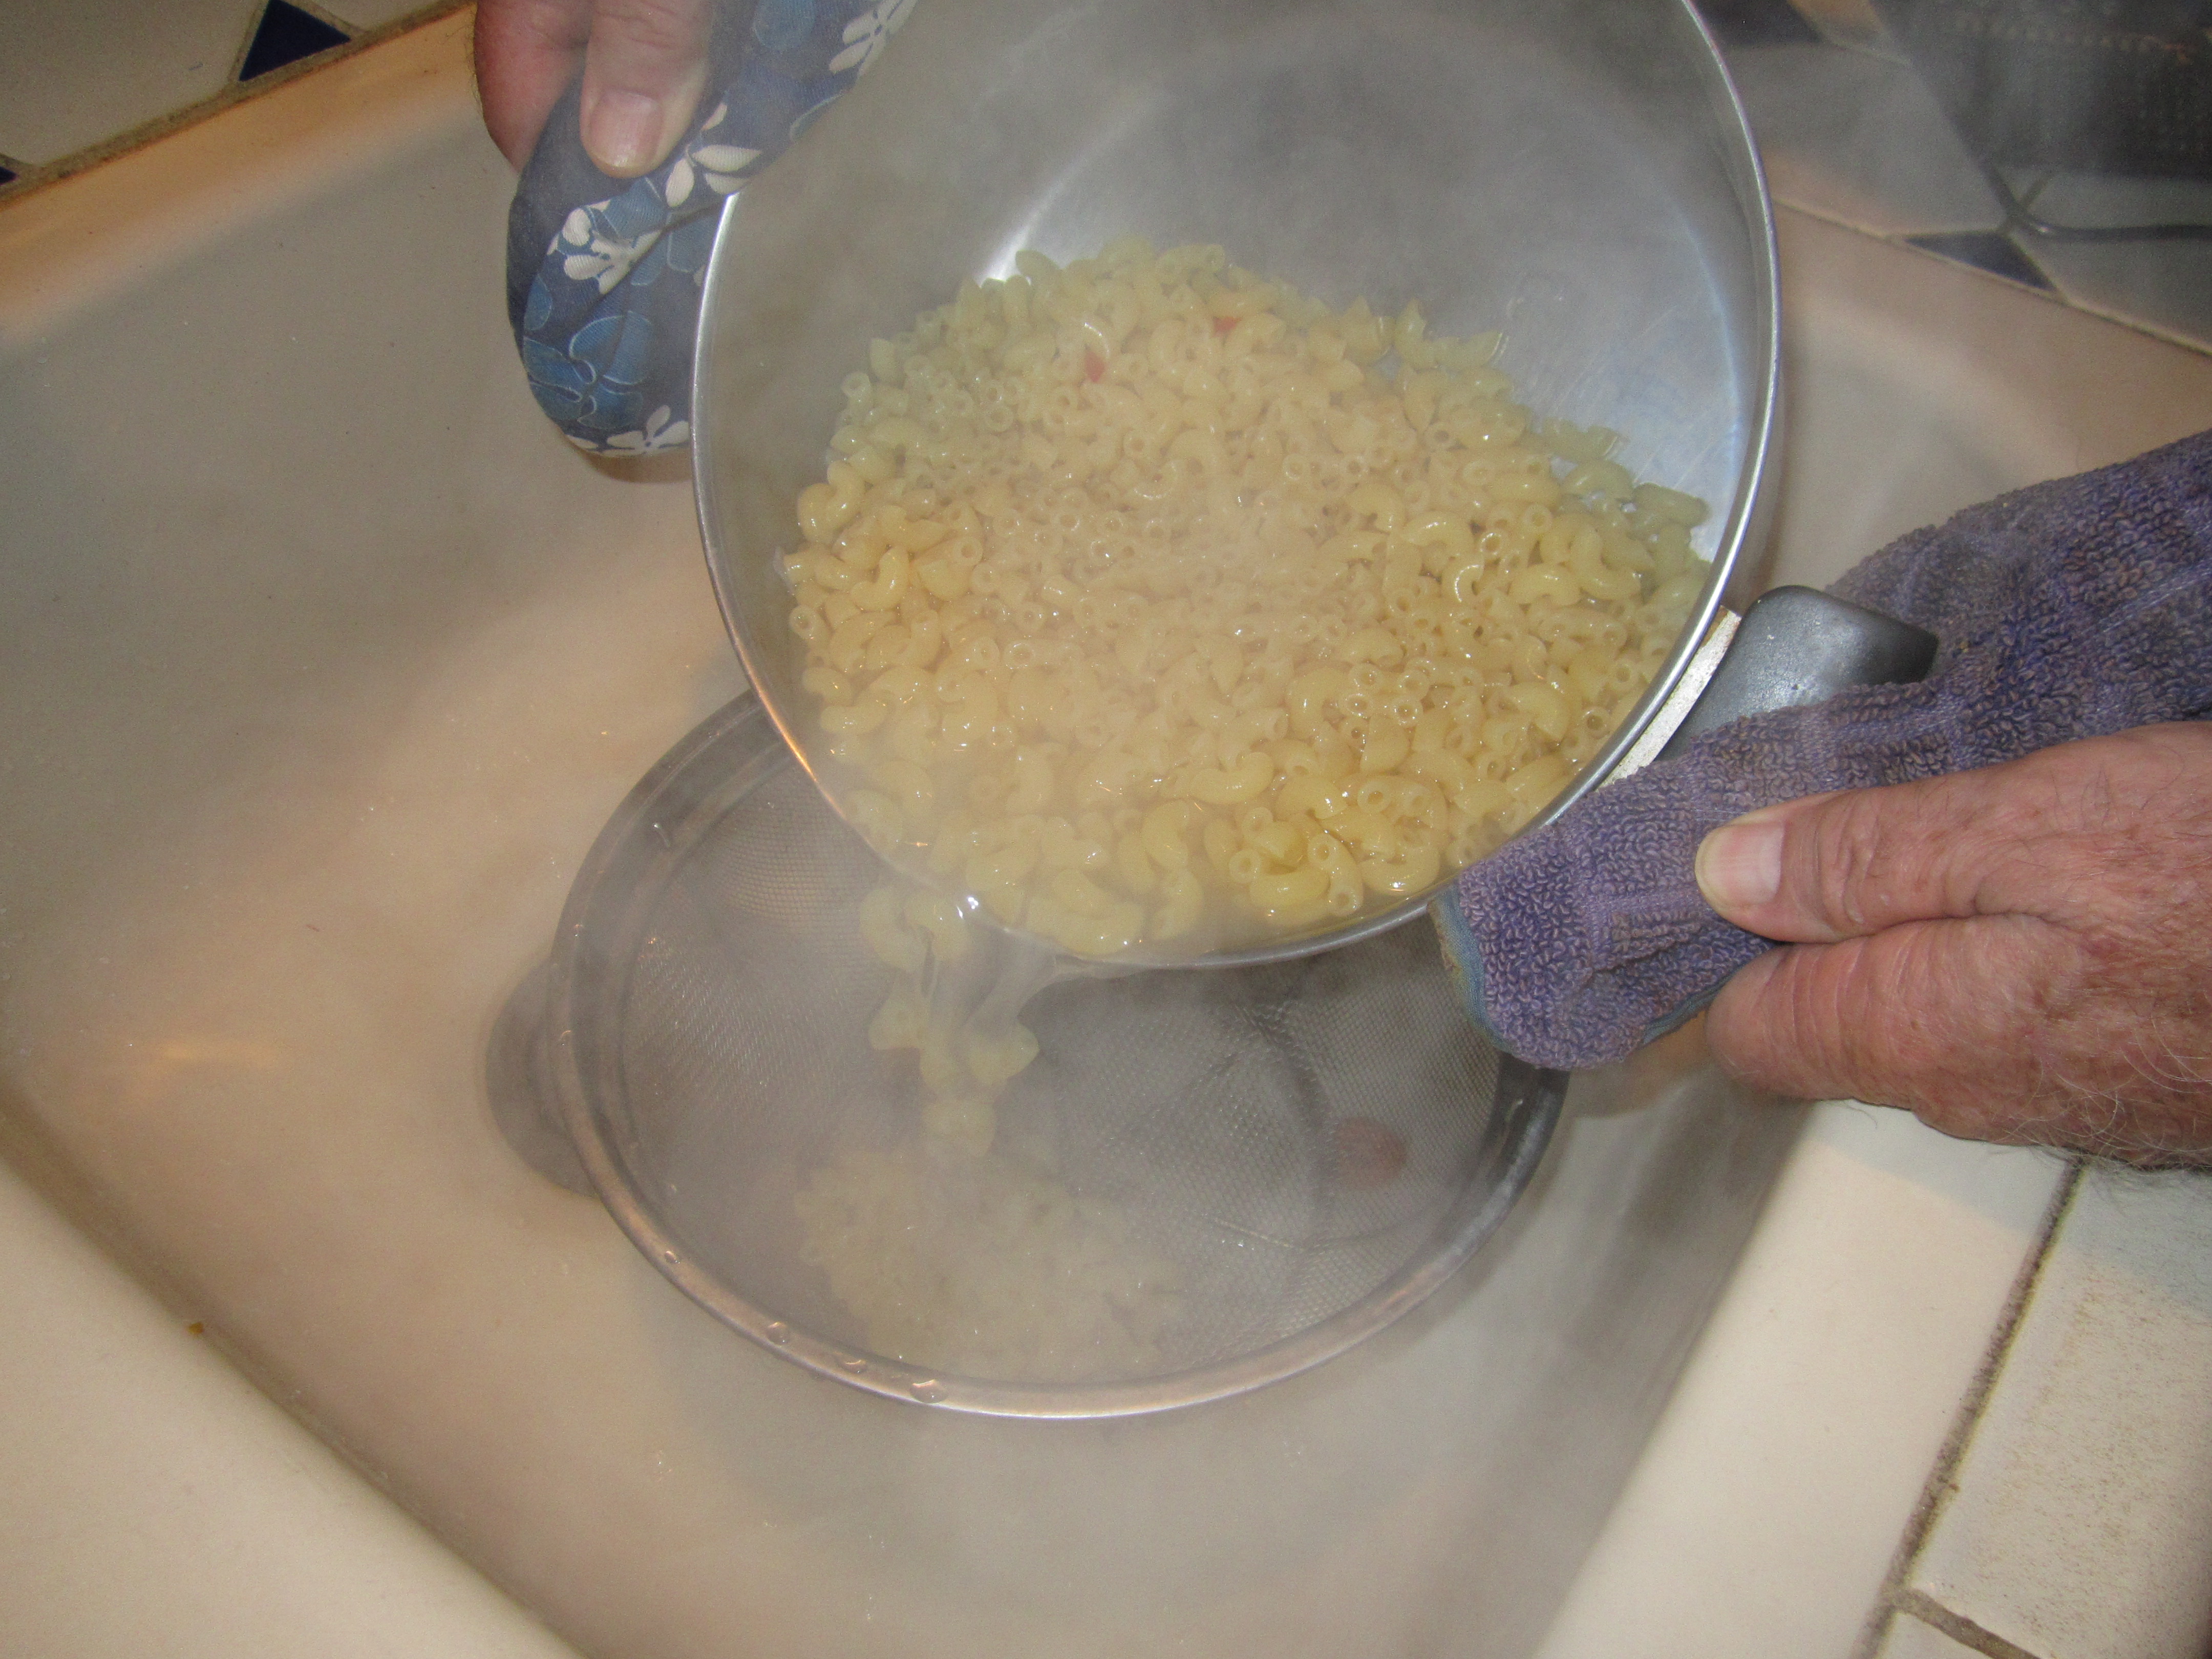
Drain the macaroni.

Drain the macaroni.

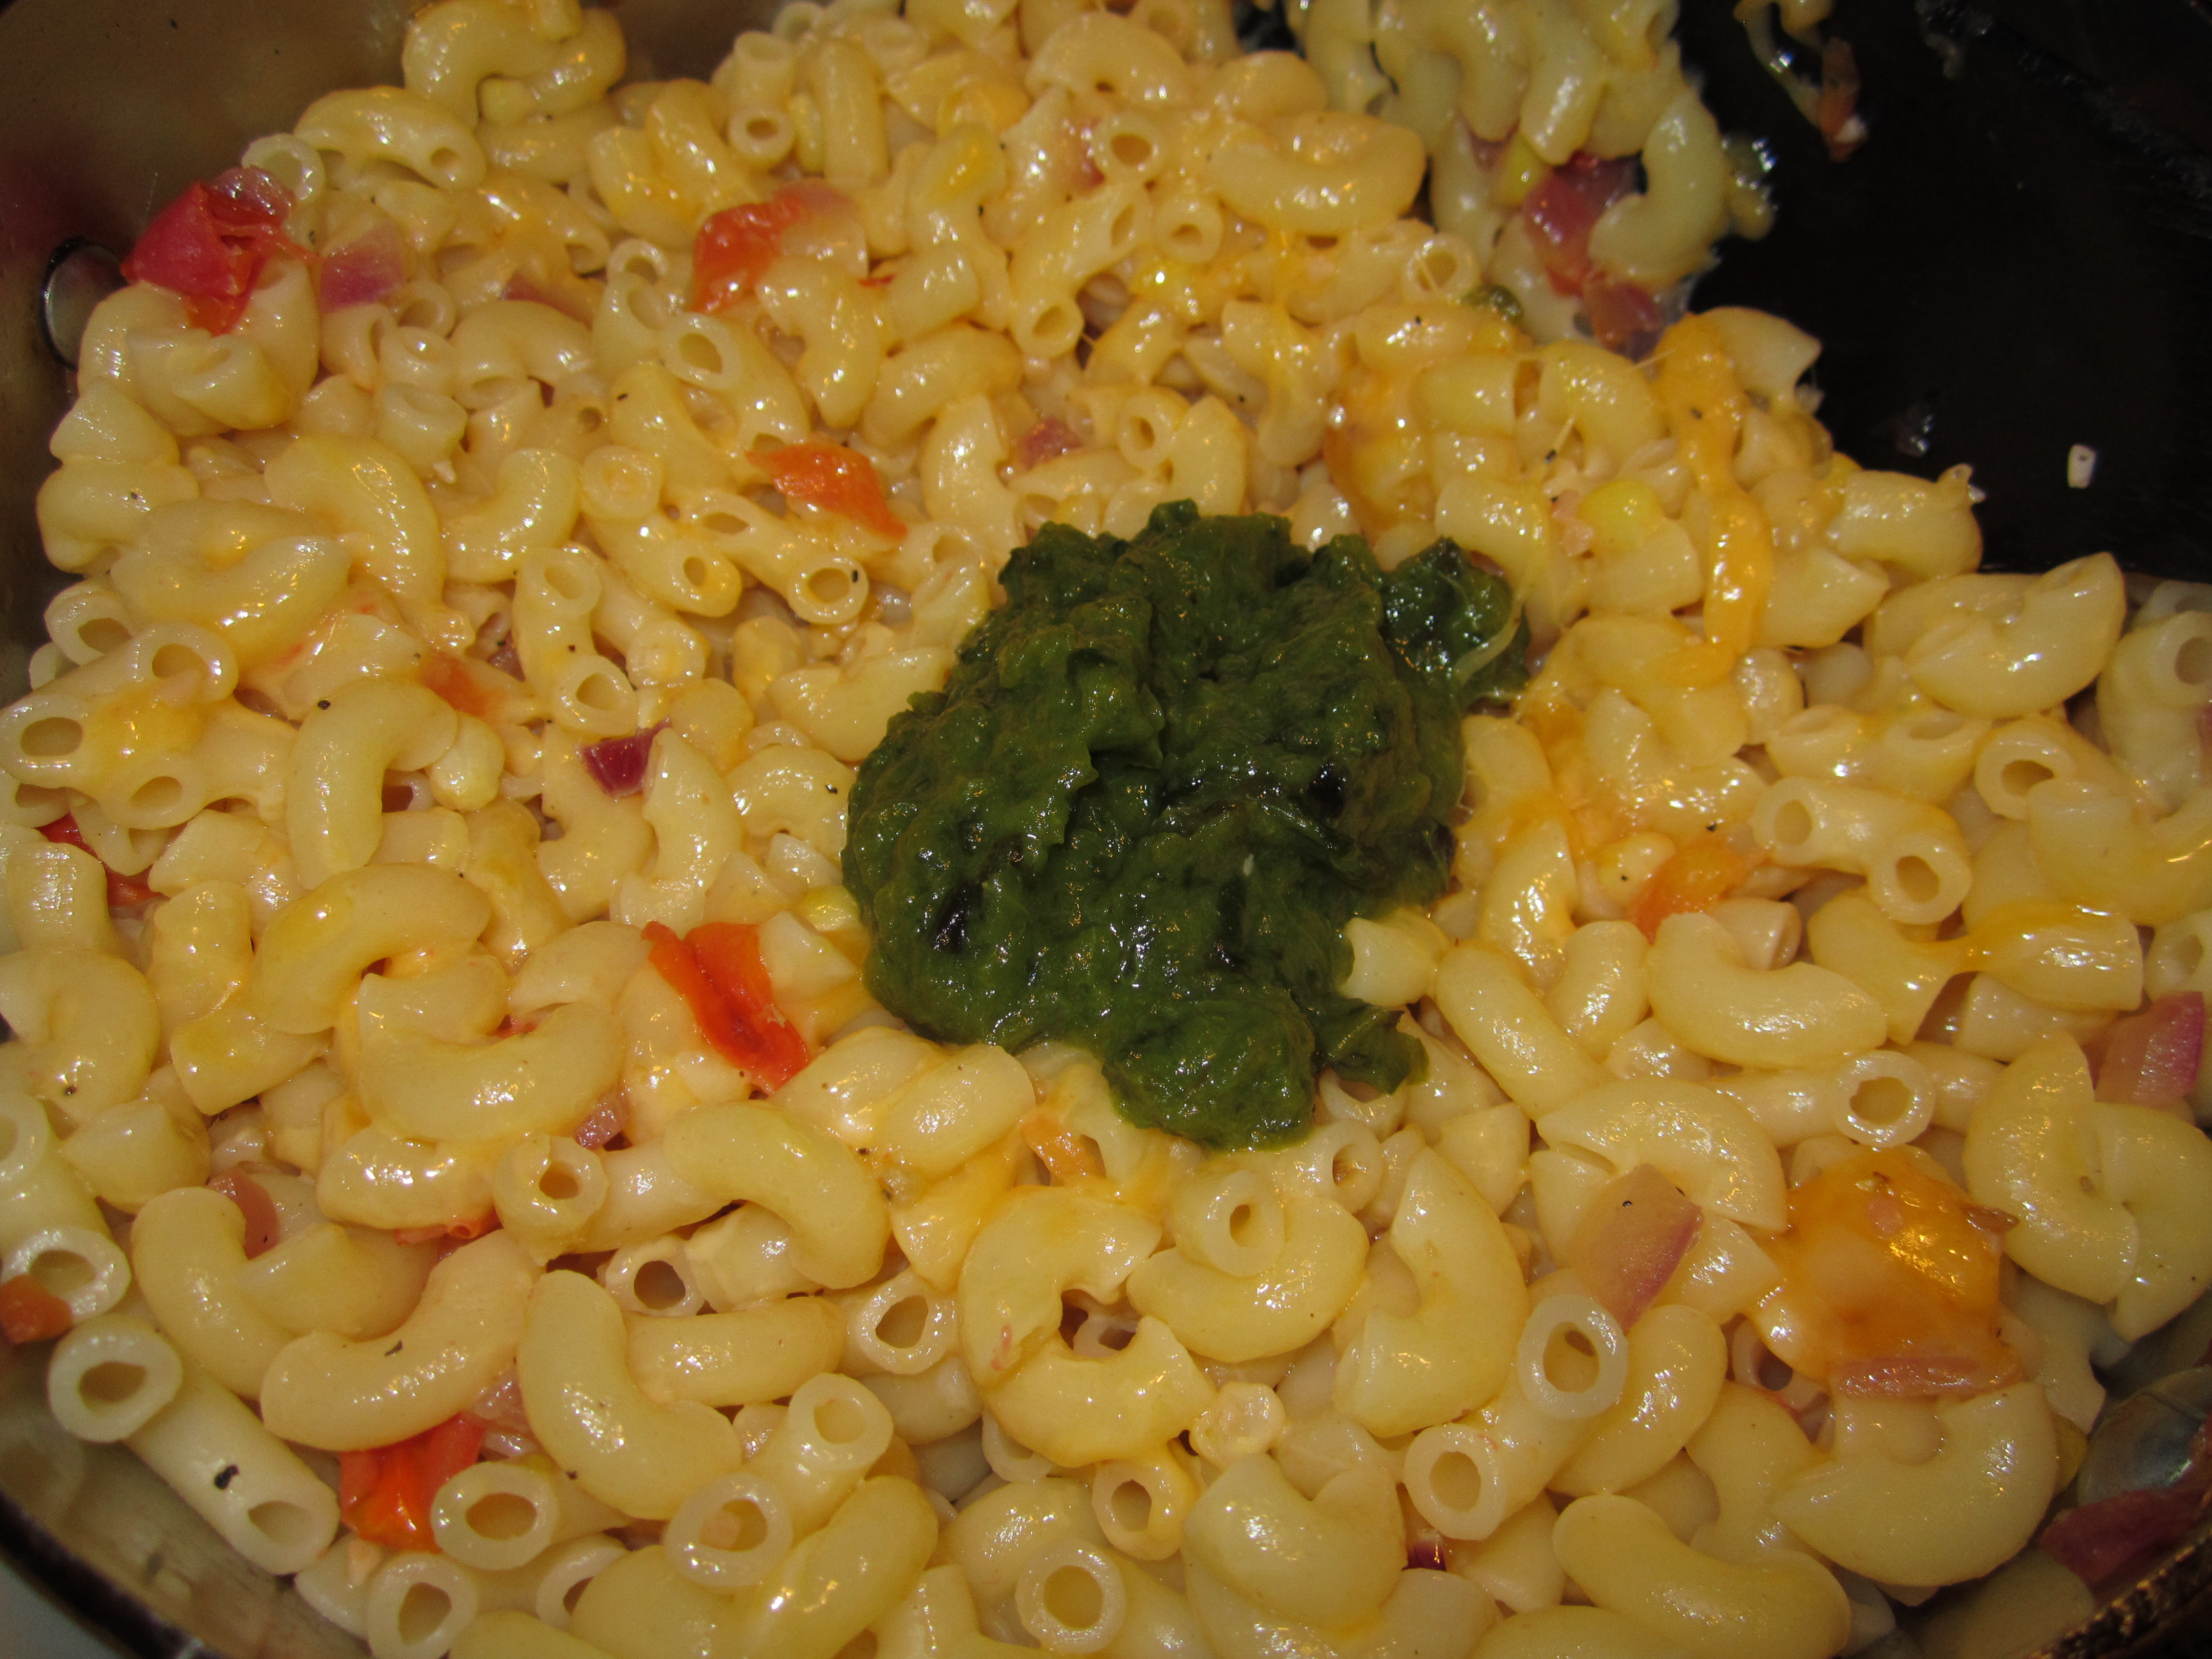
When the macaroni is tender, return it to the pot and stir in all the ingredients. Last will be the cream. The recipe calls for heavy cream, but I used half-and-half. When I was collecting recipes for The New Southwest Cookbook, I discovered that lots of butter and cream are the professional chefs’ secret ingredients. THAT is why everything they make tastes so good.

Stir in the chile and other vegetables.

Stir in the chile and other vegetables.

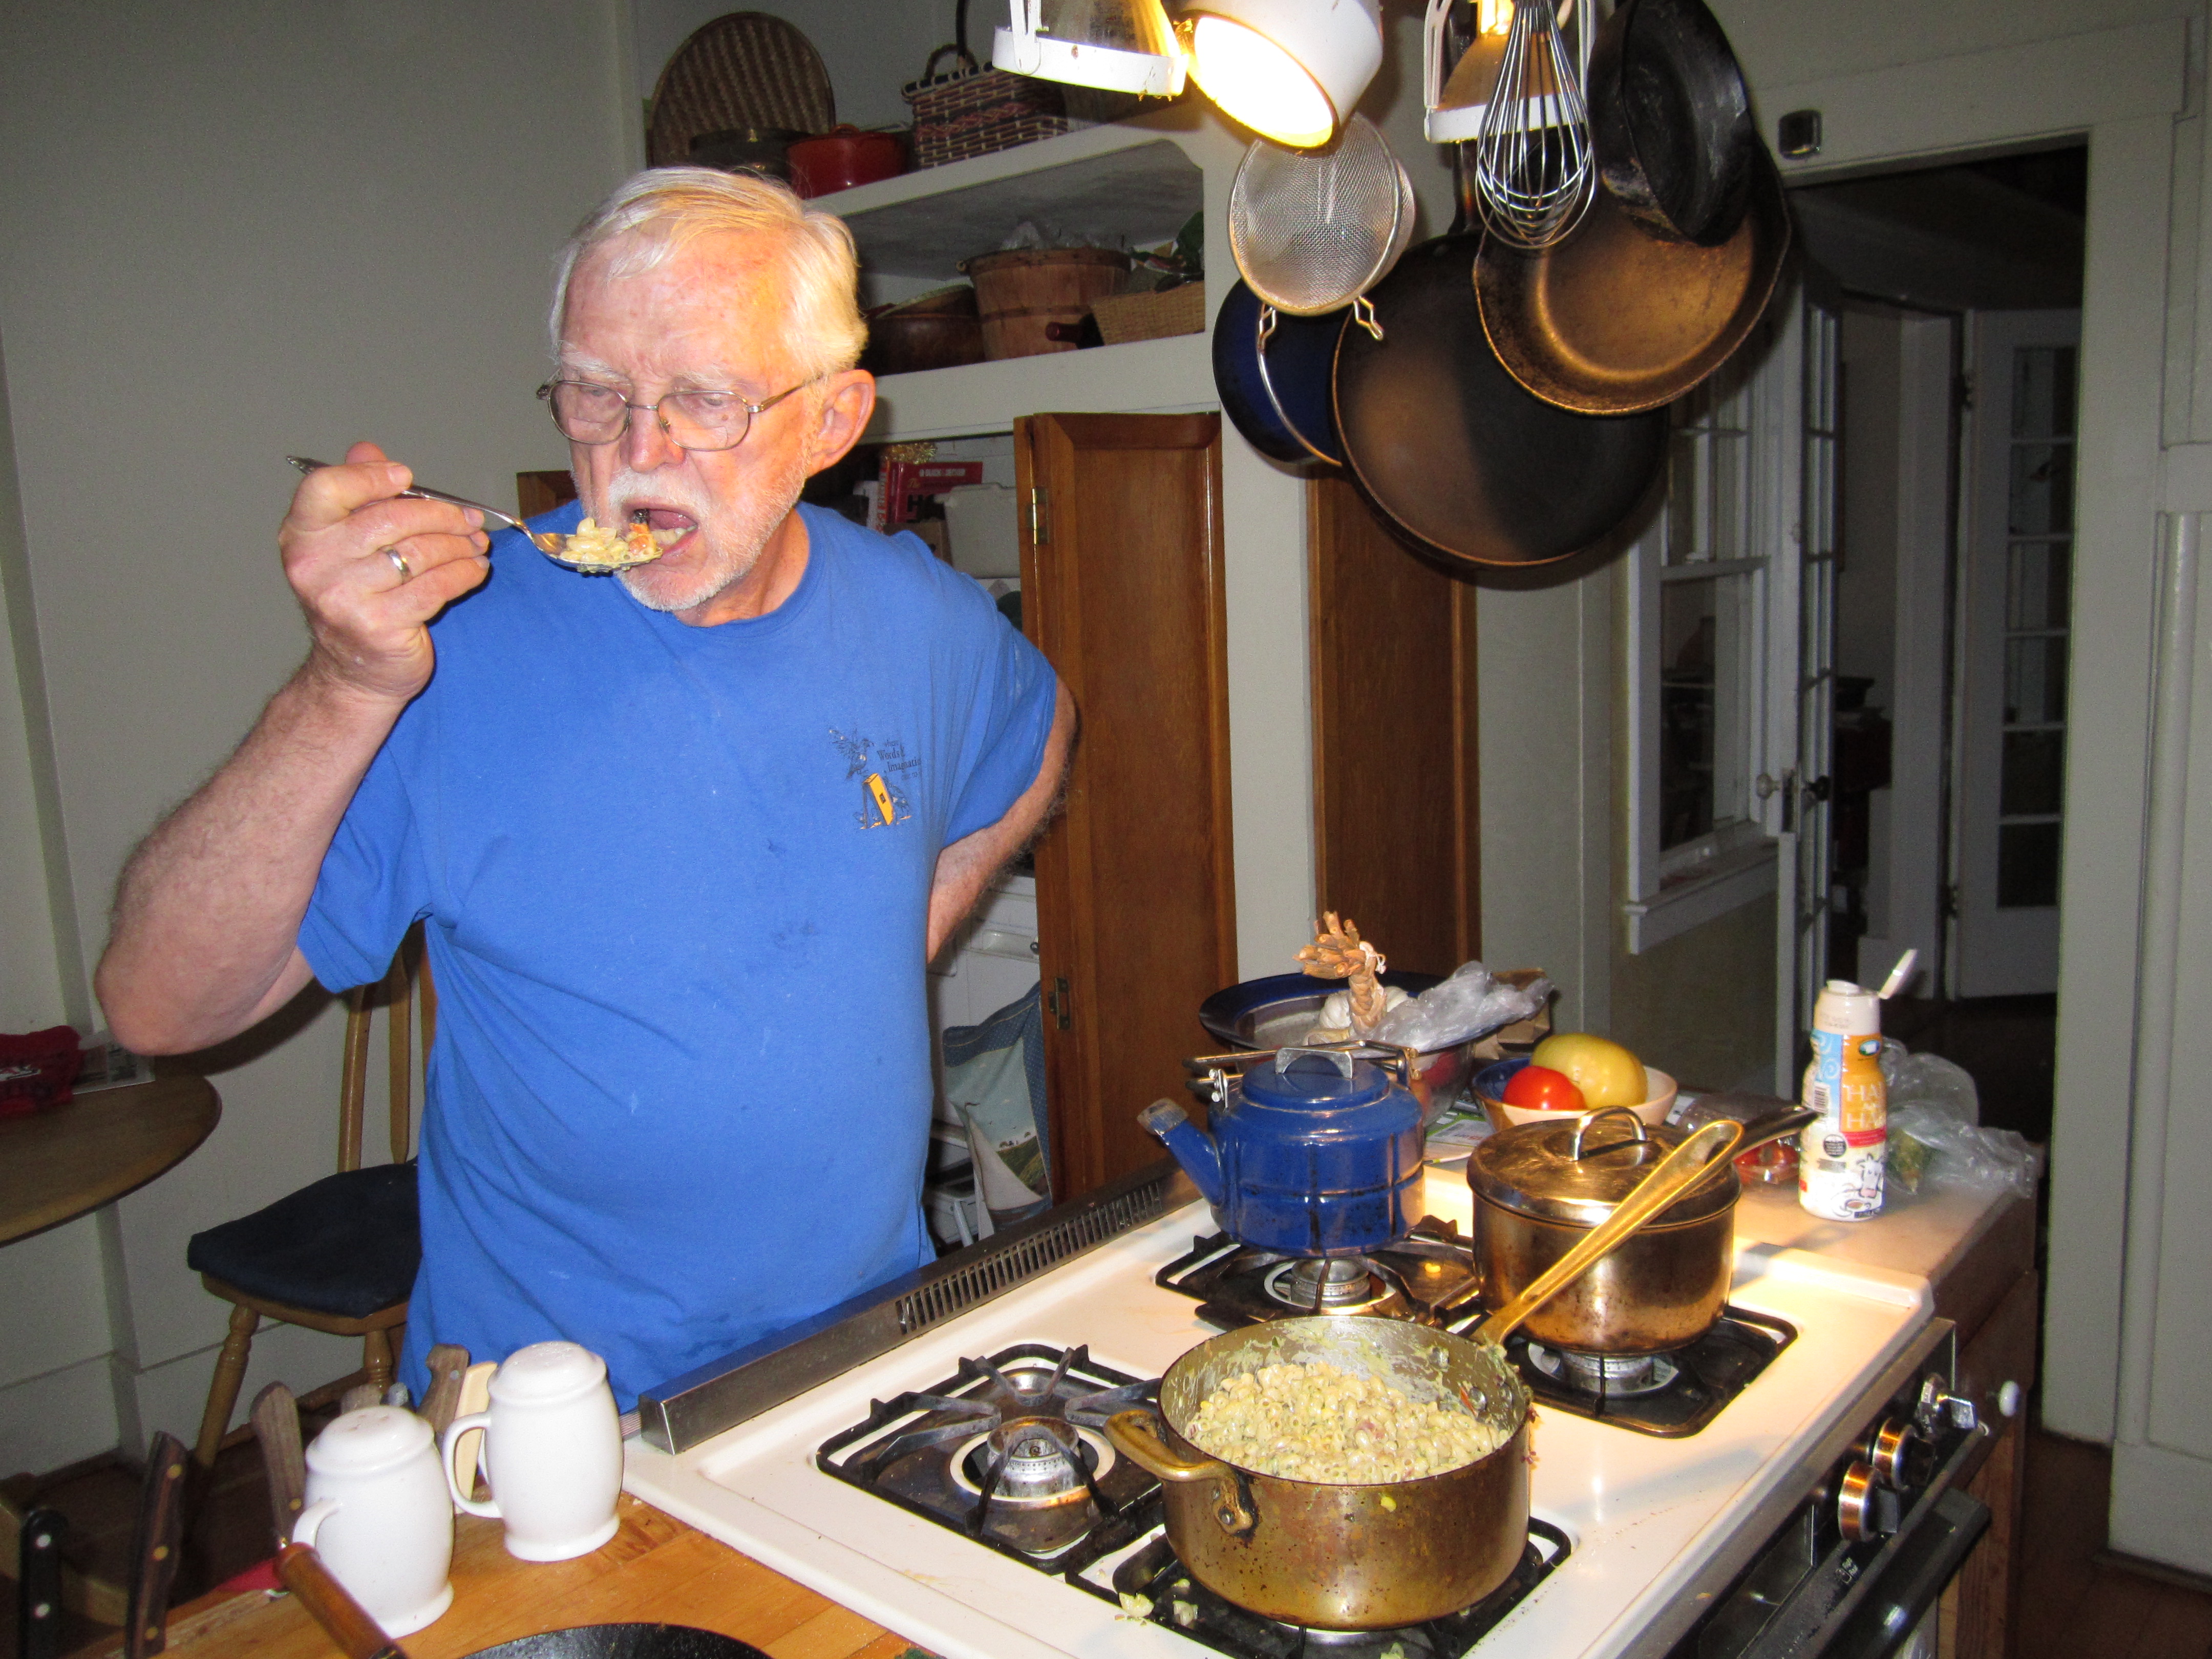
Ford tastes for seasoning. It might need salt.

Ford tastes for seasoning. It might need salt.

Here’s the recipe.  It is supposed to be four servings, and it is. But everybody usually wants seconds so doubling the recipe makes sense.

Green Chile Macaroni  (Makes 4 servings)

1/4 cup diced red bell pepper

1/2 cup sweet corn kernels

1/4 cup  diced red onion

2 teaspoons chopped garlic

1 teaspoon corn oil

2 cups  cooked macaroni

1/2  to 3/4 cup puree of roasted, peeled poblano chile

2/3 cup  grated cheese (hot pepper jack, cheddar or mixture)

1/4 cup heavy cream

Kosher salt and cracked black pepper to taste


Sauté the red bell pepper, corn, red onion, and garlic in the oil in a heavy pan.  Add the macaroni, poblano puree, and  cheese and stir until cheese is melted. Fold in the heavy cream.  Season with salt and pepper to taste.

_____________________________________

Find more great recipes with a Southwest flair in The New Southwest Cookbook, The Prickly Pear Cookbook, and Cooking the Wild Southwest