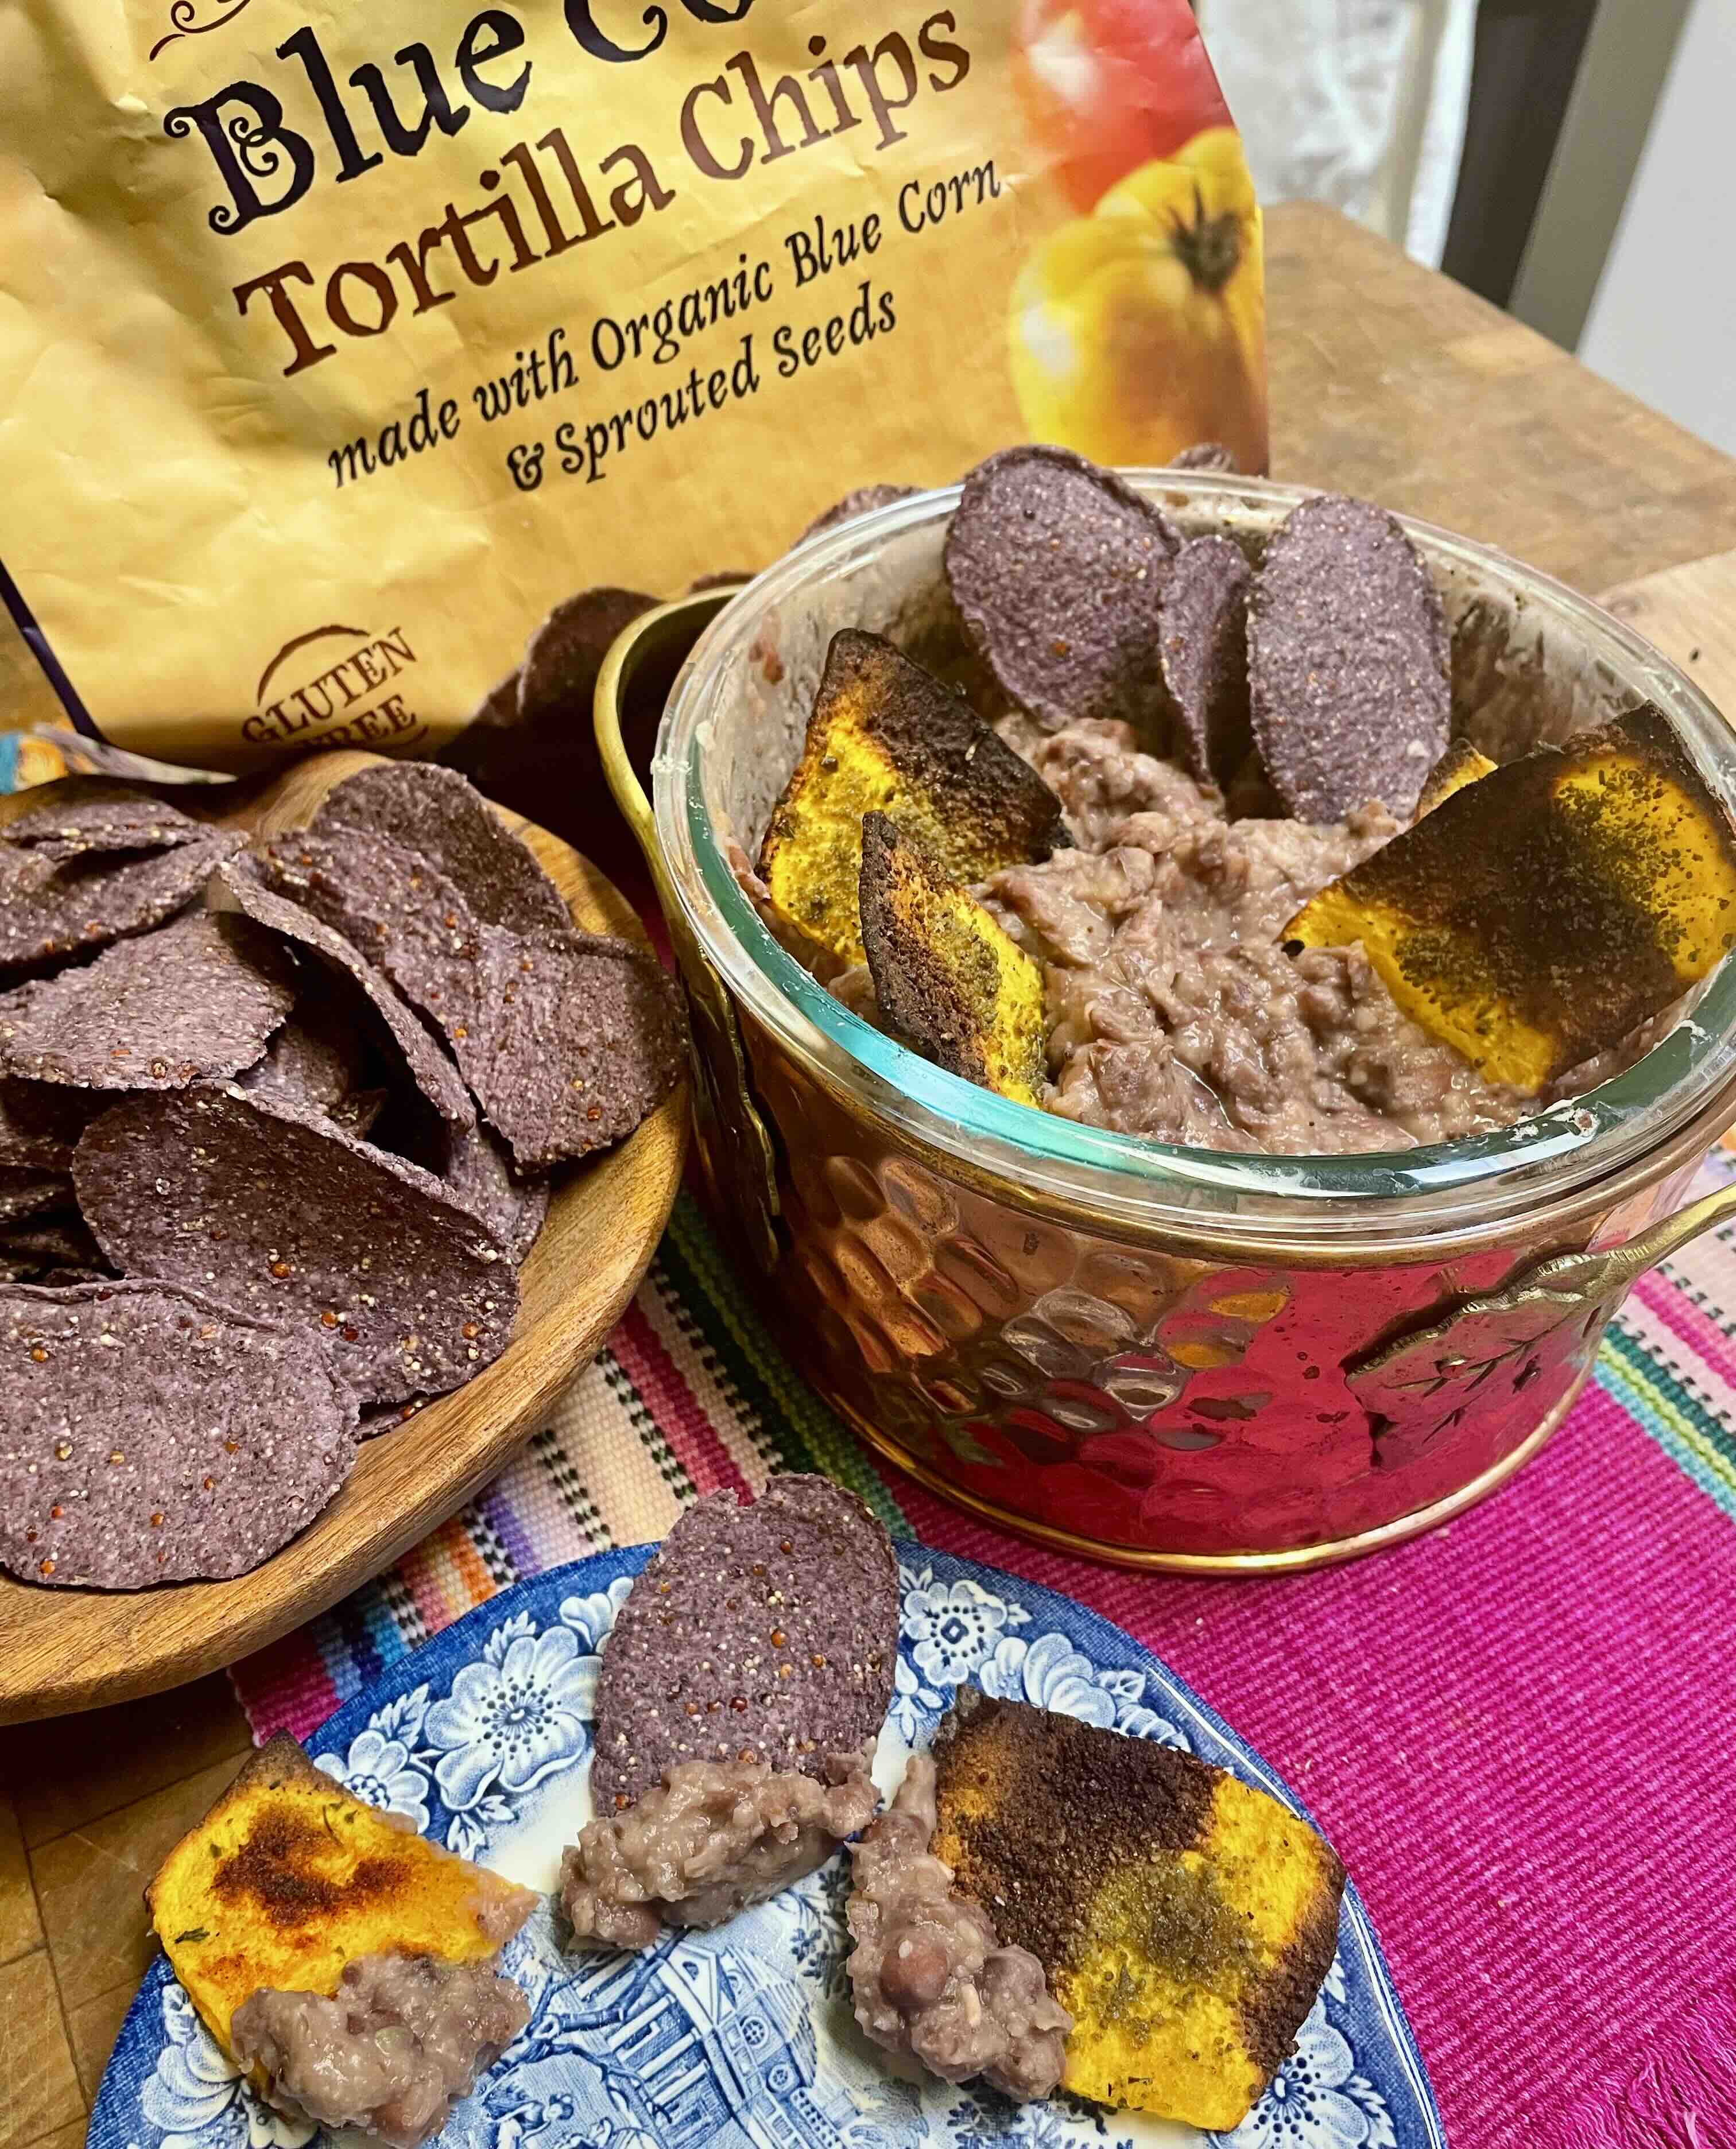
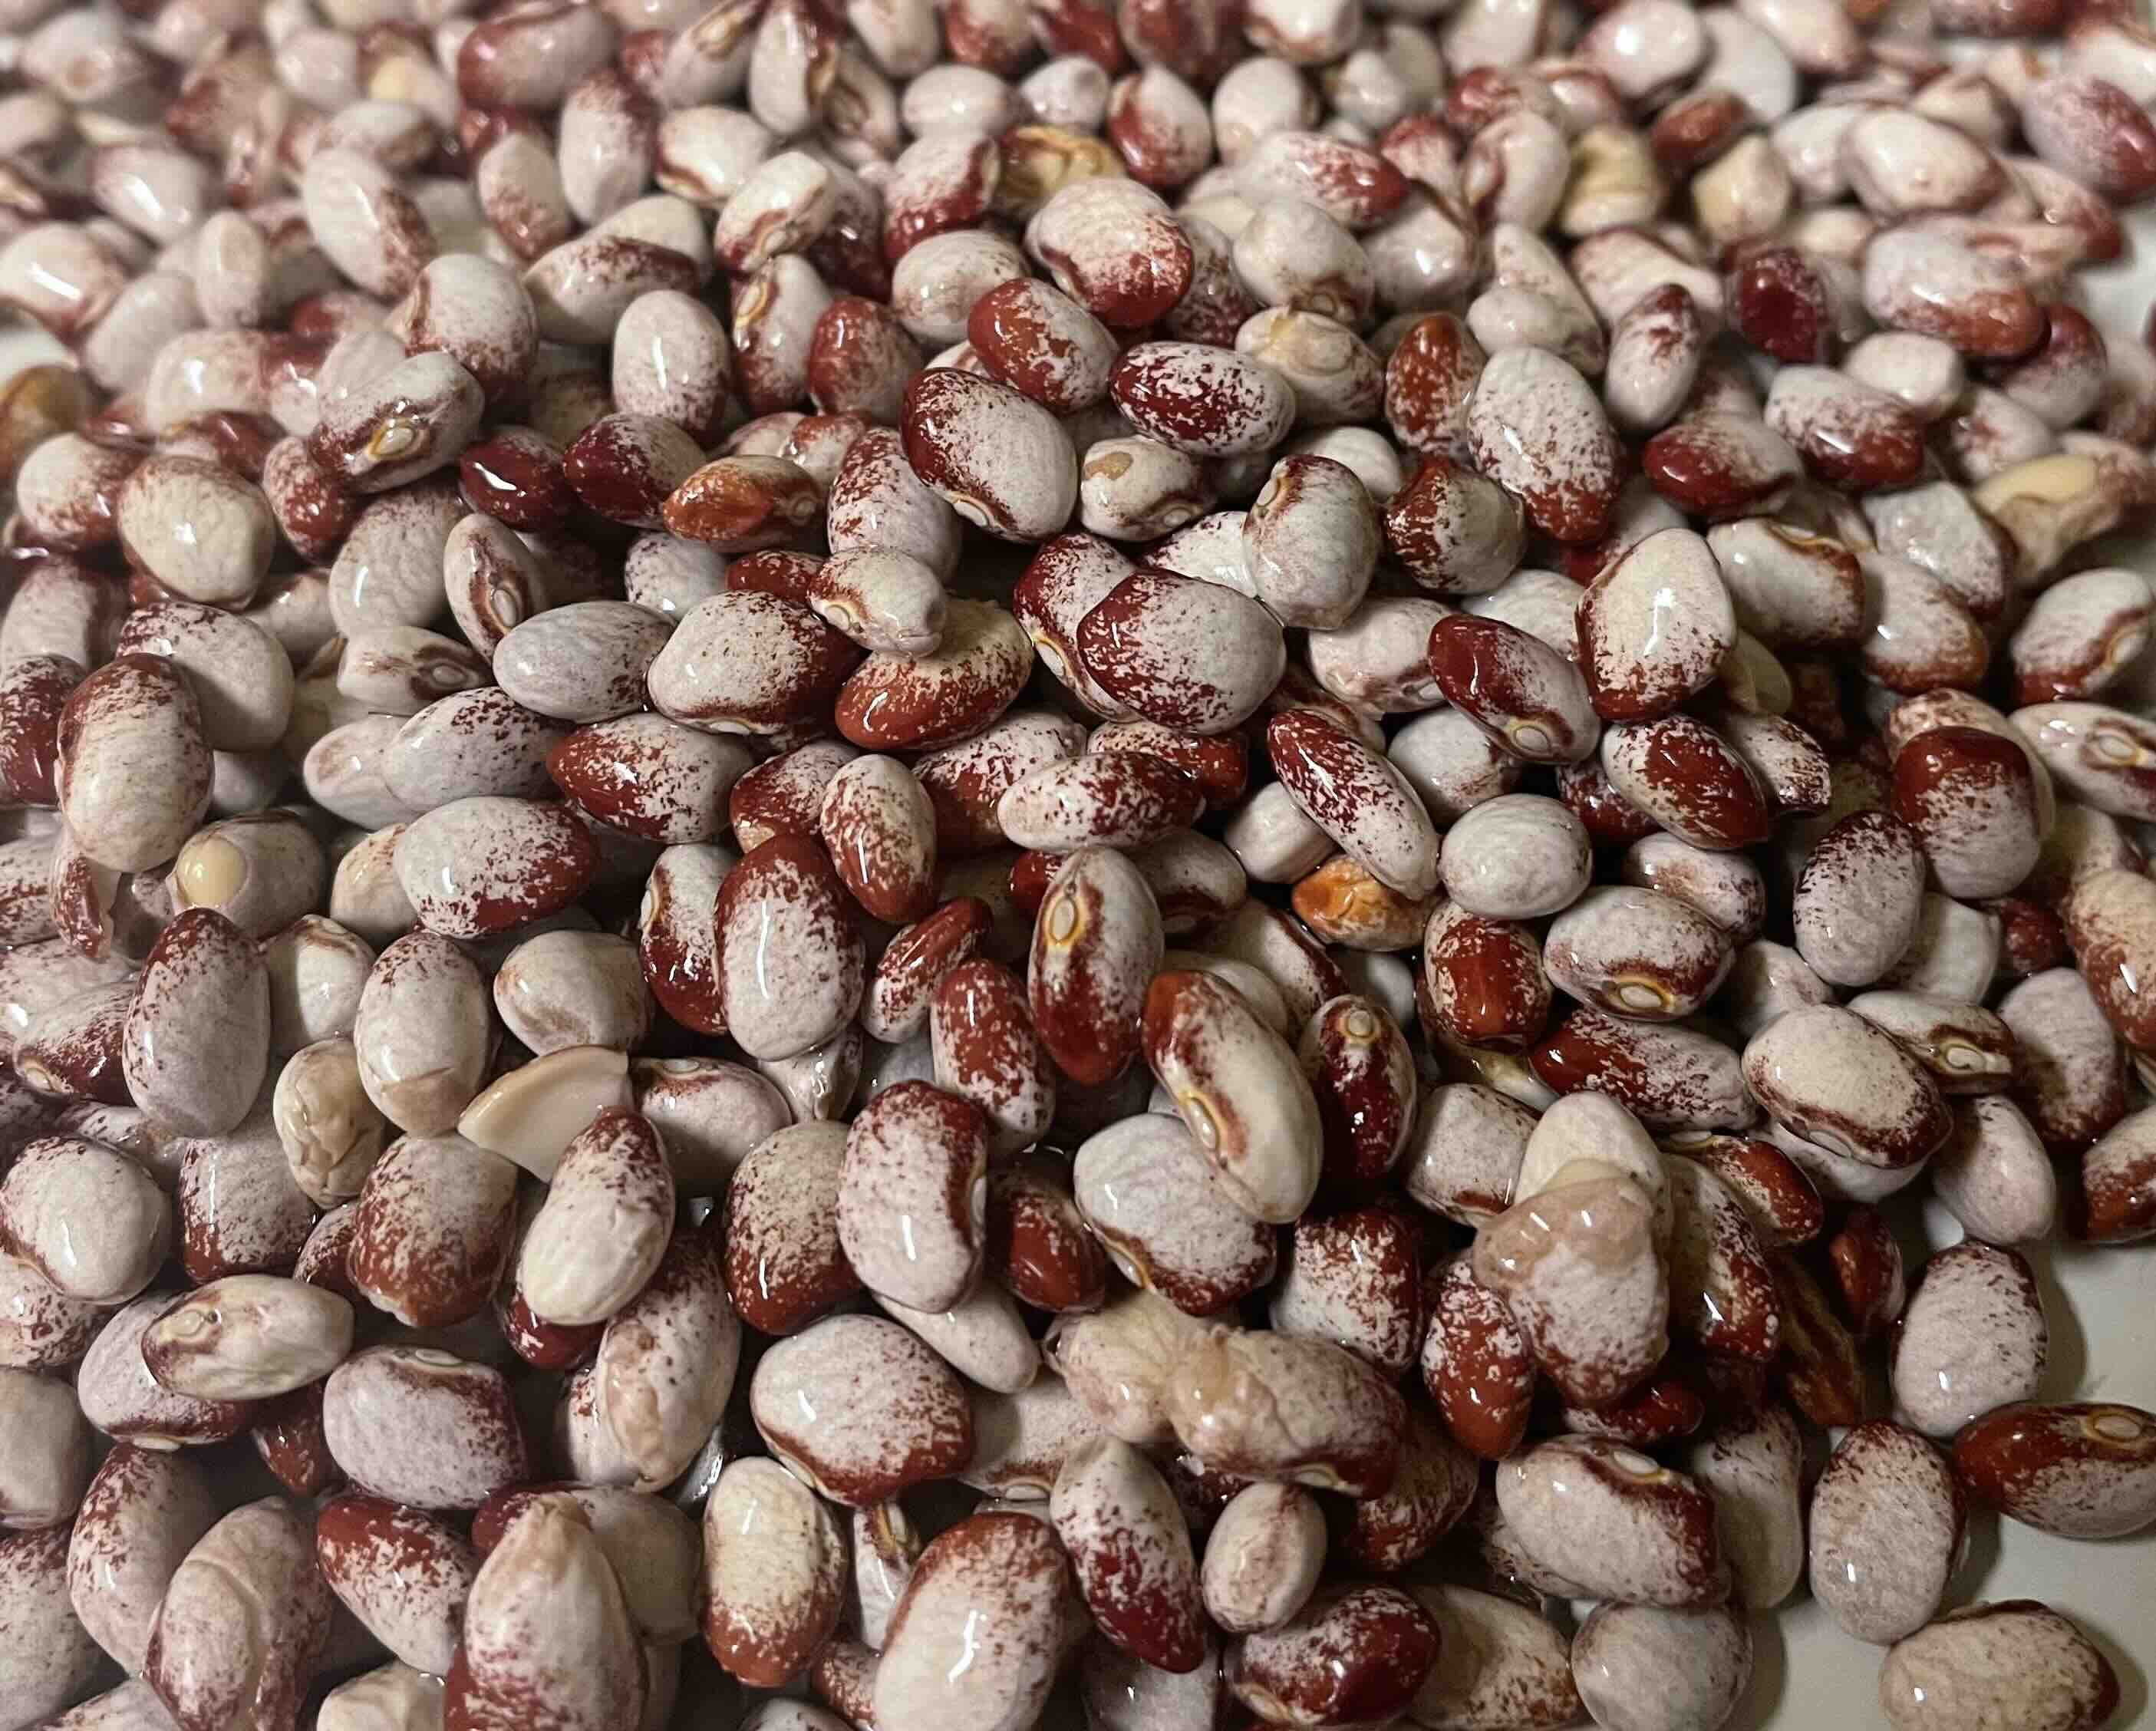
One of the easiest-cooking and most delectable beans of all time (in my beany opinion) is the so-called Colorado River bean. It grows well in the Southwest’s high or low desert and is worth trying in your own garden. We don’t know for sure but its ancestry appears to be from Indigenous communities farther east where it is called “Cut-Short bean.”
I found it grown in Colorado via the NativeSeeds/SEARCH online catalog. A pop-up market at the NSS Conservation Center at River and Alvernon this Saturday, Oct.17 will have it for sale by the pound.
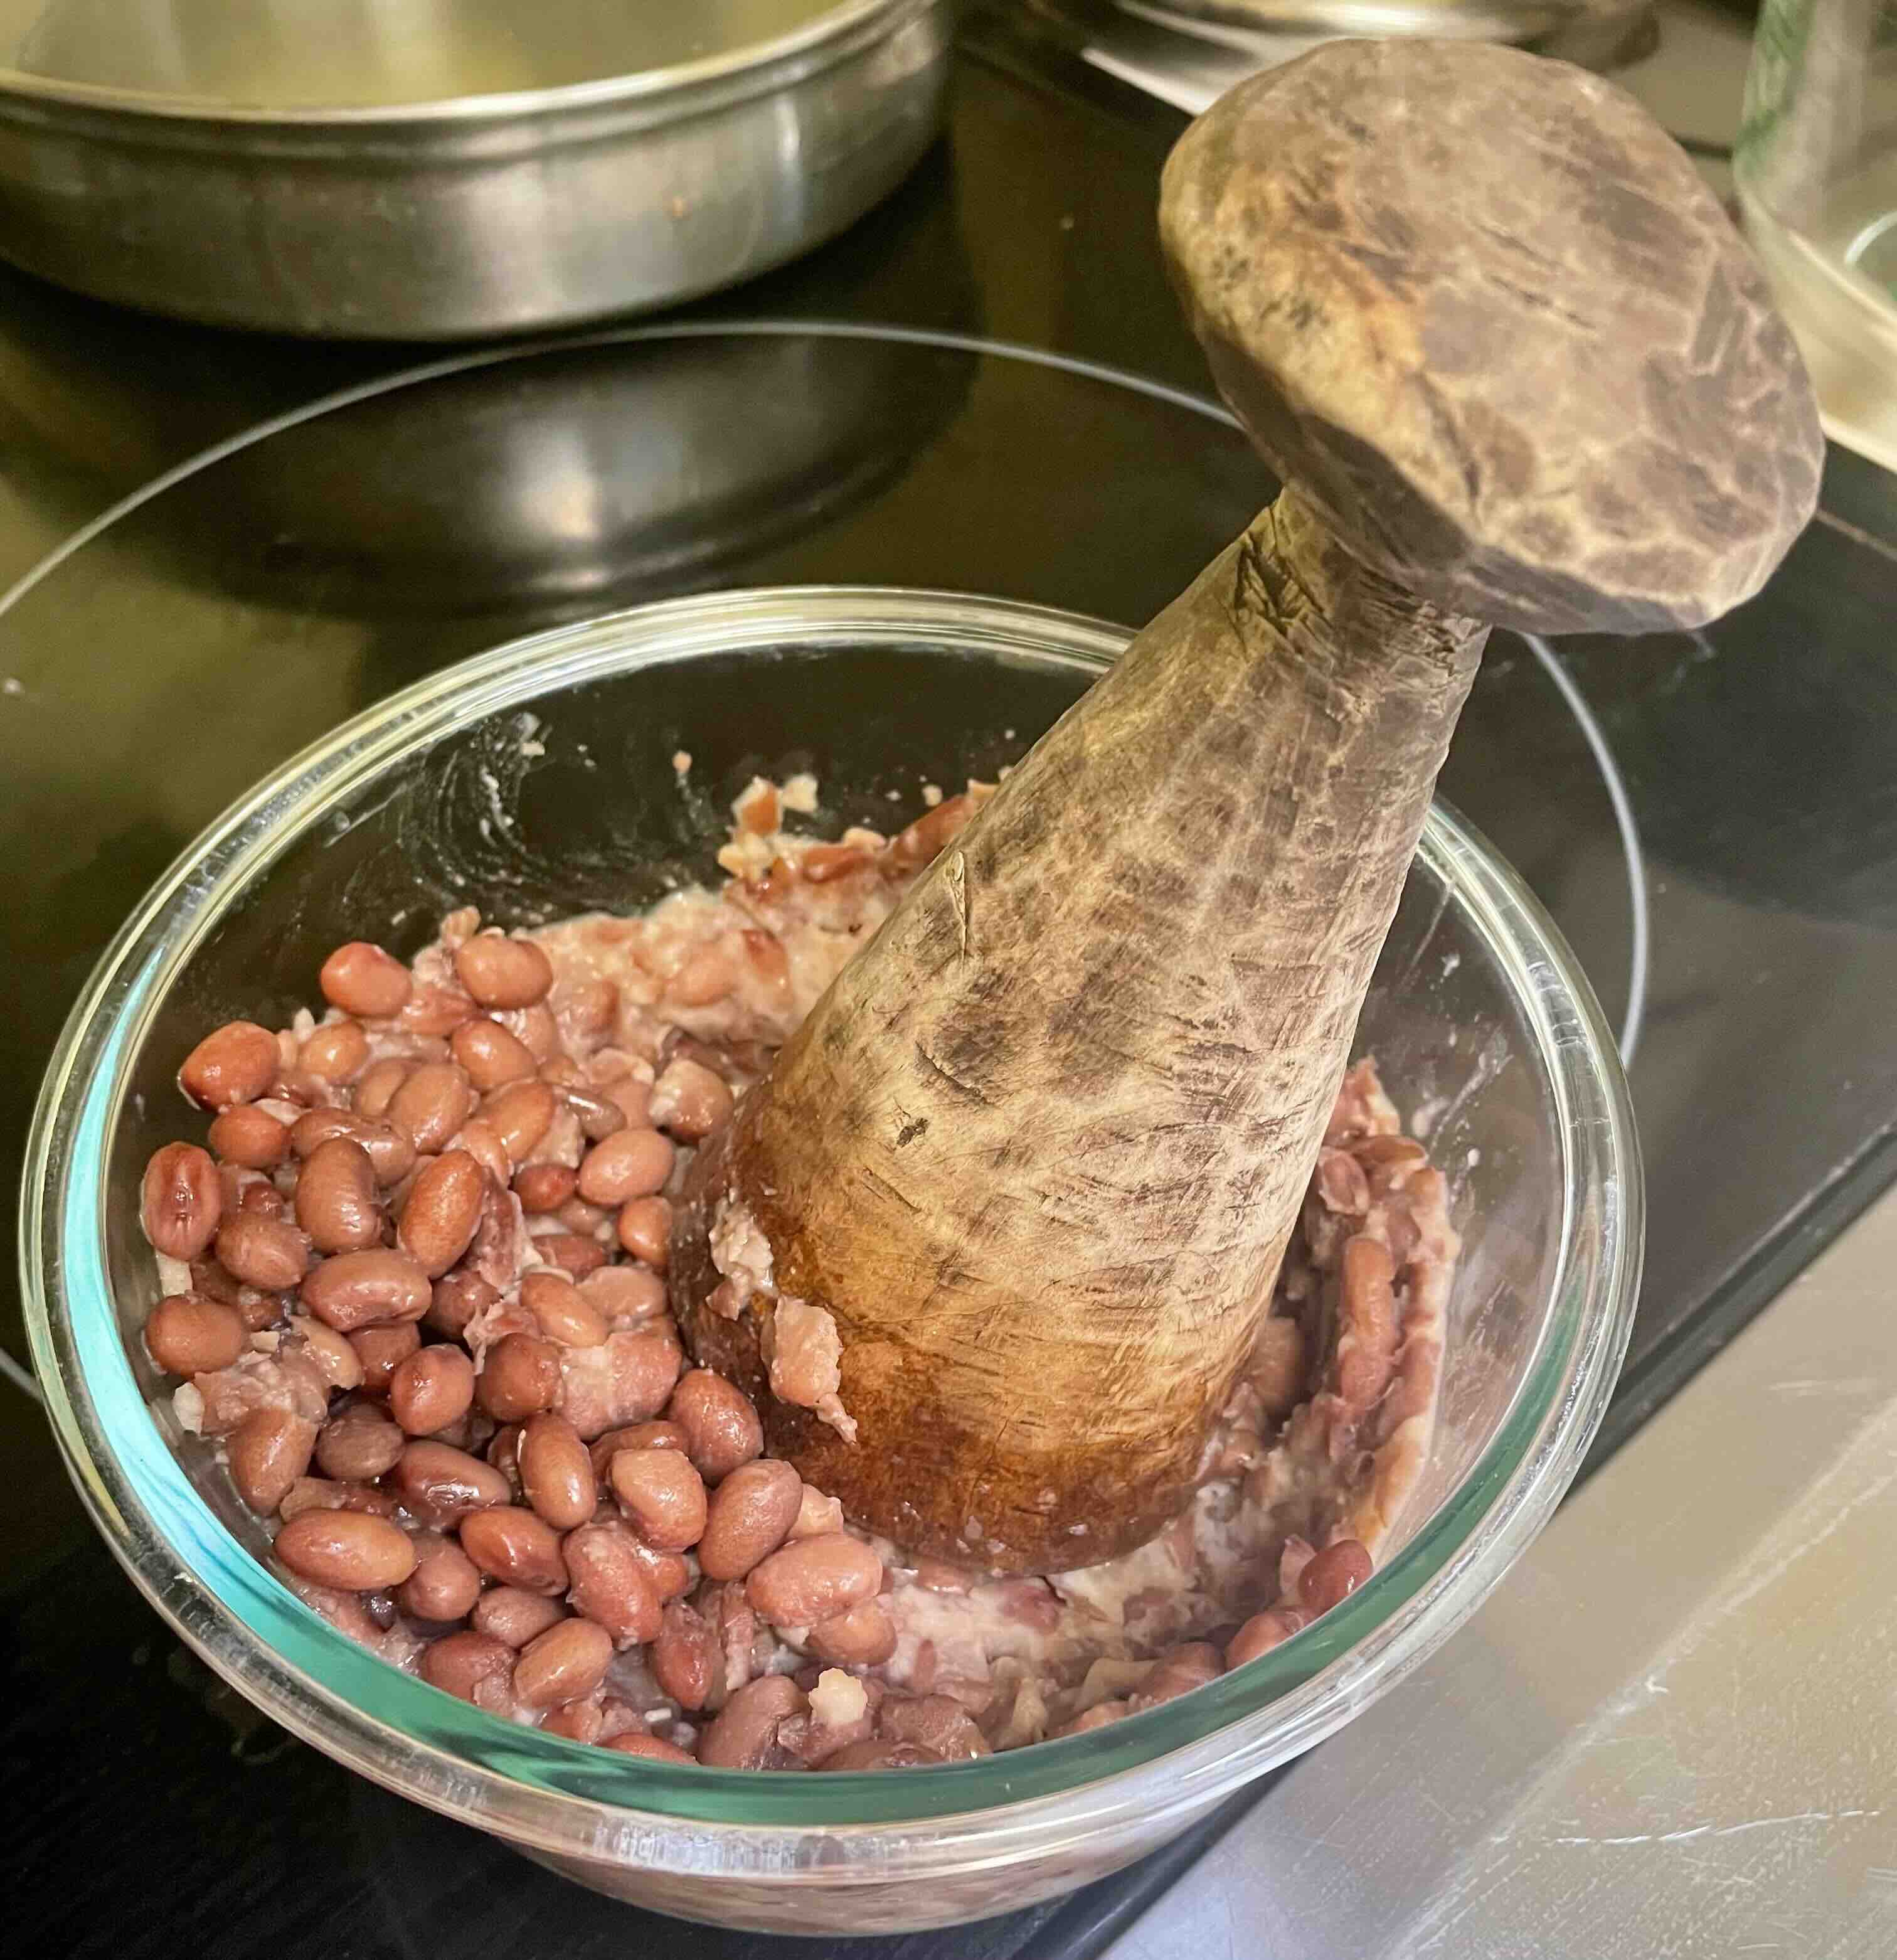
Do take a dip into Colorado River beans. I soak them a full day, drain the water, refill with good drinking water, and cook them slowly in the solar oven to save energy. They also cook relatively fast on stovetop when fully pre-plumped.
When fully cooked and soft, I mash them with my old Raramuri bean masher to a rough but good dip consistency. They are sweet and yummy without any added herbs or spice. For a dip I only add cumin powder, garlic powder, and a touch of spike to taste.
Then…to celebrate this harvest season, I wanted to add something new to the dip party…..
You are in for a surprise treat–with the Three Sisters along–to celebrate a harvest of beans, maize and (tah-dah’) squash!
Pumpkins and squashes are cropping up now everywhere in farmers’ markets and groceries. I’d like to share a simple and fun idea for fixing squashes and pumpkins as dipping chips!
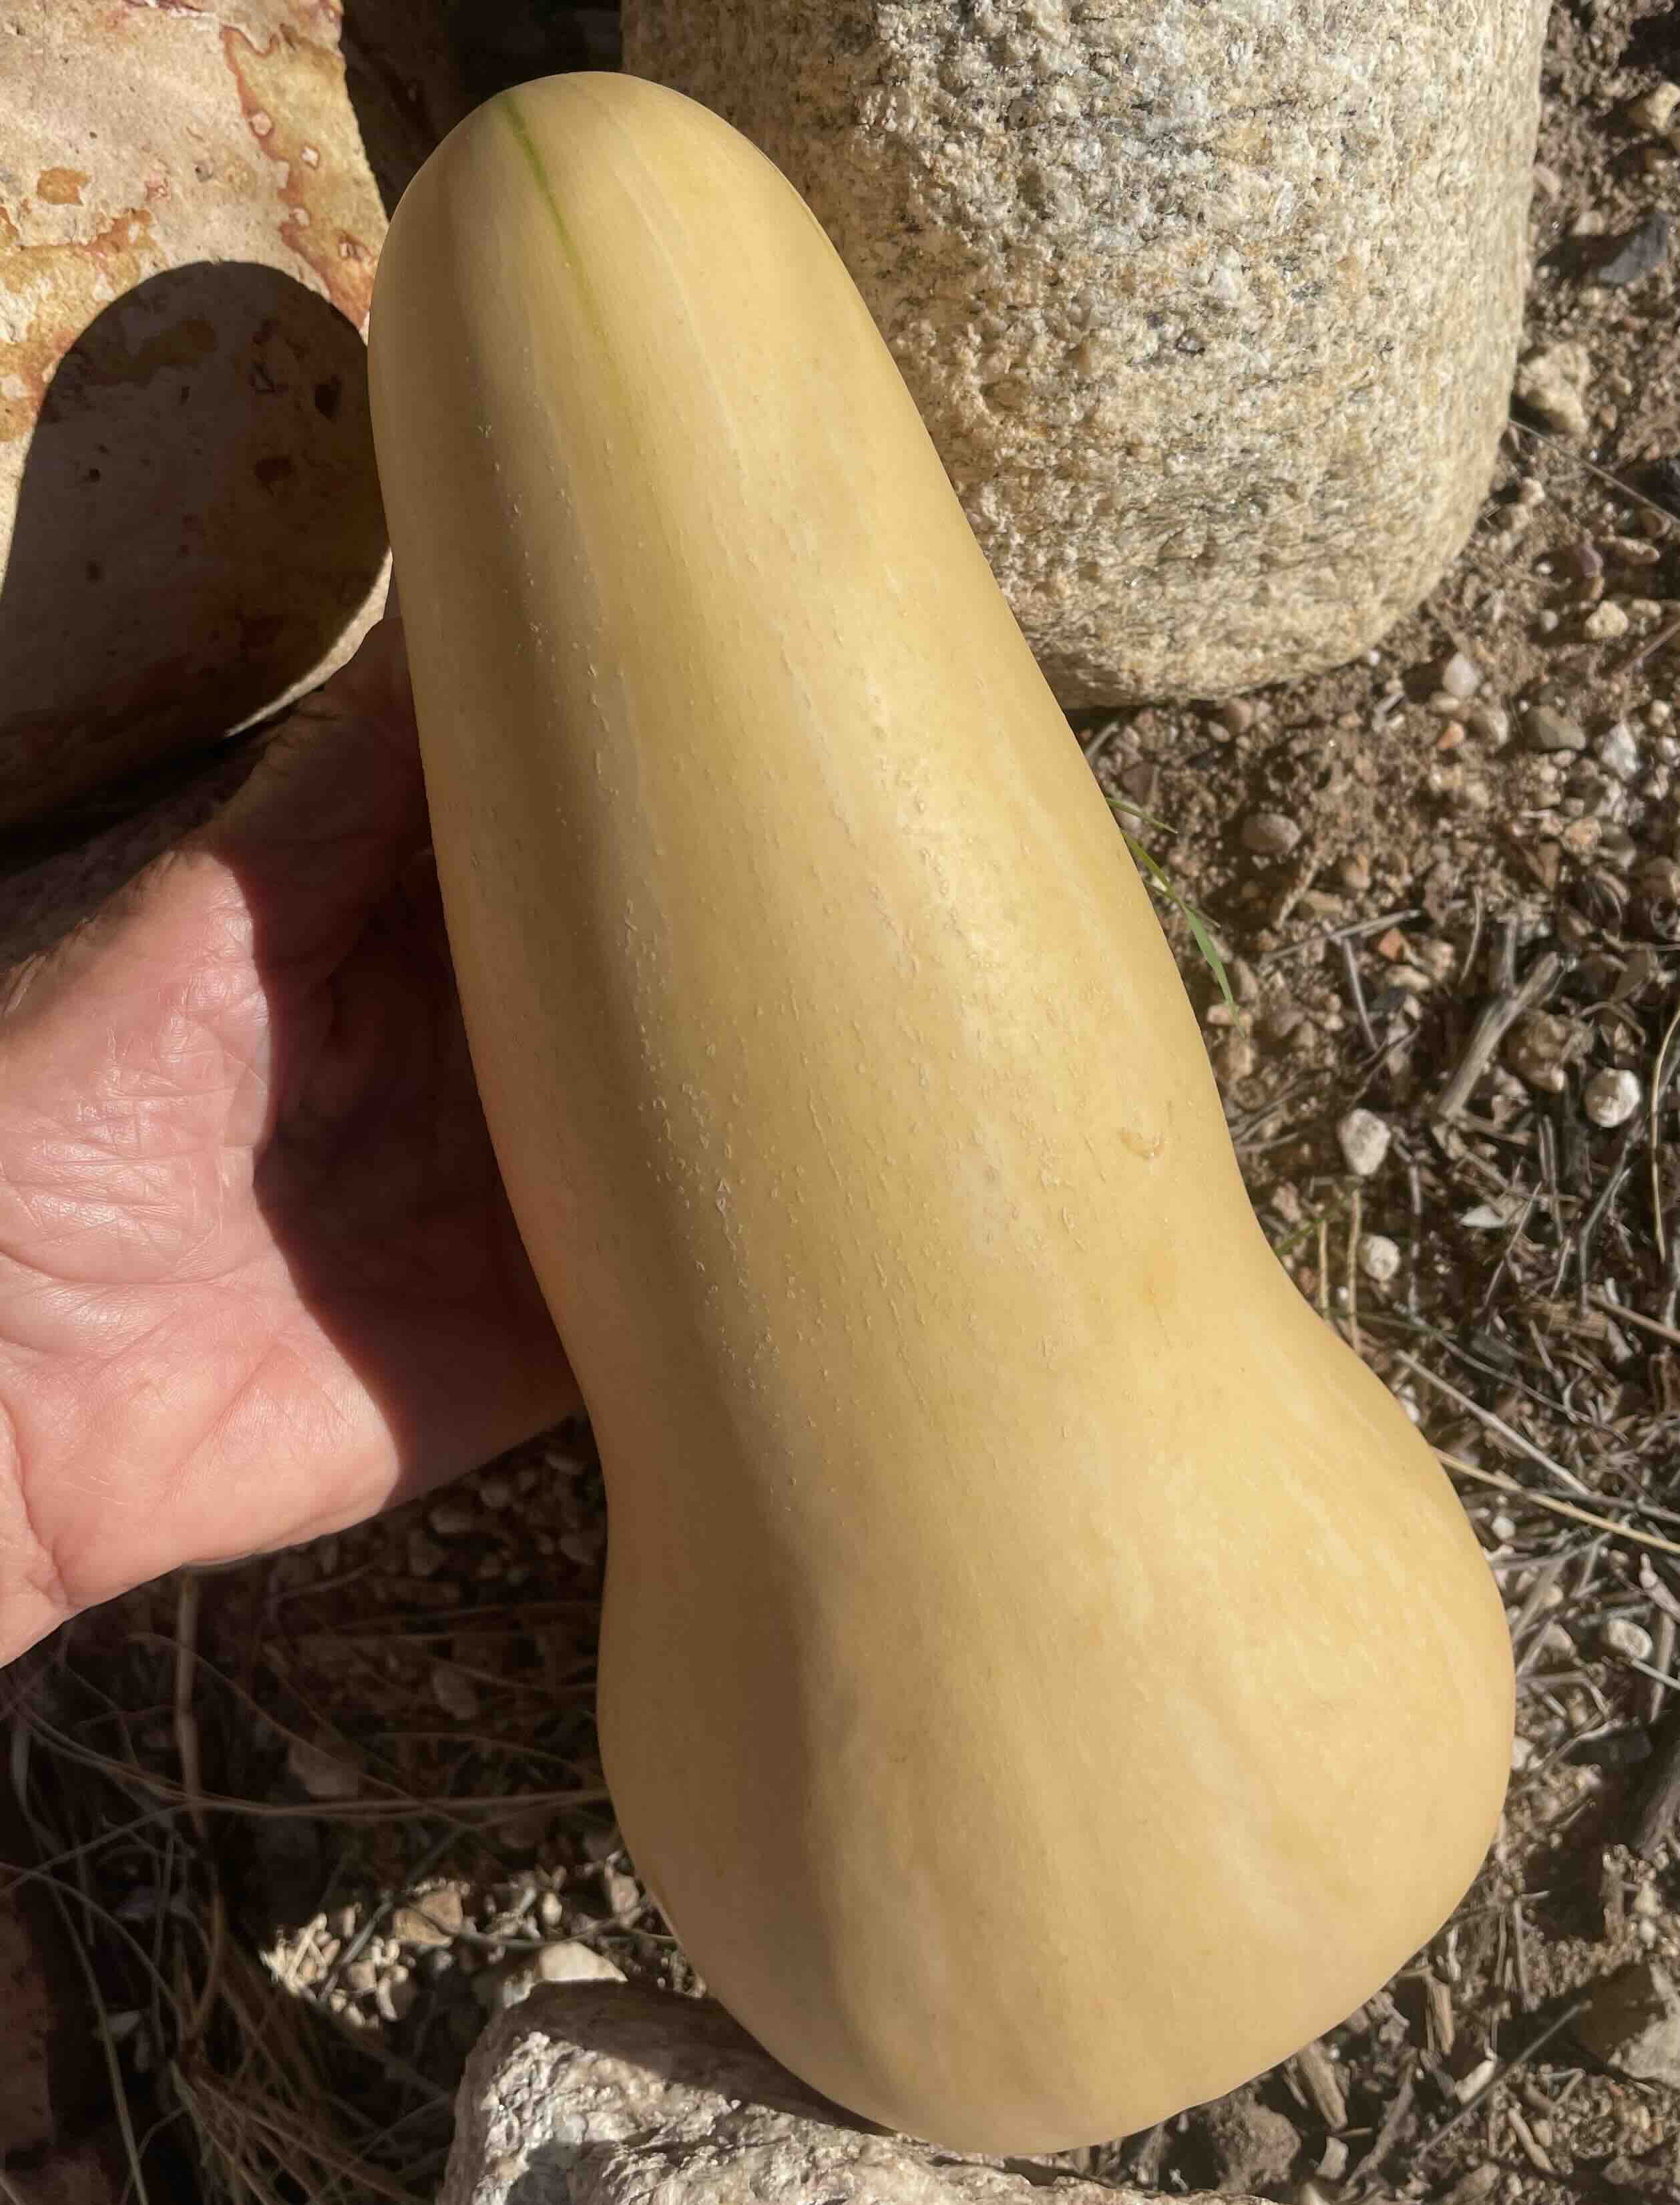
Let’s experiment with some spiced, crisp and nutritious pumpkin chips! My favorite of the pumpkins and squashes is the butternut…..not a native variety but certainly a well-adapted producer in Southwest gardens.
I’m rejoicing in my own butternut squash harvest this year! Isn’t this one a beauty?
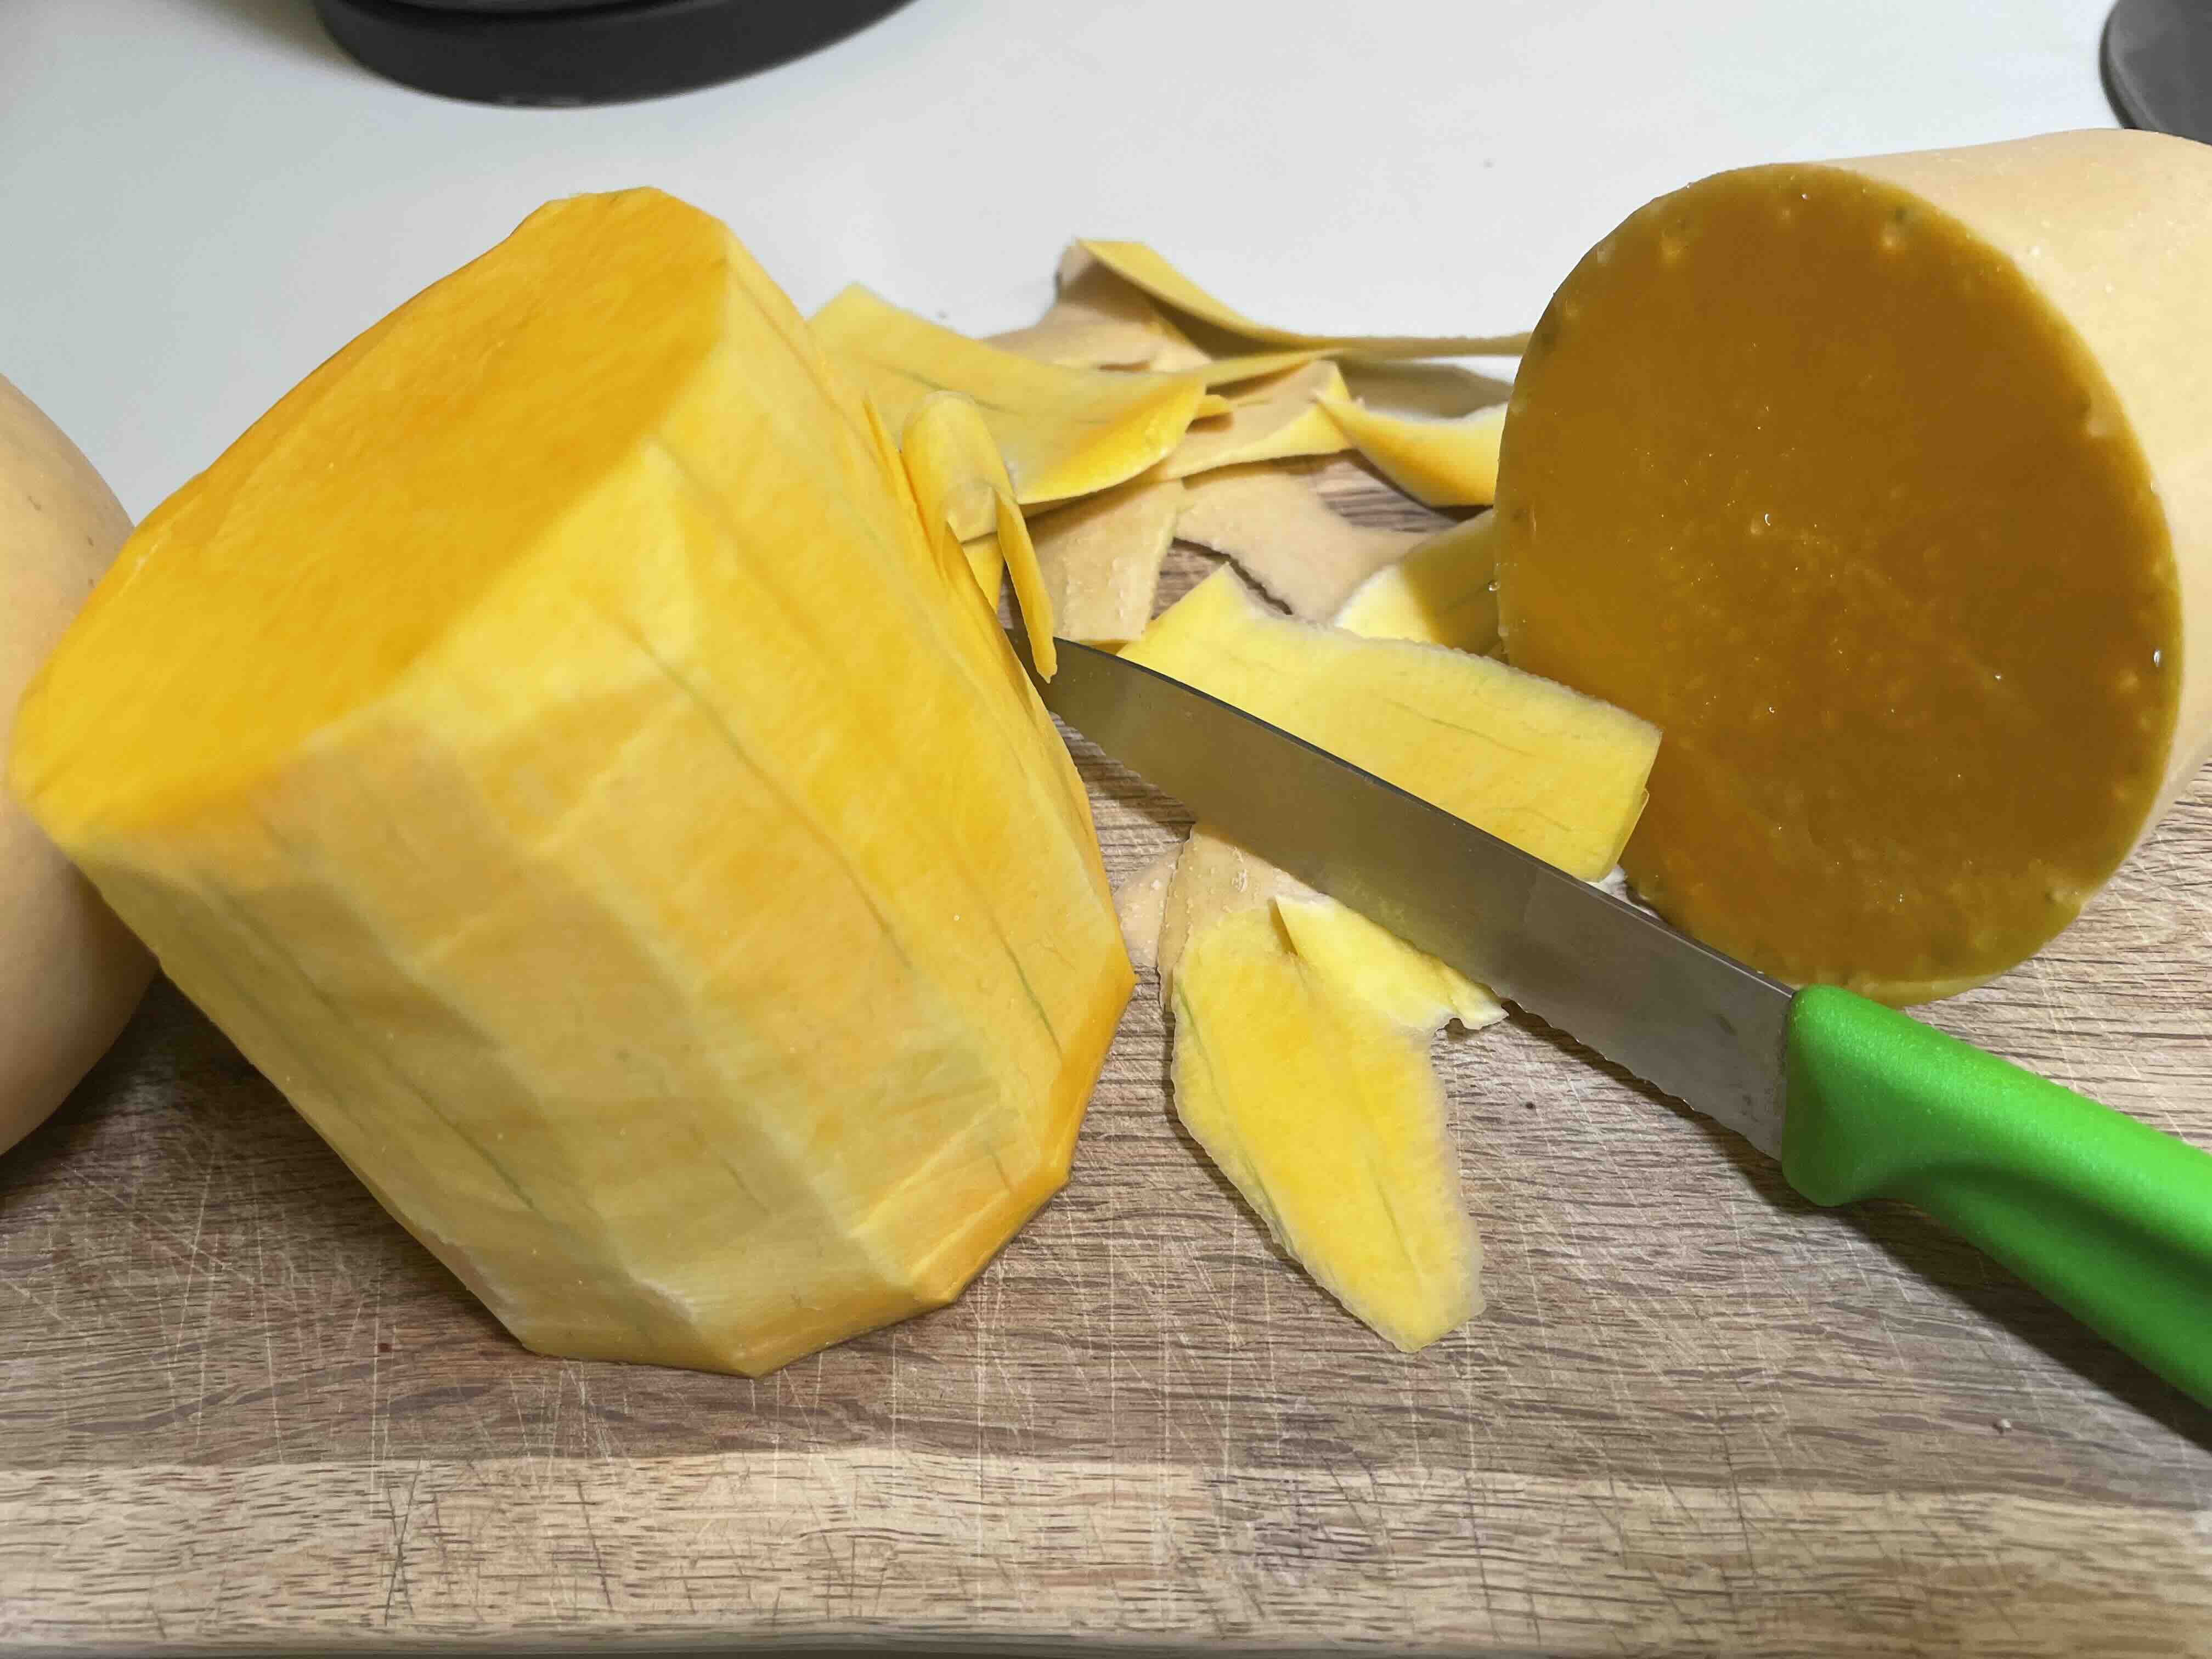
To cut consistently thin, long slices of squash, I used the firm center third of my butternut, the sturdy tissue beyond the seed-bearing cavity. (You can use firm tissue of any pumpkin or squash for this. See photos below)
With a super-sharp knife worthy of an Alaskan fisherman, I was able to prepare a cup of wide rectangular strips, perfect to make snacks for two.
I reserved all the non-strip chunks of squash to use in other veggie stews or soups.
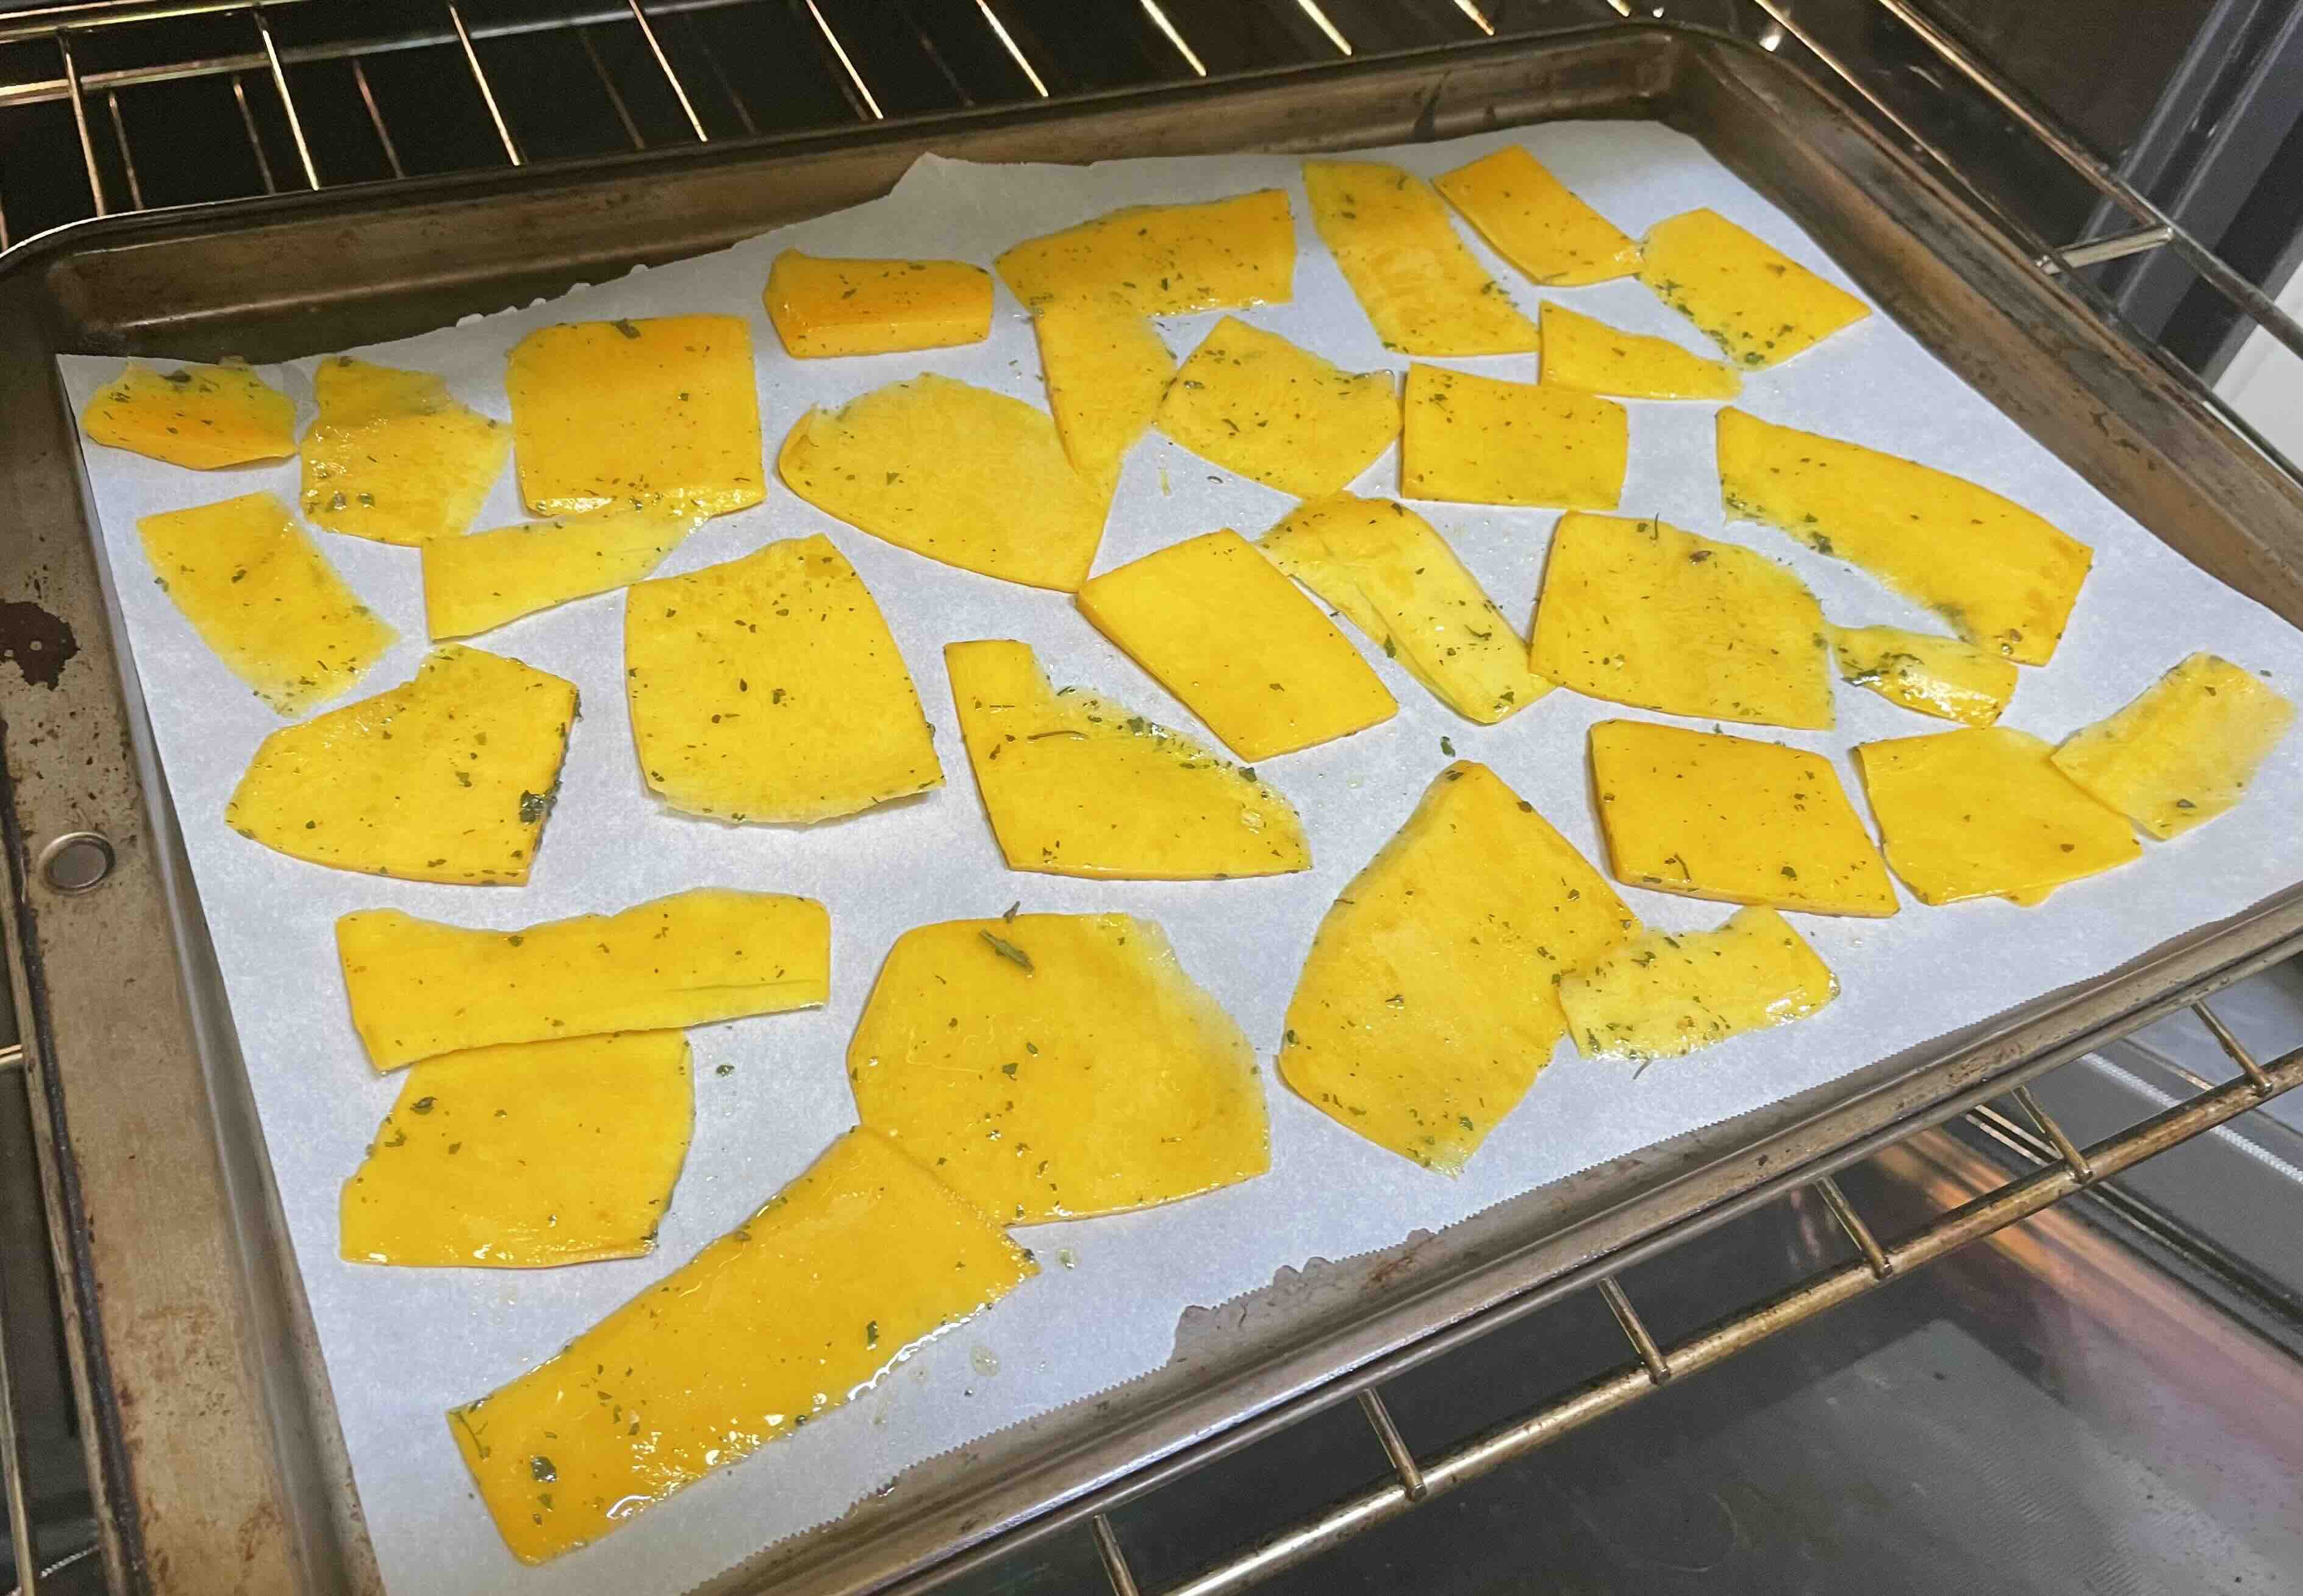
As you can see, cutting squash thinly by hand for consistent thickness is virtually impossible. Oh well! That’s what makes them non-commercial–indeed homemade–and it didn’t prove to be a problem with the cooking.
I dredged the strips in a simple mix of olive oil, sea salt and parsley flakes, then set them on a parchment-covered cookie sheet to bake.
Tia Marta’s RECIPE SQUASH OR PUMPKIN DIPPER CHIPS. (makes generous snacks for 2)
INGREDIENTS (super-simple!):
1 – 1 1/4 cup of sliced firm squash or pumpkin tissue of desired shape round, square, rectangular (from any butternut, O’odham ha:l, Magdalena big cheese, zuccini, acorn, Halloween pumpkin….)
1 Tbsp organic cold pressed olive oil
1/2-3/4 tsp sea salt (I used local Sal de Mar, Sea of Cortez salt available from Santa Cruz Chili & Spice Co, Tumacacori, AZ)
spices or flavor sprinkles as desired (e.g.garlic powder, mole powders, curry, chilpotle powder, grated parmesan, cumin)
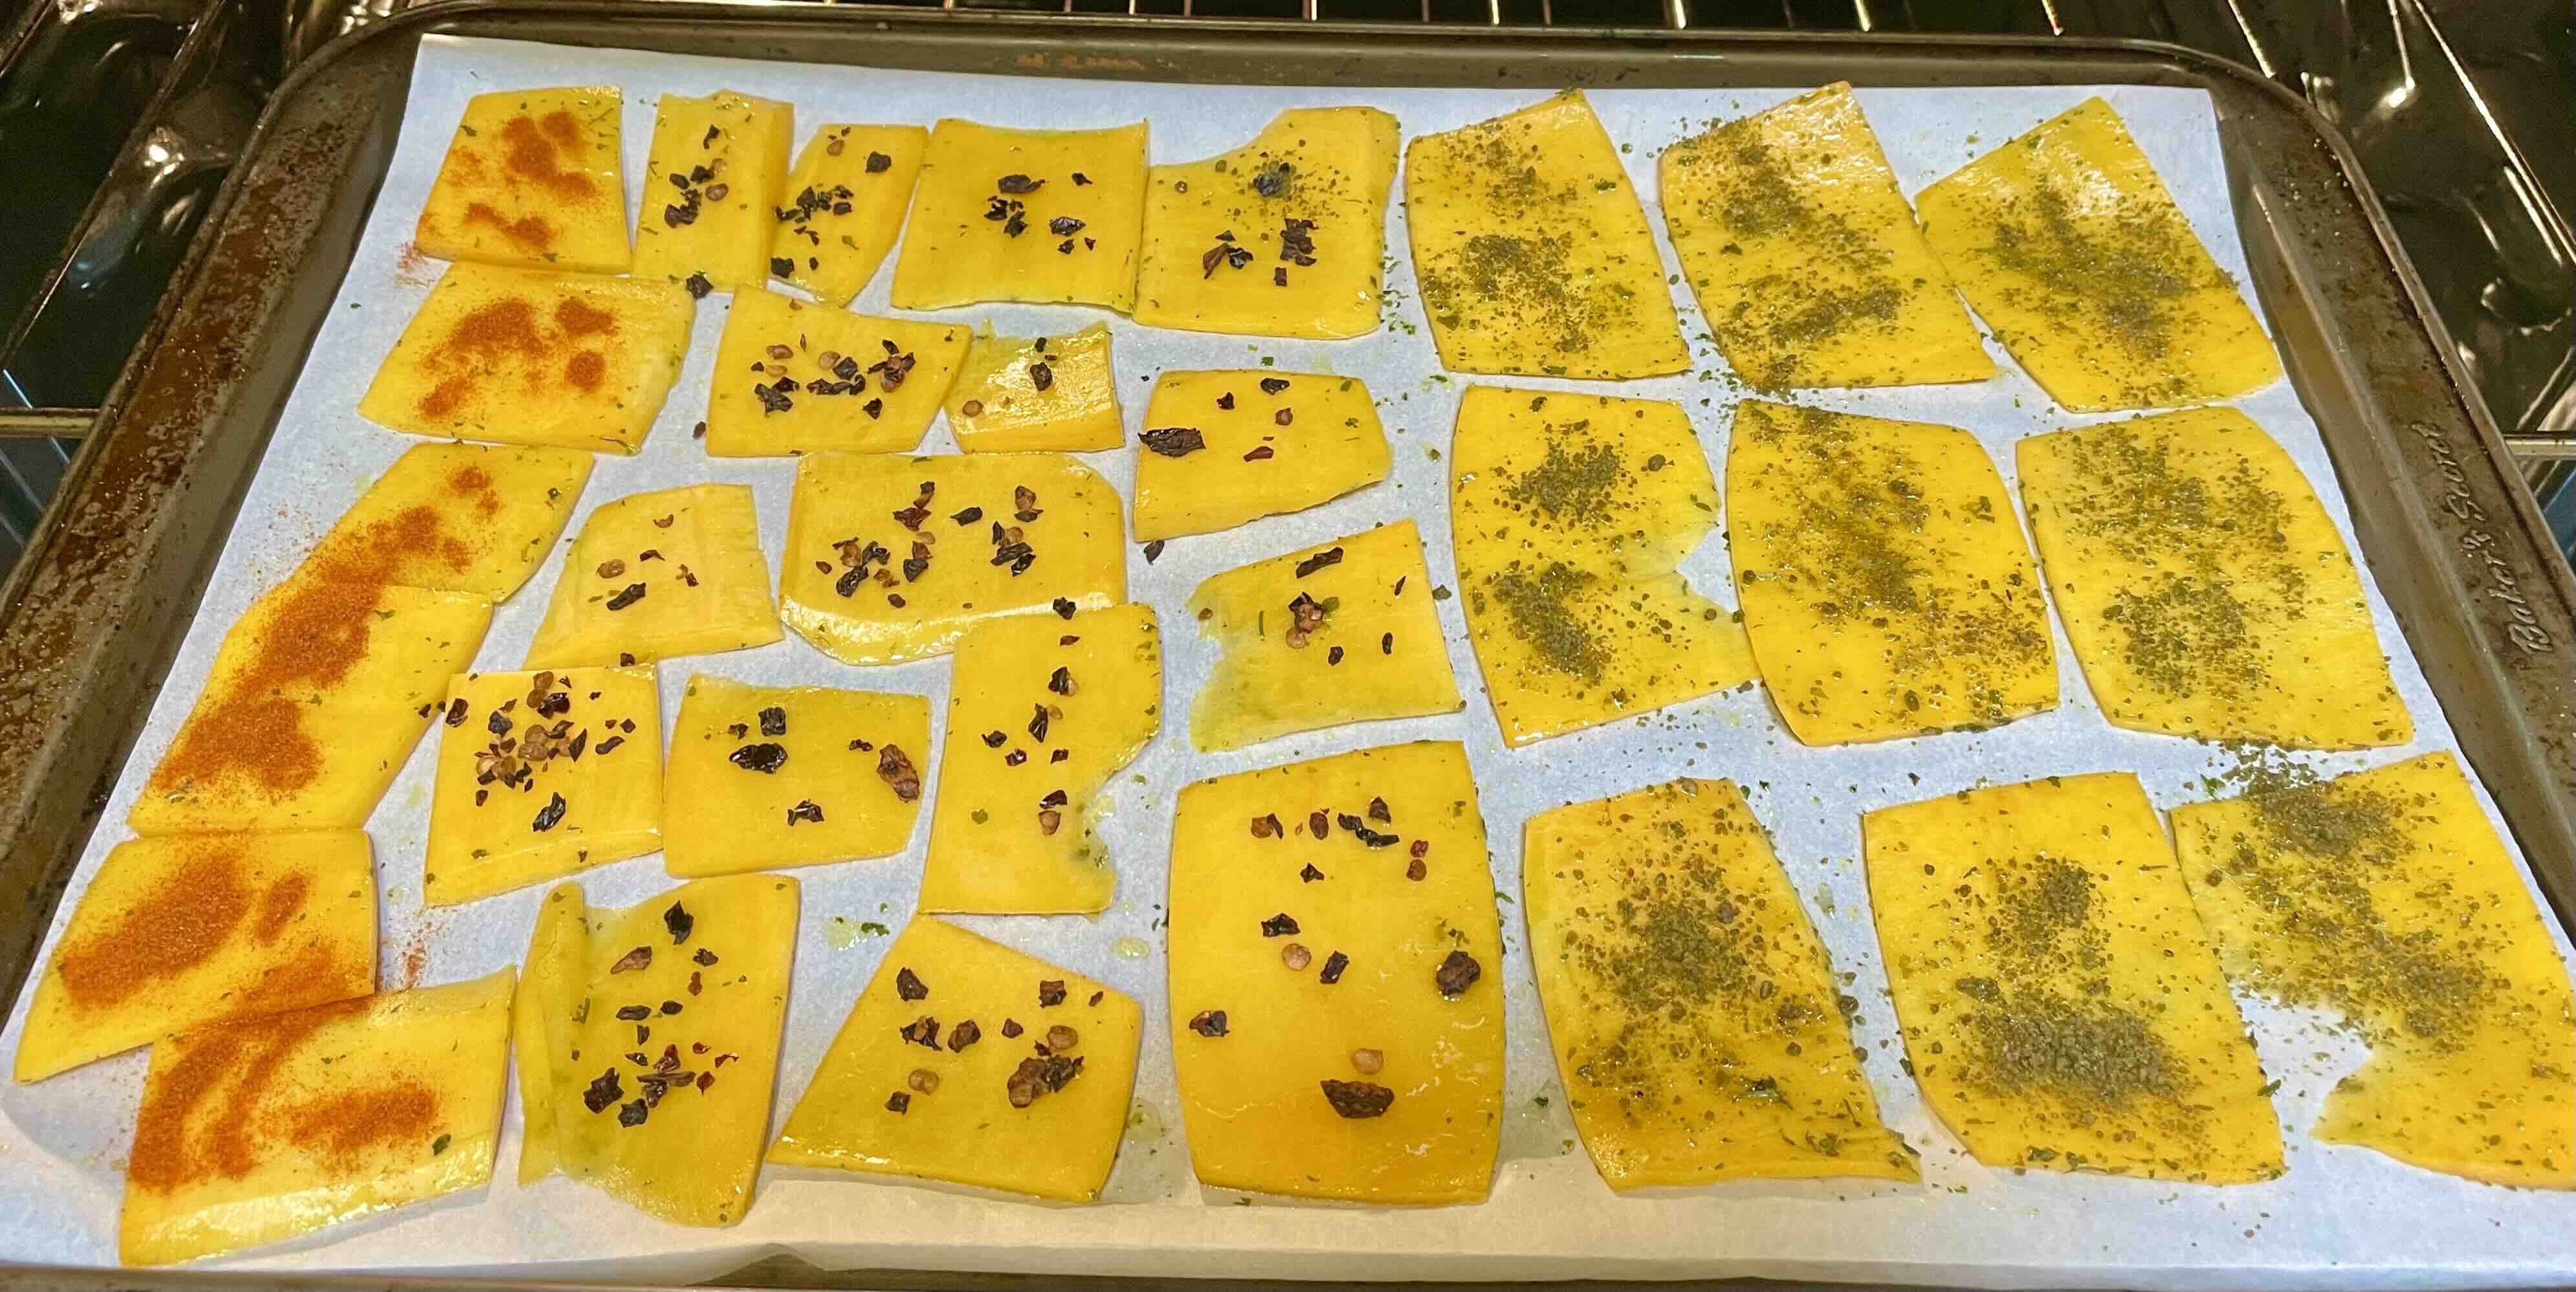
In addition to the “plain” salt and parsley without topping, I tried three flavor experiments: 1) smoked paprika akin to pimenton from Madrid, 2) chilpotle flakes for a real kick, and 3) Savor Sister Amy’s mole verde mix–all delish, totally different personalities. And the wonderful flavor of the squash came glowingly through with each topping!
Squash Dipper RECIPE DIRECTIONS:
- Preheat oven to 400degrees F (200 C)
- With sharp knife or vegetable peeler remove squash skin. Cut firm sections of the squash into blocks.
- Cut blocks into enough very thin slices to pack 1 cup. Slices should be almost translucent, of any shape large enough to be a dipper (round, square, rectangle).
- In mixing bowl, mix sea salt, parsley flakes and olive oil. Add squash slices and stir until each is evenly dredged.
- Spread slices onto parchment-covered baking sheets. Sprinkle flavorings on slices before baking, if desired.
- Bake in preheated oven until crispy and golden brown, monitoring progress after 10 minutes. Depending on thickness of slices it may take 14-20 minutes.
- Crisp up the thicker, flexible chips either in a warming oven, or let them dry to desired crispness on a linen if dry weather.
- Enjoy your squash chips with your favorite dip–or by themselves!
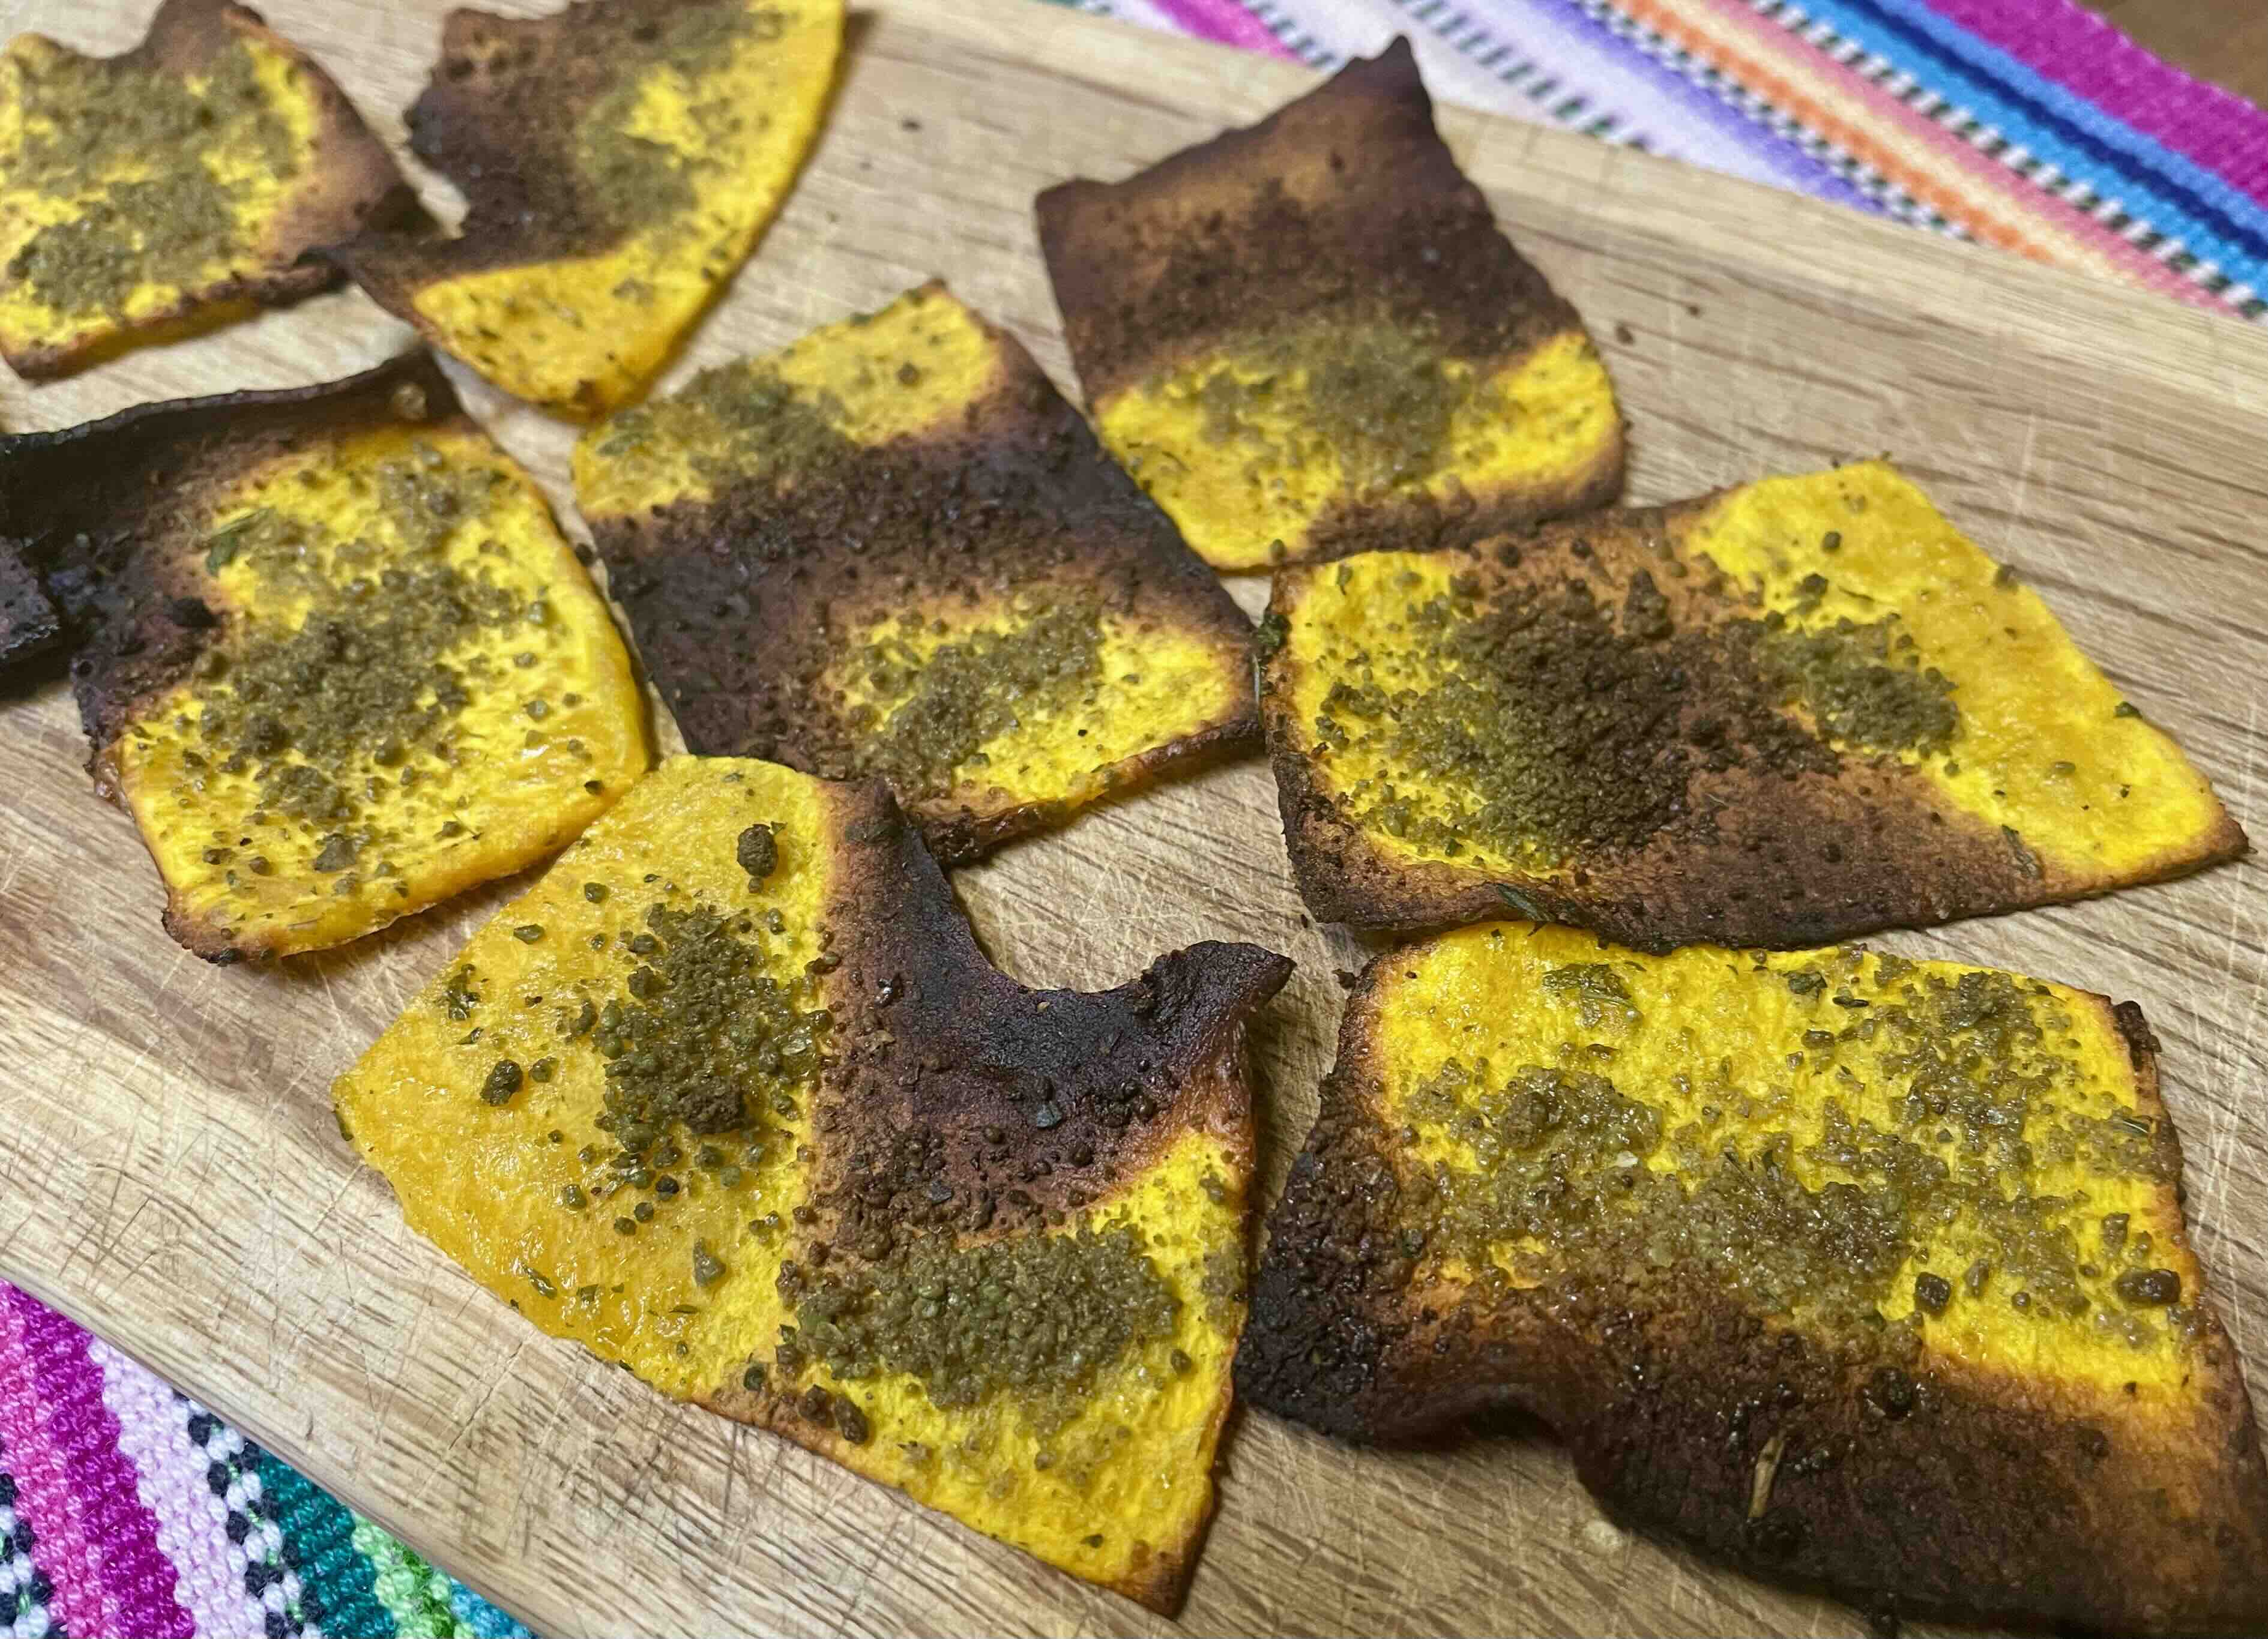
No need to fret about “looks.” The thinnest parts of the baking slices will scorch first as the sweetness in the squash caramelizes. And that’s not all bad– The scorched crispy parts taste super-fantastic too!
If you want to be precise, slice with a mechanical vegetable slicer or mandolin. That way your slices will be uniform in thickness and the baking process will be more consistent.
Add some blue corn chips as you serve your squash dippers and your Colorado River bean dip. These Three Sisters will cheer you at your own table. May this trio bless you with their regional harvest fitness and their superb nutrition as you dip in!
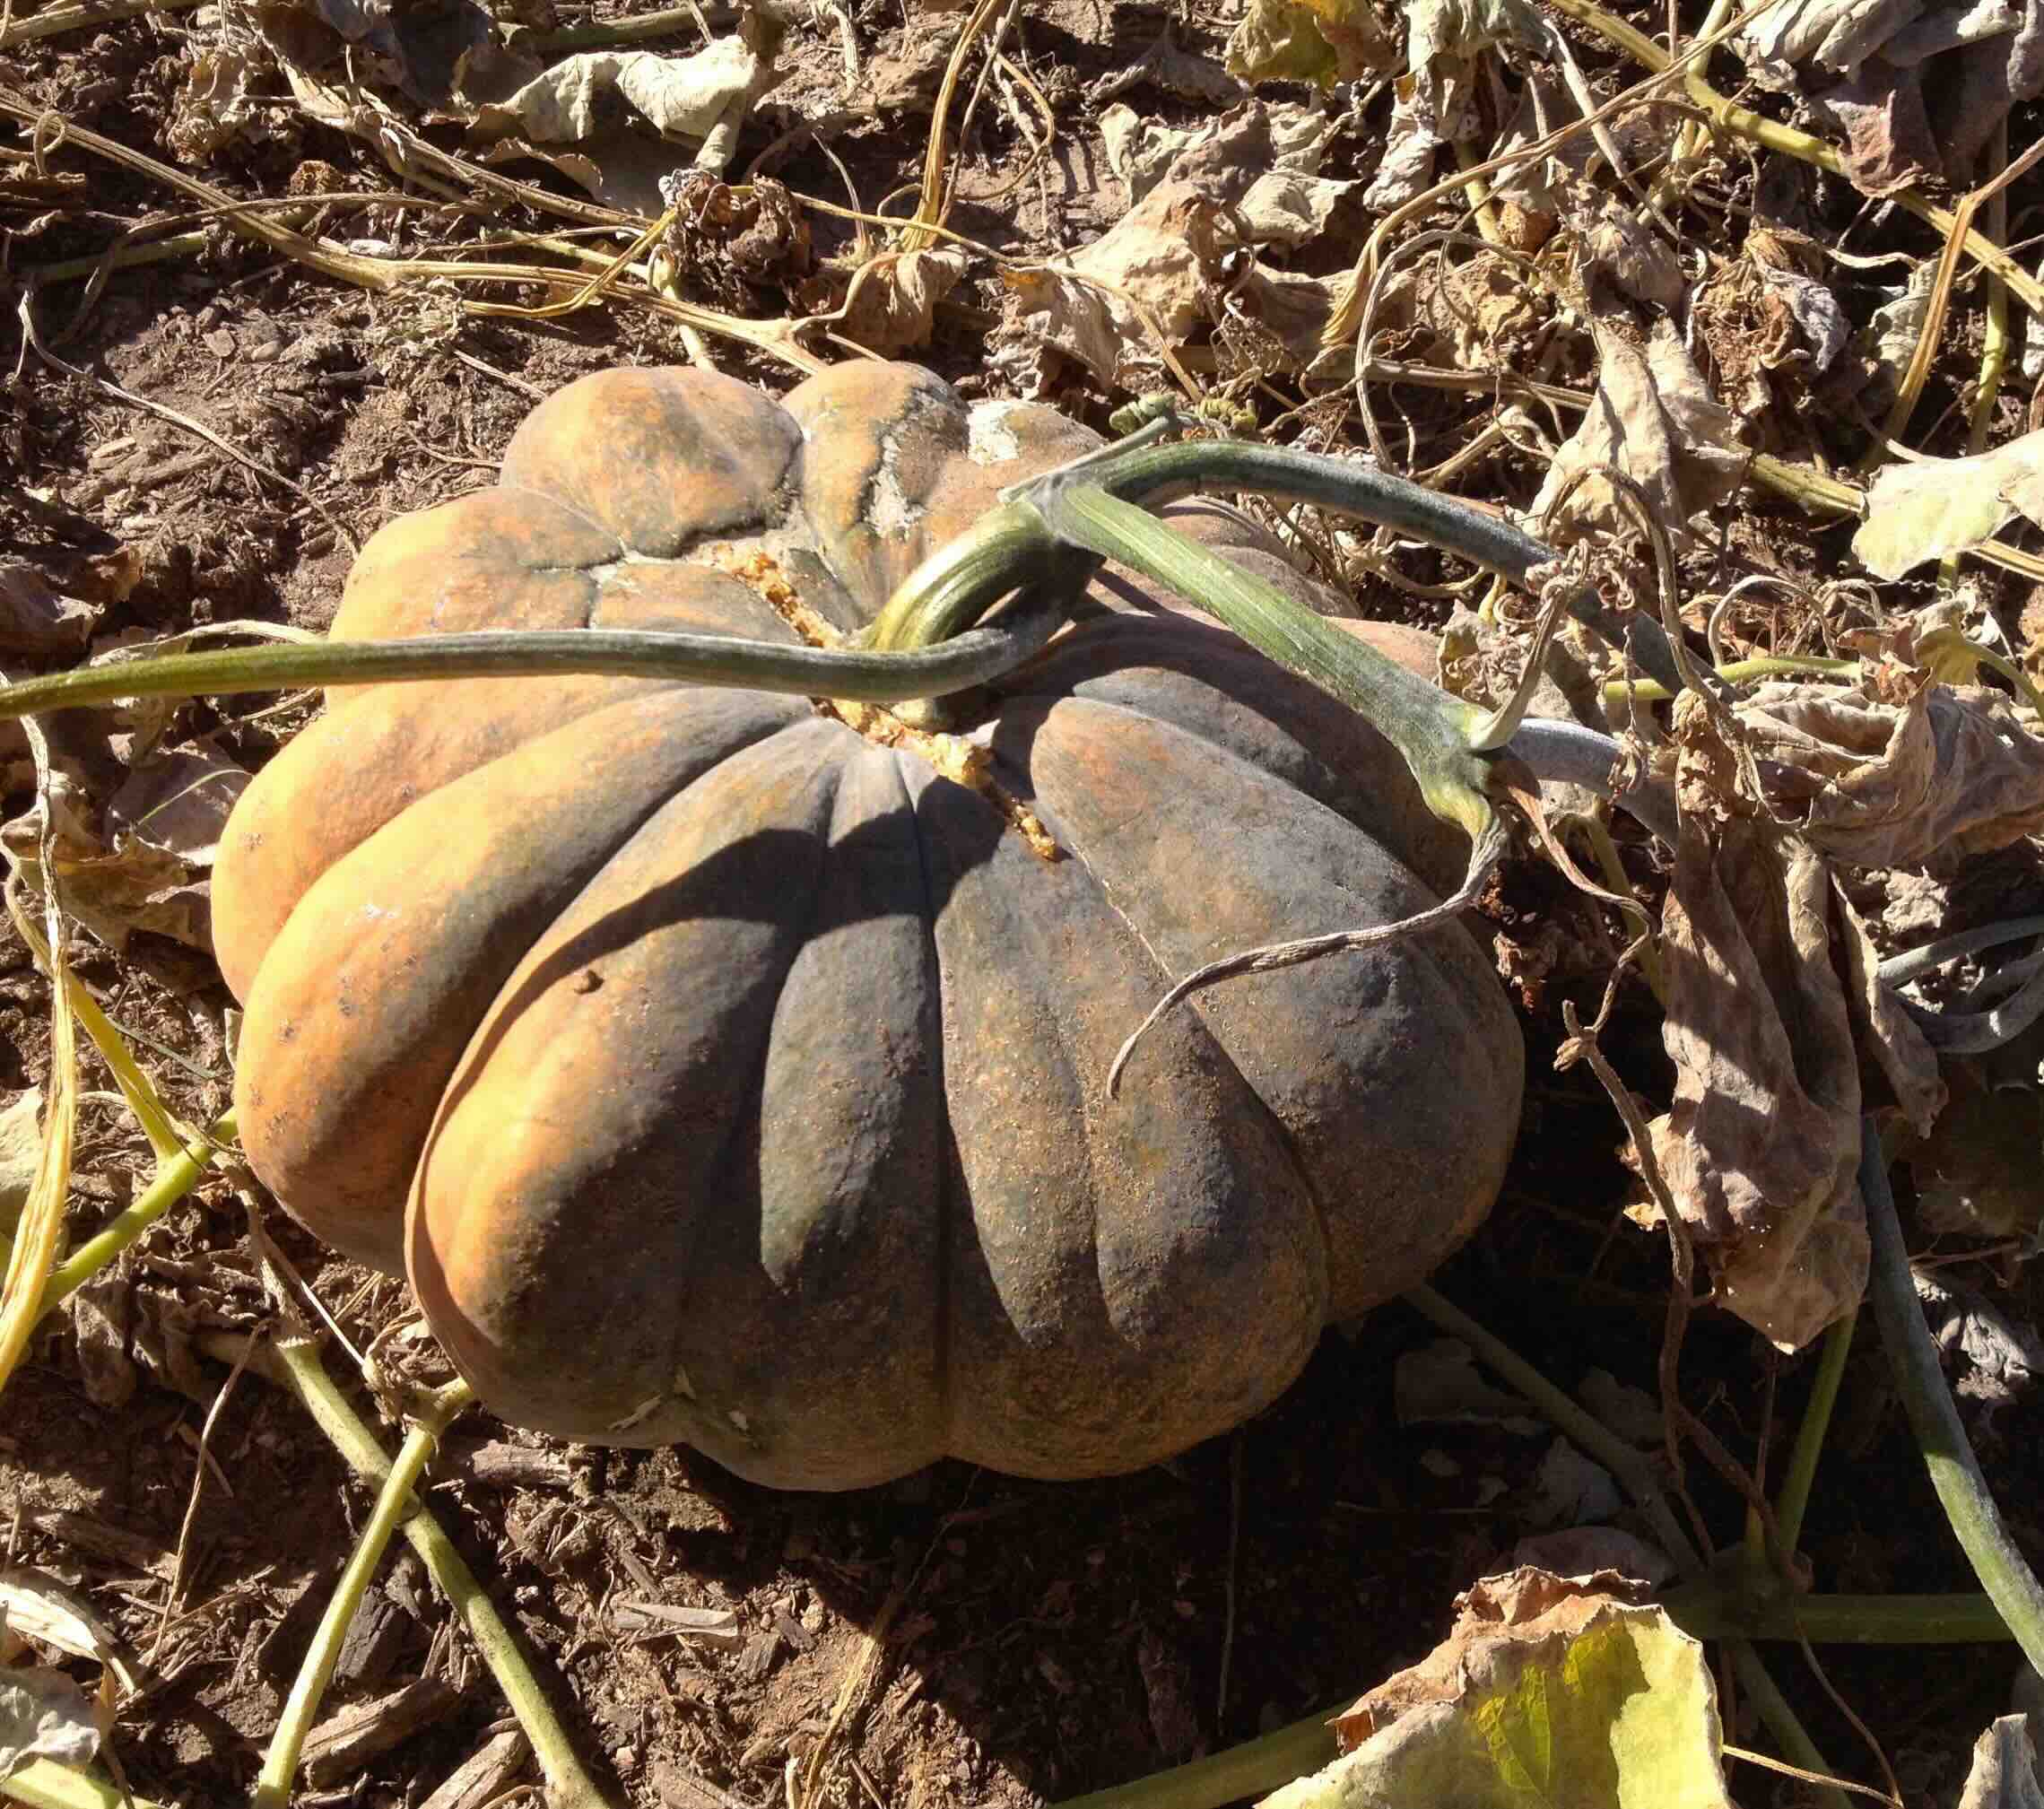
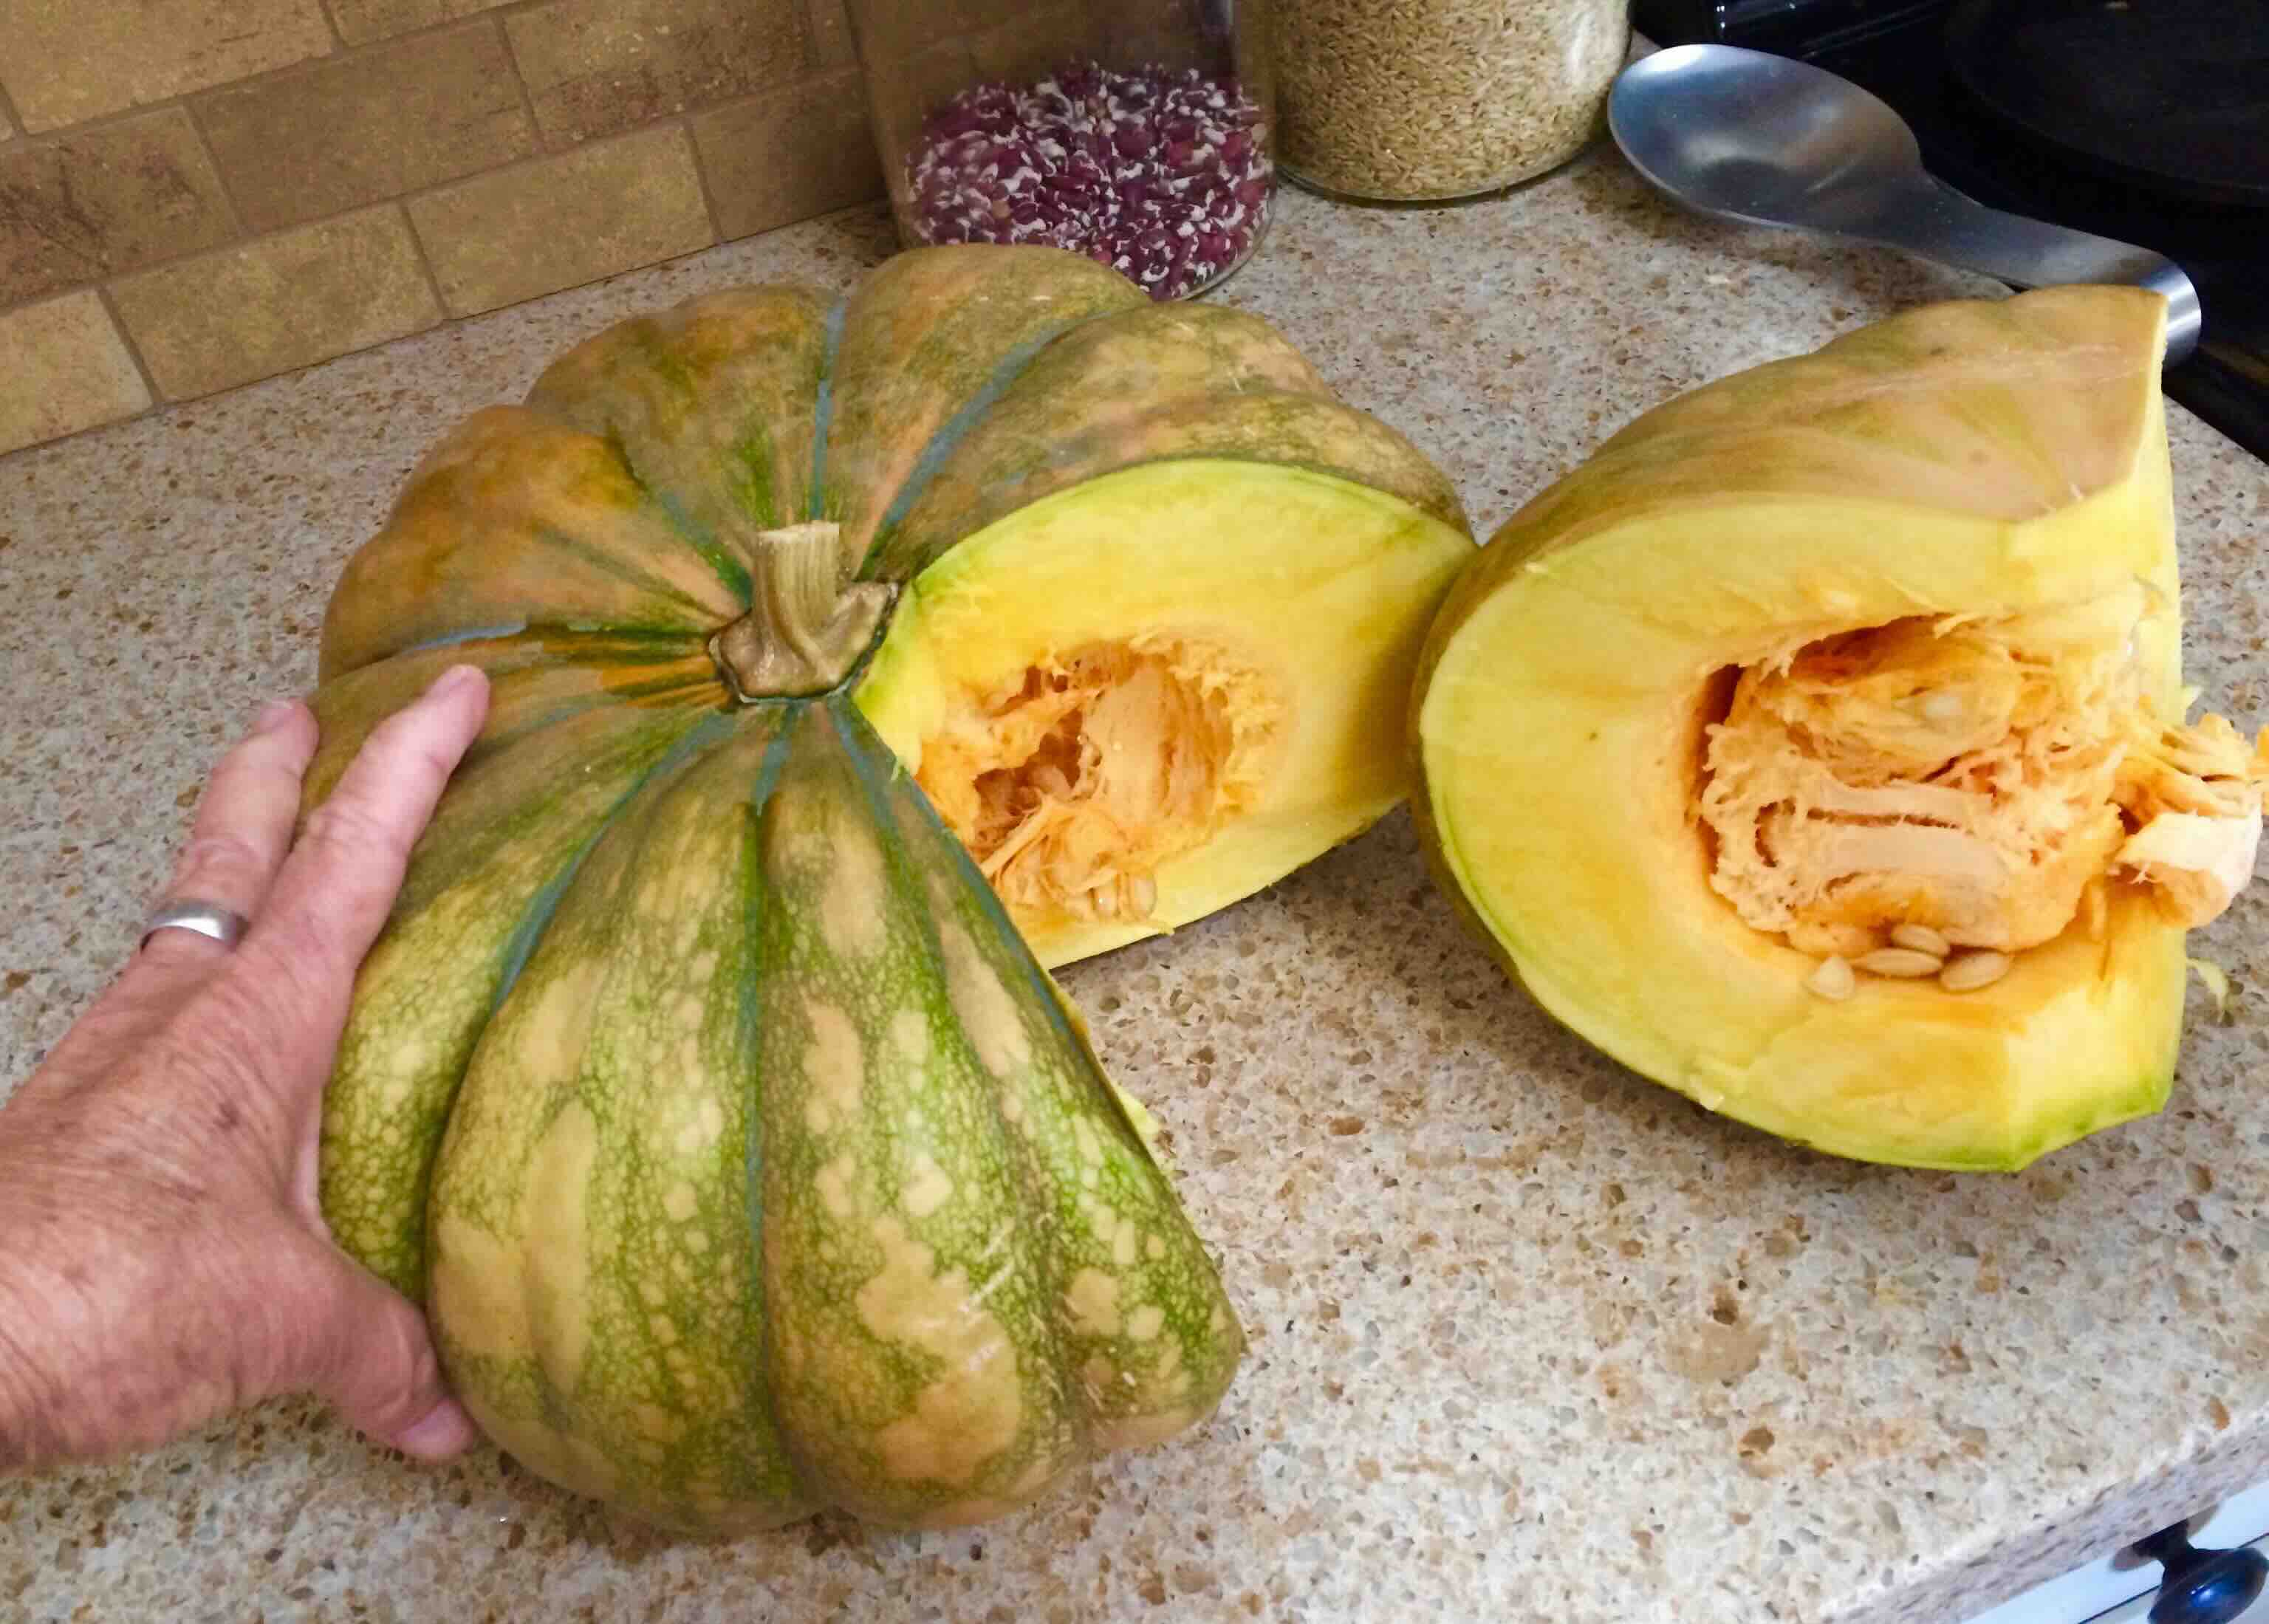
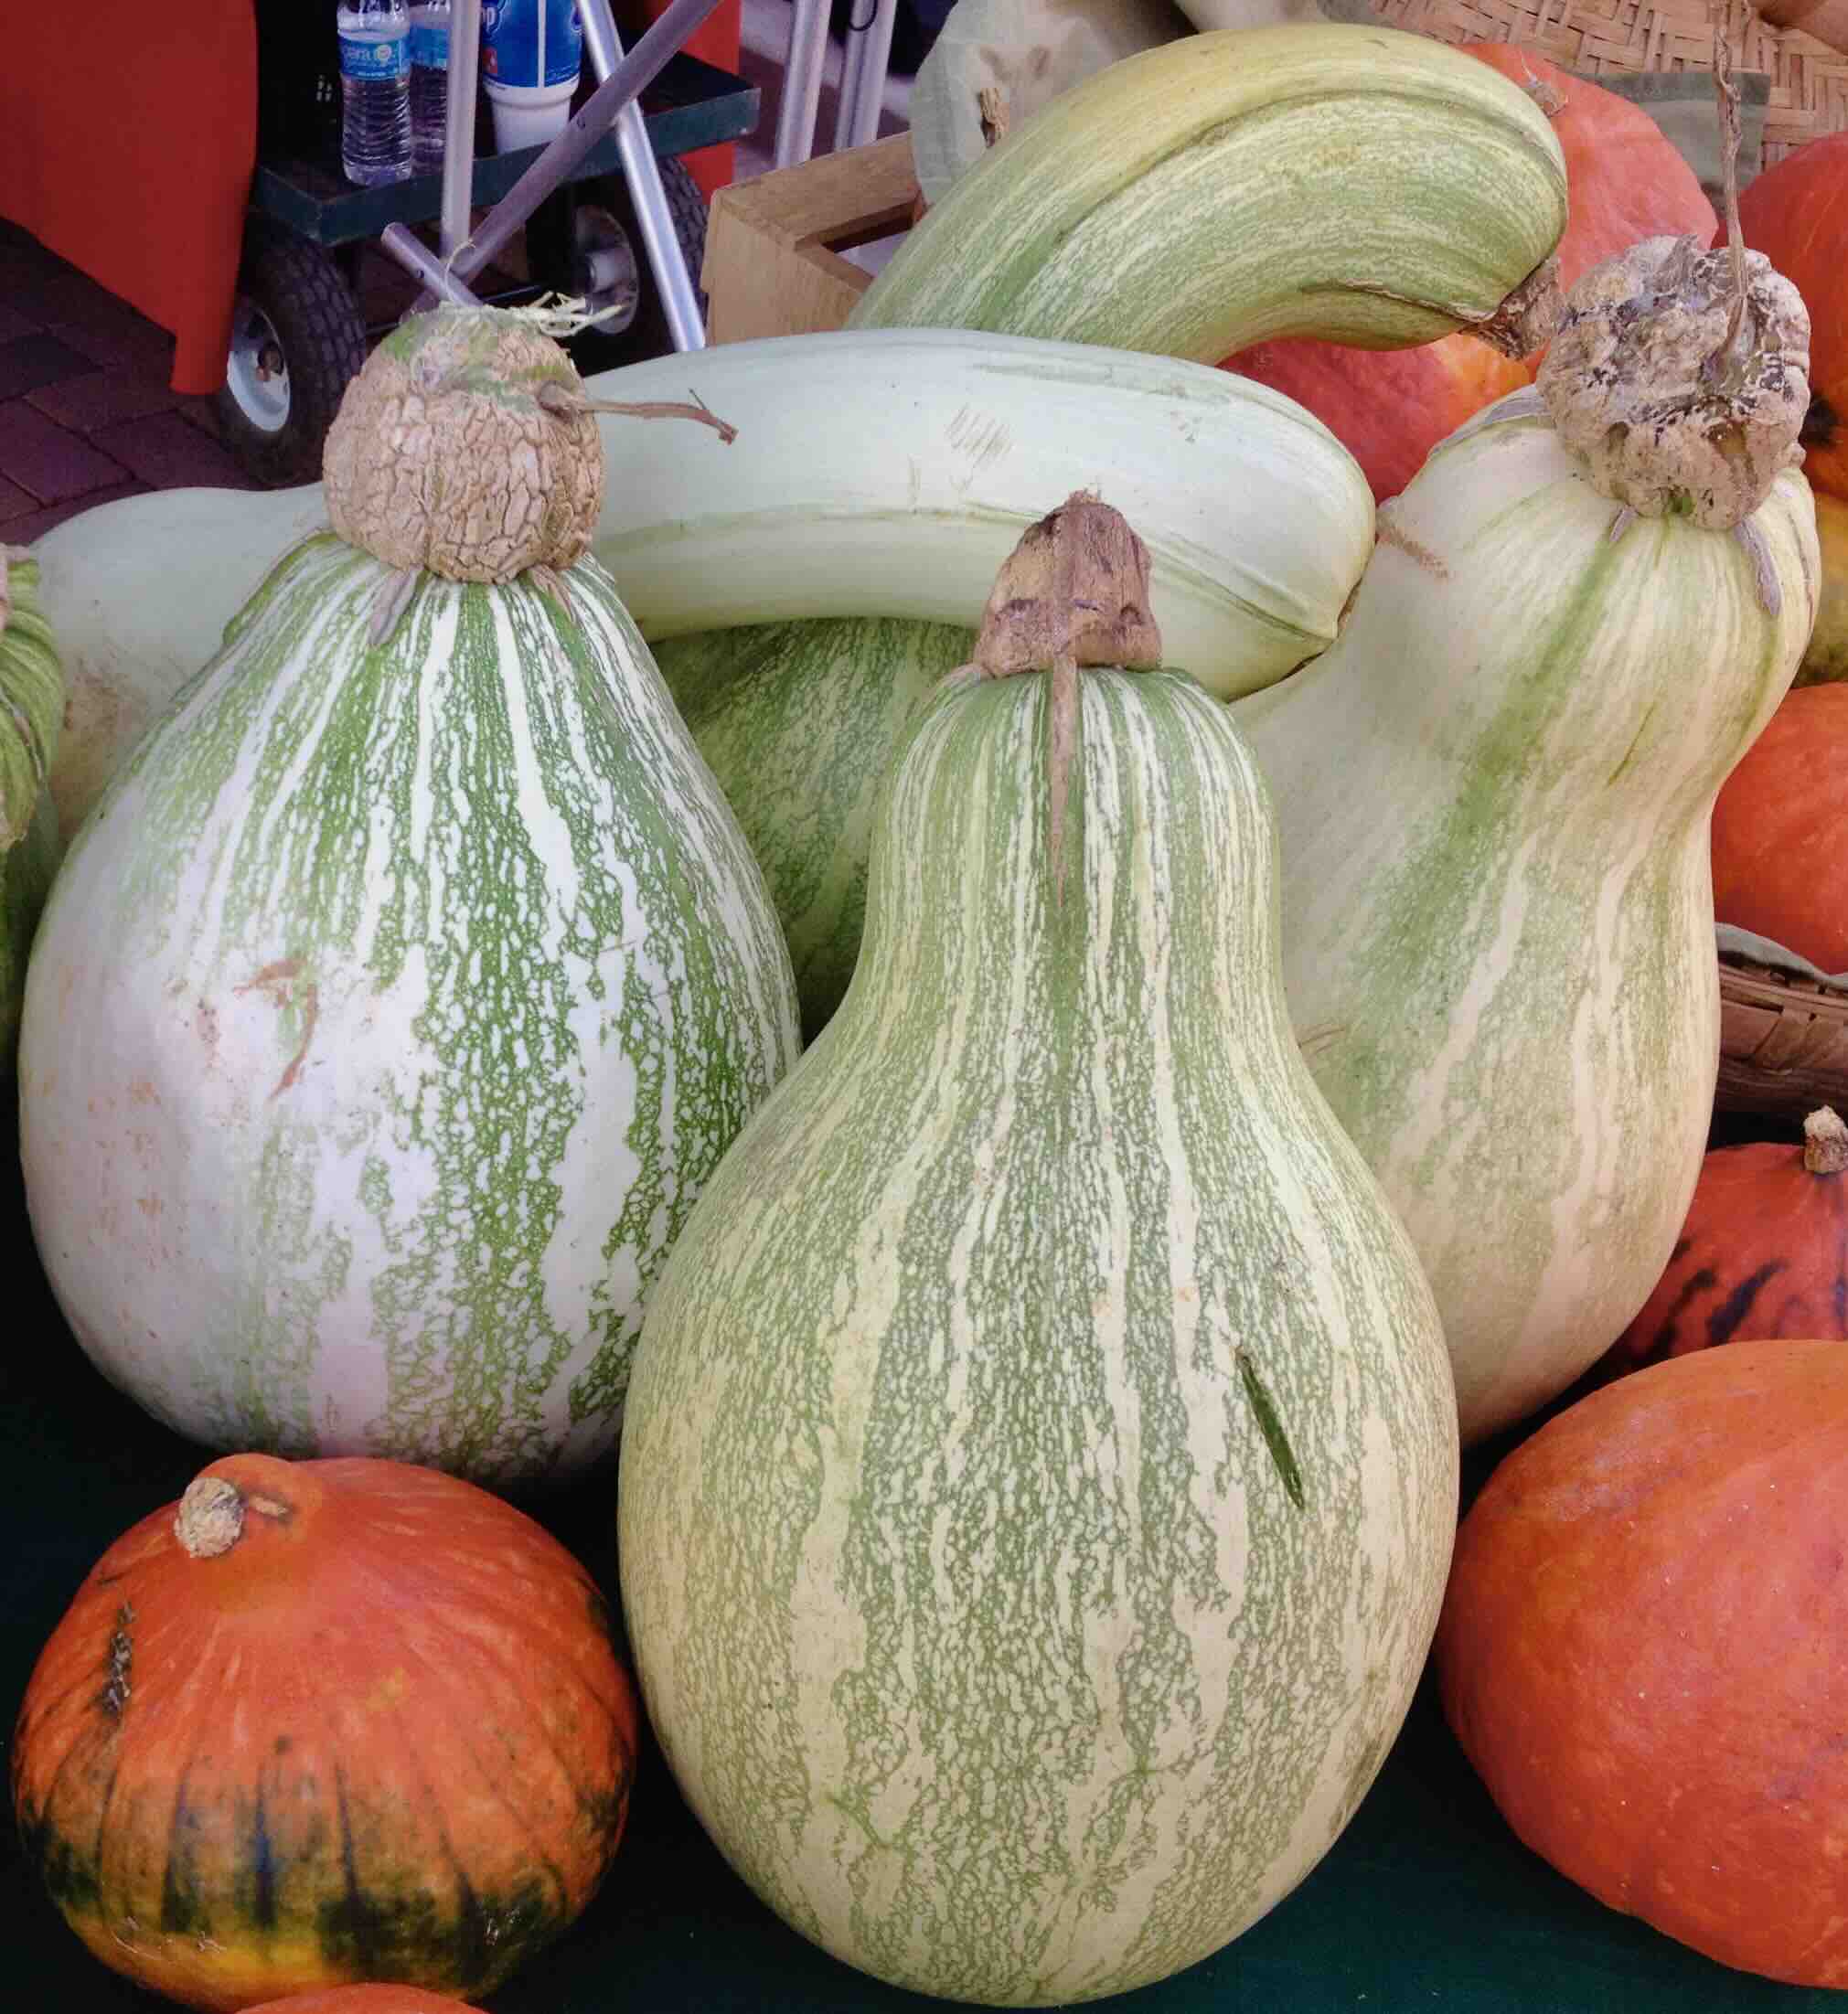
Above–a harvest of the giant striped cushaw pumpkin Tohono O’odham Ha:l and other winter squashes at Mission Garden
For more inspirational ideas about growing, cooking–even painting–our colorful desert harvests of native pumpkins and squashes, check out the following on this same Savorthesouthwest.blog site or just search with key words “pumpkin” or “squash”:
So Many Pumpkins, So Little Time!
An Artistic Harvest of Desert Foods

