A transporting 7 minute read…
Greetings from Tucson, it’s Savor Sister Emily here with my first official post! I am excited to be here, and am looking forward to hearing from you in the comments below.
I first encountered tesgüino (tes-WEEN-oh) while learning about the traditions of the Rarámuri people at Mission Garden’s Rancheria (Beterachi) exhibit in Tucson, Arizona. I only knew a bit about the Tarahumara people who have lived since time immemorial in the rugged and beautiful mountains of Chihuahua in northern Mexico, called the Sierra Tarahumara. I soon learned to call them by their tribe’s own name for themselves: Rarámuri, as opposed to “Tarahumara” which was introduced by the Spanish. Many people have heard of the Rarámuri tradition of running long distances, but perhaps fewer people are familiar with another unique aspect of their culture which is found in a beverage called tesgüino.
Tesgüino is the Spanish name for a fermented corn beverage, primarily made from corn and water. The written observations of ethnographer John Kennedy in 1959 describe the important role that the beverage plays in the spiritual and ceremonial traditions of the Rarámuri people. It is also commonly enjoyed in social and community life. Known in the Rarámuri language as batàri and suguí, tesgüino is so integral to the culture that the average Rarámuri family might use 200 pounds of corn annually just for making tesgüino (Kennedy 634).
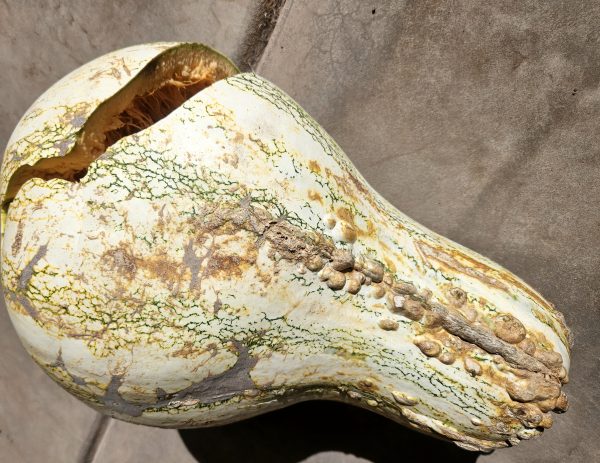
At least 4,500 years ago, corn became a vital crop for indigenous peoples in the Southwest, including the Rarámuri who developed and care-take many different corn varieties. Similarly, here in the neighboring Sonoran Desert, the Tohono O’odham have cultivated a fast growing 60-day corn for thousands of years and it still thrives today. I wondered if the 60-day corn indigenous to Cuk Shon could be made into tesgüino?
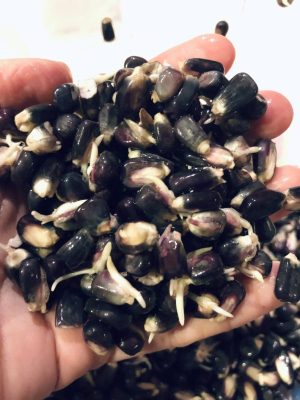
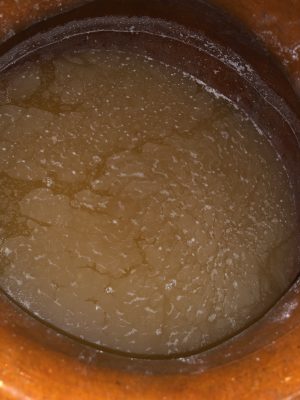
I reached out to my fermentation-obsessed researcher and friend Cesar Ojeda Linares in Mexico City who described to me the thick, distinctive beverage he tasted on his journeys and exploration in northern Mexico. He provided an excellent guide on how to make tesgüino according to what he learned in the community there. He found it similar to a type of atole, but thicker and with a stronger aroma. It is possible to find recipes for making tesgüino (including in Sandor Elix Katz’s book, The Art of Fermentation). Here is a fun short video on Vimeo of Señora Chenta from Alamos, Sonora making tesgüino using her traditional methods. Variations between recipes are part of the fun–diversity is where it’s at! But the basic recipe for this corn beverage always begins with dry corn kernels which are sprouted and grow roots, a simple process known as malting. This malting produces sweet sugars which can then be naturally fermented in water with the aid of healthful microbes. Natural yeasts and bacteria are present on the corn, in the air, or in a trusty heirloom tesguinera vessel, but wild plants can also be added to introduce the preferred microbes which catalyze the process. Brome grass seed (Bromus arizonicus) and sweet stevia (Stevia serrata) are among the plants that could be used to inoculate the brew, according to Fermentaciones tradicionales indígenas de México. After brewing for three to five days, the tesgüino is a mildly alcoholic, mildly sweet, refreshing and healthful beverage, best enjoyed when shared amongst family and friends.
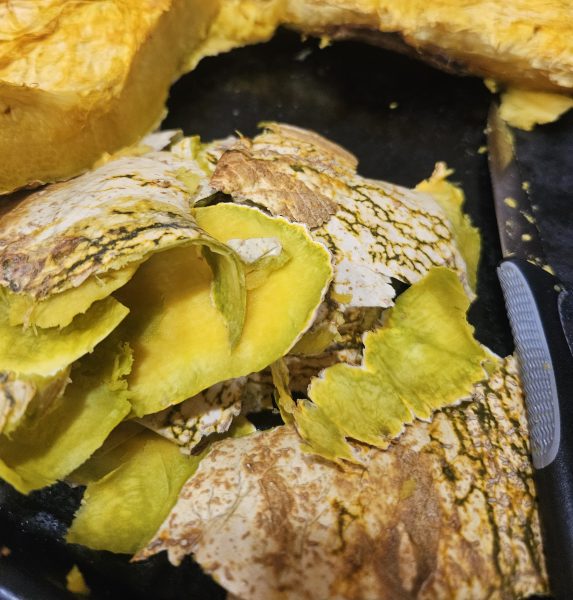
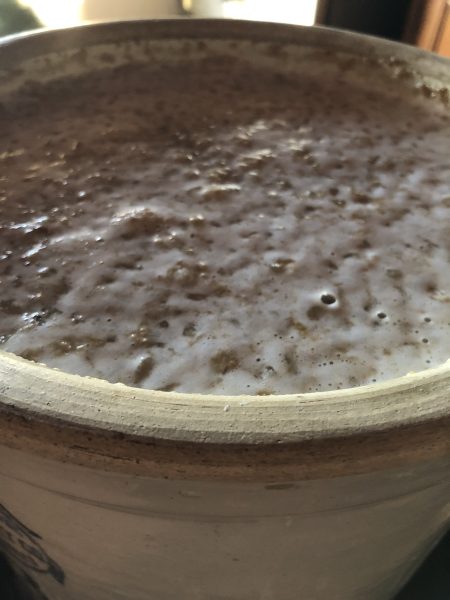
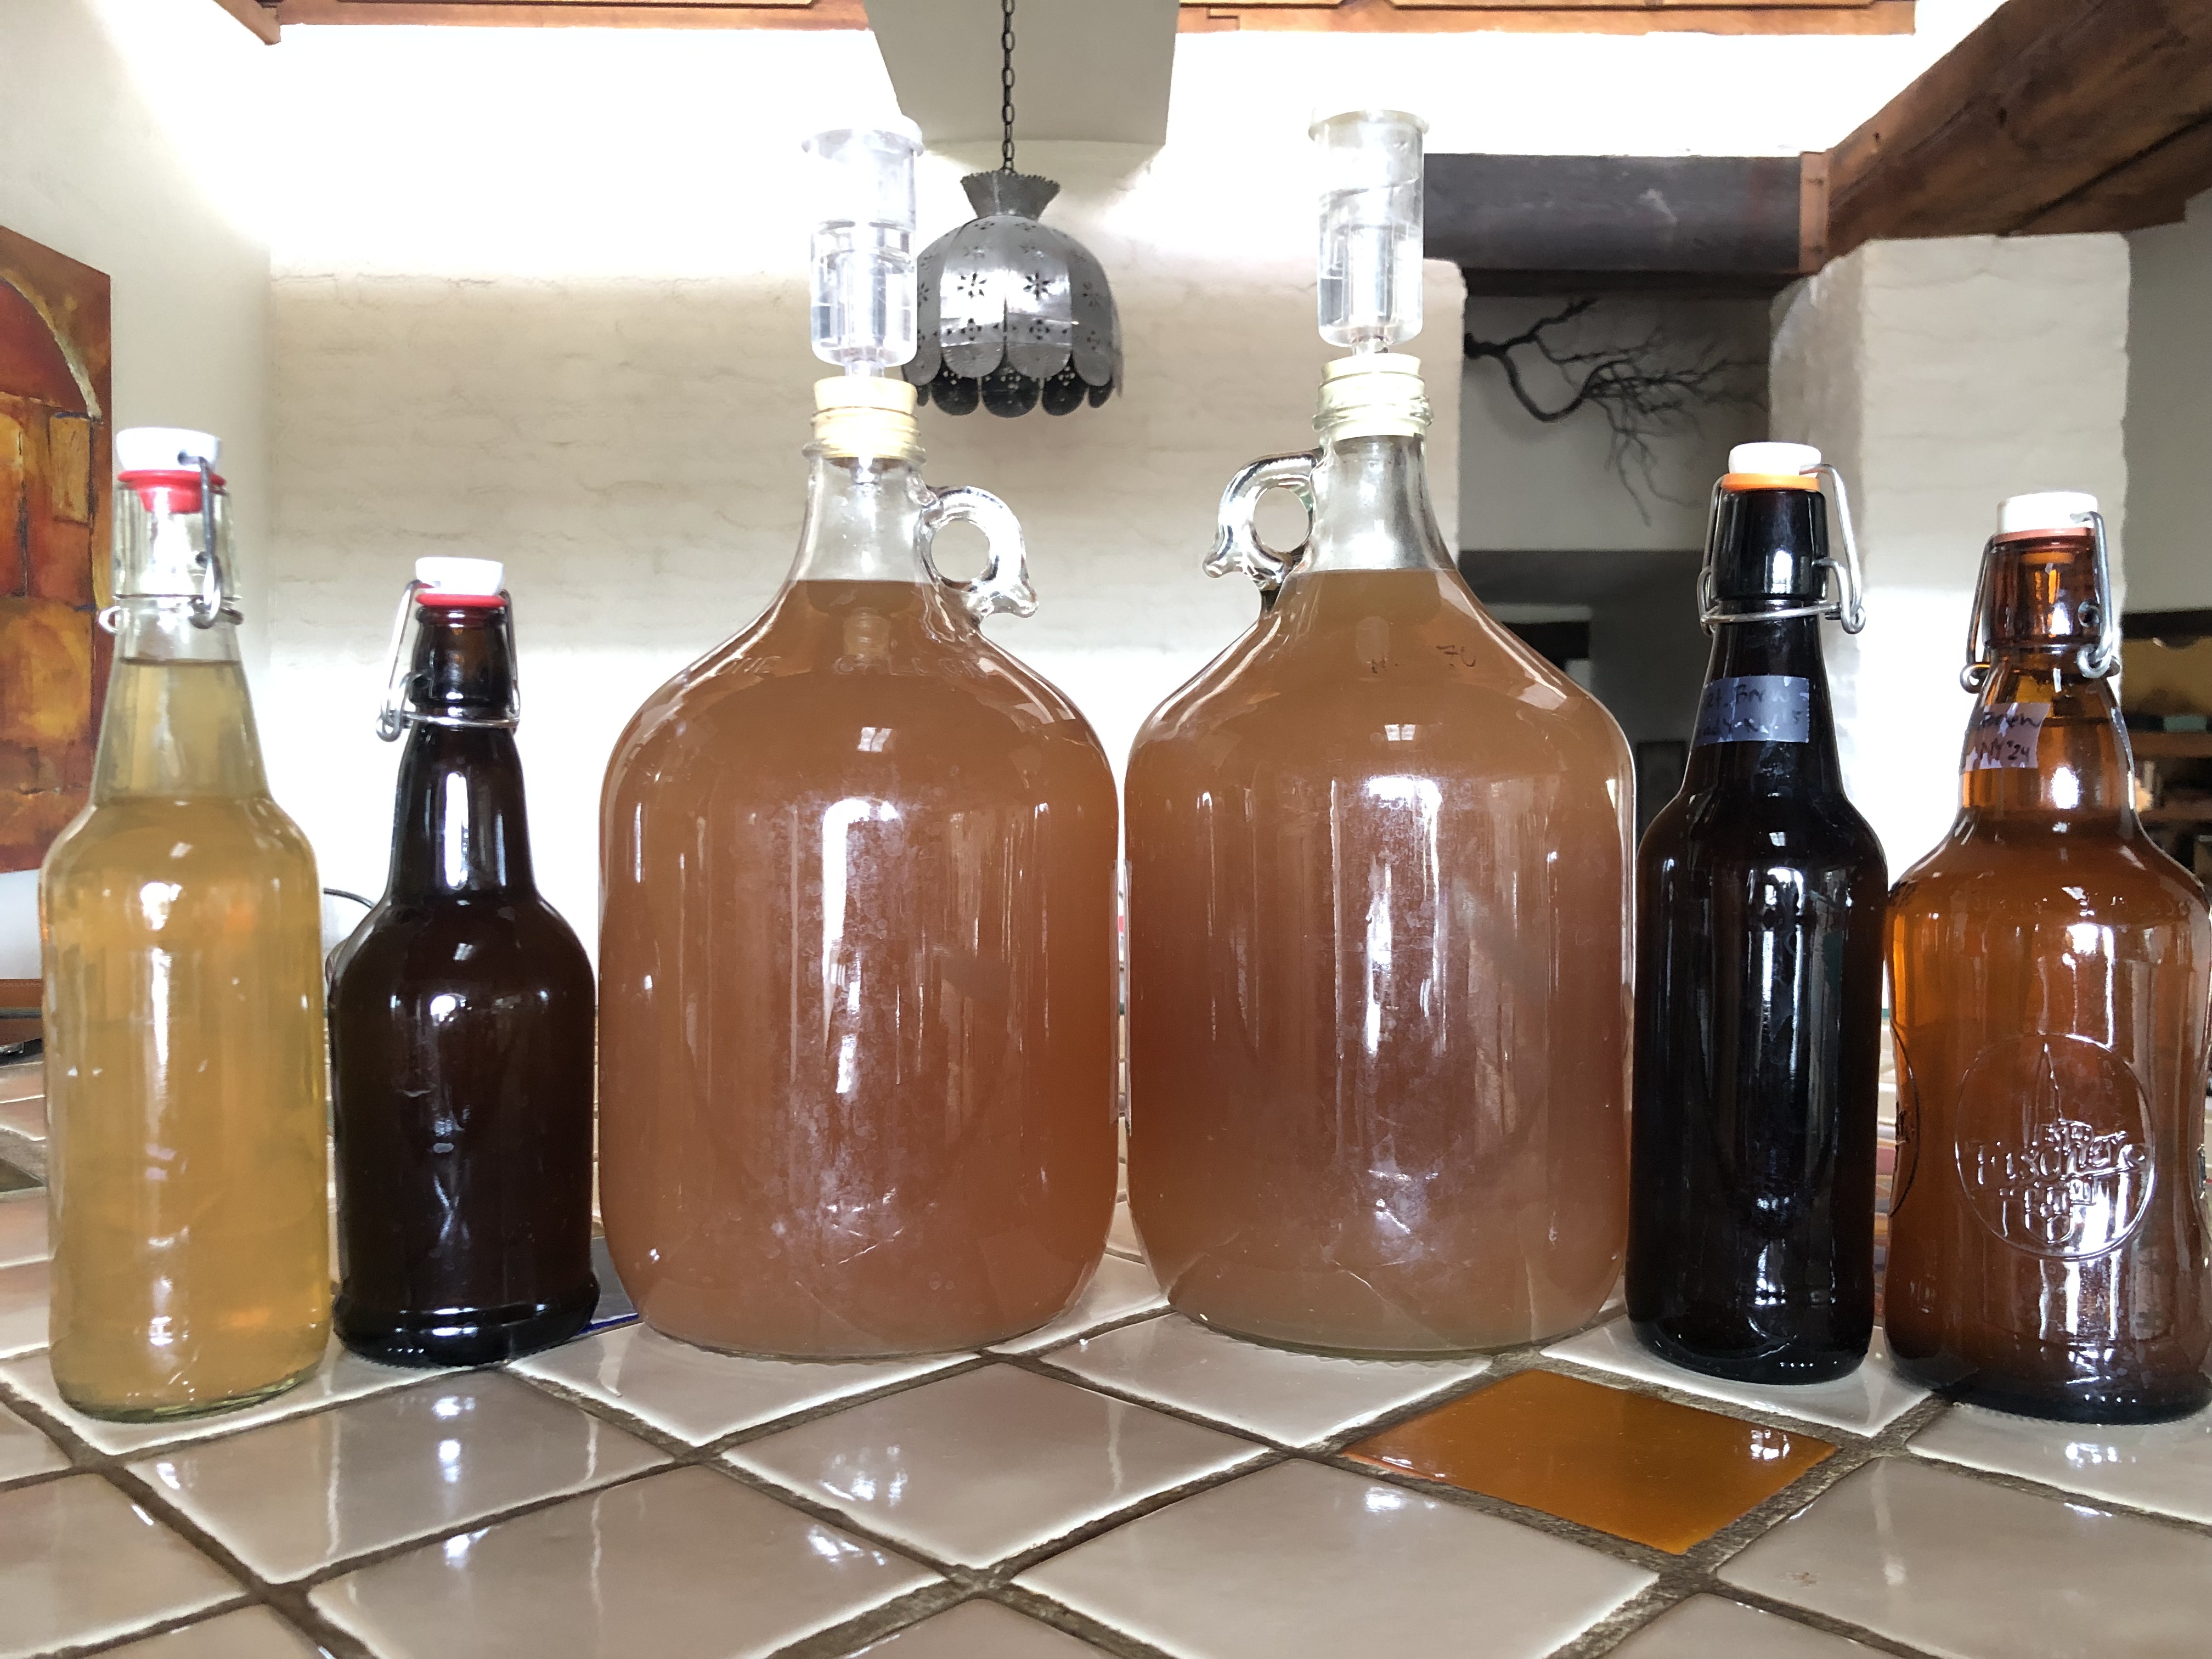
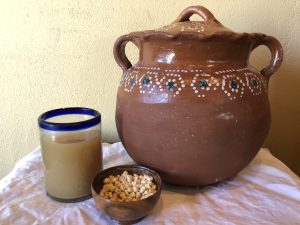
I made the beverage with O’odham 60-day corn in a clay olla following the directions below, and once again using Navajo Blue corn fermented in a ceramic salt glazed crock.
An important note on sugar. Sugar cane came to the America’s in the 15th century. Piloncillo (raw brown sugar cone) is thus not a truly “traditional” ingredient, but it has been common in the region for a long time. Including it certainly excites the hungry microbes, and the resulting beverage is not very sweet. In a traditional Rarámuri tesgüino, the tesguinera pot instead carries the inoculating microbes that kickstart the process (much like yogurt).
Recipe and Directions for Tesgüino
Makes about 3 gallons tesgüino
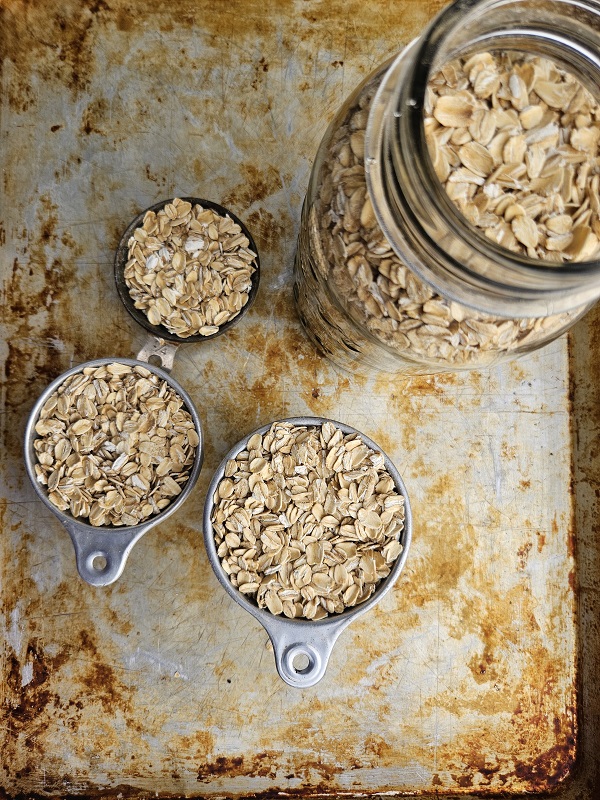
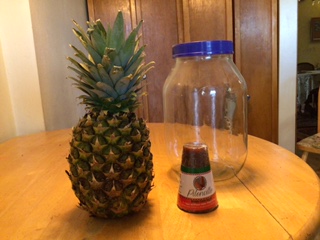
3 pounds dry heirloom corn, preferably dent or flour varieties, organic and non-GMO.
3 gallons water, ideally filtered and de-chlorinated, *see note.
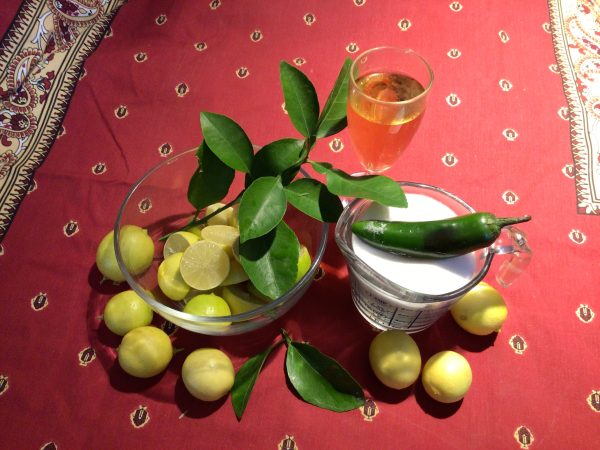
3-4 cones or bricks piloncillo (unrefined pure cane sugar from international markets)
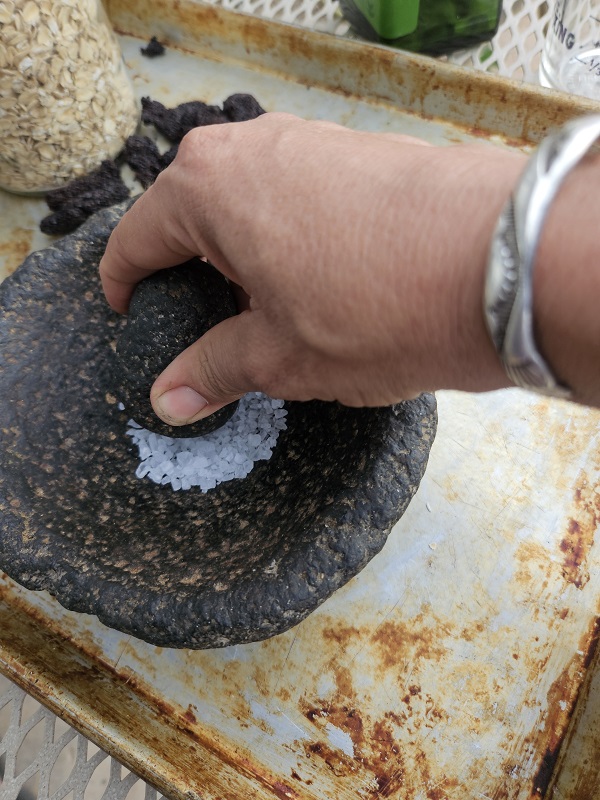
1-3 sticks cinnamon
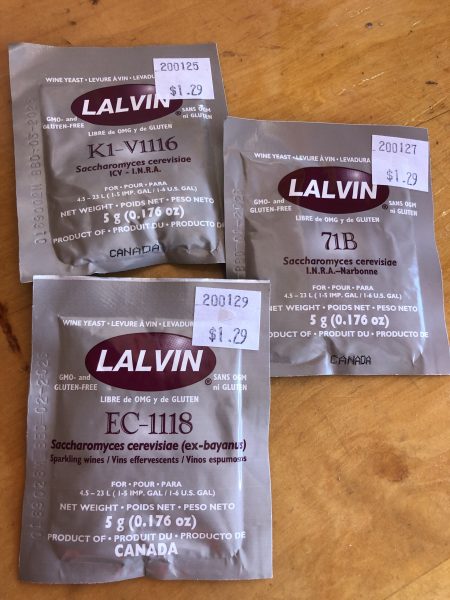
0.5-1 teaspoon brewers yeast (ale yeast or similar- not baking yeast), optional but recommended.
Palmful organic sweet stevia leaves, optional but recommended. Ask local farmers/gardeners.
soaking and repeated rinsing.
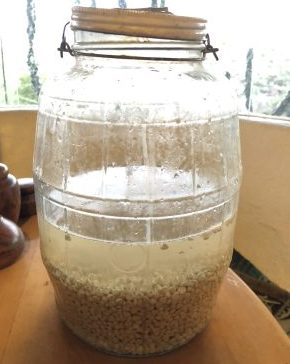
1. Place dry corn in a large glass or plastic container (6+ quart size) such as a Cambro.
2. Cover with water and allow to soak overnight.
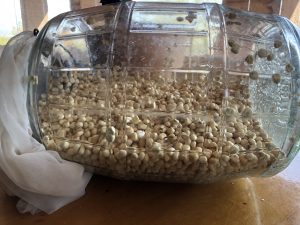
3. The next day, strain off the water, then cover opening with a breathable cloth or mesh lid and lay on its side, just like when sprouting seeds for eating. Store in a well lit, warm spot, avoiding direct sun.
4. Rinse and drain the corn in its container at least 2 times a day–more often is better, especially in warmer conditions.
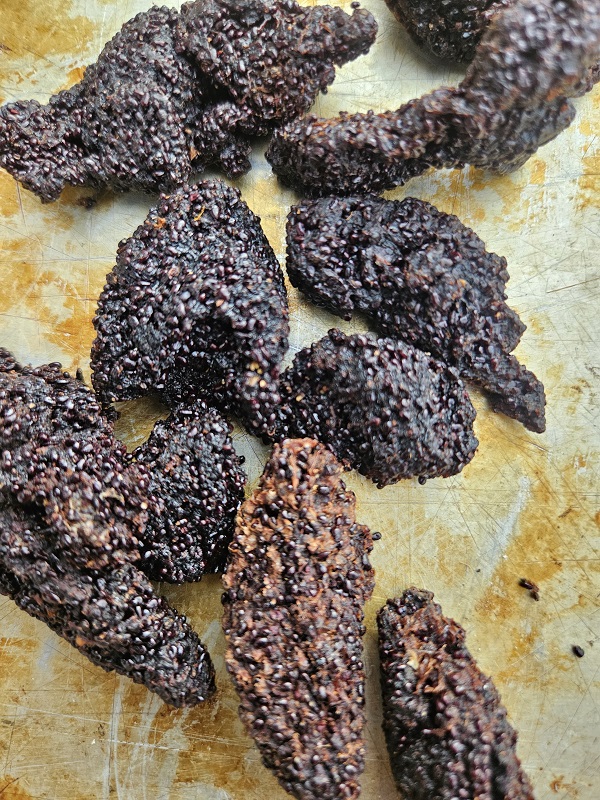
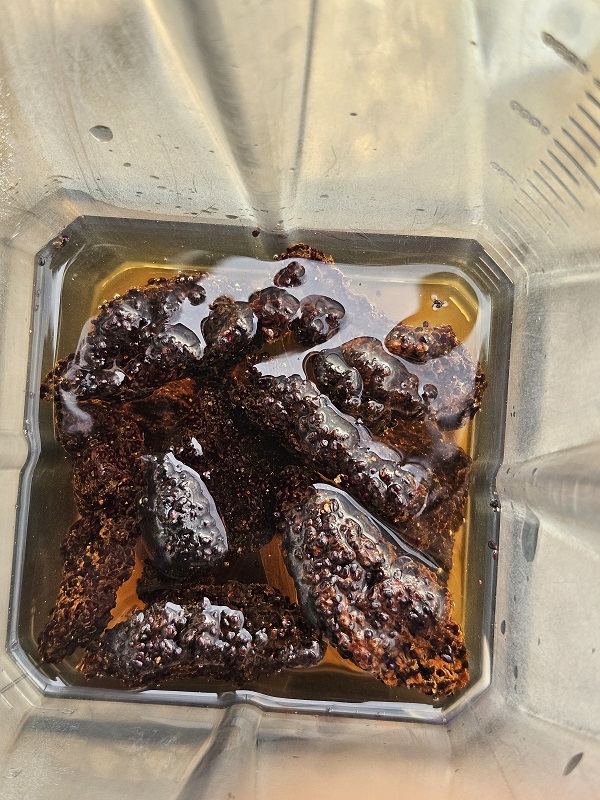
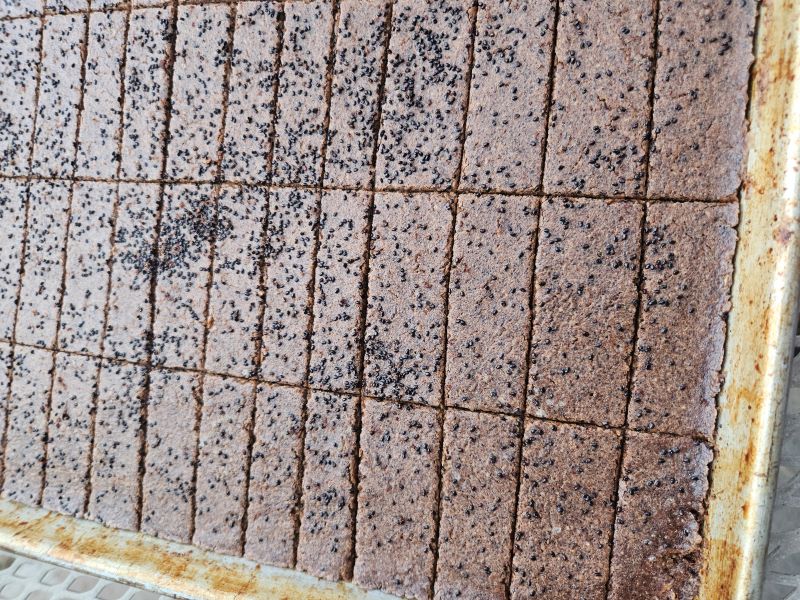
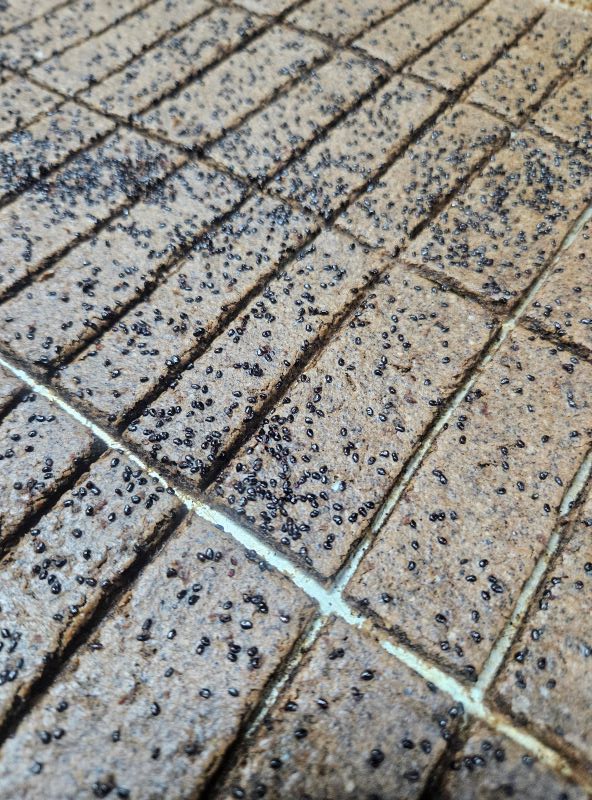
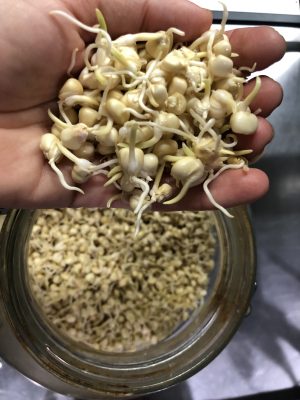
5. After a couple days, the corn will grow a little radical (root) and first shoot. This is very exciting! In three or four days, when nearly all the corn’s roots are about ½–1 inch long, it’s ready to grind.
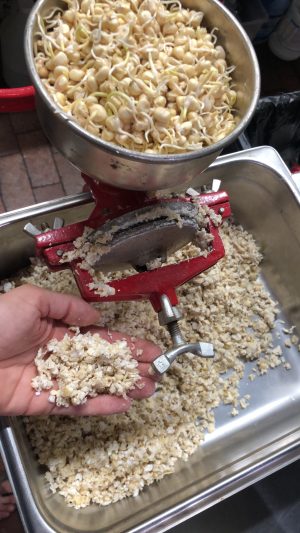
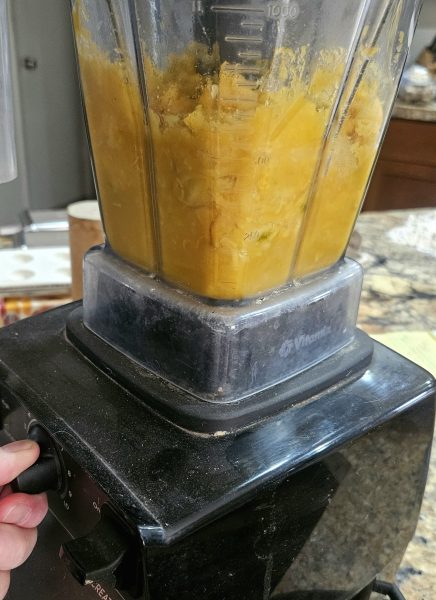
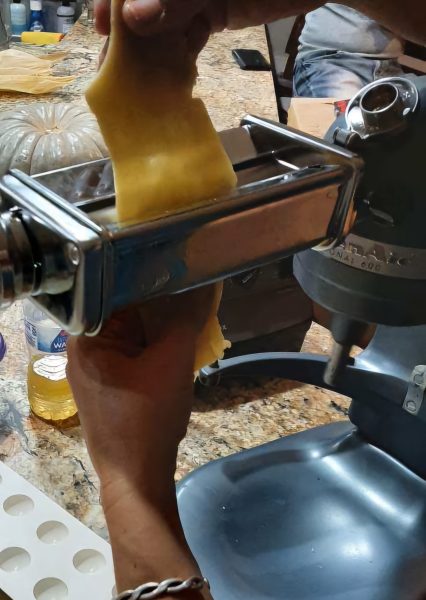
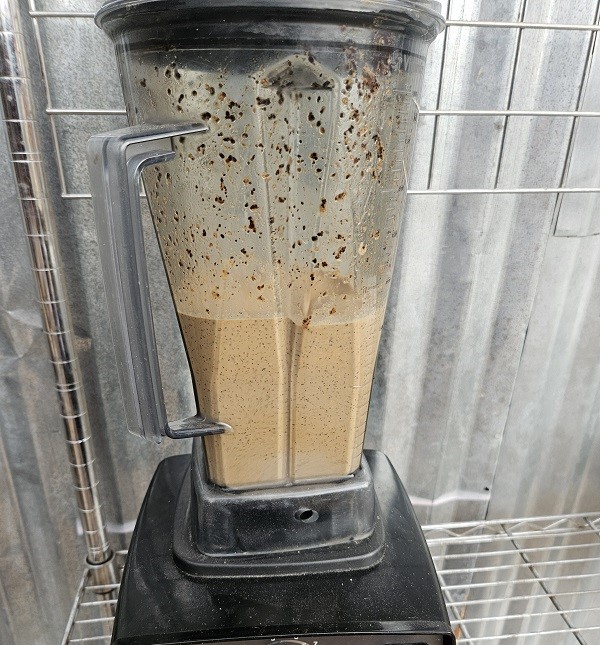
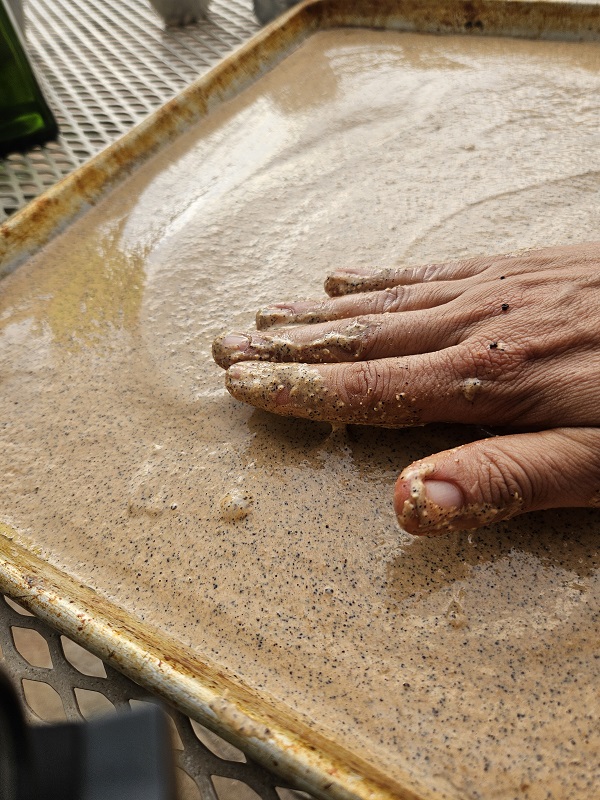
6. Pass the sprouted corn through a hand mill molino grinder on a coarse setting, so it resembles very coarse grits, or about the texture of cooked quinoa. If you don’t own a molino, pulse small batches in a food processor.
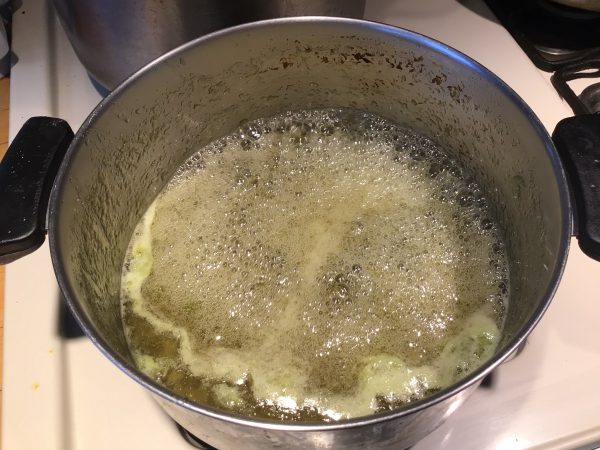
7. Place the ground corn in a large pot, ideally large enough to hold three (3) gallons of water and the corn together. Otherwise, you’ll need to work in two smaller batches (half the mixture at a time). Add the cinnamon, and gently boil the corn in water for 1-1.5 hours to extract its natural sweetness and flavor. Stir occasionally to prevent burning. After the time has passed, add the piloncillo sugar and simmer to dissolve.

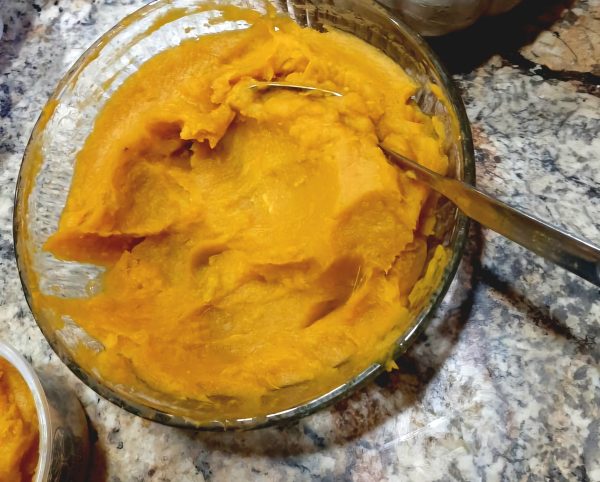
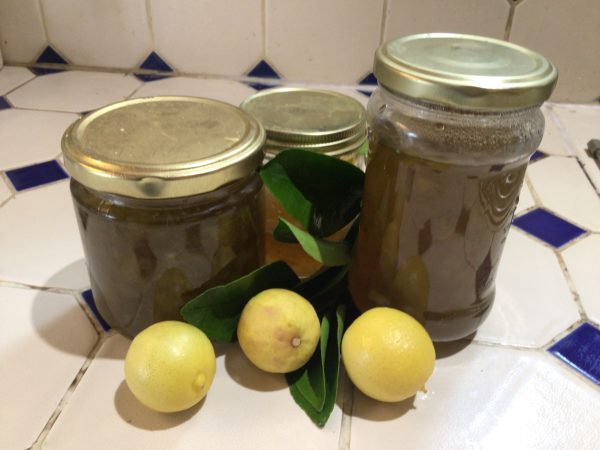
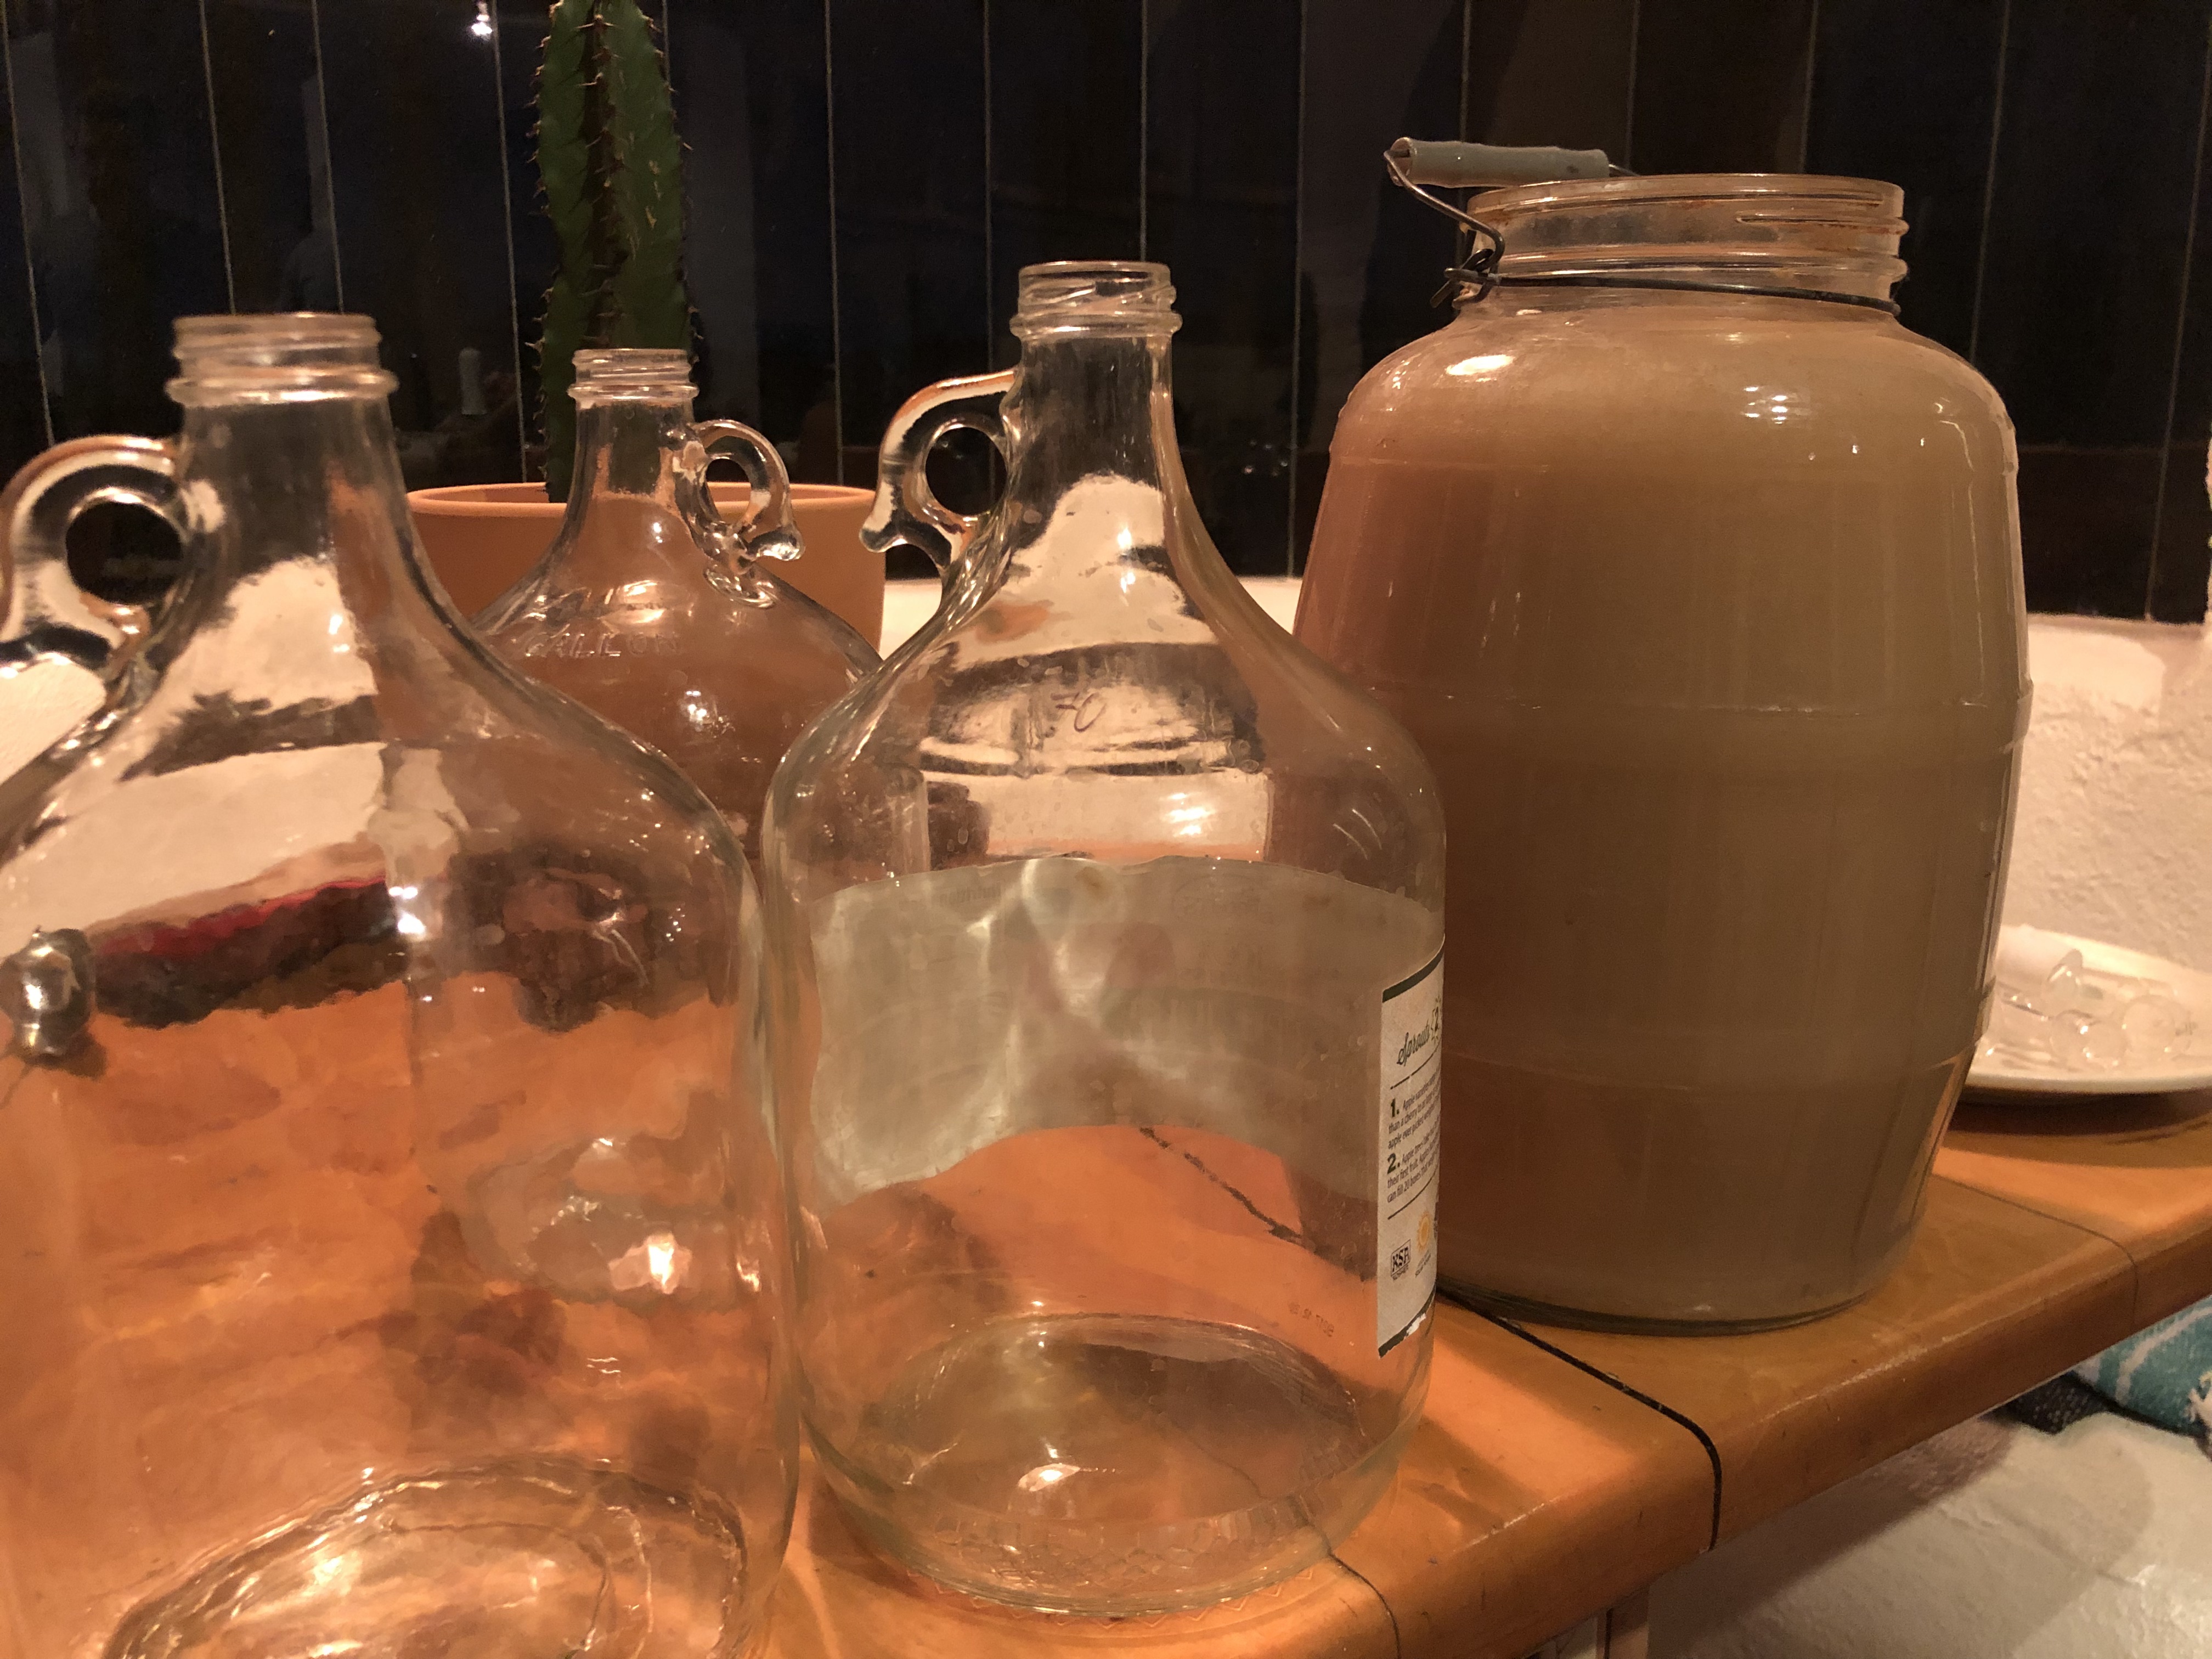
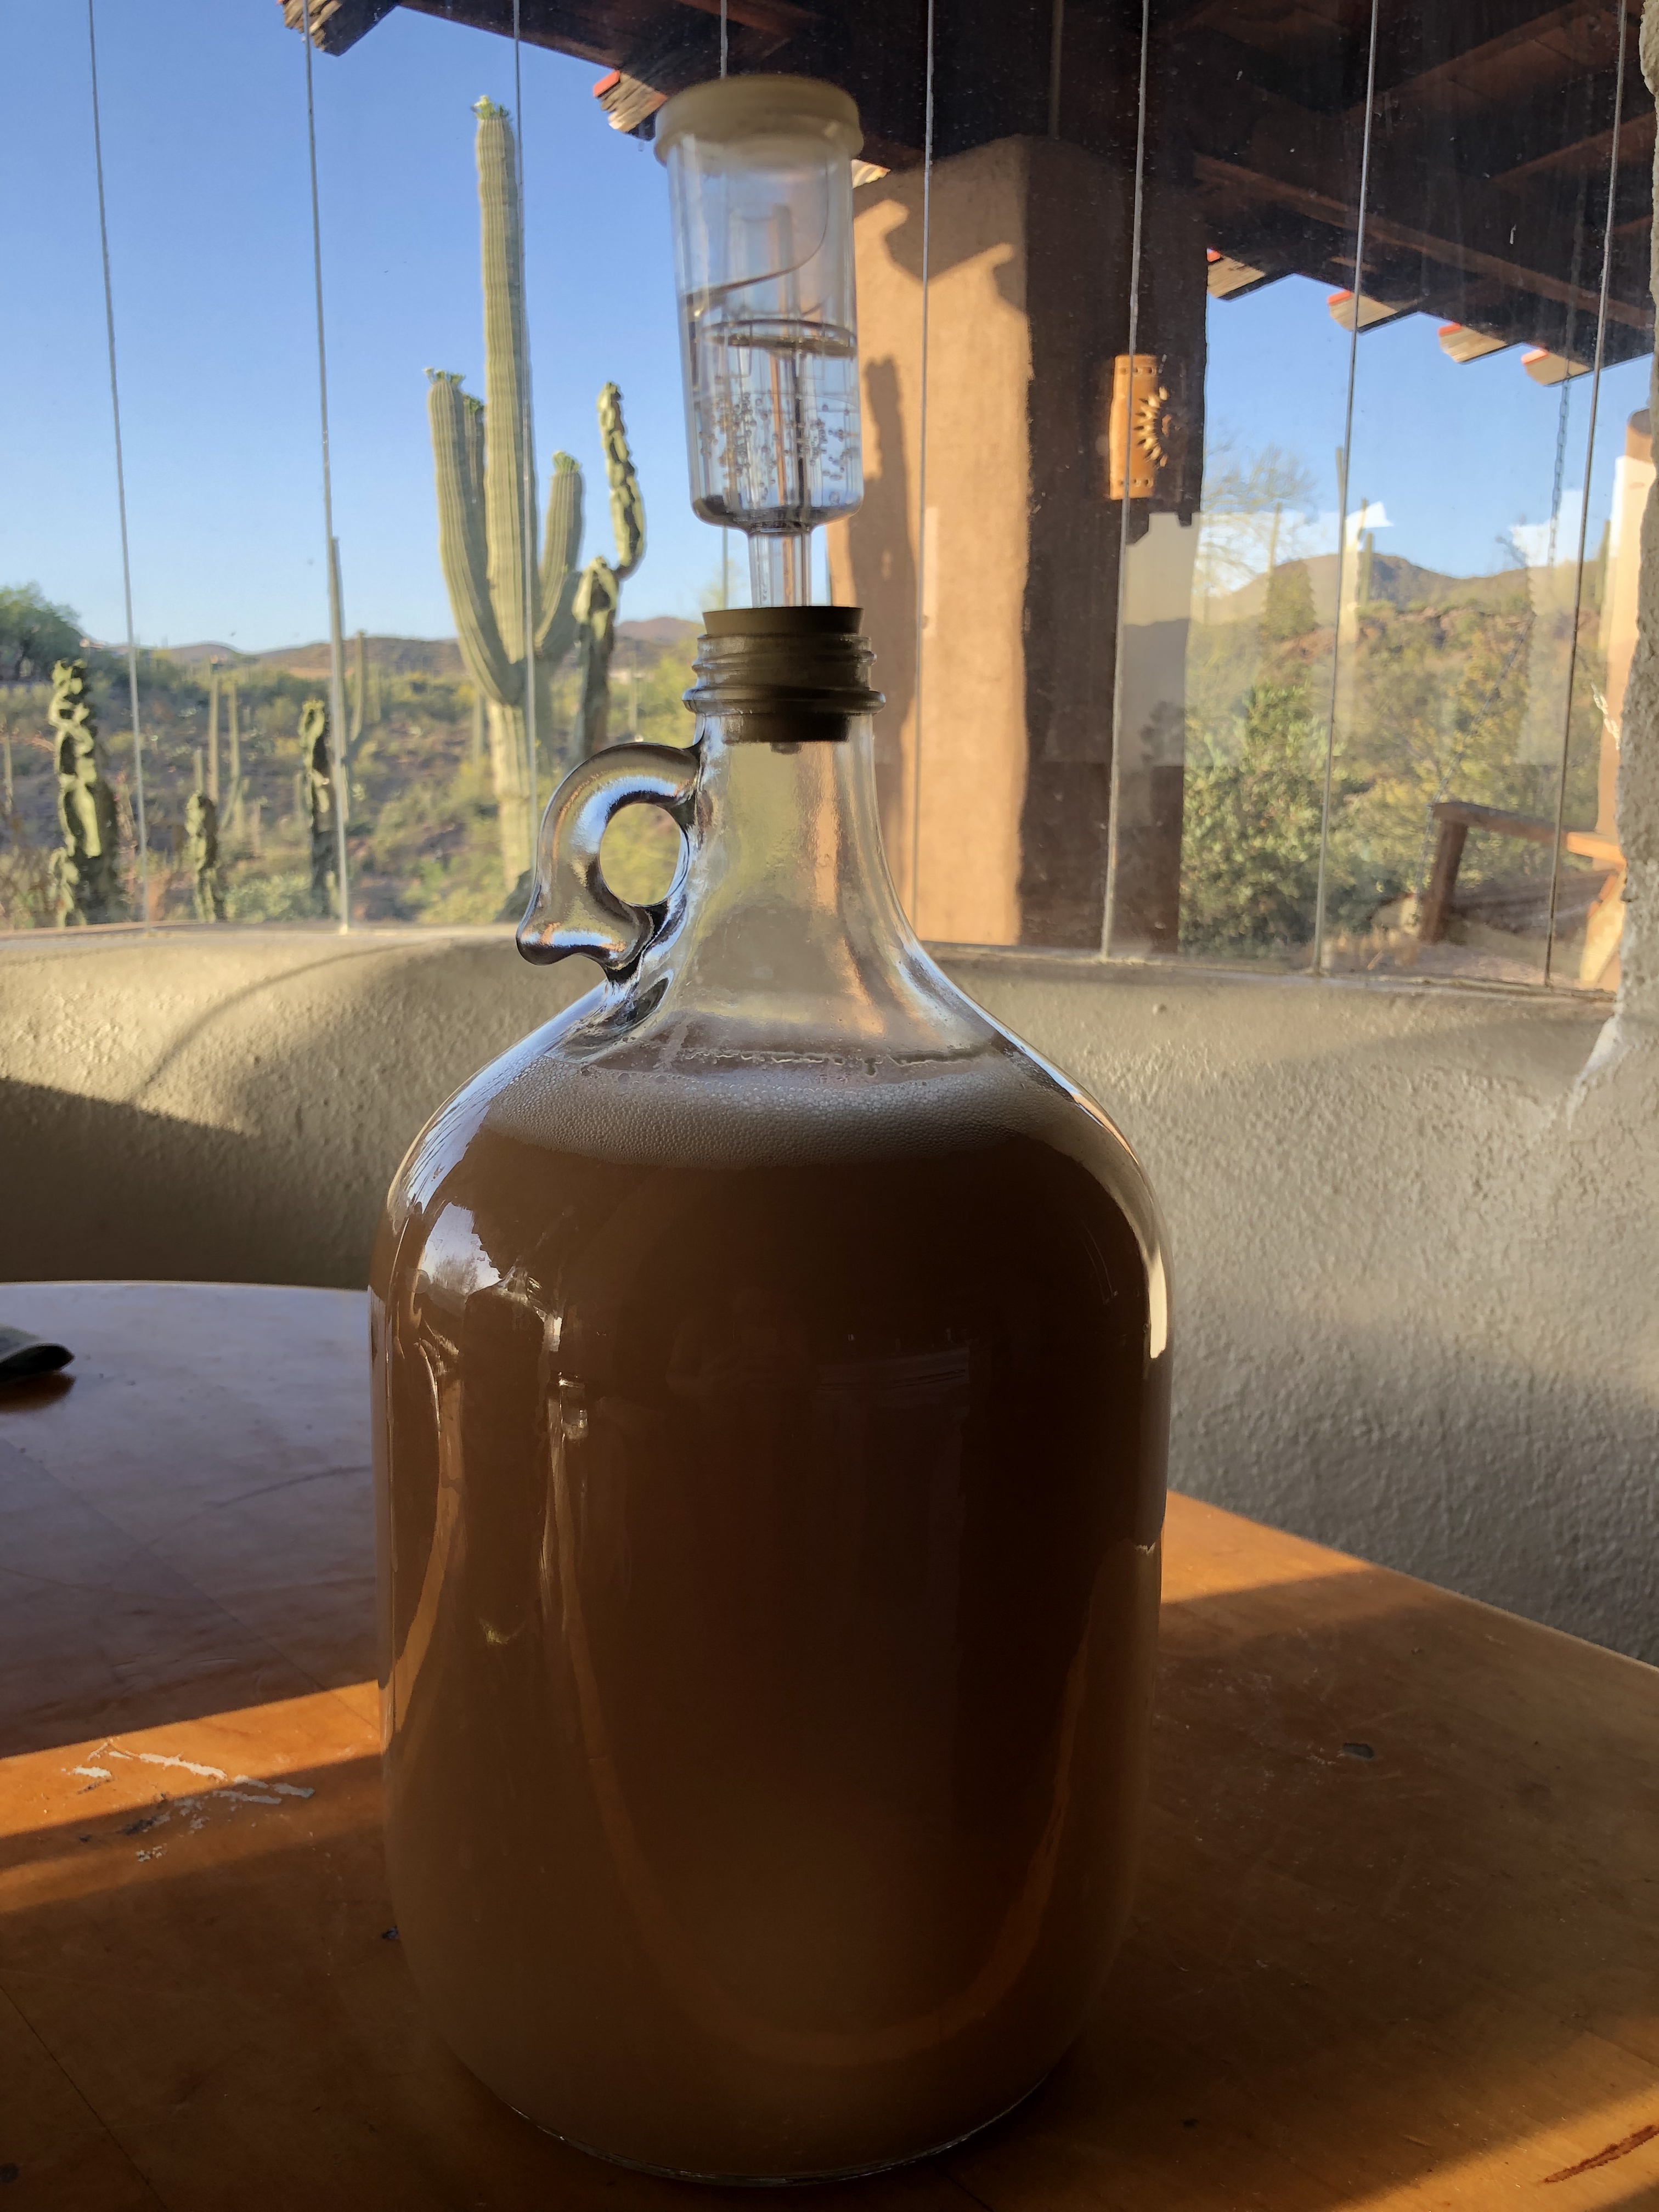
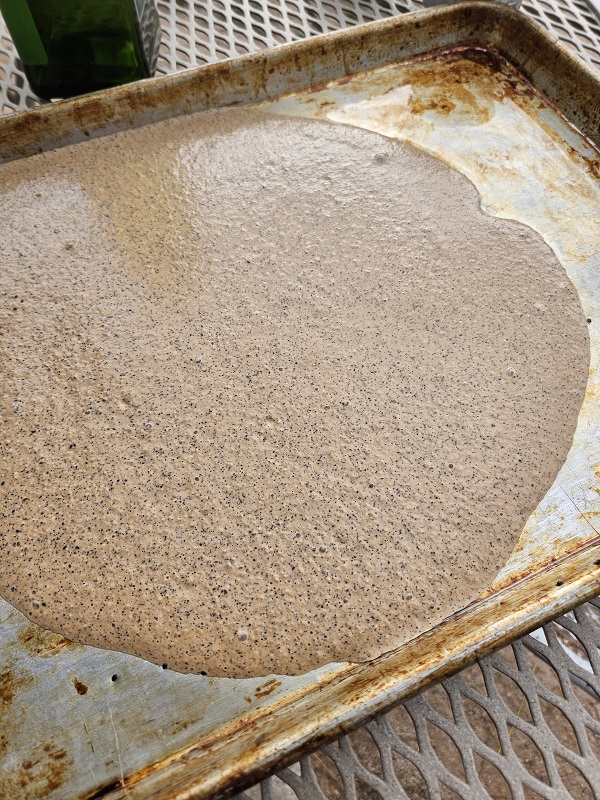
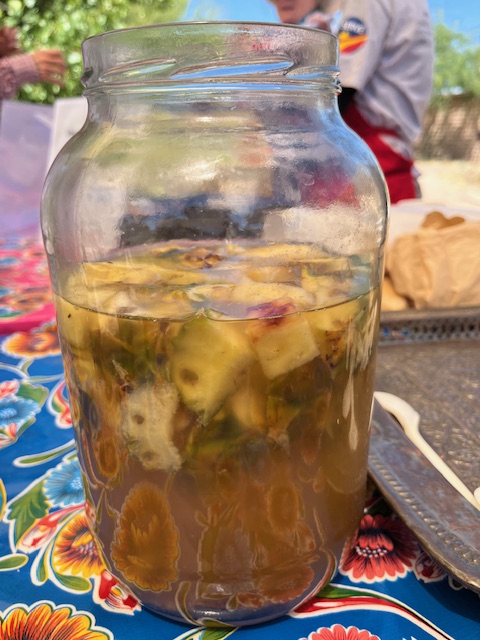
8. Cool the mixture and carefully strain to keep all the liquid in a 3+ gallon non-reactive fermentation vessel, *see note. The strained liquid will be thick and smooth in texture. Cover lightly with a tea towel, cloth napkin, or cheesecloth. (Compost the strained corn at this point, or feed to chickens.)
9. Once the liquid is completely cool (or the next day), add ½ to 1 teaspoon dry ale yeast, and fresh stevia leaves. Stir to dissolve. Keep covered with cloth.
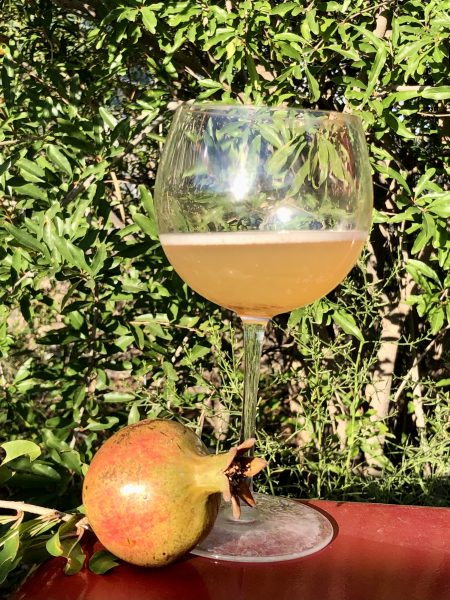
10. Each day, wash your hands and visit your tesgüino, stirring well with a clean spoon. You will find increasing effervescence. Delight in the unique texture, aroma, and color.
11. On the fourth day, it should be ready to drink. Strain if desired to remove stevia leaves (if using). It’s time to taste and enjoy! Try both chilled and at room temperature to your liking.
Invite many friends to partake in the celebration, and raise a glass of appreciation to our Rarámuri neighbors who created this beautiful beverage.
Please write in the comments below about your experiences with fermenting corn, travel in Rarámuri lands, and tesgüino!
-Savor Sister Emily Rockey
and tesgiüino corn beverage
*Notes:
Water- Tap water can contain chlorine which can be counterproductive to fermentation (chlorine kills good beneficial microbes). Dechlorinating is easy: simply draw the water in a vessel and allow it to sit open at room temperature for a few hours. The chlorine naturally evaporates. Or boil water for 20 minutes and let it cool. Water is now ready to use for fermentation.
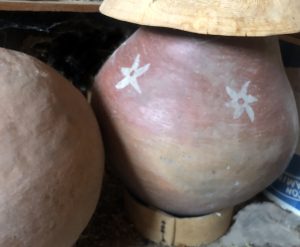
Vessels- This can be glass, ceramic, a clay olla, stainless steel, or food-safe plastic. Natural materials like clay will impart an earthy flavor on the tesgüino, while glass or ceramic does not.
Storage- Although it is best to enjoy all the tesgüino amongst friends at once, it is possible to refrigerate the drink for several days, or even freeze with good results.