With White Sonora Wheat waving its ripening seed heads in May’s wind, it’s time again to celebrate our local agriculture–our ability to feed ourselves locally. Yea!.. harvest time now for our winter gardens’ bounty as it dries…
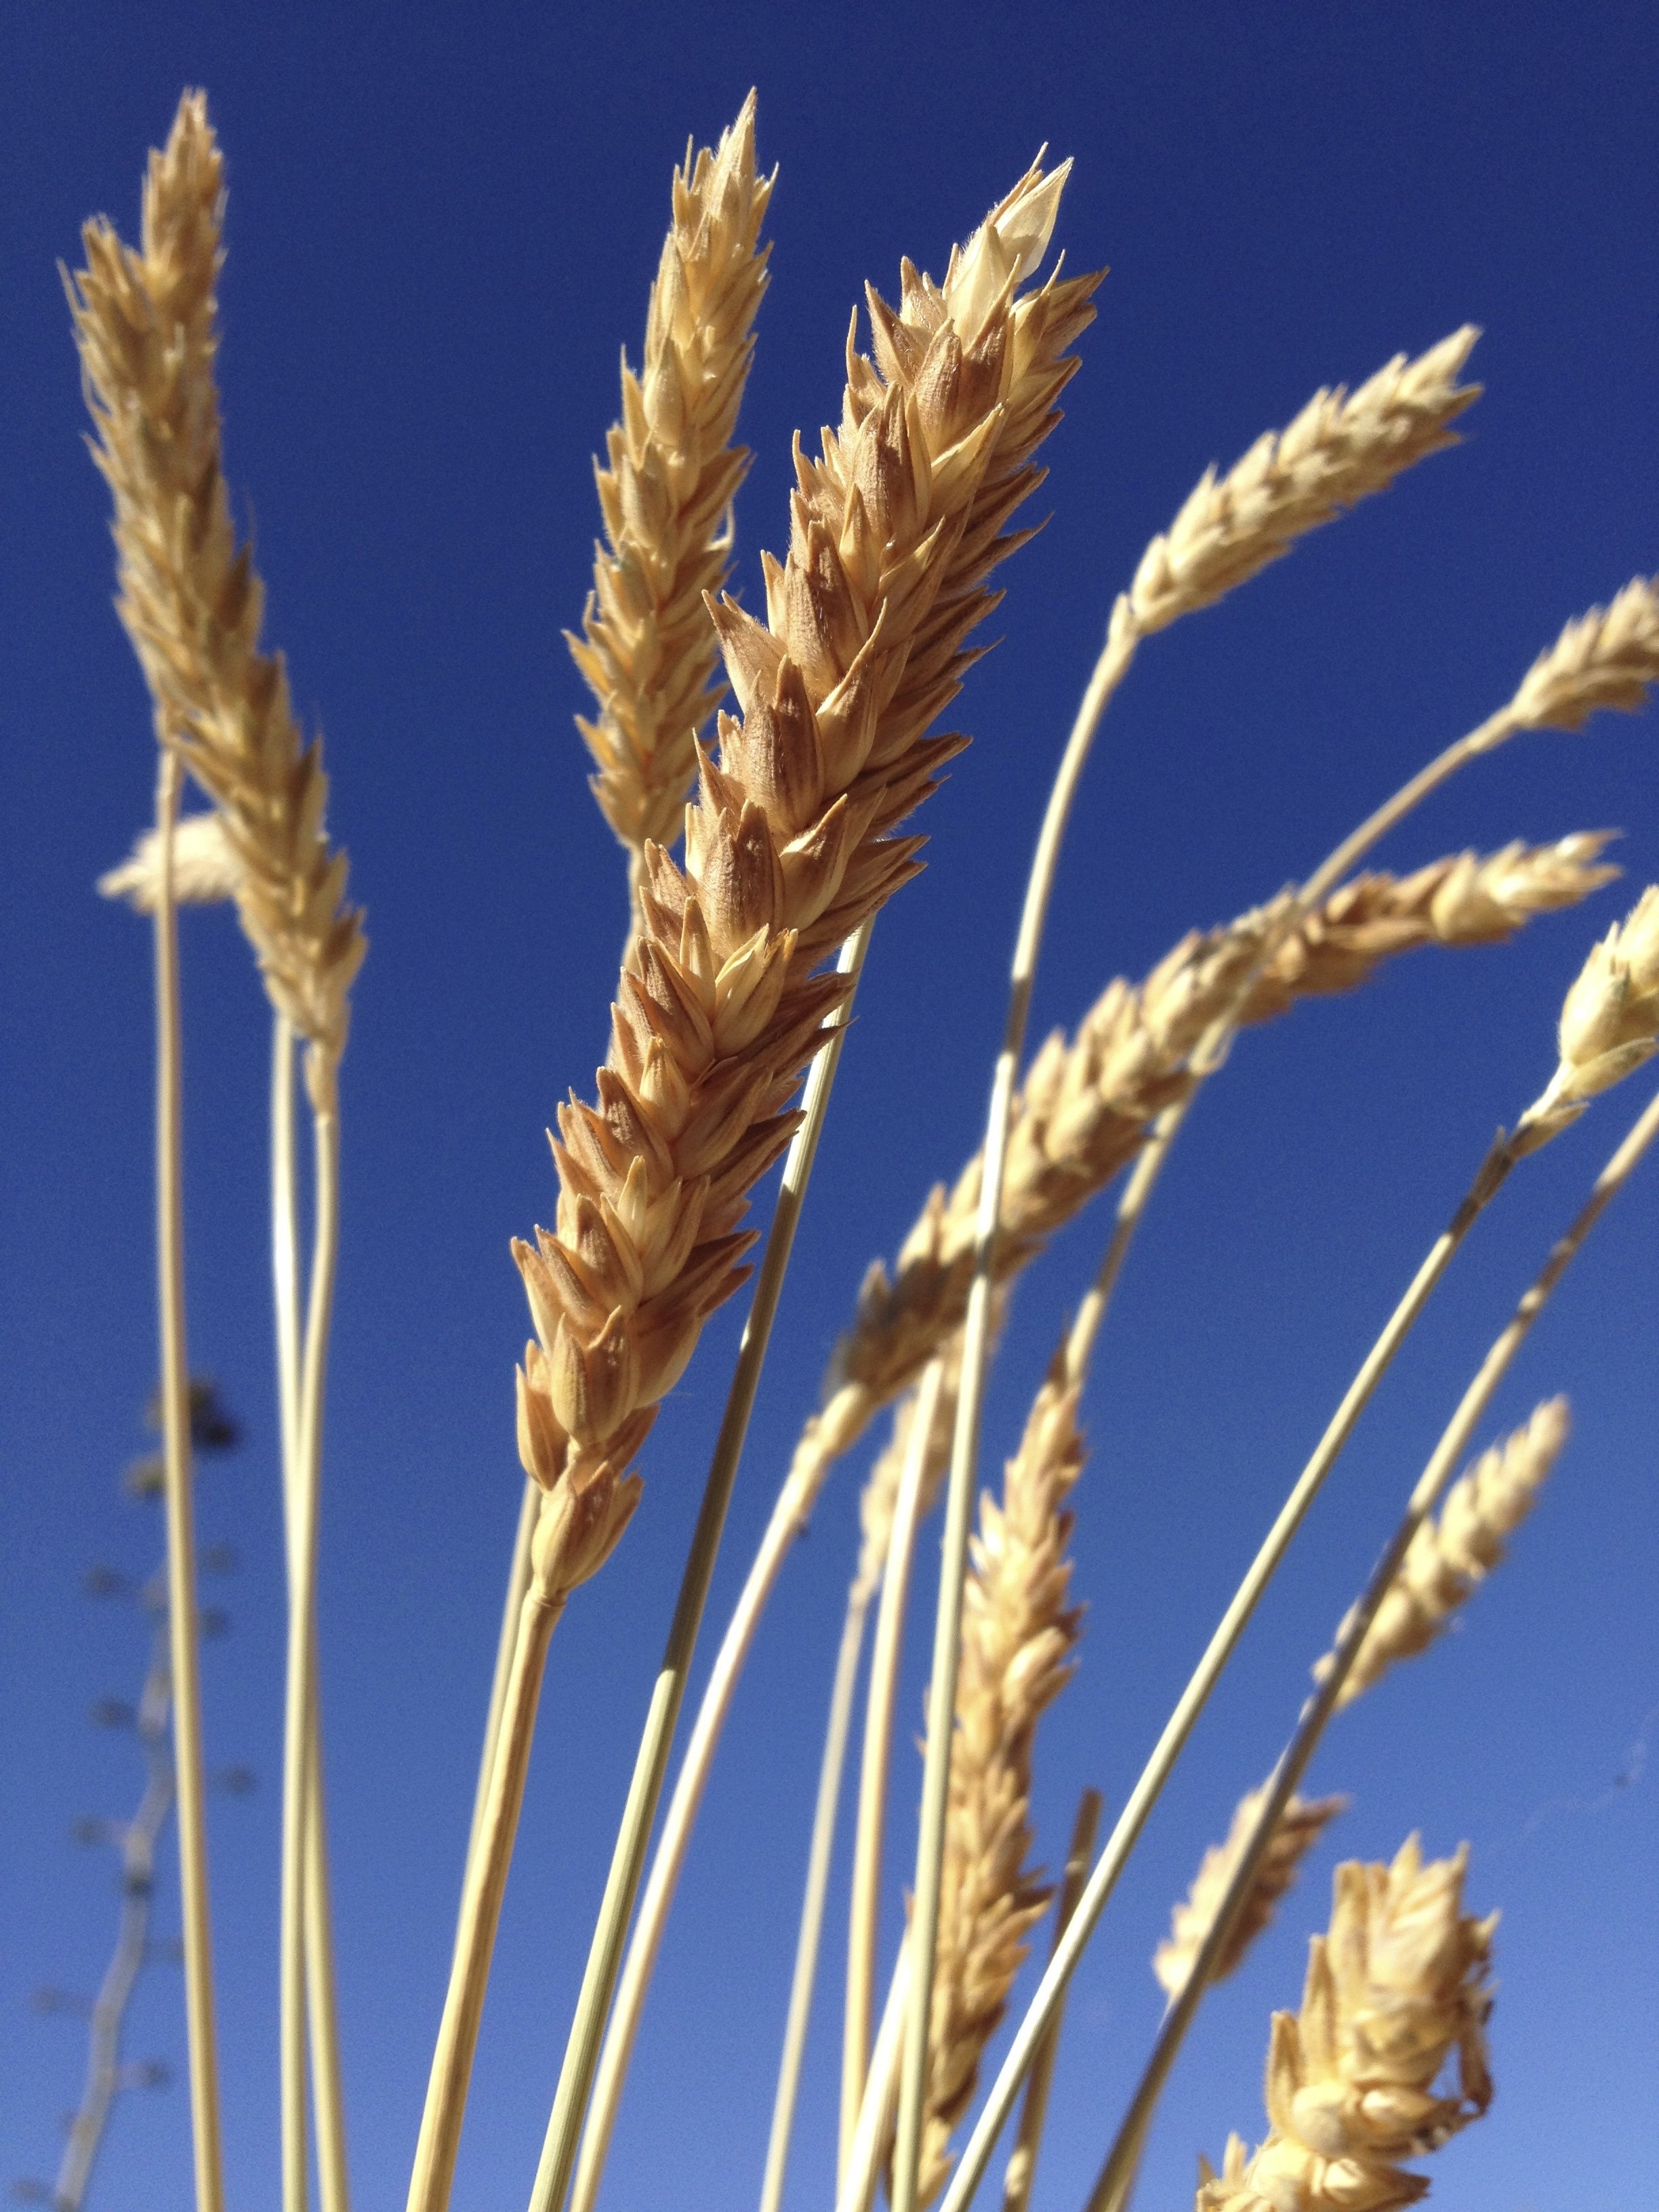
Ripened seed heads of organic heirloom White Sonora Wheat from BKWFarms in Marana (MABurgess photo)
Tia Marta here inviting you to return to the hallowed soil of Schuk-shon–Tucson’s Birthplace “Black Spring”–at the foot of “A” Mountain, in the new Mission Garden, to the very site of the original garden supporting Mission San Augustin de Schuk-shon. The Feast of San Ysidro Labrador is approaching.
May 15 is the traditional Dia de San Ysidro, Saint Isidor, patron saint of farmers and gardeners.
According to legend, San Ysidro Labrador was so hard-working and generous with his produce to all in need—people or animals–that angels would plow next to him to triple his crop. In my artistic interpretation, San Ysidro lies exhausted under a tree from working his field while an angel guides his ox to finish his plowing.
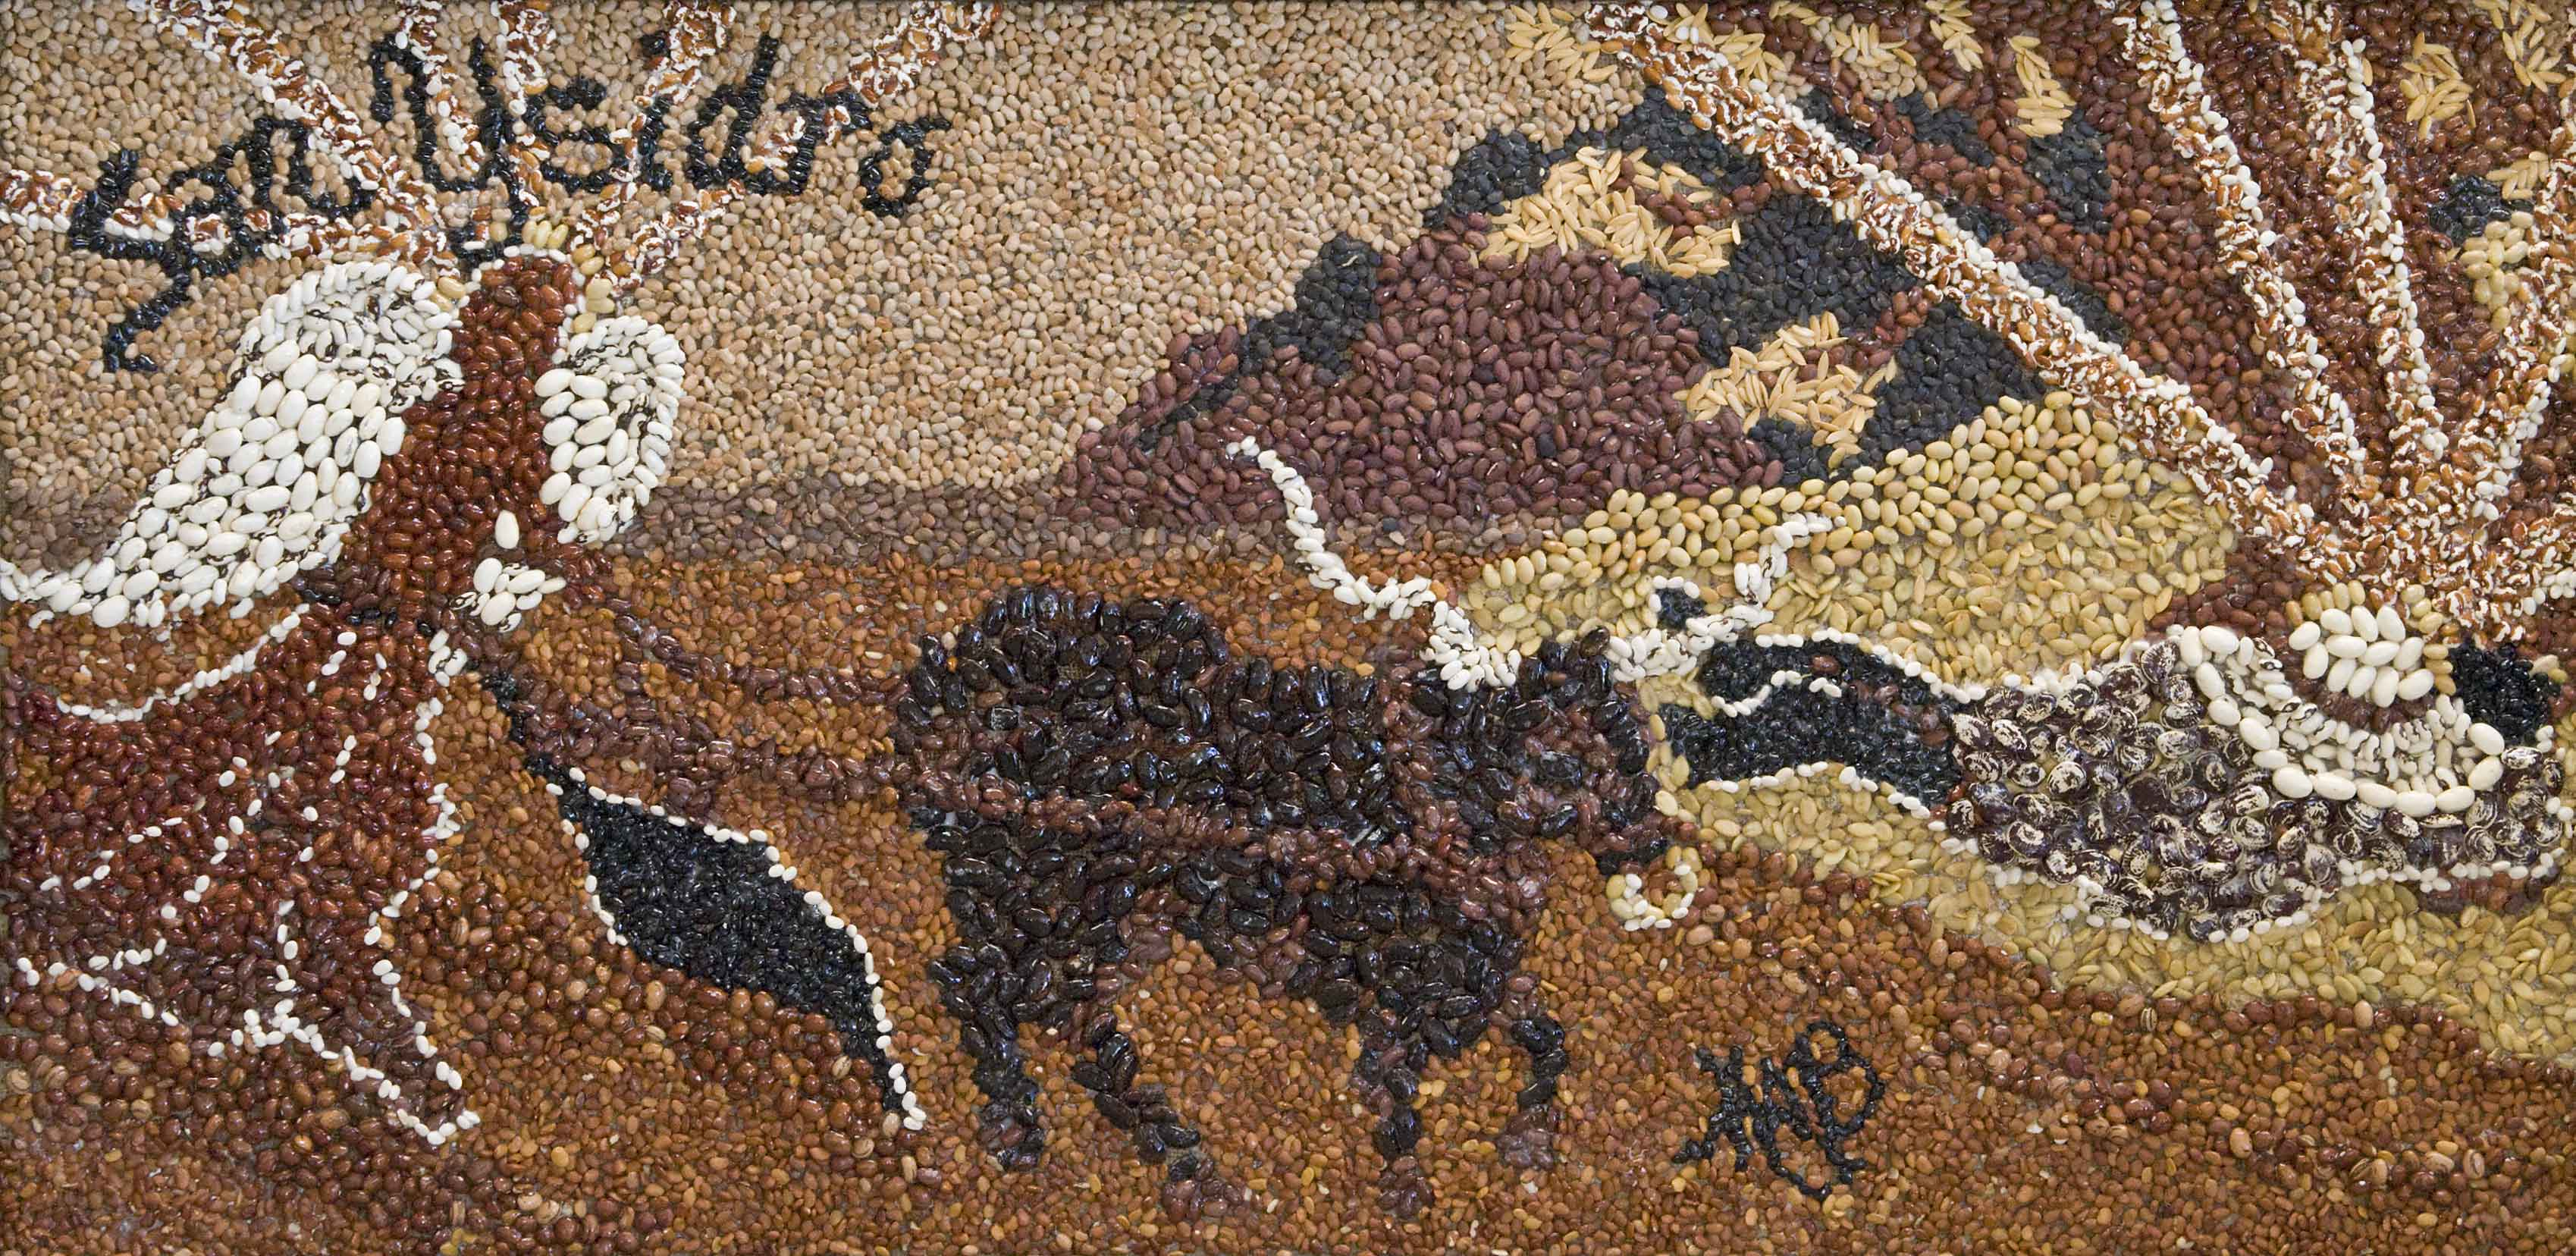
Heirloom bean mosaic of San Ysidro Labrador created by artist/ethnobotanist MABurgess
Here in my big-scale heirloom bean mosaic, the “medium is the message”–in part. It was assembled using more than 21 colorful varieties of Southwestern heirloom beans and seeds, grown out from the Native Seeds/SEARCH Collection, in Tucson, Arizona.
The ancient seeds used to “paint” this image pay homage not only to San Ysidro but also to the generations of traditional farmers who have selected their seed and labored to grow the best for feeding family and community. Their seed-saving has provided us today with priceless heirlooms, fitting genes, and hope for a food-secure future. (Notecards of my San Ysidro mosaic will be on sale at the fiesta as a fund-raiser for Mission Garden’s good work.)
This year, our San Ysidro fiesta will be celebrated on Saturday, May 16, within the adobe-walled orchard of living agricultural history, Tucson’s newest “museum park” sponsored by the non-profit Friends of Tucson’s Birthplace. Planted in this living museum are representative crops that have fed the sequence of Tucson residents over the last 4100 years. Seeds of these ancient crops were blessedly conserved by the caring staff and volunteers of NativeSeeds/SEARCH over the past 34 years.
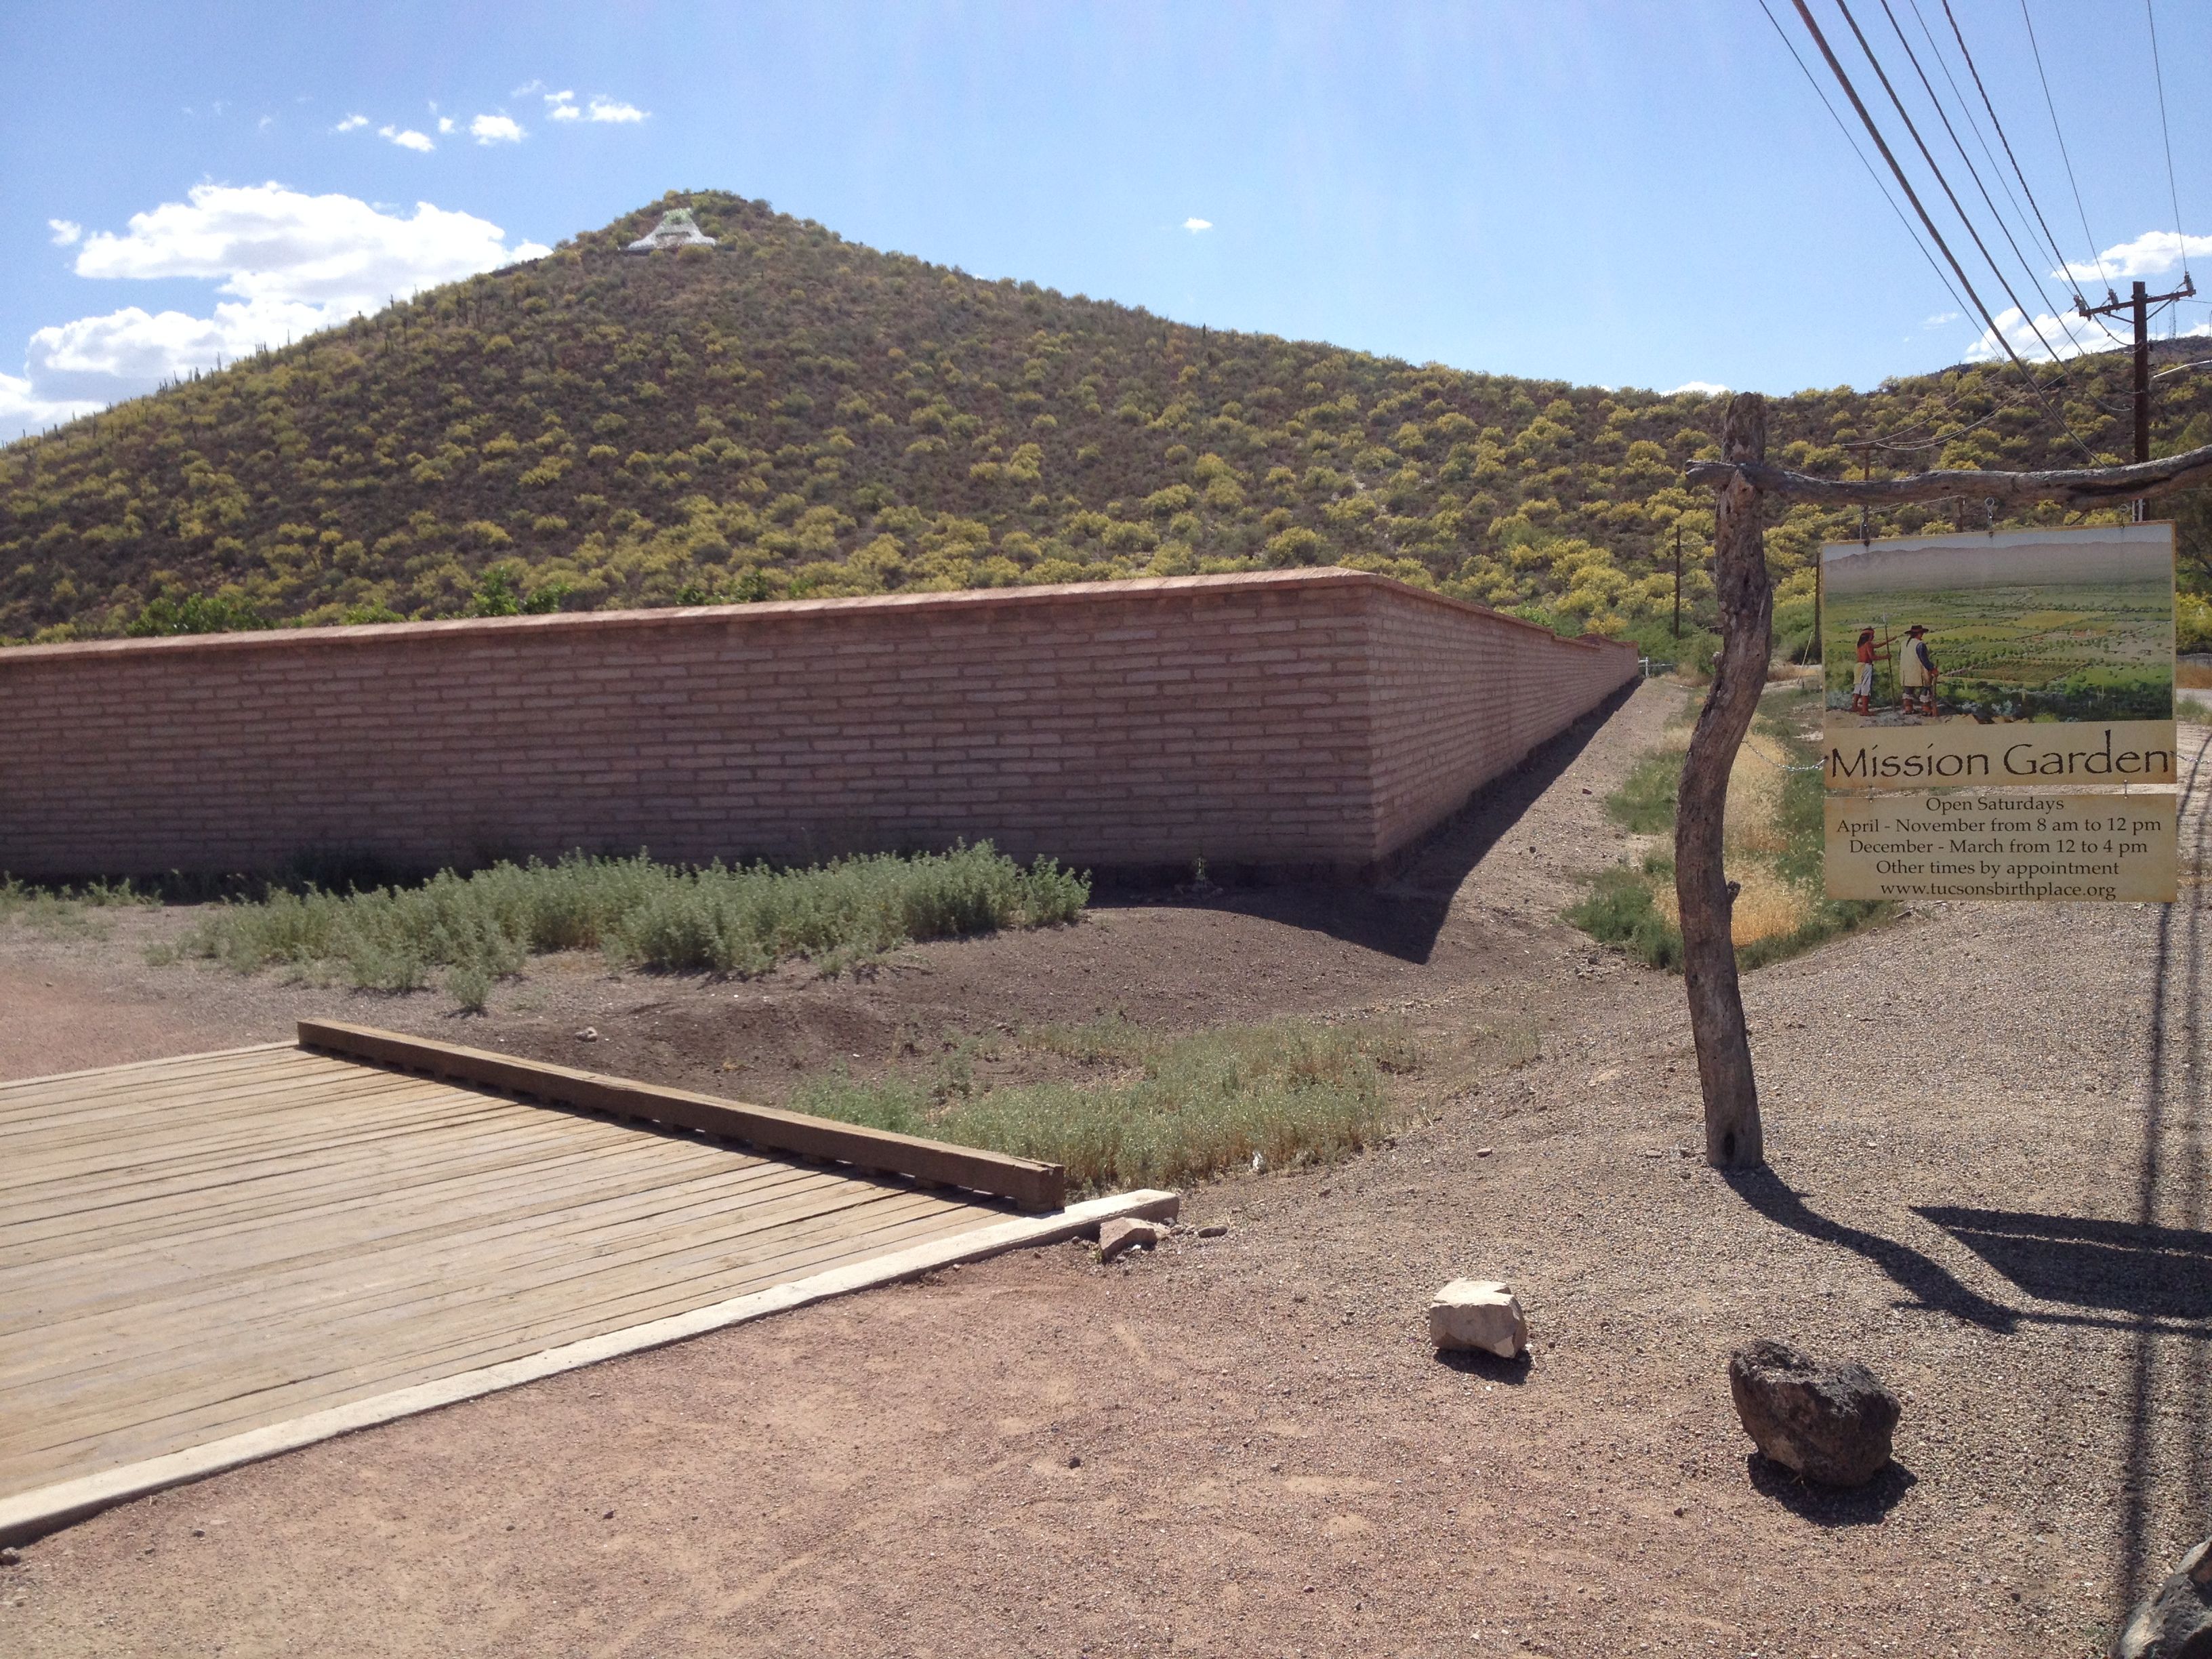
The new Mission Garden–living agricultural history
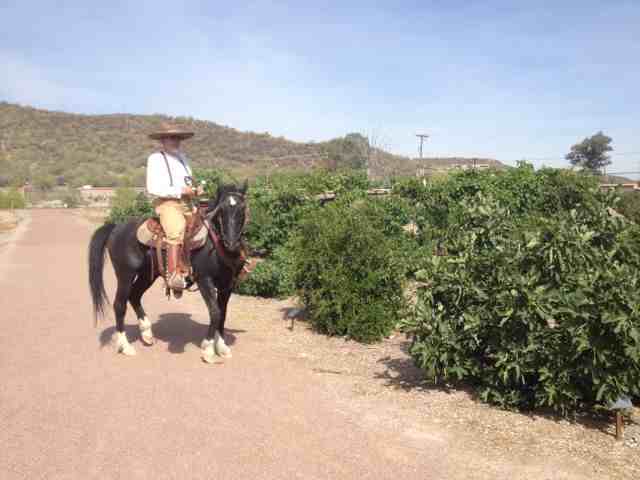
Vaquero in the Orchard of heirloom Mission Period fruit trees at San Ysidro Fiesta 2014 (MABurgess photo)
The Dia de San Ysidro celebration will officially begin at 9am with a procession from the future Tucson Origins Heritage Park next to the Santa Cruz “river” channel to Mission Garden’s east gate at 929 West Mission Lane, just east of Grande (Mission Road.) Festivities will include music by Mariachi Las Aguilitas from Davis Elementary, Alabanza with Bobby Benton, a presentation by historian/author Dr. Tom Sheridan, Native American four-direction prayers and blessing of the fields, food, and animals, and the Tohono O’odham Desert Indian Dancers from San Xavier. Designs for the new cultural theme gardens (Chinese, Mexican, Afro-American, and Medicinal) will be unveiled.
Activities will culminate with a tasting of Pozole de Trigo, the traditional Sonoran stew for the feast-day prepared by talented volunteer cooks from Tucson’s Hispanic community. For a fabulous recipe to try in your own kitchen, check out Bill Steen’s article for Sonoran Wheat Posole in Edible Baja Arizona–here’s the link to directions with his mouth-watering photos:
http://www.ediblebajaarizona.com/a-personal-posole
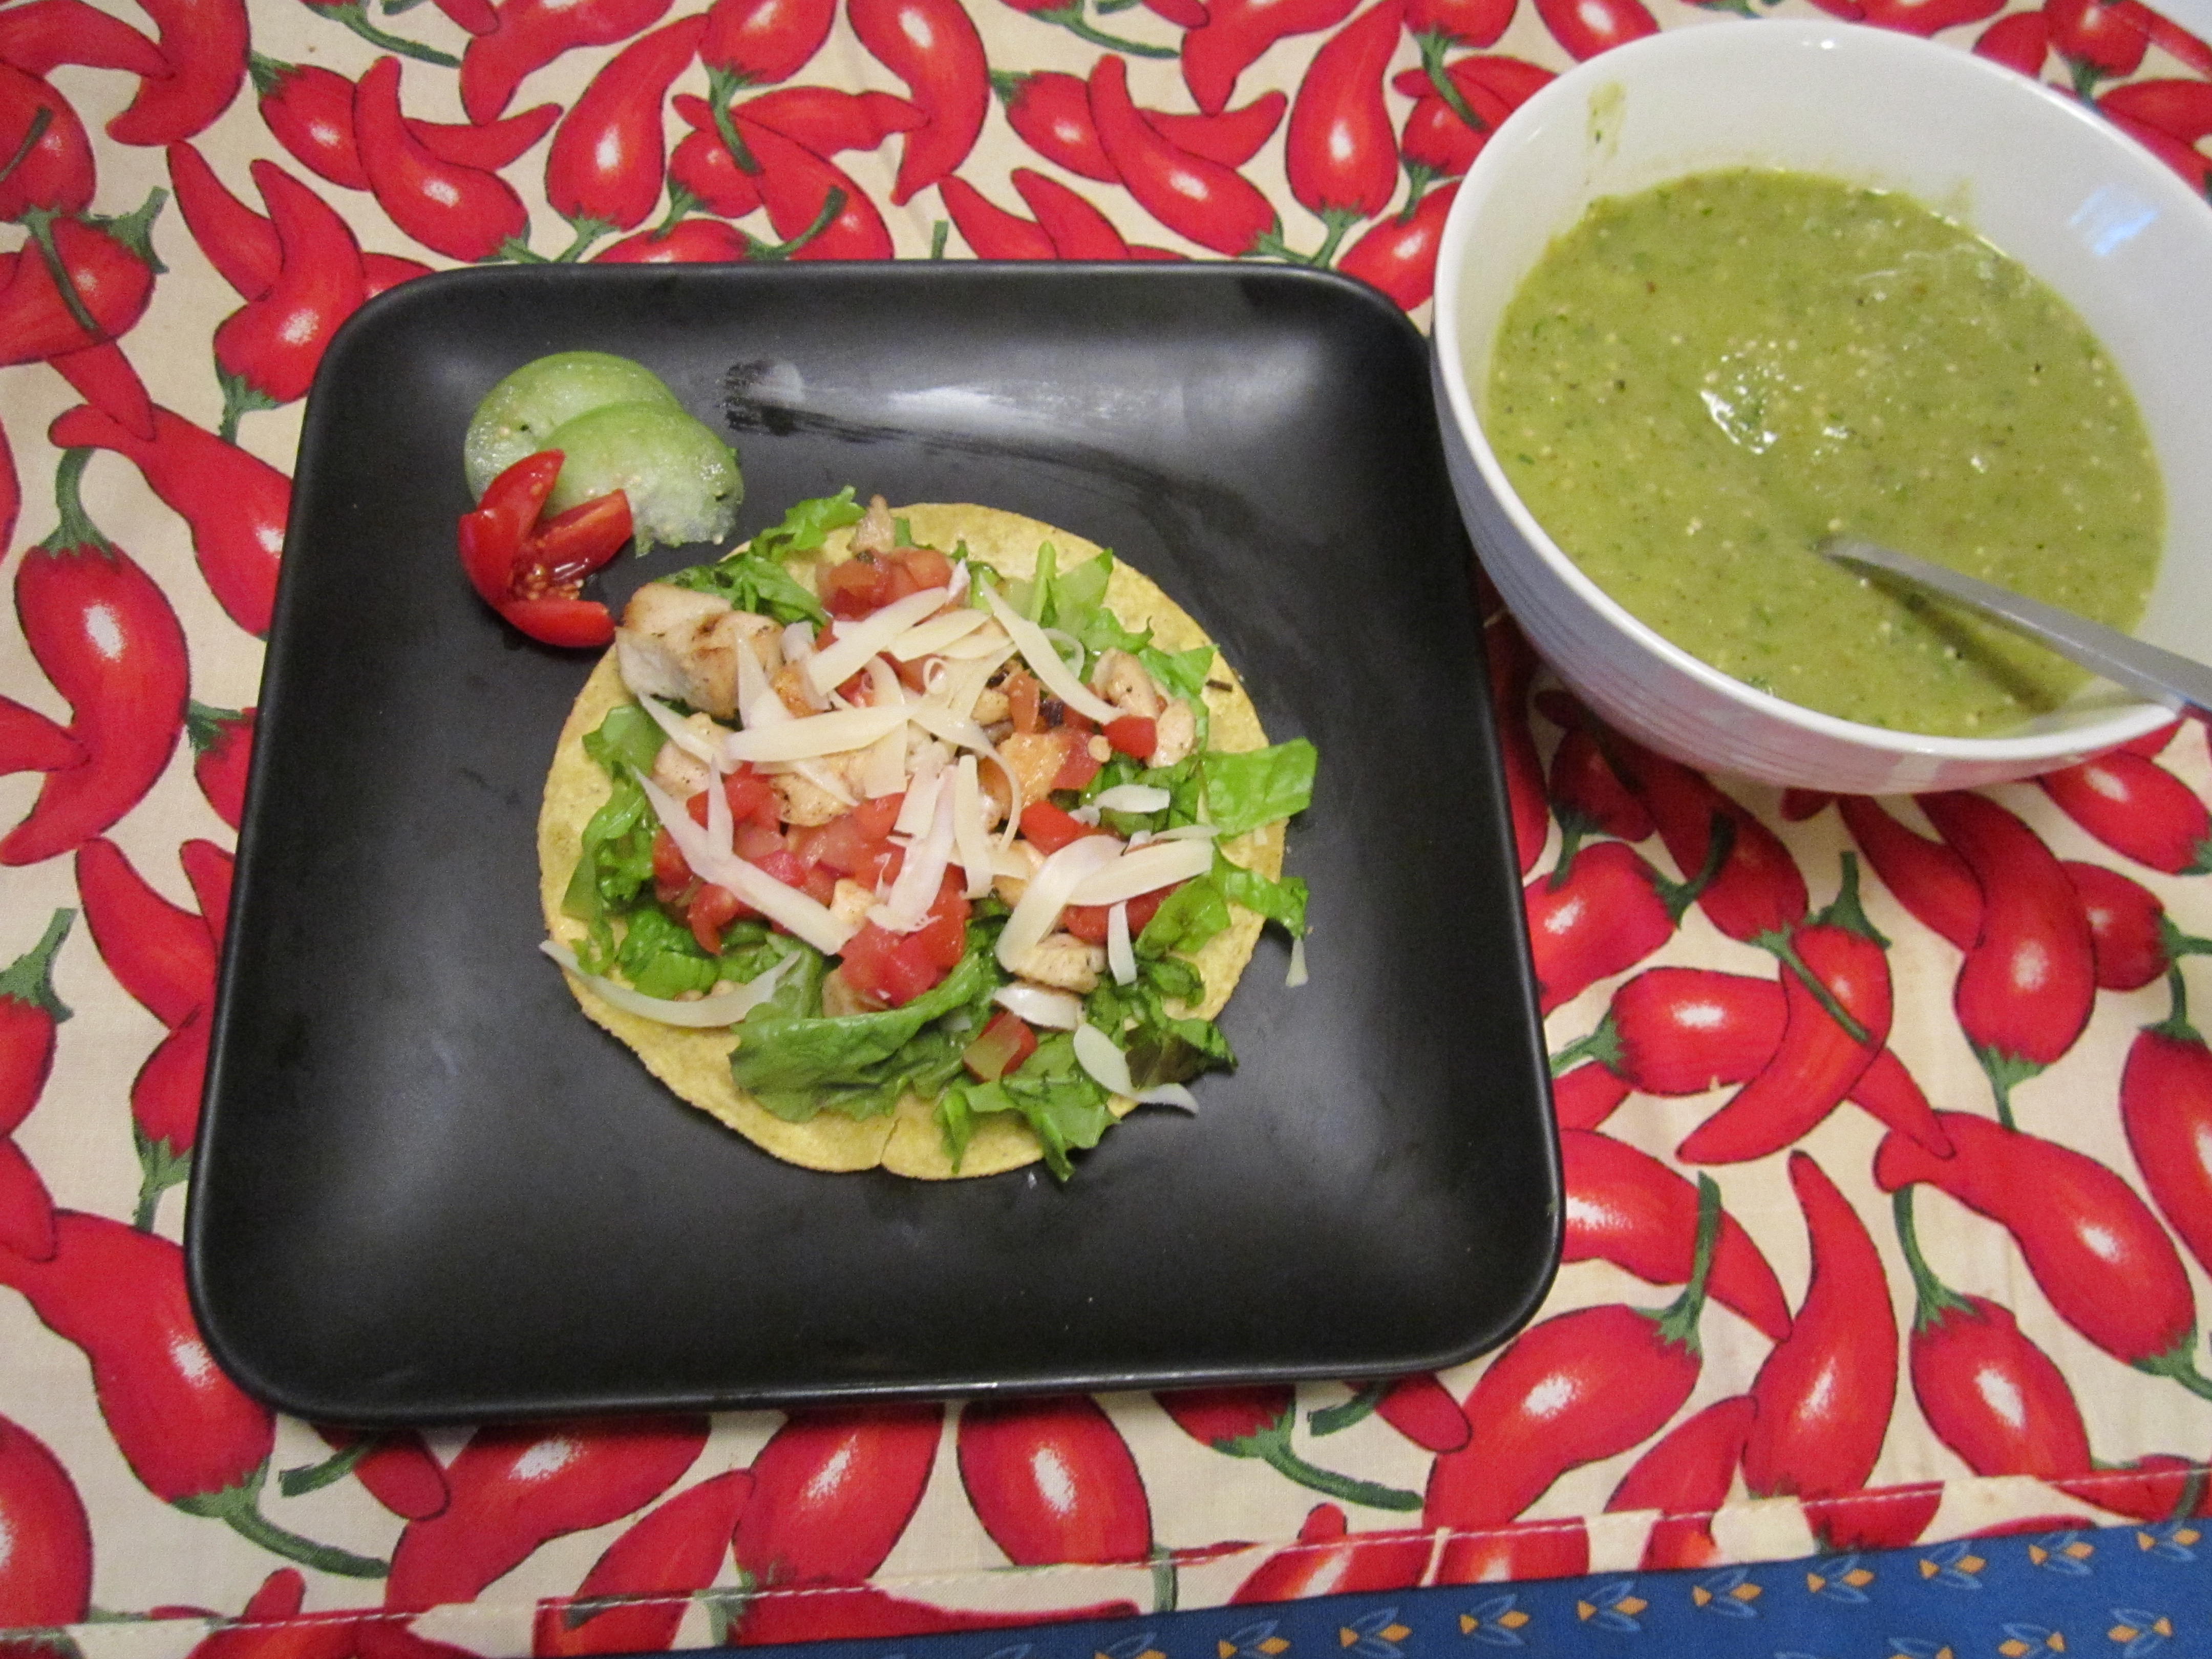
Or, for an even more local recipe, try this Akimel O’odham (Pima) recipe for Heirloom Wheat Posole with Tepary Beans:
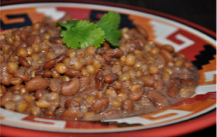
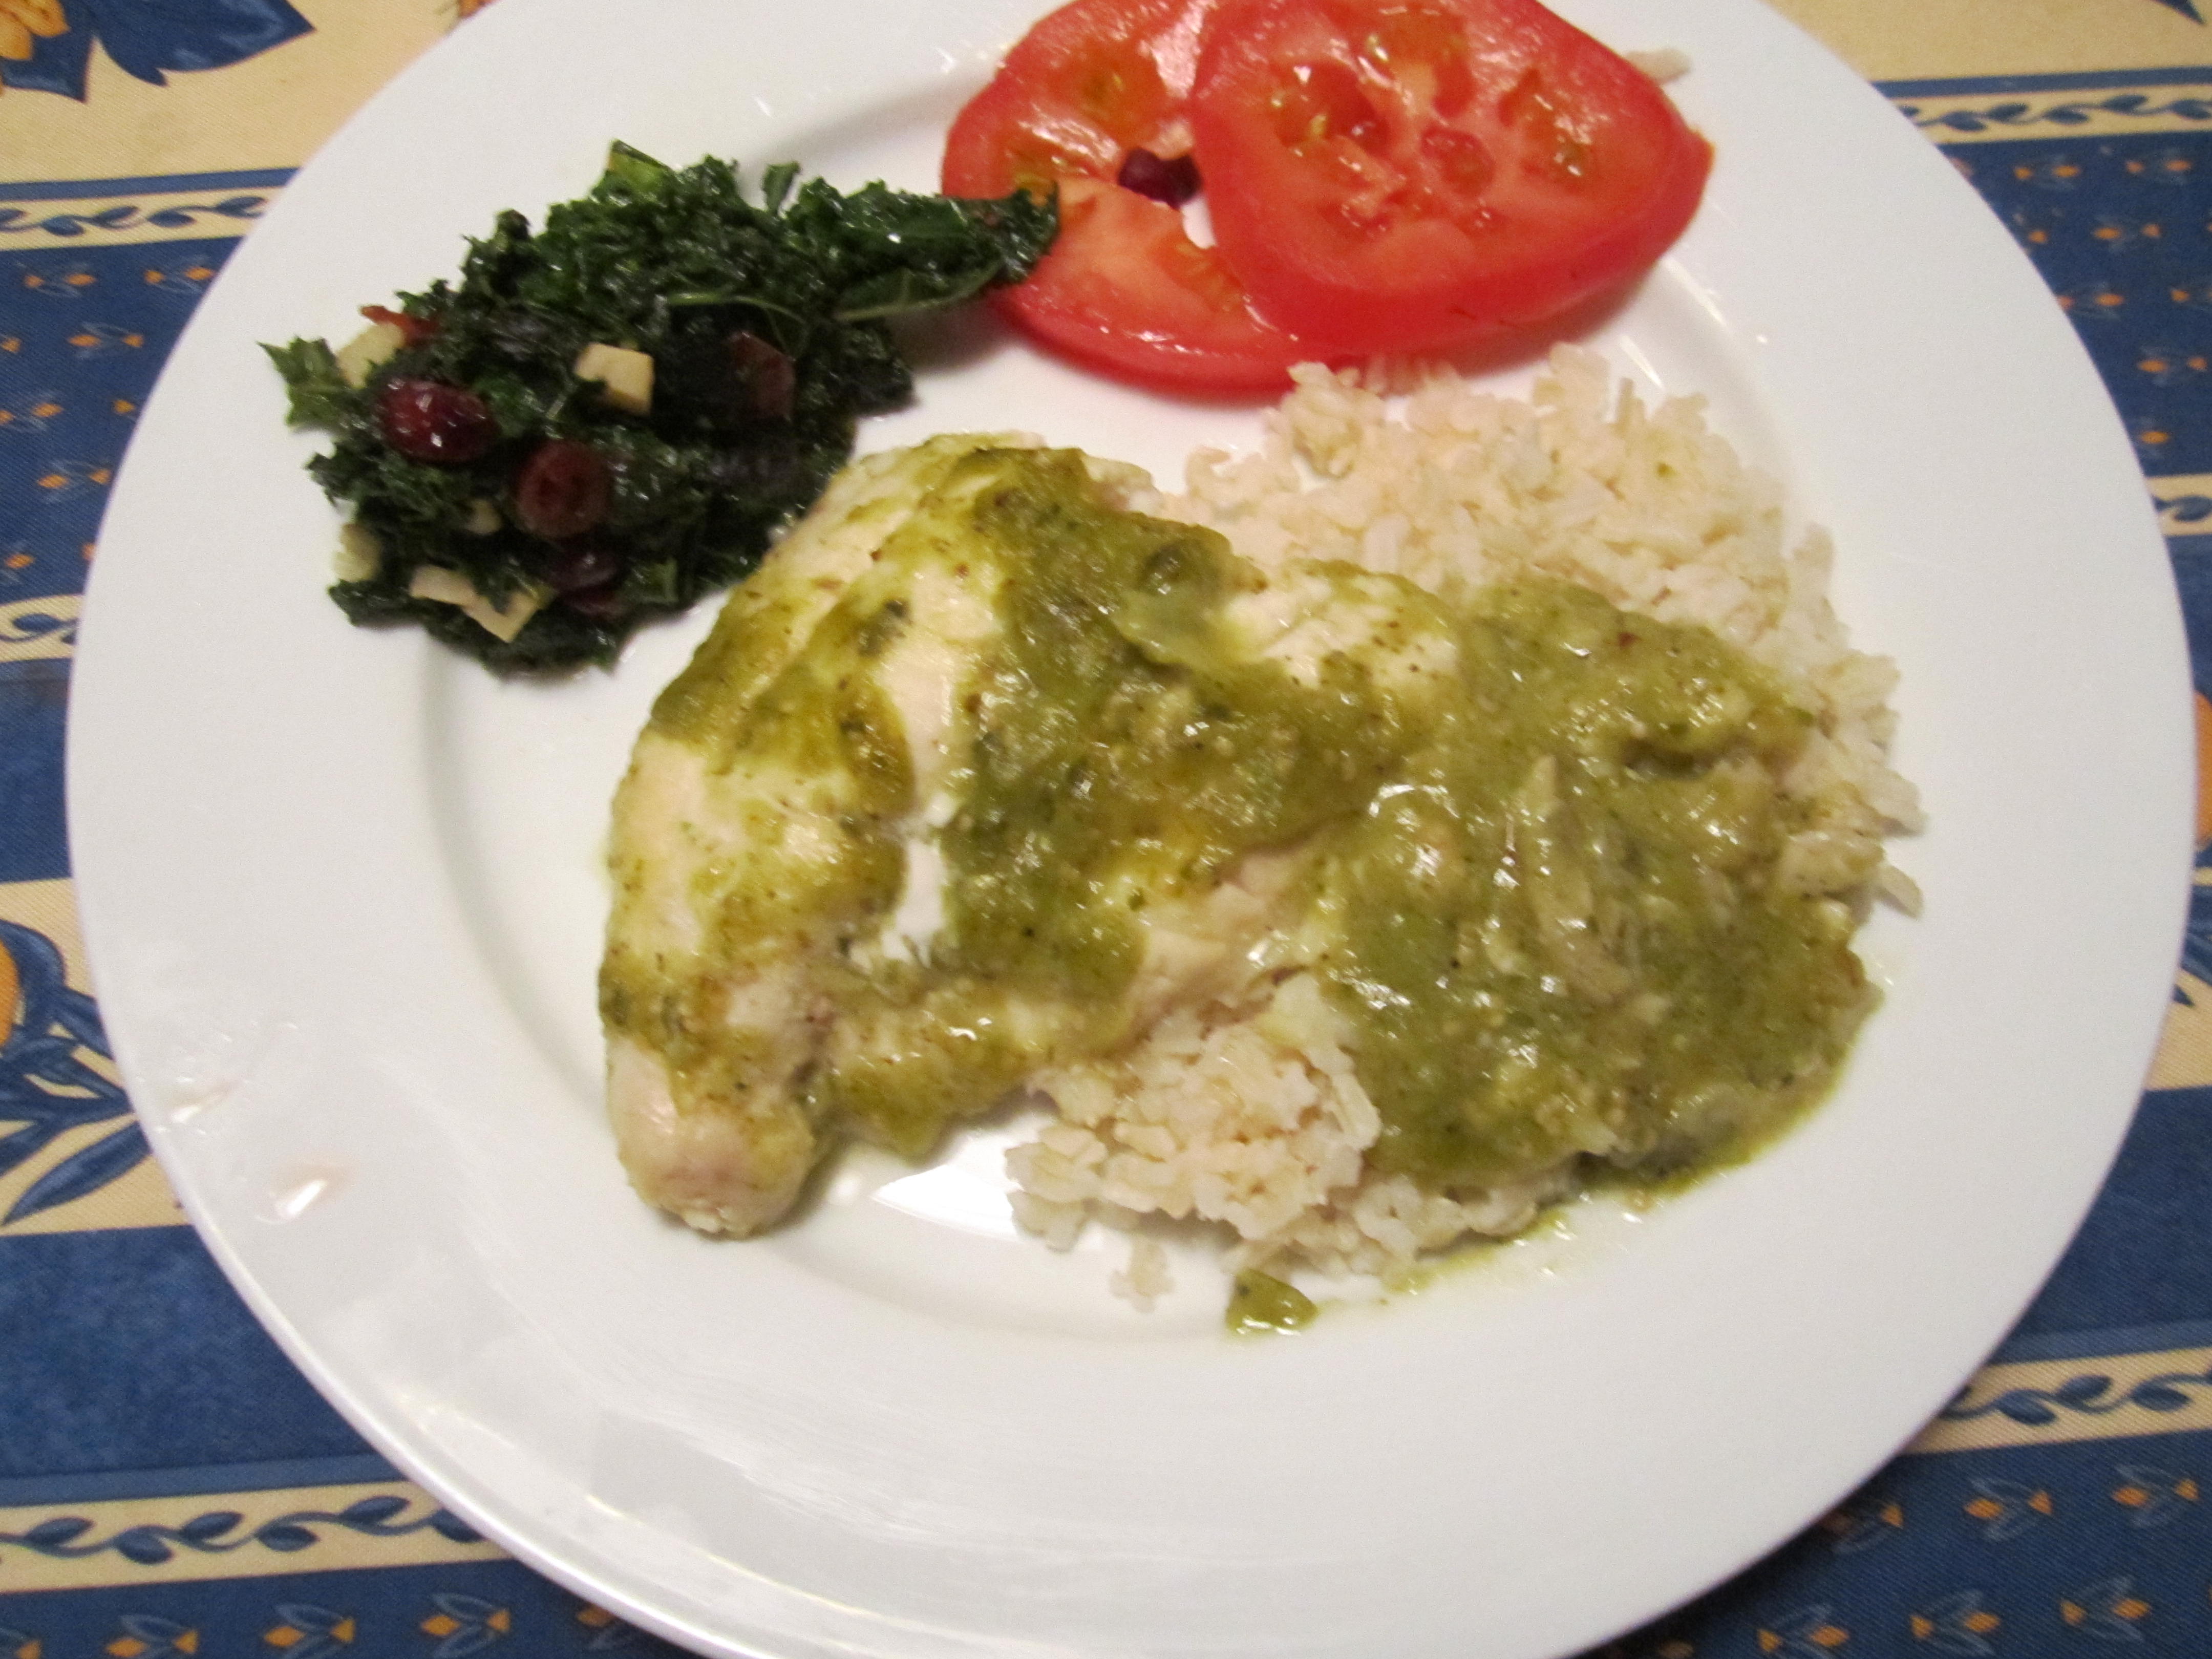
Pima Posole with Tepary Beans and White Sonora Wheat, served at Heard Museum
The combination of high protein Native Teparies and delicious low-gluten Heirloom Wheat Berries makes this a rich and nutritious stew.
Heirloom Wheat Posole with Tepary Beans—Pilt’kan ch Ba’bawi Posh’oldt
Ingredients:
2 cups dry tepary beans *
Water to more than cover the beans for initial soaking and cooking
1 large marrow bone (or beef broth as substitute for ½ the water when simmering, omit for vegetarian)
2 cups dry whole wheat berries (wheat kernels) **
3-4 cups drinking water or stock
Sea salt to taste (1-2 Tbsp.)
Black pepper or native chiltepine peppers***, to taste
Directions:
Carefully sort dry beans to remove stones. Wash, rinse, and cover with good water to soak overnight. Drain when plumped and ready to cook.
In big cooking pot, put beans, marrow bone, and drinking water to cover. Bring to a boil then simmer for 2+ hours.
Separately, rinse wheat berries and drain. Add wheat berries and salt to the cooking teparies. Add more water and/or stock. Bring to boil, then simmer an additional 1 ½ hours or until wheat berries are round and tender, and teparies are tender(not chewy).
Reserve excess water for later soup stock. Remove bone. For serving, posole should be moist with broth. Add black pepper and sea salt to taste. If picante bite is desired, add one or two crushed chiltepine peppers.
Enjoy this traditional taste of the desert! ***********Here’s where to find these traditional ingredients (being grown anew in their home turf):
*Native tepary beans are available at www.nativeseeds.org or at www.ramonafarms.com .
** Organic White Sonora Wheatberries are available at Flor de Mayo tent at Sunday St Philips Farmers Market, Tucson, or at the NativeSeeds/SEARCH Store, 3061 N Campbell Ave, Tucson.
***whole wild-harvested chiltepine peppers are available at Flor de Mayo tent, Sunday St Philips Farmers Market, Tucson, or at the NativeSeeds/SEARCH Store, Tucson.
*****************************************************************************************
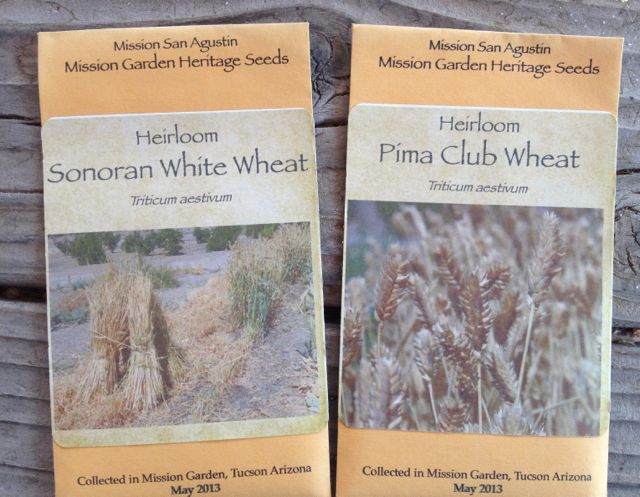
Seed packets of heirloom wheat varieties grown at Mission Garden, for sale to plant in your own winter garden.
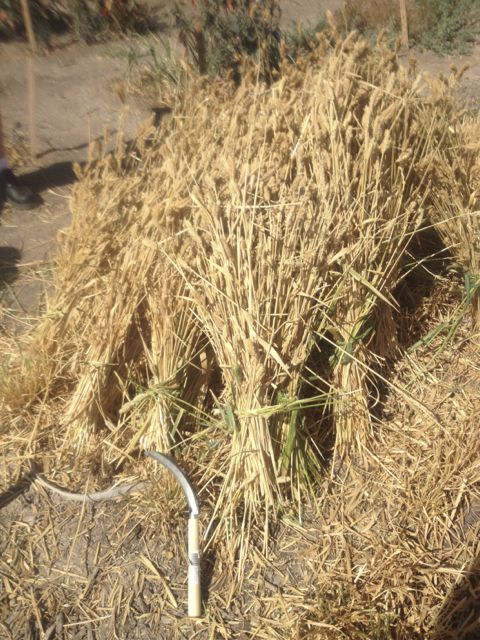
Sheaves of heirloom White Sonora Wheat hand-harvested at Mission Garden
Because Dia de San Ysidro especially heralds the wheat harvest, the staple grain introduced by Padre Eusebio Kino and other missionaries over 300 years ago to the Native Tohono O’odham community living here, this year’s festivities will include a ceremonial wheat harvest, guided by expert plantsman and Desert Museum staff person Jesus Garcia, to take place around 8am, Saturday, May 16, before the procession.
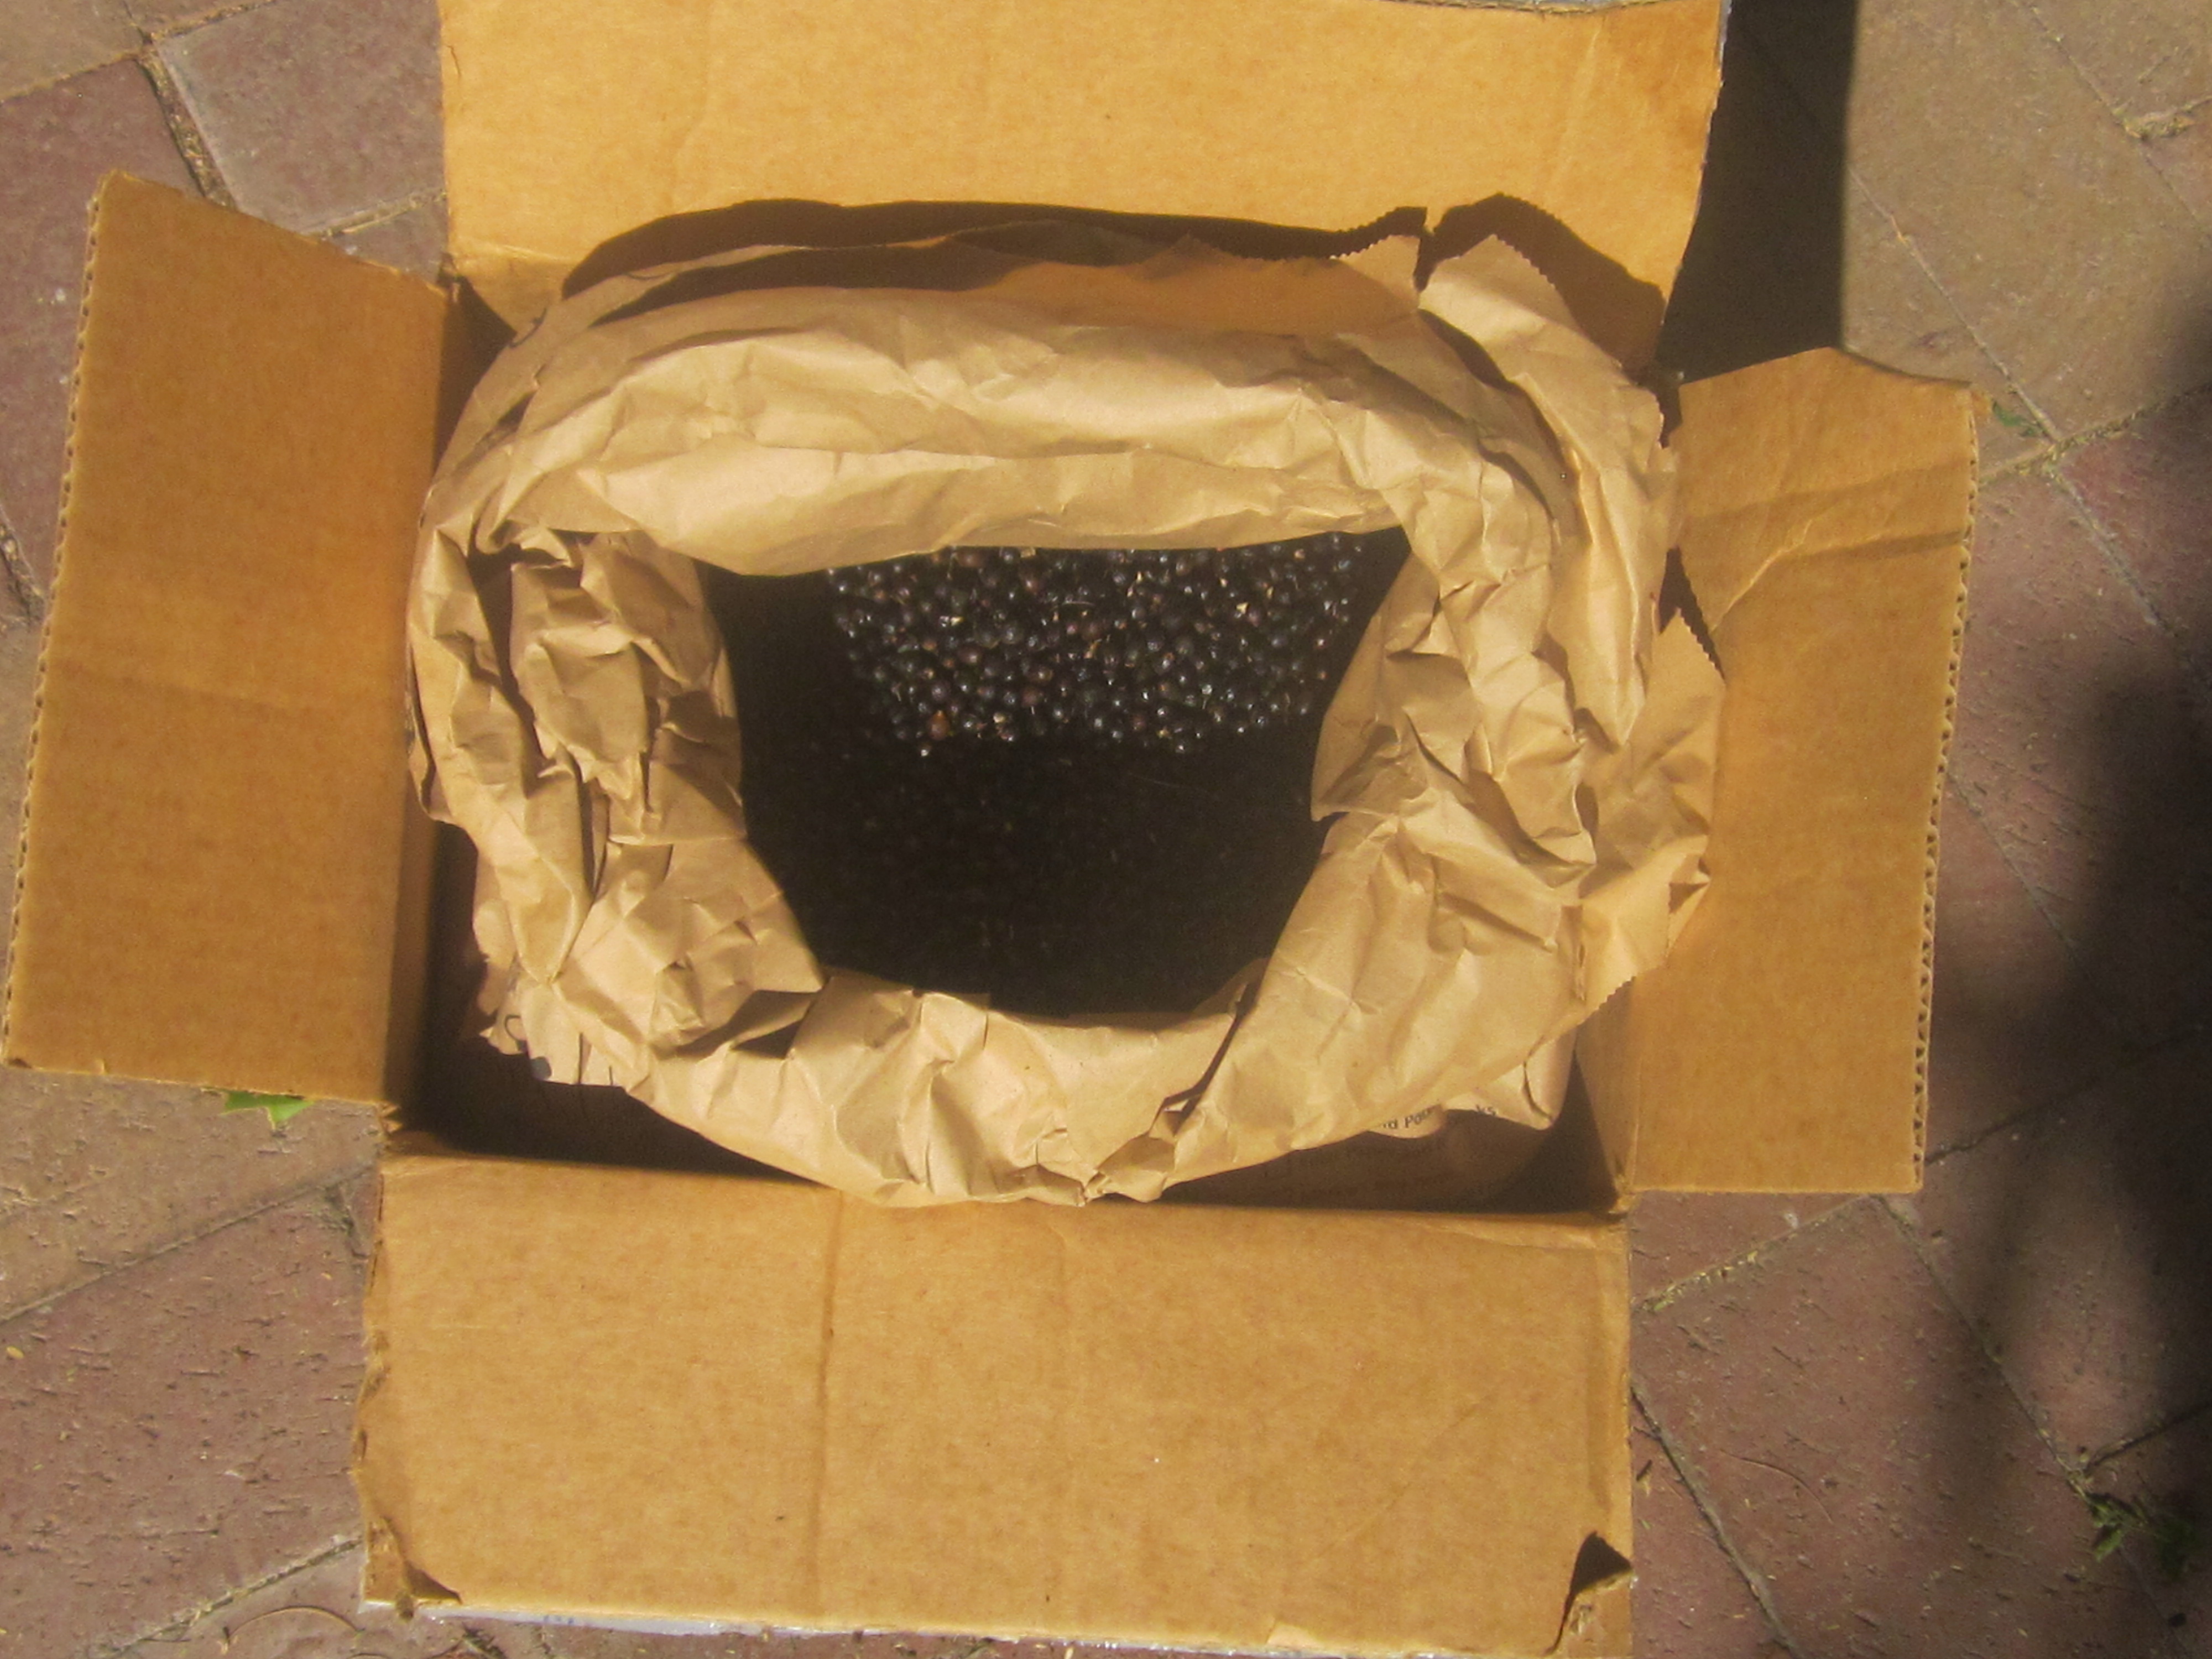
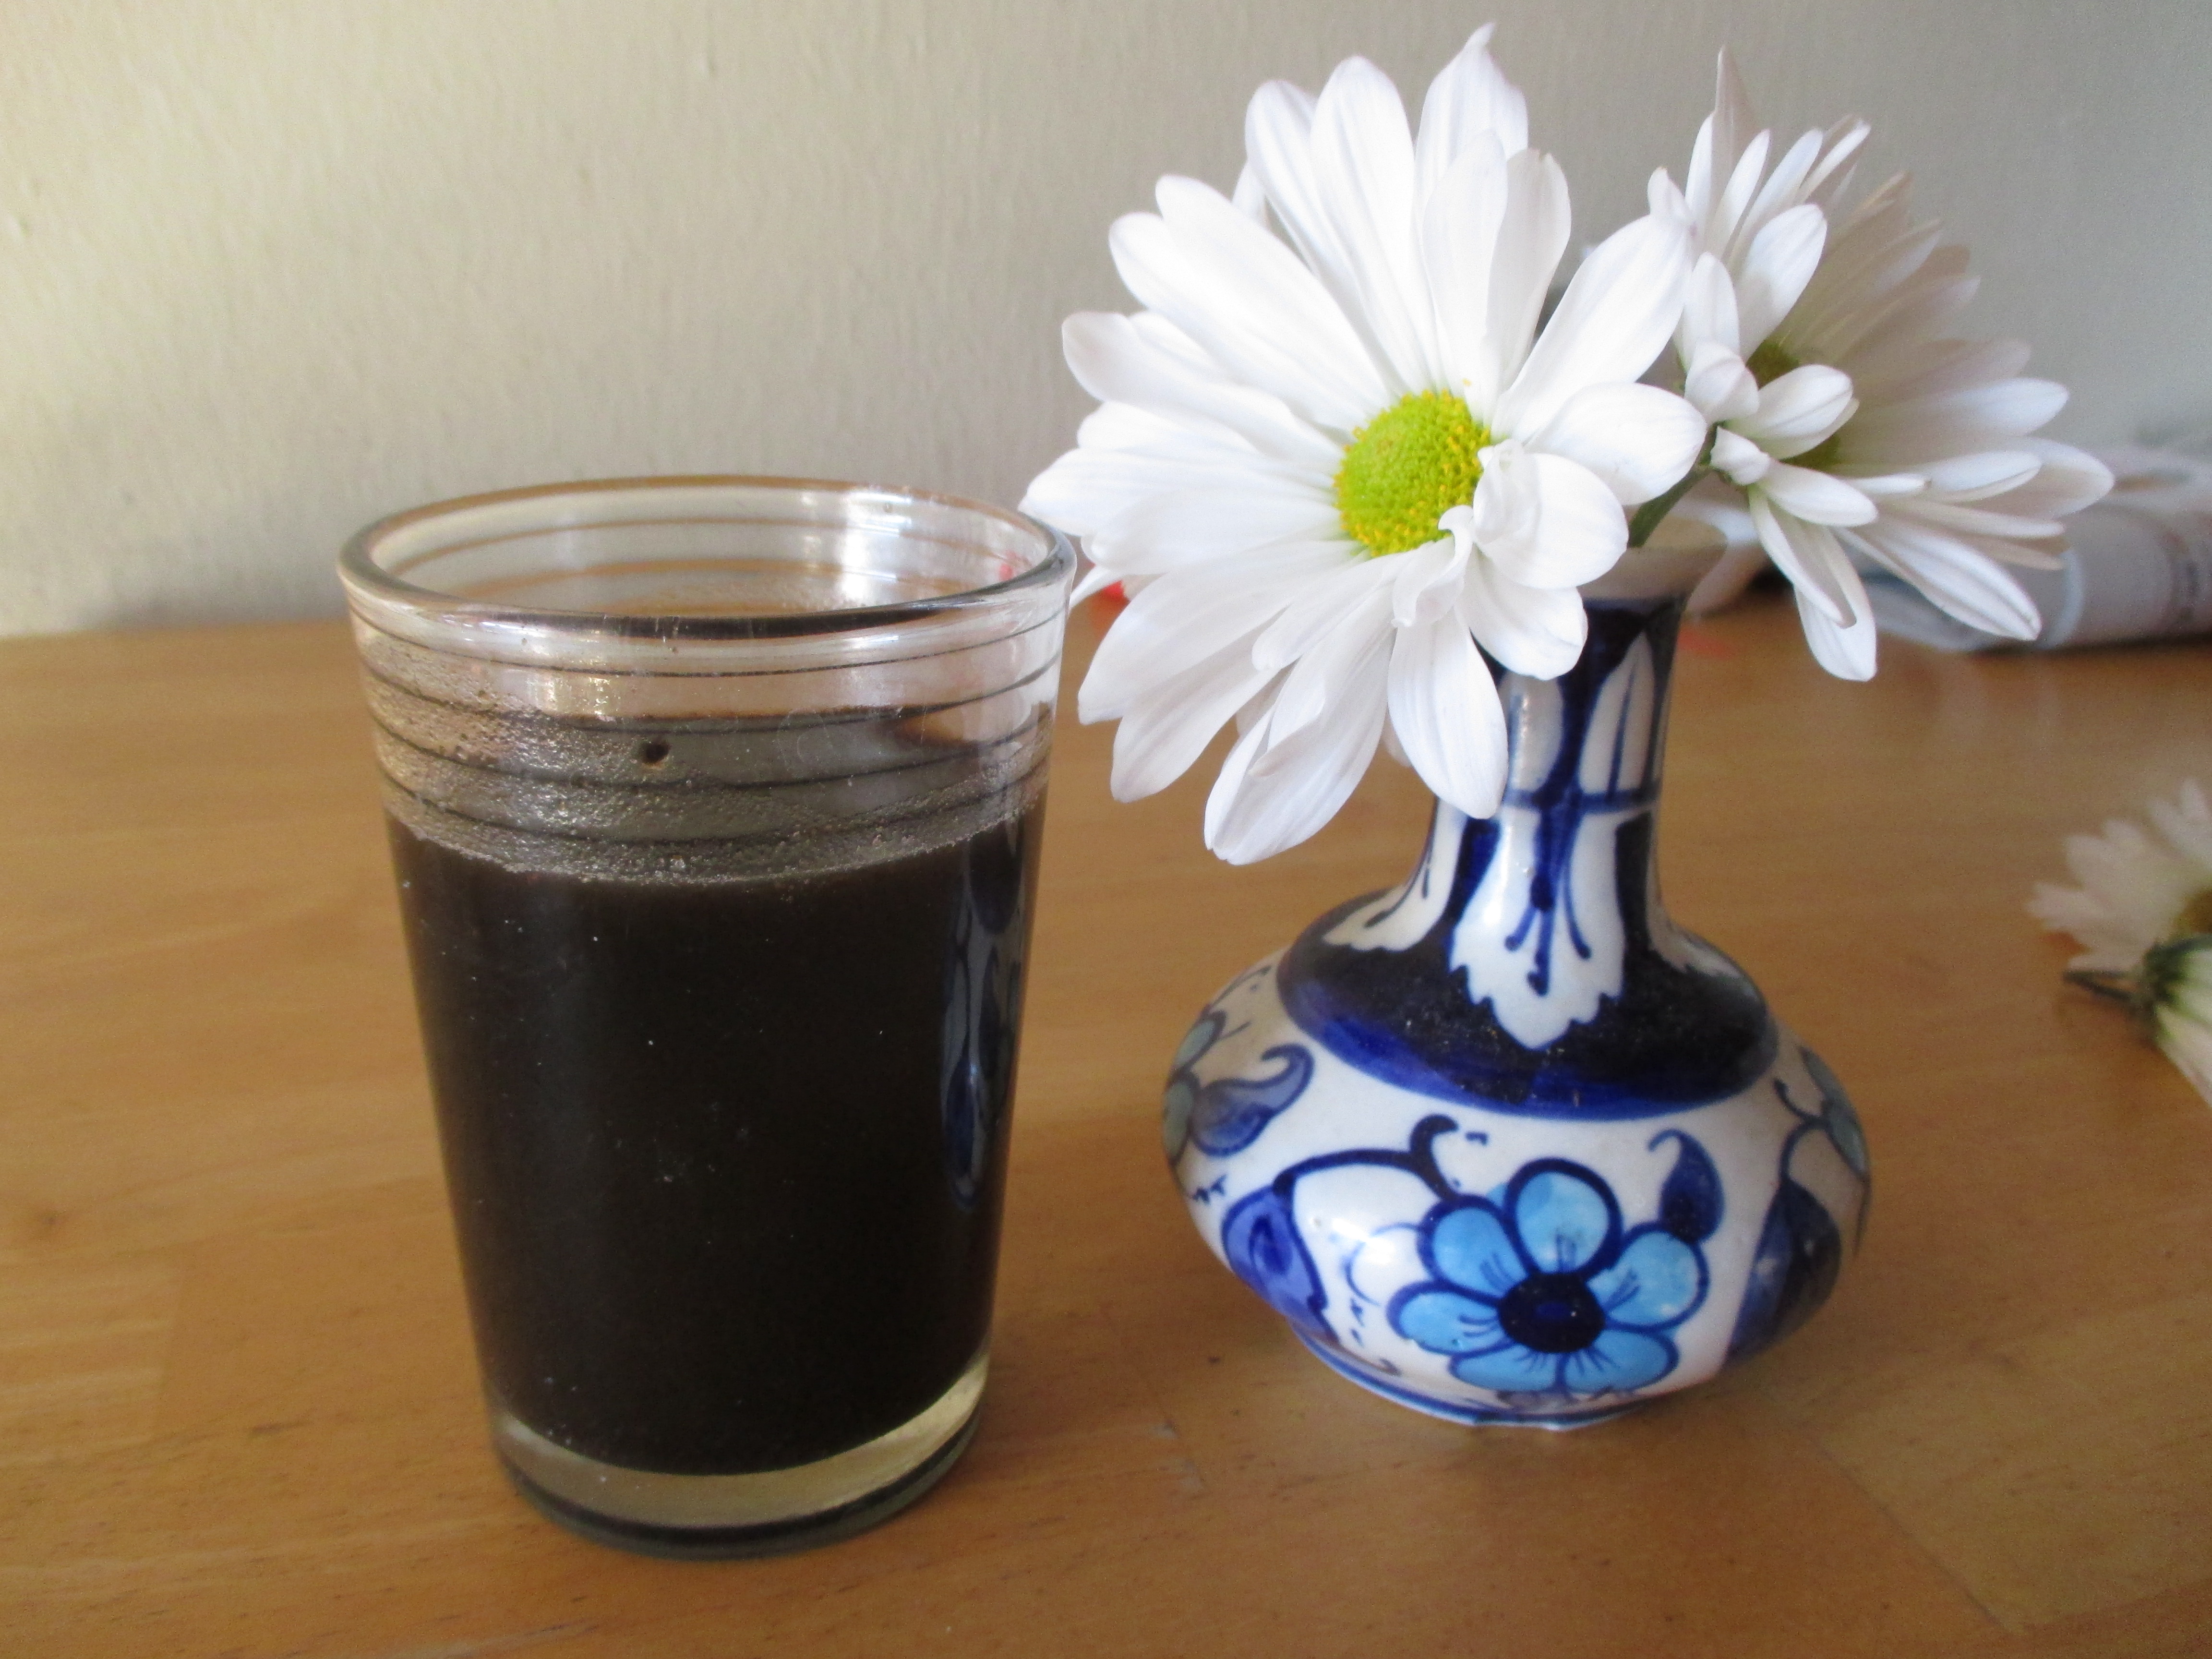
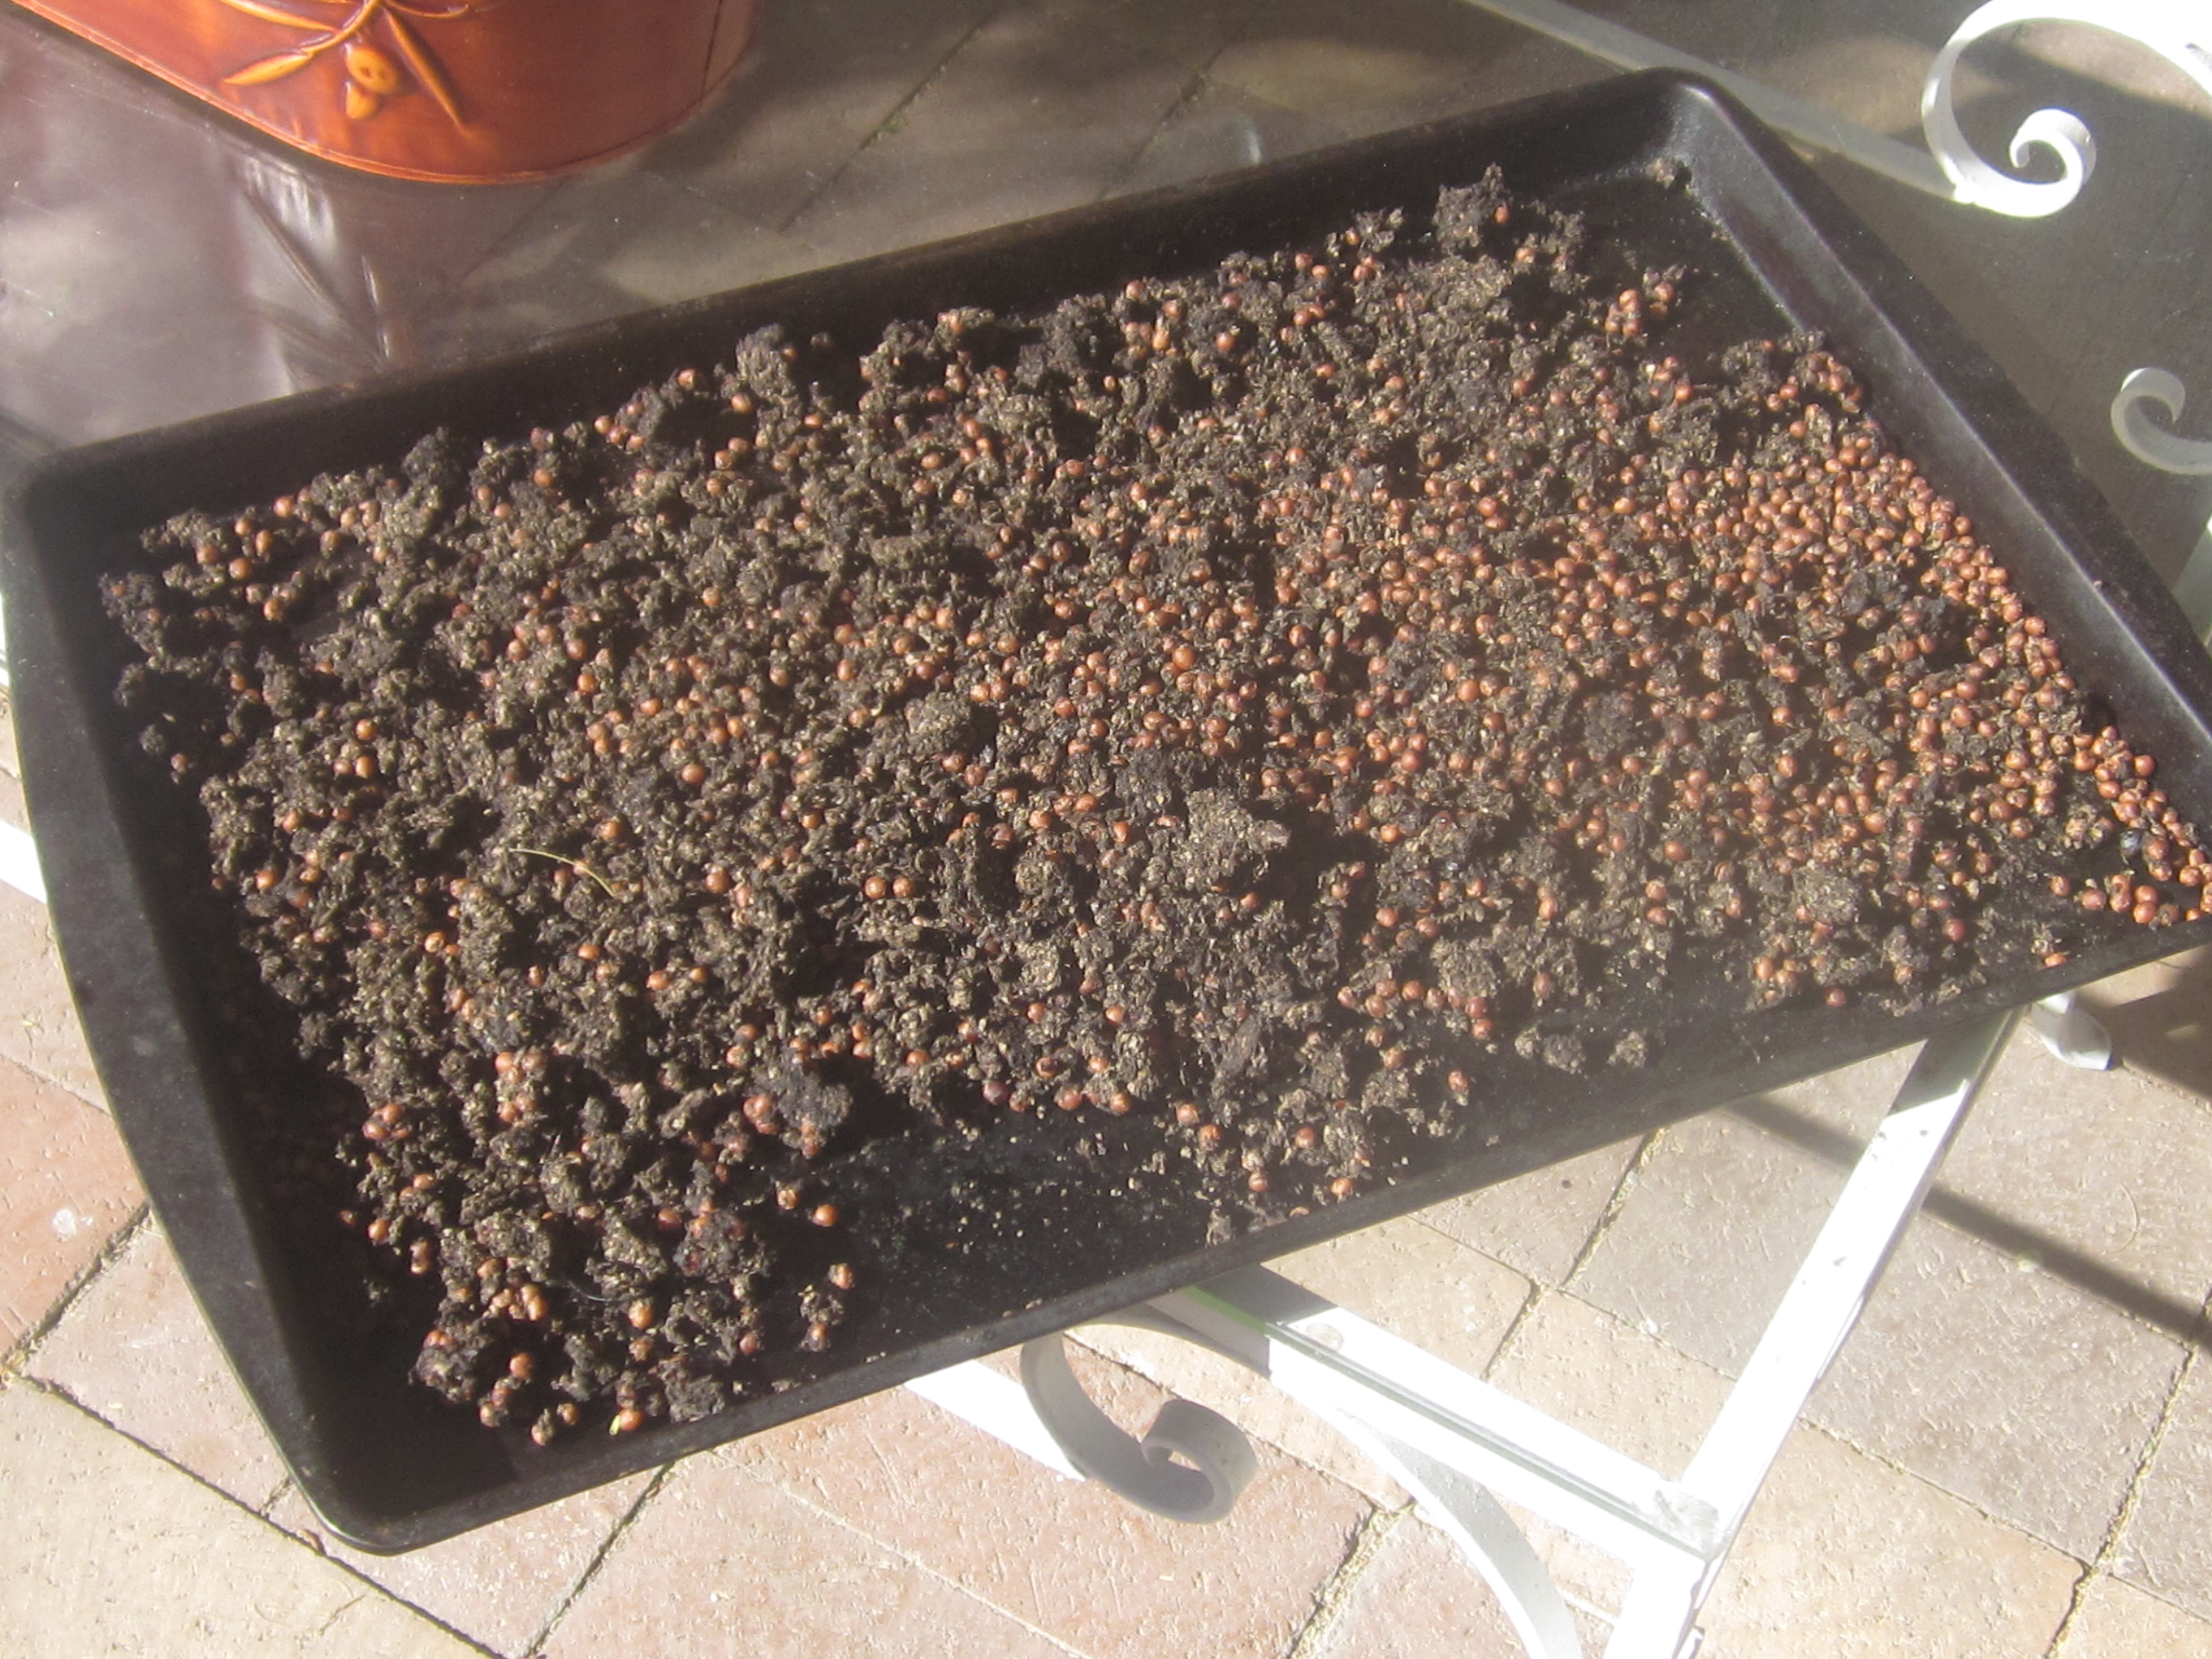
Support organizations, such as NativeSeeds/SEARCH, San Xavier Coop Association, BKWFarmsInc, and Tucson Herbalist Collective will have booths with demonstration items, tastes of native foods, solar cooked White Sonoran Wheat berries, traditional food products packaged for sale, and resource people to talk with about desert gardening for real food.
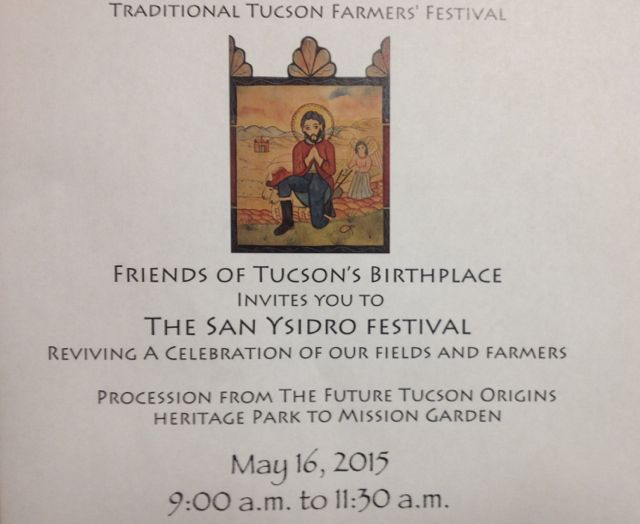
Invitation to the 2015 San Ysidro Fiesta
The event is free with a donation requested. Find out more details of the San Ysidro Festival at www.tucsonsbirthplace.org. Hope to see you there!
[For more great recipes and stories about White Sonora Wheat, you can search with the box above using those key words, thru the last 2 years of this blog.]