As I write, the citrus trees in my neighborhood are beginning to bloom and sending waves of scented the air through my exuberantly flowering garden. This is the kind of experience poets rhapsodize about. The two big freezes we had in 2011 and 2013 affected most of Tucson’s lemon trees, and some gardeners went without lemons as the trees recovered. But this spring they came roaring back. It’s Carolyn this week giving you ideas for using lemons from your own trees, those you can beg from neighbors or buy at the farmers’ market.
Make Some Lemon Curd
The word “luscious” could have been invented to describe lemon curd. It’s sweet without being cloying; tart without being sour. Yum. I made it once before with so-so results. As with any recipe involving cooked eggs, there is always the chance of curdling if you don’t handle the ingredients delicately. This recipe, developed by Elinor Klivans from Fine Cooking reduces the risk. You can use your lemon curd on toast or scones or fill tiny tart shells for a dessert.
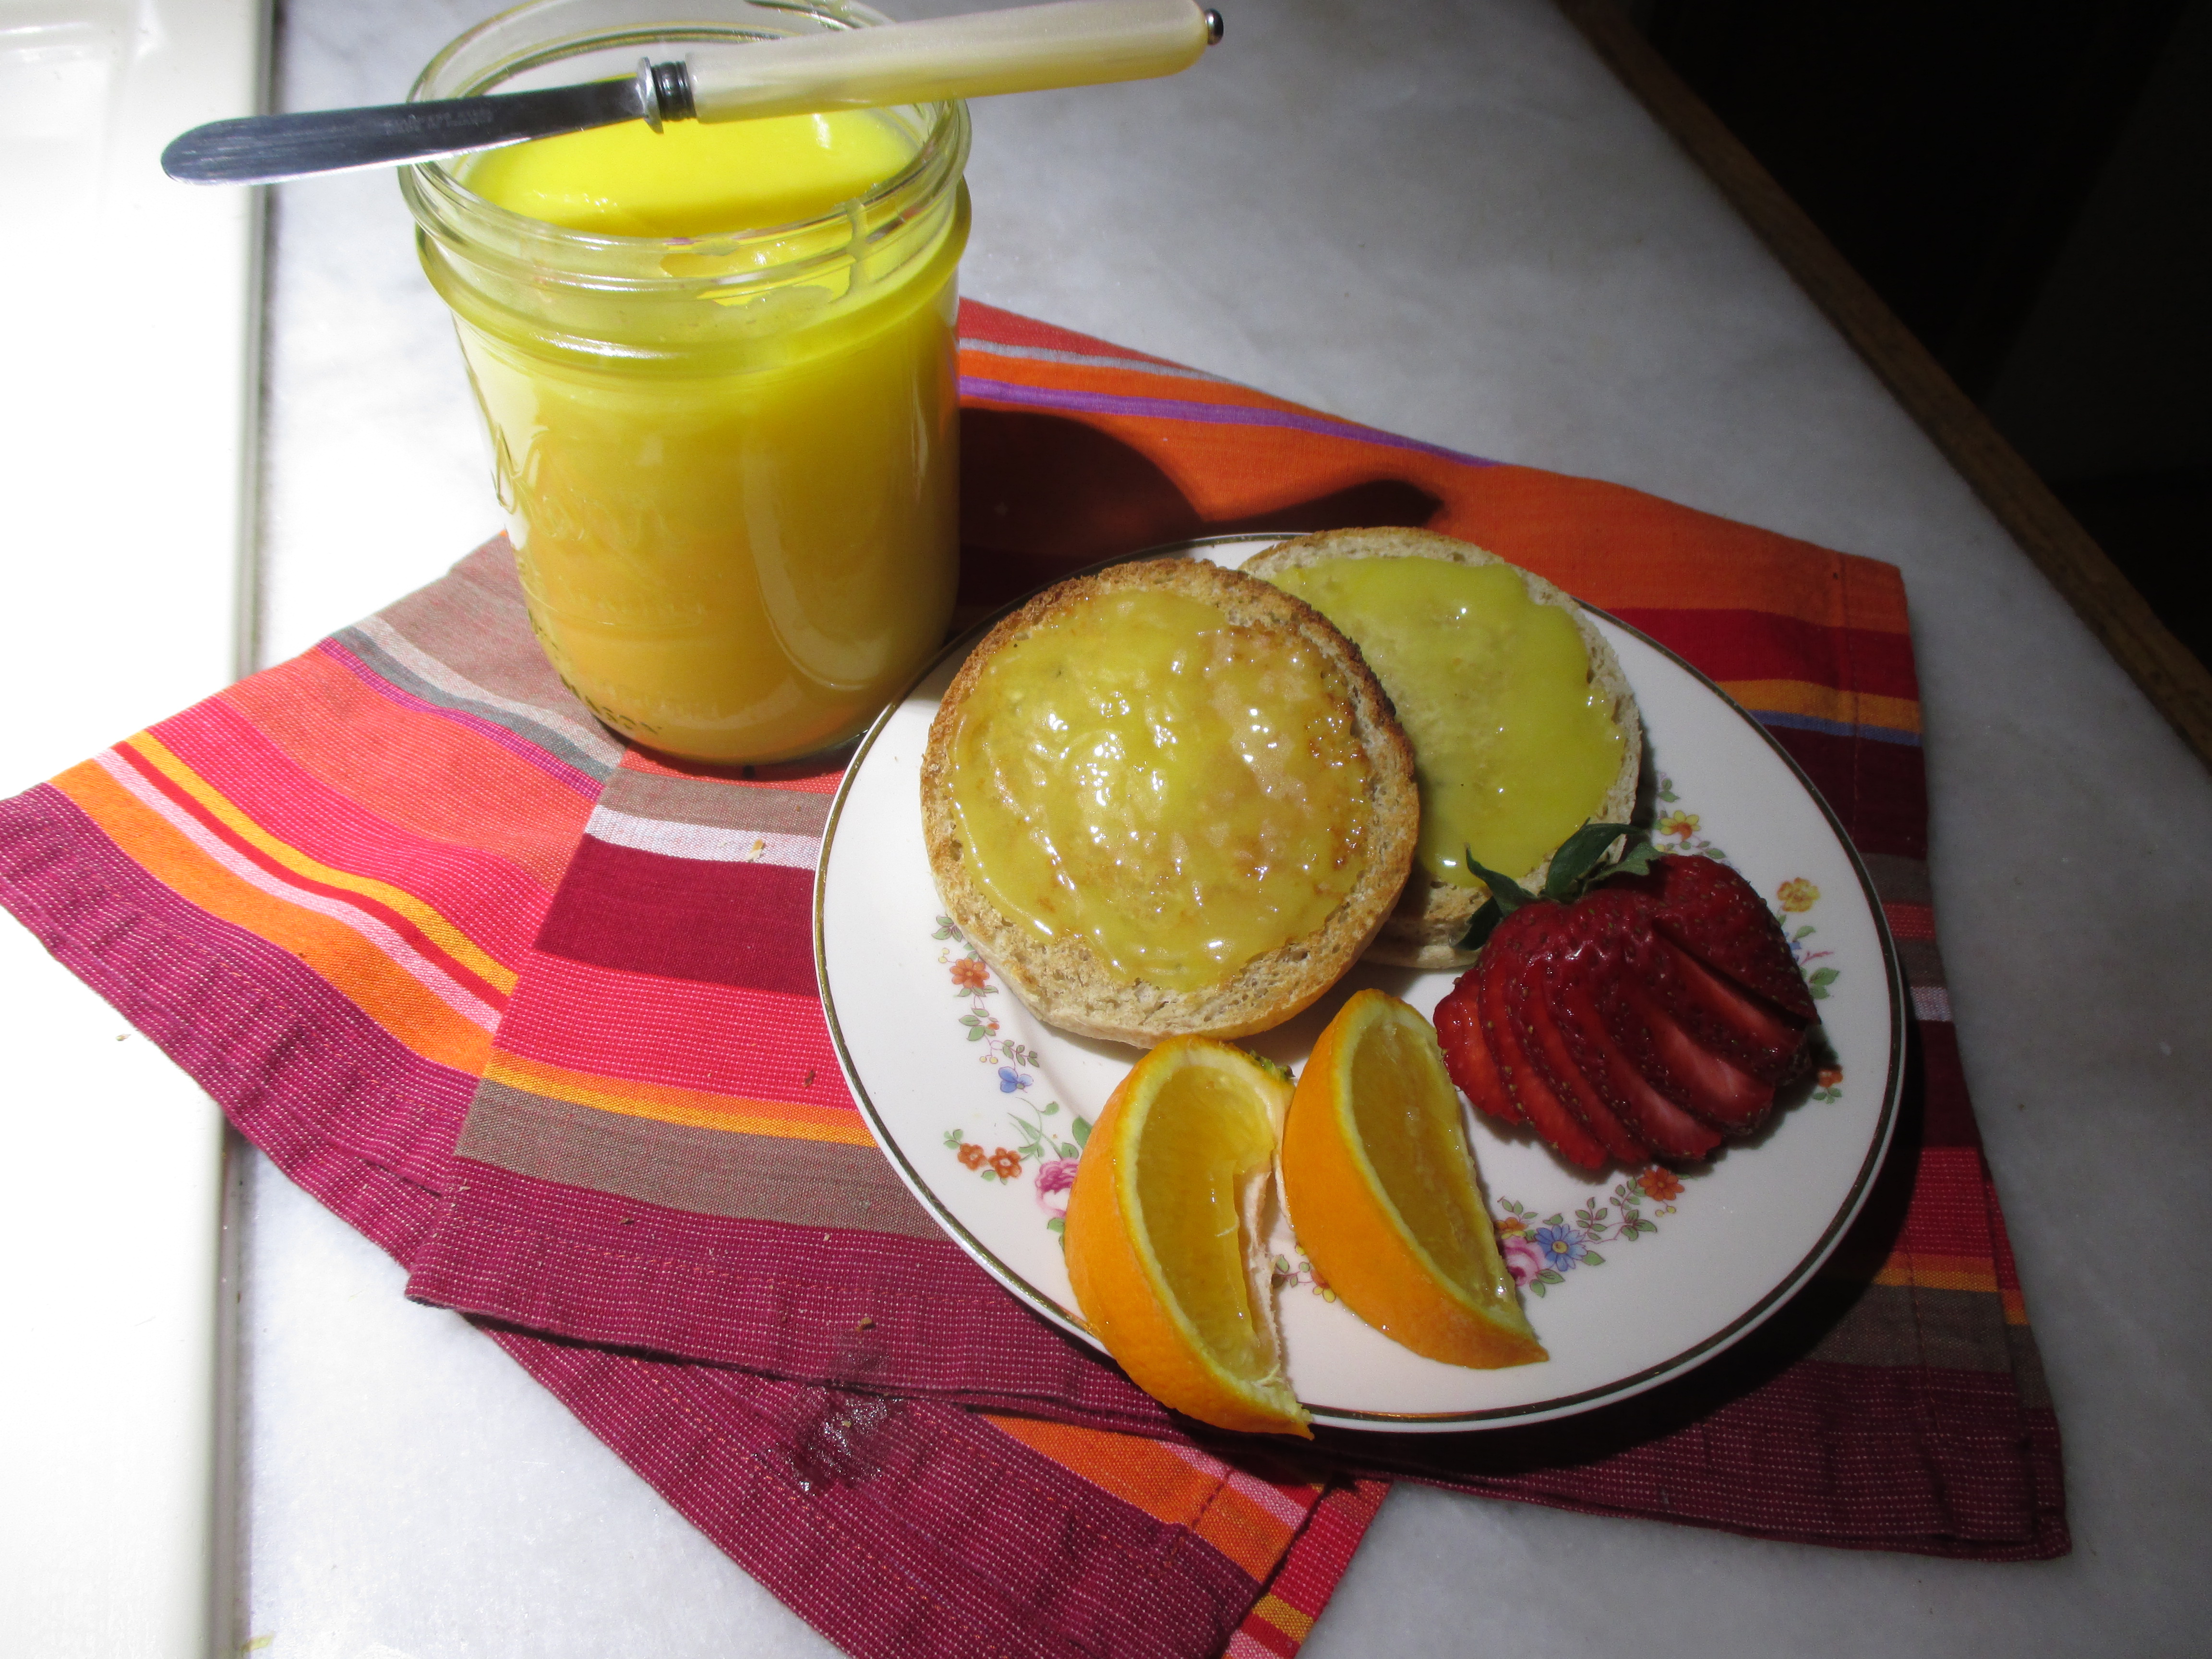
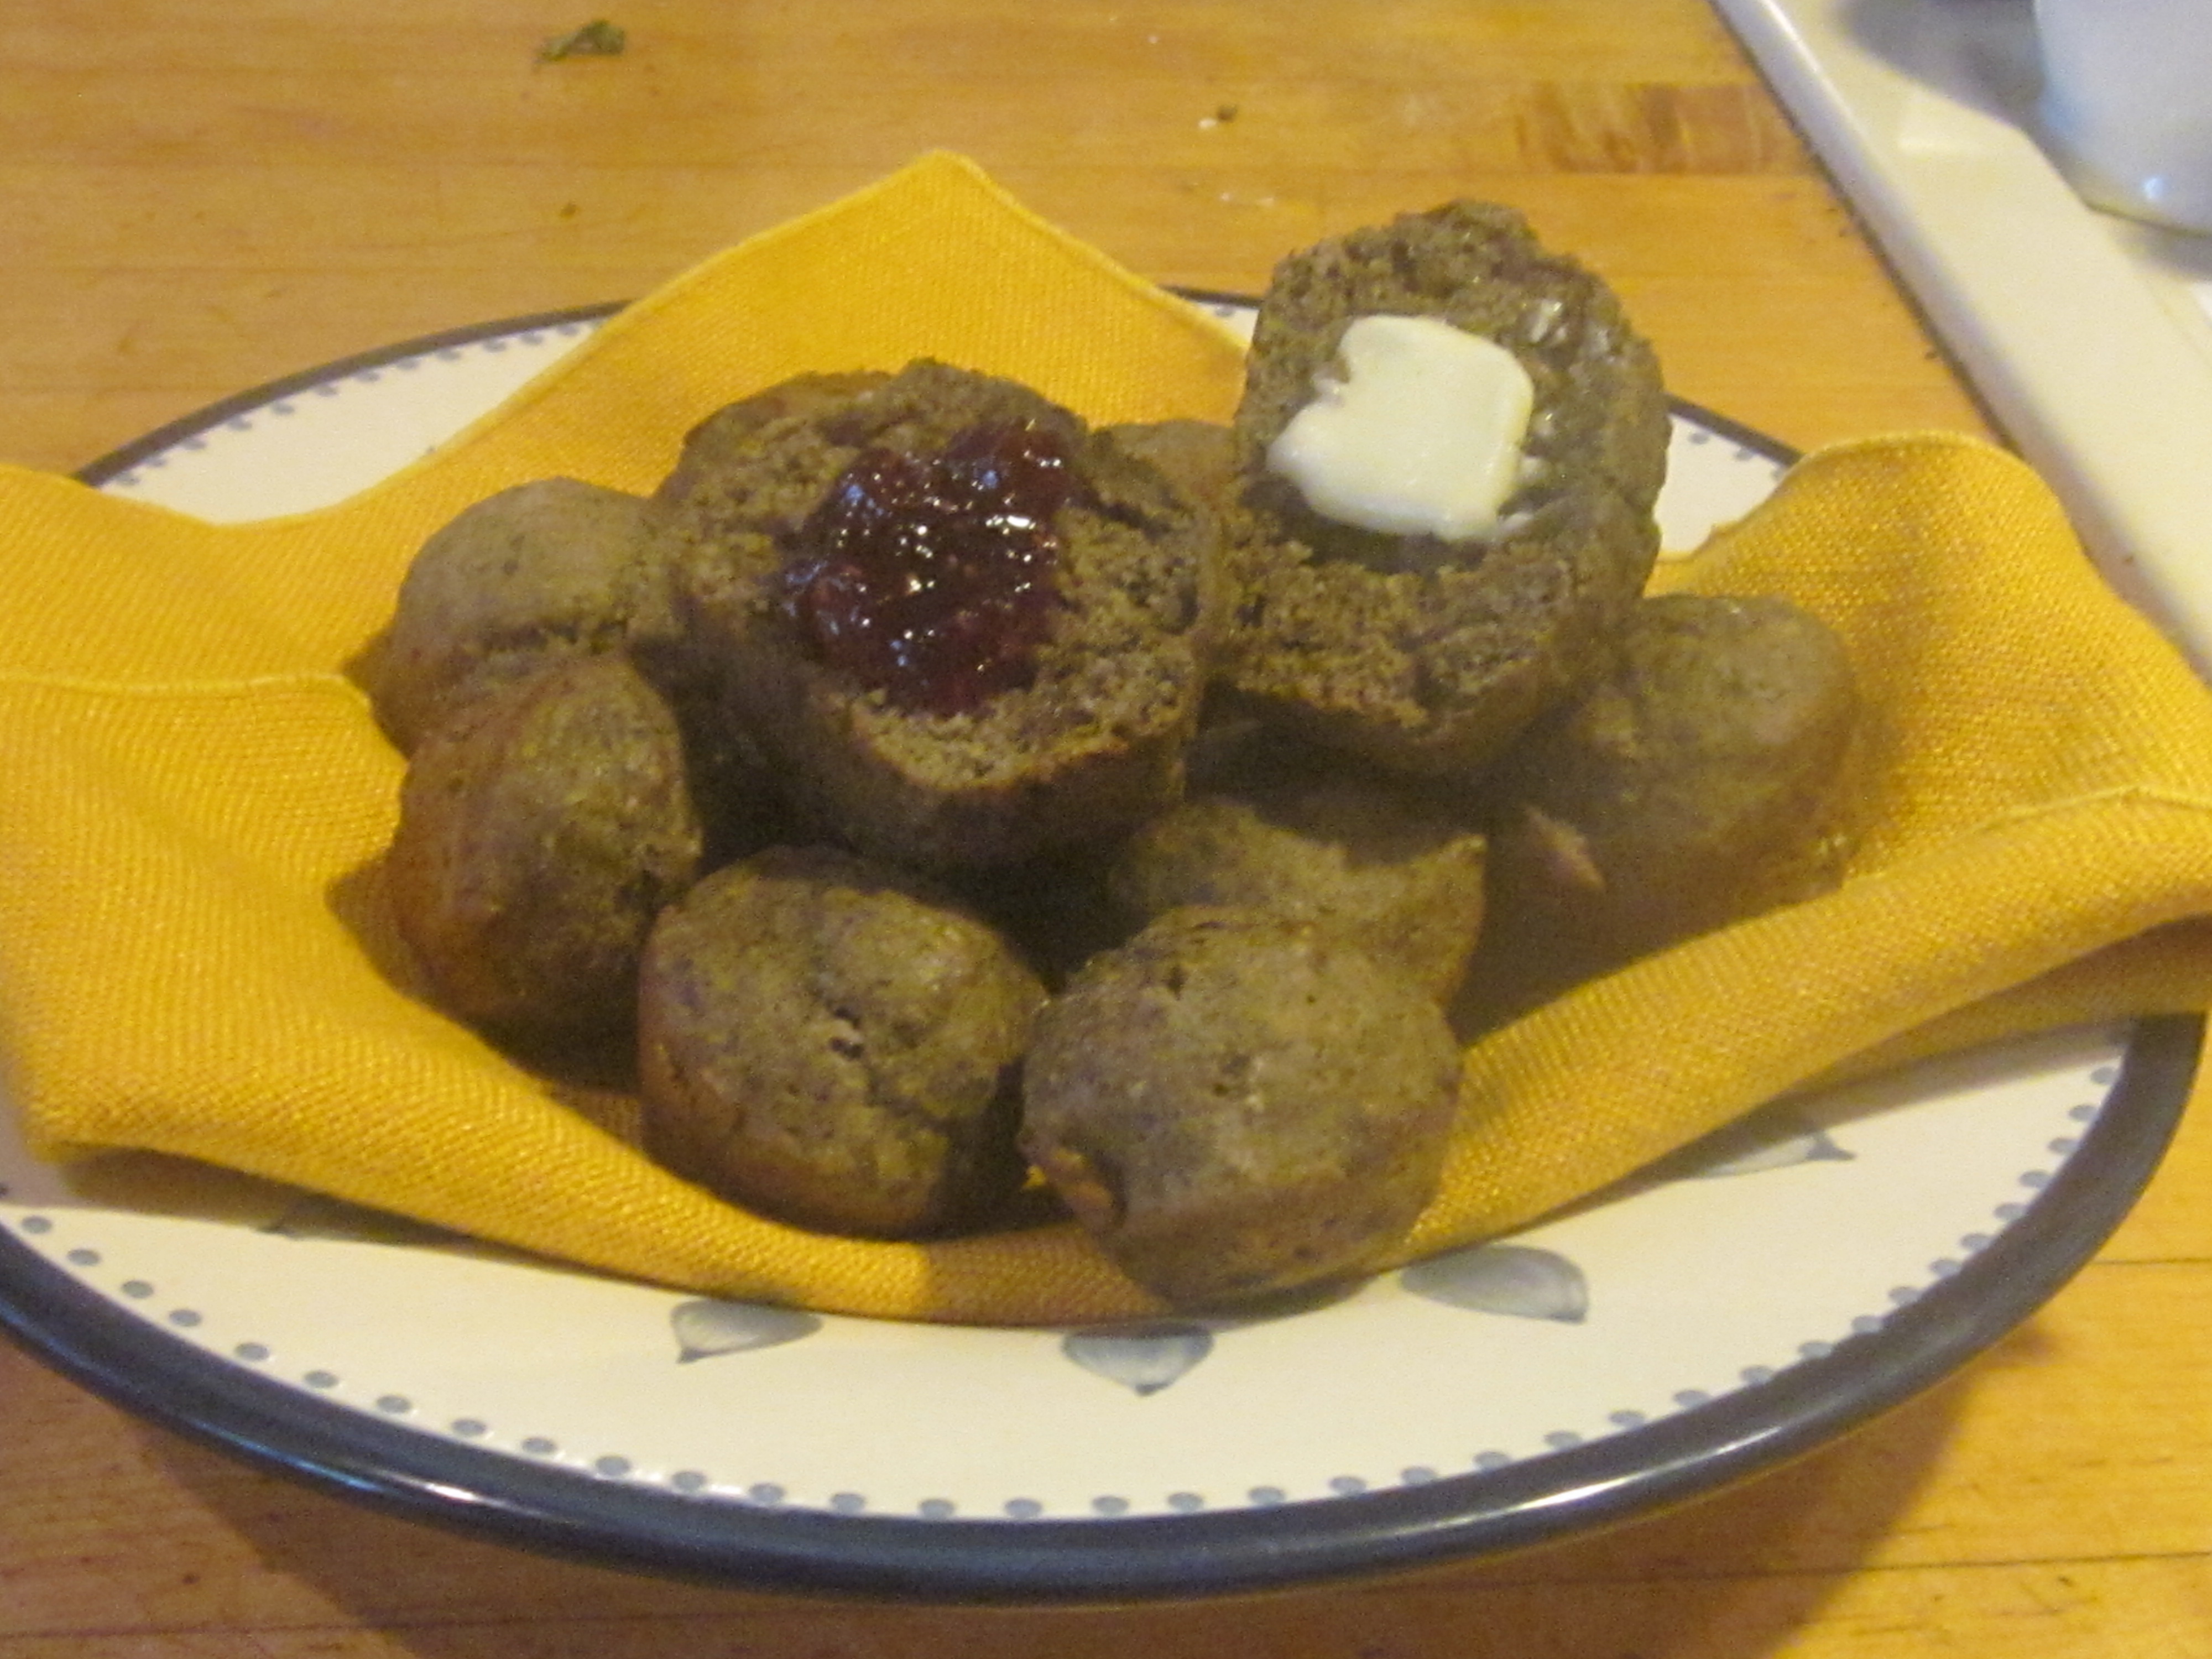
Lemon curd and English muffins make an elegant breakfast.
To make lemon curd, you’ll need to zest a lemon first. You only need a tablespoon of zest. You can use a lemon zester or get finer zest with a microplane.
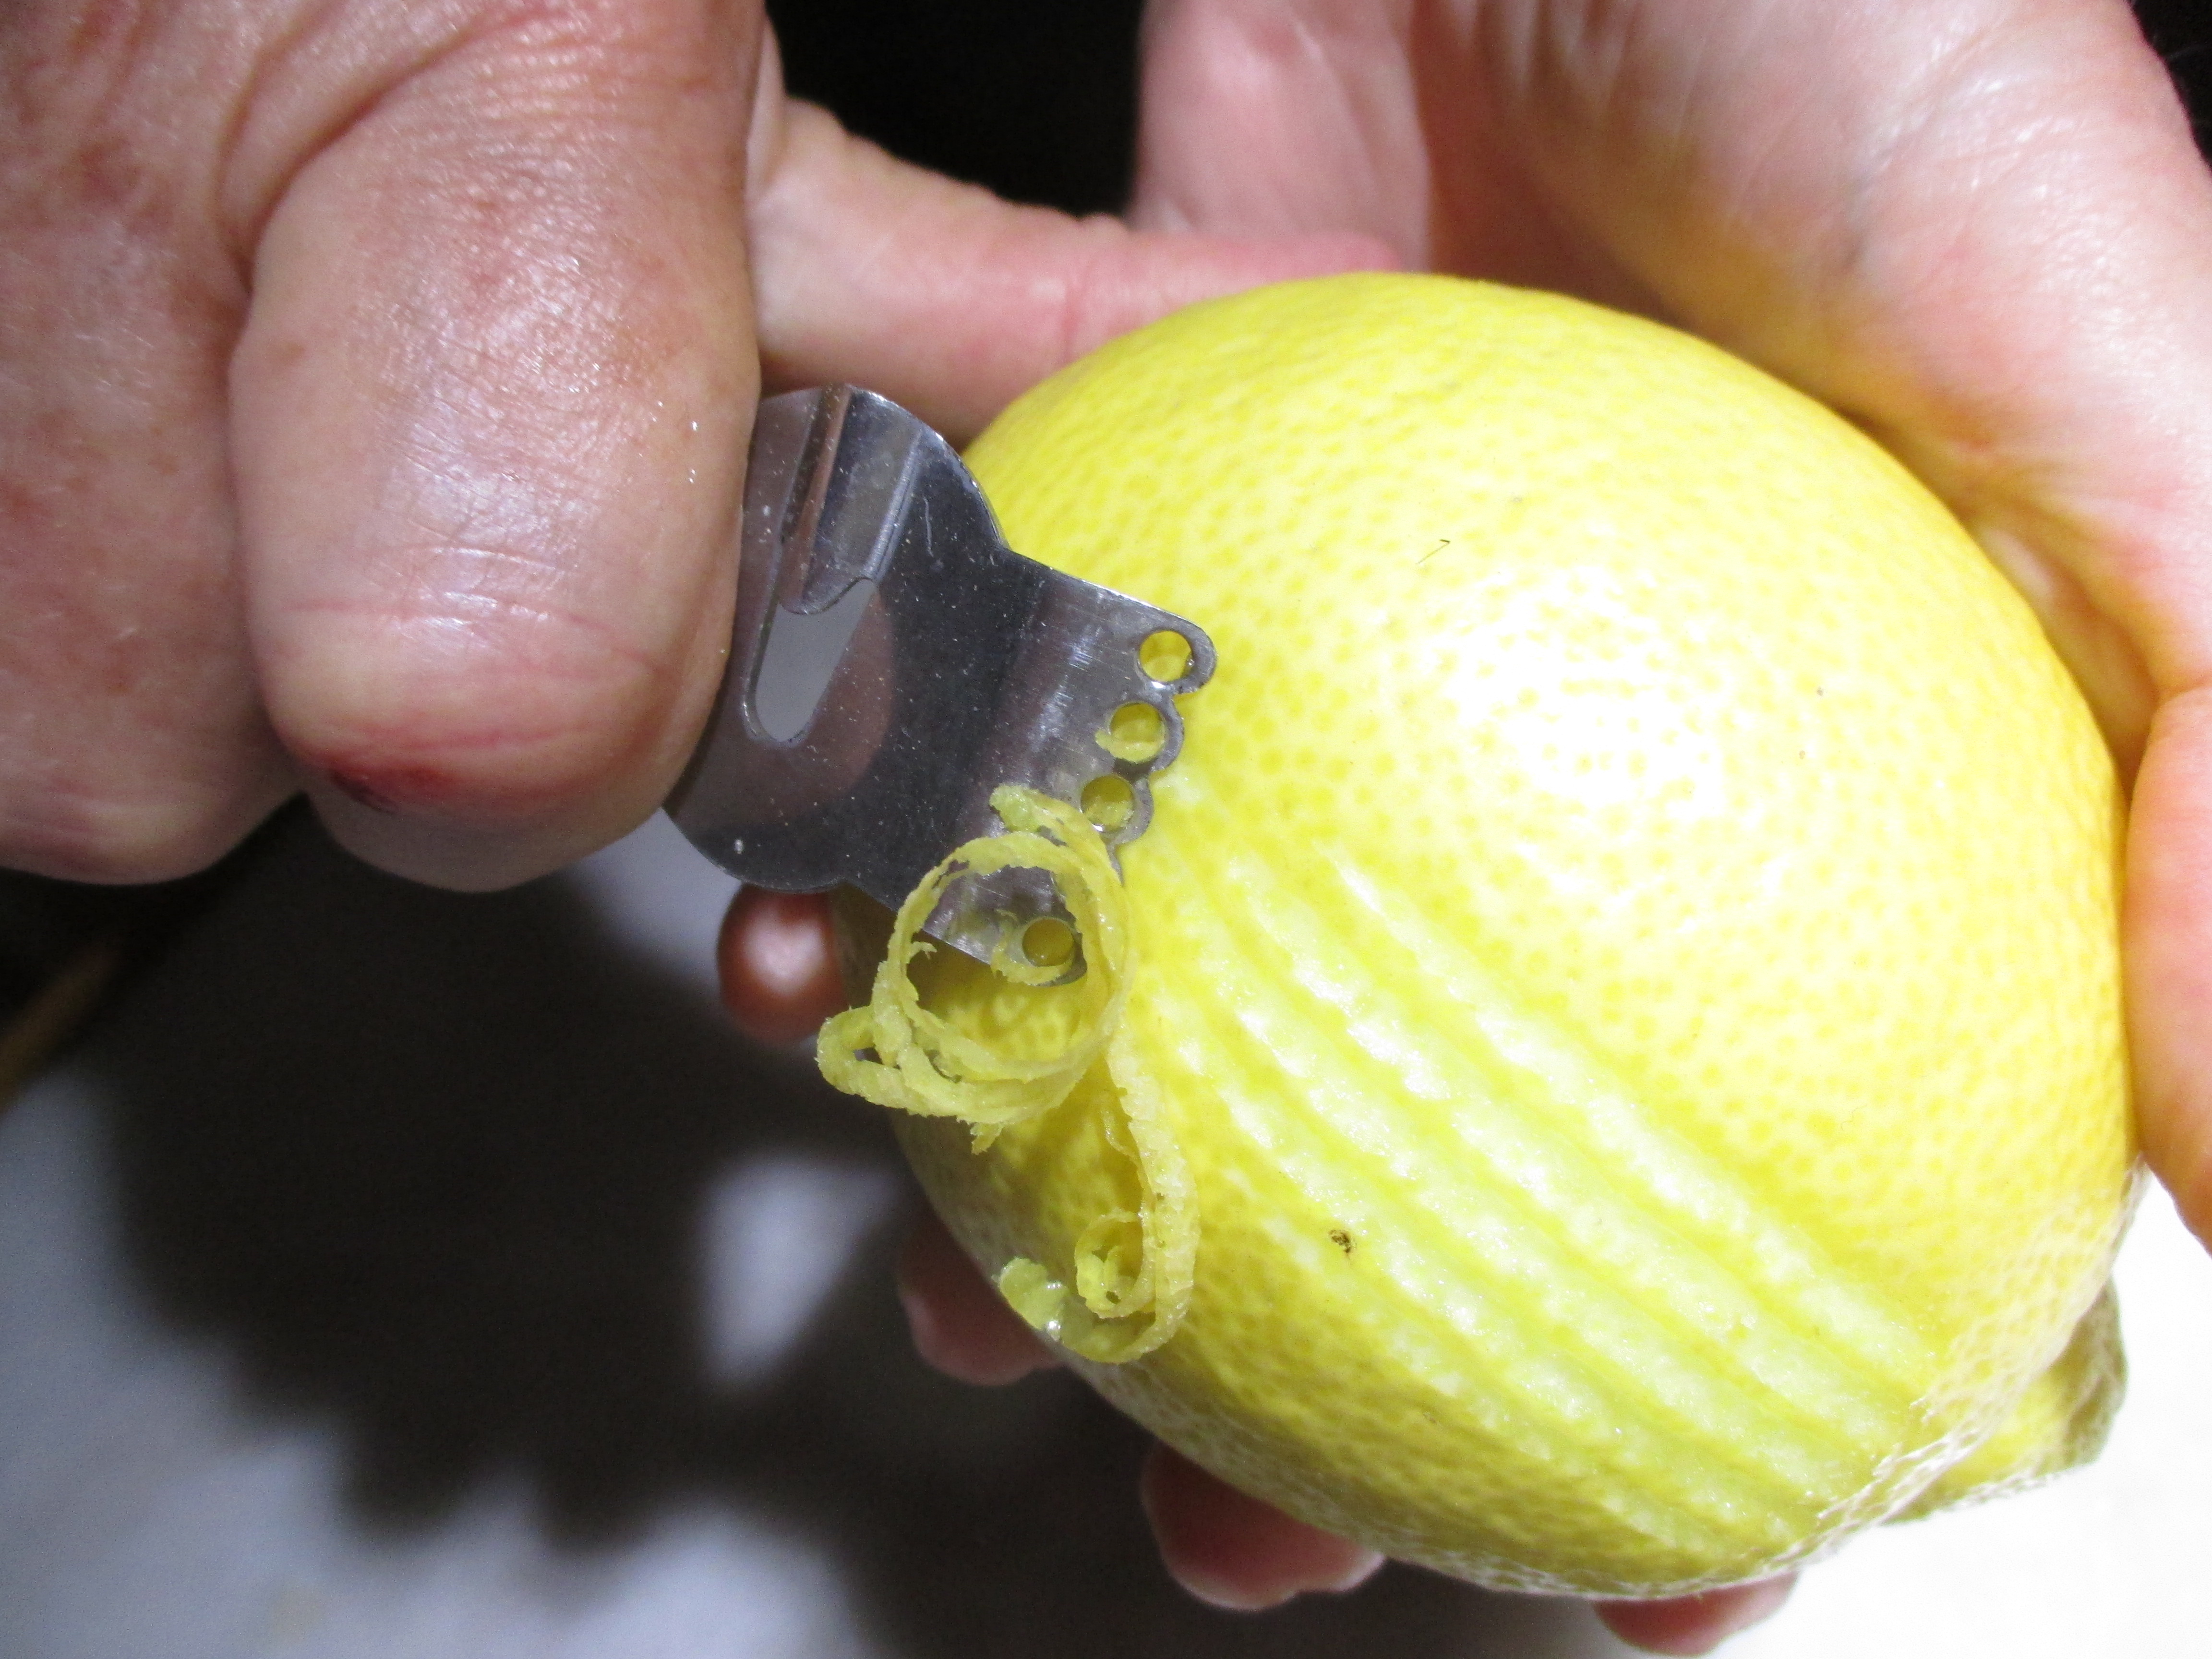
Zesting with a simple lemon zester.
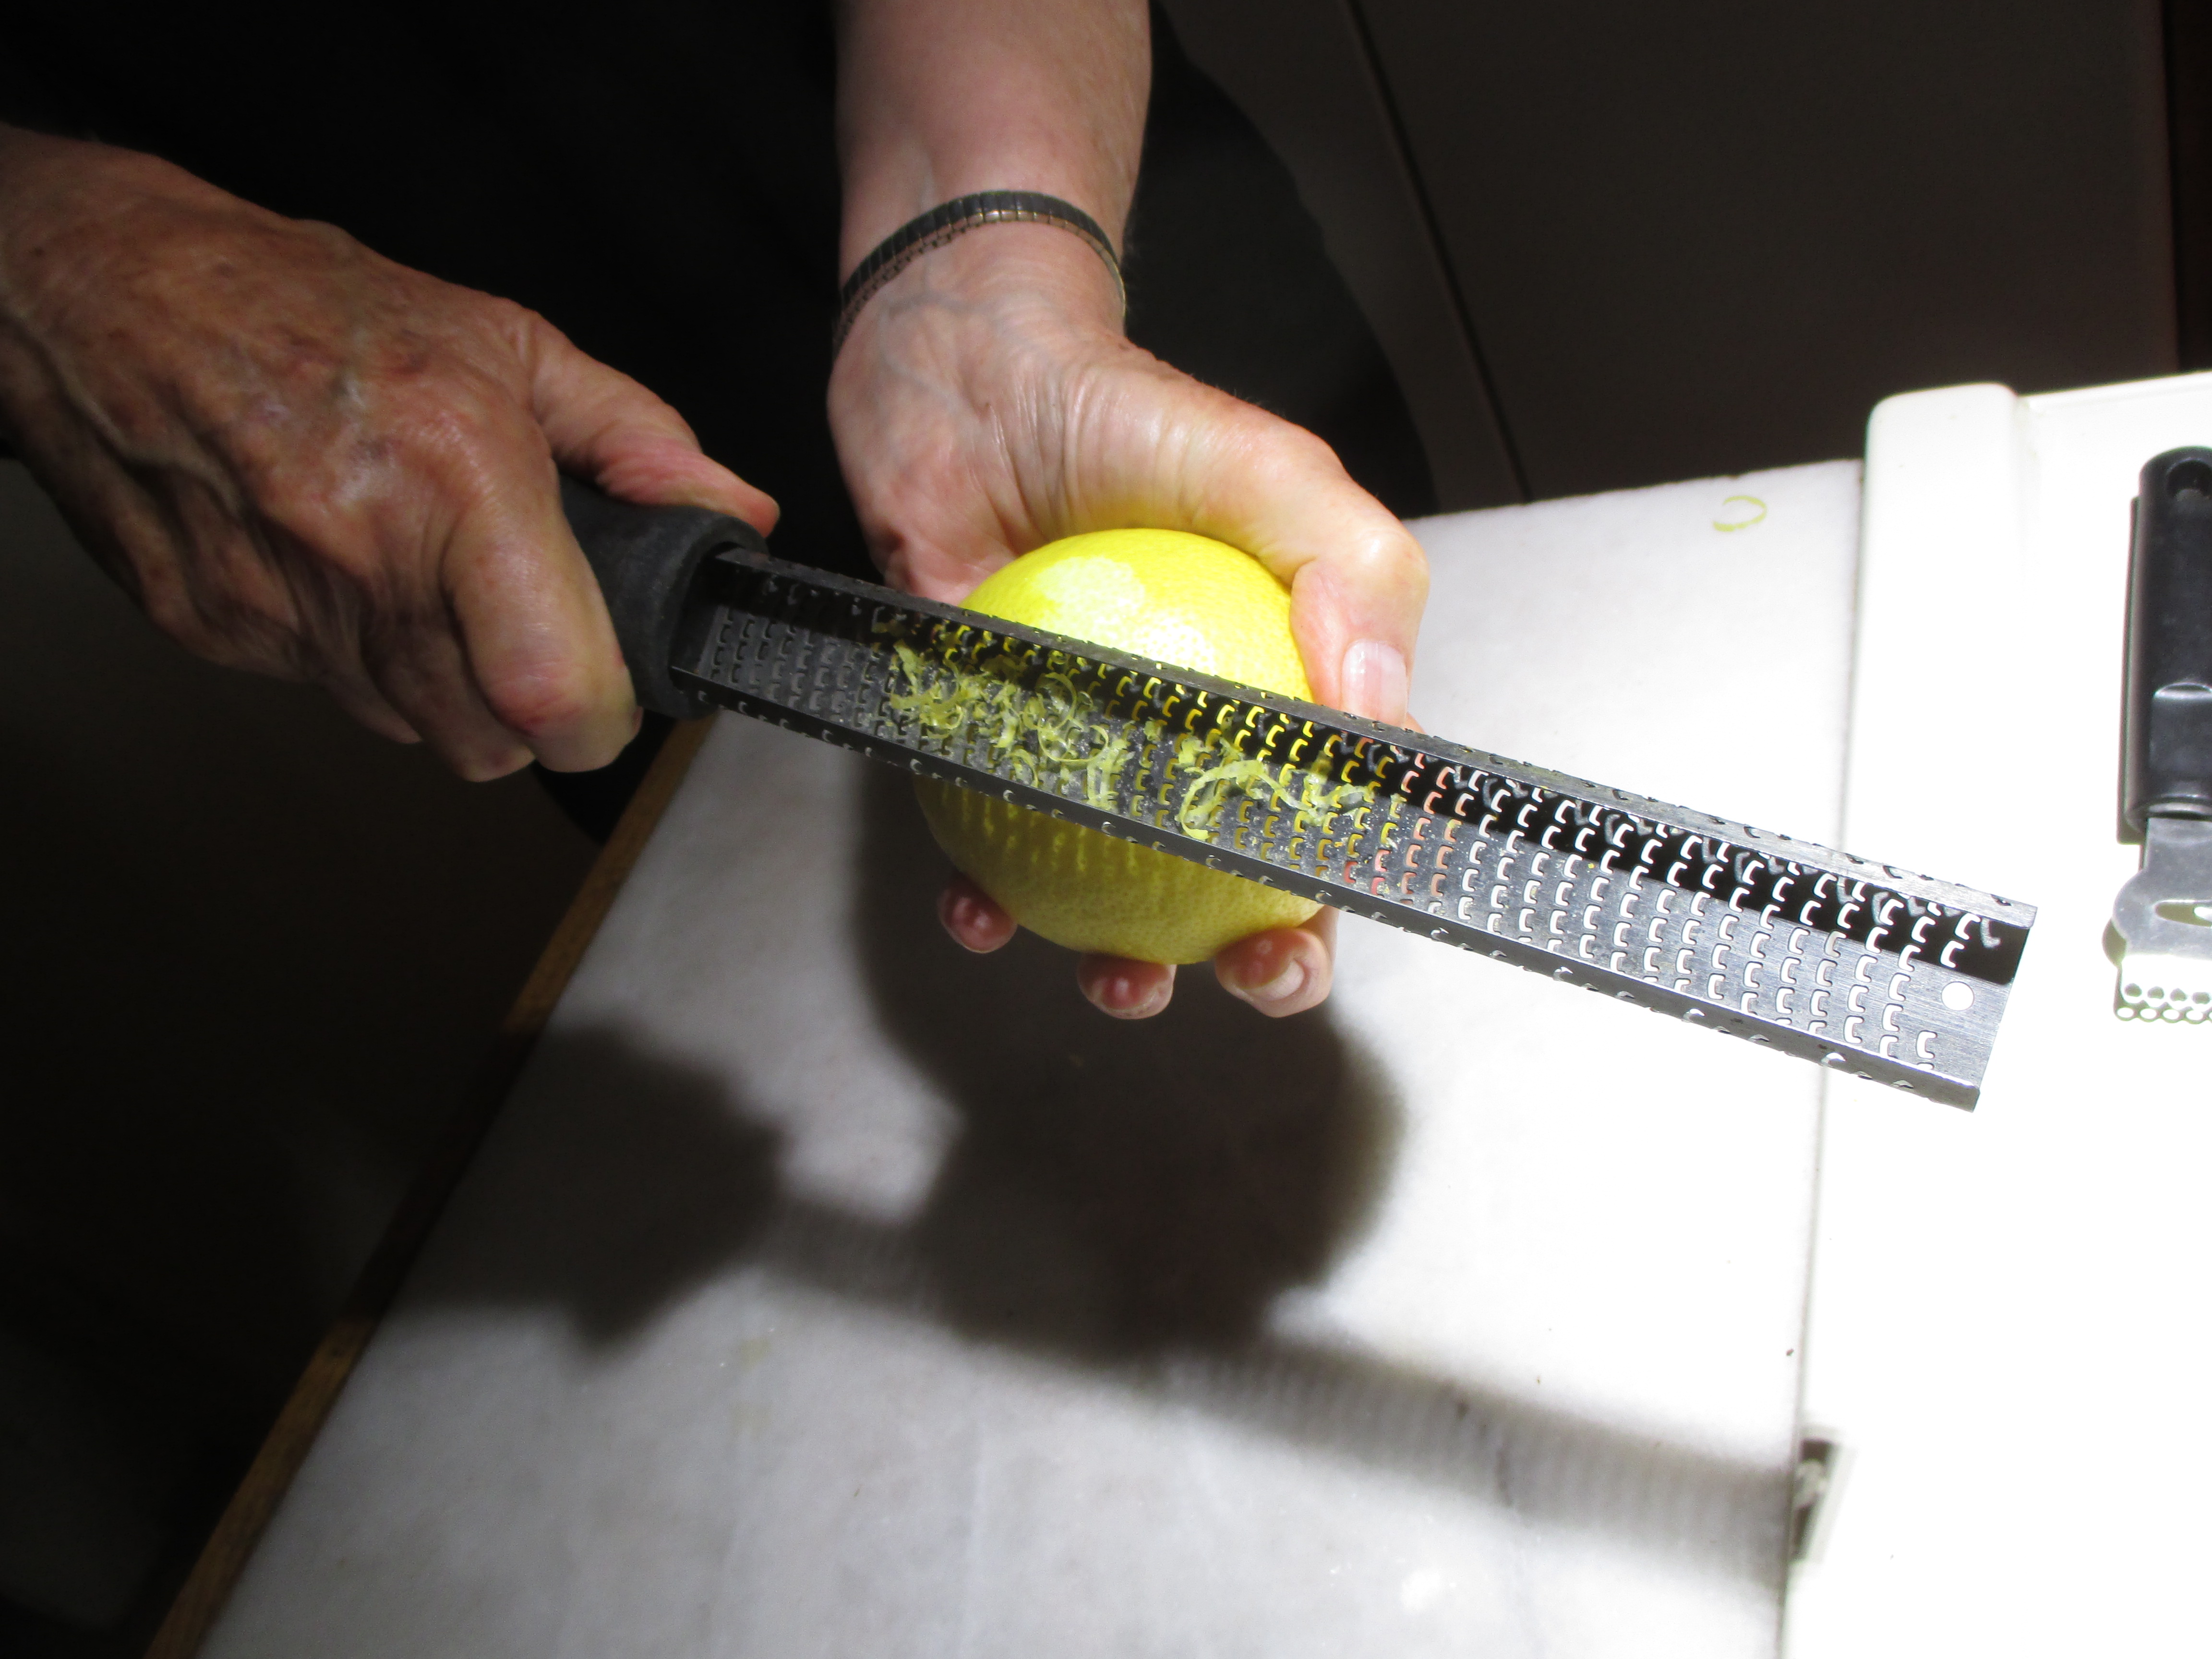
Using a microplane to make lemon zest.
Lemon Curd
by Elinor Klivans from Fine Cooking
6 tablespoons unsalted butter, softened at room temperature
1 cup sugar
2 large eggs
2 large egg yolks
2/3 cup fresh lemon juice
1 tablespoon grated lemon zest
In a large bowl, beat the butter and sugar with an electric mixer, about 2 minutes. Slowly add the eggs one at a time, beating between, then add the yolks. Beat for 1 more minute. Mix in the lemon juice. The mixture will look curdled. Don’t worry as it will smooth out as it cooks.
Transfer the mixture to a medium, heavy-bottomed saucepan and cook the mixture over low heat until it looks smooth. You will find that the curdled appearance will disappear as the butter in the mixture melts. Increase the heat to medium and cook, stirring constantly, until the mixture thickens, from 8 to 15 minutes. Don’t try to rush this. Put on the radio or some music to entertain yourself. If you have a cooking thermometer, it should read 170 degrees F. when the curd is finished.
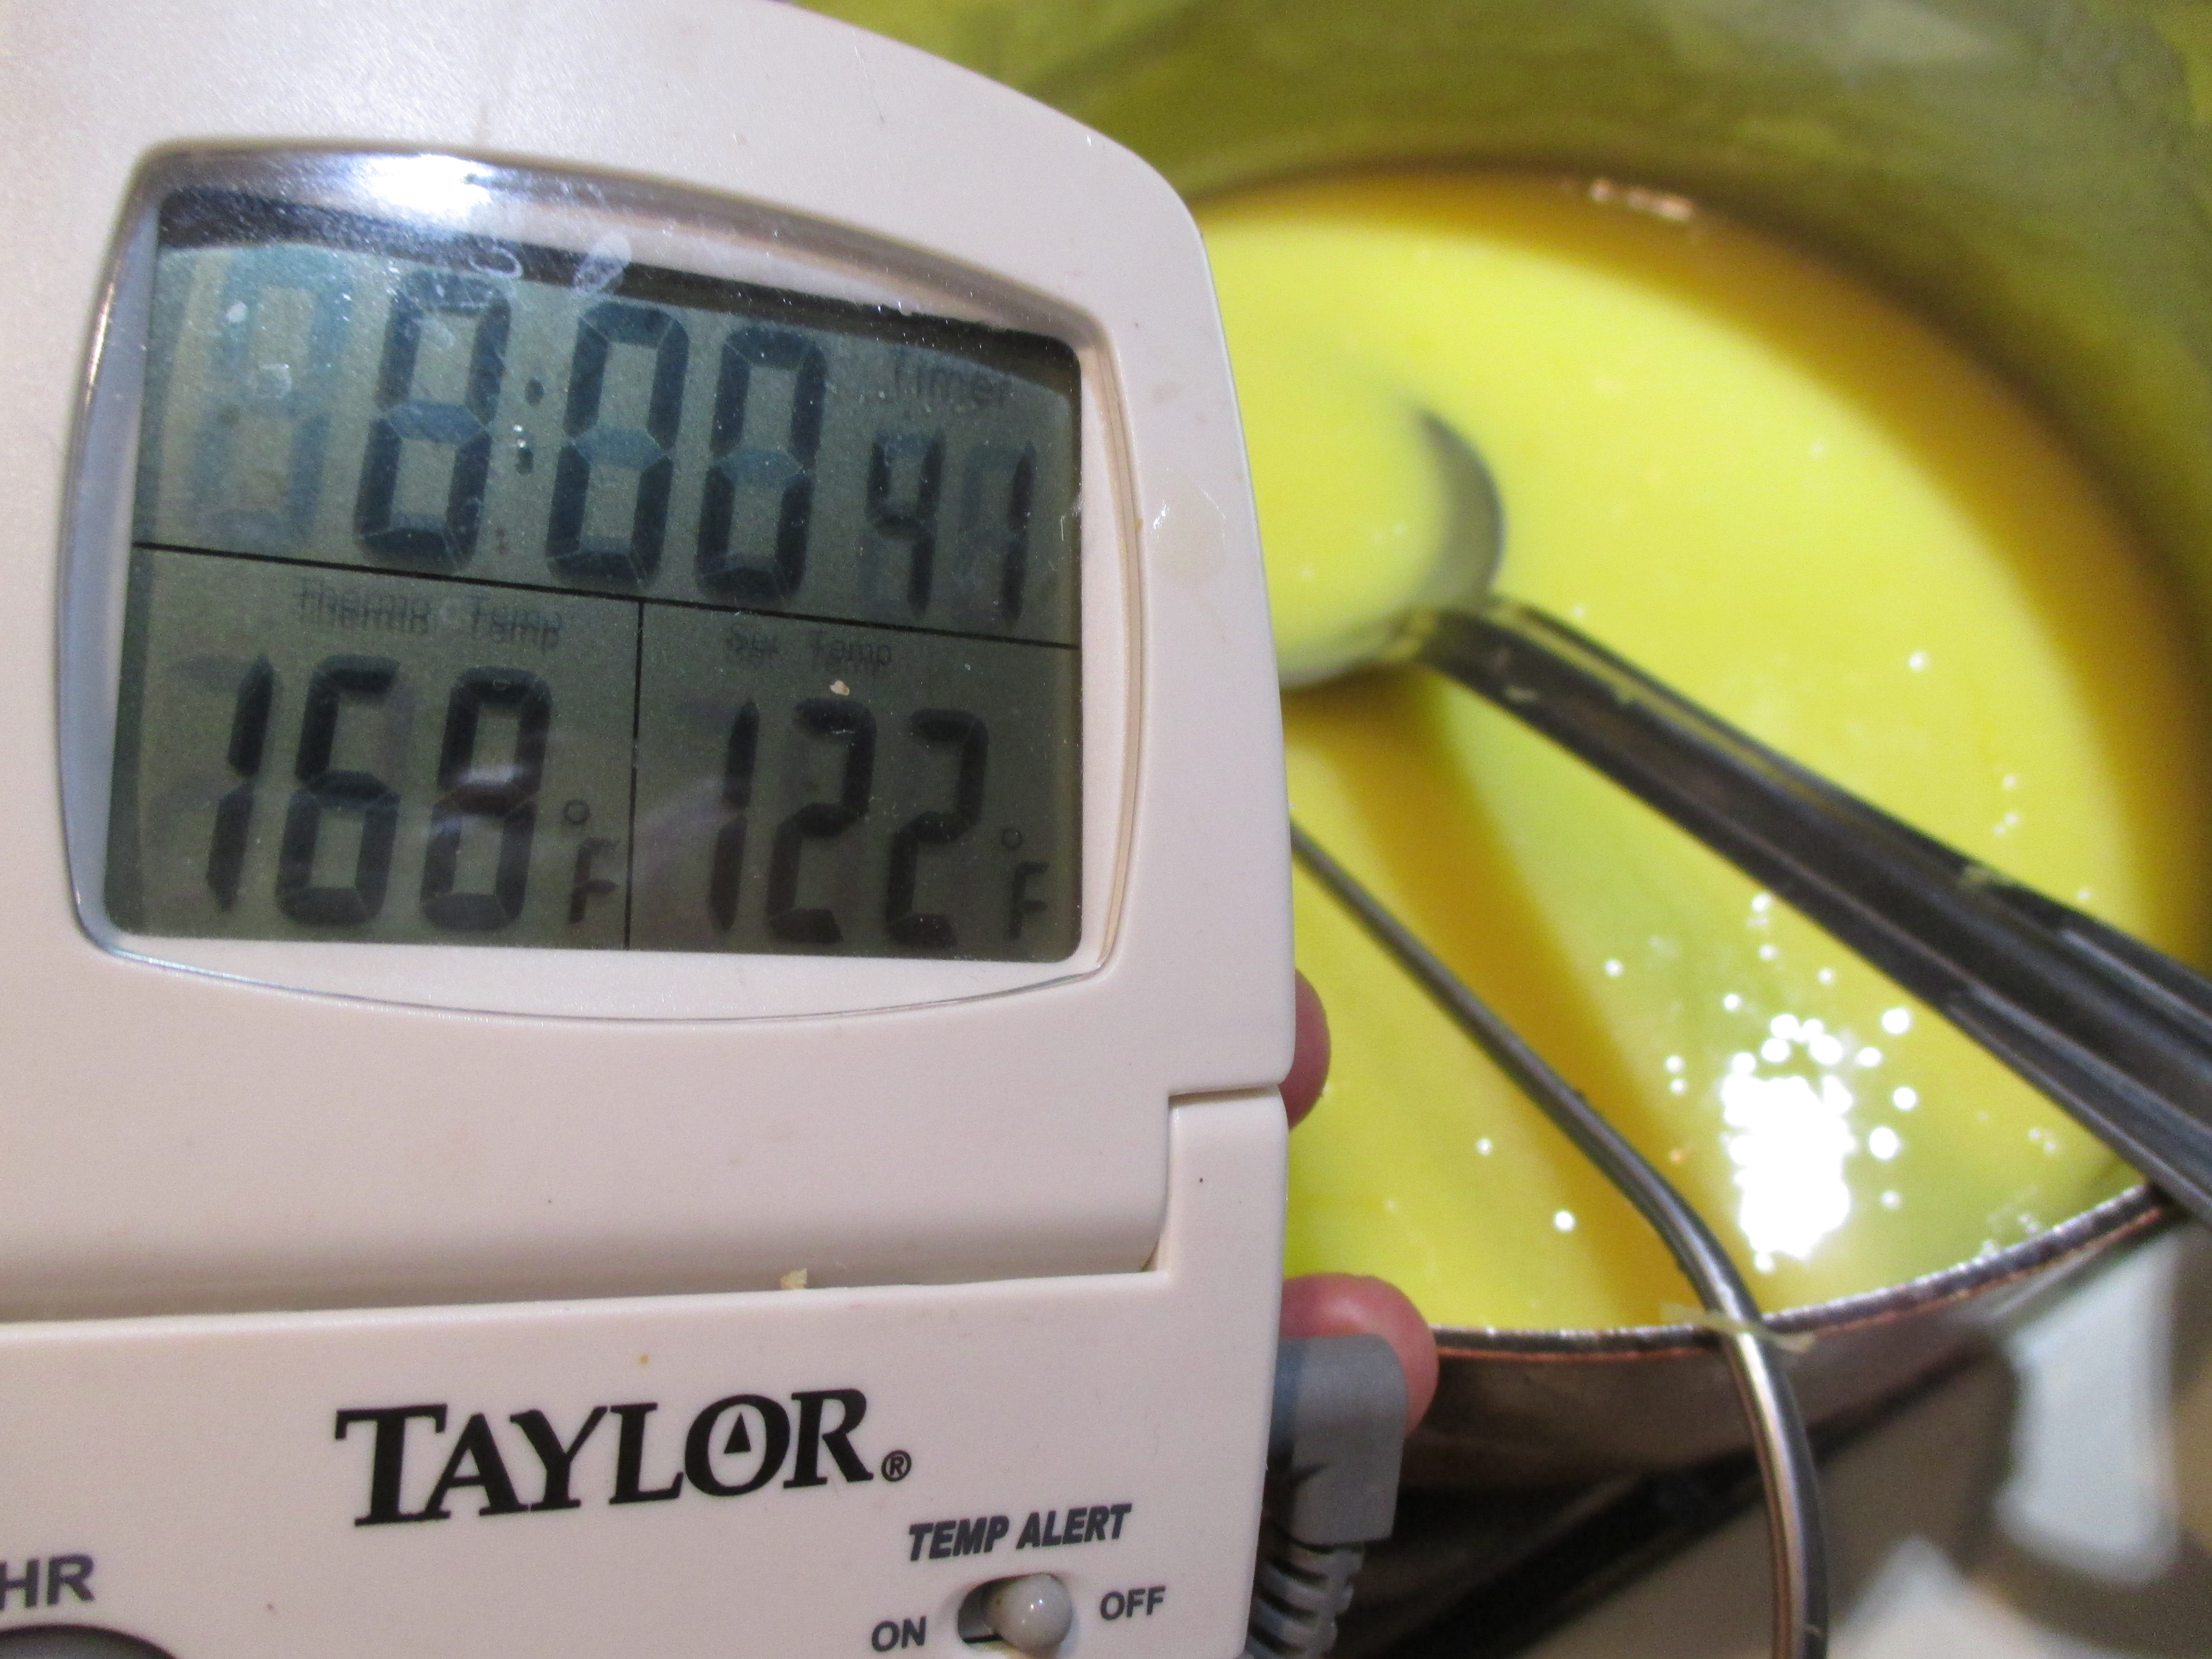
The curd is almost ready.
If you don’t have a thermometer, dip the back of a spoon into the sauce, and and run your finger through it. A path should remain. Most important: Don’t let the mixture boil.
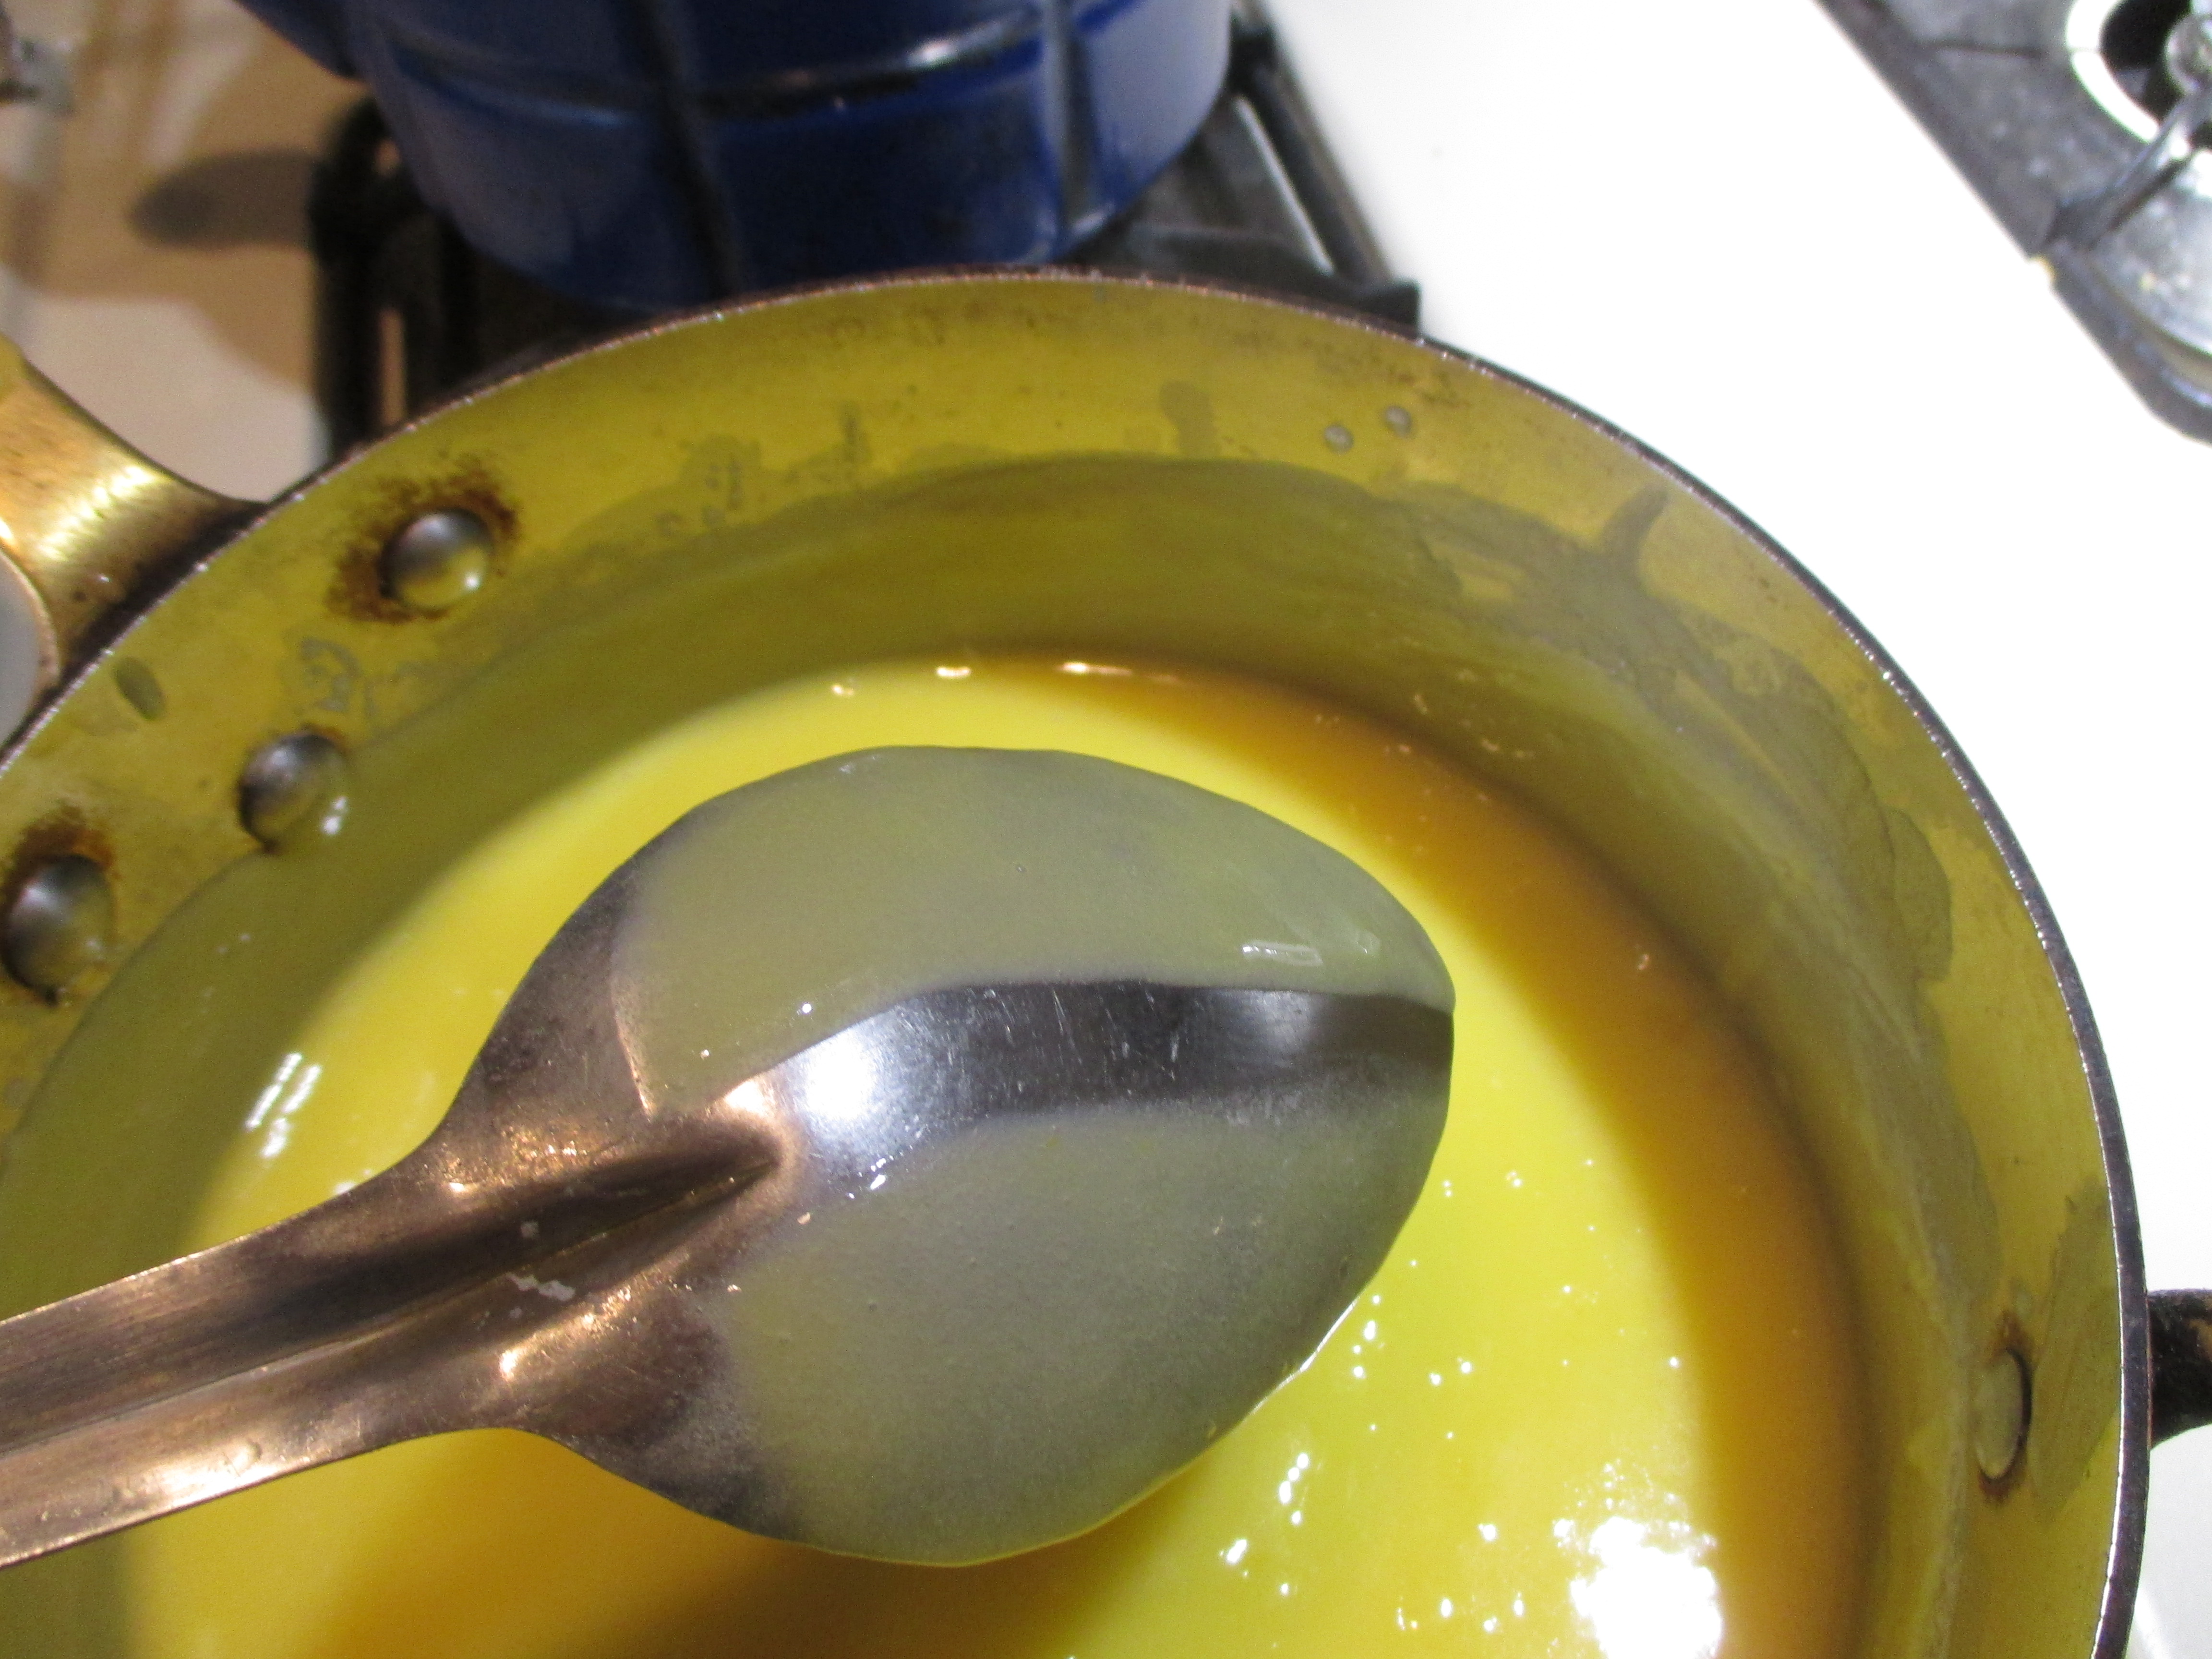
Test doneness without a thermometer.
Remove the pan from the heat; stir in the lemon zest. Transfer the curd to a bowl. Press plastic wrap on the surface of the lemon curd to keep a skin from forming and chill in the refrigerator. The curd will thicken further as it cools. Covered tightly, it will keep in the refrigerator for a week and in the freezer for 2 months. Each tablespoon has about 50 calories.
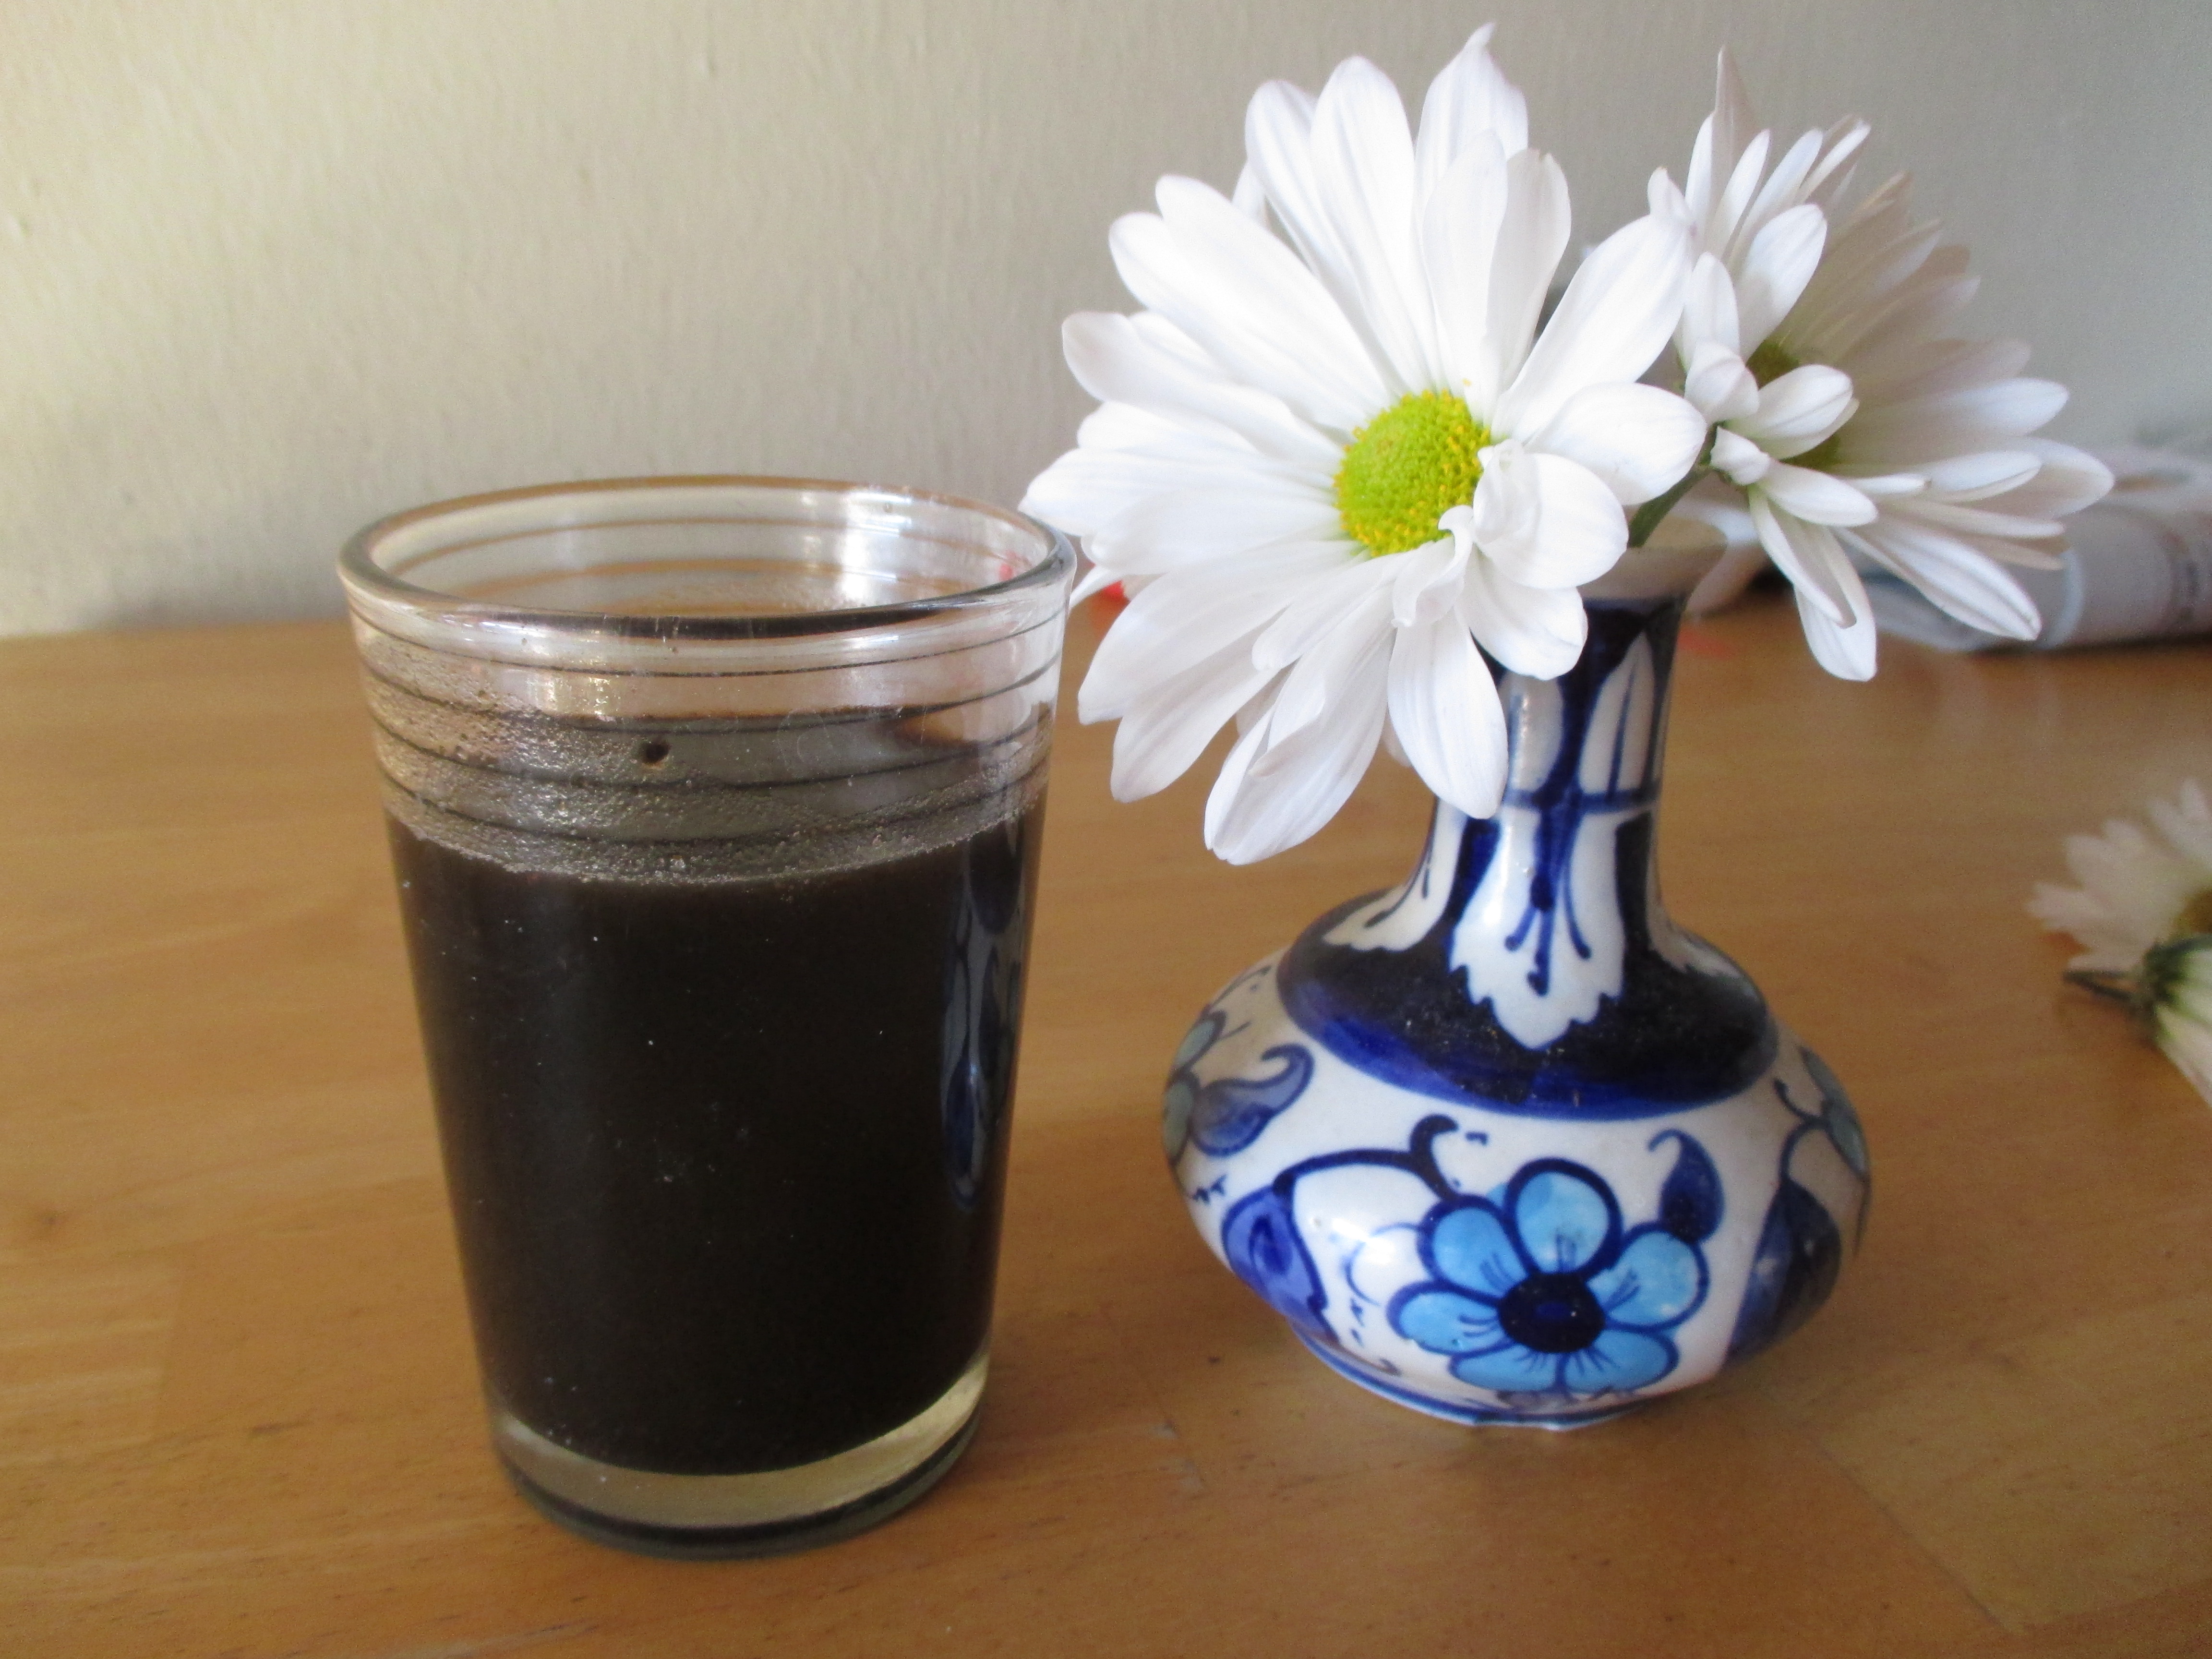
Limoncello: A Treat from Italy
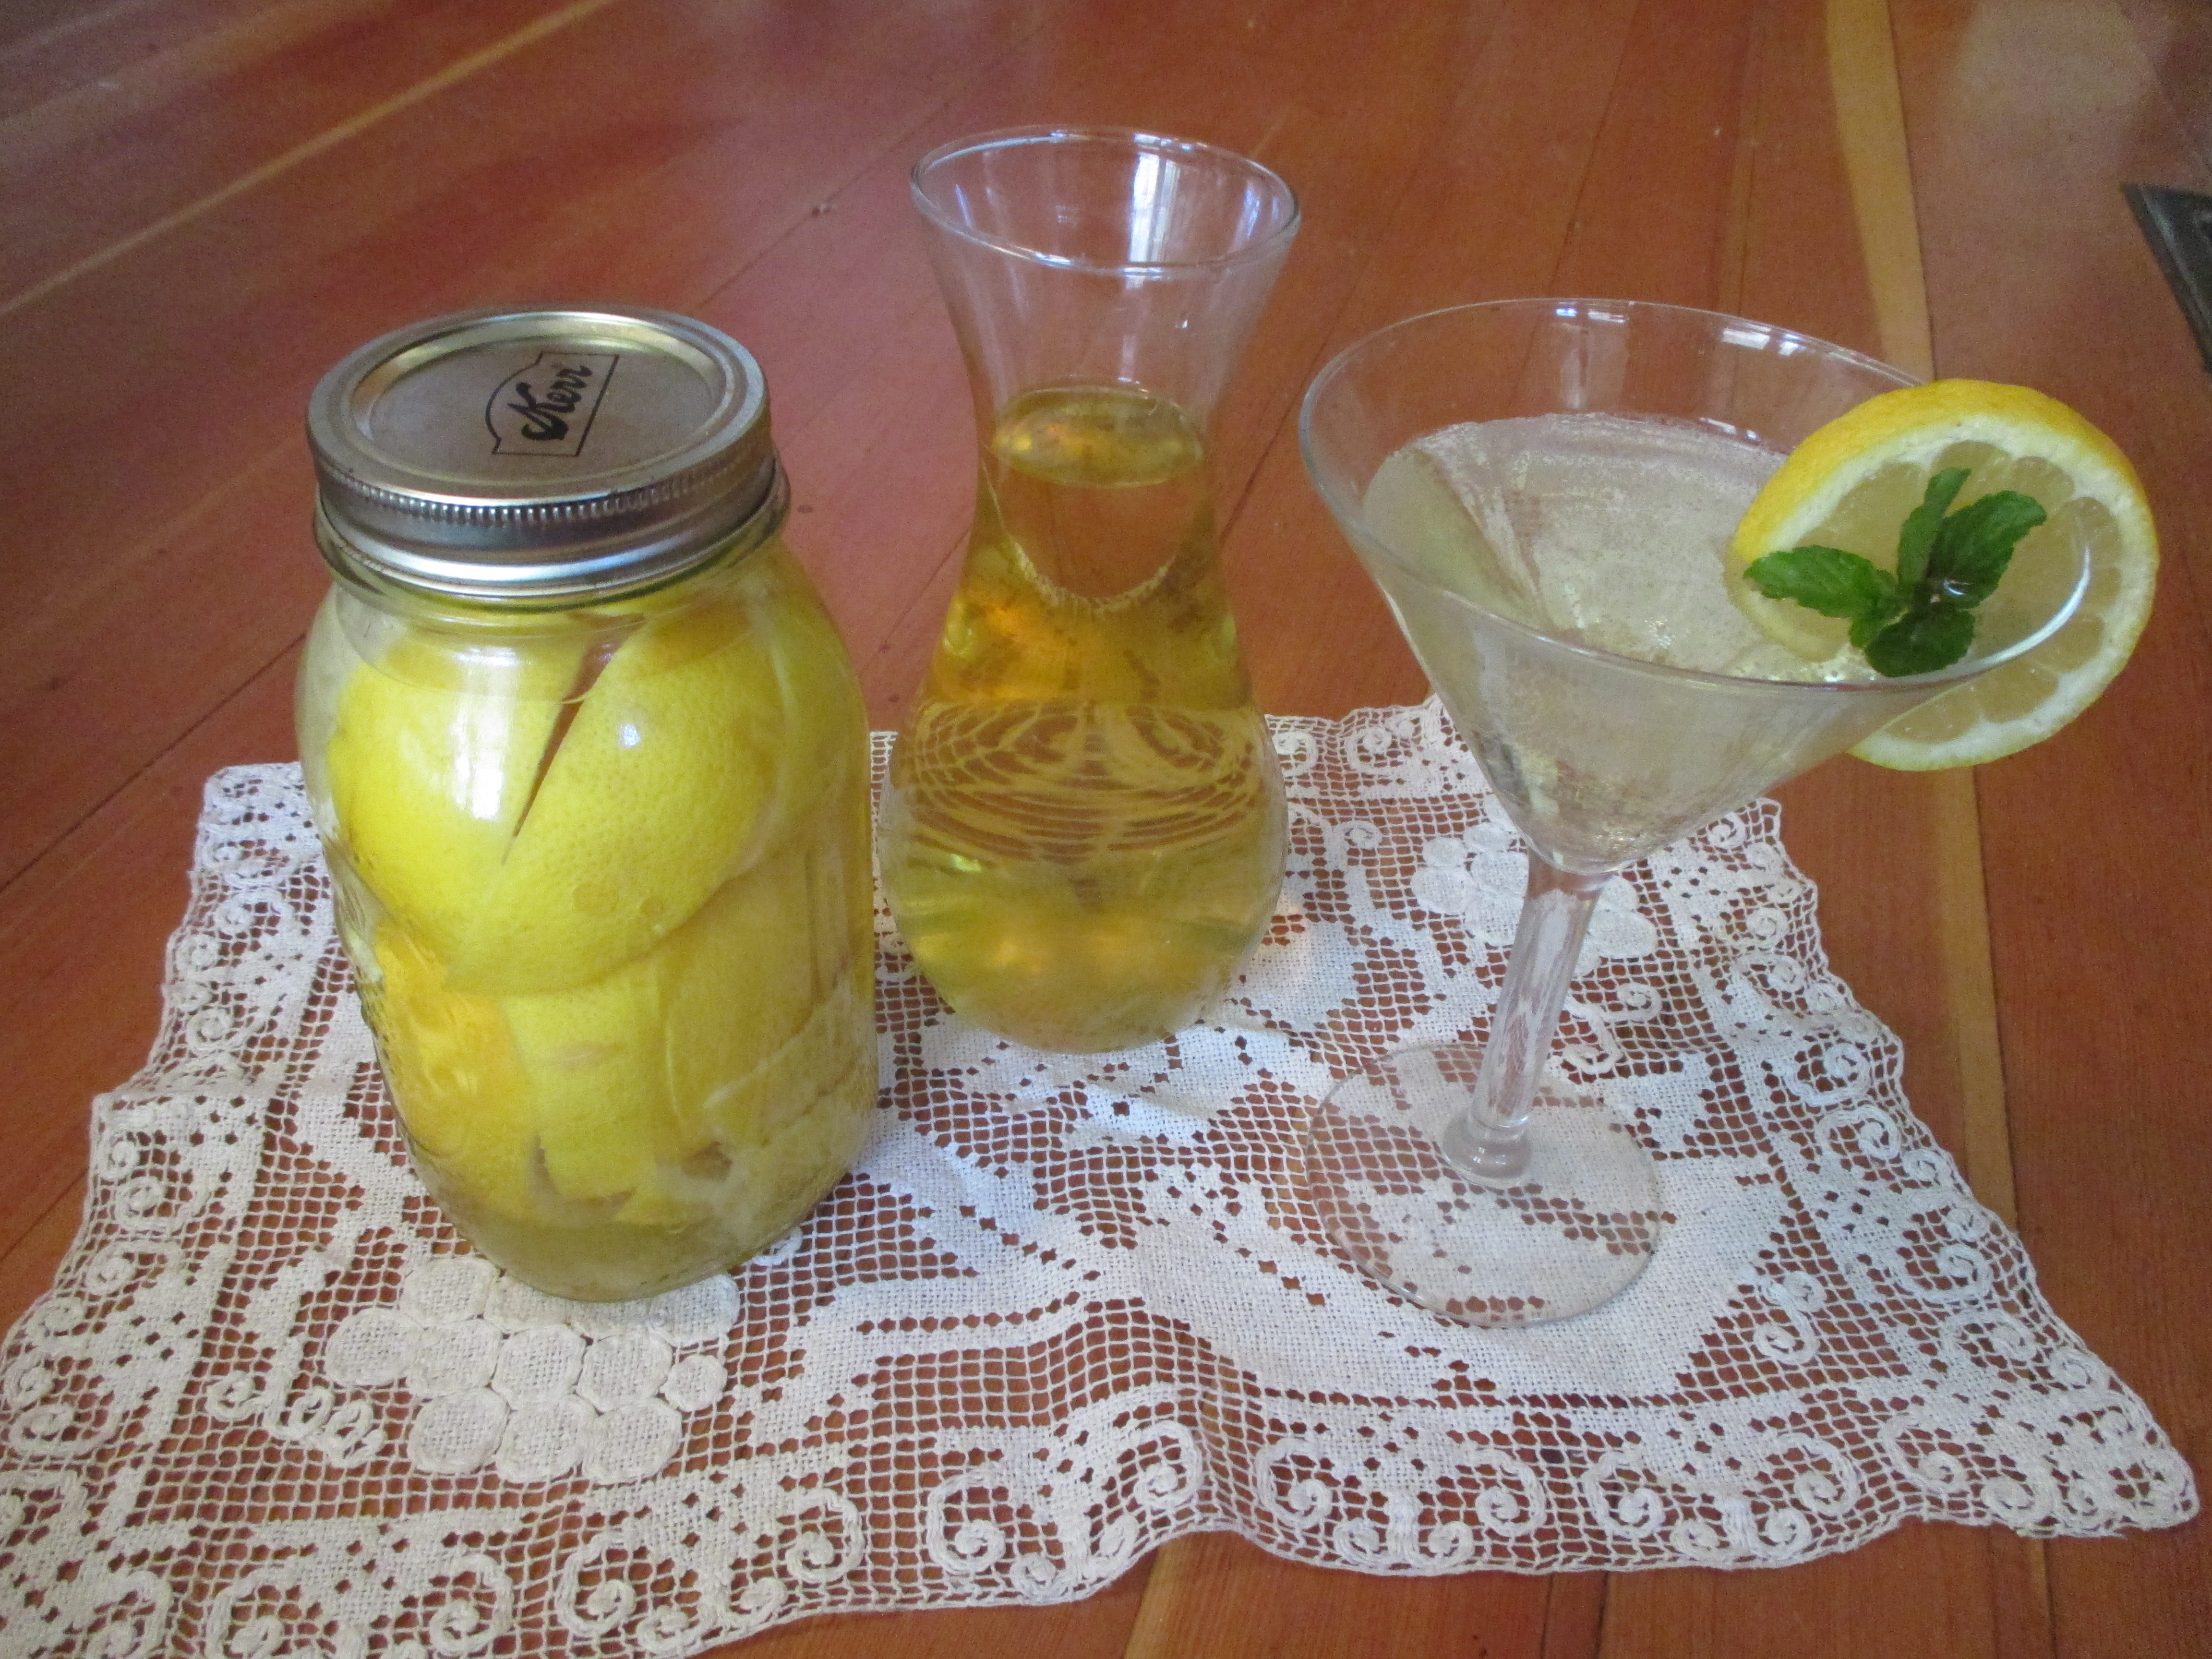
Italian limoncello is easy to make.
If you have ever been to Italy, you probably know about limoncello, the generic name for an Italian citrus-based lemon liqueur that is served well chilled in the summer months. All you need is lemons, vodka and sugar. When choosing lemons you want to use organic if possible to avoid wax and pesticides on the peel. This recipe is adapted from one given by the television cook Giada De Laurentiis.
Limoncello
10 lemons
1 (750-ml) bottle vodka
3 1/2 cups water
2 1/2 cups sugar
Start with a clean gallon jar. First, carefully peel the lemons in long strips with a vegetable peeler so there is no white pith on the peel. Use only the outer part of the rind. Put the rinds in the jar and cover with the vodka. Let it sit at room temperature for at least 10 days and up to 40 days in a cool dark place.
When you are ready to proceed, combine the water and sugar in a saucepan, bring to a gentle boil and let it boil 5 to 7 minutes. Remove from heat and let the syrup cool. Add to the limoncello mixture and let it rest from overnight to 10 days (the experts really differ on this. I just waited 2 days and it was fine.) Strain into bottles, seal and refrigerate.
Limoncello Cocktail
Mix half-and-half limoncello, seltzer water, tonic, or champagne and serve over ice.
Easier, Better Lemonade
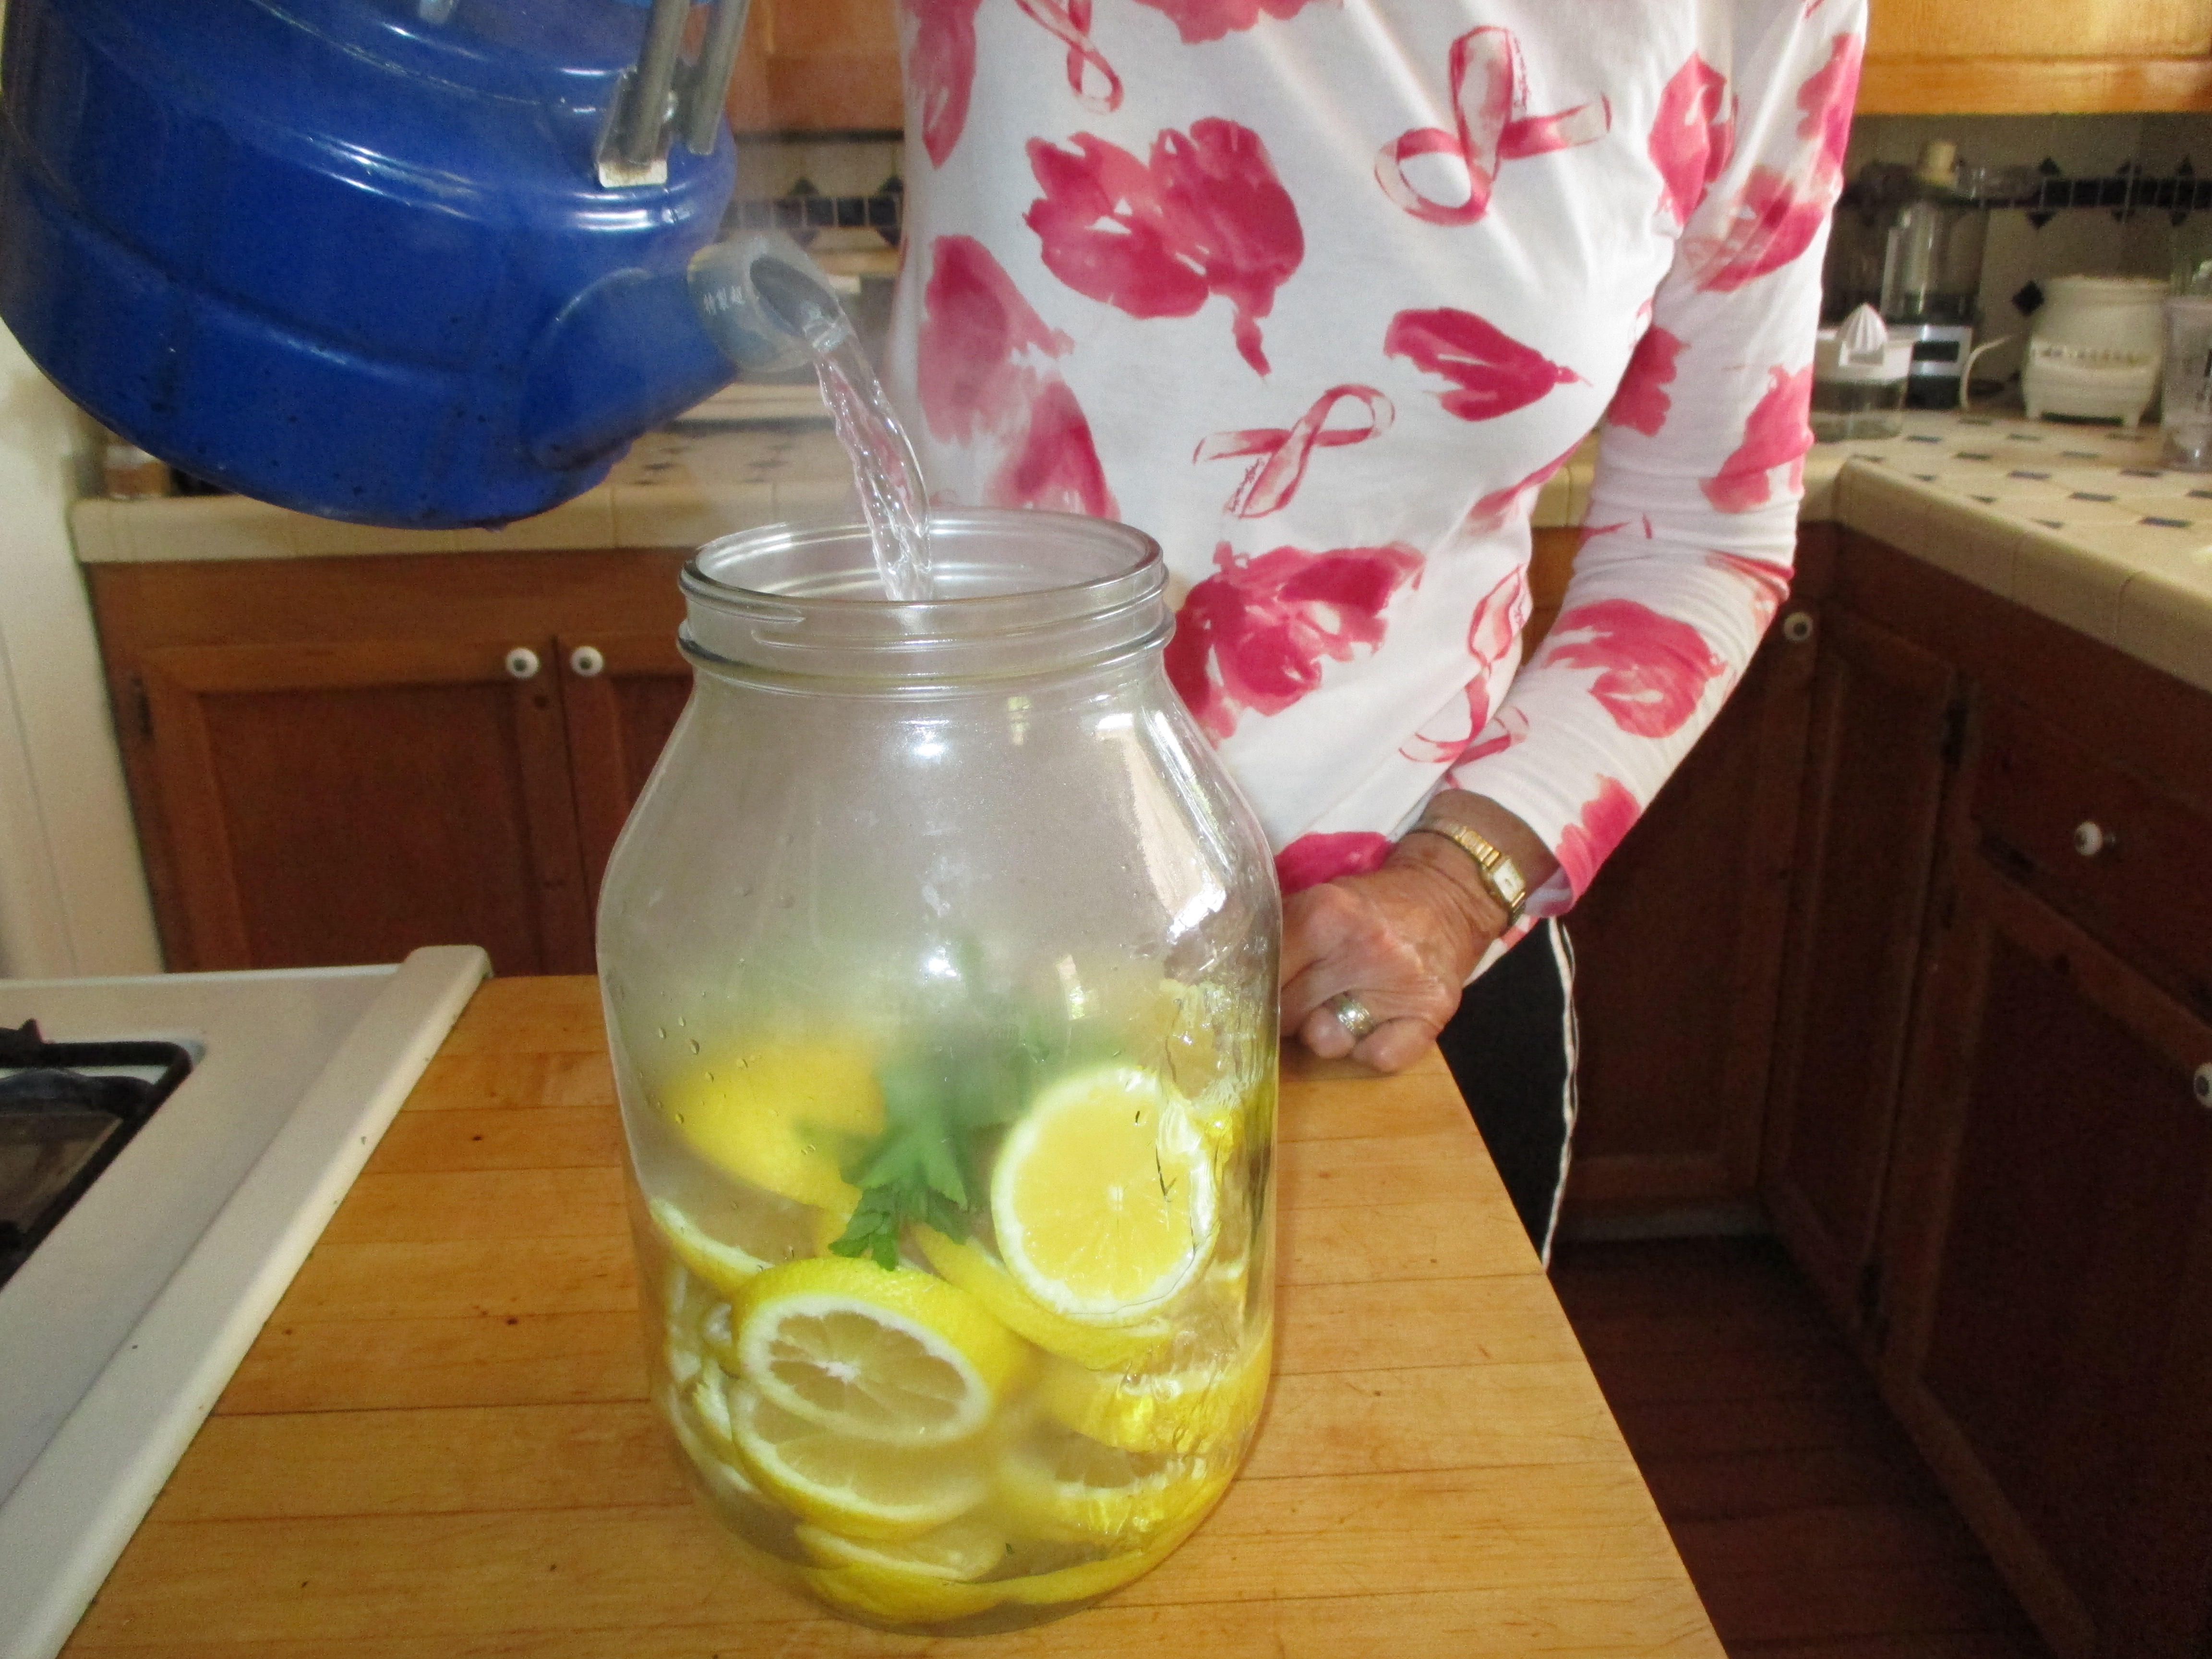
No squeezing needed when you pour boiling water over sliced lemons.
I learned to make the best lemonade from my friend Ann who lives in New Jersey. She learned it from a woman in Germany. Neither of these areas are lemon-growing regions so it may be a way of conserving. Rather than squeezing them, slice the lemons and pour boiling water over them. Let them steep for a couple of hours, pour off the water and repeat. You can keep adding water, letting it sit and draining until the taste grows too weak. This makes a juice with greater depth of flavor because it extracts the lemon oils from the rinds. Sweeten to taste with your choice of sugar, honey or agave syrup.
And Don’t Forget…
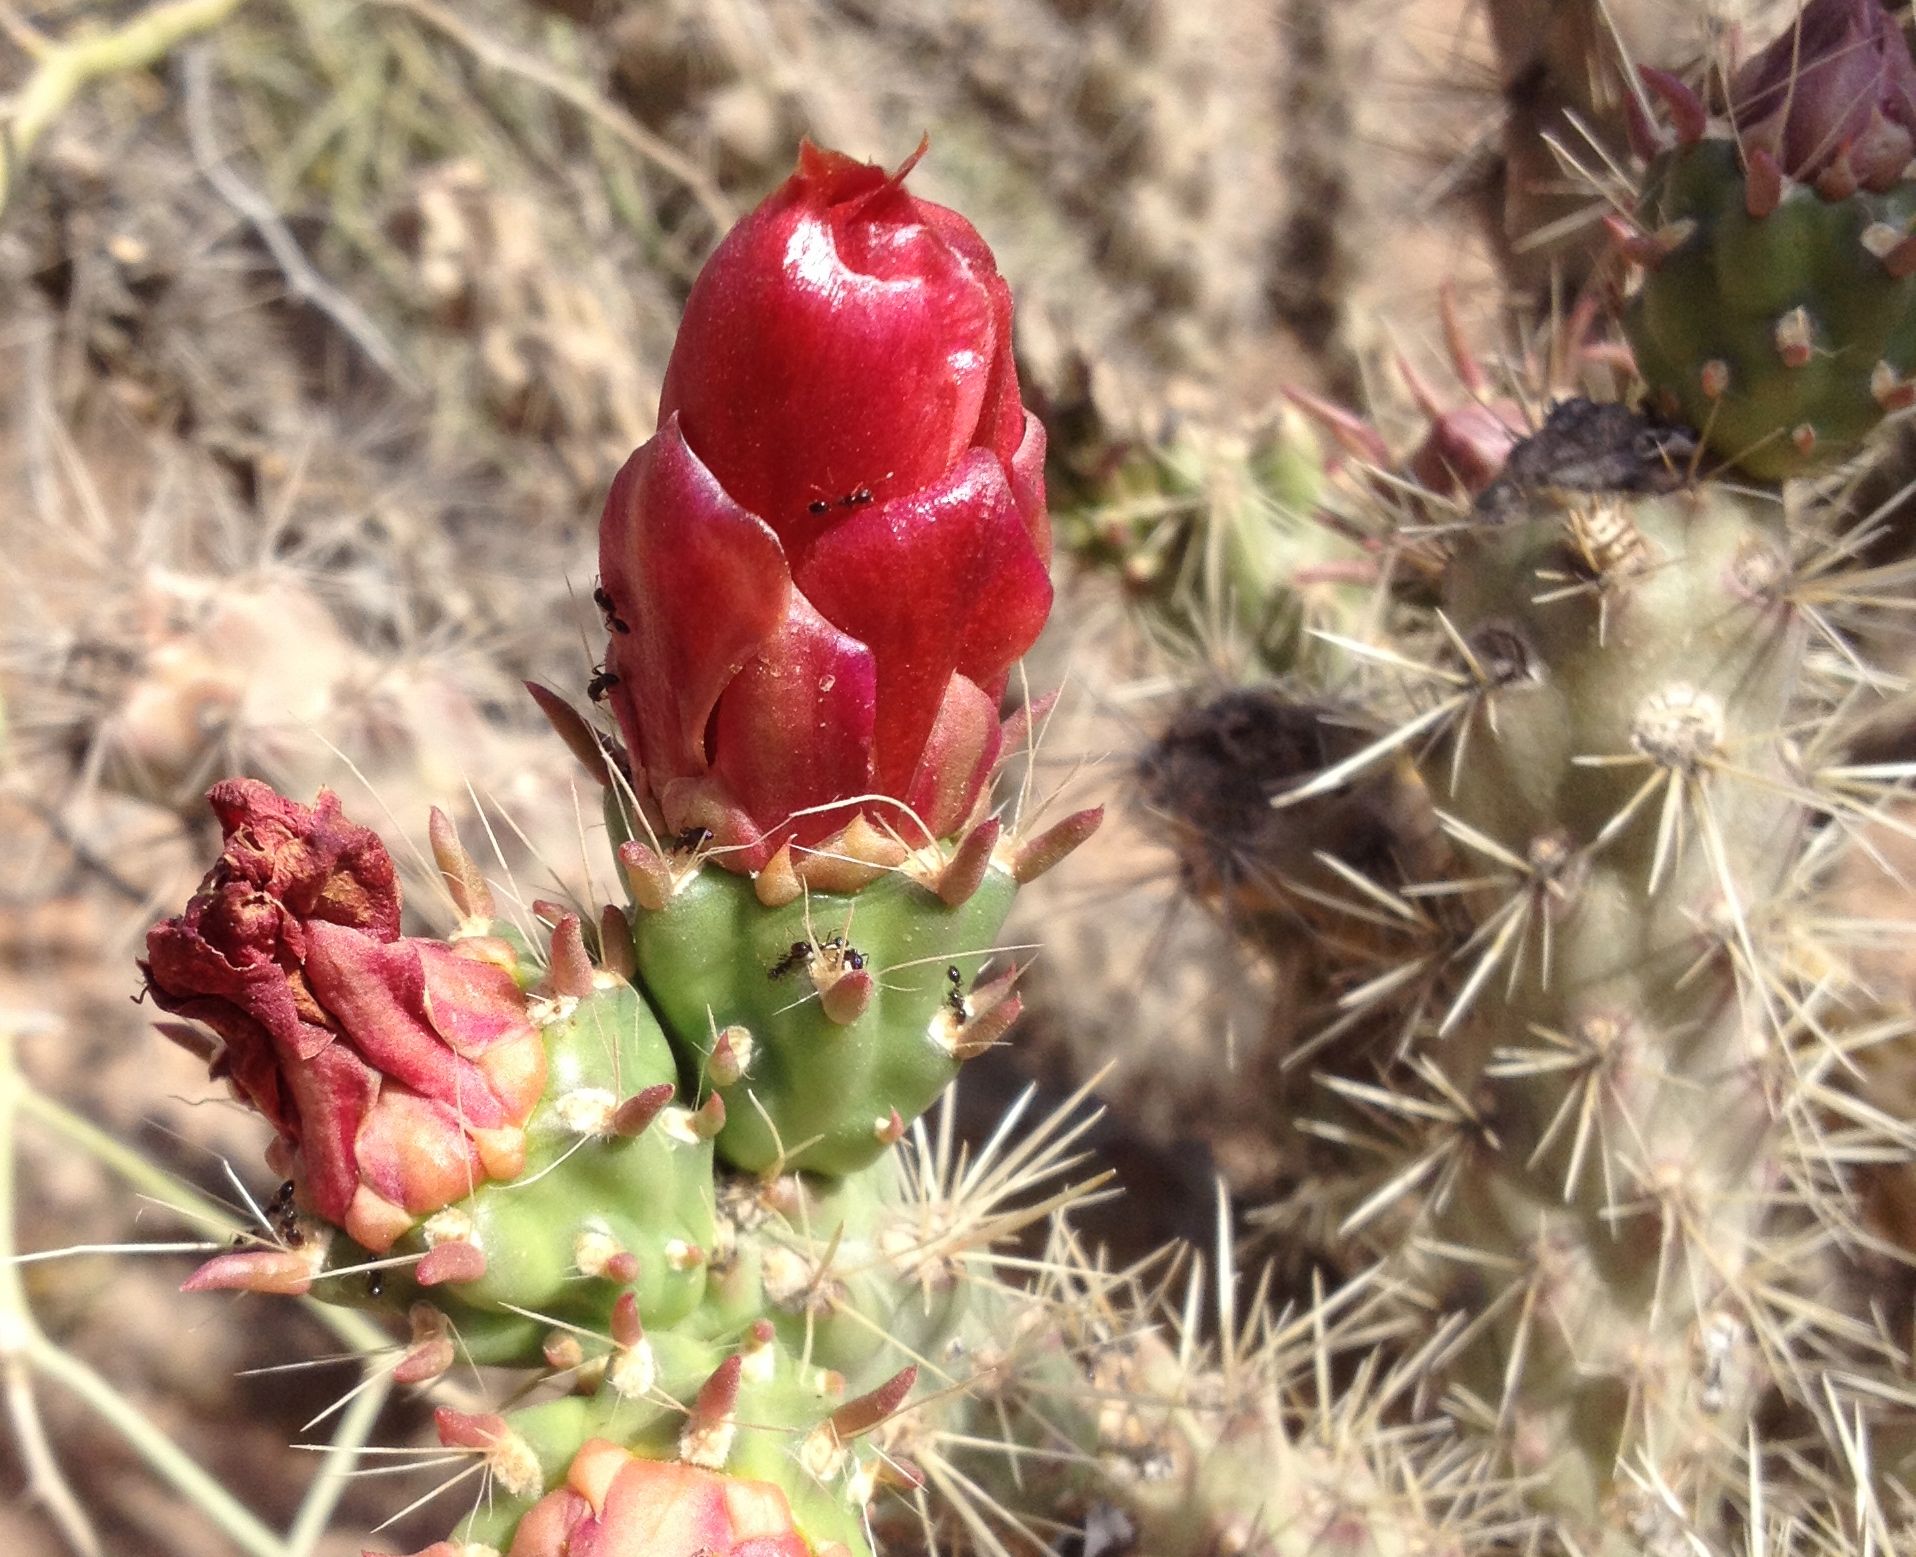
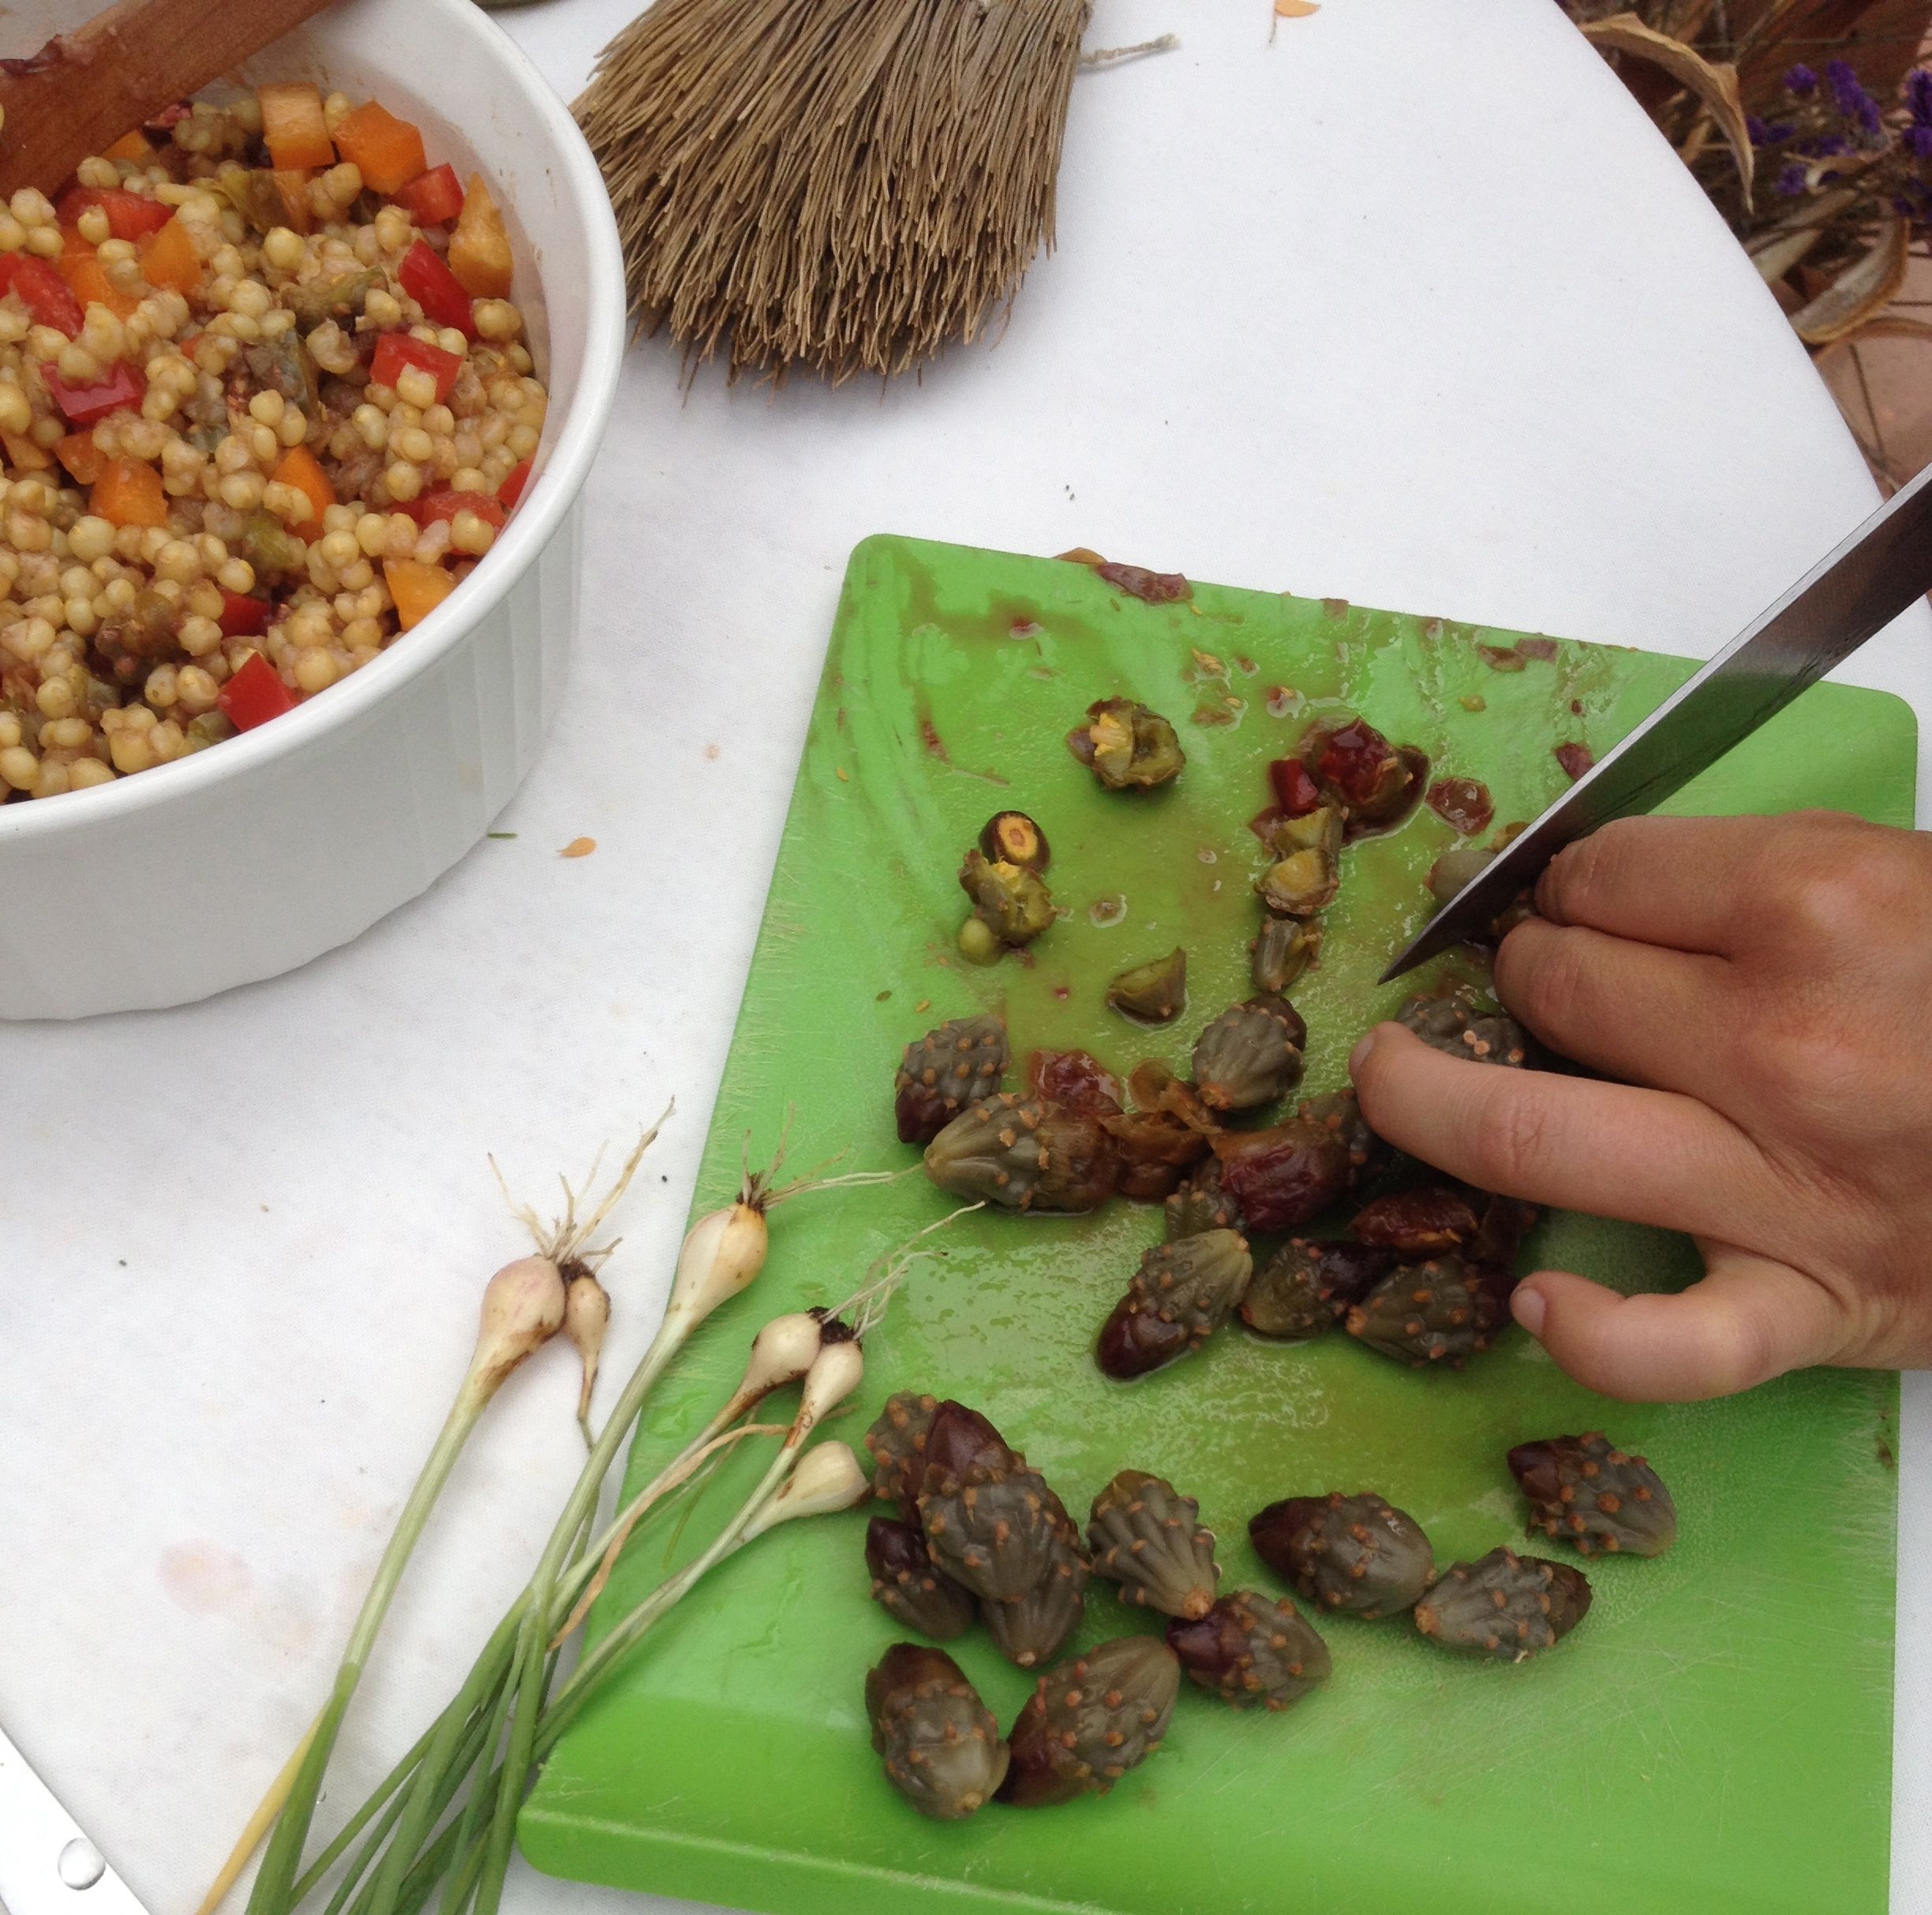
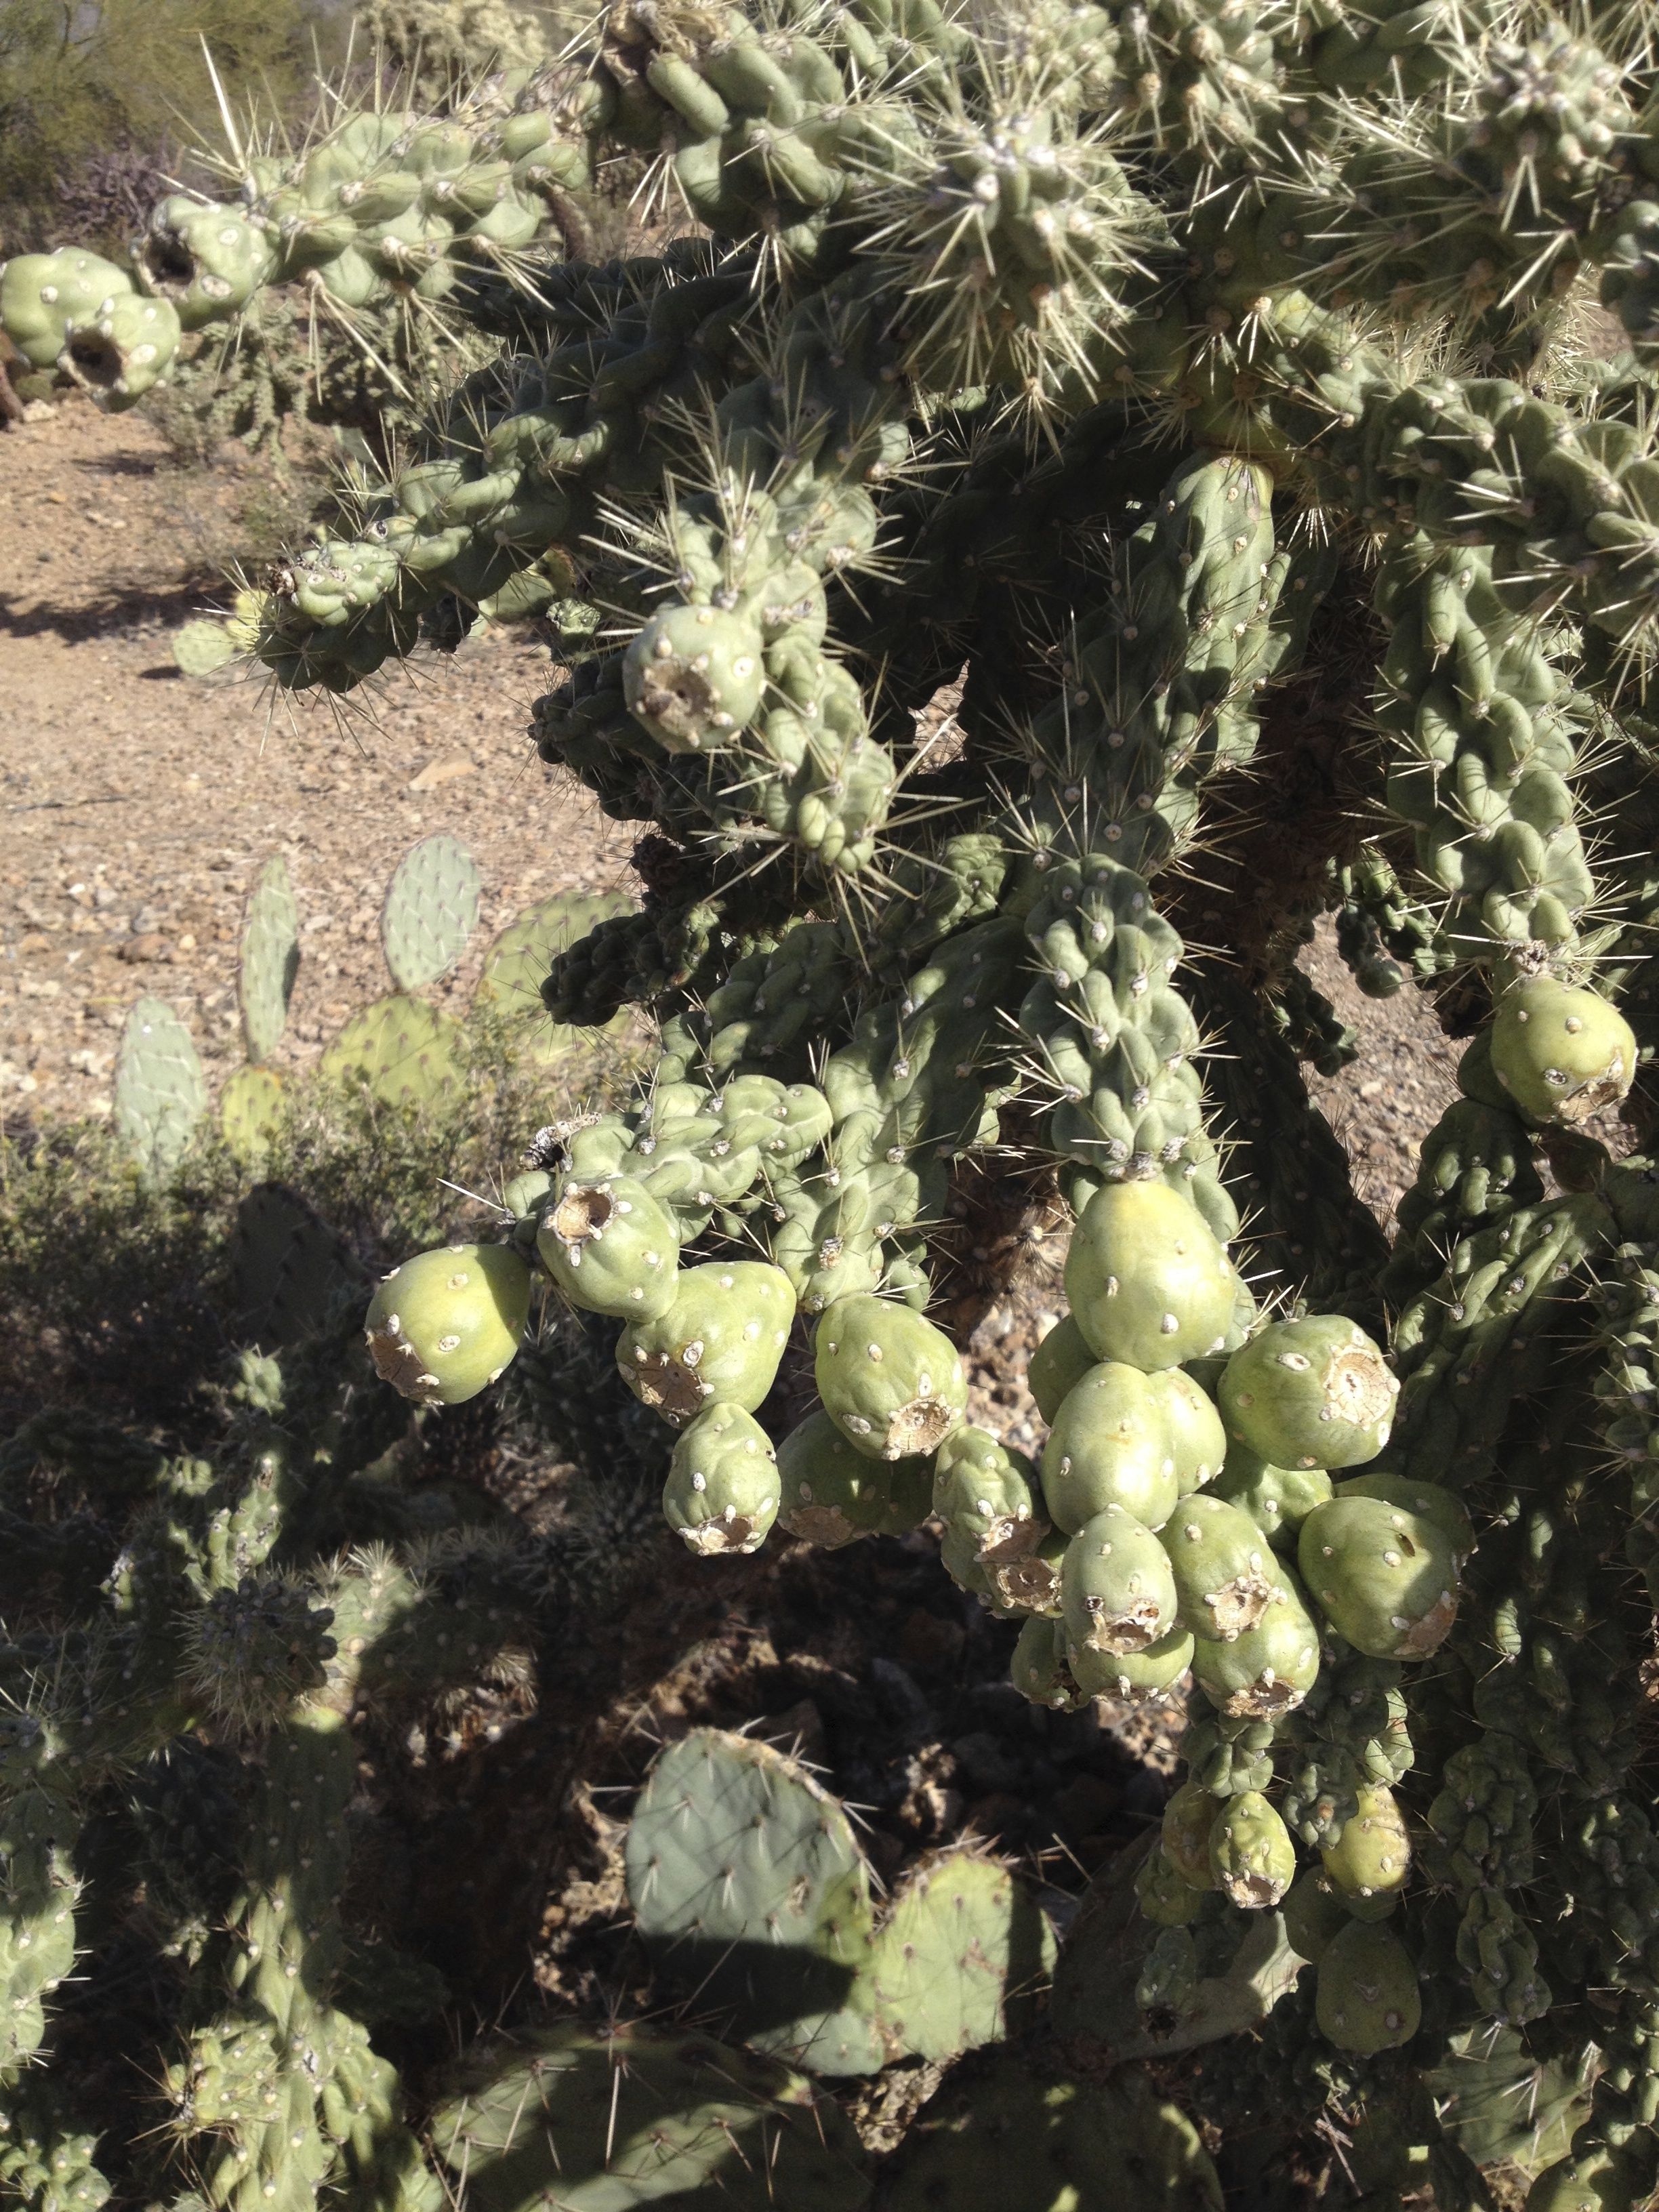
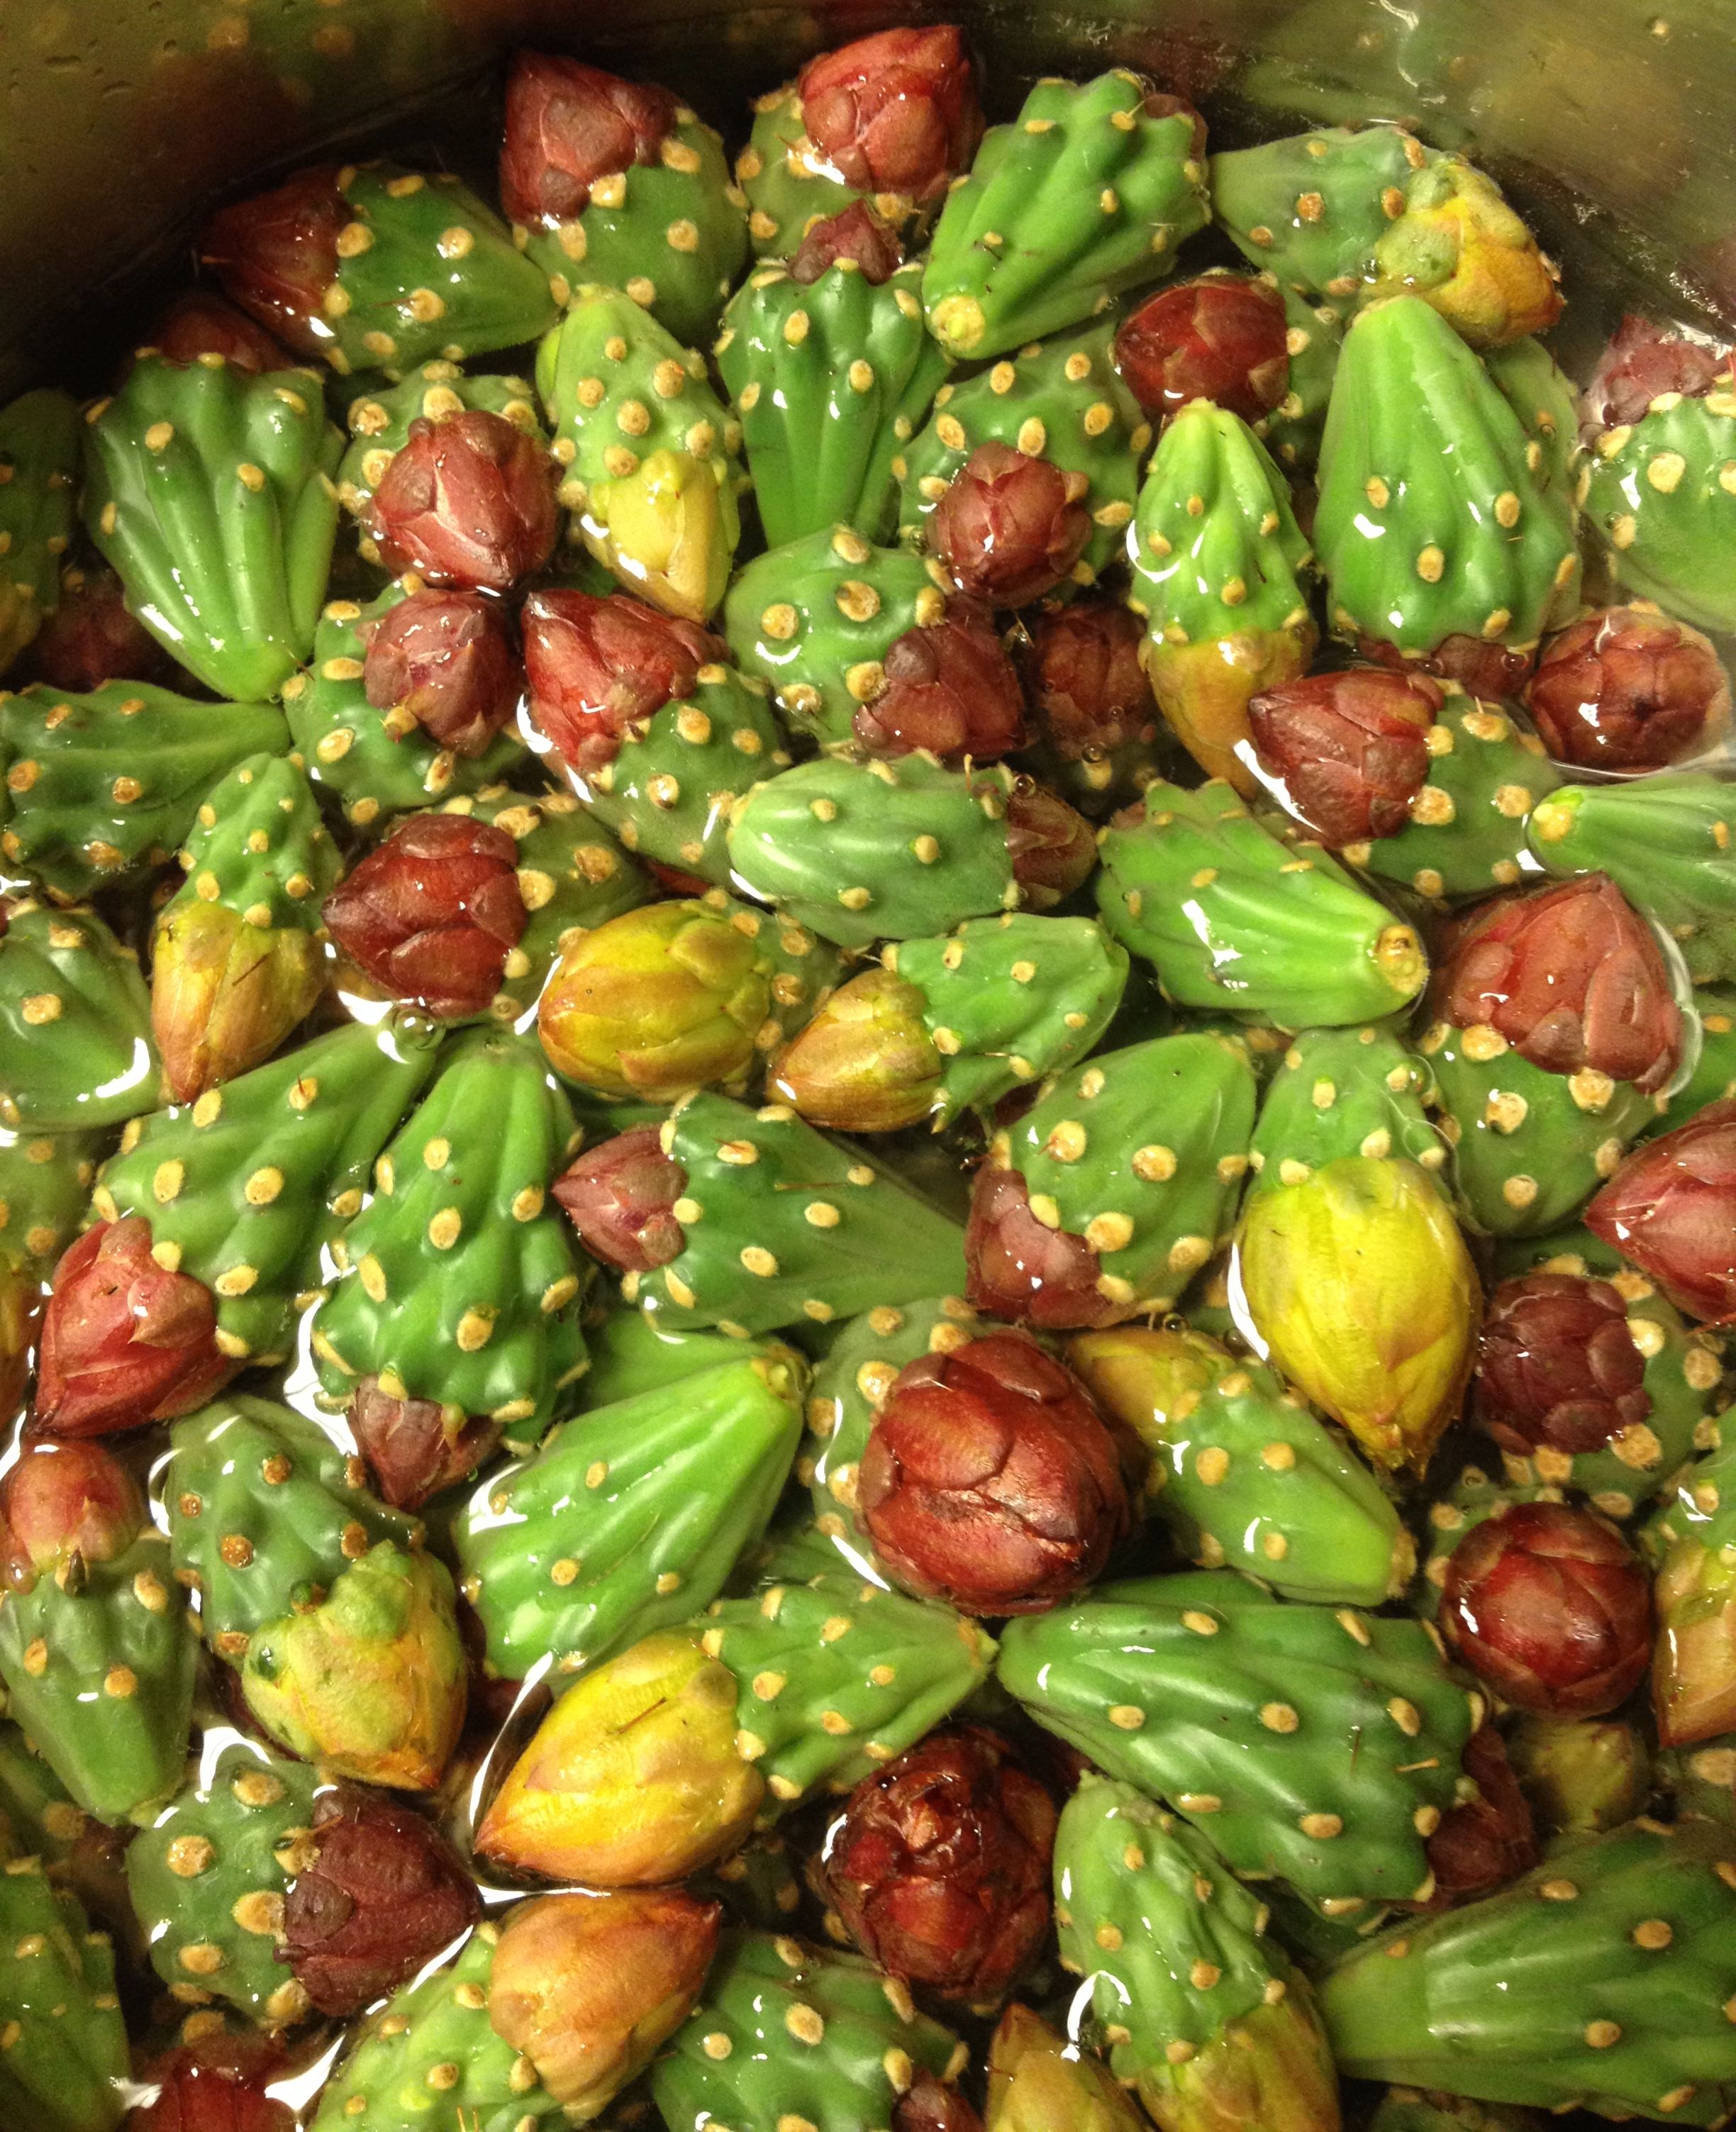
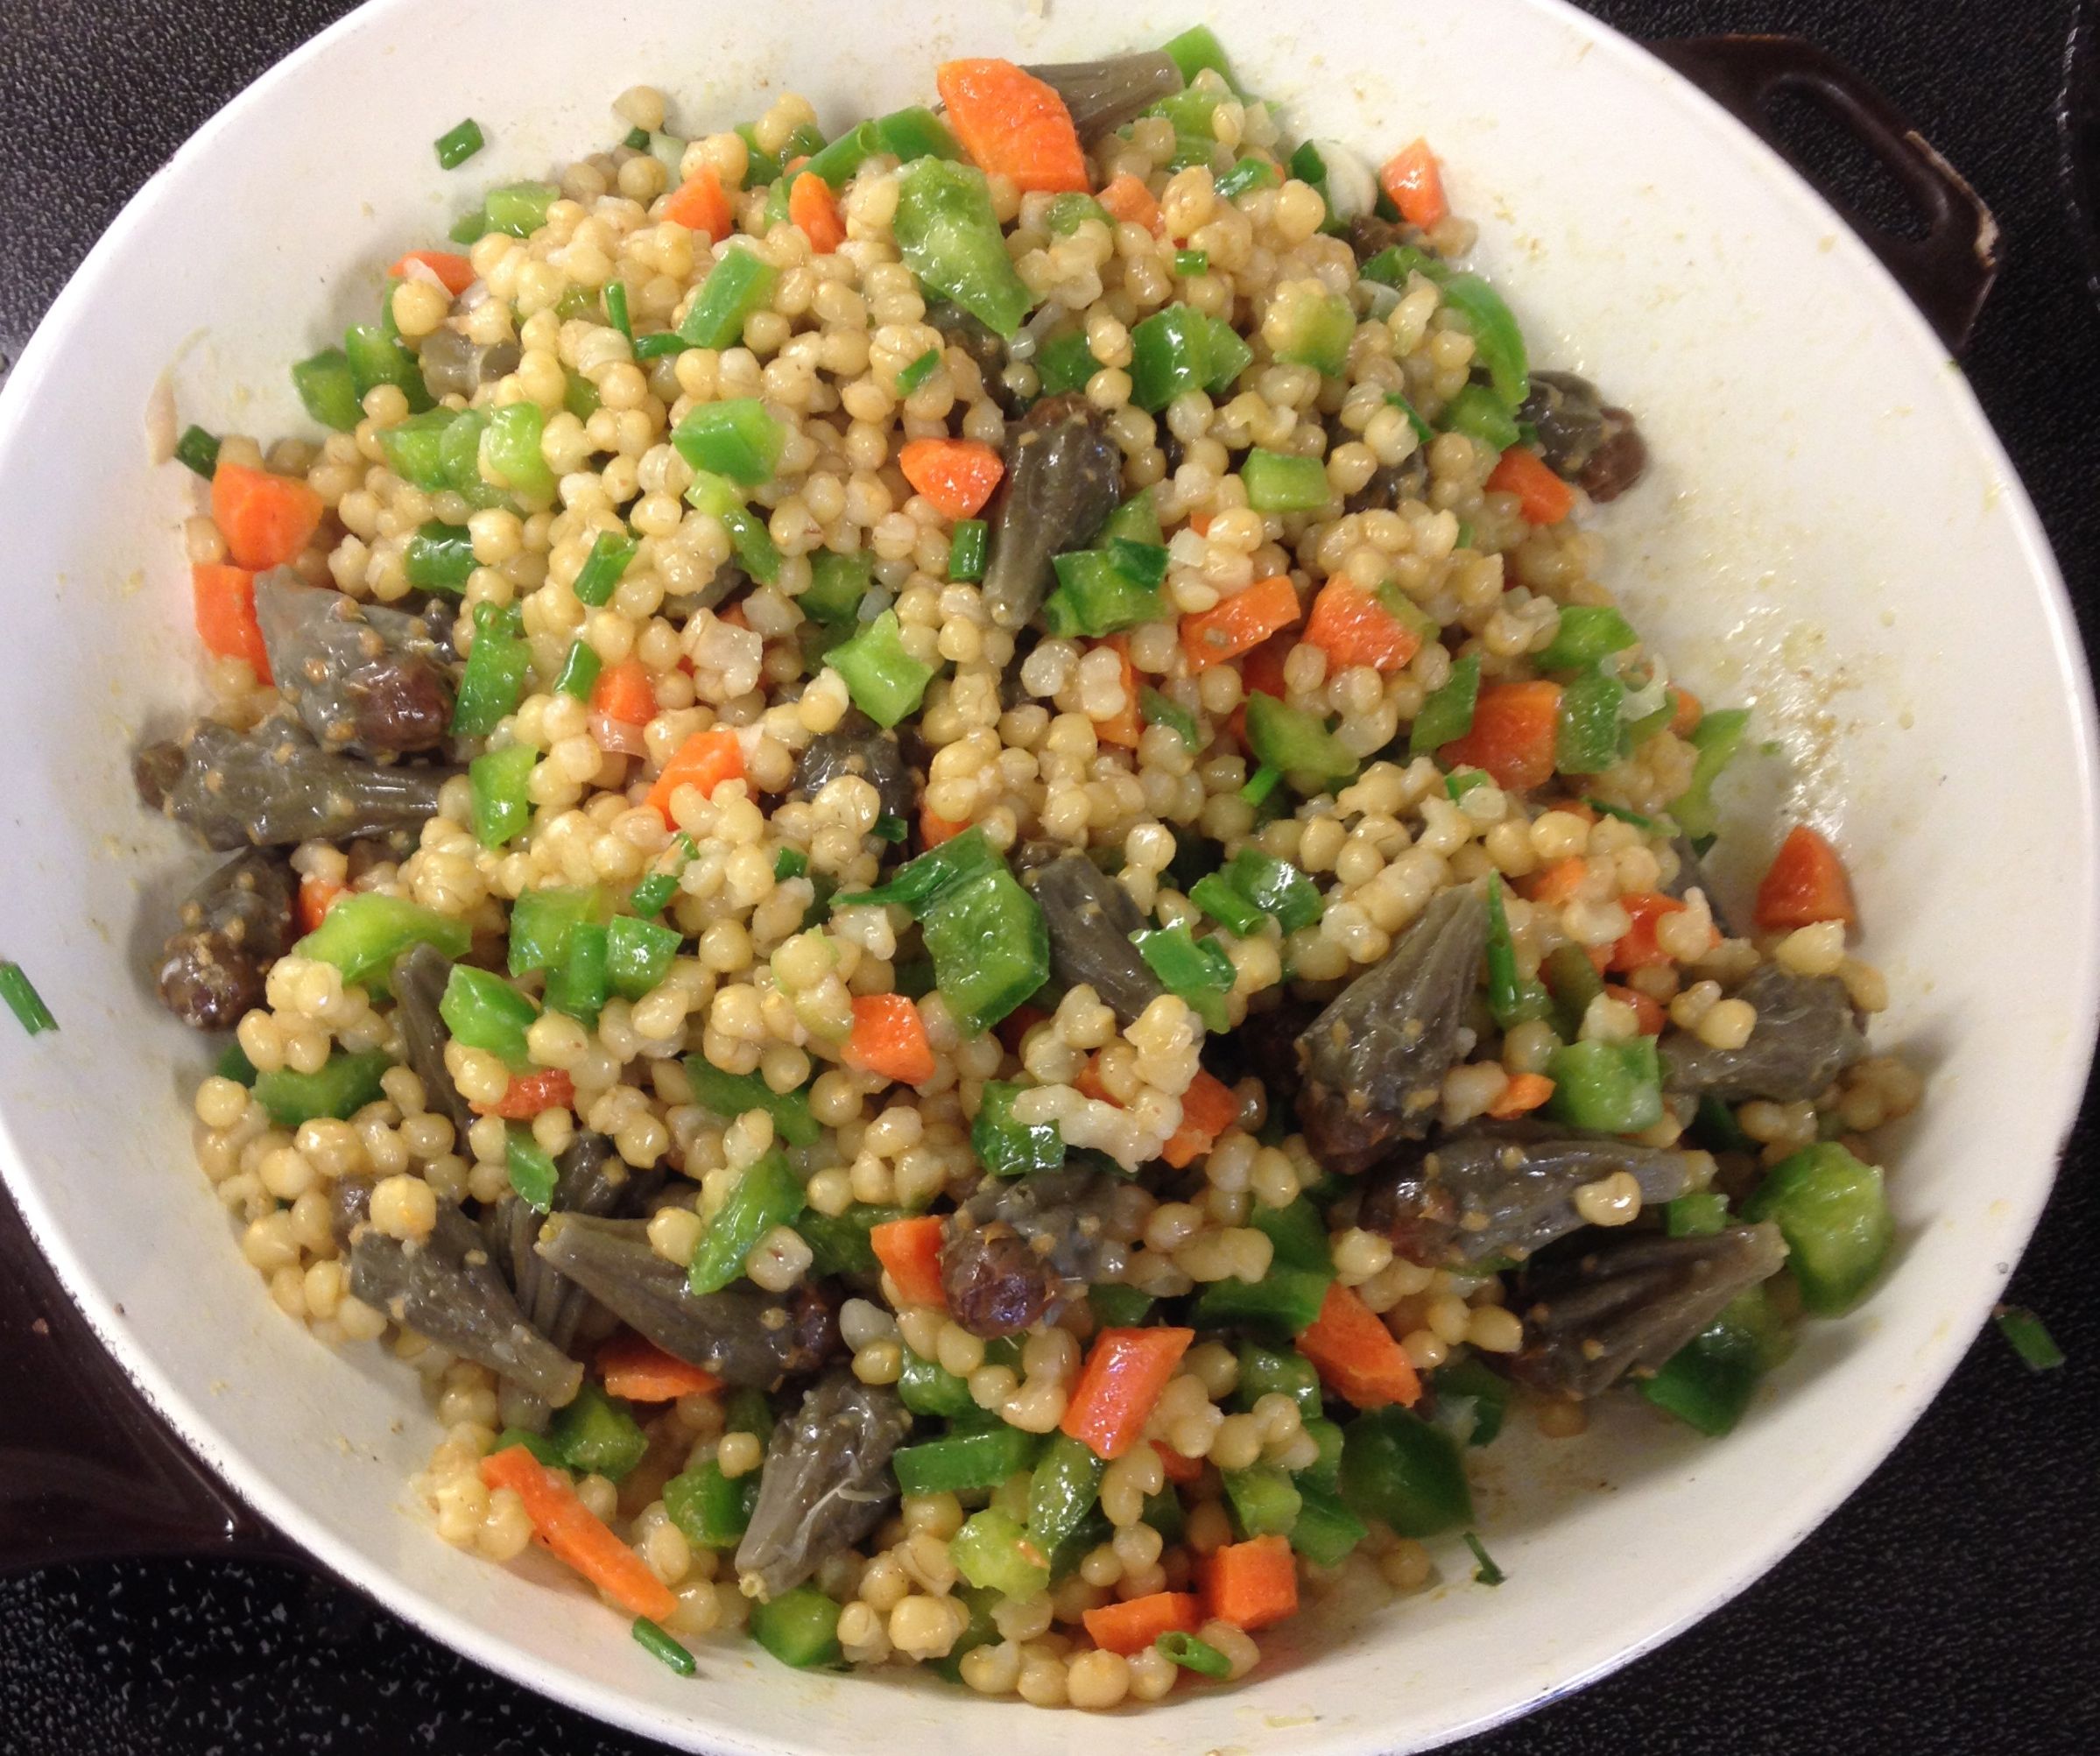
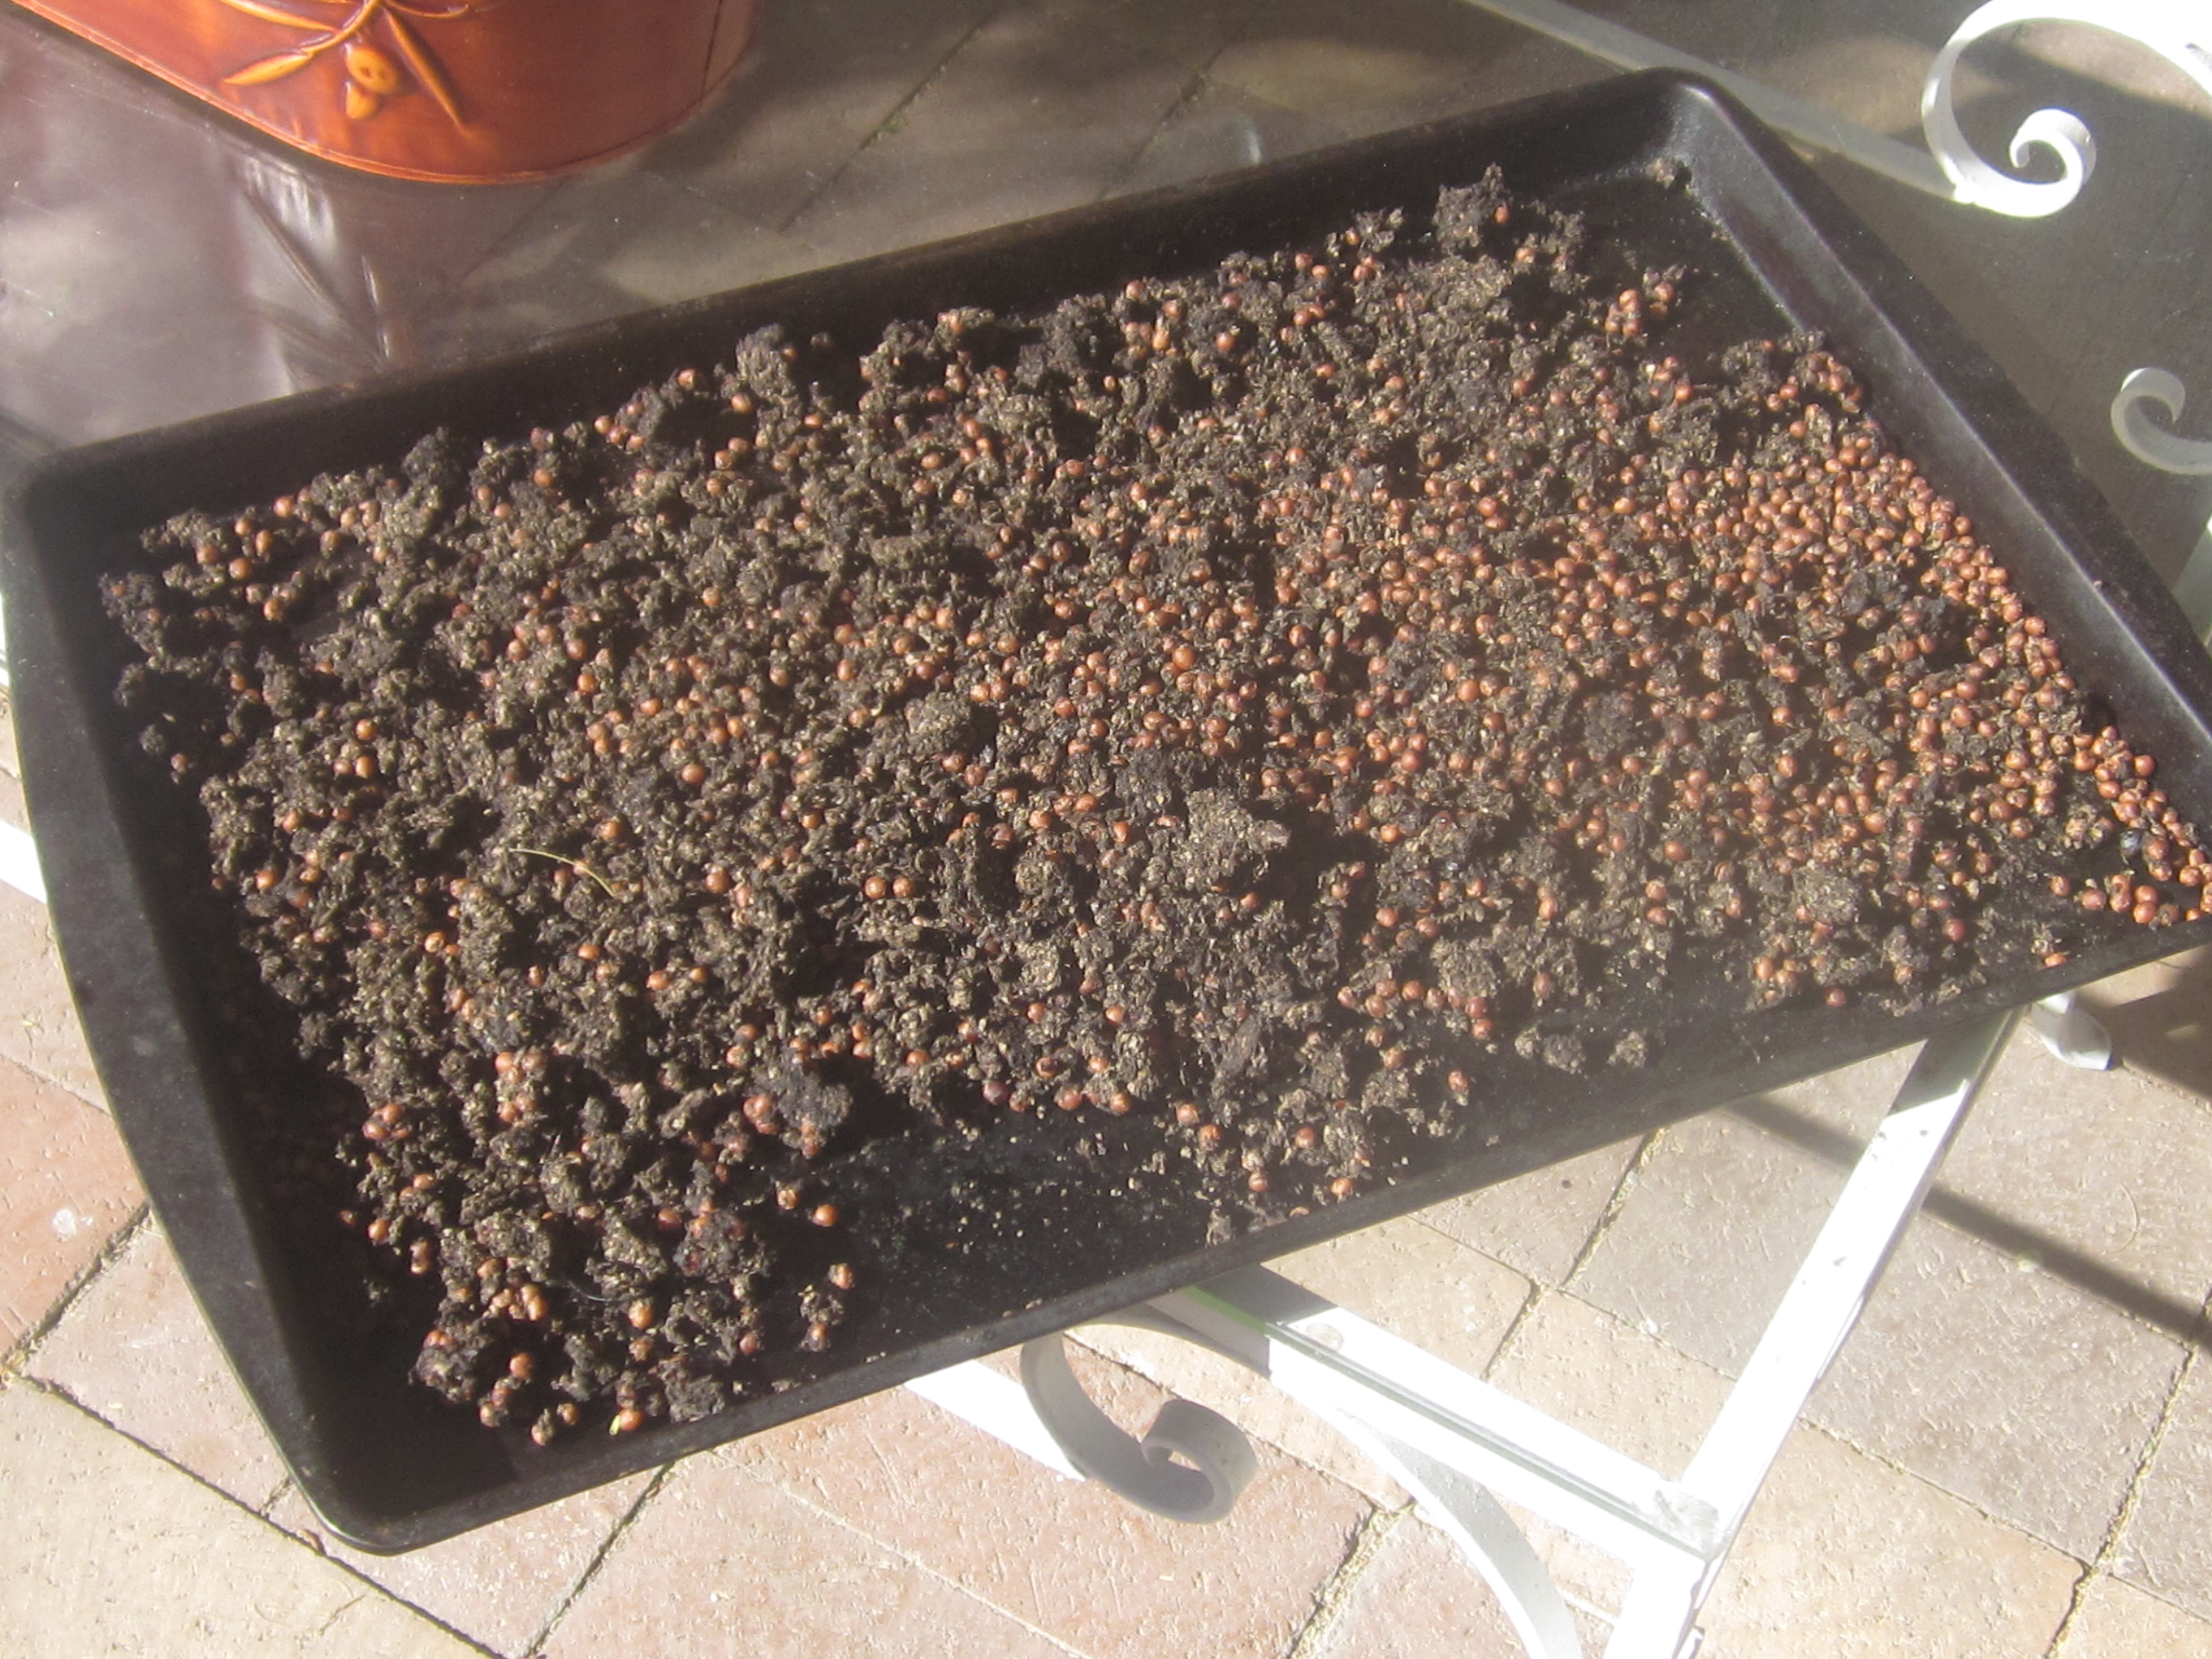
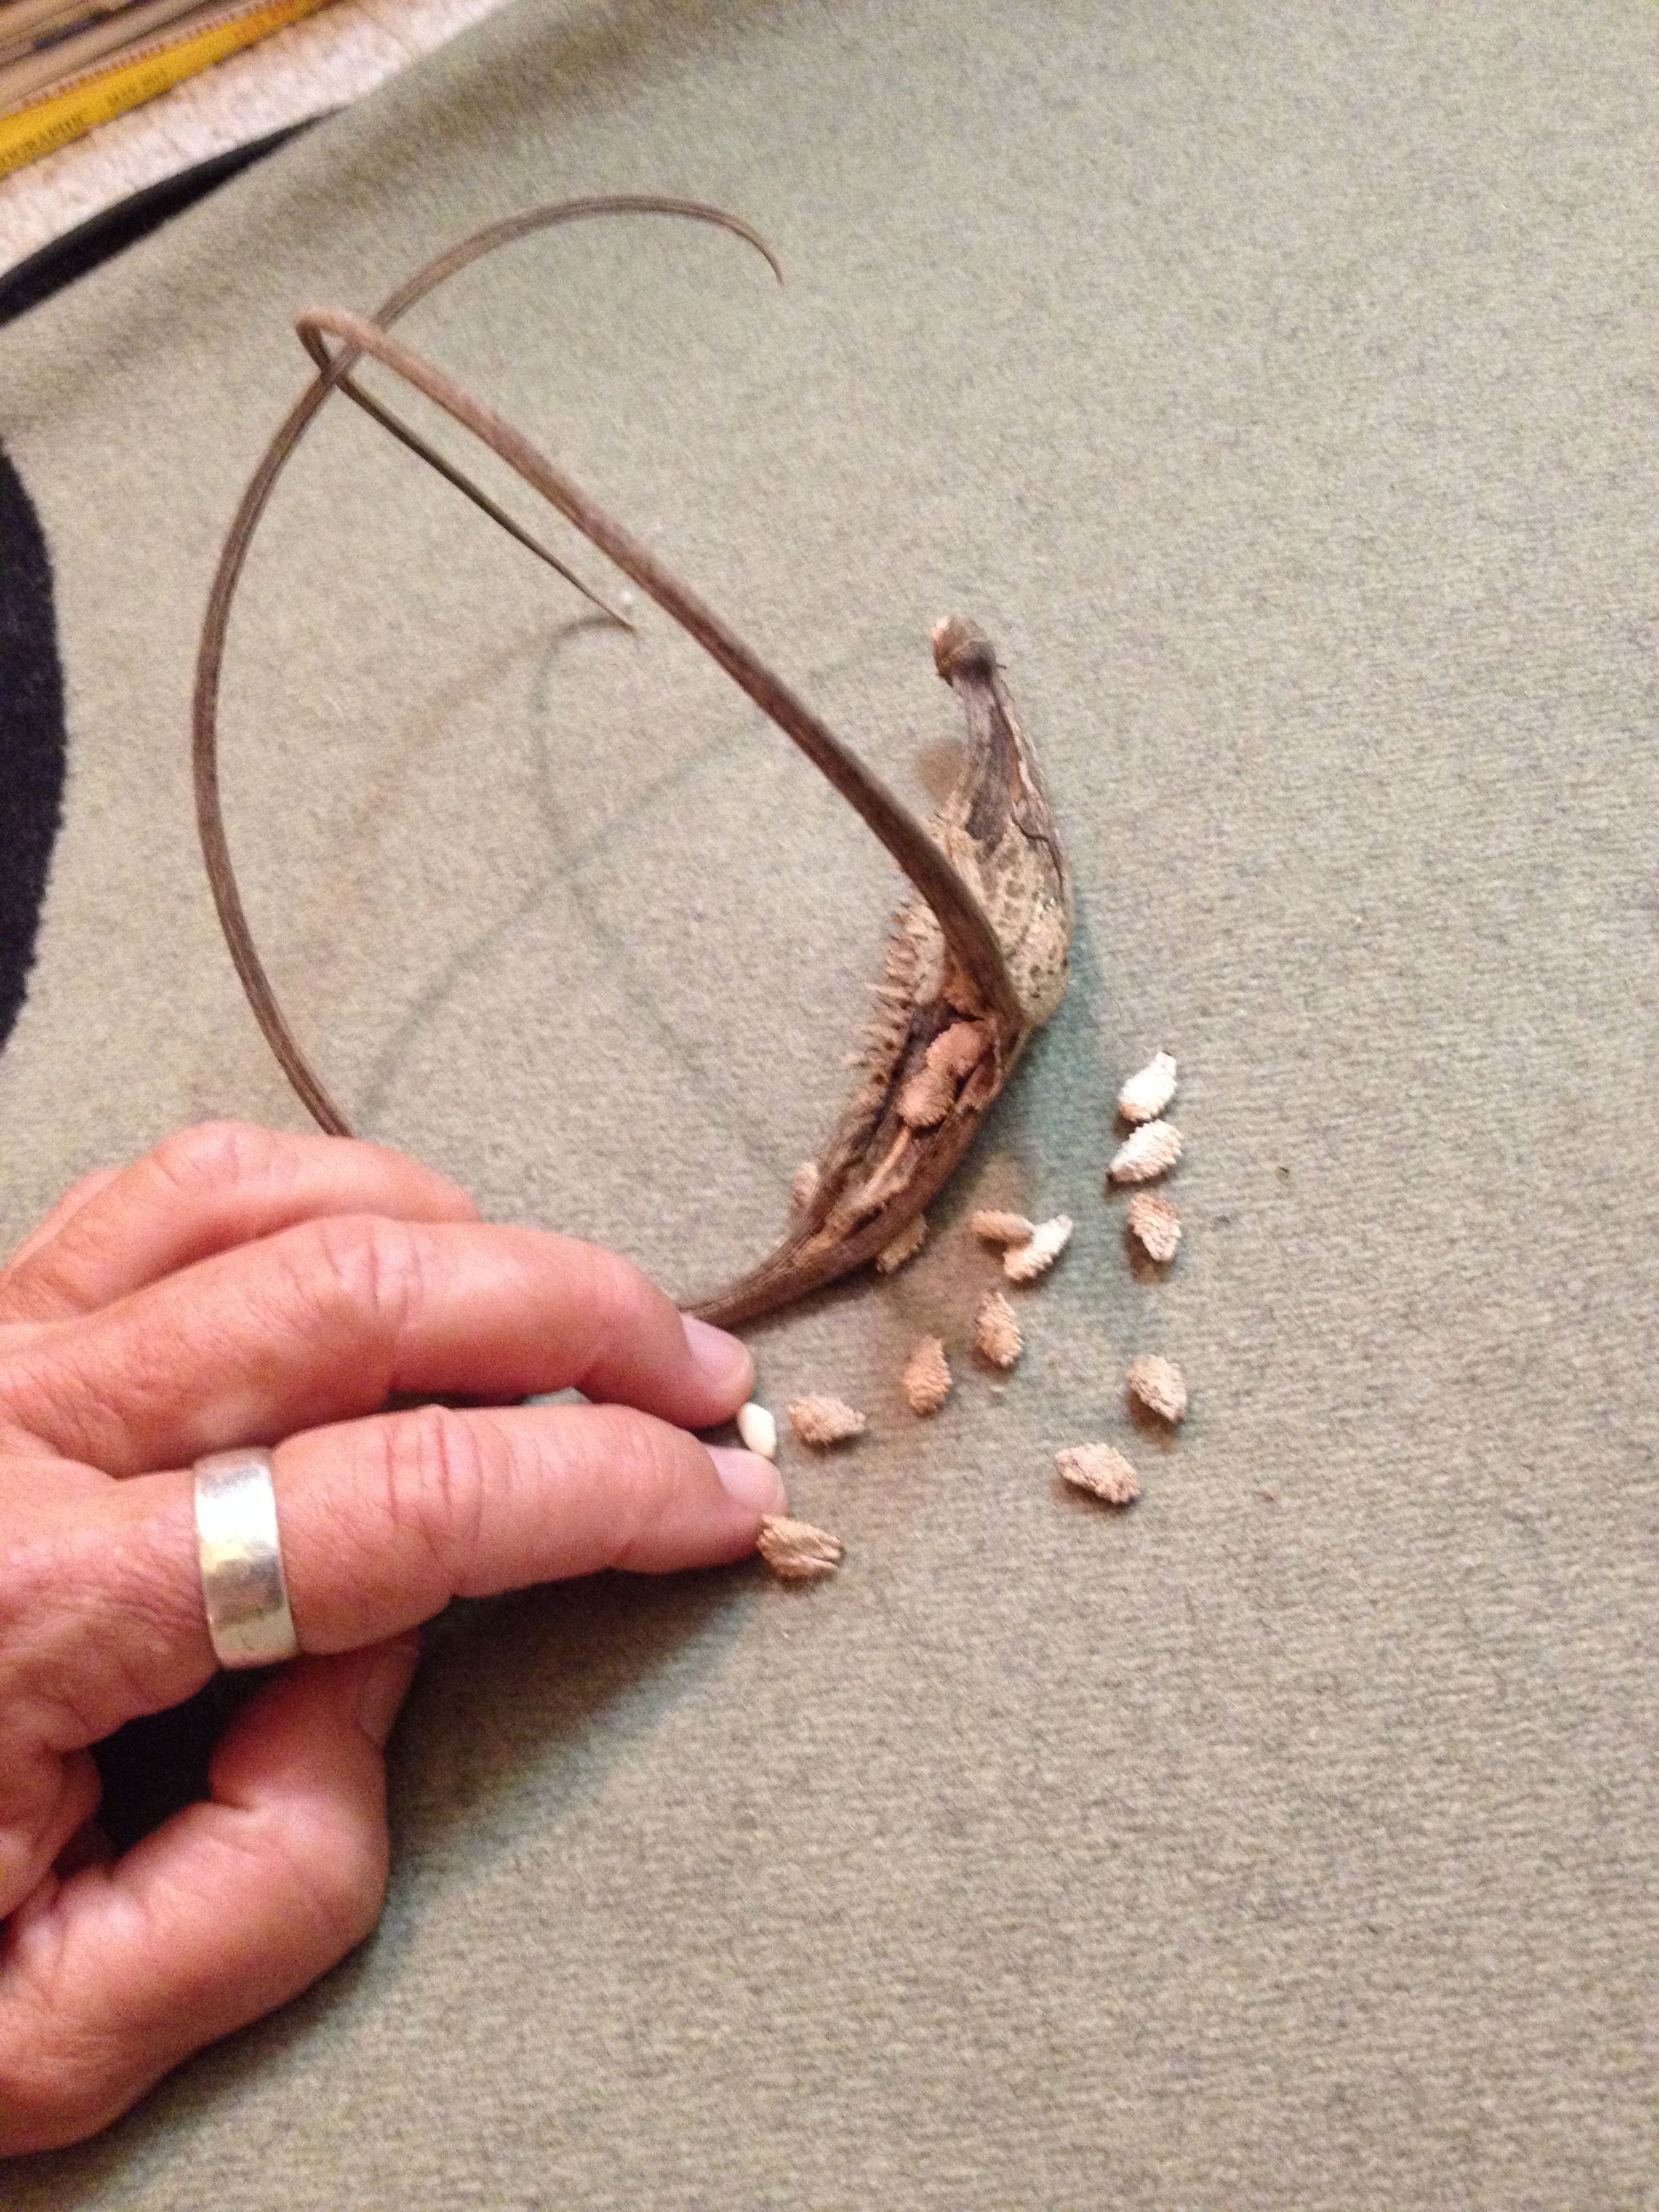
Tia Marta is running several classes in gathering and preparing cholla buds. This is a great year for desert plants and the cholla buds are fat and juicy.
Workshop Dates (find a downloadable flyer on the website http://www.flordemayoarts.com):
Saturday April 4, 2015, 7:30-9:30am—register at 520-907-9471
Wednesday, April 8, 8-11am, Pima Co Parks & Rec 520-615-7855 x 6
Saturday, April 11, 8-11am, Westside, sponsored by NativeSeeds/SEARCH, call 520-622-0830×100
Saturday, April 18, 8:30-11:30am, Tohono Chul Park, 520-742-6455 x 228