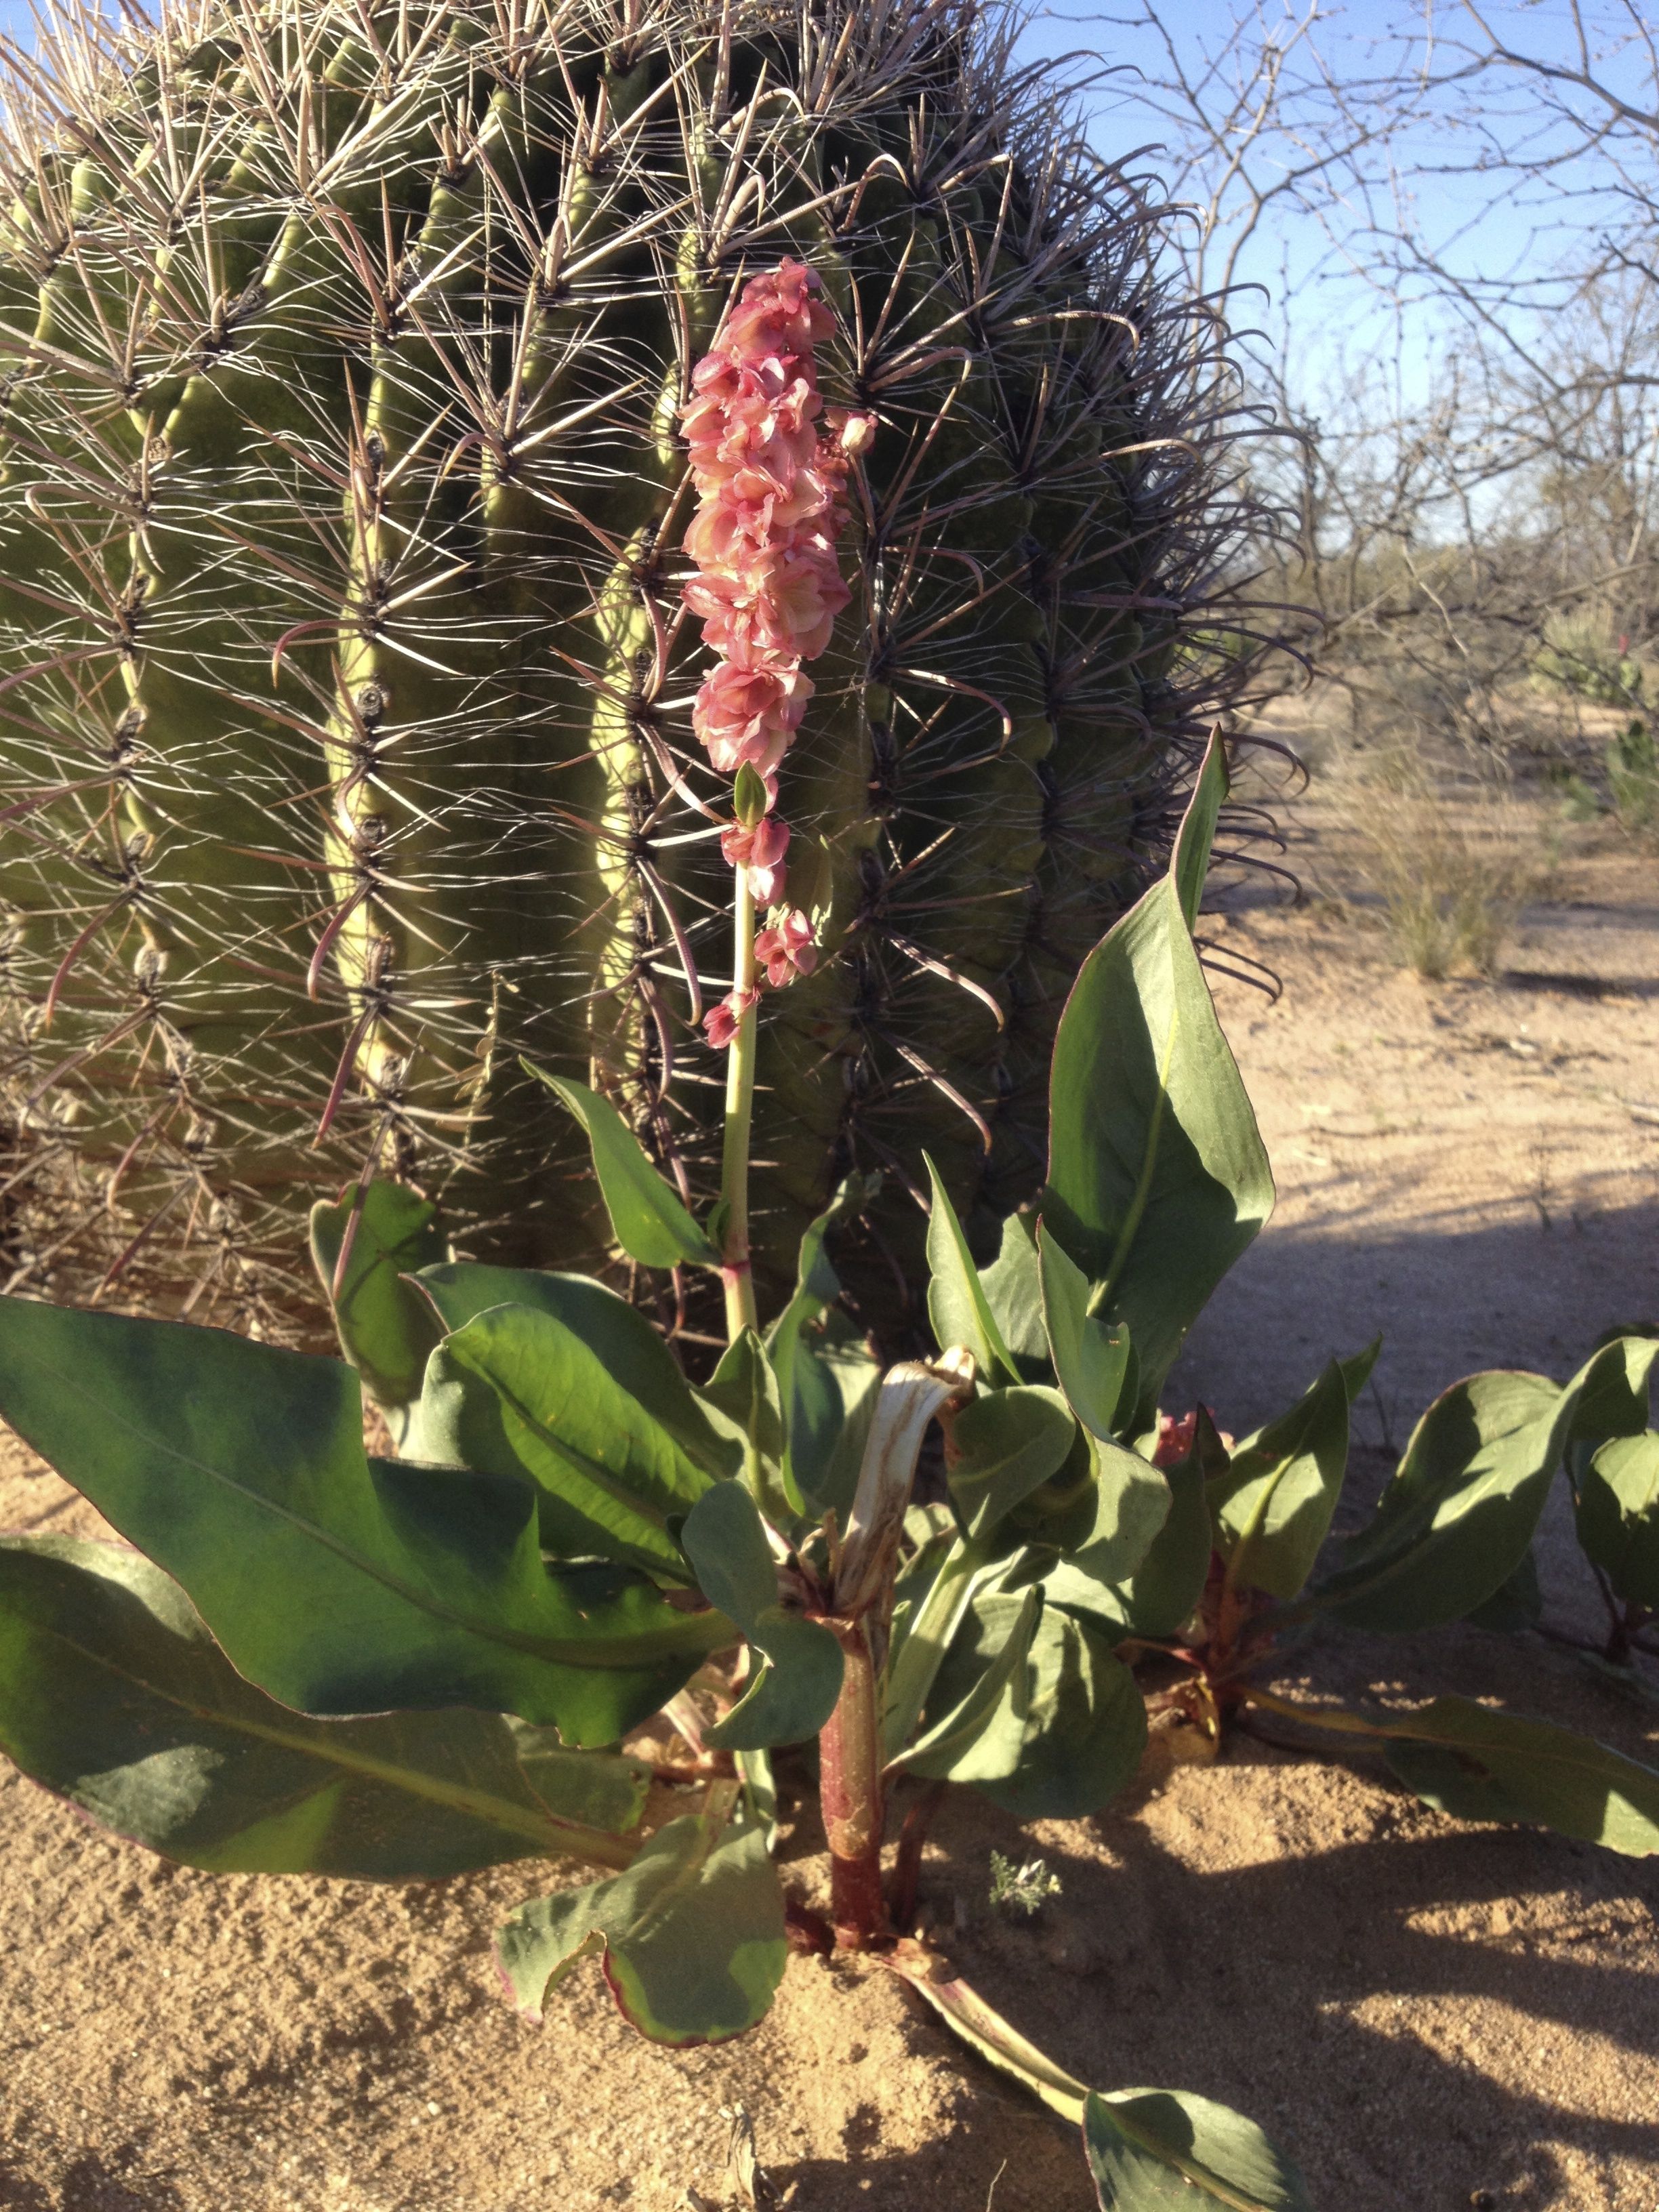
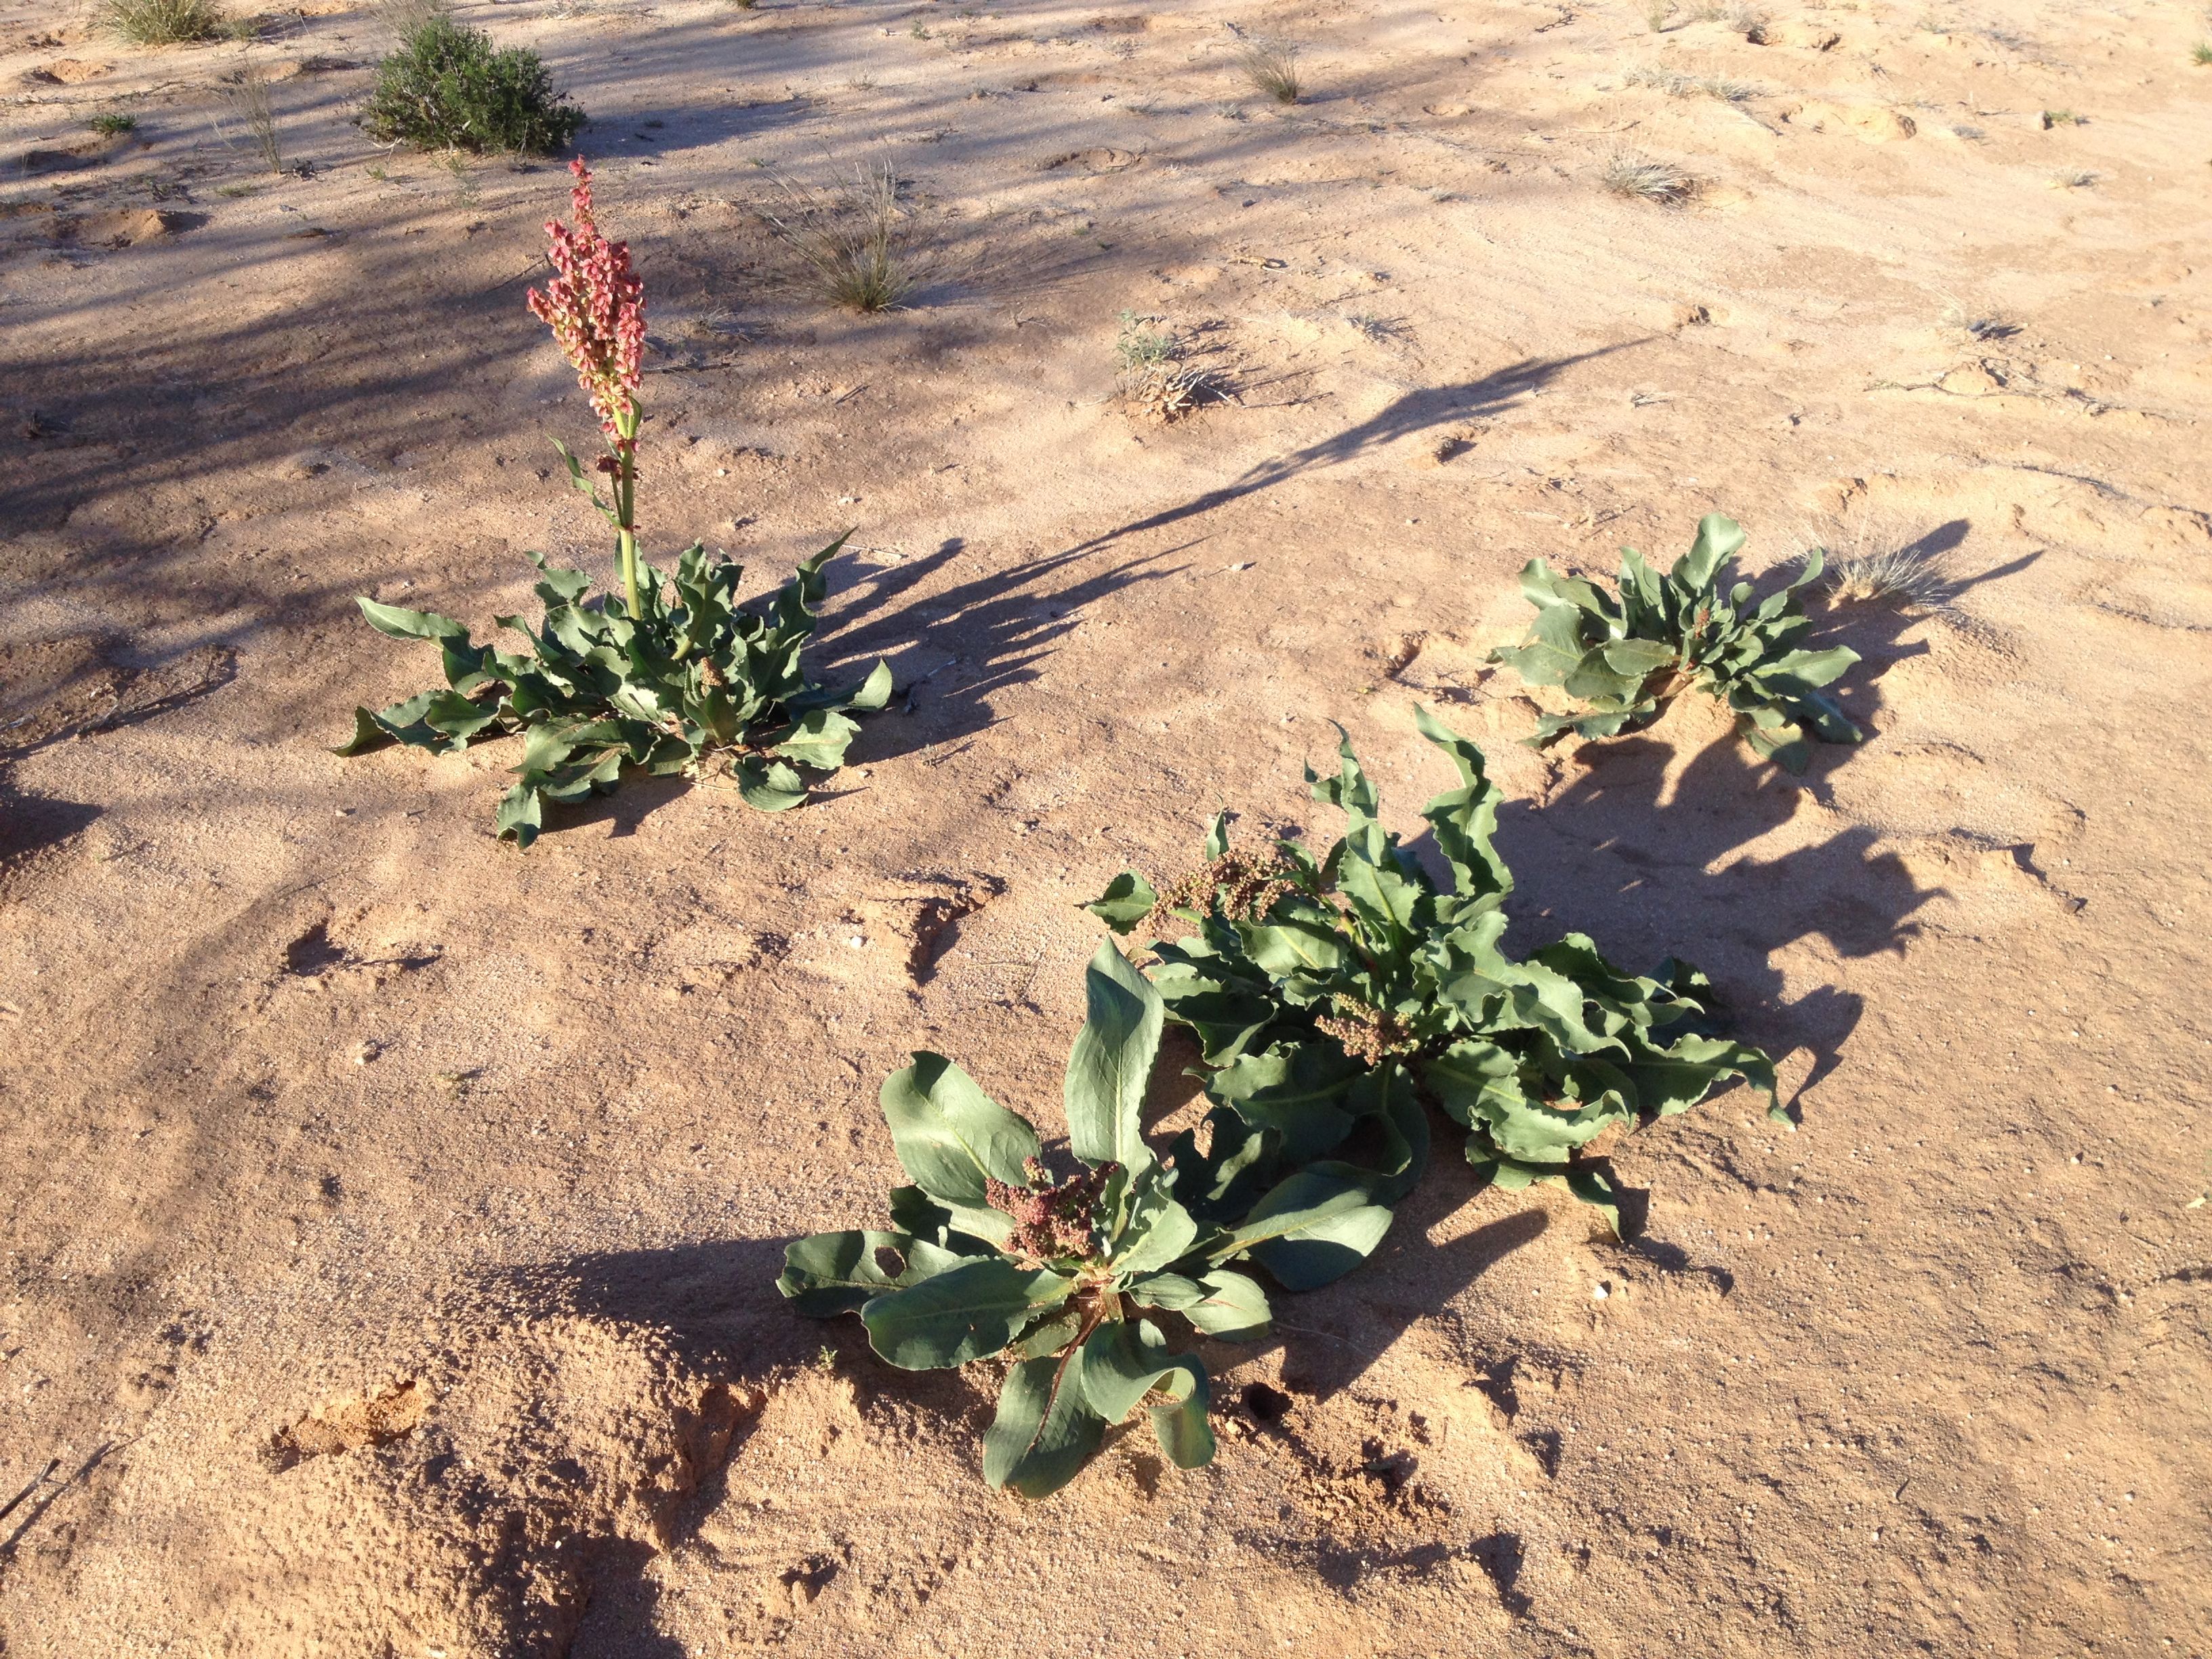
Wild rhubarb is emerging again this month from its hidden storage roots, dotting arroyo-banks and sandy places with green rosettes of leaves and colorful raspberry-pink stalks (MABurgess photo)
It’s an unusual winter season when Canaigre (also known by many other names: Wild Rhubarb, Desert Dock, Hiwidchuls in O’odham language, Latin name Rumex hymenosepalus) creeps up out of its sandy hiding places to bloom and seed before spring weather gets too warm. When conditions are right, it can dot the desert floor in early spring with its floppy leathery leaves and pink stalks similar to domestic rhubarb. This recent cool season Nov.2016-Jan.2017, with its period of penetrating rains, has been the right trigger for awakening canaigre. Right now it’s time to attune our vision to finding it! If the weather heats up rapidly, as happened in the last couple of springs, its tender leaf rosettes will dry and crinkle leaving a brown organic “shadow” of itself on the sand, its stored life safely underground in fat roots. Tia Marta here to share some experiences with canaigre or wild rhubarb.
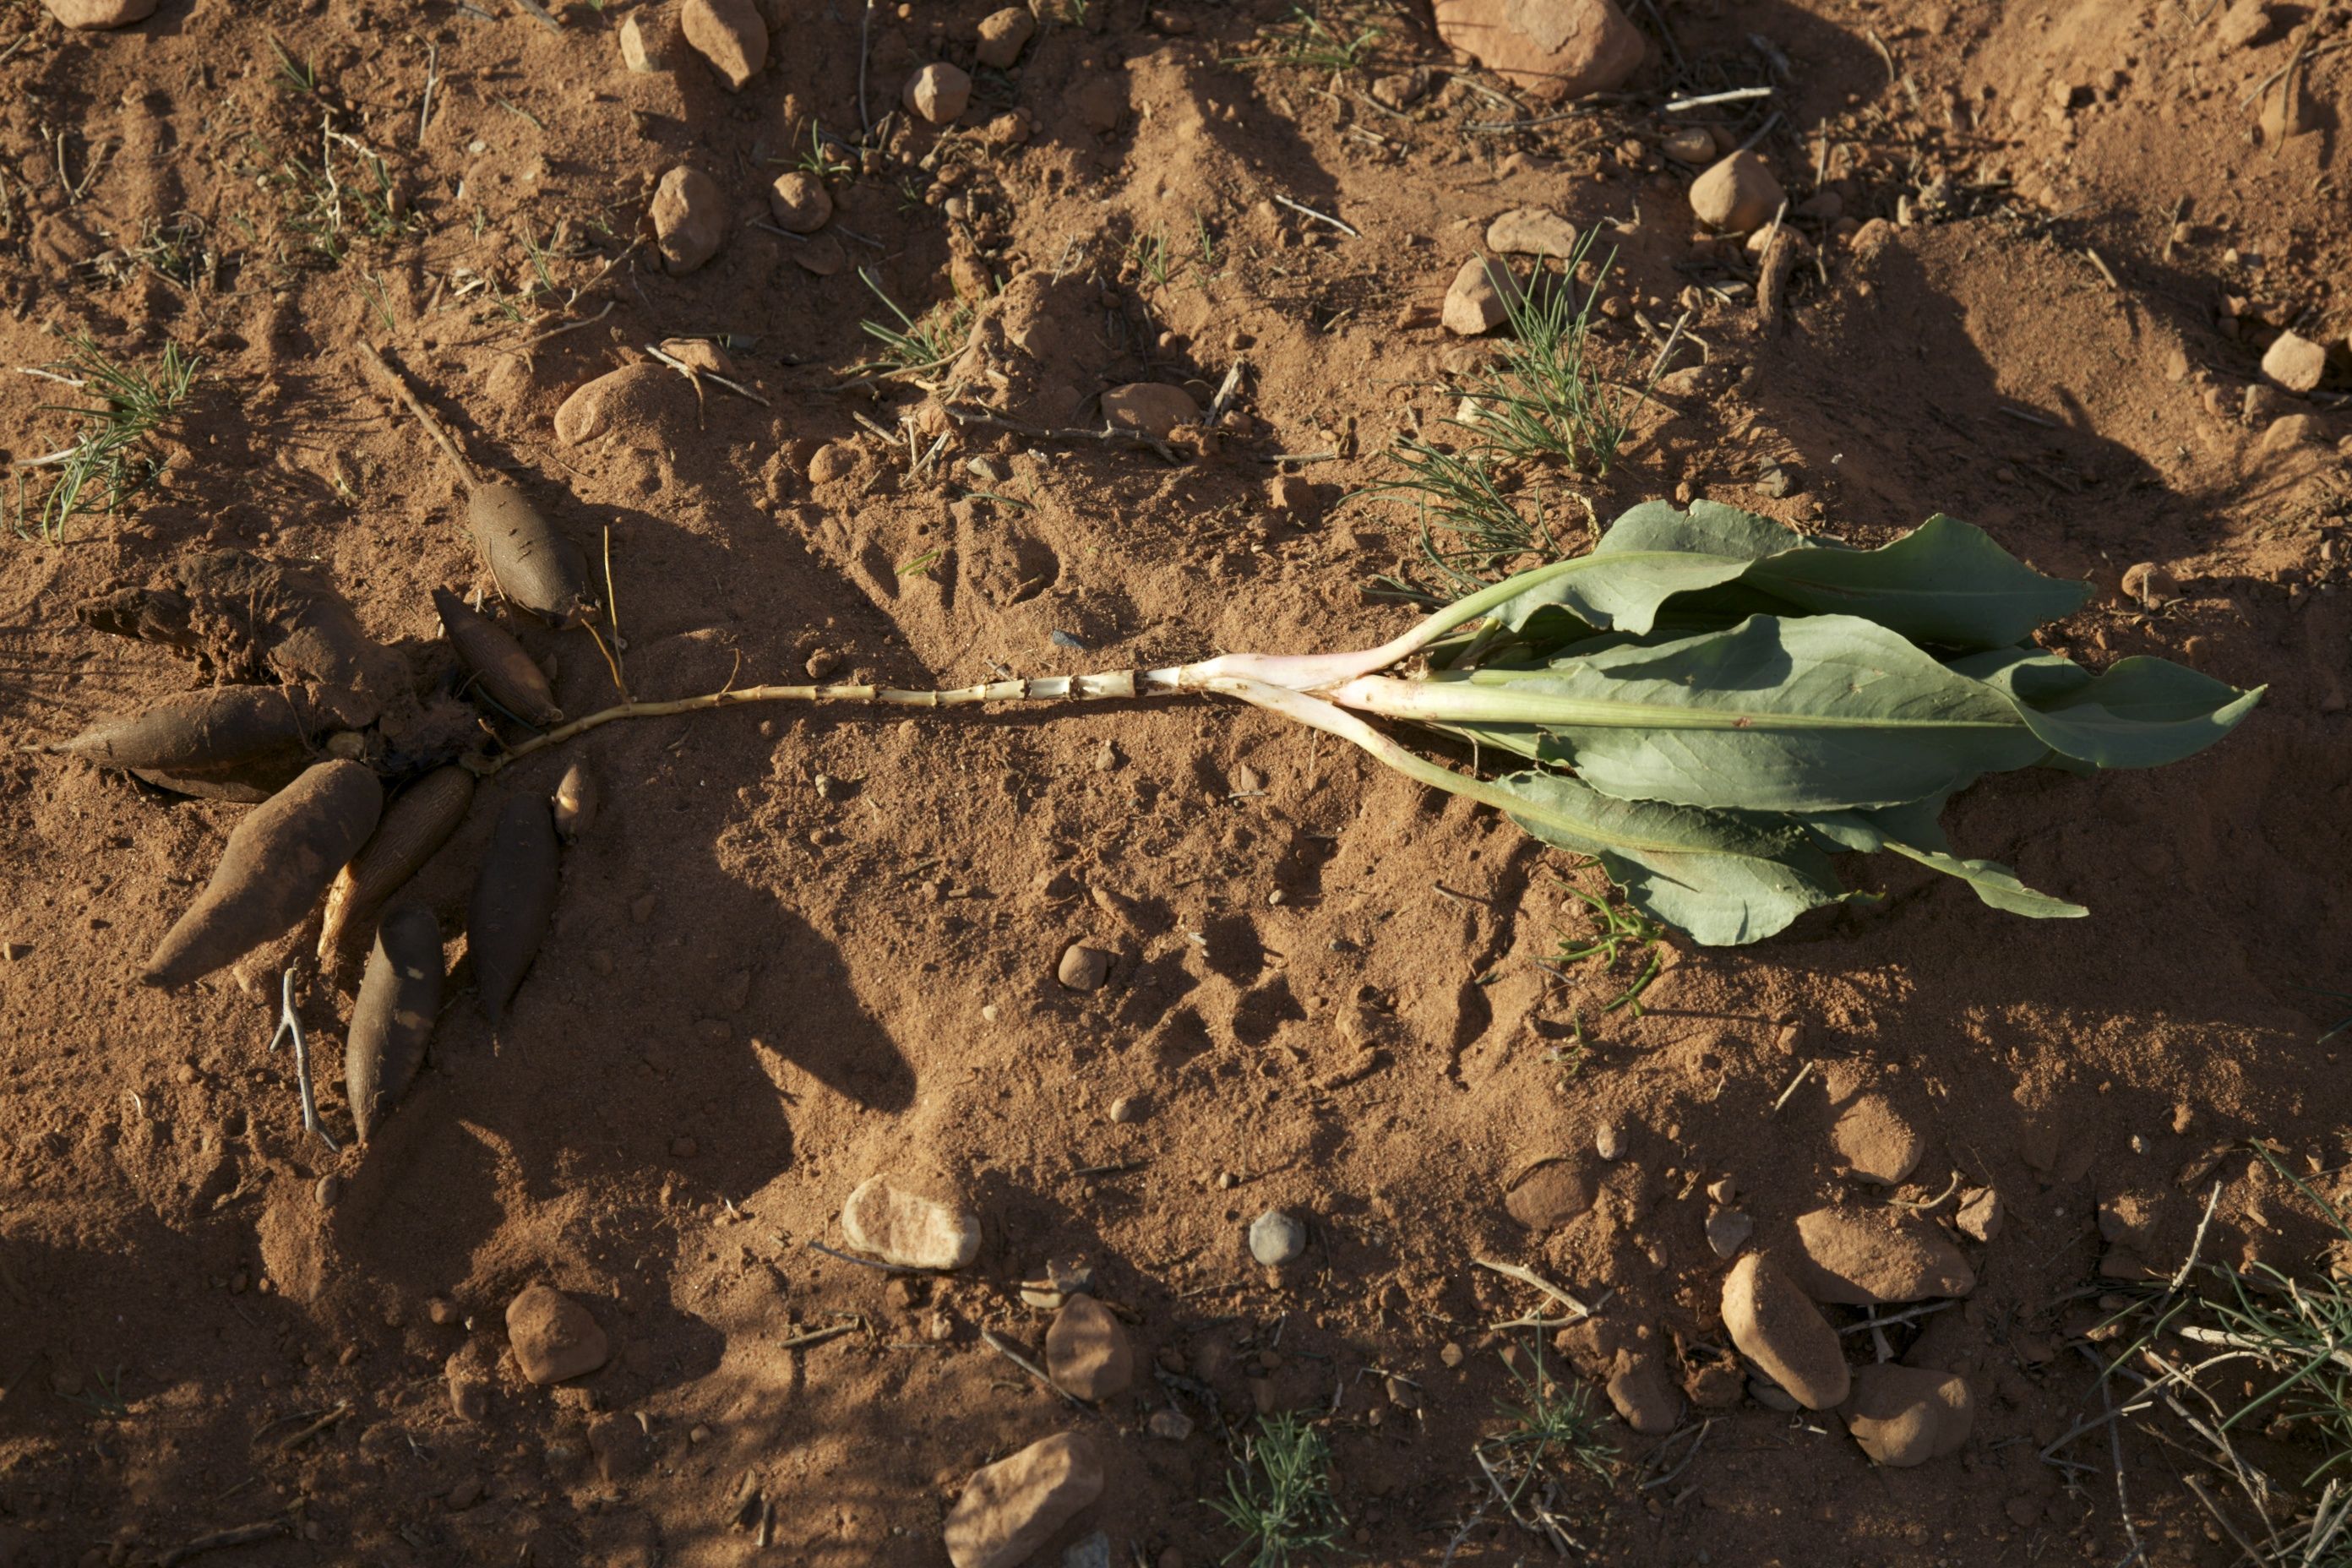
Wild rhubarb dug out of sandy soil showing multiple tuberous roots and young leaves (JRMondt photo)
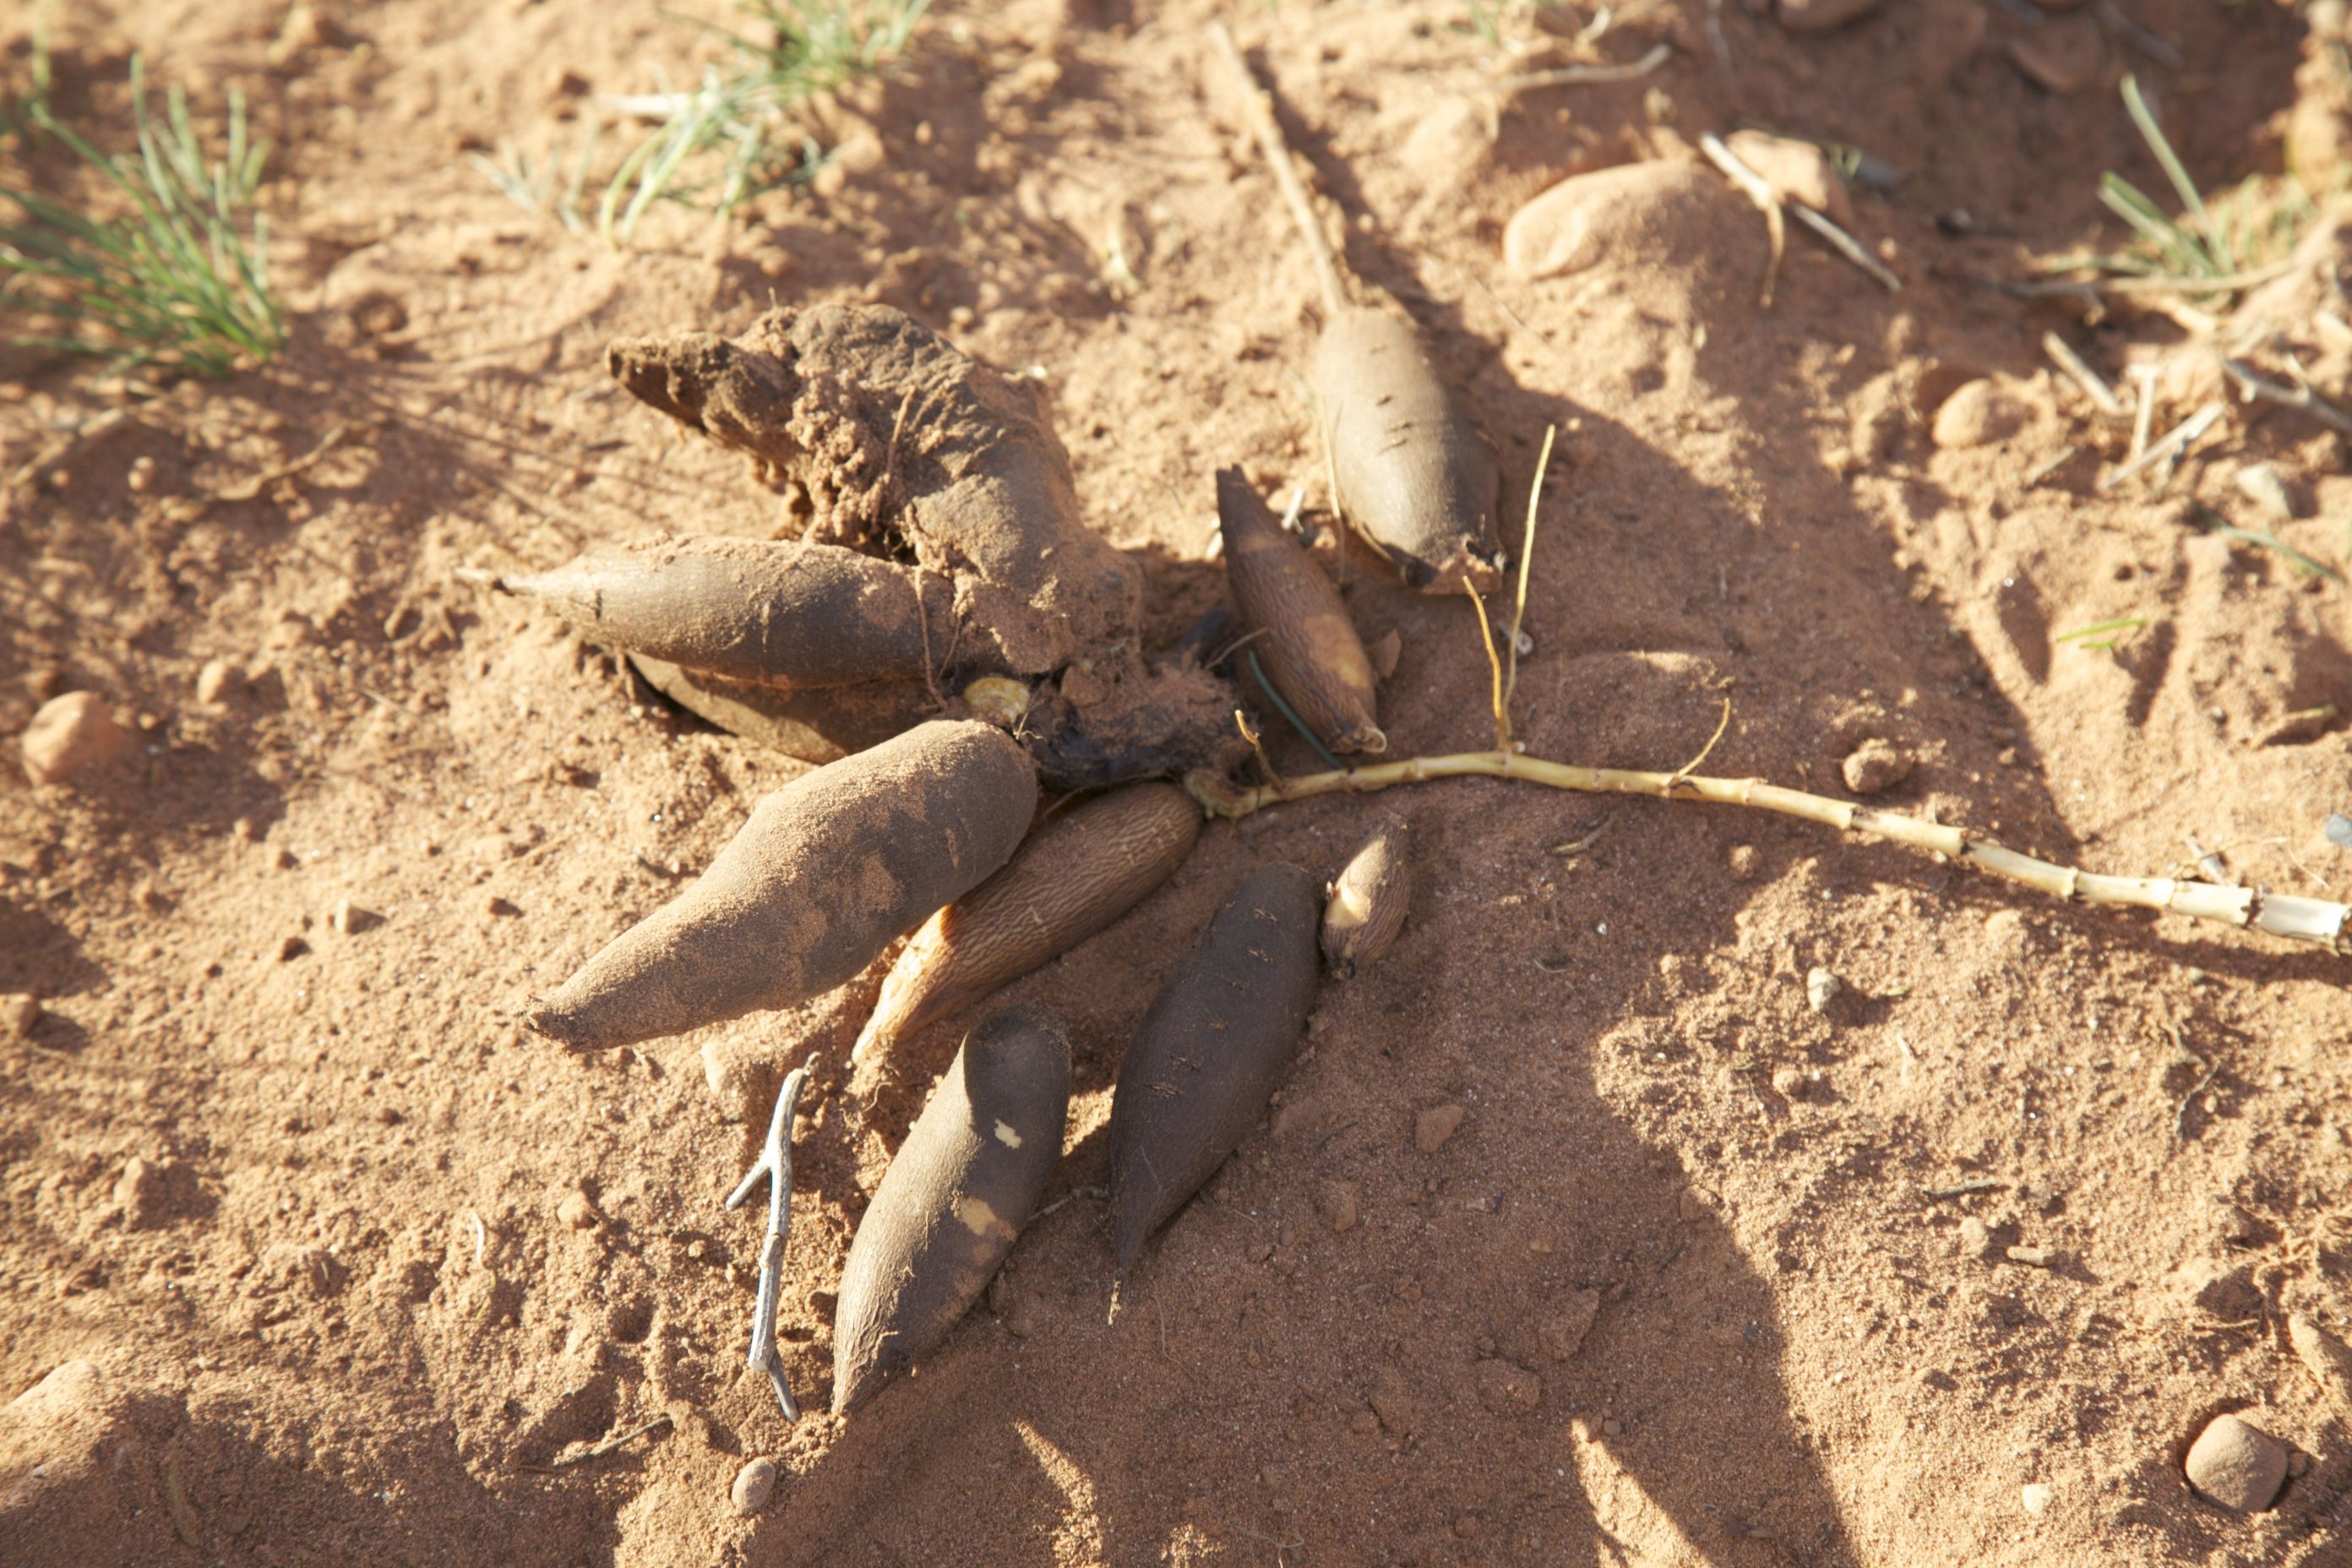
Close-up of wild rhubarb storage roots (JRMondt photo)
Canaigre isn’t just everywhere in the desert. It’s elusive. It usually likes sandy loose soil, like the flood plains of our desert rivers in Baja Arizona and Sonora, along major arroyo banks, and on pockets of ancient sand dunes. Where you see one you usually see many.
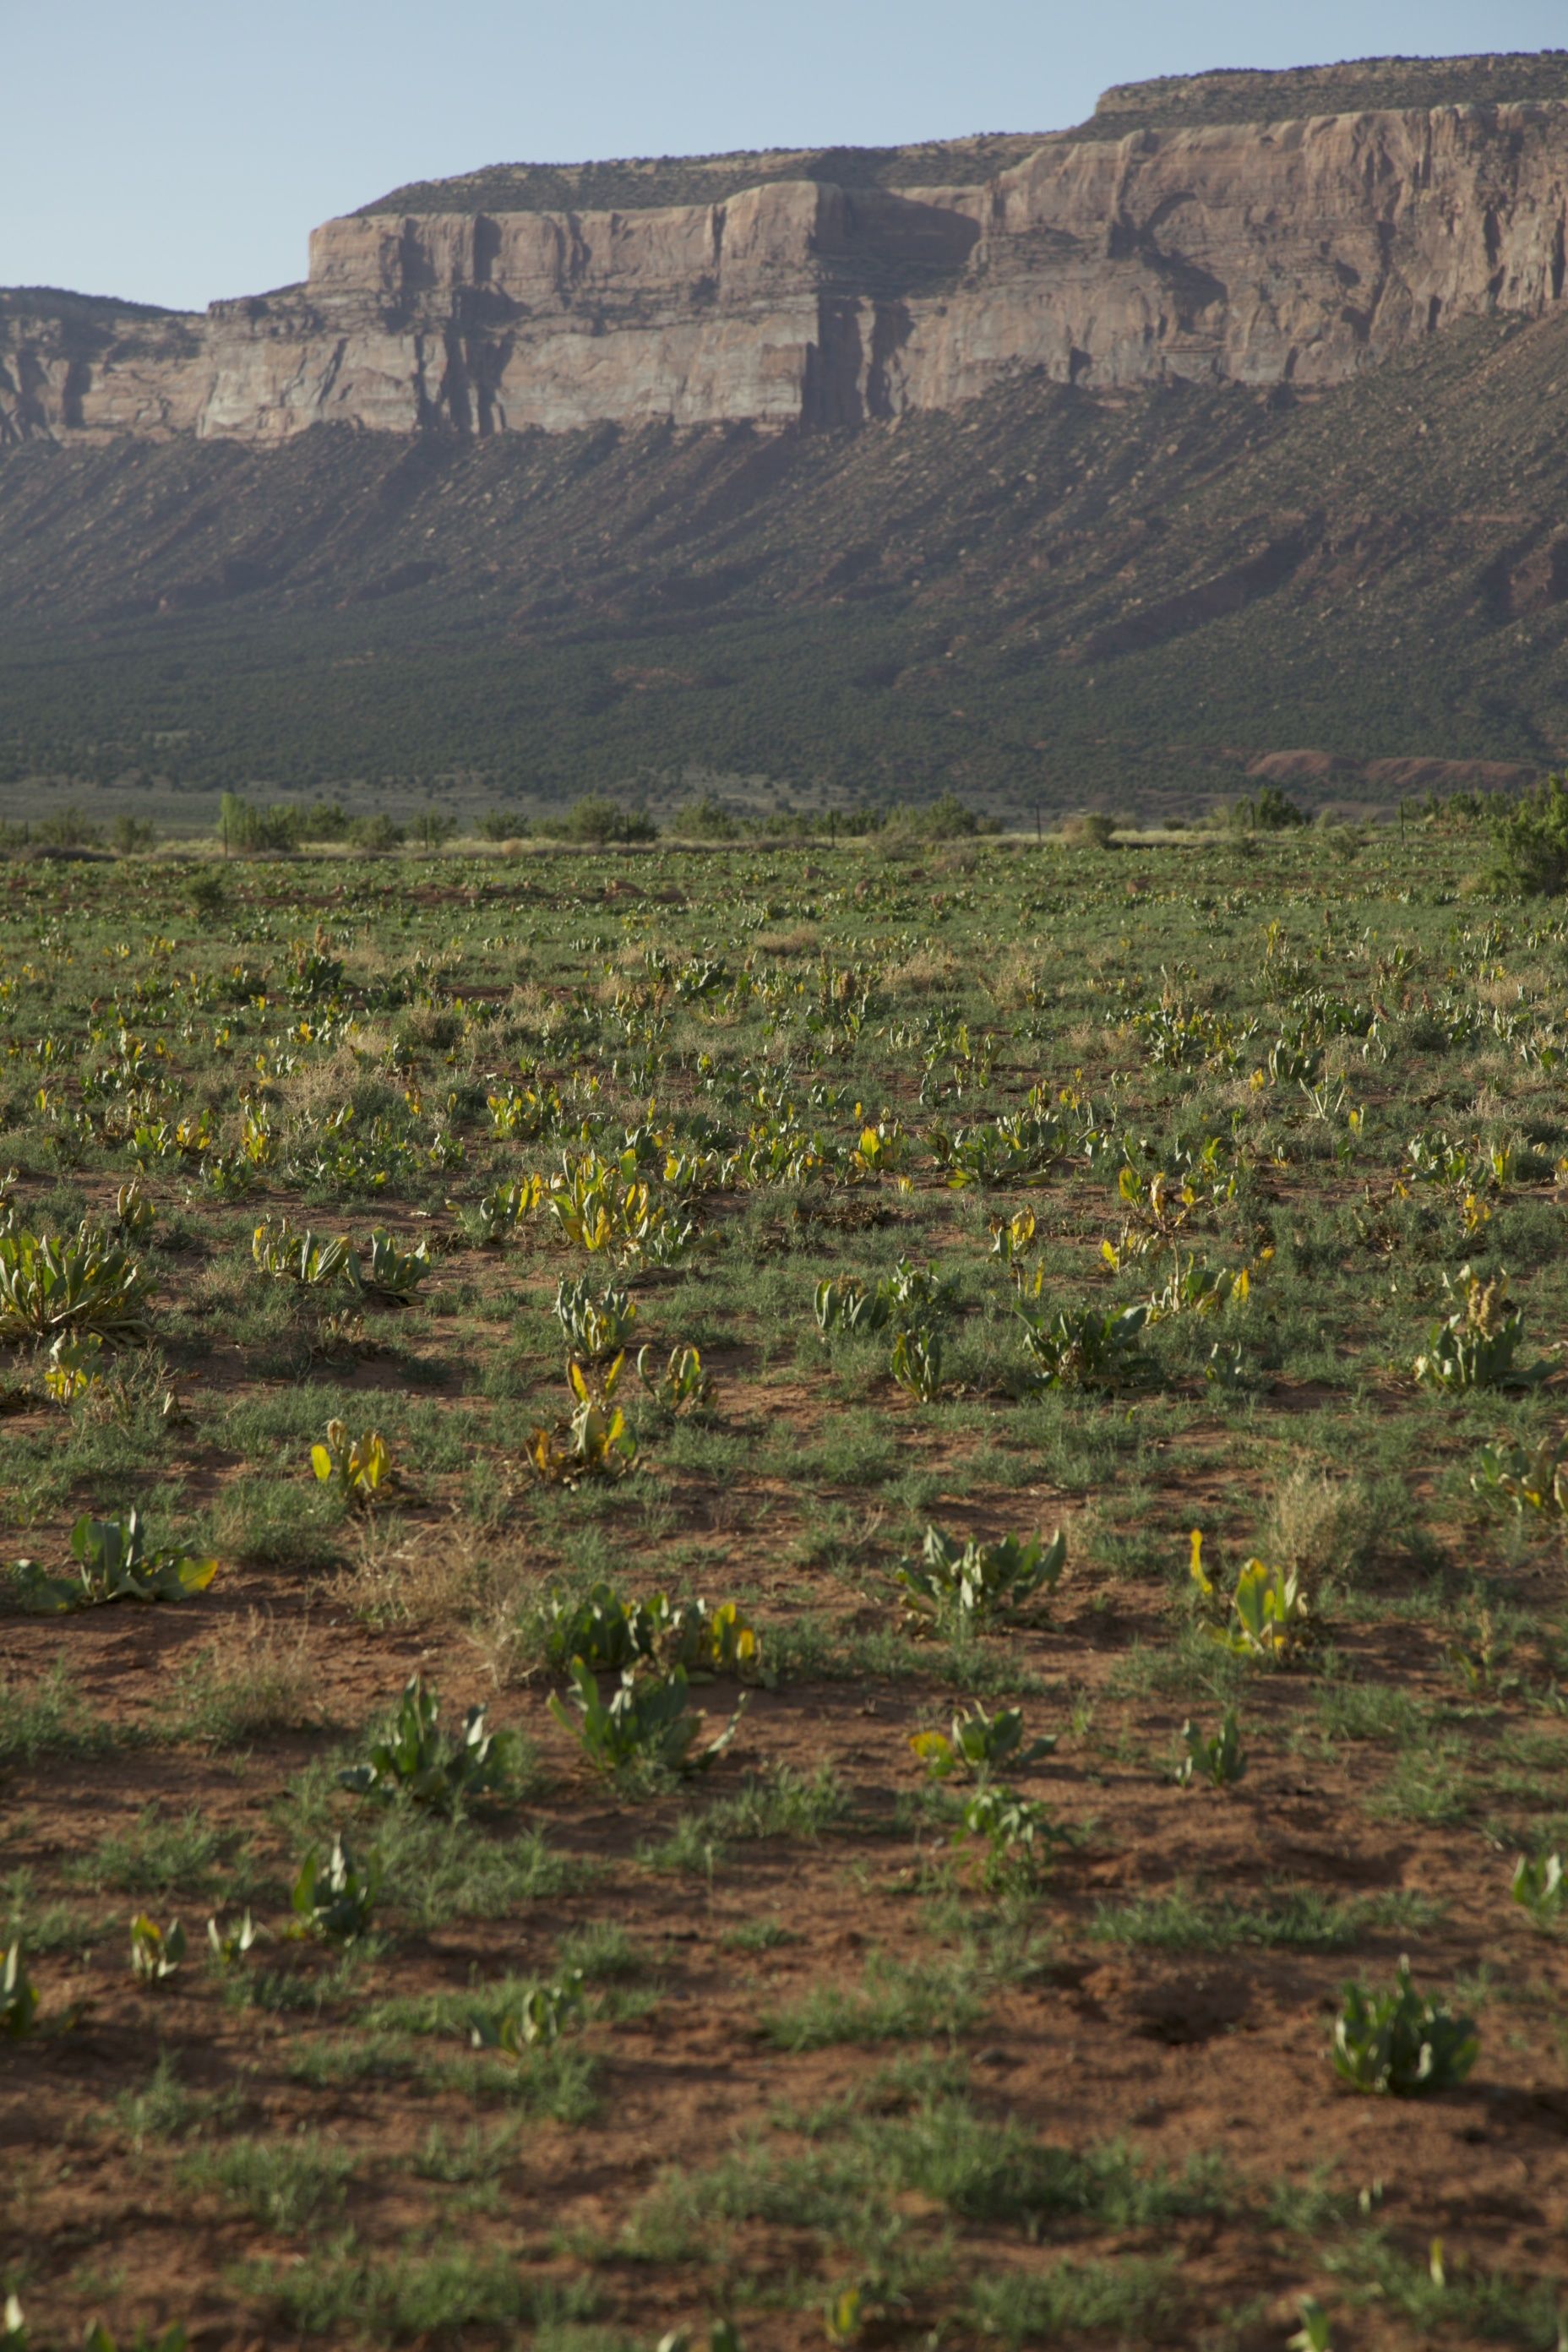
Wild rhubarb on sandy soil in Paradox Valley, western CO (JRMondt photo)
Wild rhubarb emerging in ancient dune soil, Avra Valley , southern AZ (MABurgess photo)
My late friend and mentor, Tohono O’odham Elder Juanita Ahil, would take me to her favorite harvesting grounds at the right time each February and March to collect the rosy stalks–if they had emerged. Over the last 40 years, with deep regret, frustration and anguish, I’ve seen her special “harvesting gardens” go under the blade as development turned wild rhubarb habitat into apartments, golf courses, and strip malls. Hopefully our Arizona Native Plant Society (www.AZNPS.com) will be able to advocate for setting aside some remaining sites on public lands, similar to the BLM Chiltepin Reserve at Rock Corral Canyon in the Atascosa Mountains. Where wild rhubarb was once super-plentiful, they and their habitats are now greatly diminished, even threatened.

Wild rhubarb stalk ready to harvest (MABurgess photo)
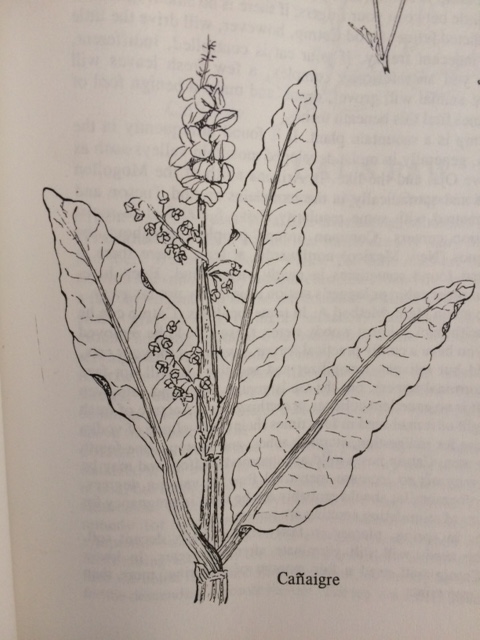
Botanical illustration of wild rhubarb from Medicinal Plants of the Mountain West by Michael Moore, U.NewMexico Press (drawing by Mimi Kamp)
Details of the parts of the plant that Juanita traditionally harvested are shown in Mimi Kamp’s sketch. Contrary to some ethnographic reports, Juanita did not use the leaf petioles for food; she harvested the flower stalks, i.e. the stems, leaving the leaves to make more food for the plants to store for the next season. Traditional knowledge is so attuned to Nature. Hers was an awareness of the plant’s needs balanced with her own appetite. Other reports of traditional use of wild rhubarb mention cooking the leaves after leaching/steaming out the oxalic acid from them which is not healthy to eat.
Juanita would also dig deeply into the sandy soil directly under an unusually large, robust hiwidchuls to harvest one or more (up to maybe 1/4 of the tubers) to use as medicine. I recall her digging a big purplish tuber the size of an oblong sweet potato at a depth of 2 1/2 feet on the floodplain of the Rio Santa Cruz where ball parks now prevent any hiwidchuls growth at all. She would dry it and powder it to use later on scrapes to staunch bleeding. Her hiwidchuls harvesting dress was dotted with rosy brown patches of color dyed from the juice splashed on the cloth when she cut the tubers into slices for drying. (See Jacqueline Soule’s post on this blog from 2014, also Michael Moore’s Medicinal Plants books, for alternate uses.)

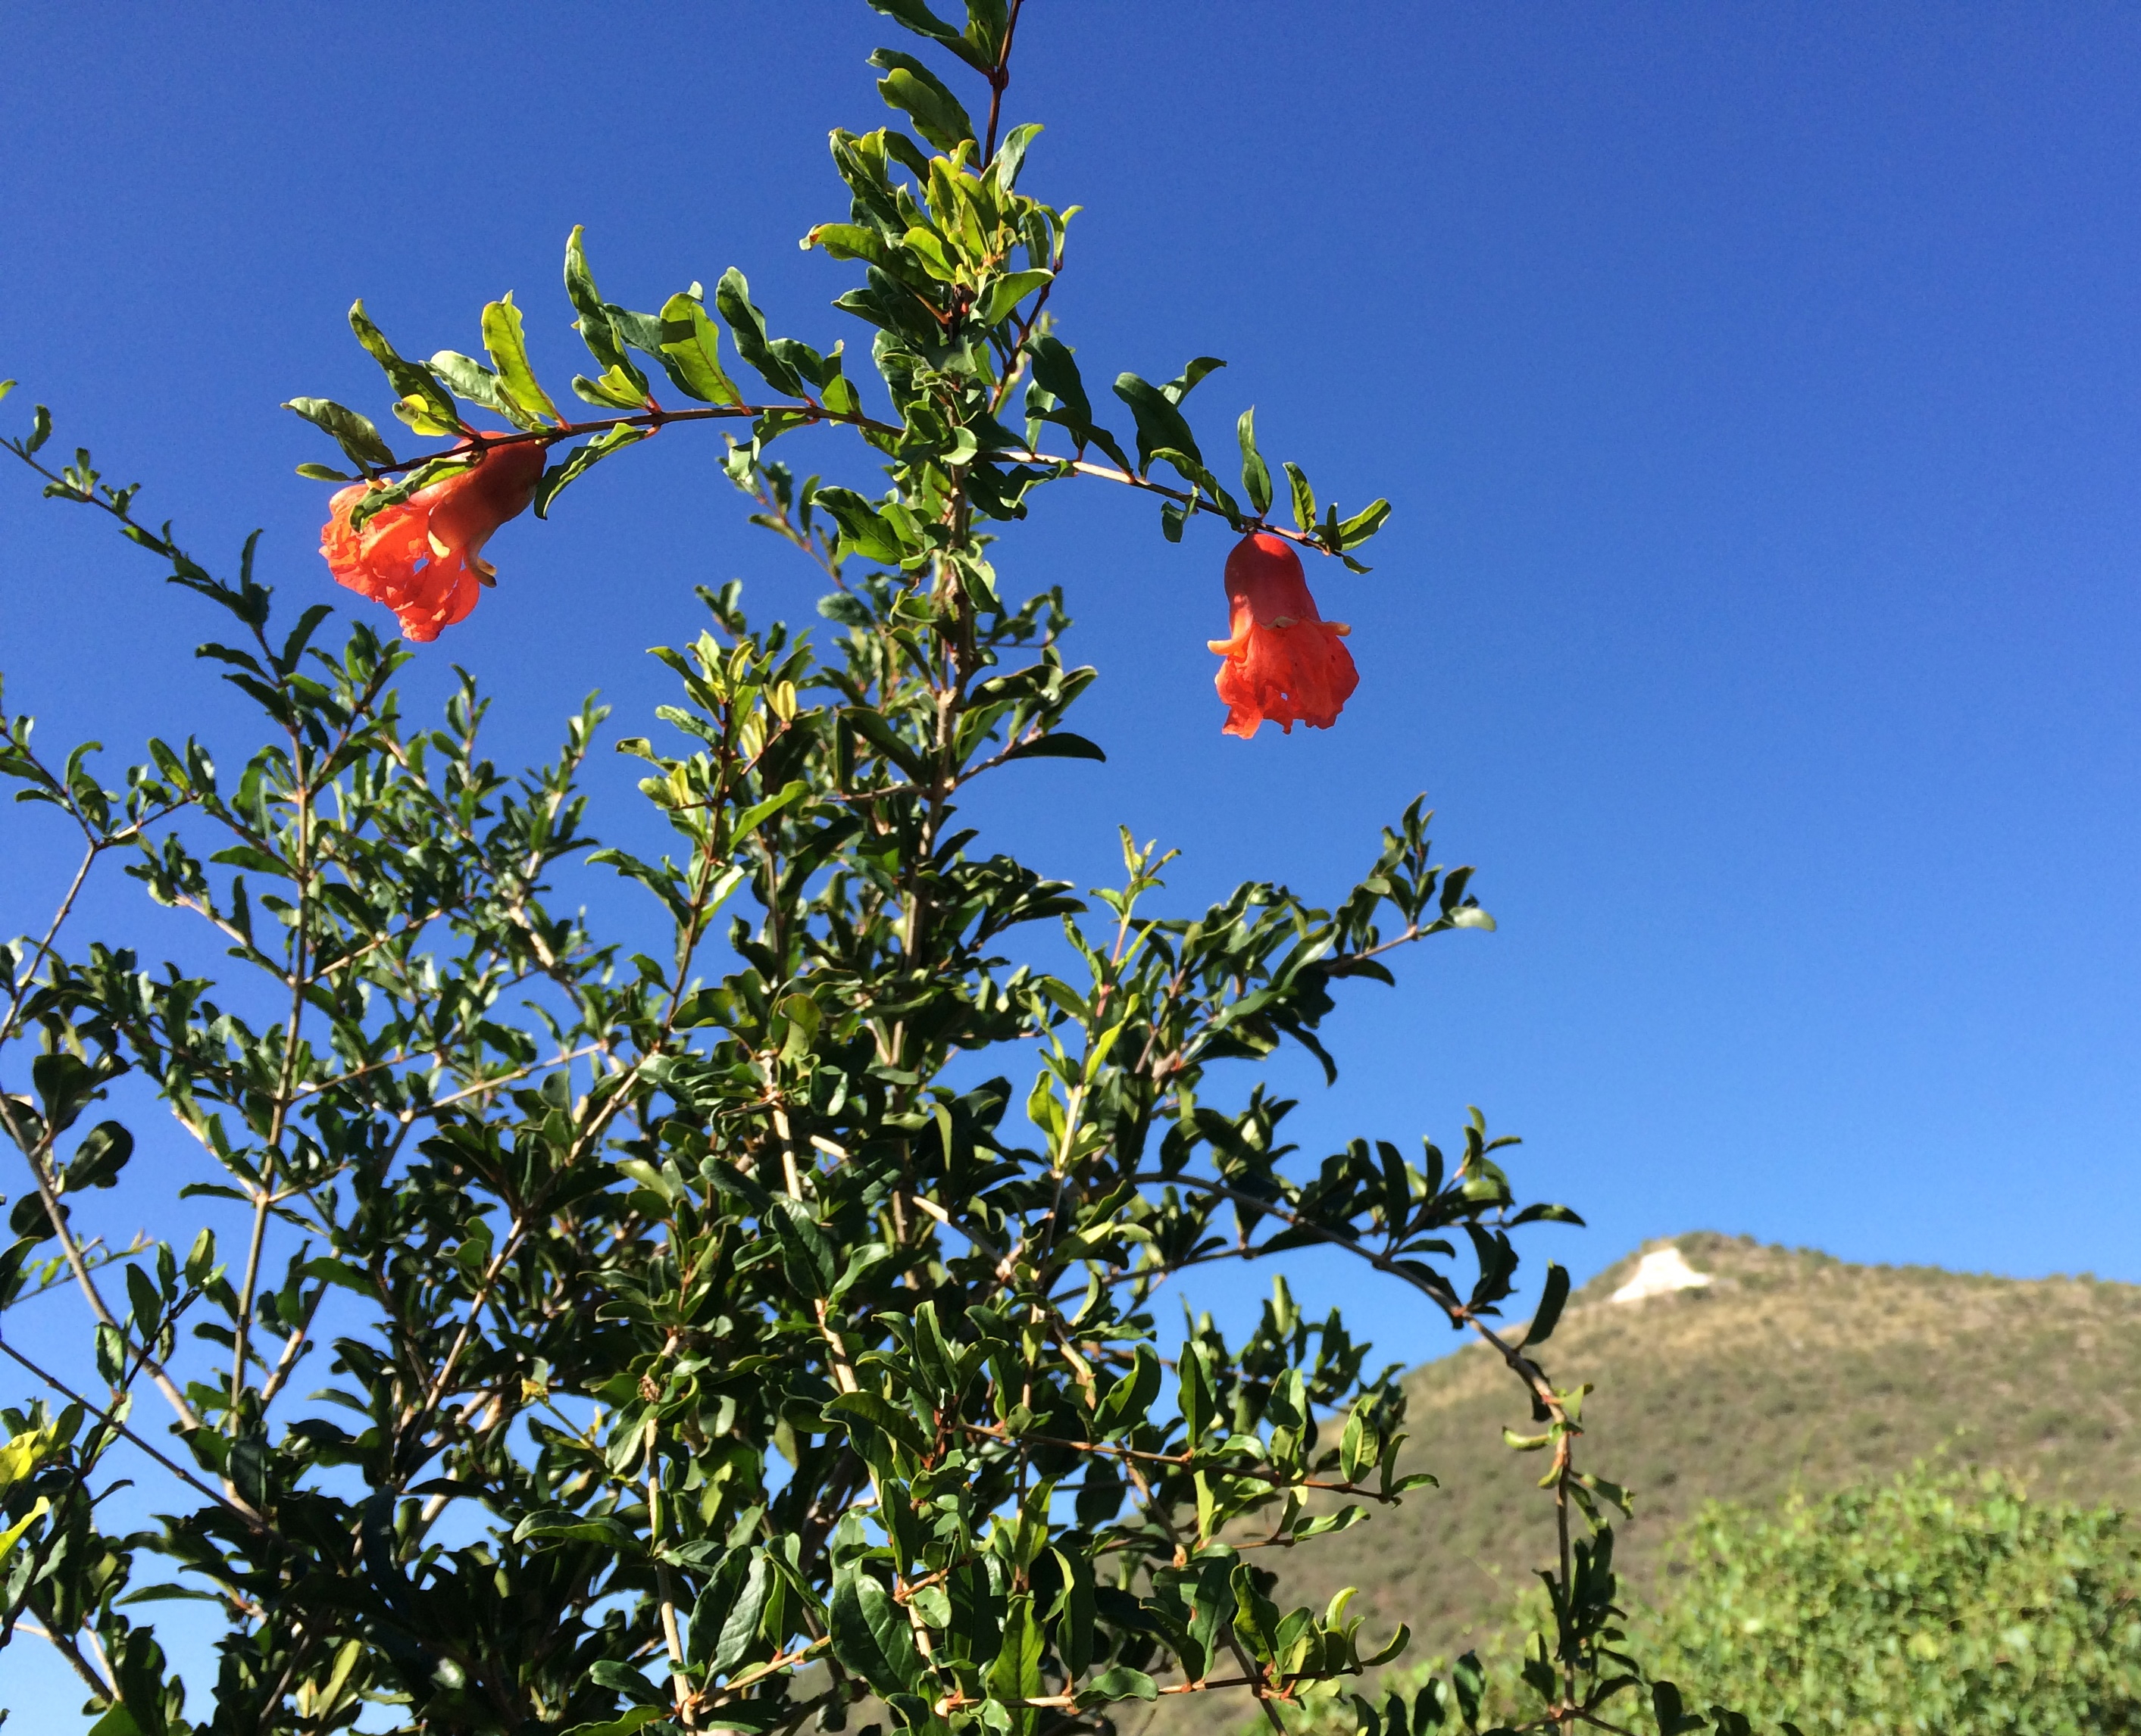
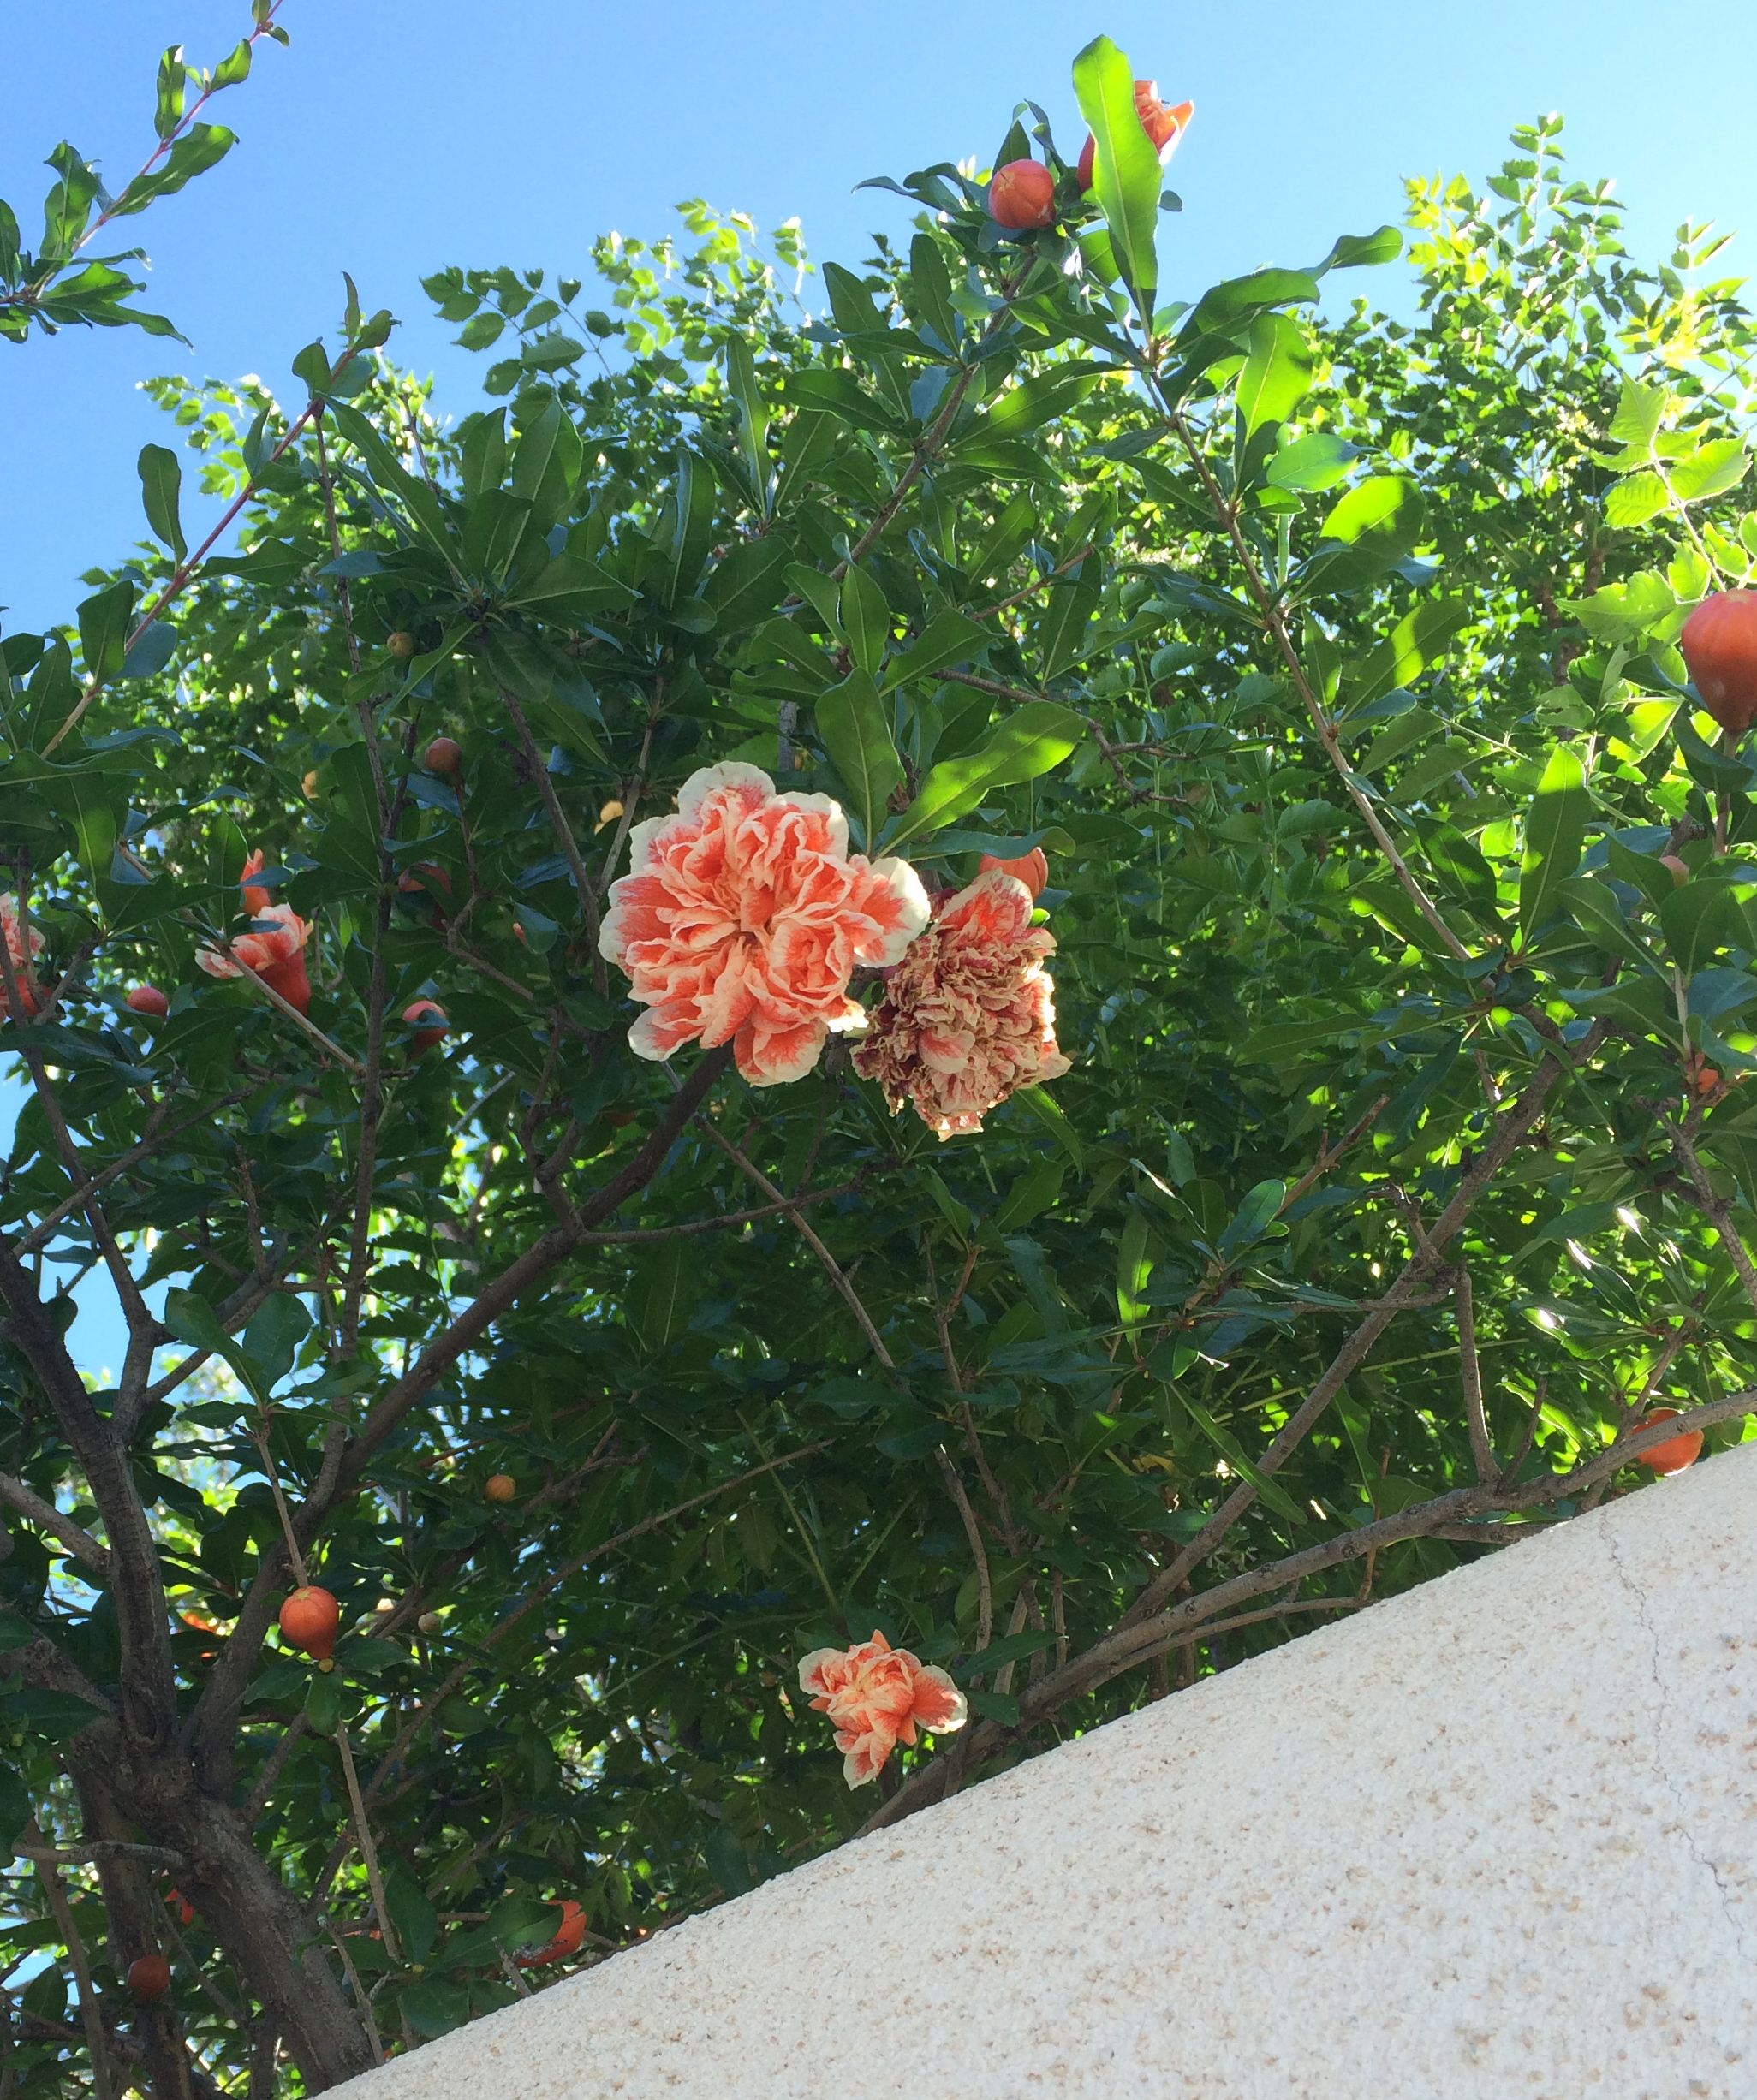
Wild rhubarb flower stalk close-up with buds and flowers typical of buckwheats (MABurgess photo)
Canaigre/wild rhubarb is in the buckwheat family sporting clusters of little flowers that produce winged seeds. Their papery membranes help catch the wind for flying to new planting grounds. The green celery-like flower stalk or stem turns pink or raspberry-tinted as it matures. That was when Juanita would cut the stem at its base to use for her hiwidchuls pas-tild, wild rhubarb pie!

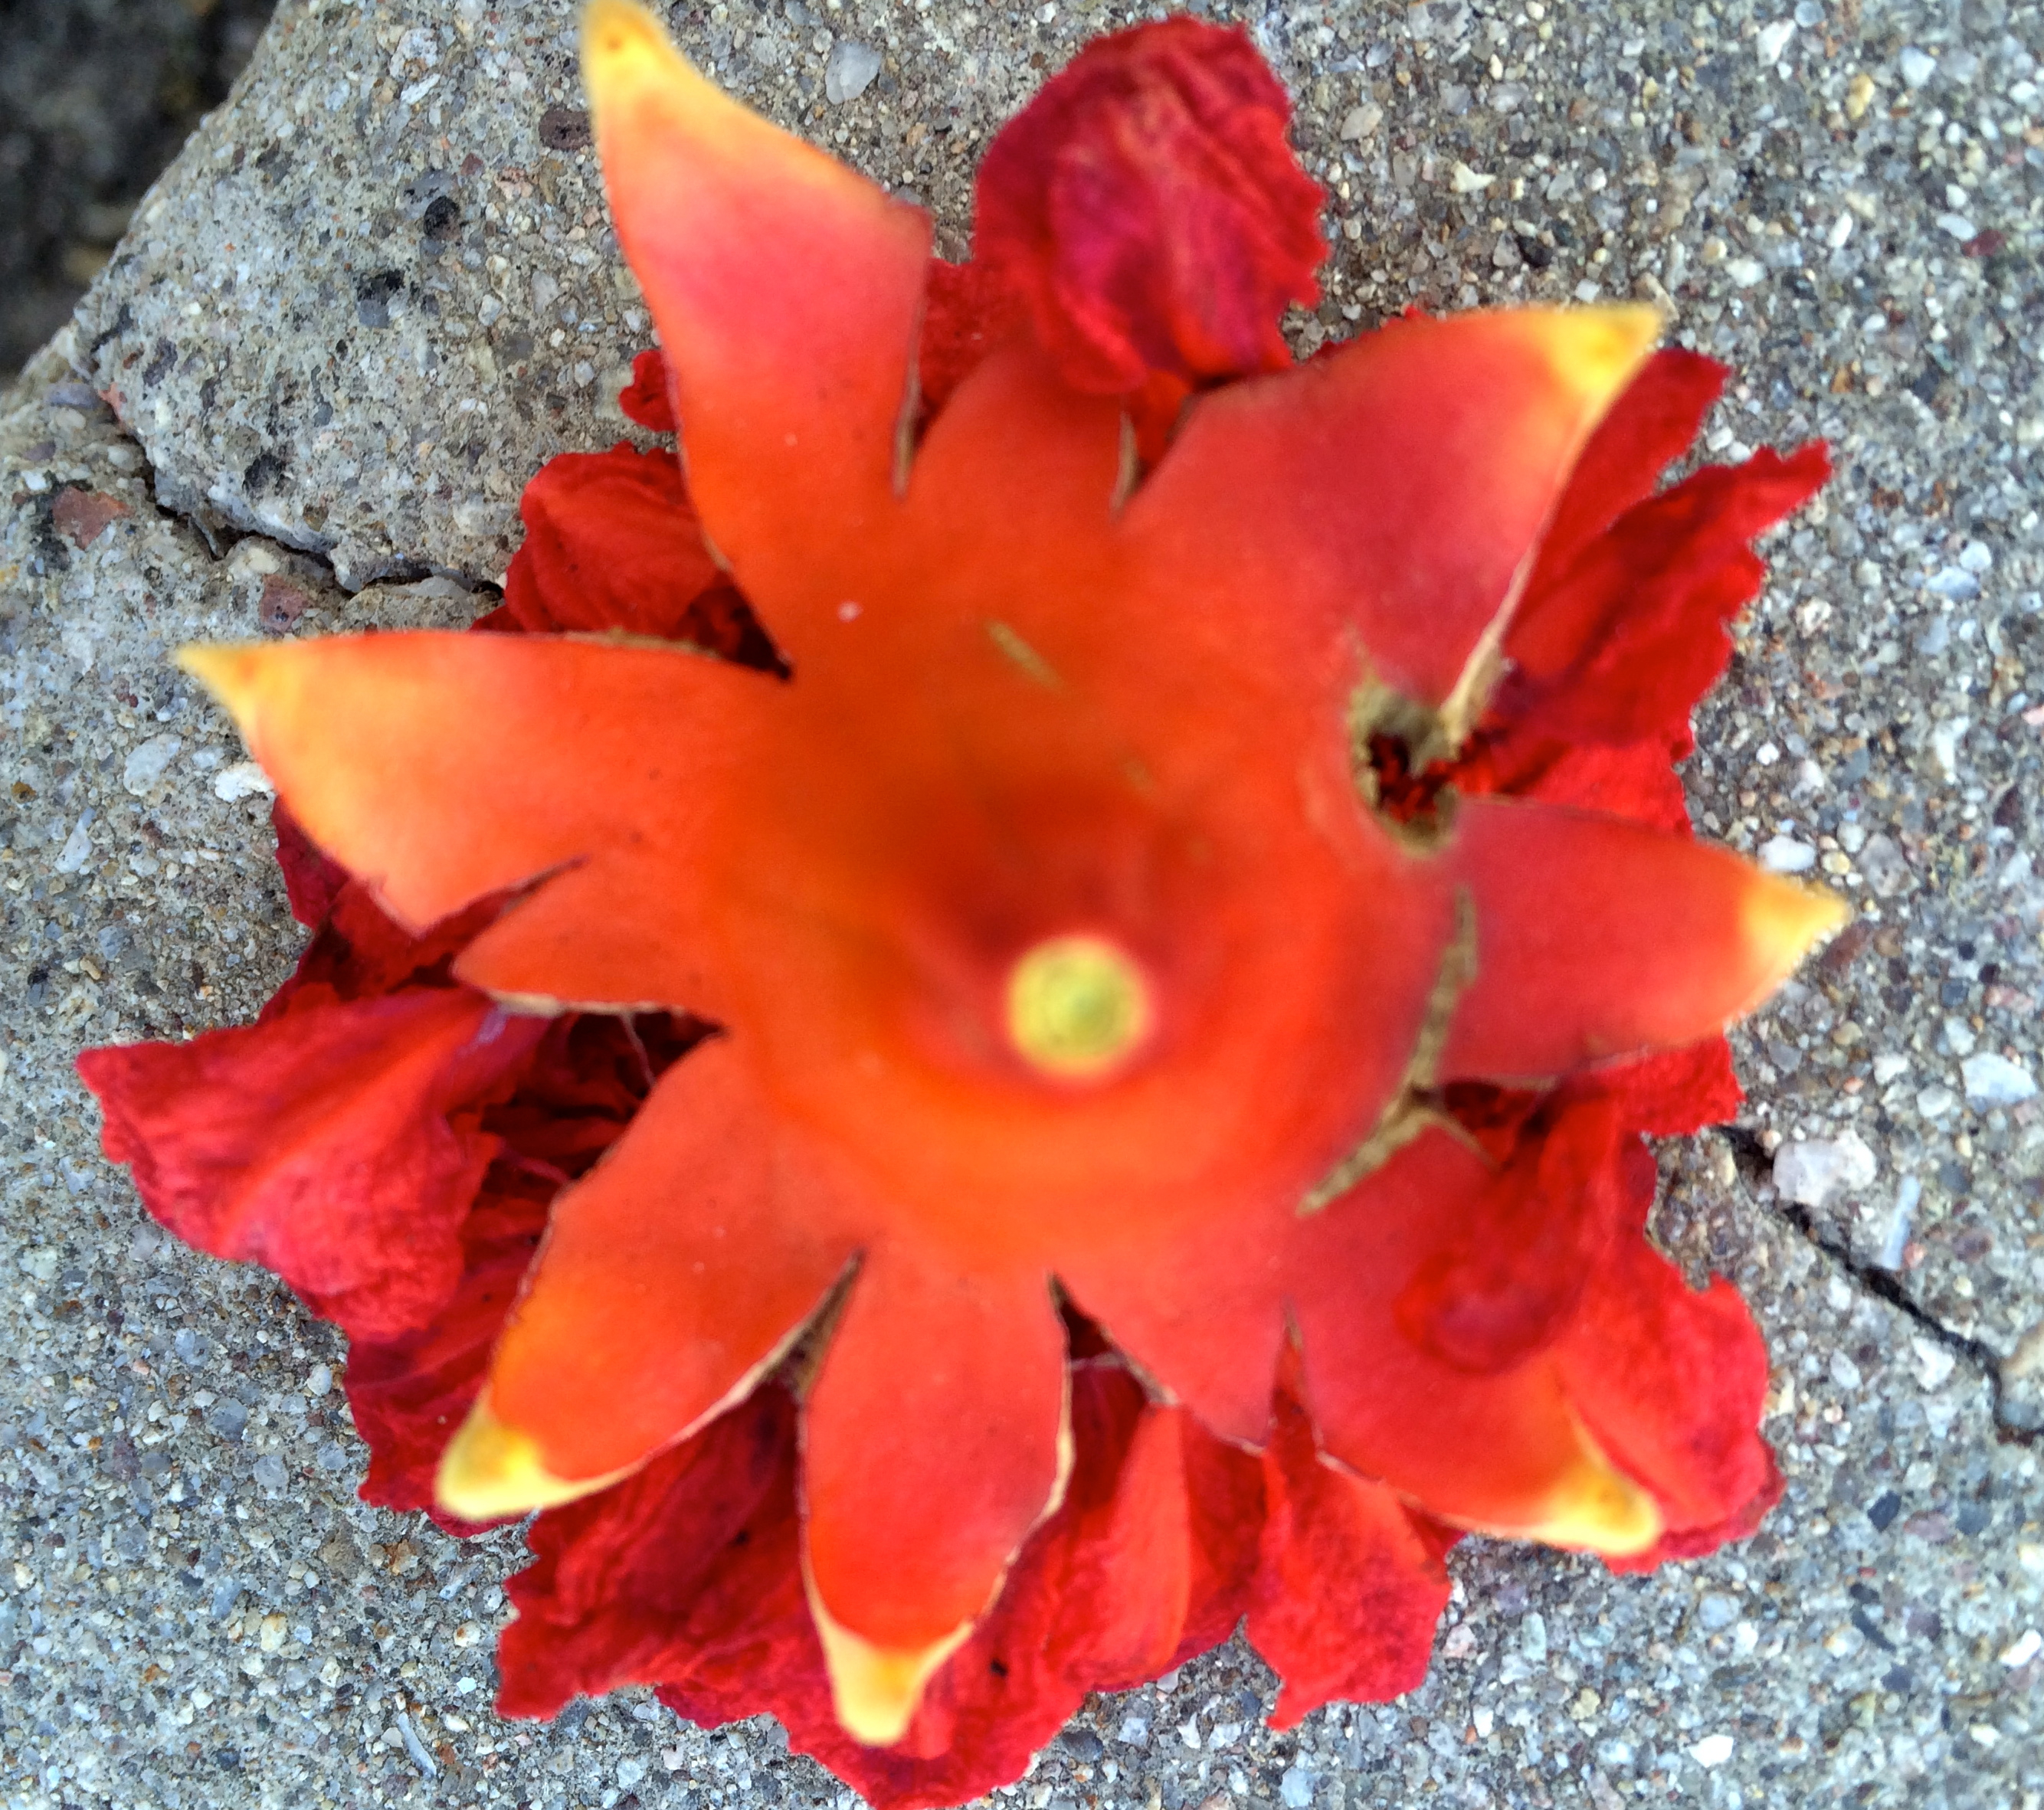
Wild rhubarb stalk with colorful immature seeds forming (MABurgess photo)

Close-up of wild rhubarb’s membranous seeds (MABurgess photo)
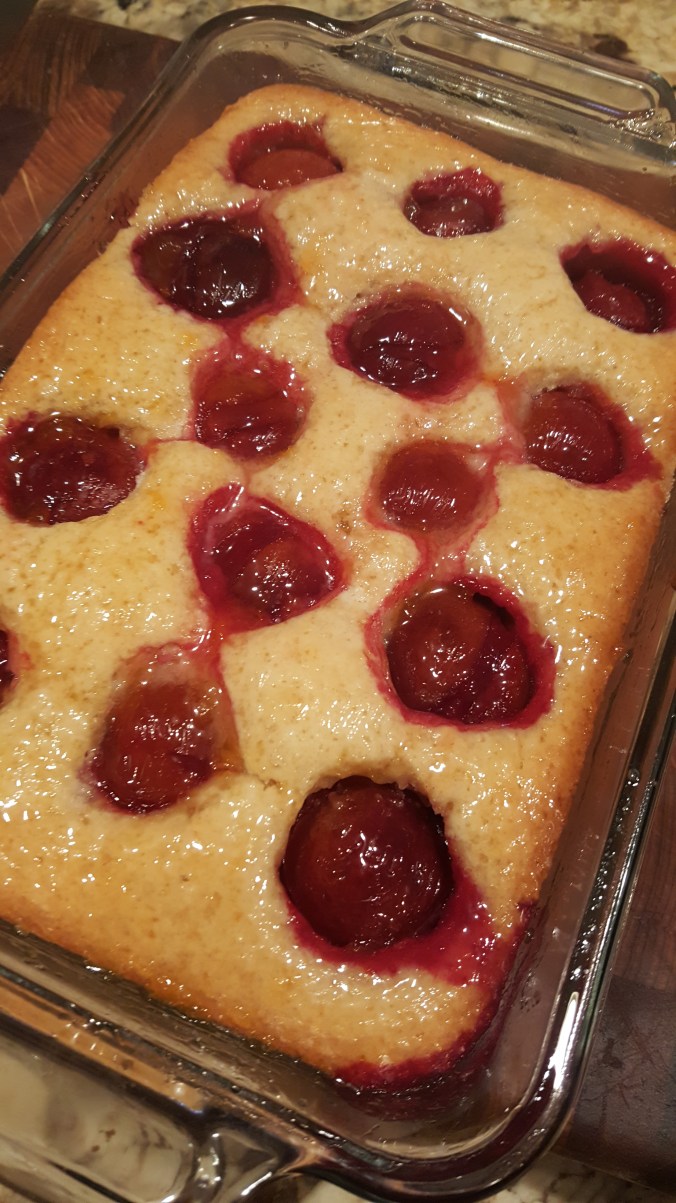
In a good year, Juanita would harvest literally bundles of hiwidchuls stalks and we would set to work baking. Her pies were sweet and tangy. Here is what she would roughly put together in her off the cuff recipe. But almost any rhubarb pie recipe should work with the wild rhubarb. You can find great info on Southwest Native uses of canaigre in Blog-Sister Carolyn Niethammer’s book American Indian Food and Lore.
Juanita’s approximate Hiwidchuls Pas-tird RECIPE
Ingredients:
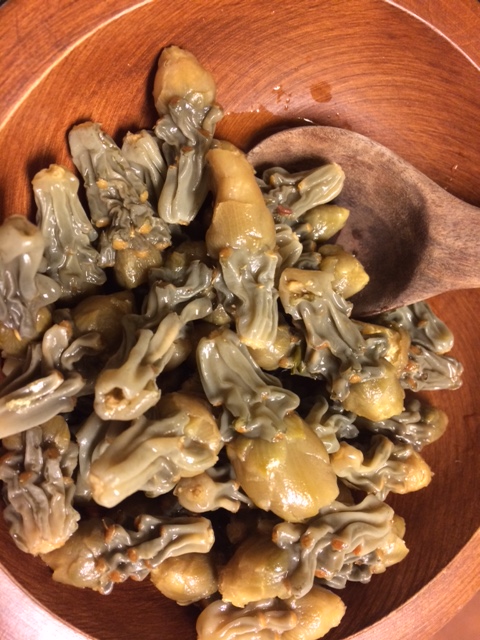
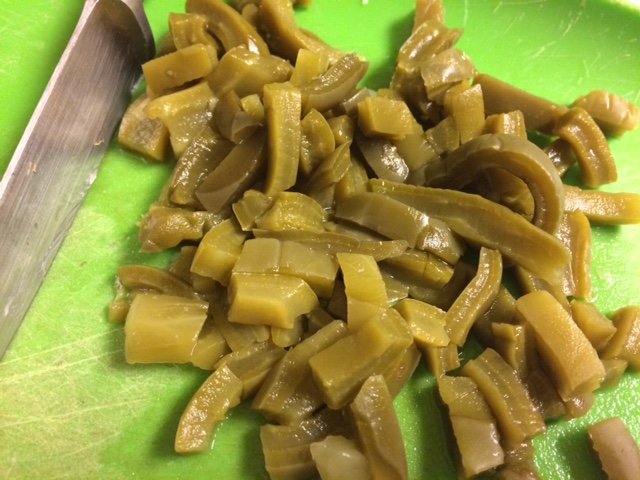
ca 4-6 cups chopped young wild rhubarb stems
1/4-1/2 cup white Sonora wheat flour
2-3 Tbsp butter
ca 2 cups sugar
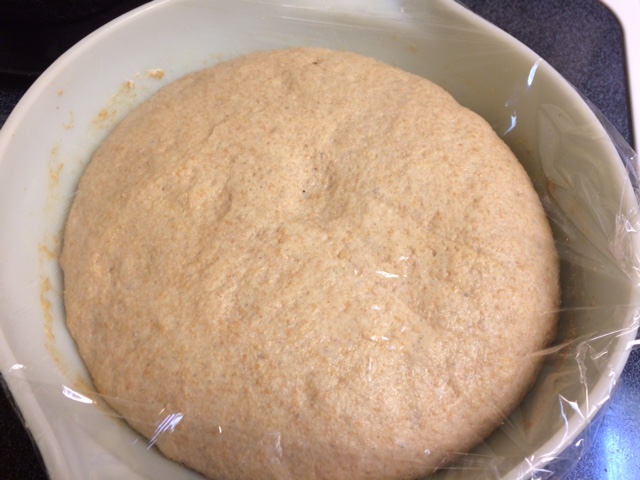
pie crust–2 layers for top and bottom, or bottom crust and top lattice crust (A good variation is mesquite flour added to your crusts)
Directions: Prep stems ahead. Preheat oven to 450 F. Chop young rhubarb stems in 1/2 inch cuts. Stems are full of vascular bundles and can become very fibrous as stems become fully mature, so youthful stems are best. (Be warned: One year we harvested a little too late and our pies were so “chewy” with fiber that we had to eat our pies outside in order to be able to easily “spit out the quids.”) Cook hiwidchuls chopped pieces in a small amount of water until tender. Add in sugar, butter and flour and cook until mixture is thickening. Pour mixture into your pie crust. Cover with top pie crust and pierce for steam escape, or cover with lattice crust. Begin baking in hot oven (at 450F) then reduce heat to medium oven (350F) for 45-50 minutes or until crust is golden brown and juice is bubbling through lattice or steam holes. Enjoy it hot or cold!
Wild rhubarb stalk ready to harvest (MABurgess photo)
Now let’s head out into the desert washes to see if there are more stands of hiwidchuls popping up out of the ground, making solar food to keep themselves and other creatures alive and well! Let’s get ready to be collecting their seeds (which also were used traditionally by Native People as food) in order to propagate and multiply them, adding them to our gardens for future late winter shows of color, good food and good medicine. Happy gardening and eating from Tia Marta and traditional knowledge shared!