It’s Carolyn today and I’m out in my garden to pick some delicious and healthy vegetables to bring you a season-spanning recipe. If your Ficus Indica prickly pear (the Mexican tall kind) sent out its leaves a little late this spring, you probably have a few smaller pads that are still tender enough to cook. Combine those with the purslane in your summer garden for a delicious vegetable side dish or taco filling. If you don’t have your own cactus. you can always pick up some nopal pads at any Mexican grocery store. If you buy the kind already cleaned, you’ll need to use them right away as once they are scraped, they go bad quickly. We have previously discussed how to clean prickly pear pads here.
We’ve also discussed purslane previously in this blog here, but I’ll copy the nutritional information because it is so important:
It’s sad but true that right now people are out in their yards pulling these plants out and tossing them in the garbage (or compost for the more enlightened). They should be tossing them in the wok or frying pan (see recipe below.) Purslane provides six times more vitamin E than spinach and seven times more beta carotene than carrots. It’s also rich in vitamin C, magnesium, riboflavin, potassium and phosphorus. One cup of cooked purslane has 25 milligrams (20 percent of the recommended daily intake) of vitamin C.
Especially important to those of us eating a modern diet, purslane is very high in an essential omega-3 fatty acid called alpha-linolenic acid (ALA). Omega-3s are a class of polyunsaturated essential fatty acids. Your body cannot manufacture essential fatty acids, so you must get them from food. Certain fibers also help in controlling blood sugar.
If your aren’t familiar with purslane or verdolagas, here’s a closeup photo:

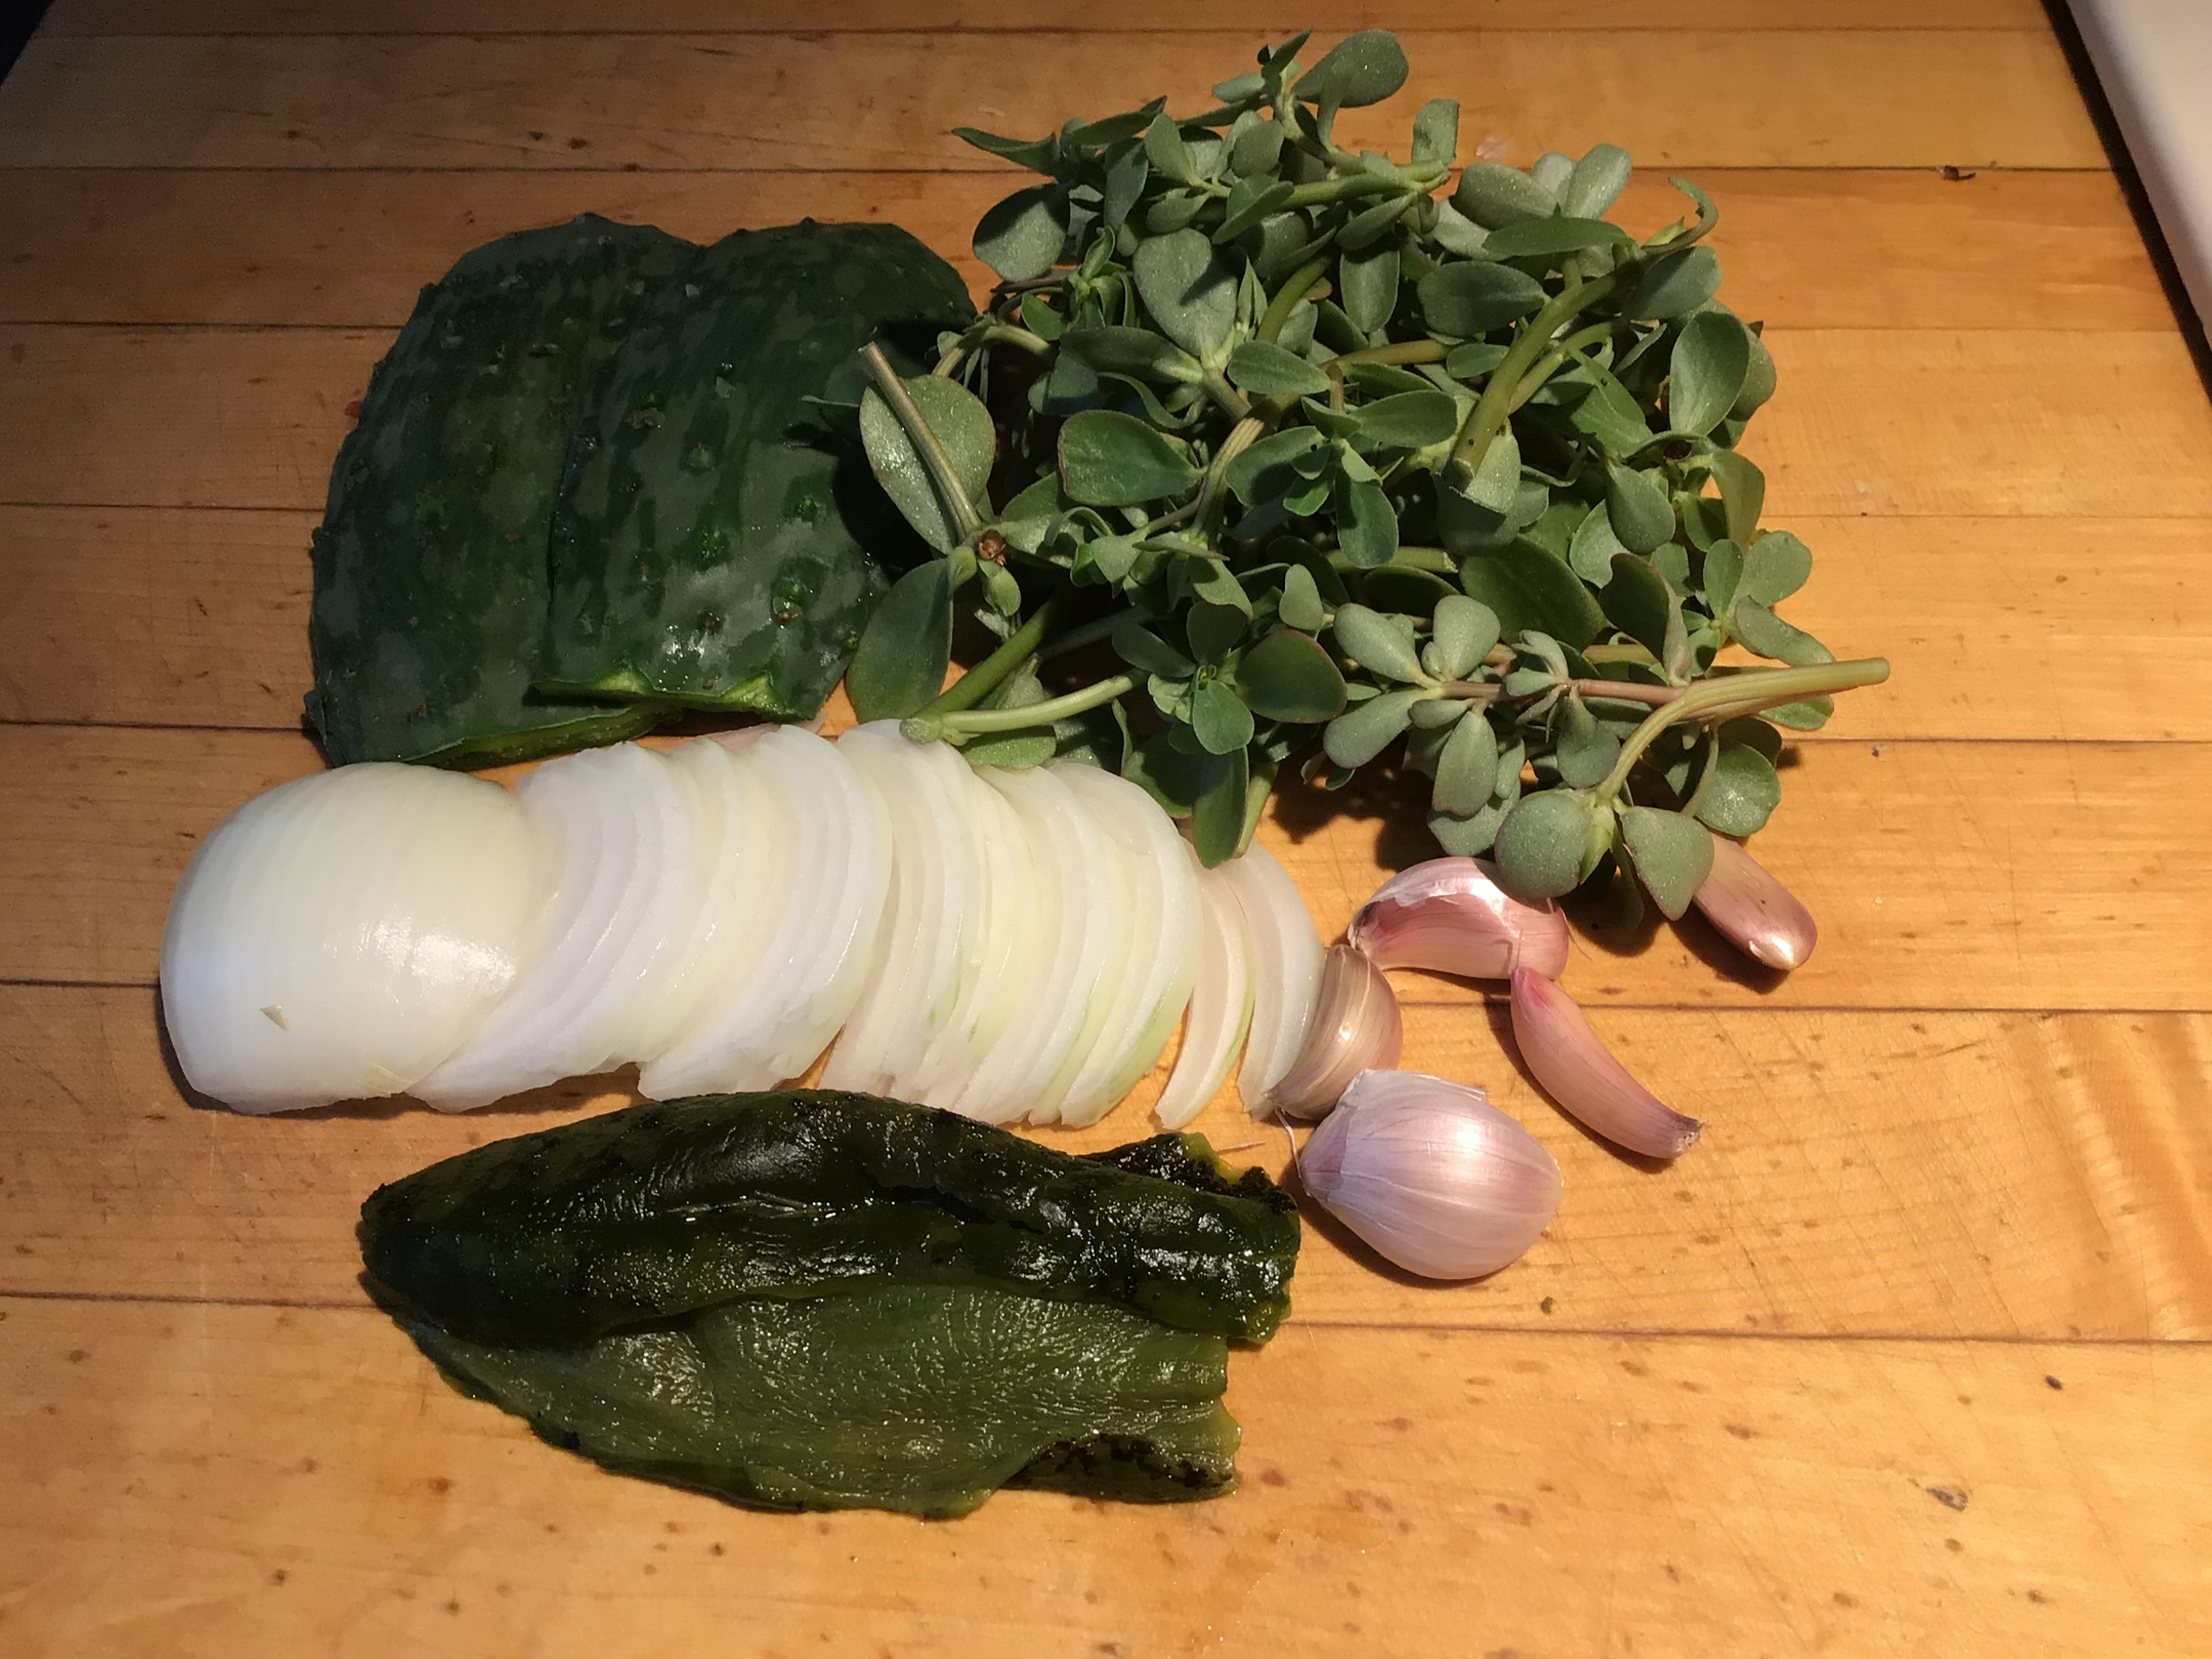
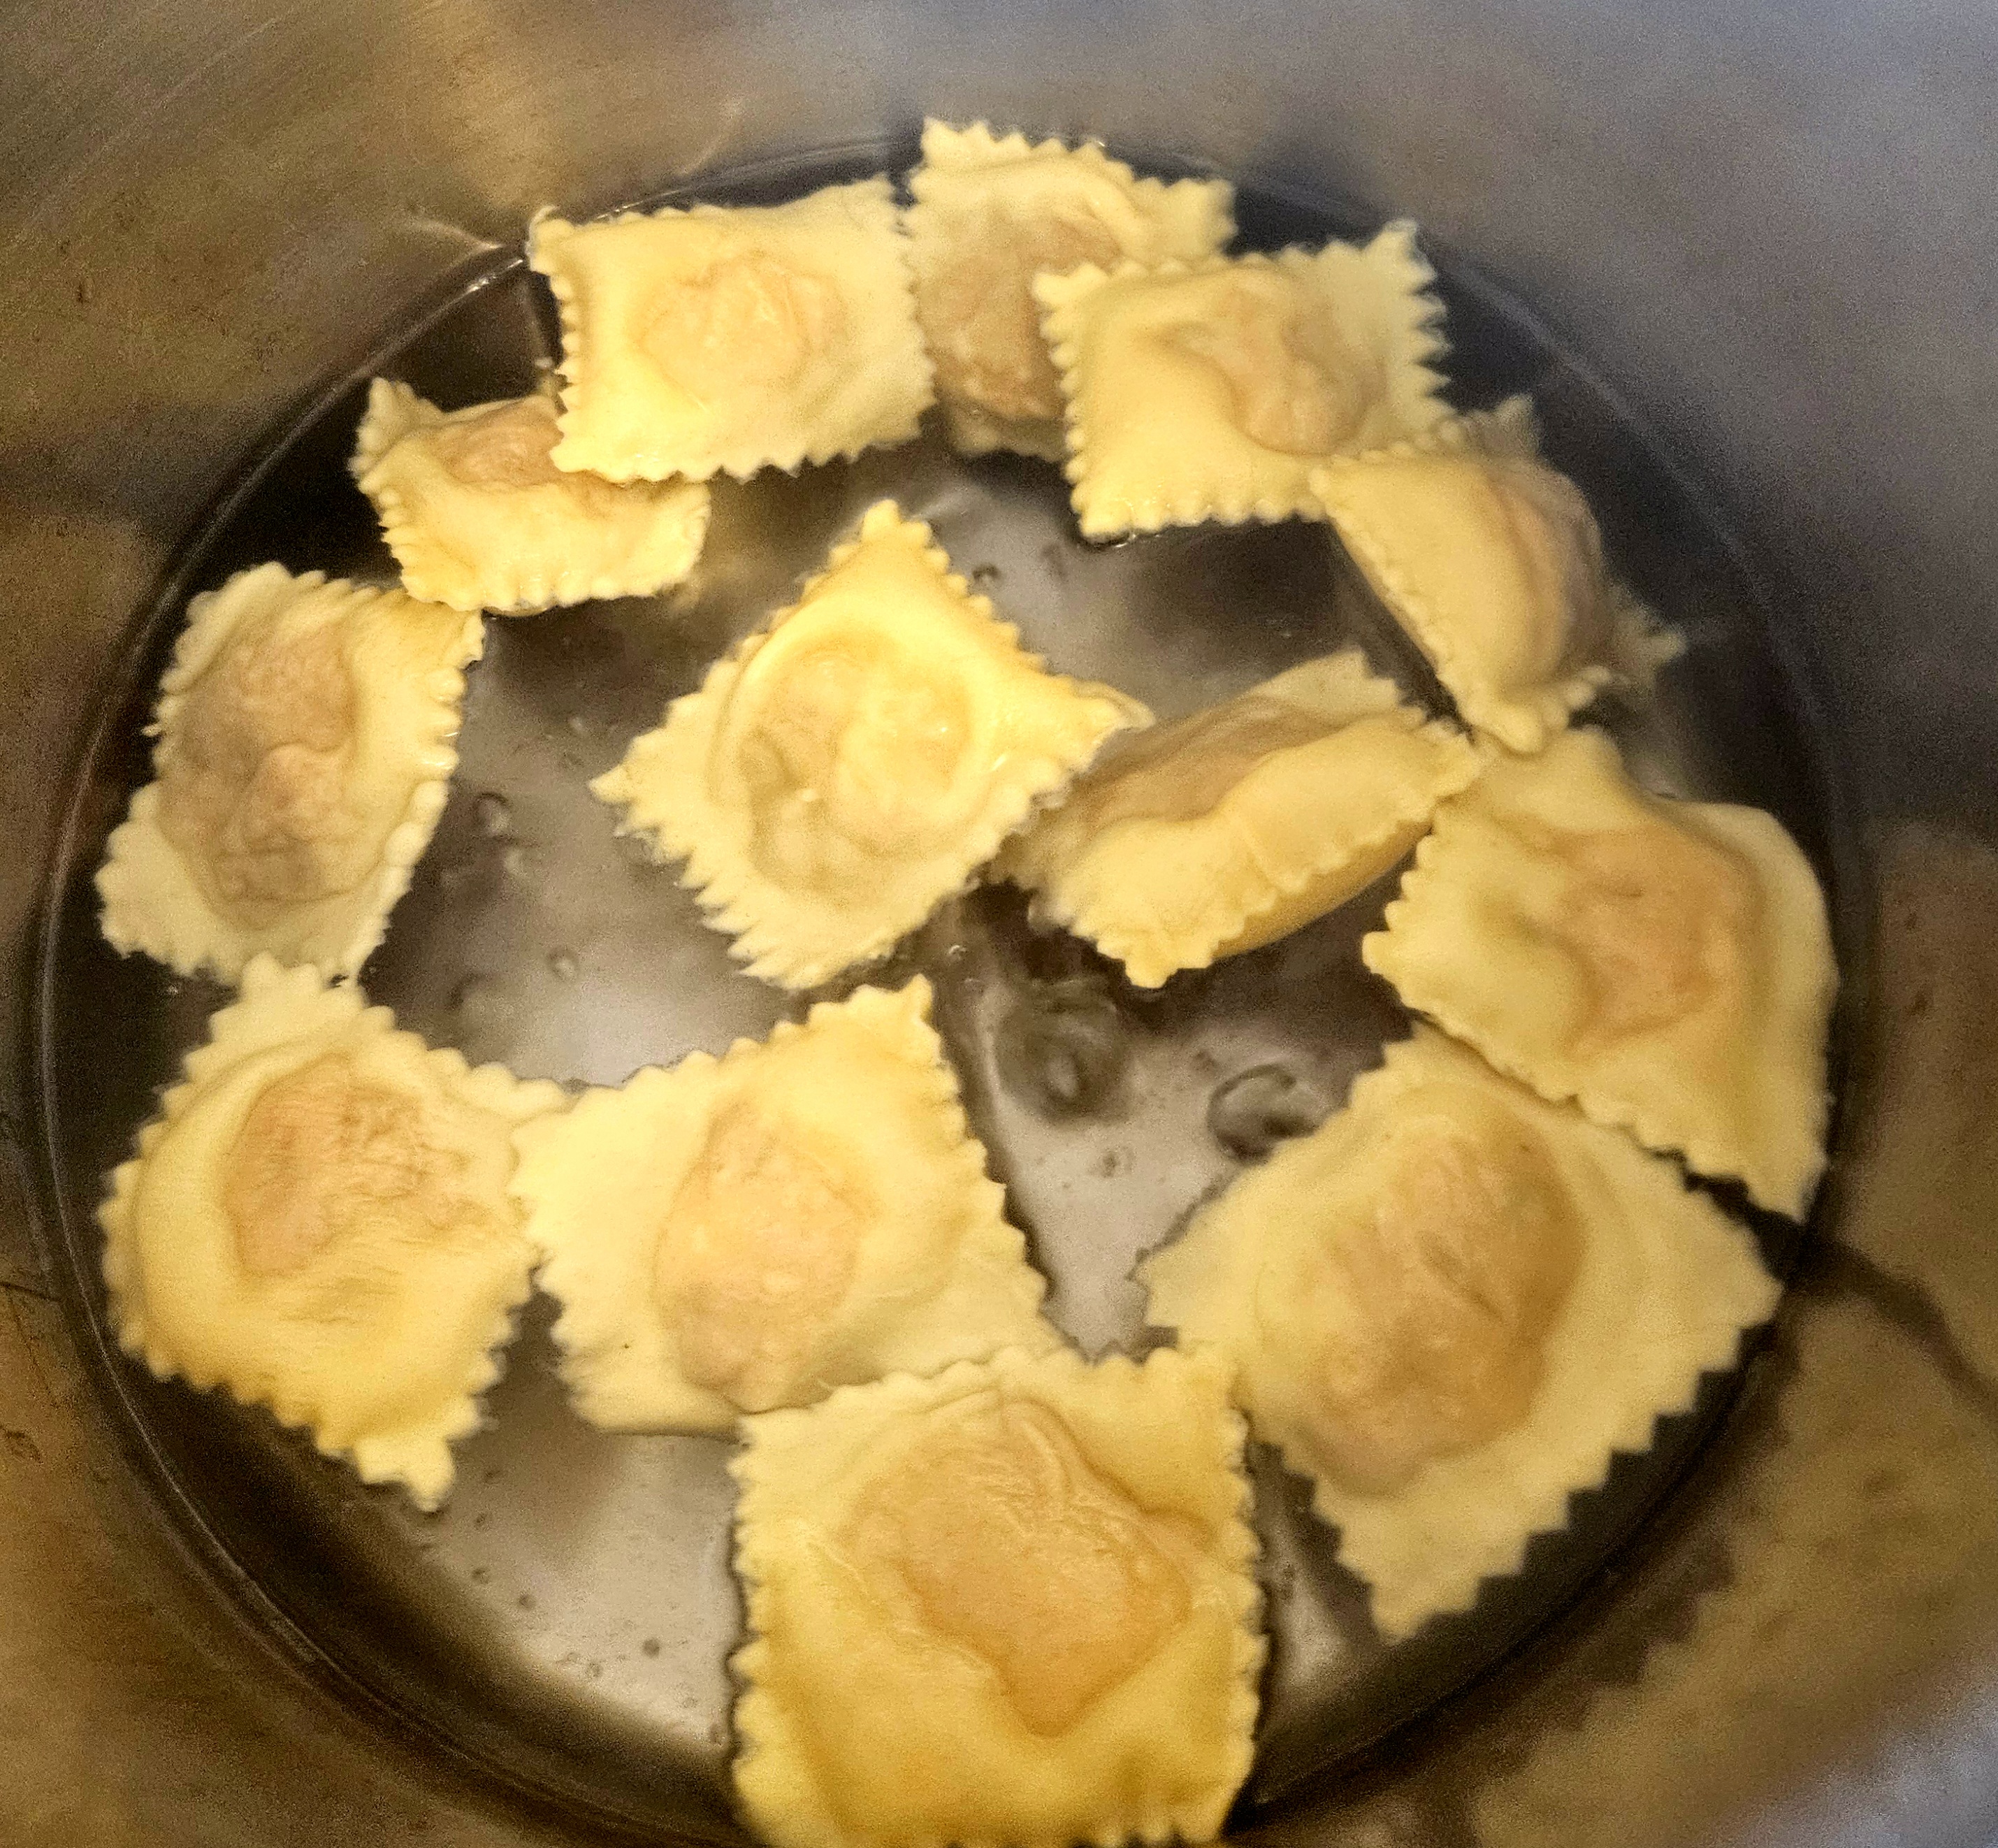
Here are all your ingredients for the tacos: (top) prickly pear leaves and purslane, (bottom) onion slices, garlic and poblano chile.
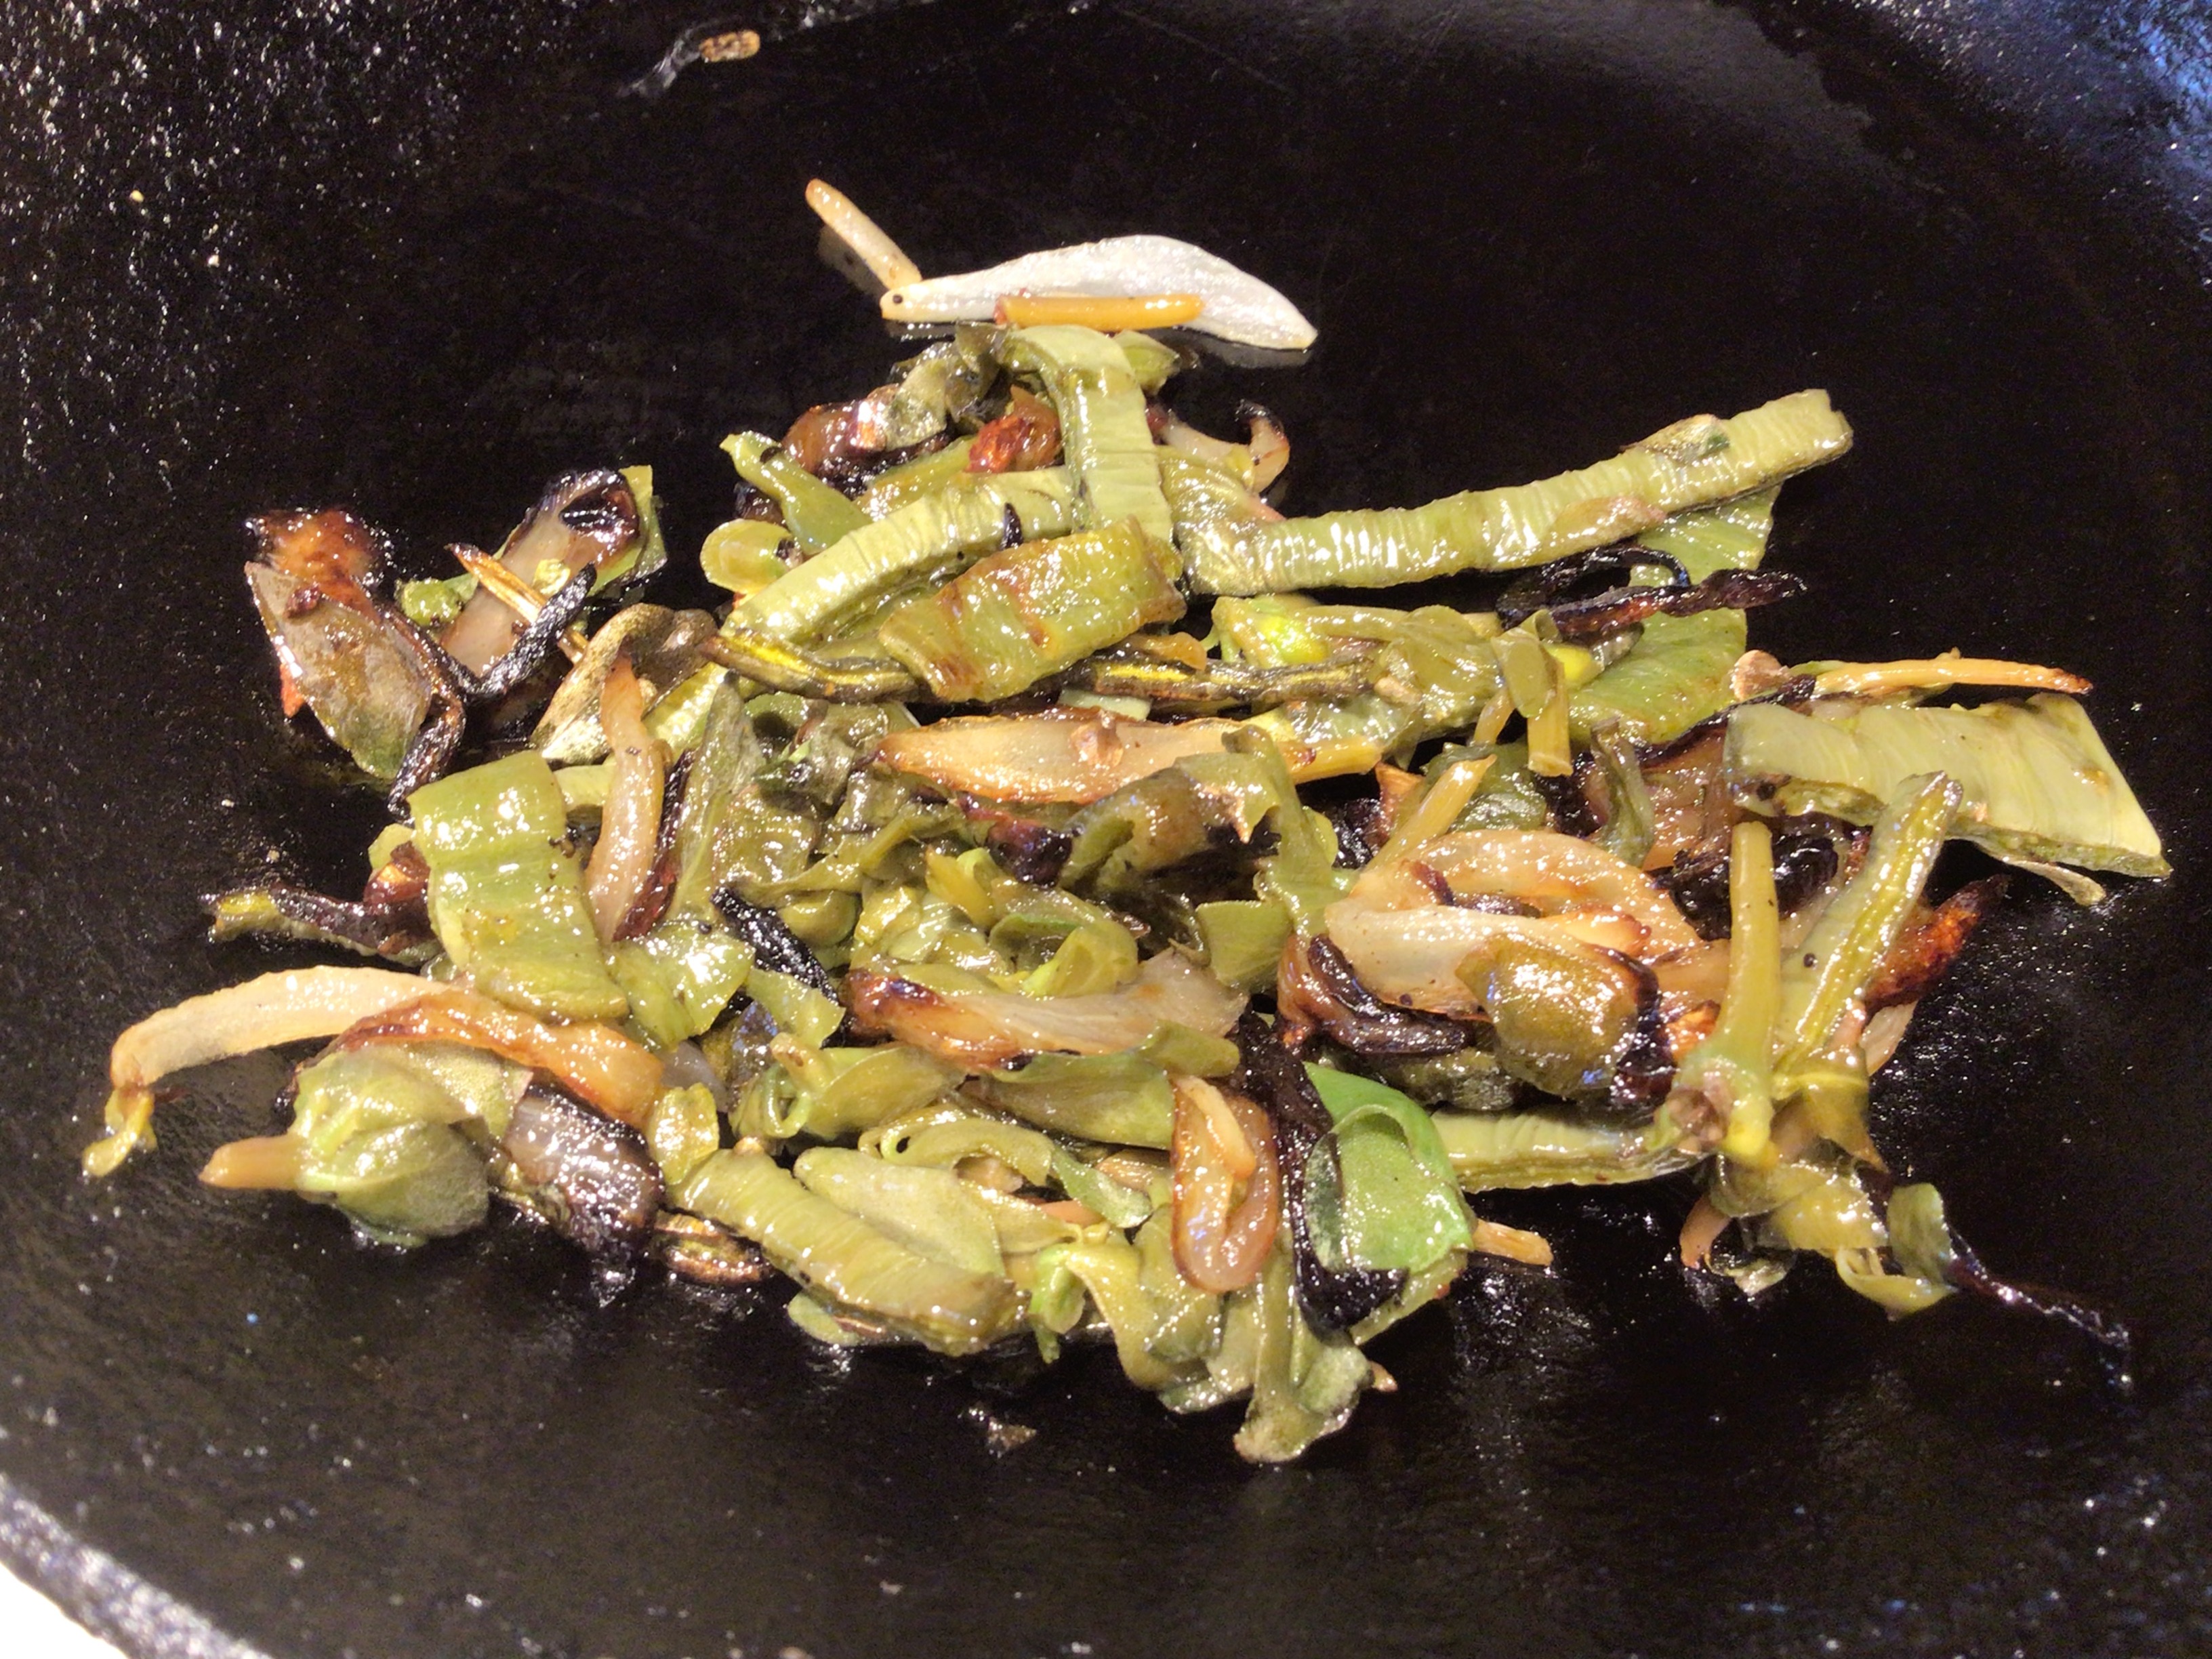
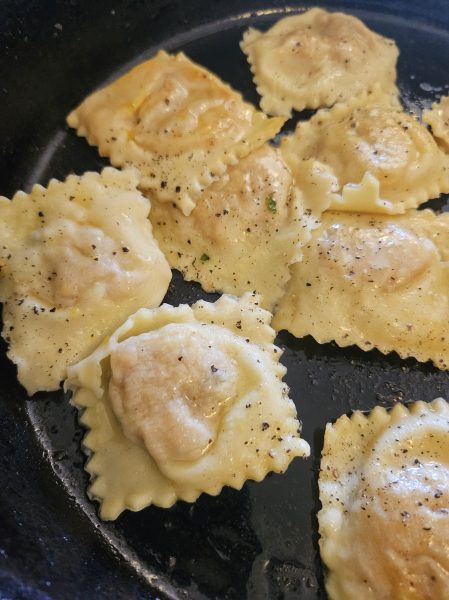
This is what the ingredients will look like cooked.
Sonoran Summer Tacos
2 2×4-inch prickly pear pads or equivalent
½ white or yellow onion
2 cloves garlic, minced (1 teaspoon)
2 tablespoons neutral vegetable oil
1 cup verdolaga (purslane), packed
1 roasted, peeled, cleaned Anaheim or poblano chile, cut into pieces
(or 2 tablespoons chopped canned green chiles)
4 corn tortillas or small flour tortillas
2-4 tablespoons crumbled cotija cheese or cheese of choice
Using rubber gloves, clean the stickers from the prickly pear pads. Rinse and cut into pieces 2 inches by 1/8 inch (roughly the size of a wood matchstick.) Set aside.
Cut the onion into thin strands by cutting from the root to the stem (not crosswise). Add the oil to a heavy frying pan and begin sautéing the onion over low medium heat. You want it to cook slowly until soft and light brown. After about 10 minutes, add the garlic. While that is happening, you can prep the rest of the ingredients.
Cut the fresh chile into pieces about 1 inch by 1/8 inch. Chop the verdolagas (purslane) roughly. After 10-15 minutes when the onions are ready, stir in the greens and chile and continue to cook.
Coat a heavy frying pan with a light spray of oil and soften the tortillas. Divide the vegetables among the tortillas. Sprinkle with cheese and fold over.
Every recipe writer whether for a blog or cookbook, needs a taste tester. Is it good? Would you eat it again? Here is my taste tester who has eaten his way through five cookbooks and dozens of these blog posts over forty years.
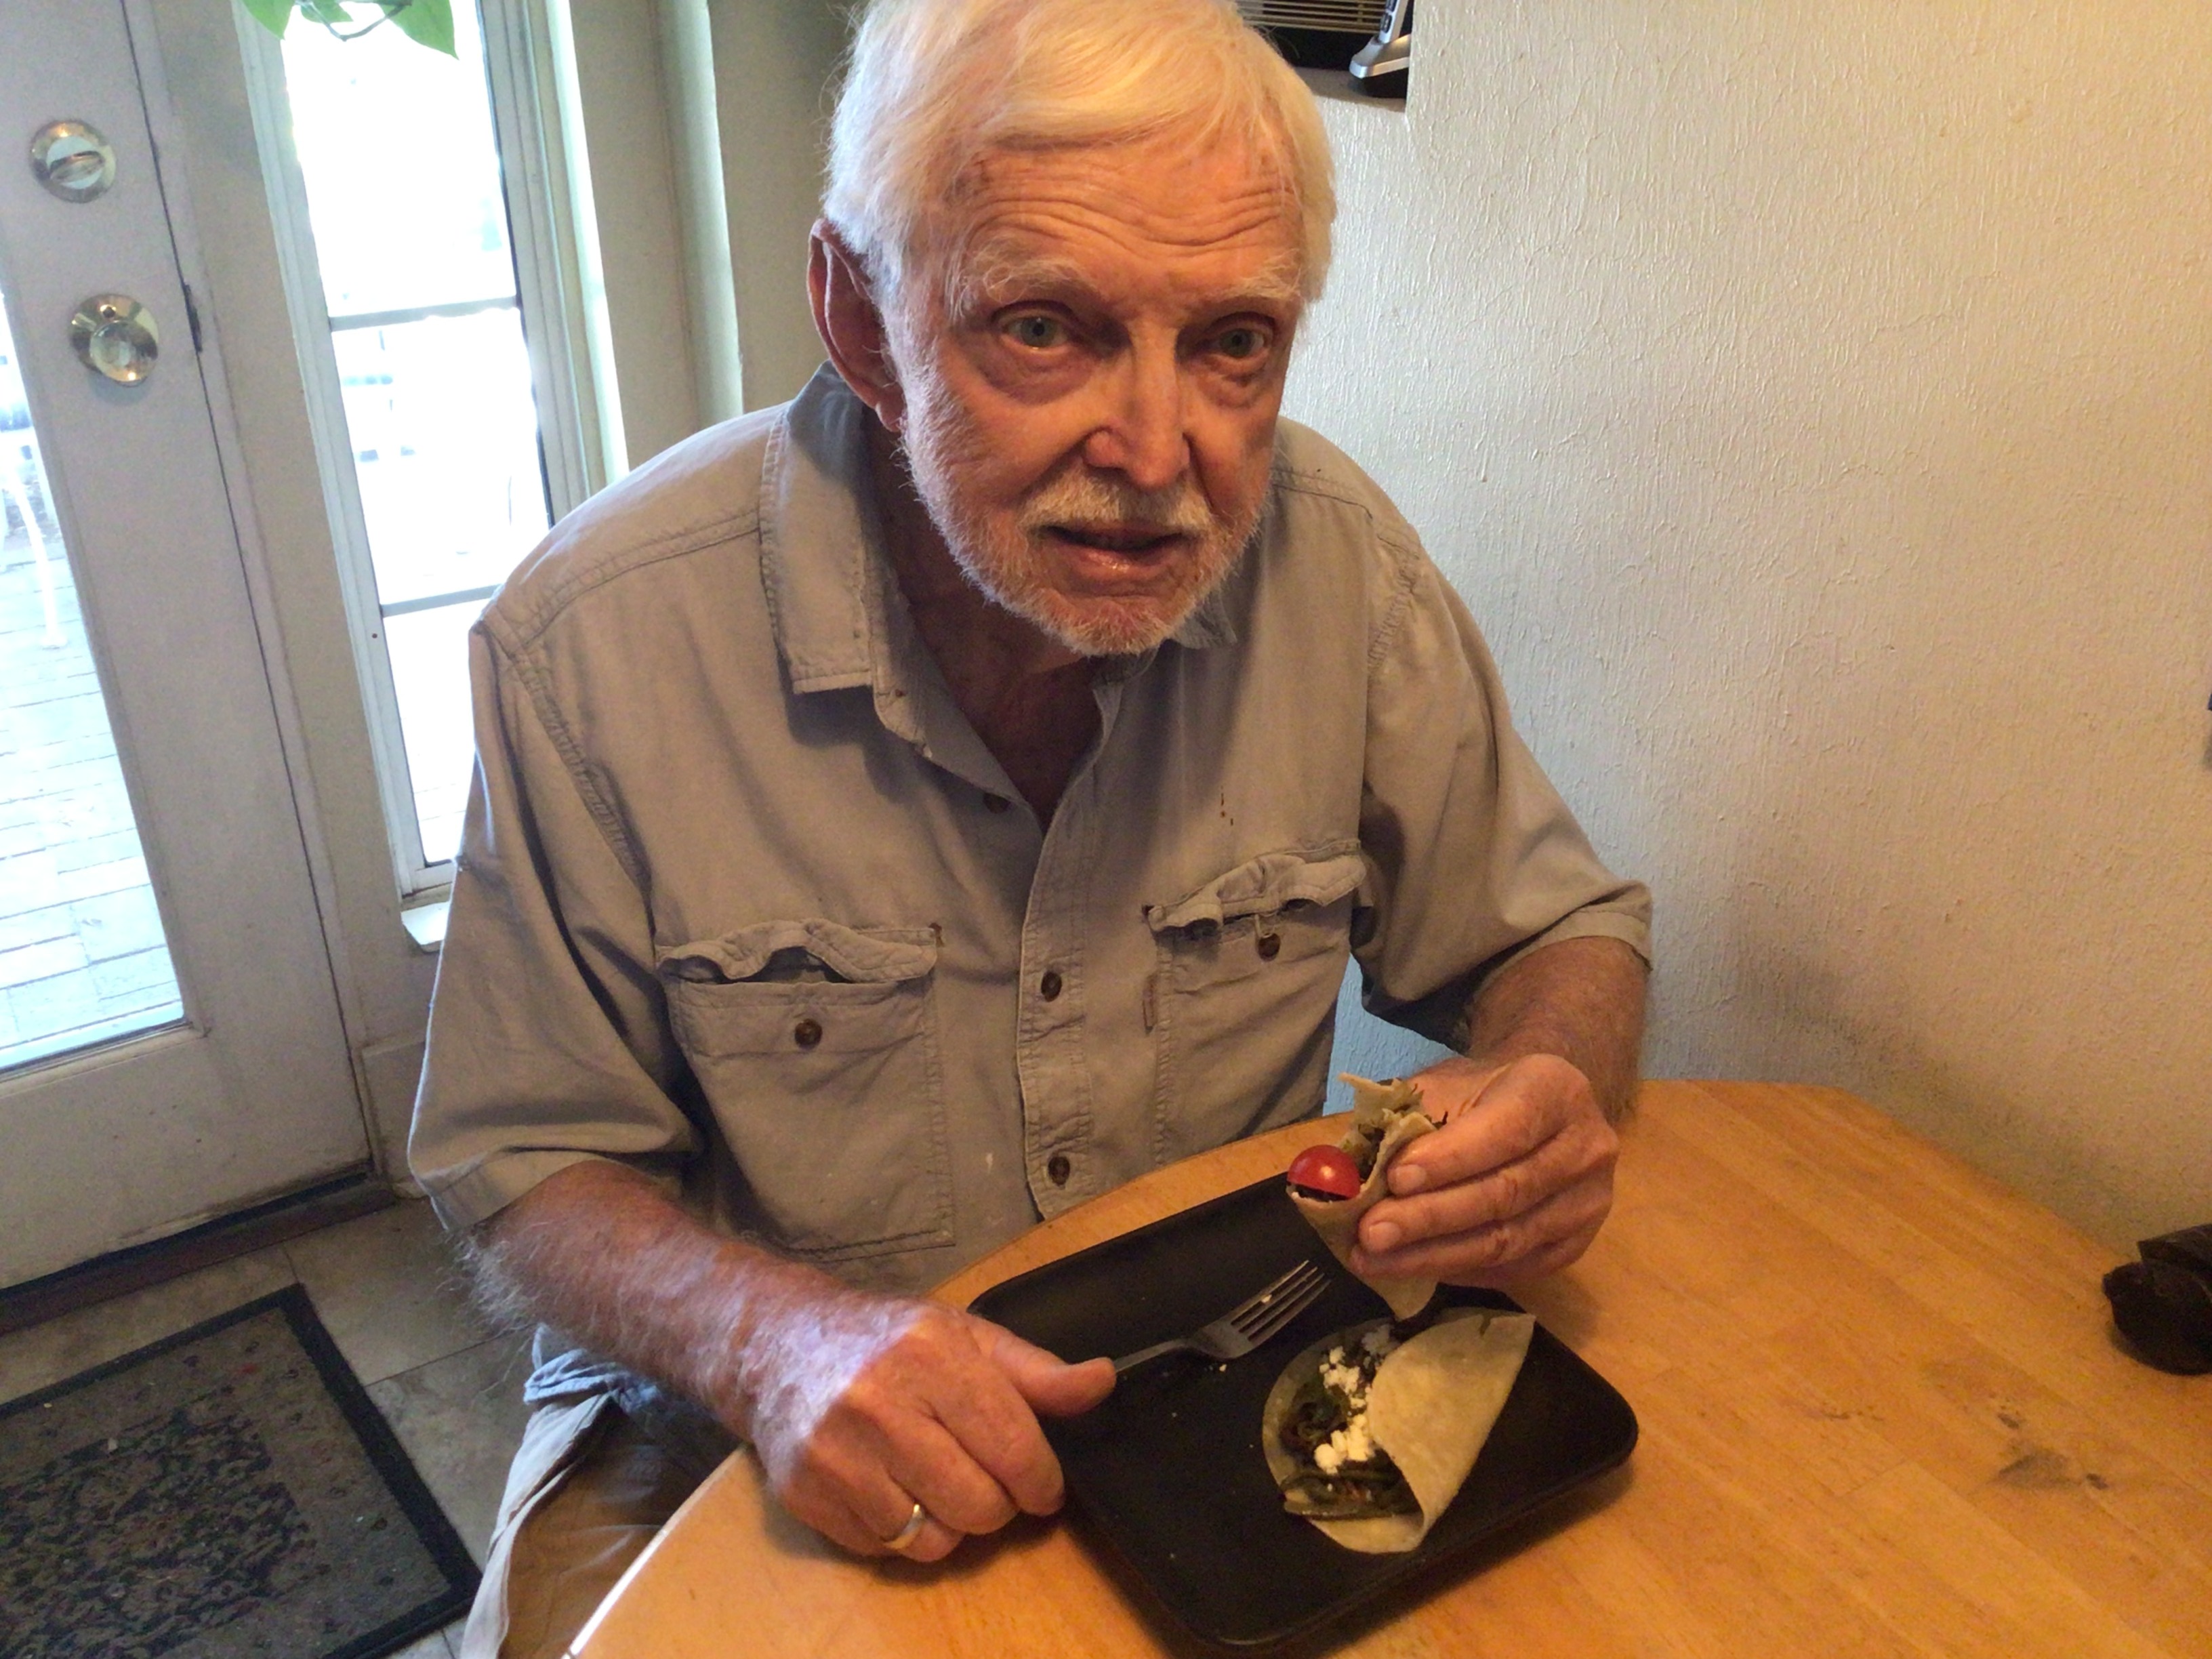
Chief taste tester Ford Burkhart works his way through the Sonoran Summer Tacos for lunch. He gave them the thumbs up.
____________________________________
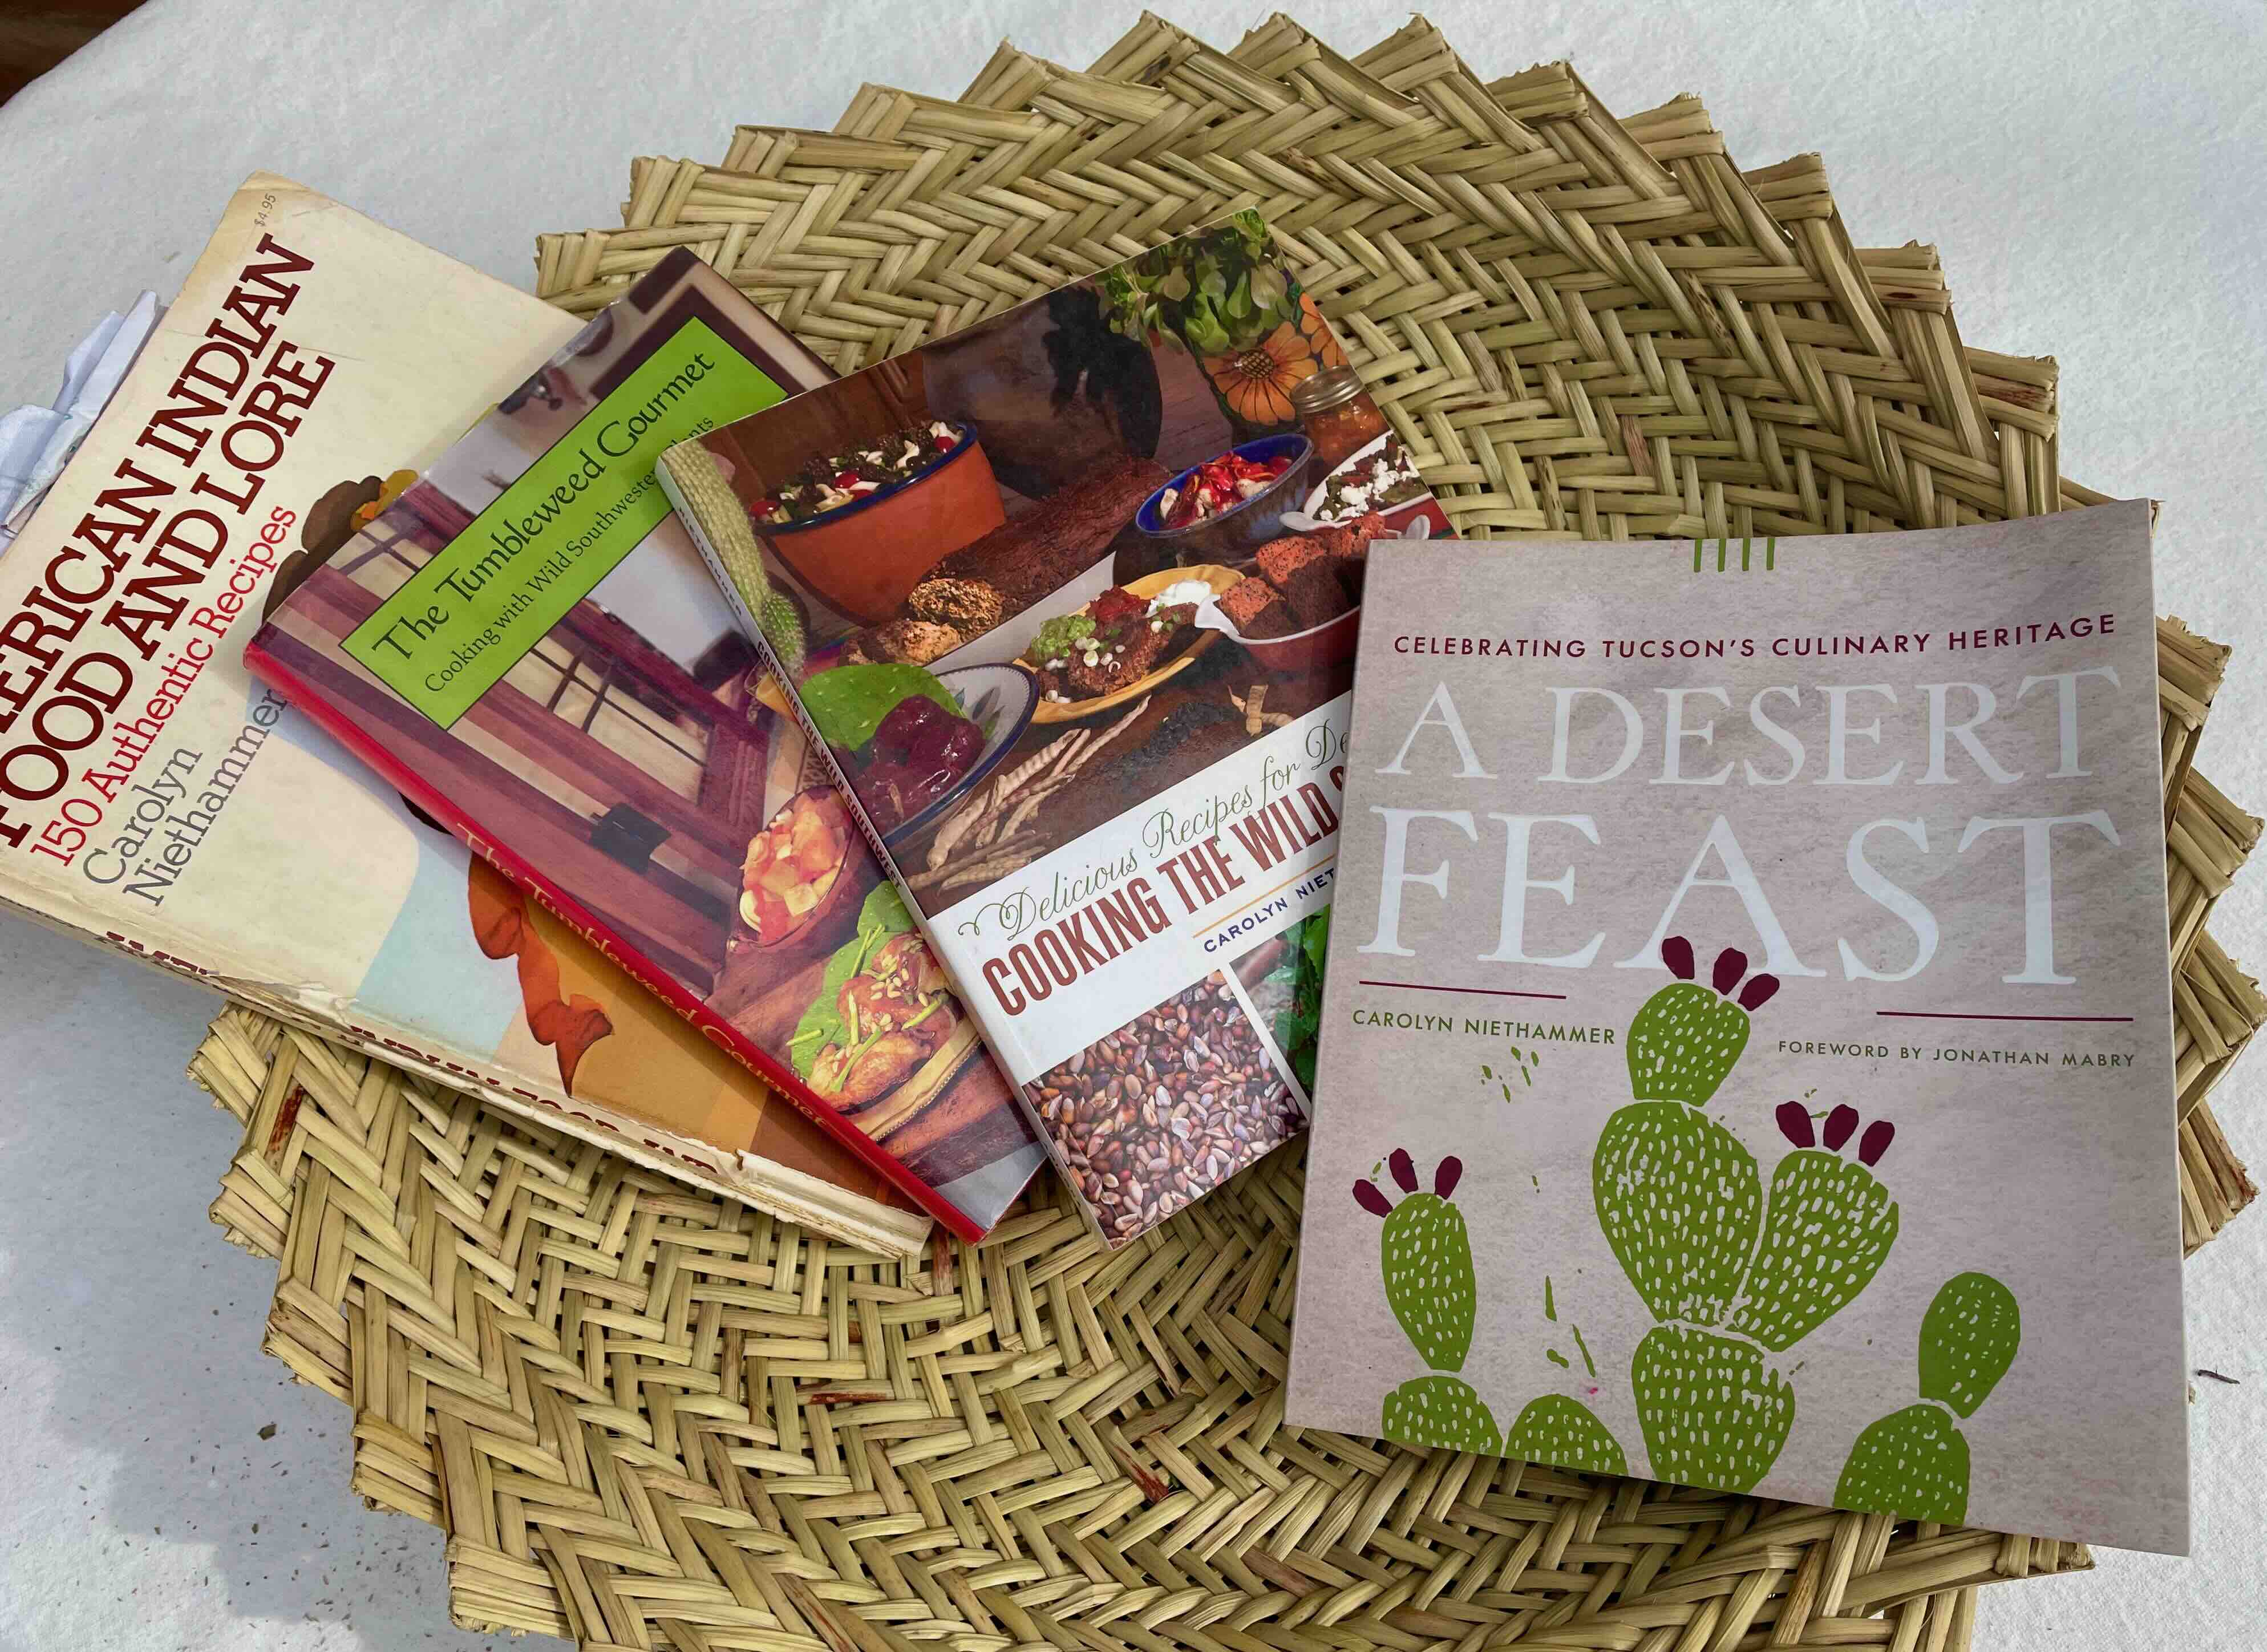
 You can learn more about the history of food in Southern Arizona in my latest book A Desert Feast, the story of the last 4,000 years of food in the Sonoran Desert. Want more recipes using foods of the Southwest? You’d find ideas for collecting and using 23 easily recognized and gathered desert foods in Cooking the Wild Southwest: Delicious Recipes for Desert Foods. . Recipes from top Southwest chefs are collected in The New Southwest Cookbook. Just click on the titles for more information. You can learn more about me on my website.