Summer Solstice Celebrated with Saguaros

On Summer Solstice morning, a white-wing dove coos to the saguaro fruit to hasten its ripening, and takes its first taste. When red fruit opens, doves will dip in for a luscious meal and come up with red heads!  (photo JRMondt)

Have you seen it yet?–the rare red-headed white-wing dove of the desert?  “Red-headed Ok’ko-koi” is only around for a short while during the bahidaj.  He is the herald of saguaro fruit harvesting season.

These longest days of the year (and the hottest!!) are the Sonoran Desert New Year of the Tohono O’odham, the Desert People. It is the beginning of “action time” in the desert, tho’ it may look blistered and dead from inside an air-conditioned space.  Lots is happening.  Listen to sounds of quail and dove at dawn; watch scurrying lizards at noon; sense bats at night.  Desert life out there is pollinating flowers and dispersing seed in prep for monsoon moisture.

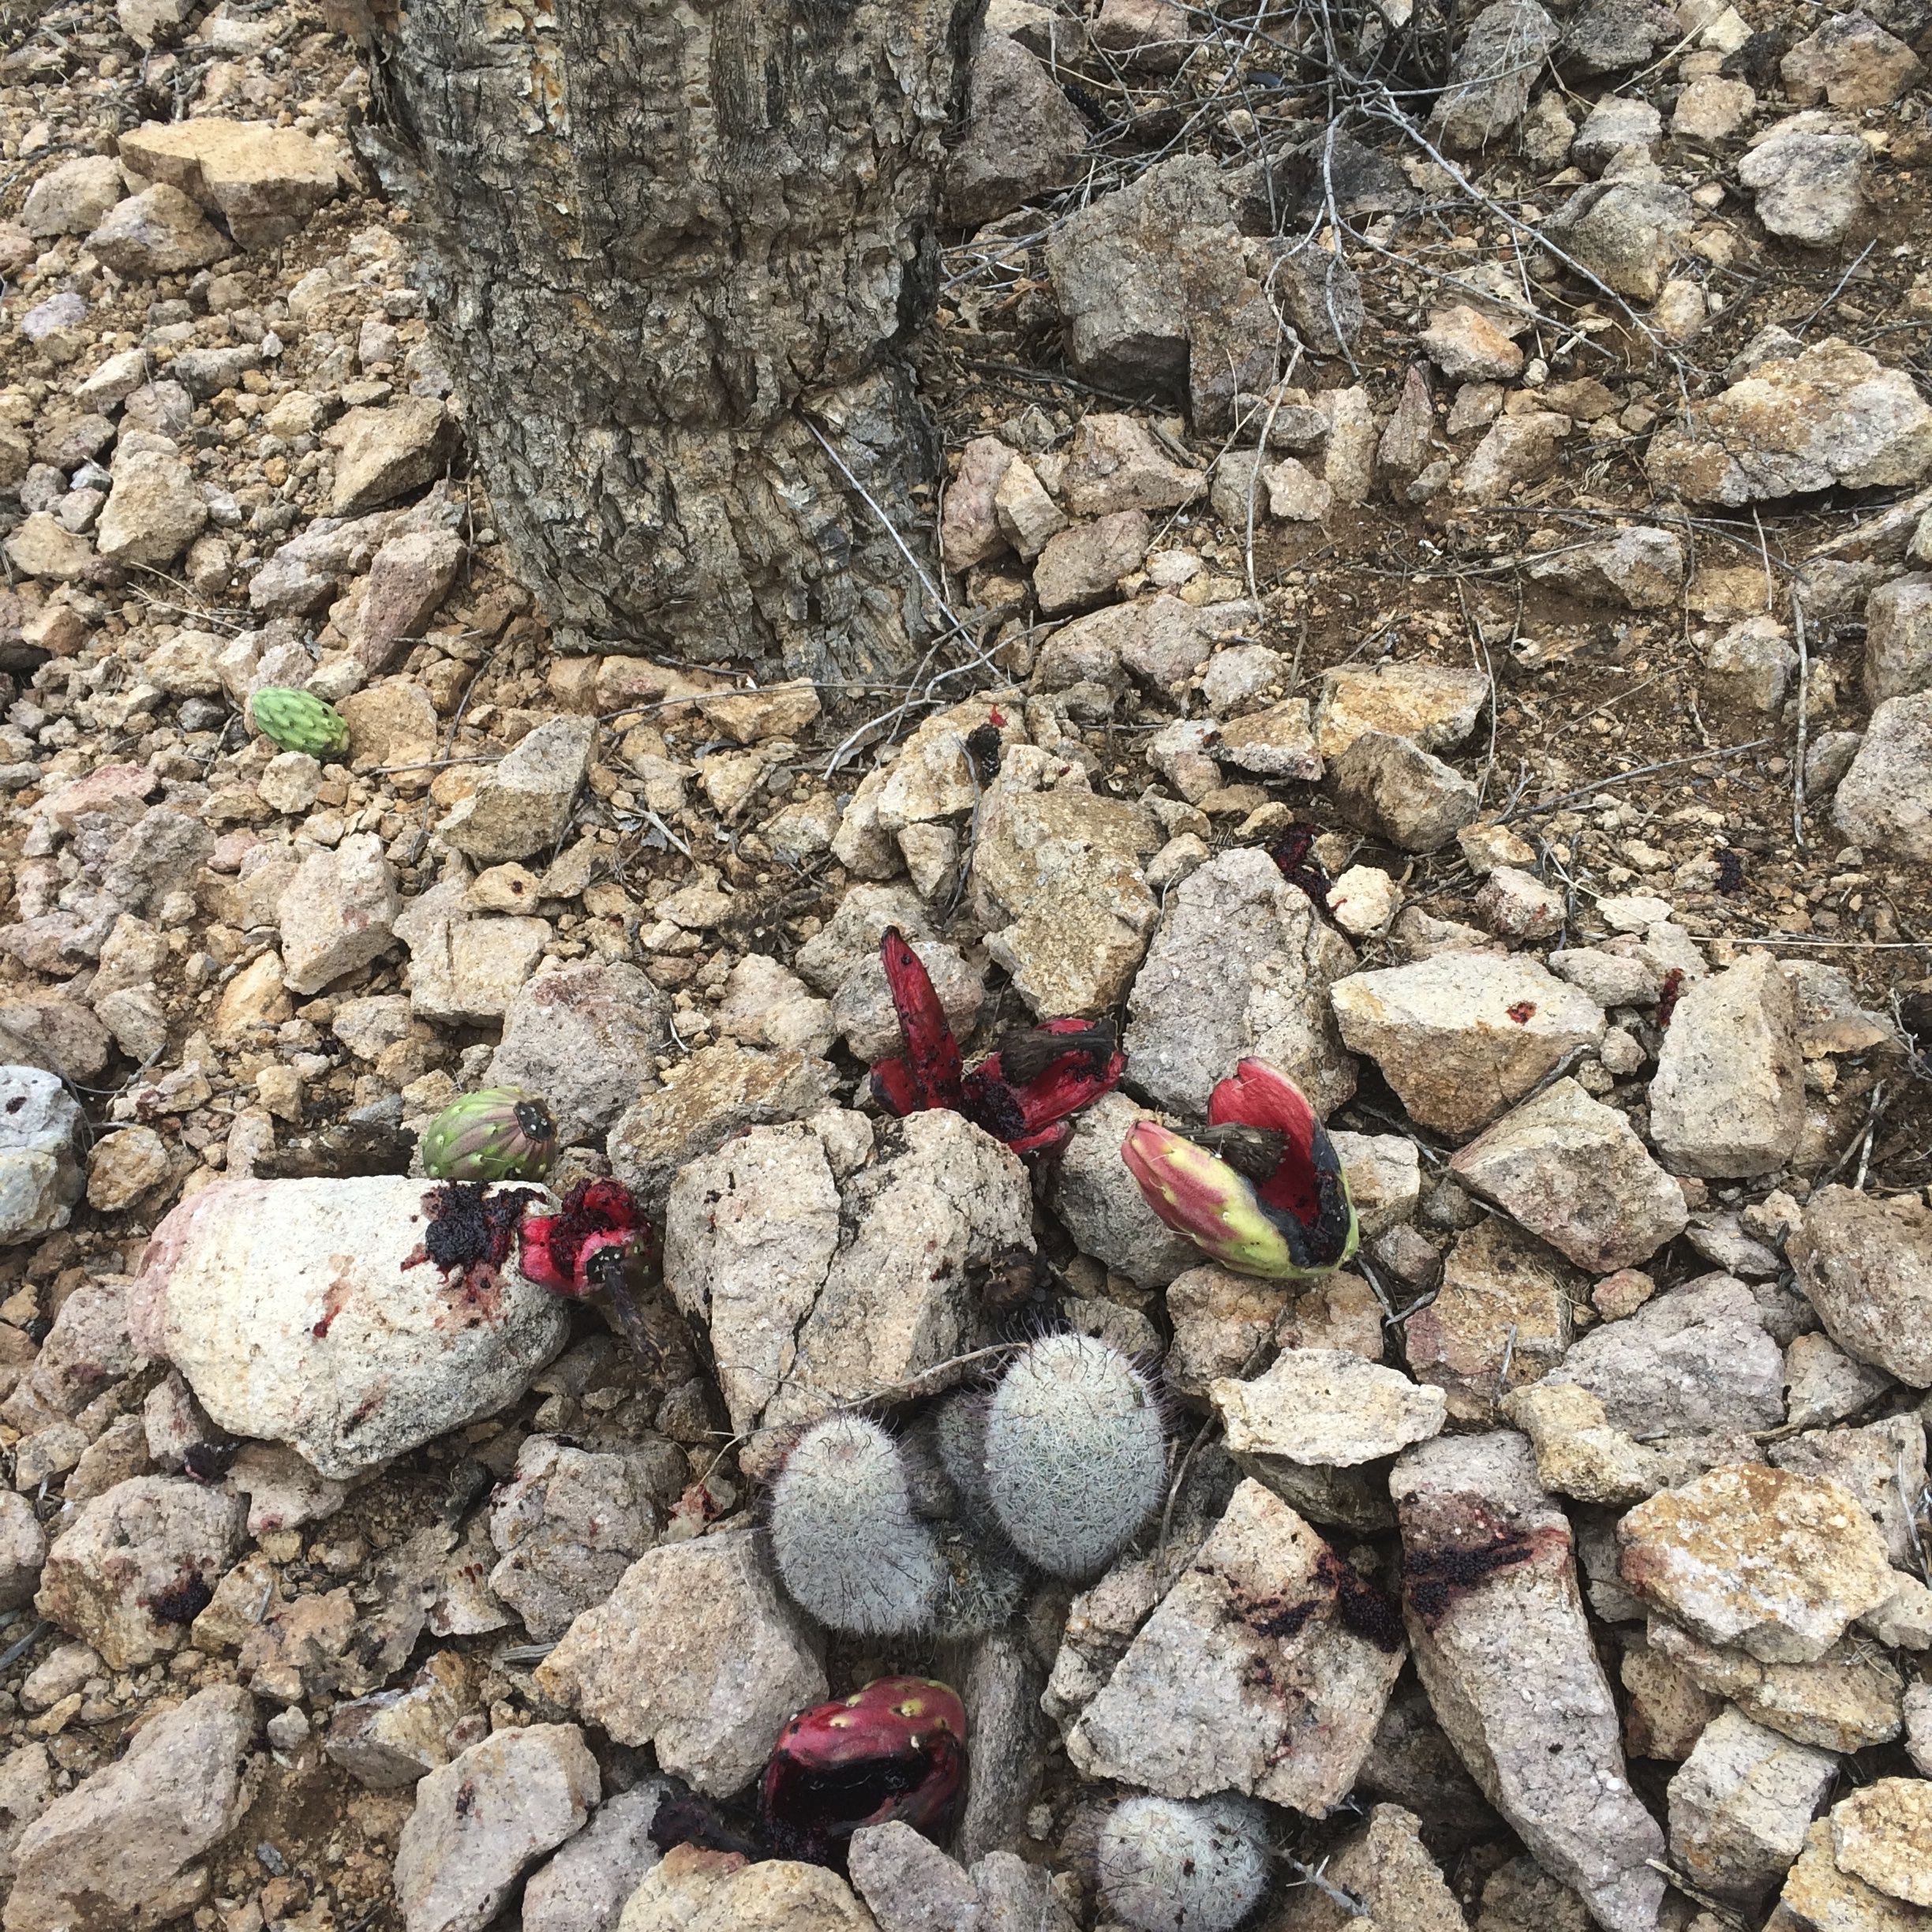
Fallen bahidaj on the rocks will be critter food.  For people, catch it before it falls. (MABurgess)

Tia Marta here to share ideas about the giant saguaro’s gifts of good food to its fellow desert helpers.  With San Juan’s Day celebrated June 24, I pause to also acknowledge the birthday of my dear friend and mentor, Juanita Ahil, who first led me into the desert on an early June morning to introduce me to some amazing desert treats, discussed in this post.

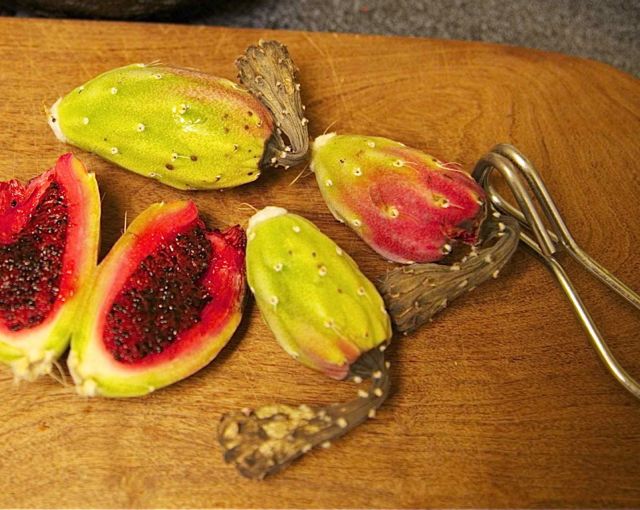
Pick the fruits that show a blush of rosy red on the top.  (MABurgess photo)

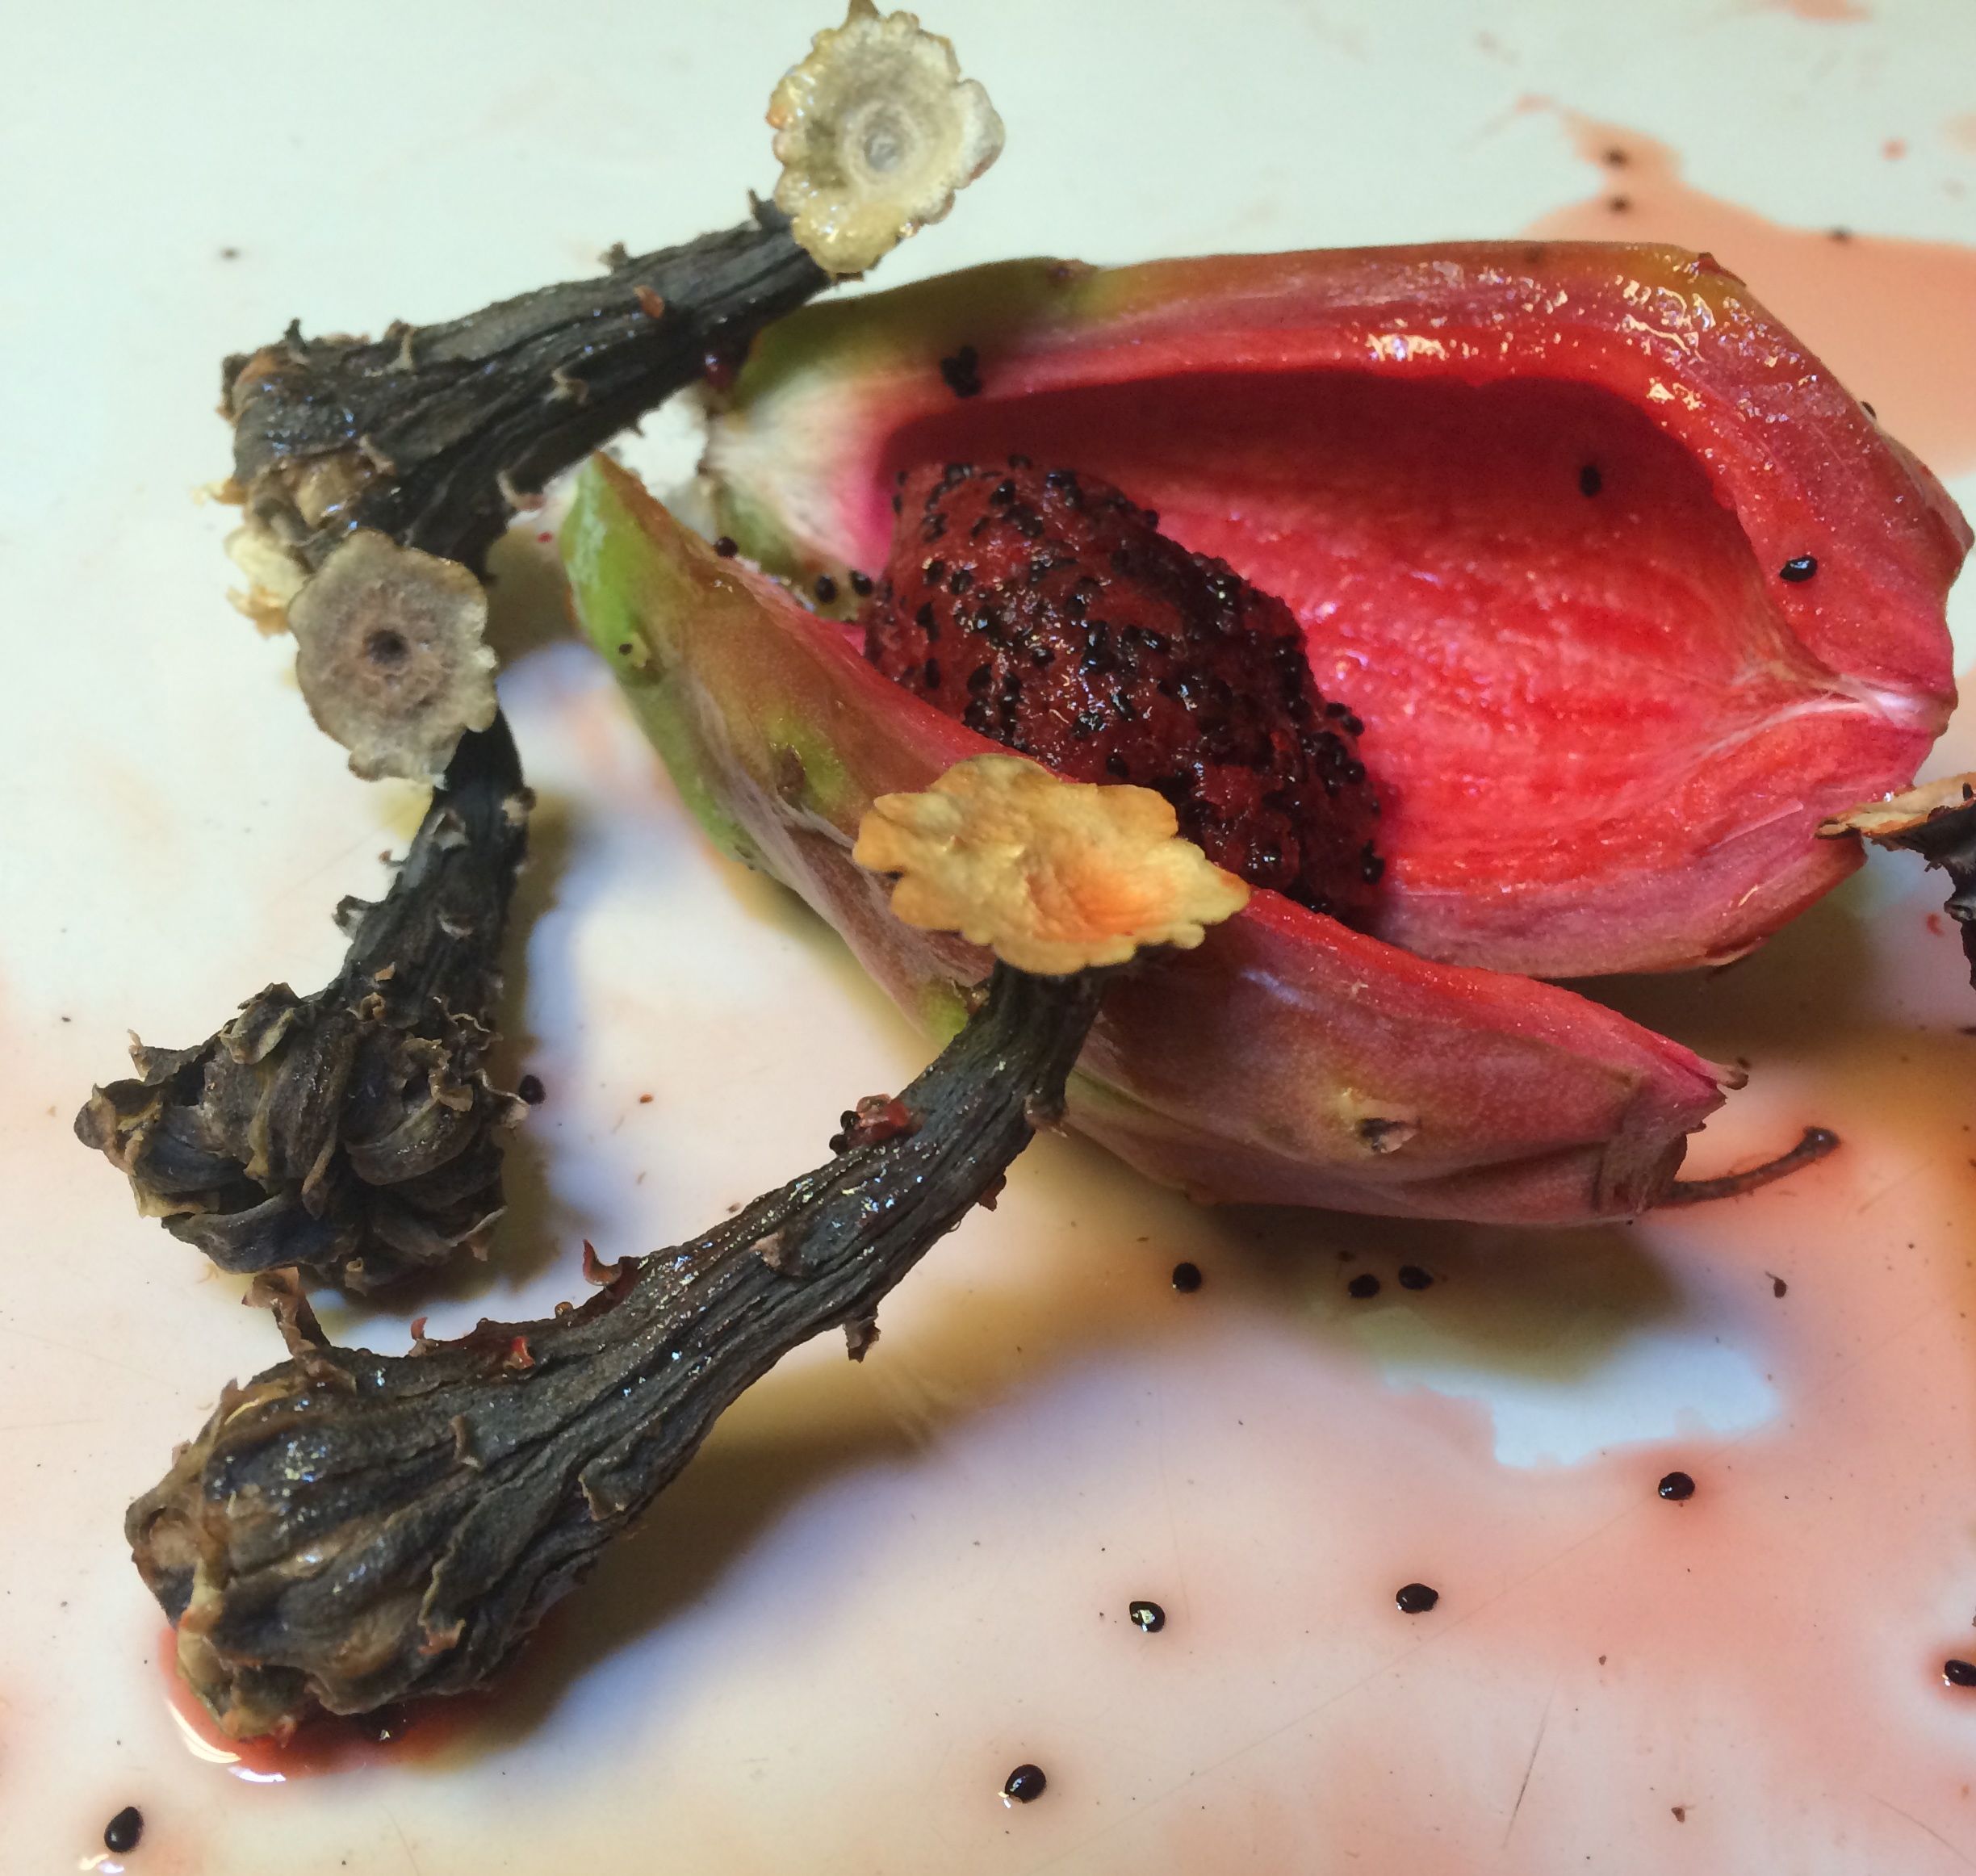
A saguaro fruit, opened with its sharp “pizza-cutter” calyx, is filled with sweet raspberry-red pulp and crunchy black seeds. (MABurgess photo)


Juanita would scoop out the nutritious pulp from thick fruit rinds–with thanks and blessings.  We’d take several juicy bites before filling buckets of bahidaj to make syrup.

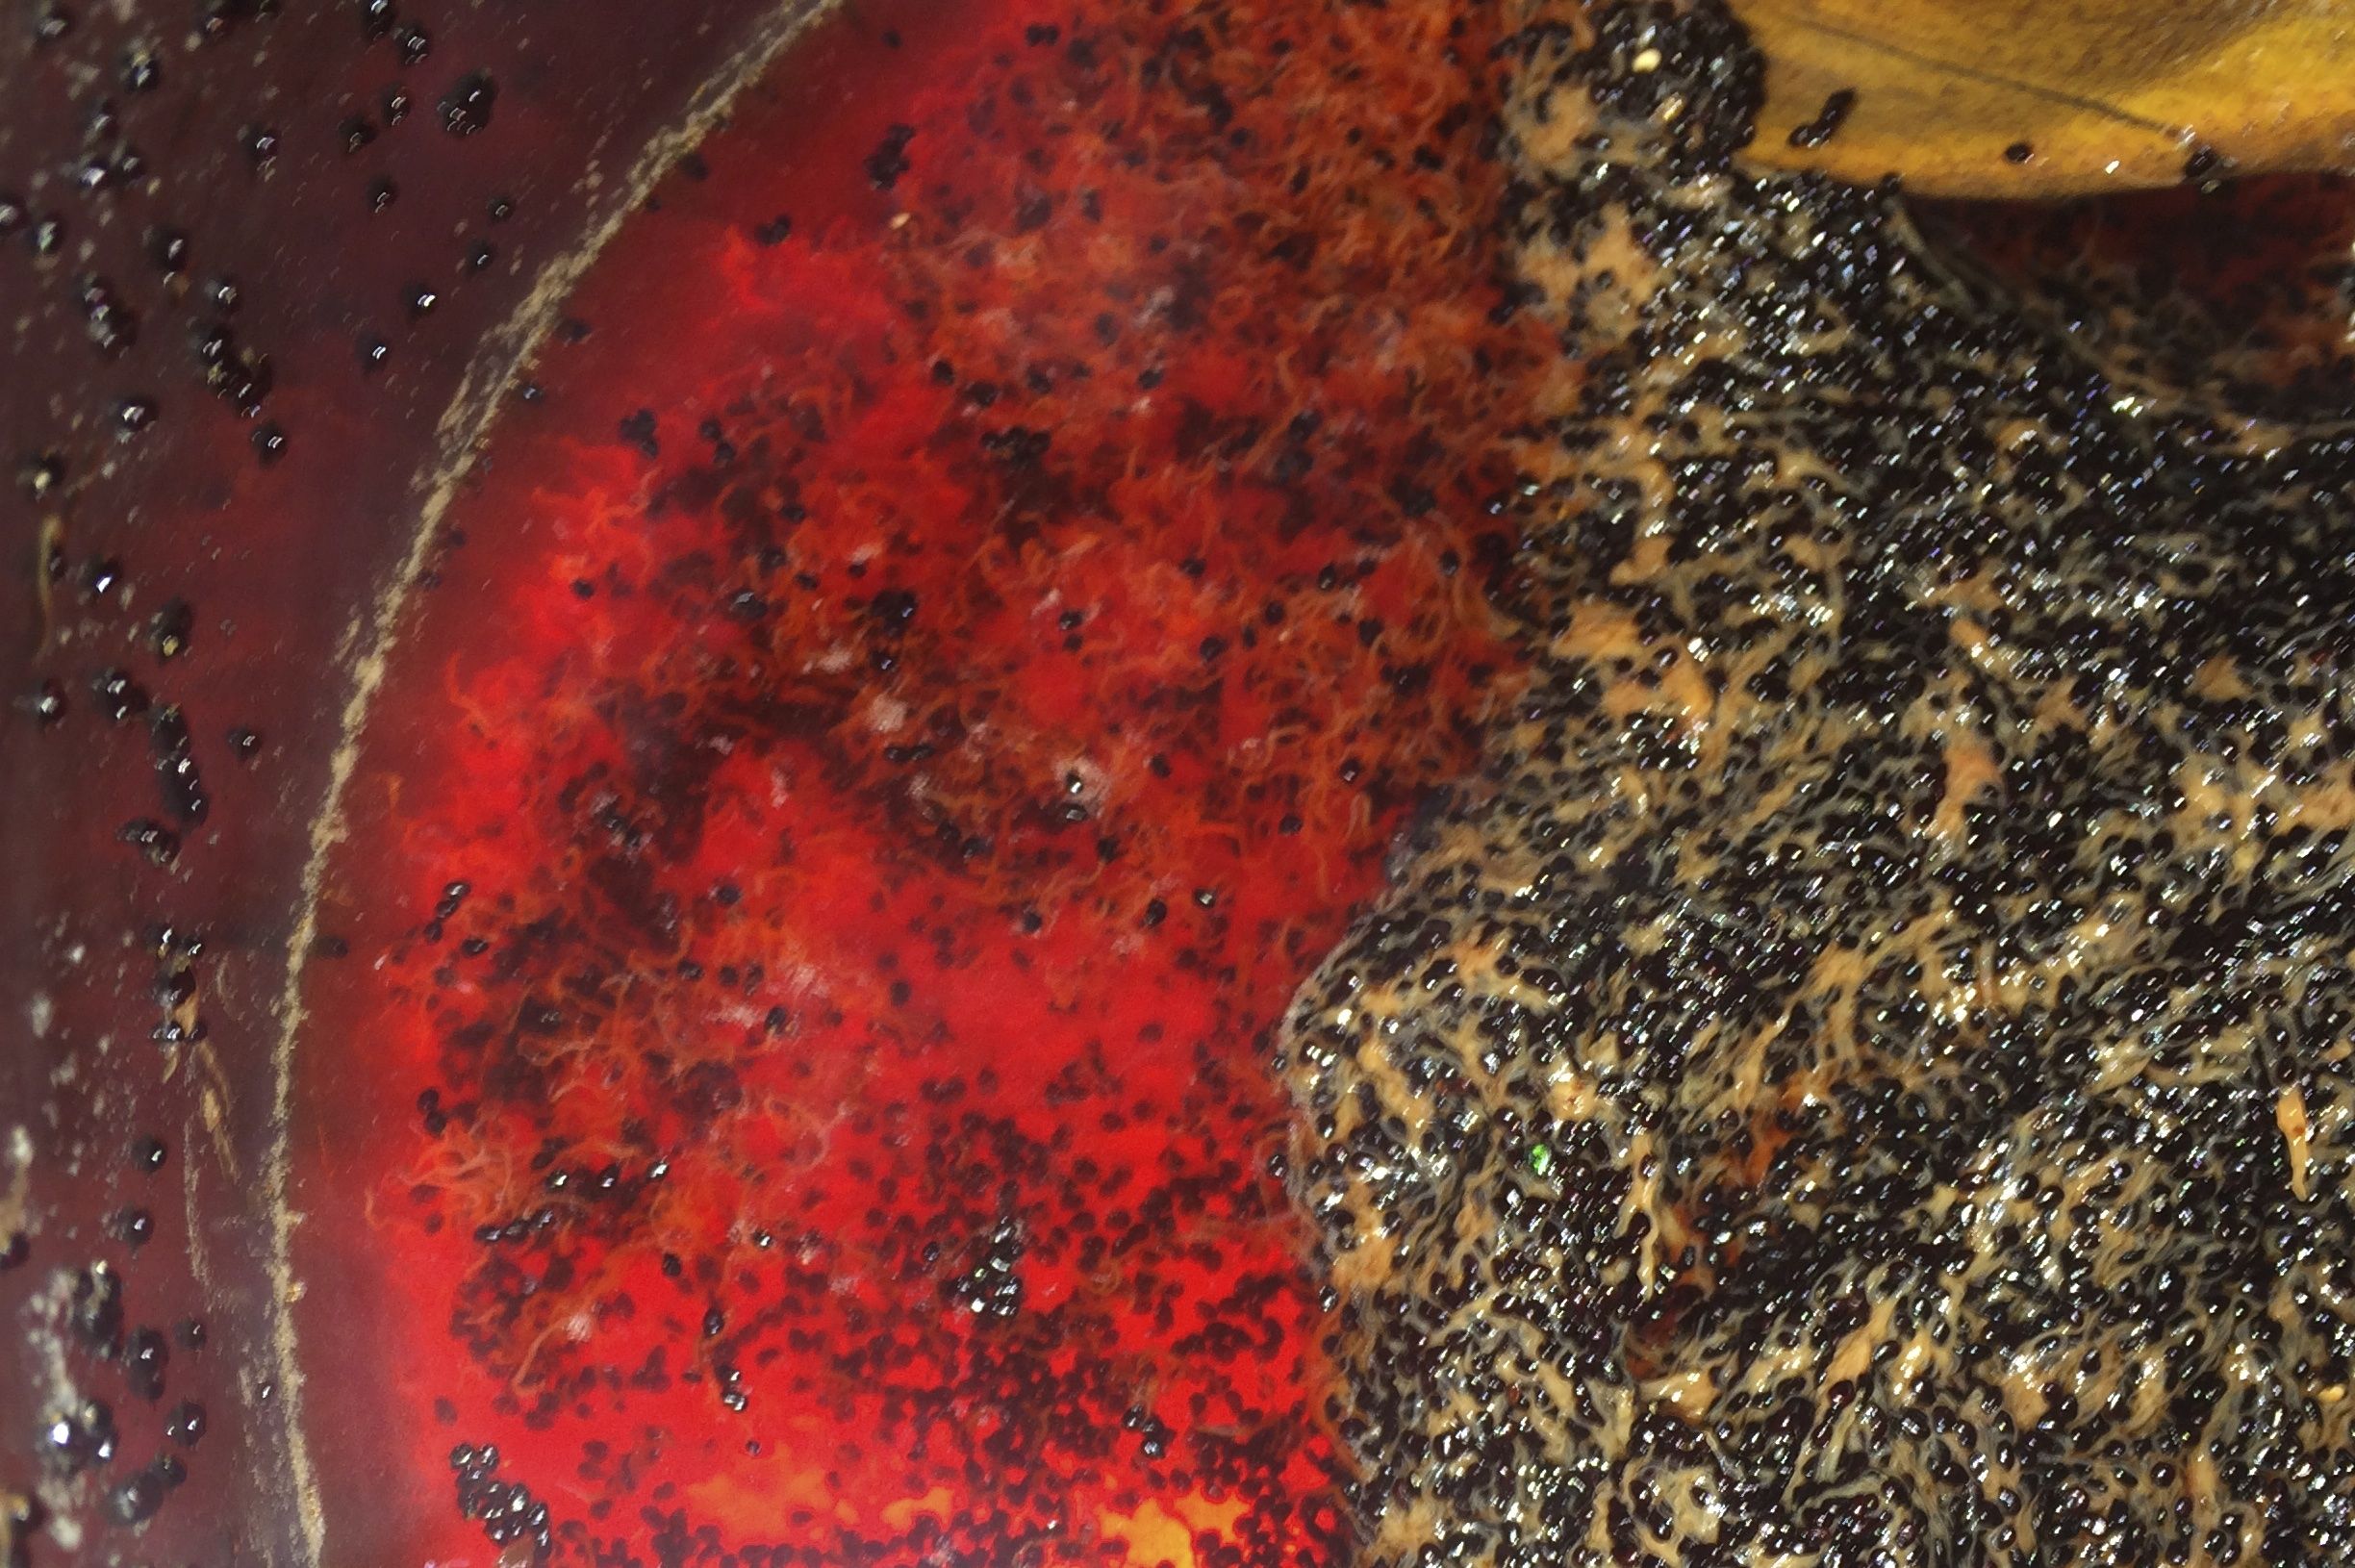
Juanita would add water to the pulpy fruit to loosen the mass, then strain out seeds before concentrating the sweet water to syrup. (MABurgess photo)


Over her open fire, she would stir a pot full of fruit and water until the water turned red, then strain the mass through a basket-sieve, saving the seed for other purposes. (See blog-sister Carolyn Niethammer’s post on “Black Beauty Wafers” of saguaro seed.)  After sieving, it was the long process of boiling down the sweet water to a dark syrup–like making maple syrup.  Don’t be surprised if you see Bahidaj Sitol selling for what looks like exorbitant prices; consider the time it takes to make!  Juanita would contribute a share of her hard-produced syrup to her Tohono O’odham Community for fermenting into wine for the rain-ceremony, with prayers for the desert’s rebirth.  Surplus syrup was so concentrated, it could be kept unrefrigerated, carrying summer’s sweetness into the winter.

Here are some delectable ideas for cool, super-simple desserts with saguaro syrup:


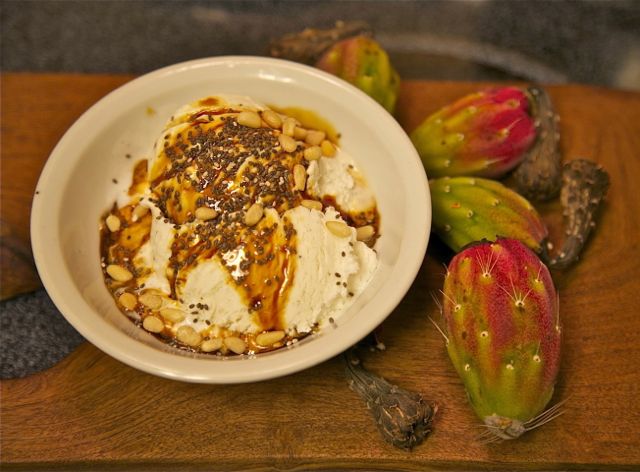
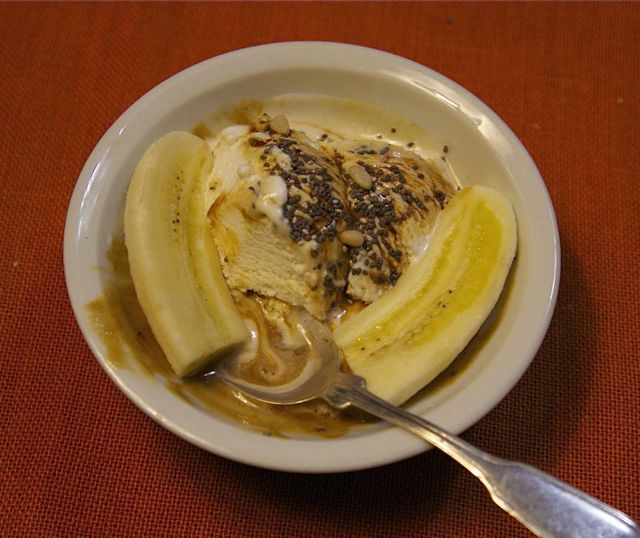
Muff’s “Sonoran Melba” topped with pine nuts and chia seed (JRMondt photo)

Directions for Muff’s SONORAN MELBA WITH PINE NUTS AND CHIA

Over a serving of vanilla or vanilla-bean ice cream, pour 1-3 tsp pure saguaro syrup (bahidaj sitol).  It doesn’t take much, as it is so rich!  Sprinkle top with 1/2 tsp chia seed and 1 Tbsp of pine nuts (shelled).   Taste and go nuts in ecstasy!

Rod’s “Saguaro Split”–topped with saguaro syrup, seeds and nuts (JRMondt photo)

Recipe for Rod’s SAGUARO SPLIT:

Divide a half banana in half longitudinally. Serve a big scoop of ice cream in between–any flavor– like chocolate chip or French vanilla.  Top with saguaro syrup, seeds and nuts of choice.  [Here the “lily is guilded” for sure.  Who needs a cherry on top when you have the rare treat of saguaro syrup?!]

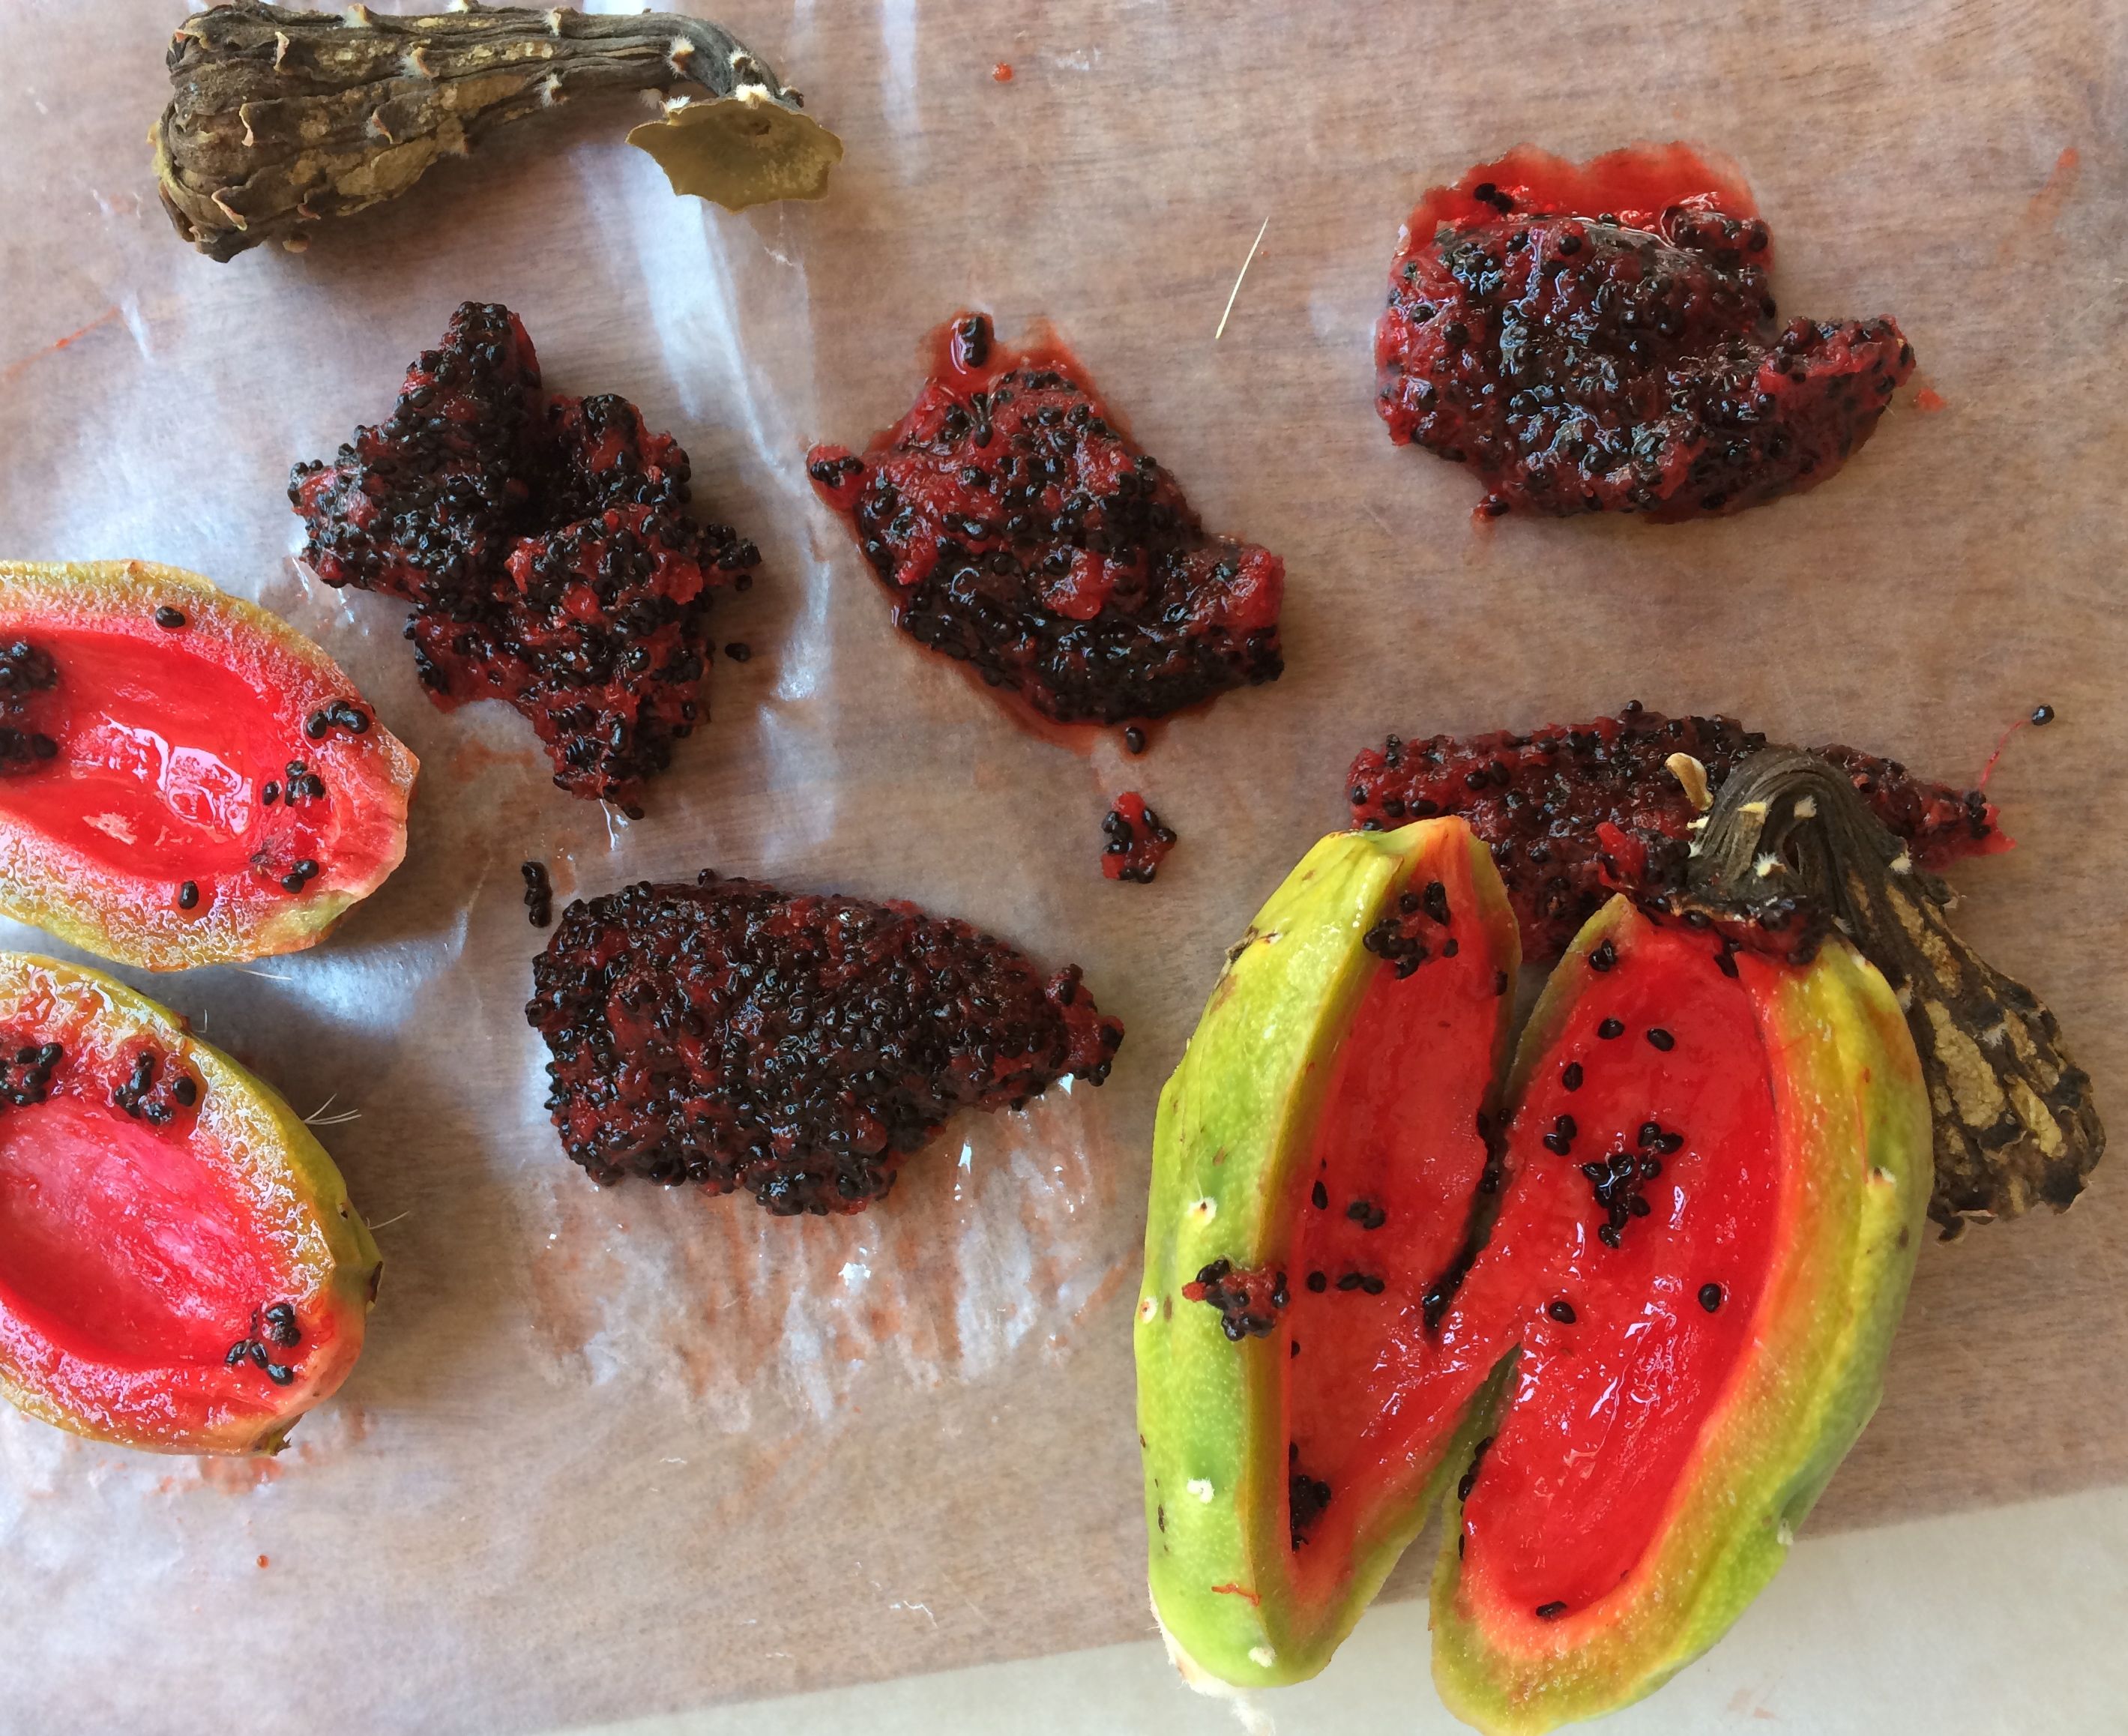
Setting out fresh bahidaj pulp to dry on wax paper. (MABurgess)

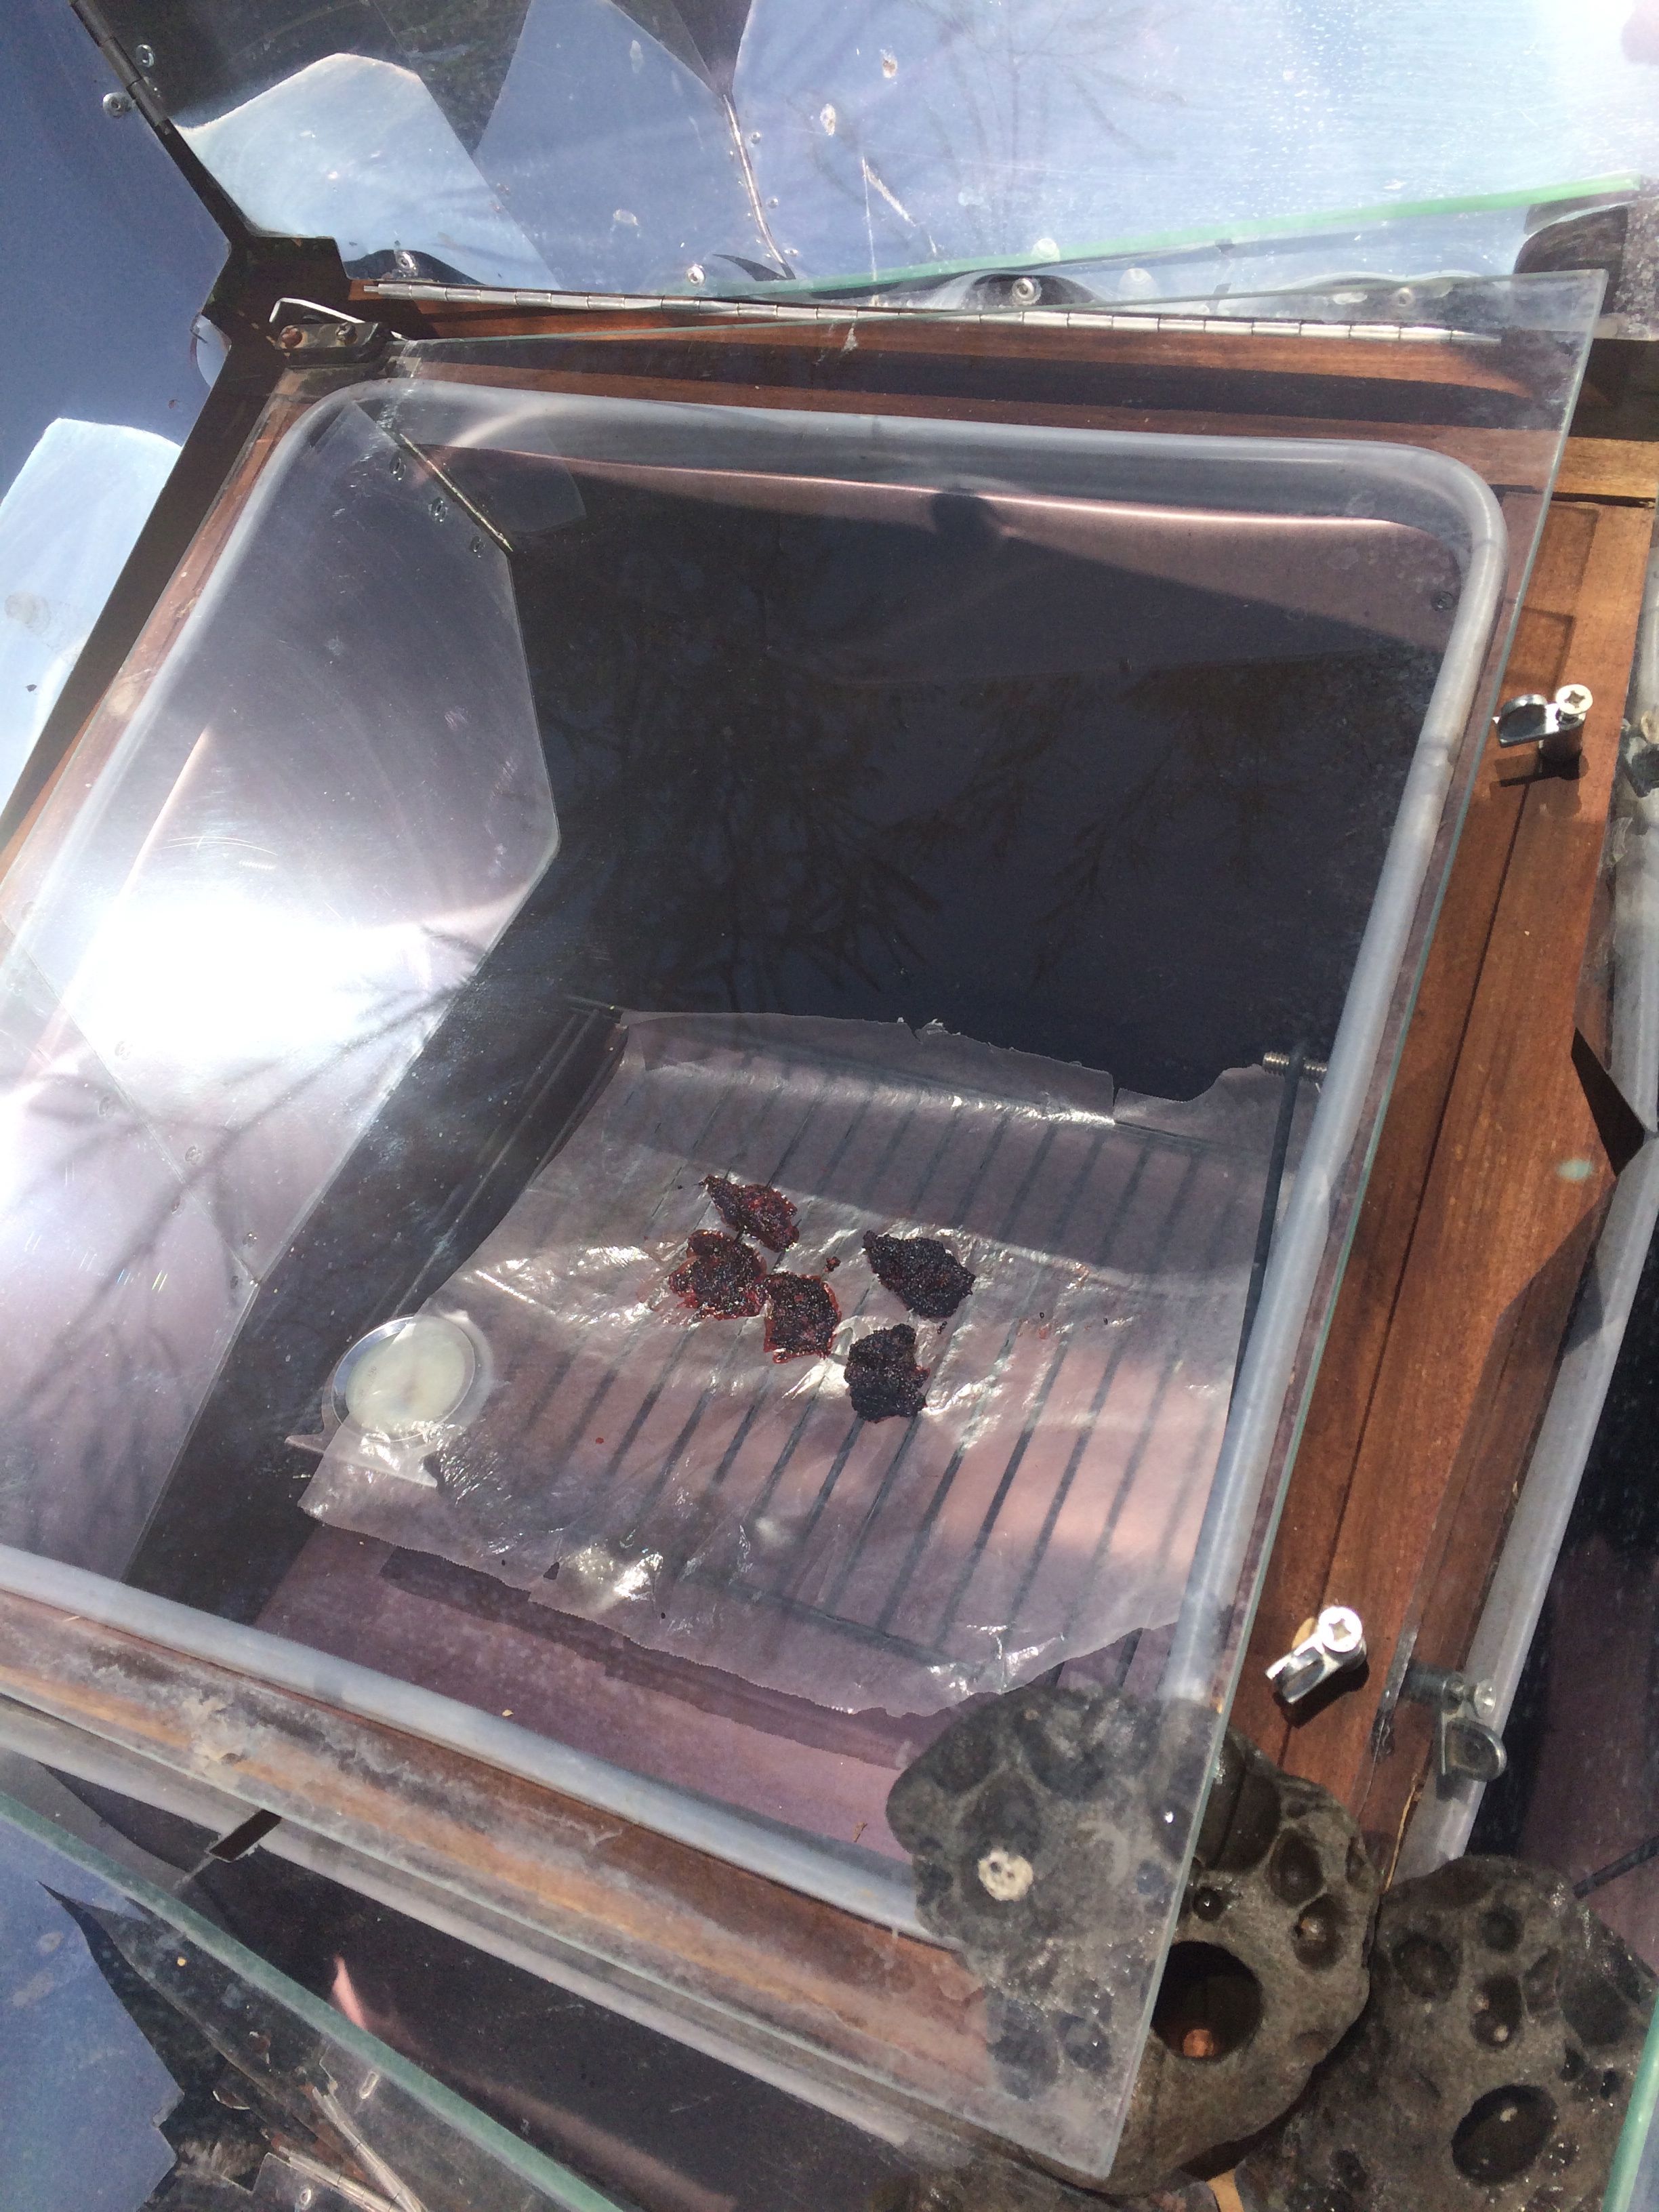
Try dehydrating saguaro fruit in a solar oven with the lid partially open to allow moisture to escape. It doesn’t take long. Note the rock holding the oven cover open.(MABurgess photo)

I also love to make chuñ–the dried bahidaj fruit which you can sometimes find hanging on the branches of a palo verde, the nurse tree next to the saguaro where fruit has fallen.  Scoop out the pulp from its rind, place blobs on wax paper, dry them outside under a screen or in your solar oven.  Eat and enjoy chuñ as a totally healthy snack; it is high in complex, slowly-digested sugars, vegetable protein and healthy oils in the seeds.   Or, get creative with chuñ–as in the following recipe:


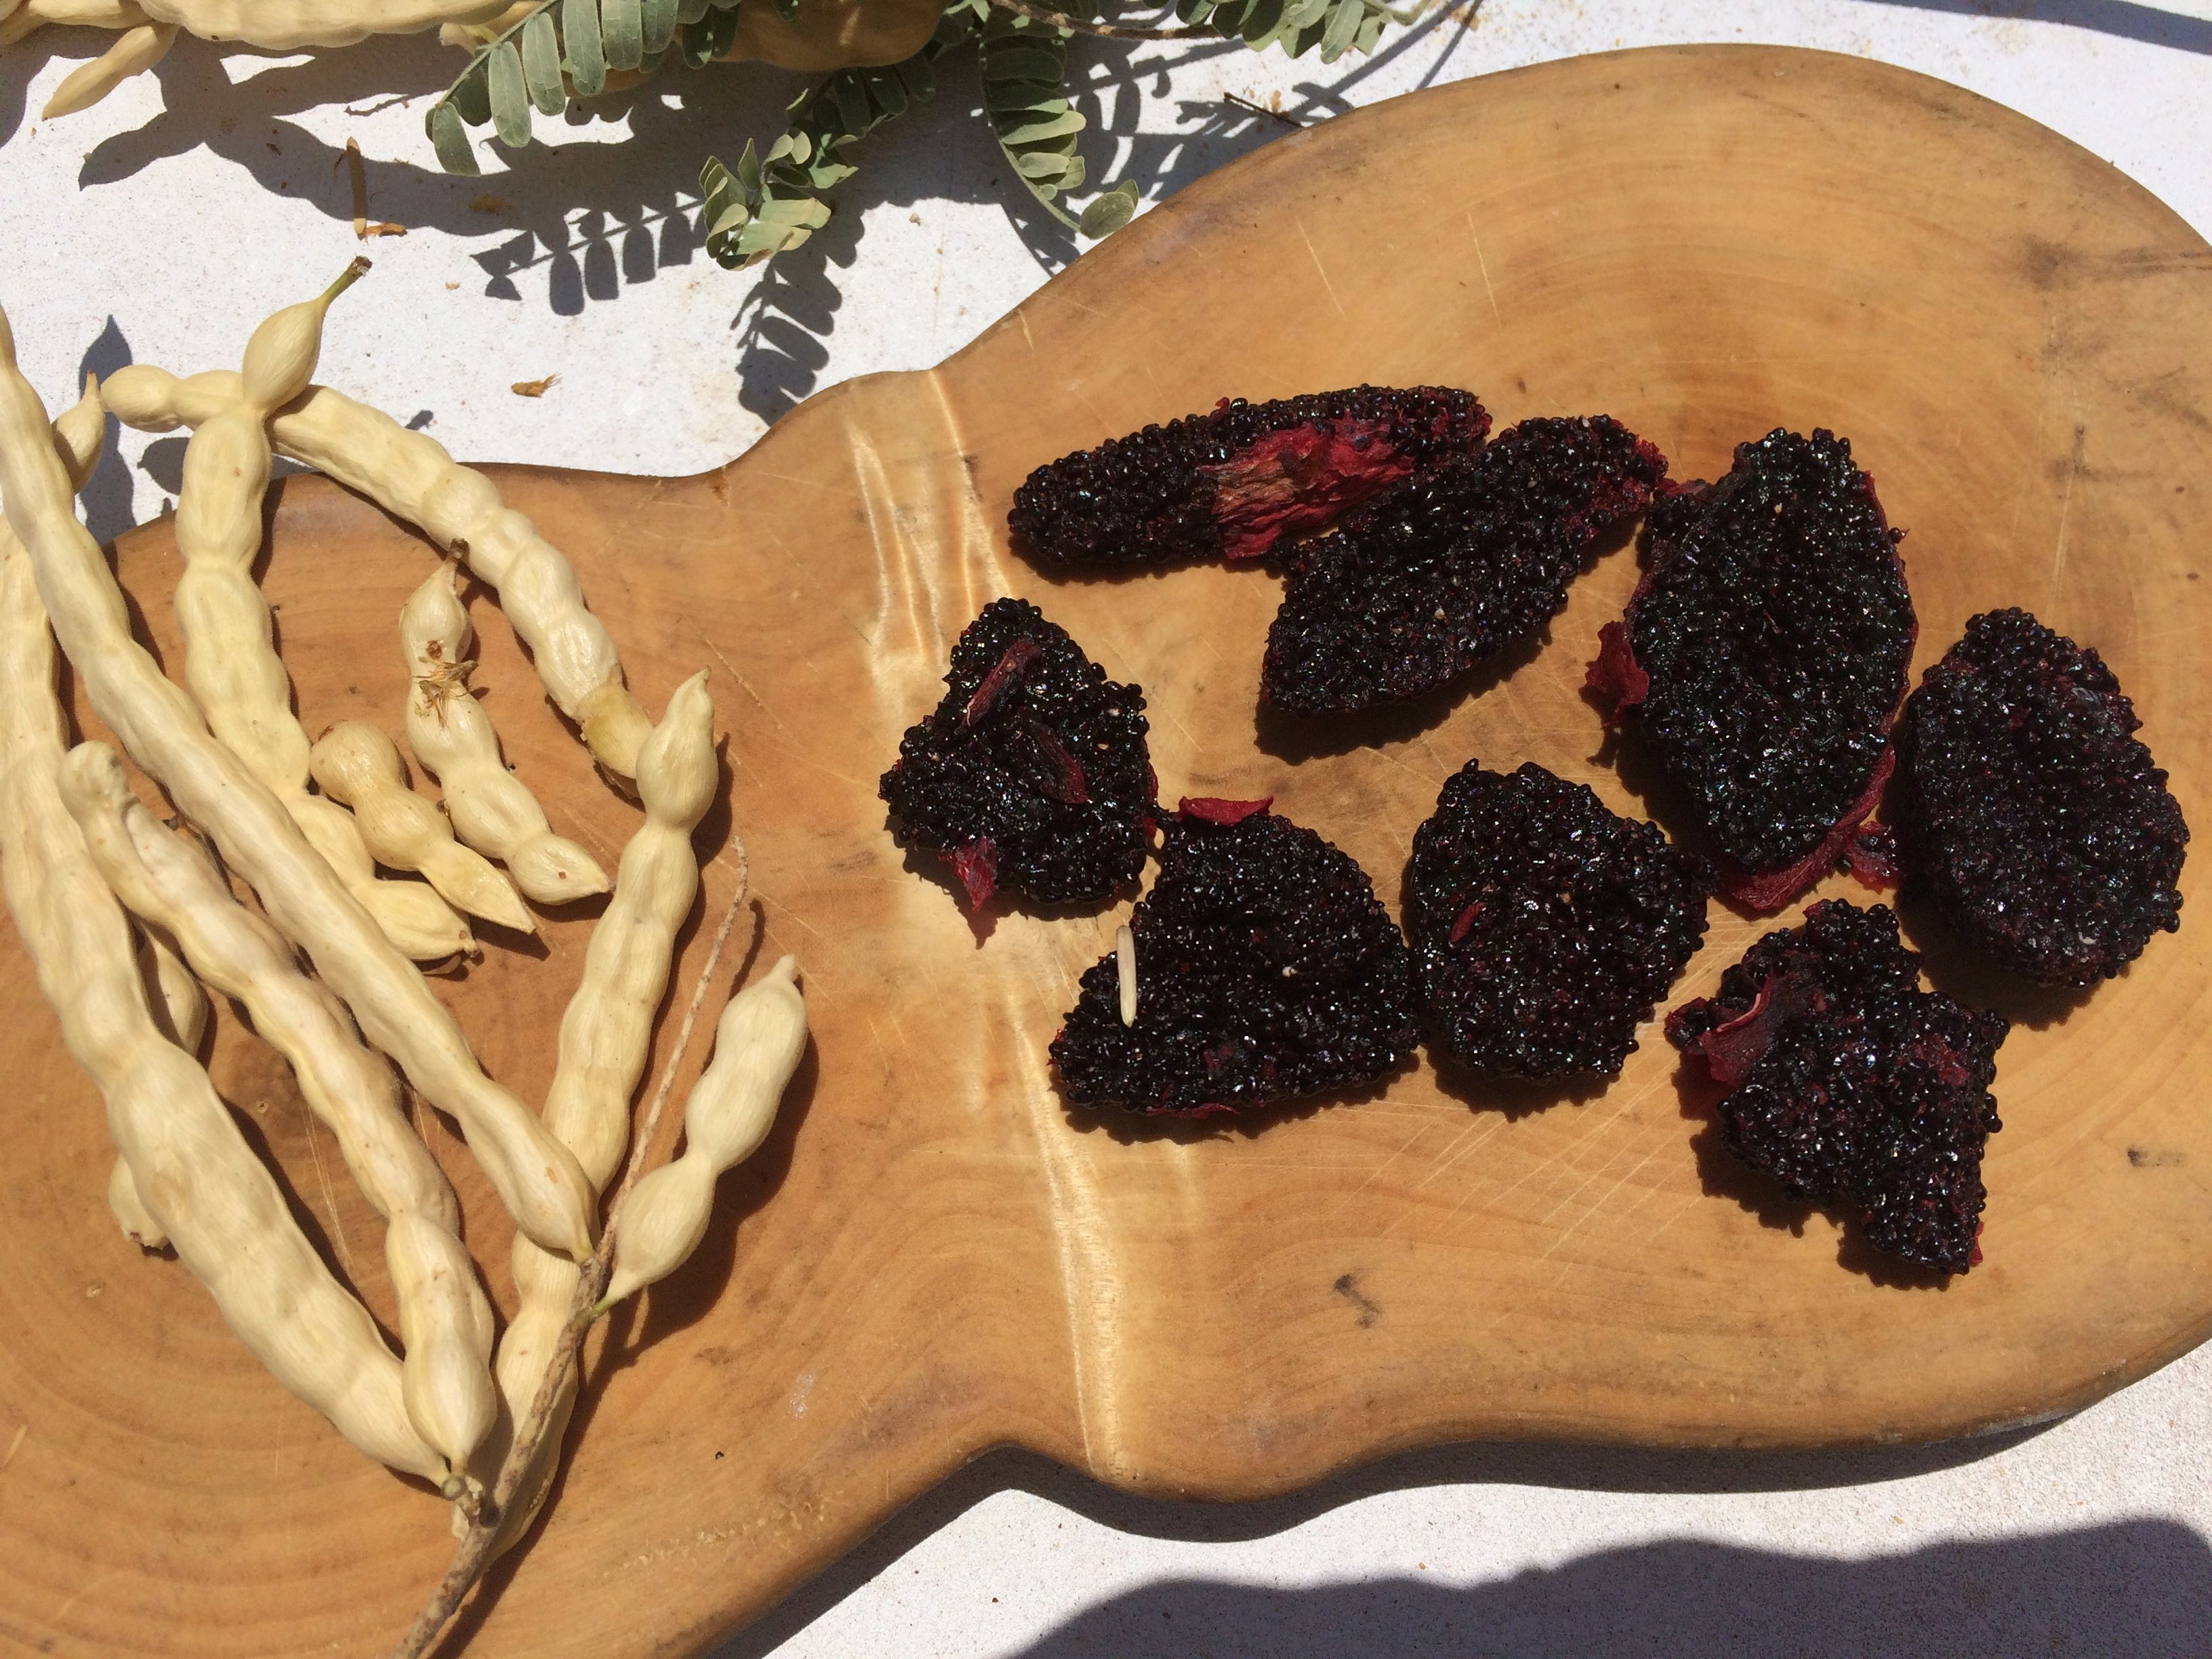
Sweet chun dried in the sun is even better than figs! (BTW–Now– in the dry heat of Solstice-time before the monsoons–is prime time to harvest mesquite pods too!  Check out desert harvesters.org for more info.)  (MABurgess photo)

Recipe for Tia Marta’s “JUNE CHUÑ“ healthy fruit salad:

1/2-3/4 cup diced apple (approx 1 small apple diced)

1/2 cup organic red grapes cut in half

3 Tbsp dried cherries, cranberries, or chopped dried apricots

1/2-2/3 cup organic plain lowfat yogurt

1-2 tsp agave nectar (optional, to taste)

1/4 cup chopped dried bahidaj chuñ

Mix all ingredients except chuñ ahead and chill.  Sprinkle some little chuñ chunks on each serving as topping. Serves 2 or 3.  This is fancy and sweet enough to be used as a dessert. Enjoy the natural complex carbs, sweet nutrition, and delightful crunch!

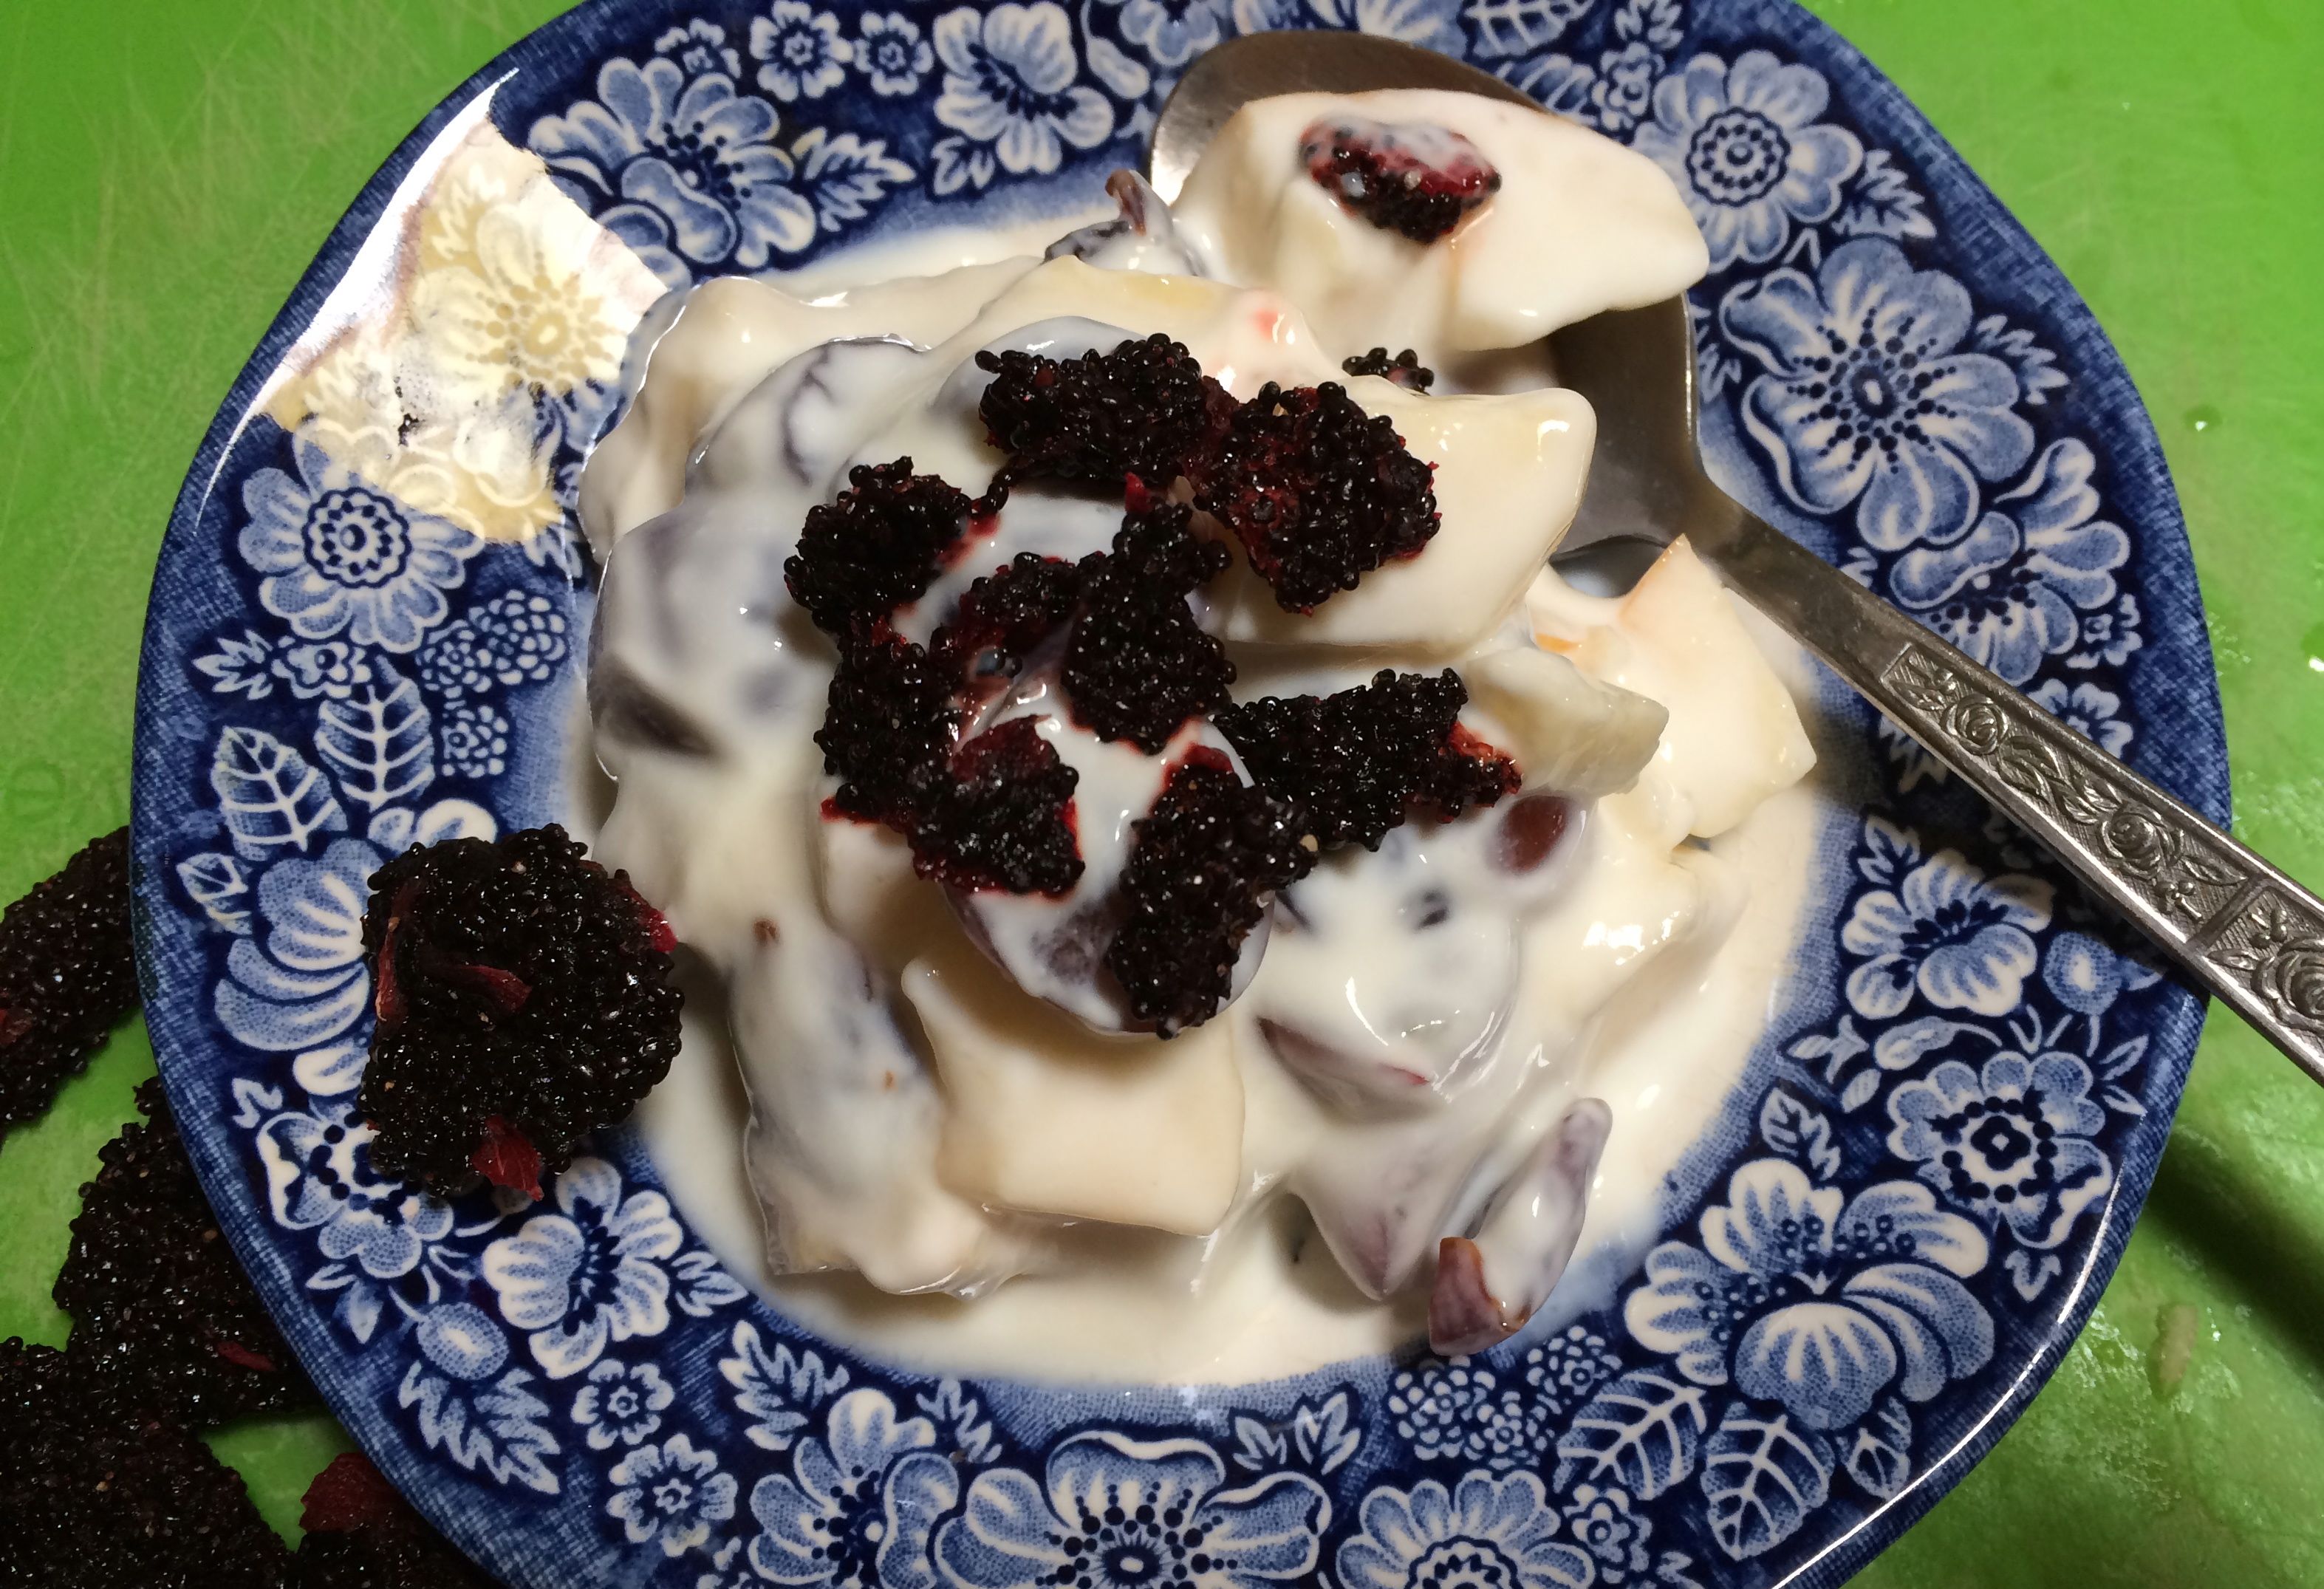
Cool “JUNE CHUN”–a fruity and crunchy salad or dessert (MABurgess)

So, Happy Desert New Year!  And happy harvesting in the coolth of early summer mornings, rejoicing in the gifts saguaro gives to its fellow desert-dwellers–from the white-wing doves and ants to us two-leggeds!

[If you are beyond the Sonoran Desert and want to try some of these desert delicacies, you can contact http://www.tocaonline.org (website of Tohono O’odham Community Action, Sells, AZ) or http://www.nativeseeds.org (NativeSeeds/SEARCH at 3061 N Campbell Ave, Tucson, AZ; or 520-622-5561) to order them.  Many other traditional desert foods are available at http://www.flordemayoarts.com.]

Braving the heat, inviting the monsoons and prepping for summer planting, NativeSeeds/SEARCH will be celebrating San Juan’s Day at the NSS Conservation Farm in Patagonia, AZ, this Saturday, June 24, 2017, 11am-3pm.  Bring a dish for the pot luck and a spray-bottle of water for blessings.  For info call 520-622-0830.


Fu Yung with Local Veggies


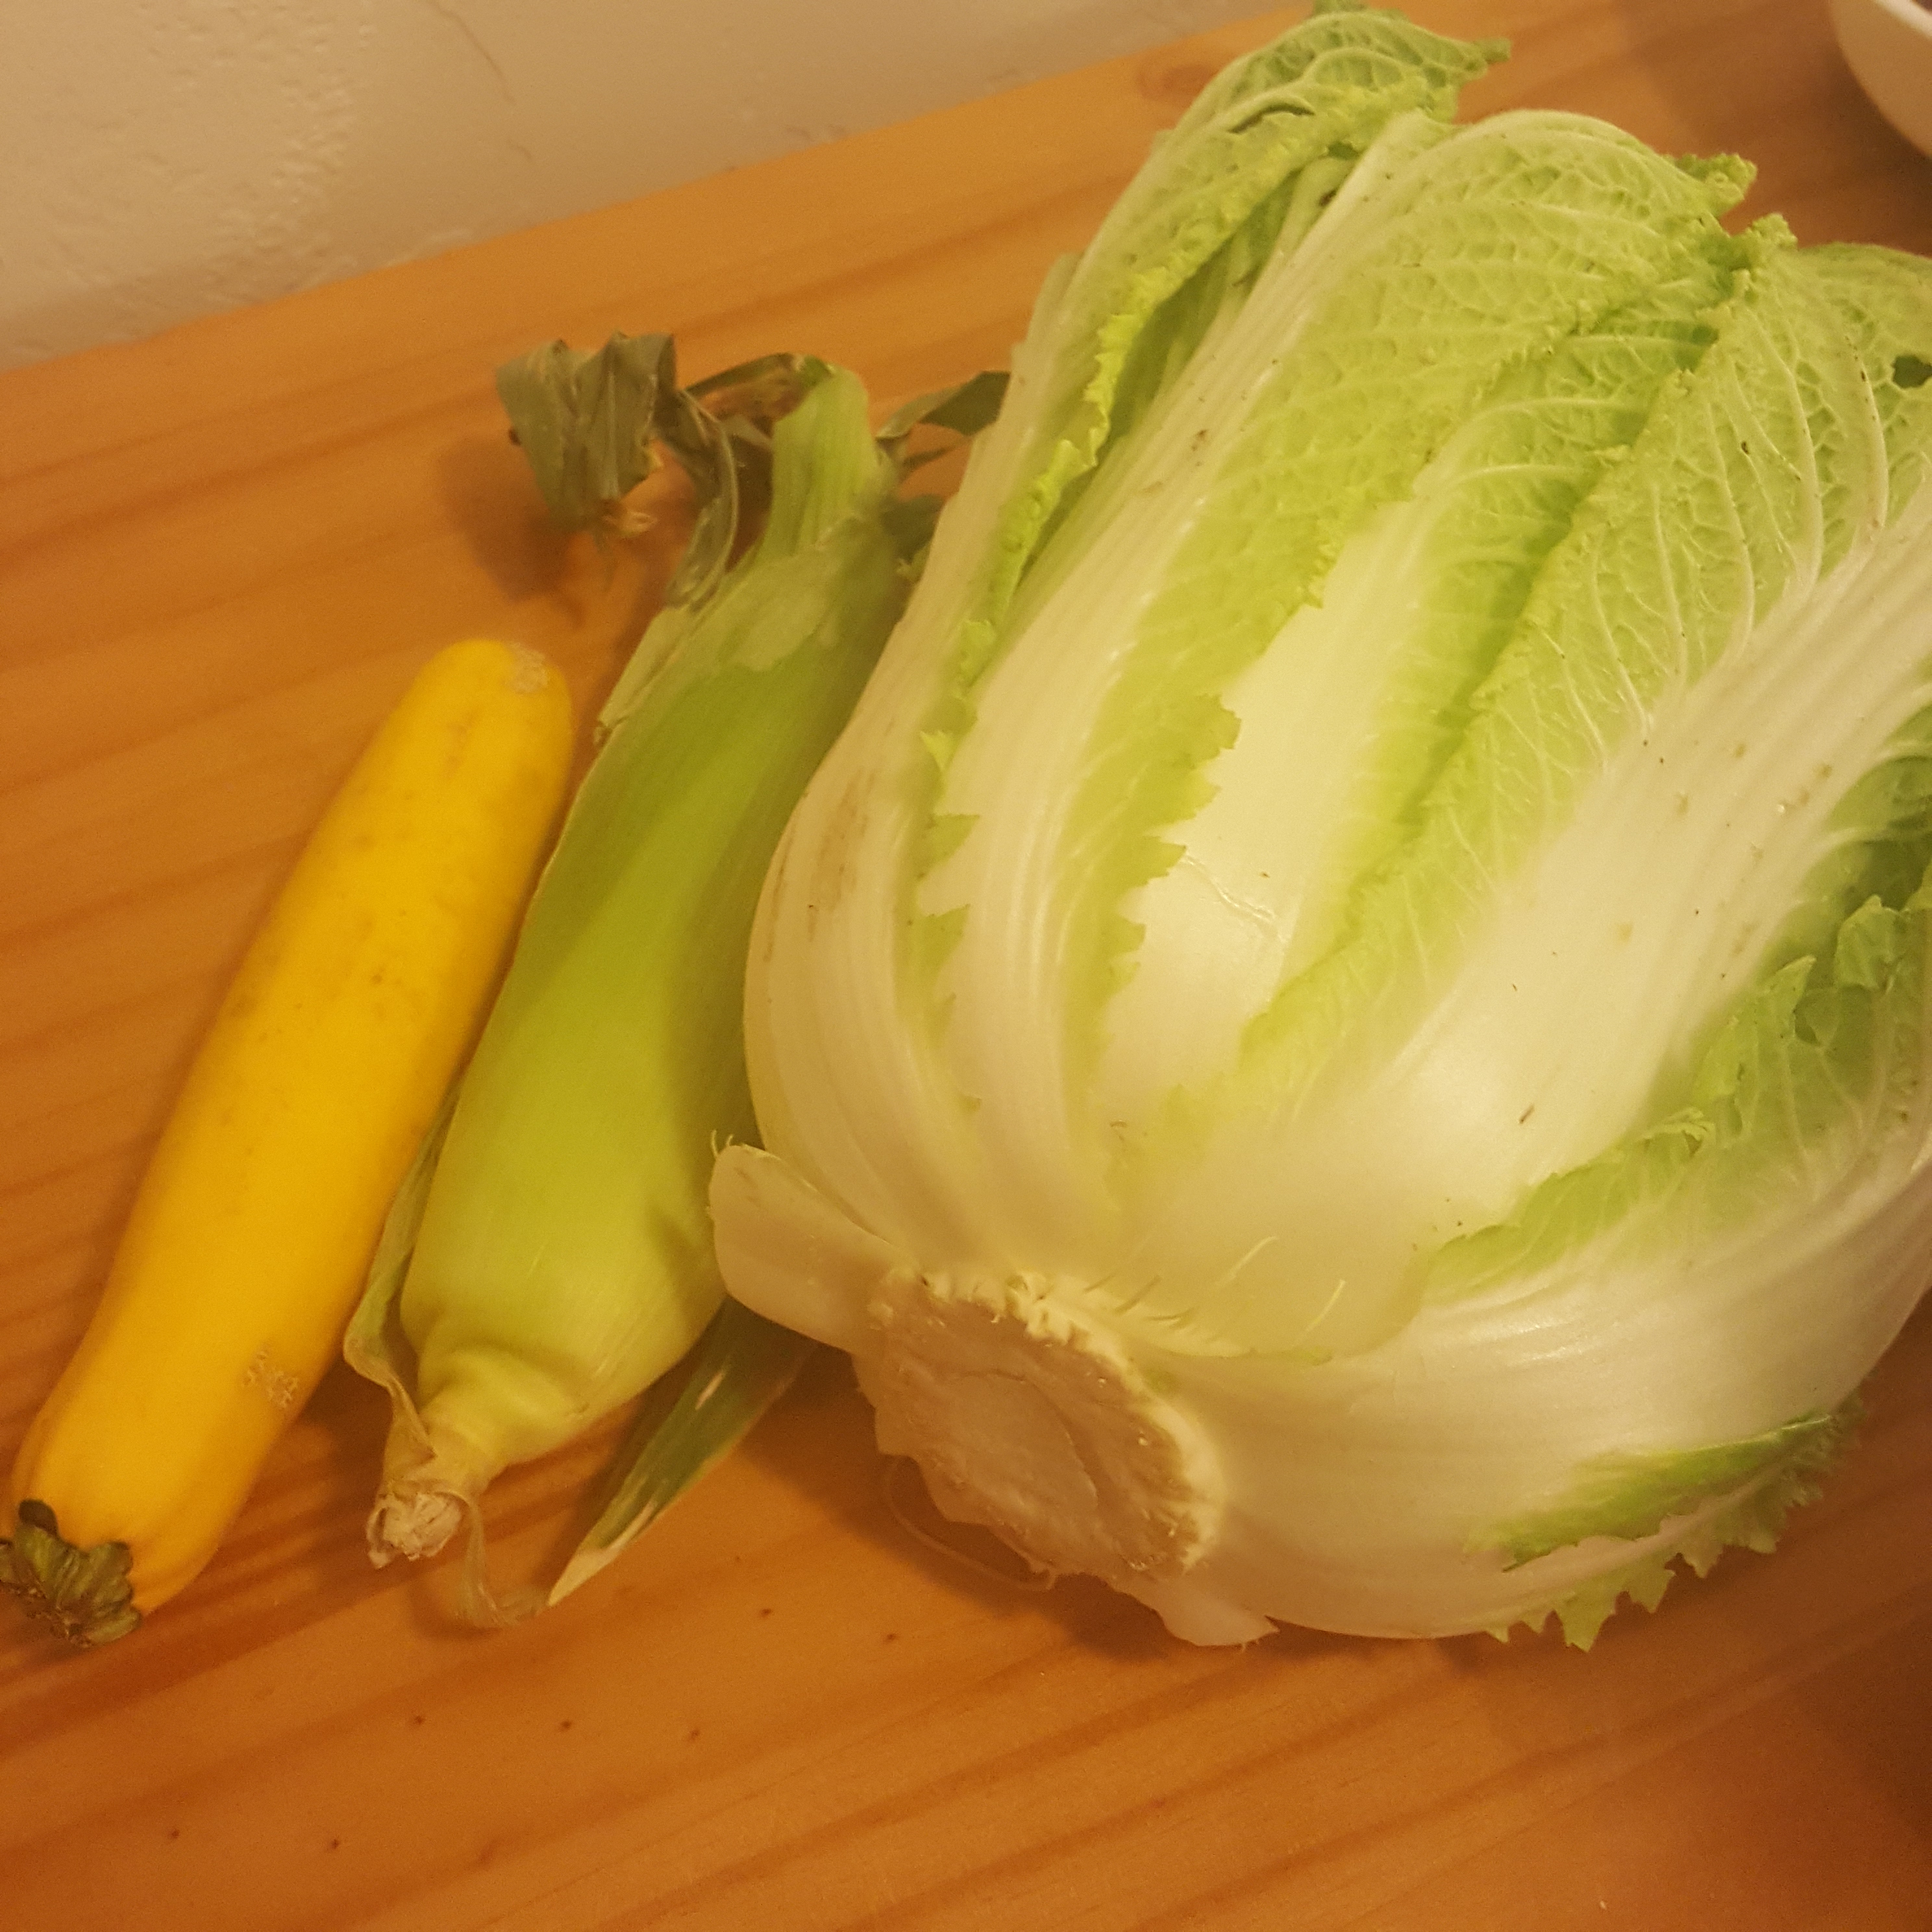
No matter how beautiful local veggies are, dreaming up something new and exciting to make with the same characters over and over again can be a challenge. Amy here with my latest attempt to use beautiful Tucson CSA napa cabbage (Sleeping Frog Farm) and summer squash (Crooked Sky Farm). And what to do when you have only ONE tiny ear of sweet corn? I also had ripe serrano chiles from a friend and a handful of blanched tender Foothills Palo Verde seeds. See Martha’s post for more on desert legumes.

This week’s inspiration came from my mom, who remembered the Fu Yung we used to make in our family Chinese feasts. Aunts, uncles and cousins would cook all day to make complicated meals from many world cuisines. I’ve been attempting recipes in this book since I was in high school. Following and diverting from this and a handful of other recipes is how I learned to cook.

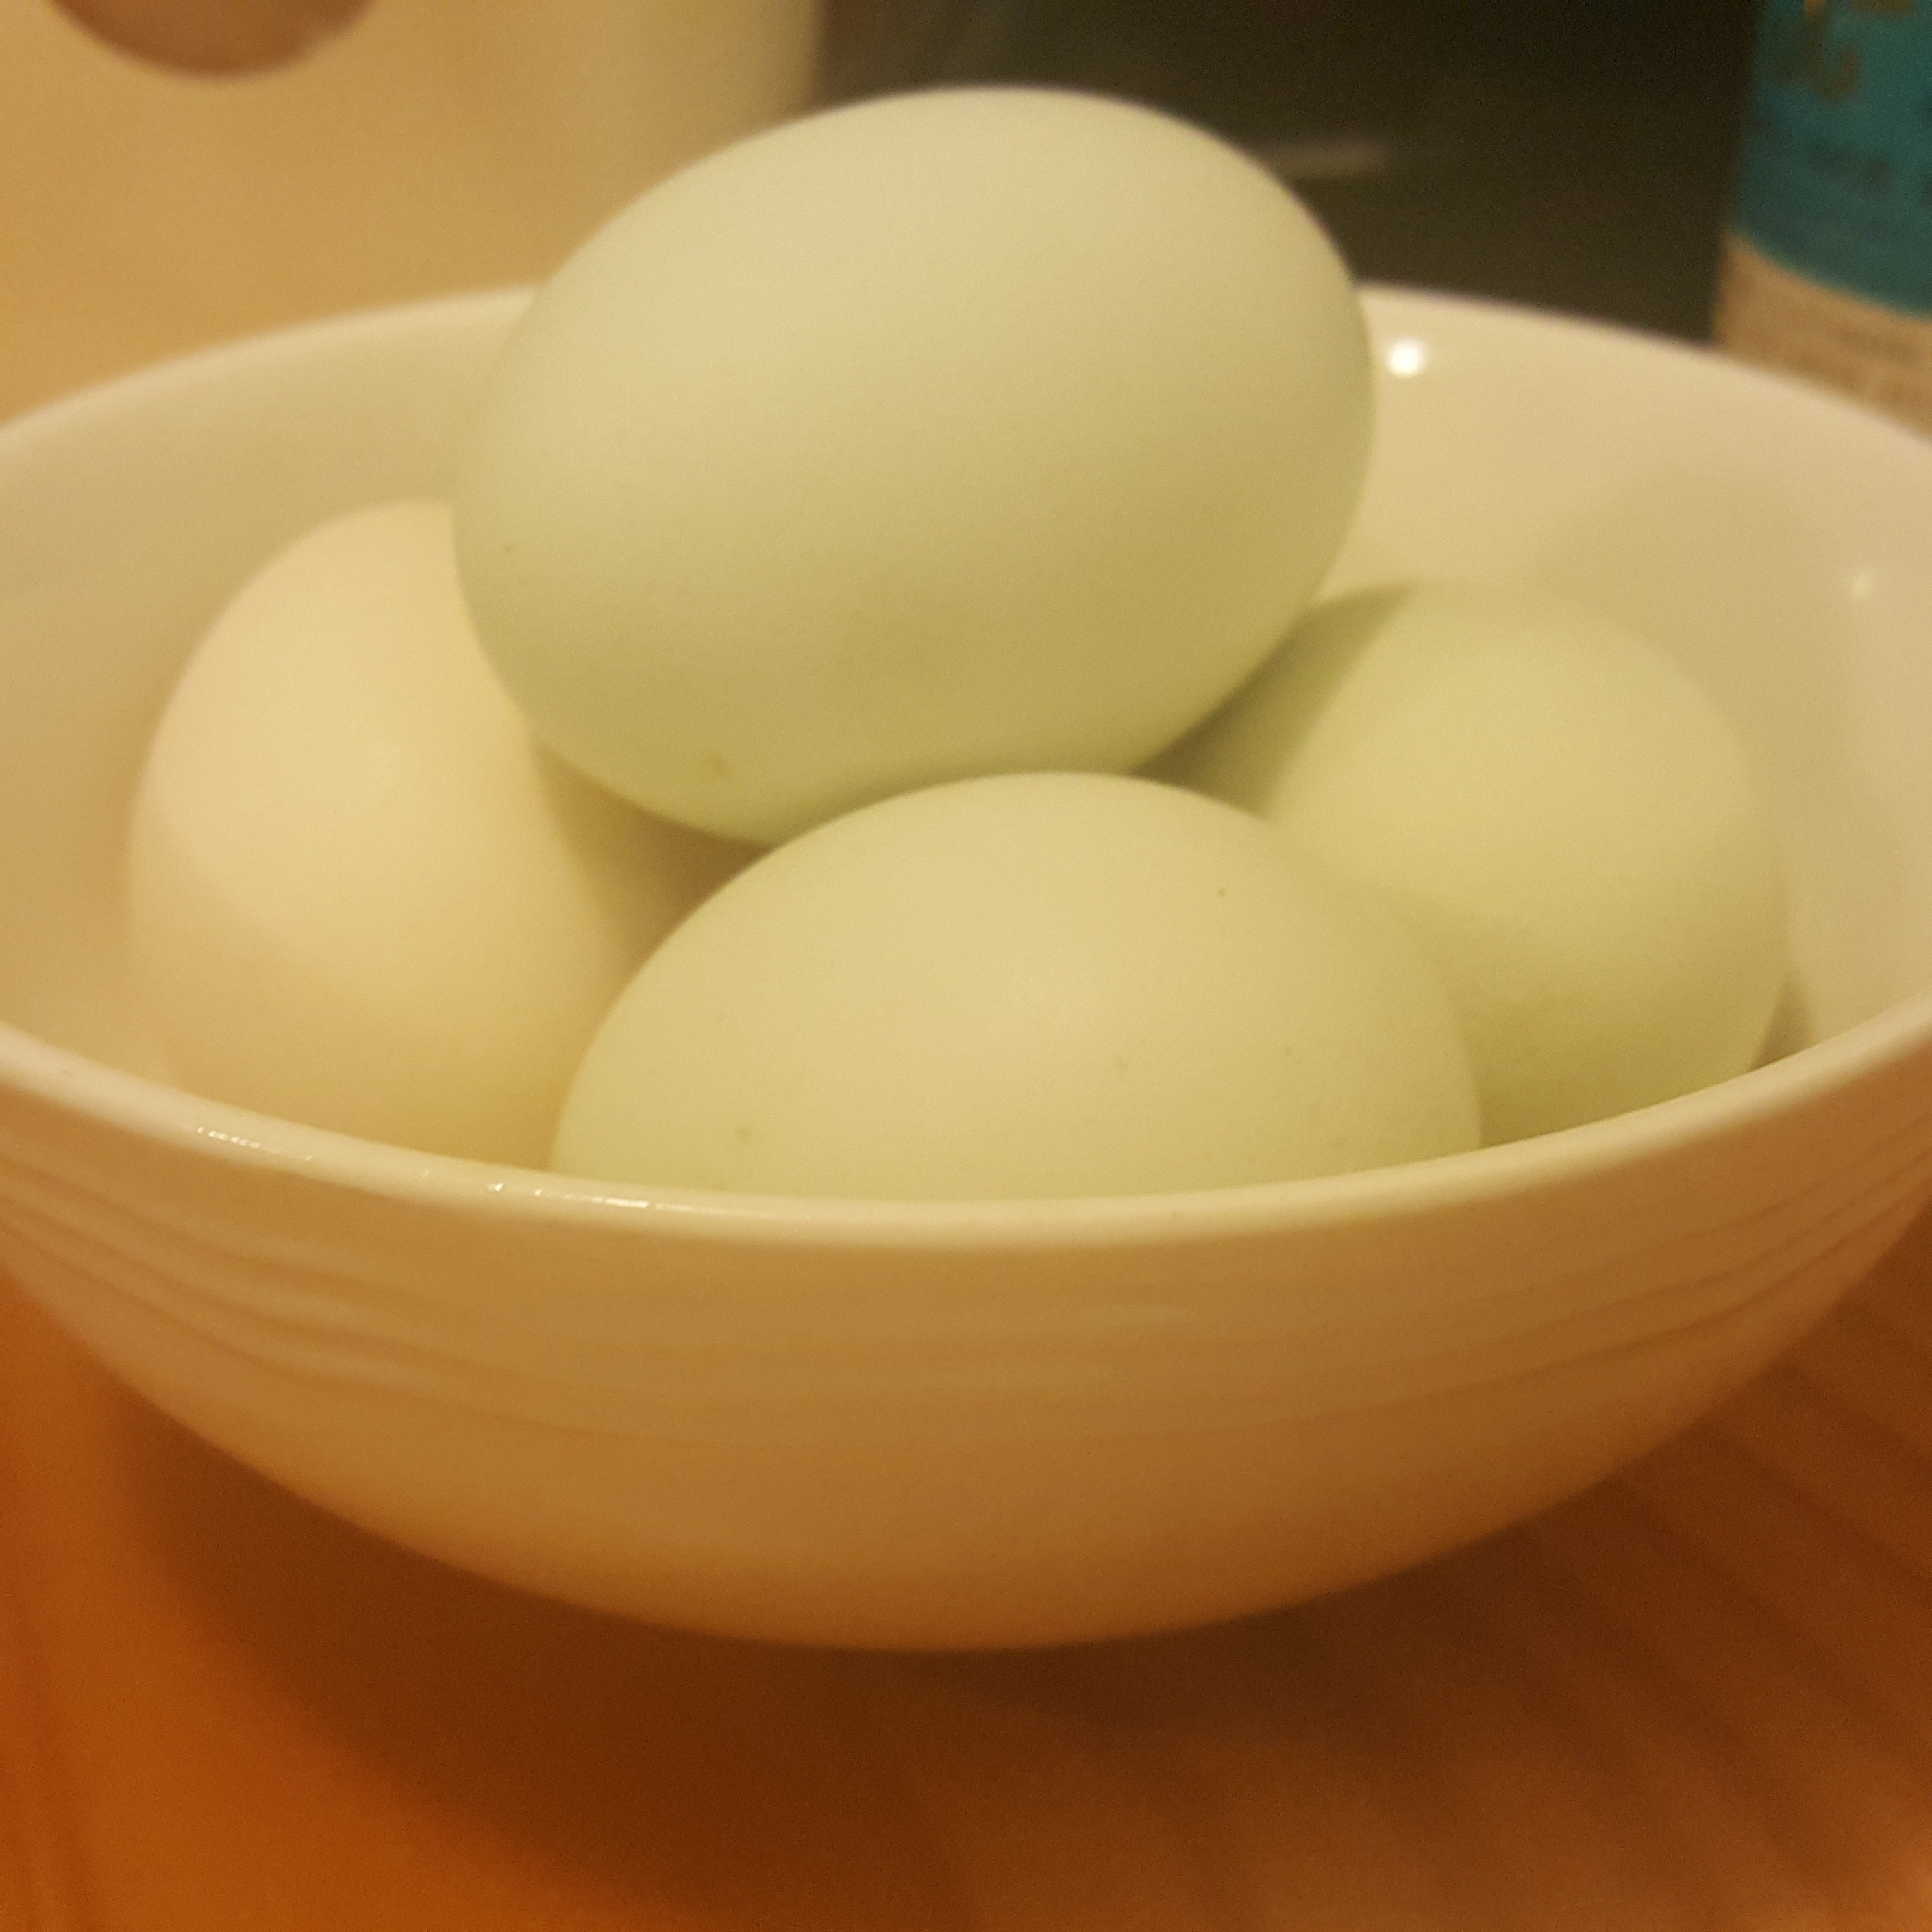
I also had lots of eggs from watching the neighbor’s chickens. Perfect!

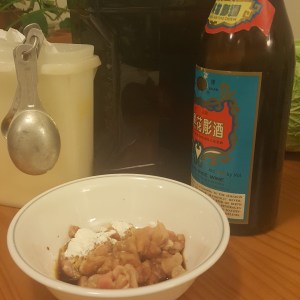
The first step to not skip in this recipe is to marinate thinly sliced meat in soy sauce, rice wine and cornstarch for at least 15 minutes. It calls for beef but I used half that amount of pork.

Instead of meat, strongly flavored dried Chinese mushrooms are excellent. Just soak in water, cut in tiny strips and add them with the rest of the veggies. Save the mushroom soaking liquid to make the sauce. Yum!

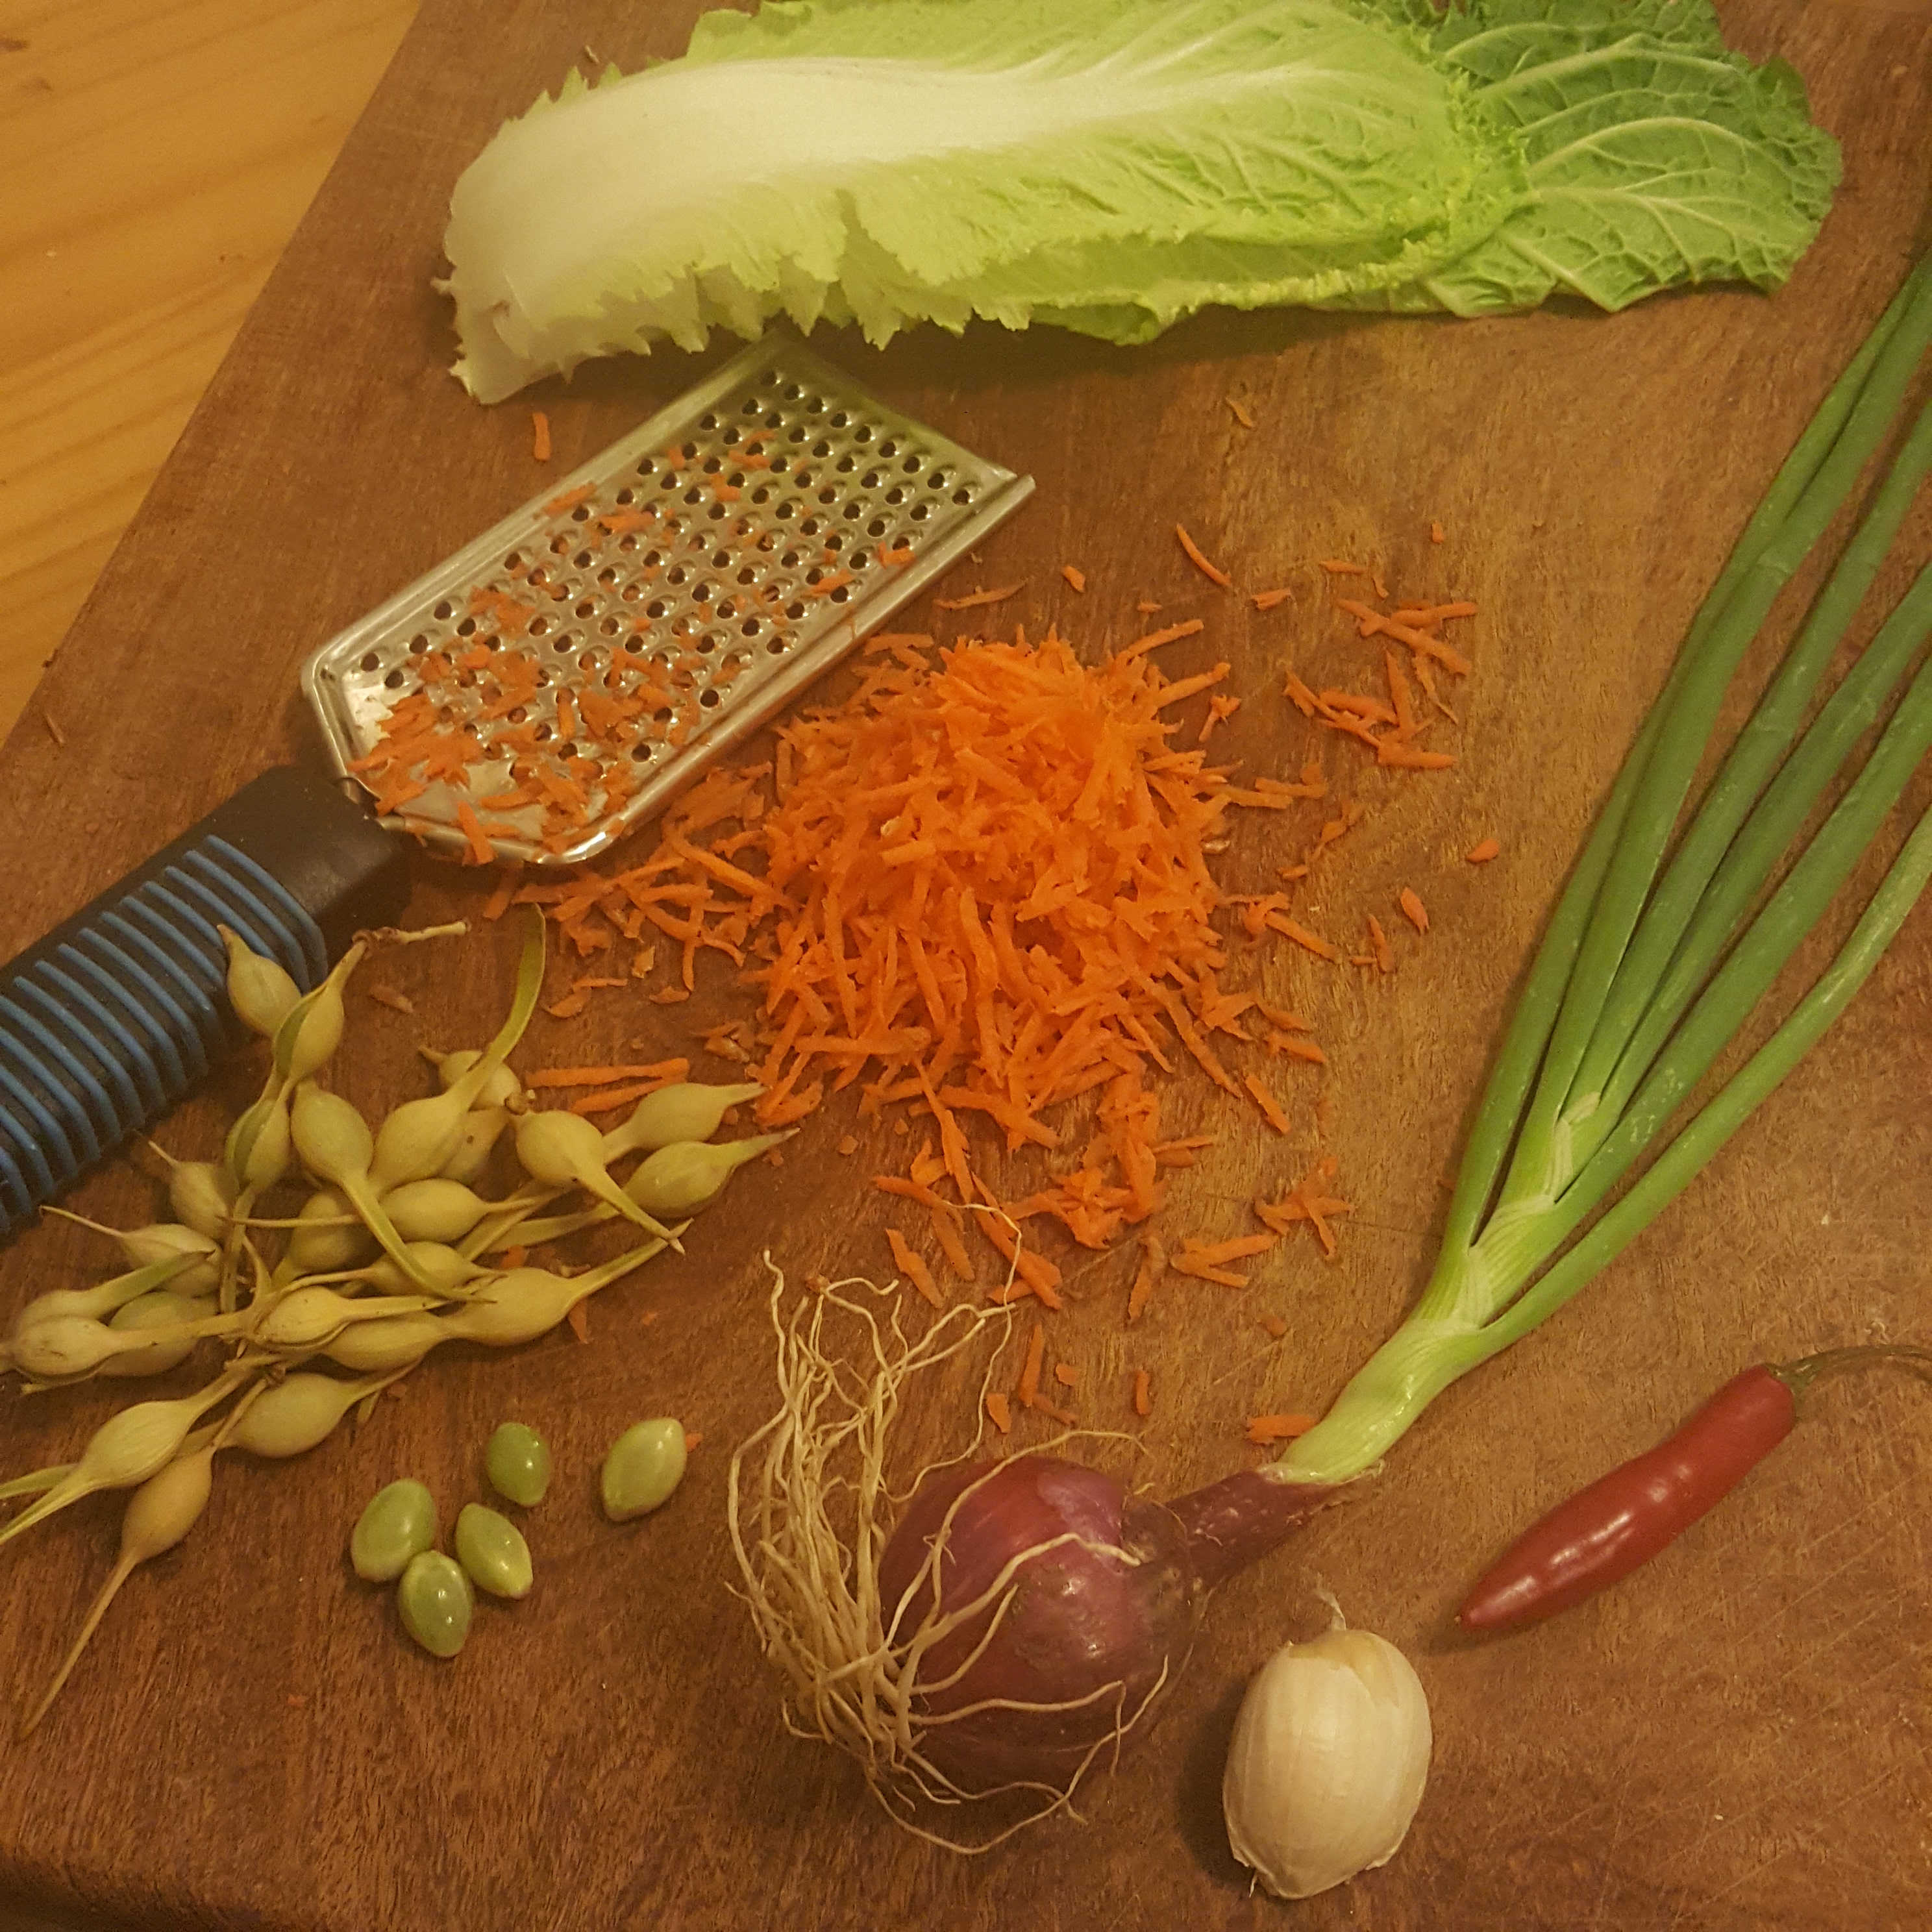
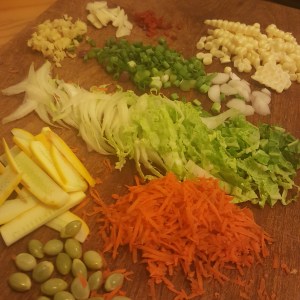
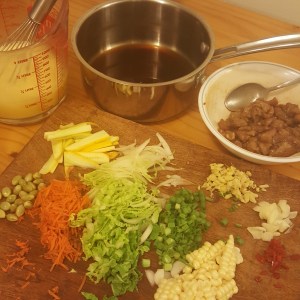
Cut all the veggies. This is not the dish to start cooking the longer cooking items before you cut the others. The original recipe called for spring onion and a little fresh ginger. I used carrot, cabbage, golden zucchini, young onion tops and bottoms, sweet corn and tender blanched palo verde seeds. For spice, I used garlic, ripe serrano and lots of ginger.

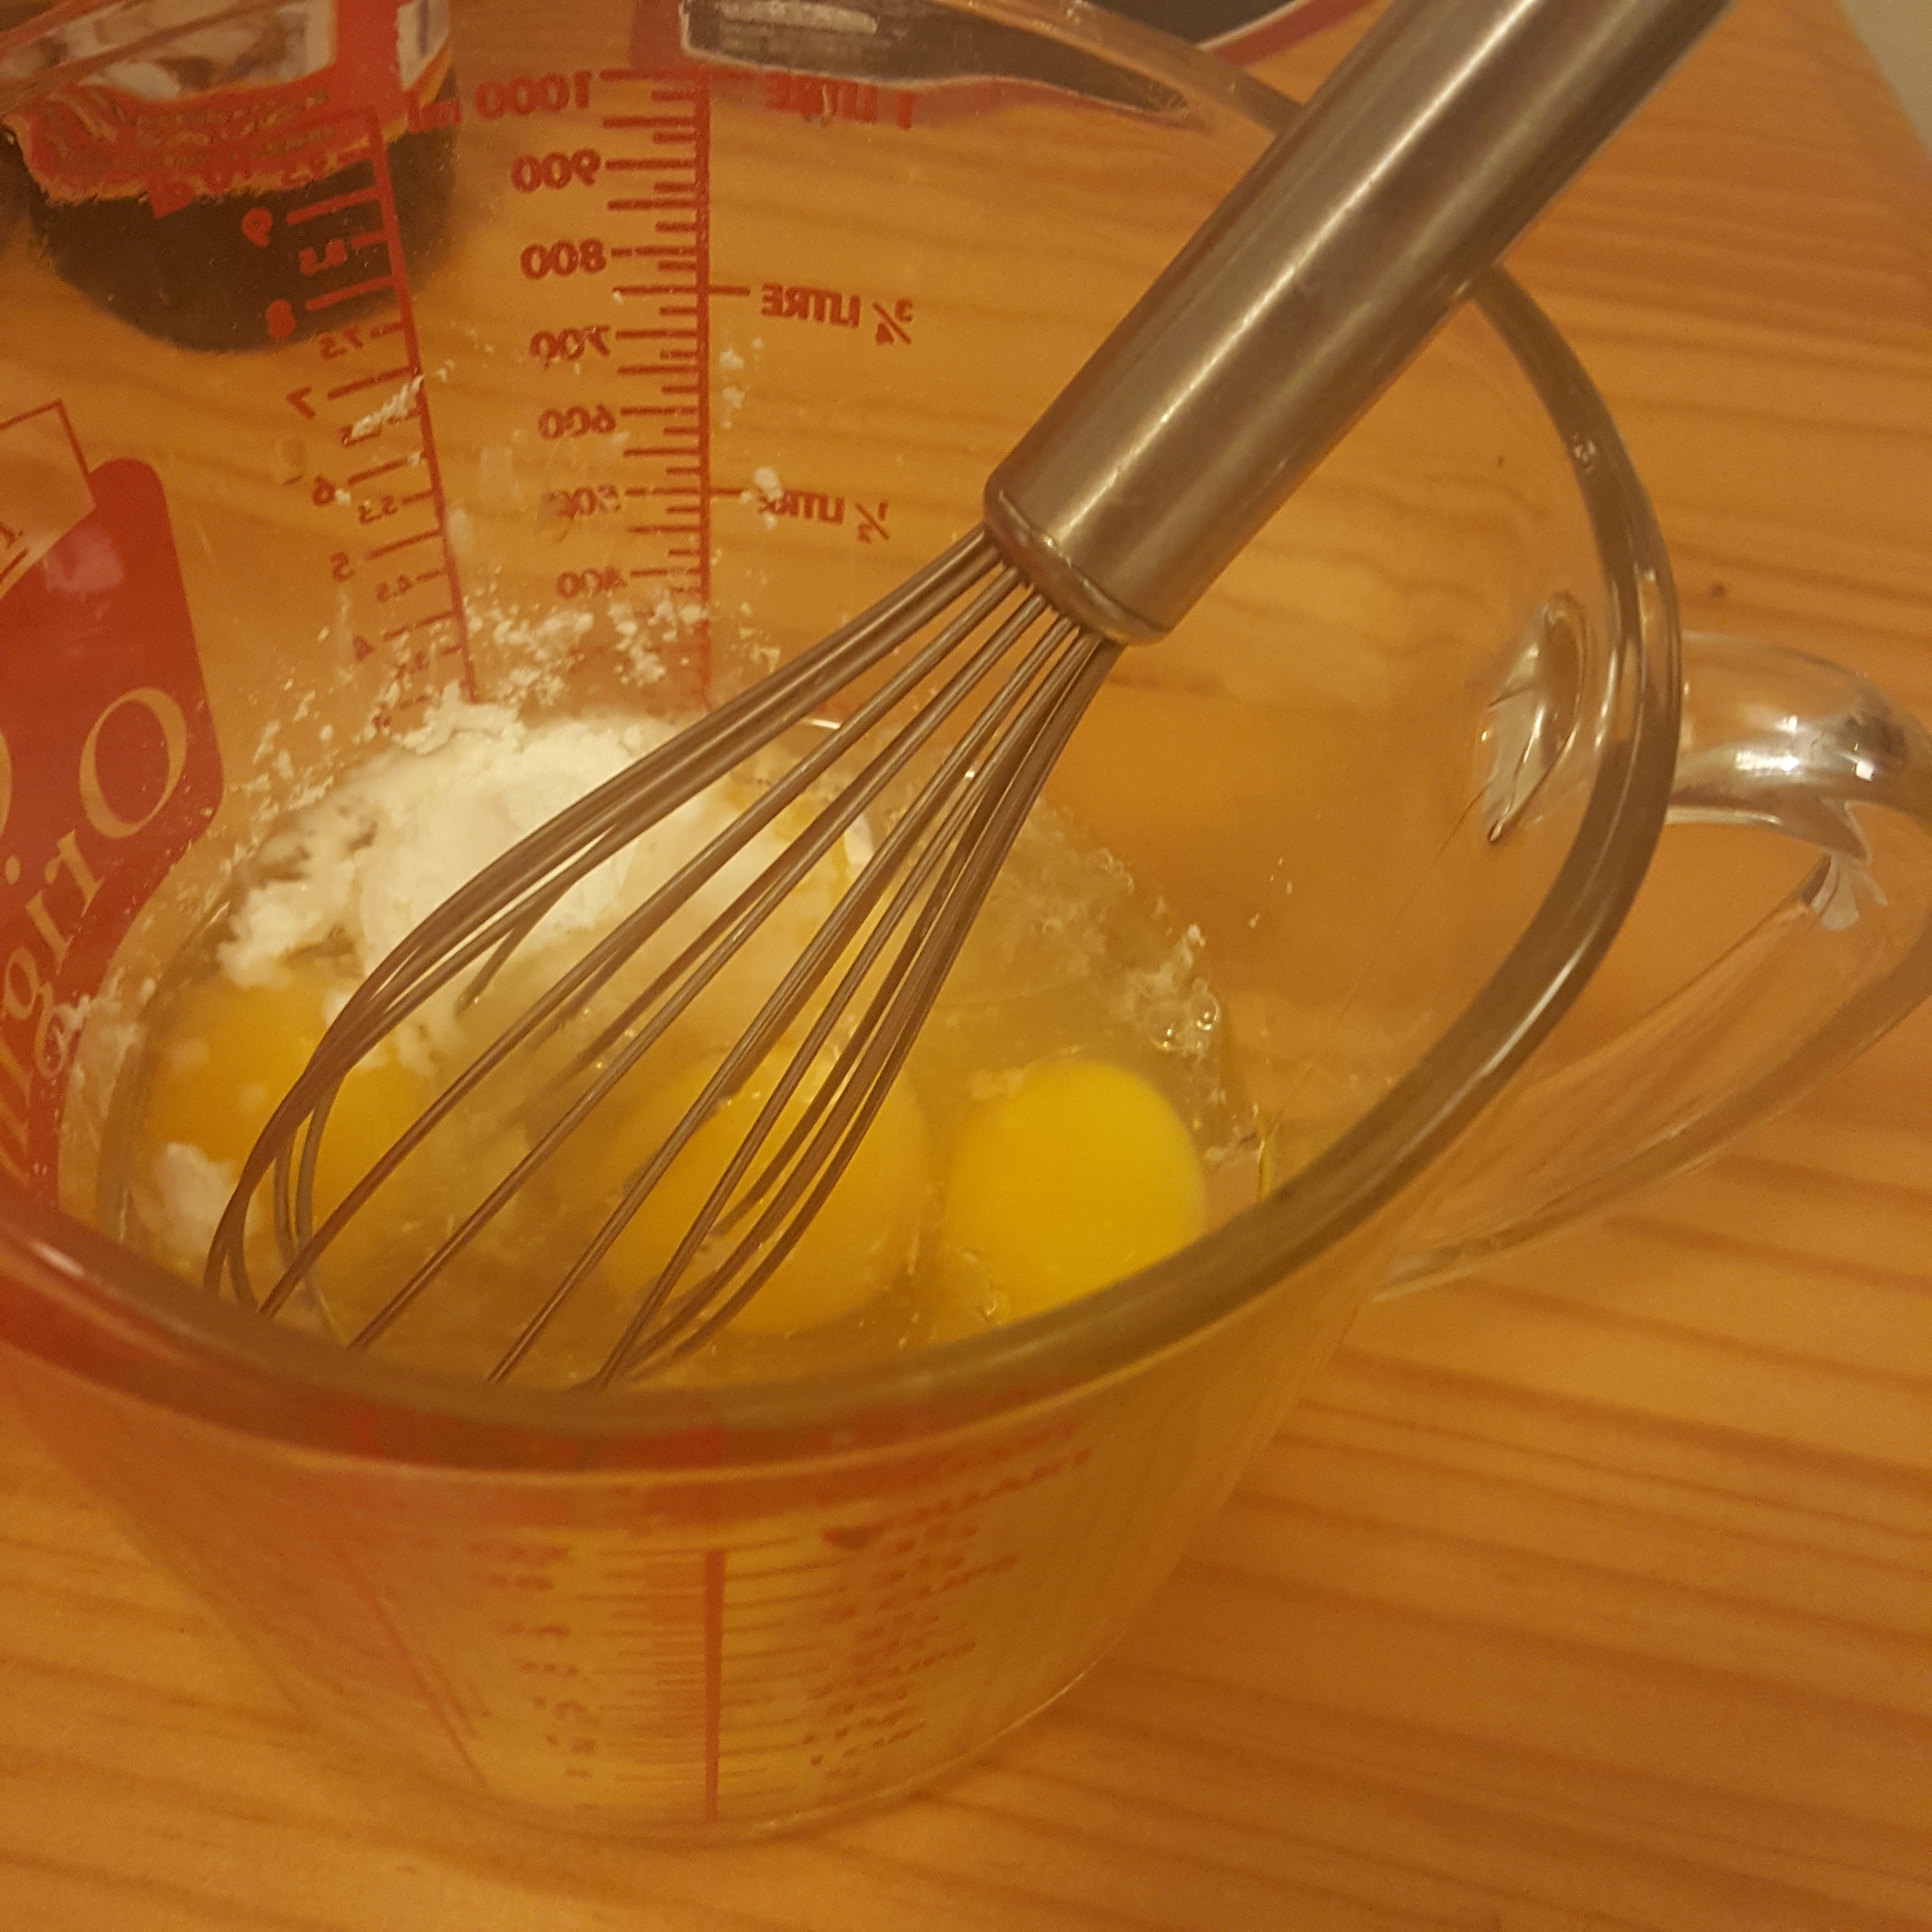
Then beat eggs, cornstarch and a splash of water. Next time I’ll mix the cornstarch and water before the eggs to prevent difficult to remove lumps.

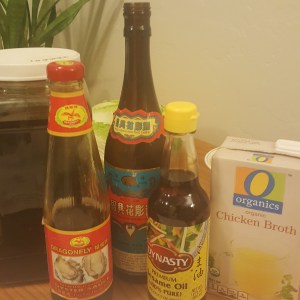
In a small saucepan, measure all the sauce ingredients and set aside: chicken or mushroom broth, oyster sauce (or mushroom sauce), rice wine, sesame oil and cornstarch.

Bring everything close to the stove.

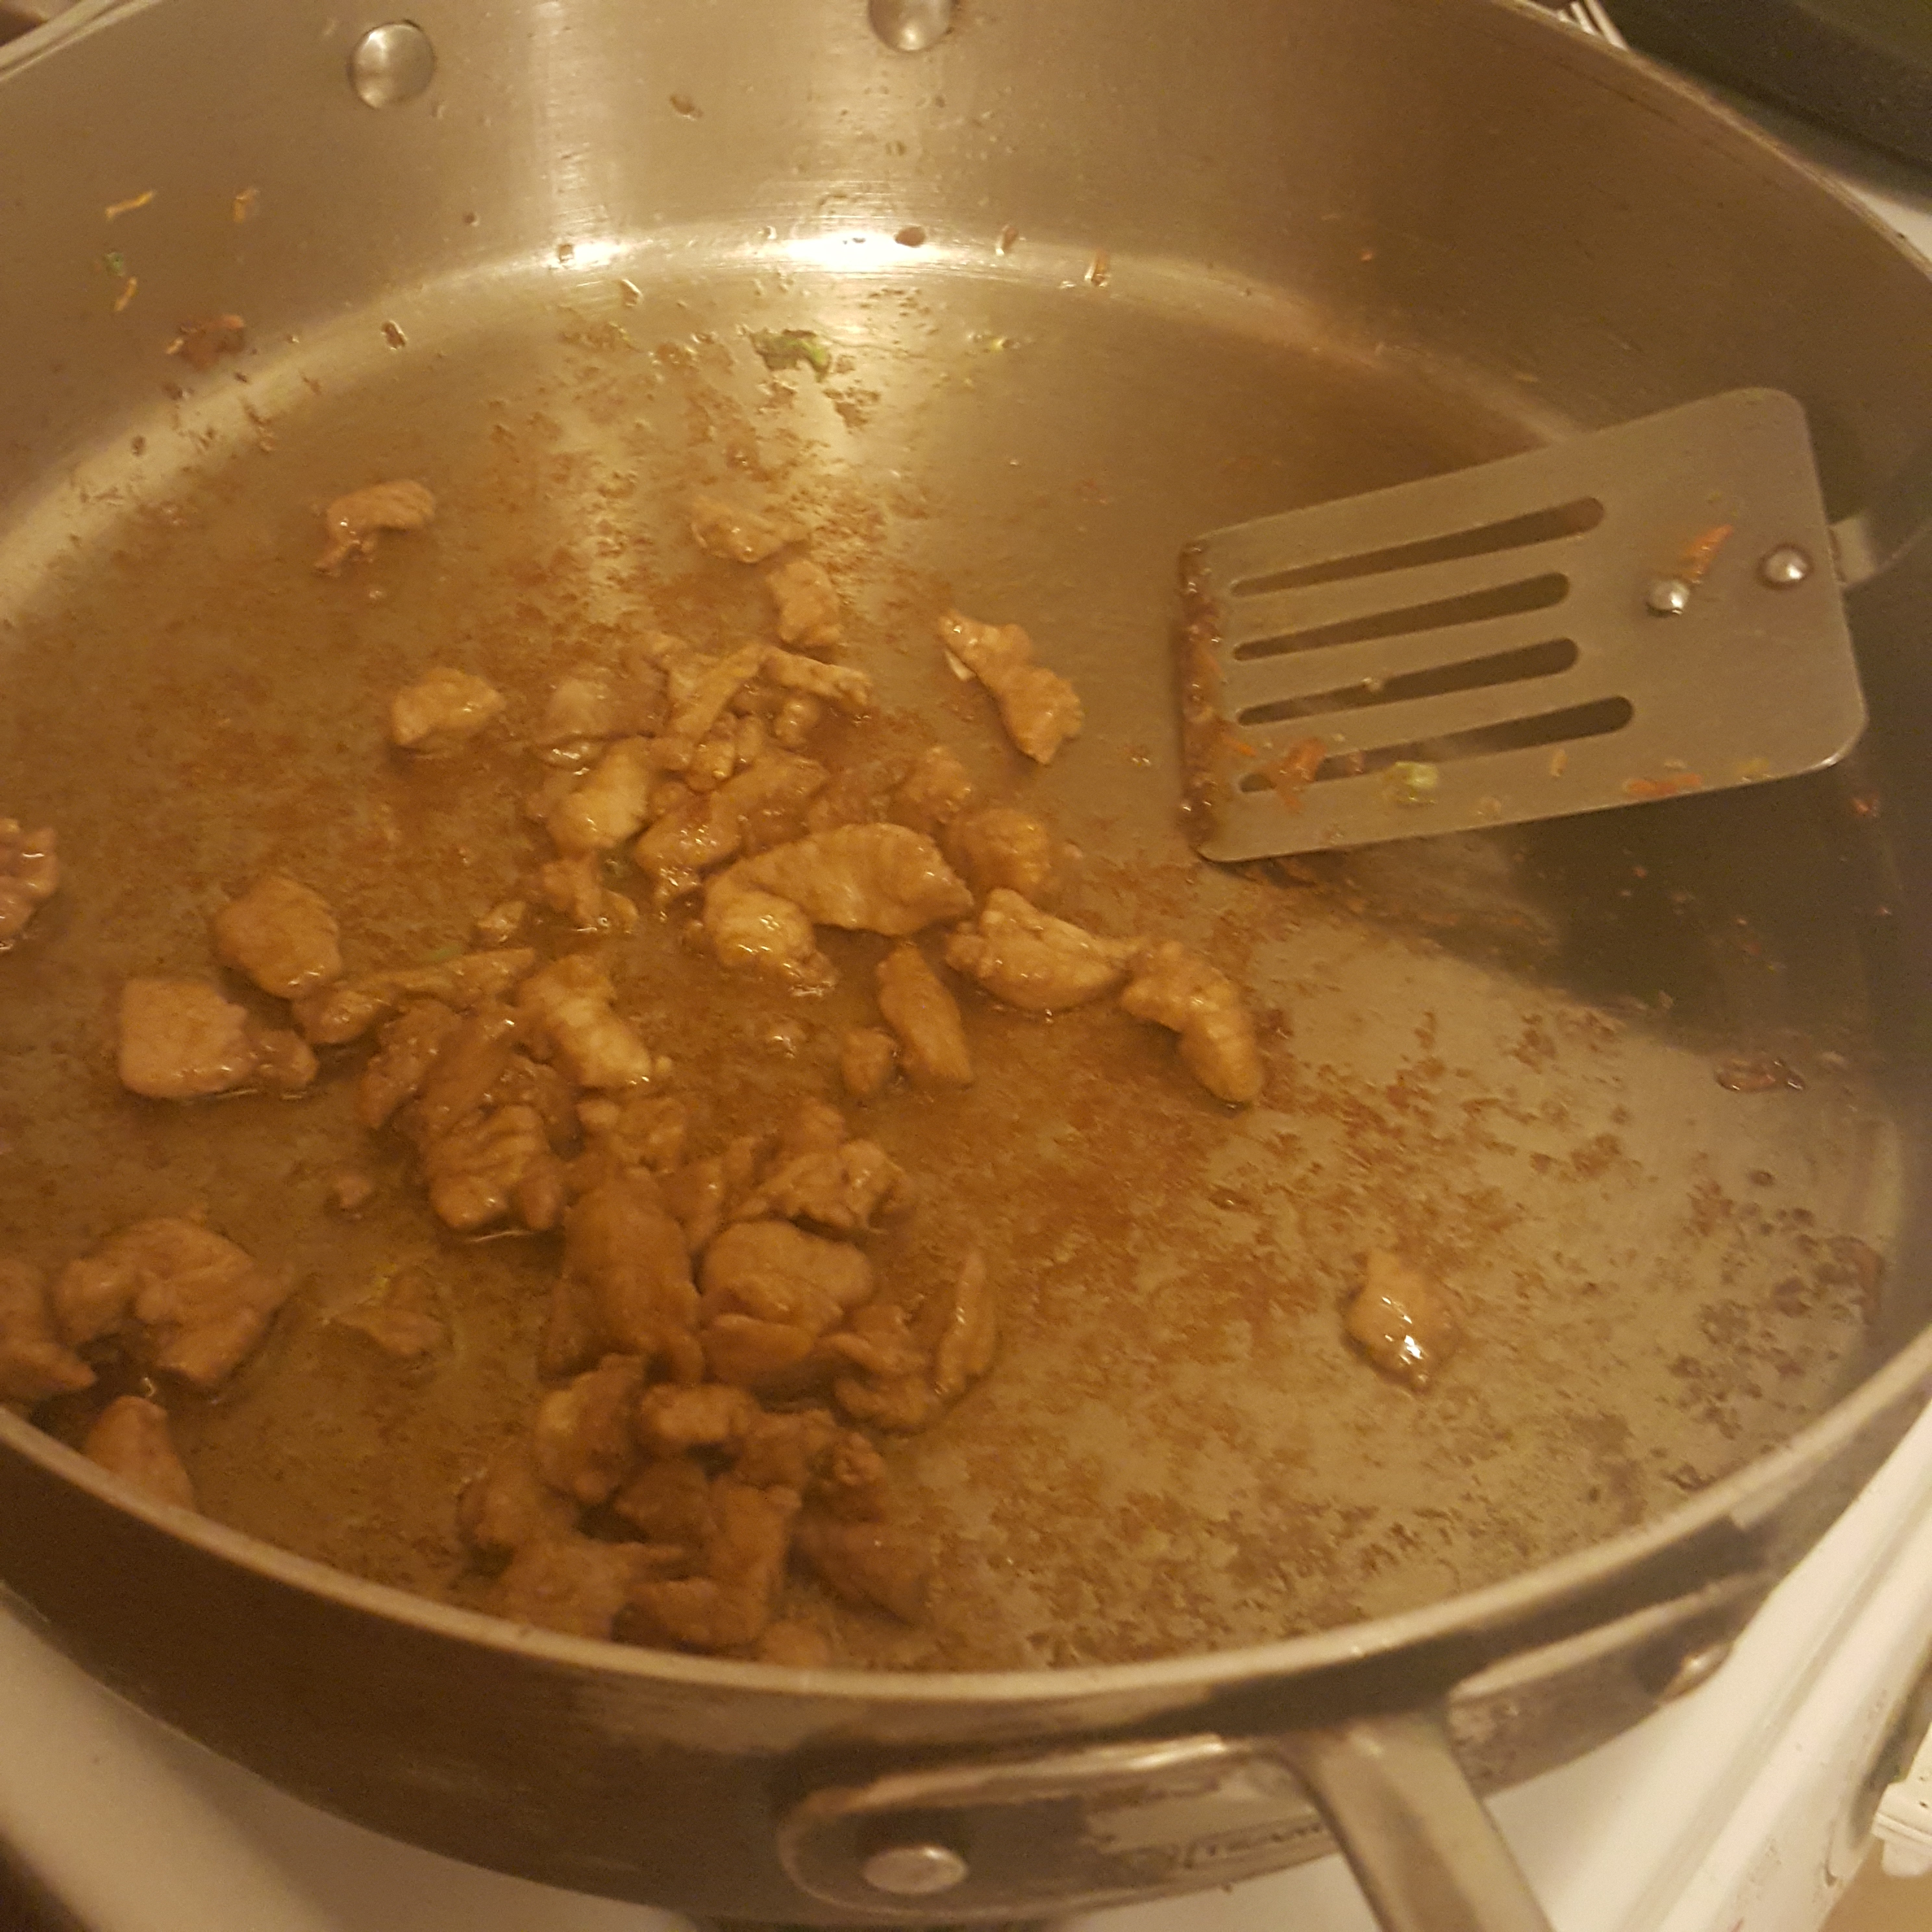
In place of a wok, I use a very large skillet on high to cook the meat in a little oil. When browned but not necessarily cooked through, remove from the pan and set aside.

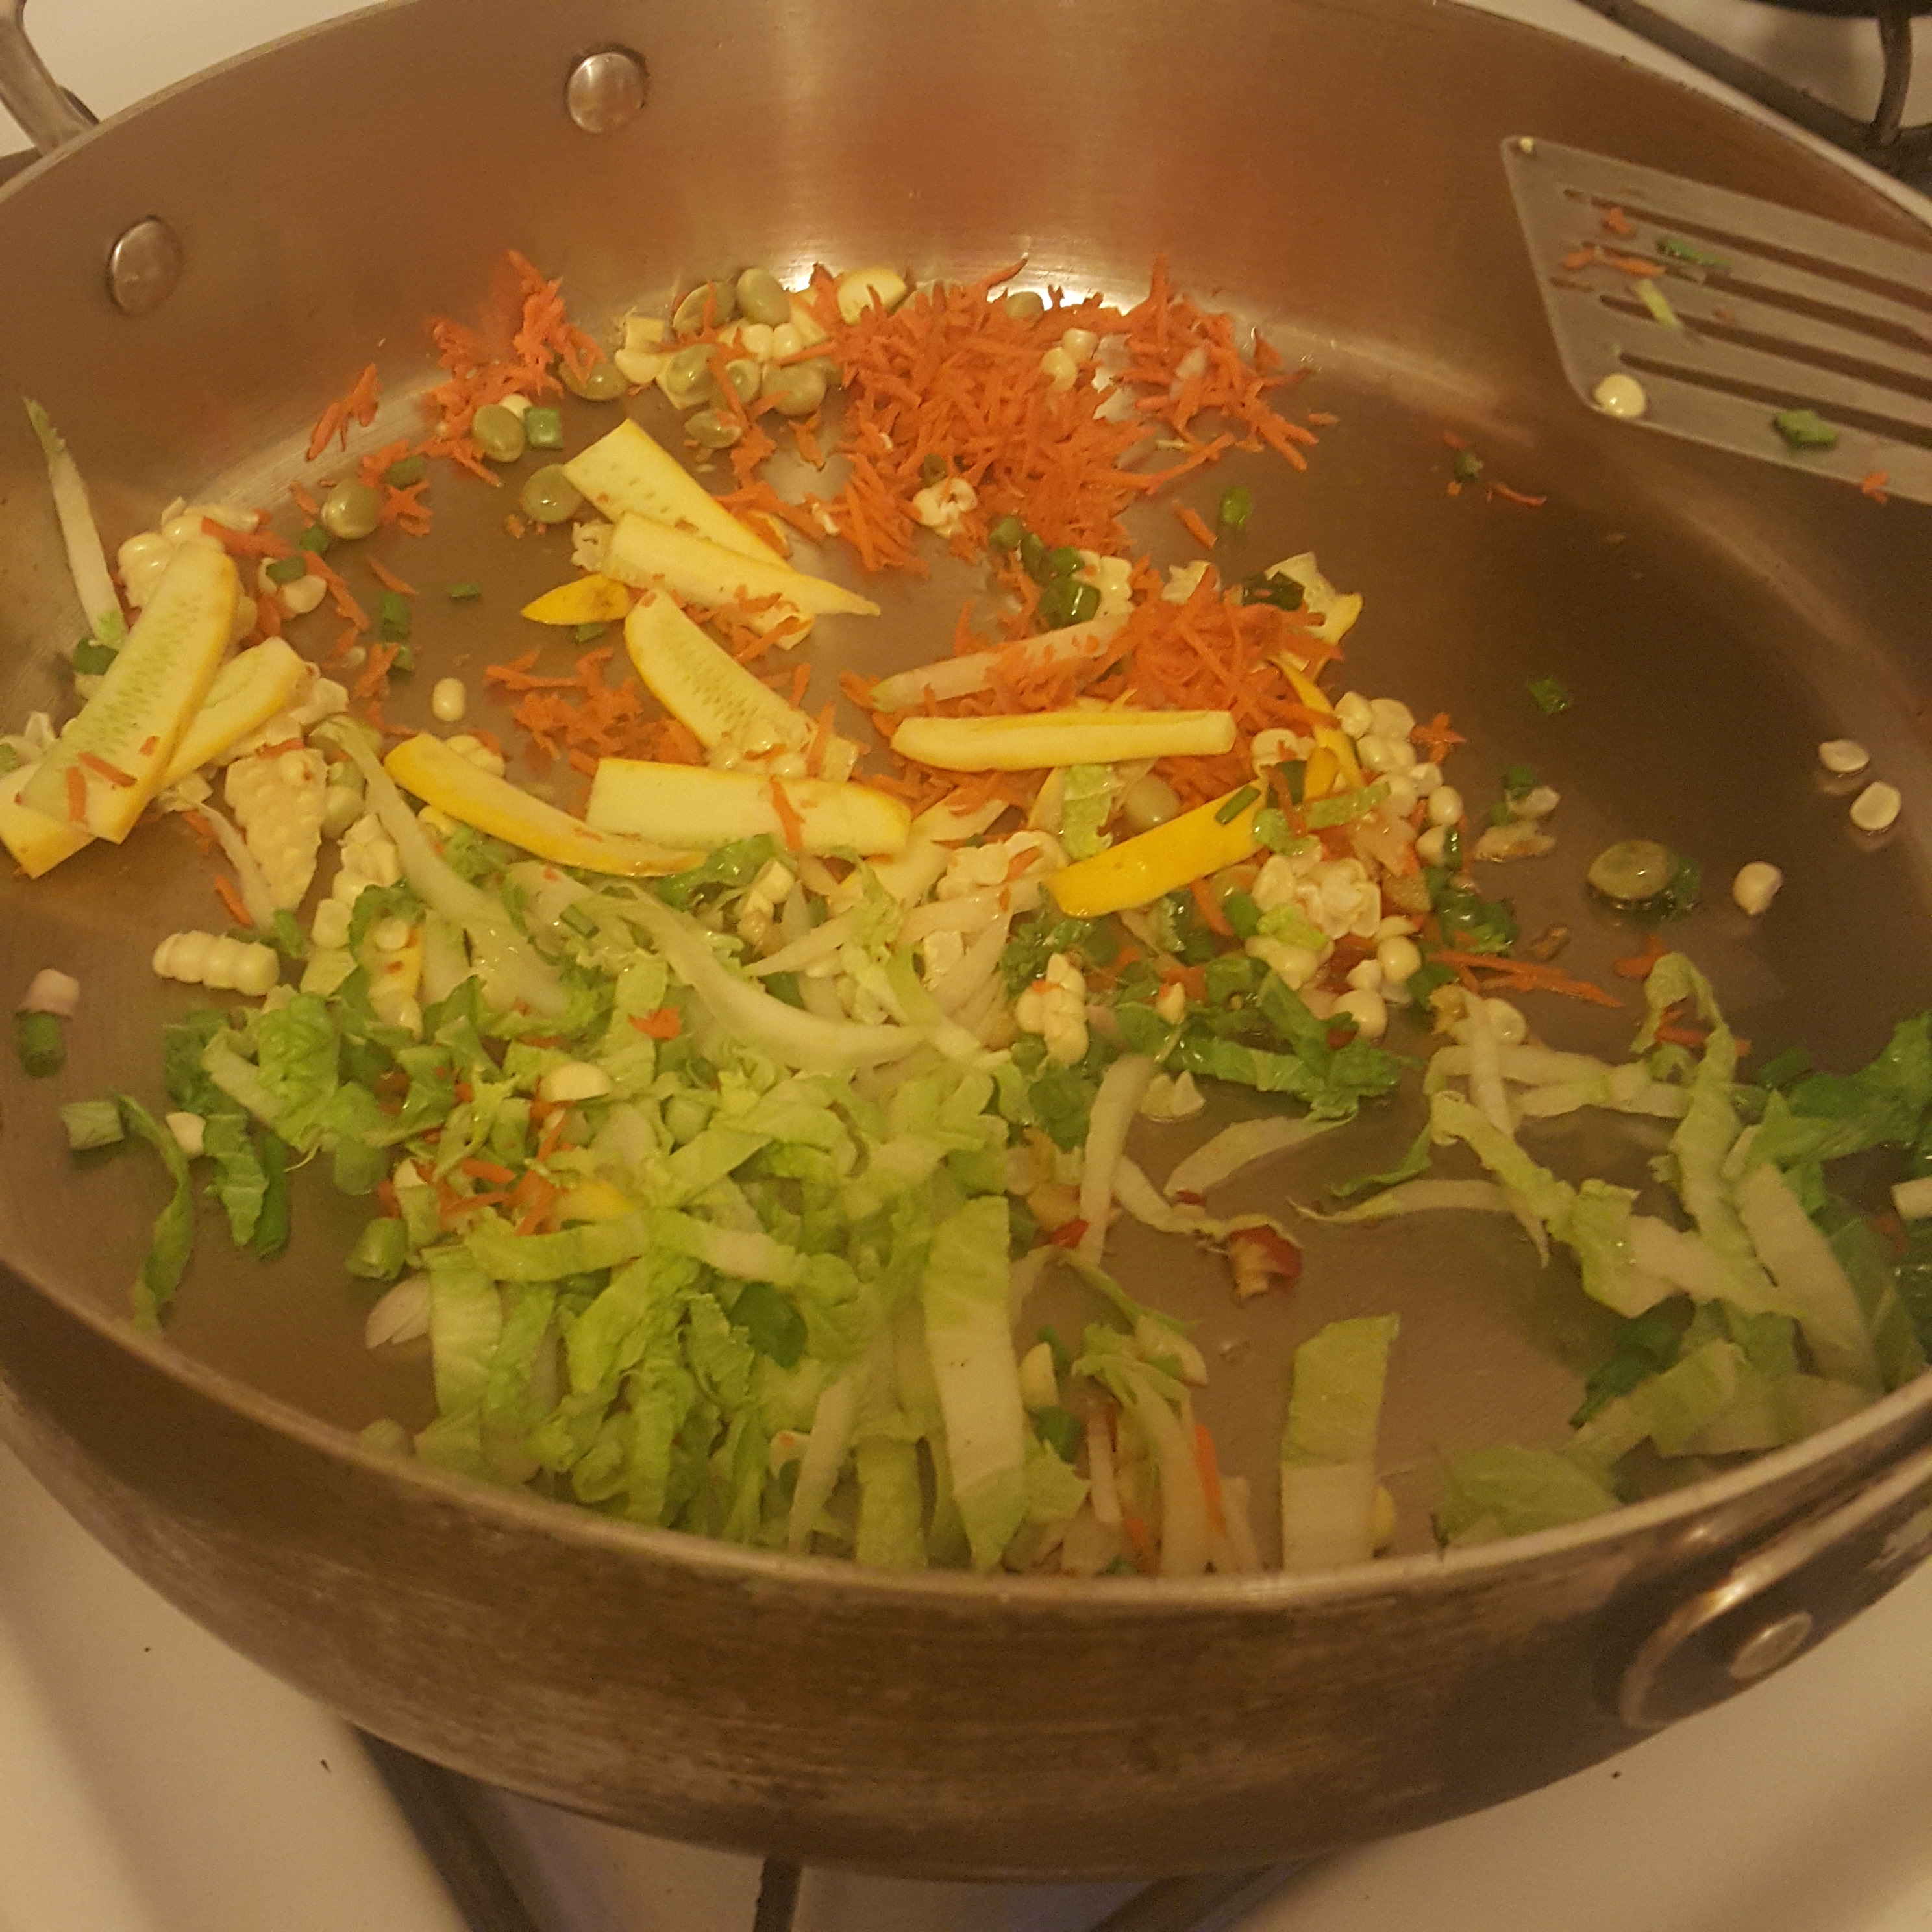
Add a little more oil and cook the garlic, ginger and chile. Add the veggies and stir fry for just a minute!

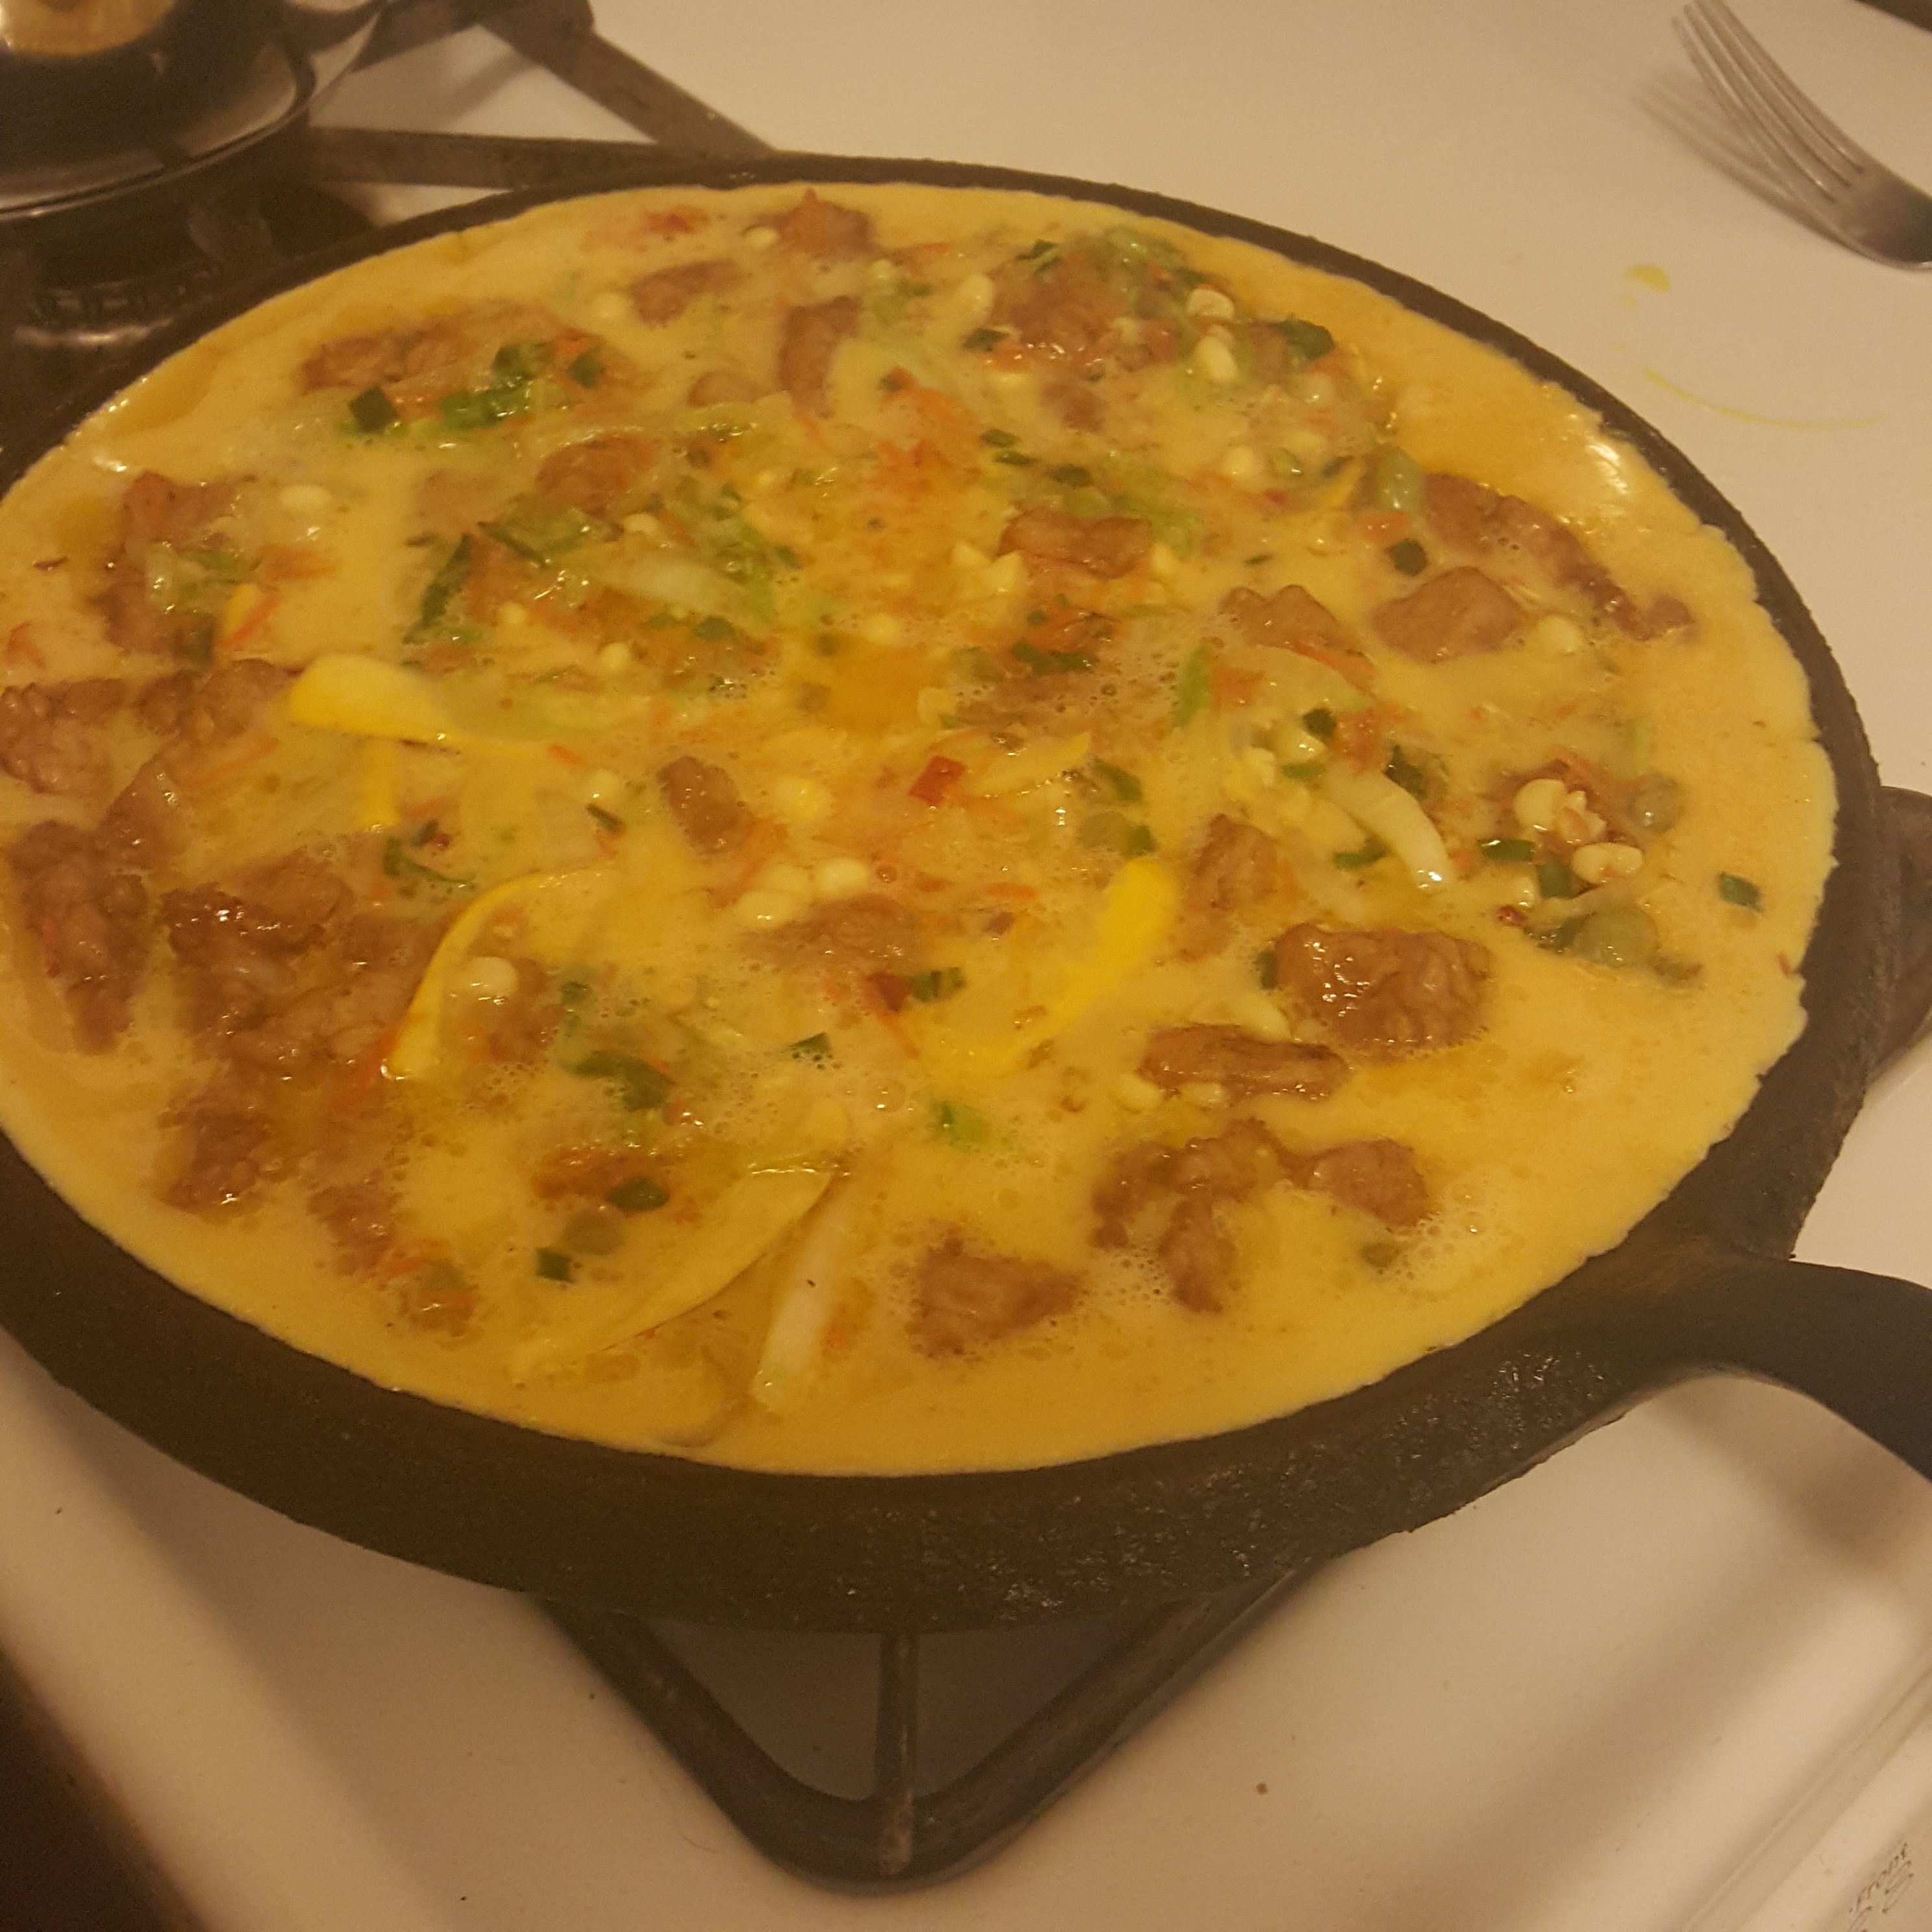
Gently heat a well seasoned cast iron or nonstick pan with low or rounded sides. Splash on a bit of cooking oil and toasted sesame oil. Add the meat and veggies in an even layer and pour the eggs over all. Cook gently until almost set and browning on the bottom. Slide onto a plate. Cover with a another plate and invert. Slide back onto the pan and cook through. If there are more veggies than the eggs can hold together, it will be messy. The book suggests cutting in wedges and flipping each, but it is not as pretty.

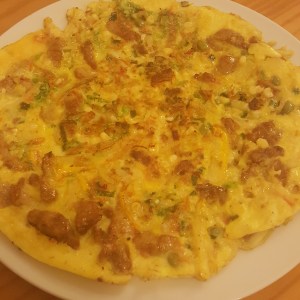
Serve the prettiest side up, you decide. Sometime while waiting for the eggs to set, heat the sauce while whisking, until thick. Keep warm.

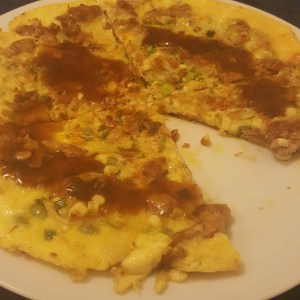
Cut in wedges with a pizza cutter and serve with the sauce. Of course it is best right away, but it makes a great cold breakfast or lunch. Enjoy!

Veggie and Pork (or Chinese Mushroom) Fu Yung


1 1/2 oz thinly sliced pork or dried, soaked Chinese mushrooms


Marinate for at least 15 minutes in:

2 teaspoons light soy sauce

1 teaspoon rice wine or dry sherry

1 1/2 teaspoons corn starch


Veggies:

Your choice! About 1 cup after stir frying

Fresh ginger, garlic and green onion to taste


Egg mixture:

5 large eggs

2 teaspoons cornstarch

1 tablespoon water


Sauce:

1/4 cup chicken broth or mushroom soaking liquid from above

2 teaspoons light soy sauce

1 tablespoon oyster (or mushroom) sauce

1 teaspoon rice wine or dry sherry

1/4 teaspoon sugar

1 teaspoon toasted sesame oil

1/2 teaspoon cornstarch


For frying:

Mild cooking oil, like canola or peanut

Toasted sesame oil


Wild Rhubarb Rises Again!

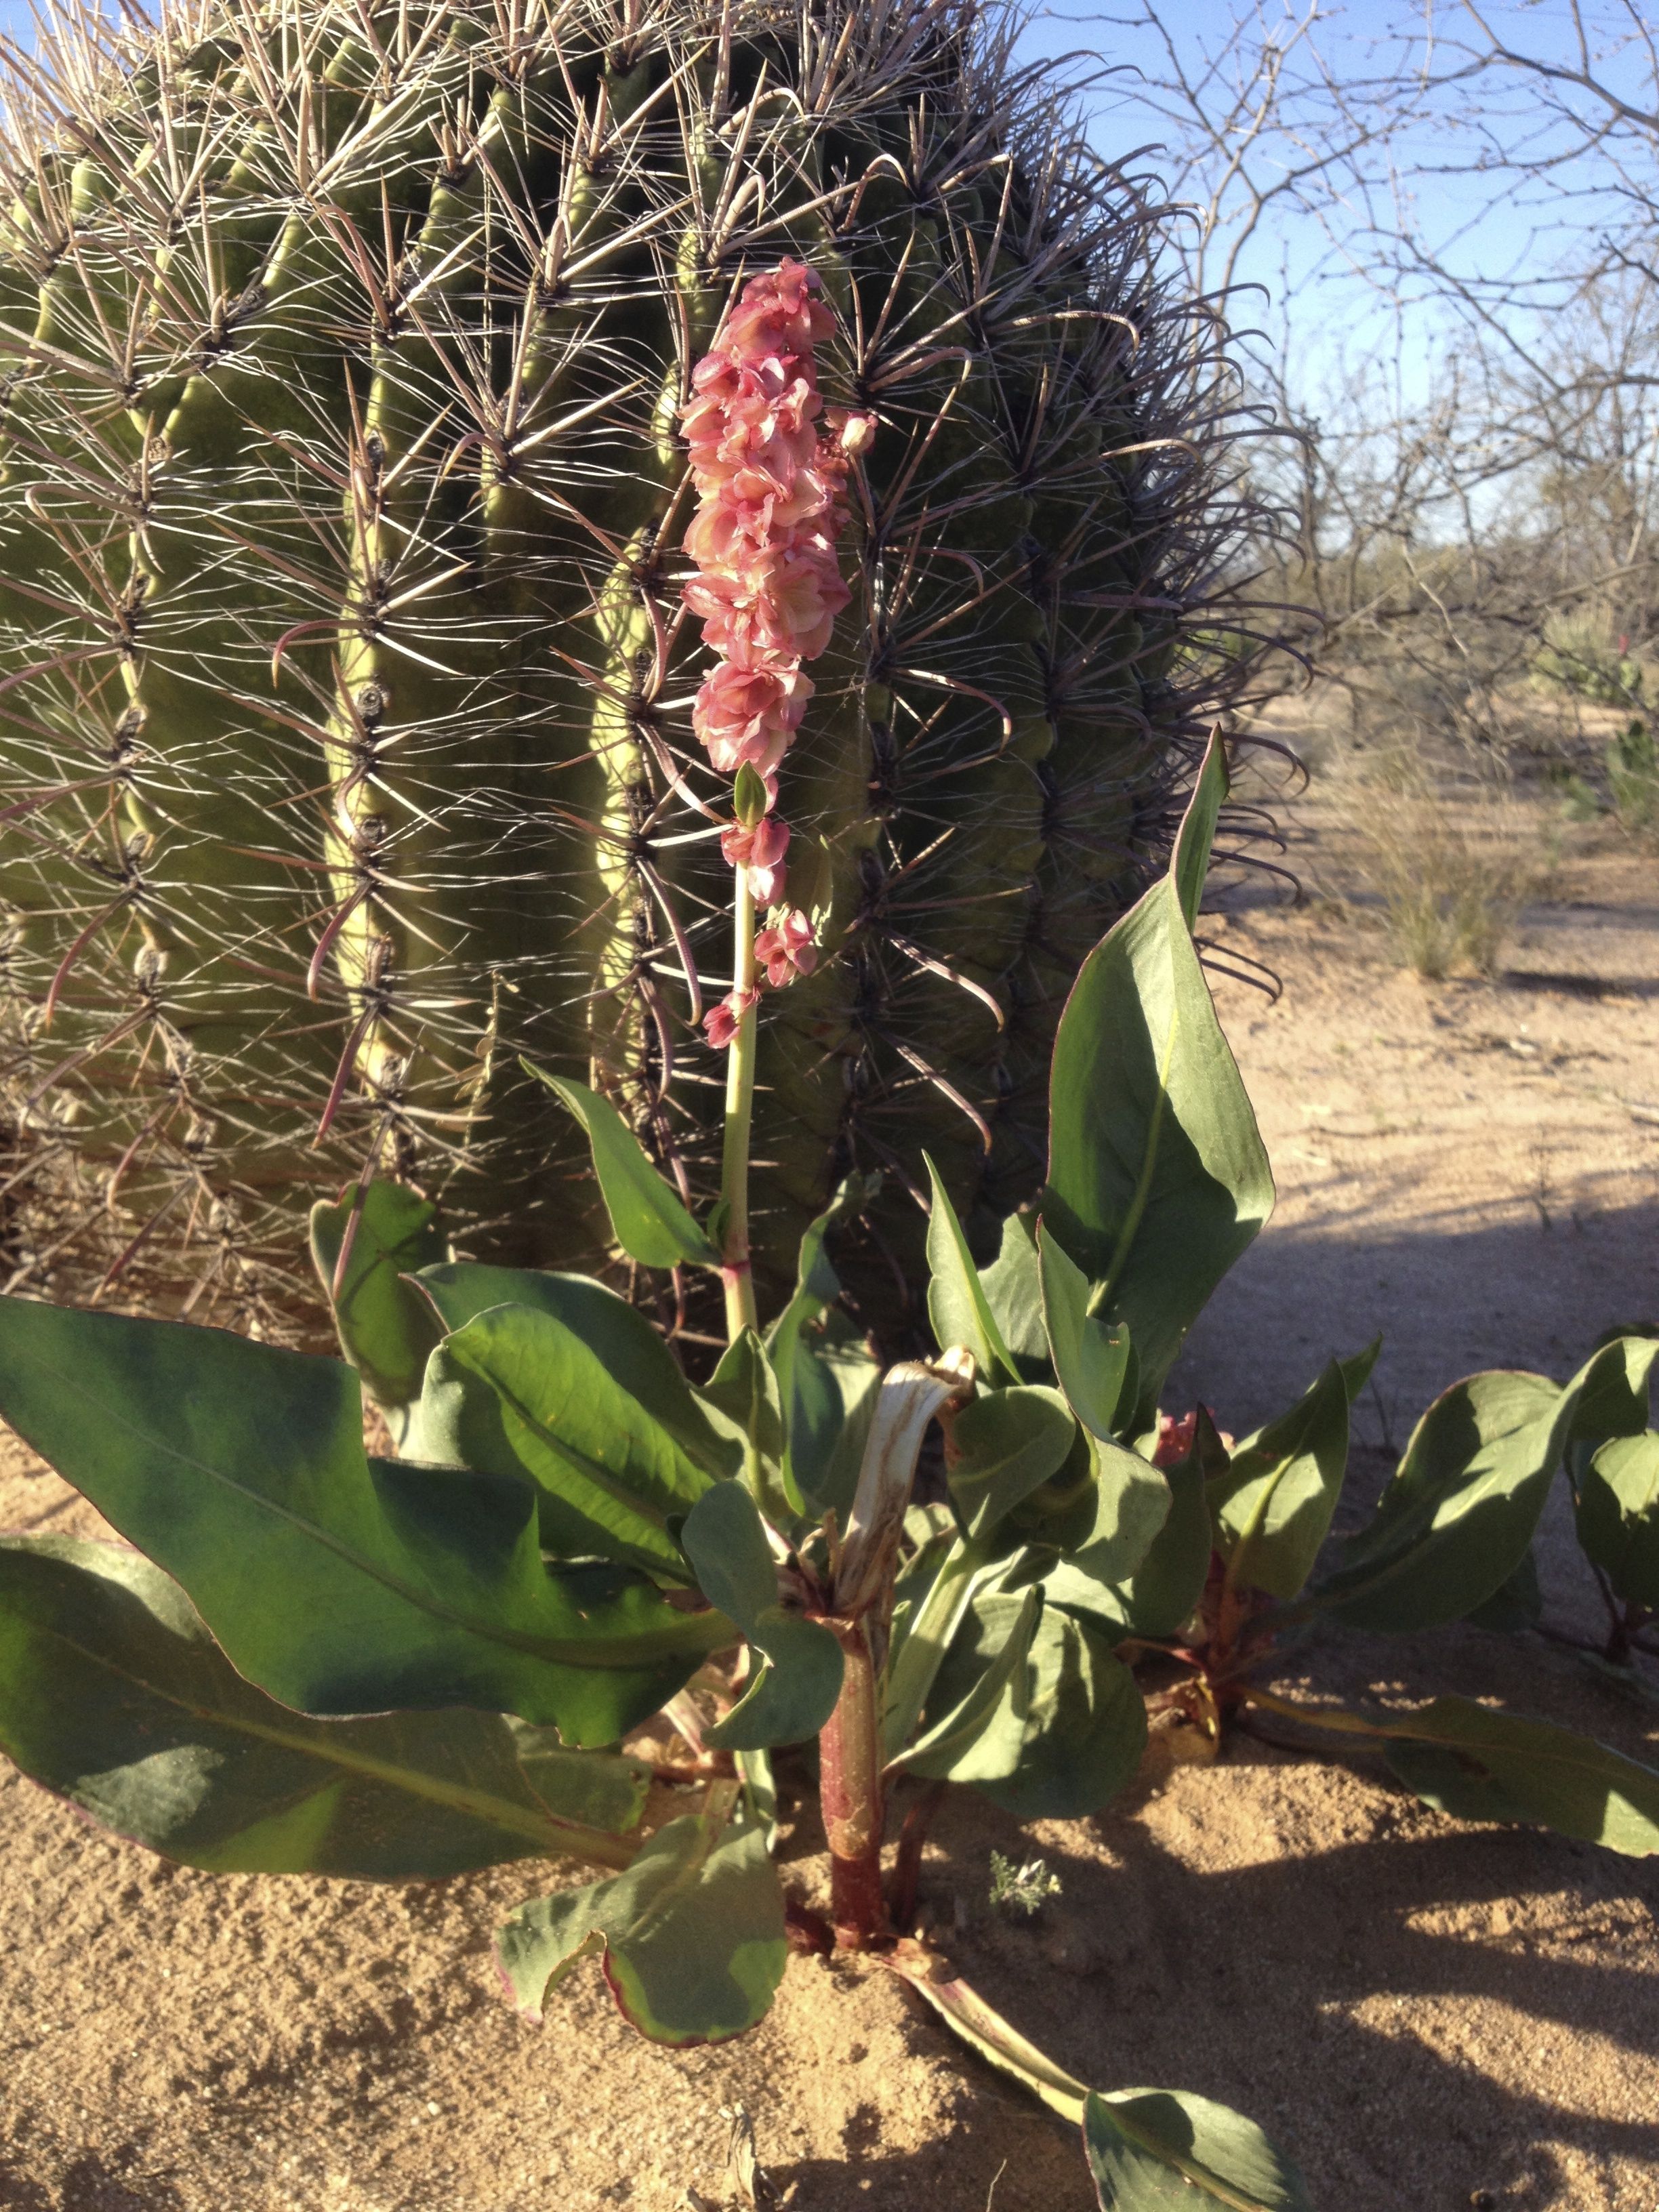
Wild rhubarb is emerging again this month from its hidden storage roots, dotting arroyo-banks and sandy places with green rosettes of leaves and colorful raspberry-pink stalks (MABurgess photo)

Wild rhubarb is emerging again this month from its hidden storage roots, dotting arroyo-banks and sandy places with green rosettes of leaves and colorful raspberry-pink stalks (MABurgess photo)

It’s an unusual winter season when Canaigre (also known by many other names:  Wild Rhubarb, Desert Dock,  Hiwidchuls in O’odham language, Latin name Rumex hymenosepalus) creeps up out of its sandy hiding places to bloom and seed before spring weather gets too warm.  When conditions are right, it can dot the desert floor in early spring with its floppy leathery leaves and pink stalks similar to domestic rhubarb.  This recent cool season Nov.2016-Jan.2017, with its period of penetrating rains, has been the right trigger for awakening canaigre.  Right now it’s time to attune our vision to finding it!  If the weather heats up rapidly, as happened in the last couple of springs, its tender leaf rosettes will dry and crinkle leaving a brown organic “shadow” of itself on the sand, its stored life safely underground in fat roots.  Tia Marta here to share some experiences with canaigre or wild rhubarb.

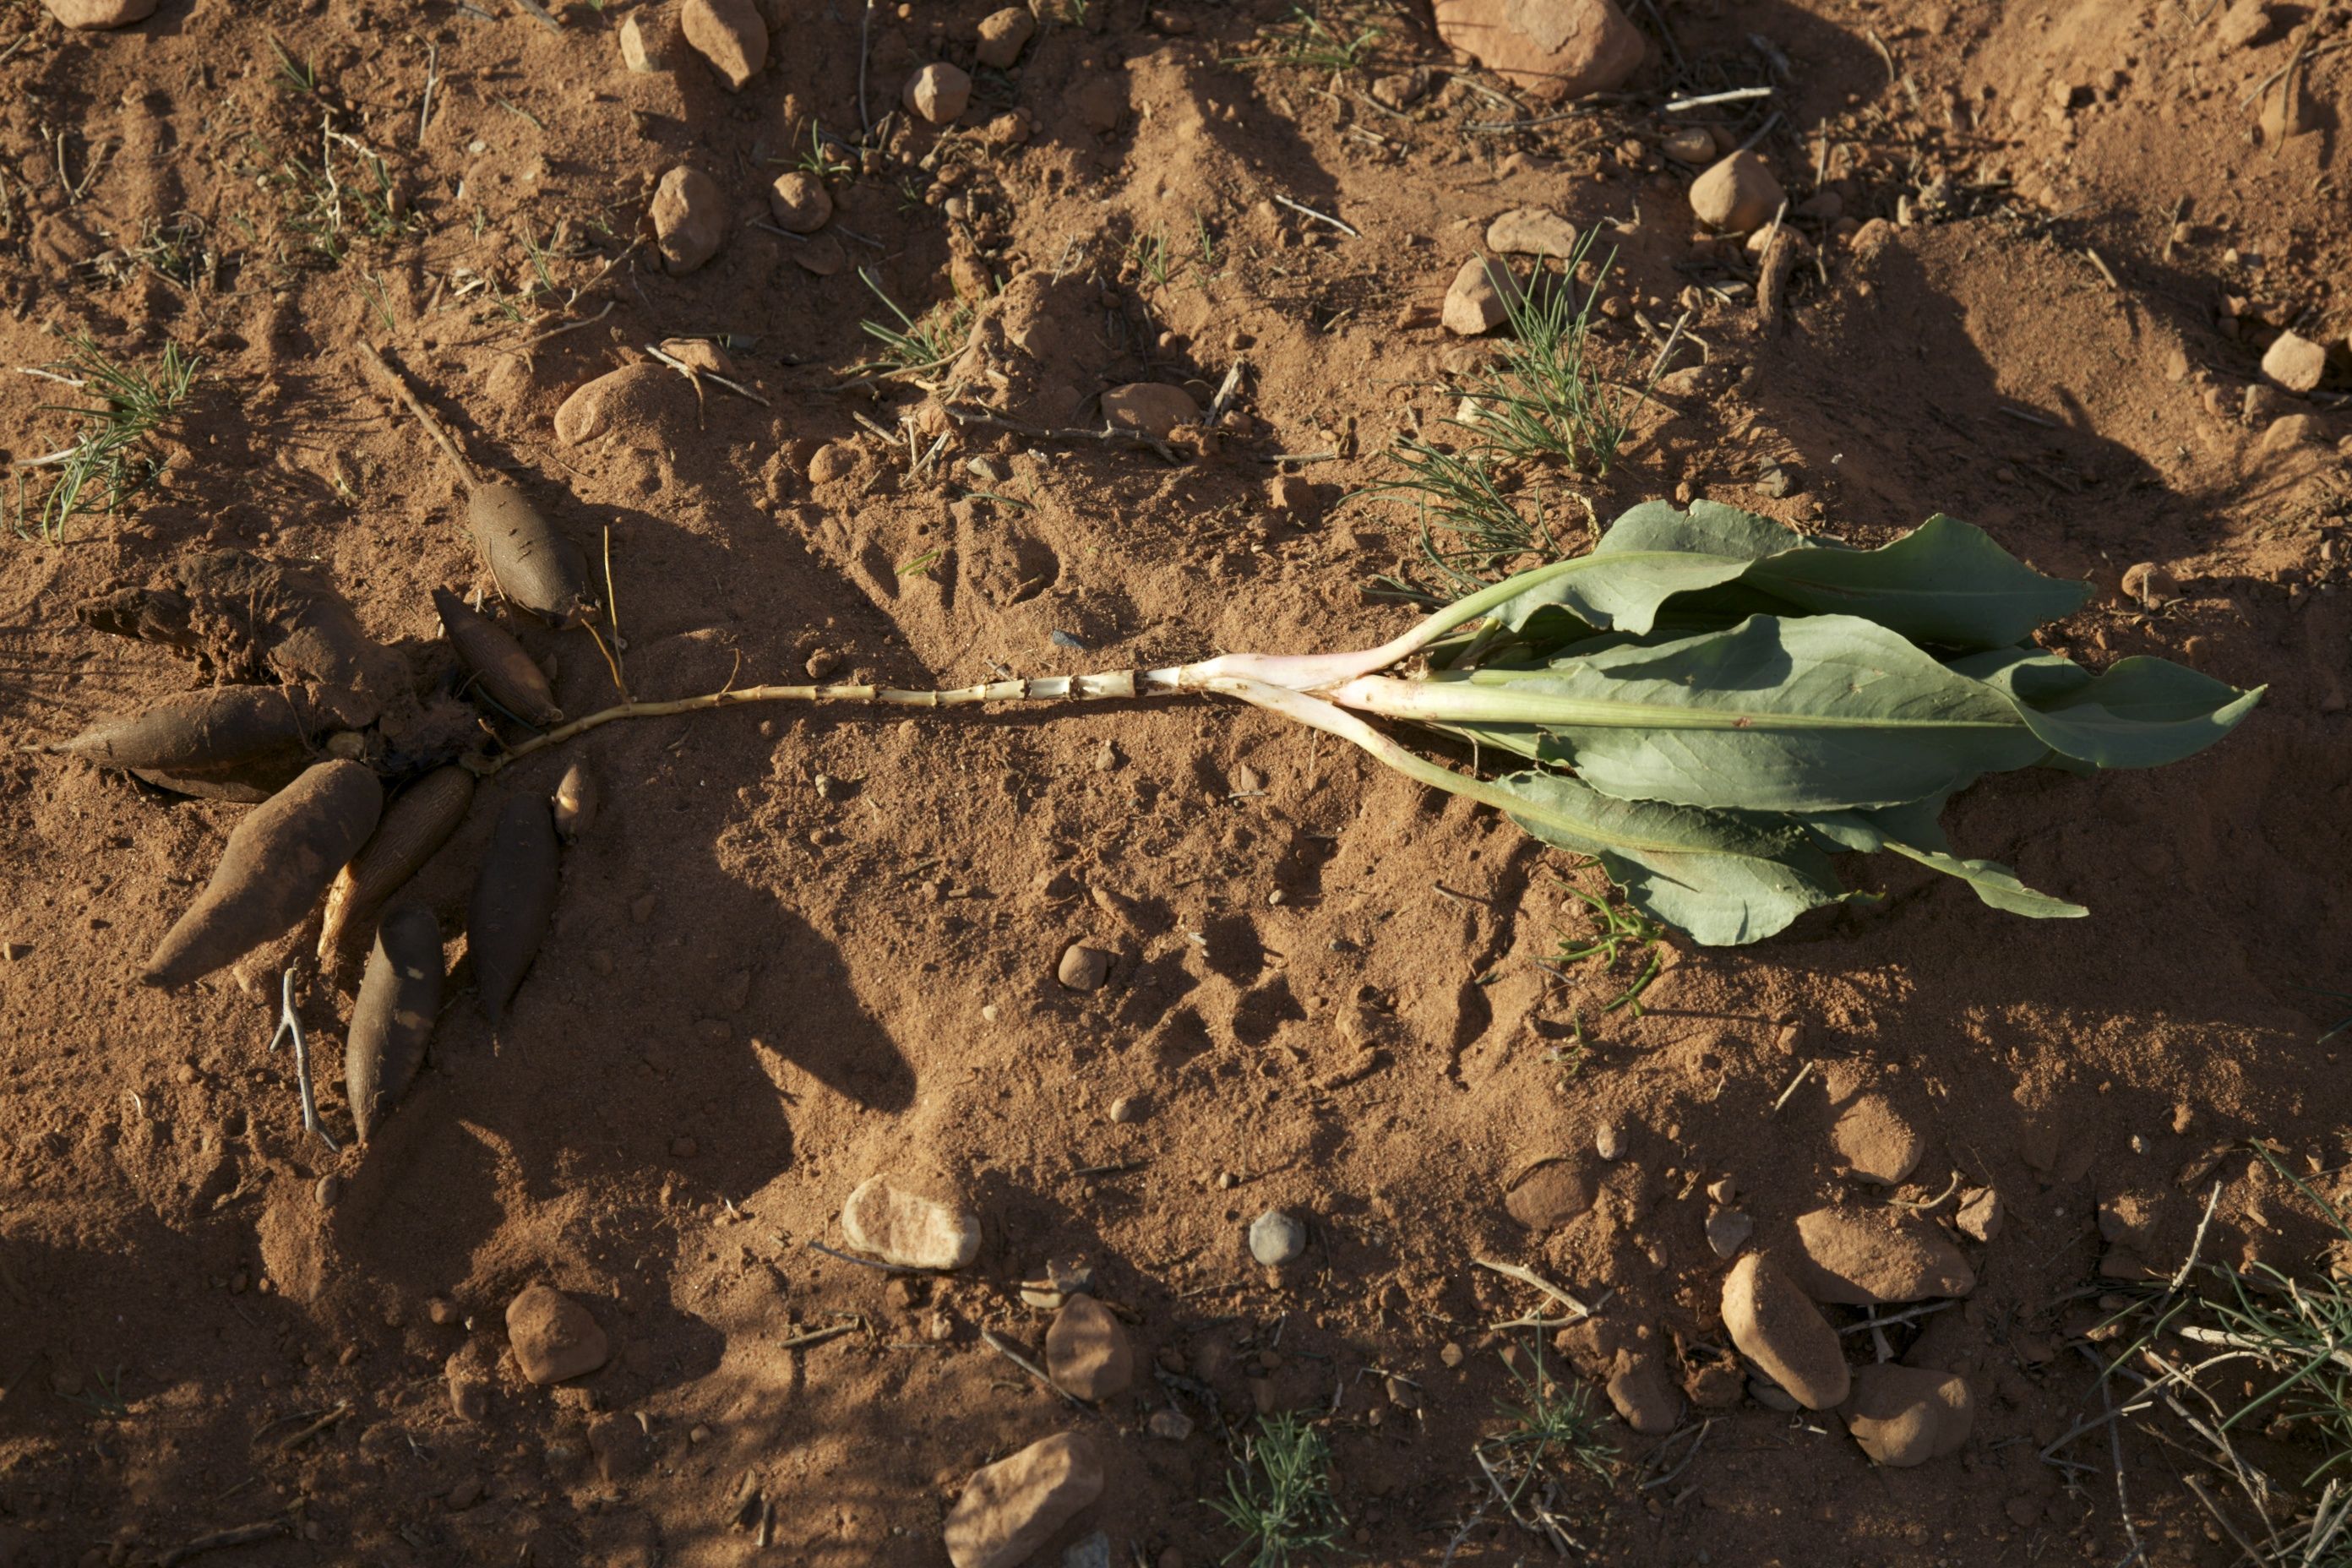
Wild rhubarb dug out of sandy soil showing multiple tuberous roots and young leaves (MABurgess photo)

Wild rhubarb dug out of sandy soil showing multiple tuberous roots and young leaves (JRMondt photo)

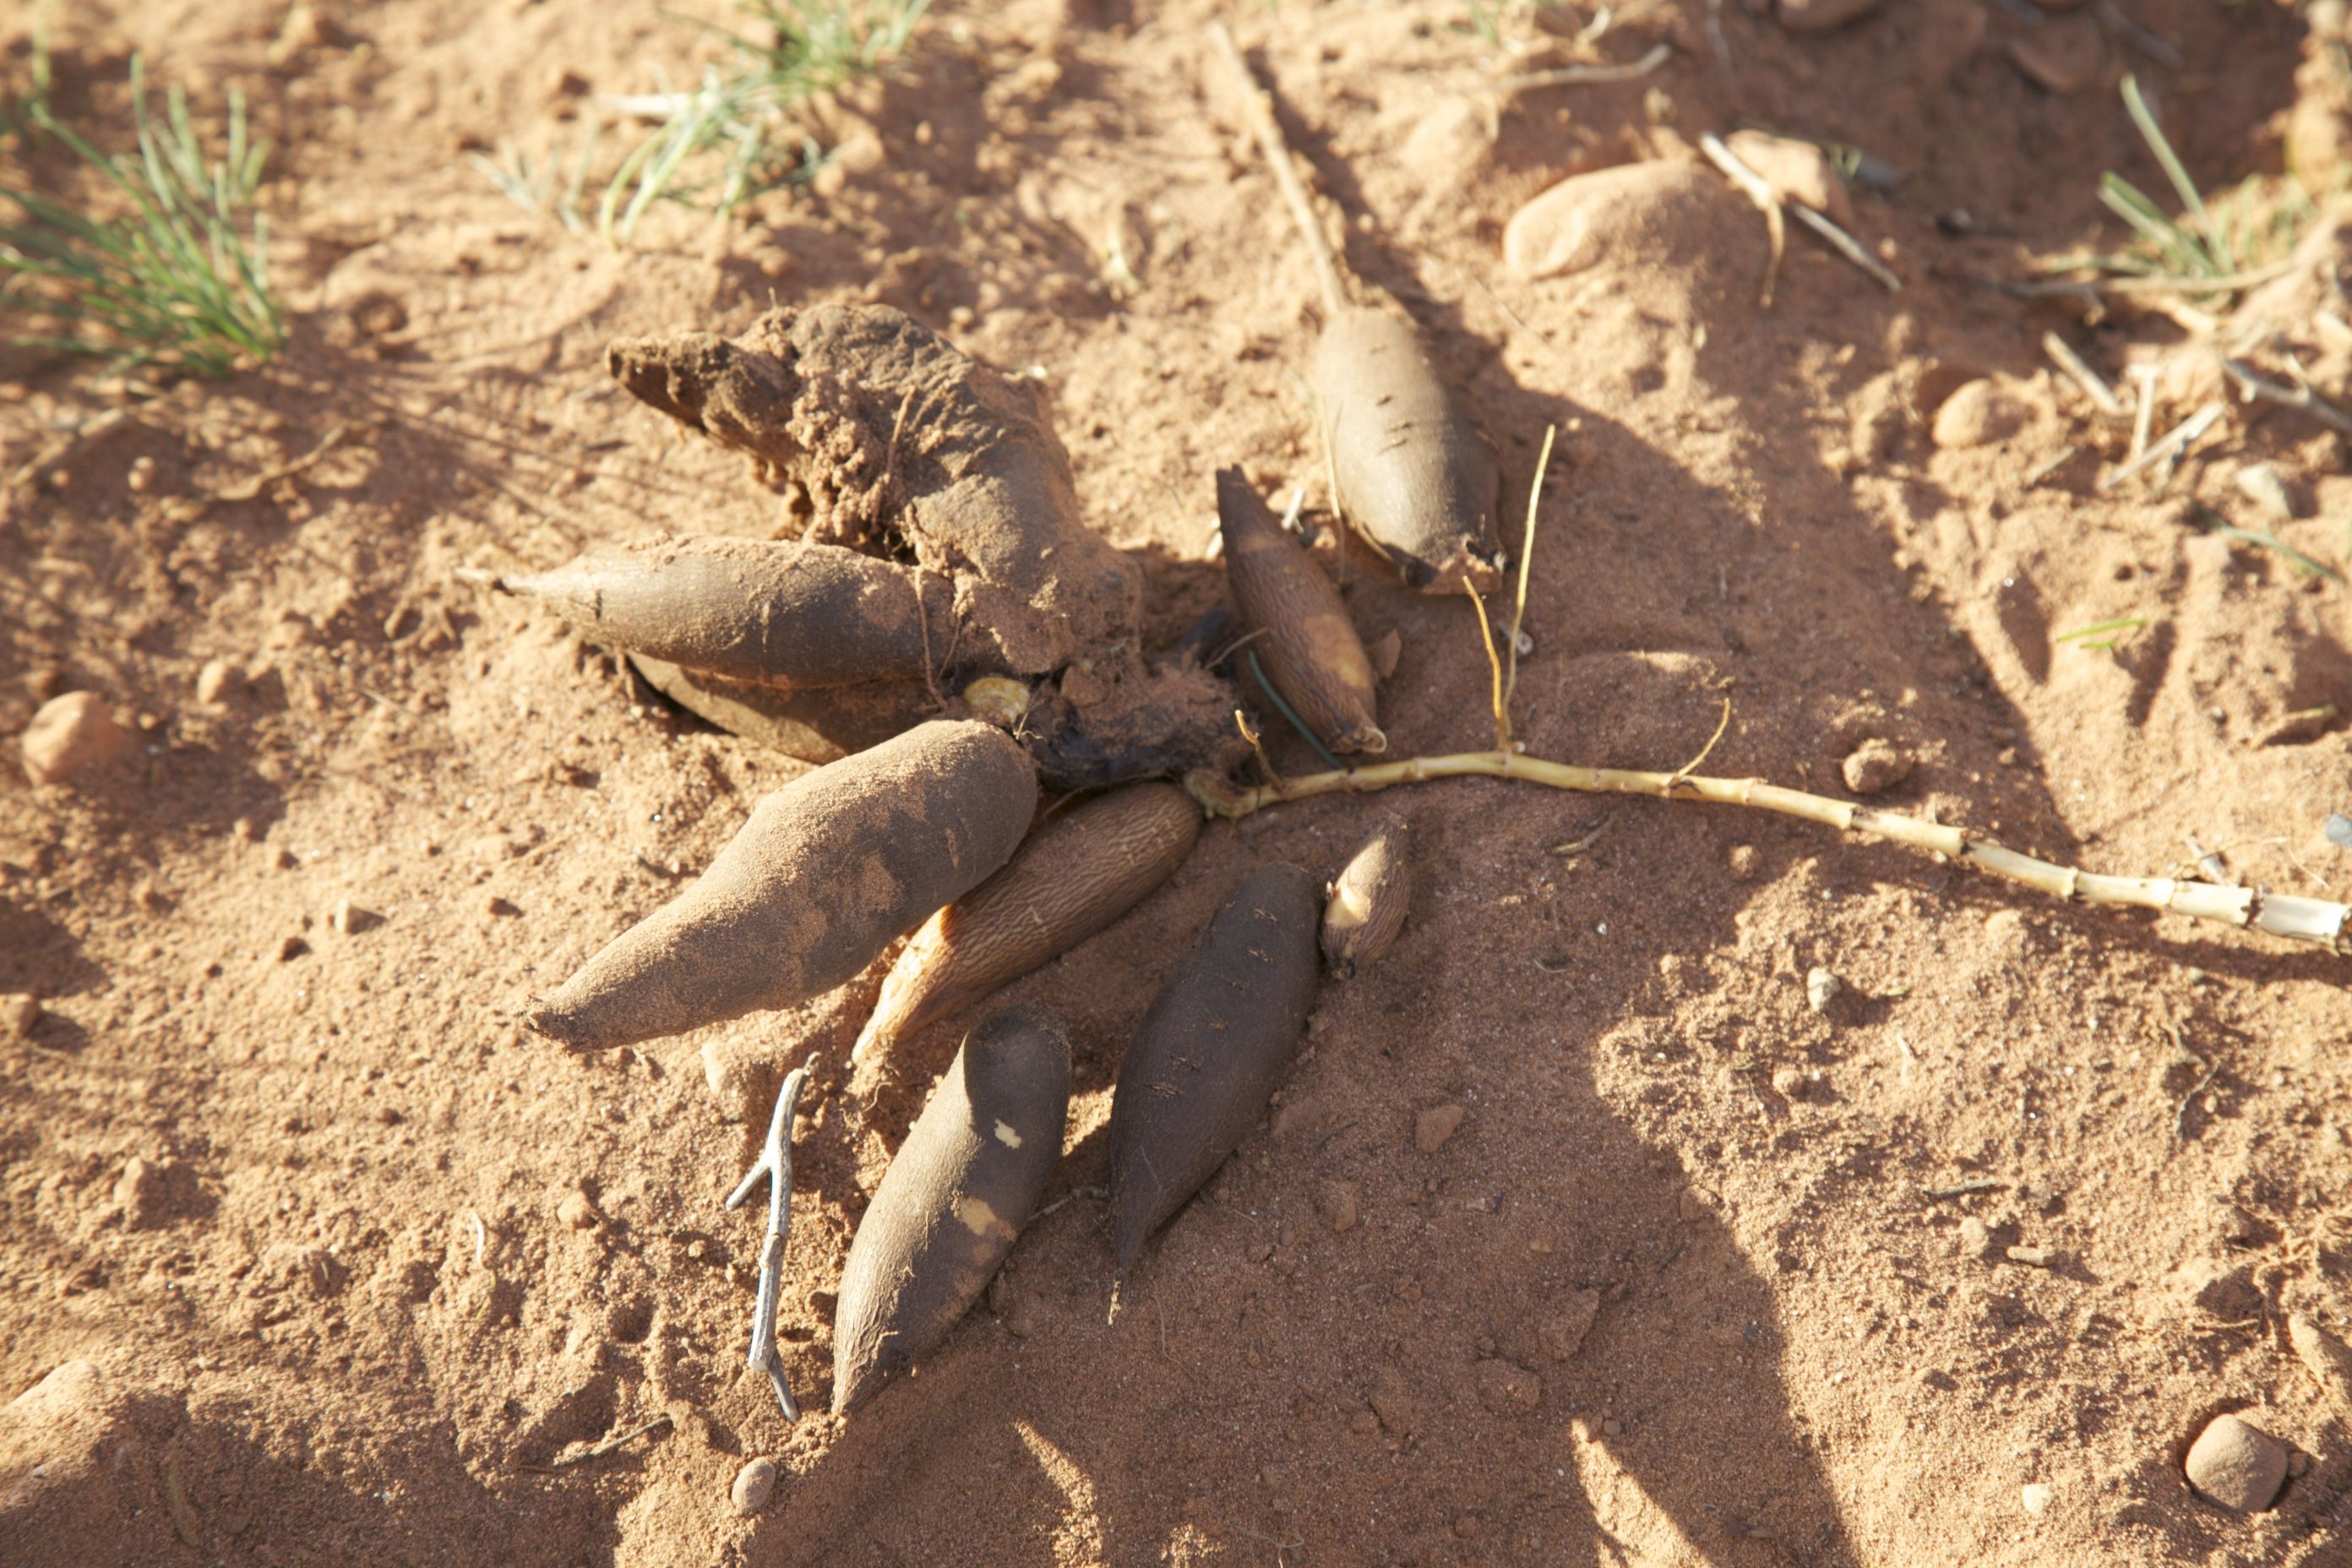
Close-up of wild rhubarb storage roots (JRMondt photo)

Close-up of wild rhubarb storage roots (JRMondt photo)

Canaigre isn’t just everywhere in the desert.  It’s elusive.  It usually likes sandy loose soil, like the flood plains of our desert rivers in Baja Arizona and Sonora, along major arroyo banks, and on pockets of ancient sand dunes.  Where you see one you usually see many.

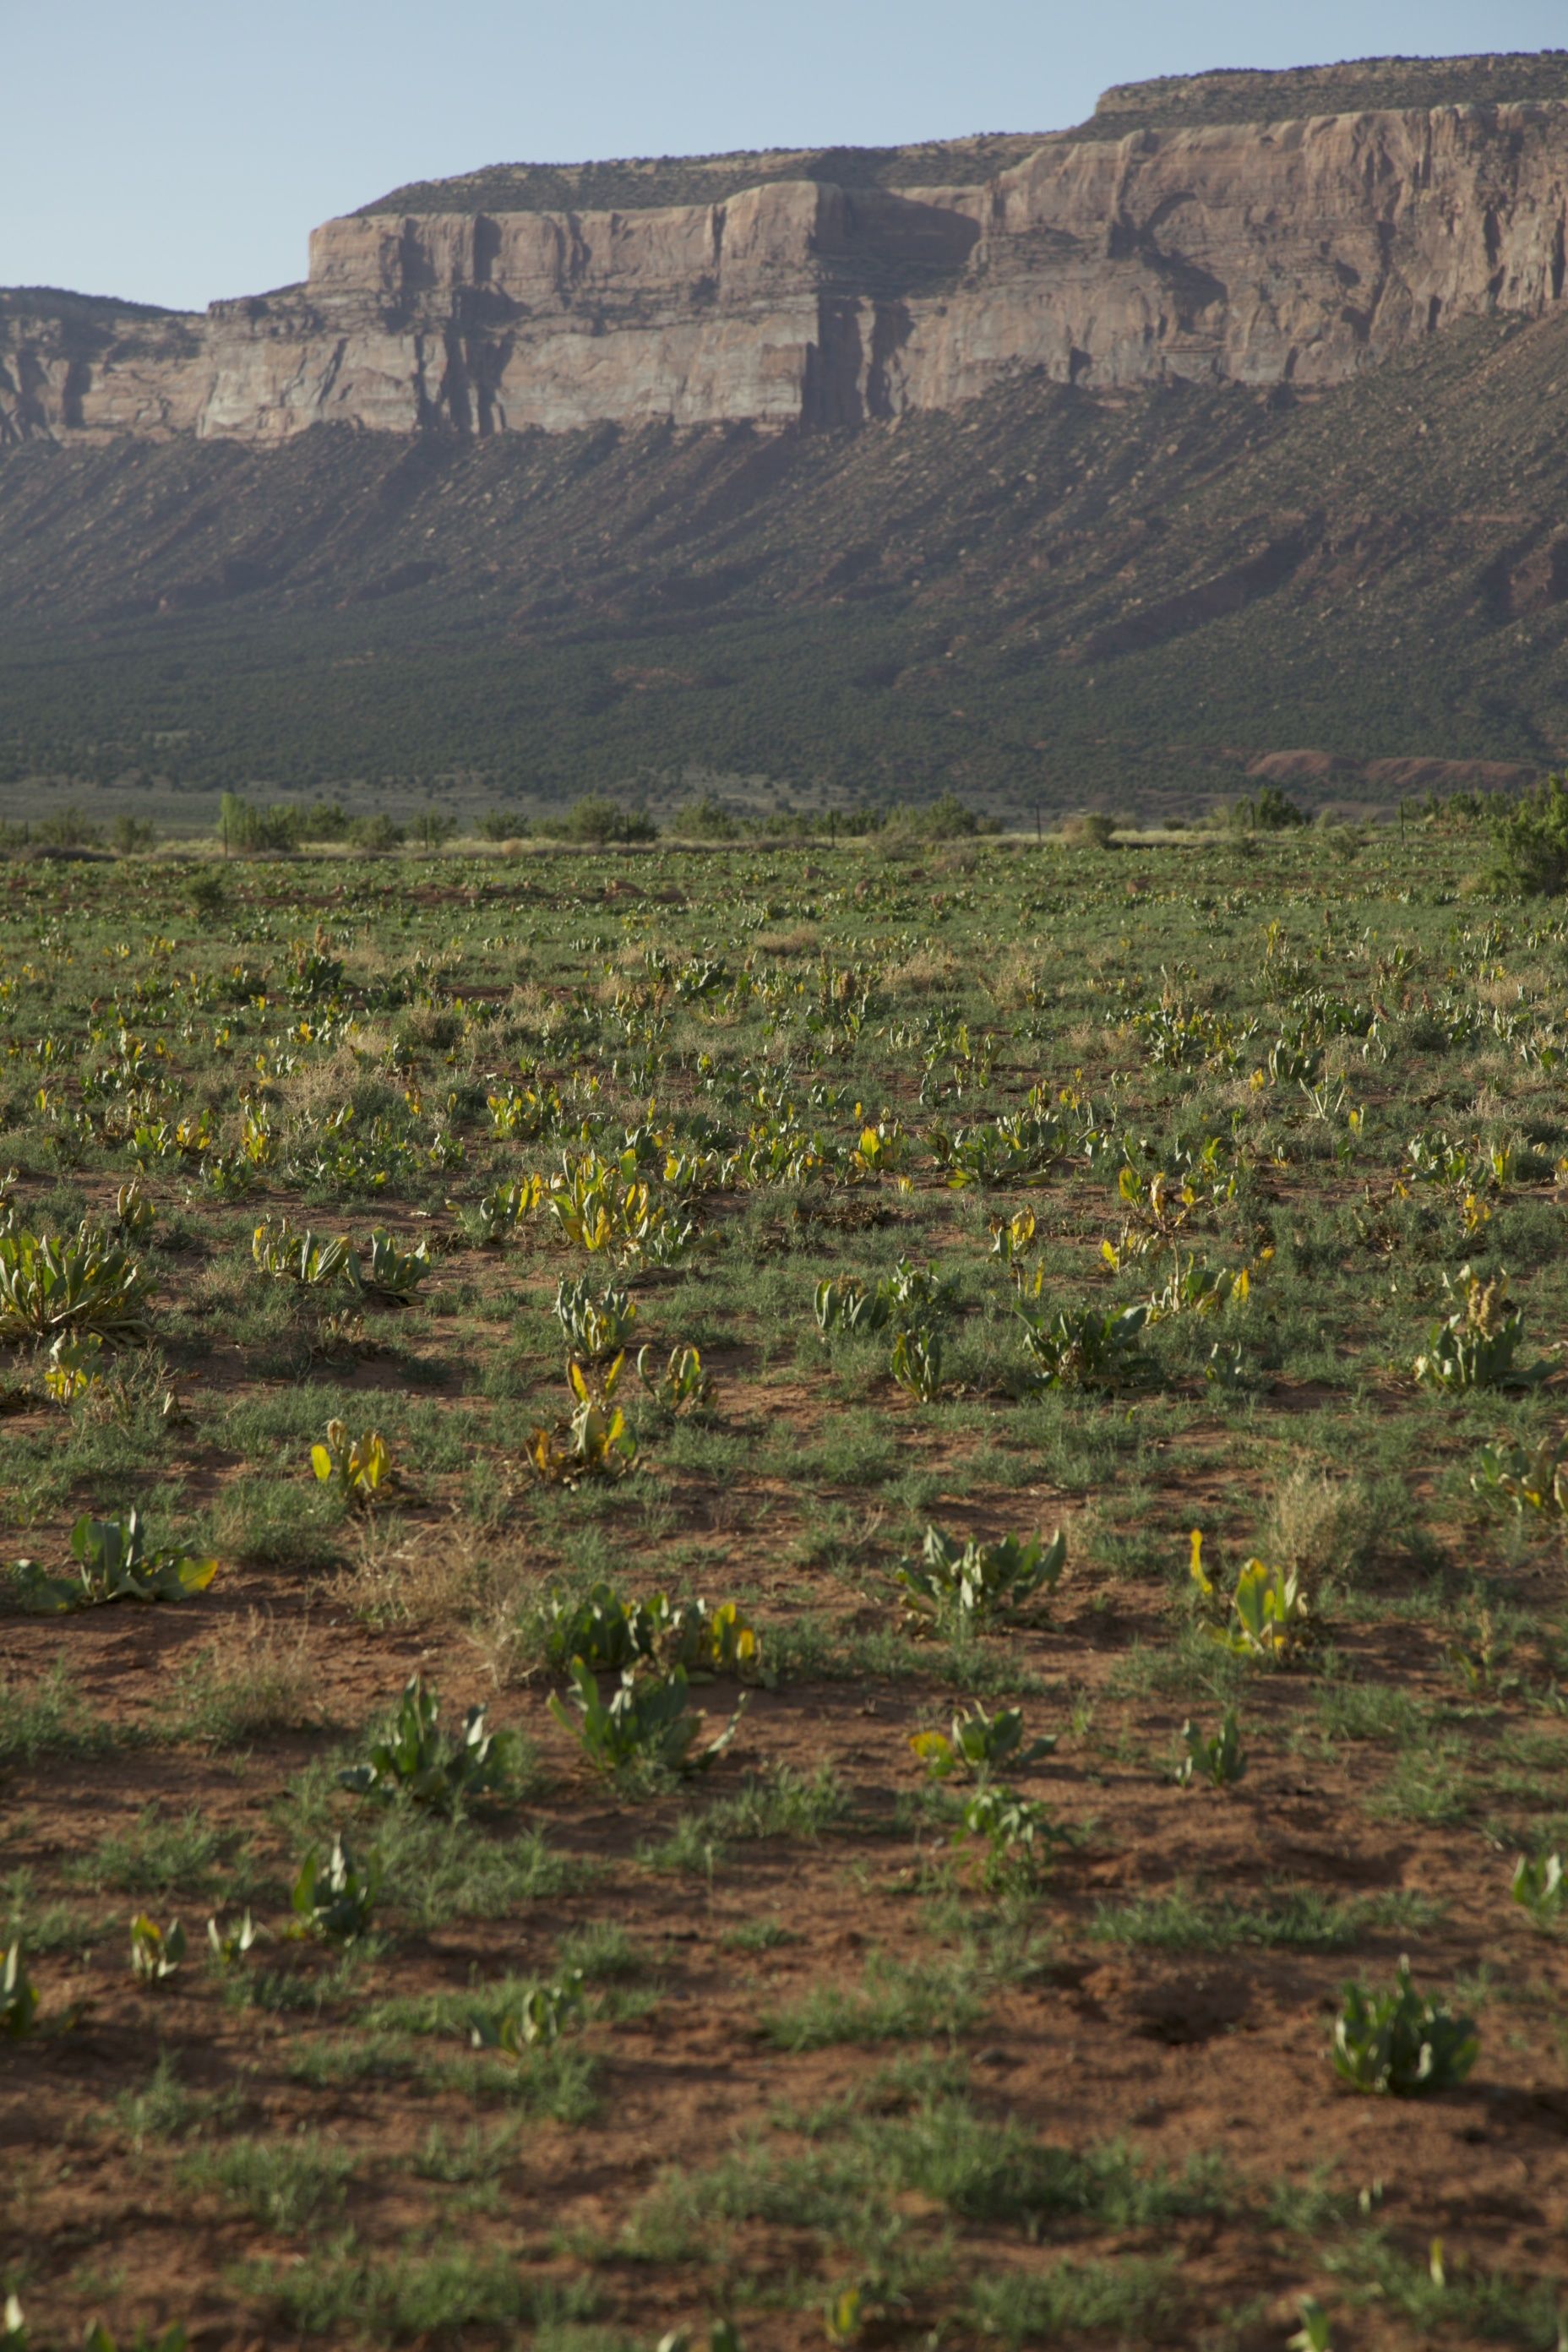
Wild rhubarb on sandy soil in Paradox Valley, western CO (JRMondt photo)

Wild rhubarb on sandy soil in Paradox Valley, western CO (JRMondt photo)

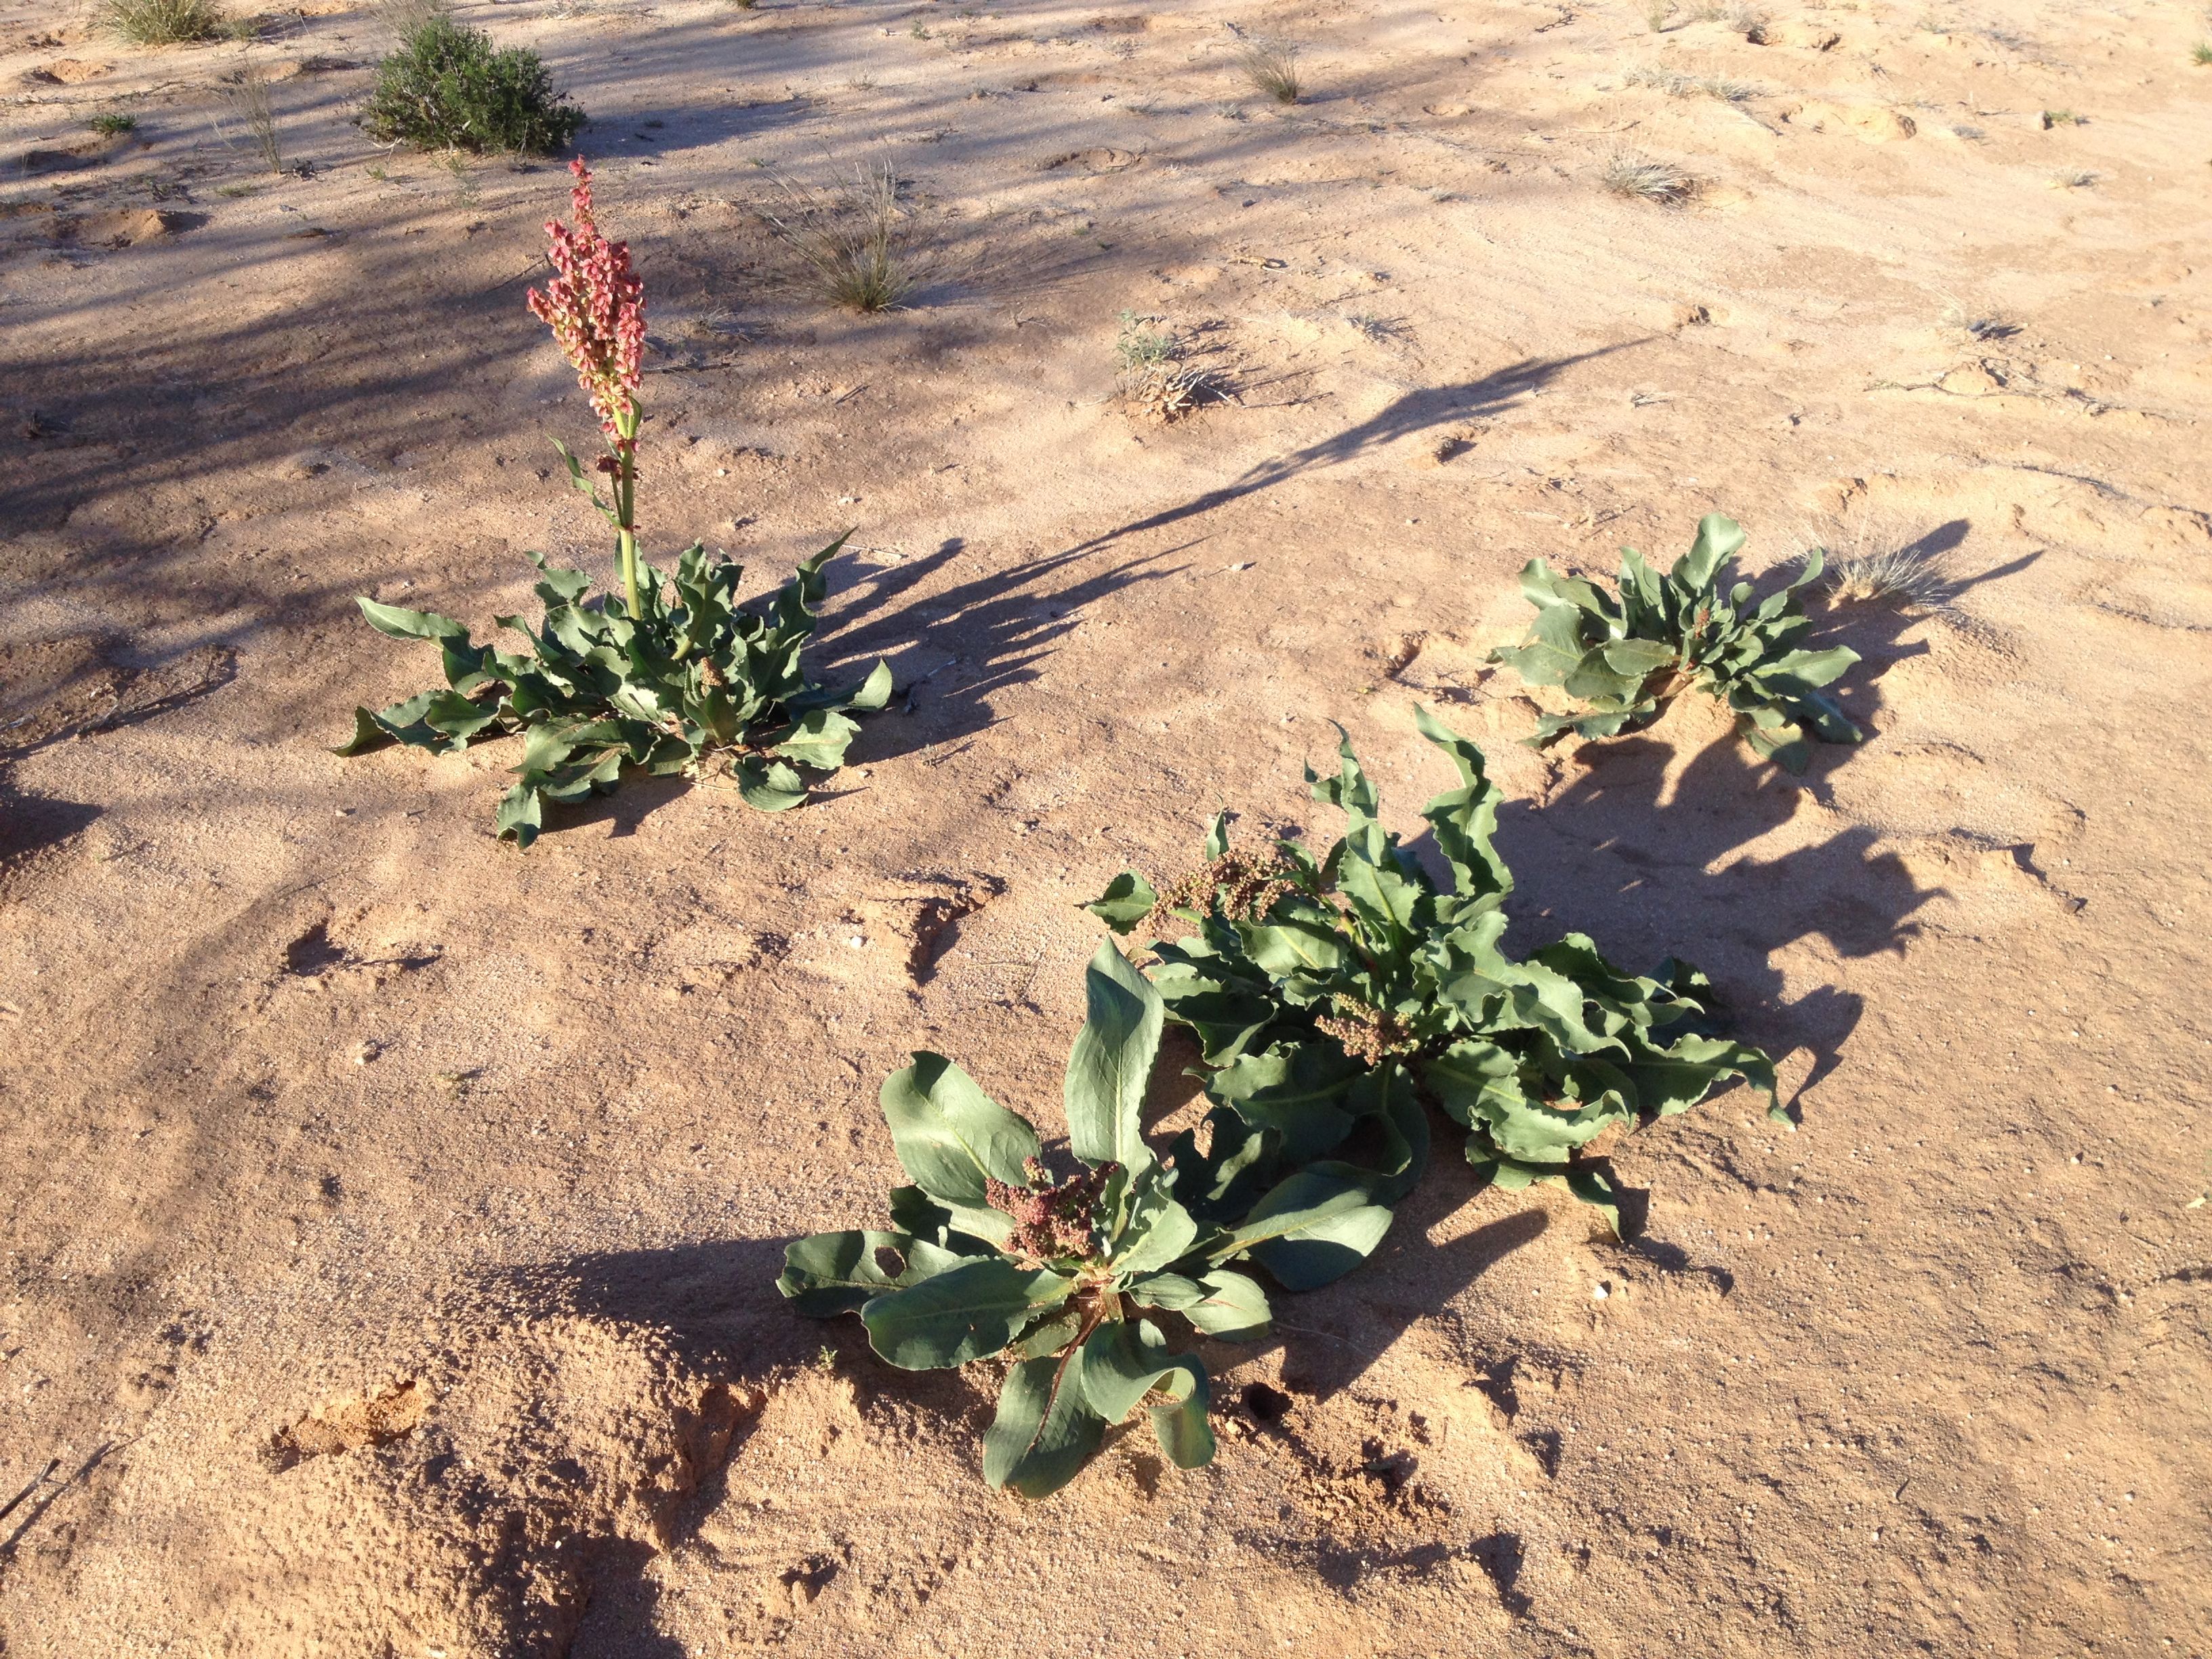
Wild rhubarb emerging in ancient dune soil, Avra Valley , southern AZ (MABurgess photo)

Wild rhubarb emerging in ancient dune soil, Avra Valley , southern AZ (MABurgess photo)

My late friend and mentor, Tohono O’odham Elder Juanita Ahil, would take me to her favorite harvesting grounds at the right time each February and March to collect the rosy stalks–if they had emerged.  Over the last 40 years, with deep regret, frustration and anguish, I’ve seen her special “harvesting gardens” go under the blade as development turned wild rhubarb habitat into apartments, golf courses, and strip malls.  Hopefully our Arizona Native Plant Society (www.AZNPS.com) will be able to advocate for setting aside some remaining sites on public lands, similar to the BLM Chiltepin Reserve at Rock Corral Canyon in the Atascosa Mountains.  Where wild rhubarb was once super-plentiful, they and their habitats are now greatly diminished, even threatened.

Wild rhubarb stalk ready to harvest (MABurgess photo)

Wild rhubarb stalk ready to harvest (MABurgess photo)

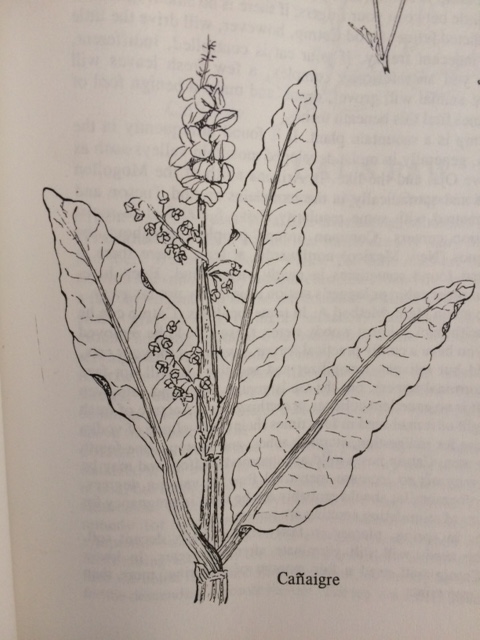
Botanical illustration of wild rhubarb from Medicinal Plants of the Mountain West by Michael Moore, U.NewMexico Press (drawing by Mimi Kamp)

Botanical illustration of wild rhubarb from Medicinal Plants of the Mountain West by Michael Moore, U.NewMexico Press (drawing by Mimi Kamp)

Details of the parts of the plant that Juanita traditionally harvested are shown in Mimi Kamp’s sketch.  Contrary to some ethnographic reports, Juanita did not use the leaf petioles for food; she harvested the flower stalks, i.e. the stems, leaving the leaves to make more food for the plants to store for the next season.  Traditional knowledge is so attuned to Nature.  Hers was an awareness of the plant’s needs balanced with her own appetite.  Other reports of traditional use of wild rhubarb mention cooking the leaves after leaching/steaming out the oxalic acid from them which is not healthy to eat.

Juanita would also dig deeply into the sandy soil directly under an unusually large, robust hiwidchuls to harvest one or more (up to maybe 1/4 of the tubers) to use as medicine.  I recall her digging a big purplish tuber the size of an oblong sweet potato at a depth of 2 1/2 feet on the floodplain of the Rio Santa Cruz where ball parks now prevent any hiwidchuls growth at all.  She would dry it and powder it to use later on scrapes to staunch bleeding.  Her hiwidchuls harvesting dress was dotted with rosy brown patches of color dyed from the juice splashed on the cloth when she cut the tubers into slices for drying. (See Jacqueline Soule’s post on this blog from 2014, also Michael Moore’s Medicinal Plants books, for alternate uses.)
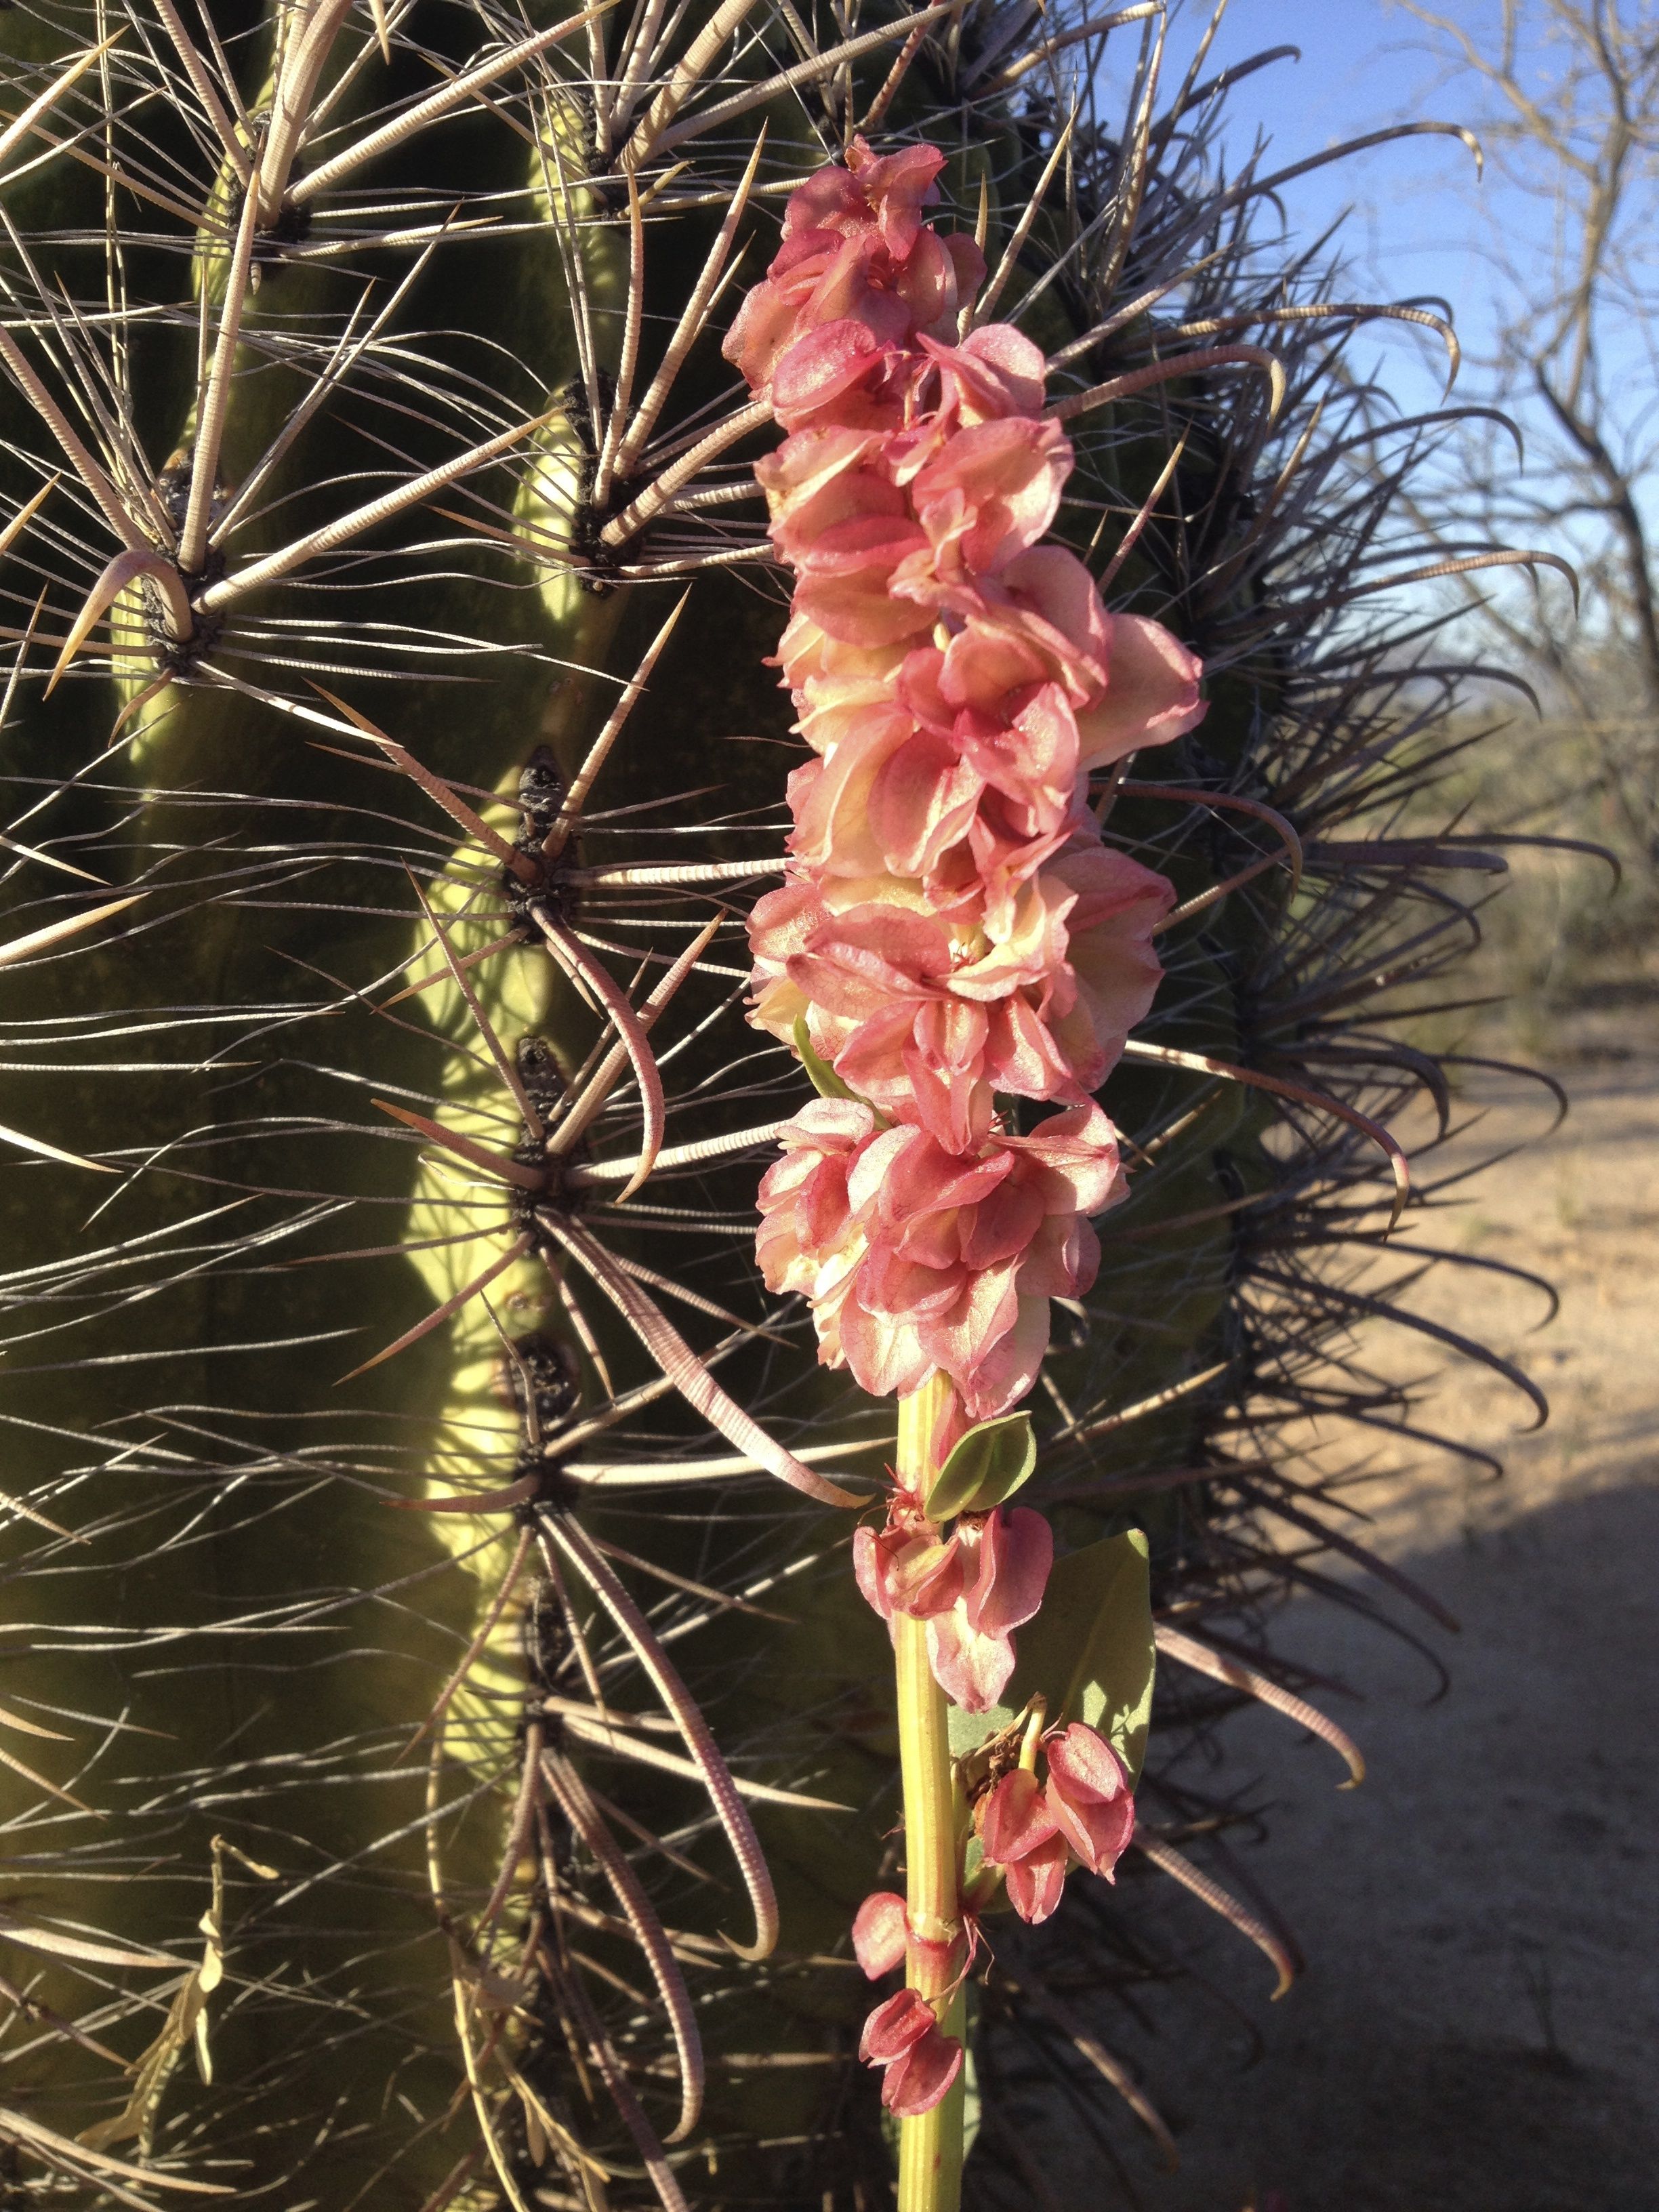
Wild rhubarb flower stalk close-up (MABurgess photo)

Wild rhubarb flower stalk close-up  with buds and flowers  typical of buckwheats (MABurgess photo)

Canaigre/wild rhubarb is in the buckwheat family sporting clusters of little flowers that produce winged seeds.  Their papery membranes help catch the wind for flying to new planting grounds.  The green celery-like flower stalk or stem turns pink or raspberry-tinted as it matures.  That was when Juanita would cut the stem at its base to use for her hiwidchuls pas-tild, wild rhubarb pie!

Wild rhubarb stalk with colorful immature seeds forming (MABurgess photo)

Wild rhubarb stalk with colorful immature seeds forming (MABurgess photo)

Close-up of wild rhubarb's membranous seeds (MABurgess photo)

Close-up of wild rhubarb’s membranous seeds (MABurgess photo)

In a good year, Juanita would harvest literally bundles of hiwidchuls stalks and we would set to work baking.  Her pies were sweet and tangy.  Here is what she would roughly put together in her off the cuff recipe.  But almost any rhubarb pie recipe should work with the wild rhubarb.  You can find great info on Southwest Native uses of canaigre in Blog-Sister Carolyn Niethammer’s book American Indian Food and Lore.

Juanita’s approximate Hiwidchuls Pas-tird RECIPE

Ingredients:

ca 4-6 cups chopped young wild rhubarb stems

1/4-1/2 cup white Sonora wheat flour

2-3 Tbsp butter

ca 2 cups sugar

pie crust–2 layers for top and bottom, or bottom crust and top lattice crust (A good variation is mesquite flour added to your crusts)

Directions:  Prep stems ahead.  Preheat oven to 450 F.  Chop young rhubarb stems in 1/2 inch cuts.  Stems are full of vascular bundles and can become very fibrous as stems become fully mature, so youthful stems are best.  (Be warned:  One year we harvested a little too late and our pies were so “chewy” with fiber that we had to eat our pies outside in order to be able to easily “spit out the quids.”)  Cook hiwidchuls chopped pieces in a small amount of water until tender.  Add in sugar, butter and flour and cook until mixture is thickening.  Pour mixture into your pie crust.  Cover with top pie crust and pierce for steam escape, or cover with lattice crust.  Begin baking in hot oven (at 450F) then reduce heat to medium oven (350F) for 45-50 minutes or until crust is golden brown and juice is bubbling through lattice or steam holes.  Enjoy it hot or cold!


Wild rhubarb stalk ready to harvest (MABurgess photo)

Wild rhubarb stalk ready to harvest (MABurgess photo)

Now let’s head out into the desert washes to see if there are more stands of hiwidchuls popping up out of the ground, making solar food to keep themselves and other creatures alive and well!   Let’s get ready to be collecting their seeds (which also were used traditionally by Native People as food) in order to propagate and multiply them, adding them to our gardens for future late winter shows of color, good food and good medicine.  Happy gardening and eating from Tia Marta and traditional knowledge shared!


EVERYTHING-LOCAL PIZZA from Baja Arizona!

Totally local veggie pizza with cholla buds, nopalitos, acelgas, mushrooms, goat cheese and home-grown cherry tomatoes--ready to bake

Totally local veggie pizza with cholla buds, nopalitos, acelgas, mushrooms, goat cheese and home-grown cherry tomatoes–ready to bake

If you love pizza–and I’m picky about good pizza–here are some ways to celebrate local foods, to eat super-healthily, get creative in the kitchen, AND have new excuses to eat pizza!  Tia Marta here to share ideas for a delicious pizza party, incorporating the fabulous gifts that our local desert foods offer.

It will take a little fore-thought and assembly time (…like, all year harvesting at the right seasons for DIYers, or trips to the farmers market, NativeSeeds/SEARCH store, or San Xavier Farm Coop).

Locally-harvested buckhorn and staghorn cholla buds, reconstituted and ready to cut as toppings for pizza

Locally-harvested buckhorn and staghorn cholla buds, reconstituted and ready to cut as toppings for pizza

Pickled prickly pear cactus pads--better known as nopalitos in Spanish and nowi in Tohono O'odham

Pickled prickly pear cactus pads–better known as nopalitos in Spanish and nowi in Tohono O’odham

Cholla buds dried from last April’s harvest, soaked and simmered until soft through, make a tangy taste surprise– a super-nutritious calcium-packed pizza topping.  In the photo, the larger buds are from Buckhorn cholla (Cylindropuntia acanthacarpa) and the smaller buds are from Staghorn (C. versicolor), both plentiful for harvesting in low desert.  Dried cholla buds are available at San Xavier Coop Association’s farm outlet, at NativeSeeds/SEARCH store, and at http://www.flordemayoarts.com.

Another perfect topping is nopalitos, simmered or pickled and diced young pads of our ubiquitous prickly pears (Opuntia engelmannii, O.ficus-indica to name a couple).  Collecting from the desert is a spring activity, but you can easily find whole or diced nopales anytime at Food City.  The other cheater’s method is to find canned pickled cactus in the Mexican food section of any local grocery.  Nopalitos are a taste thrill on a pizza, and you can enjoy their blood-sugar balancing benefits to boot.

Starting the dough sponge--with local, organic hard red wheat flour--ready to rise

Starting the dough sponge–with local, organic hard red wheat flour–ready to rise

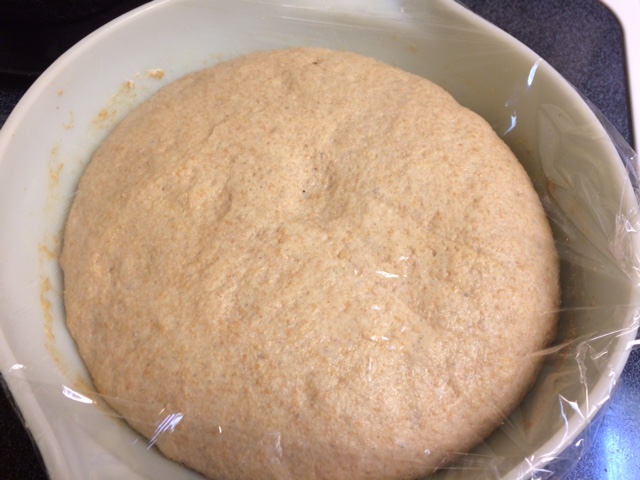
Risen pizza dough after a couple of hours--note the rich whole grain flour of local BKWFarms hard red wheat

Risen pizza dough after a couple of hours–note the rich whole grain flour of local BKWFarms hard red wheat

As for making the crust, we have the perfect source of the freshest whole grain organic flours right here from BKWFarms’ fresh-milled heirloom white Sonora & hard red wheat.

My suggestions for a Baja Arizona Pizza Crust:

Ingredients:

3 ½ to 4 cups bread flour mix  (consisting of 2- 2  1/2 cups organic hard red wheat flour from BKWFarms Marana, 1 cup pastry-milled organic heirloom white Sonora wheat flour also from BKWFarms, ½ cup organic all purpose flour from a good grocery)

2 tsp local raw honey (see Freddie the Singing Beekeeper at Sunday Rillito farmers market)

1-2 envelopes instant dry yeast (or your own sourdough starter)

2 tsp Utah ancient sea salt or commercial sea salt

1 ½ cups drinking water, heated in pyrex to between 105 degrees F and 115 degrees F

2 Tbsp organic olive oil for the dough

PLUS 2 tsp more olive oil for spreading on dough as it proofs

Pizza dough risen and kneaded then stretched and patted out on pizza pan ready for toppings

Pizza dough risen and kneaded then stretched and patted out on pizza pan ready for toppings

Directions for making Crust:

[Note–you can find several pizza dough recipes for bread mixers online.  Just substitute the above ingredients.]

Heat water and pour into a large mixing bowl.  Test for temperature then dissolve dry yeast.  Add honey and sea salt and dissolve both.  Add oil to wet mixture.  Sift flours. Gradually mix flours into wet ingredients until a mass of dough is formed and begins to pull away from sides of bowl.  Knead into a ball.  Let stand covered in a warm place until ball of dough has at least doubled in size (approx 2 hours).  Knead the ball again, divide into 2 equal parts, cover thinly with the additional olive oil, and roll out or hand-flatten the 2 dough balls out onto 2 oiled pizza pans.  Pat dough to approximately 1/4″-3/8″ thickness to the edges of pan.  At this point you are ready to add any number of good toppings.  Here are ideas for a local veggie and a local meatie pizza.

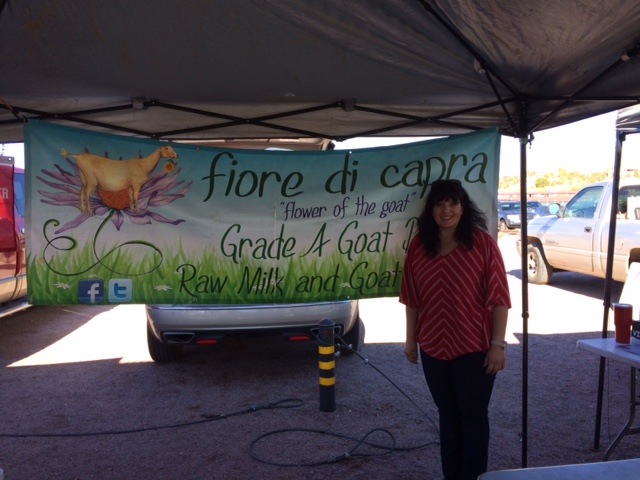
For the finest plain local carefully created goat cheese, find Fiore di Capra at Rillito Farmers Market, Sundays in Tucson

For the finest plain local carefully created goat cheese, find Fiore di Capra at Rillito Farmers Market, Sundays in Tucson

Baja Arizona Pizza Toppings

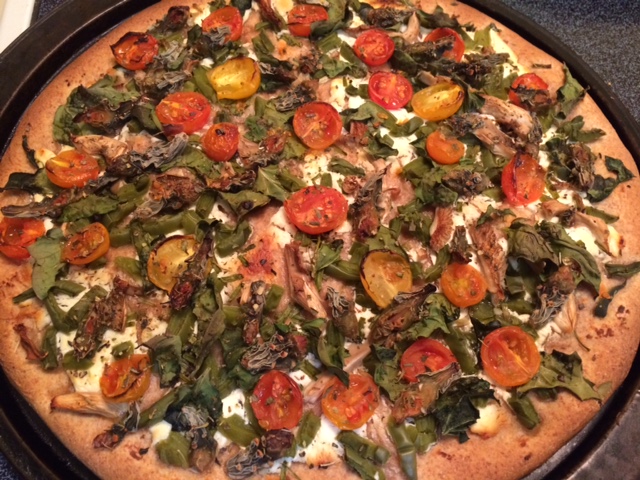
Ingredients for local Veggie Pizza toppings:

1/2 pt. spreadable goat cheese (I use Fiore di Capra’s plain)

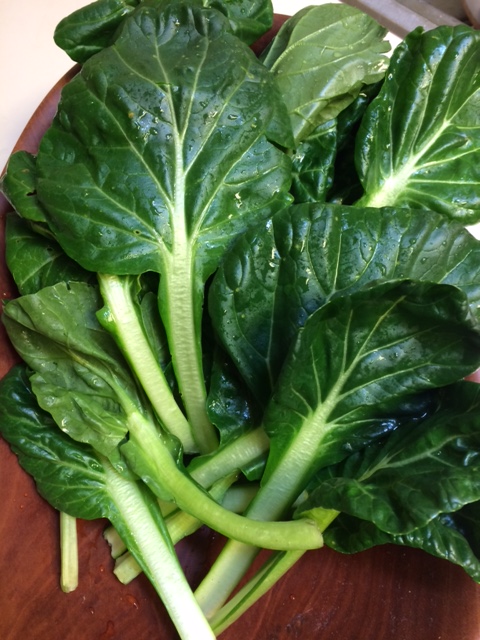
local chard or acelgas (from Mission Garden) torn in pieces

local tomatoes, sliced

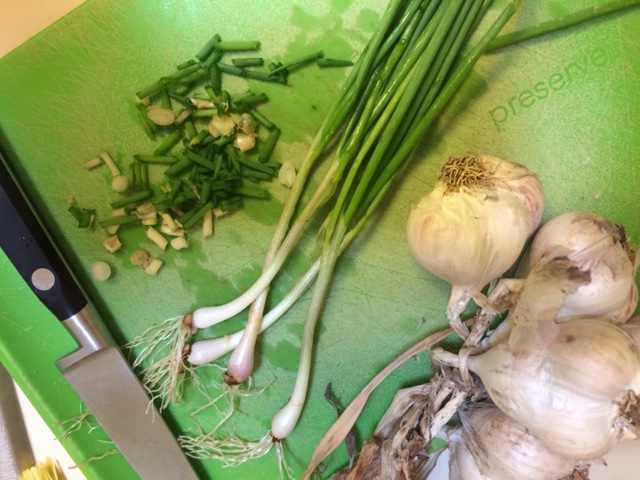
I’itoi’s Onions, chopped

heirloom garlic, minced

1/2 cup reconstituted cholla buds, sliced in half or quarters

1/2 cup diced nopalitos 

Fresh Chard (acelgas) from a refugee friend's garden--a great substitute for spinach in a pizza!

Fresh Chard (acelgas) from a refugee friend’s garden–a great substitute for spinach in a pizza!

Native I'itoi's Onions and local heirloom garlic from my garden for pizza topping

Native I’itoi’s Onions and local heirloom garlic from my garden for pizza topping

1/2 cup local oyster mushrooms, sliced

1/4-1/2 cup salsa, optional

Luscious oyster mushrooms from Maggie's Farm (Rillito Farmers Market) to cut in strips for pizza

Luscious oyster mushrooms from Maggie’s Farm (Rillito Farmers Market) to cut in strips for pizza

[You probably by now have some ideas of your own to add!]

Ingredients for Meatie Baja Arizona Pizza toppings:

1/2 pt goat cheese

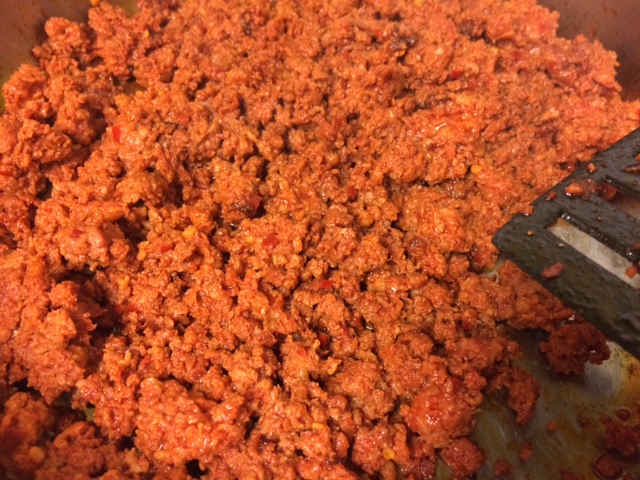
1/2 lb local chorizo sausage, loosely fried

or, 1/2 lb local grass-fed beef hamburger, loosely fried and spiced with I’itoi onions, garlic, salt

1/2 cup tomato&pepper salsa of choice (mild, chilpotle, etc)

Fresh local pork chorizo to render before putting on pizza dough

Fresh local pork chorizo to render before putting it on the pizza dough

Directions for Toppings:

Layer your toppings artfully, beginning by spreading the goat cheese evenly over the patted-out crust dough.  For a local Veggie Pizza, scatter minced garlic and chopped I’itoi’s onions evenly atop the goat cheese layer.  Place torn leaves of fresh acelgas over the onion/garlic layer.  Add sliced tomatoes, sliced mushrooms, sliced cholla buds, diced nopalitos.  Top with optional salsa.  For a Cholla&Chorizo Meatie Pizza, do a similar layering beginning with goat cheese spread over the crust dough, then scattered I’itoi’s onions and garlic, then a full layer of cooked chorizo, and topped by lots of sliced cholla buds.  Adding salsa over all is optional for making a juicier pizza.

Preheat oven to high 425 degrees F.  Bake both pizzas 20-24 minutes or until the crust begins to turn more golden.  You won’t believe the flavor of the crust alone on this local pizza–and the delicious toppings grown right here in Baja Arizona are better than “icing on the cake”!  You can add more spice and zing by crushing our native wild chiltepin peppers on your pizza–but be forewarned–they might blow your socks off.

Home-grown chiltepin peppers crushed and ready to spice up a local pizza--Look out for a wave of picante heat even with a small pinch!

Home-grown chiltepin peppers from my garden, dried, crushed and ready to spice up a local pizza–Look out for a wave of picante heat even with a small pinch!

Here’s wishing you a great local pizza party!

How could you top this Baja Arizona Pizza?!!! Our locally grown and wild desert-harvested ingredients can't be beat by any other veggie pizza!

How could you top this Baja Arizona Pizza?!!! Our locally grown and wild desert-harvested ingredients can’t be beat by any other veggie pizza!

What a great combination--wild-harvested cholla buds, local chorizo, Fiore di Capra goat cheese, and truly flavorful organic wheat flour crust!

What a great combination–wild-harvested cholla buds, local chorizo, Fiore di Capra goat cheese, and truly flavorful organic wheat flour crust!

Buen provecho from Tia Marta!  See you when you visit http://www.flordemayoarts.com.


Pepitas, Squash Bees, and The Power of Small Things

Linda here, writing to you this chilly, December morning.

Several people asked me about squash this week. What a surprise! –  as squash is  often a bit under-appreciated.

I adore squash. It is rare in that every part of the plant can be eaten – leaves, shoots, flowers (both the male and female flowers), and its seeds.


img_4768

Pumpkin Seeds (hulled) roasted with chiltepin

Let’s spend a moment with the Squash Bee. We think of squash as growing in the garden, that is, a domesticated plant. And it is. But Sophie D. Coe, in America’s First Cuisines reminds us that they were (as were so many of our not domesticated foods) WILD. She writes: “Their original distribution in the wild can be traced by the ranges of various species of bees of the genus Peponapis, whose sole source of nectar and pollen are the squashes, and specific species of squashes for specific species of bees at that.”

img_4747

Squash Bees – from a poster at a squash stand.

There have often been times in our shared human history (and present!) where food is scarce. People planned ahead for times of hunger. In terms of squash, it was prepared by cutting in into strips and dried for use later.

img_4778

This print was made by Jean Bales (1946-2004) and it titled Cushaw Melons: Pumpkin Harvest and Drying the Pumpkin (1980).

Most of you have favorite squash recipes that you turn to for you Holiday Tables. I want to remind you to not throw away the seeds when you are preparing your squash.

img_7558

A squash growing through the fence.

Before we get into the recipe maybe we better spend a moment on How to “get into” the squash. Think squash like the one growing on the fence can be tricky to cut open with a knife. A friend from Mexico showed me a simple trick that has changed my squash-culinary-life.

It is this: Use gravity.

Meaning: Drop the darned thing on the ground until it cracks open, then scoop out the seeds and save for the garden and for the recipe below. Then you can get your knif into the rind and cut for roasting or steaming of what have you.

Today’s recipe: Roasted Pumpkin Seeds (Pepitas) with chiltepin. 

img_4765

The key to this VERY tasty treat, is to roast on VERY low heat. I use heat around 175 (under 200 degrees for sure).

I put a handful of pumpkin seeds (hulled or not) on a baking sheet in a preheated oven.

Add a tablespoon of Braggs Liquid Aminos and make sure that the seeds are coated with and spread them out evenly on the sheet.

I sprinkle half of the pan with dried chiltepin – and the other half leave for those who may not like such heat.

Every oven is different, but mine take about 15 minutes to roast. While they are in the oven, check them once or twice moving them around with a utensil to keep them from sticking.

When they are dry (and not sticky) take them out and let them cool.

————————————————————————–

Here are a few other squash adventures that I have had. Please let me know what you make with your squash!

img_2731

Scramble squash blossoms into your eggs …. they are delicious!!!

img_2738


img_1487

Empanadas baking …

Make empanadas with squash filling sometime – they can be sweet or savory! The rustic oven you see above lends a nice smoky flavor to the empanadas – but they are fabulous in any kind of oven. img_1486

img_7213

An embroidery project I made as an Ode to this generous plant


Election Bread—Savoring an old Recipe

No matter who your candidate was this momentous month, by fixing this festive treat called “Election Bread,” we can at least toast the democratic process AND local heirloom foods all in one delicious slice!

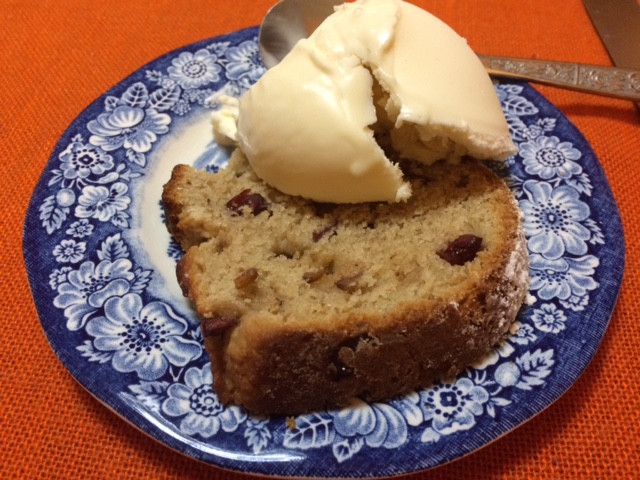
Ames Family Election Bread served joyously as a dessert

Ames family traditional Election Bread served joyously as a dessert topped with natural vanilla ice cream

Tia Marta here to share an Election Bread recipe inspired from my own family tradition served around election time each November. On the internet you might find historical variations of it with the moniker “Election Cake.” Technically it is a fruity yeast bread—probably one of the precursors of holiday fruit cake, reminiscent of Italian panettone–a nice addition as weather cools and fruits ripen. In the “old days” they say this Election Bread was baked to attract people to the polls on Election Day and fortify them for the trip home.

I gleaned our Ames Family Election Bread recipe from a cherished little cook’s notebook which my 80-year-old great Aunt Rina wrote for me when I was just learning to cook—yikes, some decades ago. My new adaptation of it reflects our home turf in the flavor-filled Sonoran Desert.

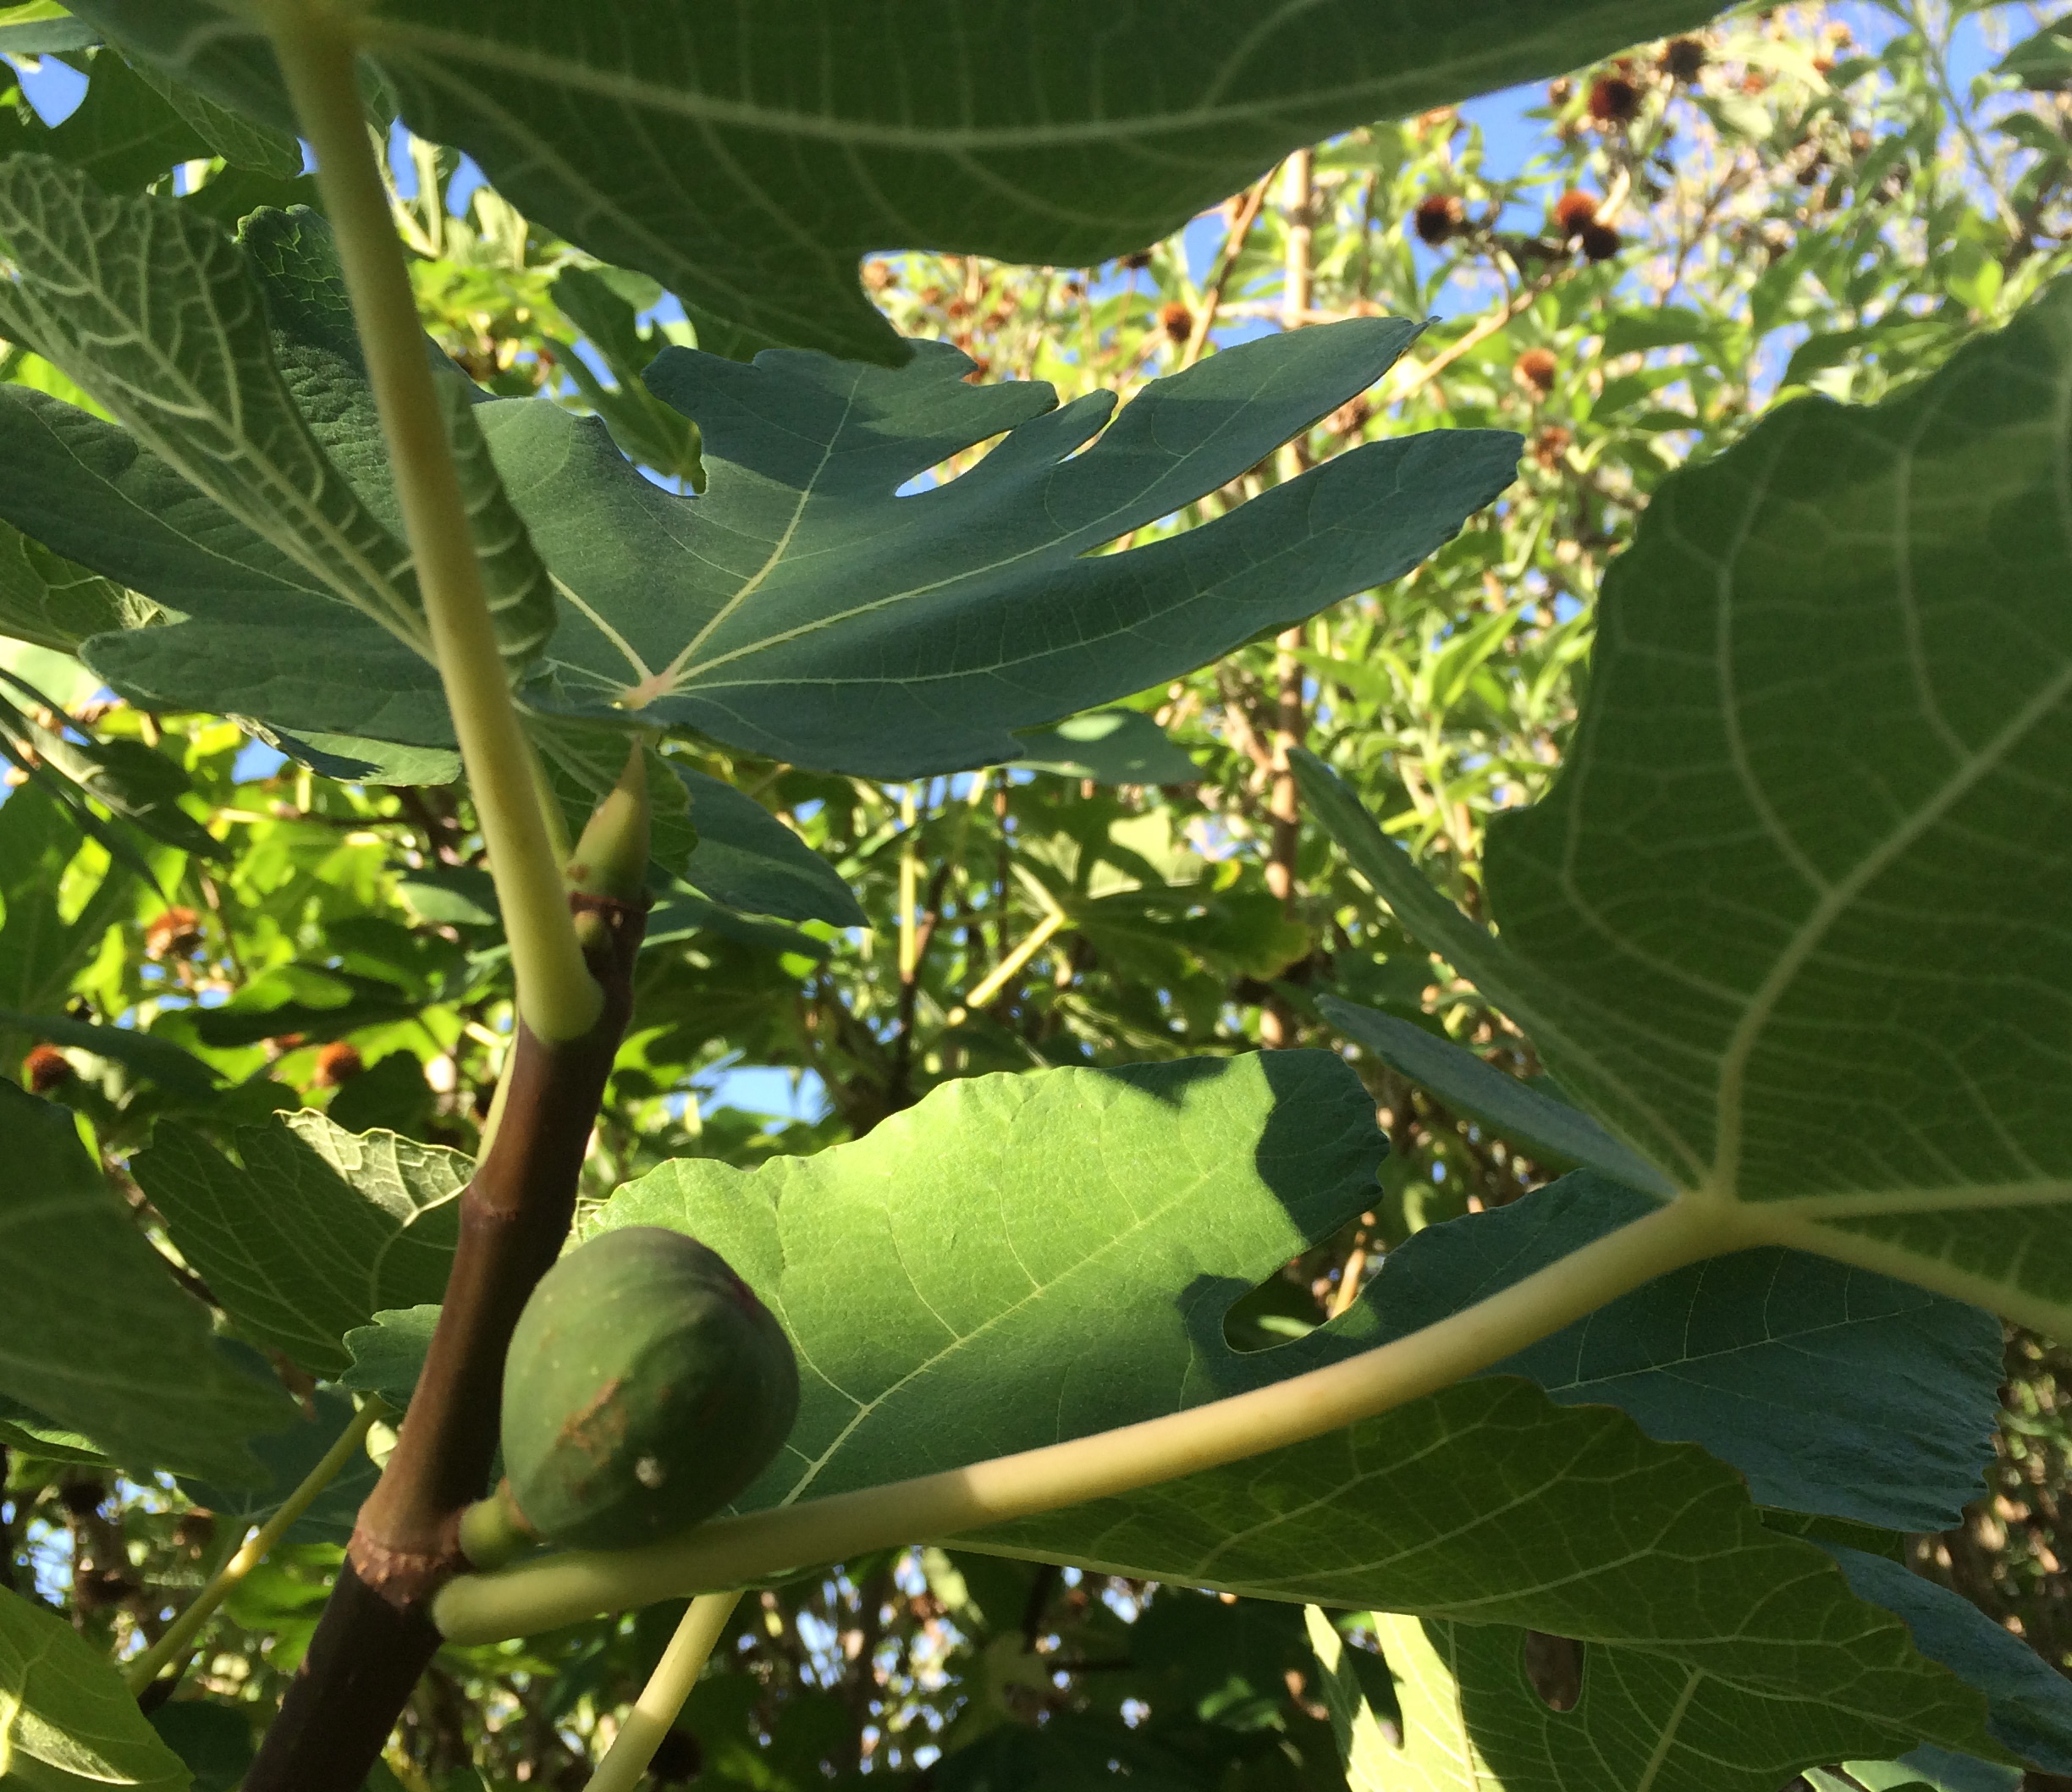
Heirloom Sosa-Carrillo fig (a Padre Kino introduction) from Mission Garden now producing in my yard (MABurgess photo)

Heirloom Sosa-Carrillo fig (a Padre Kino introduction) from Mission Garden now producing in my yard (MABurgess photo)

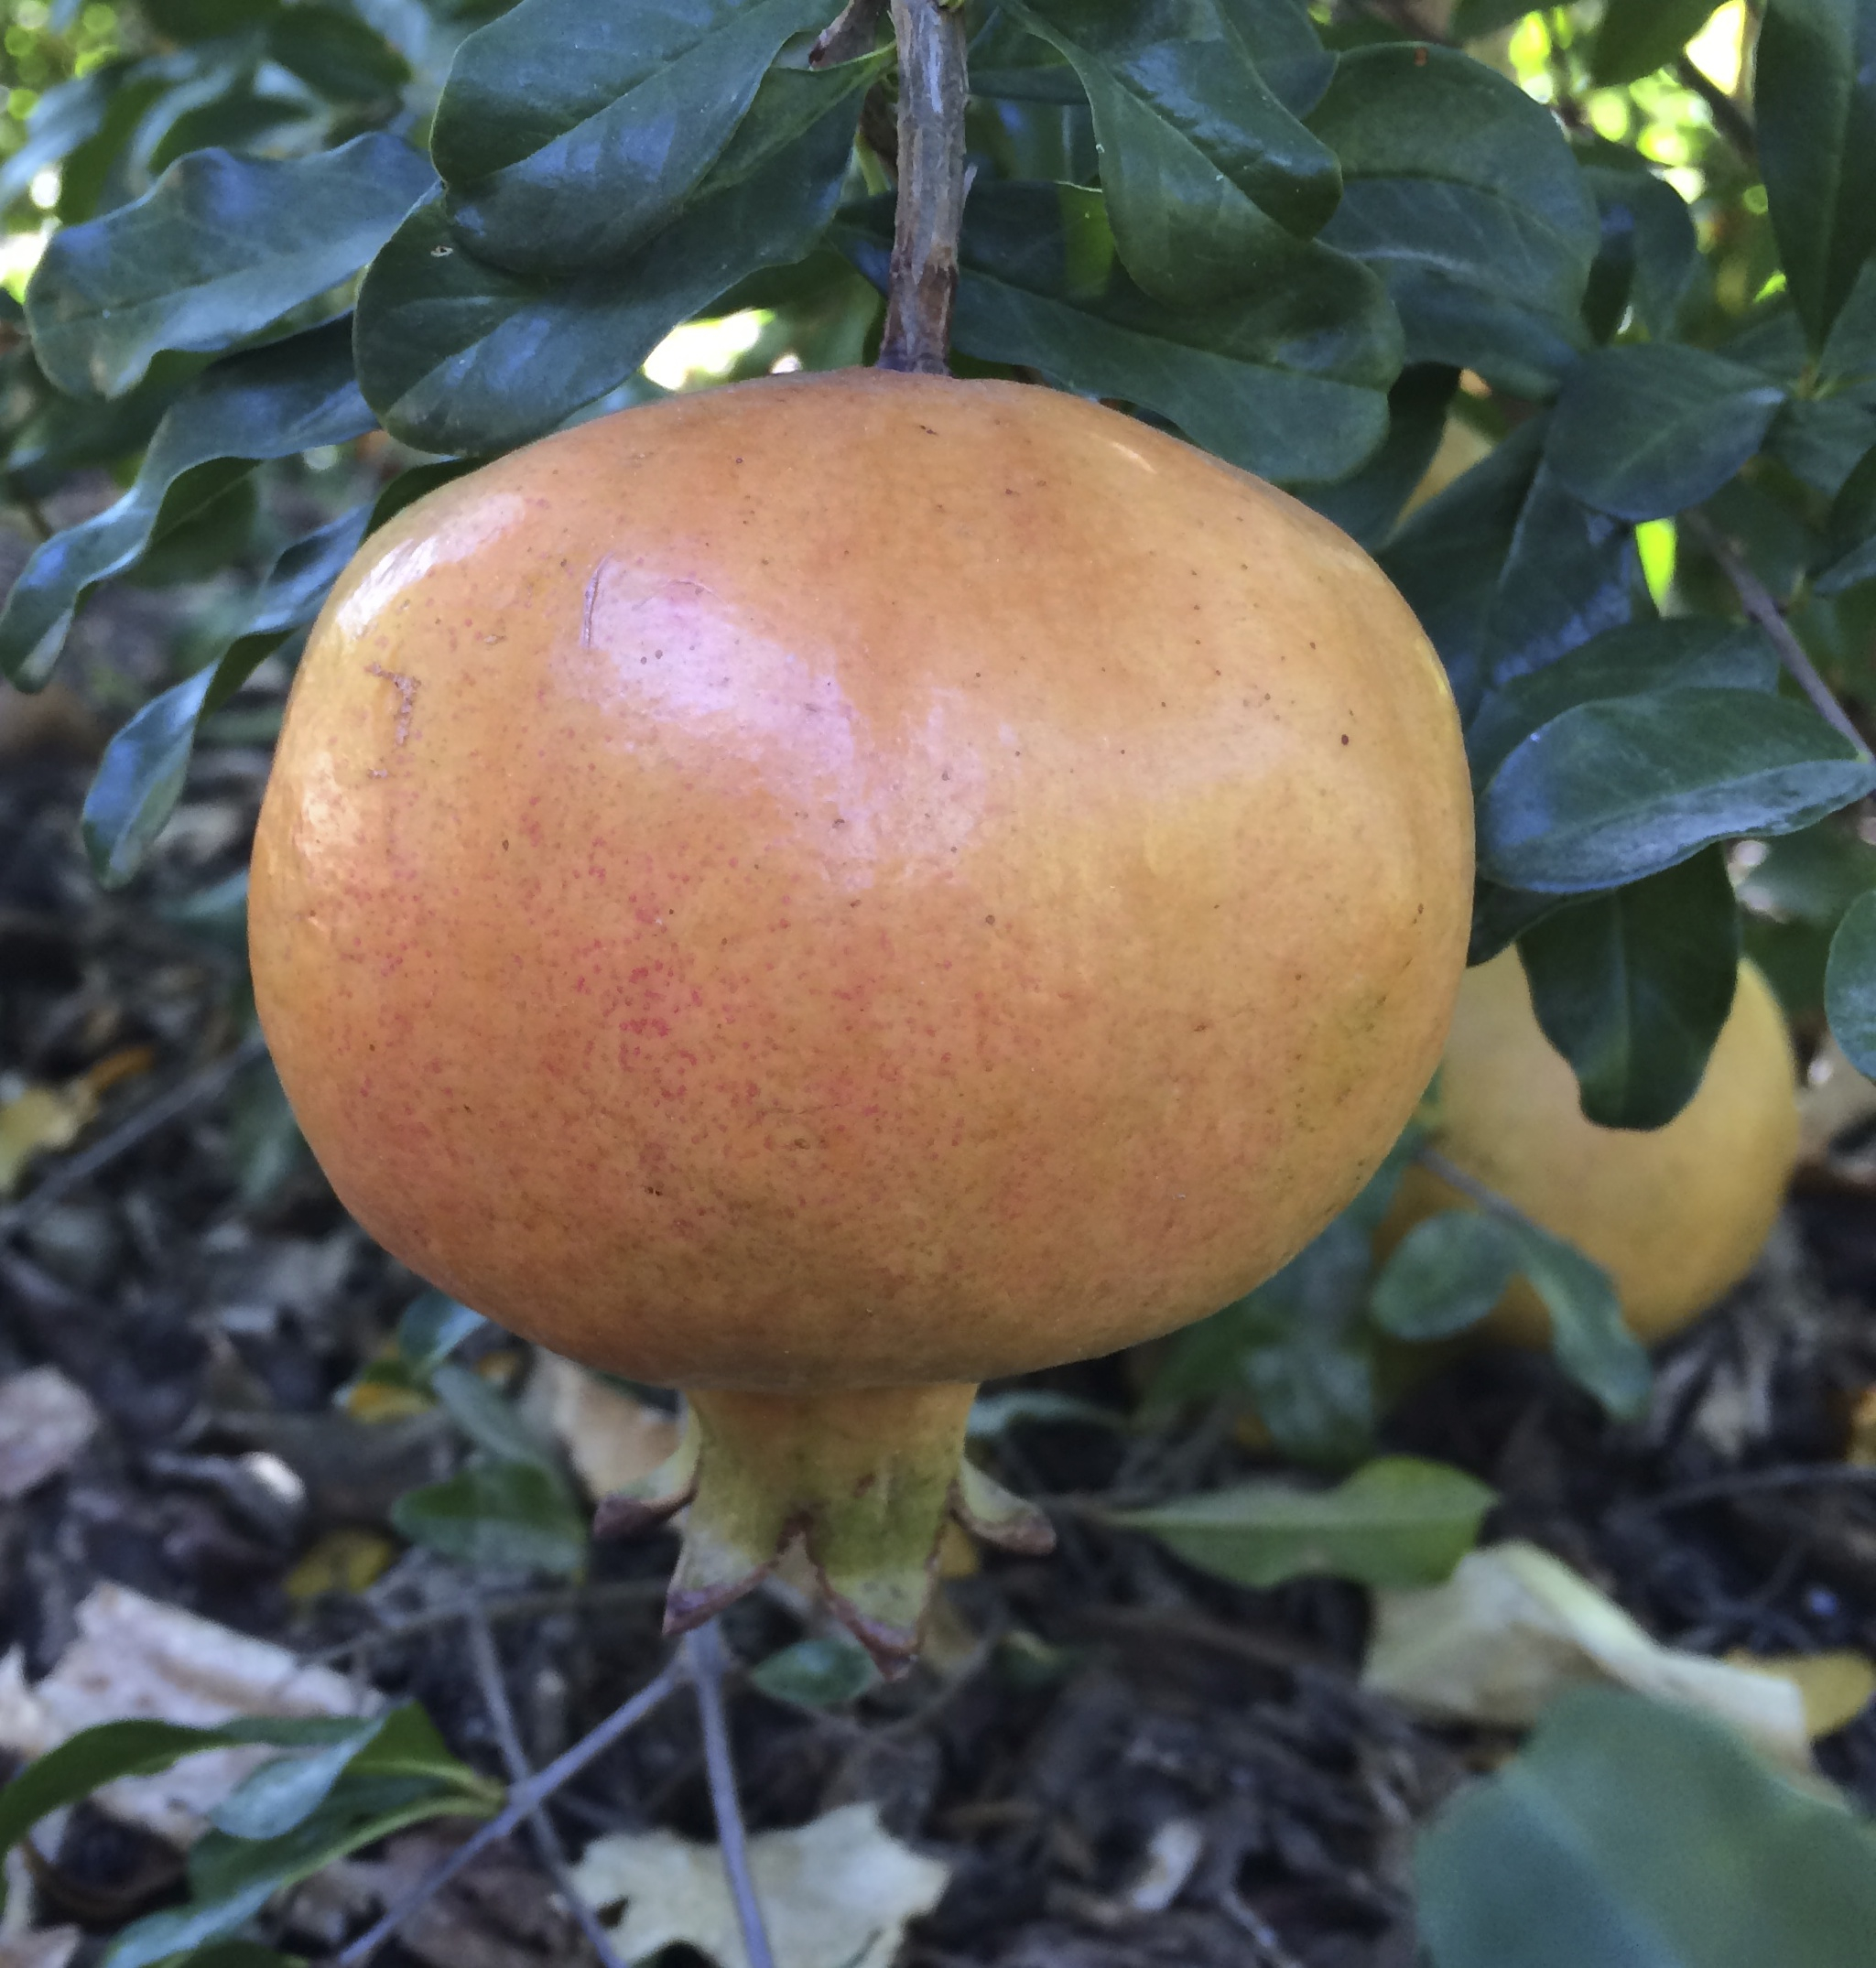
Heirloom pomegranate from Mission Garden, Tucson (MABurgess photo)

Heirloom pomegranate from Mission Garden, Tucson (MABurgess photo)

But here in Baja Arizona, instead of waiting for fall, I had to begin prep a few months ago by harvesting ripe heirloom figs, pomegranates and apricots as they ripened.  Father Kino’s figs grace my yard and the other two yummy fruits, grown at Tucson’s Mission Garden at the base of A-Mountain, were purchased at the Thursday Santa Cruz farmers’ market.

Preserving them for later use, I dried the fruits in my solar oven with the lid slightly opened, allowing humid air to escape.


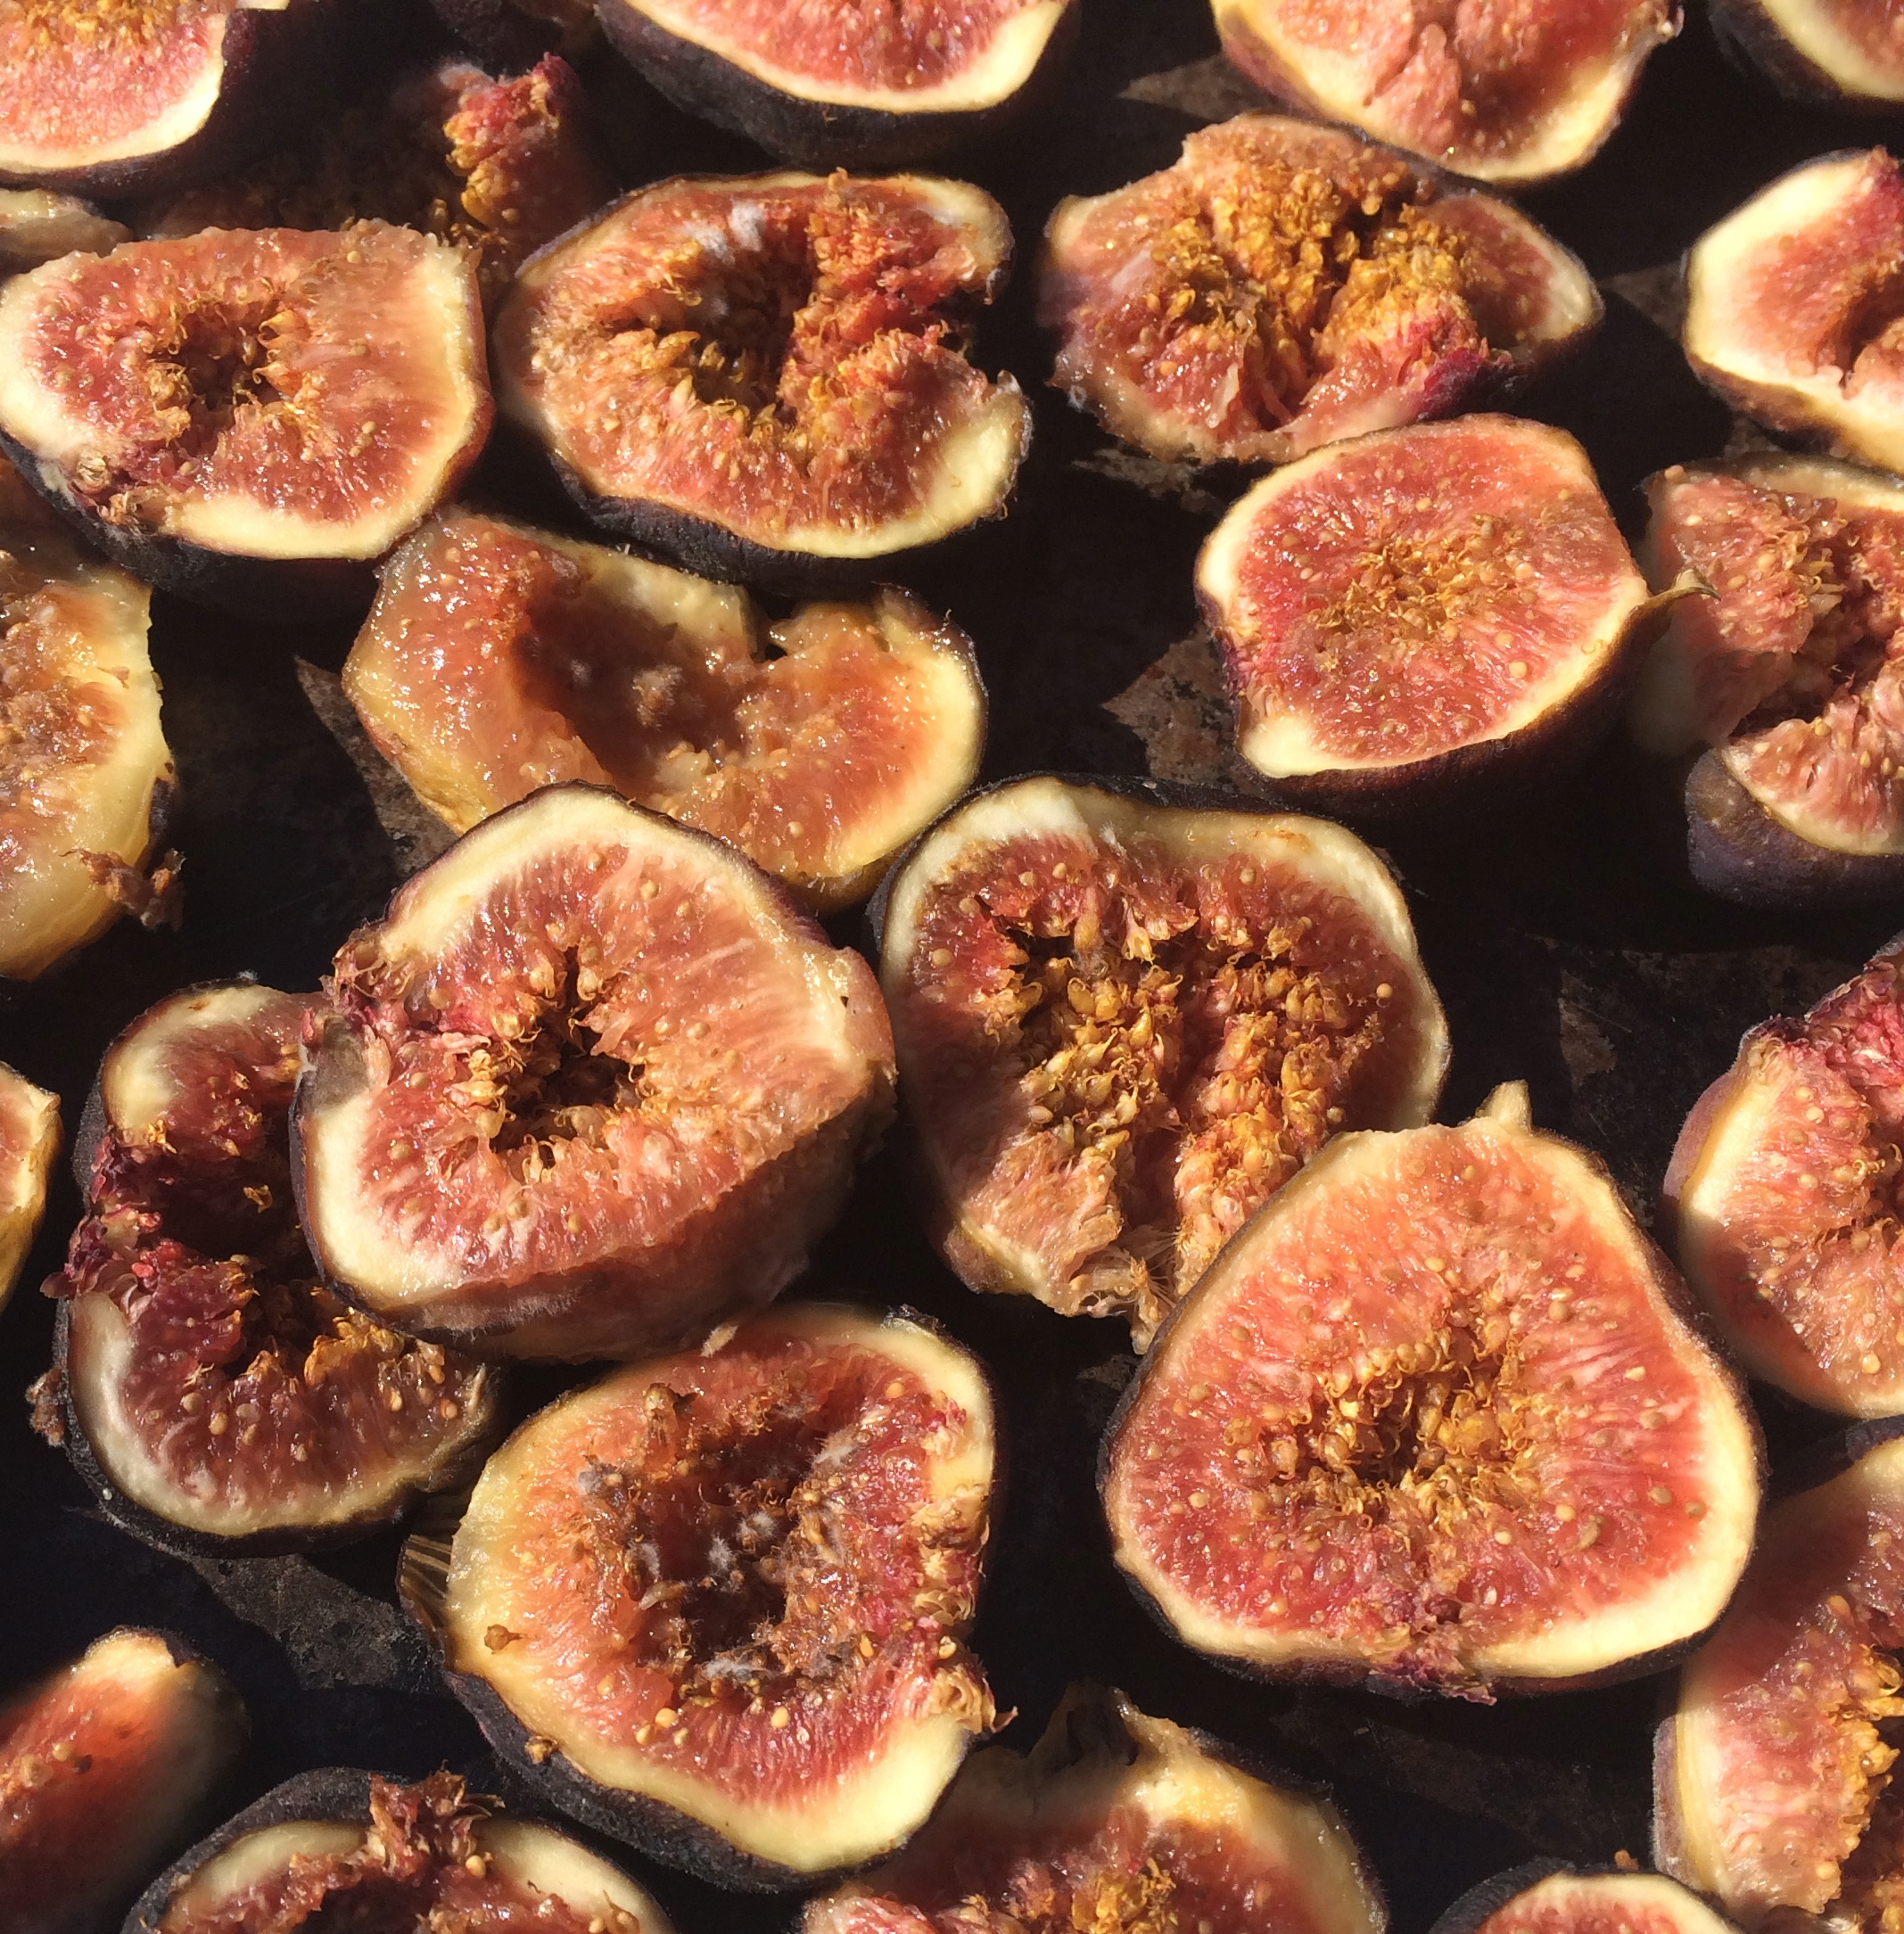
Fresh Mission figs cut ready for drying in the solar oven

Fresh Mission figs cut ready for drying in the solar oven

Sun-dried figs get even sweeter and more flavorful than when they are fresh!

Sun-dried figs get even sweeter and more flavorful than when they are fresh!

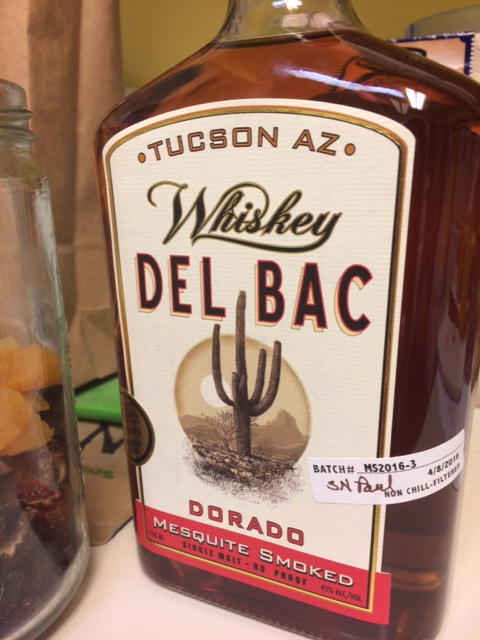
Celebrating our International City of Gastronomy, I rejoice in using flours grown and milled locally by BKWFarms in Marana, Arizona, to bake this rich bread.  Other ingredients I sourced close to home as well — Tucson’s precious mesquite-smoked Hamilton whiskey, homegrown heirloom fruit propagated at Mission Garden, agave nectar in place of sorghum molasses — from the bounty of Baja Arizona’s foodscape, its green thumbs, and its creative local “food-artists.”

Tucson's best whiskey from Hamilton Distillers--made with organic local malted grain dried using local mesquite.

Tucson’s best whiskey from Hamilton Distillers–made with organic local malted grain dried using local mesquite.

Bread teaches us patience.  It is a beautiful meditation so take time to enjoy the process. There are tasks for this recipe to be done on two consecutive days.  At the very least, in between texts and emails, radio news and phone calls, take time out to go to the kitchen, check the status of your “rehydrating” fruit, or check your yeast sponge, take a nip, etc.  Bread is a living gift and this Election Bread in particular brings many quite lively foods together.  Be not daunted–become one with the yeasts!

If you are already into sourdough baking and have live starter, take method A.  If you are beginning with dry yeast, take method B.  Both will give olfactory pleasure from the git-go.


RECIPE FOR AMES FAMILY ELECTION BREAD

Day 1—Making the Pre-ferment –method A–Using Sourdough Starter
1 cup whole milk, warmed to ~ 70º F
¼ cup active starter — fully hydrated
2 ¼ cups all-purpose or whole wheat pastry flour *

OR Day 1 — Making the Pre-ferment — method B– Using Yeast
1 1/8 cup milk, warmed to ~70º F
1 tsp instant dry yeast
2 ¼ cups plus 2 Tbsp organic all-purpose or whole wheat pastry flour *

Pre-ferment Instructions:  In a bowl, combine milk and sourdough starter or yeast. Mix thoroughly until starter or yeast is well dispersed in the milk mixture. Add flour and mix vigorously until the yeast mixture is smooth. Scrape the sides of your bowl to use all yeast. Cover the bowl with a damp towel or plastic wrap. Allow your sponge to rest and ferment 8-12 hours at room temperature. When ready to use, your pre-ferment will have bubbles covering the surface.

Also Day 1–Pre-Soaking Dried Fruits

1 cup dried fruits, coarsely diced in 3/8-inch or ½-inch pieces **
1-1 ½ cup whiskey, bourbon, brandy, or non-alcoholic fruit juice ***

Instructions for Pre-soaking Dried Fruit:  To prepare dried fruits for your bread, soak them overnight, or for several days beforehand, in a lidded jar. Measure your dried fruit then cover with liquor or liquid of choice. (To speed up the soaking process put diced fruit in a small sauce pan, warm over low heat for a few minutes, remove from the heat, and allow fruit to soak, covered, for several hours.) Until the fruit is totally softened, you may need to add more liquid to keep fruit submerged.
Before adding fruit to your dough, strain the liquid off of the fruit. Use this fruity liquid as a cordial, or to make a simple glaze after bread is baked.

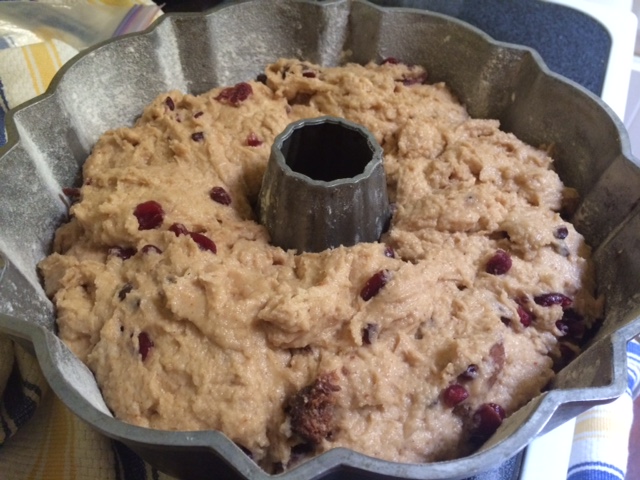
Freshly mixed dough in greased and floured bunt pan

Freshly mixed dough in greased and floured bunt pan

Proofing Election Bread dough--after covering and allowing dough to rise to almost double size--fruit bites visible

Proofing Election Bread dough–after covering and allowing dough to rise to almost double size–fruit bites visible

*** My secret to this “fruit marinade” is the smokey flavor of local Whiskey del Bac!  Using spirits results in a fabulous liqueur “biproduct” to enjoy later.  But, remember the words to that song “Oh we never eat fruitcake because it has rum, and one little bite turns a man to a bum……..”  For the tea- totaler, any fruit juices will work for re-hydrating the dried fruit chunks:  try apple cider, prickly pear, pomegranate juice, cranberry.  Then save the liquid after decanting as it will have delicious new flavors added.


Day 2 –Preparing Dough, Proofing, Baking Election Bread

Ingredients:  
1 cup unsalted butter
¾ cup unrefined organic sugar
2 eggs
1/3 cup whole-milk yogurt
¼ cup sorghum molasses, agave nectar, or honey
Your Pre-ferment –yeast mixture or sourdough mixture from Day 1
2 ¼ cups all-purpose or whole wheat pastry flour combination *
1-2 Tbsp mixed spice blend—your choice cinnamon, allspice, nutmeg, mace blend
¼ tsp ground coriander –optional
¼ tsp ground black pepper –optional
1-2 tsp salt
2 Tbsp sherry or another spirit- optional
2 cups rehydrated local fruit from dried/preserved fruits, decanted

* Create your own combination of pastry flours. My Southwest pastry flour mix to total 2 ¼ cups is:
½ cup organic all-purpose flour
¼ cup mesquite pod milling dust
1 cup organic BKWFarms’ hard red wheat flour                                                                                                                                          ½ cup organic heirloom BKWFarms’ White Sonora Wheat flour  (heirloom flours available at NativeSeeds/SEARCH and http://www.flordemayoarts.com)

** My Election Bread fruit mix honors the Kino Heritage Fruit Tree Project. You can purchase heirloom fruit seasonally at Santa Cruz Farmers’ Market. For this recipe I used:
1/3 cup diced dry figs
1/3 cup diced dry apricots
1/6 cup dry pomegranate “arils”
1/6 cup dry cranberries (a bow to East Coast food)

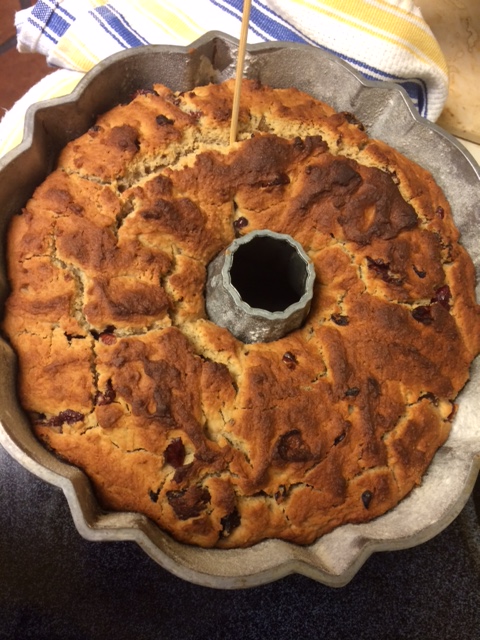
You can test to see if dough is done thru using a wooden kabob skewer or cake tester. Listen to hear if bubbles are still popping in the dough.

You can test to see if dough is done through by using a wooden kabob skewer or cake tester. Listen to hear if bubbles are still popping in the dough.

Day 2–Instructions for Election Day Bread Baking

a) Cream the butter well; add sugar, mixing until light and fluffy. Add the eggs one at a time with mixer (or spoon) on medium speed. Mix in the sorghum/honey and yogurt. If you have a dough hook mixer you can use it or good old elbow grease. Add the pre-ferment (starter or sponge) and mix slightly.
b) In a separate bowl, sift together all of the dry ingredients. Mix as you add dry ingredients into liquid ingredients, being careful not to over-mix.
c) Gently fold in the rehydrated fruit (then optional sherry).
d) Grease (with butter) and flour a bundt pan or round cake pan. Divide the dough evenly into the cake pan. Proof (i.e. let the dough rise) covered in a warm place for 2-4 hours, until the dough has risen by about ⅓ of its volume.
e) Preheat oven to 375F. Bake at 375° F (190° C) for 10 minutes. Reduce oven temperature to 350° F (177° C) and continue baking for about 25-35 minutes, or until a tester comes out clean. Let cake cool completely before cutting and eating.         Enjoy this sweet bread either plain or topped with a simple glaze.

If you are new to yeast bread baking, it would be fun to connect with a friend to chop fruit or get hands gooey together, or to have one person read directions while the other mixes. We always do it as a family and it’s so much more fun to add humor and gossip to the mix–or even a little political emoting.

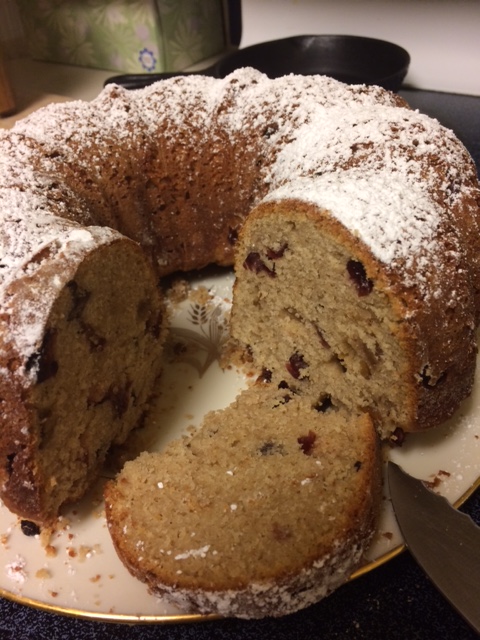
Sonoran Desert style Election Bread with local grains and local fruits--Ah the aromas!

Sonoran Desert style Election Bread with local grains and local fruits–Ahhhh, the aromas and rich history of Baja Arizona in a single slice!

During the coming holidays, you could try this easy bread for a great party treat, for breakfast, or for a colorful dessert topped with whipped cream or ice cream.
And feel free to play with the recipe, adding your own tastes, honoring your own family’s food culture and history and your own sense of place!
Buen provecho from Tia Marta!

Chapulines (Grasshoppers) con Mole

20160924_080146

On a late season prickly pear harvesting trip, my friend Nicole and I found few tunas but lots of grasshoppers. I’ve always wanted to try chapulines, but never had the opportunity. Nicole learned how to harvest them this summer, so we attempted ourselves.

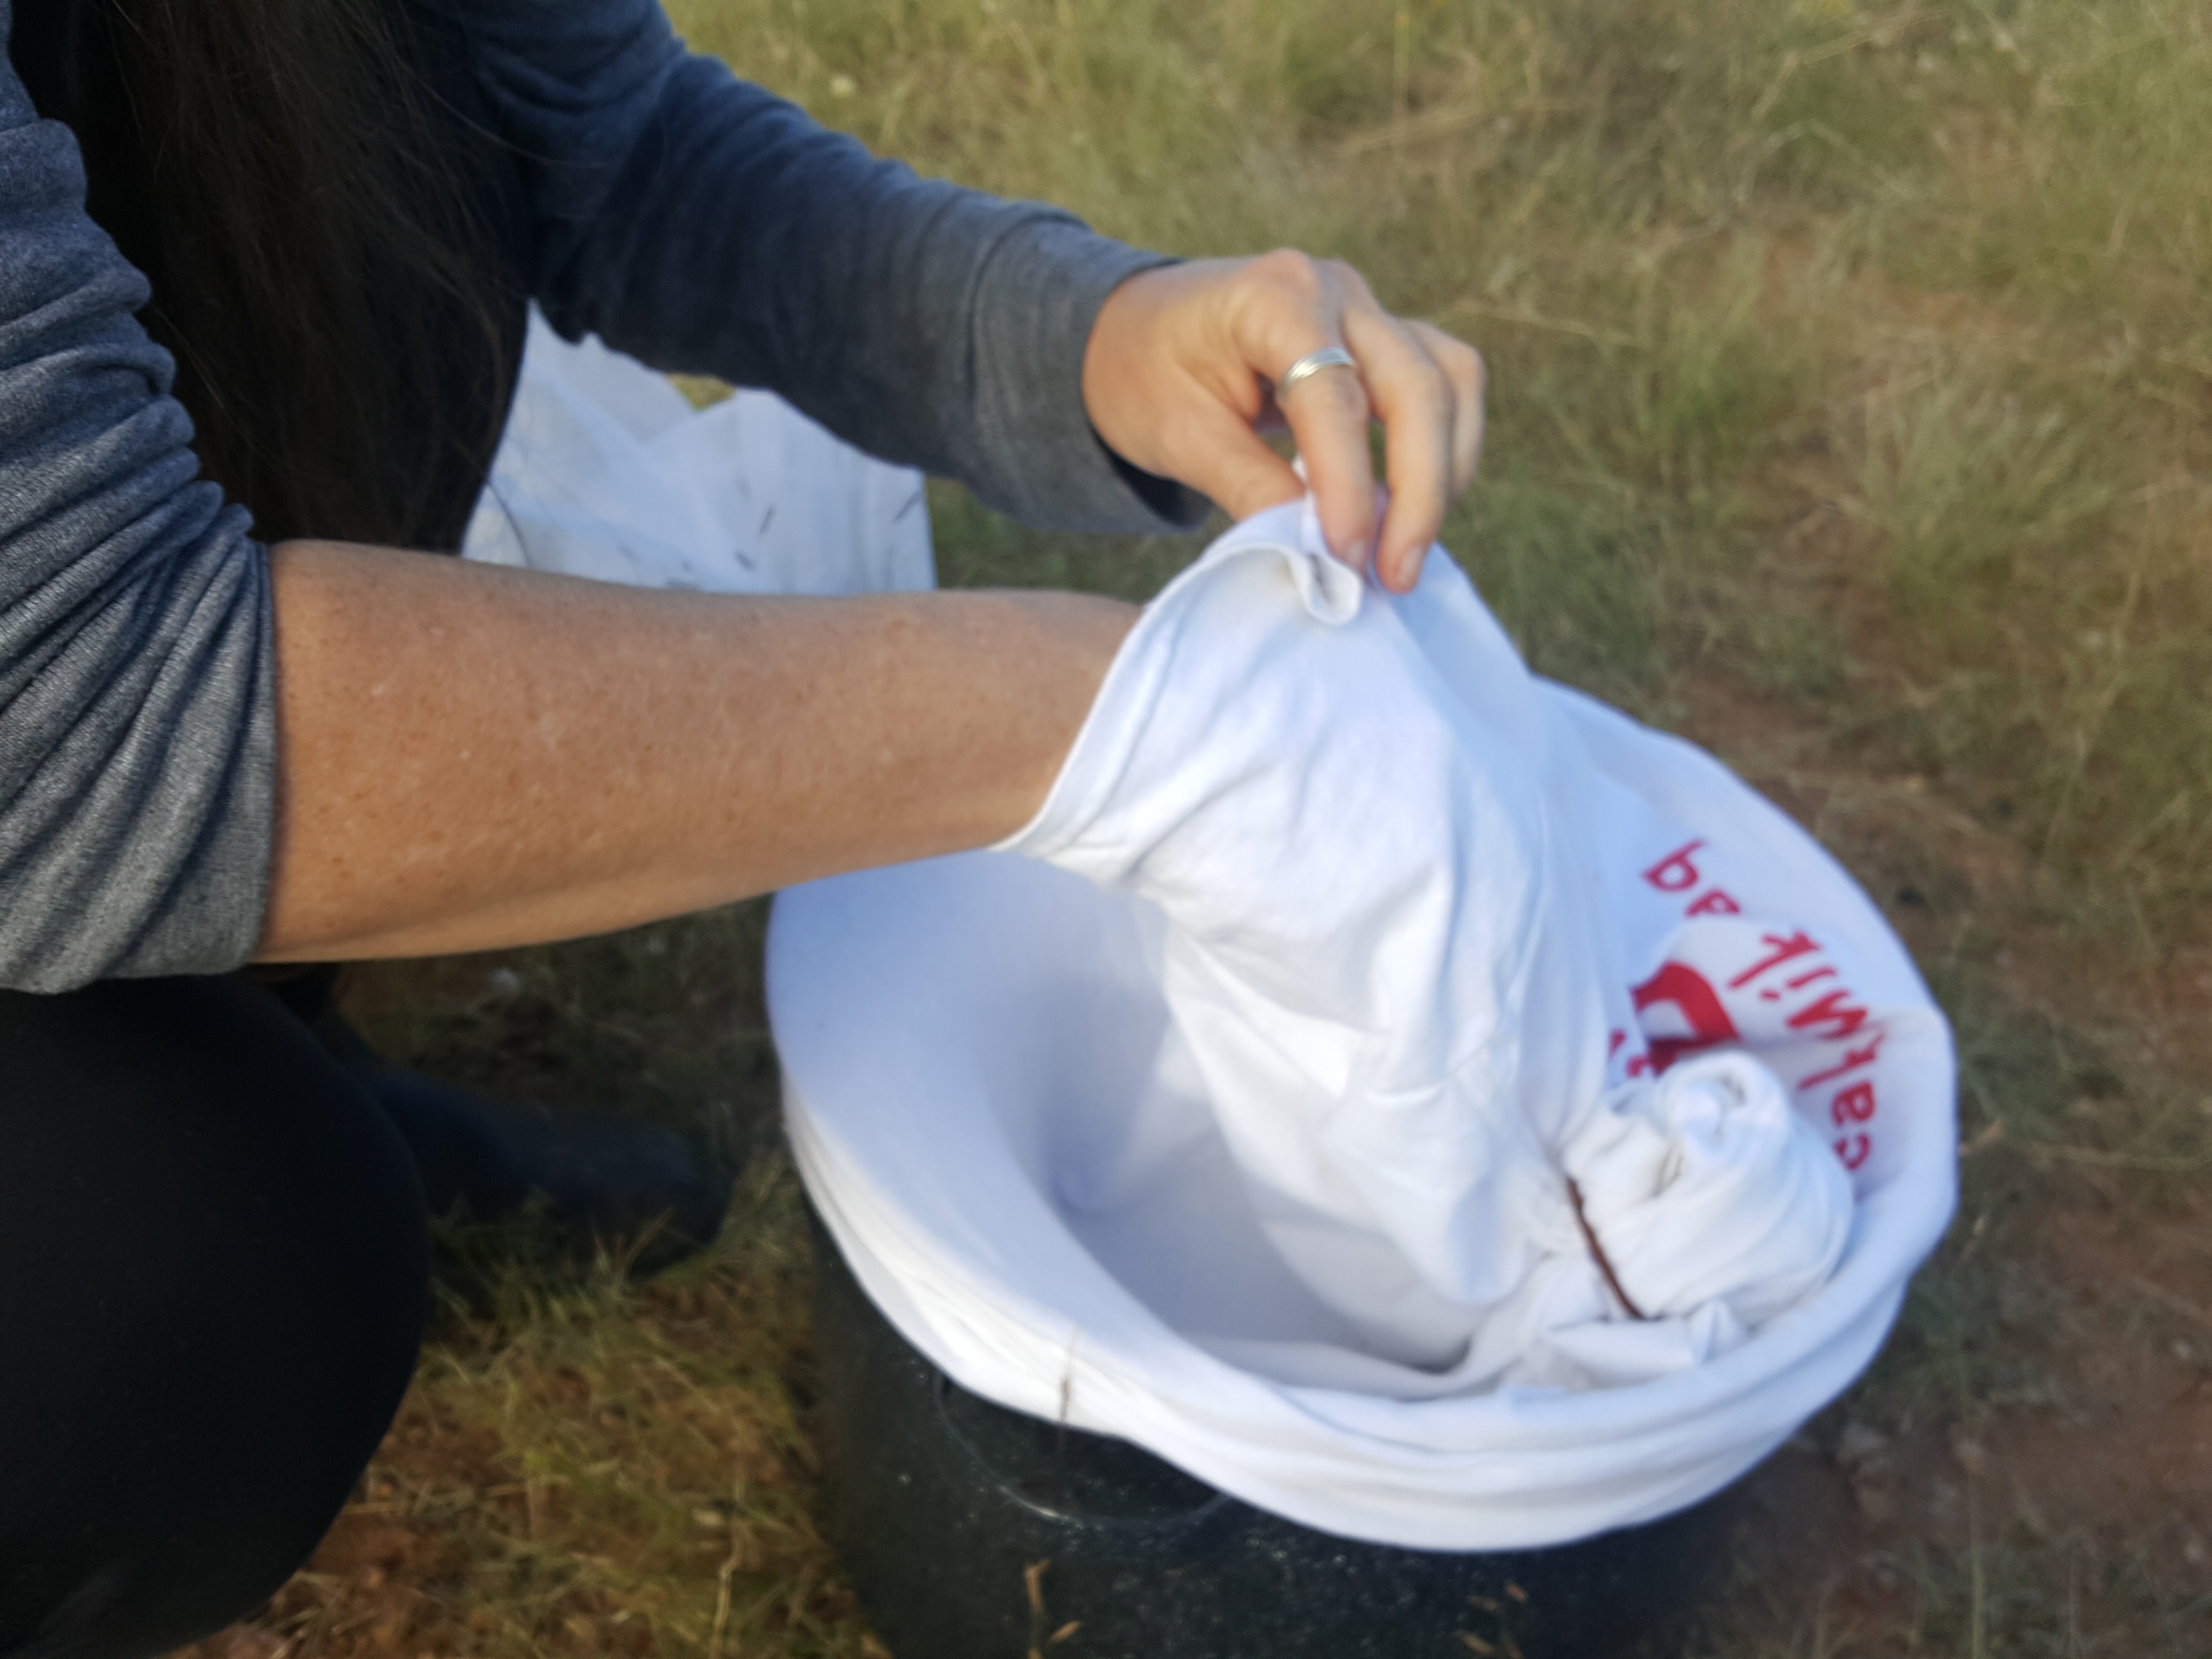
Catching them is the trick! When the sun is up, they are fast. We managed to flush some out of the grass into a clearing, toss a big straw hat over one, and grab it by hand. We bagged three, not even enough for one taco. As the sun set, they stopped jumping but were too hard to see in the grass in the low light. We returned with nets. In the cool early morning they weren’t active enough to jump into the nets but were easier to see; we tossed the net over one, and grabbed it by hand. As the day warmed, they got too fast for that method, and sweeping the grass with the net was more successful. Yes, it’s slow, but fun. Plus a beautiful day in the desert.

Nicole fashioned an way to hold our catch without letting any escape when we caught another.

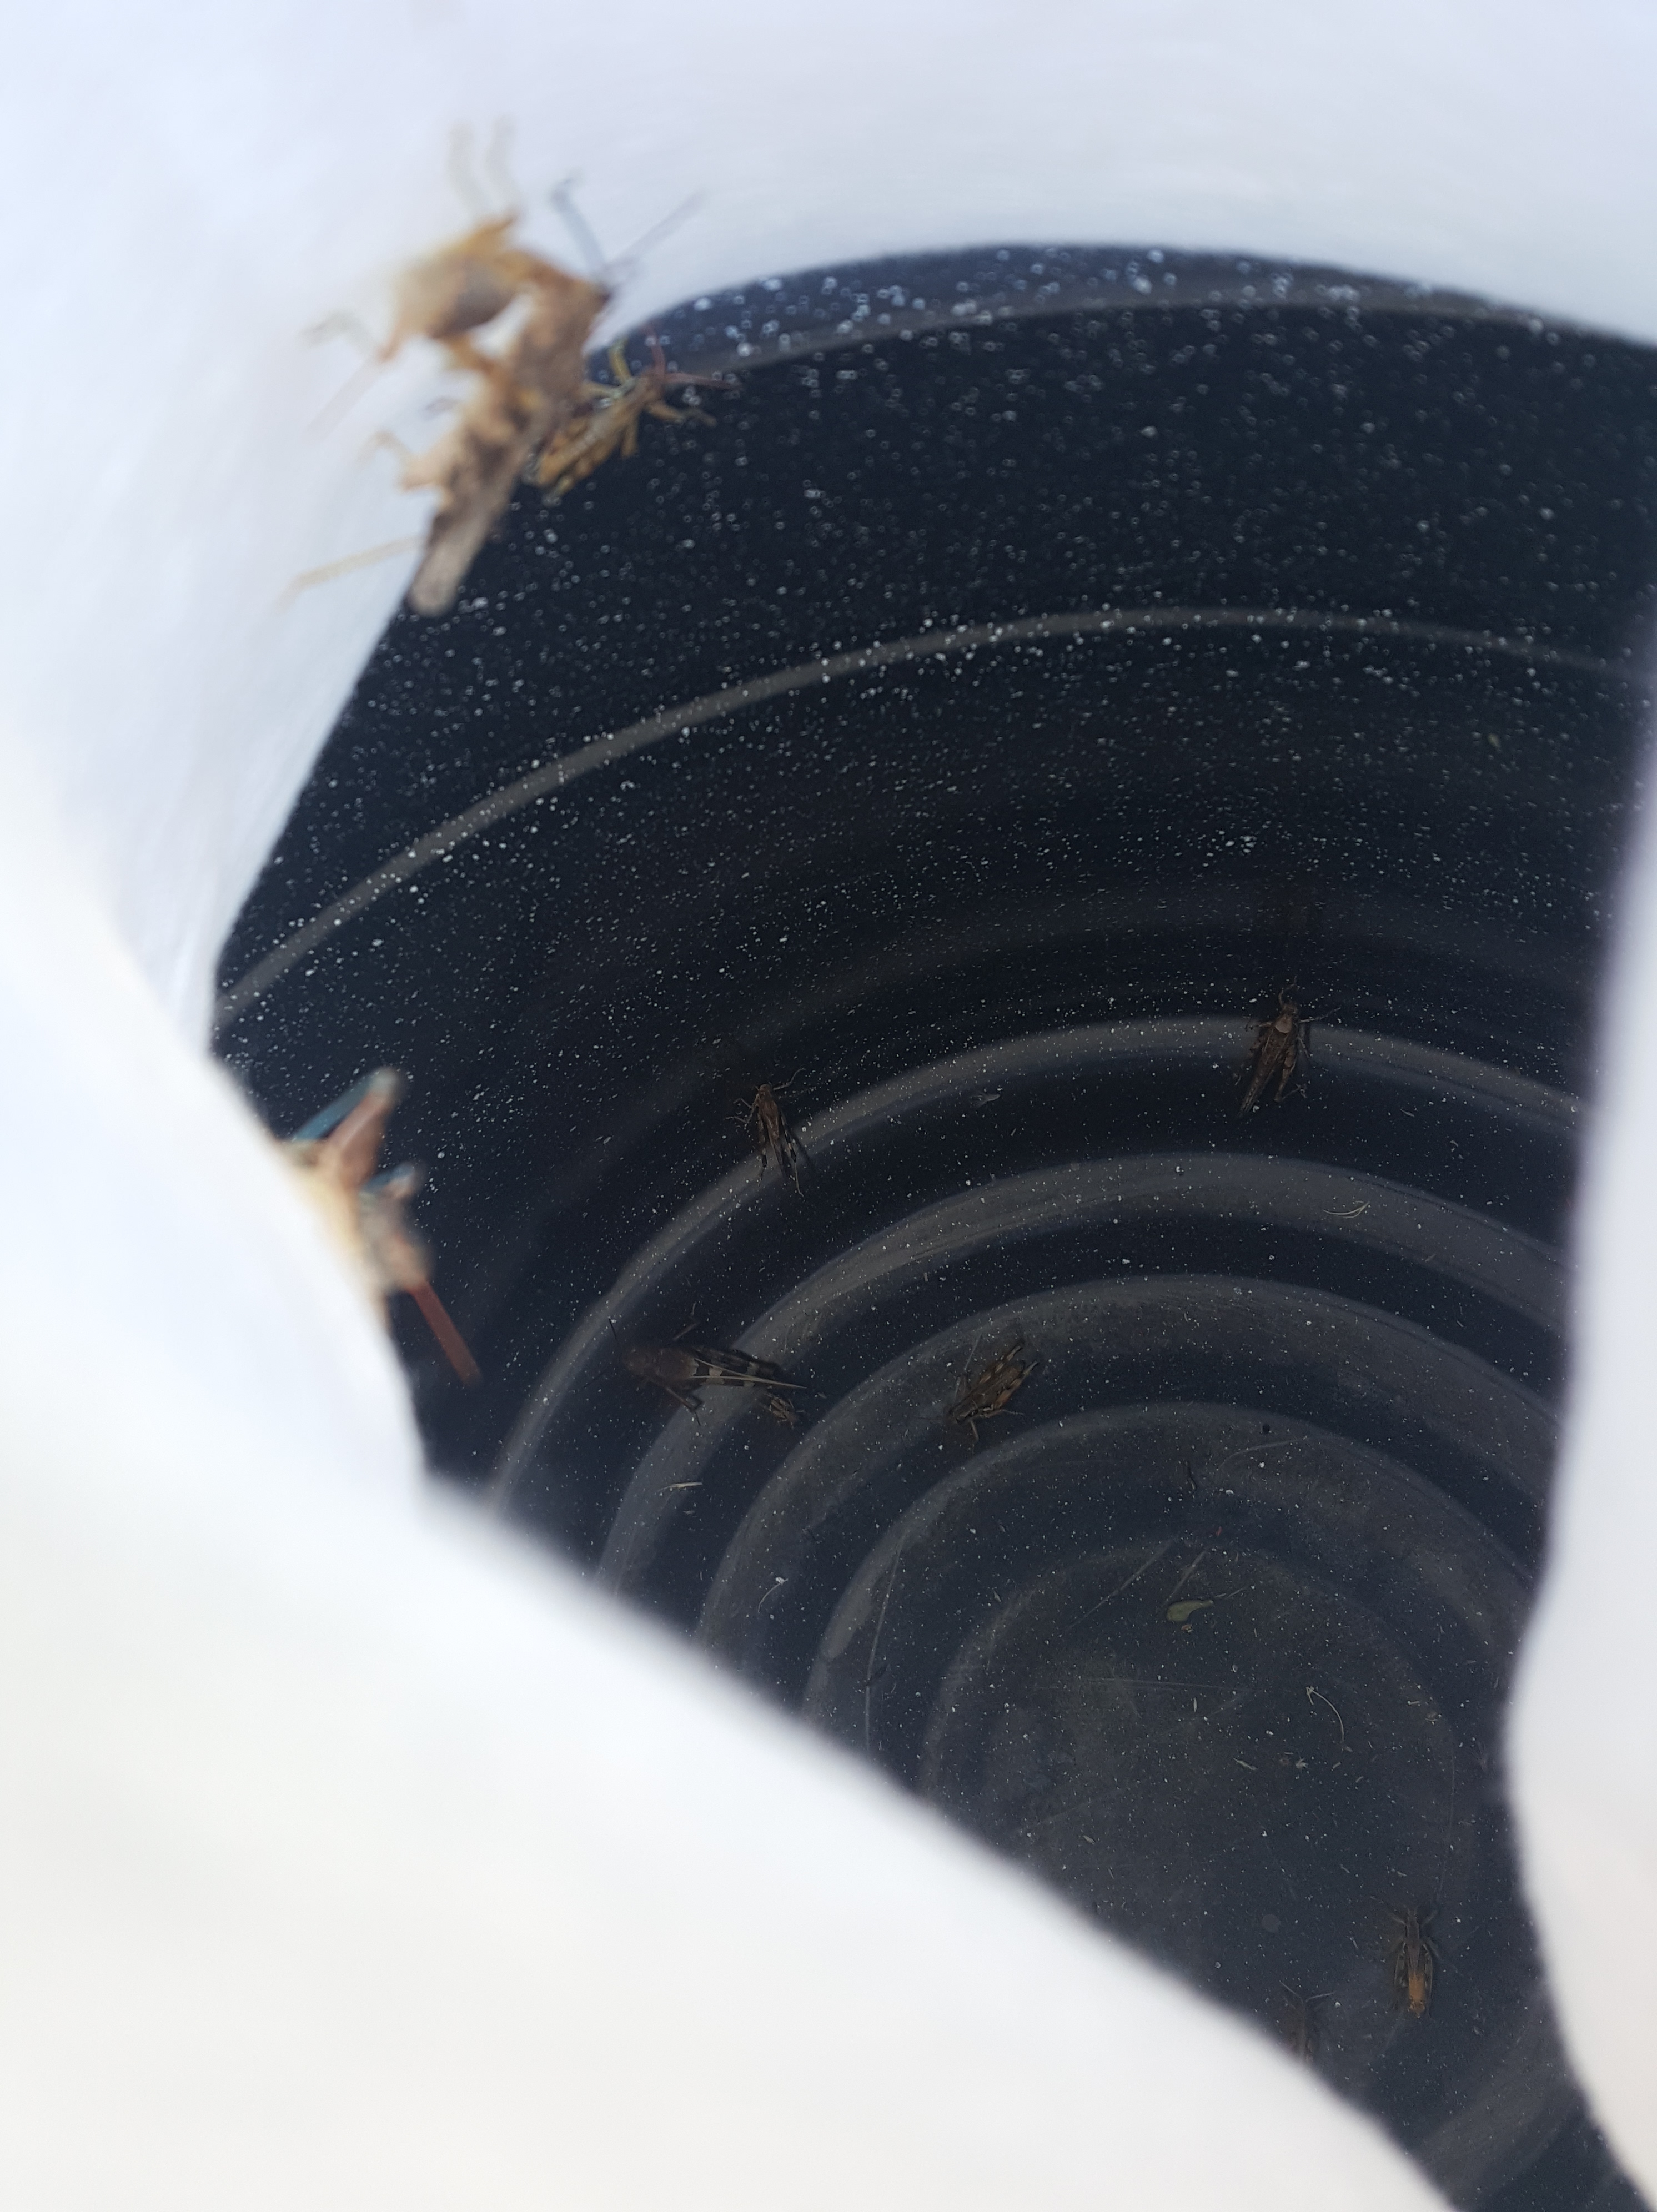
20160924_080408

Here they are inside. While they hopped around, they emptied their digestive tracts.

20160924_080353

At home we put the whole container in the freezer.

20160924_093610_001

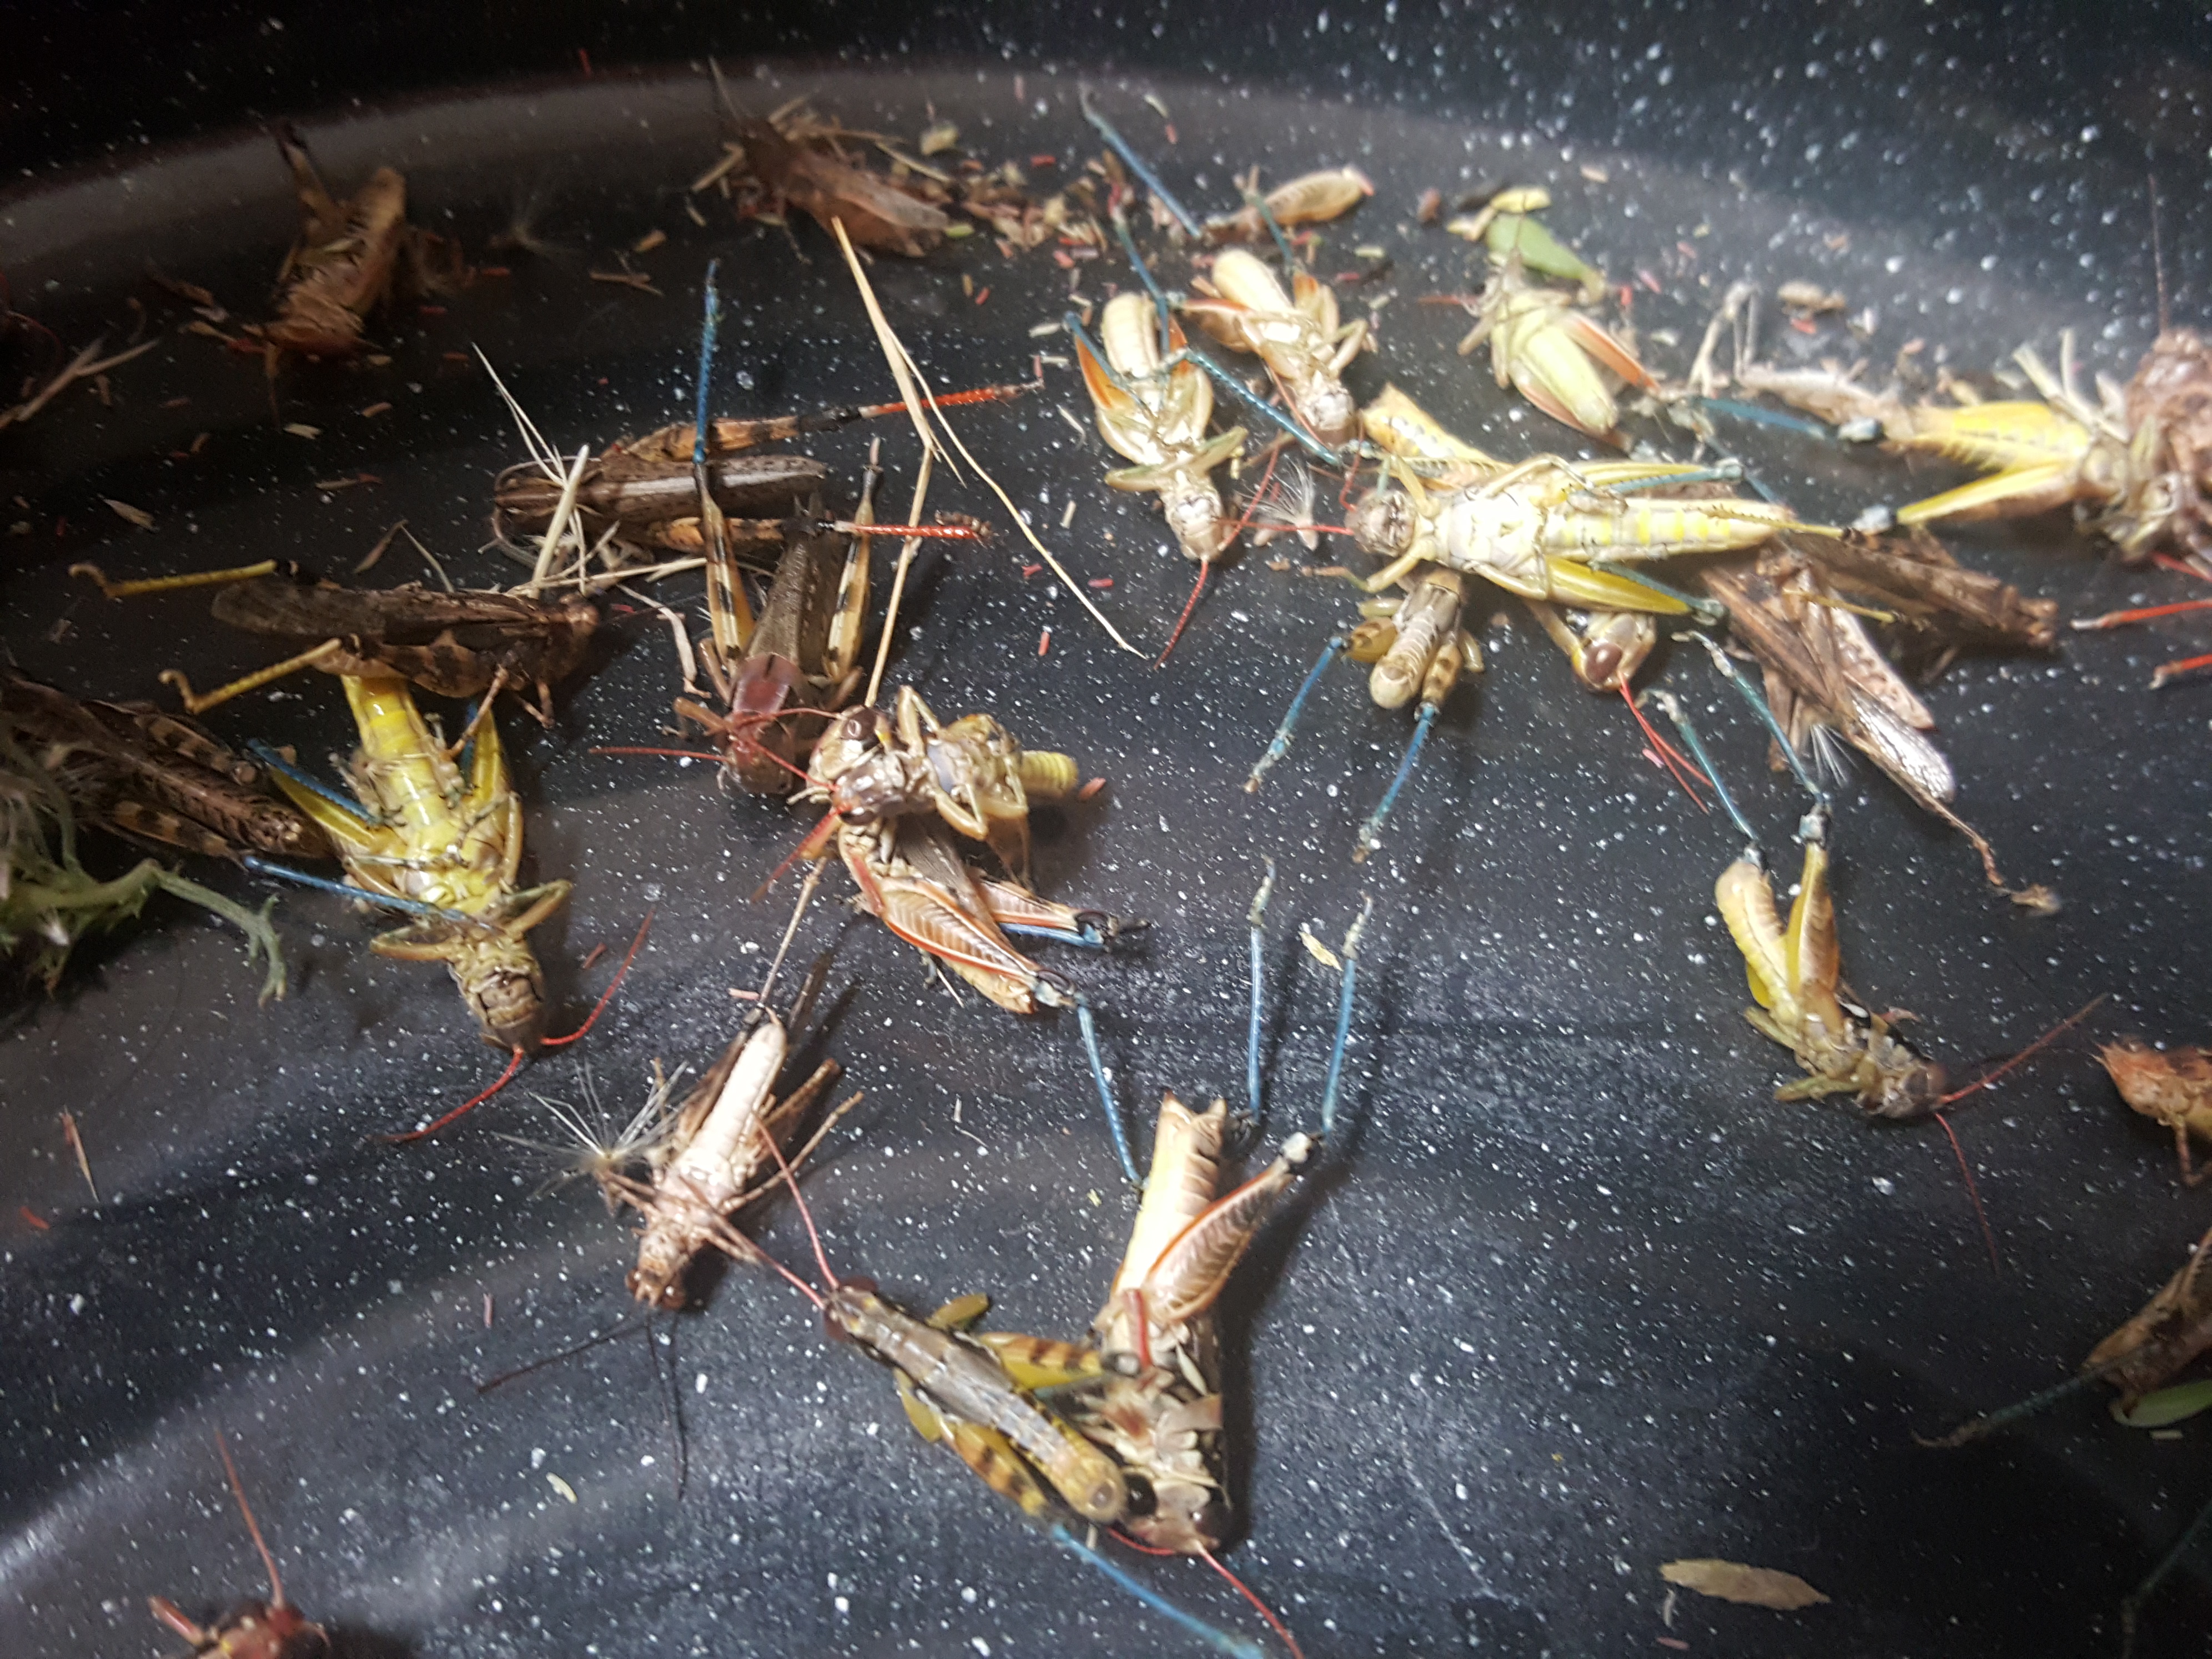
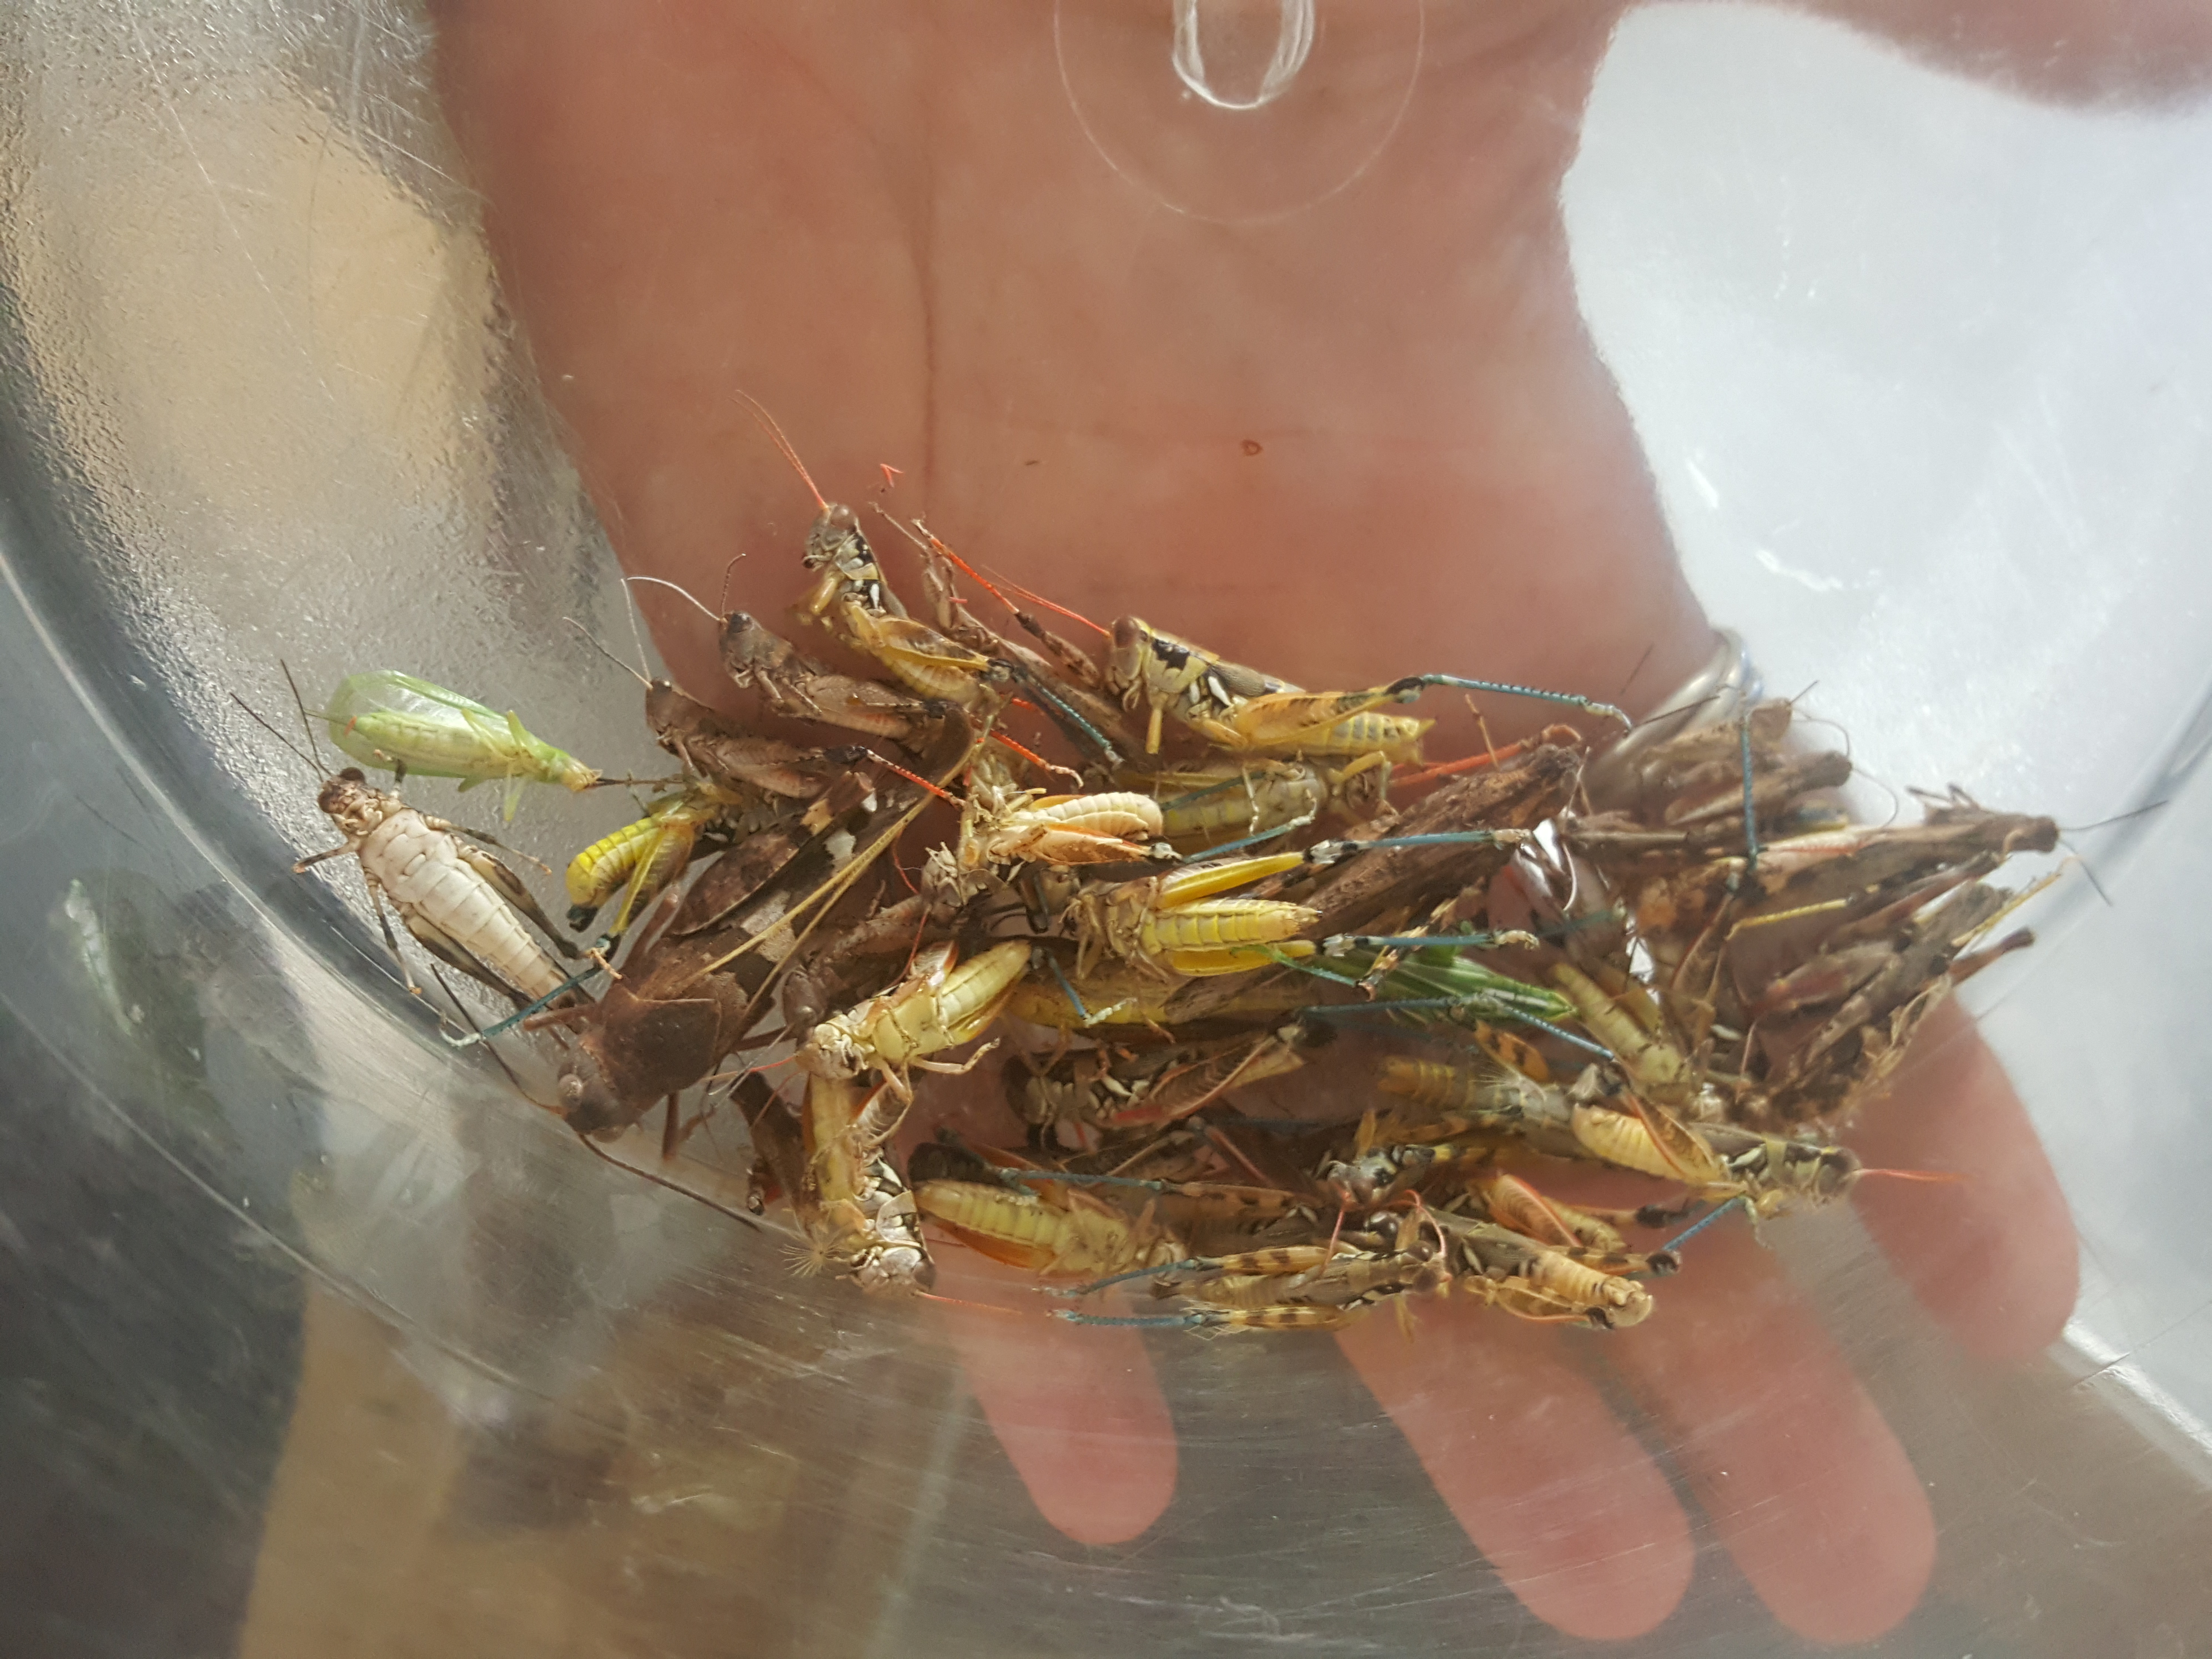
Then we picked them out of the grass seeds and debris. So beautiful.

20160924_093906

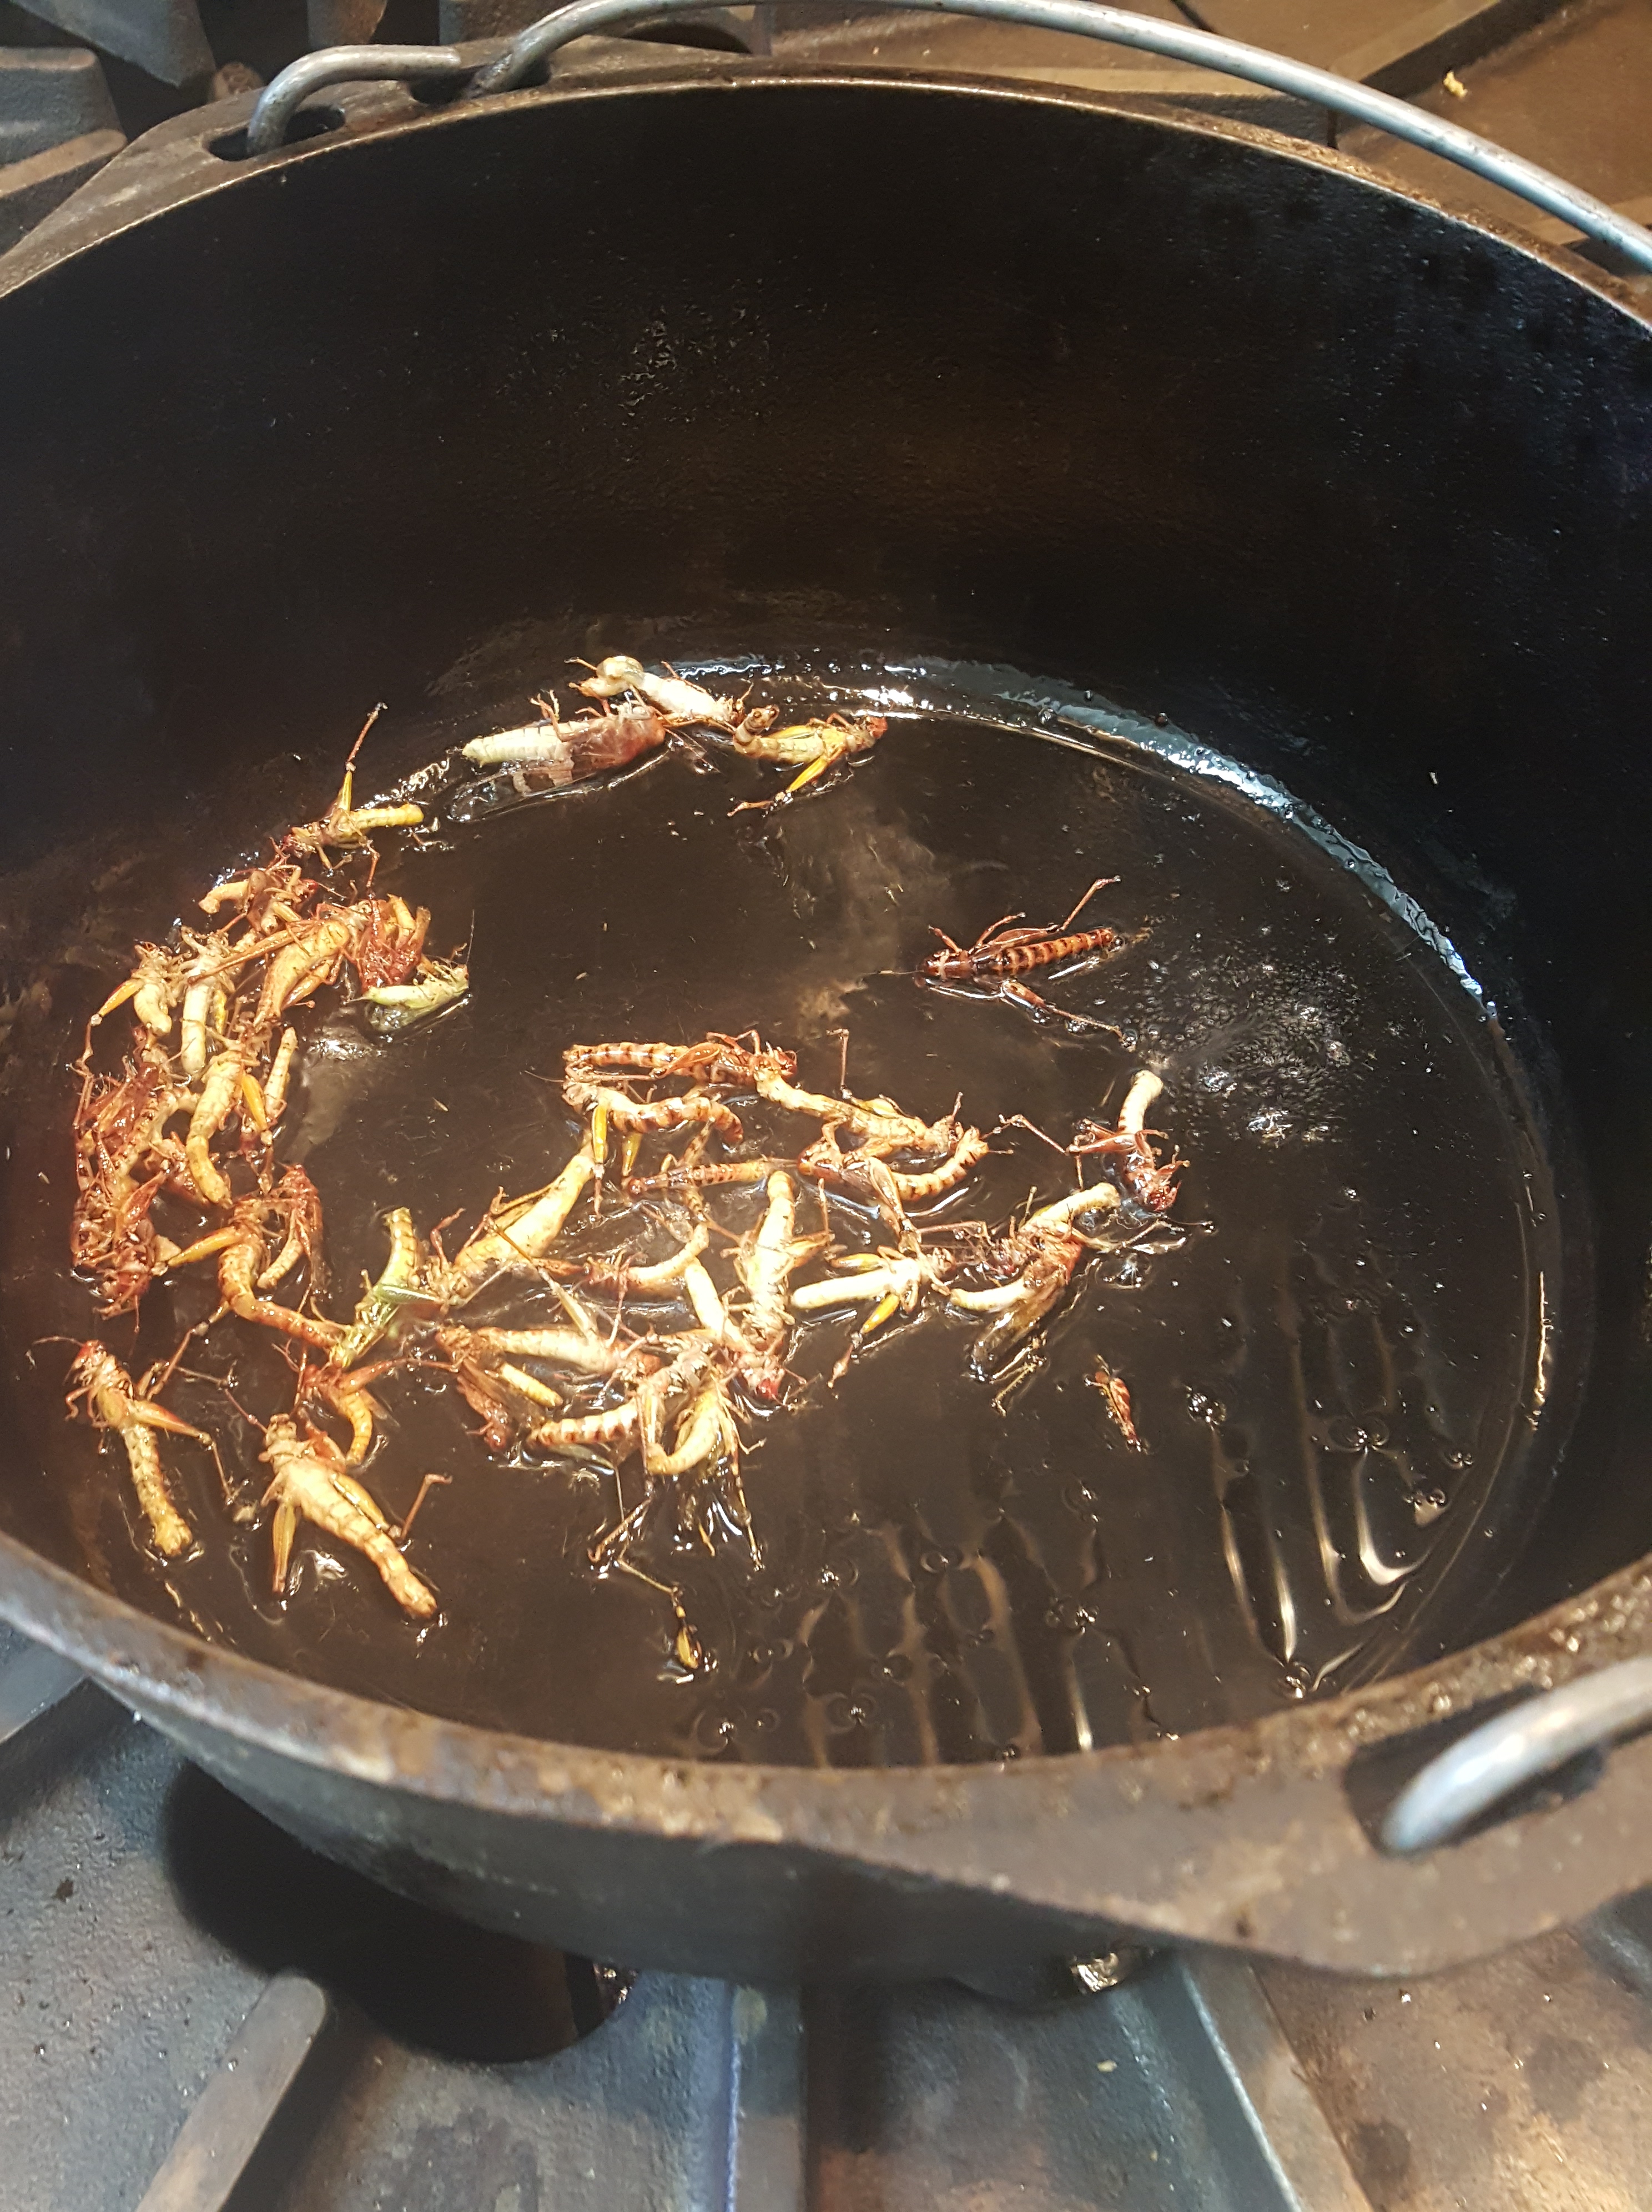
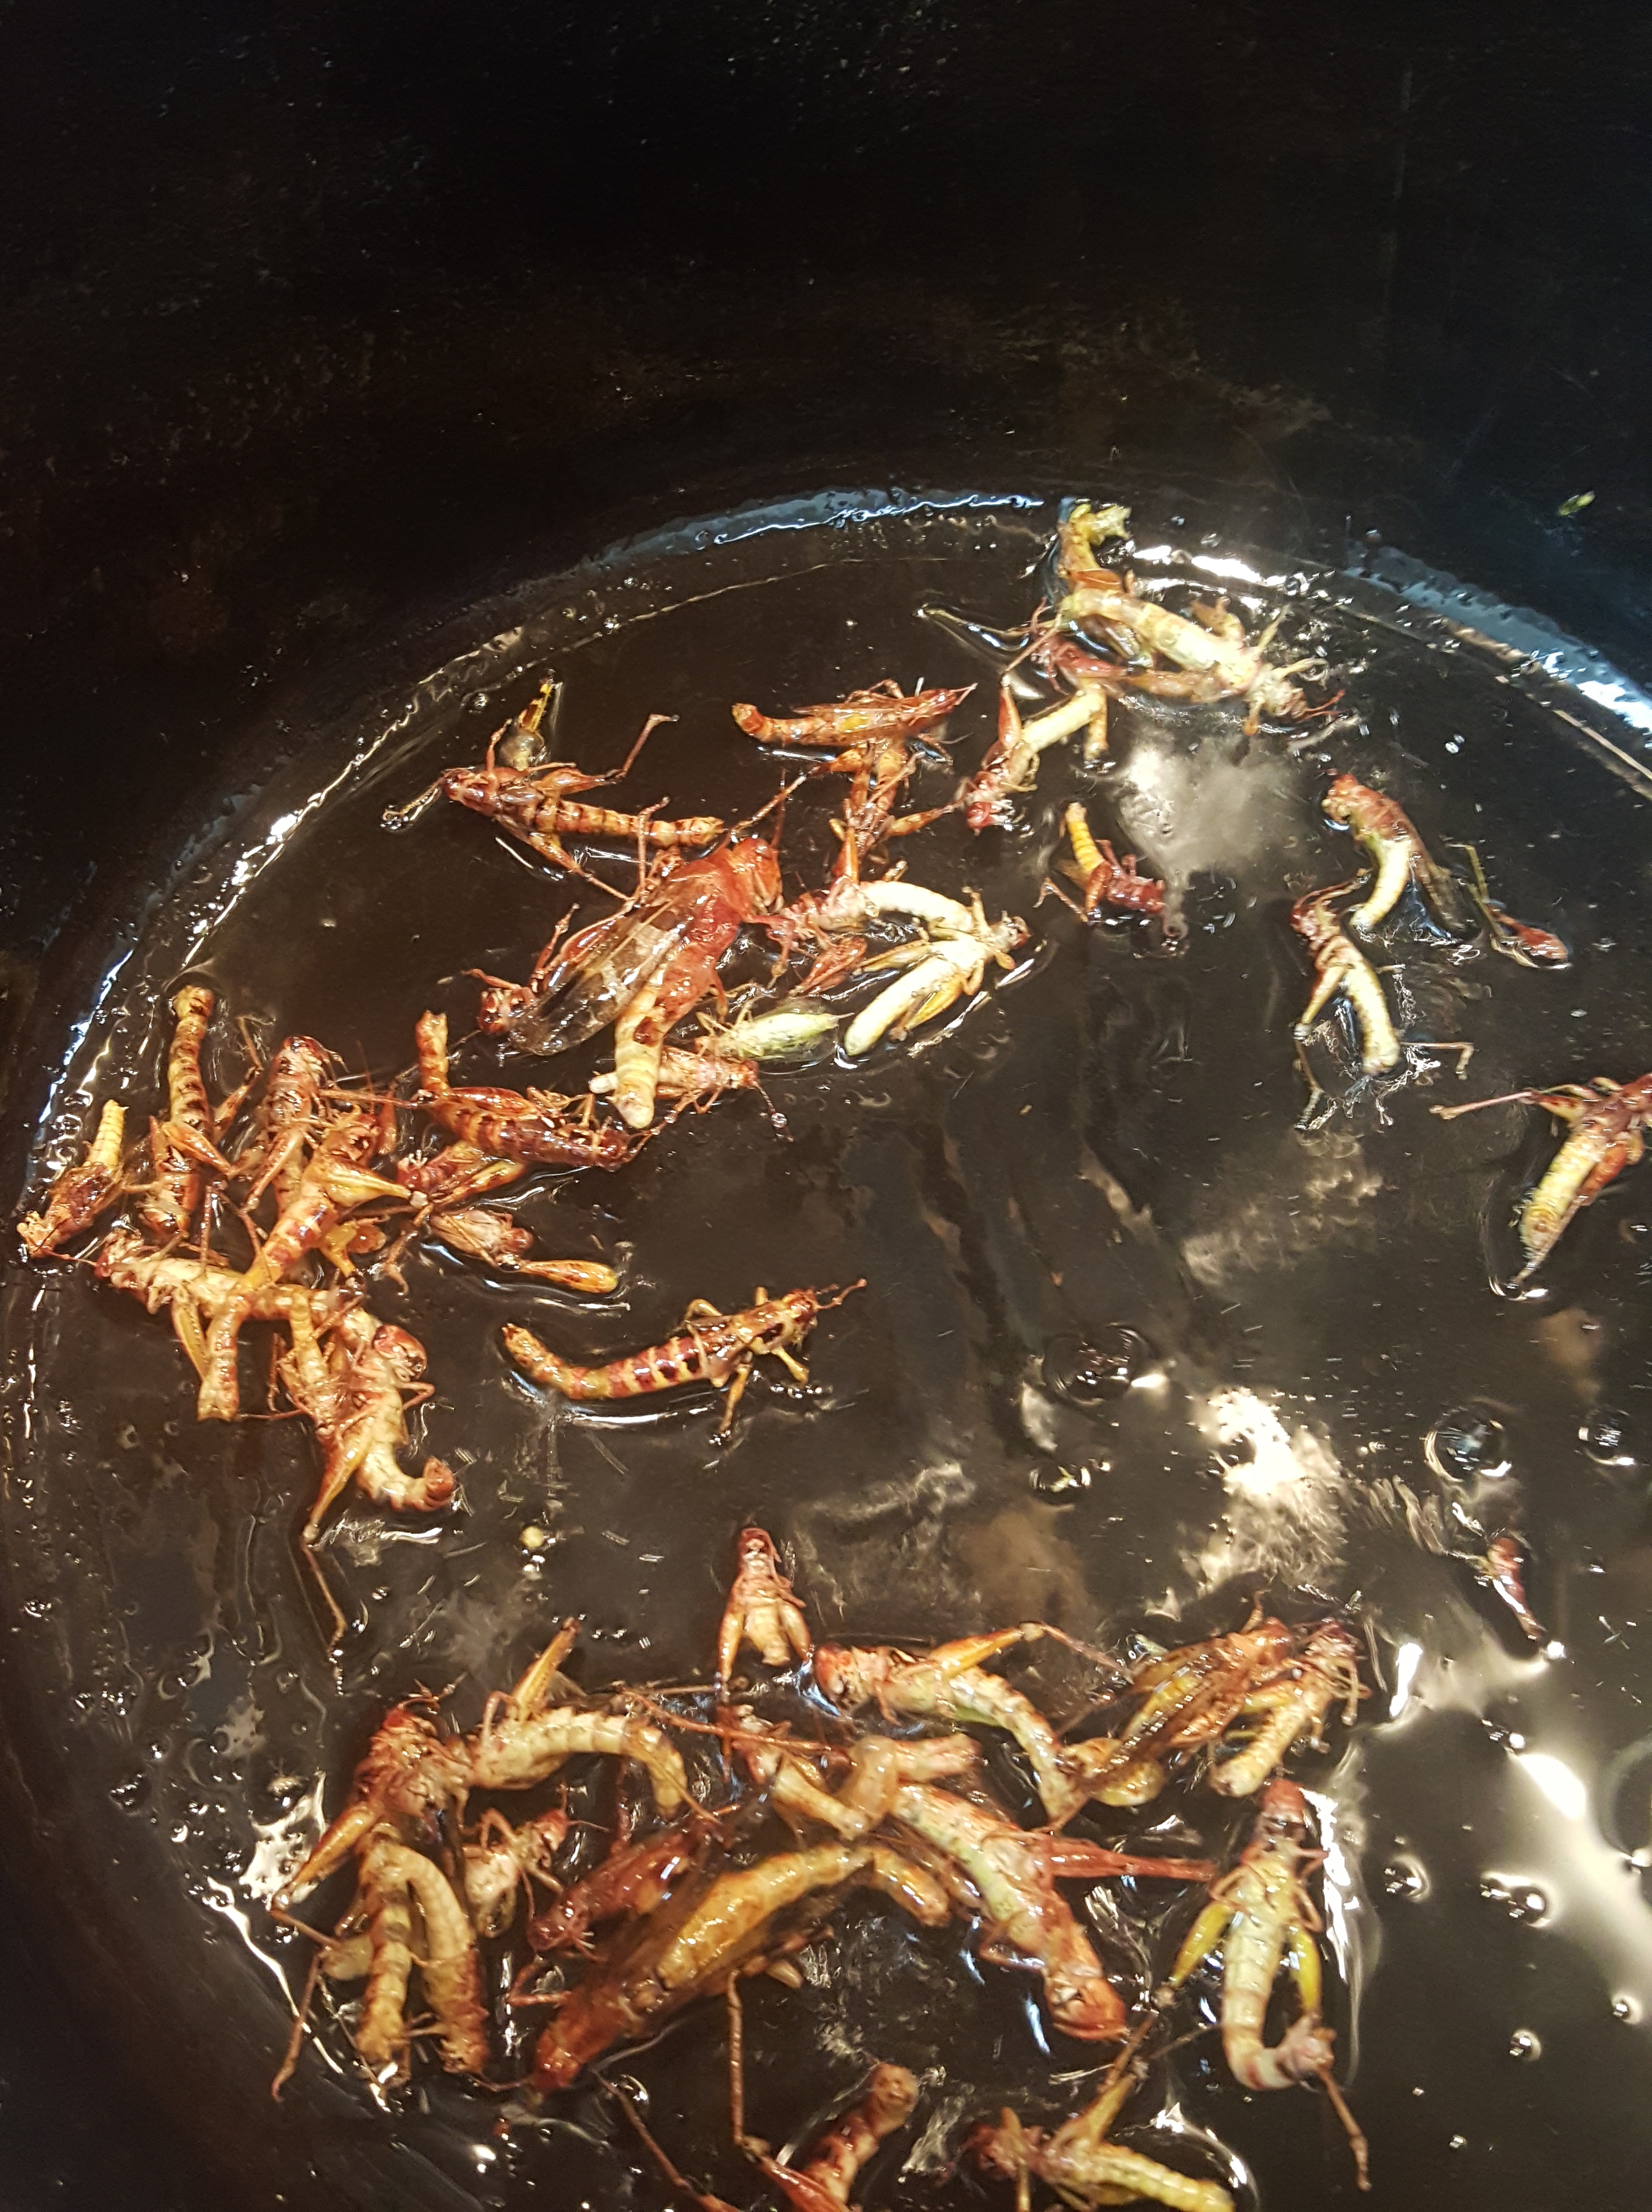
We melted a little duck fat a cast iron pan and fried the chapulines.

20160924_093938

This is when they turned from animals to food, and the only moment in the process that made me a little uncomfortable. We let them get really crispy.

20160924_093953

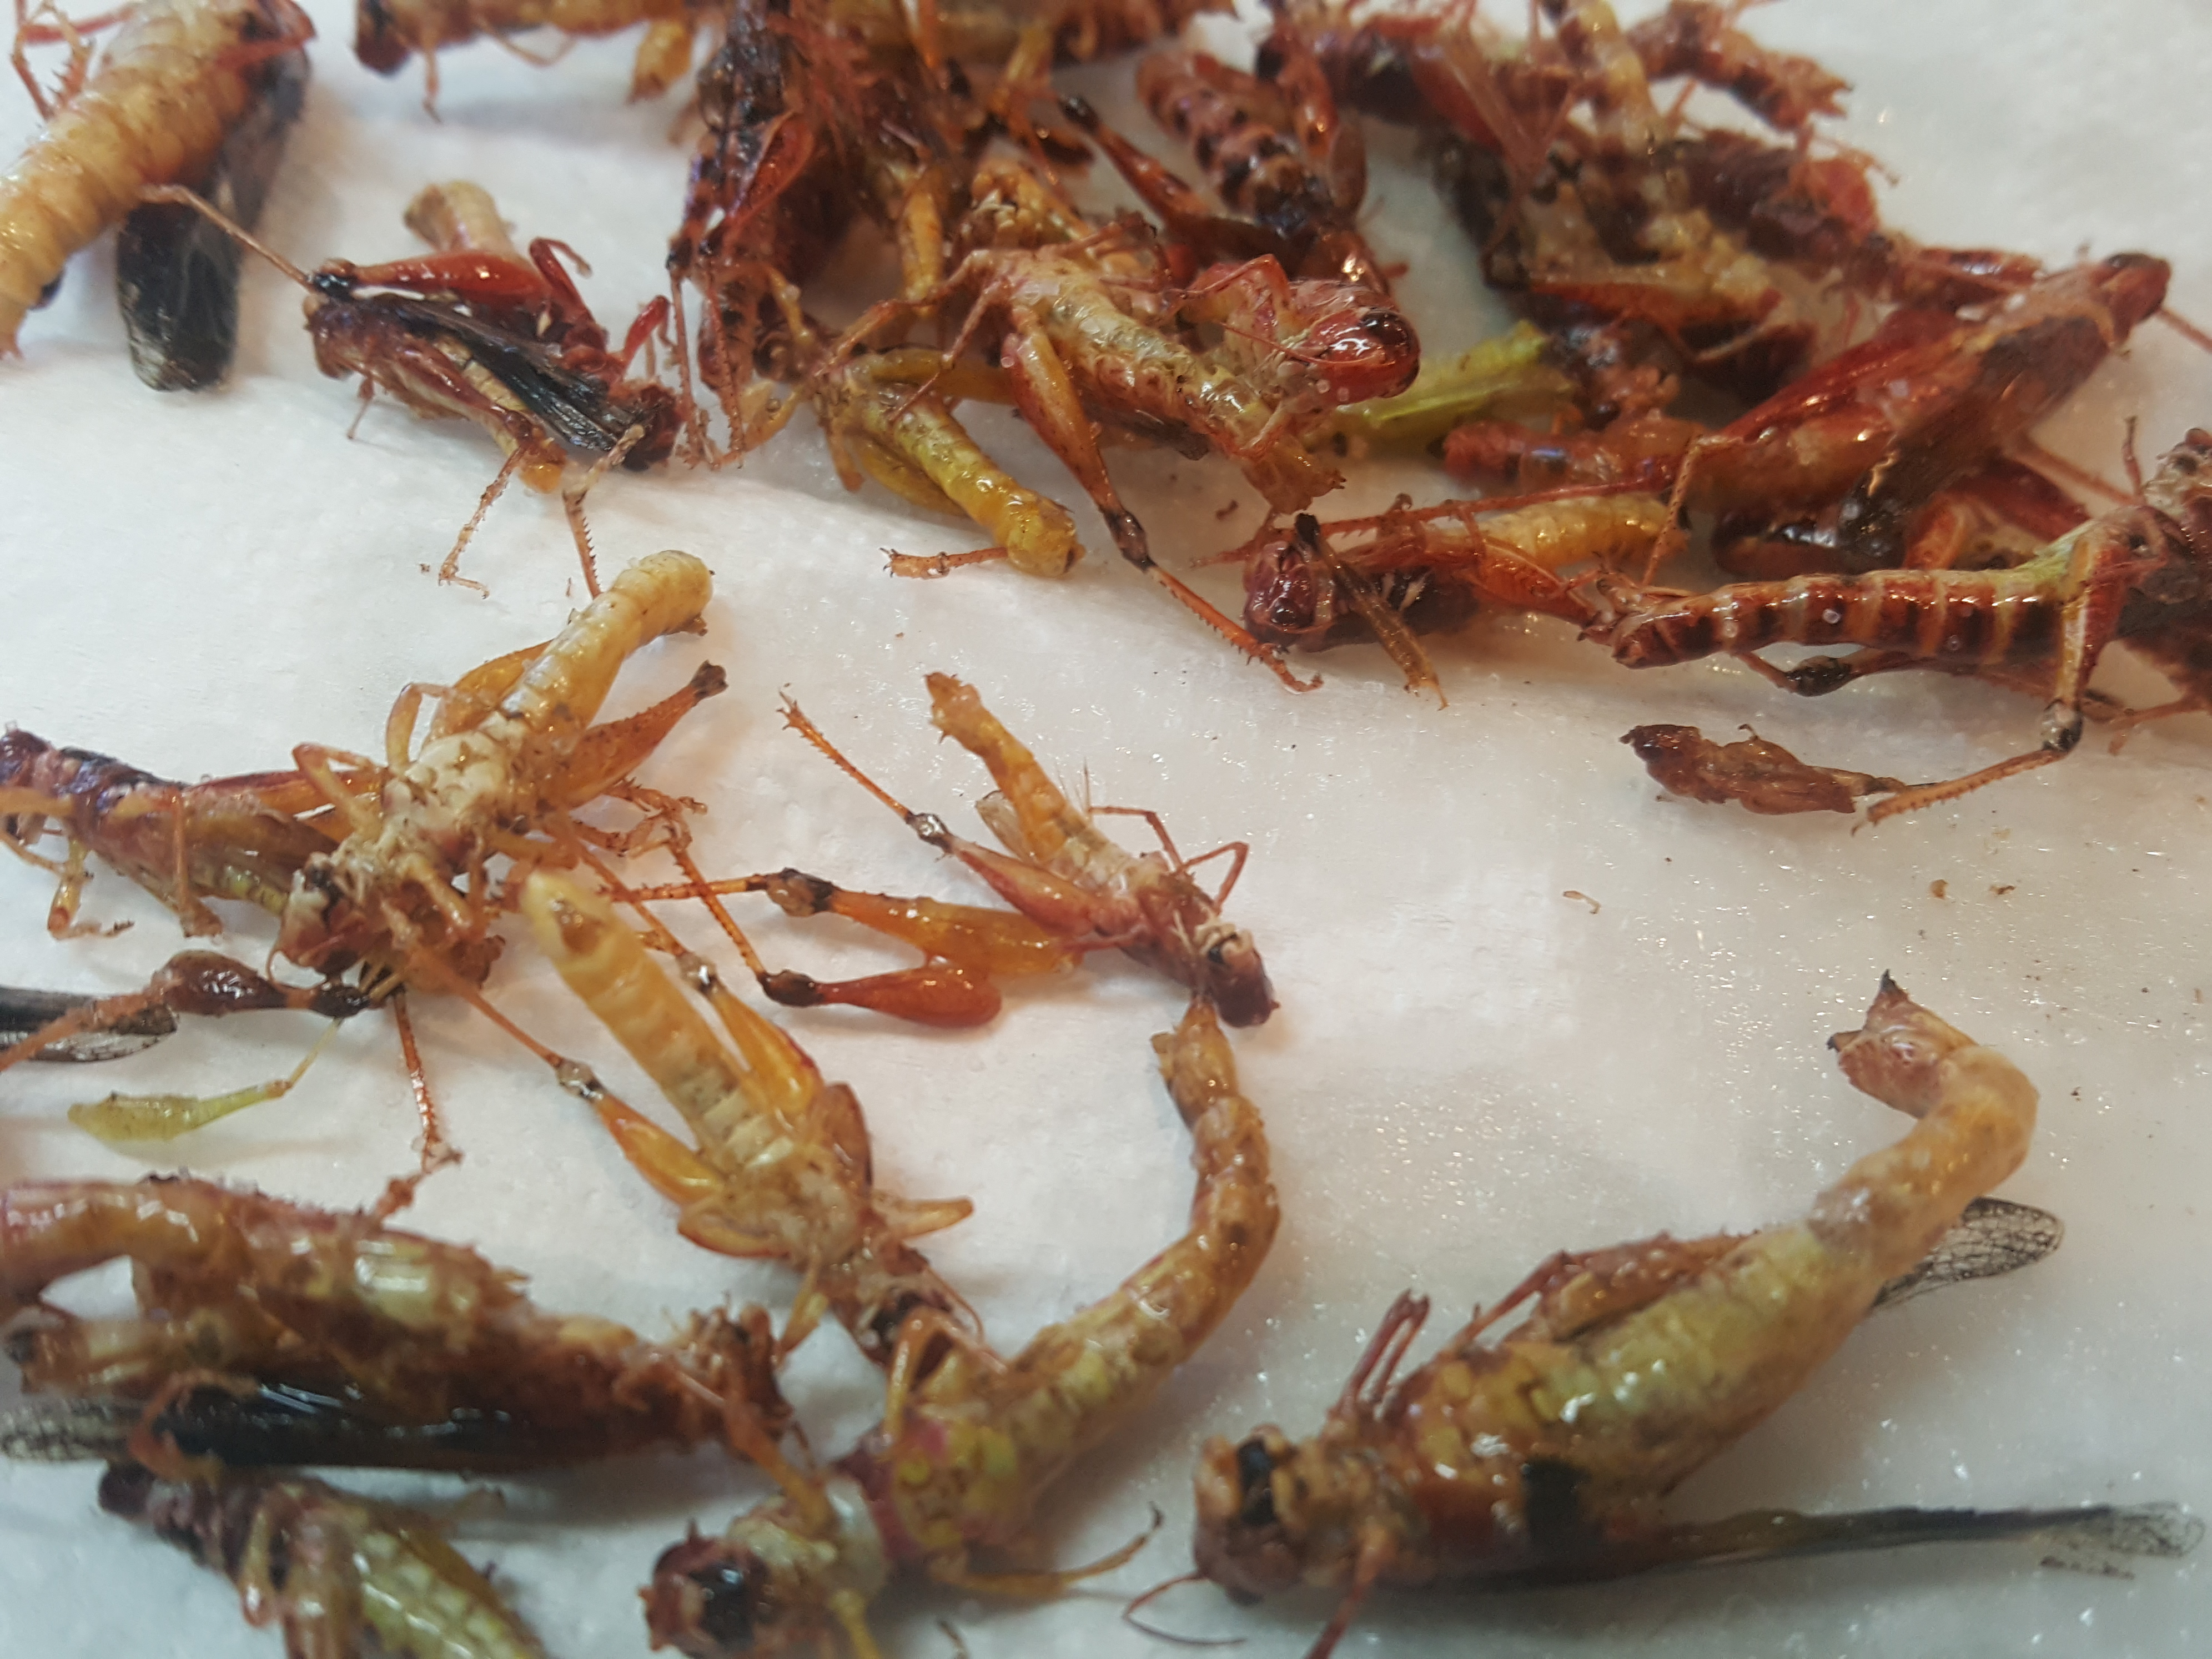
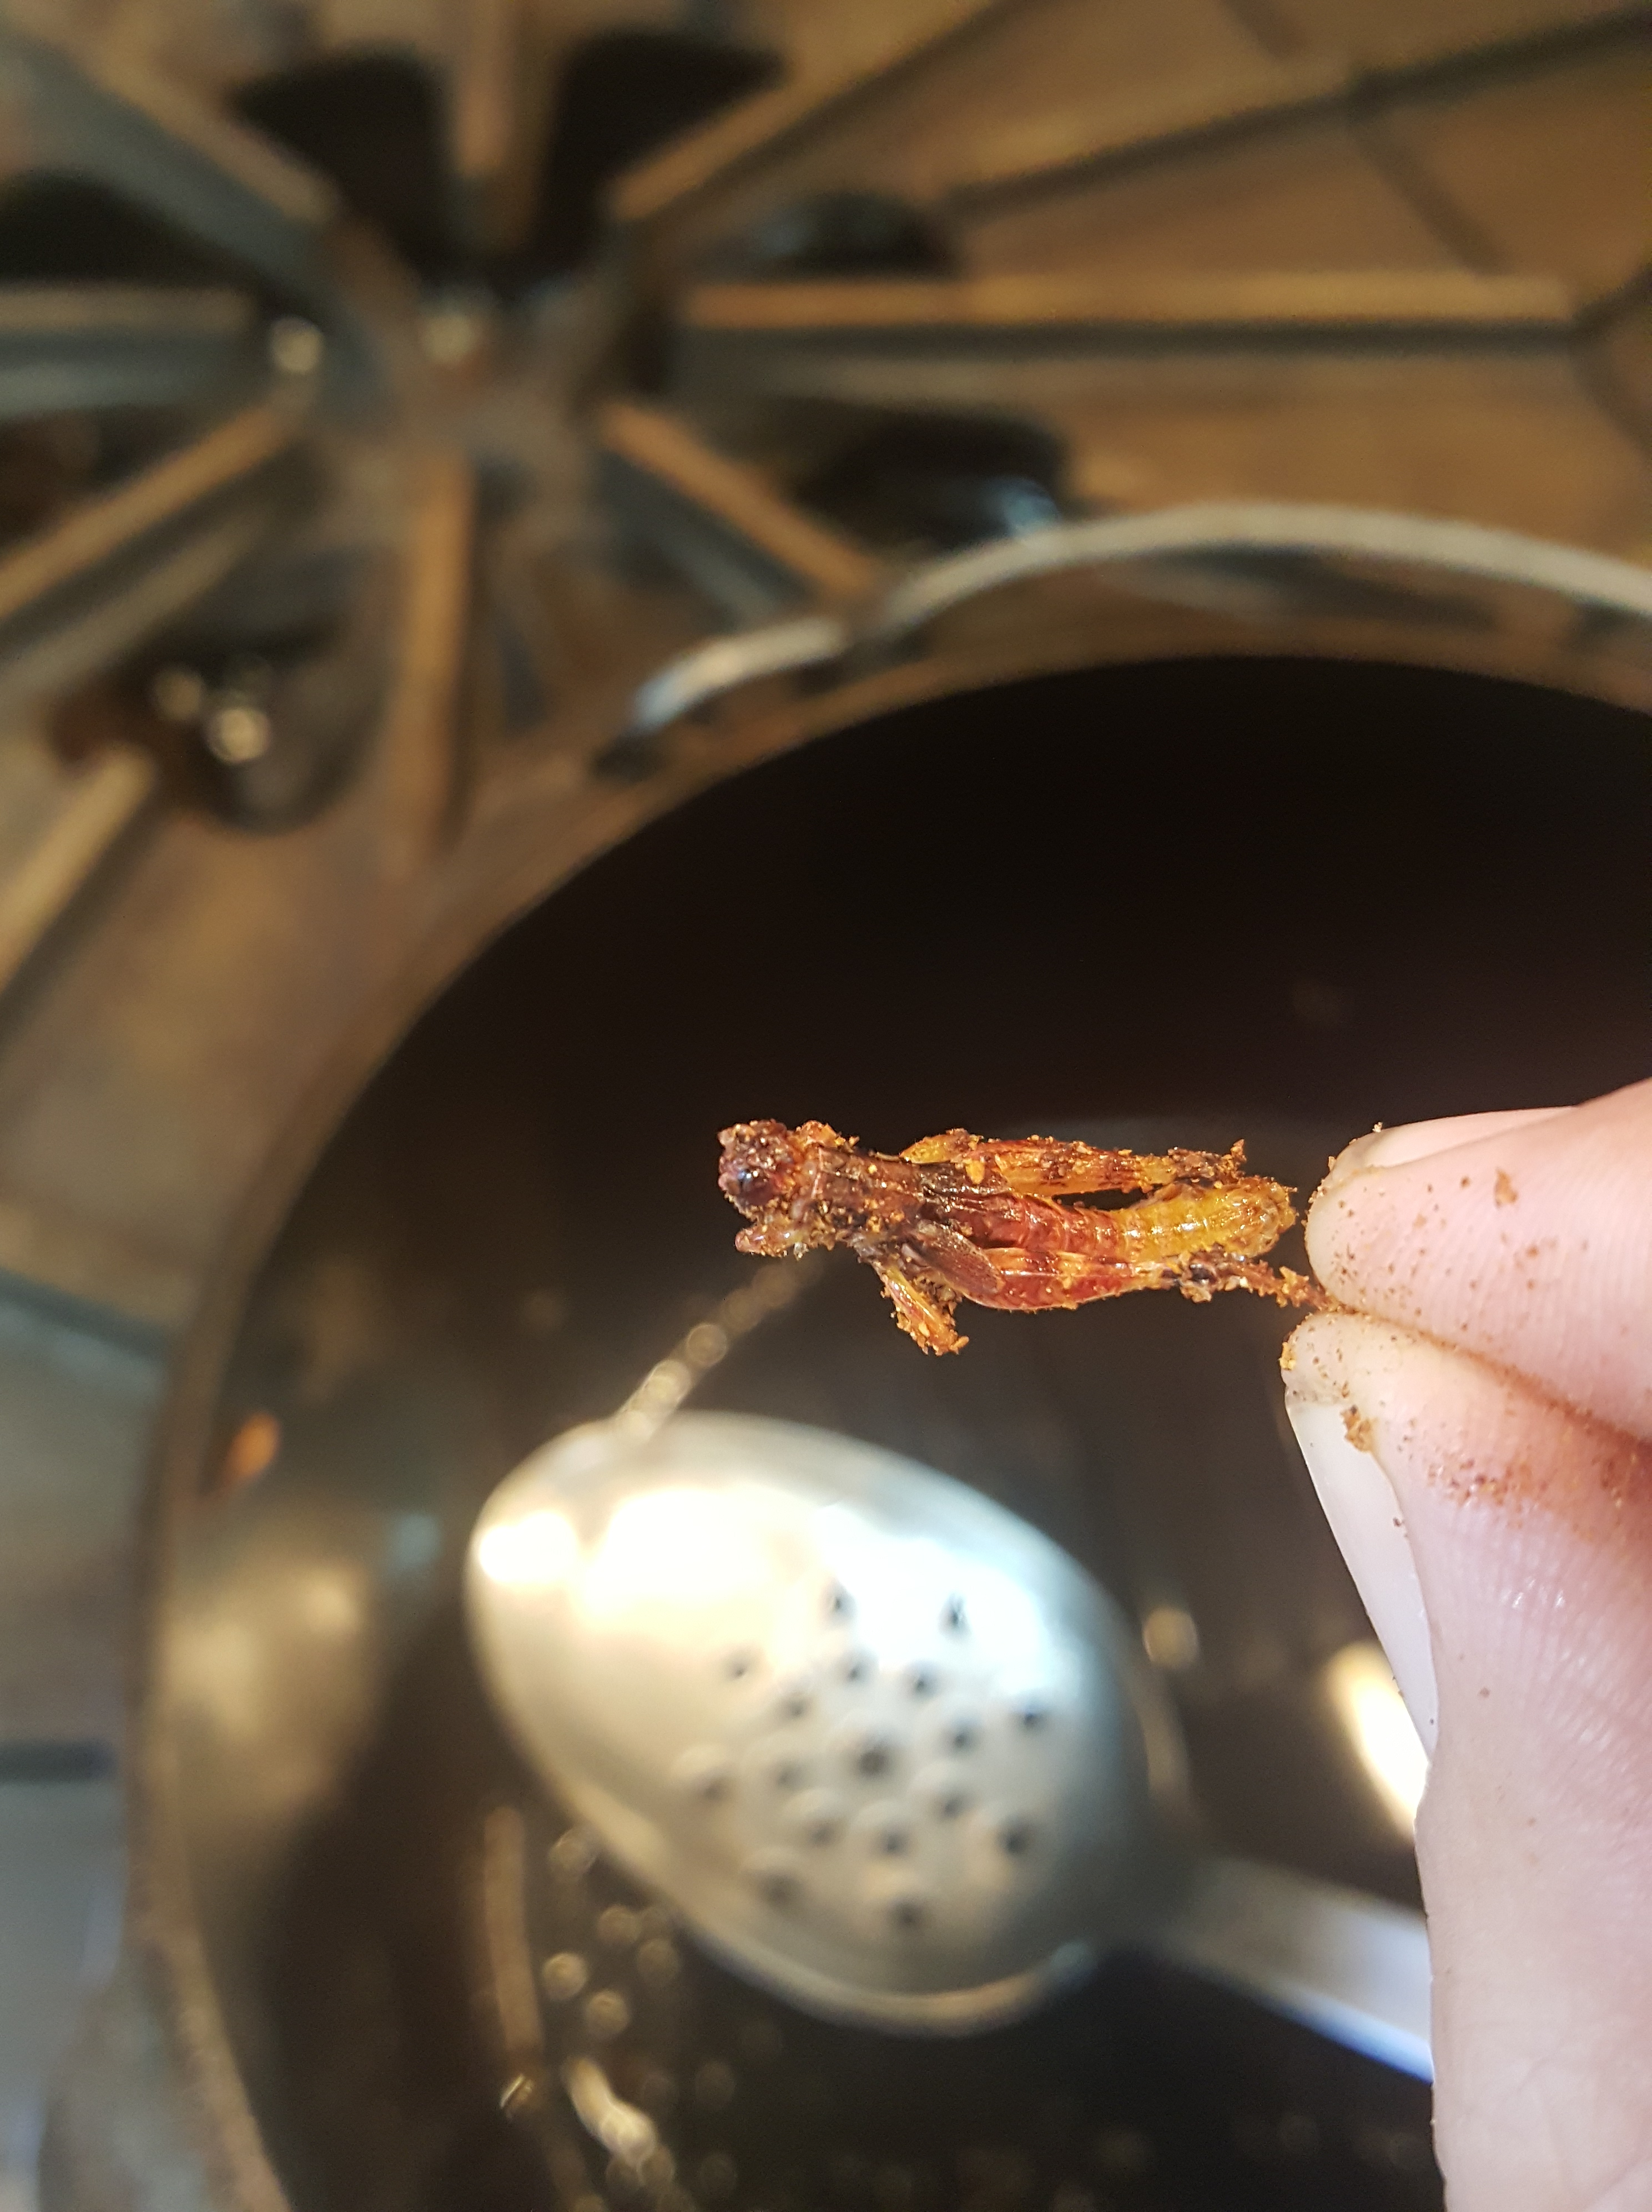
But after all that work, I needed to at least try them. Nicole knew from previous experience to eat the small ones whole, but remove the wings and legs from the larger ones.

20160924_094229

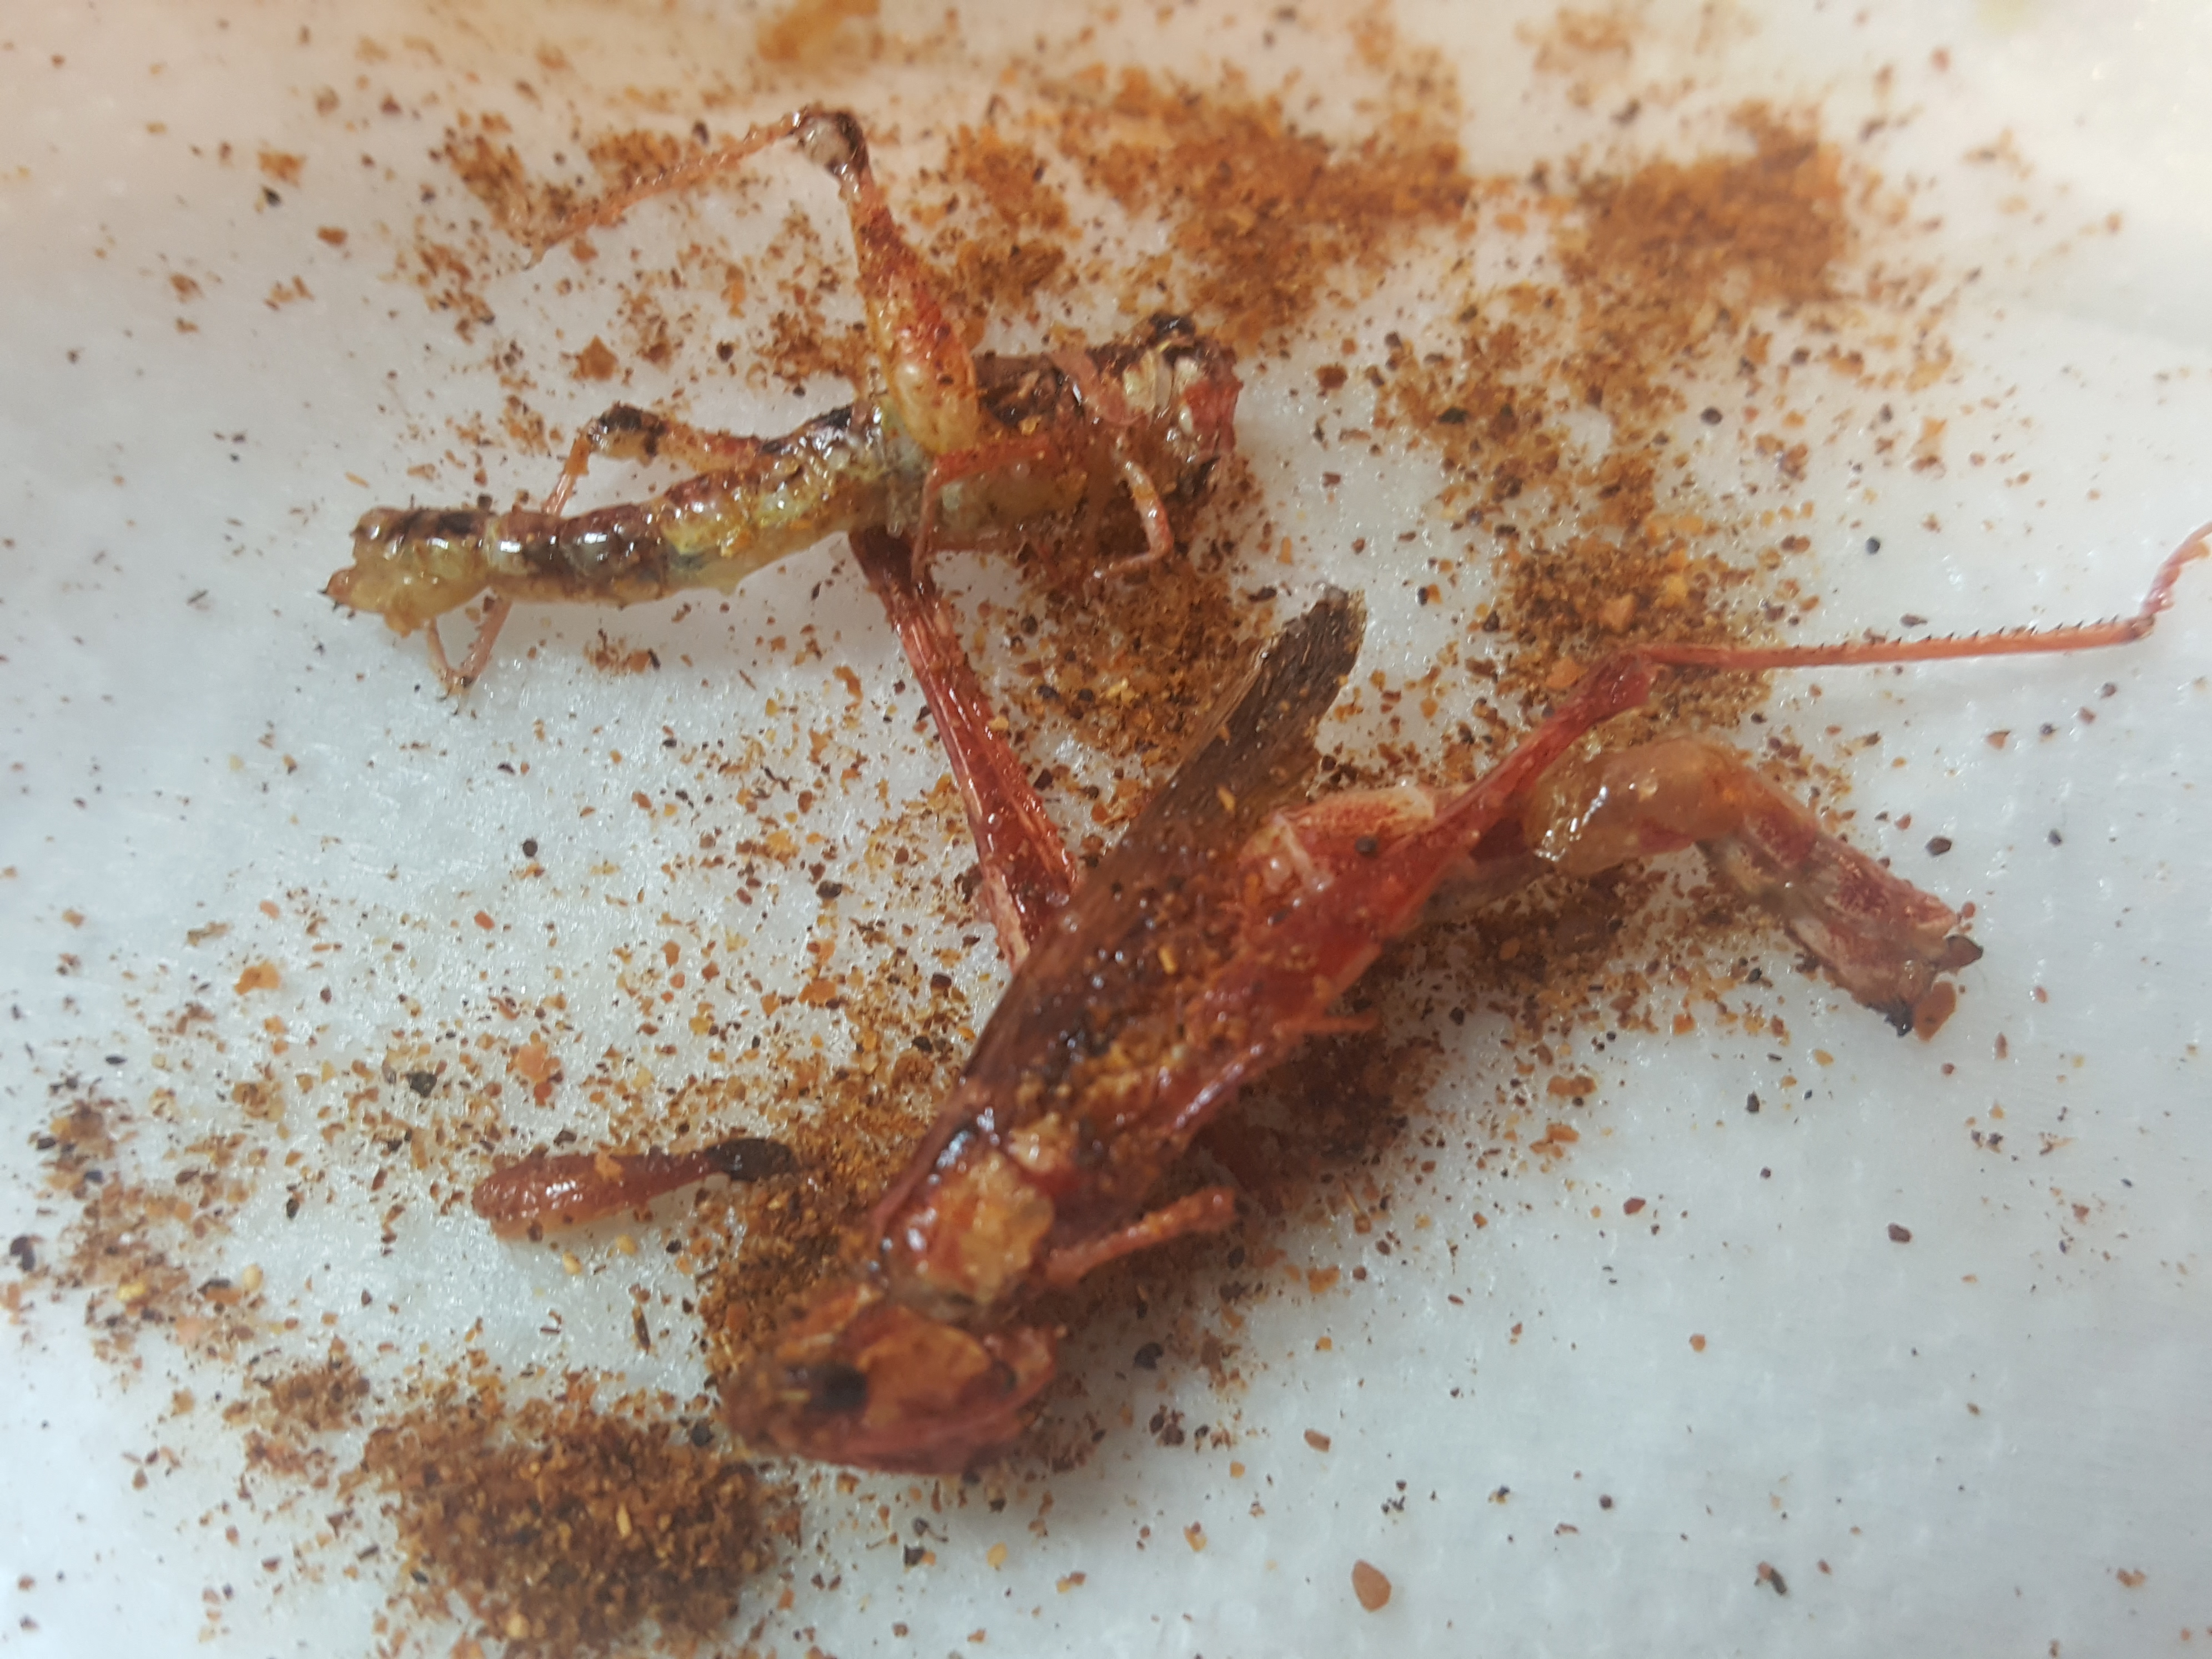
YUM!!!! Crispy fried meat. Then we dusted them with Mano Y Metate mole powder, of course.

20160924_094826

20160924_095149

Delicious, abundant, local, free. We’ll do that again!

Our Living Giving Heirloom Pomegranate

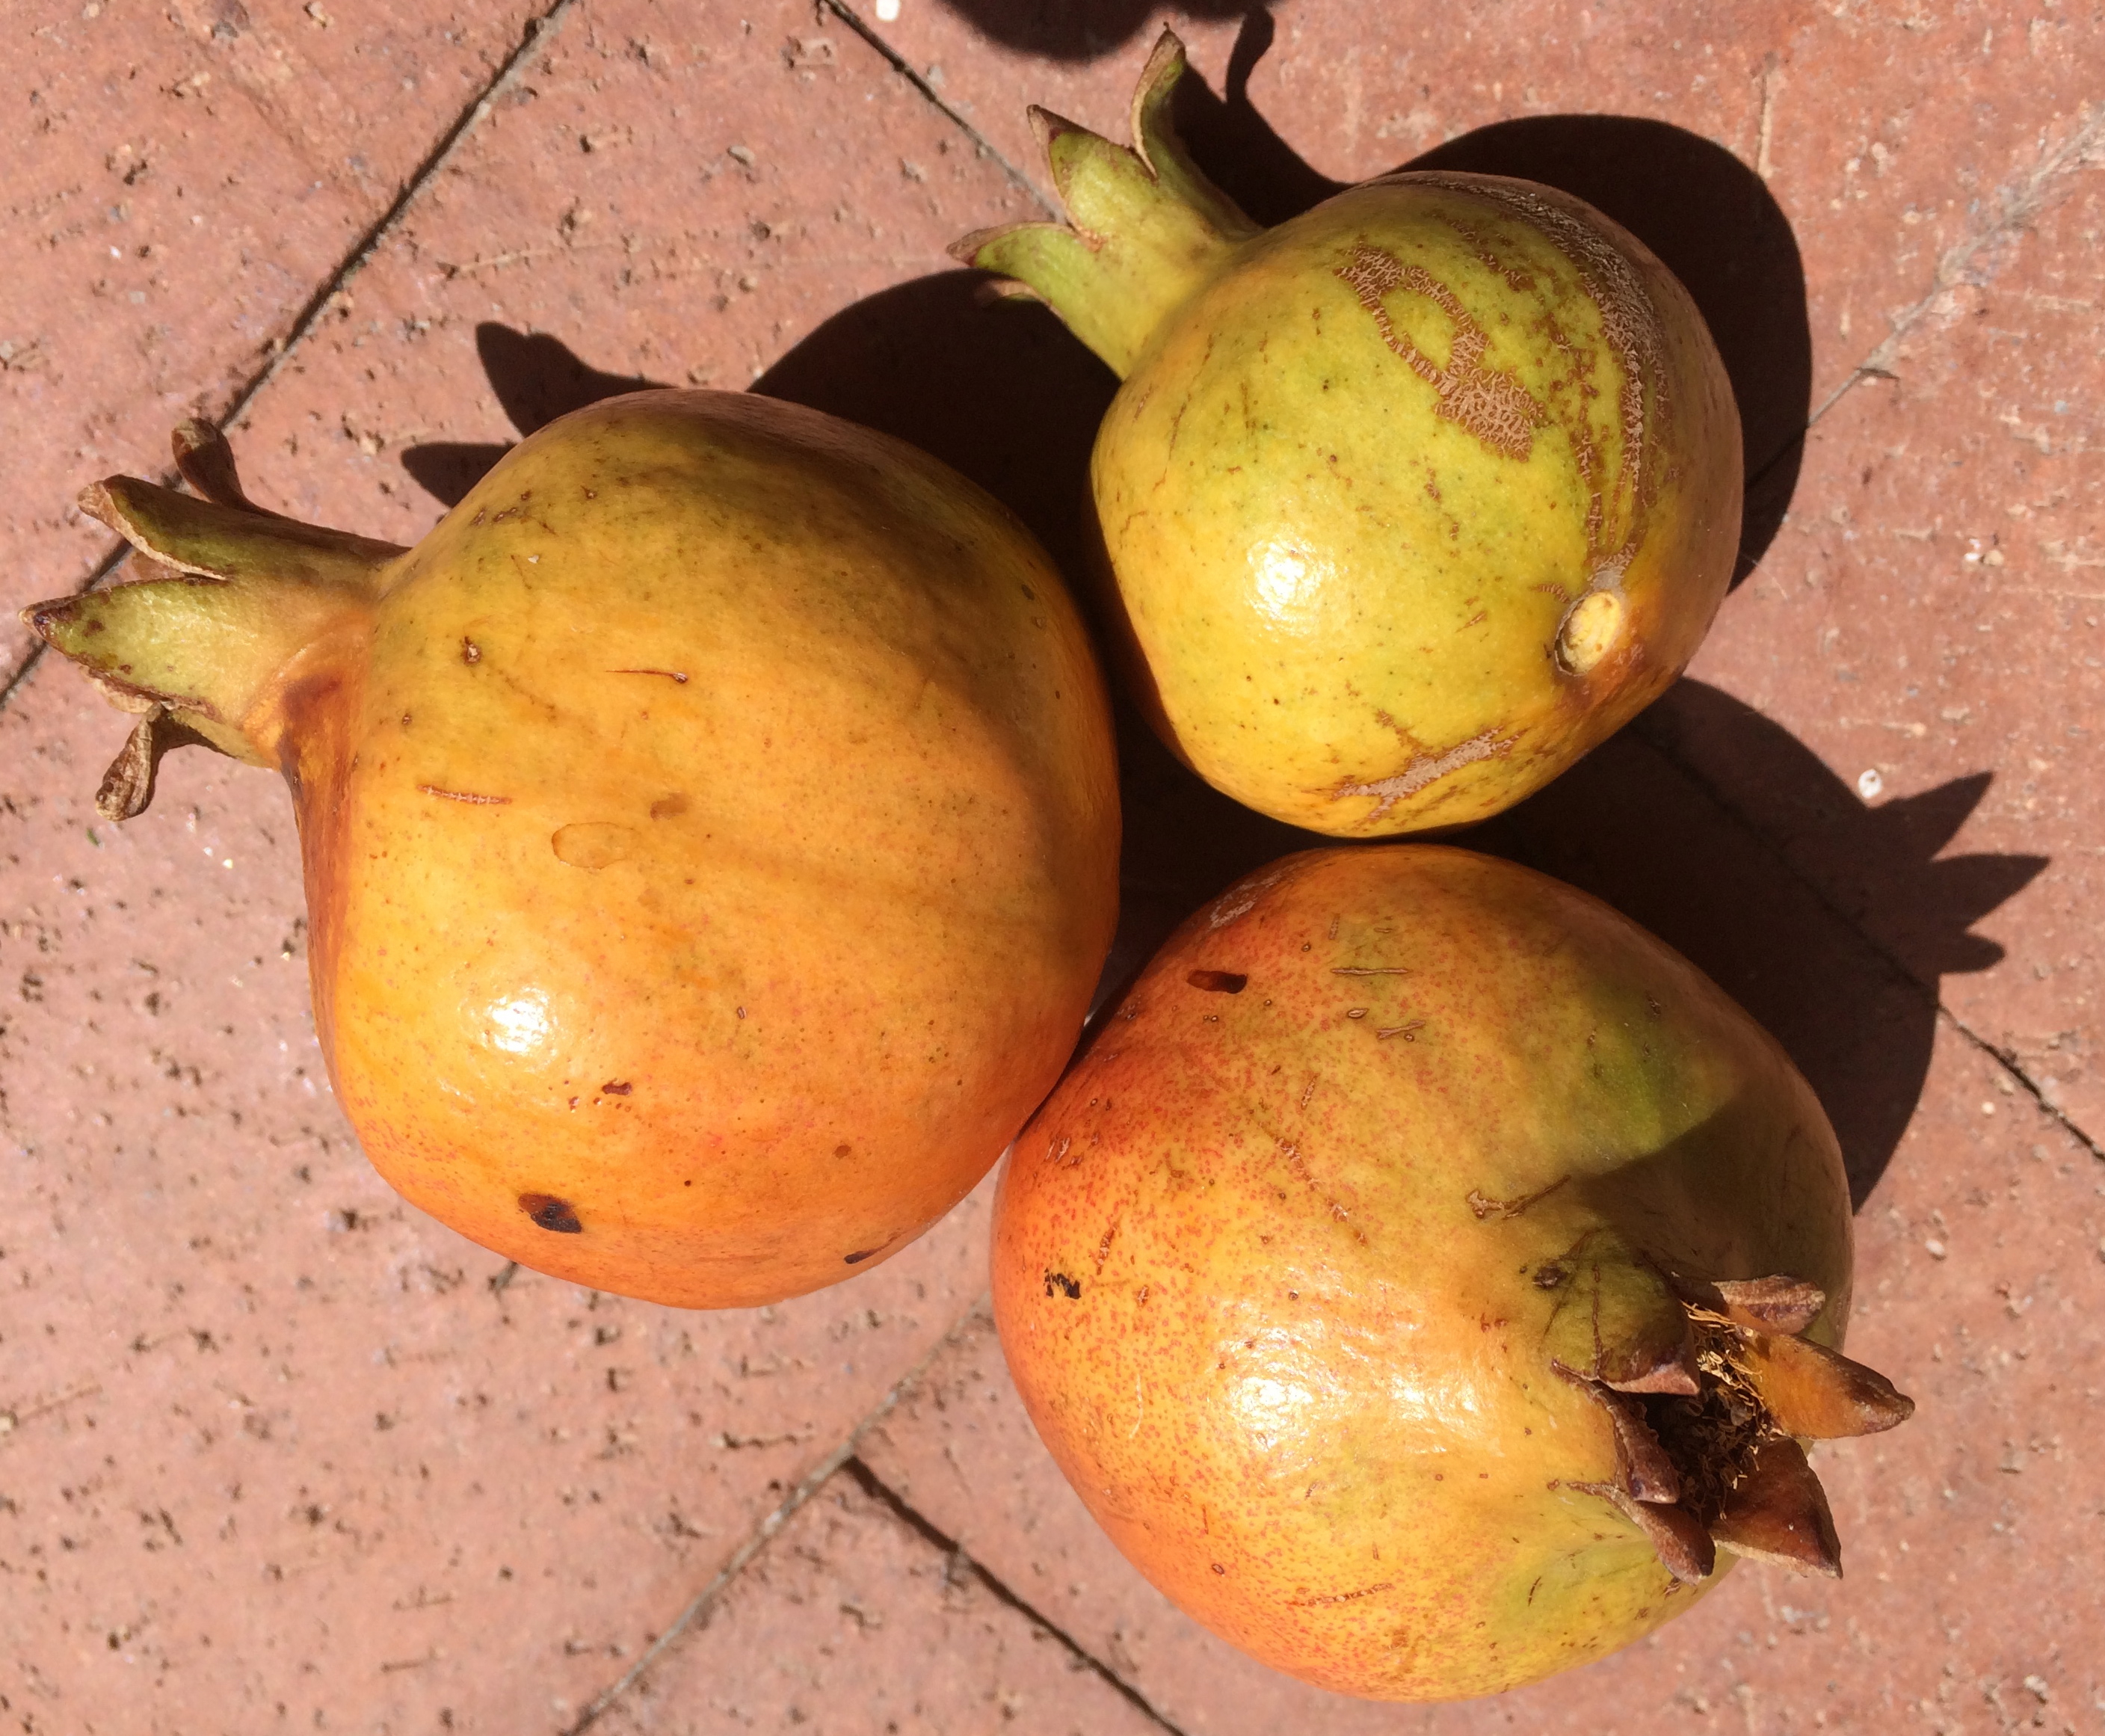
Brought by the Padres to Baja Arizona during the Mission Period, this desert-adapted Sonoran White Pomegranate can continue to feed us visually, nutritionally, esthetically (photo MABurgess)

Brought by the Padres to Baja Arizona during the Mission Period over 350 years ago, this desert-adapted Sonoran White Pomegranate can continue to feed us visually, nutritionally, sustainably  (photo MABurgess)

It is thought that the so-called “apple,” the fruit of knowledge of good and evil which Eve shared with Adam in the Garden of Eden, was actually a pomegranate.   Now, thankfully, since Eden, we are all “fallen” and can enjoy pomegranates with no guilt!   Tia Marta here, inspired deeply by the recent article in Edible Baja Arizona by Dena Cowan about the comeback of heirloom Sonora White Pomegranate being celebrated at Tucson’s Mission Garden.  (This is a must-read:  http://ediblebajaarizona.com/sonoran-white-pomegranate .)

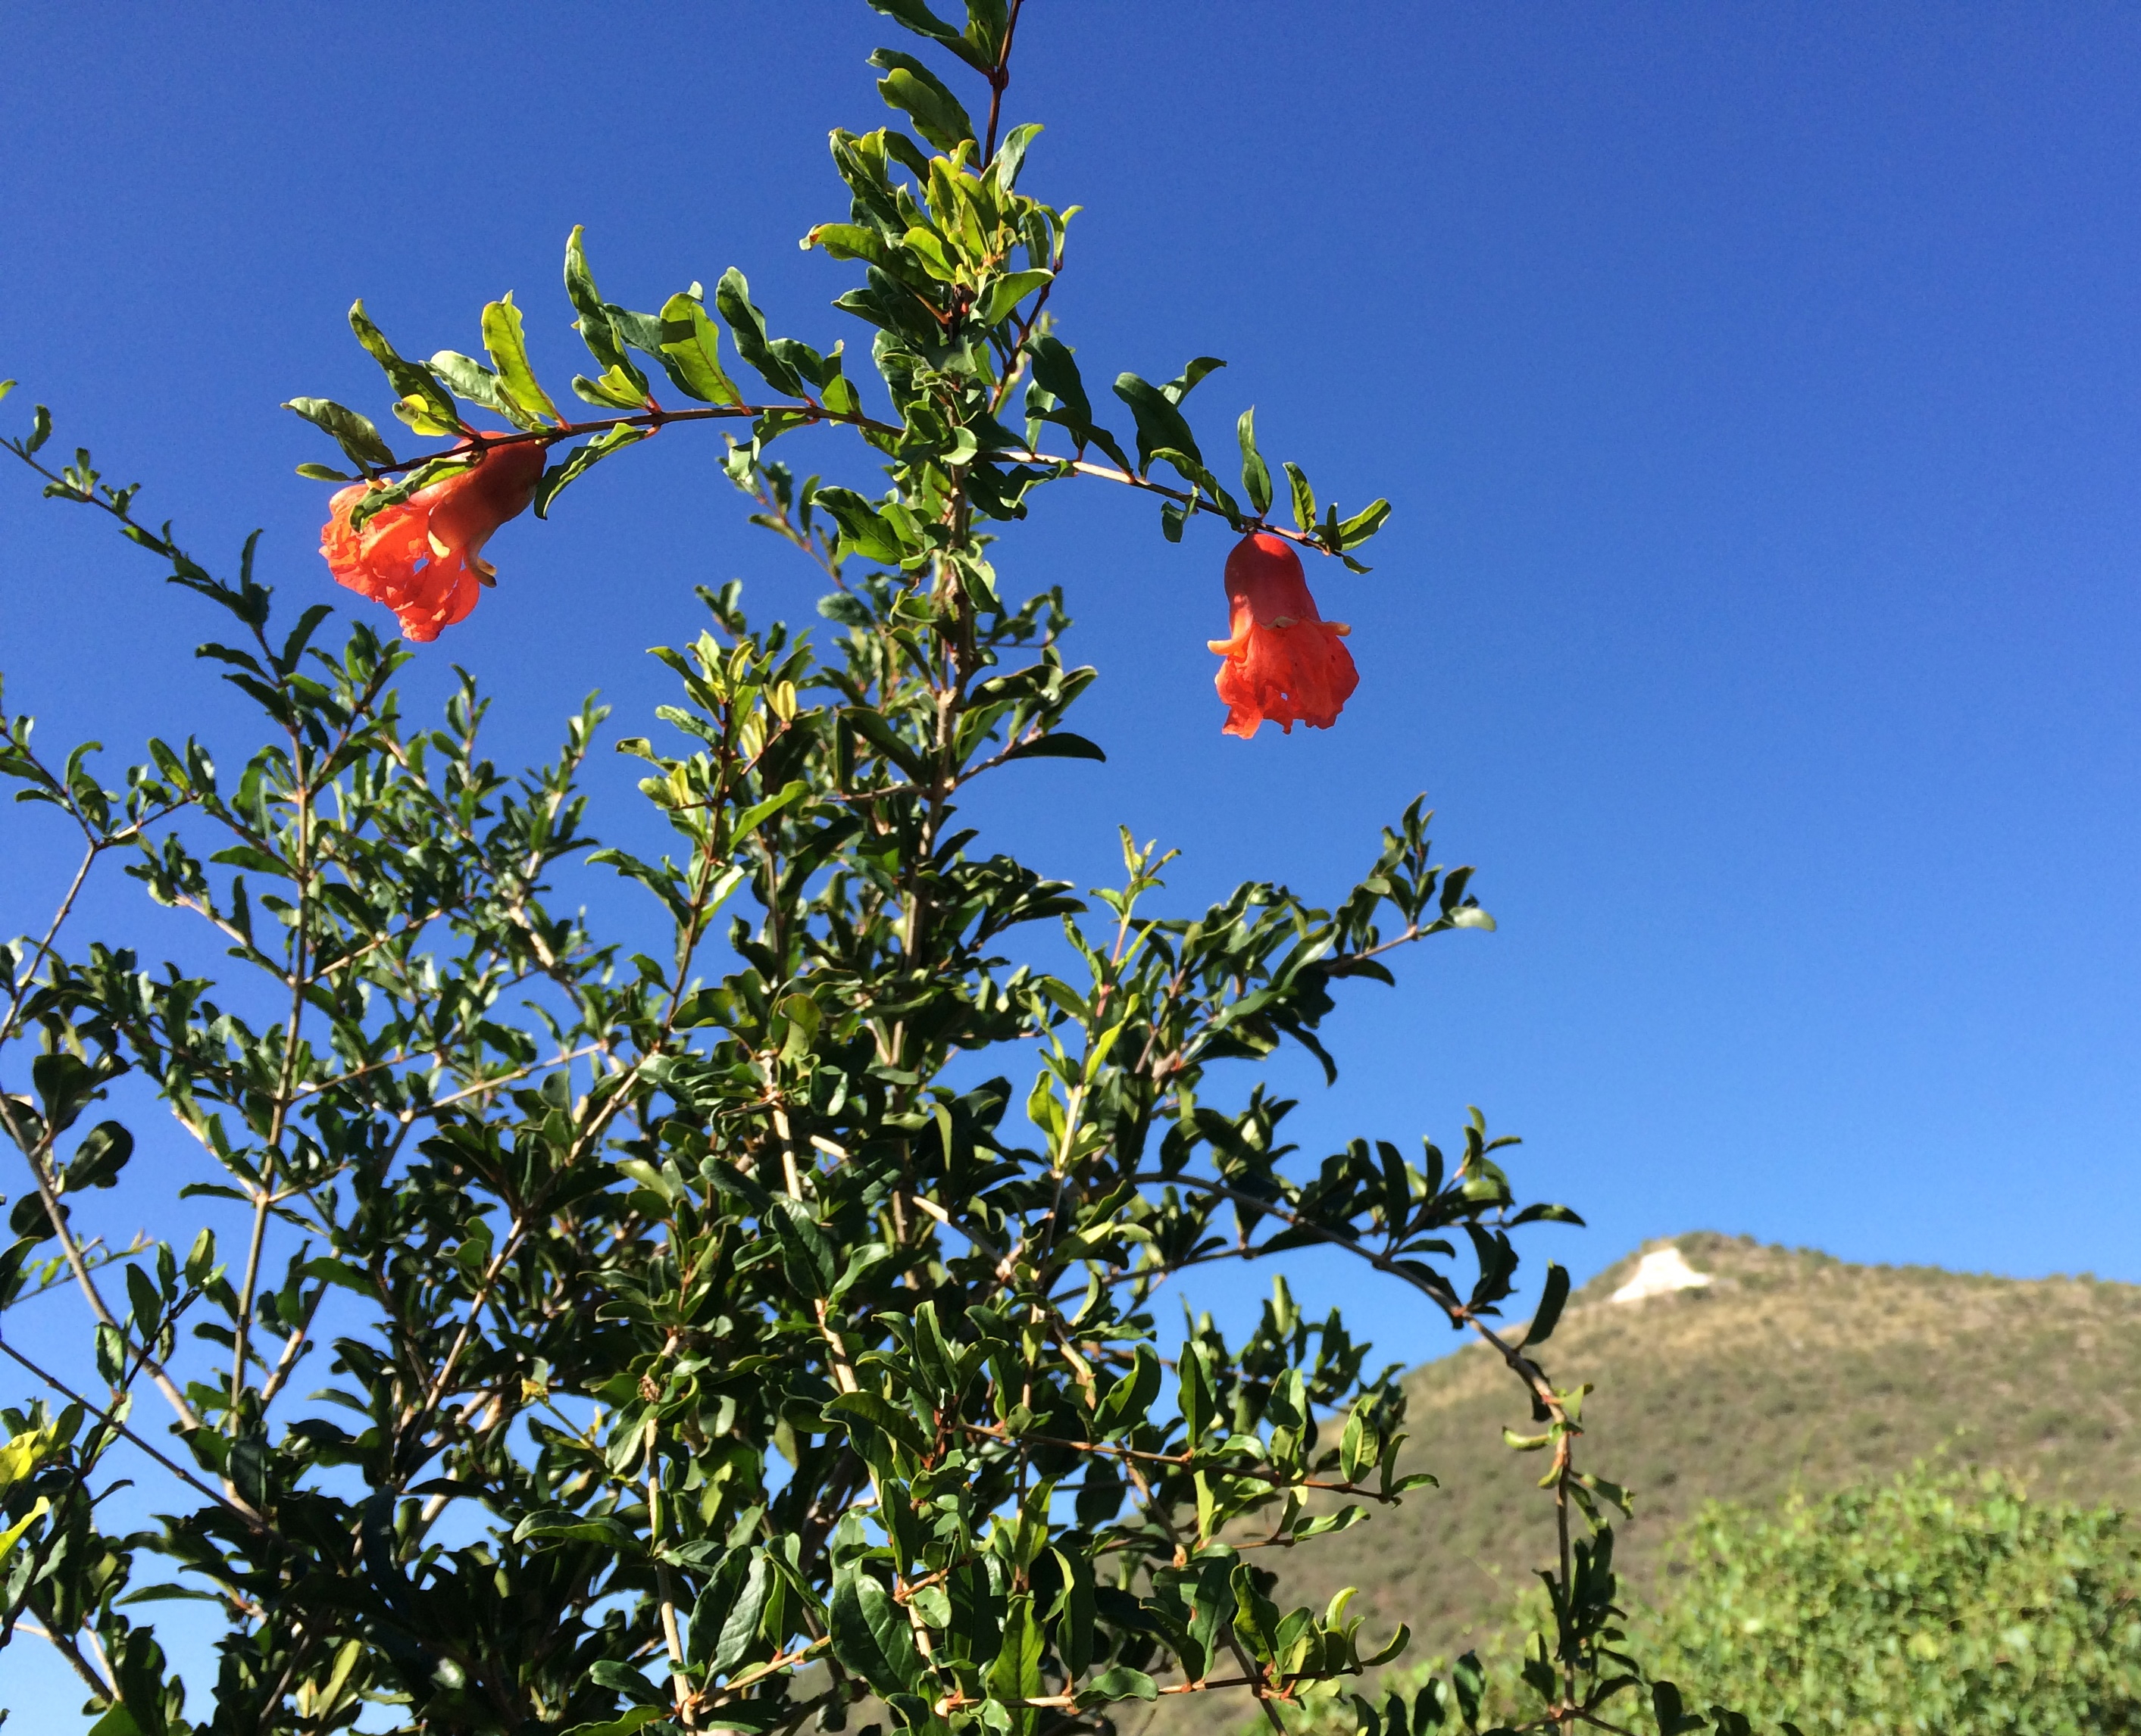
Heirloom Sonora white pomegranate blooms and fruits all summer at Tucson' Mission Garden (photoMABurgess)

Heirloom Sonora white pomegranate blooms and fruits all summer at Tucson’ Mission Garden at the base of   “A”-Mountain (photoMABurgess)

One of the first joys of pomegranates is esthetic, making pomegranate (particularly our local heirloom Sonoran White) a primo candidate for edible landscaping.  Its rich green foliage is cooling to eyes and spirit.  Its glorious, shiny red flowers decorate the trees all summer, followed by sensuous round beige fruits that become rosy as they ripen like Christmas ornaments hanging on the tree.

Sensational flower of Sonoran White Pomegranate--an extra bonus for edible landscapers (MABurgess photo)

Sensational flower of Sonoran White Pomegranate–an extra bonus for edible landscapers .  (Check out the shape of pomegranate flowers to see the design influence in Spanish silver work which in turn inspired Dine/Navajo  “squash blossom” jewelry.) (MABurgess photo)

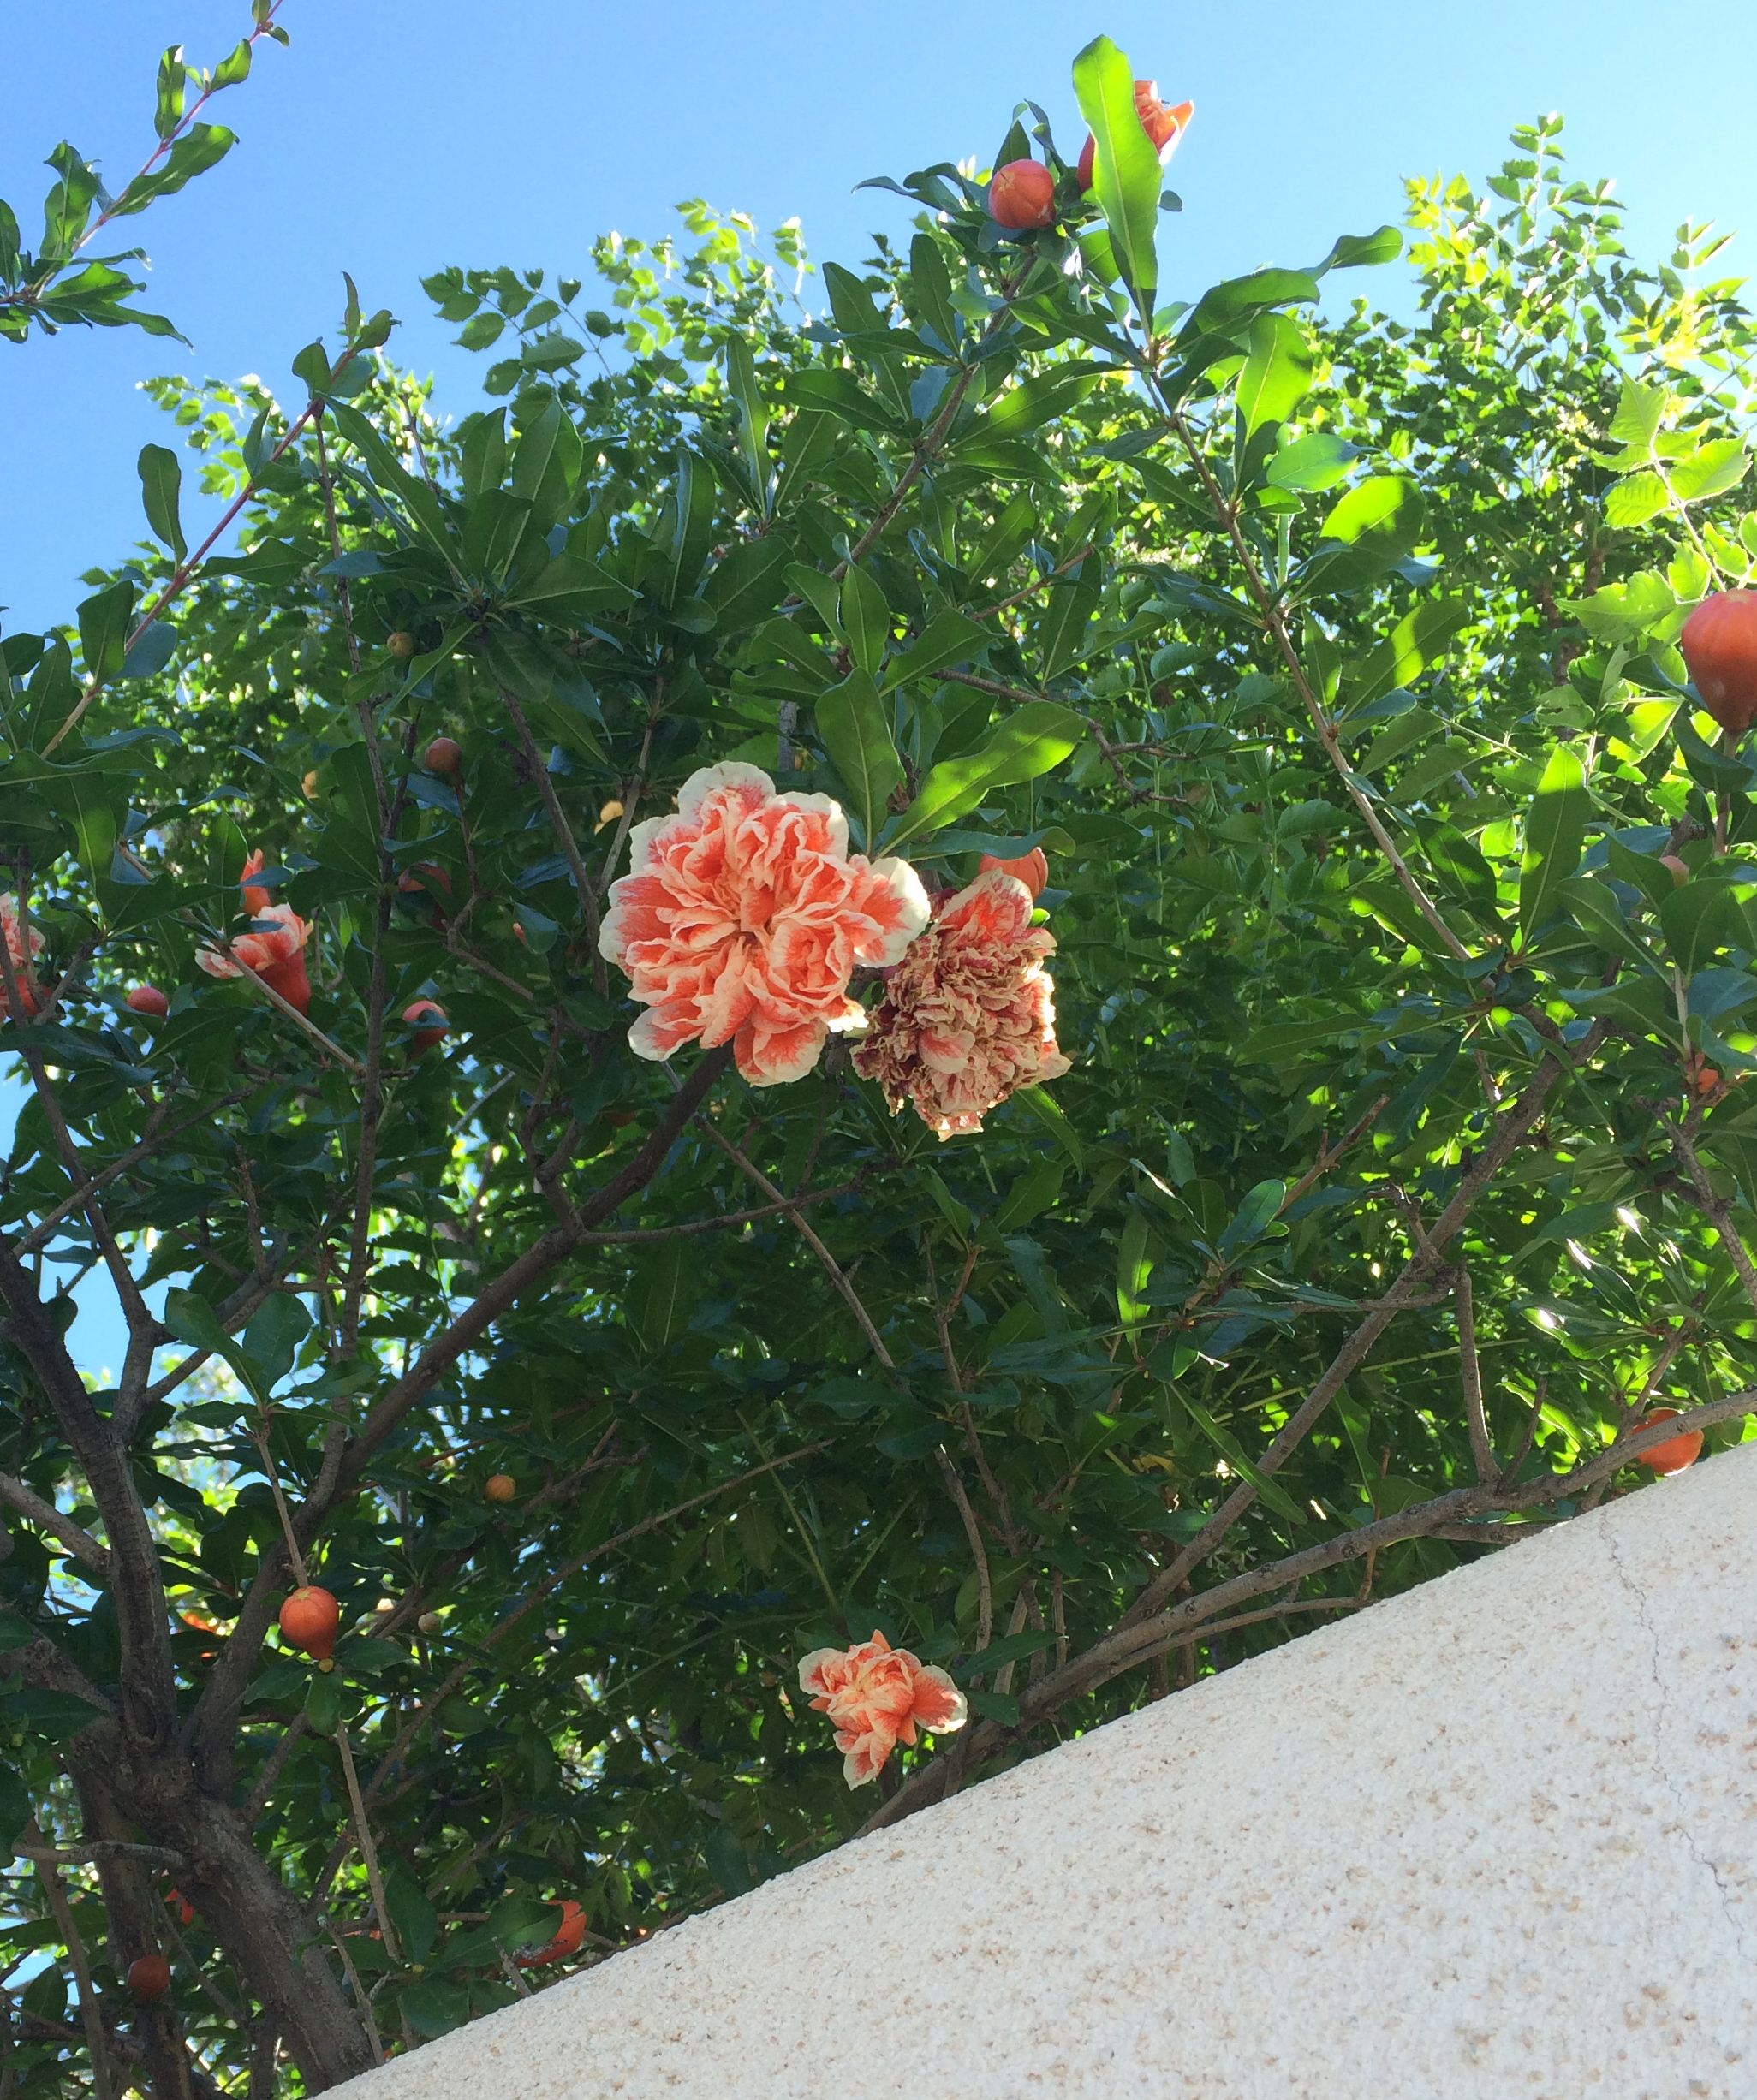
Peeking over the wall of Cordoba House in Tucson's historic neighborhood is a double flowered pomegranate (MABurgess photo)

Peeking over the wall of Cordoba House in Tucson’s historic Presidio Neighborhood is a double flowered pomegranate (MABurgess photo)

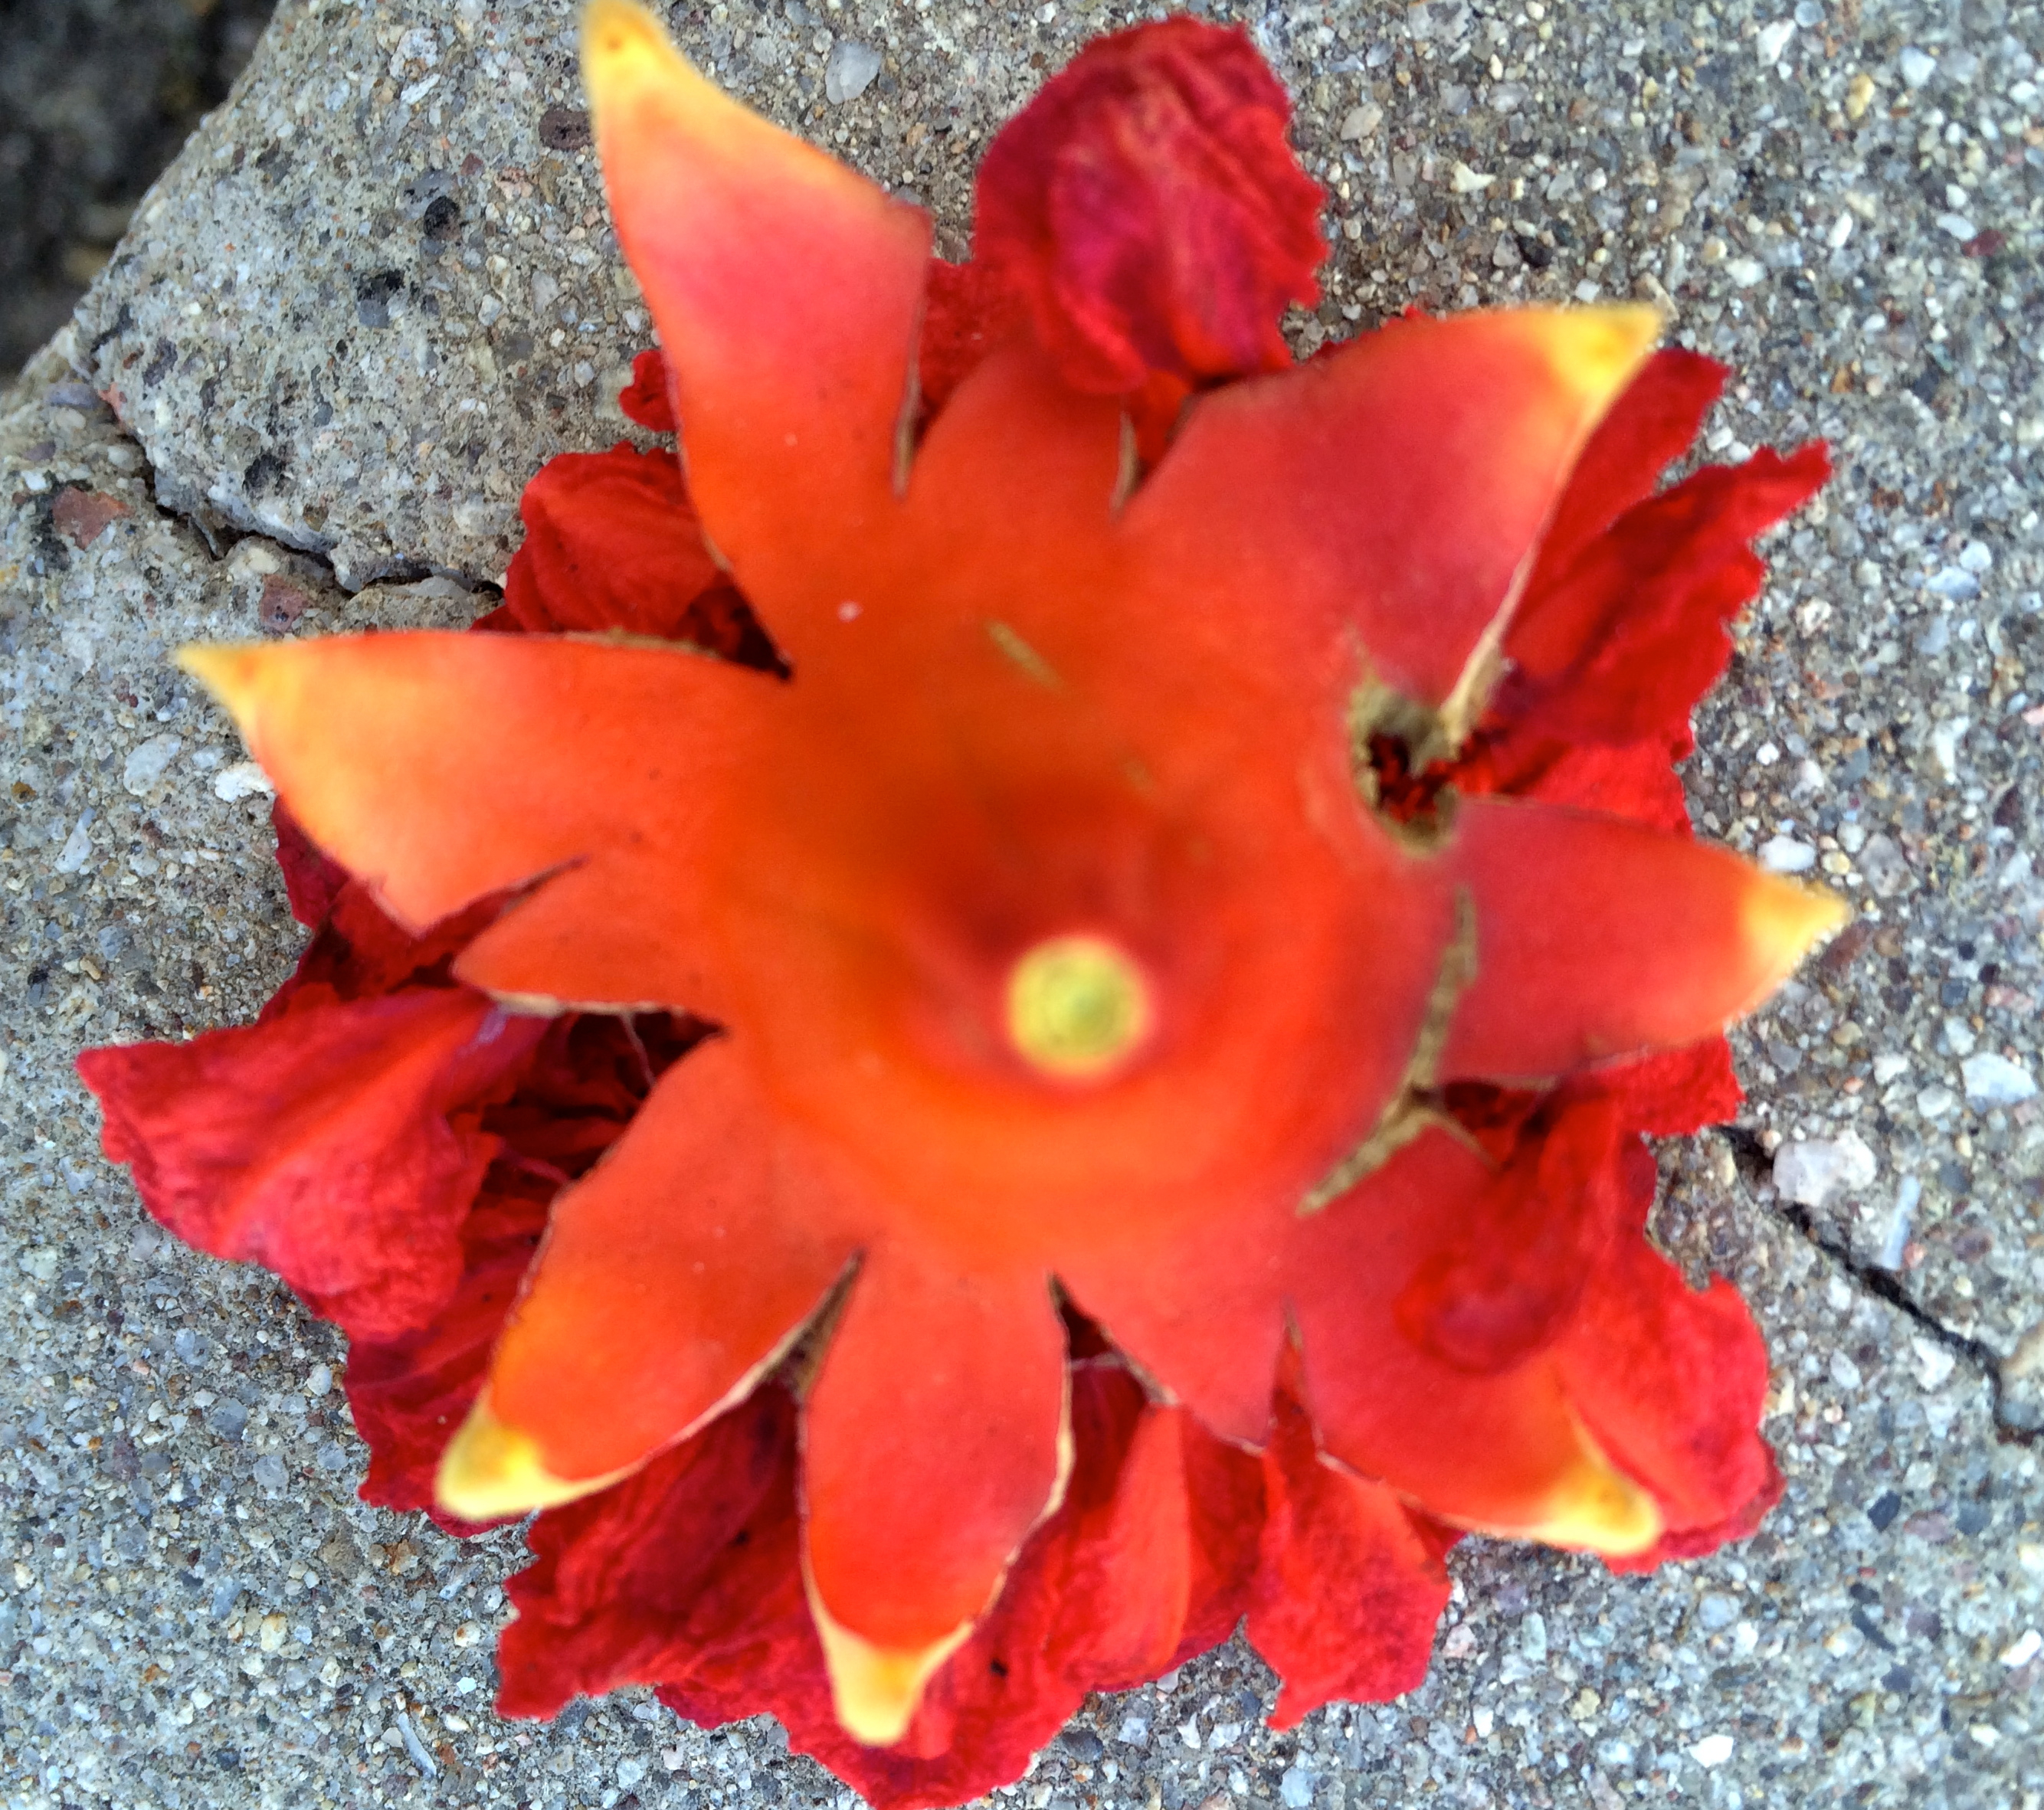
A "fallen star" --a pomegranate flower on the pavement continues as a radiant bouquet (MABurgess photo)

A “fallen star” –a pomegranate flower on the pavement continues as a radiant bouquet (MABurgess photo)


Prepare to share your plentiful crop of Sonoran White Pomegranate with other frugivorous creatures. True bugs can be pests. No prob--damage is limited. (MABurgess photo)

Prepare to share your plentiful crop of Sonoran White Pomegranate with other frugivorous creatures. True bugs like these leaf-legged bugs (Coreidae) can be pests. No prob–damage is usually limited. (MABurgess photo)

The structure of pomegranate fruits, with its separate juicy cells or arils, normally prevents insect damage from destroying an entire fruit.  Just cut off the effected area and the remaining arils still will be perfect for eating.

Traditional Sonoran style for opening an heirloom Sonoran White pomegranate (MABurgess photo)

Traditional Sonoran style for opening an heirloom Sonoran White pomegranate (MABurgess photo)

Jesus Garcia, founder of the Kino Heritage Tree Program at Arizona-Sonora Desert Museum and Mission Garden (and traditional knowledge-keeper of important Sonoran folkways), teaches how to cut the top off of a pomegranate to clearly see the septa or membranes that separate the five or six groupings of juice cells (arils), each containing a seed.  In most modern cultivated pomegranates, there is a hard bitter seed that must be “discarded,” making eating less than perfect.  Amazingly, the Sonoran White has small, tender seeds that present no problem–just eat the arils whole and enjoy!  (No spitting necessary.)

Traditional way of opening the Sonoran White Pomegranate for happy access to arils (MABurgess photo)

Subdivide the fruit along its easy membranes.  This is Garcias’ traditional way of opening the Sonoran White Pomegranate for happy access to “arils” –the juicy beads or sarcotestas (MABurgess photo)

I always thought that pomme -grenade was named for the city of Granada, but actually it is the other way ’round.  The Spanish city was re-named Granada when the Moors brought the fruit there from the MiddleEast and it made a big splash.

Technically the pomegranate  (Punica granatum) does not have many familiar relatives to us in its family of loosestrifes (Lythraceae).  It is so different from other plants that some taxonomists place it in its own family Punicaceae.  Pomegranate fruit is a berry, with each seed surrounded by sweet juice in little discrete cases called sarcotestas.  (There must be a better name for these delicious little beads of bliss!)

Nutritionally pomegranate has sweet advantages, providing antioxidants,  folate, vitamins C and K, plus manganese, phosphorus and potassium.

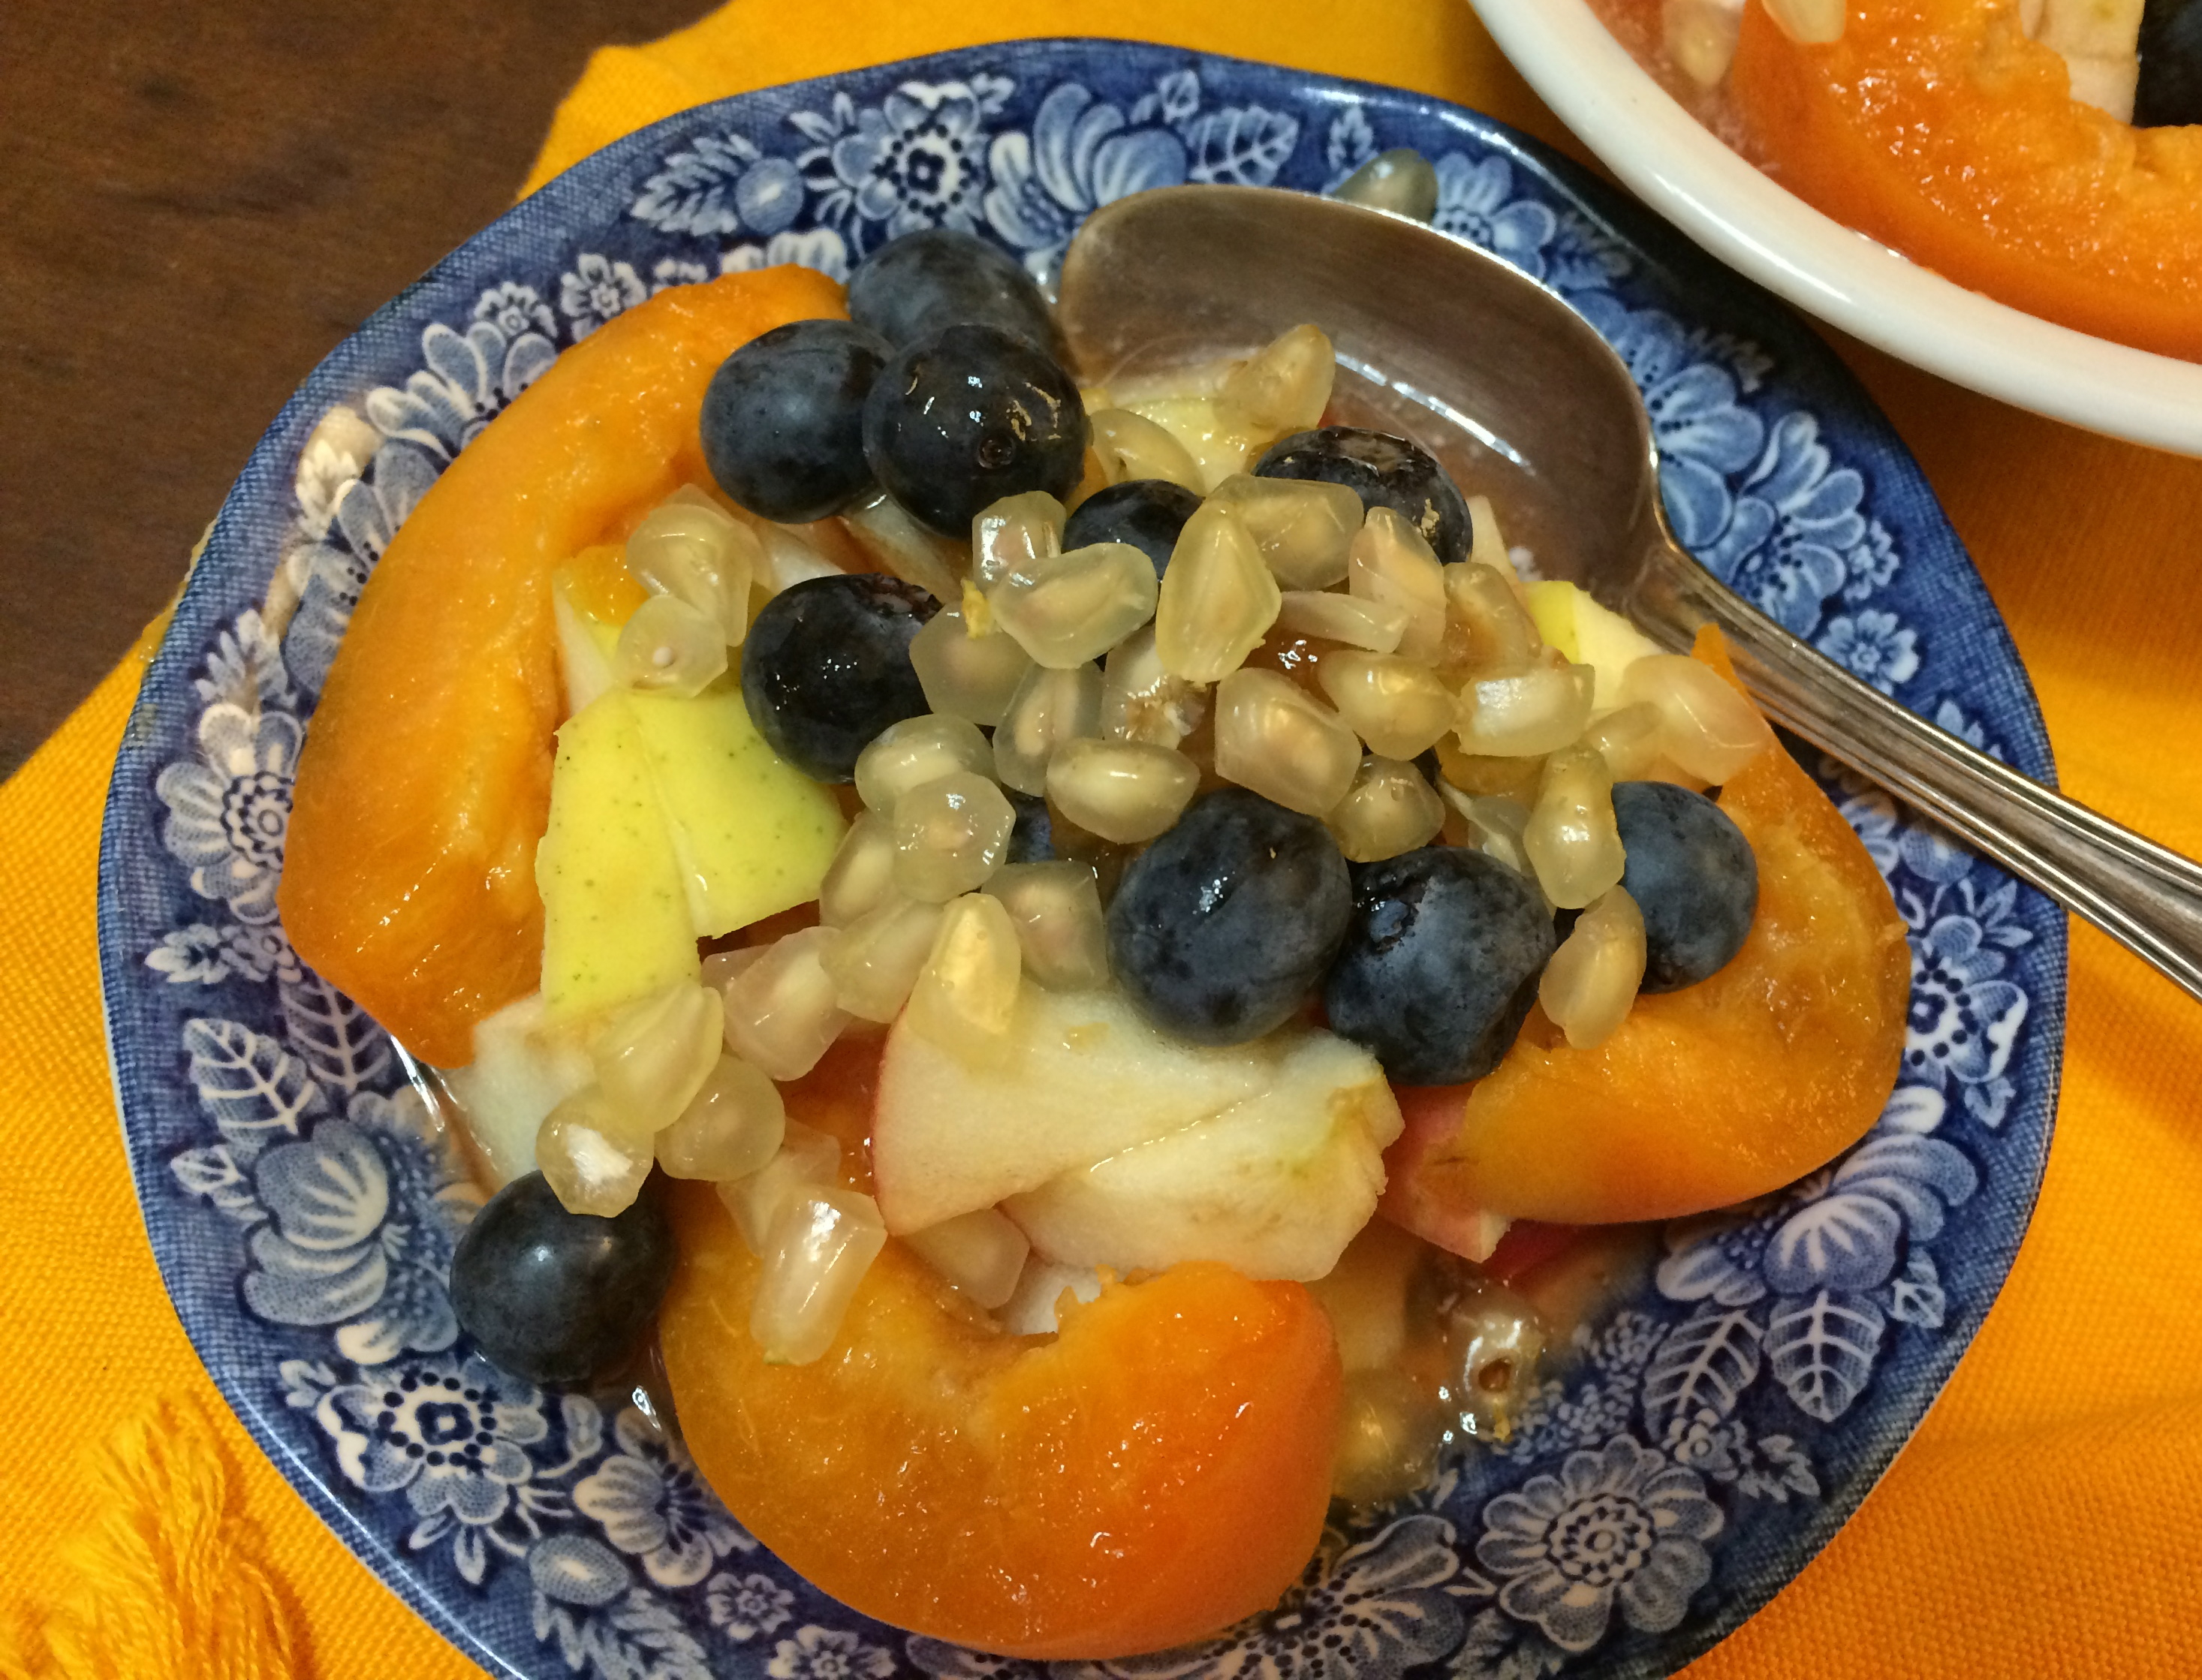
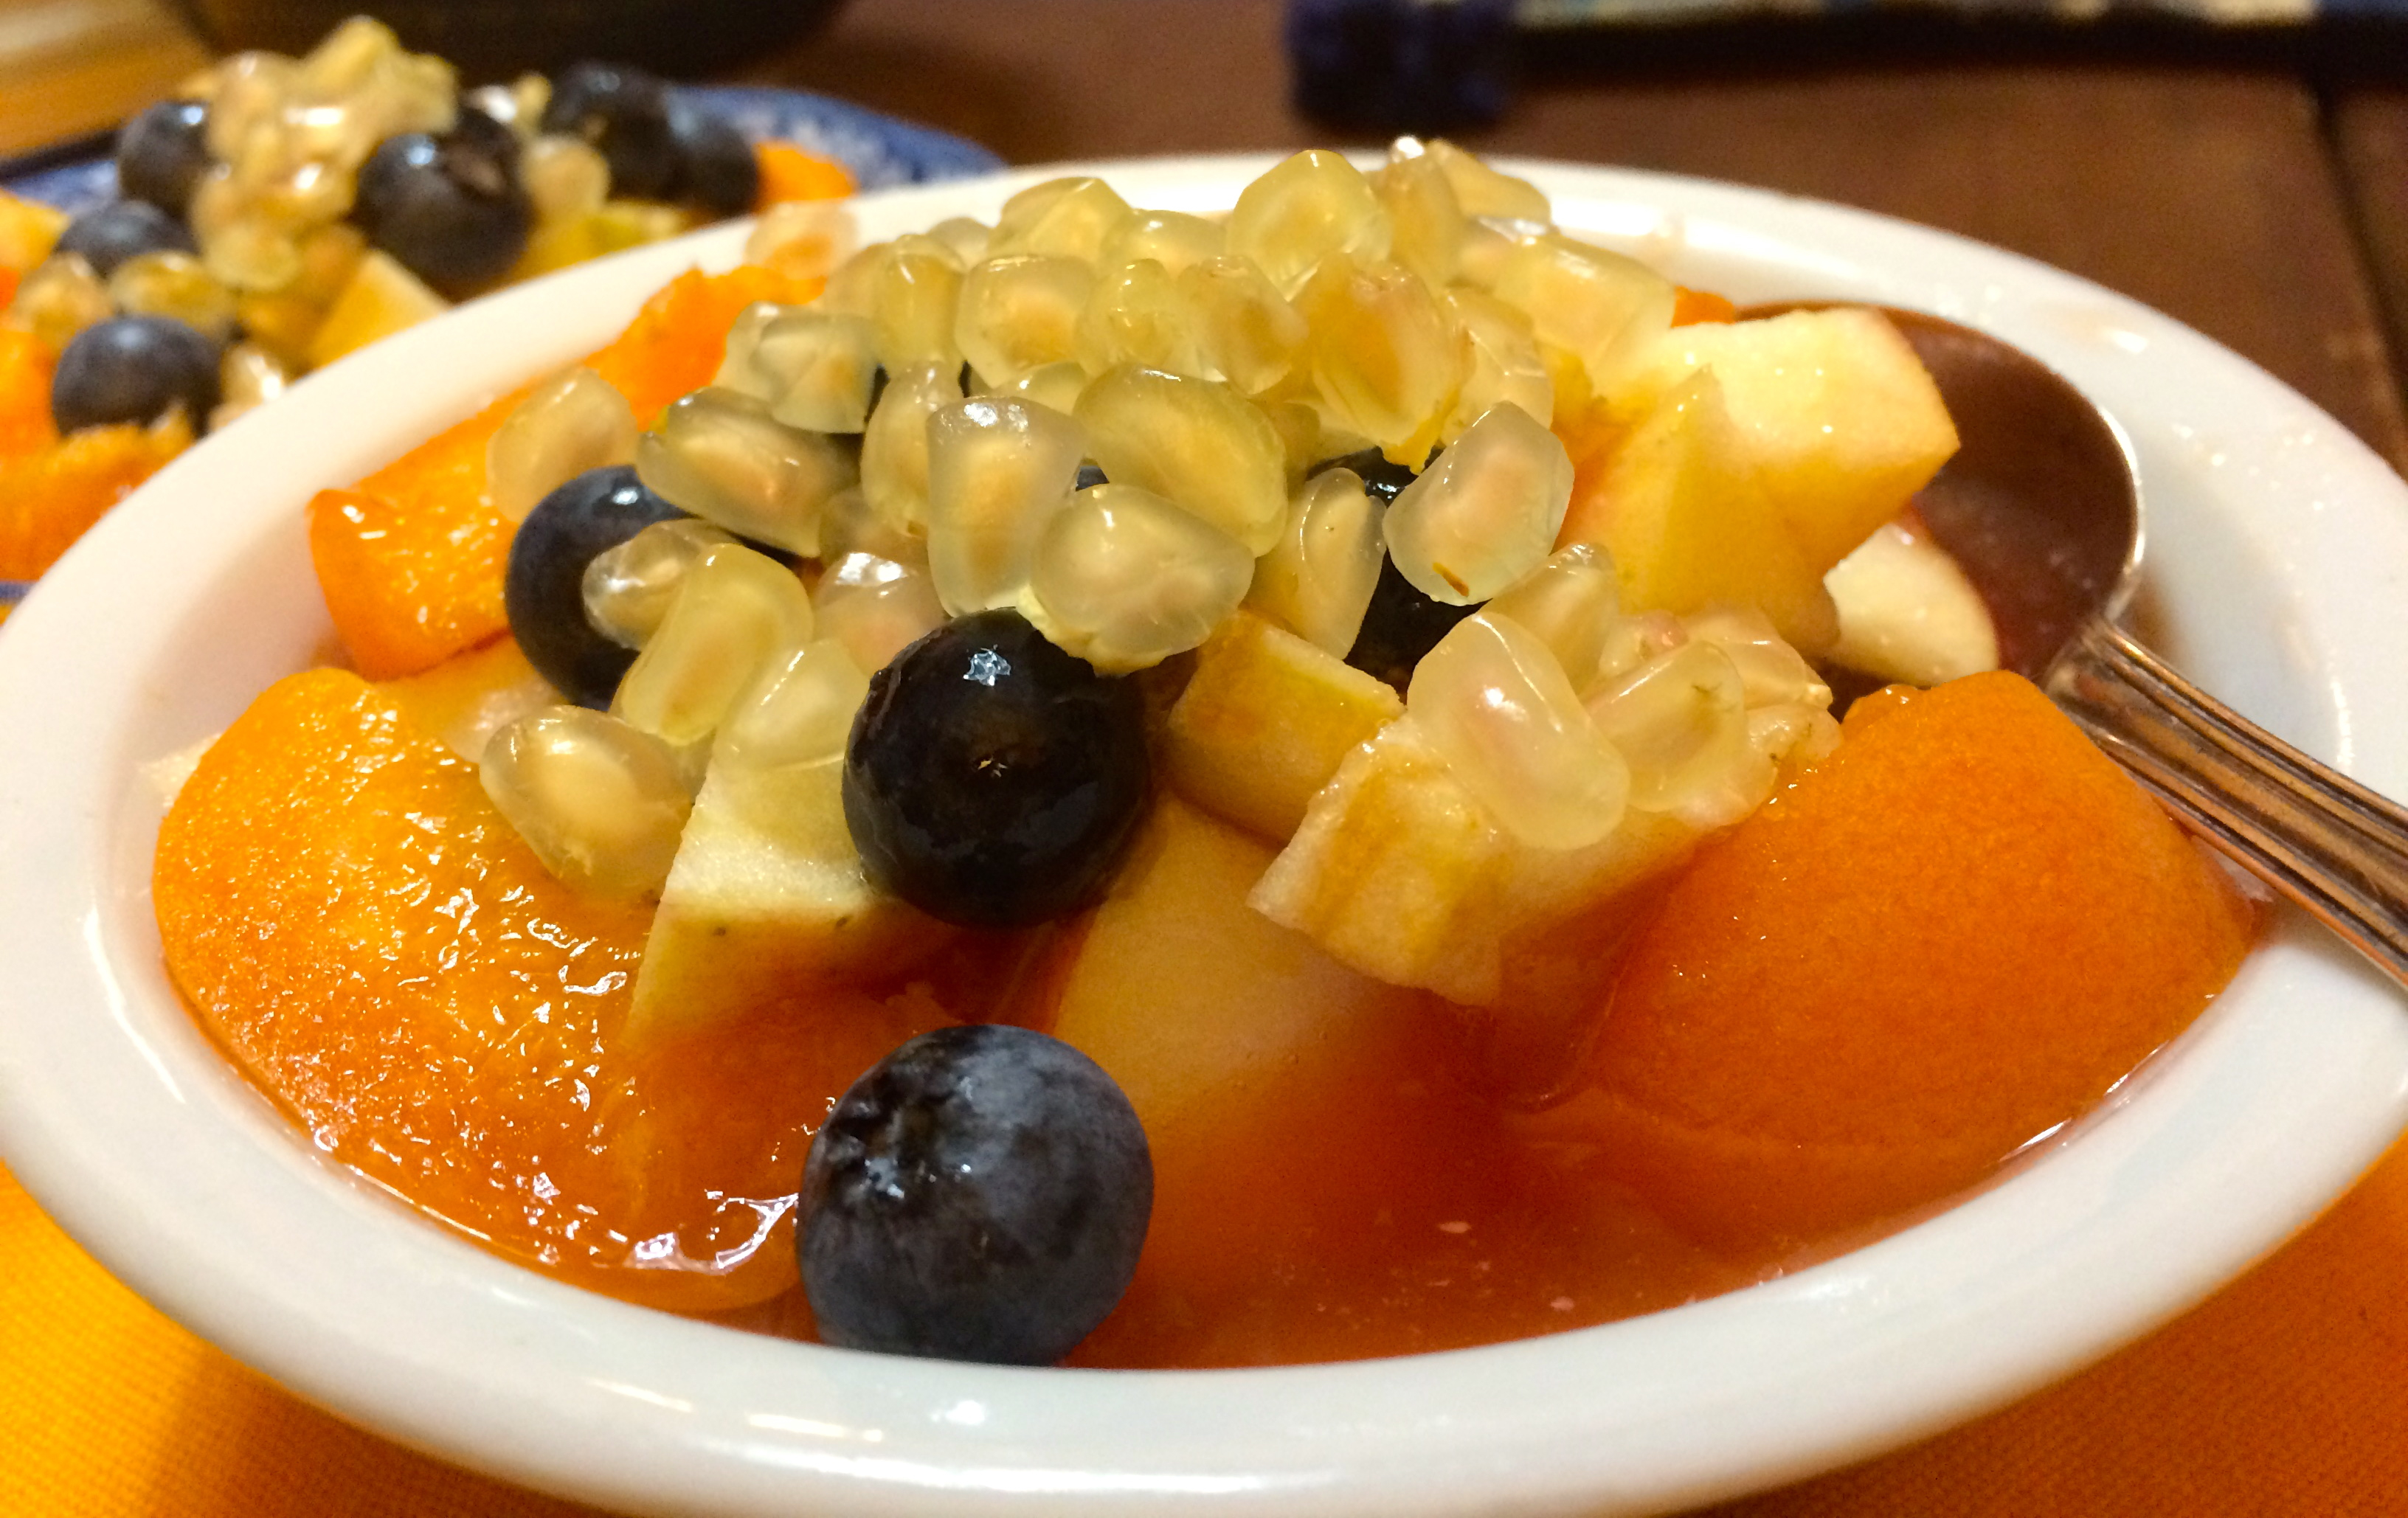
Fruity dessert topped with juicy clear Sonoran White Pomegranate seed-cells (MABurgess photo)

Fruity dessert topped with juicy clear Sonoran White Pomegranate seed-cells (MABurgess photo)

Sonoran White Pomegranate can be juiced to drink straight or add to other drinks. (Talk about a nutritious addition to margaritas!) The simplest, most delightful way of enjoying our clear Sonoran White seed-cells is simply snacking by the handful.

I make a luscious dessert with vanilla yogurt topped with slices of fresh apricot, local apple, and blueberries, and crowned by the sweet seed-cells of Sonoran White Pomegranate.  Rejoice in this ancient gift brought by the Missionaries to Baja Arizona–a desert survivor, well-adapted to carrying us into climate change in arid lands!

Let your Sonoran White Pomegranate fruits remain on the tree until you see a rosy blush--then you know they are getting sweeter!

Let your Sonoran White Pomegranate fruits remain on the tree until you see a rosy blush–then you know they are getting sweetest! (MABurgess photo)

Sonoran White Pomegranate tops this southwestern dessert (MABurgess photo)

Sonoran White Pomegranate tops this southwestern dessert (MABurgess photo)

Friends of Tucson’s Birthplace will be sponsoring a Pomegranate event this month–September 24, 2016– at the Mission Garden.  Come learn all about our local heirloom treasure, the Sonoran White Pomegranate, how to grow it in our own gardens, and how to prepare it in zillion delectable ways.  For details call 520.777.9270 or email missiongarden.tucson@gmail.com (www.tucsonsbirthplace.org.)  Let’s keep this living and giving food-heirloom alive and well in our gardens into the future!


The Best Mesquite Brownies

Carolyn Niethammer with you here today talking about one of my favorite subjects, mesquite meal. The first crop of mesquite pods ripened early this year on the lower desert. Here in Tucson, Desert Harvesters sponsored a milling in June. (A milling is this miraculous process of putting whole pods in a hammermill and getting lovely, silky flour at the end.) Because of the early summer rains, there is a huge second crop of pods ripening on the trees now(see the photo above). If you missed the first round, there will be opportunities to get your pods ground in communities throughout Arizona later in the fall after the weather has dried out.

Dry mesquite pods ready for milling.

Dry mesquite pods ready for milling.

So what to do with all that mesquite meal after you have had your fill of pancakes?

I have been cooking with mesquite pods since the early 1970s and have published in my cookbooks lots of recipes using the ground pods. But until now, I’ve never been completely satisfied with a mesquite brownie recipe. But this one that I made for a potluck at Native Seeds/SEARCH earlier this summer is close to perfect. I used pepitas (hulled pumpkin seeds) because I think the flavor goes well with mesquite, but pecans would work too. If you cannot bear to bake anything without chocolate, feel free to toss in some chocolate chips and maybe a little cocoa powder as well. The familiar warm flavor of mesquite will still come through.

The recipe has a considerable amount of fat and sugar, but those are the ingredients that make up what we consider a proper brownie. Just go easy on how many you eat.

If you aren’t up to making your own mesquite meal, you can purchase it from the Native Seeds/SEARCH retail store or order on-line from NS/S or Flor de Mayo. Mesquite meal is also available at farmers’ markets throughout Arizona.

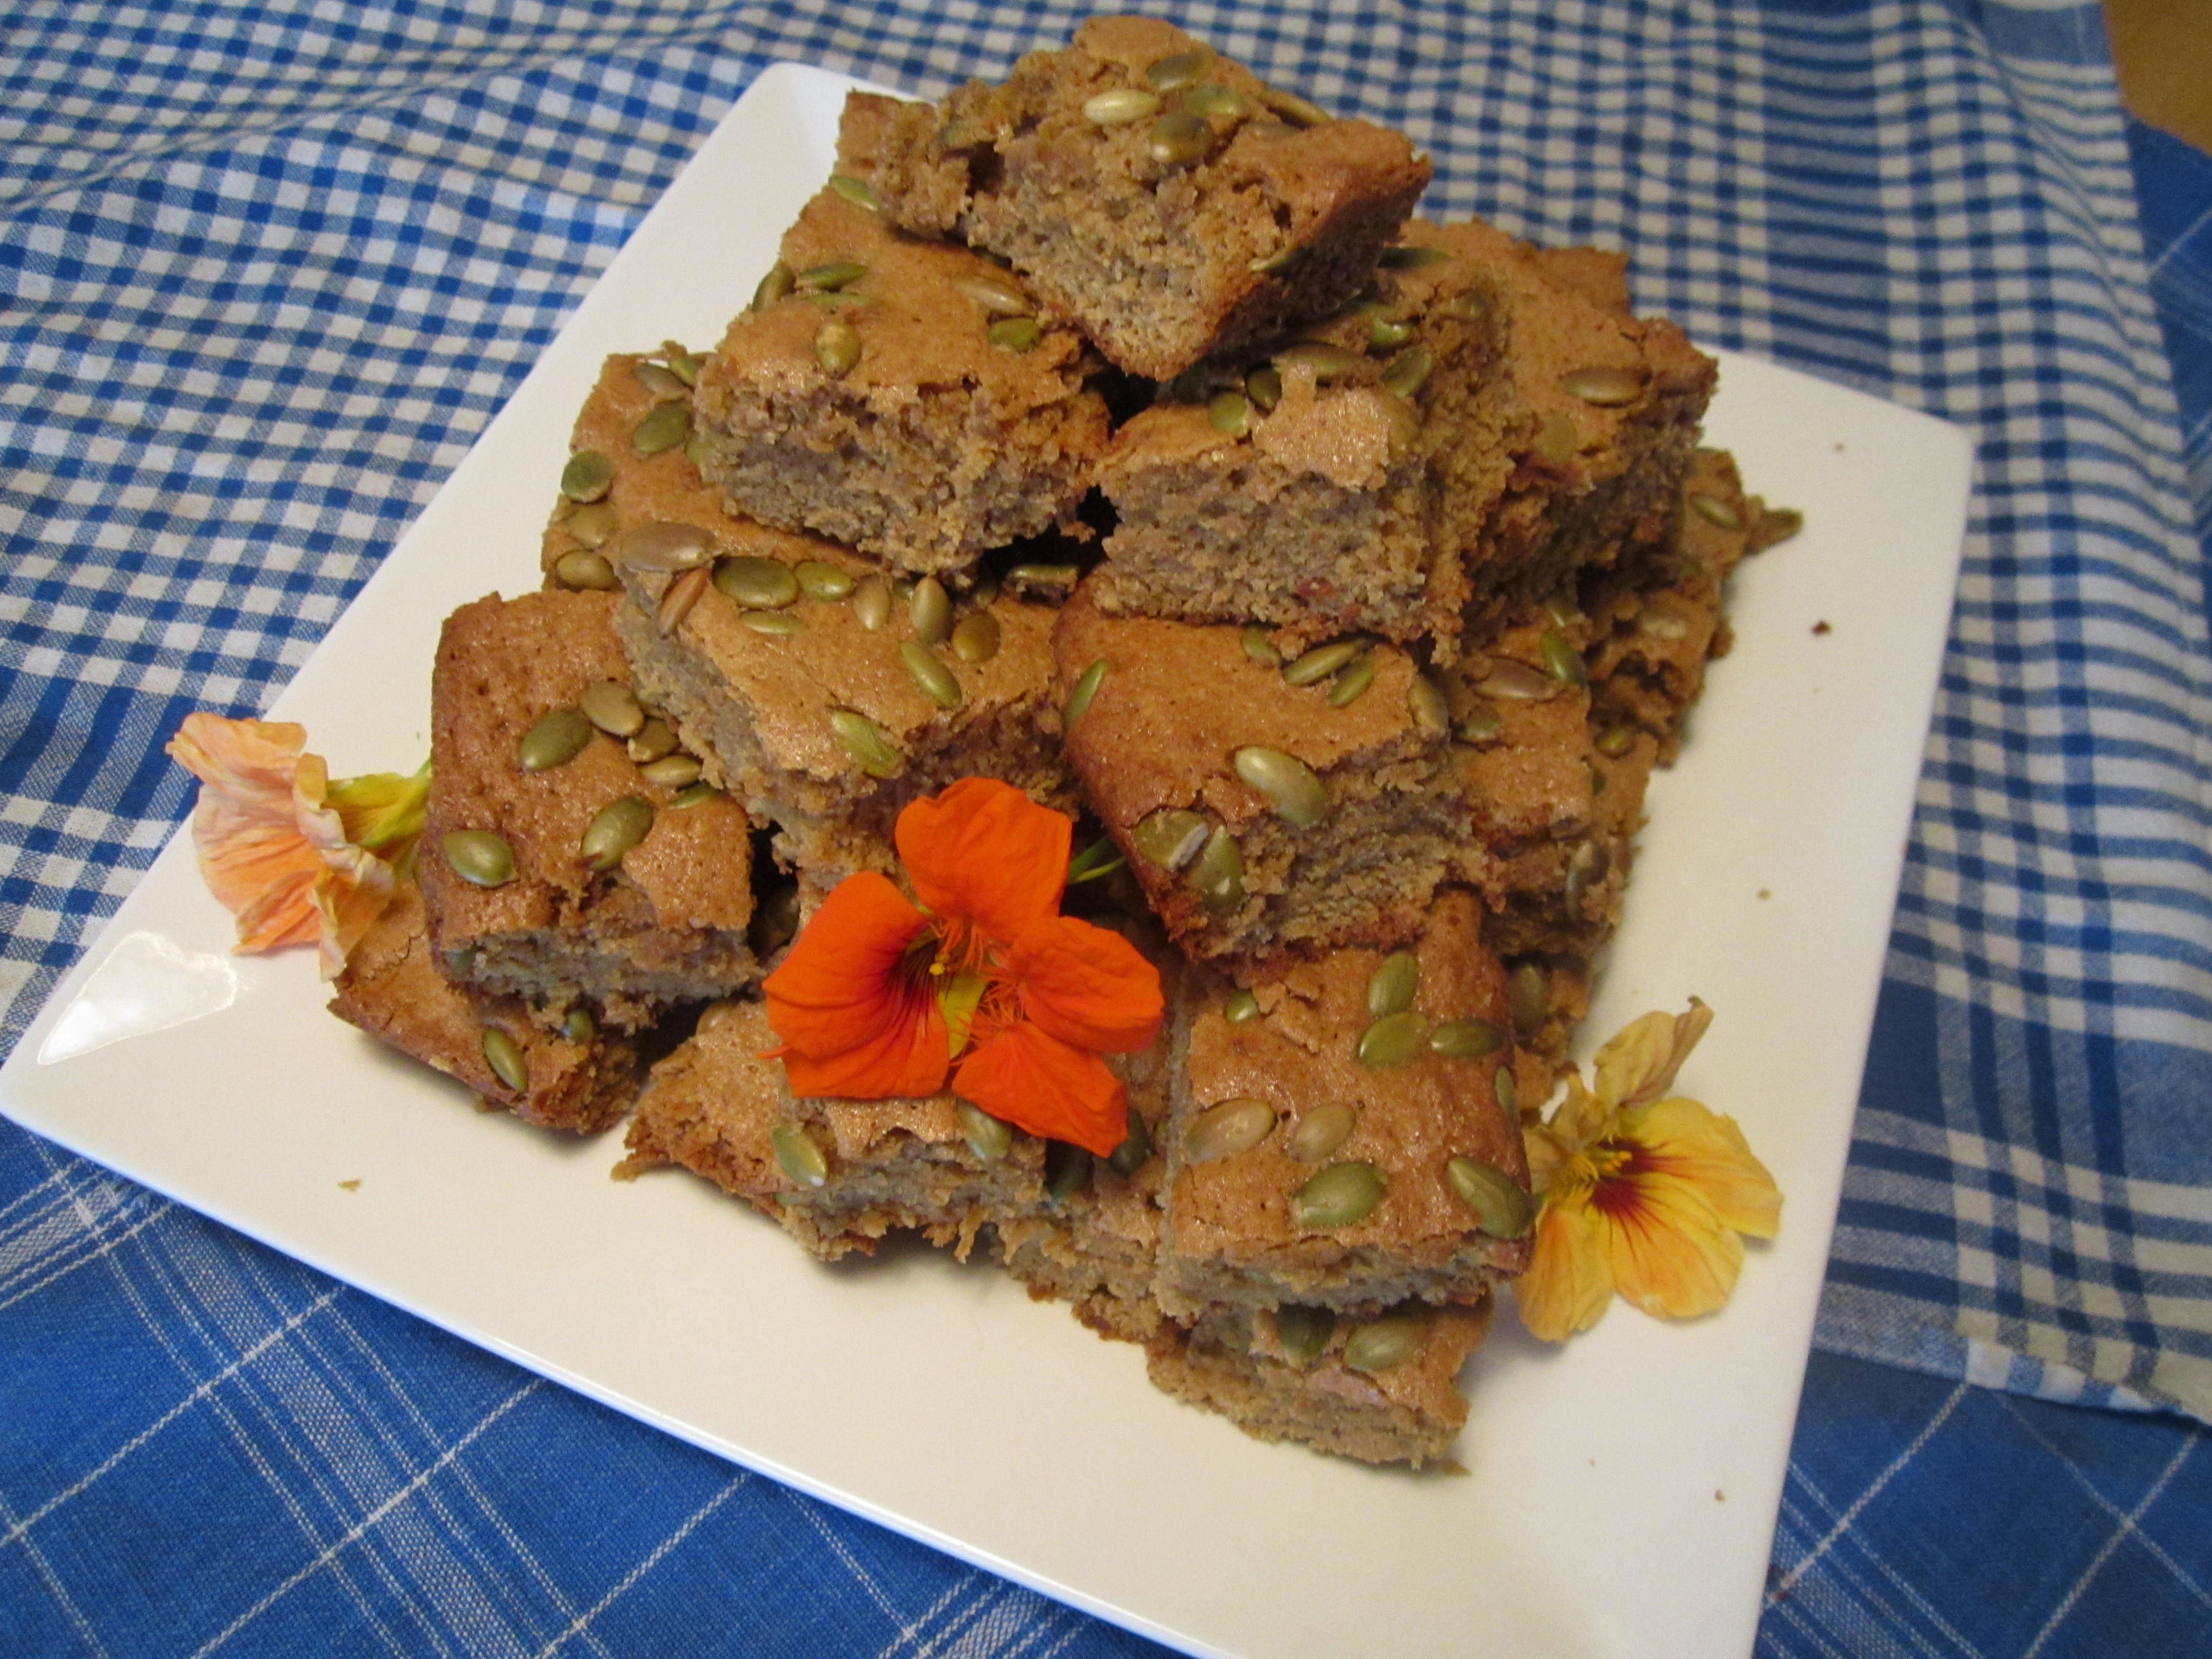
Ummm, don't these look good?

Ummm, don’t these look good?

Best Mesquite Brownies

2/3 cup melted butter

1/4 cup vegetable oil

3/4 cup mesquite meal

2 cups brown sugar

4 eggs

2 teaspoons vanilla extract

1- 1/2 cups all-purpose flour

1 teaspoon baking powder

1 teaspoon salt (if using unsalted butter)

1/2 cup pepitas or chopped pecans

2/3 cup semisweet chocolate chips (optional)

  1. Preheat oven to 350 degrees and grease a 9×13-inch baking pan. Set aside.
  2. In a medium bowl, combine mesquite meal, flour, baking powder and salt if using. Set aside.
  3. Combine melted butter and oil in a large bowl. Stir in sugar and add eggs, one at a time, combining well after each addition. Stir in vanilla.
  4. Stir in mesquite and flour mixture. Add chocolate chips if using.
  5. Spread batter into the prepared pan. Bake at 350 degrees for 25 to 30 minutes or until a toothpick inserted near the center comes out clean. When cool, cut into squares.

__

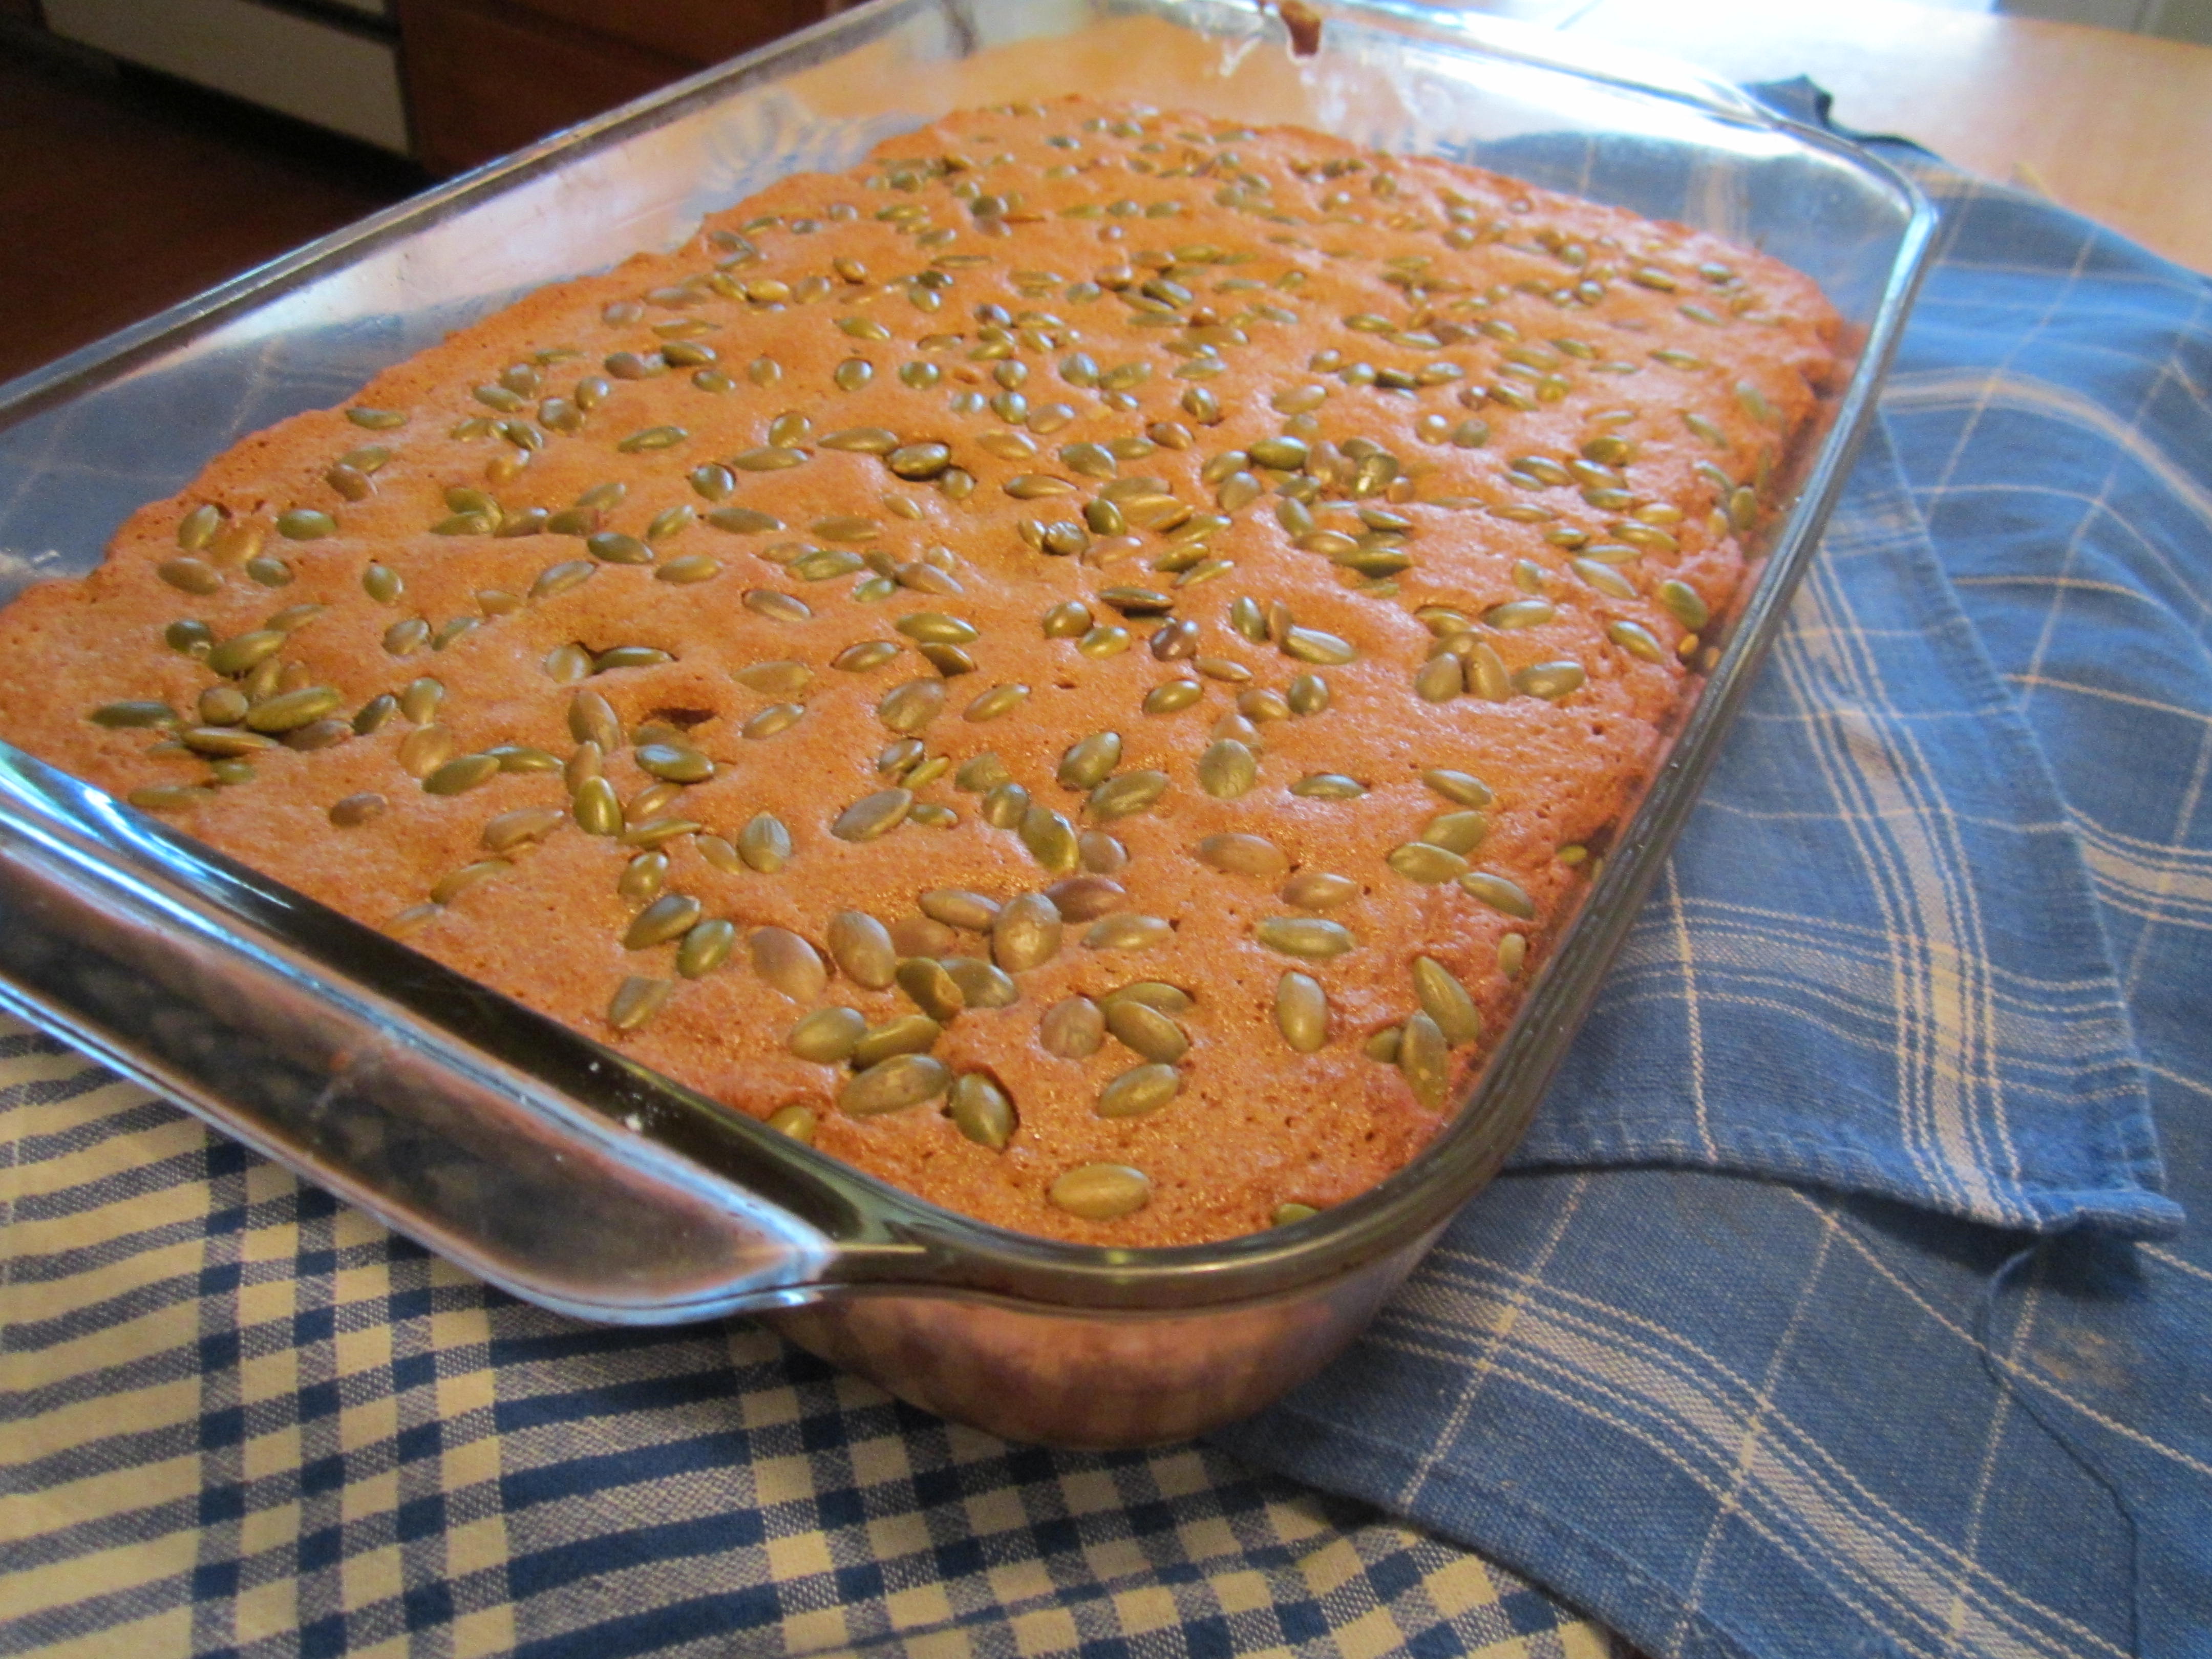
Cooling in the pan, ready to cut into squares.

Mesquite brownies cooling in the pan, ready to cut into squares.

____________________________

Want more recipes for mesquite meal? Check out my cookbook Cooking the Wild Southwest: Delicious Recipes for Desert Plants available at Native Seeds/SEARCH or from Amazon or B&N.  There you’ll find my favorite recipes for Apple-Mesquite Coffee Cake and a killer Banana Mesquite layer cake.

Brick and Mortar Brownies

IMG_3914

Linda here. It’s  ranged from breezy to downright windy here in the Old Pueblo this spring, affecting the moods of humans and non humans alike.  Bees, for example,  do not “like” wind, and on windy days I do not check Apis hives.  Red eyed and sneezing humans and are affected by the dust and pollen. Like so much in life, winds have a  mixed effect on things, both negative and positive.

One of the positives of pollen on the wind is that it can reveal a lot about older ecosystems. I recently learned about this in an article I came across on the science of archeobotany – which is basically the archeology of Things Botanical.

On a windy spring day such as we have experienced here – but in the early 18th century in Colonial Williamsburg  – masons were at work laying brick.  A mason “slather(s) mortar as he buil(ds) row after row of the buildings foundation”. Unbeknownst to him, he is also building an archeological record of the trees and plants growing at that time.  As pollen rode the waves of the winds it came to rest on/in the the mortar and  became encapsulated in the building itself.

The mortar acts like a kind of time machine where the pollen of old is extracted and analyzed by archeologists, revealing what plants lived and thrived at the time, in that town: trees, for example, were abundant –  (pine oak maple and hornbeam) revealing a tree filled ecosystem in Williamsburg in the early 18th century. Contrasted to pollen from the same town in the later in the 18th century/early 19th where/when the mortar reveals that the trees had been cut down – and mostly ragweed and goosefoot pollen are found in that time-frames pollen-mortar revelations. Pretty interesting.

In a similar way  Zander (1941) describes honey comb from Apis mellifera (found in a tomb from the Nineteenth Dynasty in Egypt), that was dissolved in water and found to contain mostly pollen from Egyptian avocado and desert dates  “which indicate that the plants of Egypt have changes considerably since the time of the pharaohs.”


IMG_0473

RECIPE INGREDIETNS: (inspired and amended from  the cook book NOURISHING)

-2 medium sized sweet potatoes

– 11-12 fresh dates (pitted)

– ¾ cup cup ground almonds

– 2/3 cup buckweat flour

– 3 tablespoons cacao nibs

– ¼ cup raw cacao powder

– at least 3 tablespoons honey

– zest of one orange – plus the juice

– ½ teaspoon ground cinnamon

– ¼ t salt

– 1 tablespoon oil of your choice (olive oil/coconut oil)

– 1 tablespoon almond milk/ or coconut milk if you feel it needs moisture

– Optional 1-2 teaspoons ground chiltepin – seeds and all

HOW TO:

Steam peeled sweet potatoes until soft (approximately 18 minutes) and blend in food processor with the dates and honey.

IMG_0411

IMG_0418

Mix the dry ingredients together and fold in the sweet potato/date/honey mixture.


IMG_0423

IMG_0420

Add the juice of the orange whose peel you just “zested”. If the batter is still a little dry you might add a little milk and/or oil.

IMG_0431

Add this super power batter to a parchment paper lined baking pan – and cook at 350 degrees for about 20 minutes. Let cool. Sprinkle with cacao powder, or honey, or chiltepin. Refrigerate – the cold brownie has a wonderful taste (whereas the warm are not so flavorful. )