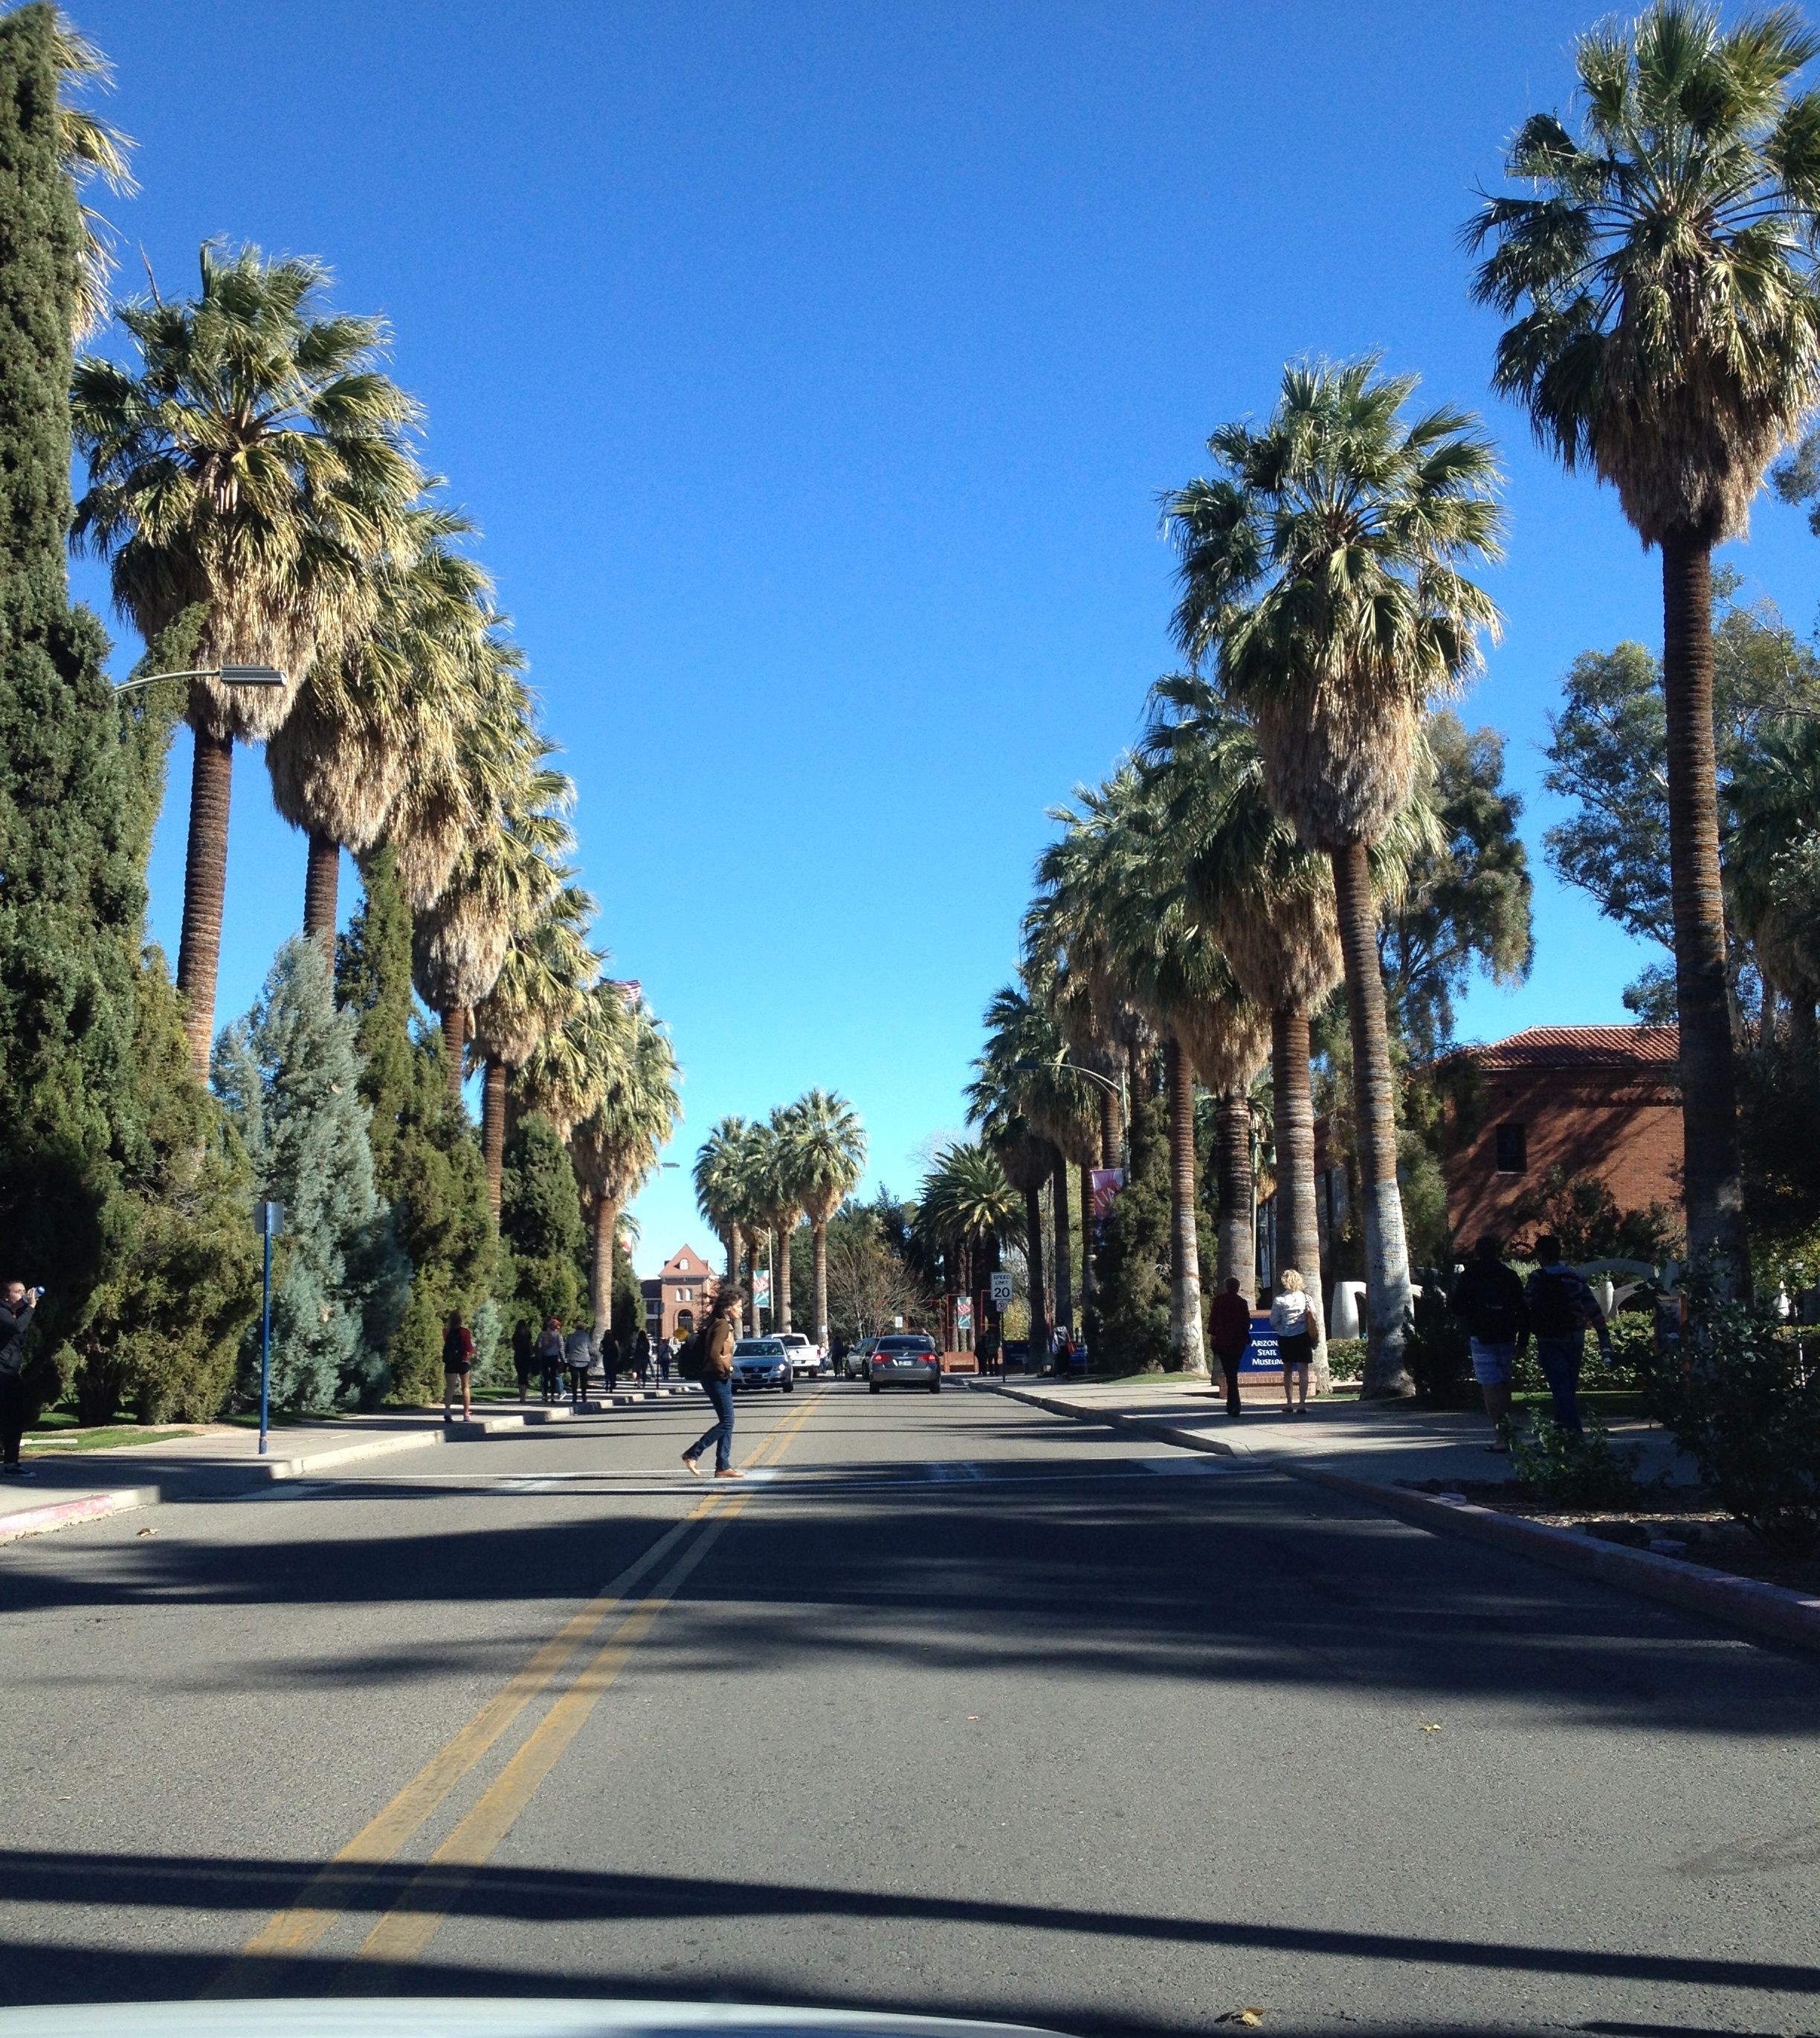
Our native fan palm, Washingtonia filifera, near UA main gate. Original seed from Arizona’s KOFA Mountains. (R.Mondt photo)
Yes, we can delight in the most fabulous wild dates right here in Baja Arizona. We don’t have to put out lots of energy into finding these tasty little morsels because they are now all over the urban landscape. Once, in olden times, they were confined to oases, but now they line every old neighborhood street in low-desert towns. Harvest at the right time and enjoy their bounty.

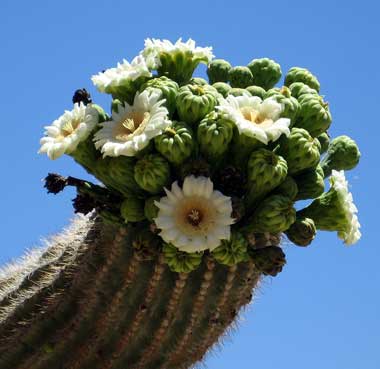
Our Native Fan Palm Washingtonia filifera, UA photo (Note the stout trunk)
Tia Marta here to continue our culinary explorations of native fan palm fruit. Our street sentinels are more than vertical shade. They bear other surprising gifts. Our so called California fan palms (“palma taco”) offer tiny sweet and plentiful fruits (the size of a plump pea), and were harvested and relished by Native People of the Sonoran and Mojave deserts long before Hispanics brought date palms (the pinnate-leafed palms) from the Old World.

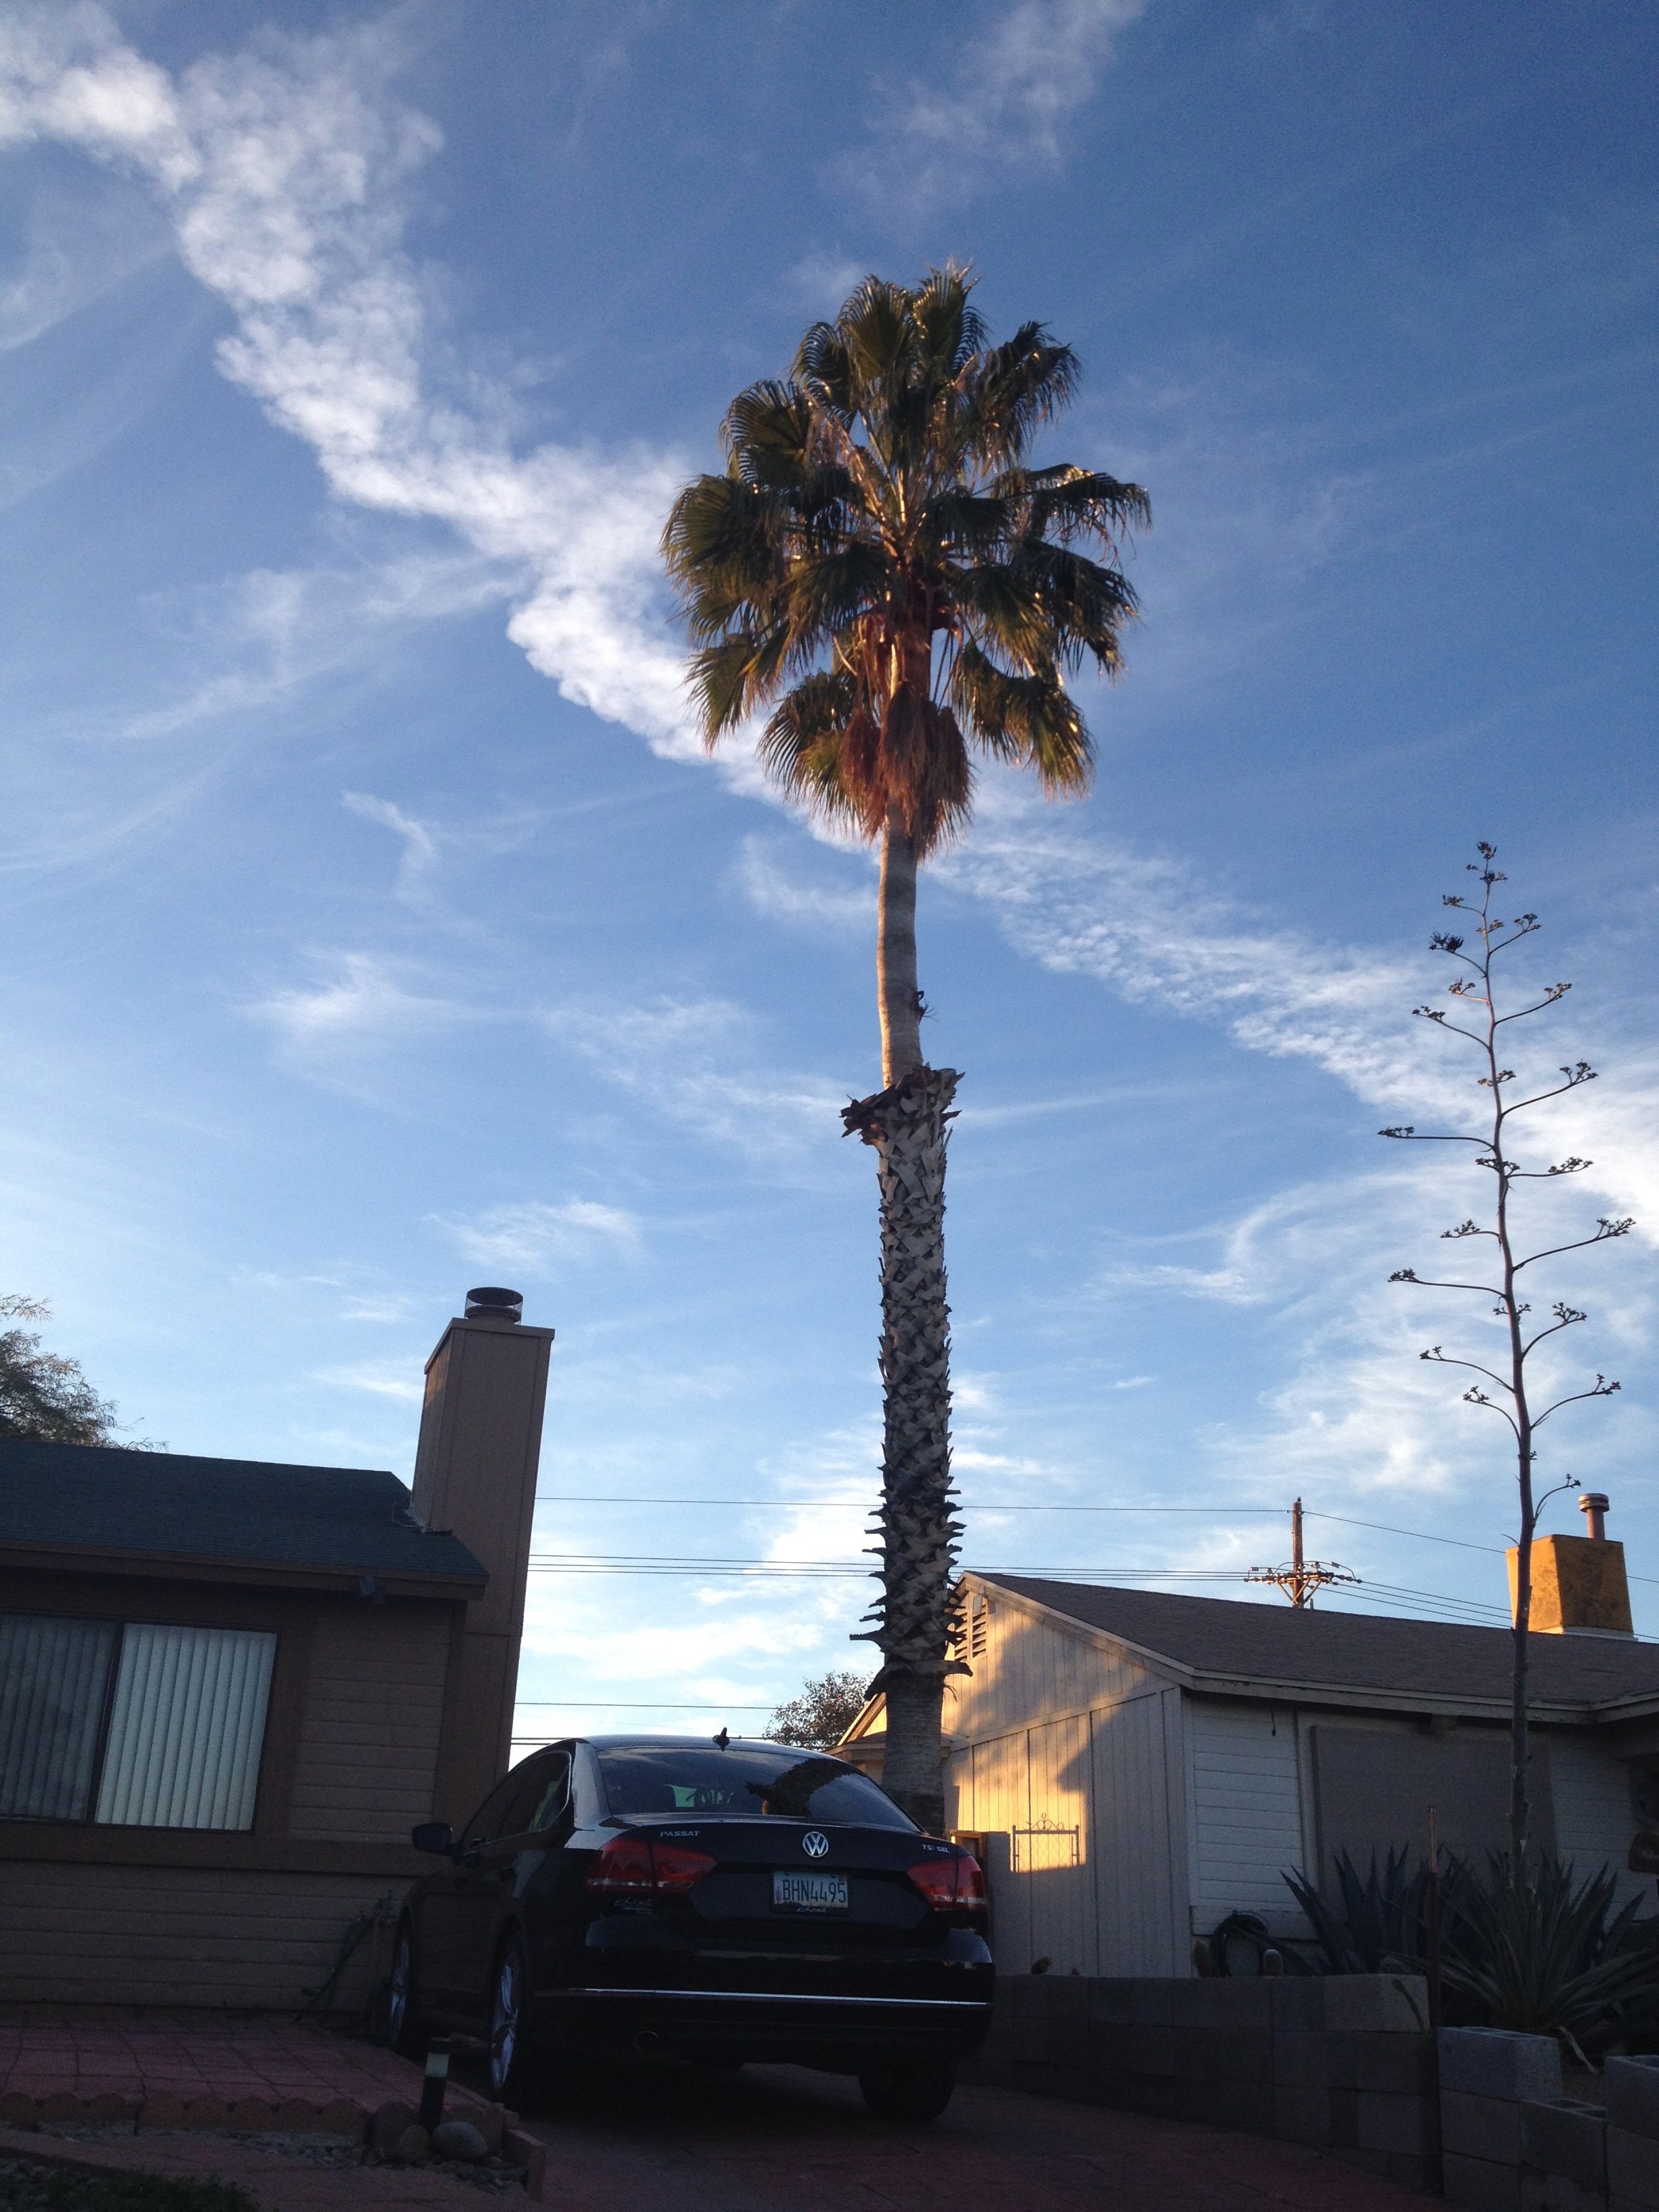
Washingtonia robusta planted in a S.Tucson landscape
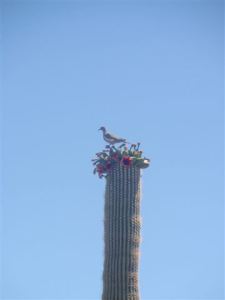
When ripe in summer into fall, zillions of fruits hang from pendulous stalks of Washingtonia filifera, with 20 pounds or more of the little buggers in one cluster—talk about prolific! As mentioned in my blog-sister’s post two weeks ago, Carolyn and I were challenged by renowned ethnobotanist Dr Richard Felger to try our hands at creating some “contemporary” recipes for this ancient and well-adapted desert food—which is now disregarded as nothing more than a columnar street planting. We know from ethnographic accounts (see them summarized in Wendy Hodgson’s Food Plants of the Sonoran Desert, UA Press, 2001) that for the Native Cahuilla of Southern California, the fan palm meant survival—a staple in their diet, used both fresh or dried and ground, hard seeds and all, into a flour for cooking or griddling. Another ethnobiologist friend Dr. Amadeo Rea (1997) documented Pima children collecting fan palm fruits as snacks. Dr. Felger intends now to bring this native palm back into new, appropriate use as a sustainable desert food crop.

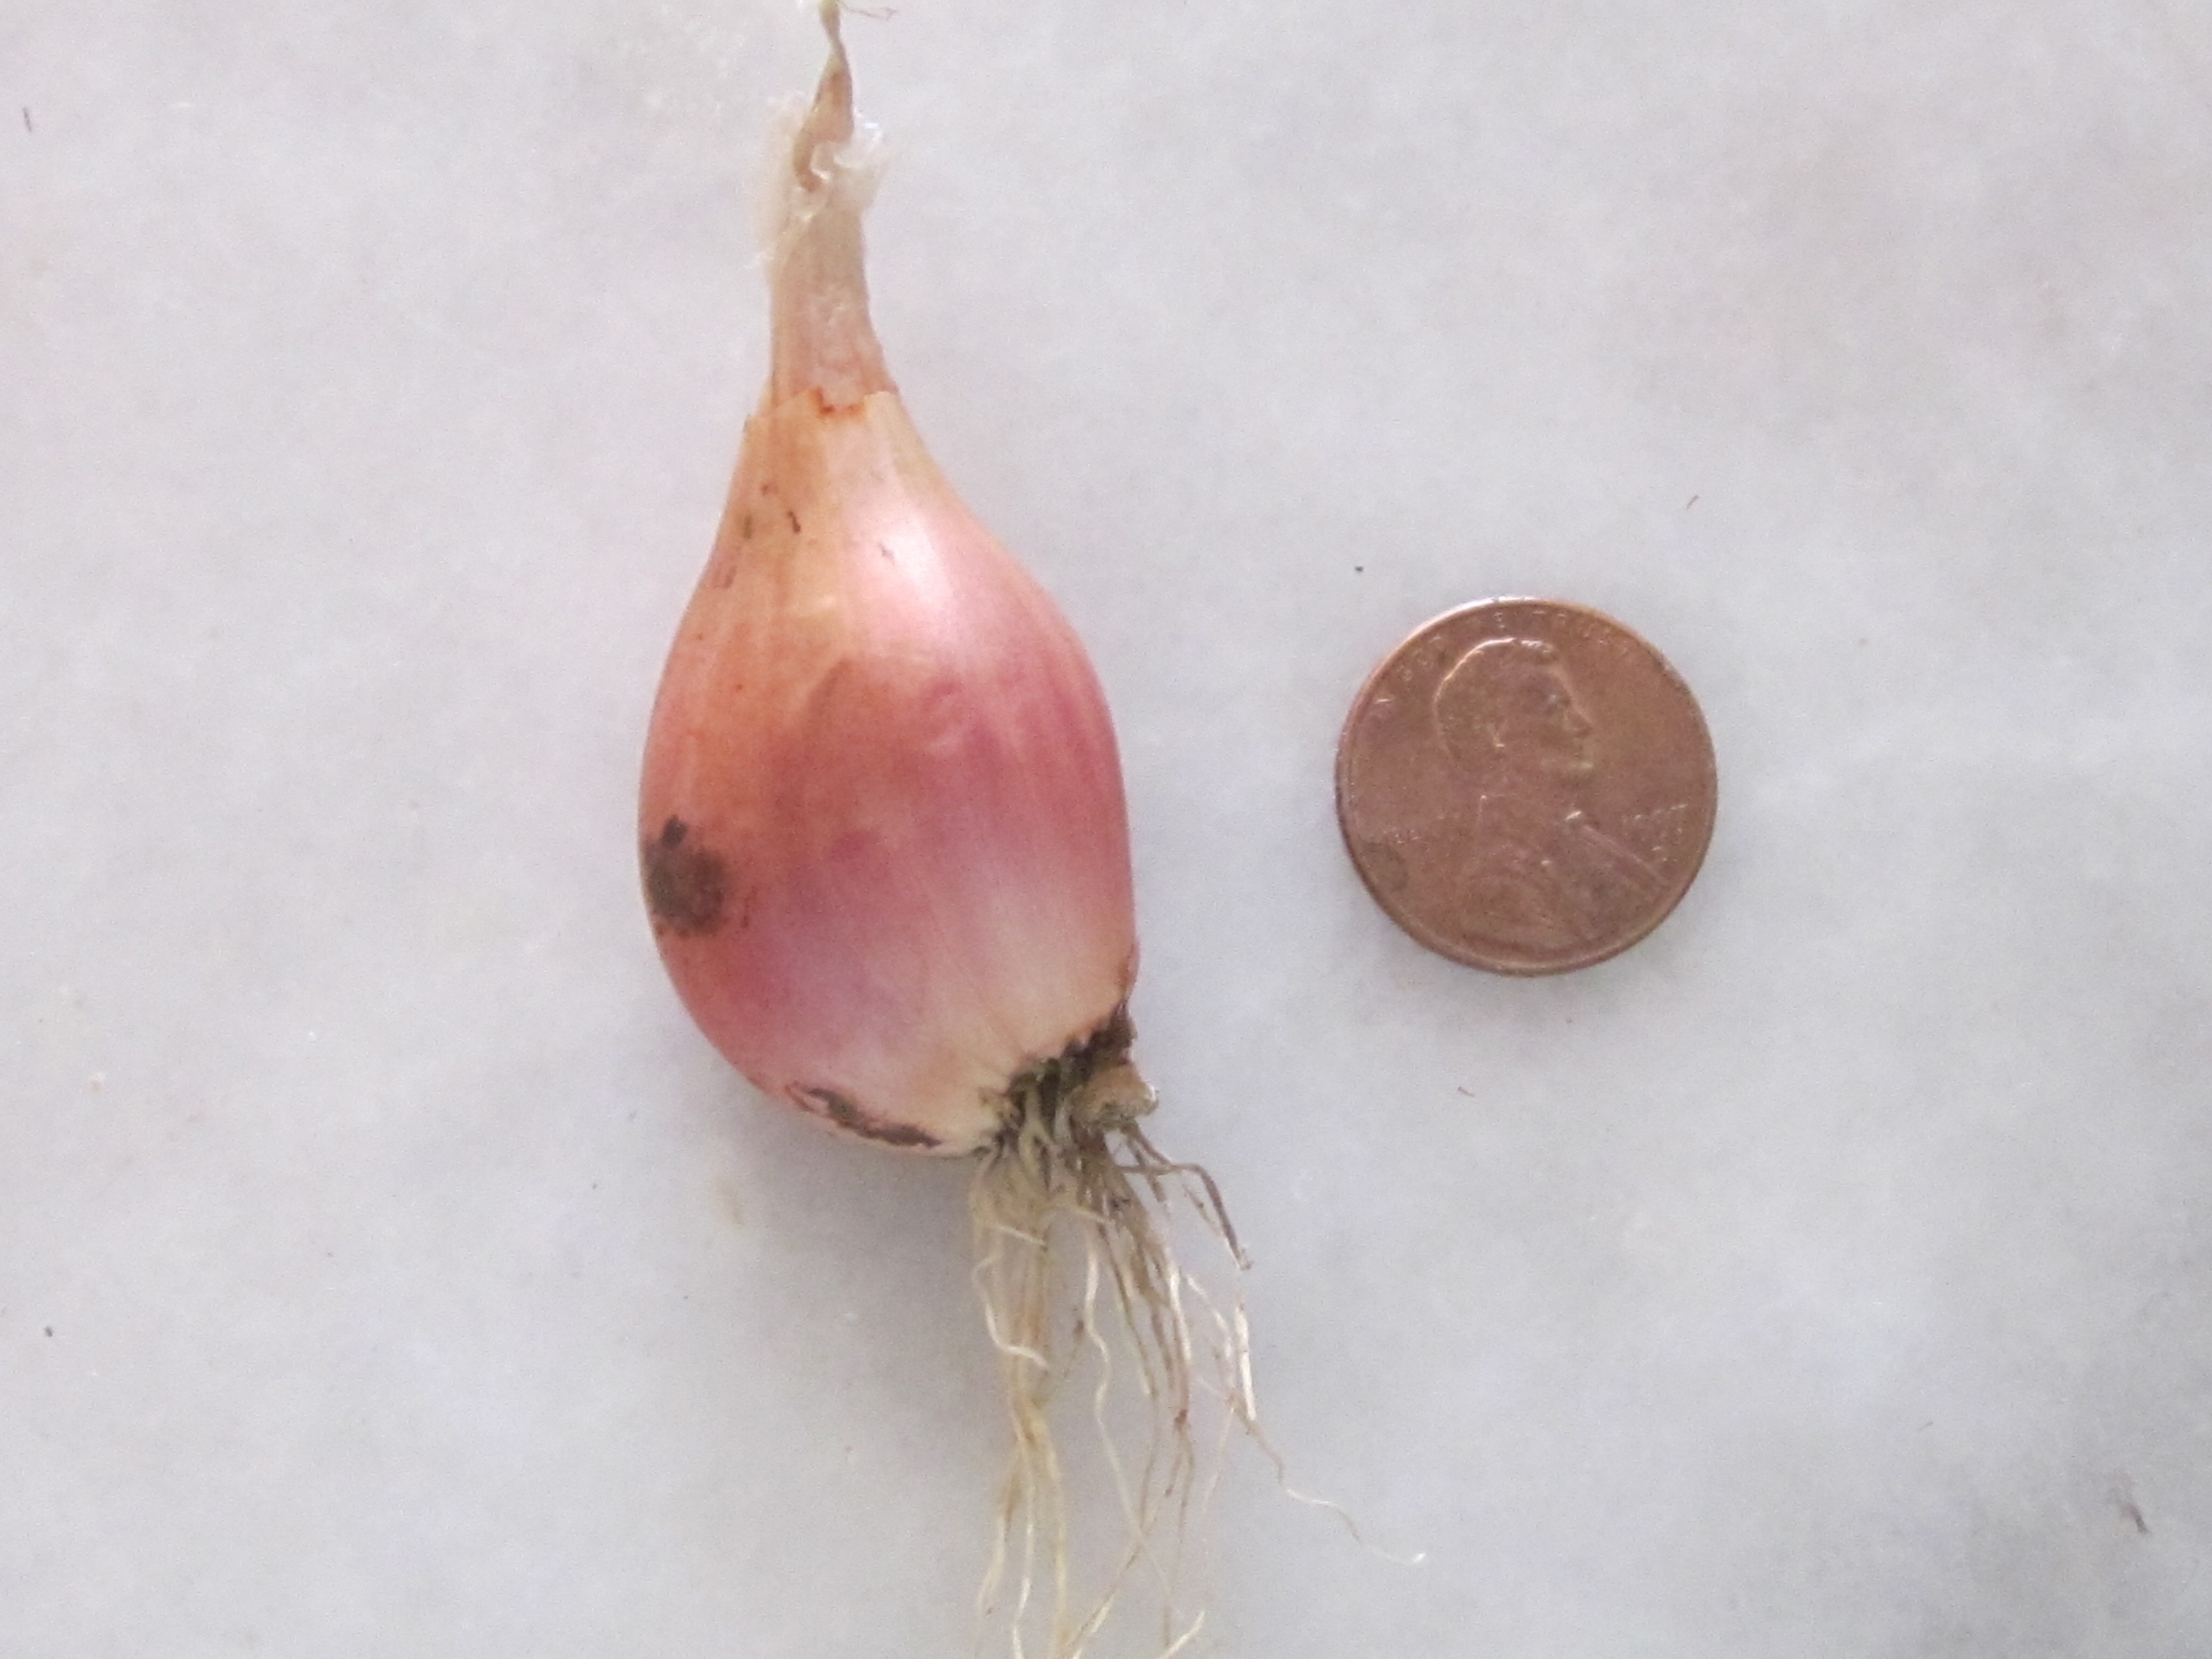
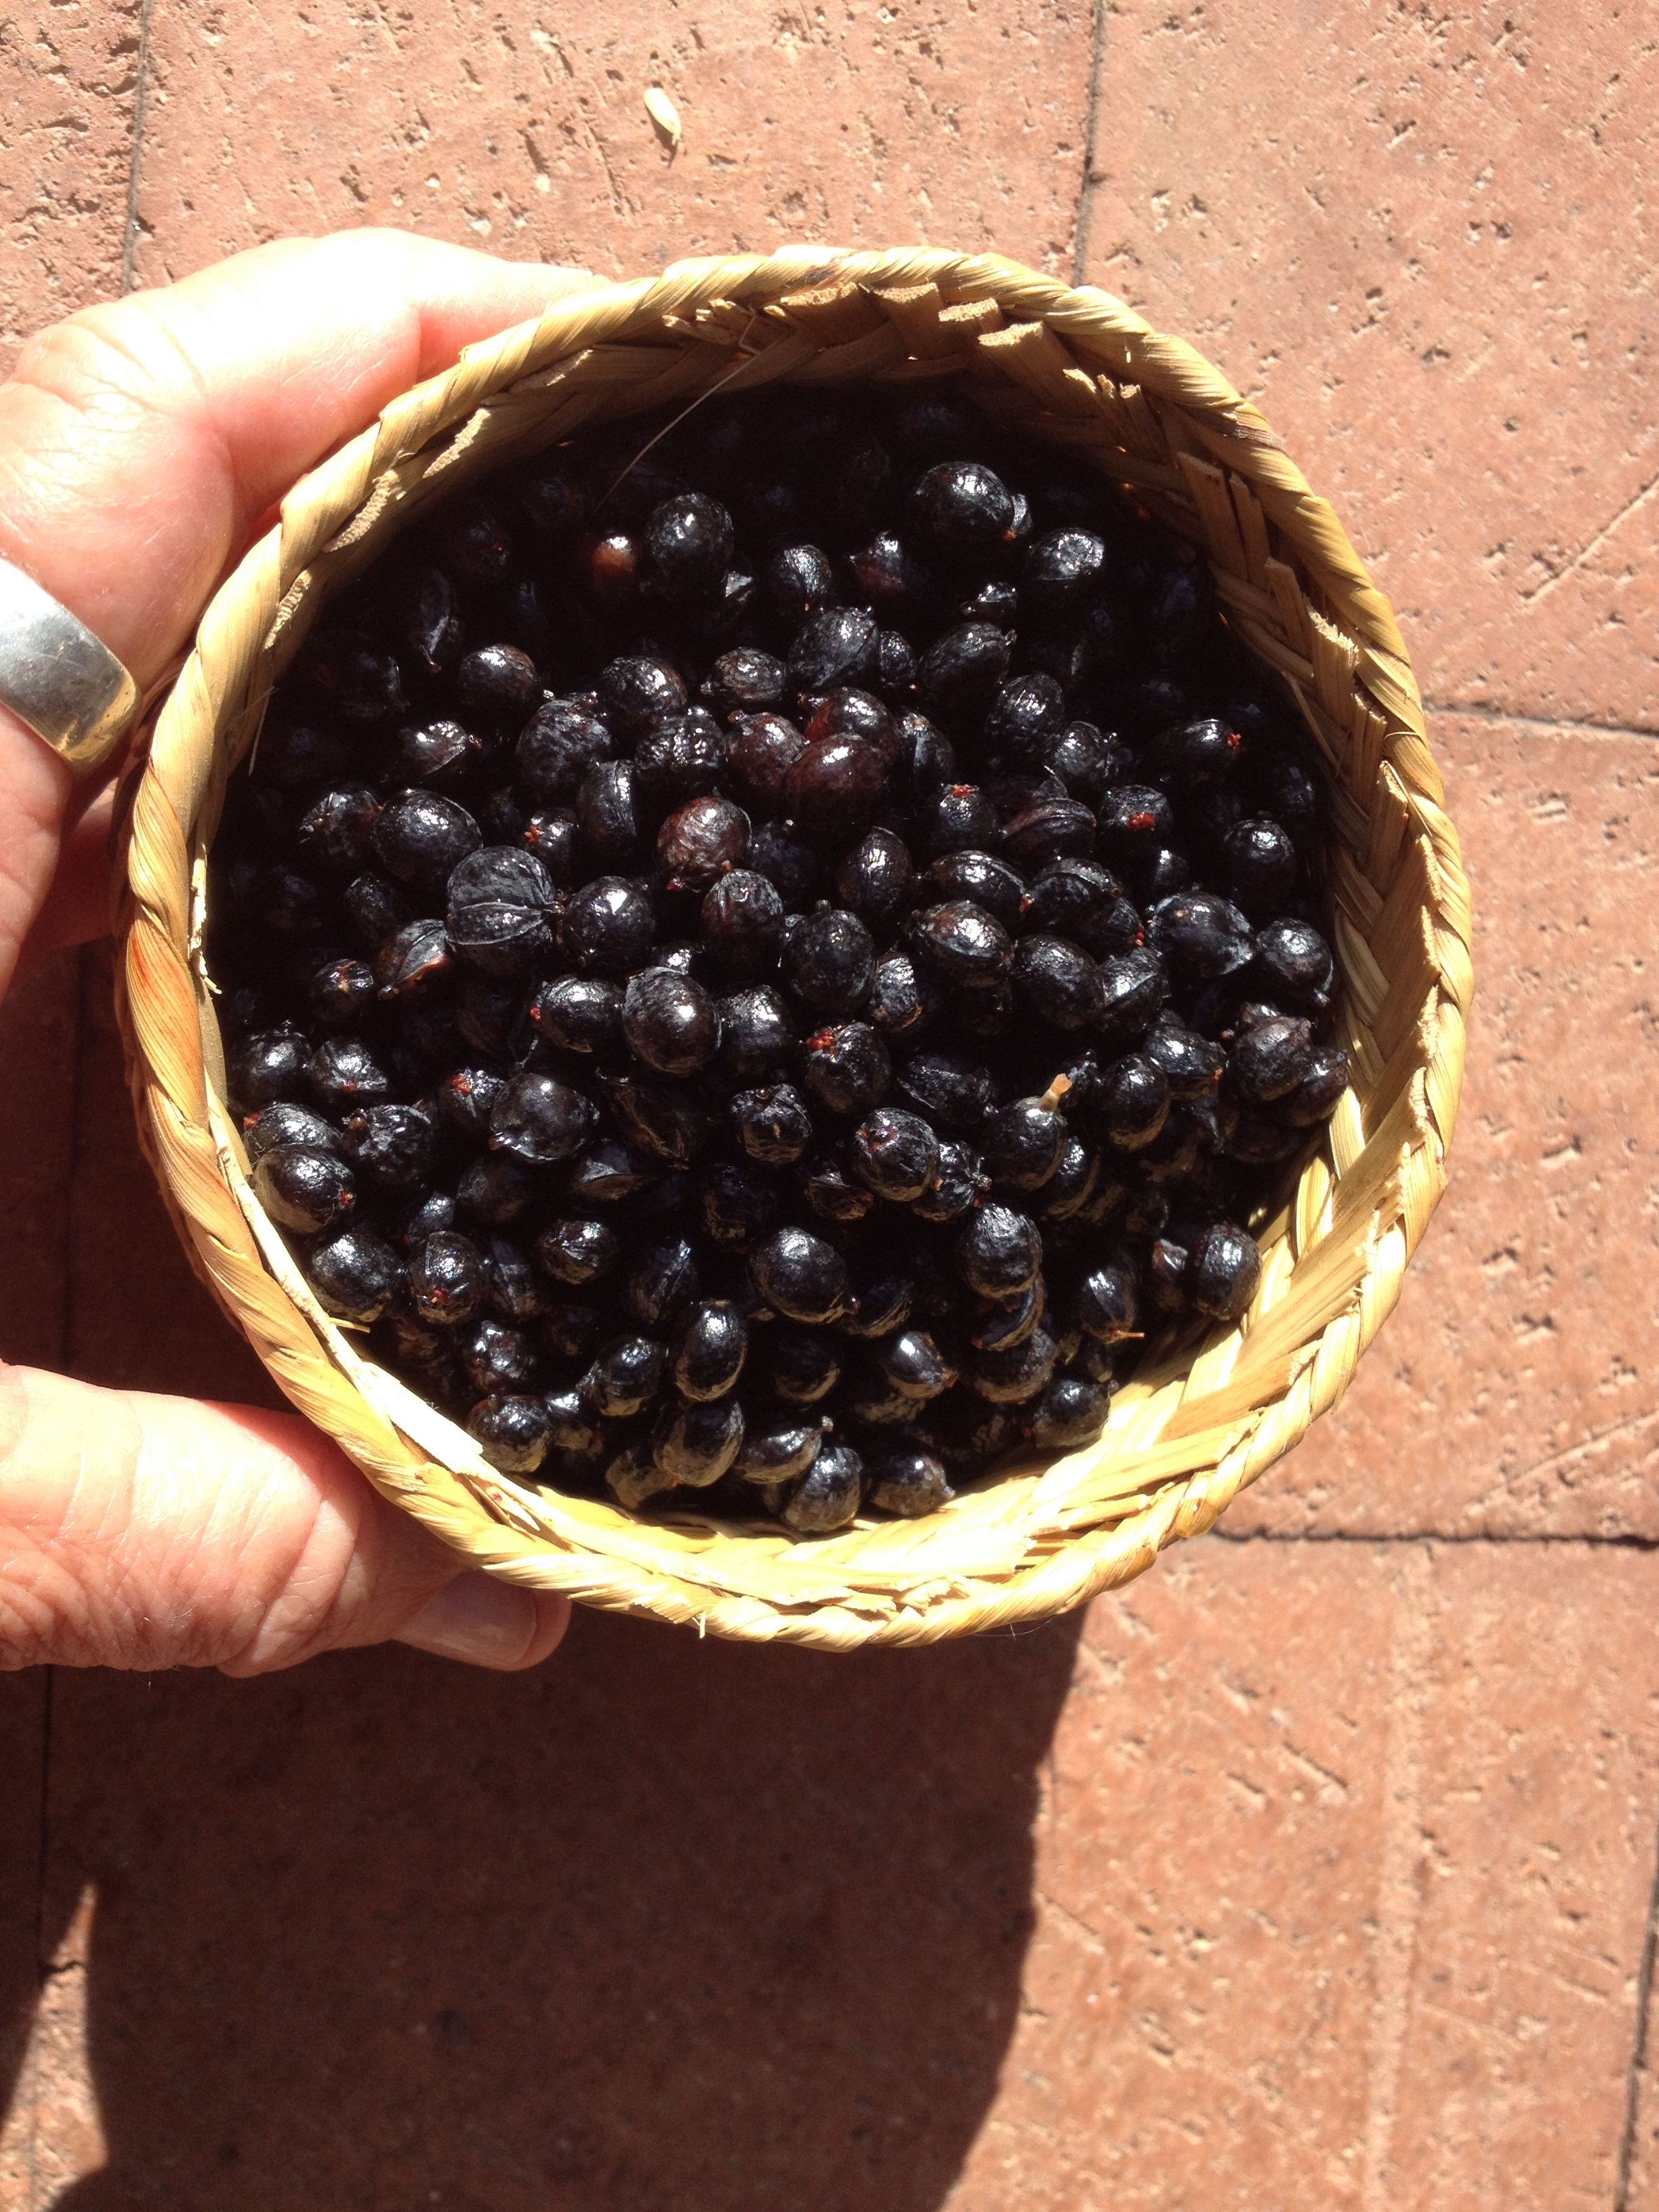
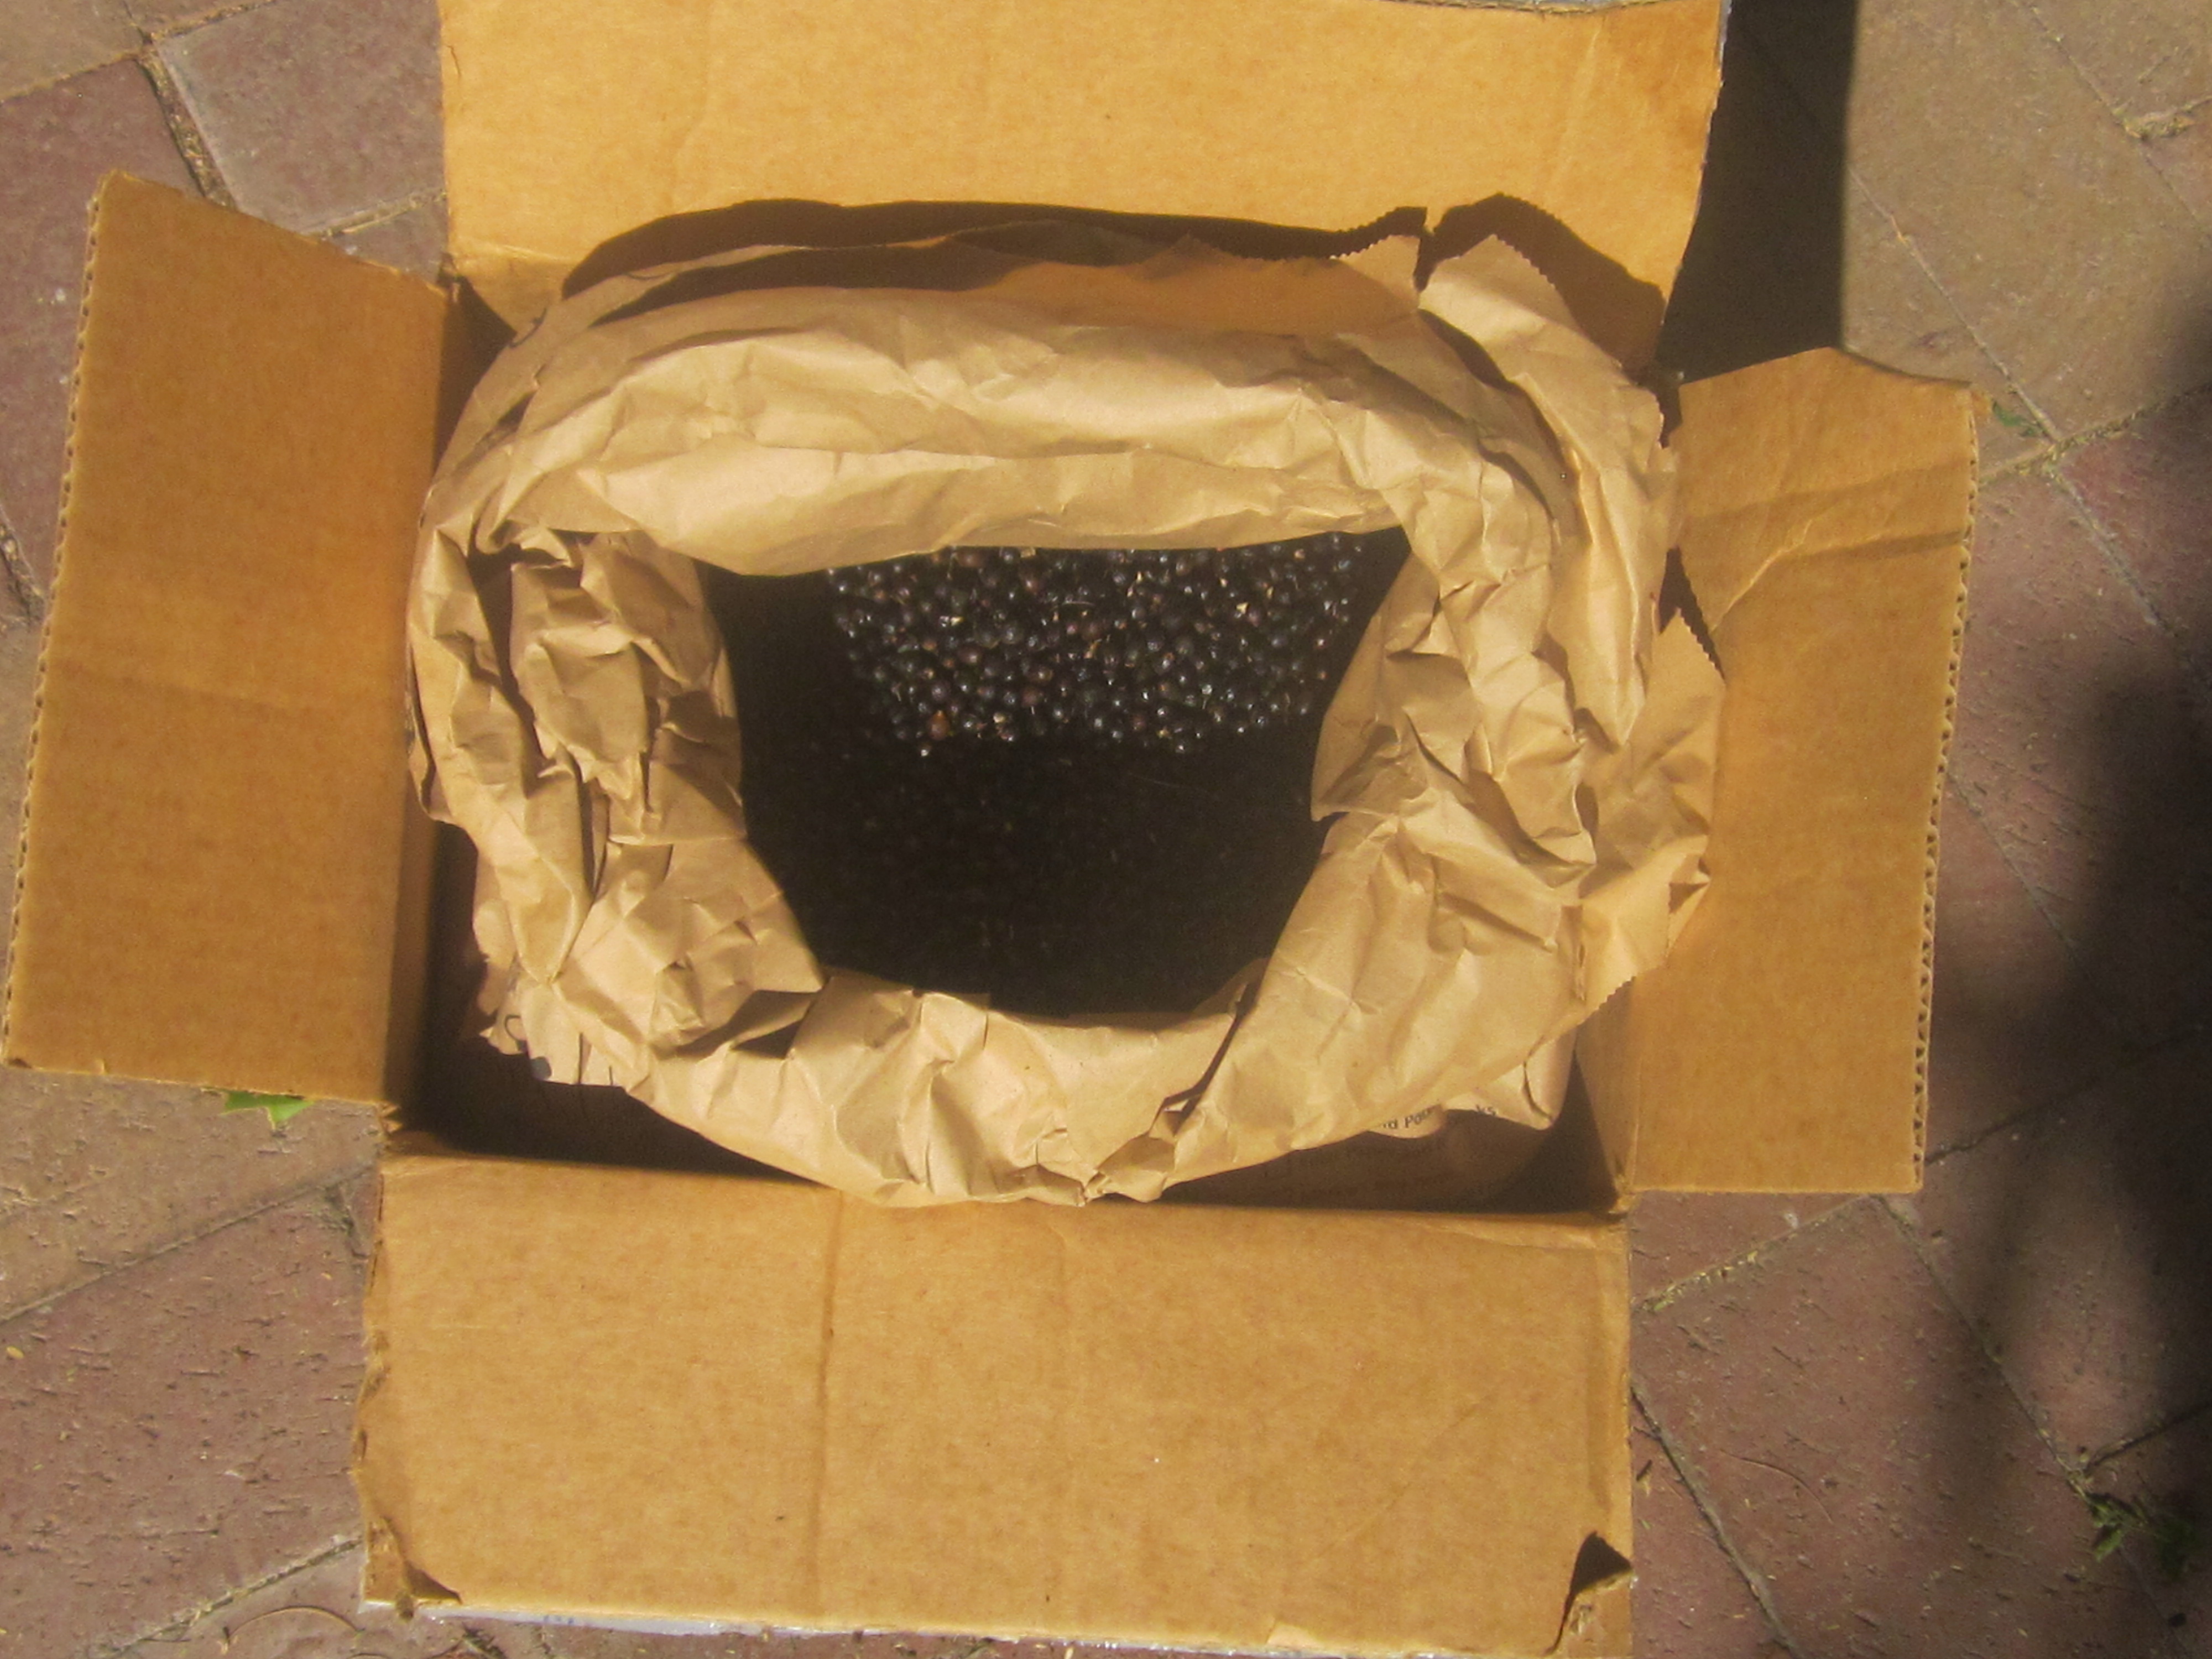
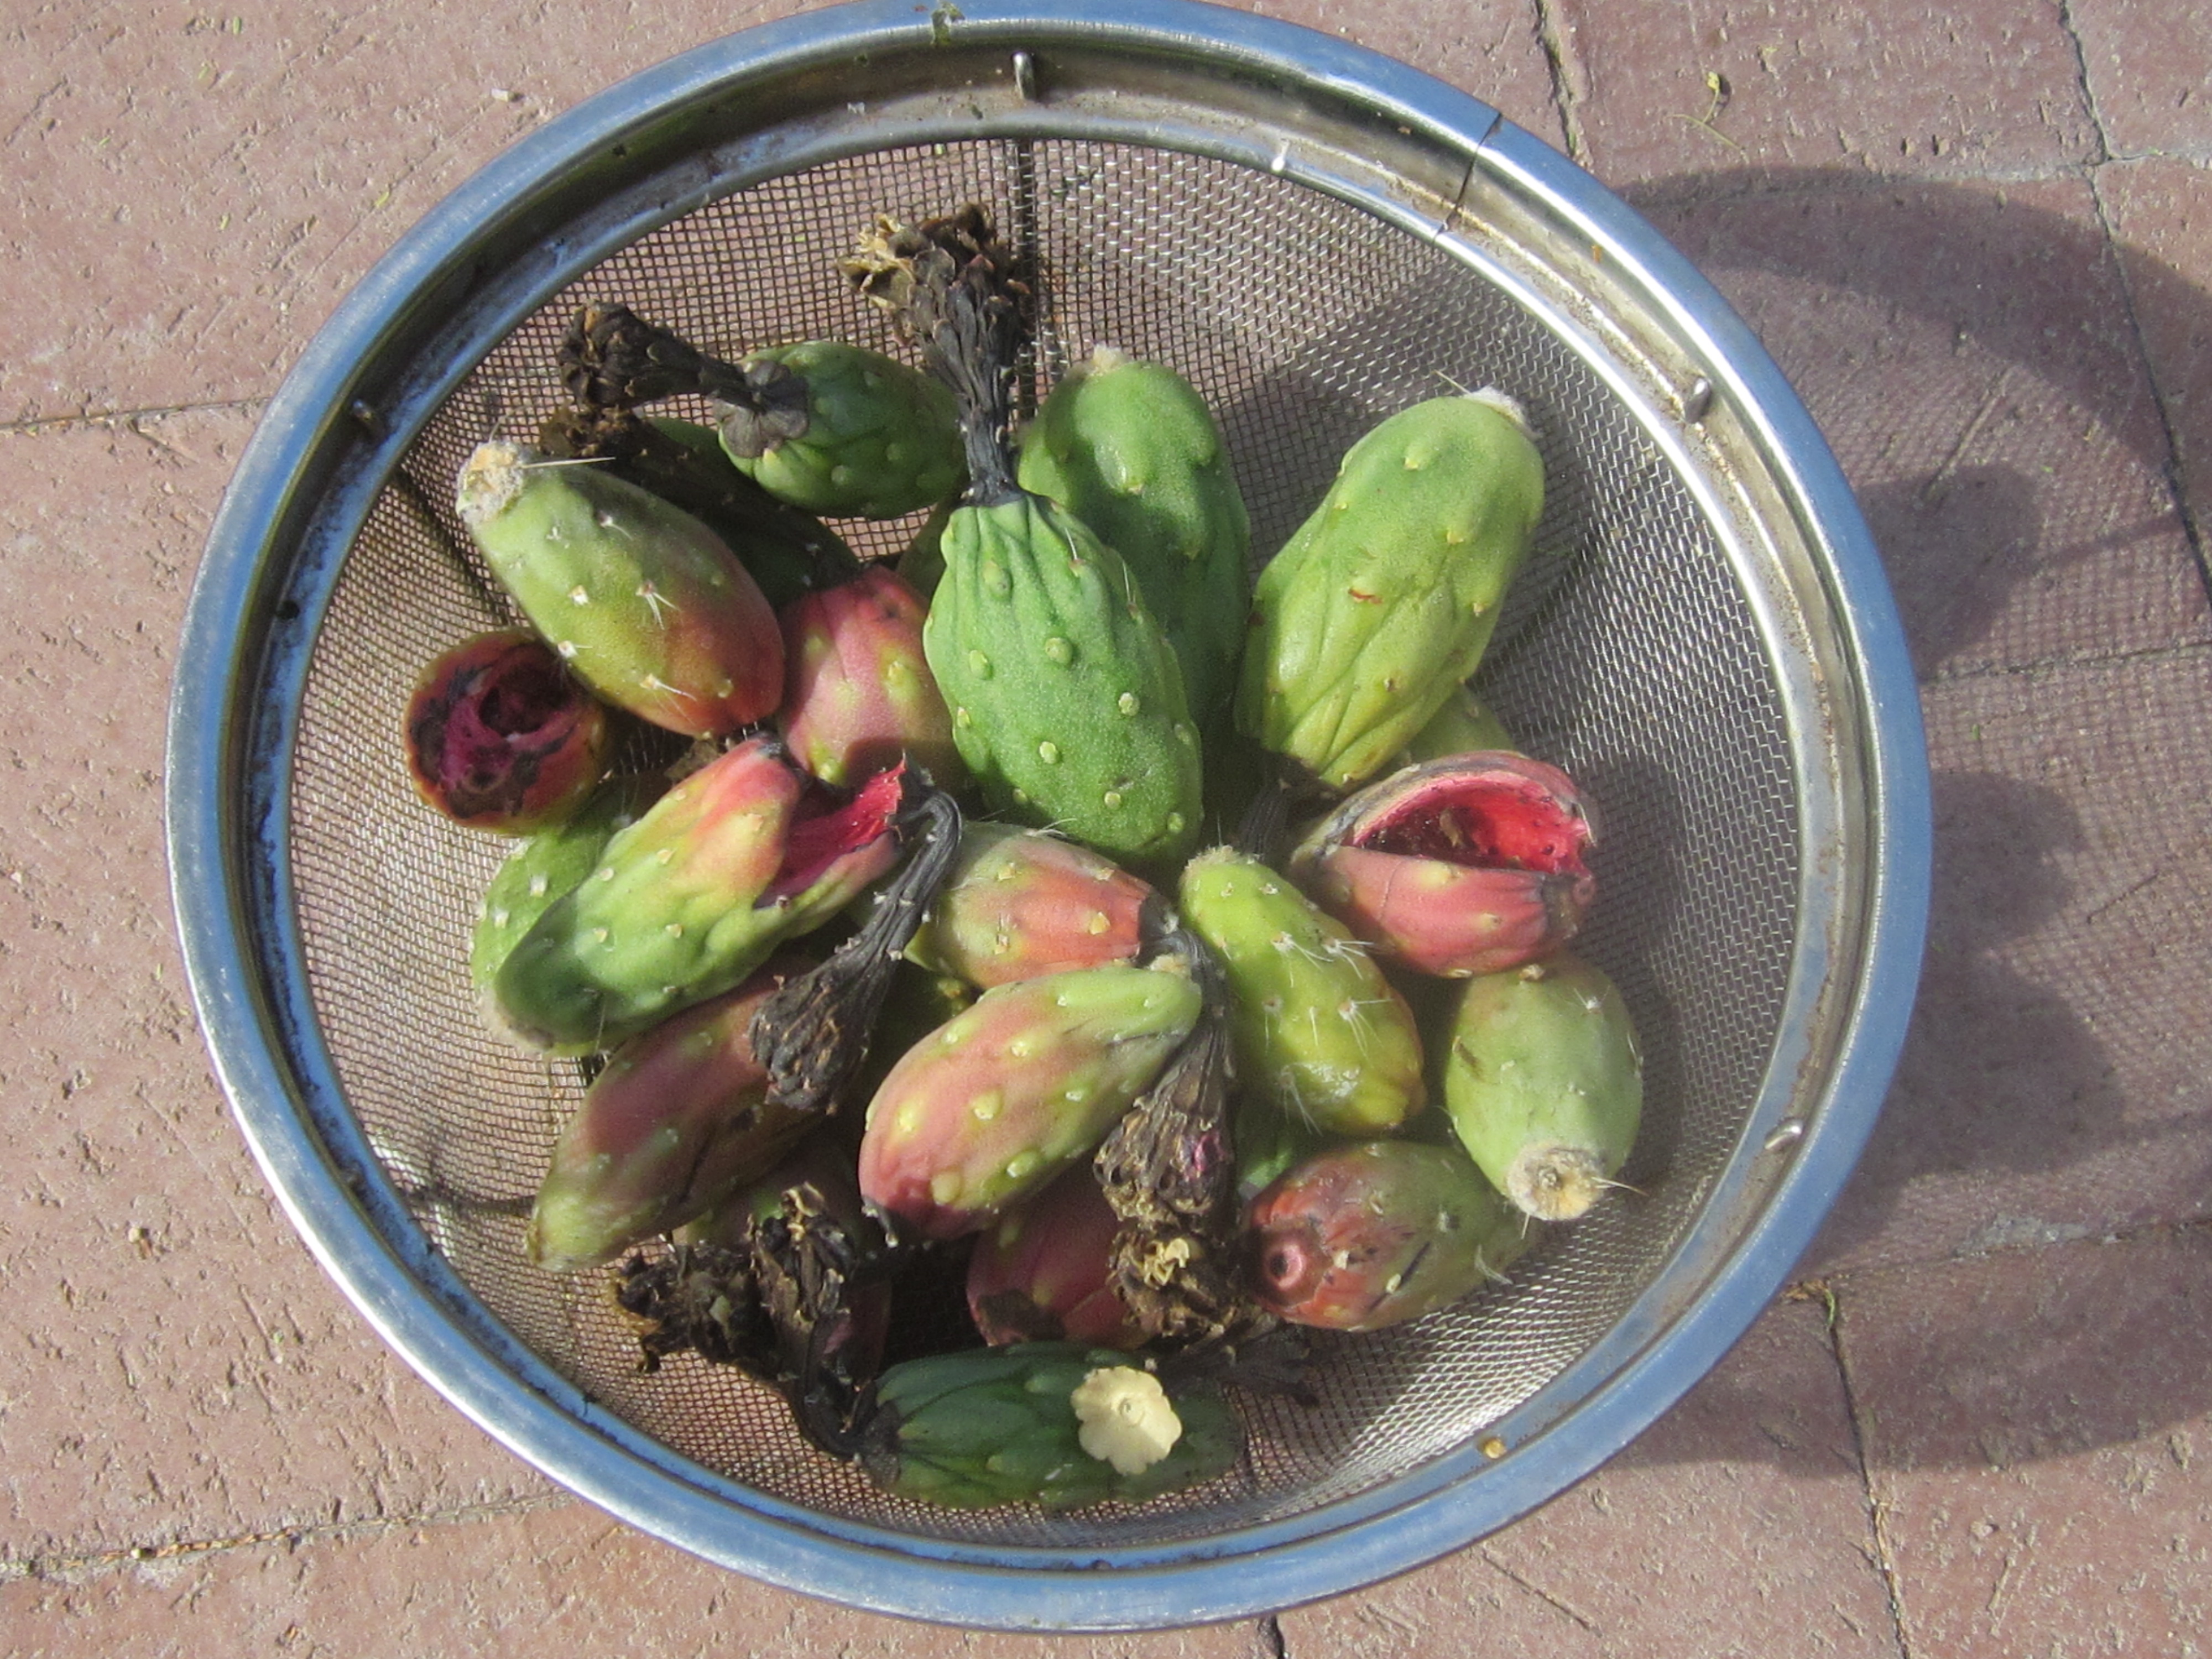
Fruits newly harvested from the California fan palm Washingtonia filifera (MABurgess photo)

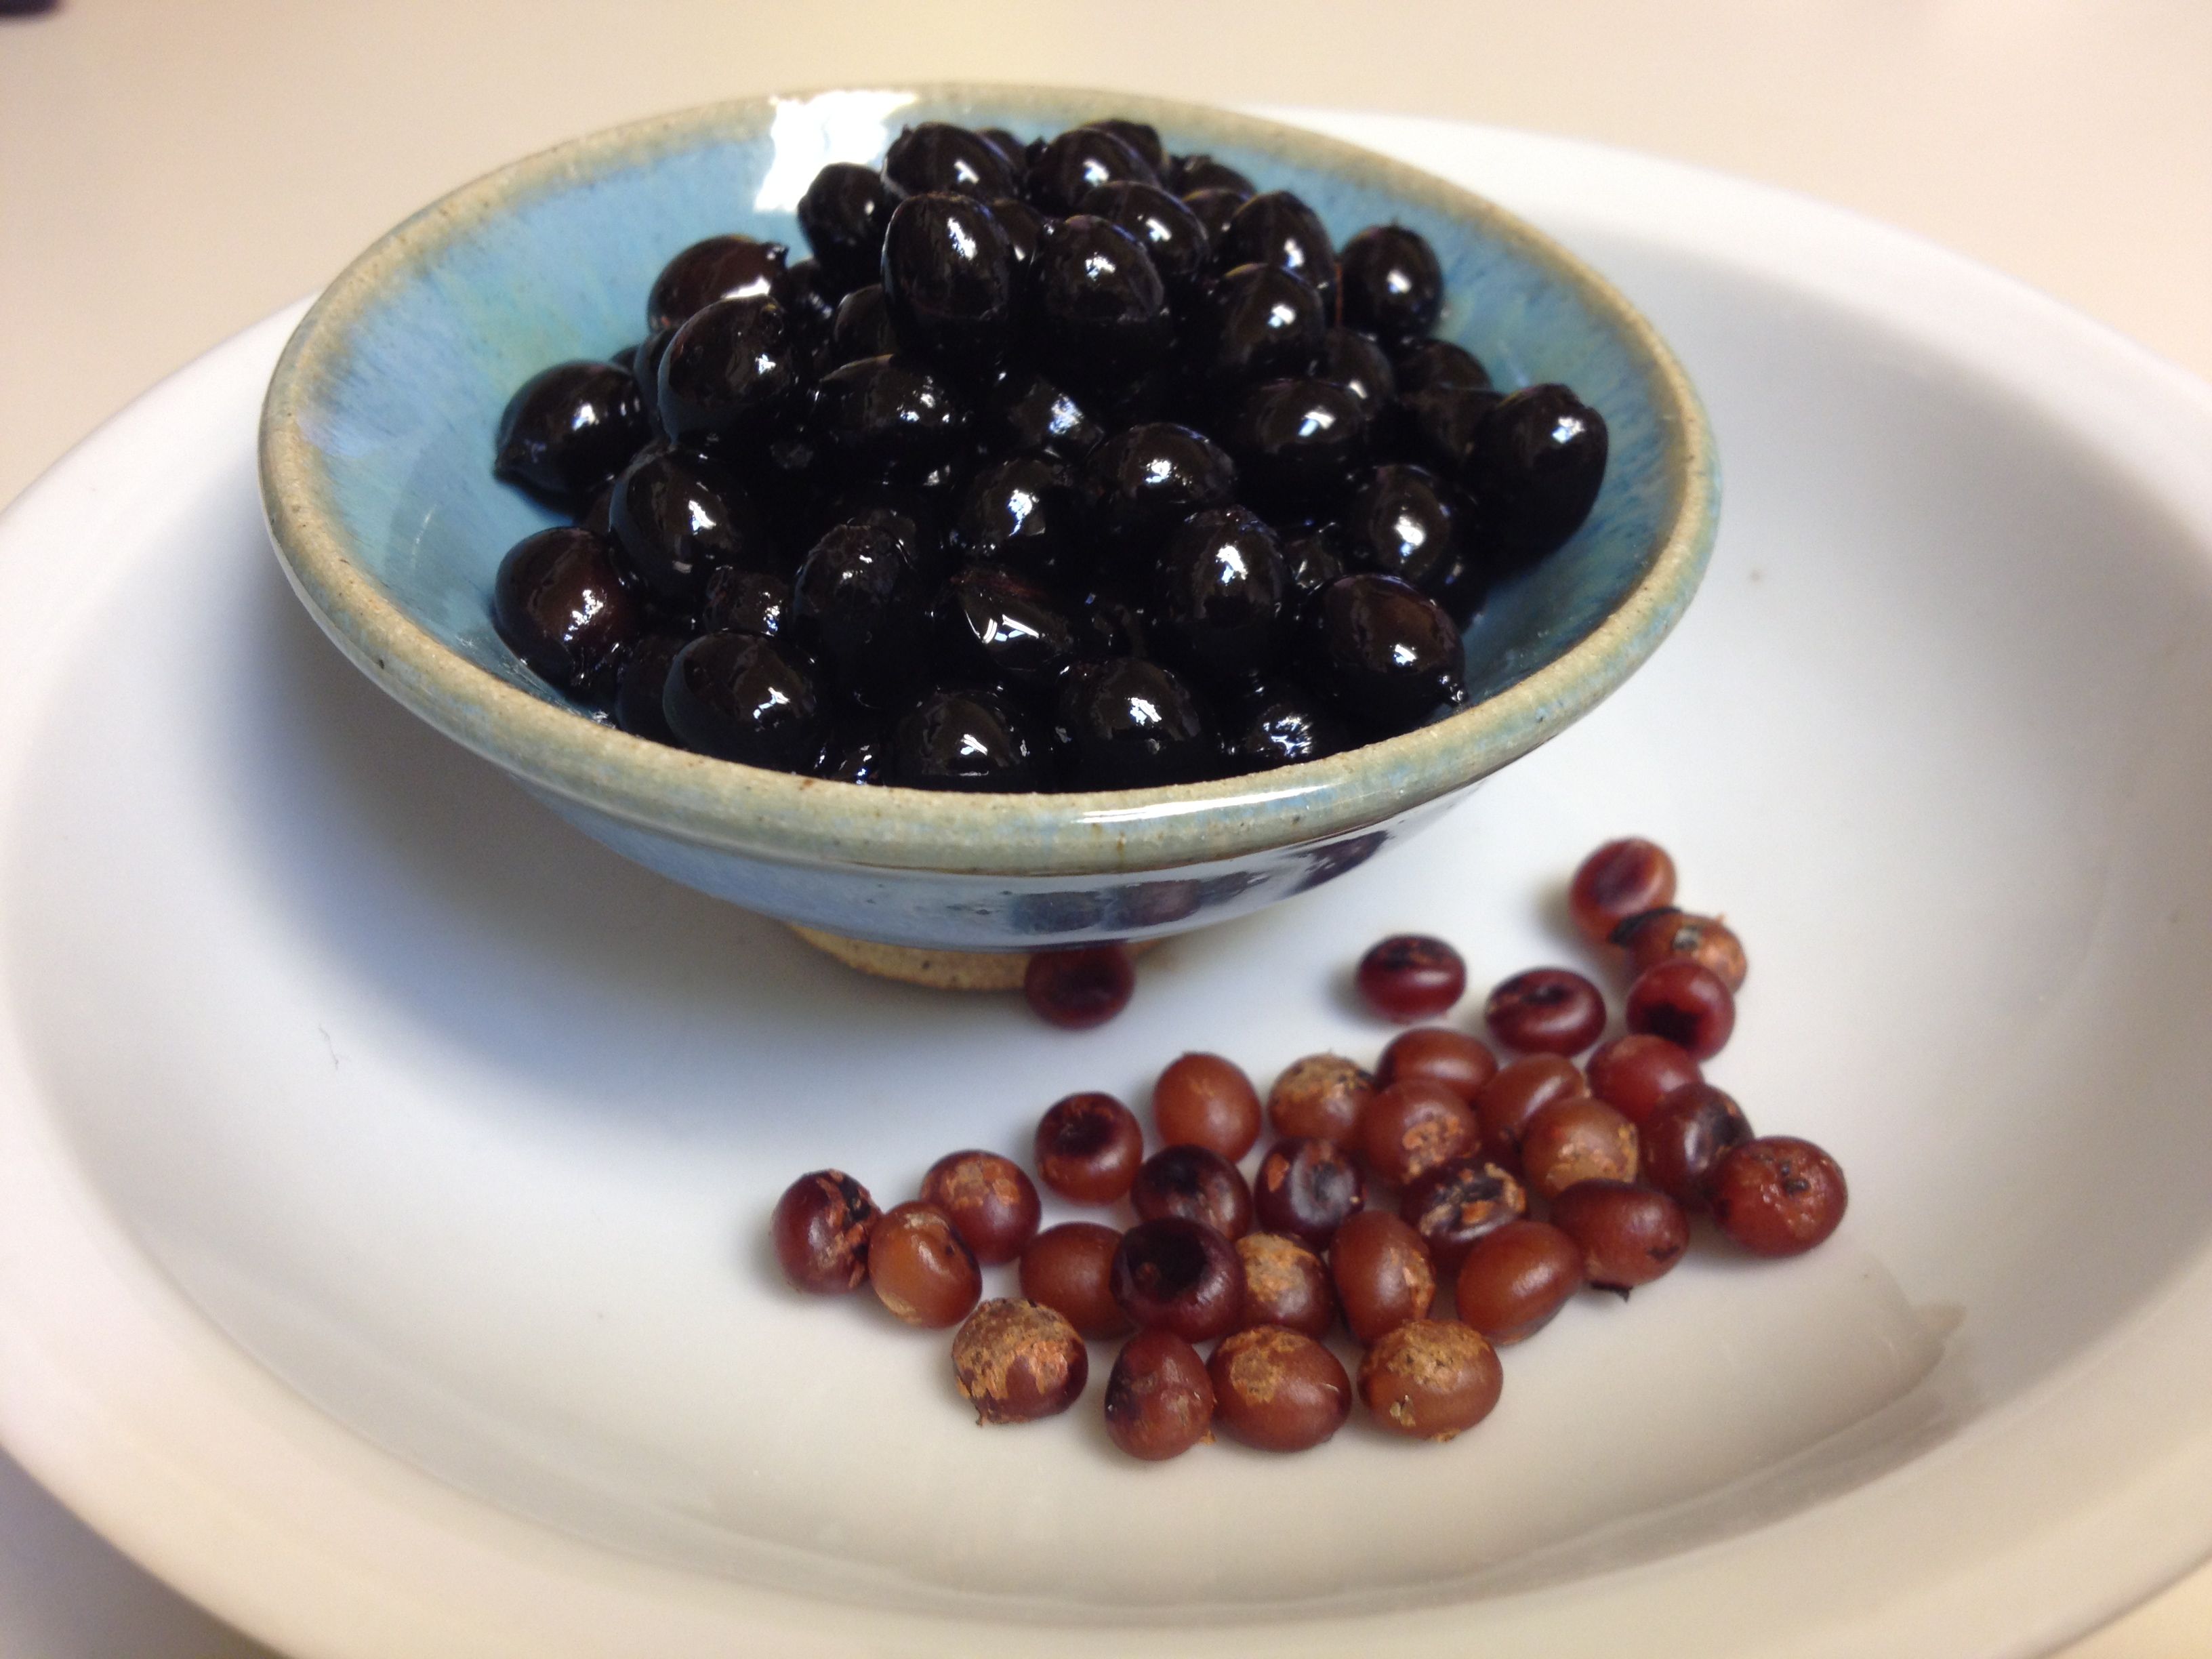
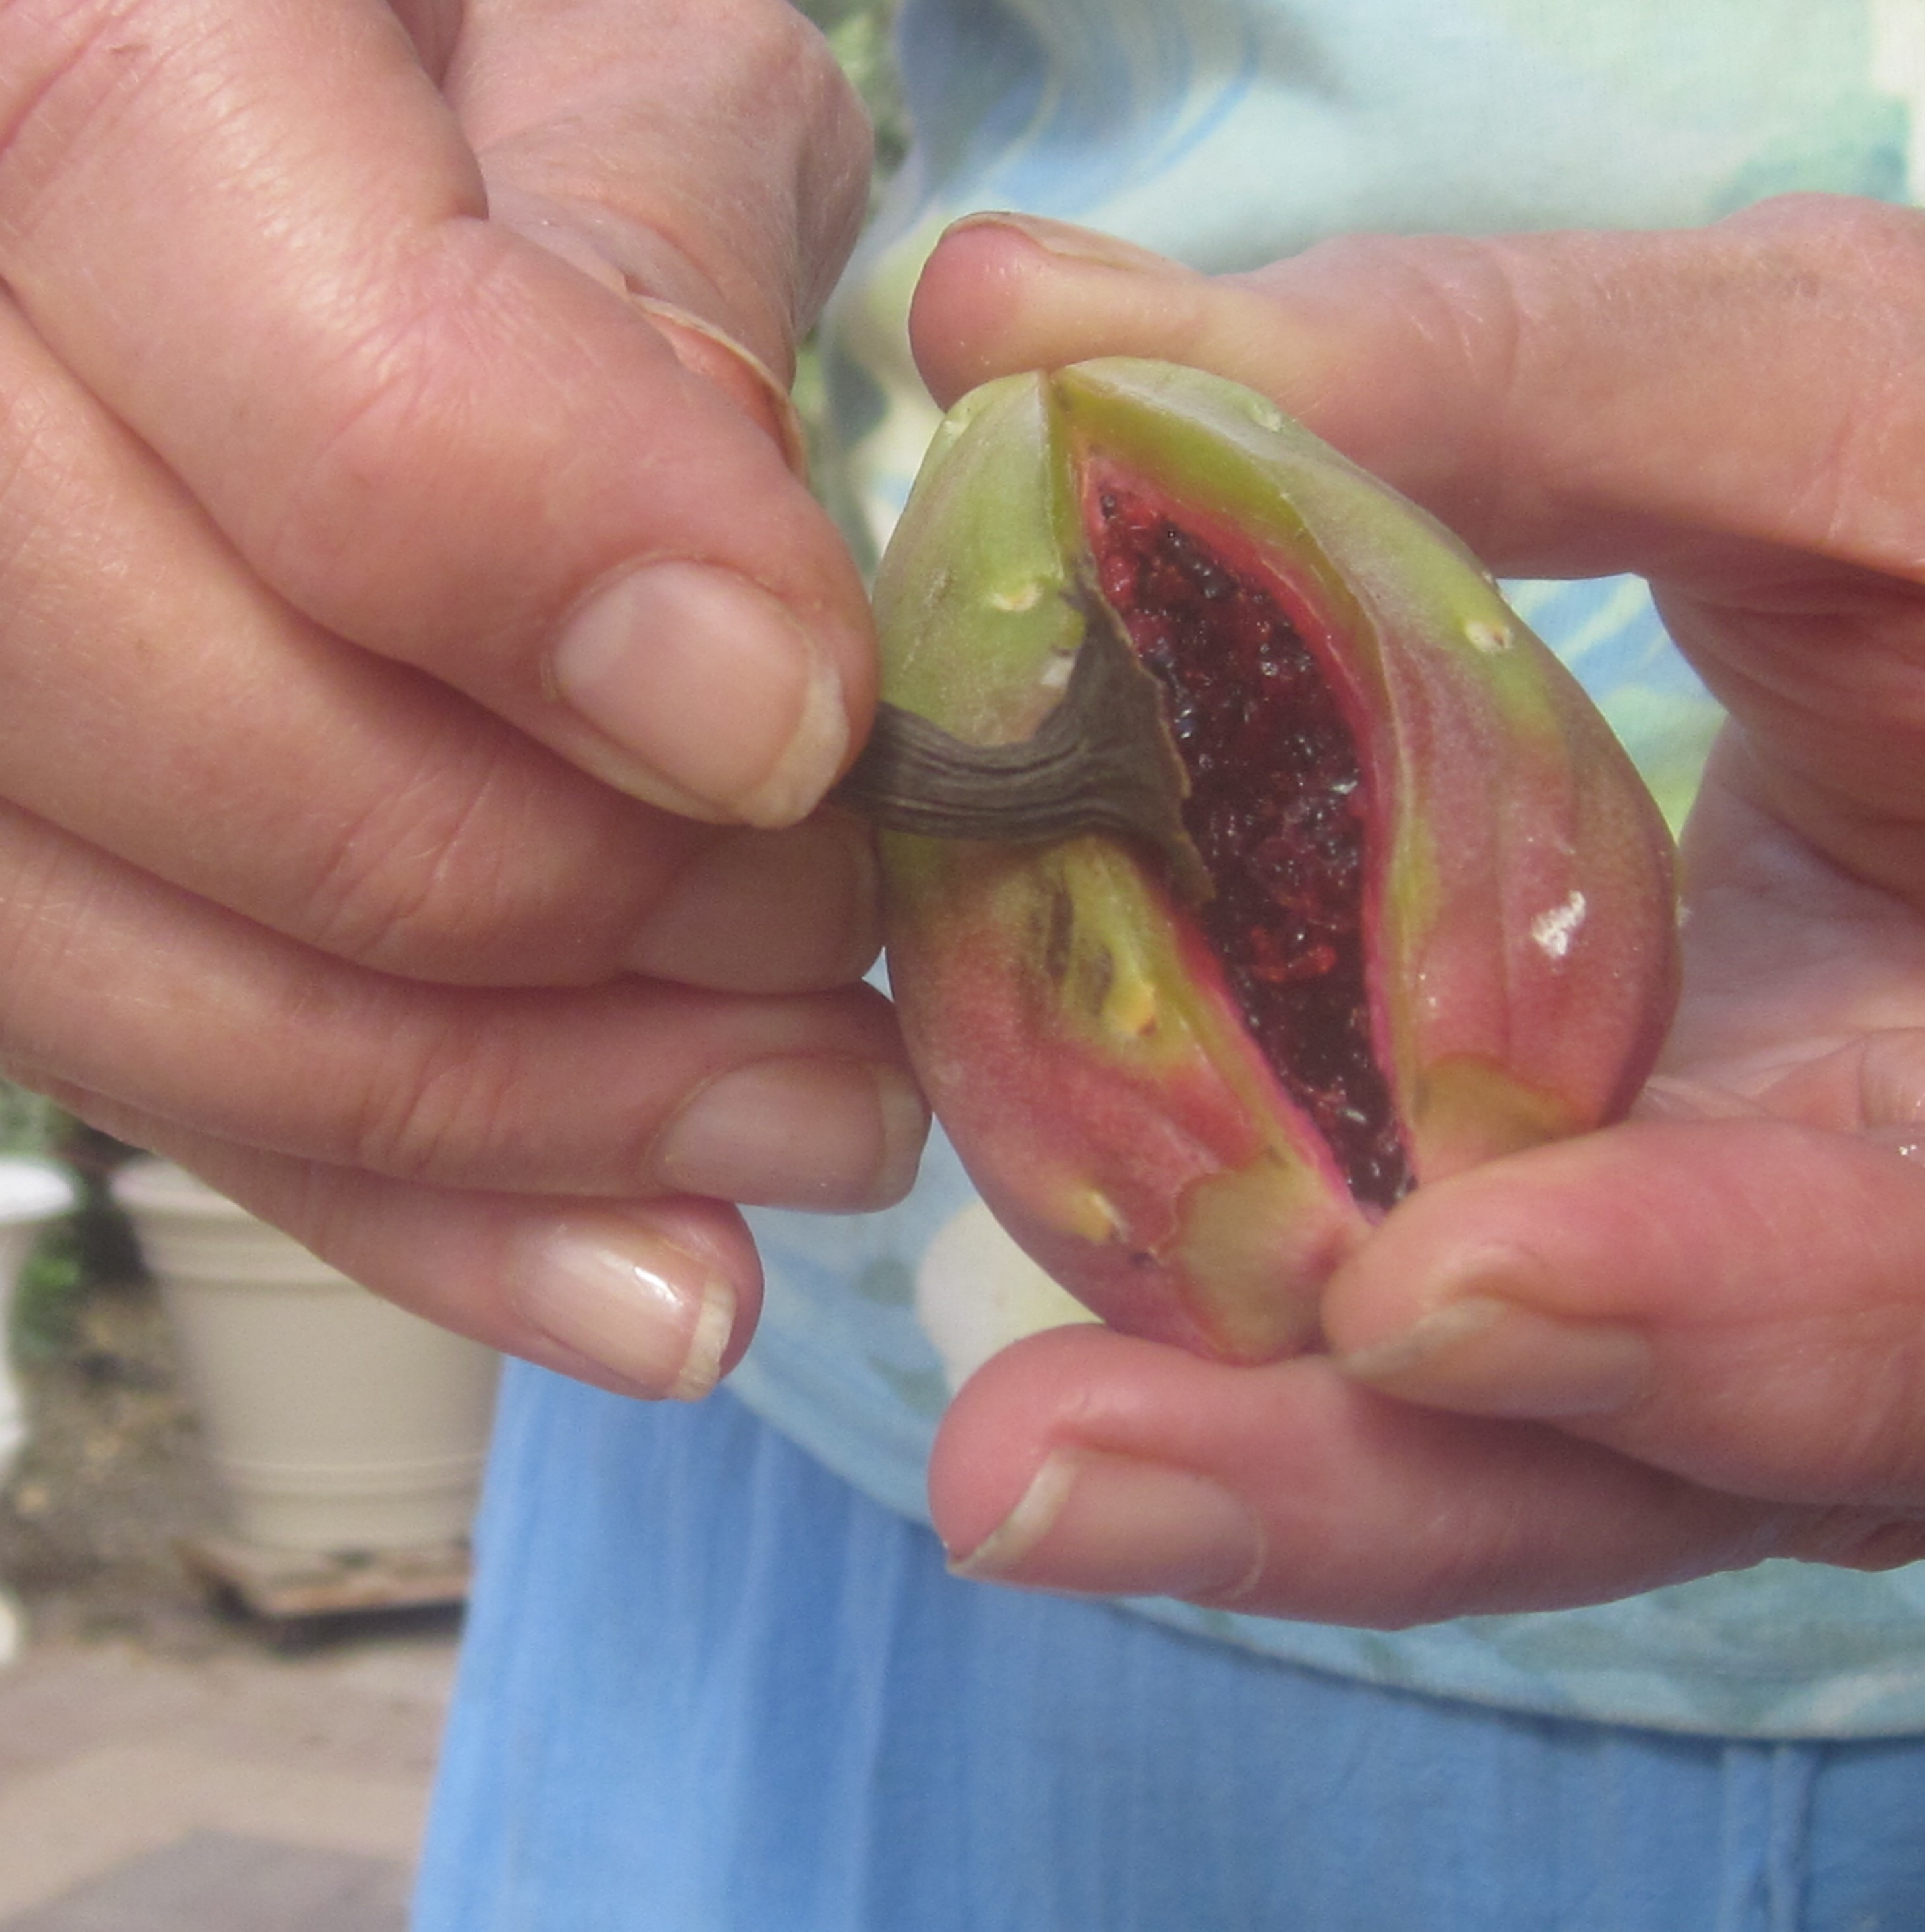
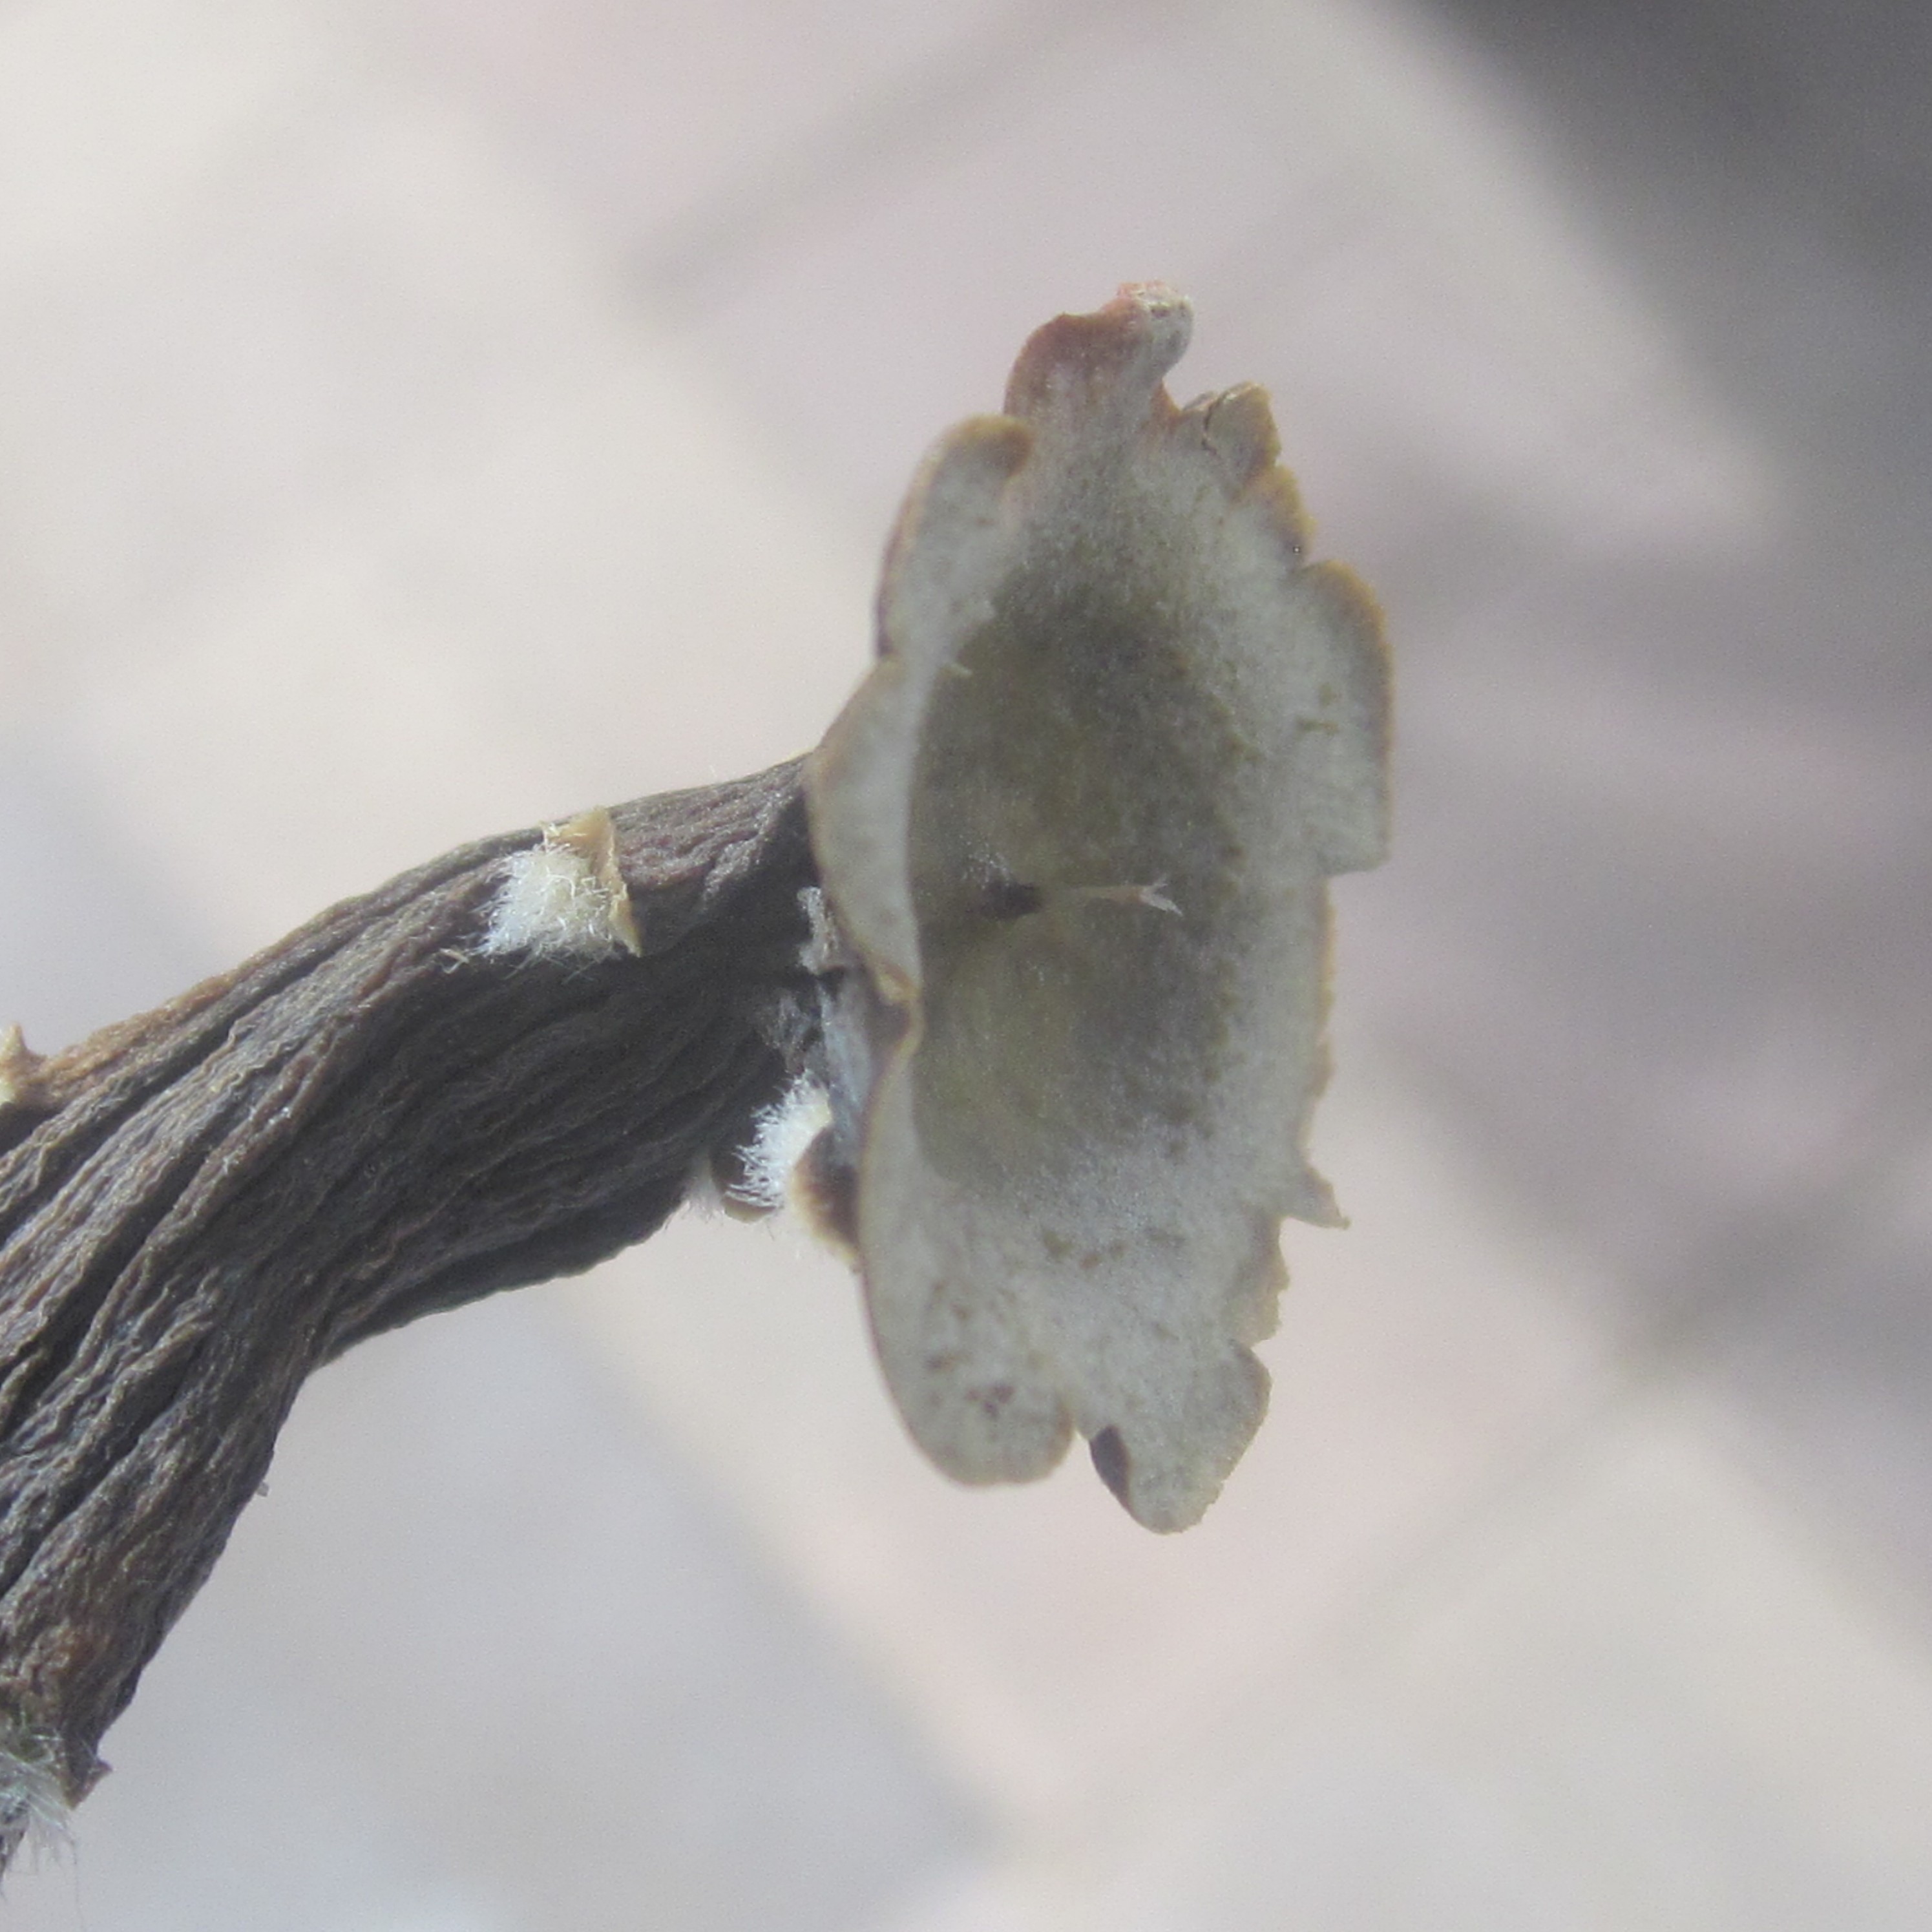
Washingtonia fruit is mostly seed, but the small amount of pulp has an impact in numbers (MABurgess photo)
Harvesting the high hanging fruit clusters proves challenging. Native harvesters used a lasso. More recently some harvesters fit a sharp can lid to the end of a pole to cut off the entire fruit stalk. A Tohono O’odham saguaro harvesting kuipaD might suffice—or a long-poled tree-trimmer—both worth a try.
In addition to their success as hot-desert food producers, both fan palms native to southwest North America, Washingtonia filifera (the stout, shorter one) and W.robusta (the super-tall, spindlier one), provide excellent nutrition. It has been estimated that one fan palm’s fruit could sustain one human’s nutritional needs for more than 200 days! Get a load of these figures from James W. Cornett (Principles Jour.Internat.PalmSociety,1987): Protein 3.1%, Carbs 77.7%, Fiber 10.4%, Calcium 110 mg per 100g, VitaminA(Carotenes) 180mg per 100g. Comparing these wild date nutritional figures with the commercial date palm (Phoenix dactylifera), our wild fan palm is way ahead on all counts except carbs (carbs 94.1% in standard dates).

Washed and drained fruits of Washingtonia filifera in Tarahumara sifting basket, ready for snacking! (MABurgess photo)
Since the fruits of W.robusta (the tall one) are even tinier than W.filifera, I chose to do my foodie experiments with the latter one’s “bigger” datelets–both small. Fruits of both are mostly seed, a stony seed surrounded by a thin layer of sweet skin and dry, date-like pulp. Here are two fun ideas I’ve come up with for using fan palm fruits, which can be done easily in any kitchen or patio. These ideas also might present interesting potential for commercial-scale food production. (I hope our wonderful local companies like Cheri’s Desert Harvest are listening to the significance herein!) So, here’s my first idea–really in three delicious parts:

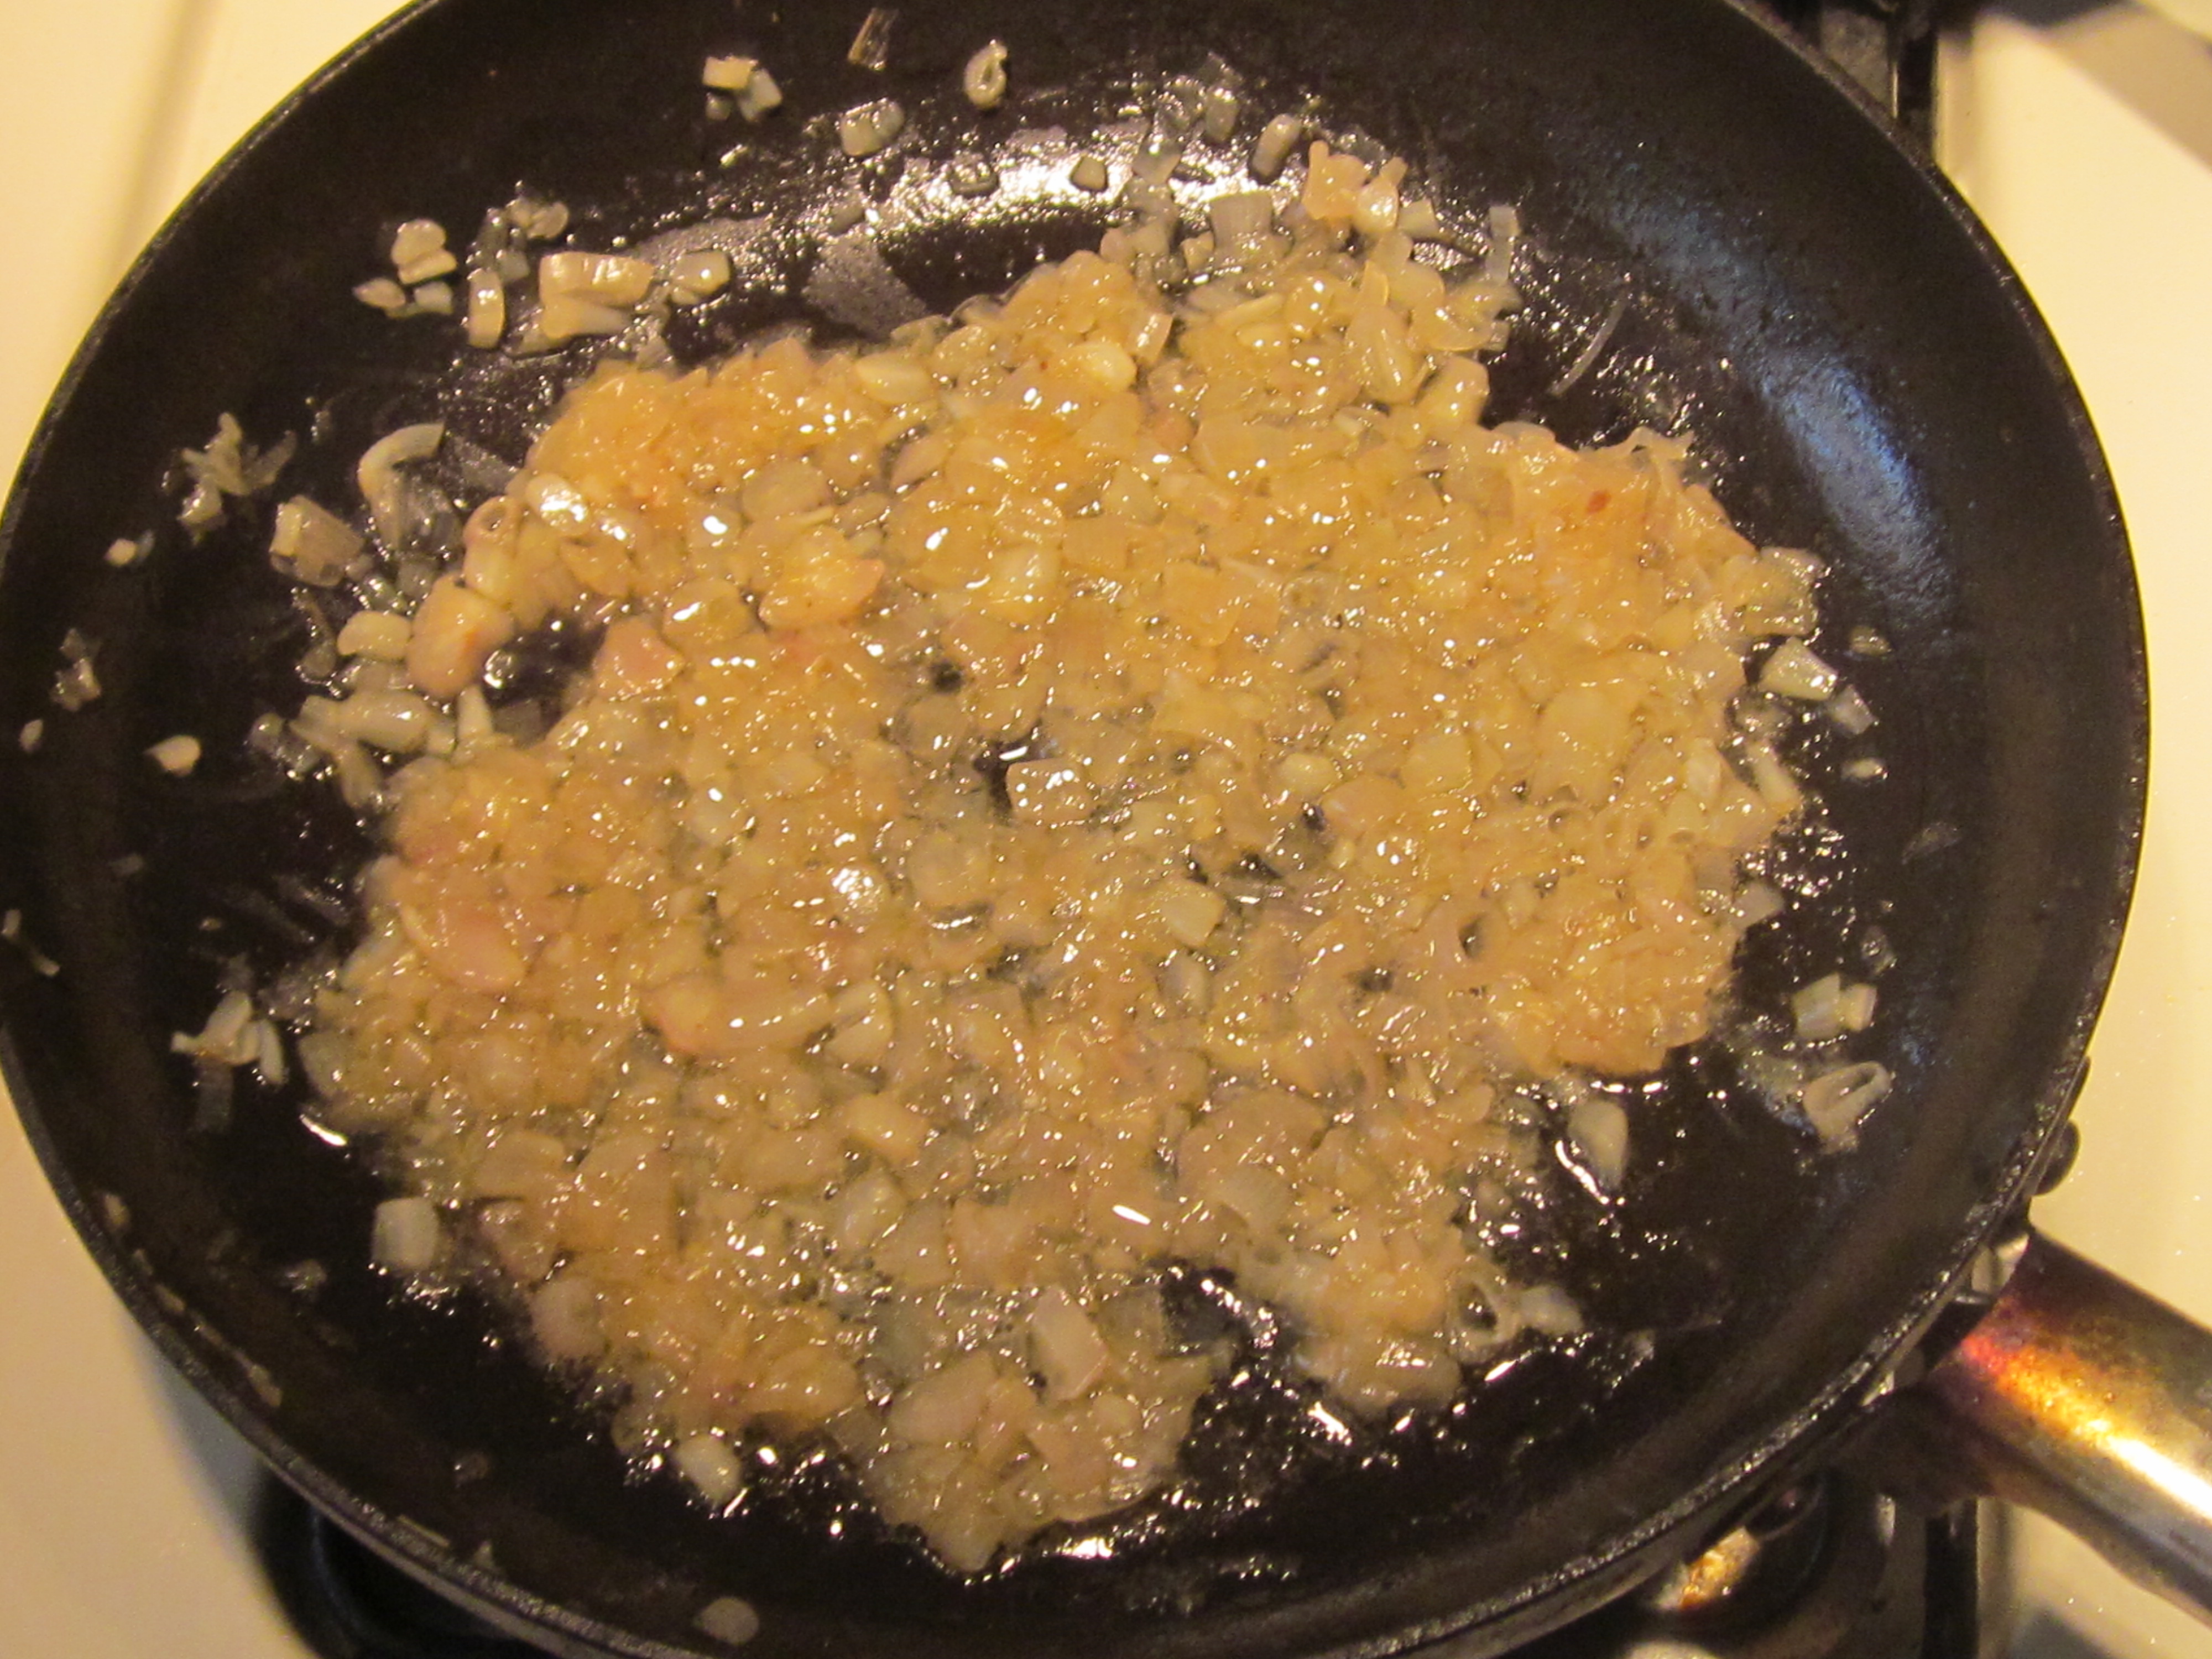
Simmering fan palm fruitsSolar Fan Palm Syrup, Datil Molasses, or Datil Candy
SOLAR FAN PALM SYRUP
Directions:
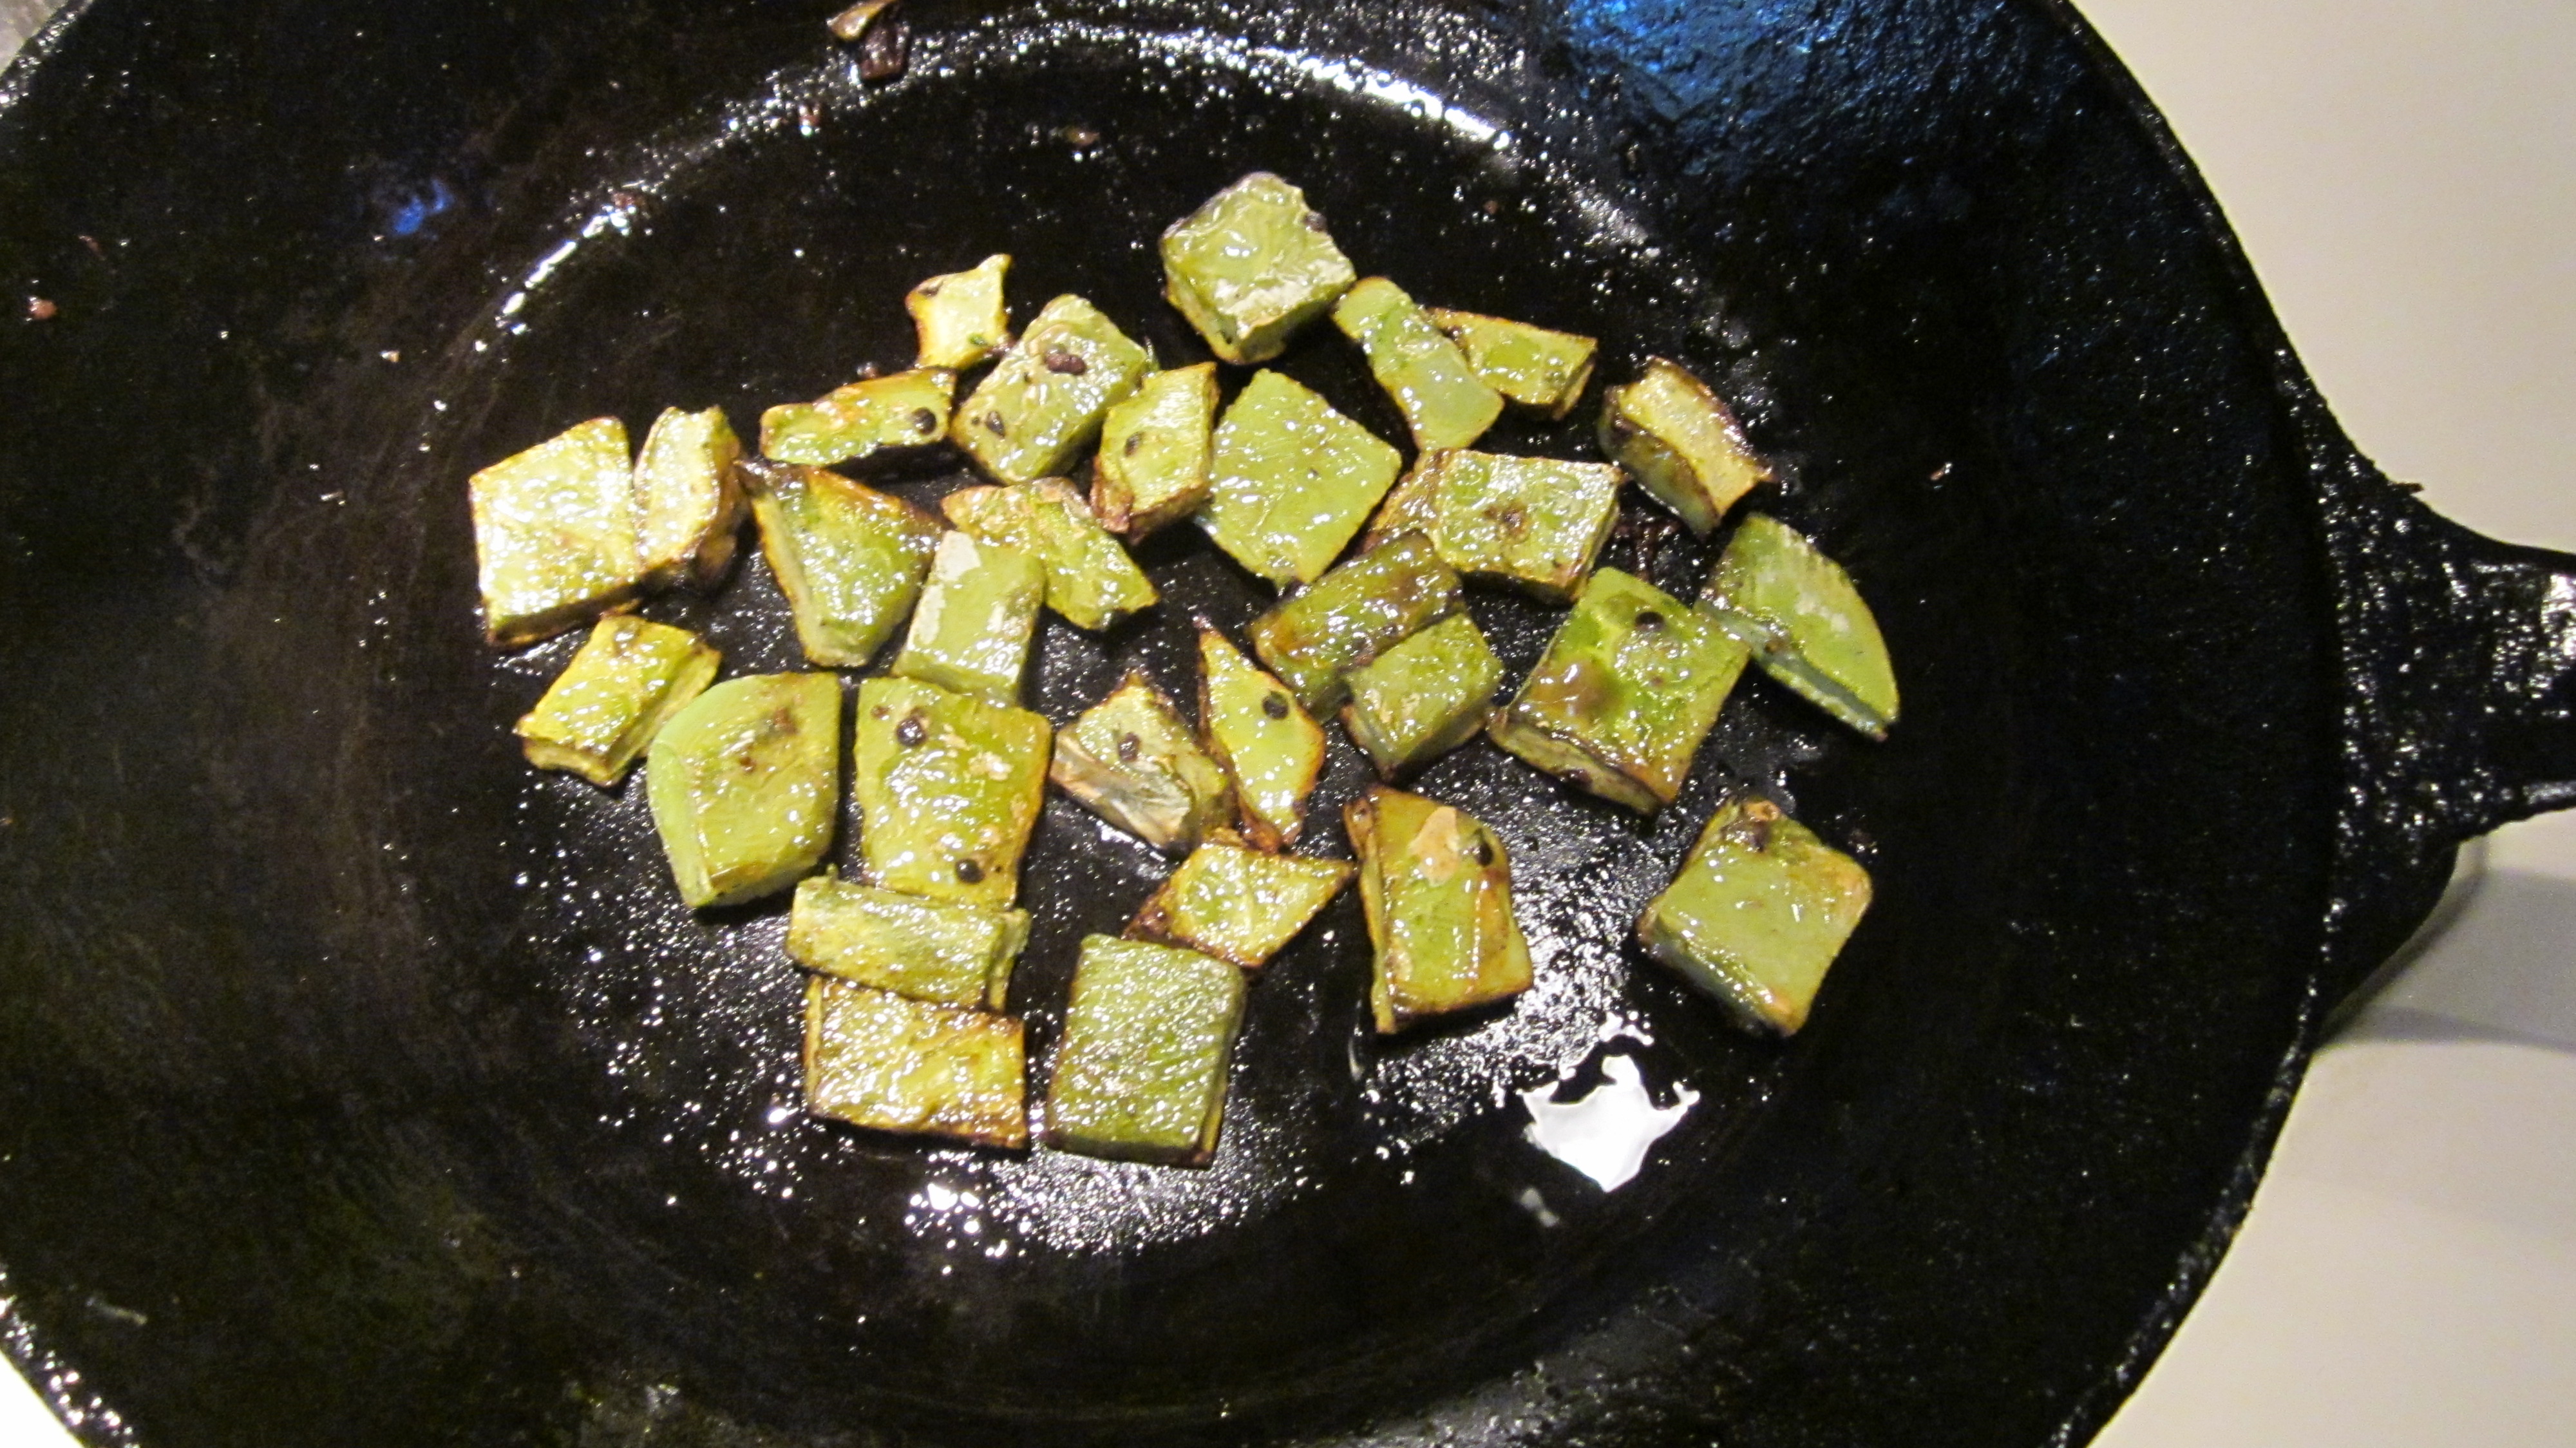
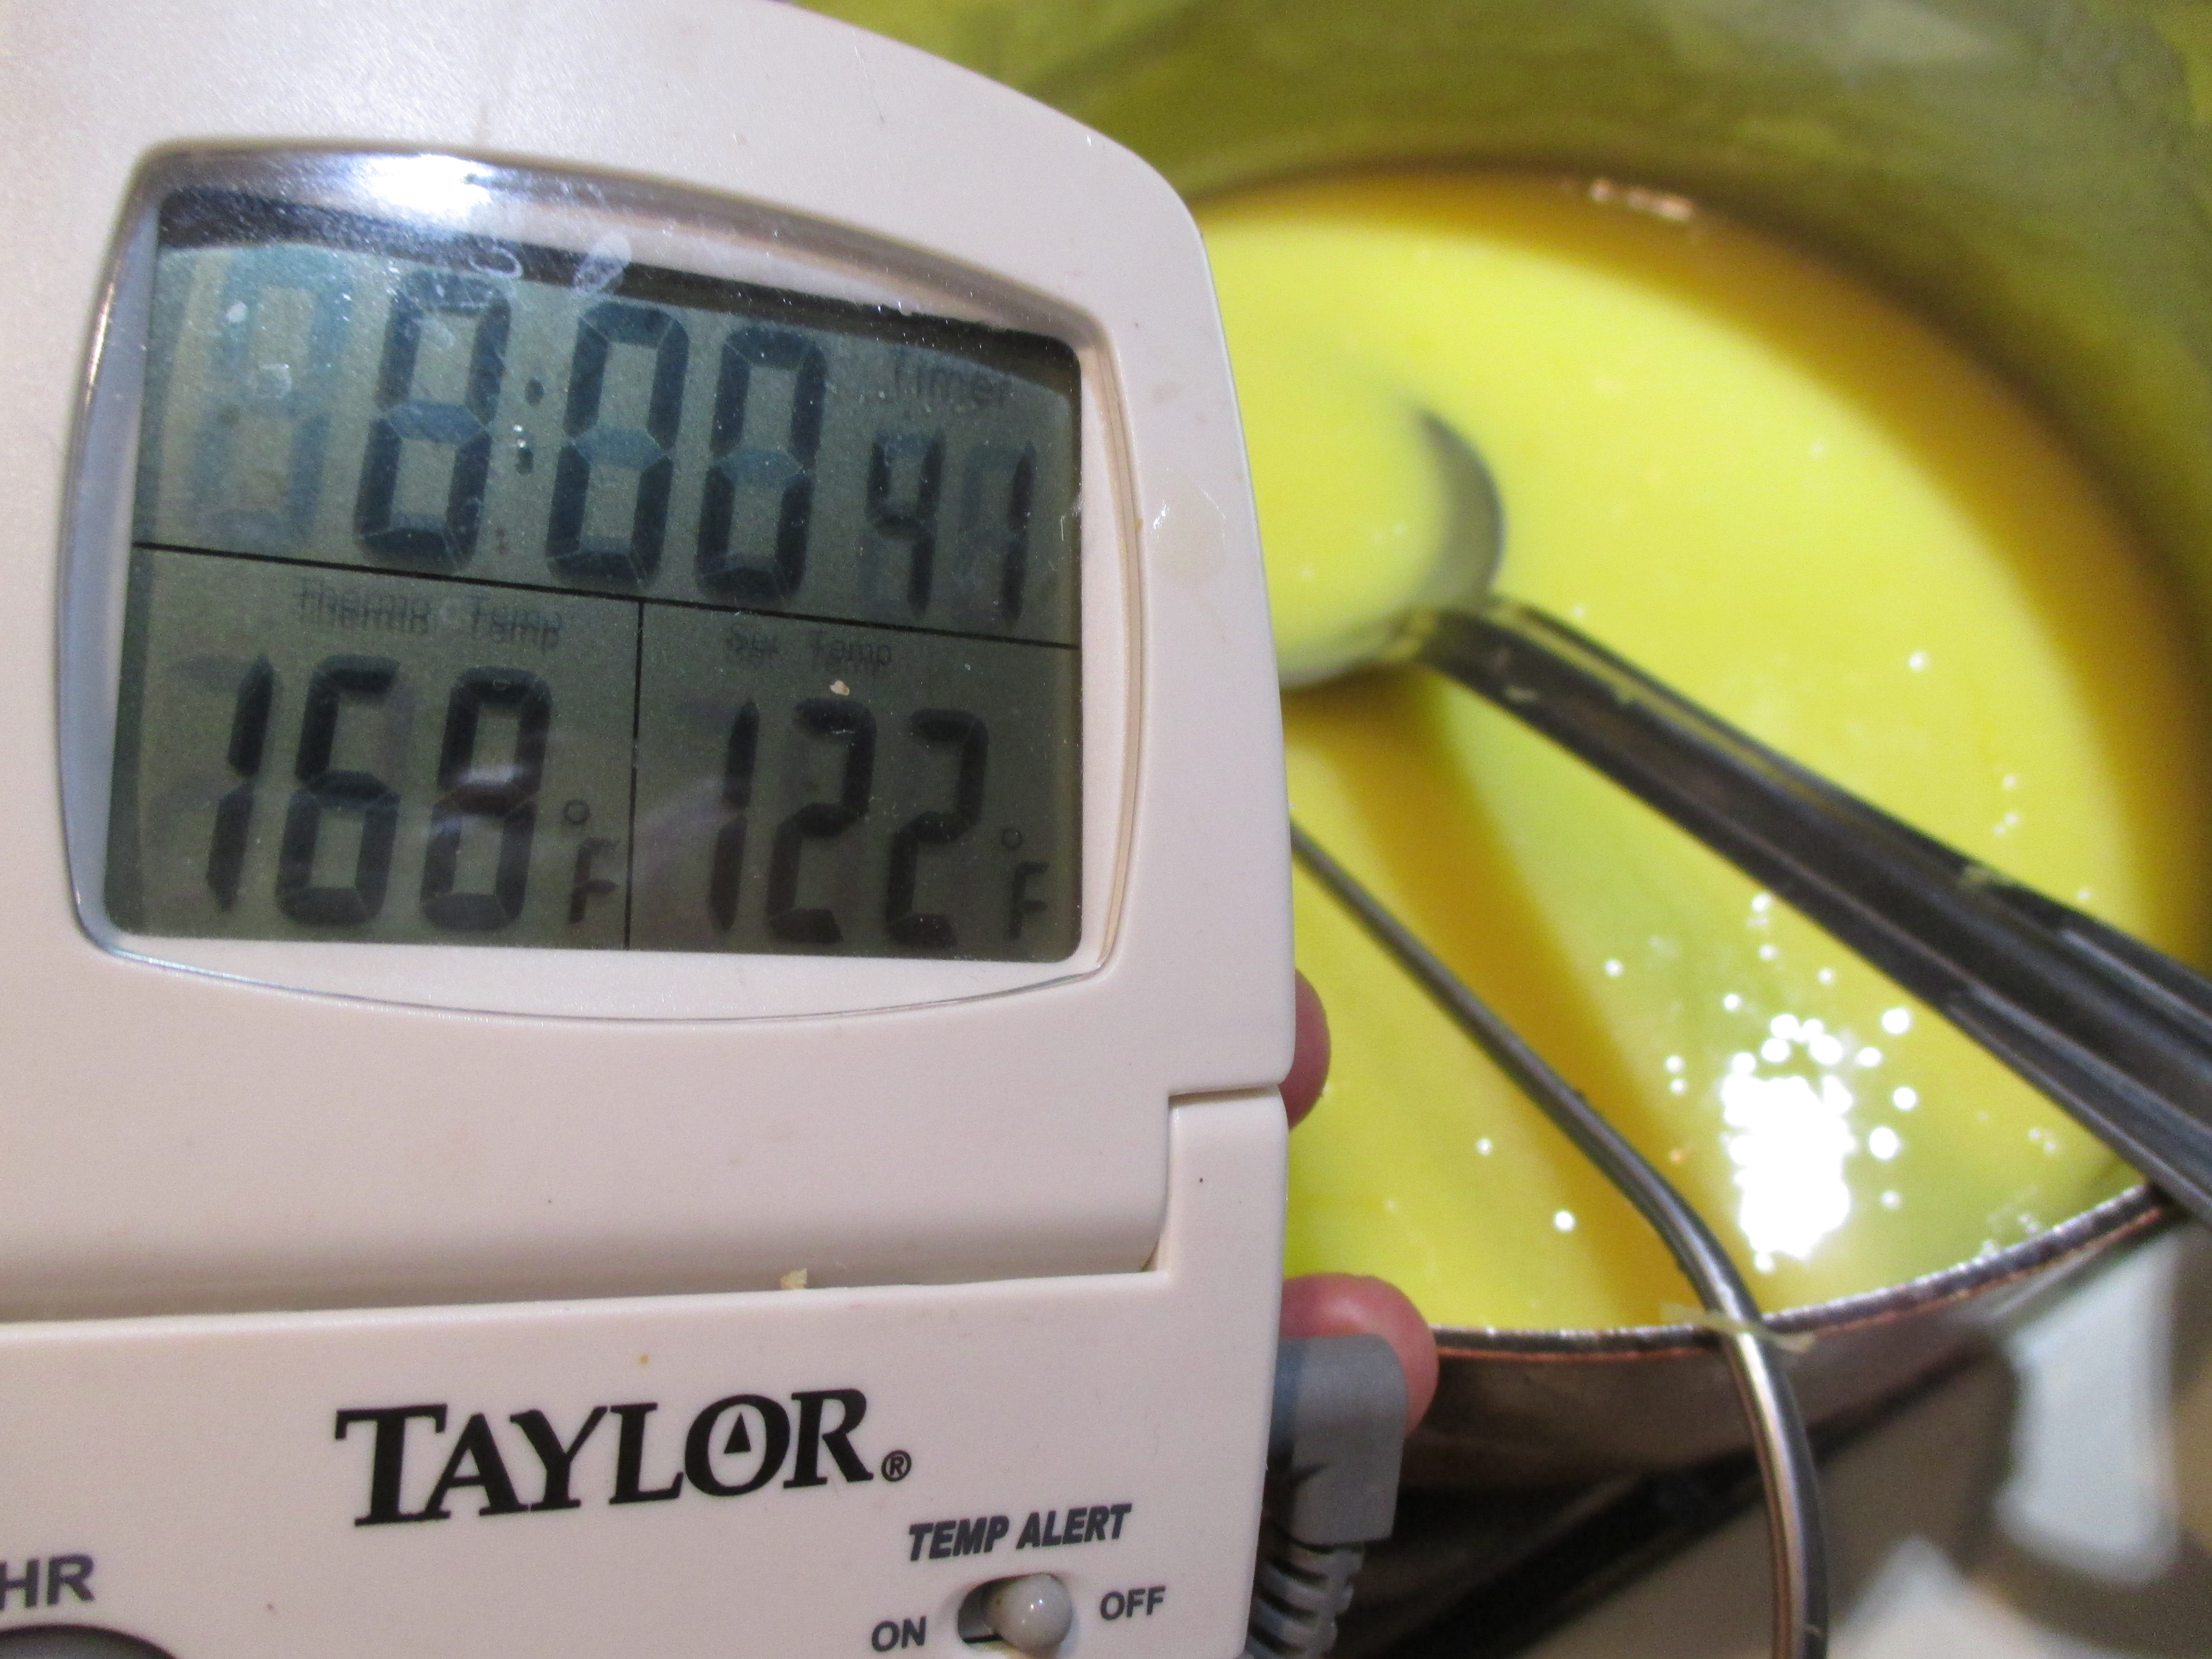
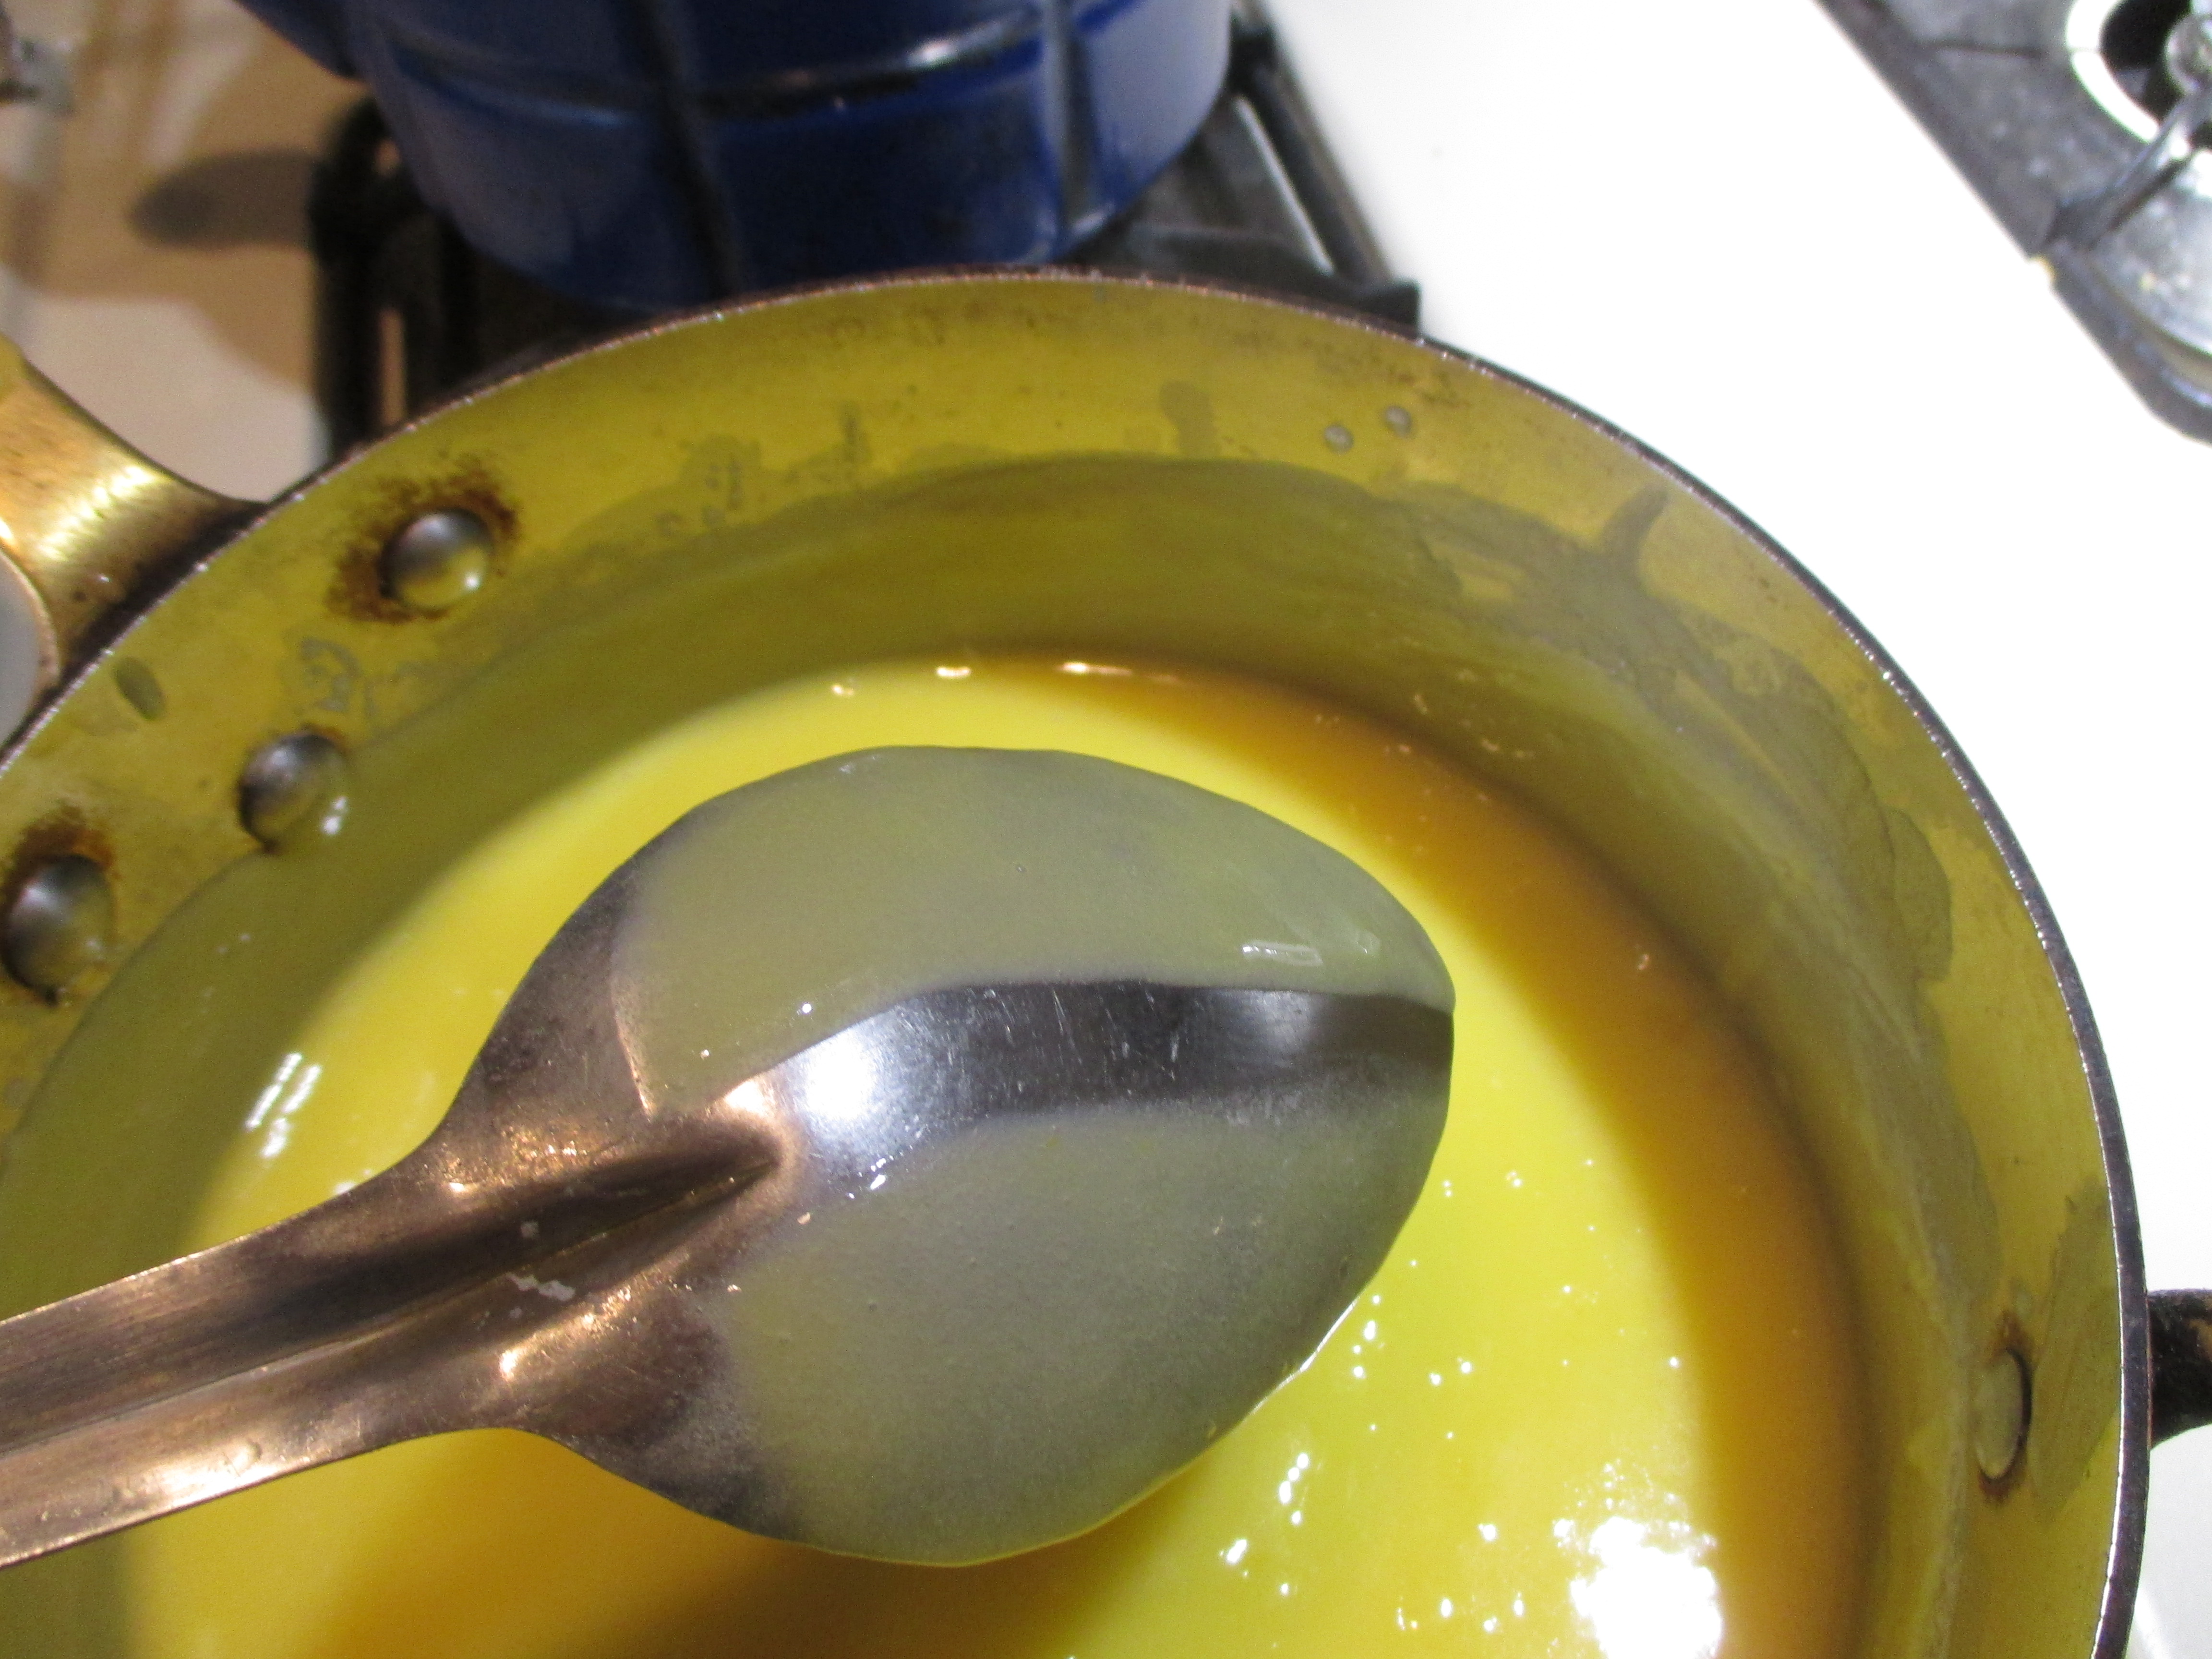
Wash thoroughly and drain 4 cups desert fan palm fruits. Place in a saucepan with 8 cups drinking water to cover fruit well. On stove-top, gently simmer the fruits for at least 30 minutes, (if using solar oven, make it 1 hour). Add more drinking water to keep fruits covered. Let cool and stand in refrig for 1-3 days. This process is bringing out the complex sugars into solution. Again, when you have a little time, bring back to simmer 15-20 minutes. Taste the liquid. It should be deliciously sweet with a rich, almost smokey bouquet—but still thin. With a sieve, decant the sweet liquid from the cooked fruits, saving the fruits aside.

After sieving out the simmered fruit, the liquid is being concentrated in a solar oven with oven cover slightly open to release moisture (MABurgess photo
[Here is where my experience reducing thin saguaro fruit juice kicked in. I knew that this thin, sweet liquid from the fan palm dates had to be cooked down slowly.]
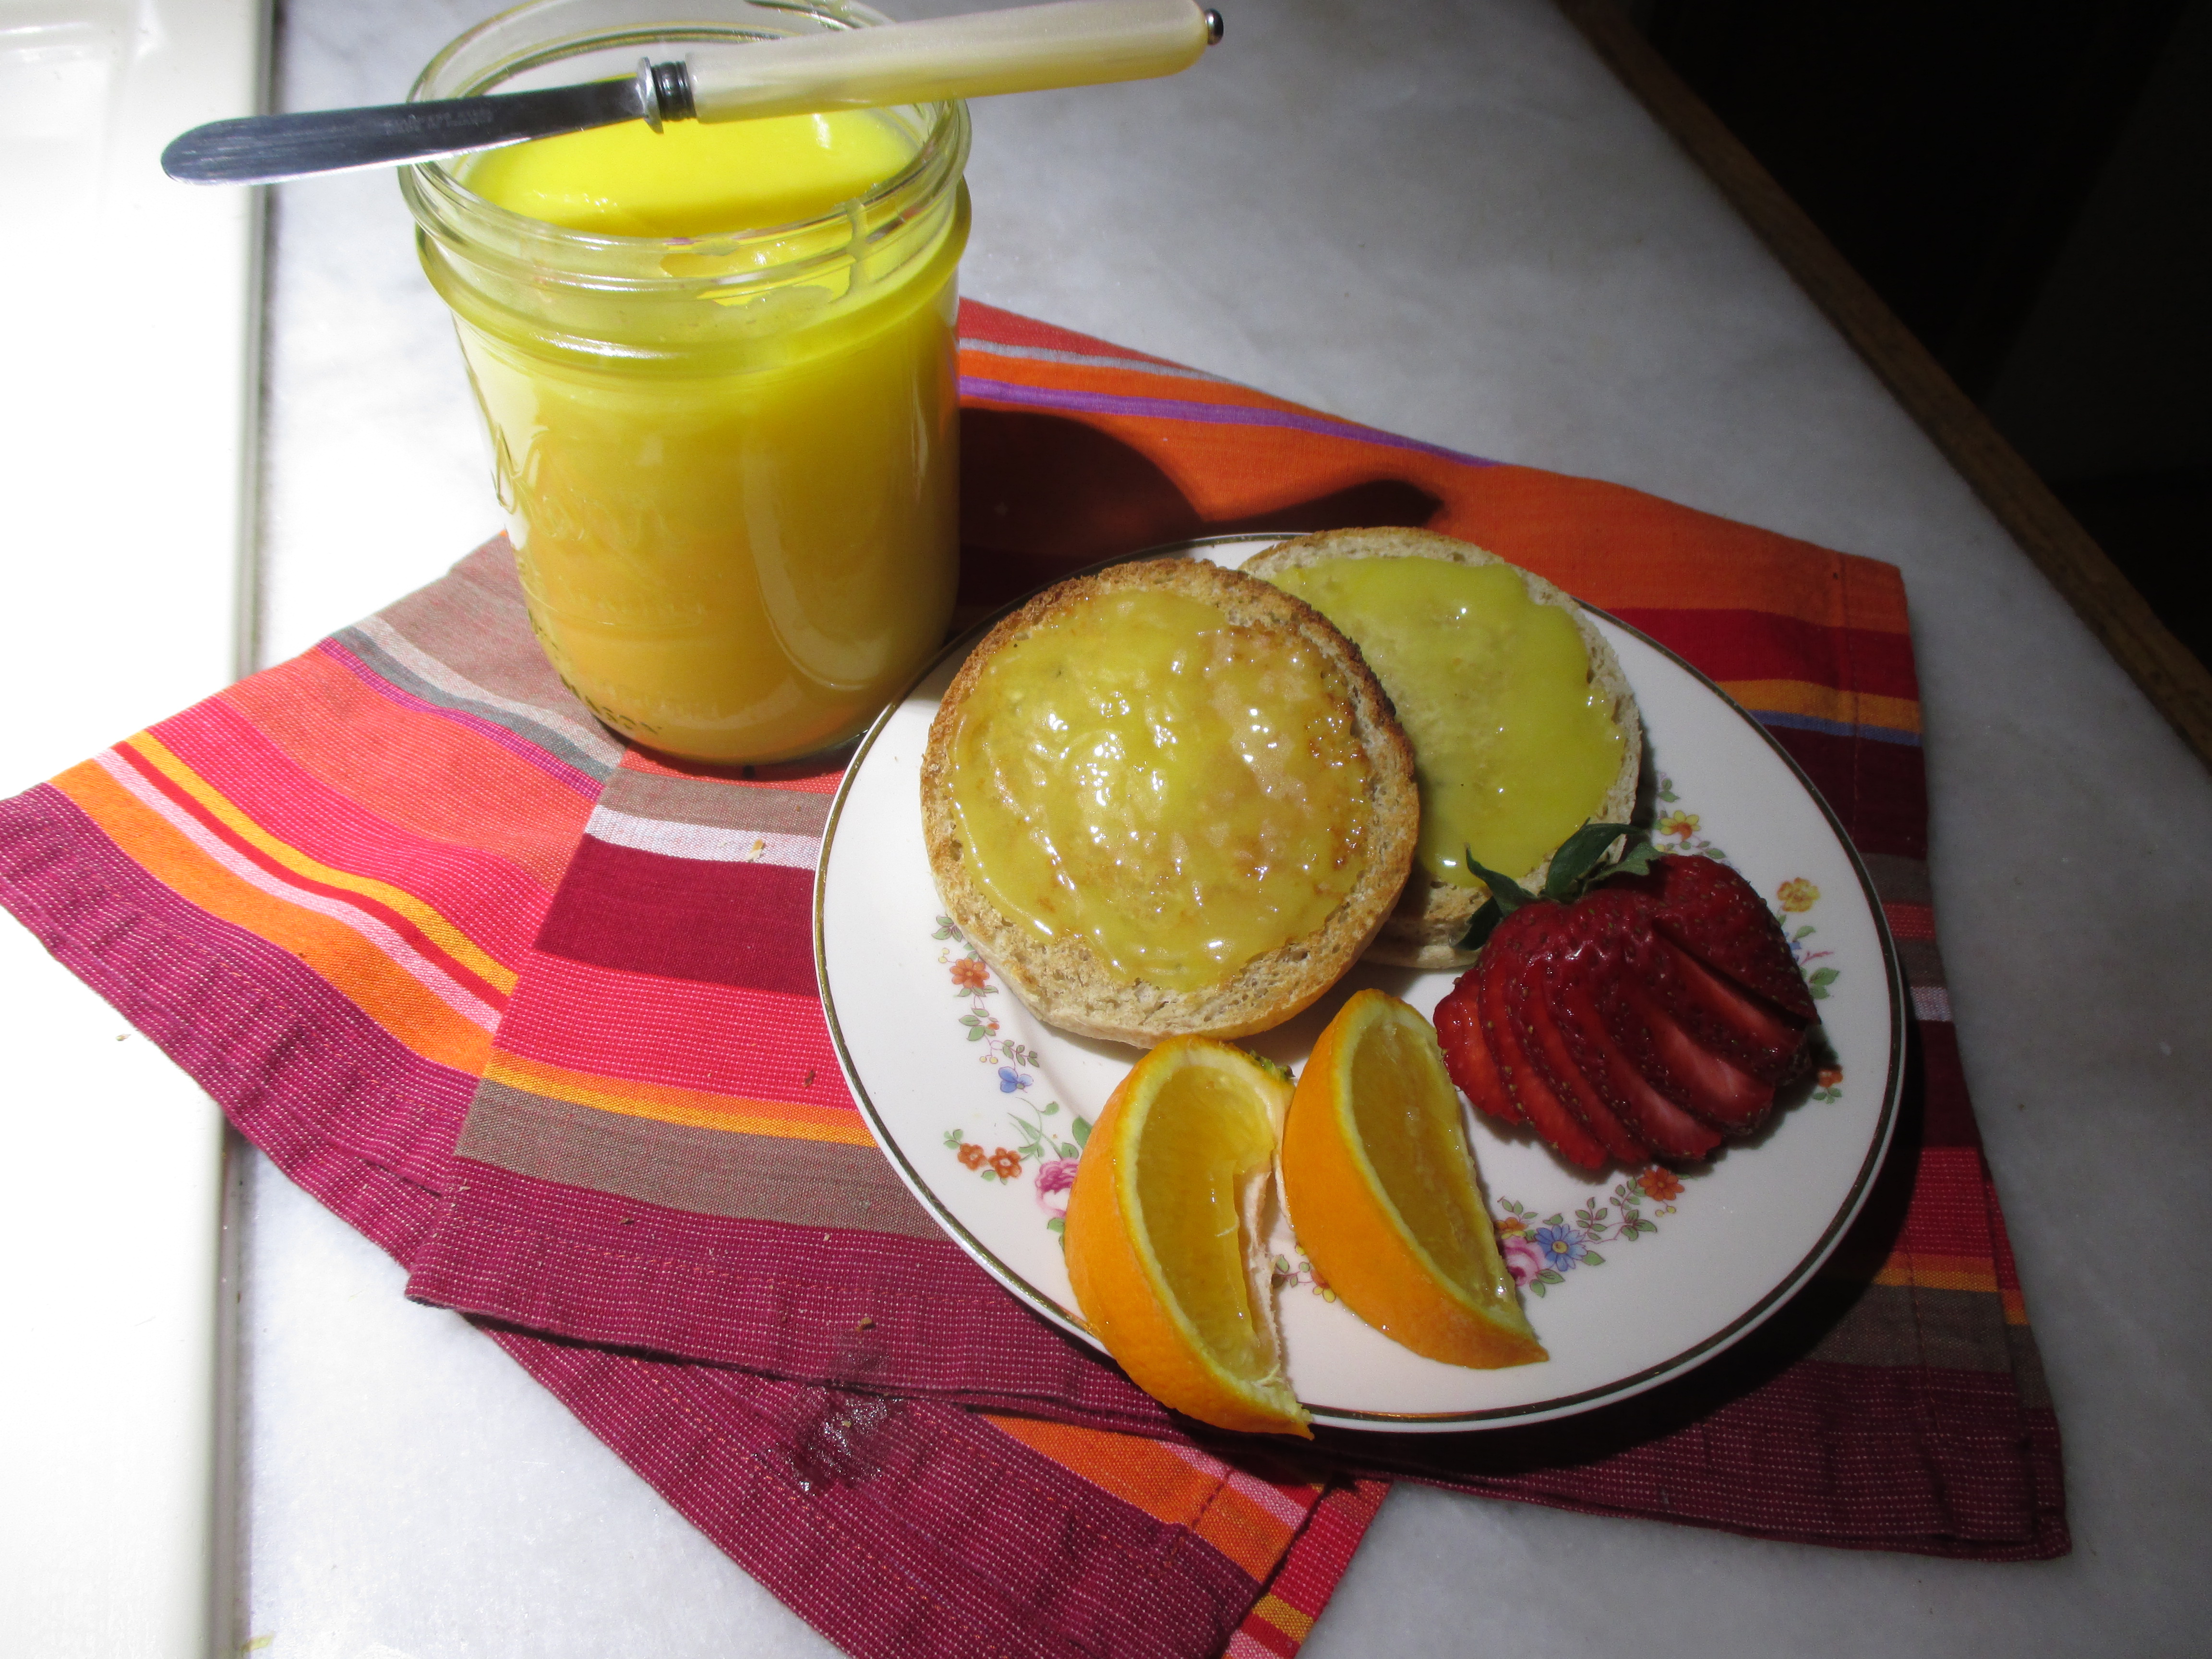
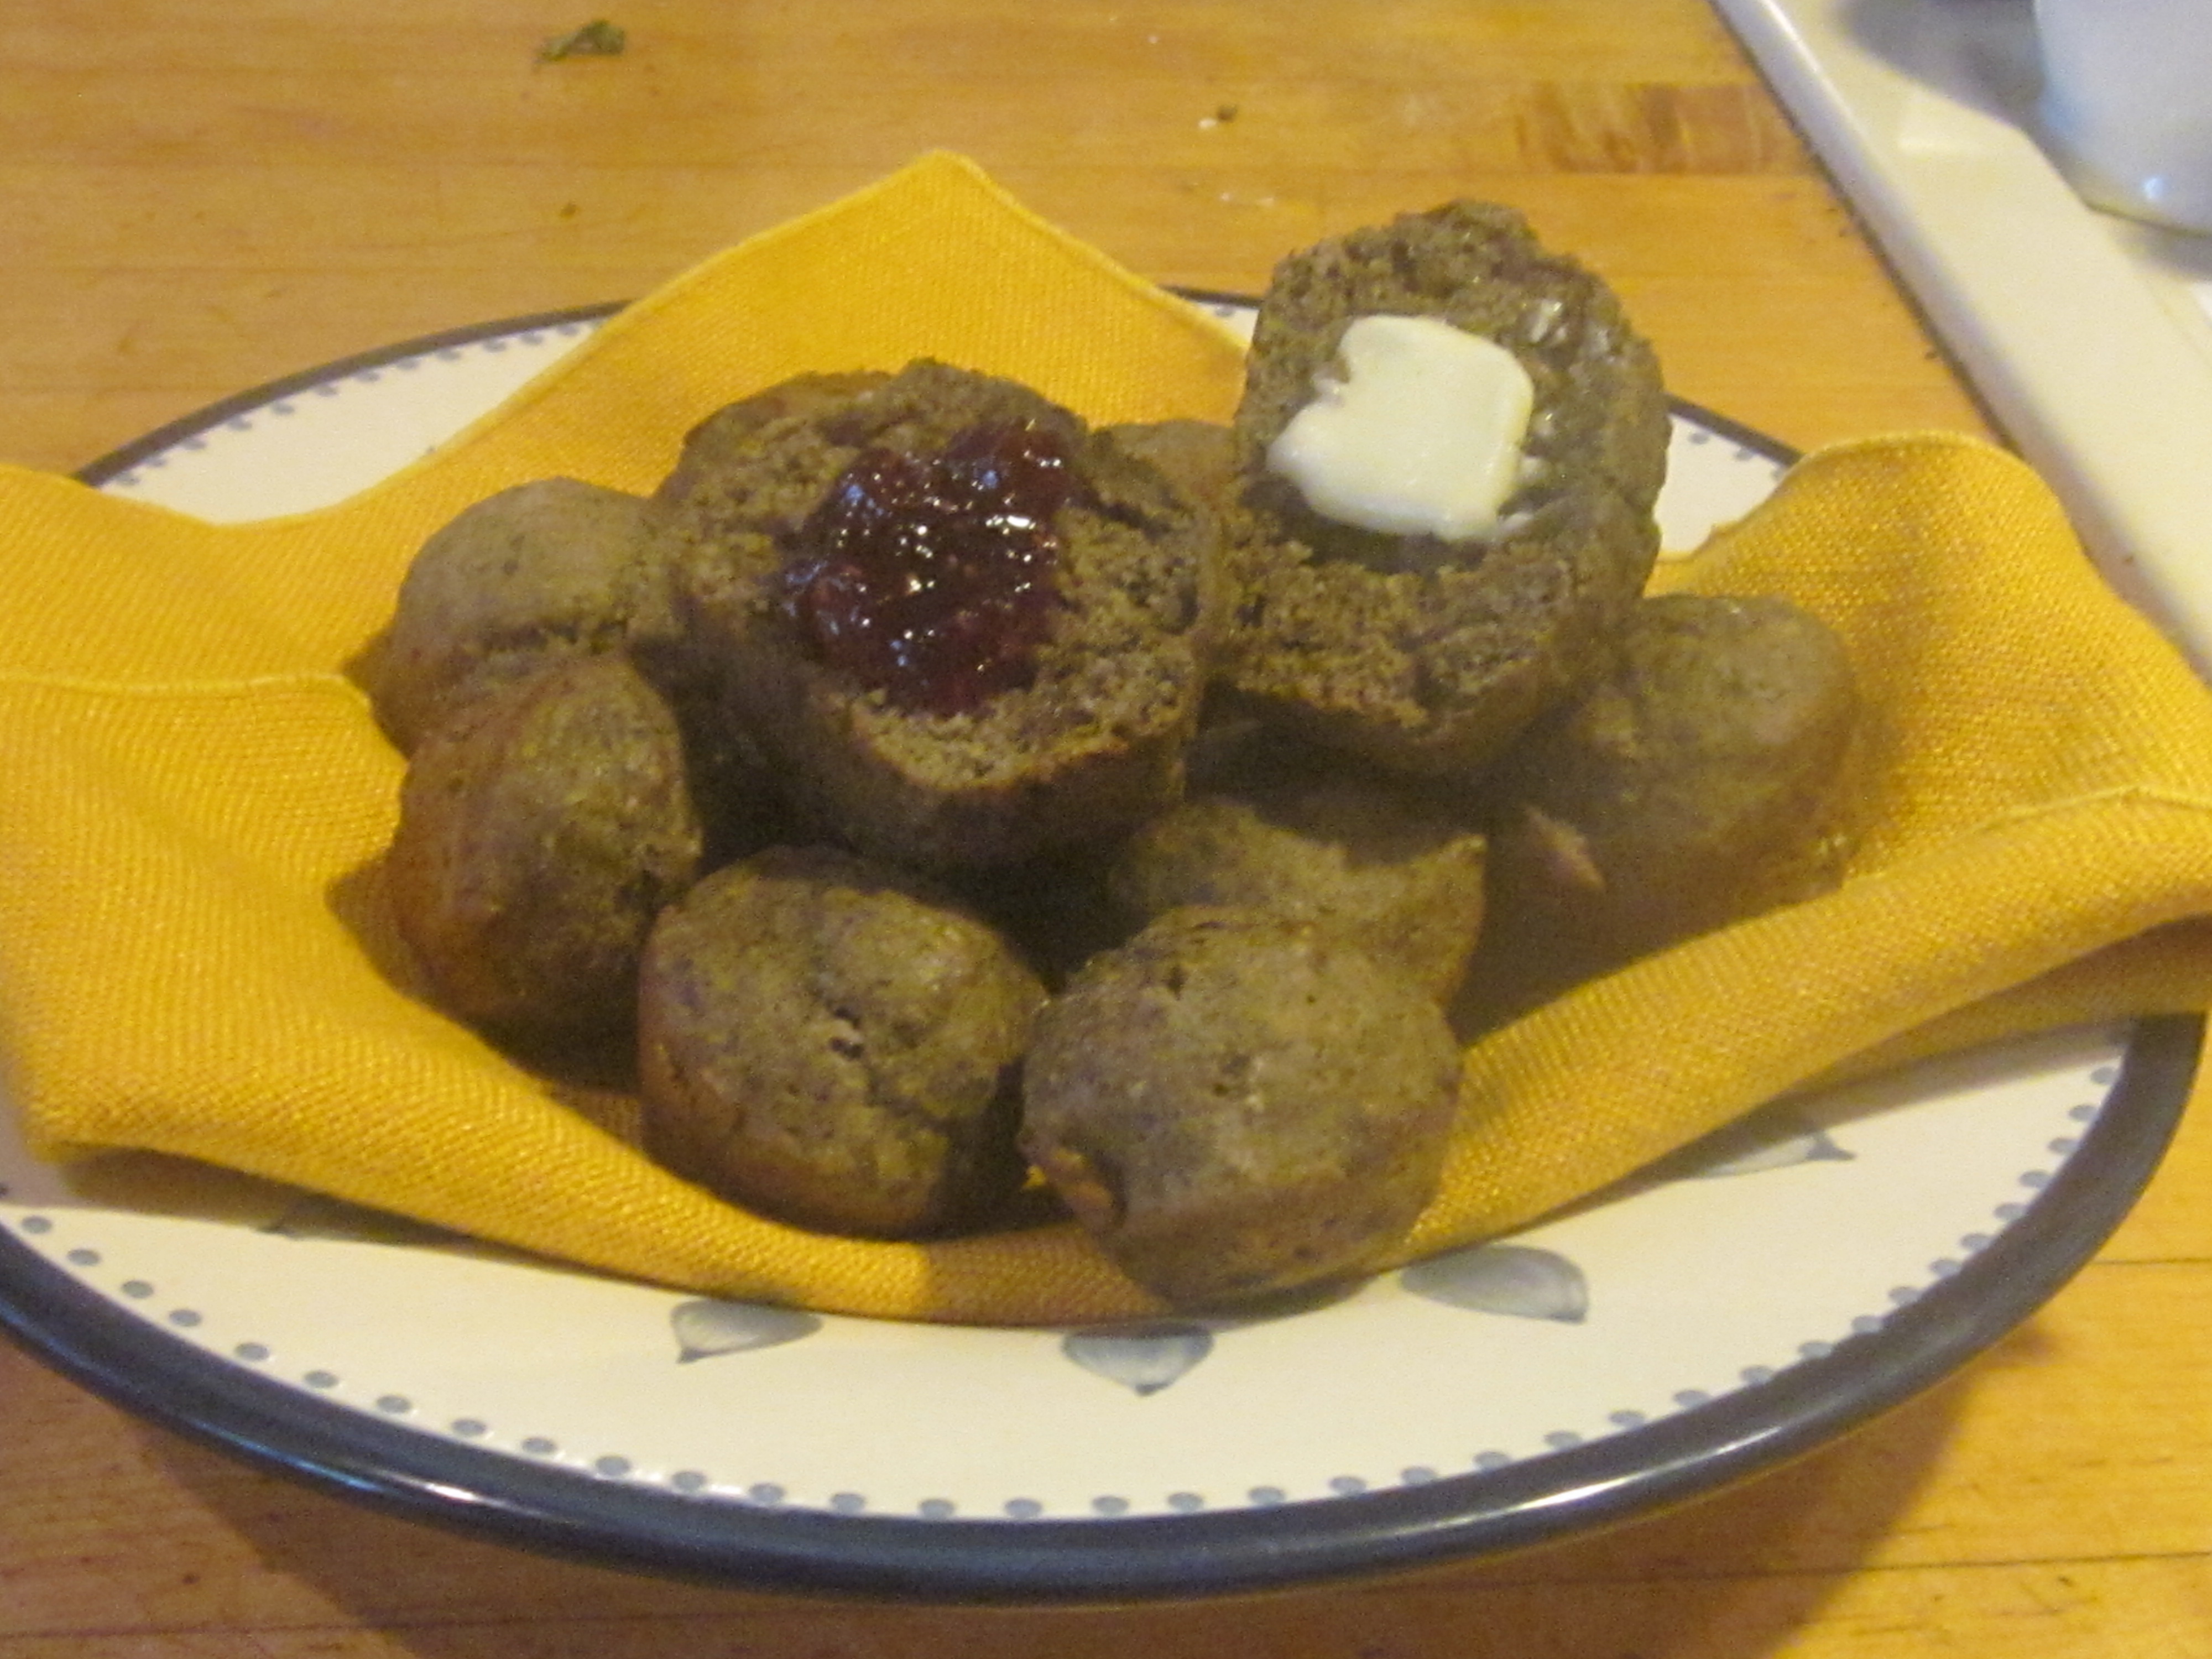
Pour the juice into a solar-oven-worthy pan and put in preheated solar oven—without a lid on the pan. Let the glass cover of the oven be slightly open to allow steam/moisture to escape. Check after 15 minutes. If syrup is desired, check for correct syrup consistency. Keep heating until thickened to pourable syrup. Then, try this wonderful and healthful solar syrup over mesquite pancakes for the ultimate Southwestern breakfast!

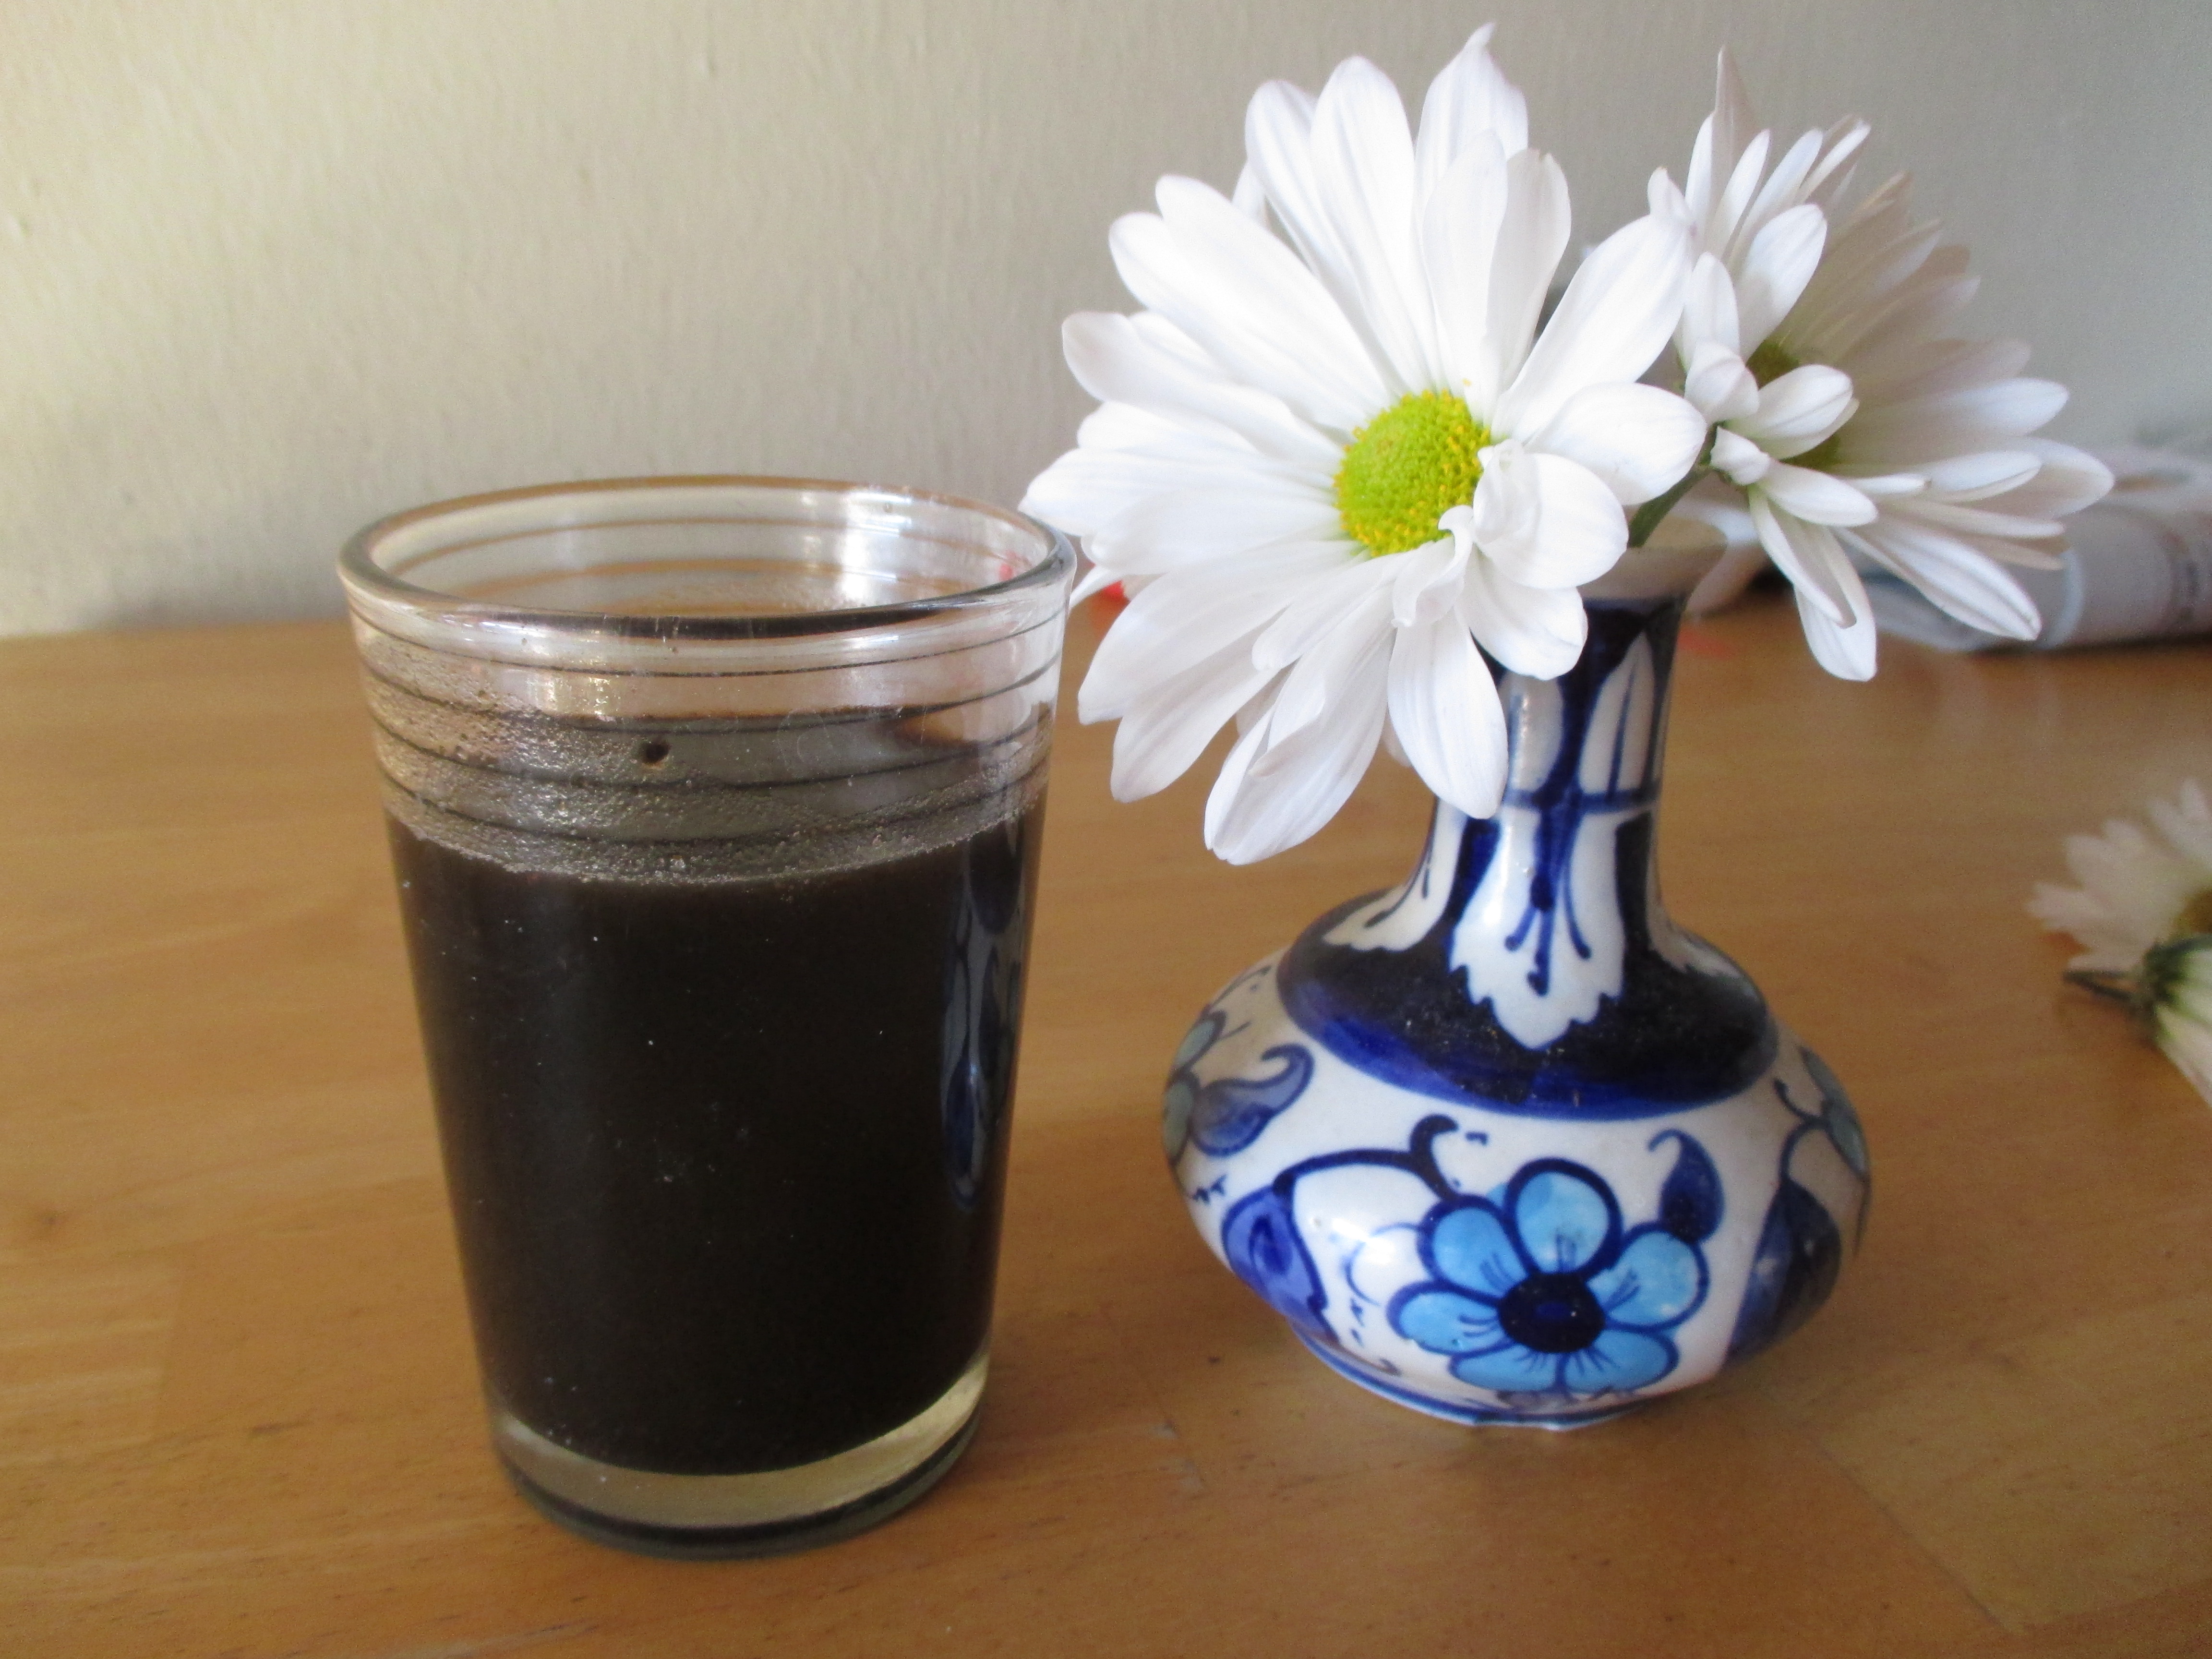
Concentrated Solar Fan Palm Syrup–nothing added–just water and fan palm fruit! Come taste it at the StPhil’s farmers market!(MABurgess)
“DATIL SYLVESTRE” MOLASSES
With more time and further moisture reduction, there are more delicious options….. Here’s one: For the best, richest “Datil Molasses” you ever tasted, let the liquid cook down for another 45 minutes or an hour (depending on sun intensity). Be careful not to overcook, which might leave a sweet glue on the bottom of your pan. (The same reduction of liquid can be done of course on the stove-top or over a fire, like reducing maple sap, but hey, this is a desert product. We’ve got our fuel overhead! Let’s use it.)
“DULCES DE DATIL SYLVESTRE”
Carrying the process of concentrating the syrup yet another step further…If an even more chewy candy is desired, you might use the concentrated sweet molasses in a candy mold or for gelling like a fan-palm gummy bear.
Here’s another totally delightsome, exotic yet simple idea for maximum pleasure from fan palm fruits…..
DESERT OASIS CORDIAL

Wild Fan Palm Cordial (MABurgess photo)“Desert Oasis Cordial”
It takes about 4-5 weeks to make this rich cordial liqueur, so plan ahead. With a fall harvest of wild dates you could start making your Desert Oasis Cordial by Thanksgiving and have it ready for Christmas-time celebrations. But don’t wait—when the fruits are ripe, go for it.
This is how I did it:
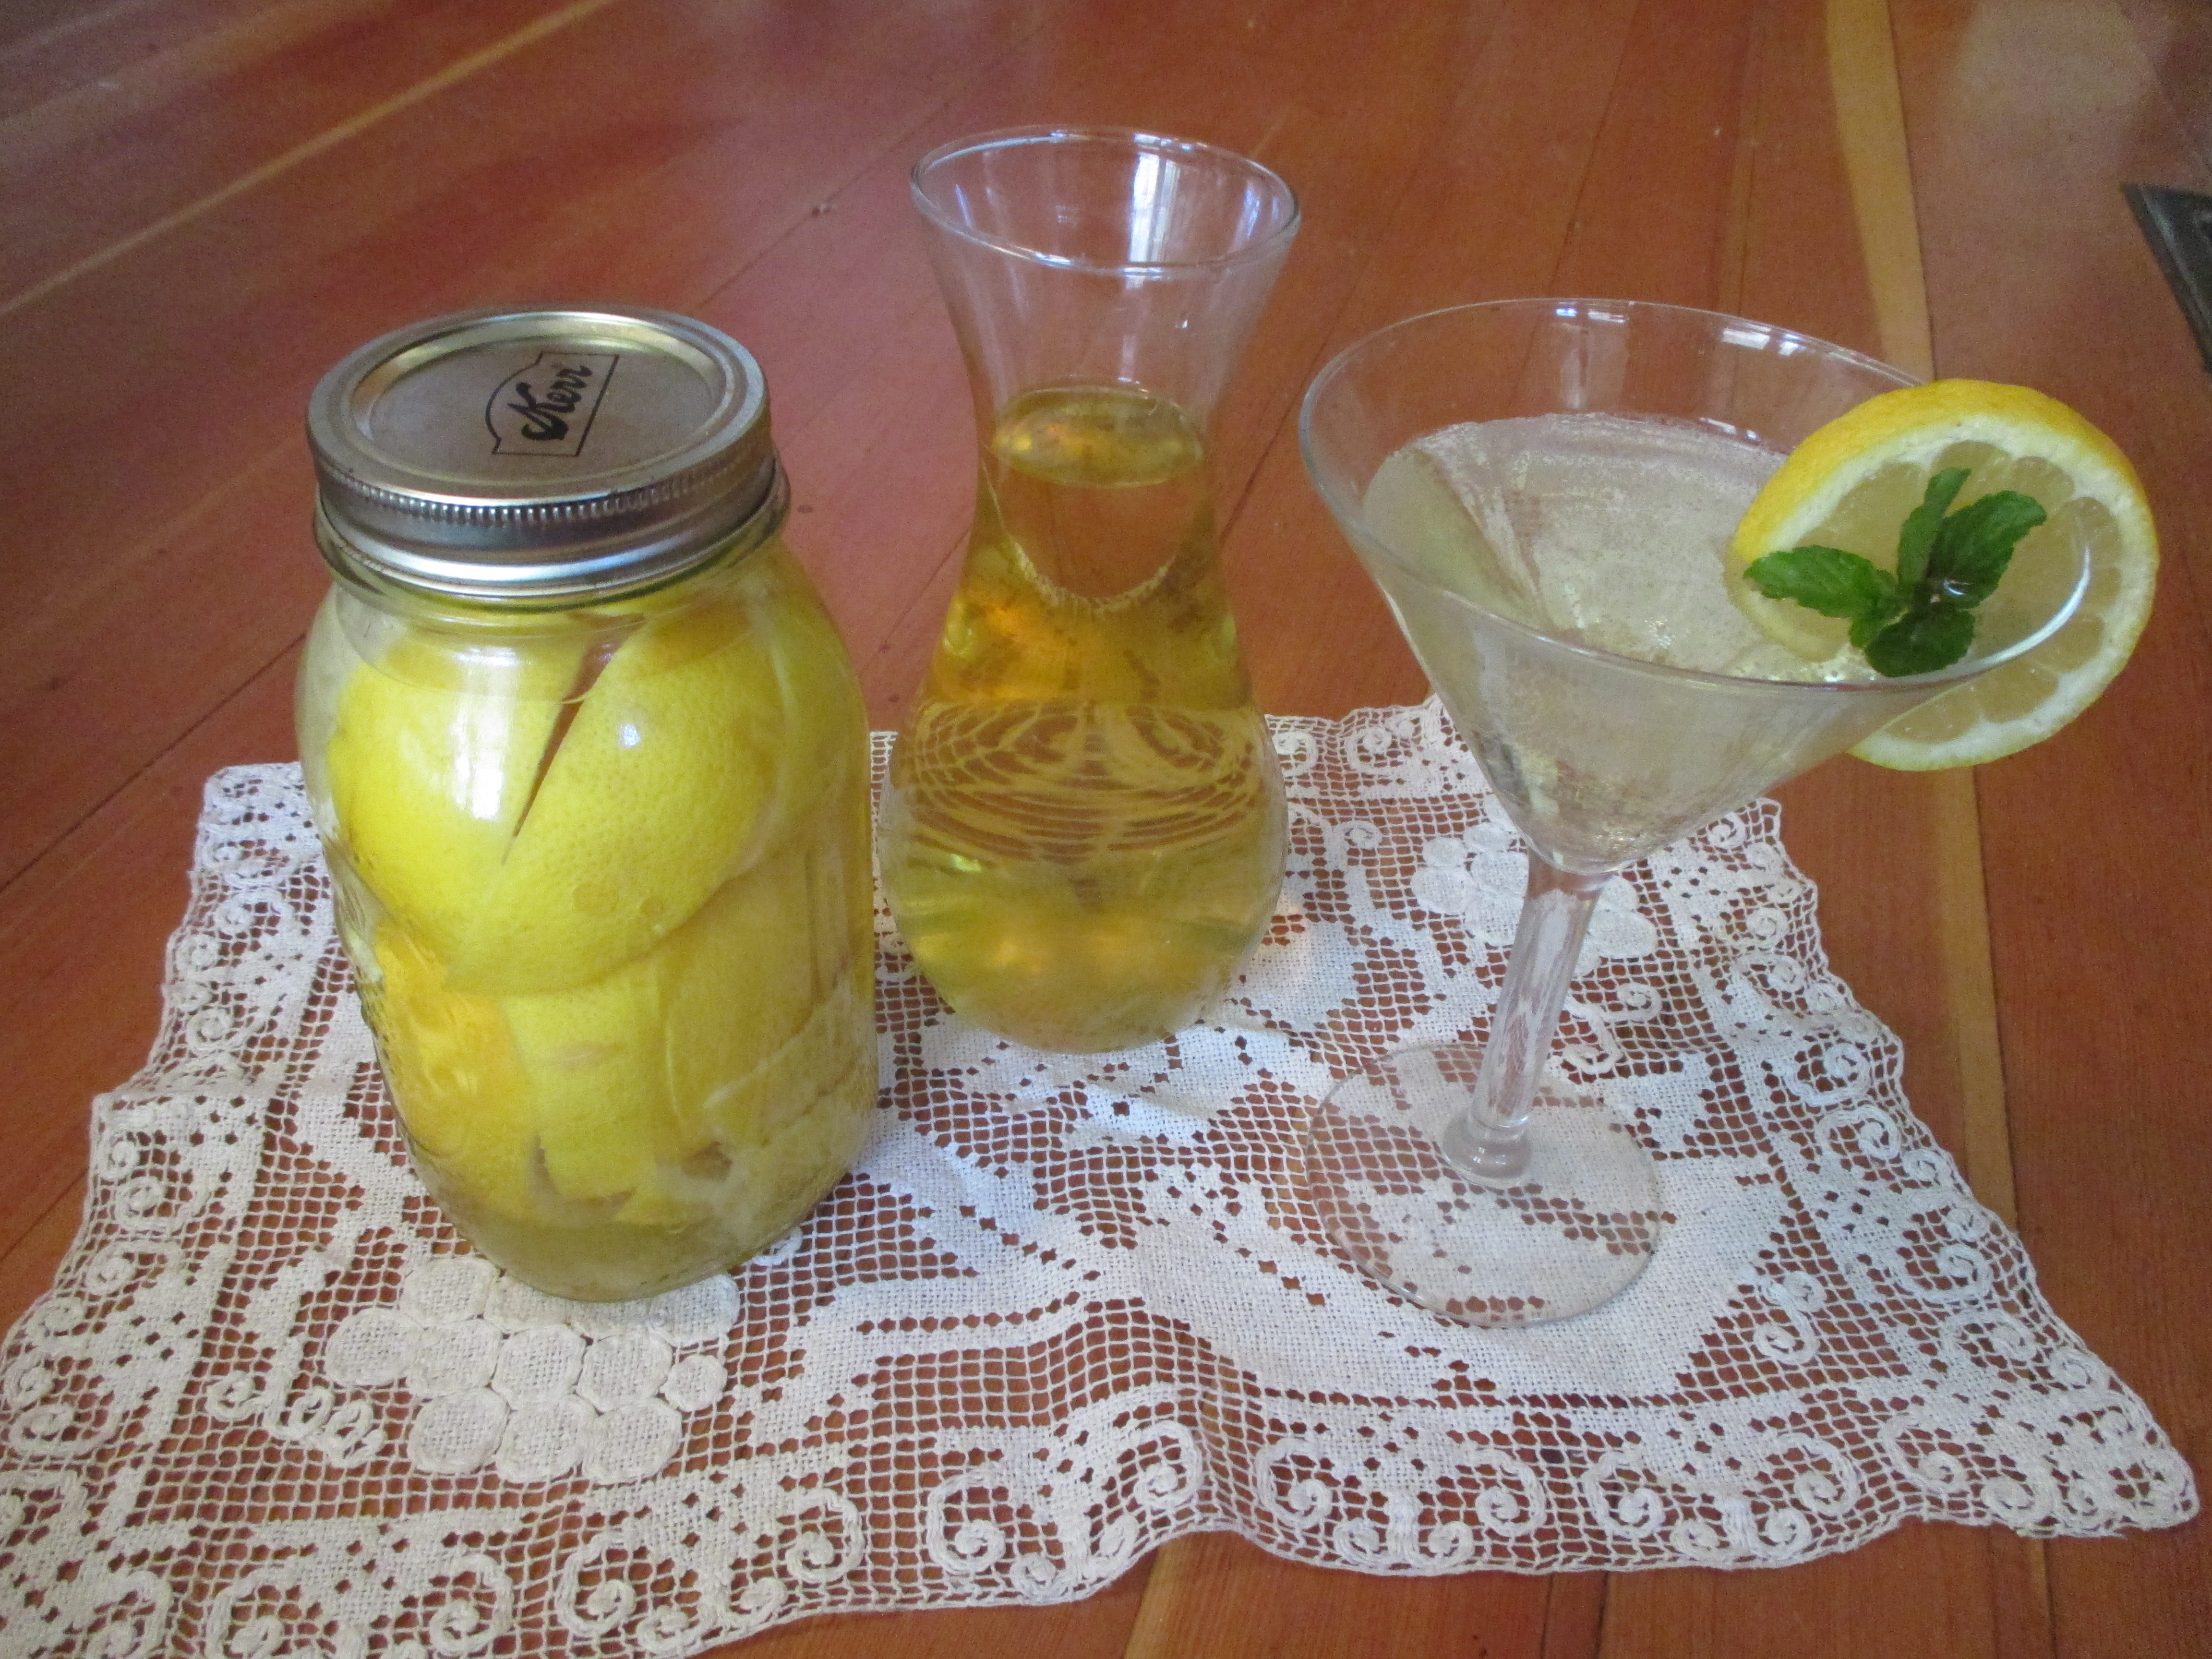
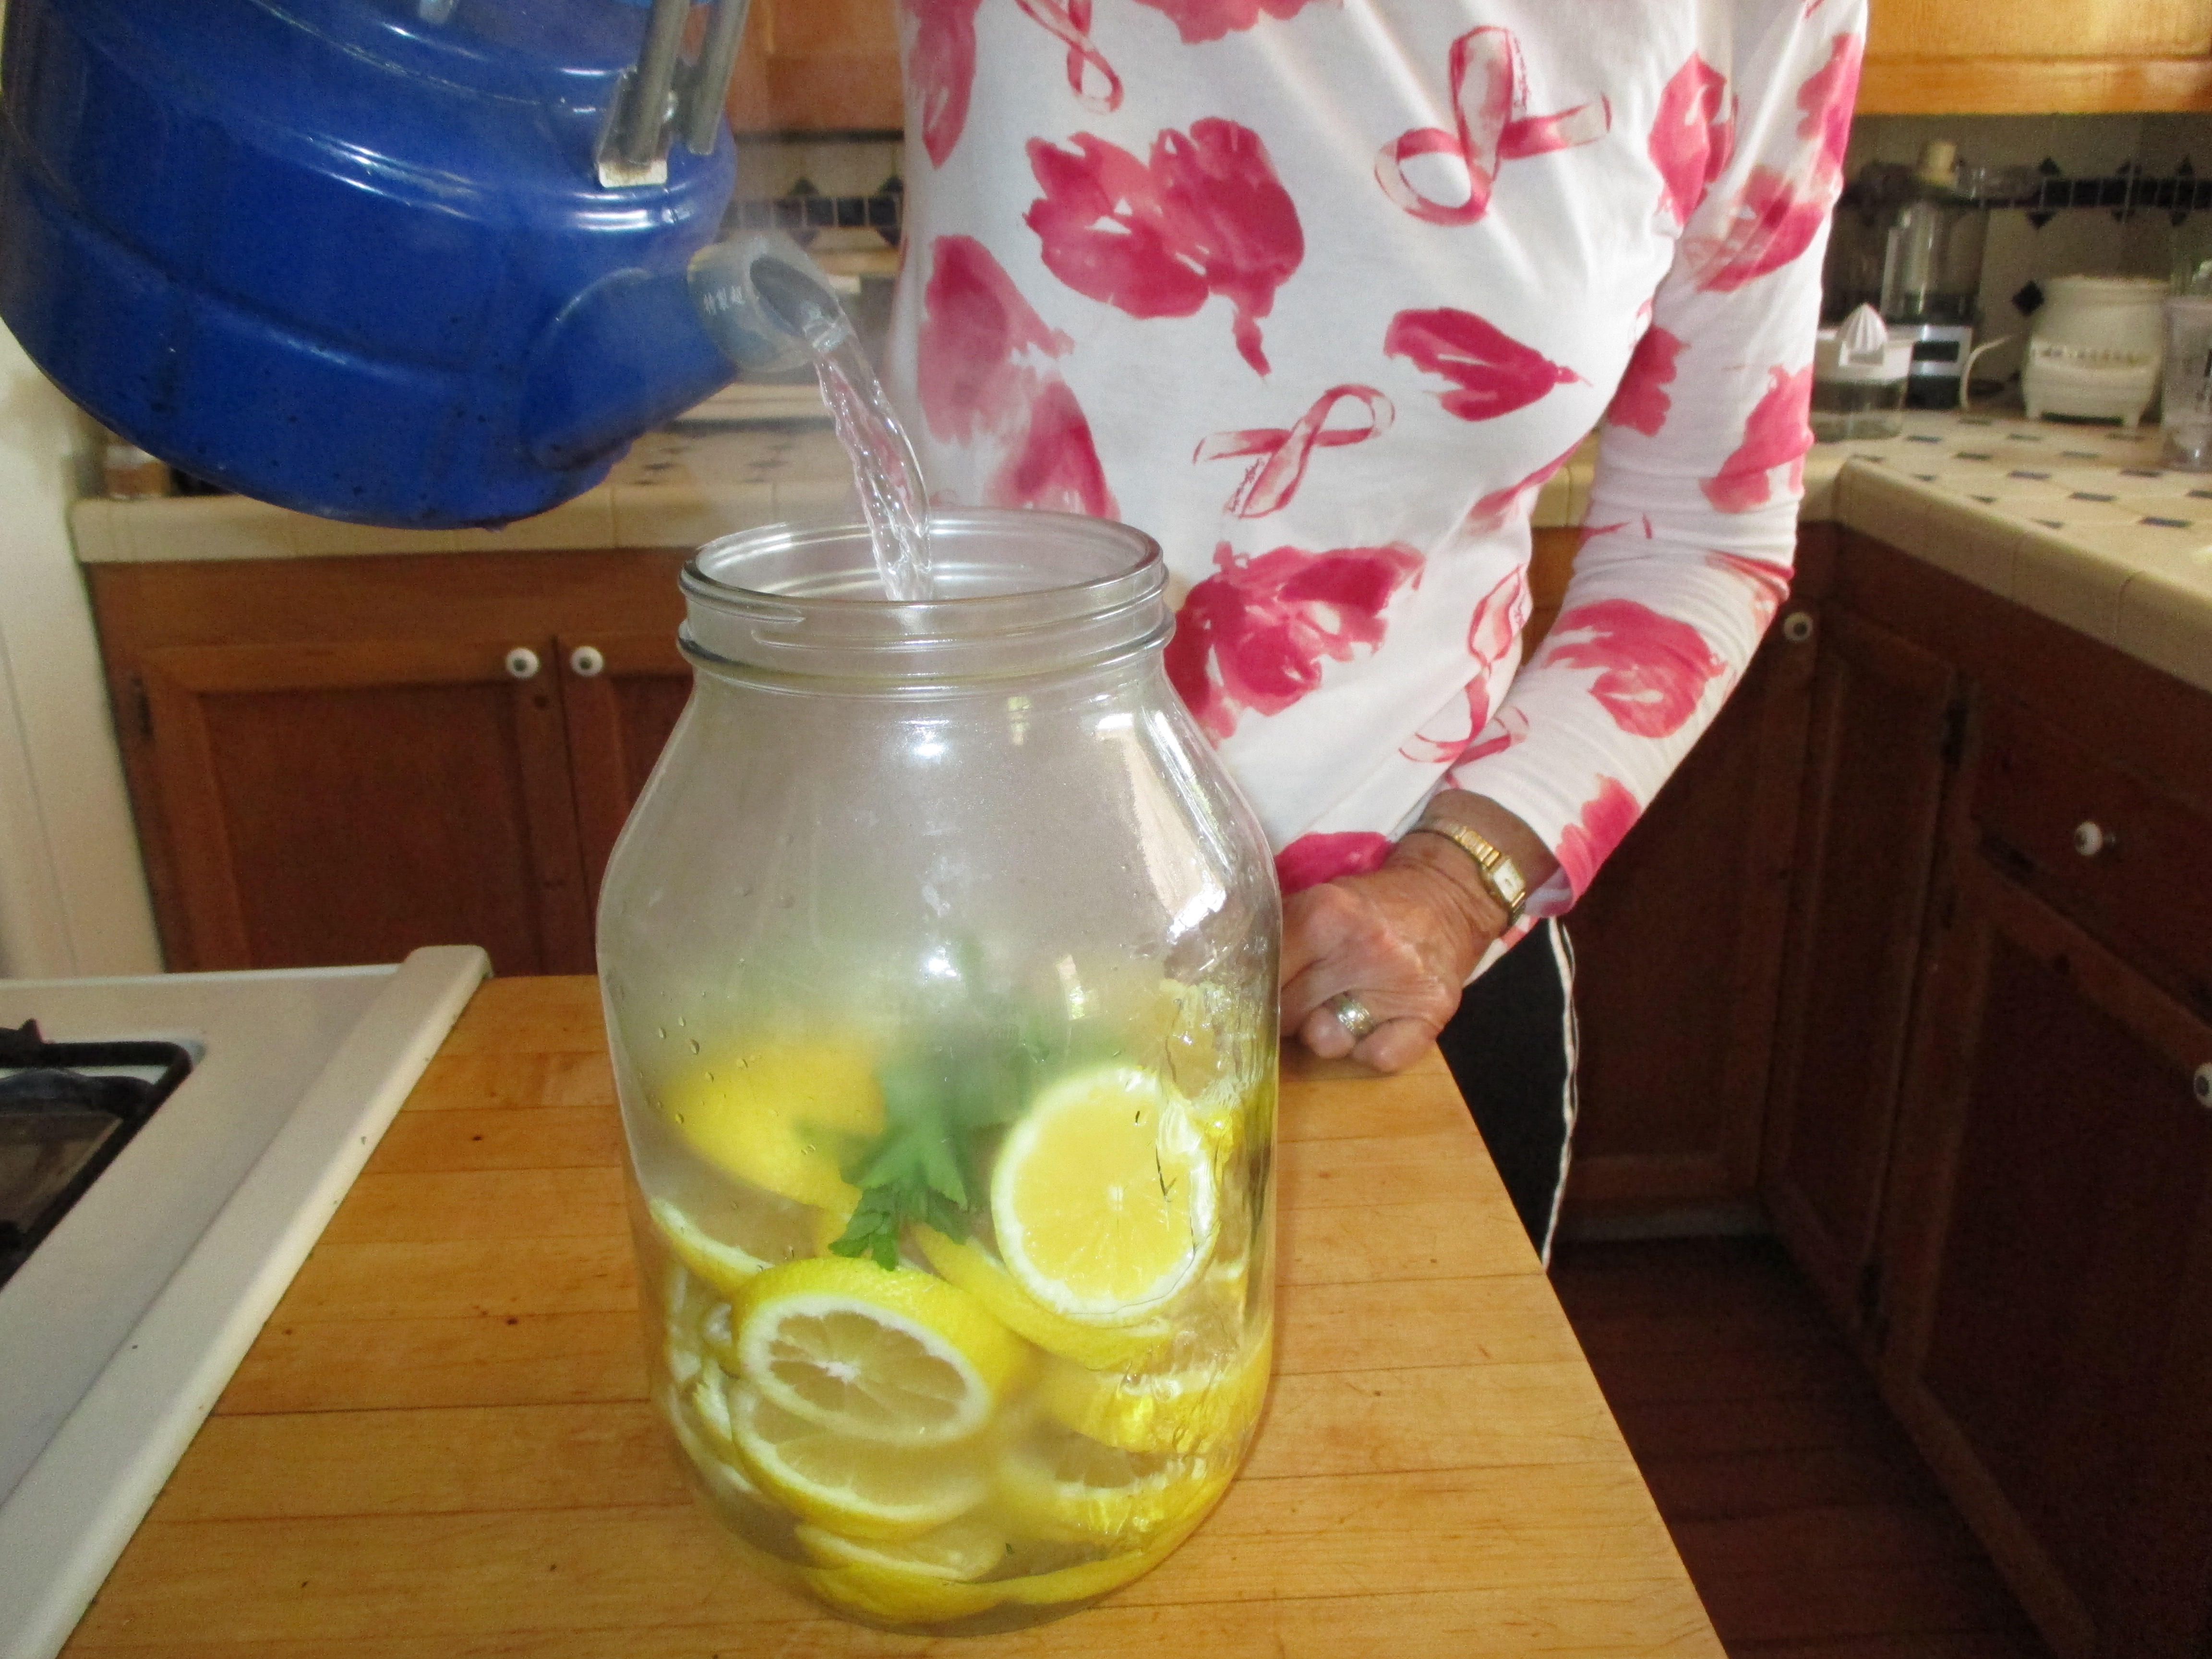
Wash, wash, wash and drain at least 2 cups of ripe native fan palm fruitlets (W.filifera), enough to pack firmly into a mason jar. Into the packed jar, pour vodka of your choice, filling all the space between the little fruits to the brim to cover them. (You could use tequila or EverClear for differing degrees of delight.) Screw on lid and place jar in a cool dark corner of your kitchen, where you can be reminded to agitate it. After a week, open it and add more vodka to cover fruits, as the fruit tissue will have absorbed some of the alcohol. Shake and turn over the closed jar every week. For the herbalists among us, you will recognize this process is basically tincturing the wild dates. After 4-5 weeks, decant (i.e. separate) the liquid from the fruit. The decanted liquid will be a rich dark chocolate brown color like Godiva liqueur only translucent. Taste it and serve sparingly in small cordial glasses. Store any remaining liqueur in a closed decanter for the next festive occasion.

W.filifera fruit AFTER tincturing and decanting makes a fabulous alcoholic treat (seeds to be discarded) (MABurgess)

Decanting the marinated fan palm fruits from the liqueur (MABurgess)
After both your Fan-Palm Syrup-making and your Desert Oasis Cordial-making, you will have delicious fruits left over in the straining or decanting process.
Don’t forget the simple joy of snacking on little fruits, doing the pulp-from-seed separation maneuver with your tongue and teeth. Move over, sunflower seeds! The boiled fruits after syrup-making are still tasty. Better still–the vodka-soaked wild dates give an extra kick, so don’t overindulge.
Both can be briefly quick-whirled or mashed in a blender, meat grinder, or CuisinArt to begin the process of separating the remaining pulp from the hard seeds.

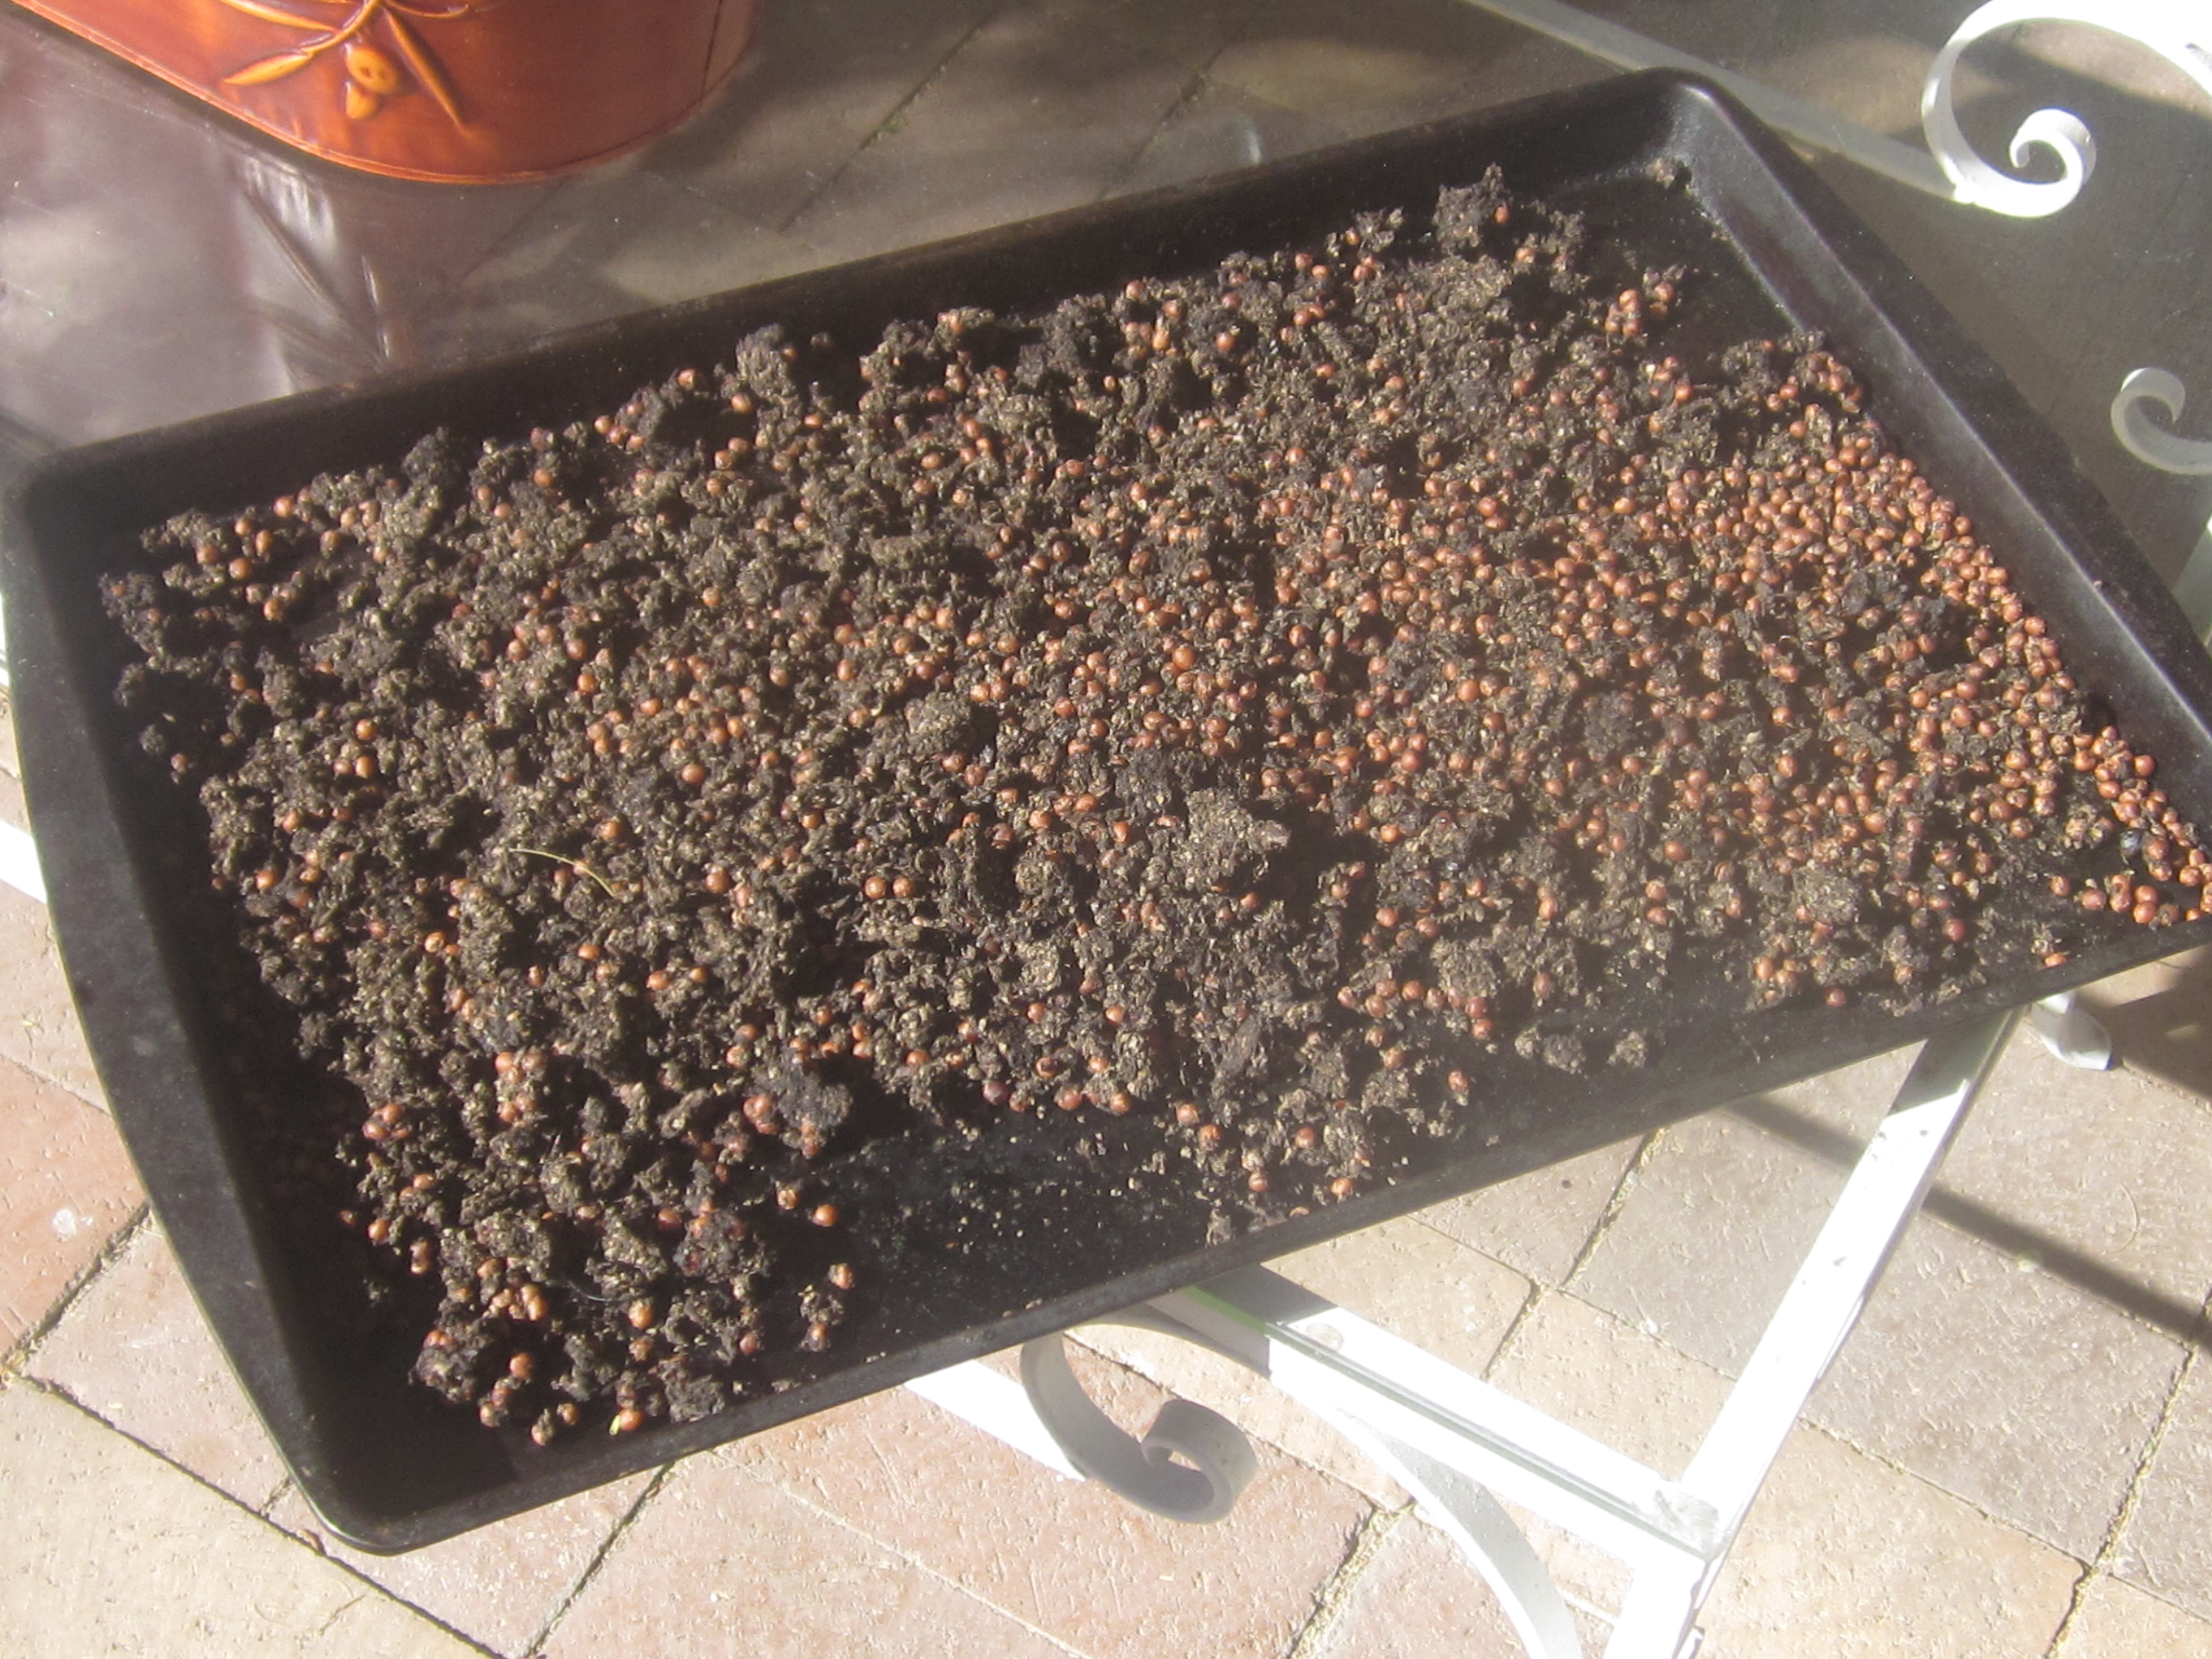
After decanting the cordial, remaining fruit is whirled and put thru colander to separate pulp from seeds
[If someone has a good idea of how best to separate seeds from pulp easily, please share it!] Fruit leathers, energy bars, jams, “datil newtons”, spreads, supplements—there are SO many ways the remaining fruit pulp could be used, so that none of the nutrients and fiber need go to waste. Even the hard seeds could be parched and ground into a nutritious flour—as Native People did in earlier times, to their advantage.

“Desert Oasis Cordial” from wild fan palm fruits (MABurgess photo)
BTW, after snacking on Washingtonia fruitlets, be sure to check your smile in the mirror for black flecks of the yummy pulp between your incisors. I can see it now—the next fad question after “Got milk?” will be “Got datil?” That could make for a wild date experience. Enjoy!
For a taste of the native fan palm fruits, come by our Flor de Mayo booth at Sunday’s St Phillips farmers market, 9am-1pm. There we also have a demo of solar-oven cookery in action. The cleverly designed solar ovens are for sale from us with a discount and no shipping costs. We’d like to see every household in Baja Arizona equipped with a solar oven for emergencies as well as for sustainable living.
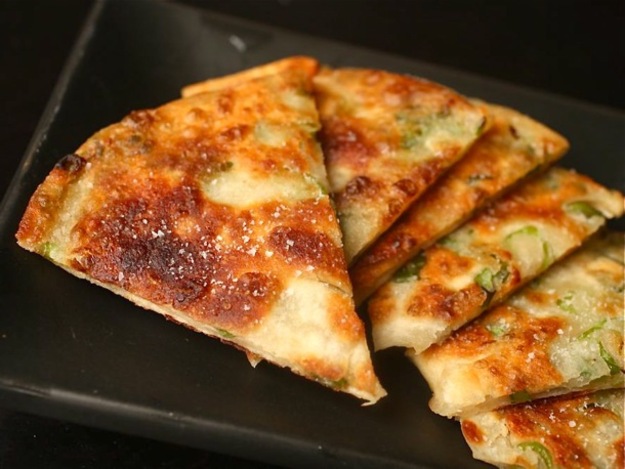
You can find the perfect makings for the pancakes to eat with your Solar FanPalm Syrup for that Southwestern breakfast–mesquite flour and heirloom White Sonora Wheat flour— at the Native Seeds/SEARCH store (3061 N Campbell, Tucson) and at Flor de Mayo’s booth at St Phillips farmers market. See you on Sunday! Have your taste-buds ready for a wild date.