Tia Marta here to share ideas about our new neighbors—the weedy greens popping up all around us. With those fall rains we had here in the low desert, there is a bloomin’ haze of green on the desert floor– not what you’d call a florid show—but wait—what is happening where November’s mud-puddles were collecting? That may be real food lurking in your own backyard! Now is prime time to take advantage of spontaneous tender mercies and phytonutrients. Interesting tastes await us, to spice up our salads and bedeck our burritos.
“Wild arugula” or London rocket (Sisymbrium irio) provides zesty greens, flower garnish, and later, mustard seeds when mature. (MABurgess photo)
London rocket (read “wild arugula”) is everywhere, its greenery literally growing before our eyes in every low swale, rocky hillside, every ditch where water has run. Sisymbrium irio is an introduced weed which we can enjoy with impunity—the more we eat of them the more we are removing competition for our beloved native plants. So harvest away! (A good rule of thumb is to collect at least 50’ from a road. No need to ingest road dust and pollutants when there is so much to be found in friendly yards or out in the des.)
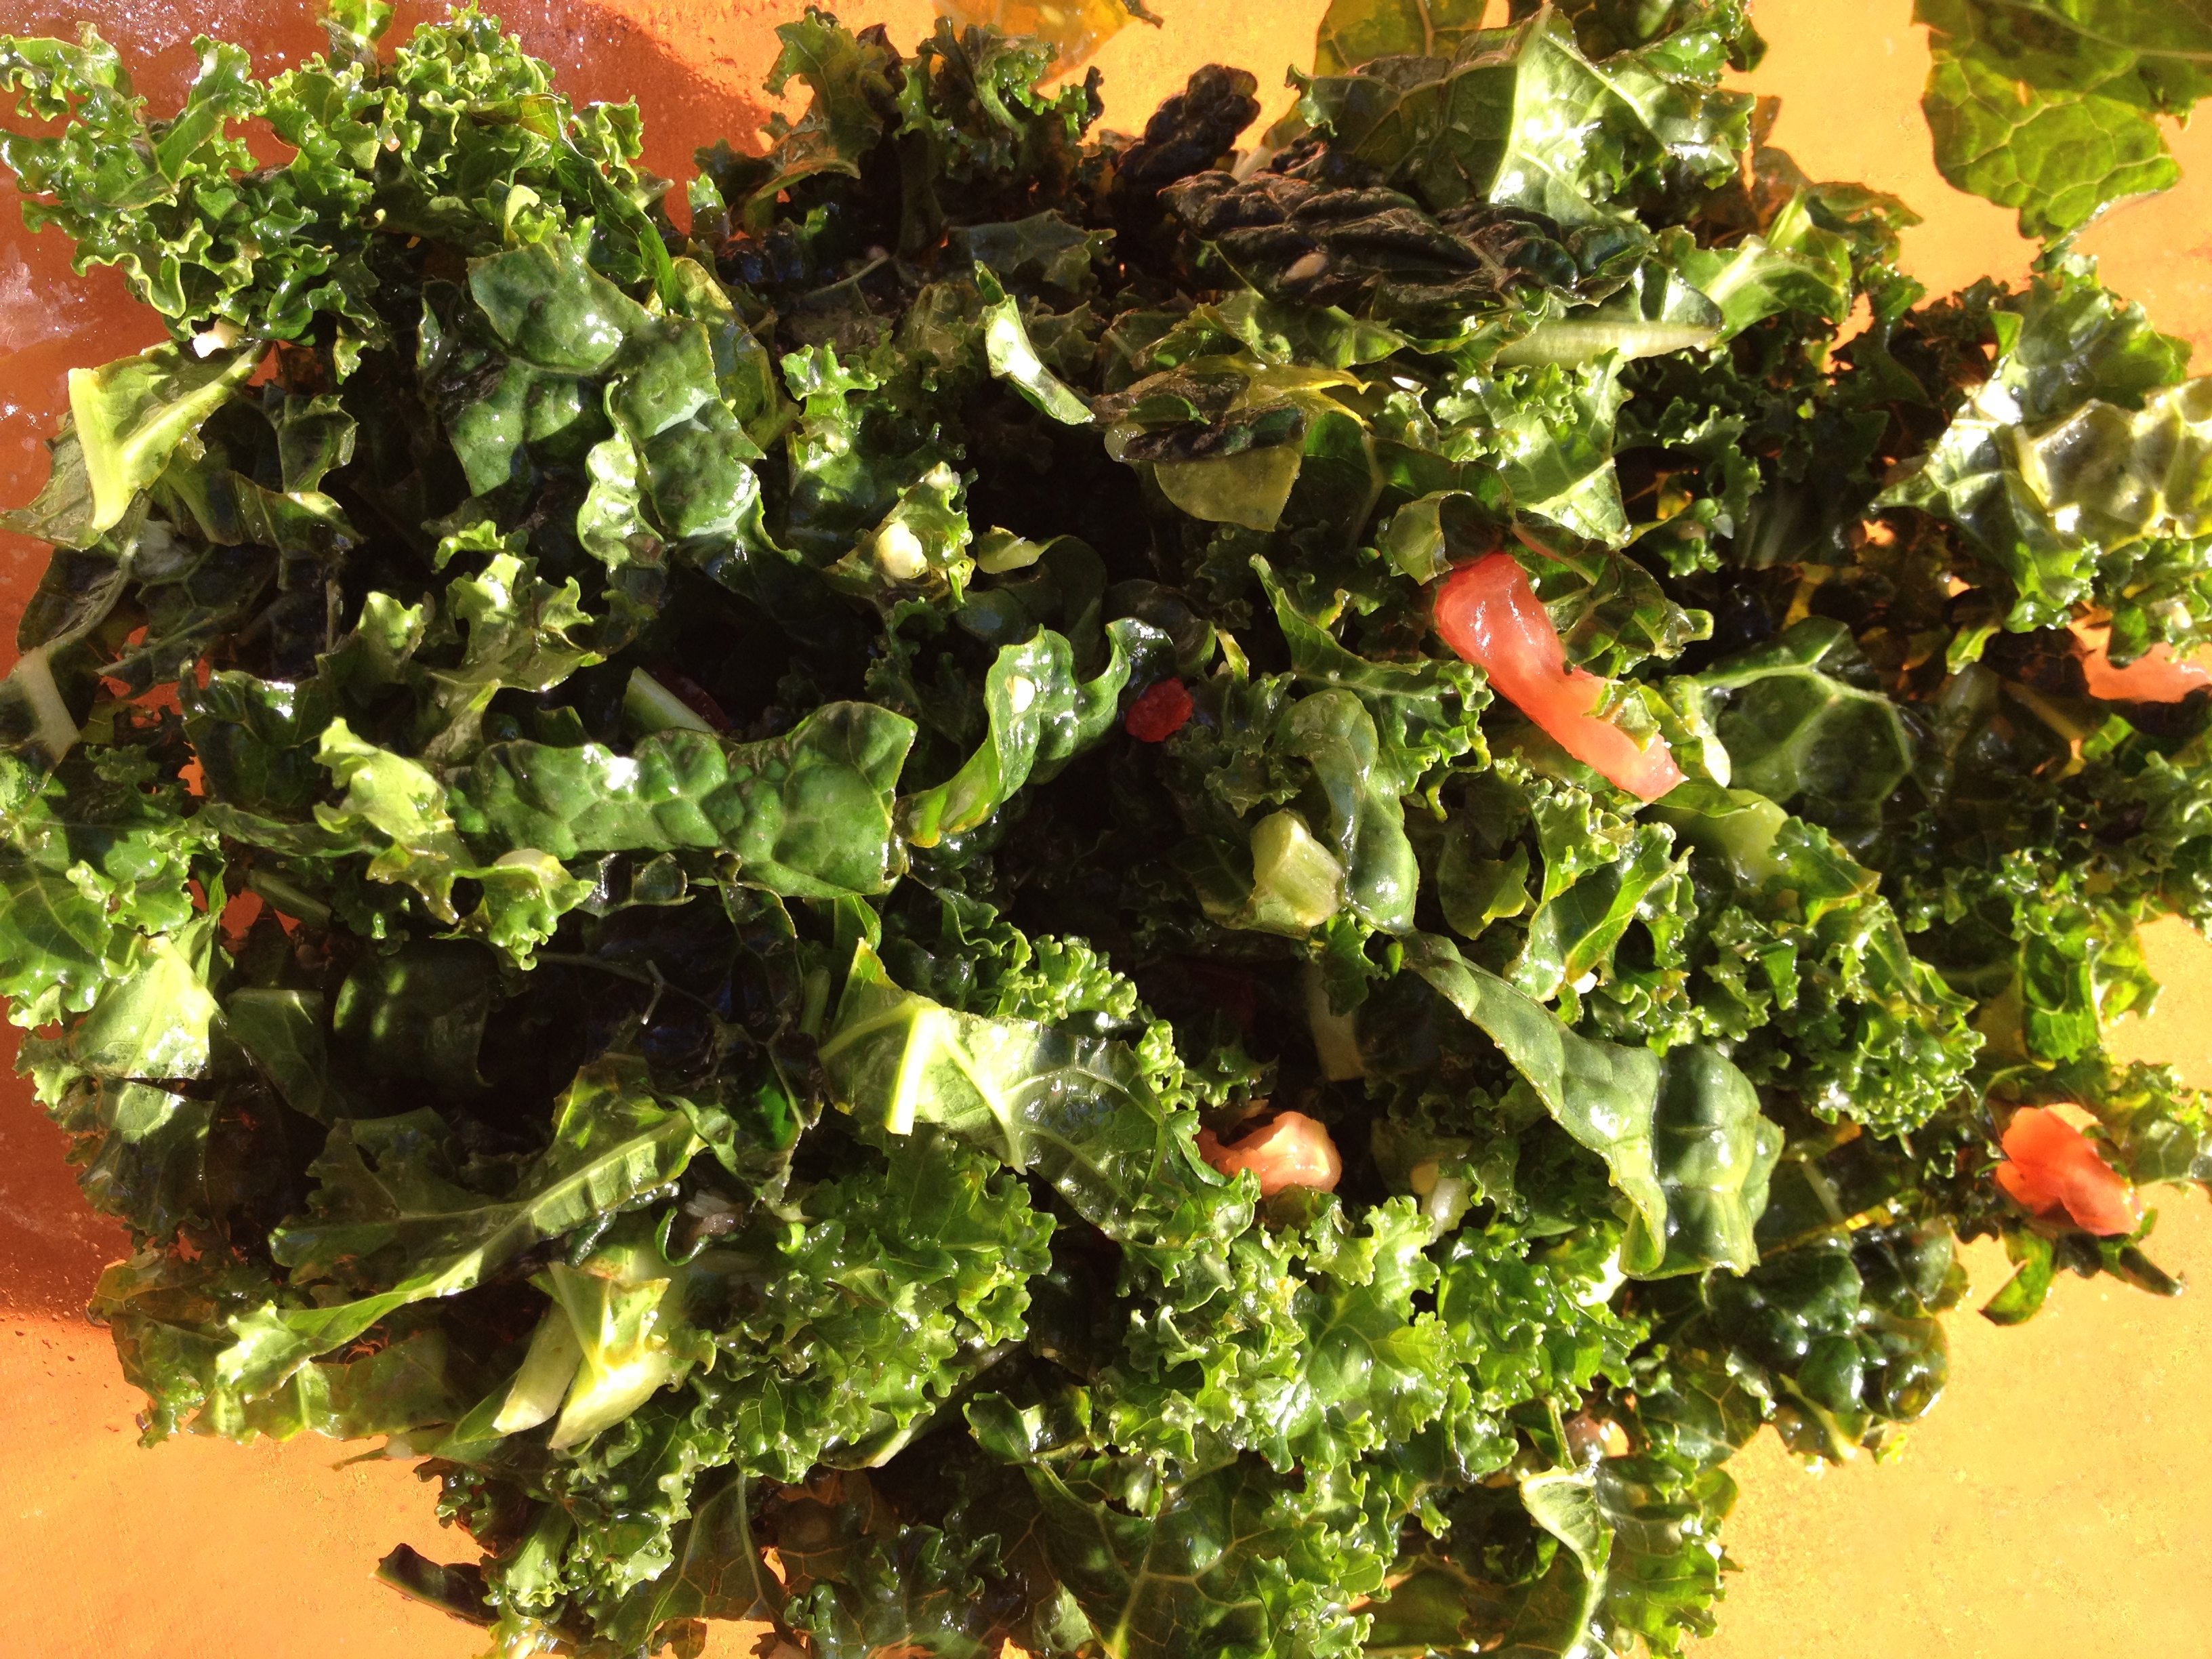
Prepare for a picante treat, sometimes a picante bite, from these wild mustards. Toss a few wild arugula leaves with baby greens, or in a BLT to liven it up. Try them steamed with your favorite garden greens or added to stir-fry.
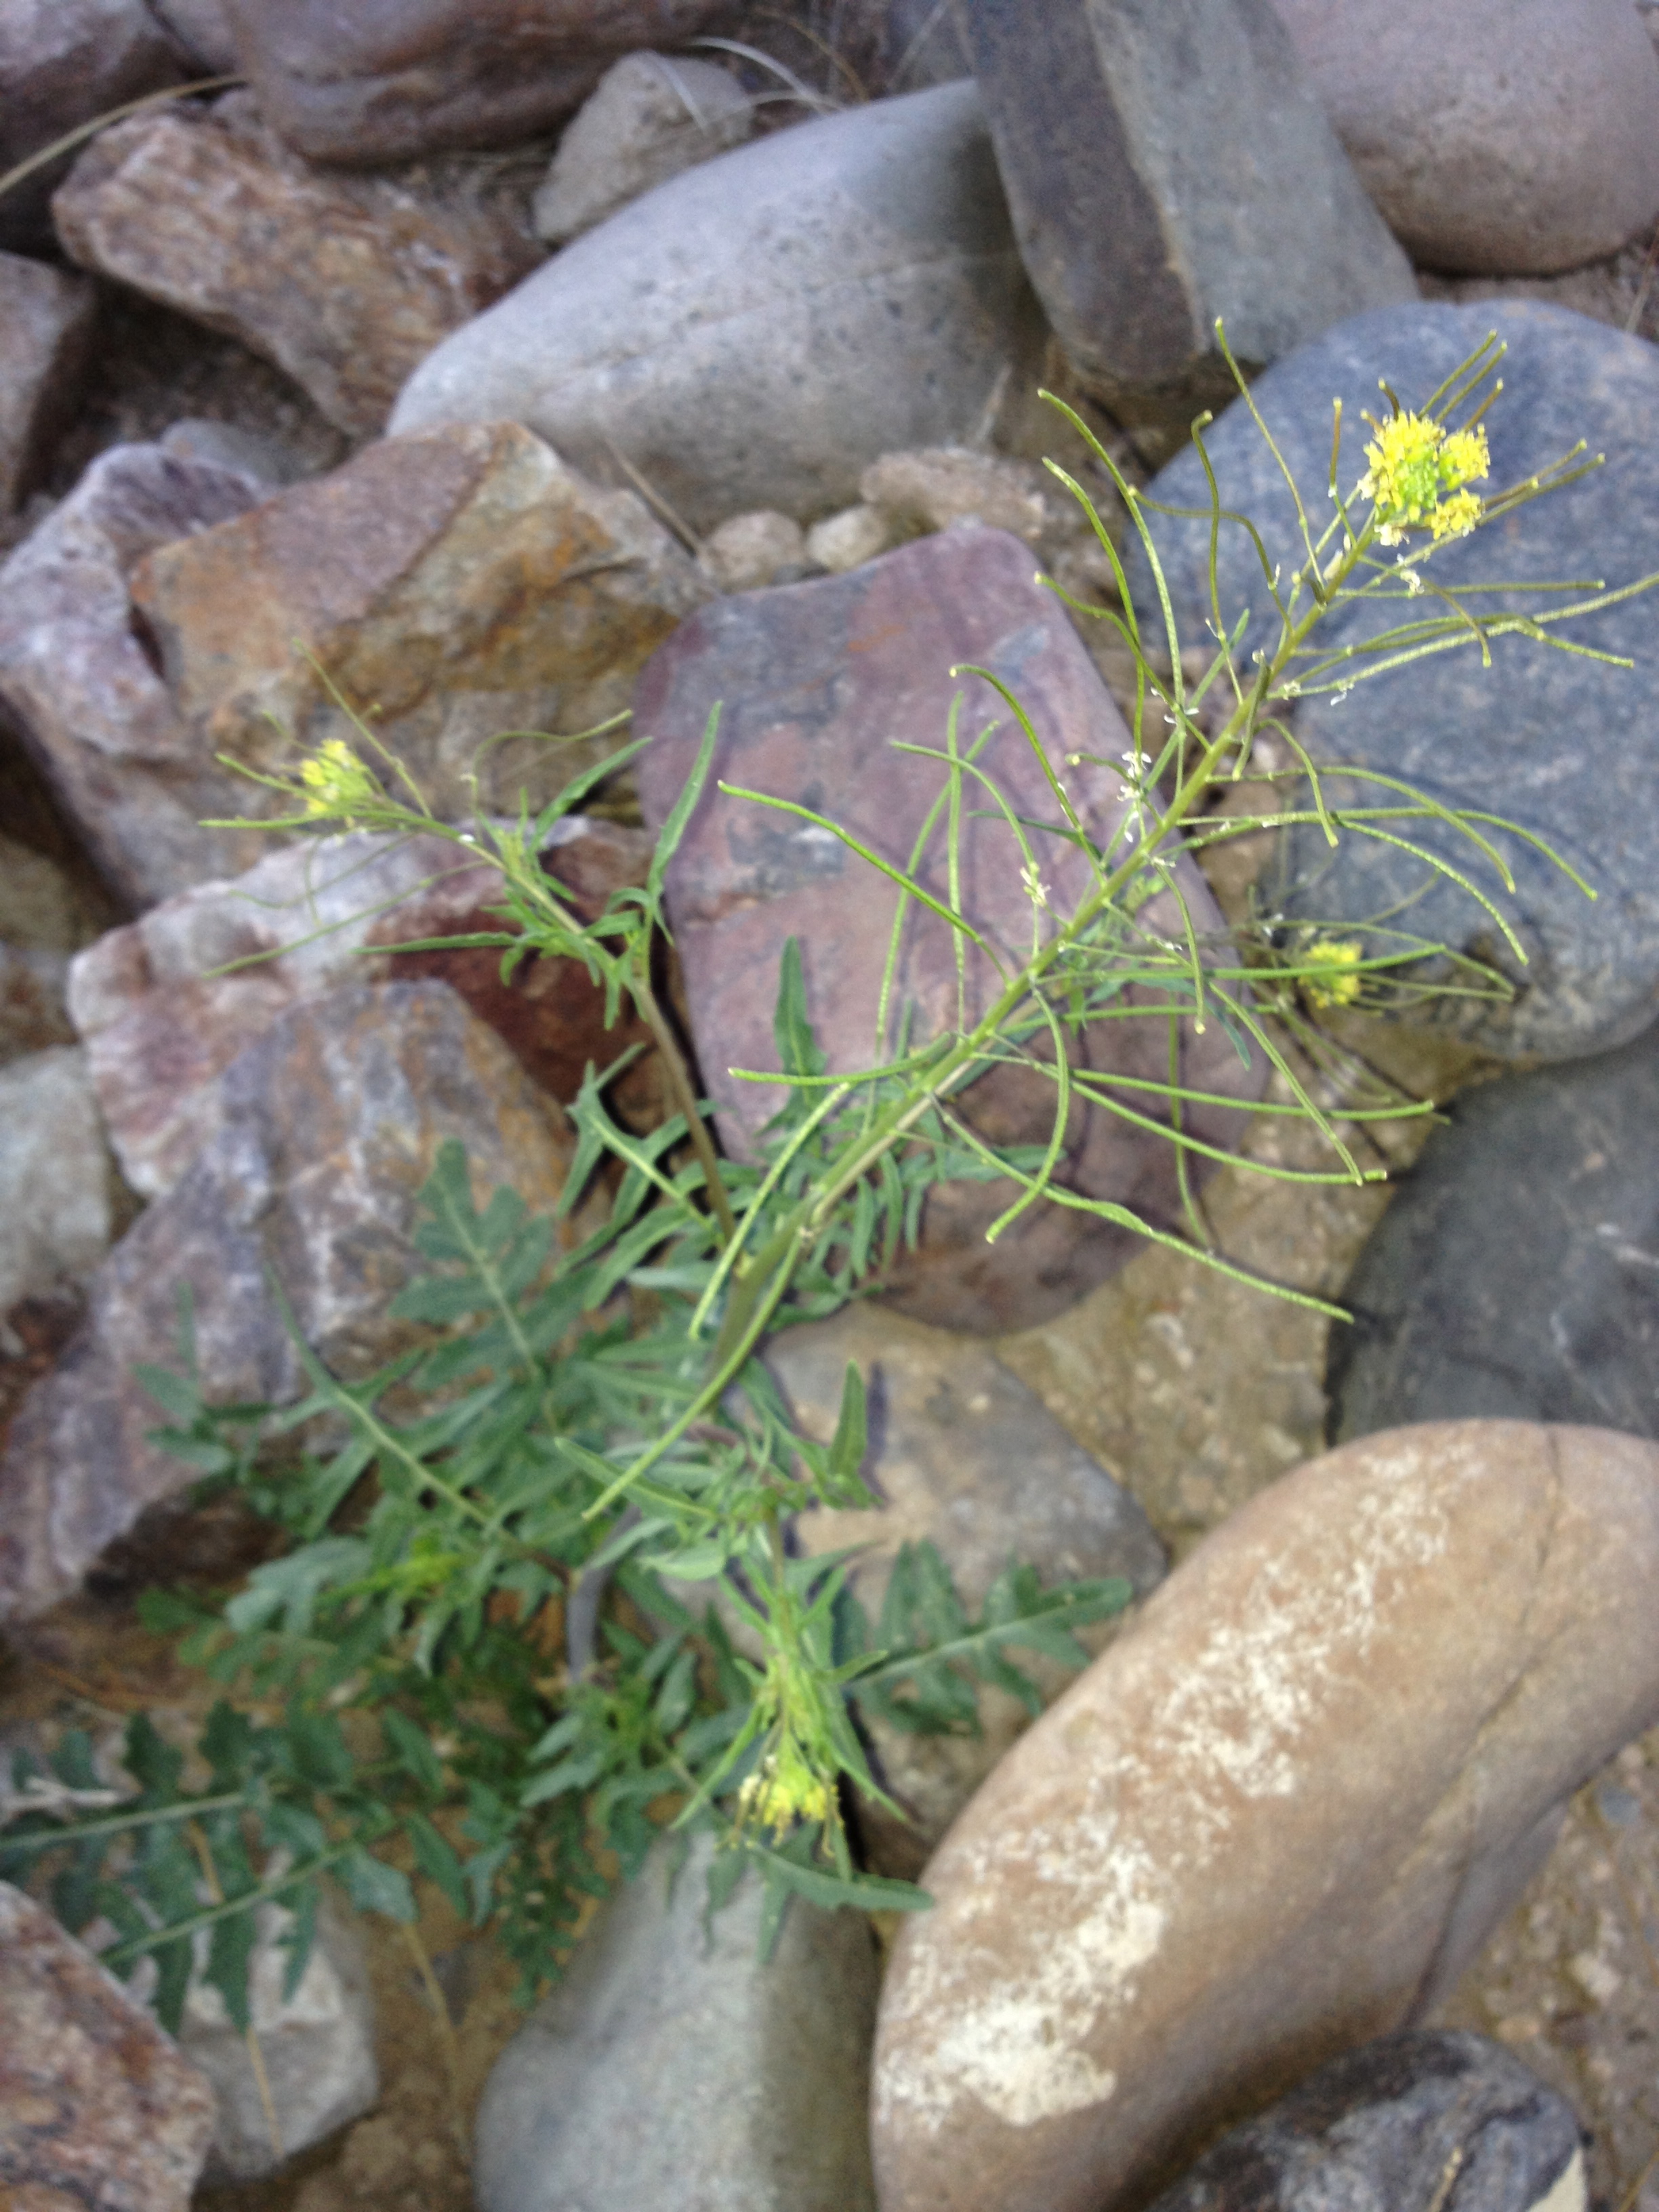
Hot February weather is telling our wild mustards, “Summer’s coming. Better go ahead and bloom fast!” Already we see tiny 4-petaled yellow flowers rising from the rosettes of deeply lobed leaves. Small erect spikelets of seedpods (called siliques) stand out from the central stem. Whole flower heads with seedpods are edible, and zingingly picante. Sooner than we think, seedheads will mature and you can harvest their tiny mustard seeds for dressings or salad sprinkles.
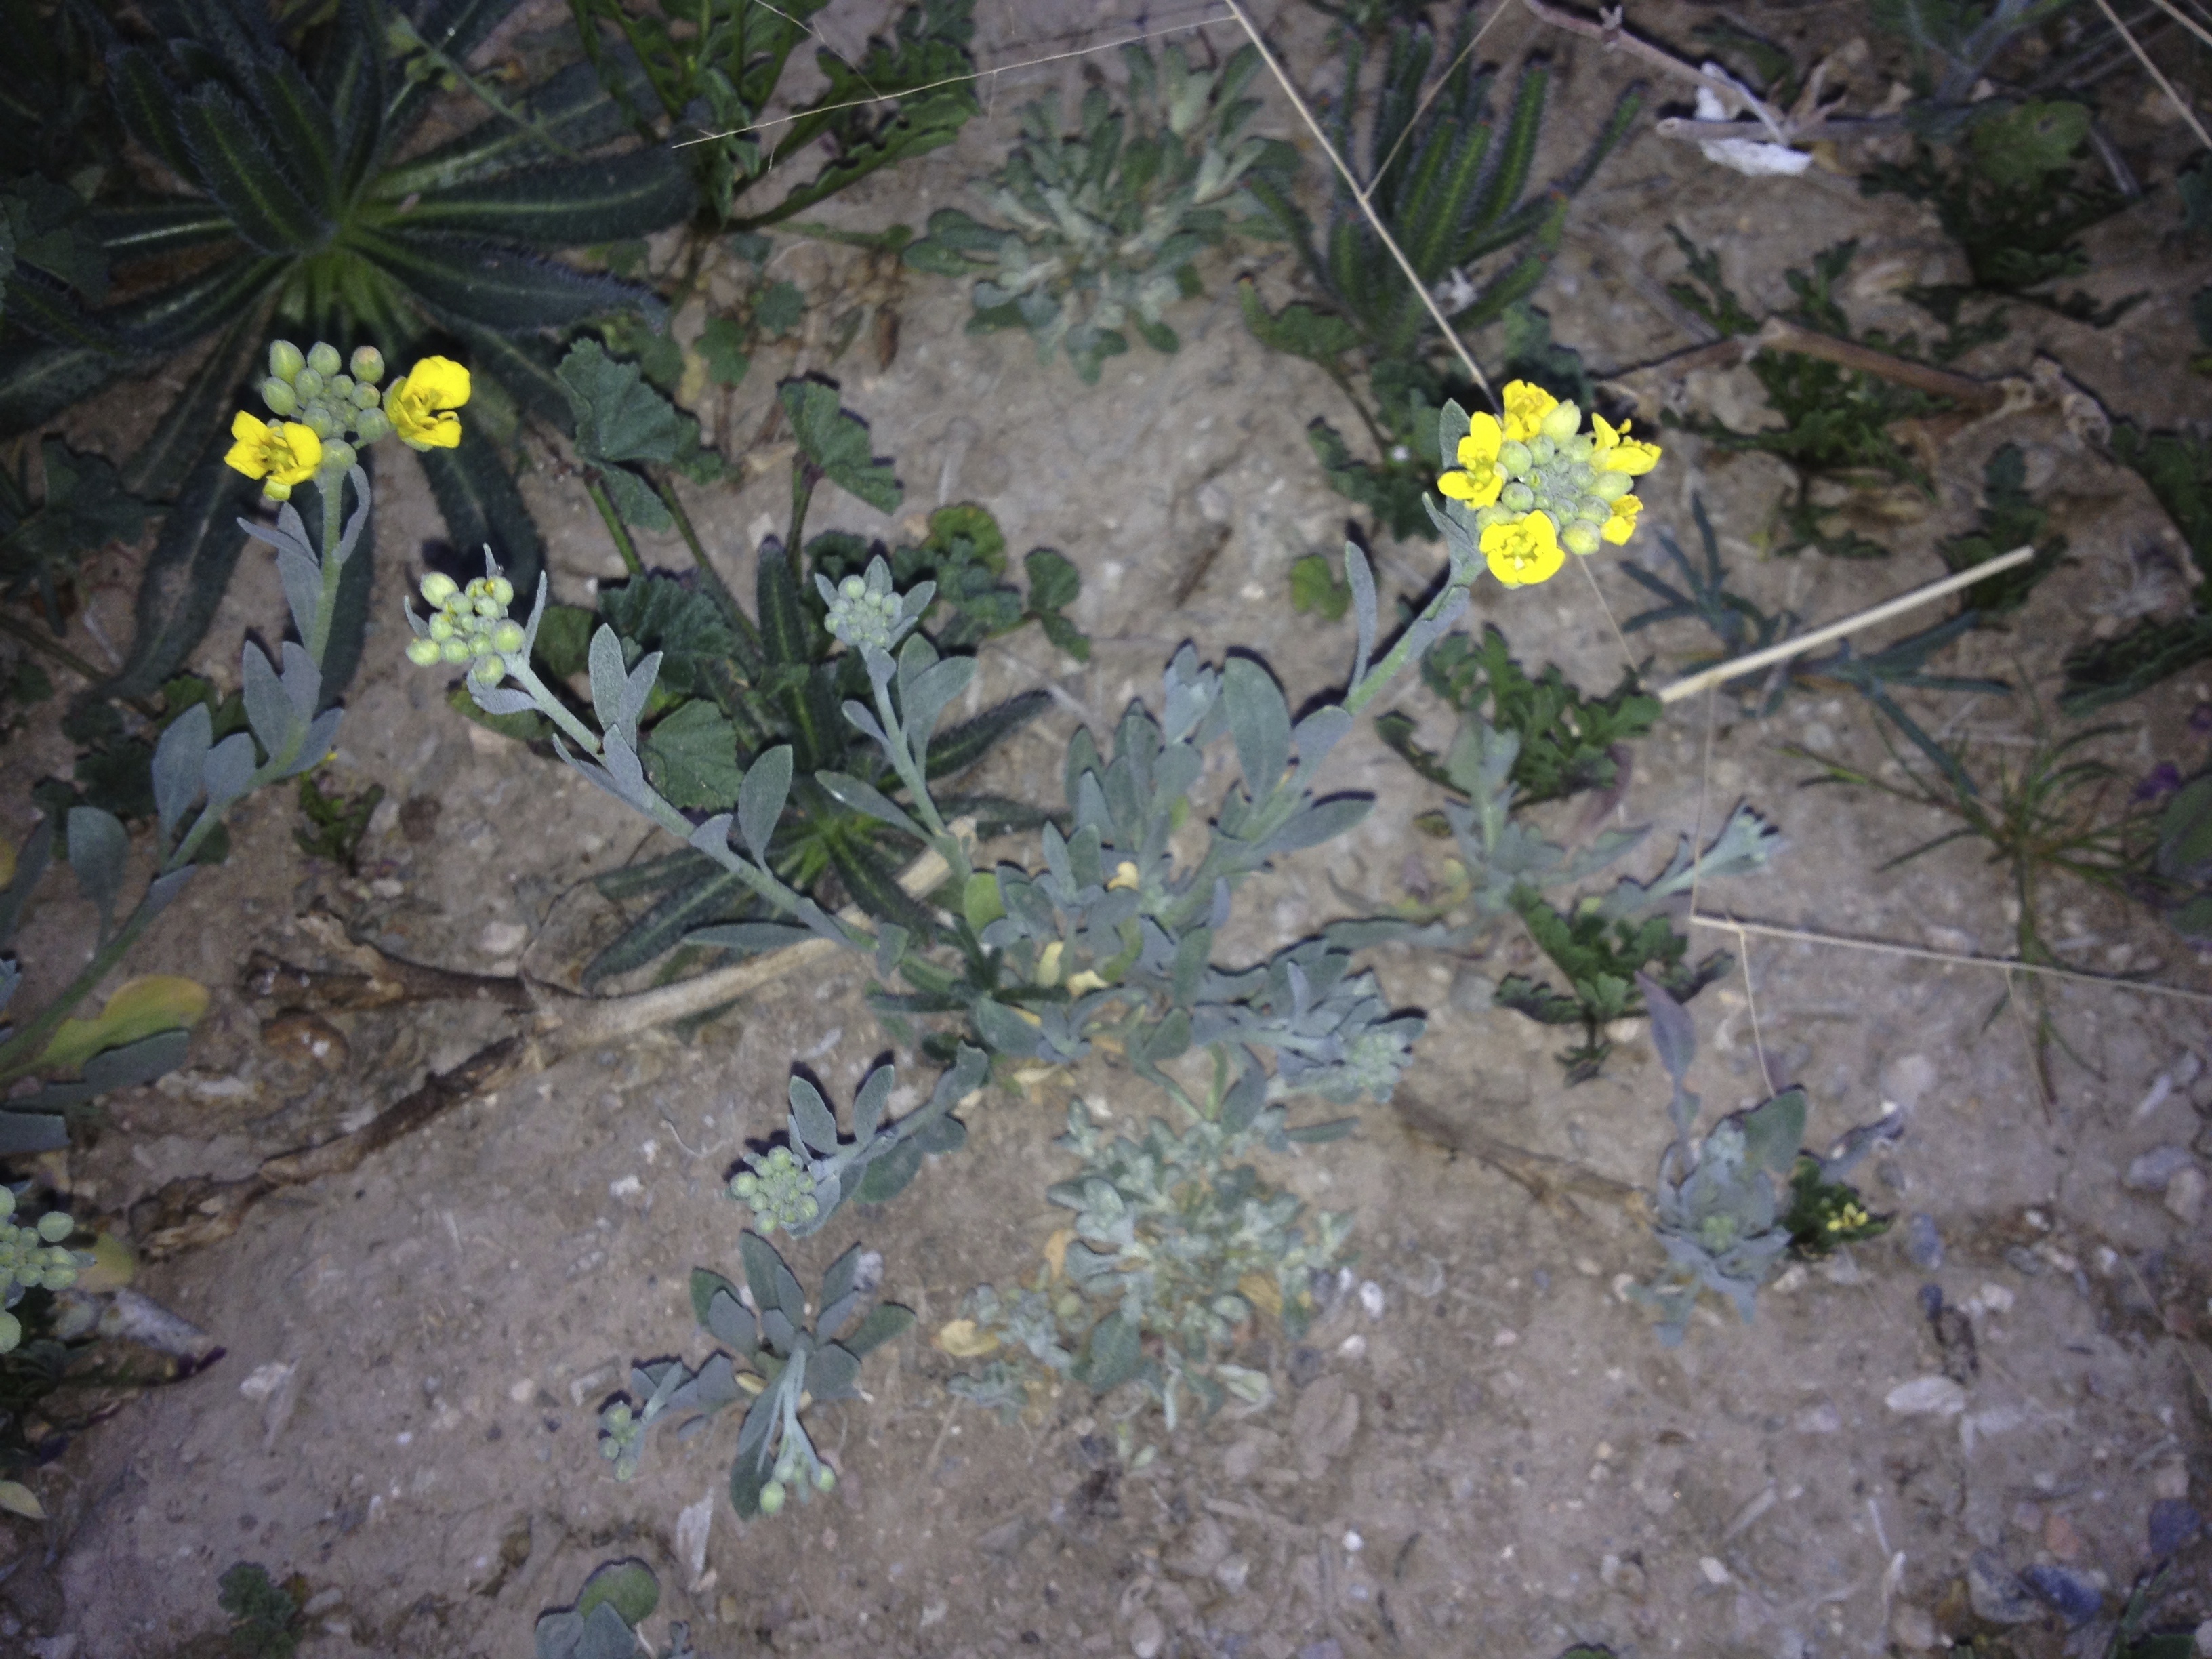
This year, if you spy Lesquerella gordoni (bladderpod), it will stand out like little yellow stars on the bare ground. (MABurgess photo)
In some wet winters, a different native mustard known as bladderpod has made carpets of lemon-yellow flowers on the desert floor. No such show this year. Should you find a patch of blooming bladderpod, try a taste of its petals. Their nice nip will add vivid color, nutrition, and excitement to any salad, garni, or burrito topping.
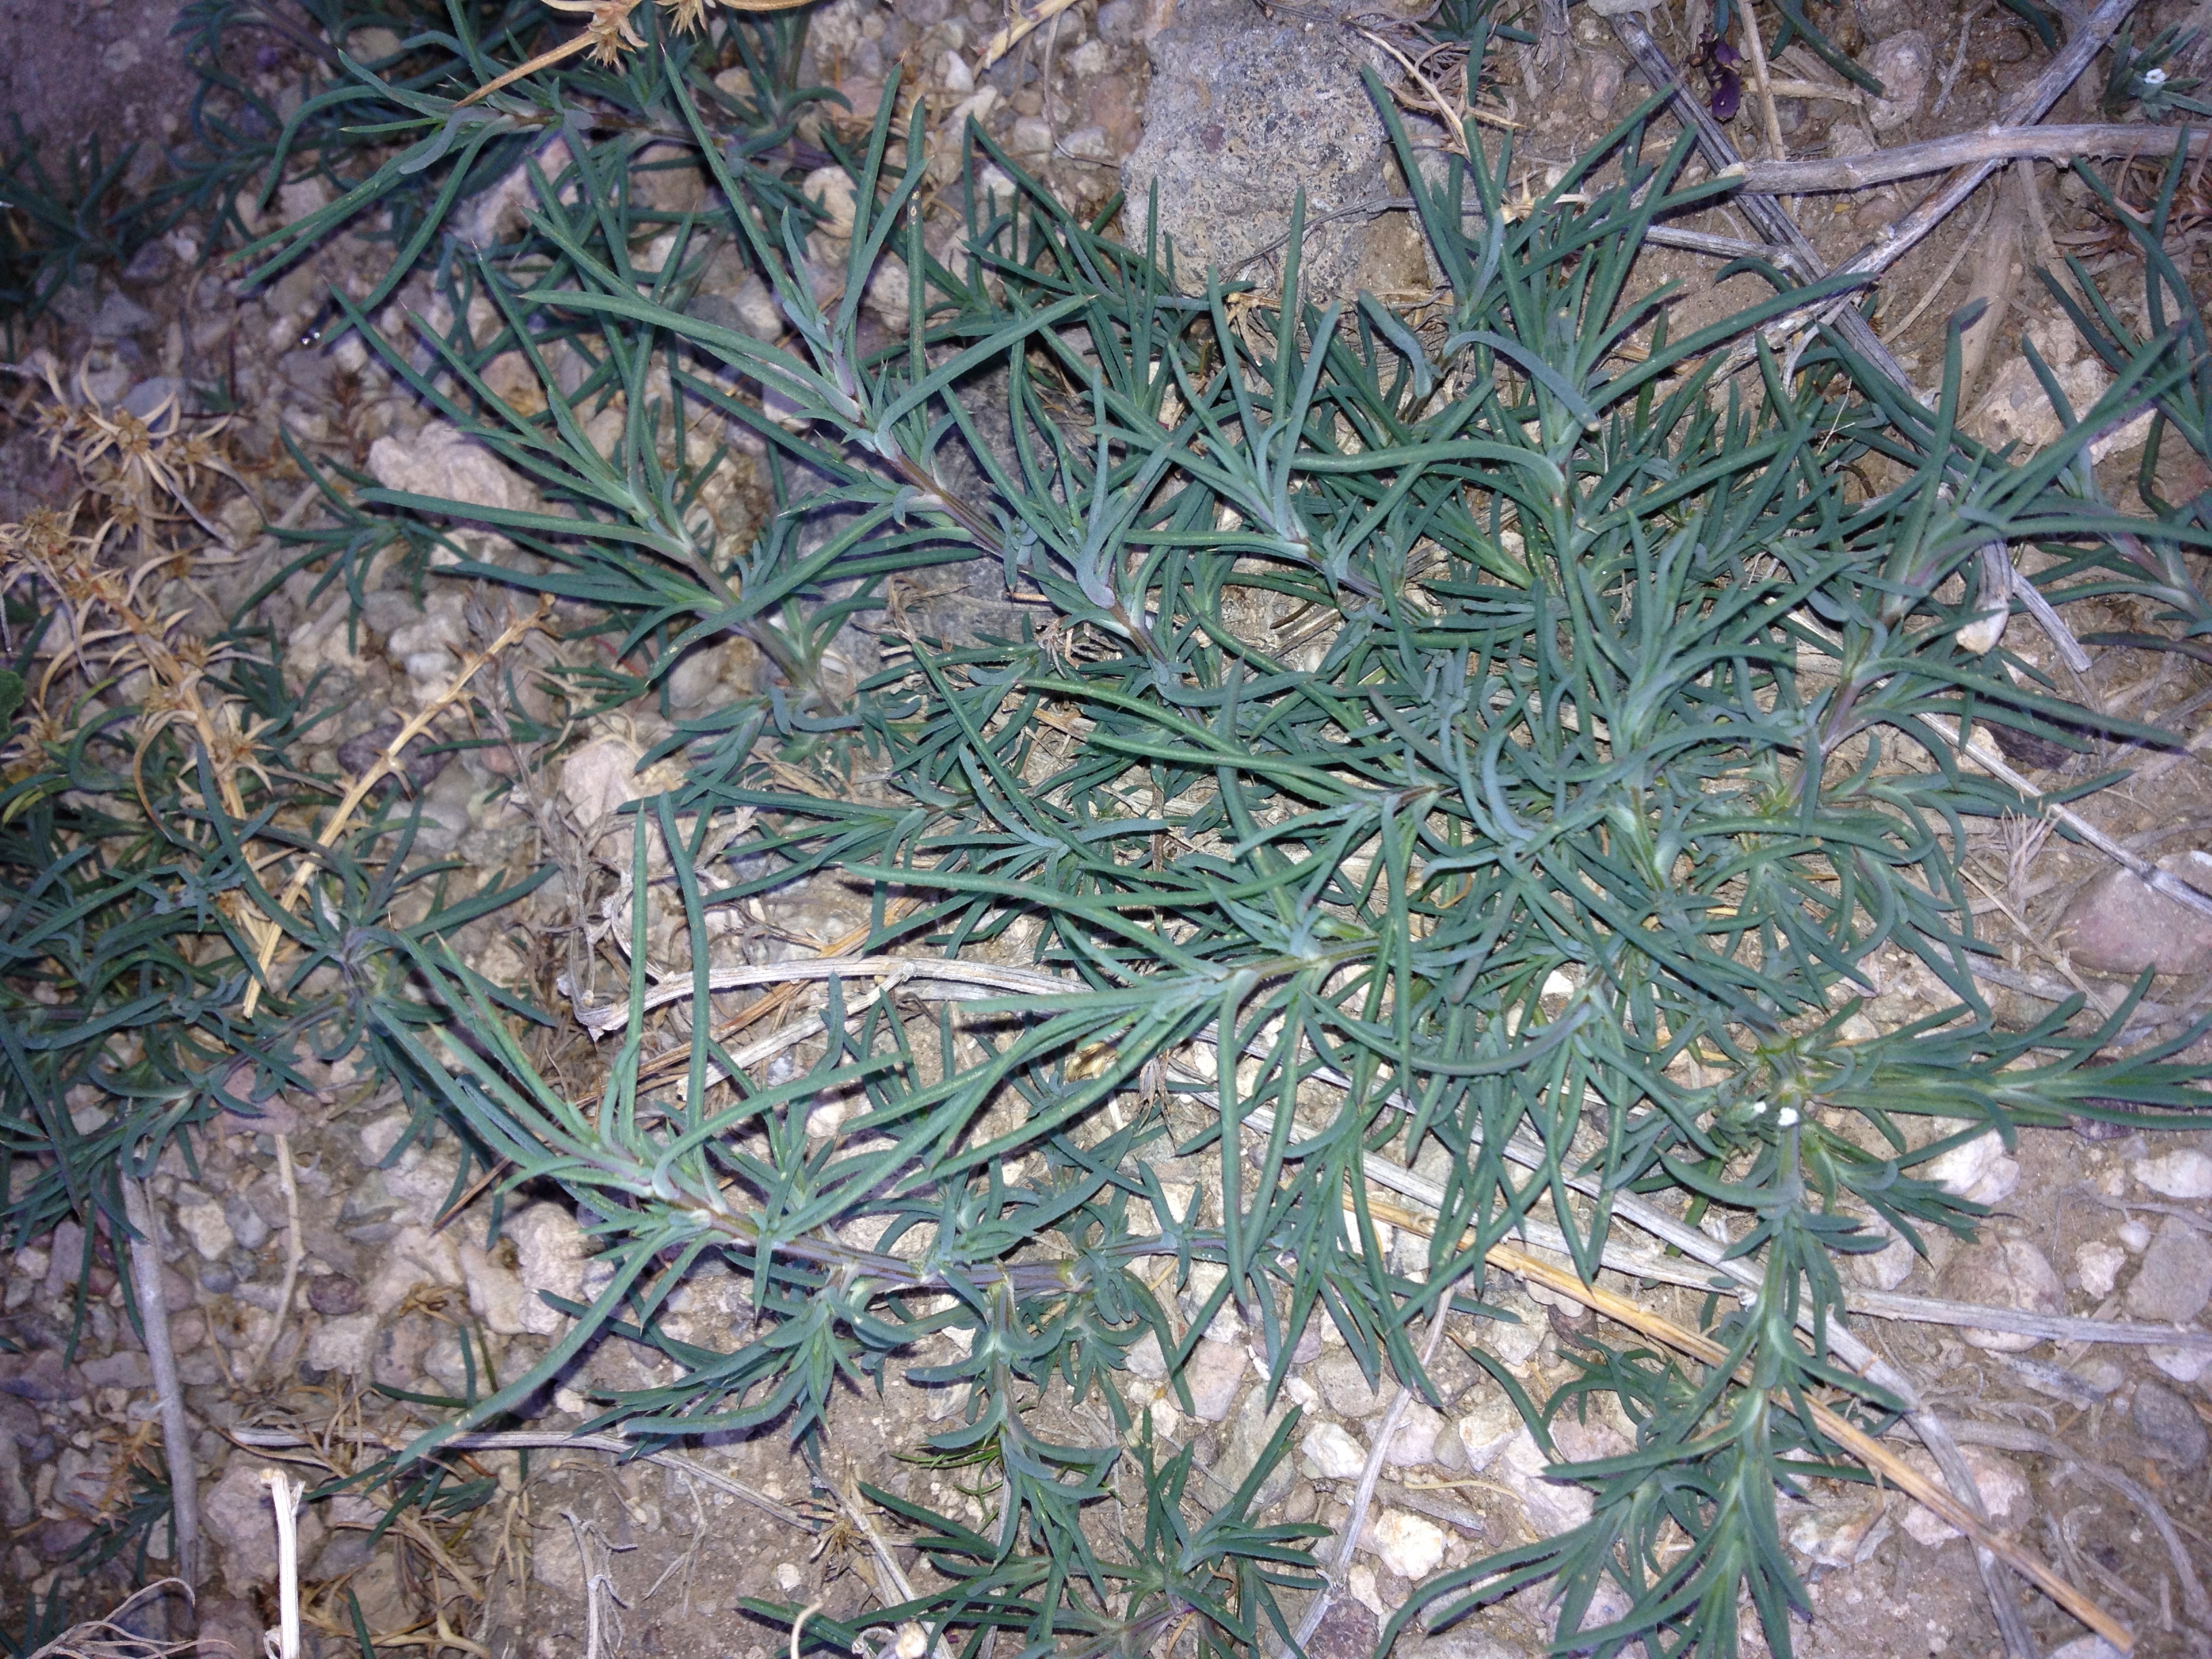
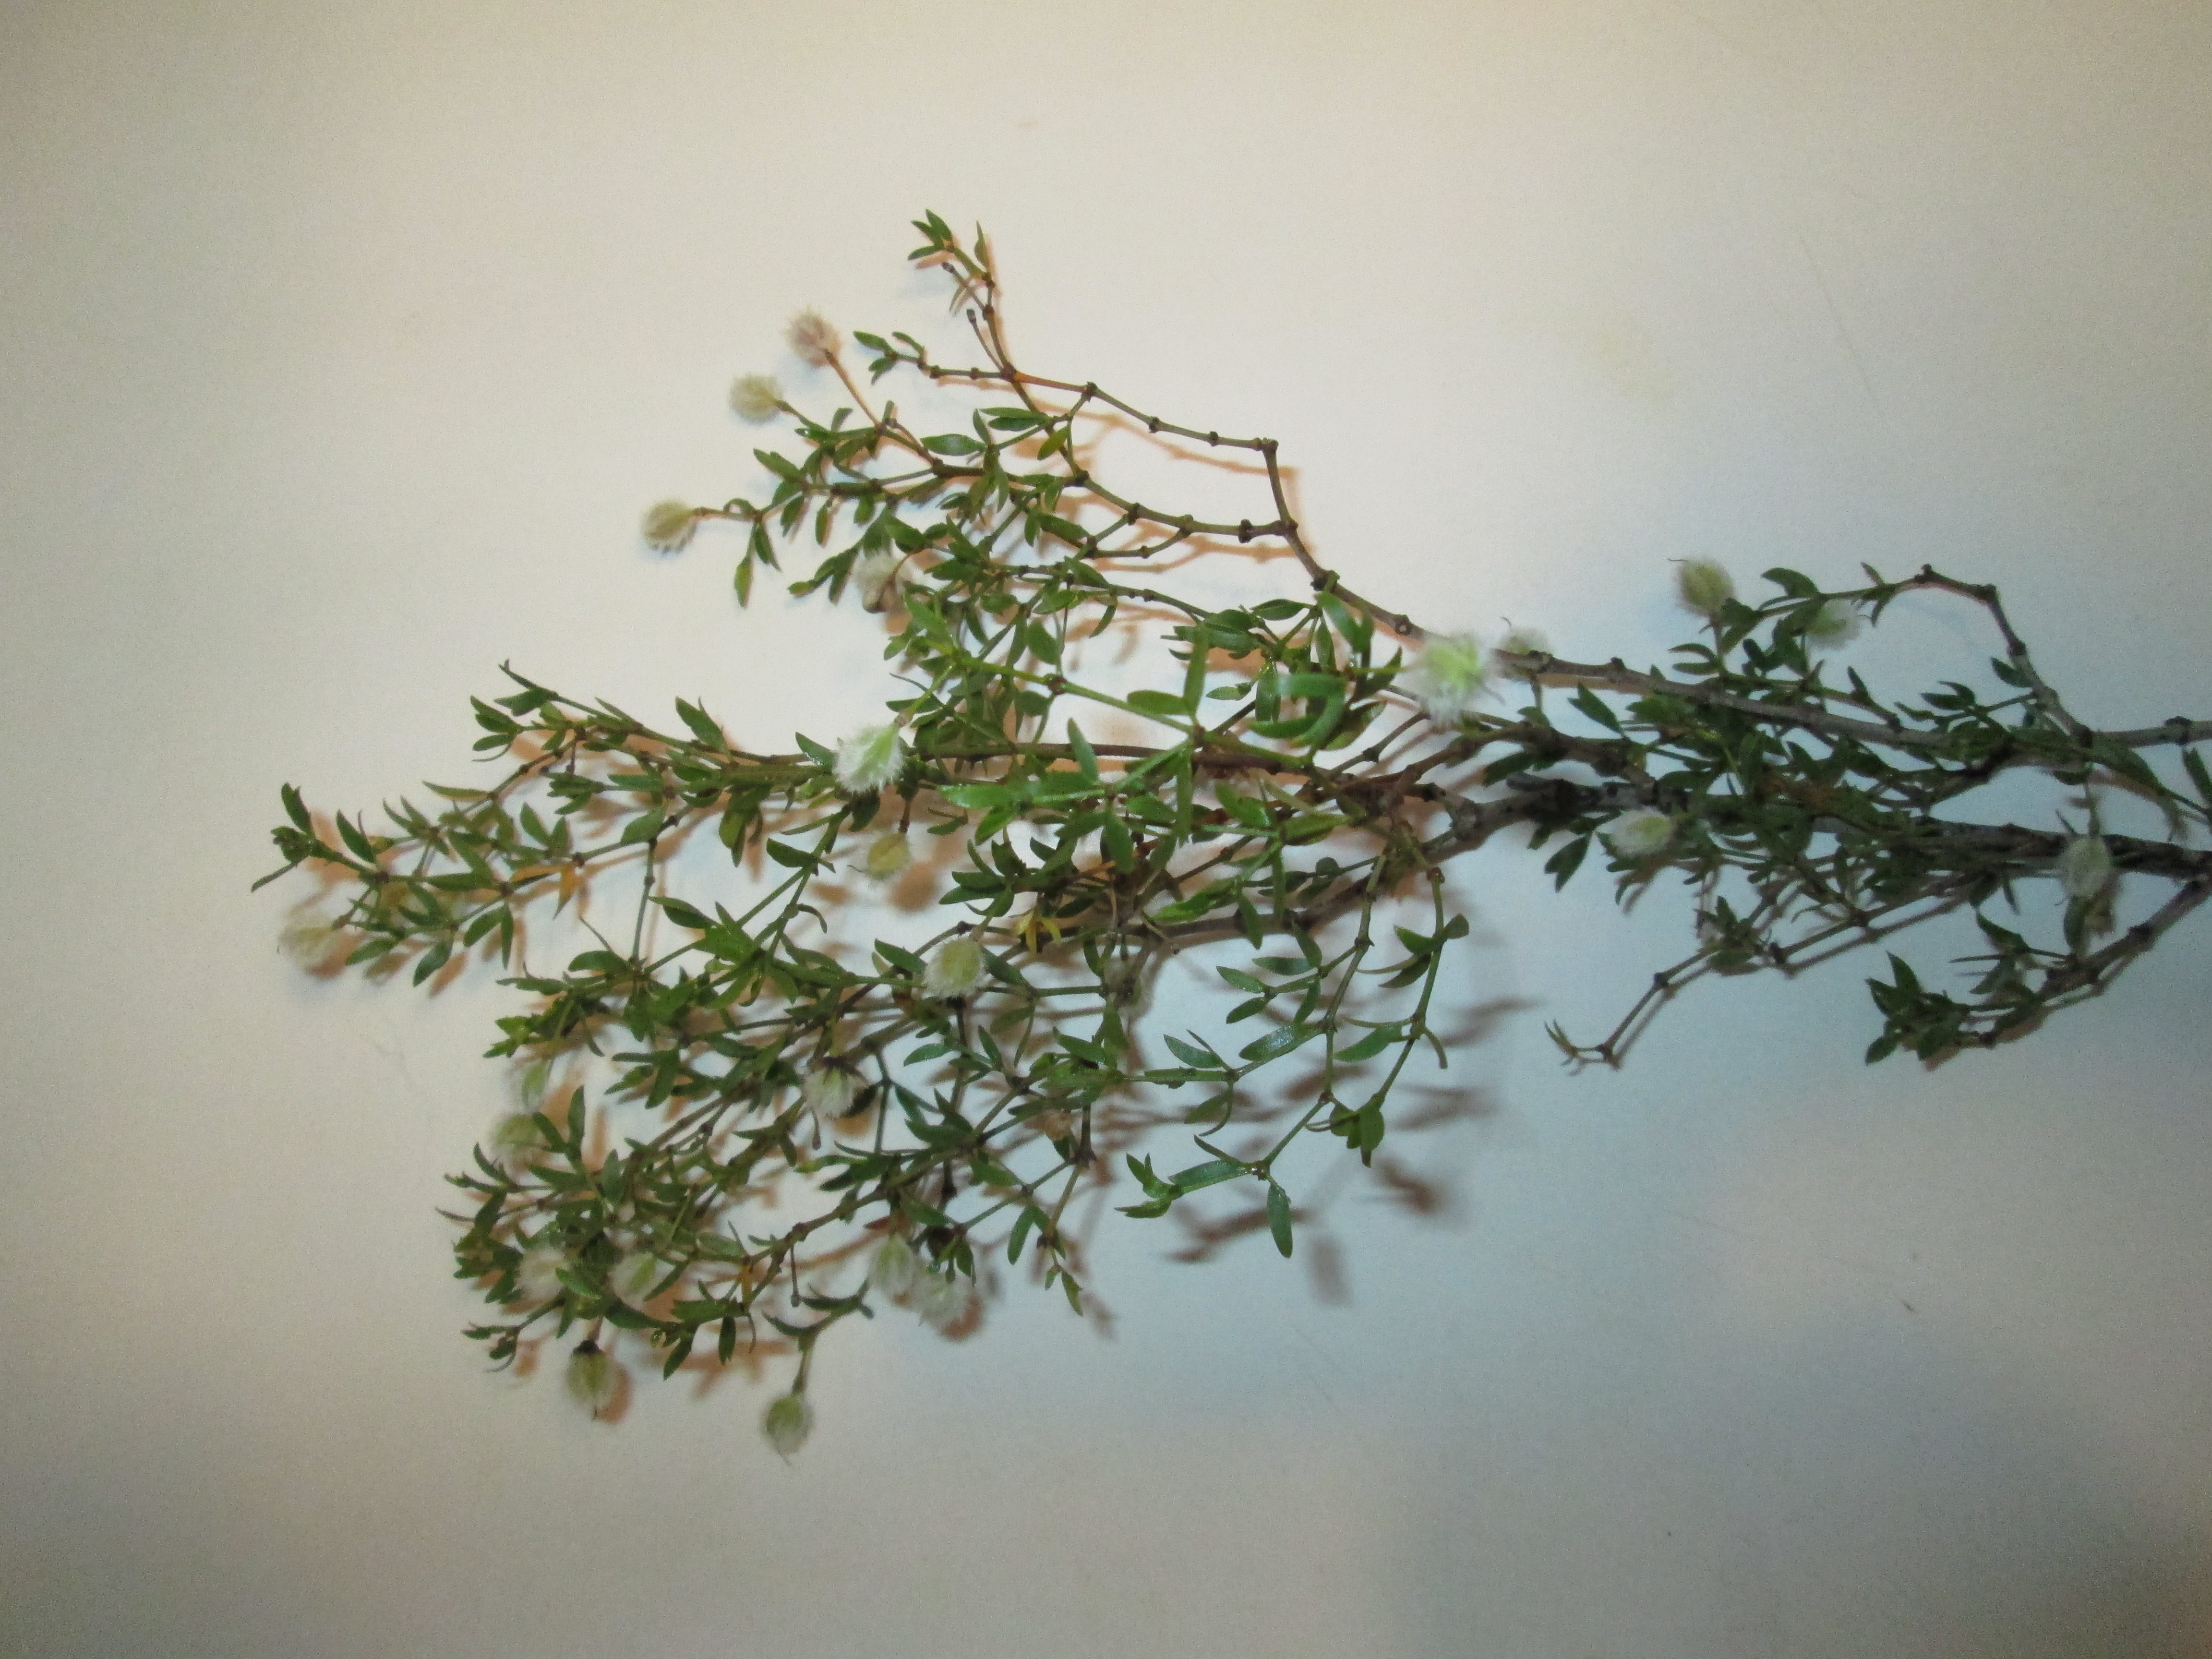
Better known as tumbleweed, Russian thistle (Salsola kali) is best harvested in this tender stage—and every rancher will thank you for your service! (MABurgess photo)
The most ubiquitous of weeds is the introduced Russian thistle which no one seems to notice until it dries, dislodges, tumbles across the road on a crosswind, and stacks up next to a fence or obstacle. So now, while it is in its infancy, go out to that windbreak and find its progeny! Have no compunction about snipping it at ground level while it is only inches high, young, and tender—before sharp stems develop making it unpalatable to humanoids. You will be amazed at what it adds, snipped in short pieces fresh in a salad, steamed with butter and pepper, or stir-fried with other veggies.

Our many species of saltbush (Atriplex spp.) are tender and ready for picking in late winter into spring. (MABurgess photo)
Find saltbush’s gray greenery along the Santa Cruz floodplain–or plant it in your yard for wildlife habitat. (MABurgess photo)
Now is saltbush’s time to shine—in landscaping and in cuisine. Here in Baja Arizona there are many species of Atriplex, and all are edible. These tough shrubs are desert survivors for sure. They tend to grow in “waste places” where hardly any other plants can make it. The name saltbush indicates its habitat, where soil is salty,heavy, or full of caliche. Quail and other creatures find refuge and forage in the dense shrubs. If you want to attract birds into your yard, go to Desert Survivors Nursery, Tucson, and buy any saltbush to plant—then stand back. We humans can join in the saltbush foraging guiltlessly, as saltbush is plentiful and our harvesting may even stimulate re- growth.
Nearly every Native nation in the Southwest has a tradition of using saltbush in multiple ways. When its stiff salty leaves are youthful they can be picked for cooking with other greens, the style of traditional Akimel O’odham, the River Pima. My Tohono O’odham teacher Juanita would steam saltbush with cholla buds, and told me how “the old people would roast their cholla buds in layered beds of ontk i:wagi [salt spinach].” Hopi cooks make a kind of baking powder out of pulverized saltbush foliage.
Try young saltbush leaves cooked with heirloom cannelini beans or cranberry beans—for a flavorful variation on beans-and-greens. You’ll find that the salts which the plants have sequestered from the soil will add a delicious desert flavoring. Move over, Hawaiian sea-salt! (After saltbushes have flowered, we will “talk seeds”—stay tuned….)
NativeSeeds/SEARCH (www.nativeseeds.org) and Mission Garden (www.tucsonsbirthplace.org) carry seed of a domestic relative of saltbush called “orache” which provides a purple-leafed “green” for a winter veggie garden.
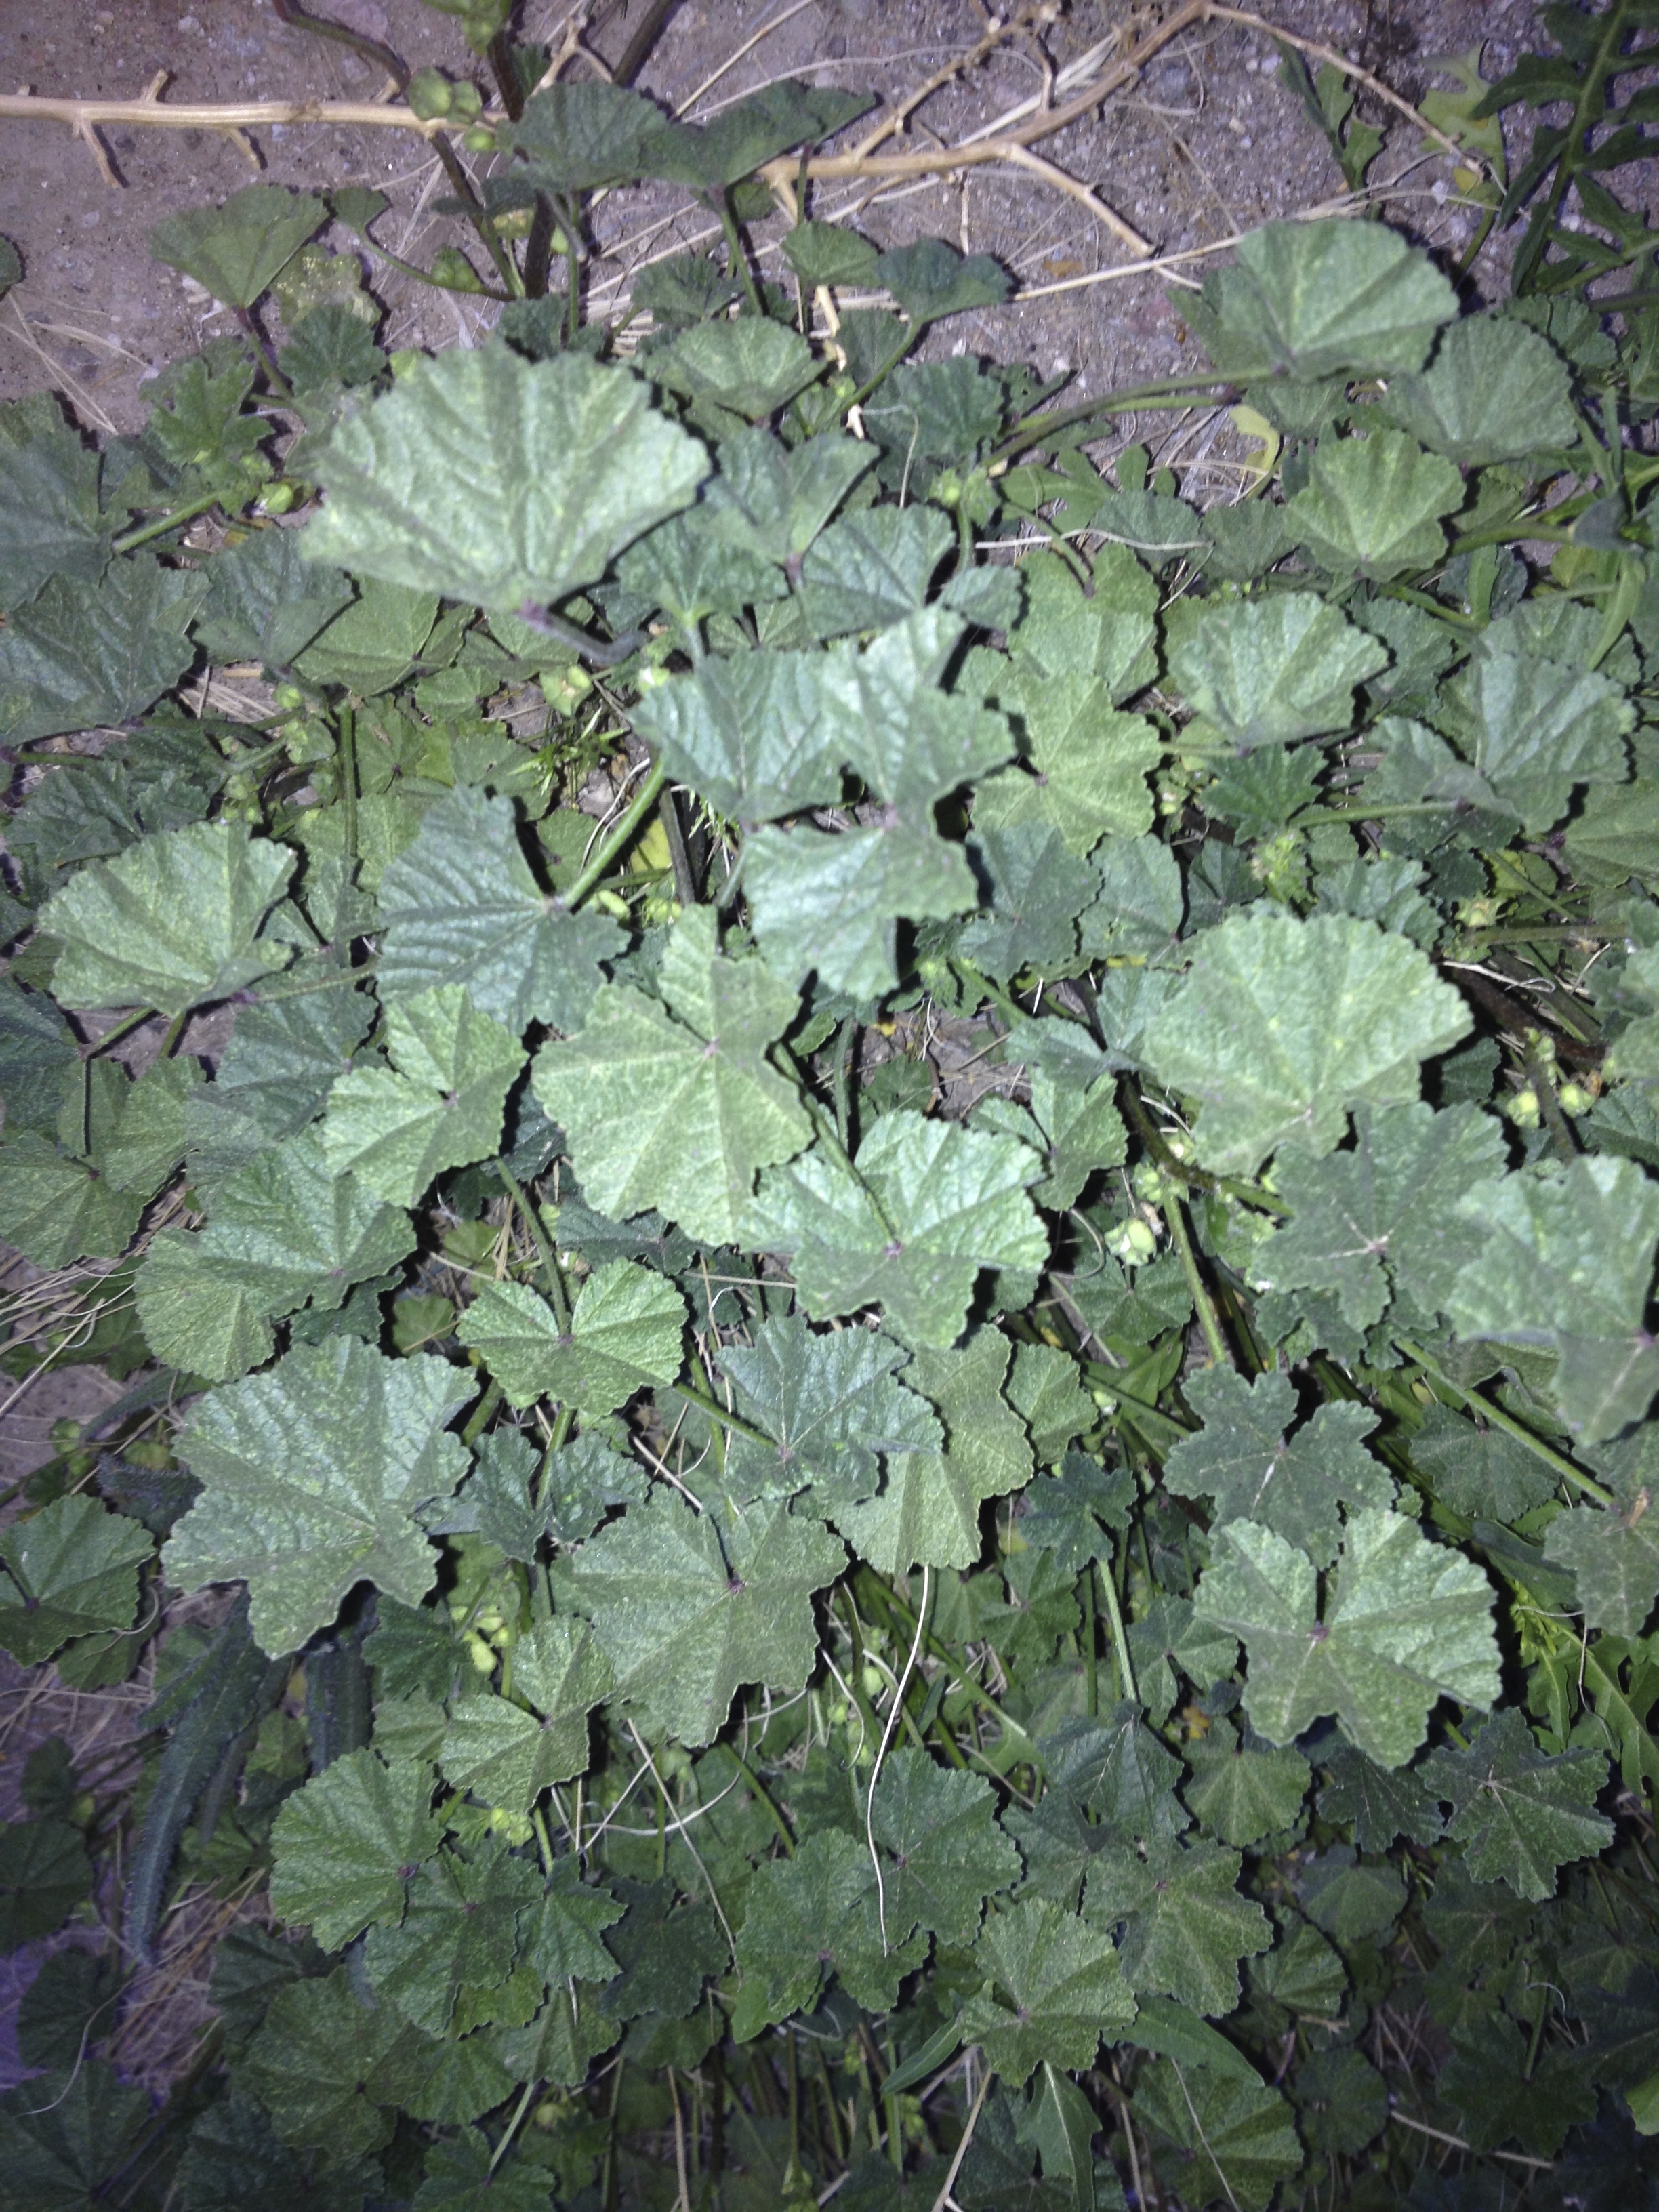
Did you ever contemplate cheeseweed thru the day? (Are you kidding?) Its palmate leaf is a sun-tracker! I discovered these young Malva neglecta in late afternoon with each leaf bent westerly, cupped, facing the setting sun.(MABurgess photo)
Ah, cheeseweed—the “scourge” of gardeners, when it gets established. Malva or cheeseweed, so called for its cheese-wheel shaped seed pod, is another one of those introduced weeds which tend to follow humans. Only harvestable when young– get it while you can. You’ll find it in disturbed flat areas where stock or off-roaders have churned up the natural soil, along fencelines or untended sidewalk margins. Beware, cheeseweed seems to be sought-after by wandering dogs as a “marker plant” so wash your harvest well.
New Malva foliage can make a nutritious addition to steamed collards, kale, acelgas, or turnip tops; or stir-fried with peppers, onion, and slices of winter squash. If you want to explore Malva’s medicinal qualities, try the foliage steeped as a tea for soothing tender digestive tract tissue or urinary tract. It makes a healing topical poultice as well.
Life-giving weeds are all around us, especially now with their ju-ju rising. Really no one need be hungry here. We’d all be healthier if we were eating more of these spontaneous gifts brought by Nature and human mobility. My respect for weeds and knowledge of their goodness outweighs my frustration as I pull them from my garden. Here’s wishing you happy weed harvesting, a new way of enjoying the pulses of life in the desert!
If you are lucky enough to locate Carolyn Niethammer’s book Tumbleweed Gourmet, Univ. of AZ Press, 1987, grab it! Find more info about traditional uses of saltbush in Food Plants of the Sonoran Desert by Wendy Hodgson, Univ. of AZ Press, 2001. Find medicinal uses of Malva neglecta in Medicinal Plants of the Desert and Canyon West, Mus. of NewMexico Press, 1989. Mission Garden is open on Saturday afternoons for guided tours, and NativeSeeds/SEARCH store at 3061 N Campbell Ave, Tucson, is open daily 10am-5pm.
Visit me, Tia Marta, for more weedy ideas and heirloom beans galore at the Flor de Mayo booth, St Phillips Farmers Market on Sundays 9am-1pm. (www.flordemayoarts.com).