Written and photographed by Linda McKittrick http://www.timecapsulekitchen.com

After all the the hoopla, meal sharing, and resolution making of the season I am ready for some simplicity. This “do it yourself” cheese making recipe echos the cheese making “en el campo”, but requires no milking of a ruminant animal (at least not by you). It is simple and, allows for some mystery to unfold as well. It is best made in small batches.
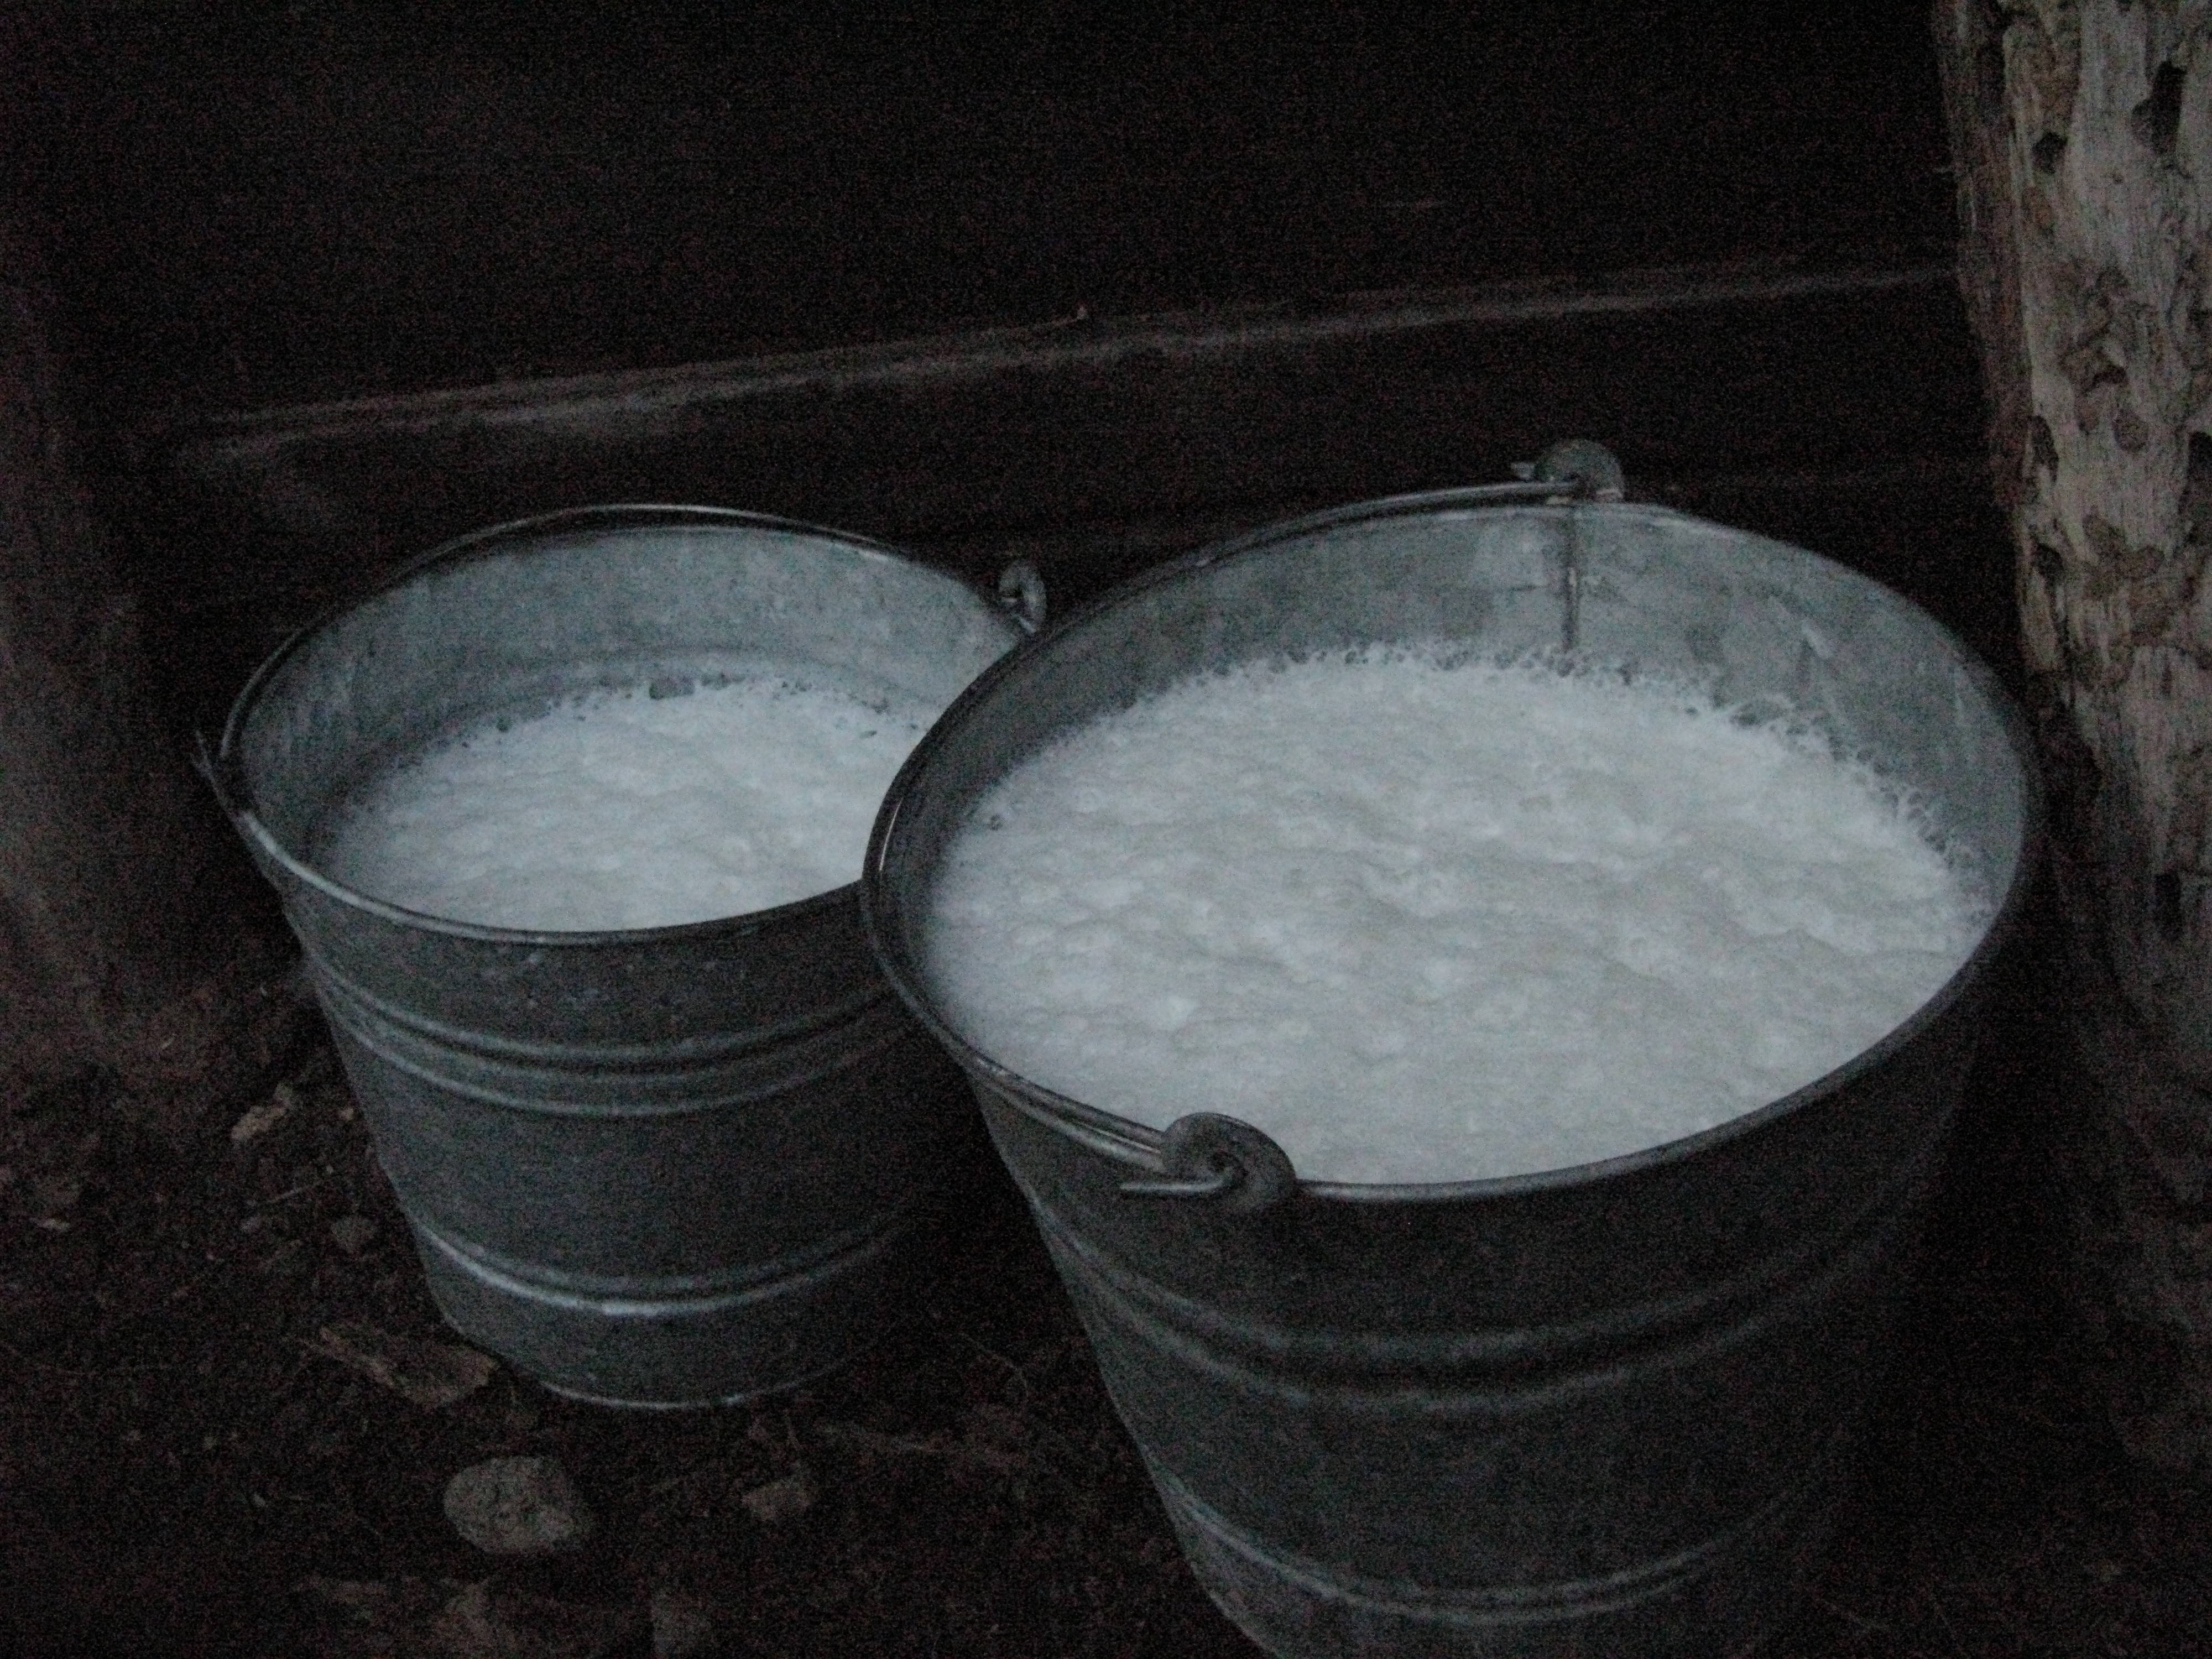
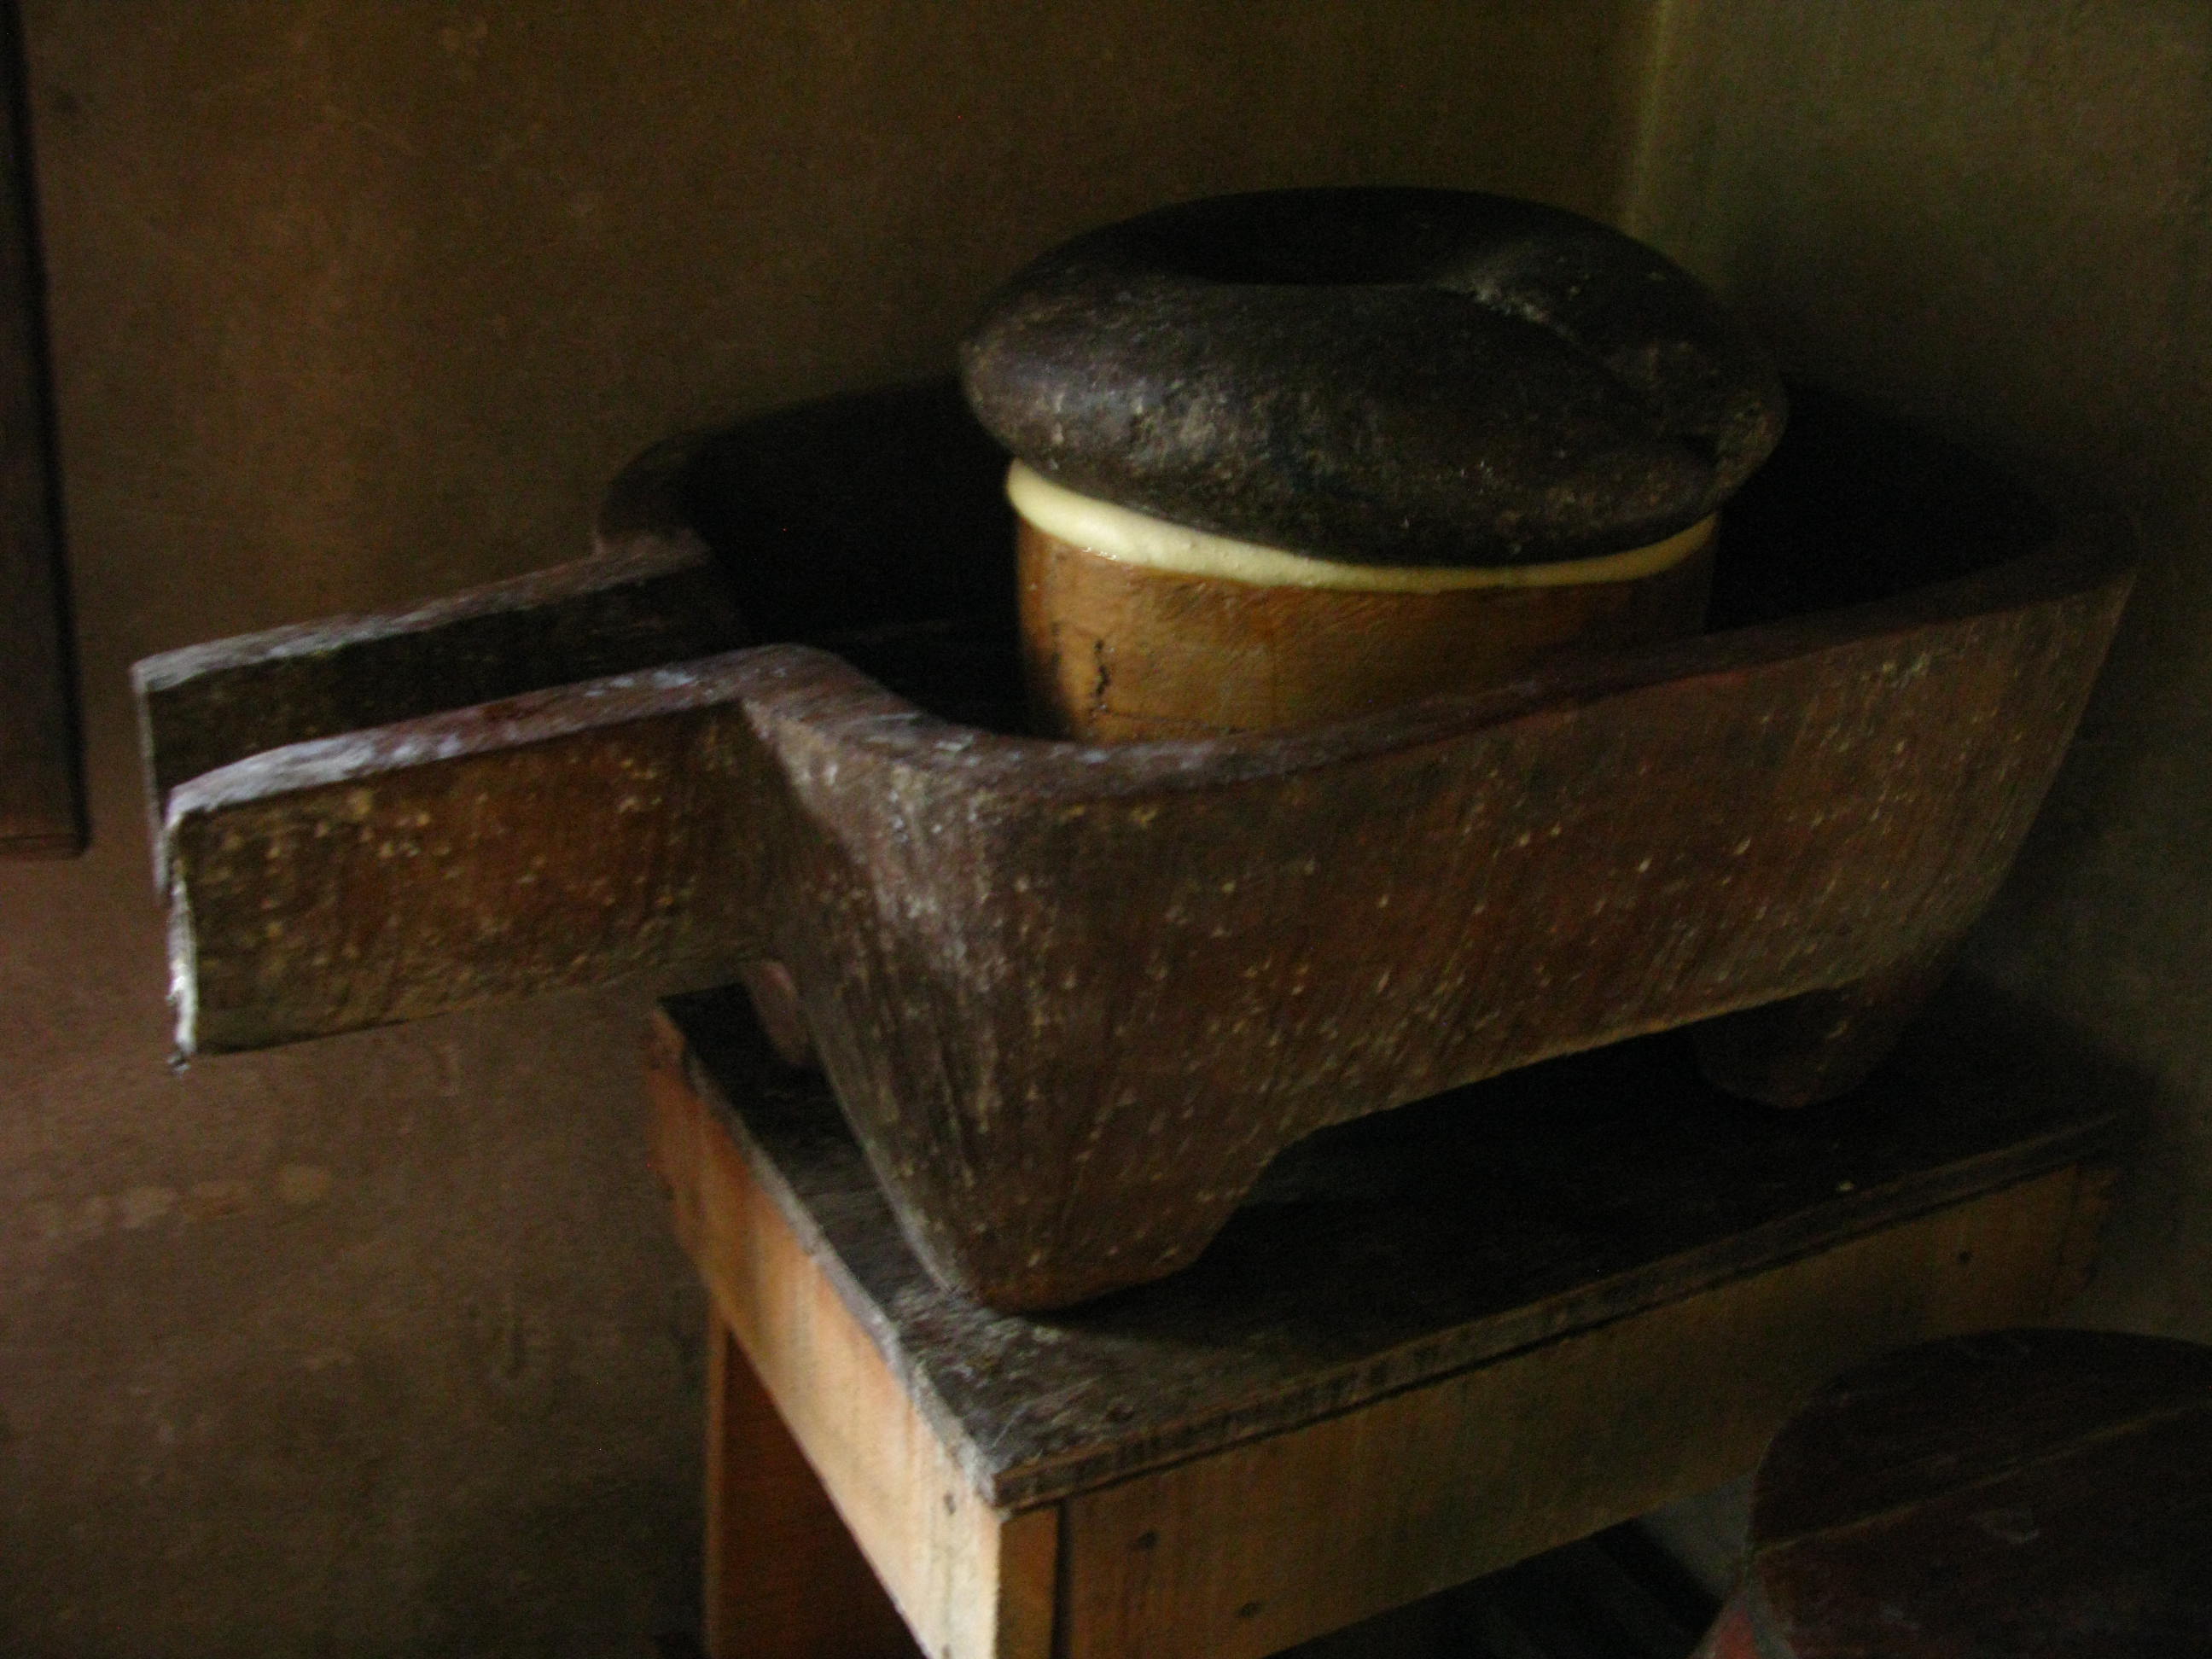
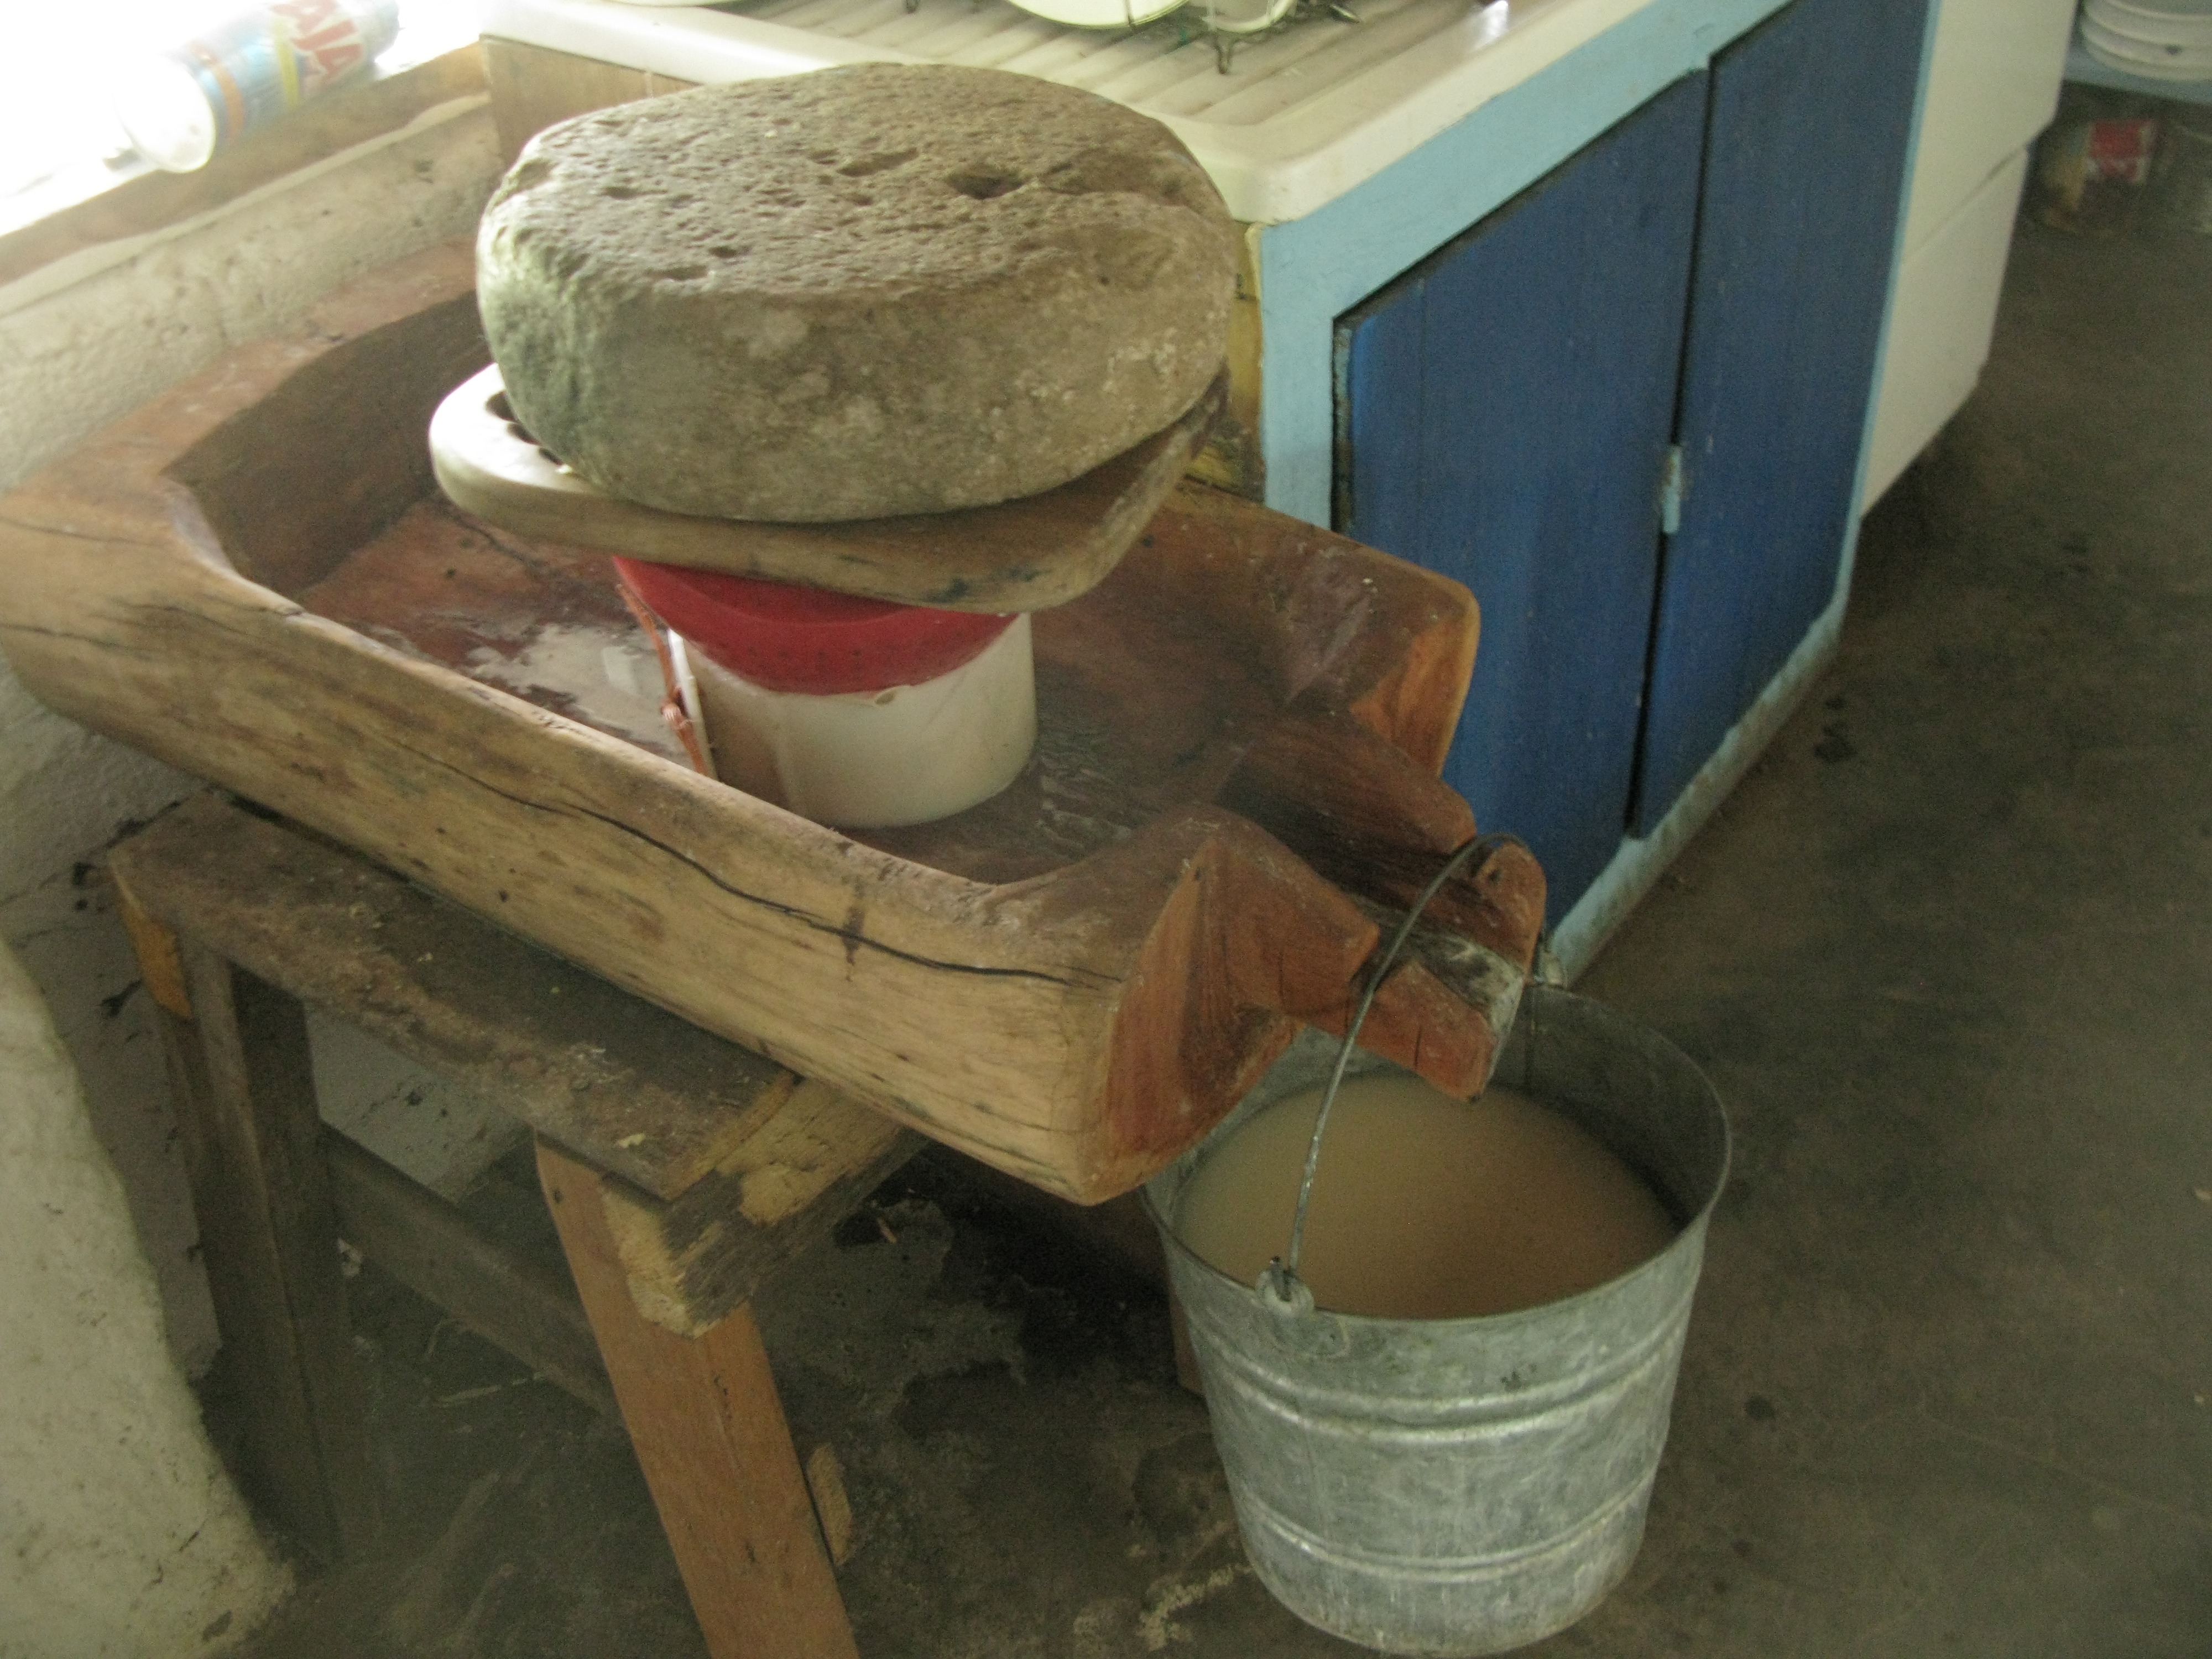
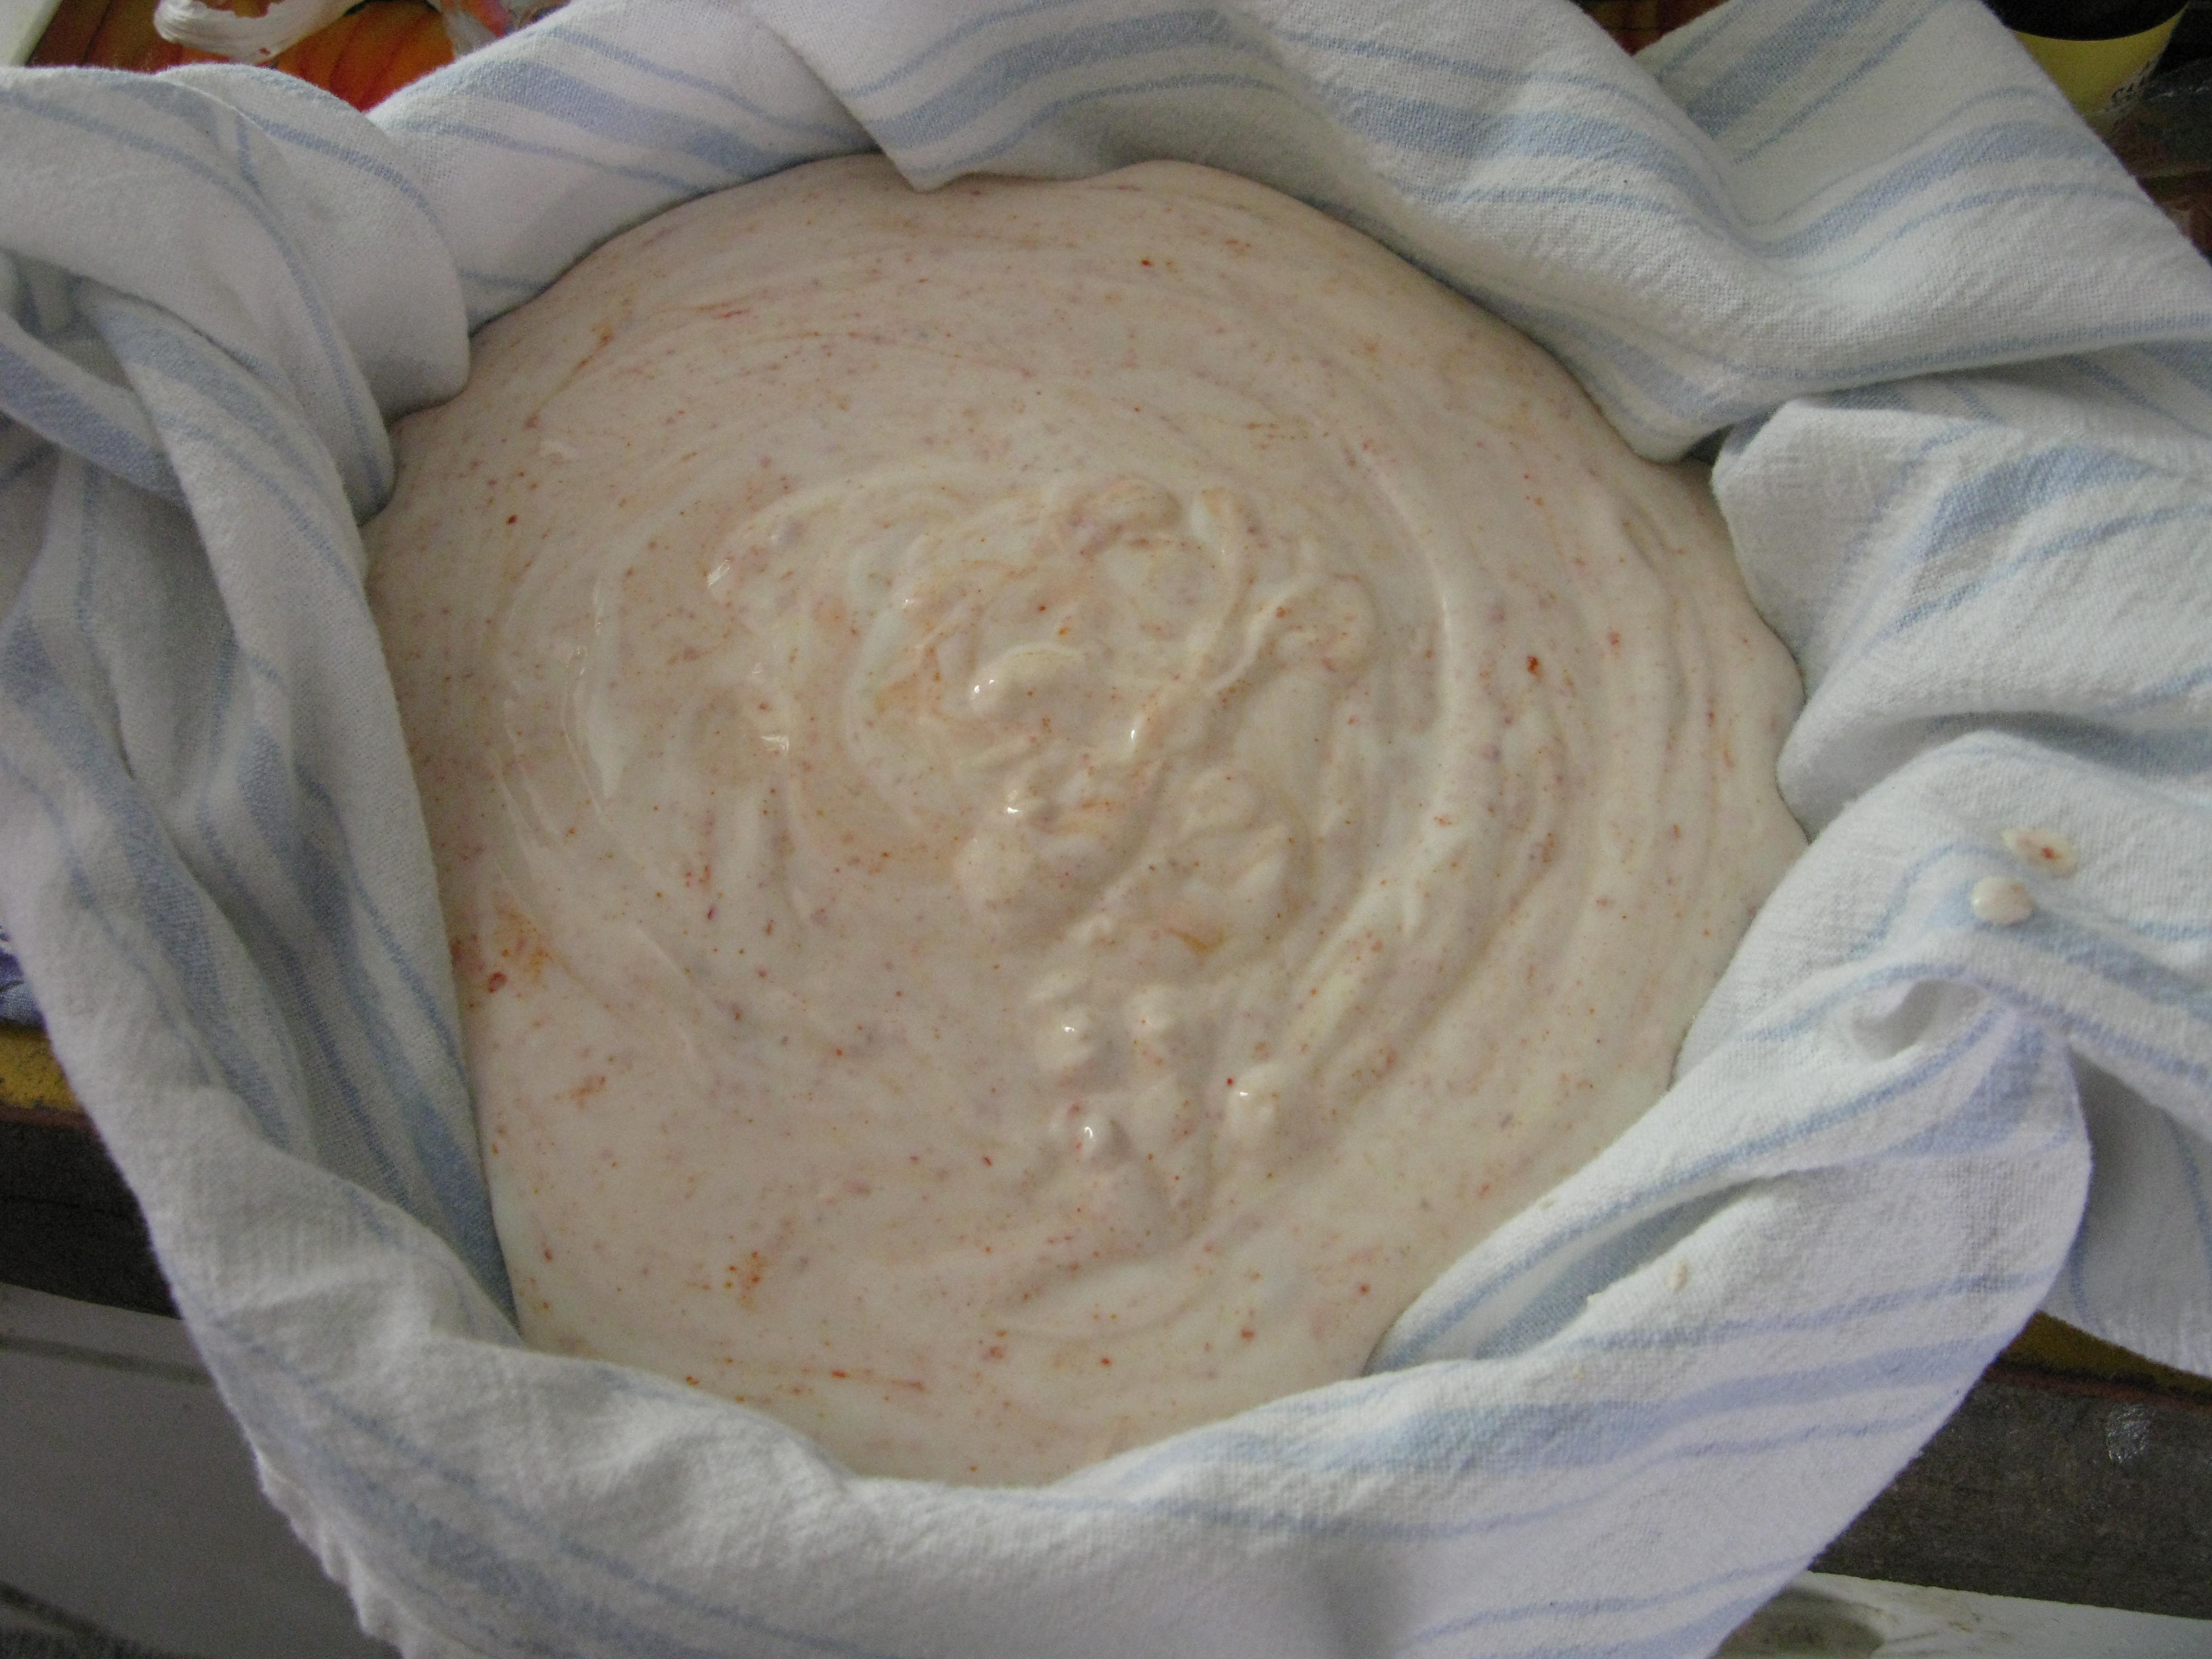
Presently, I am making this kind of yogurt cheese, rather than Queso de Campo, as we are letting our cows recondition right now. I share these photos of previous cheese making times on the ranch so you feel connected to the larger process. In the recipe that follows, you will have whey (the liquid-y part that separates, as the cheese forms – photo below) as well. It is HIGHLY nutritious for all of us animals, whether two or four legged, so do not toss it. At the ranch we add it to foods, or share it with the dogs or the chickens. In the yogurt recipe, the whey is salty, so best not to share with your animals, but great to add to your own salads, fermented concoctions, etc. Yours will look clearer than that in the bucket below.
I’ll give you the base recipe, then suggest some fun ingredients; 24 hours later, as you unfold the cheese cloth towel, tune into the tastes and colors and textures that emerge. The magic comes as your tongue tunes into the eddies of taste that happen as the chile, or herbs, or flowers that you added, undergo an alchemy. It is an alchemy that you set in motion, but then must let go of. Good practice for life generally.
THE BASIC RECIPE: Line a colander with a dish towel. Place colander over a bowl. Combine the yogurt and salt in the dish towel and make sure the salt is mixed in well. Bundle up the towel and either place it in the fridge for 24 hours, or, hang it over a bowl. Either way the yogurt and salt interact, while the whey drips below. Try making the “basic” recipe to give you a baseline taste for your tongue. You could then add mint or herbs from the garden on top, with a bit of olive oil.
1 32-ounce container yogurt (note: you can use your own home made yogurt. But whether you make it or buy it, it needs to be Full Fat. Try goat or sheep yogurts if you can find them. Variety is important.)
1 tablespoon rock salt ( the culinary rock salt, not ice cream making salt)
Olive Oil
ALCHEMICAL RECIPE : begin with the Basic Recipe: line colander, add theyogurt and salt, and then try adding:
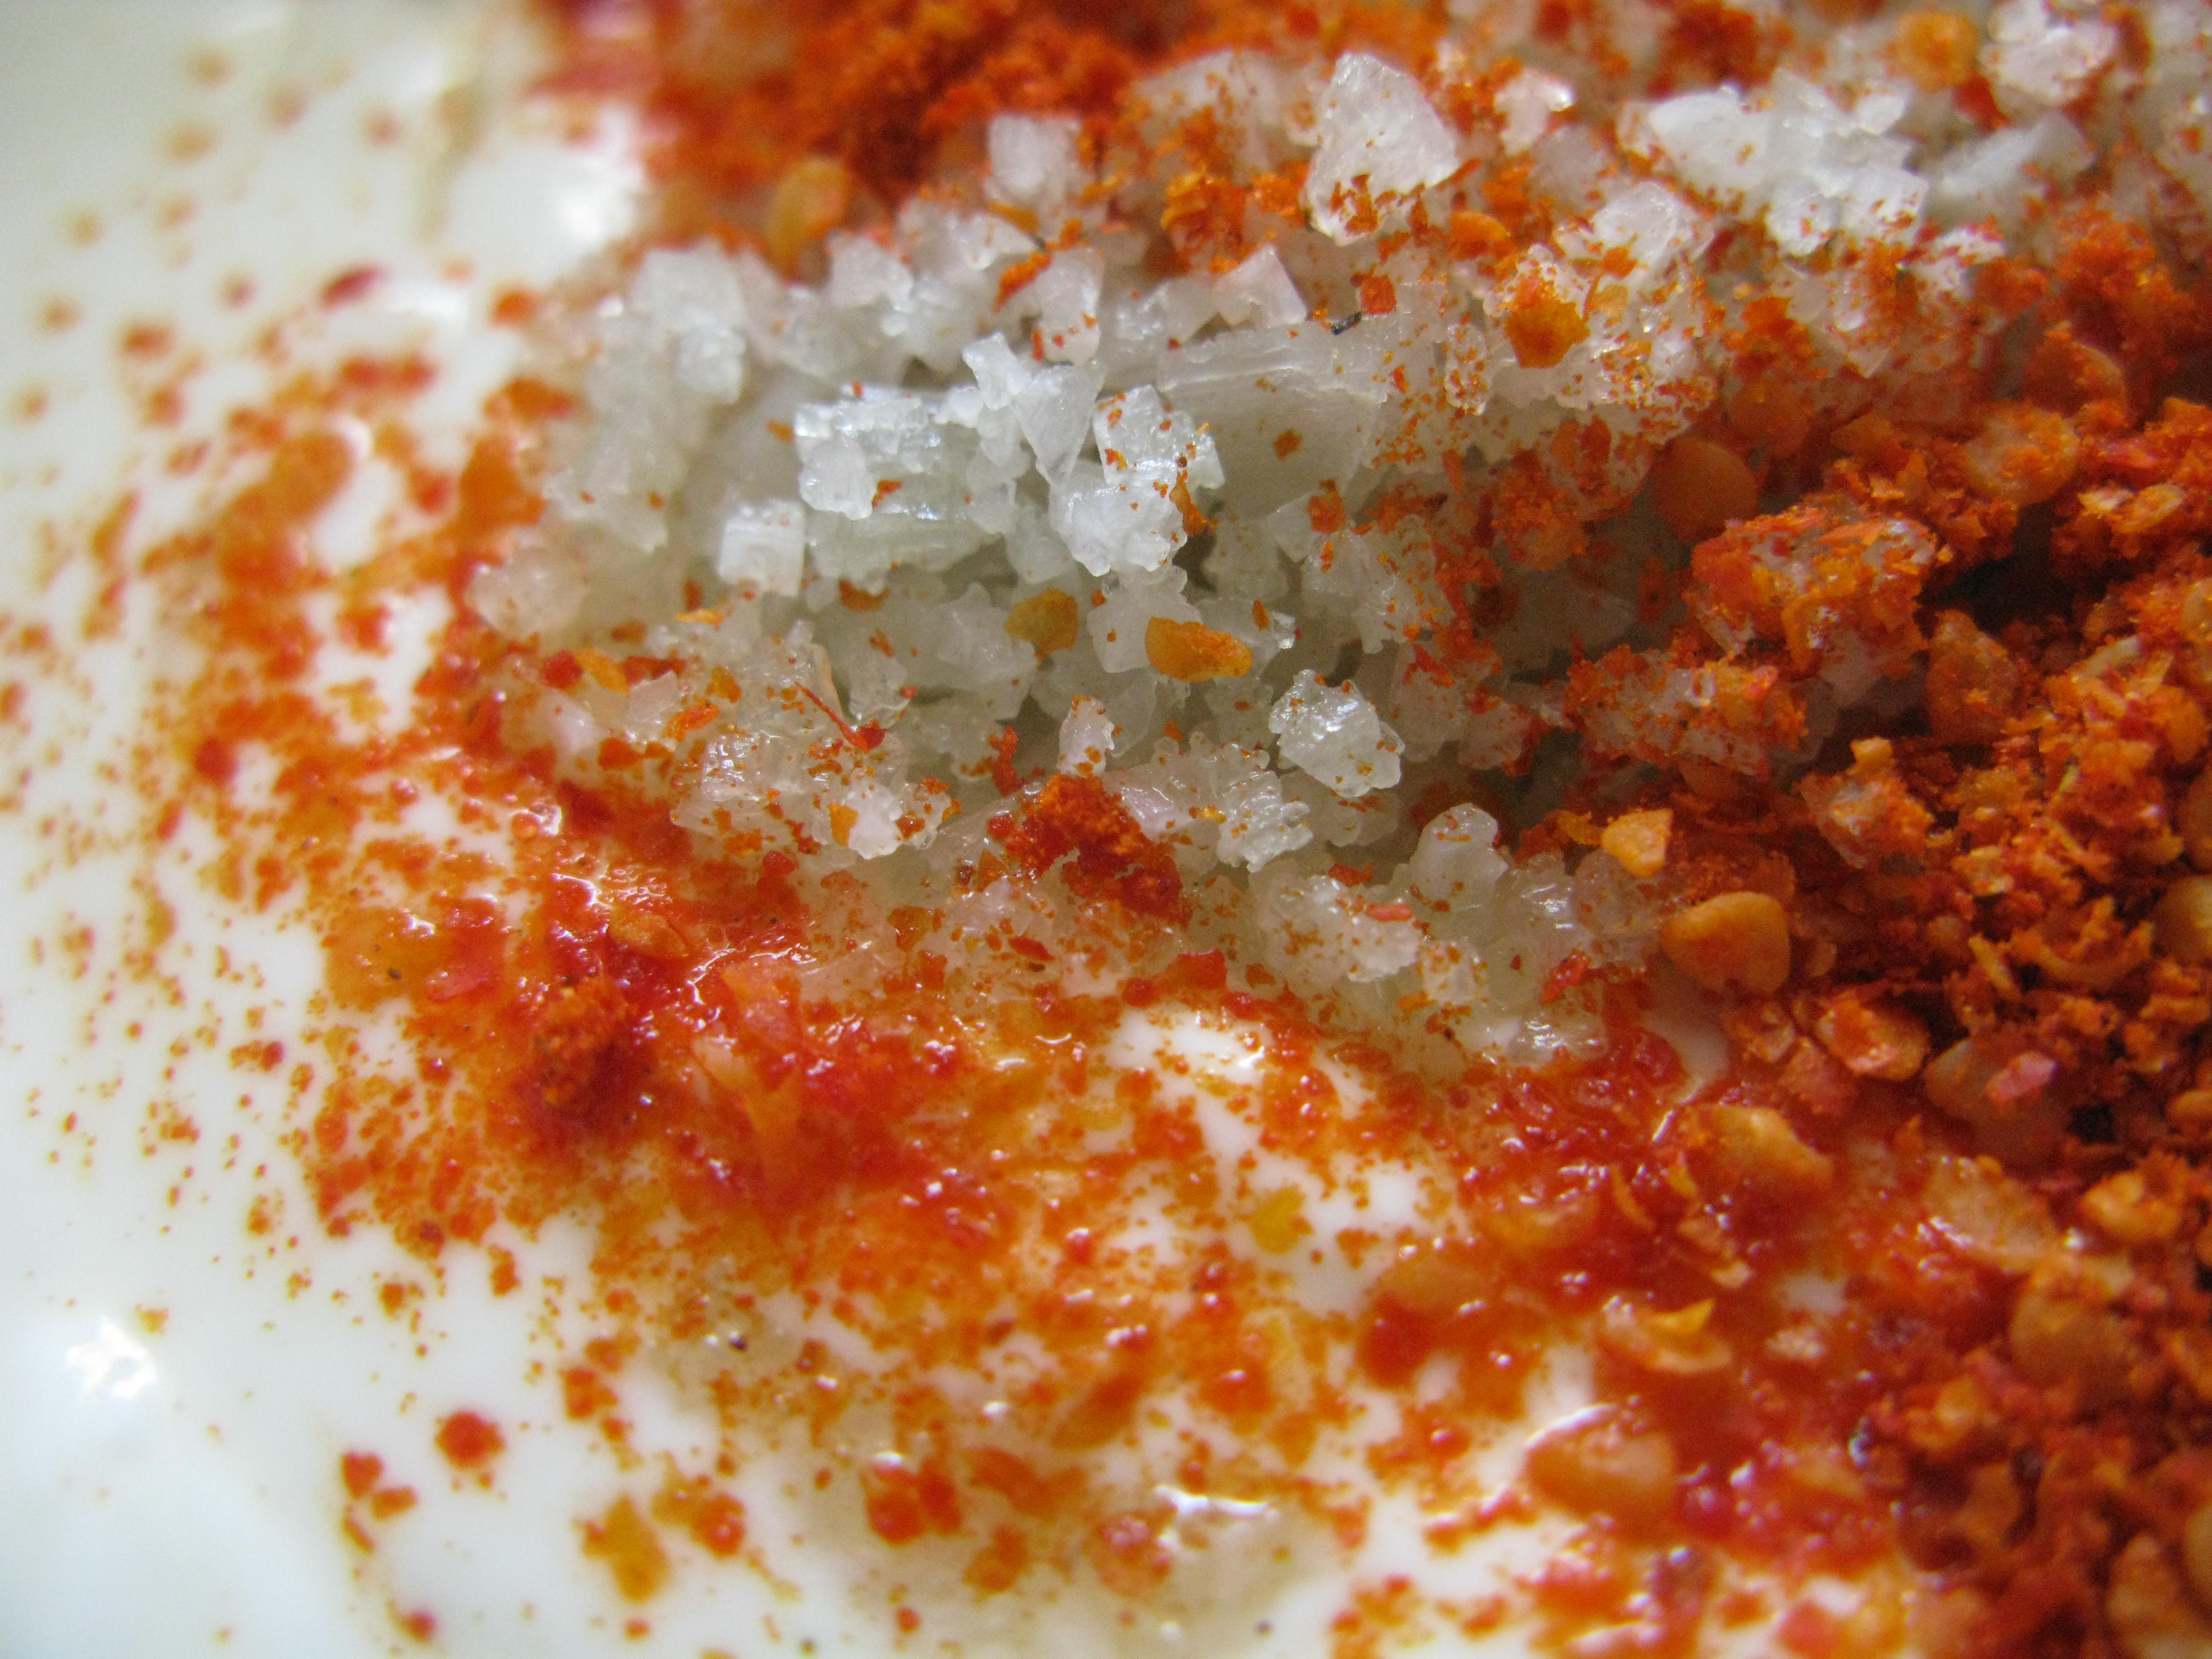
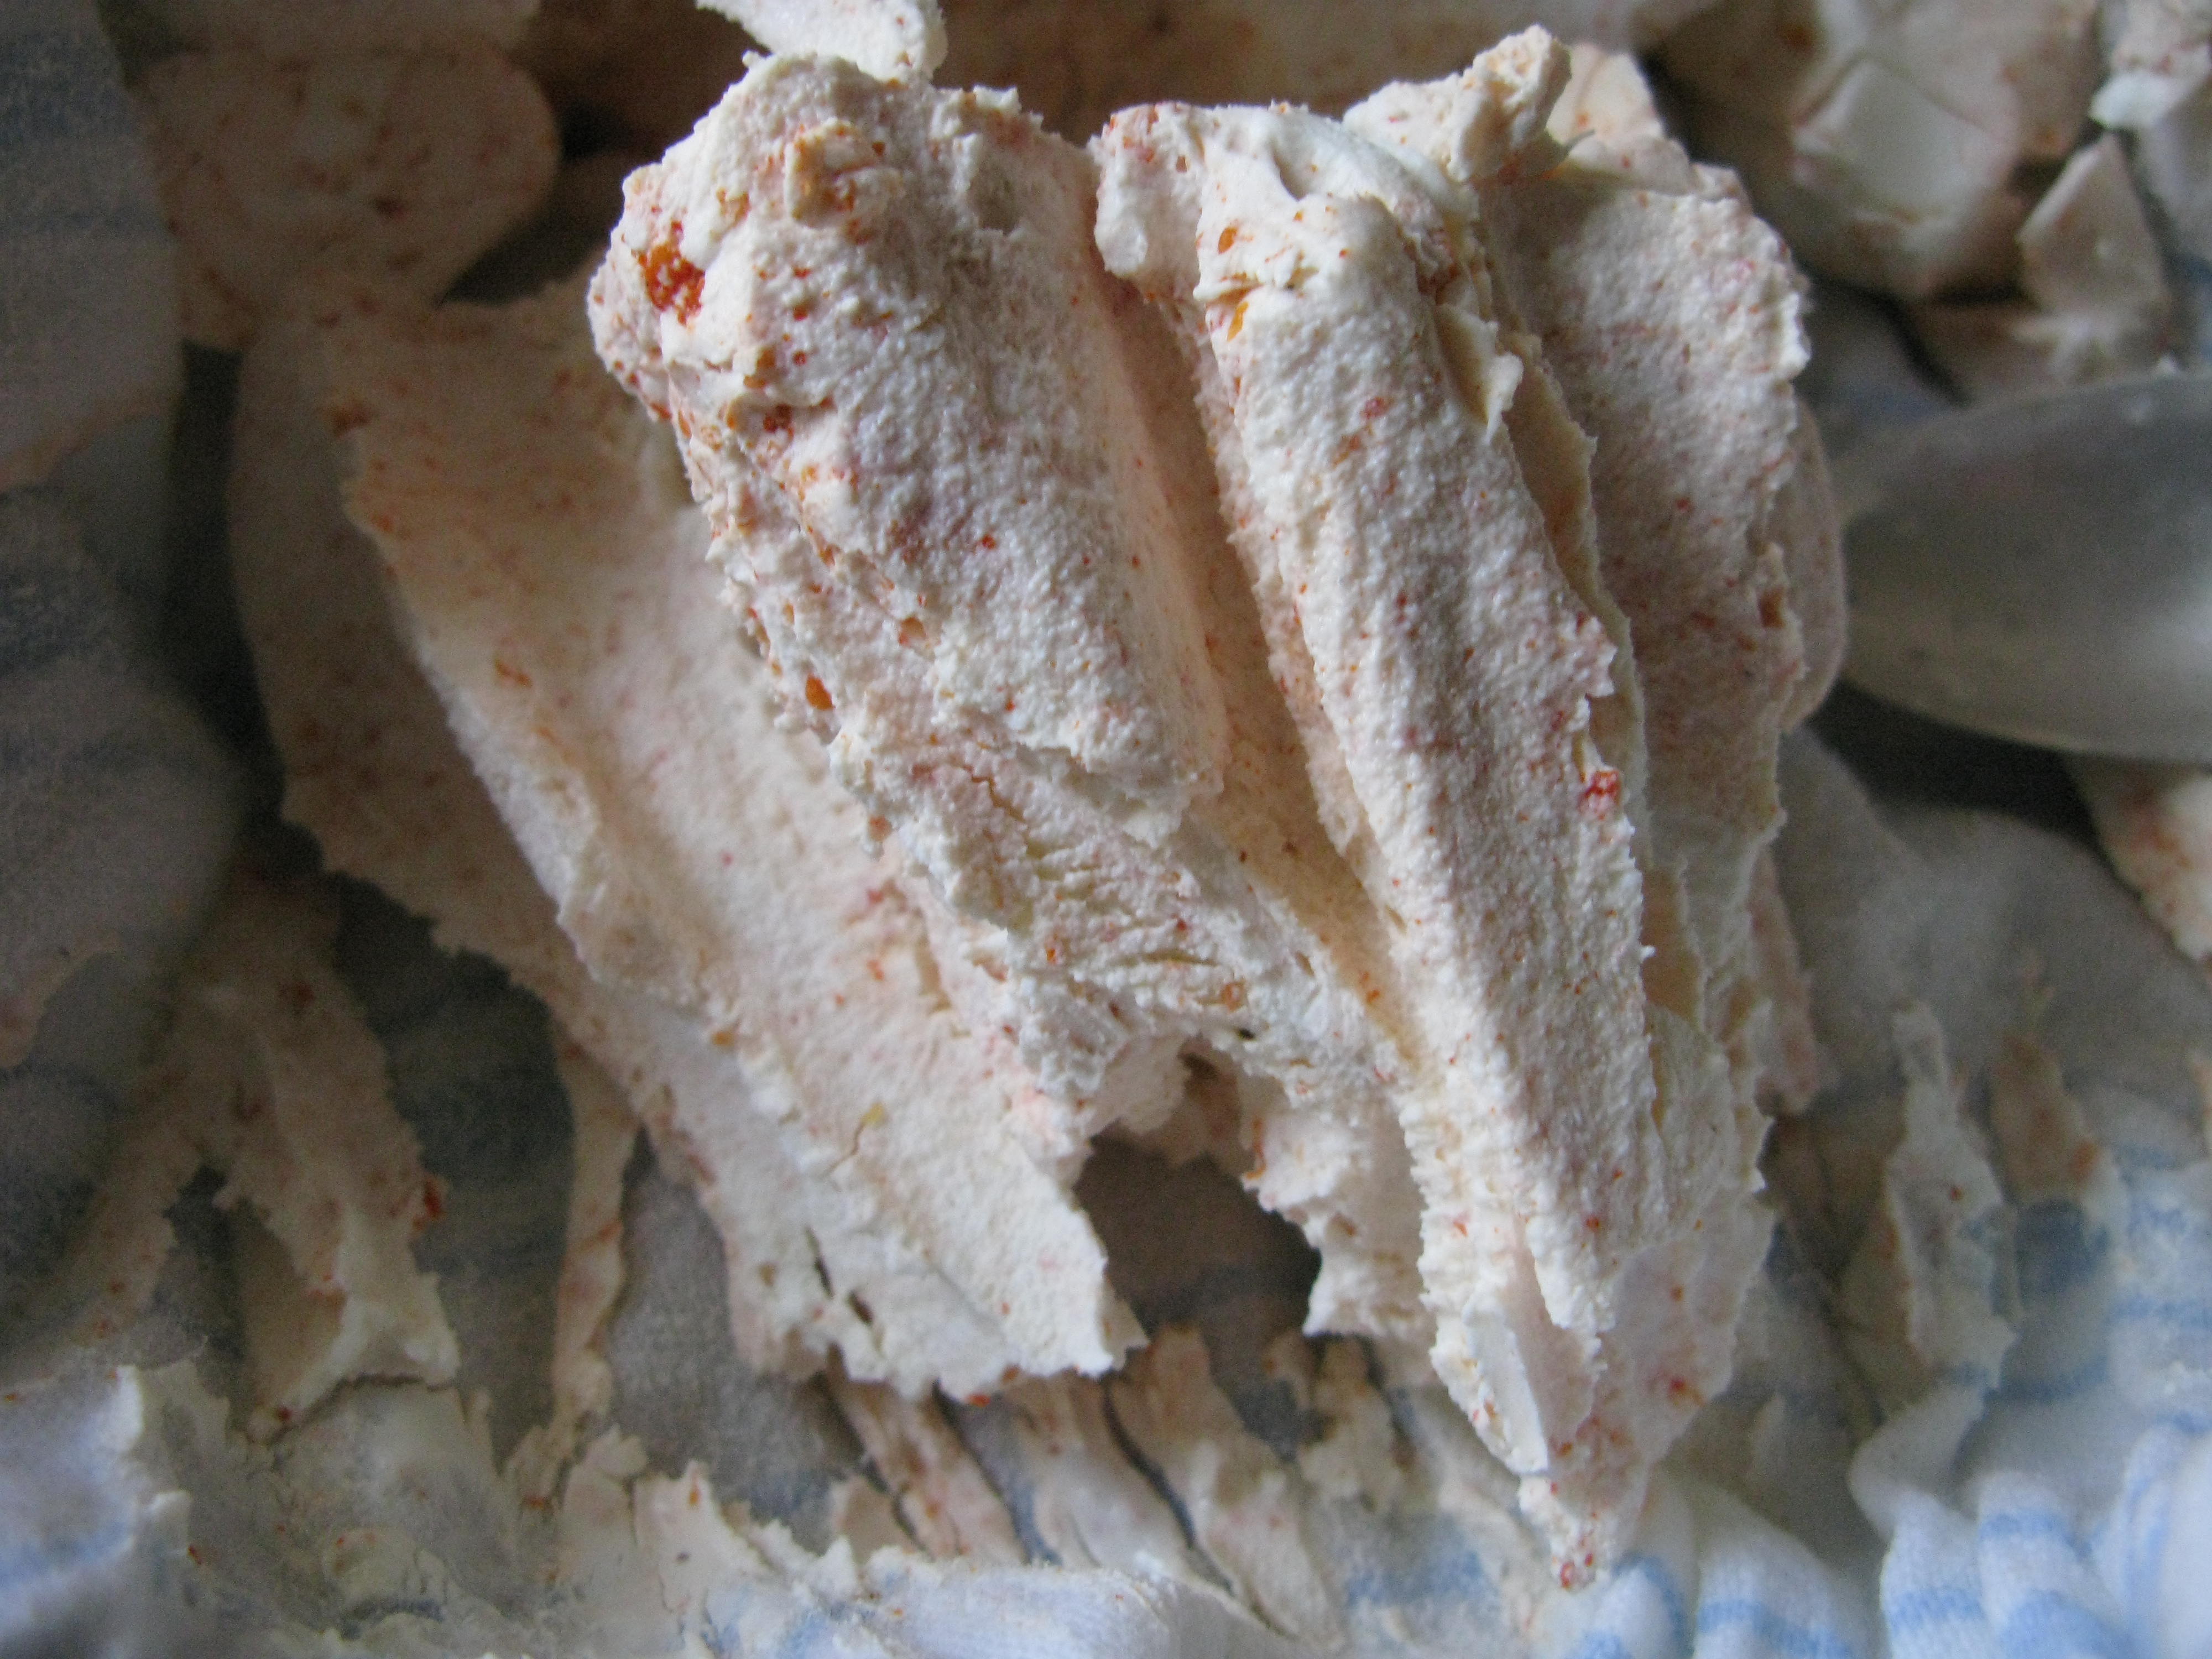
1 teaspoon dried crushed chiltepins (not only the chile flavor, but the COLOR, infuses into the cheese as well.And each batch is a little different) for a Chiltepin Cheese.
OR
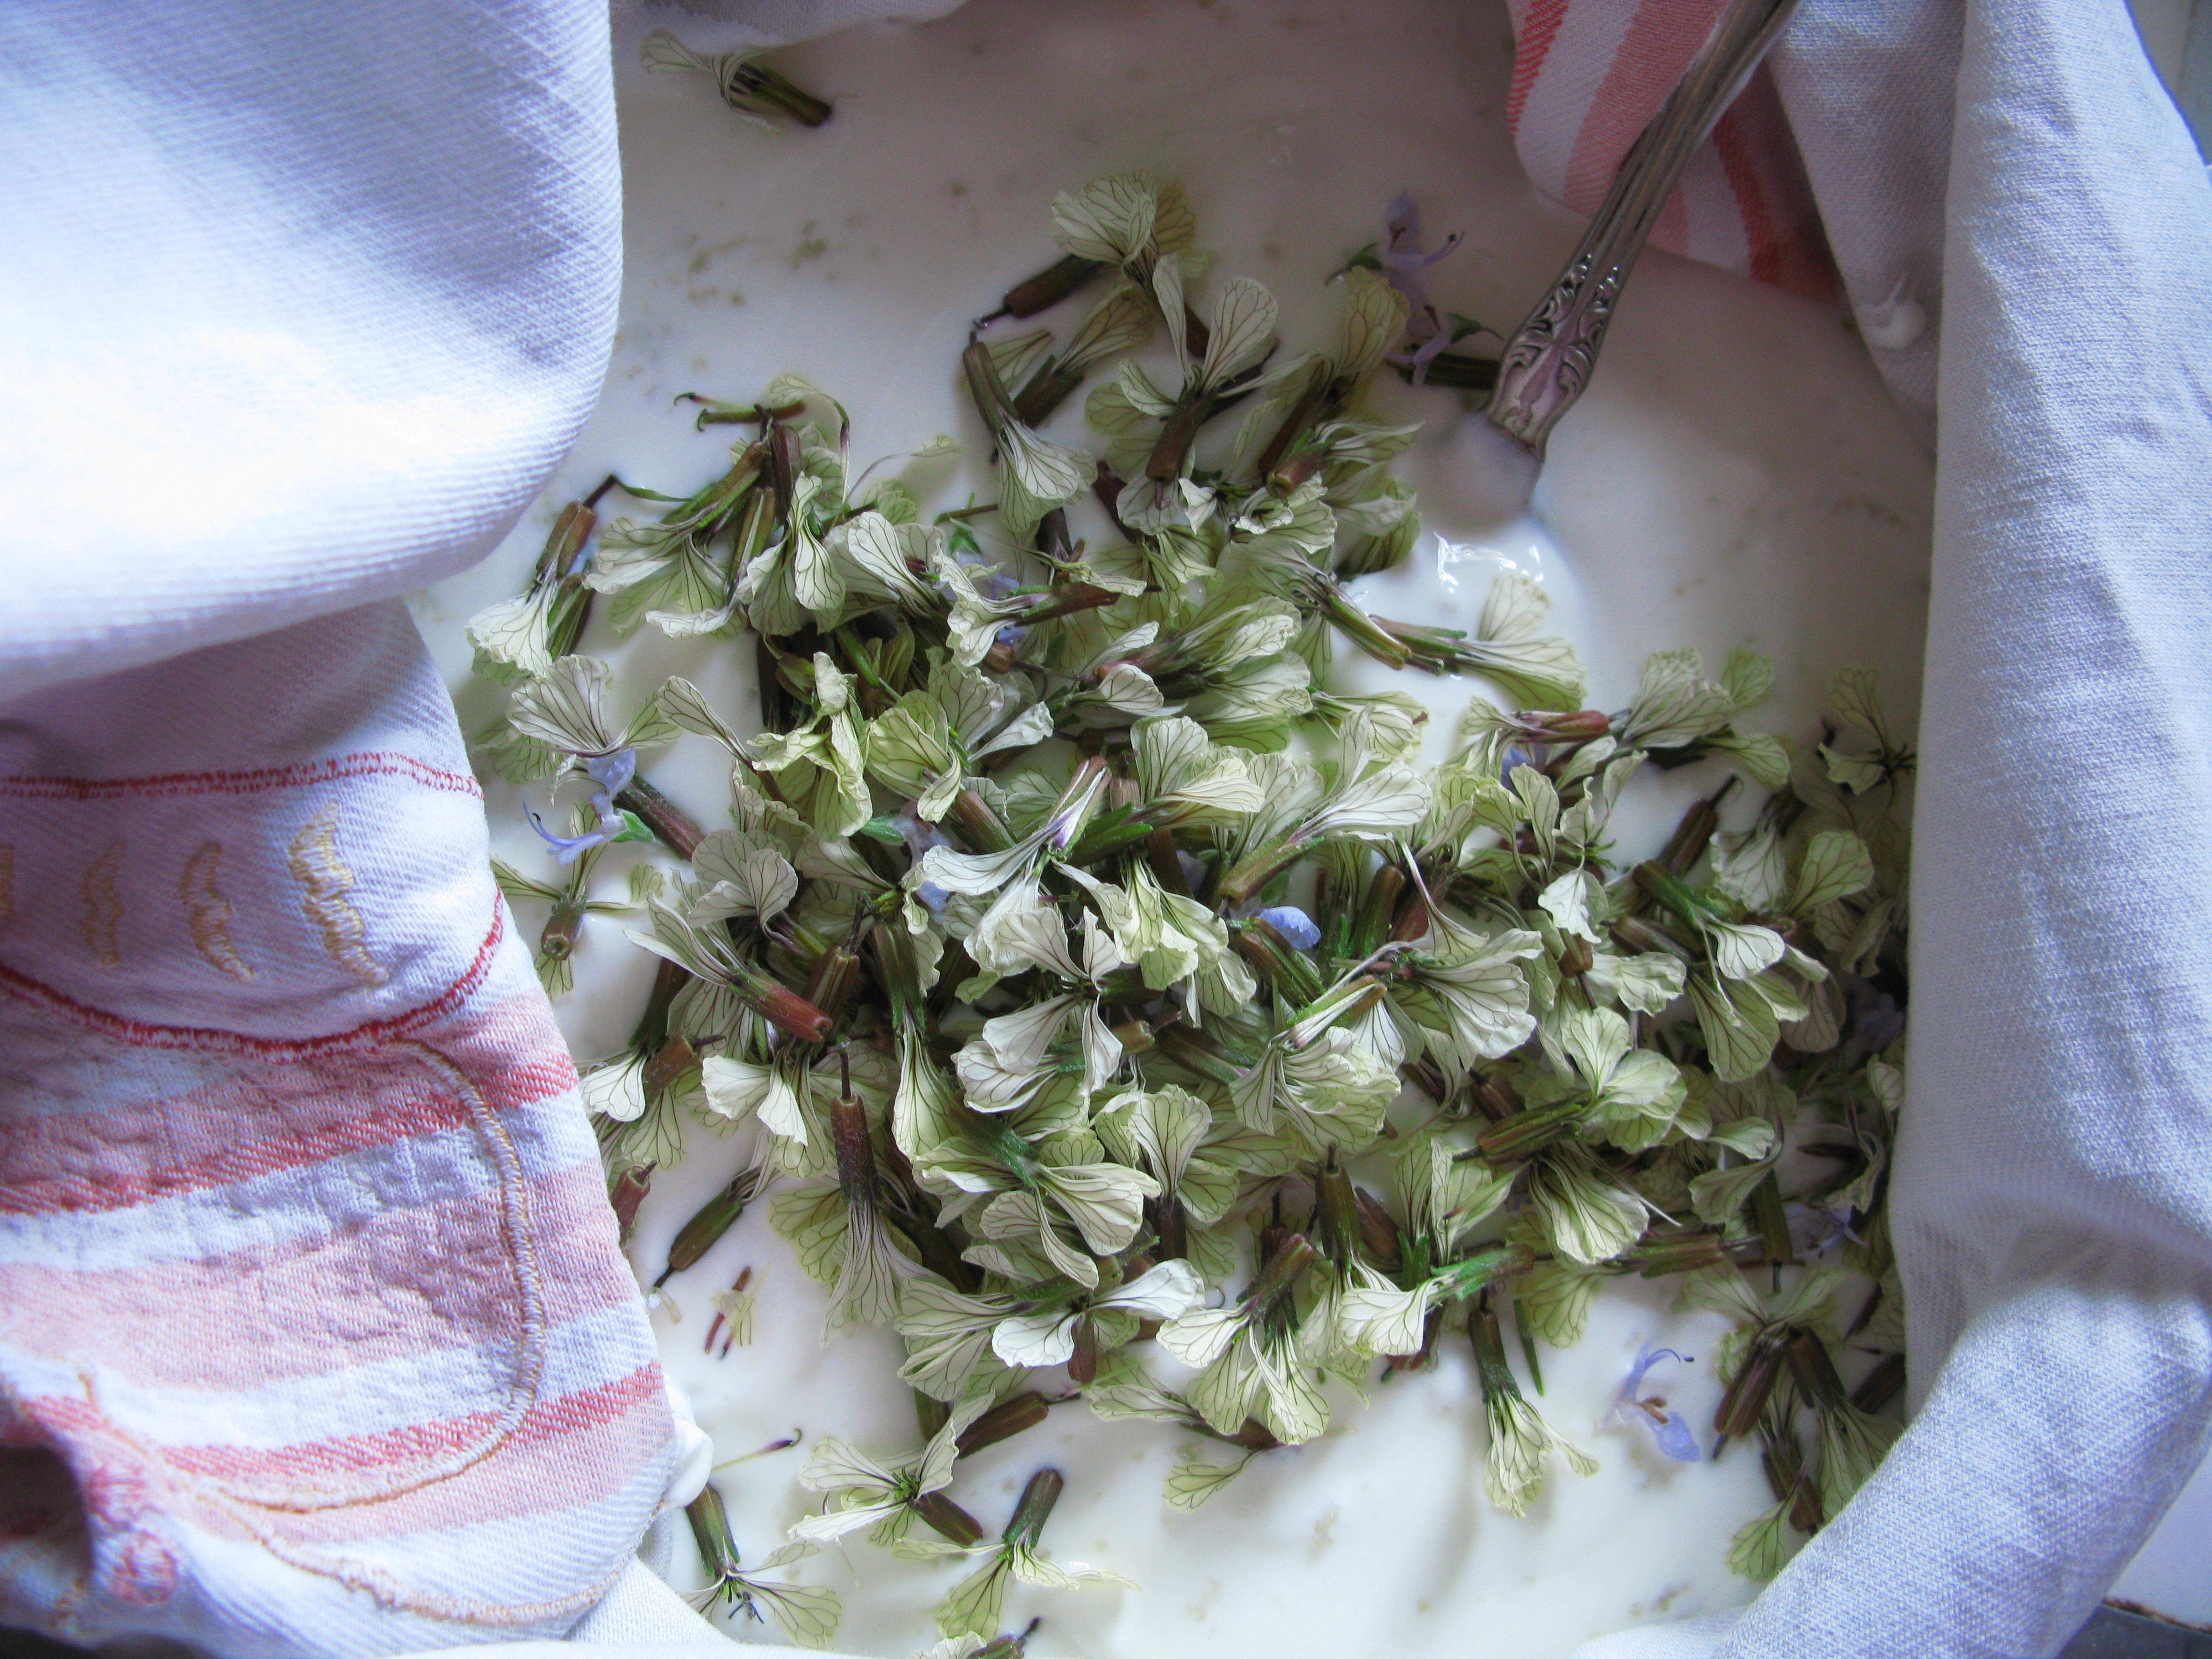
A few tablespoons of fresh herbs from your garden. Rosemary is in high season in the SW right now, and you you can use both the herb itself as well as the flowers as well. Edible flowers are really a delight to use as the flowers add both flavor, often not what you expected, as well as beautiful colors.
Then with all the ingredients mixed, tie up your cloth, place over bowl, and let the magic happen. In 24 hours, when you open the cloth, the transformation will be yours to savor. Eat by the spoonful. It is great on sliced radishes, or rolled in fresh greens from the garden (both growing robustly in our gardens right now, here in the SW). Or add to a lightly sauteed vegetable dish.
I place my finished cheese in a glass container (so I can enjoy it visually) and add olive oil to seal it, even while I cover it with a lid. It seems to stay fresher. Keep it in the fridge.
Below: The Chiltepin Cheese Version
Below: Using edible flowers right before tying up the cloth.

Pingback: A Field Guide to North America’s Wild Crops - Gastro Obscura
Pingback: A Collection of Chiltepin Recipes From Around the Web - Tucson Foodie
Just got mine brewing; herbes de provence. Tasty already. Yea!
LikeLike
Keep me posted!!! Let me know how you like it when you open it up!
I am excited that you are making it! THANK YOU!!
LikeLike
Sounds like a great use for all the chiltepin that I have on hand!
LikeLike
Tammy, Thanks for reading our blog!
You are so right! I tend to use my older chiltepin fruits in recipes like this, where they blend in with other ingredients, and the fresher ones for dishes where I really want to taste the chile! Do you by chance grow chiltepin?
Thanks again,
Linda
LikeLike