Chapulines (Grasshoppers) con Mole

20160924_080146

On a late season prickly pear harvesting trip, my friend Nicole and I found few tunas but lots of grasshoppers. I’ve always wanted to try chapulines, but never had the opportunity. Nicole learned how to harvest them this summer, so we attempted ourselves.

Catching them is the trick! When the sun is up, they are fast. We managed to flush some out of the grass into a clearing, toss a big straw hat over one, and grab it by hand. We bagged three, not even enough for one taco. As the sun set, they stopped jumping but were too hard to see in the grass in the low light. We returned with nets. In the cool early morning they weren’t active enough to jump into the nets but were easier to see; we tossed the net over one, and grabbed it by hand. As the day warmed, they got too fast for that method, and sweeping the grass with the net was more successful. Yes, it’s slow, but fun. Plus a beautiful day in the desert.

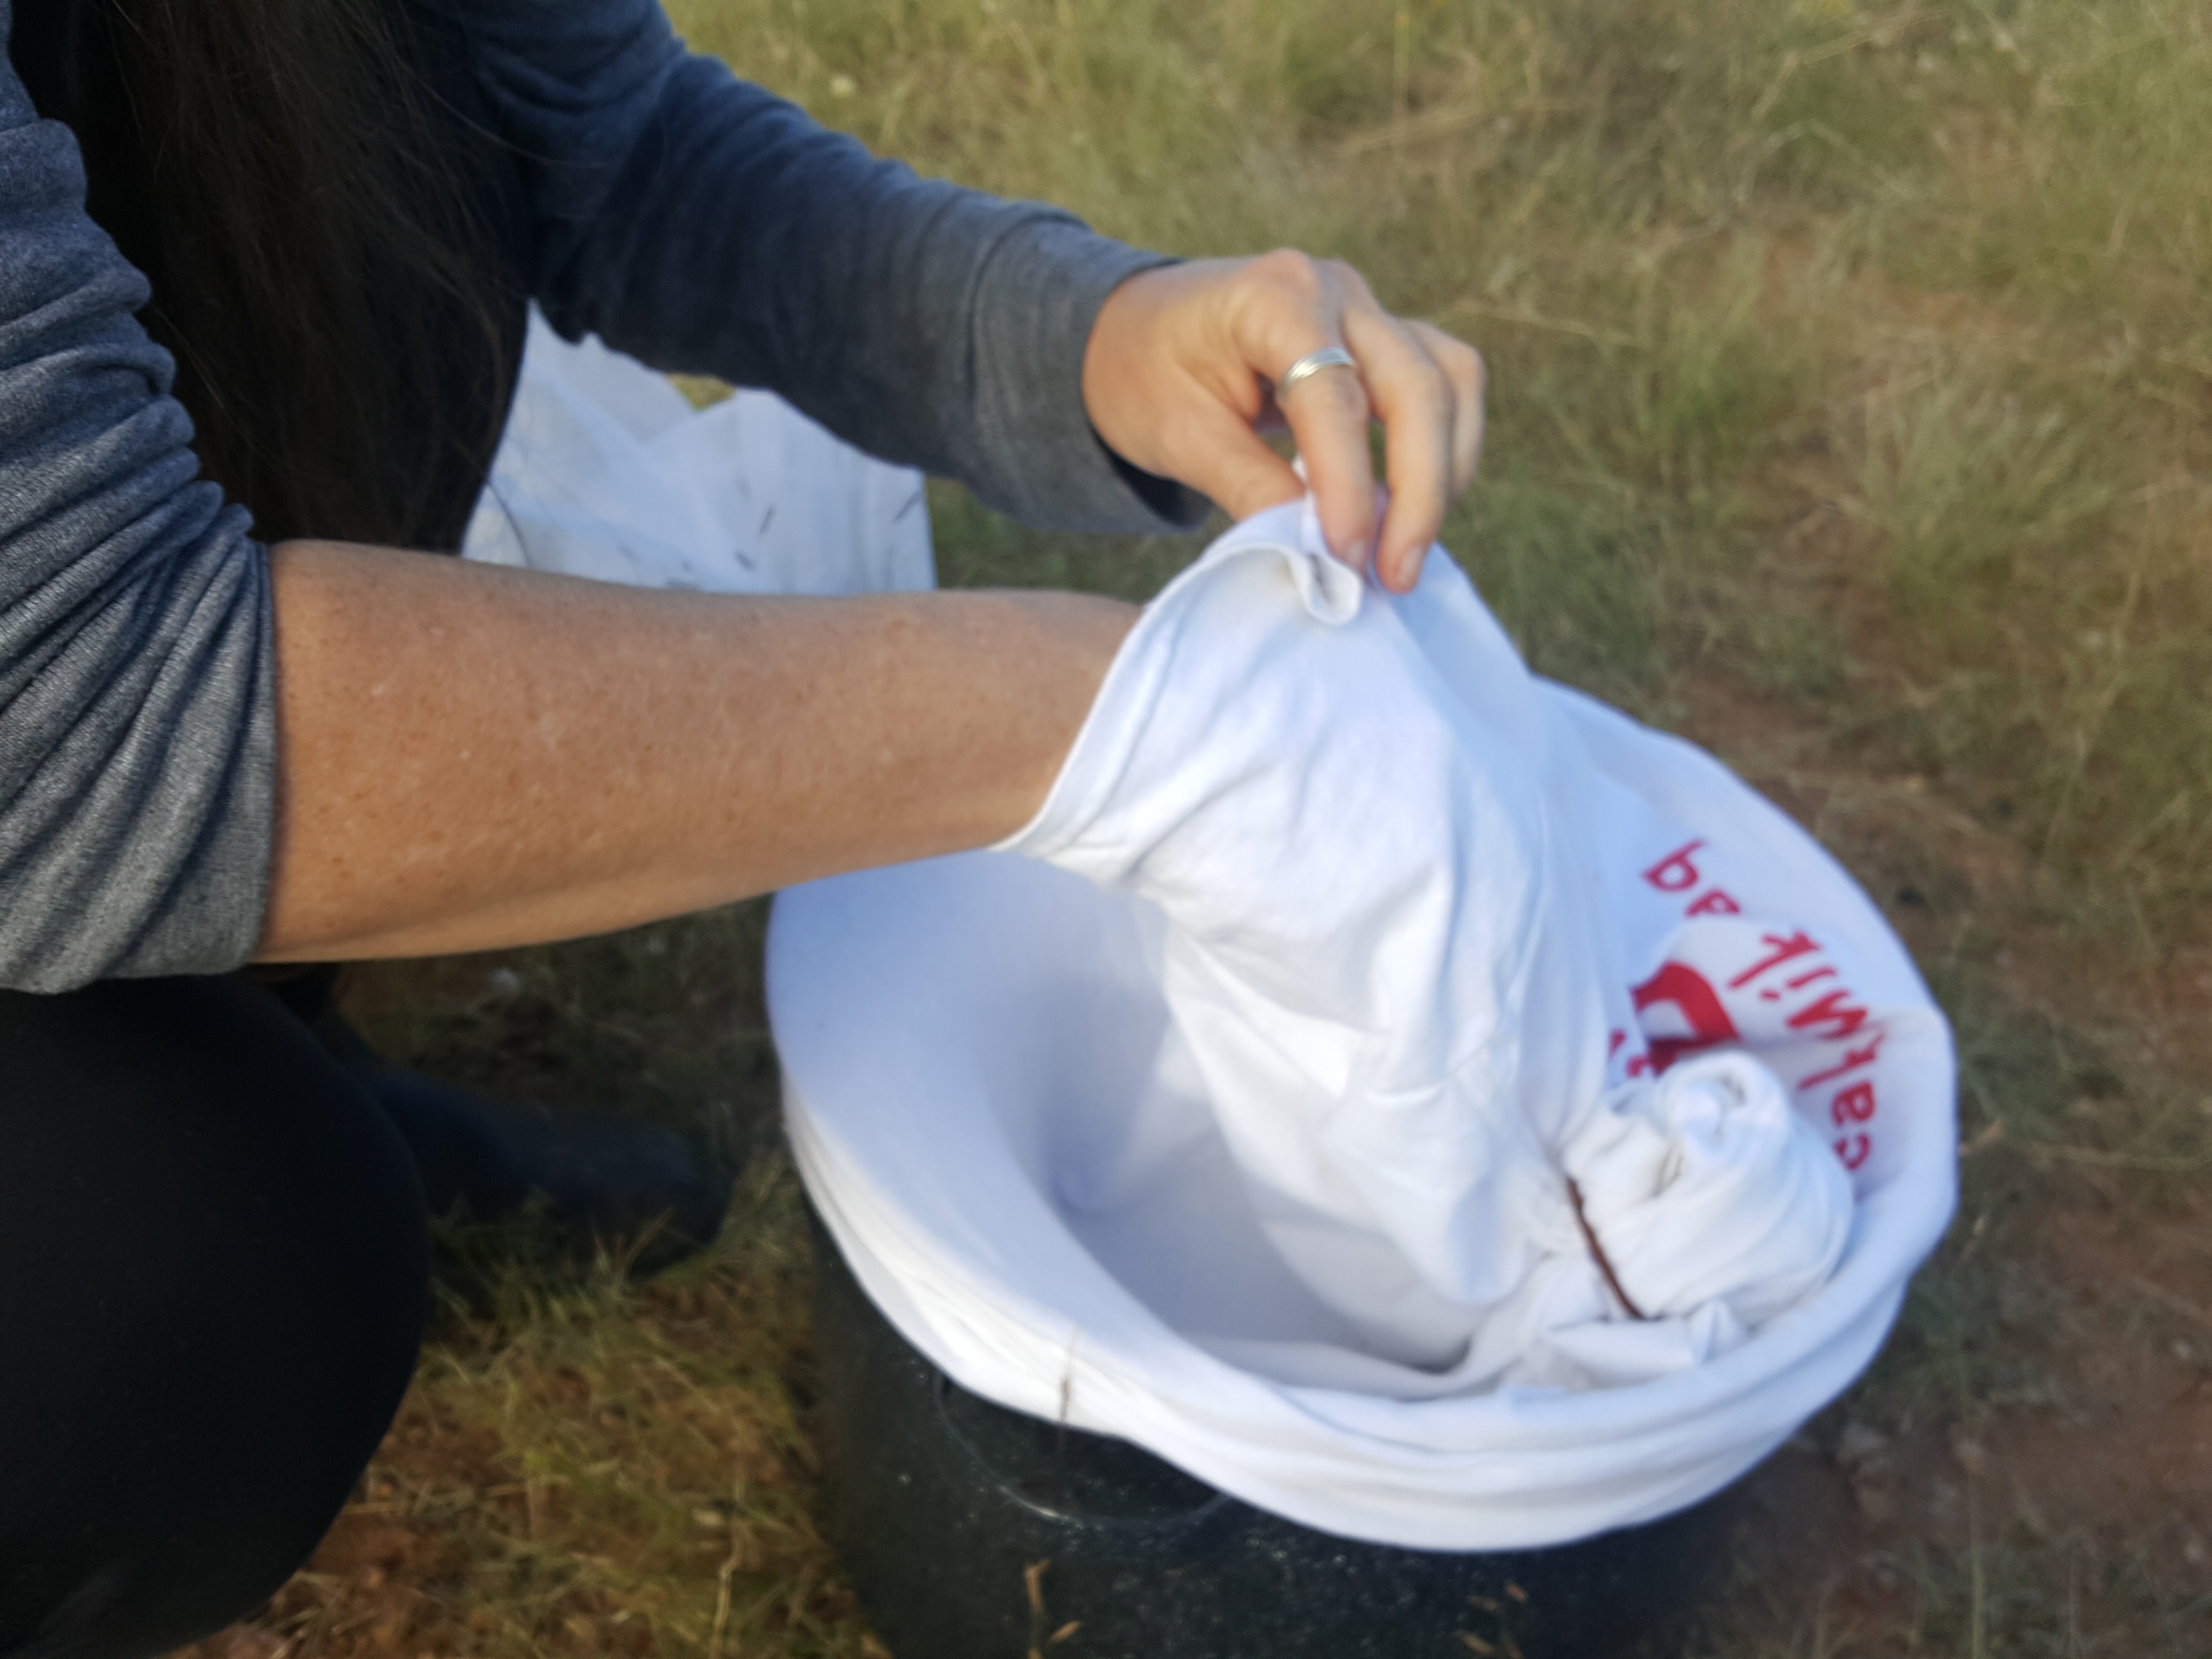
Nicole fashioned an way to hold our catch without letting any escape when we caught another.

20160924_080408

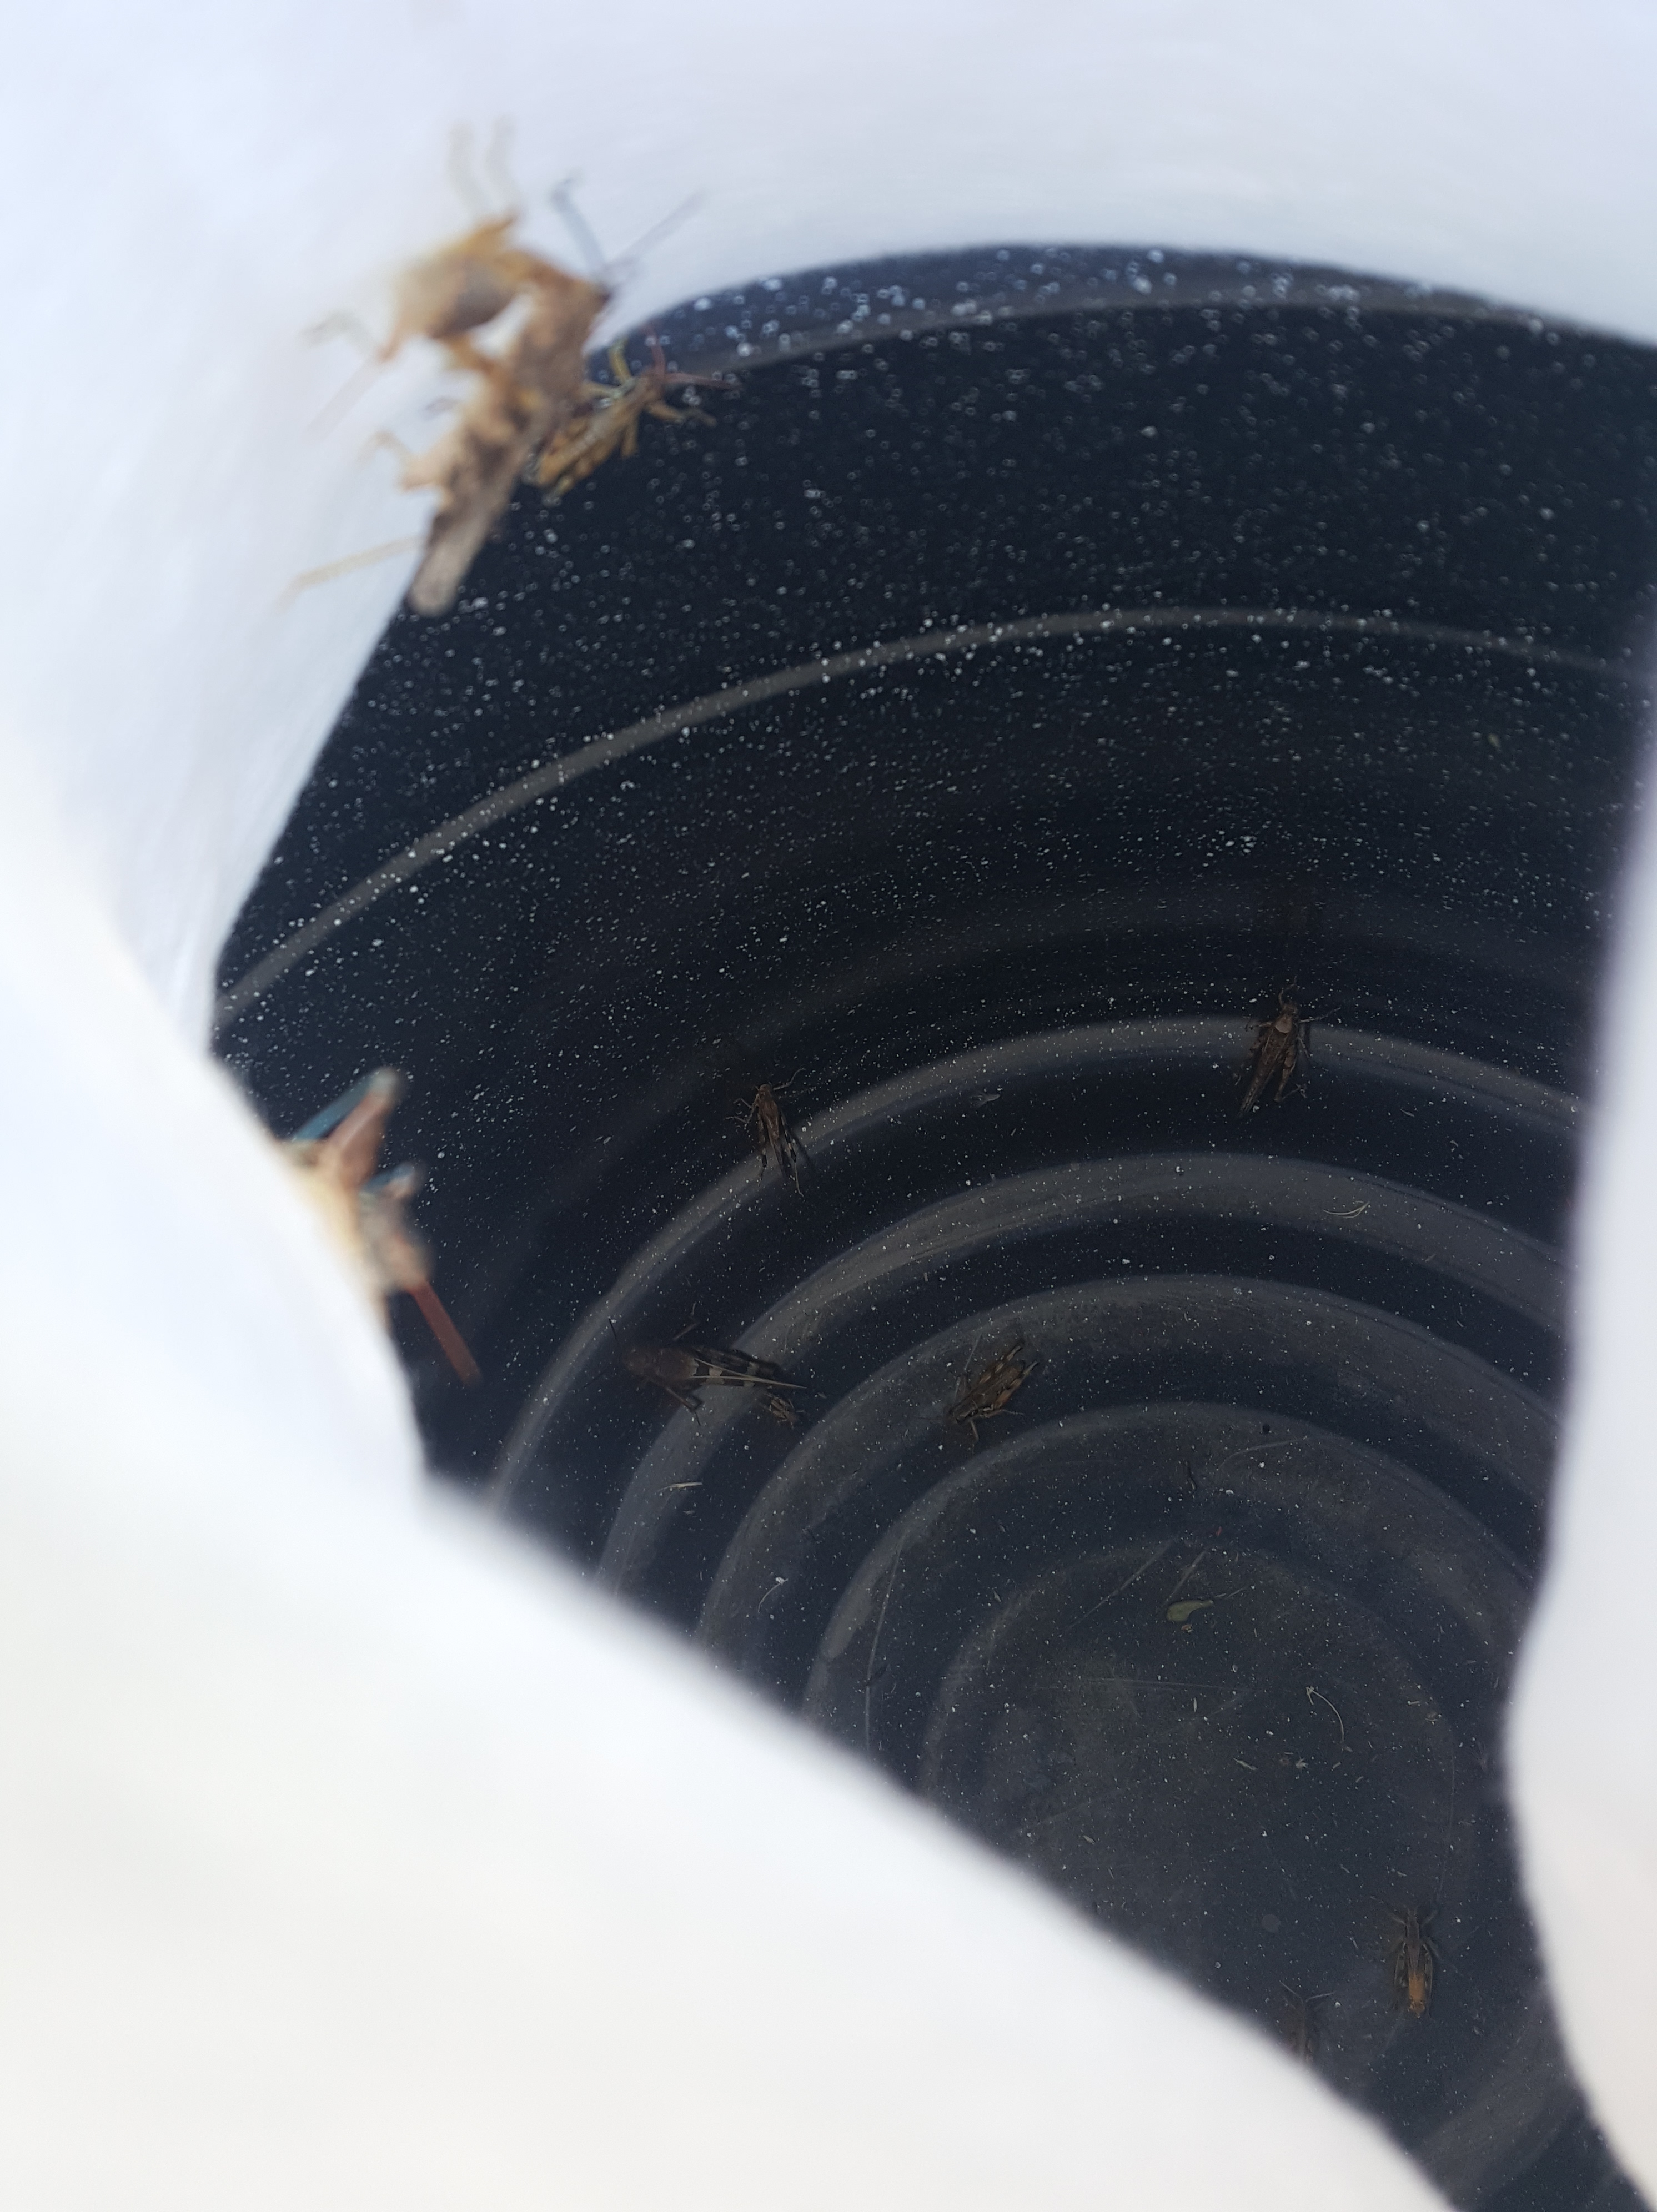
Here they are inside. While they hopped around, they emptied their digestive tracts.

20160924_080353

At home we put the whole container in the freezer.

20160924_093610_001

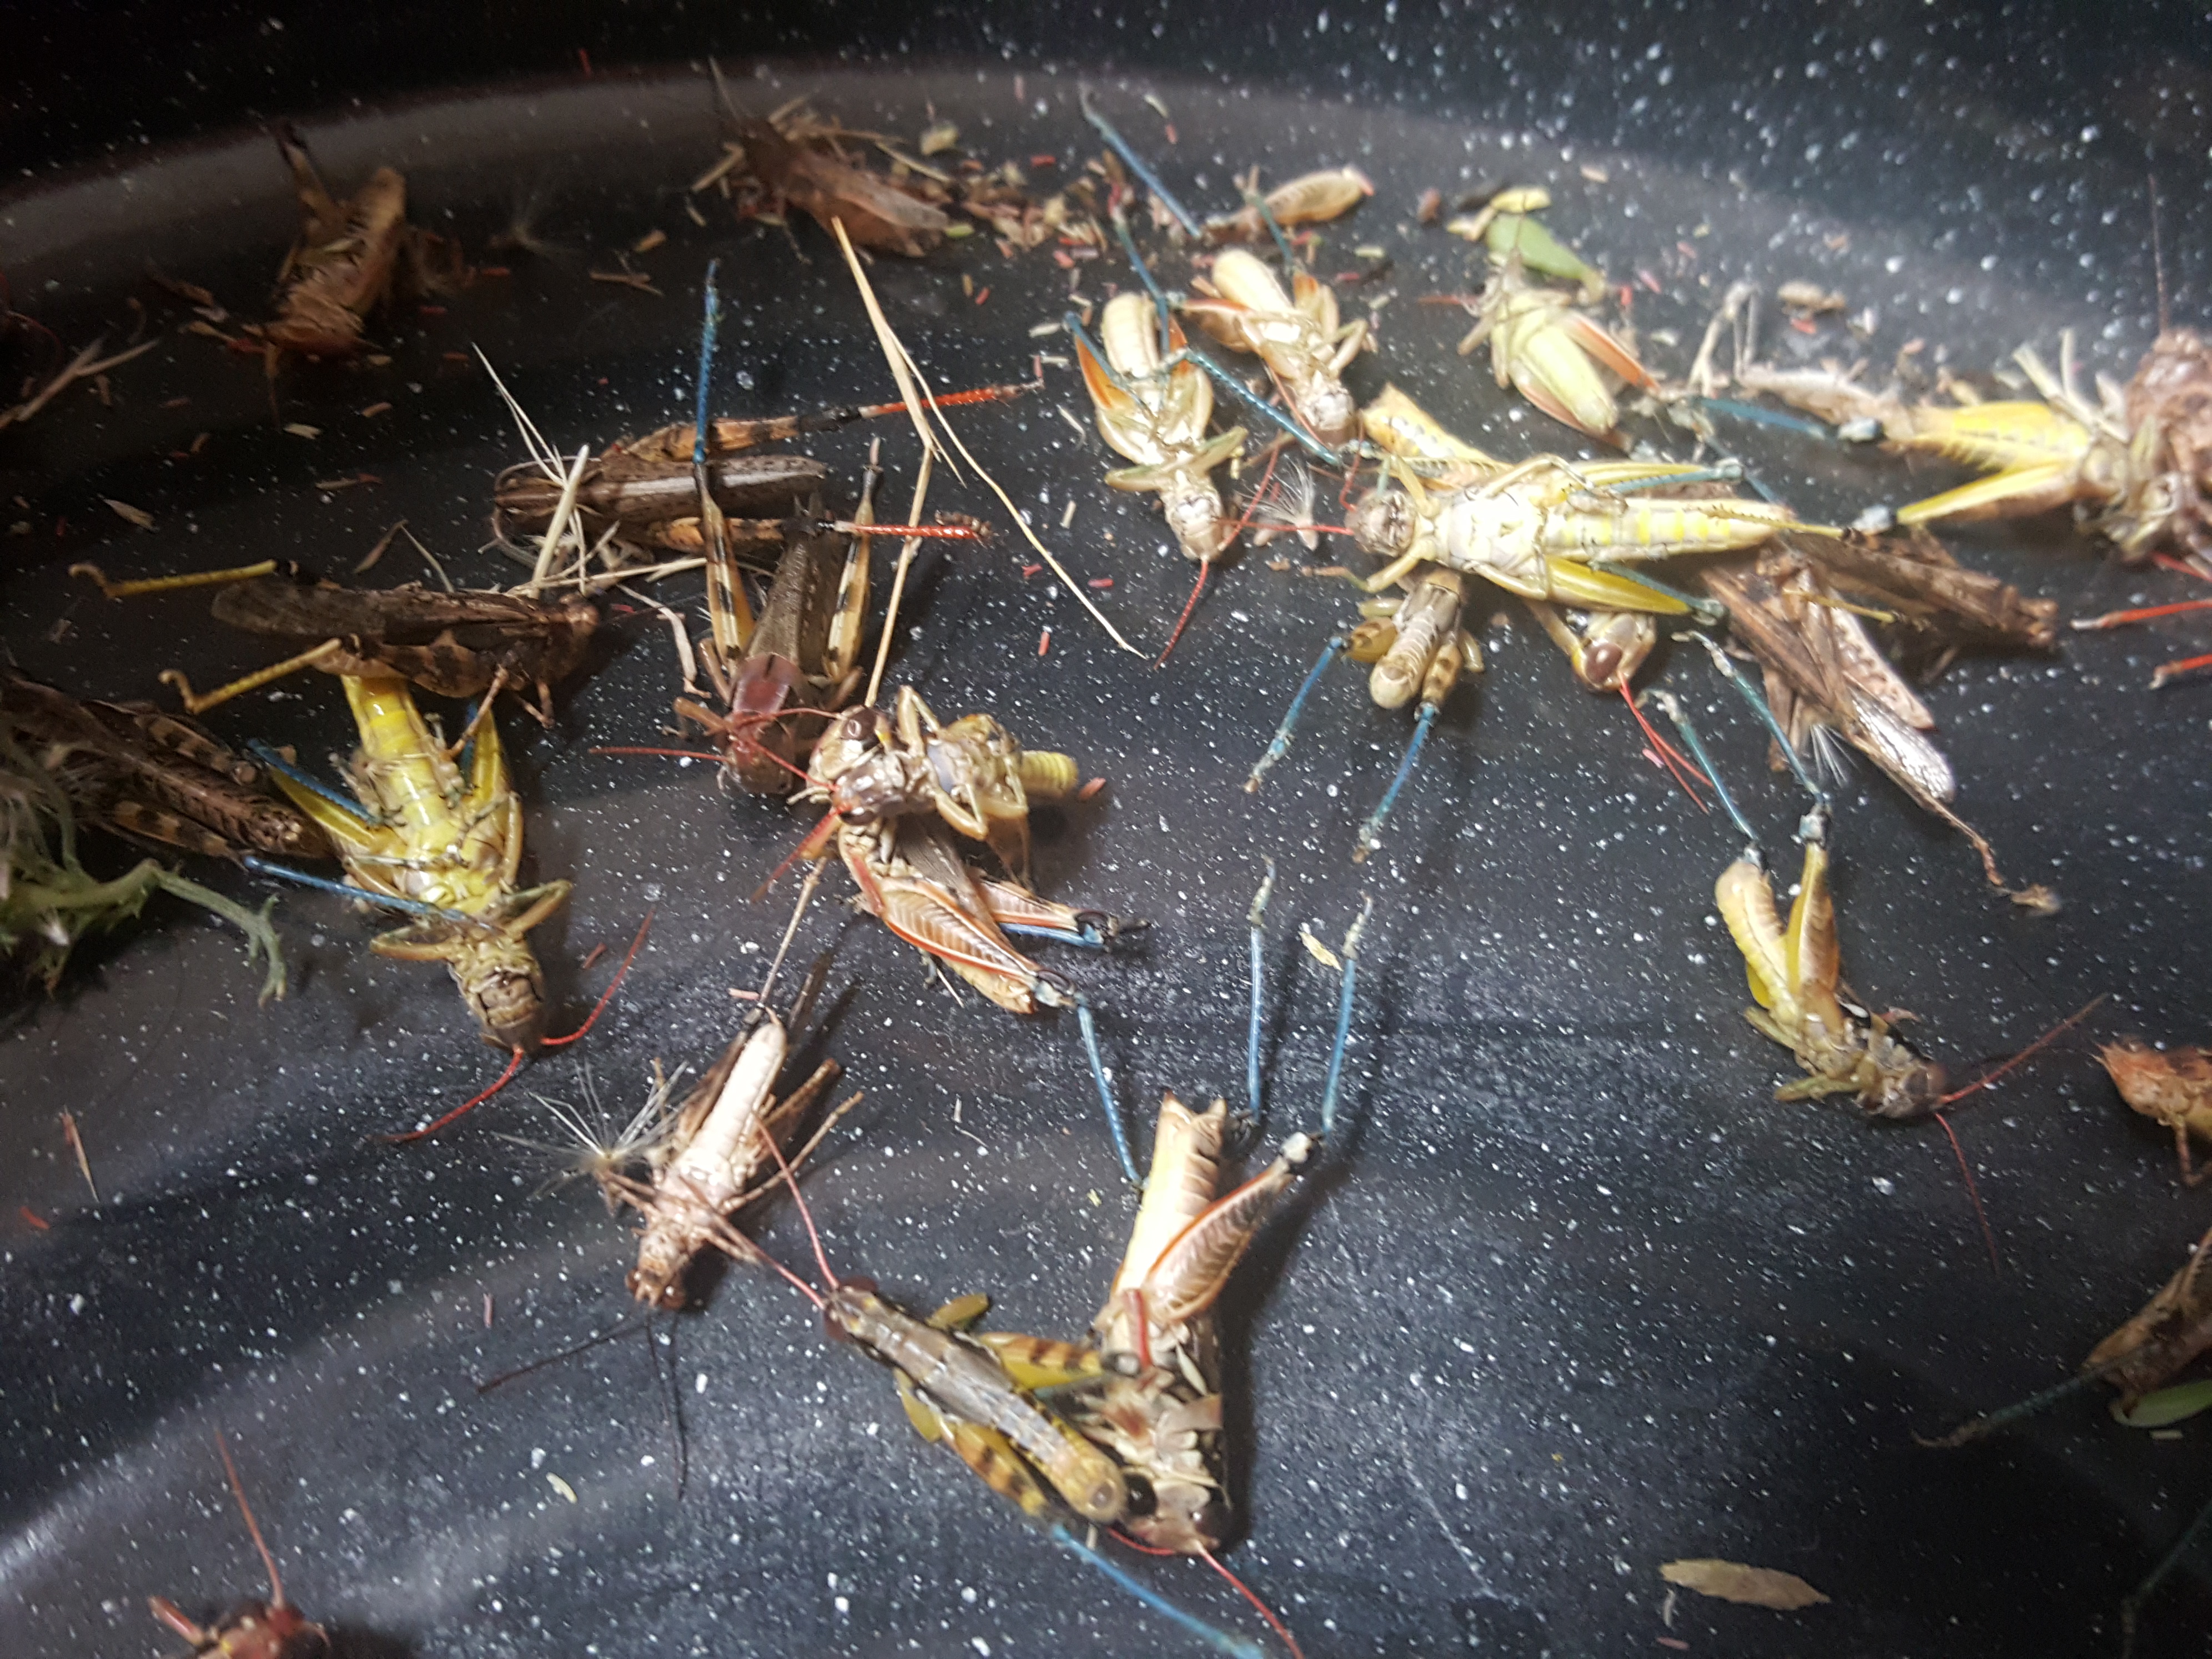
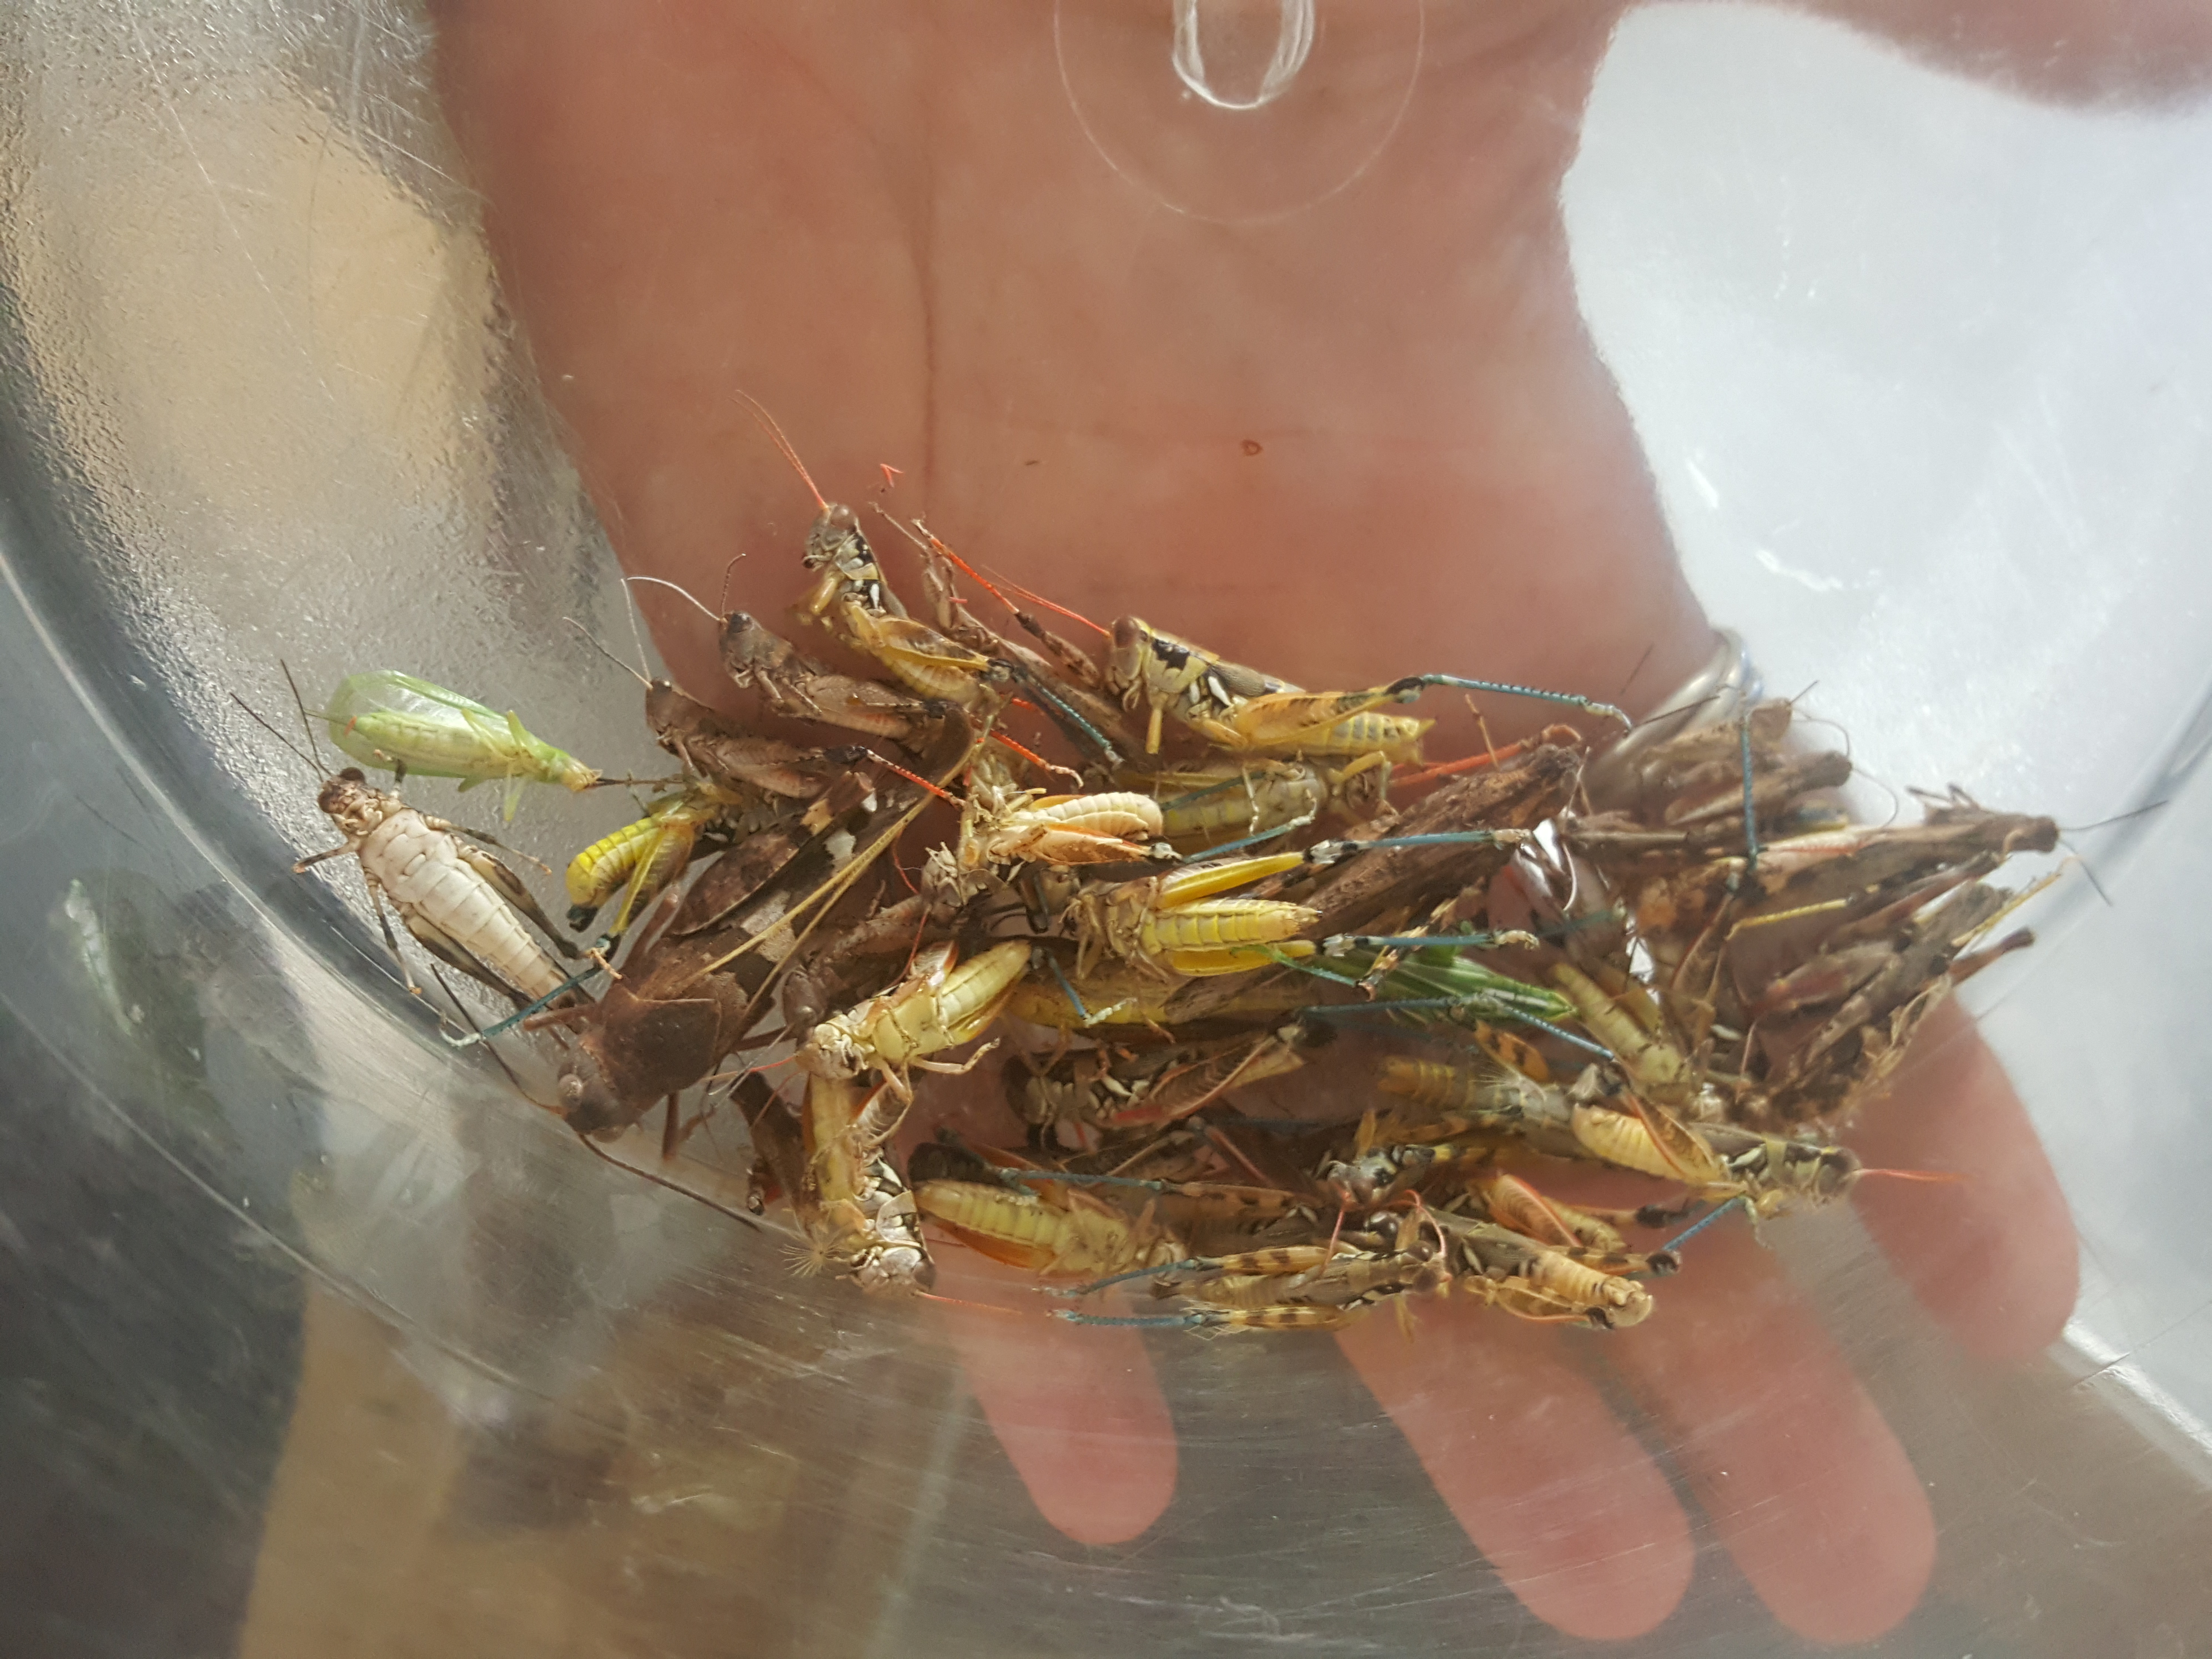
Then we picked them out of the grass seeds and debris. So beautiful.

20160924_093906

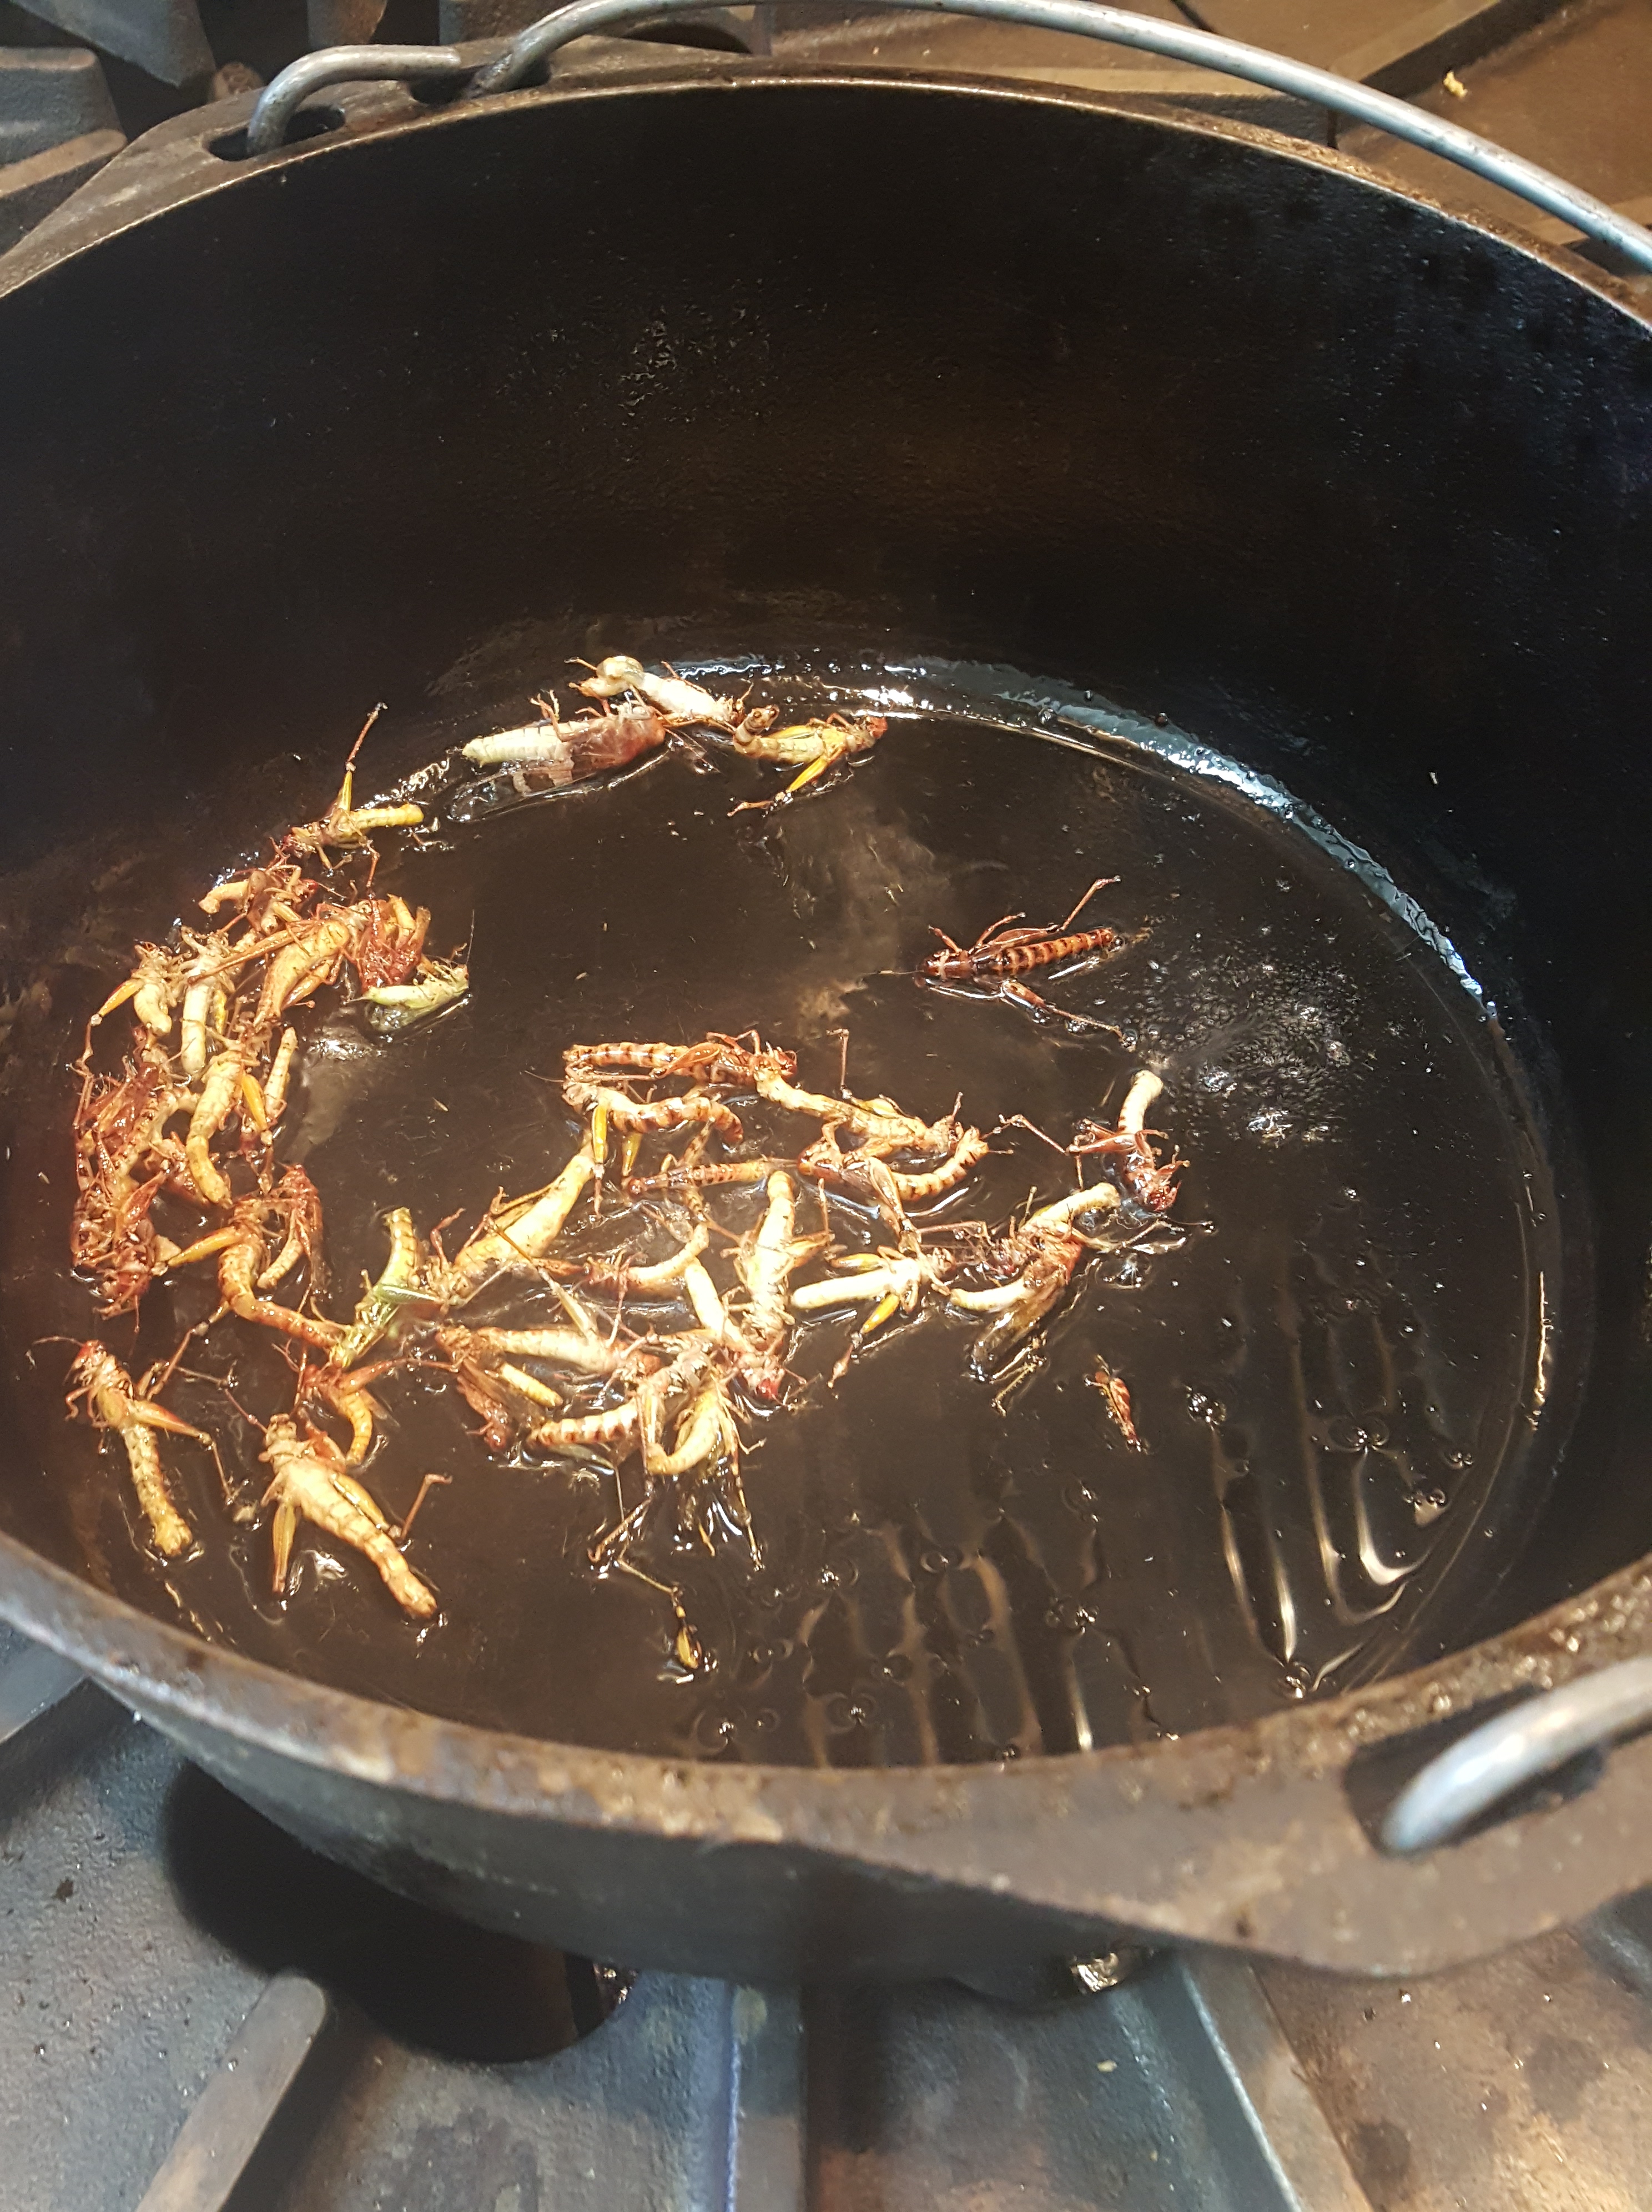
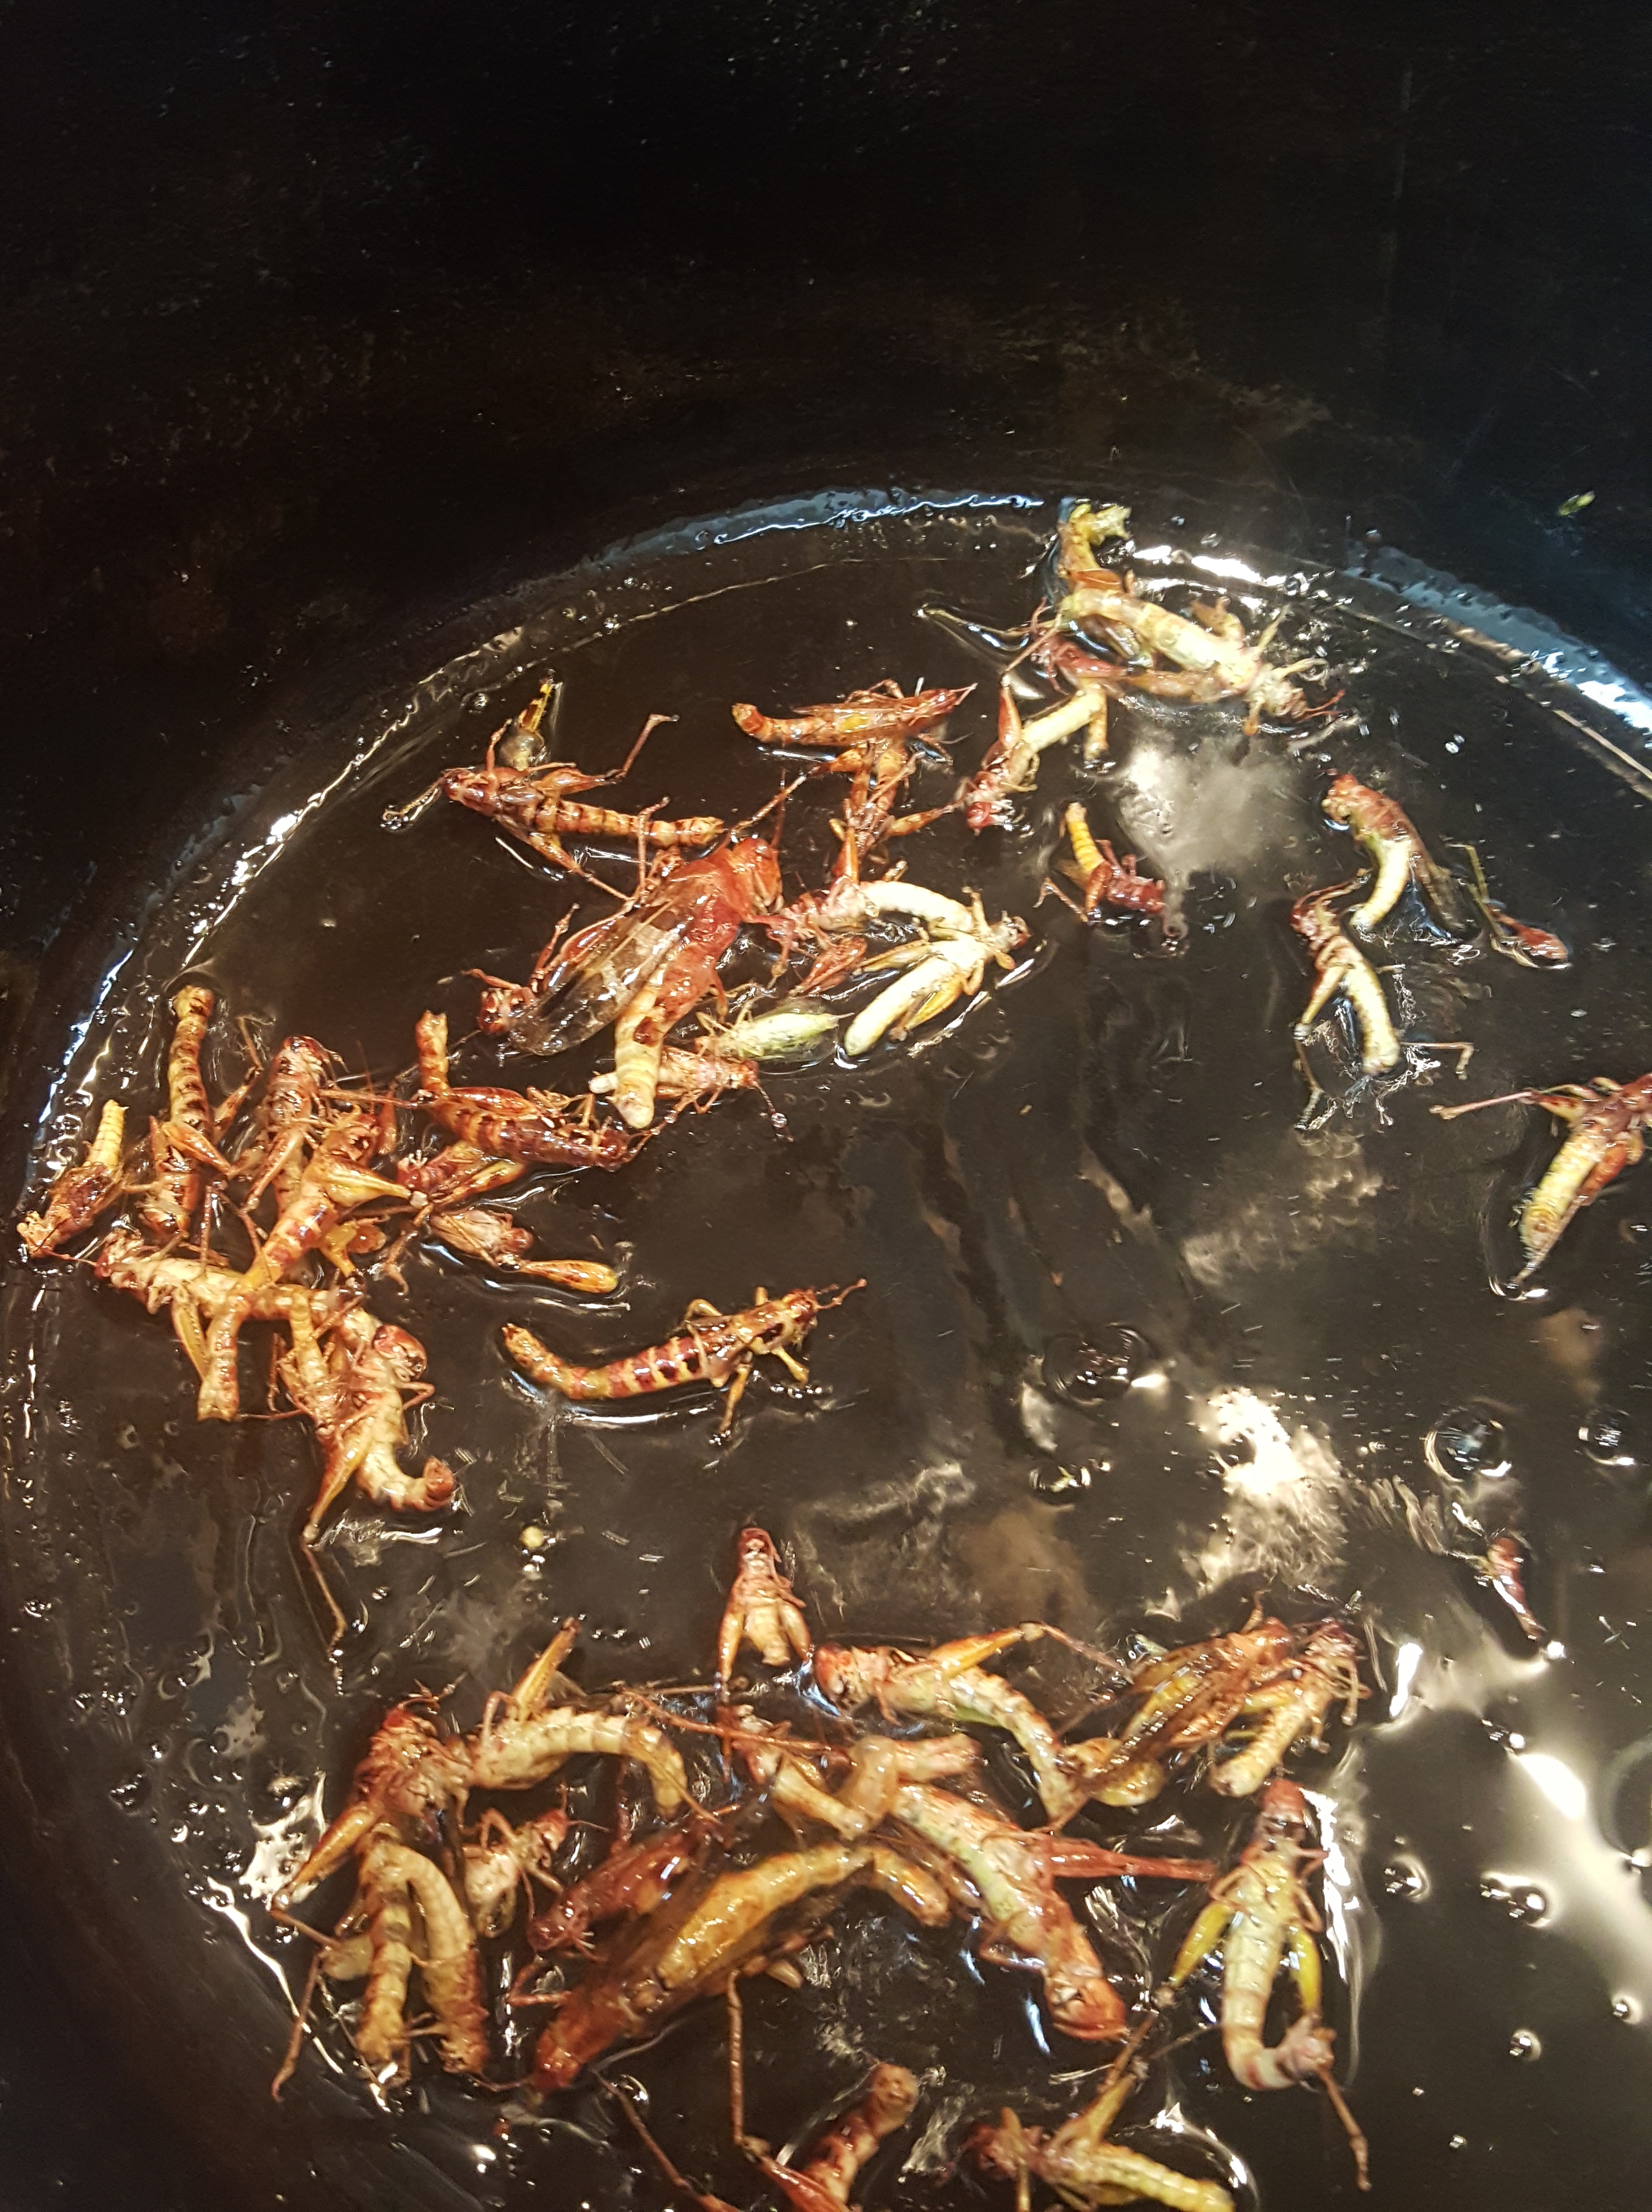
We melted a little duck fat a cast iron pan and fried the chapulines.

20160924_093938

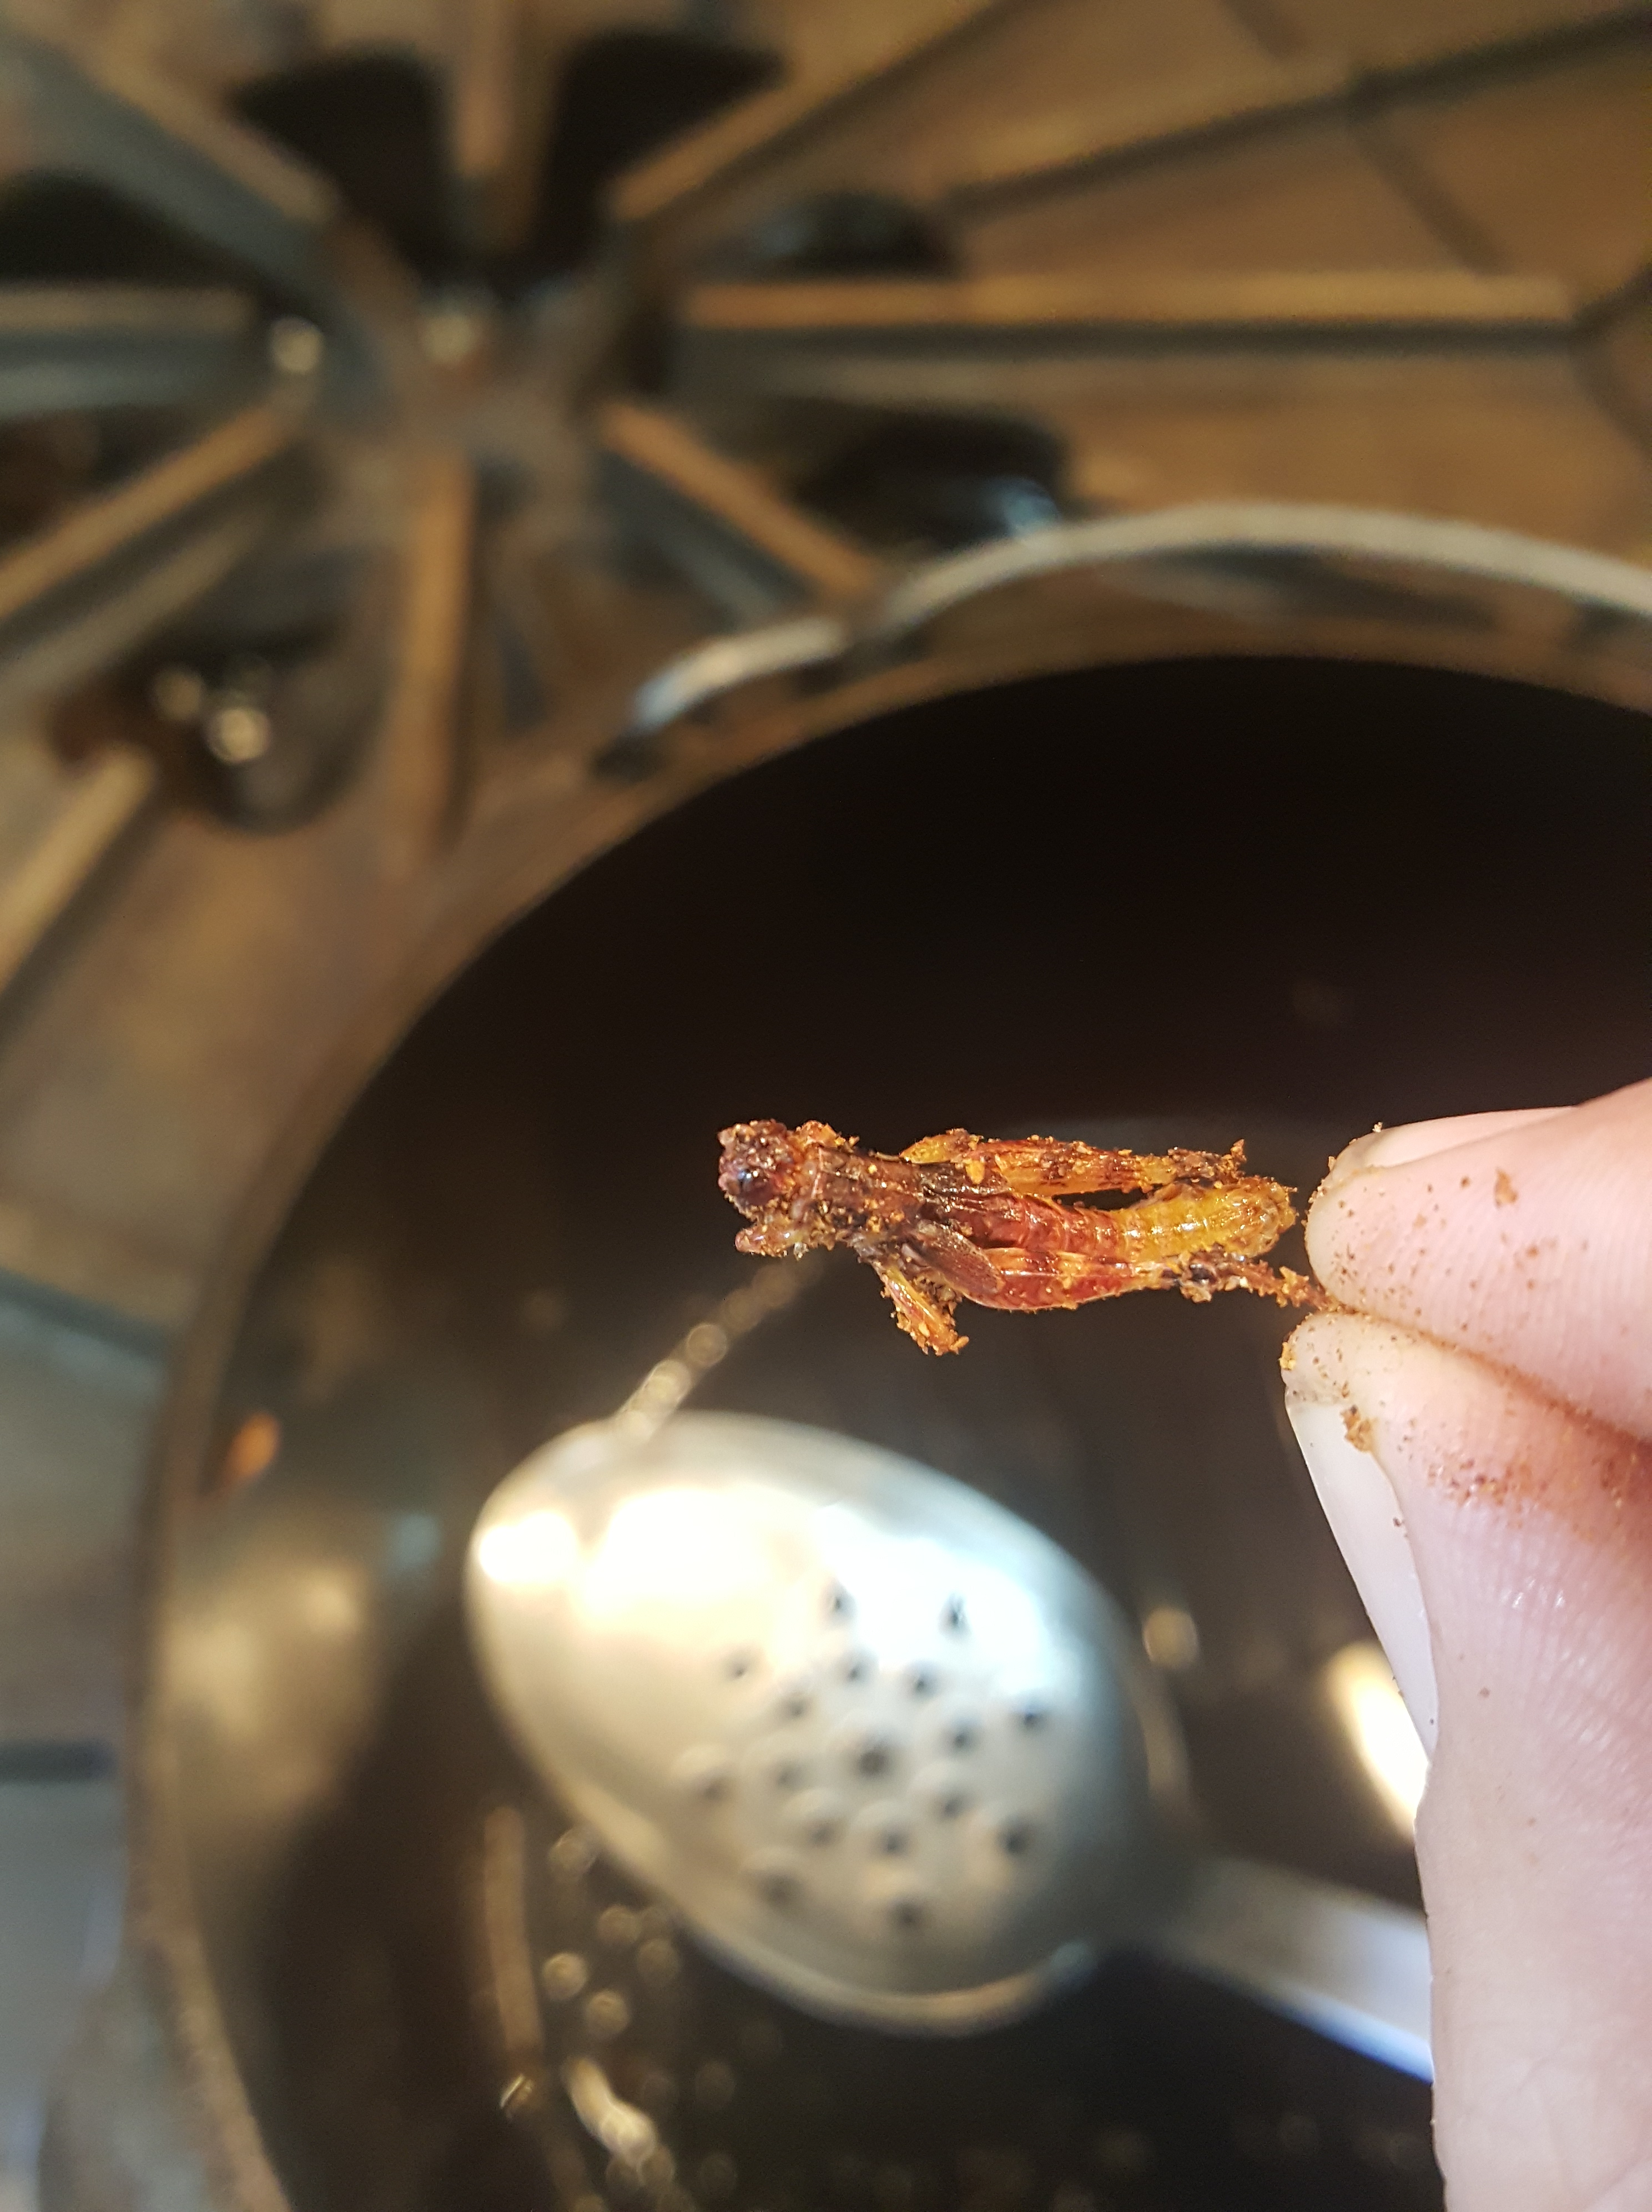
This is when they turned from animals to food, and the only moment in the process that made me a little uncomfortable. We let them get really crispy.

20160924_093953

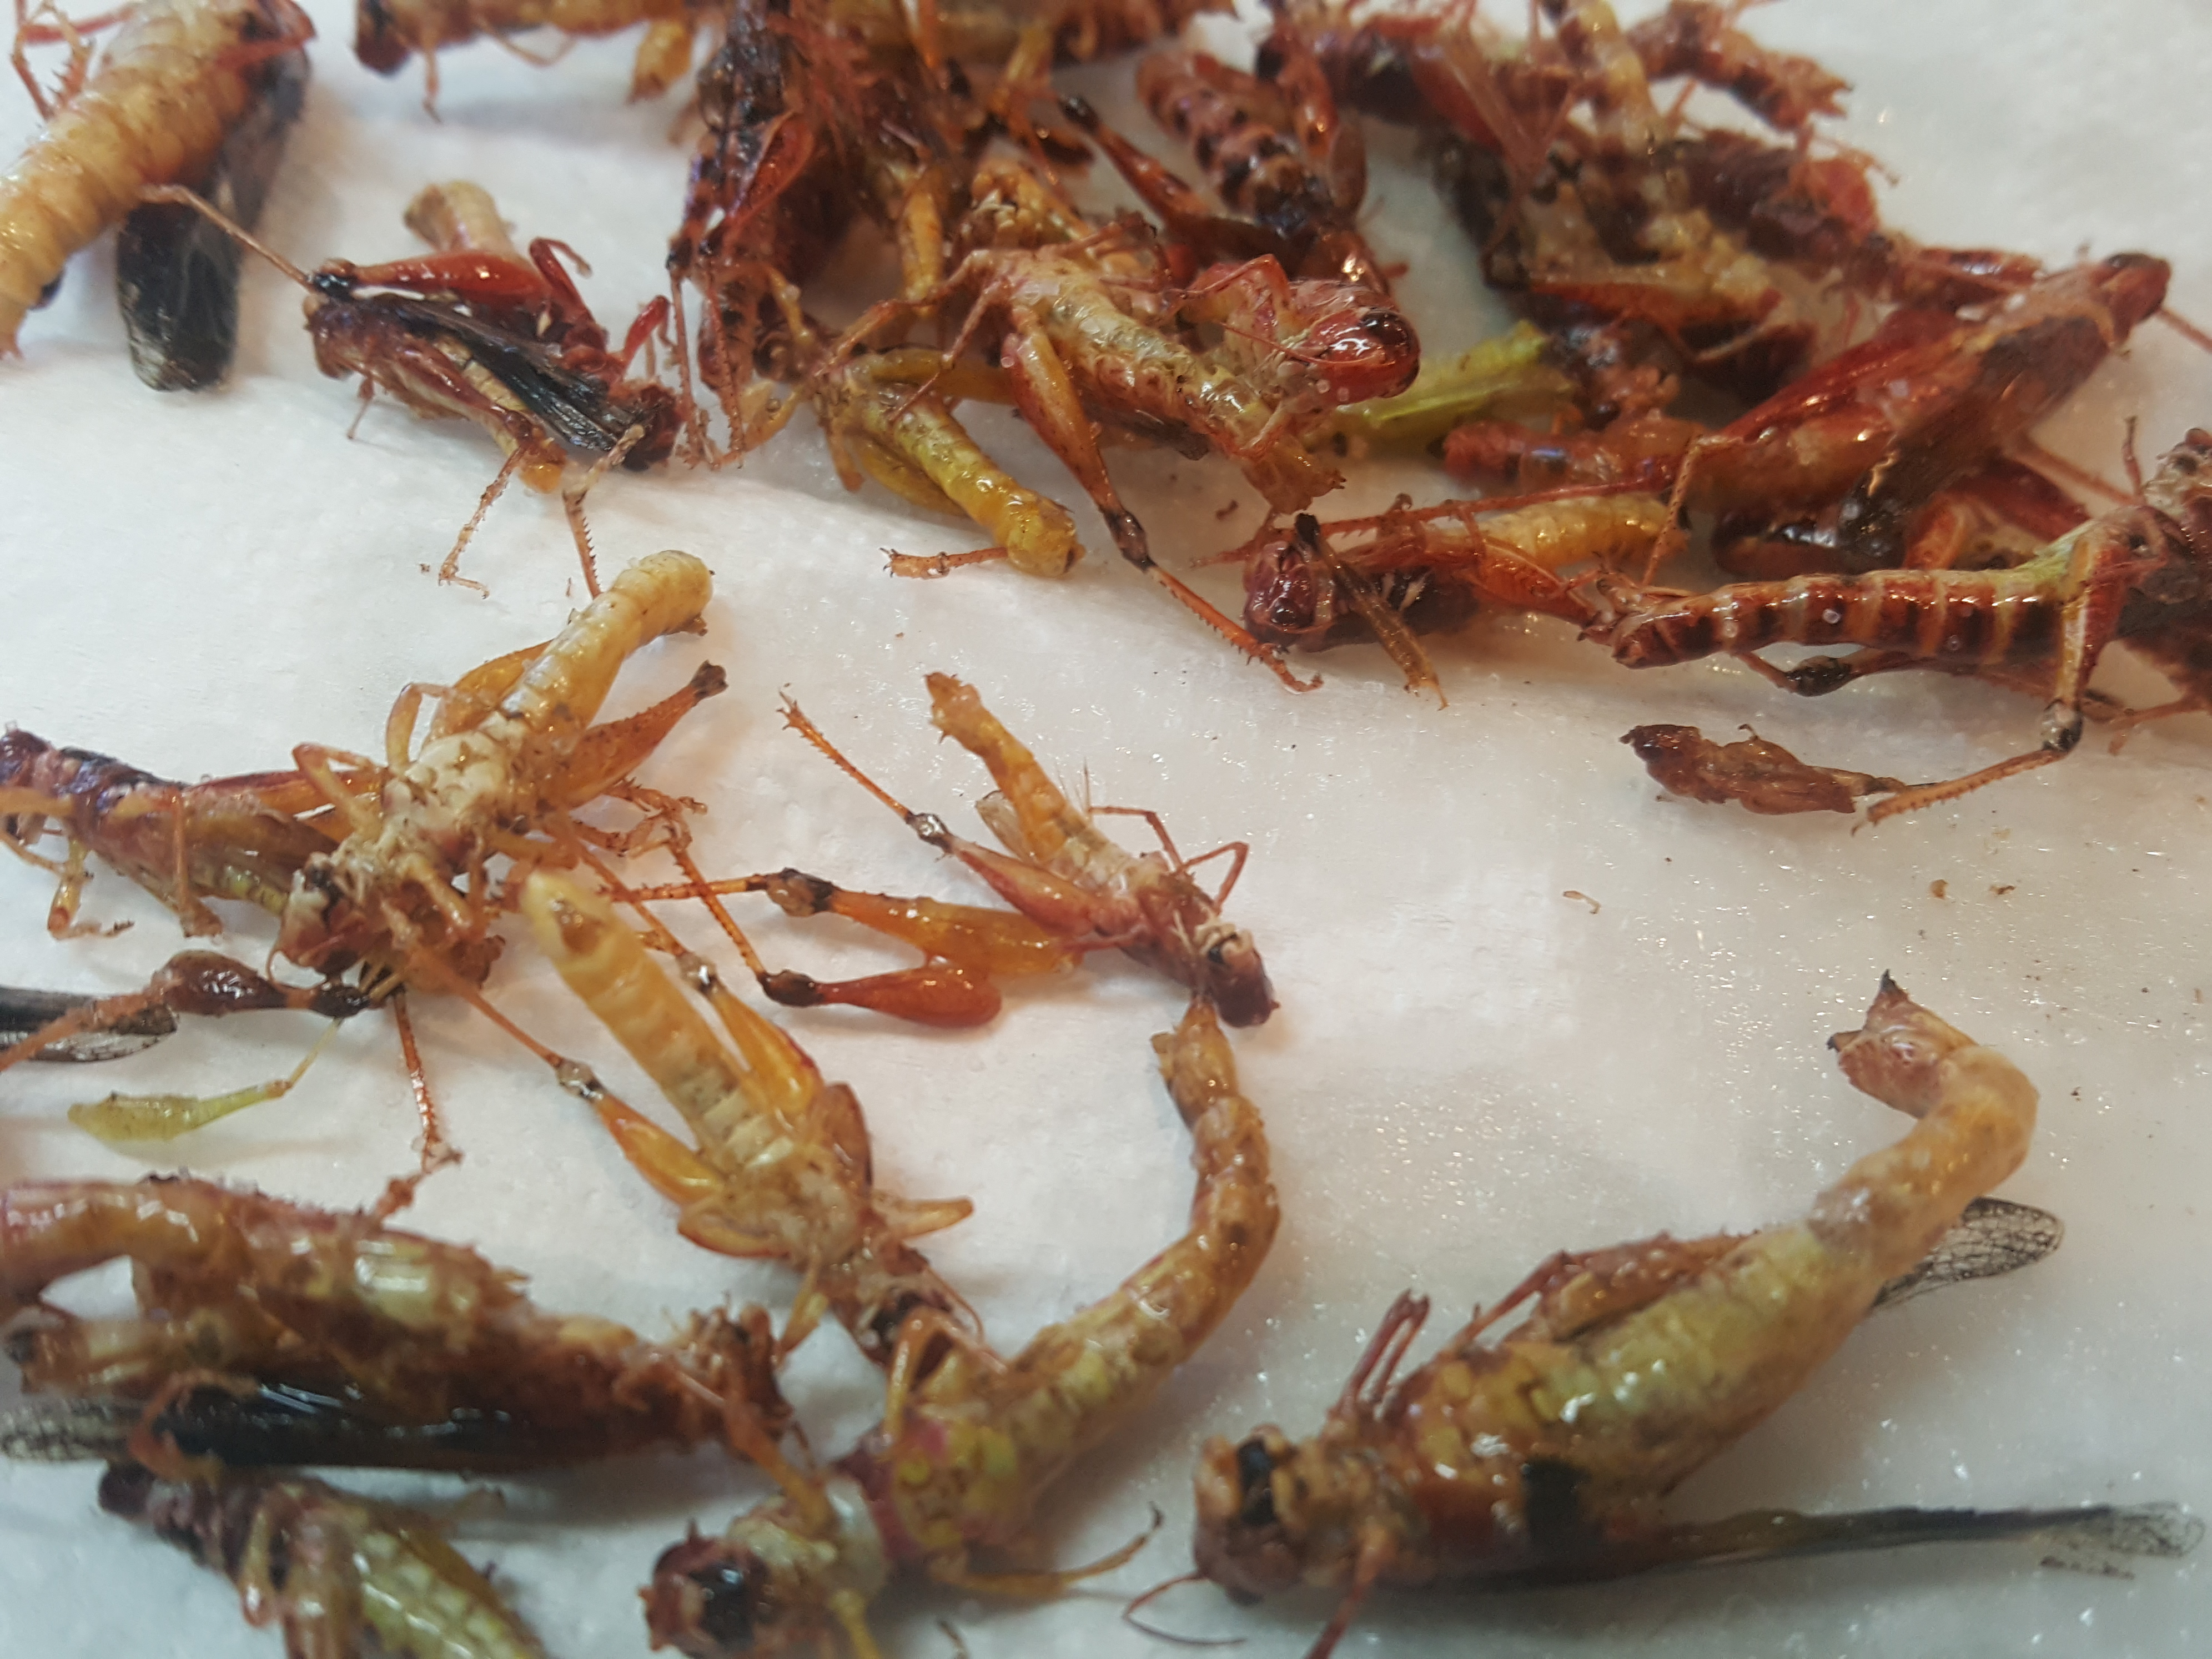
But after all that work, I needed to at least try them. Nicole knew from previous experience to eat the small ones whole, but remove the wings and legs from the larger ones.

20160924_094229

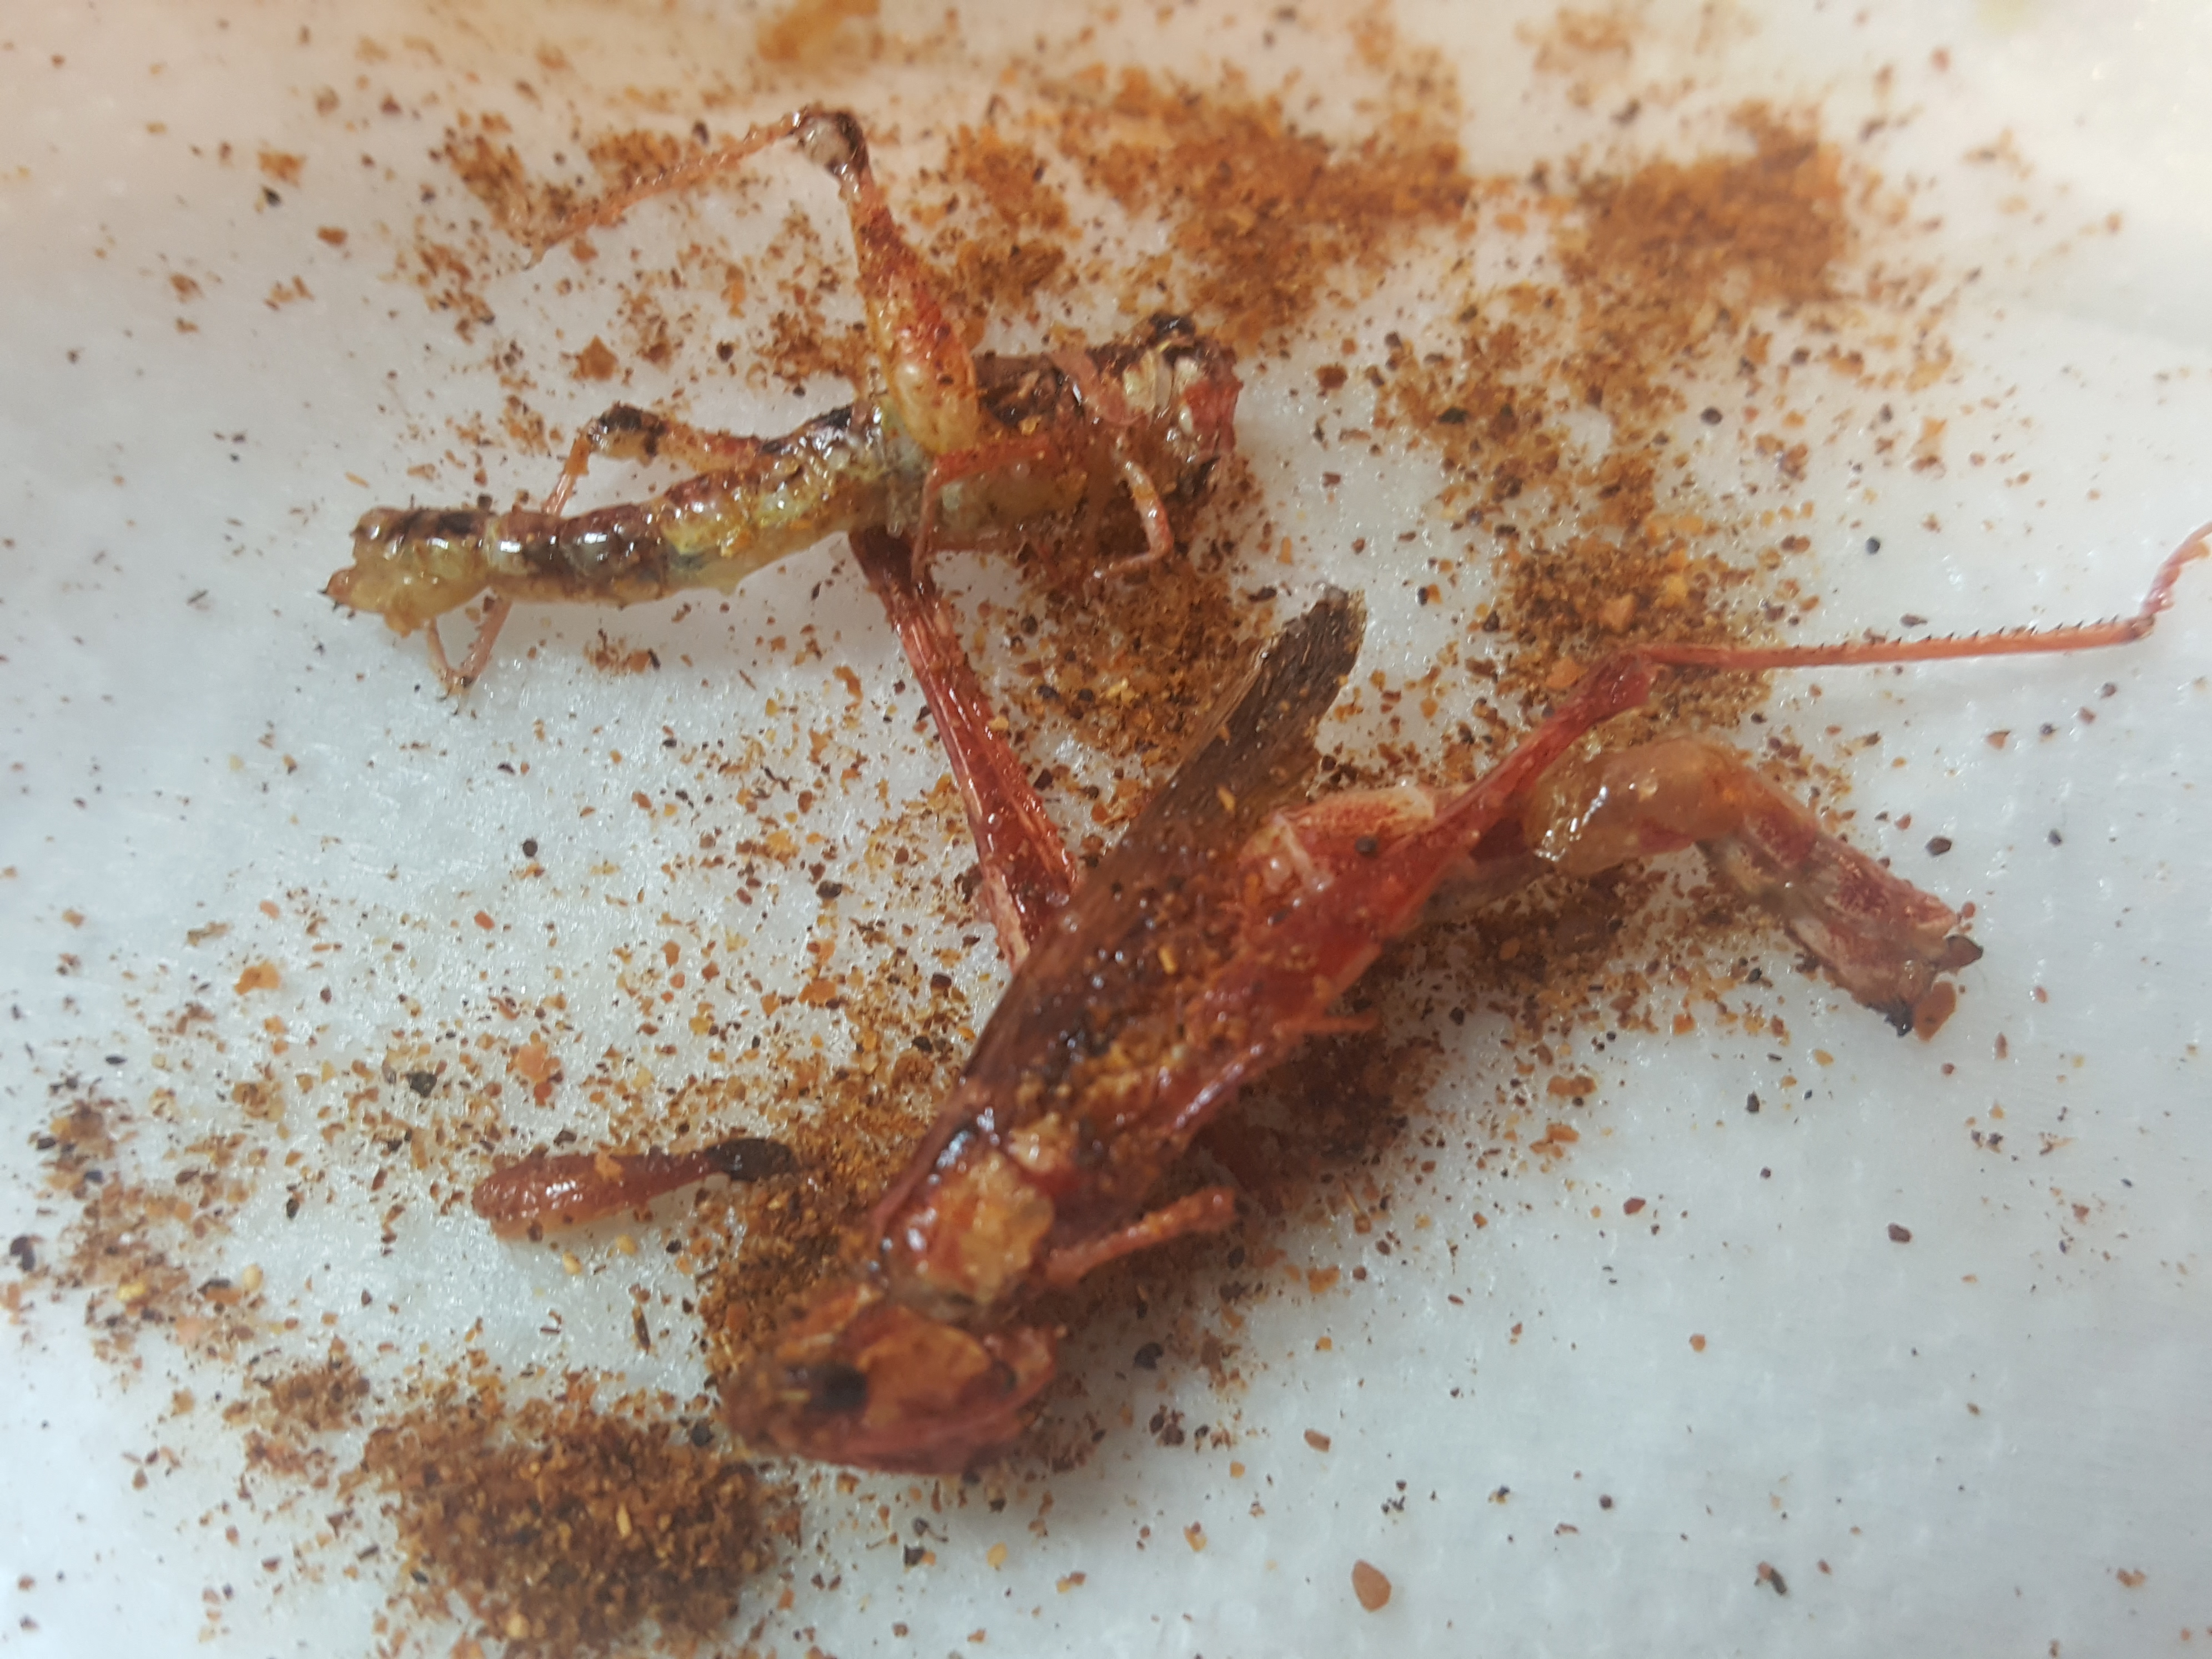
YUM!!!! Crispy fried meat. Then we dusted them with Mano Y Metate mole powder, of course.

20160924_094826

20160924_095149

Delicious, abundant, local, free. We’ll do that again!

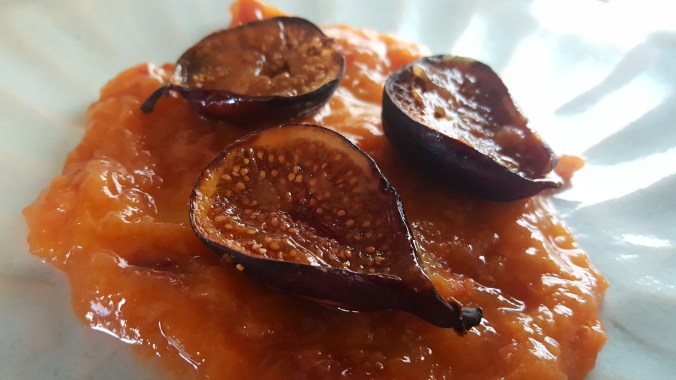
Broiled figs in peach sauce and Plum almond cake

9-figs-fin-peach-sauce

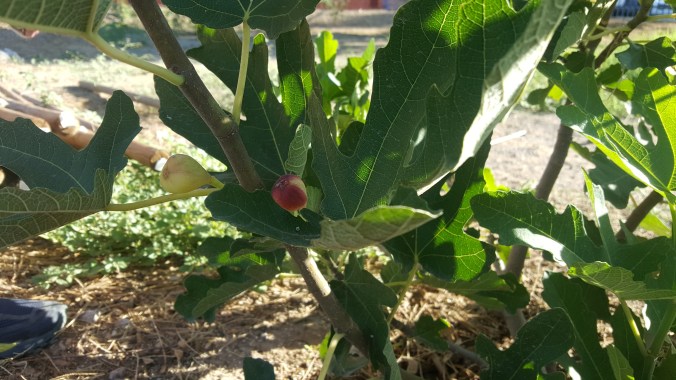
Hello, Amy here playing with the last of the summer fruits. My mom’s Black Mission Fig tree, planted by my grandfather so many years ago, yields two crops a year, early and late summer. The flowers open and are self pollinated inside the developing fruit. This baby fig tree had its first two fruits this year.

1-fig-tree

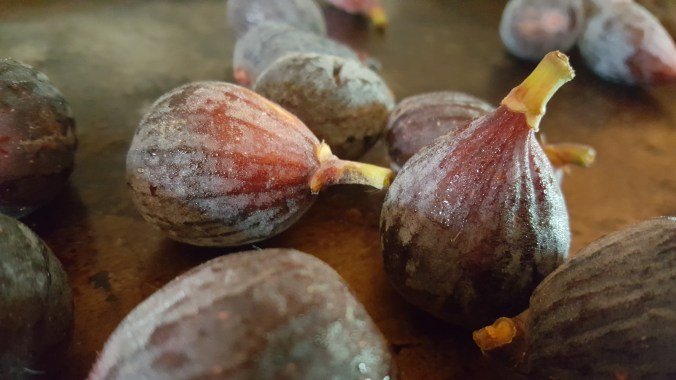
We mostly eat them fresh, the entire fruit with skin, seeds and all, leaving only the stem. They dry beautifully on screens outside, or in a hot car.

2-fresh-whole-figs

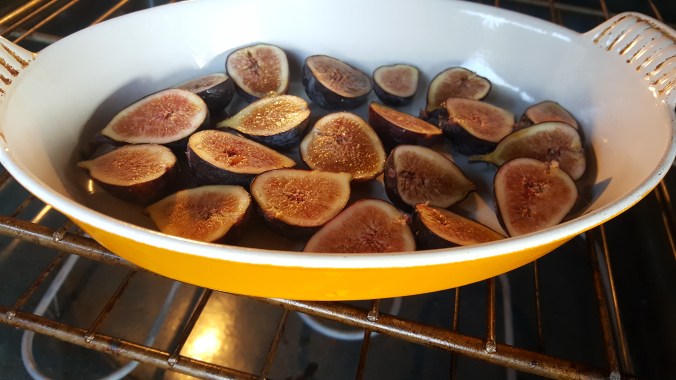
I wanted to do something special with the figs, so I consulted Sweet Simplicity: Jaques Pépin’s Fruit Desserts. Broil the figs!

4-figs-in-oven

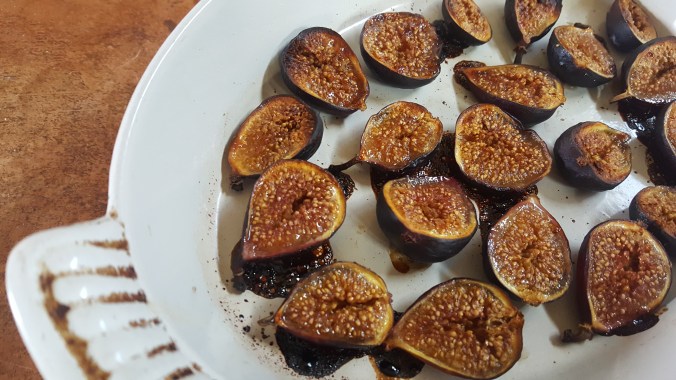
I halved the fruit and decided that they were plenty sweet. If they weren’t, I would have sprinkled with sugar as suggested. After a few minutes under the broiler, they were even sweeter and the flavor concentrated, but still moist and easier to eat than dried.

5-broiled-figs

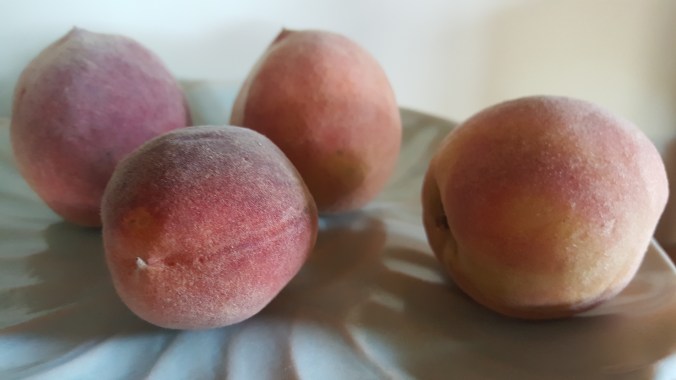
Jacques made a sauce with strained peach preserves, but I had a few tiny fresh peaches from higher elevation southern Arizona.

6-whole-peaches

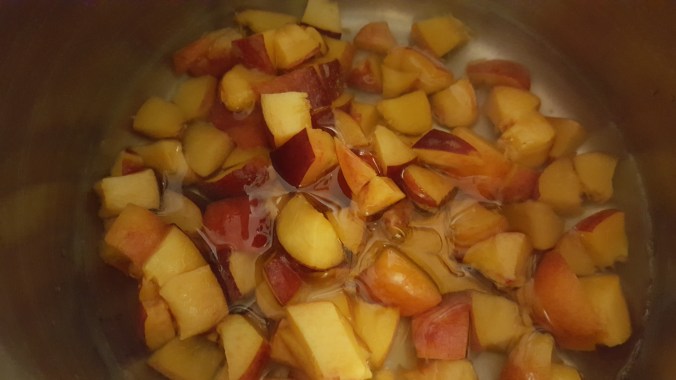
I seeded and chopped the peaches, skins included. So much color, nutrition and fiber is in the skin. Plus I like varied textures.

8-sliced-peaches

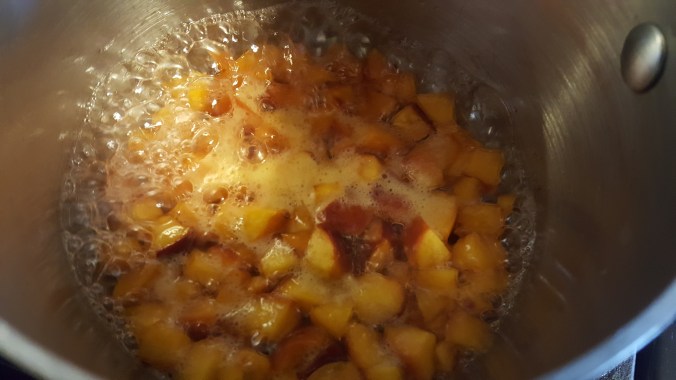
The peaches simmered with a tiny bit of water for a few minutes, until soft.

7-boiling-peaches

I pureed the peaches and seasoned with a squeeze of lemon and a splash of rum.

9-figs-fin-peach-sauce

That worked! So when someone gave me a handful of little plums, I immediately consulted the same book to show off the little treasures.

10-plum-cake

Here is my version of the Plum and Almond Cake

1 cup all purpose flour

1 cup almonds

2/3 cup sugar

1 teaspoon baking powder

1 teaspoon vanilla

6 tablespoons butter, softened

2 eggs

1/3 cup heavy cream

Garnish:

14 little plums

1/4 cup apricot jam

2 teaspoons hazelnut liqueur

Preheat oven to 350 degrees F. Grease an 8×8 inch or similar size baking dish. Grind almonds in a food processor until powdered. Add the rest of dry ingredients and process. Add the wet ingredients and pulse into a batter. Spread batter into prepared dish and nestle in the whole fruit. Bake for 55 minutes or until the cake is browned. Mix the jam and liqueur and brush on top of the cake. Warn the eaters of the pits and enjoy!

Mole Negro Grilled Burgers and Veggies

mealAmy here on a cloudy monsoon afternoon with a bounty of summer produce like long green chiles, Shishito peppers, okra, yellow squash and great tomatoes. It makes me want to grill and eat outside.

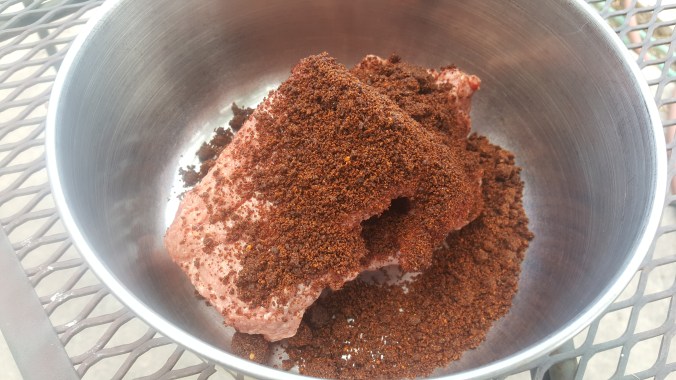
But my new friends want to try Mano Y Metate Mole, and the last thing I want is to make a formal meal. I wondered if burgers seasoned with mole powder would work…meat mix

Local pastured beef pairs well with the smoky, spicy, bold flavors Mole Negro in other forms, so that’s what I chose. I mixed the mole powder with not too lean meat and sent to the grill.

grilling burgers

cooked burgers

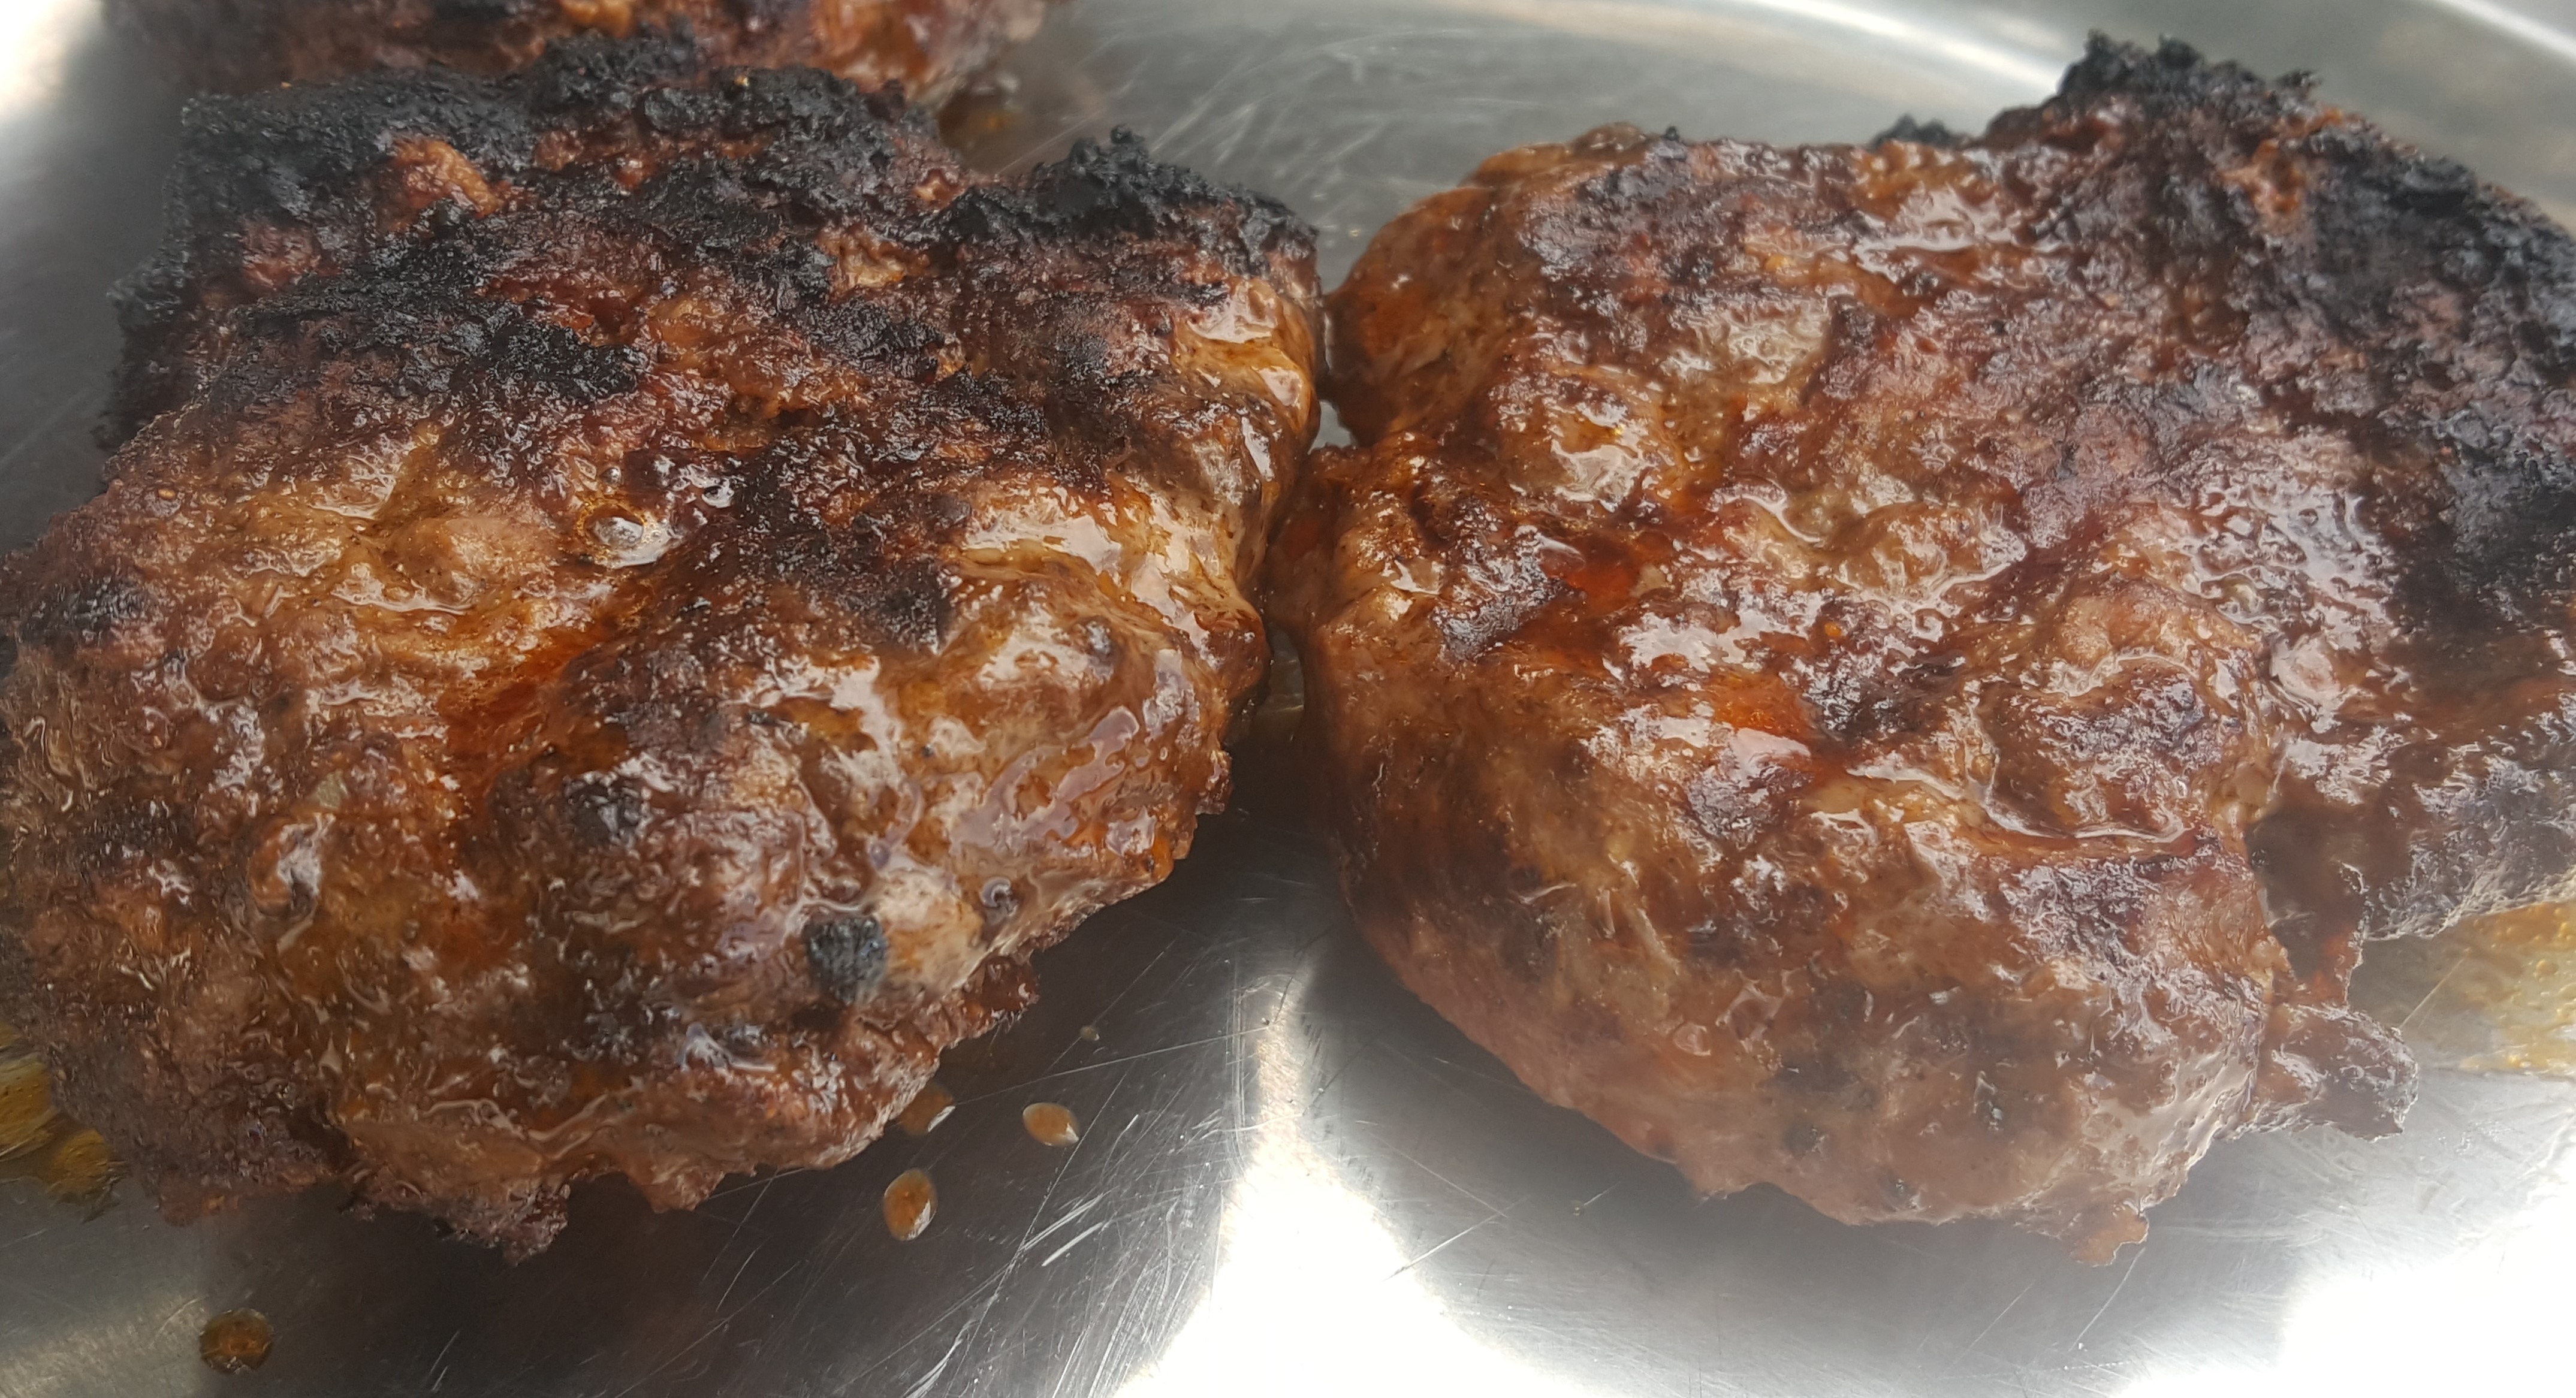
The juices from the cooked meat were infused with Mole Negro flavors. It exceeded my expectations.

tomatoes

I was thinking of a nice leaf lettuce to top burger, but that’s definitely not in season. Oh, tomatoes!

complete burger

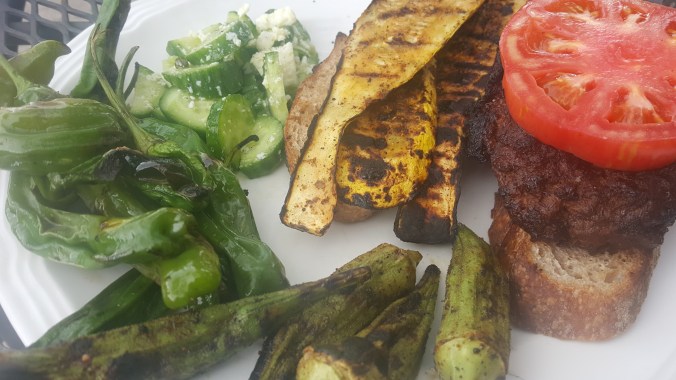
Charred spicy meat, tomato, and a slice of sourdough whole wheat from Barrio Bread. Salt on tomato.

Without lettuce, I wanted something green in the meal. Wait, August means green chile!!!!!!

long green

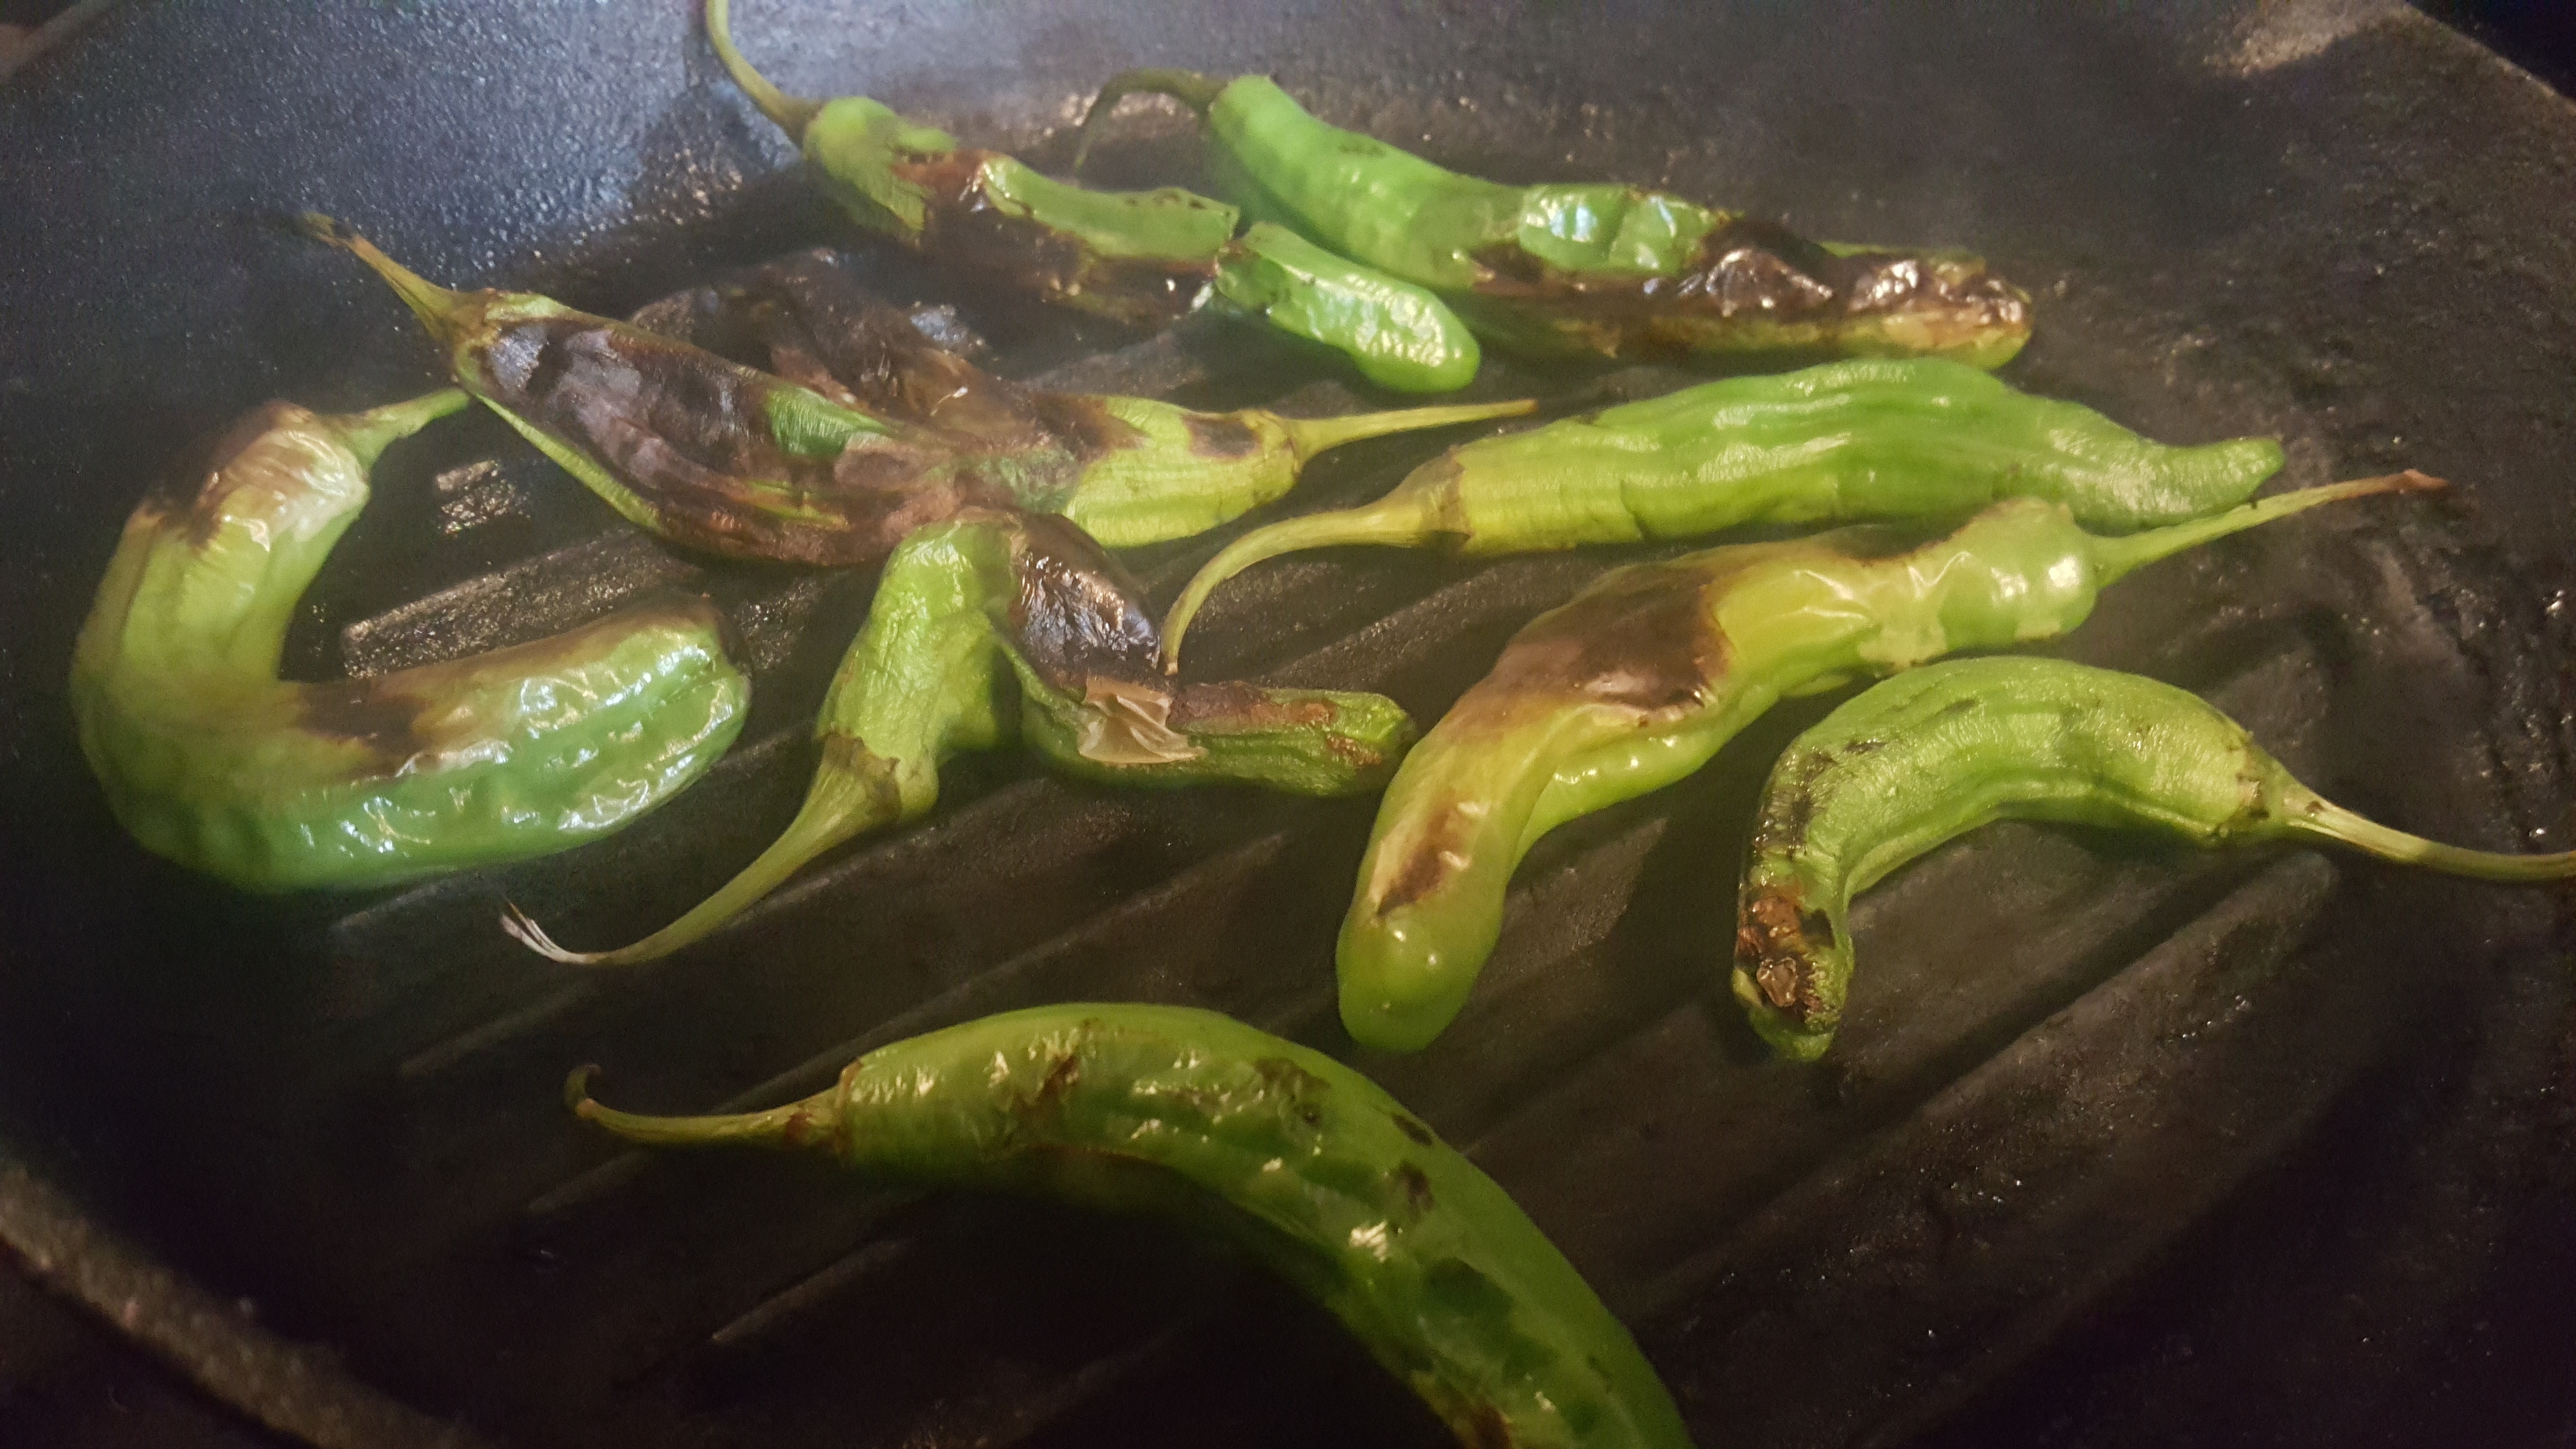
And Shishito peppers, too small for the grill but great in a grill pan. Most are completely mild, but about one in 20, surprise! The skin is so thin no need to peel, and the seeds so small no need to clean. Too easy and great flavor.

shishitoes

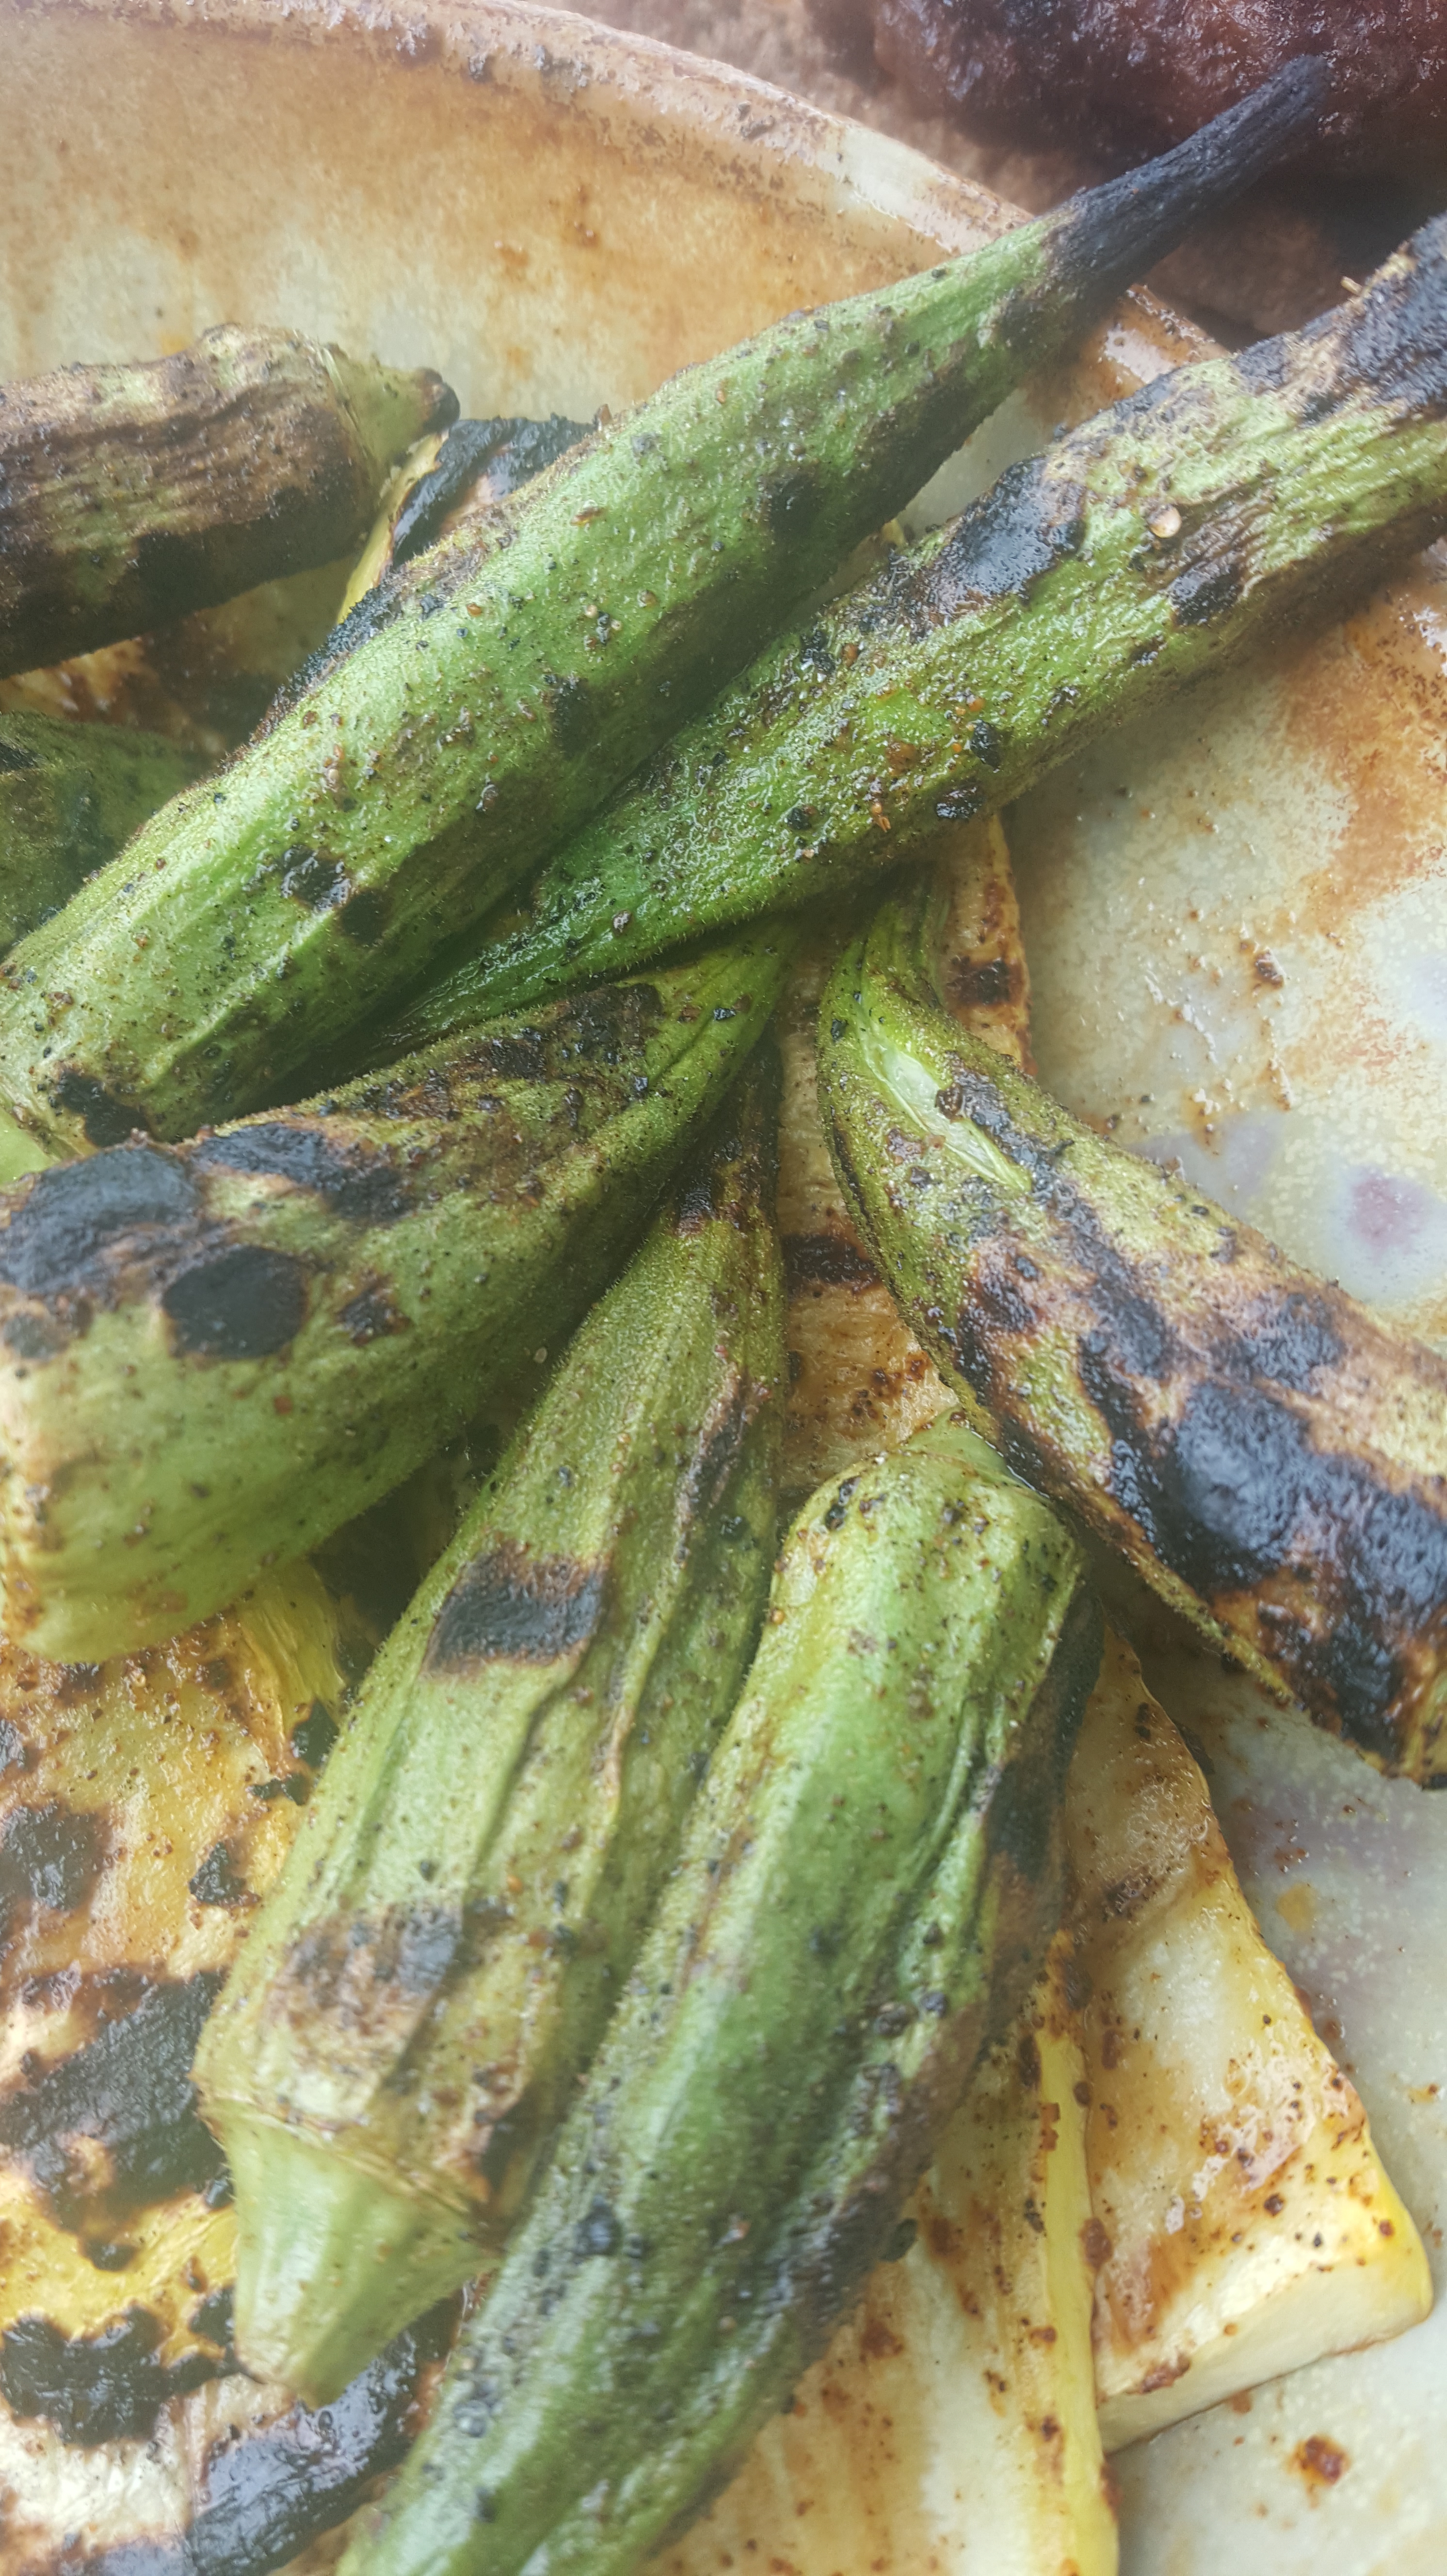
Also, I rolled some beautiful fresh okra in a splash of olive oil and Mole Negro powder.

grilling okra

cooked okra


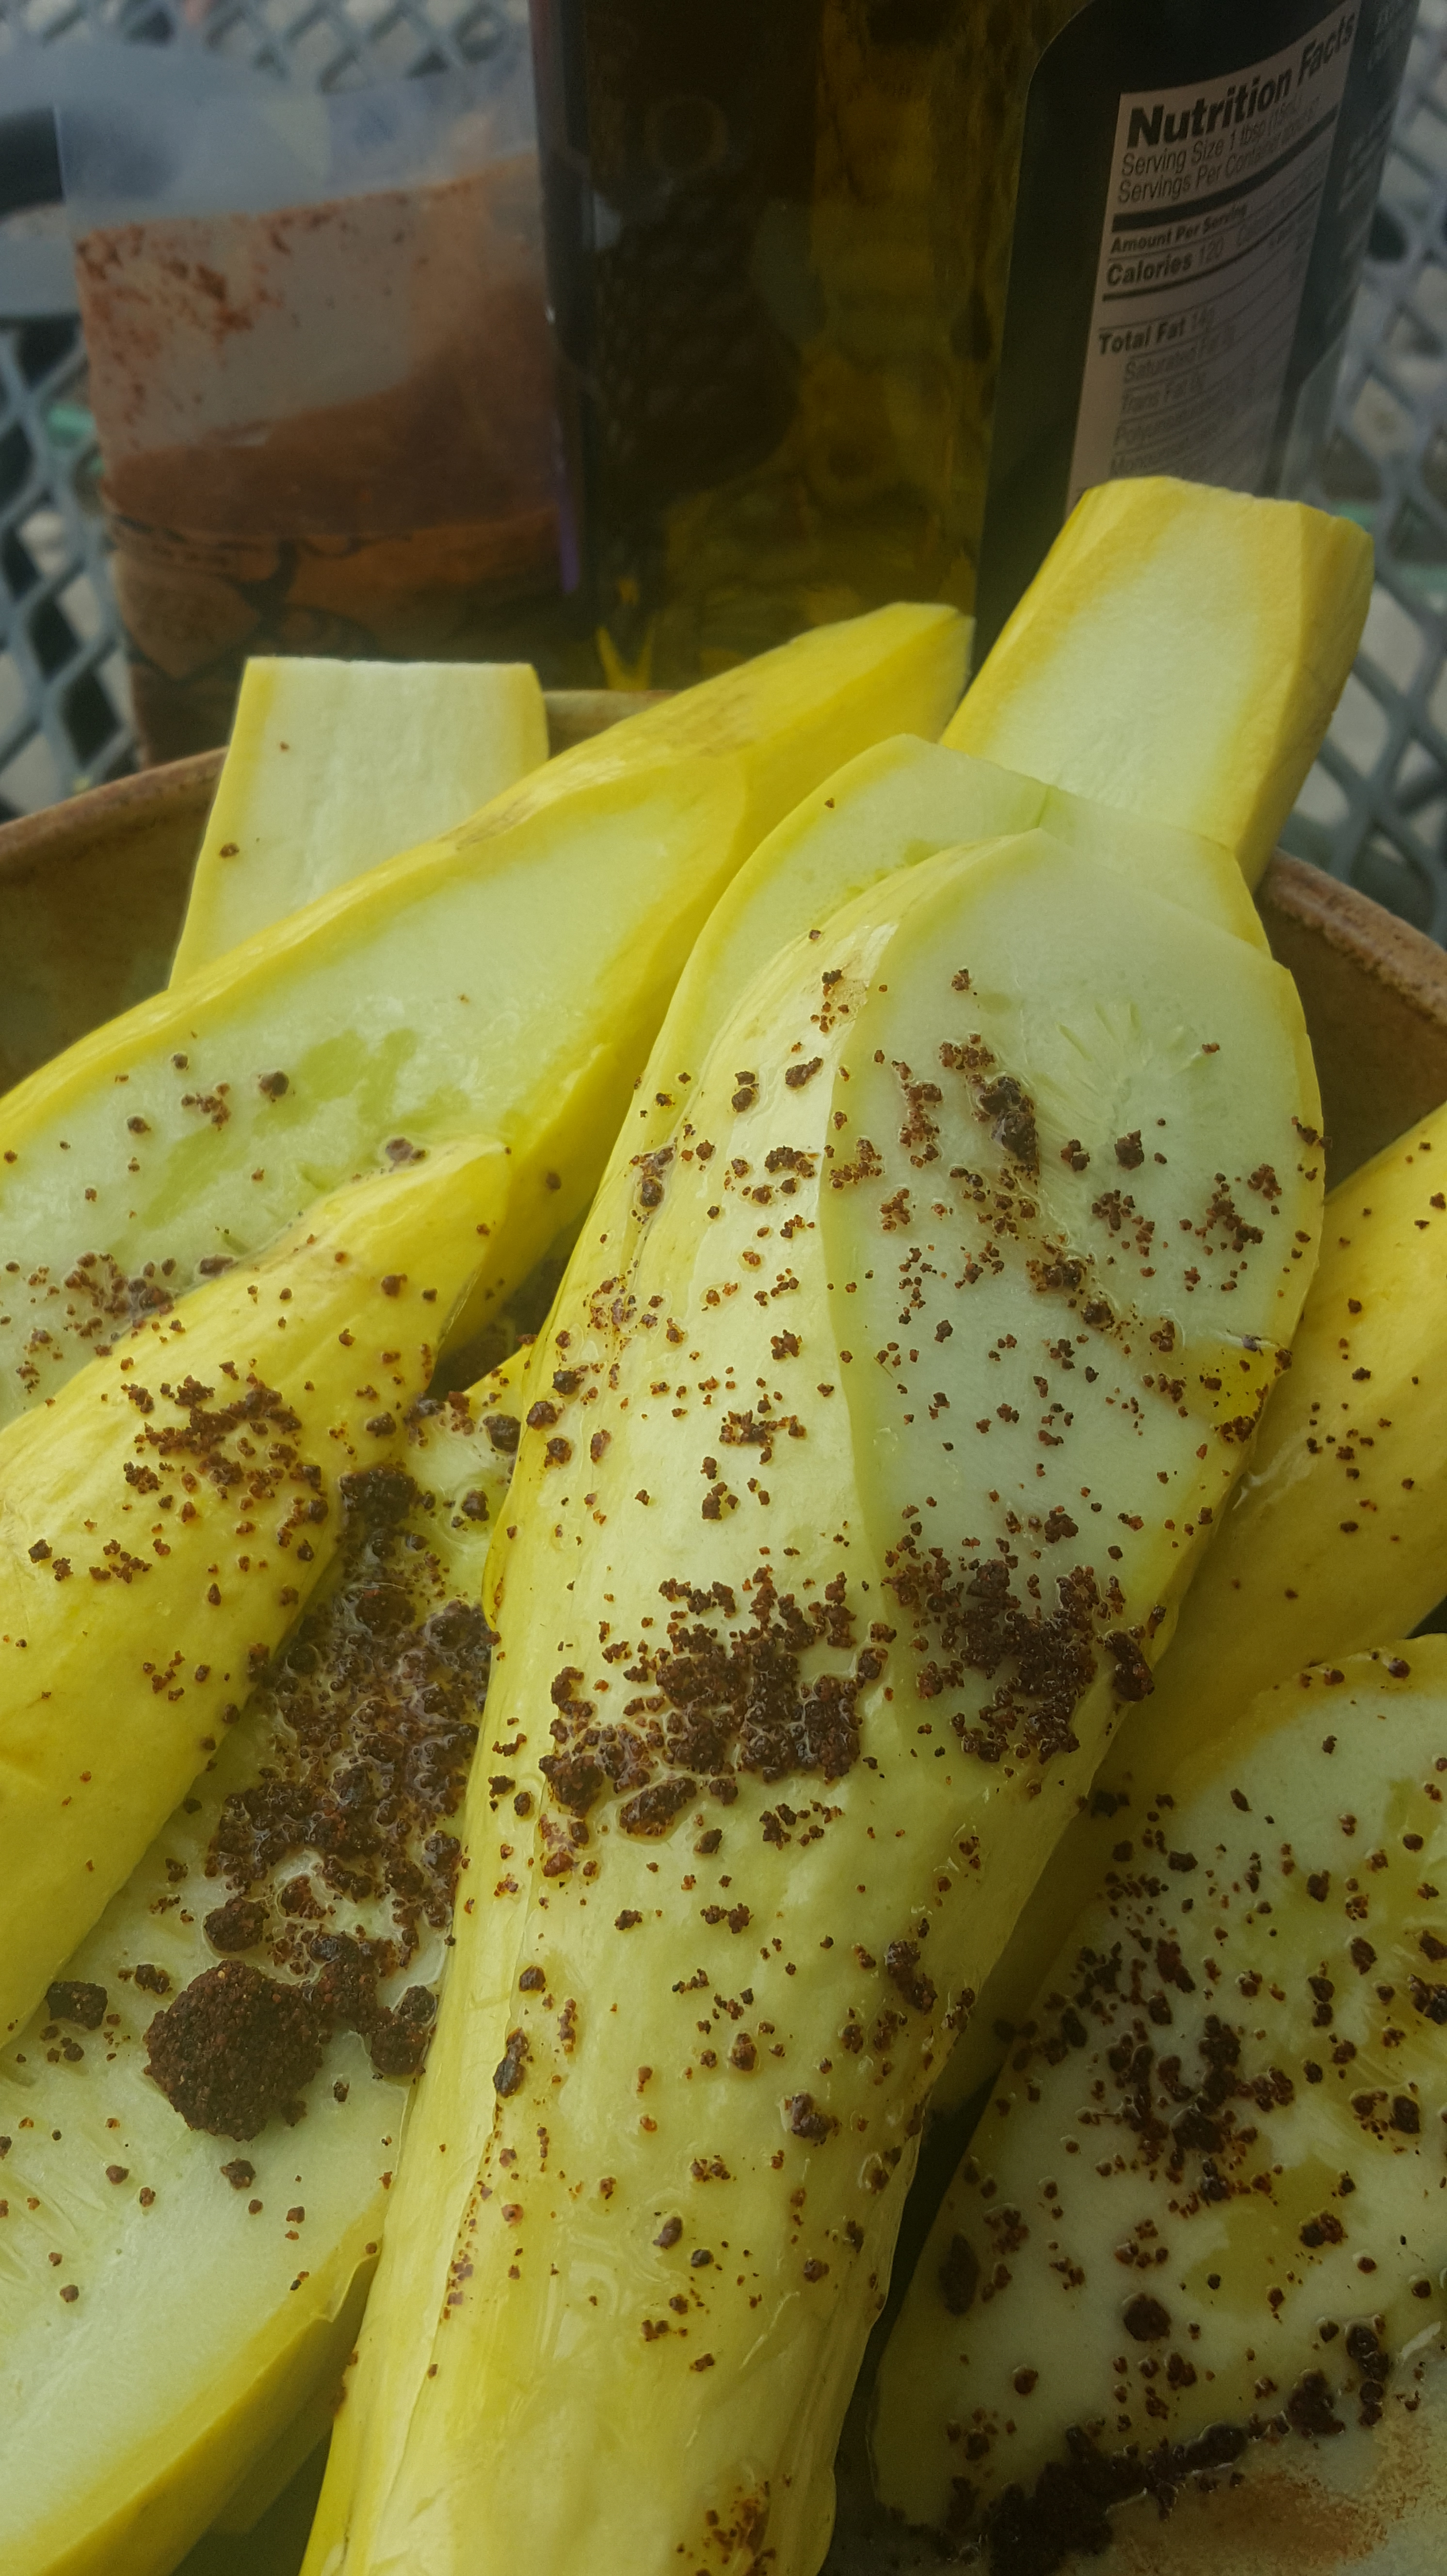
Grilled squash is one of my favorite foods in the whole world. I can’t grill without making some. First time with Mole Negro powder, though. It worked really well. Just toss with a splash of olive oil and sprinkle on mole powder to taste.

raw squash

grilling squashgriled squash2


cuke salad

For raw contrast, a quick cucumber salad with goat queso fresco, olive oil, black pepper and fresh basil.

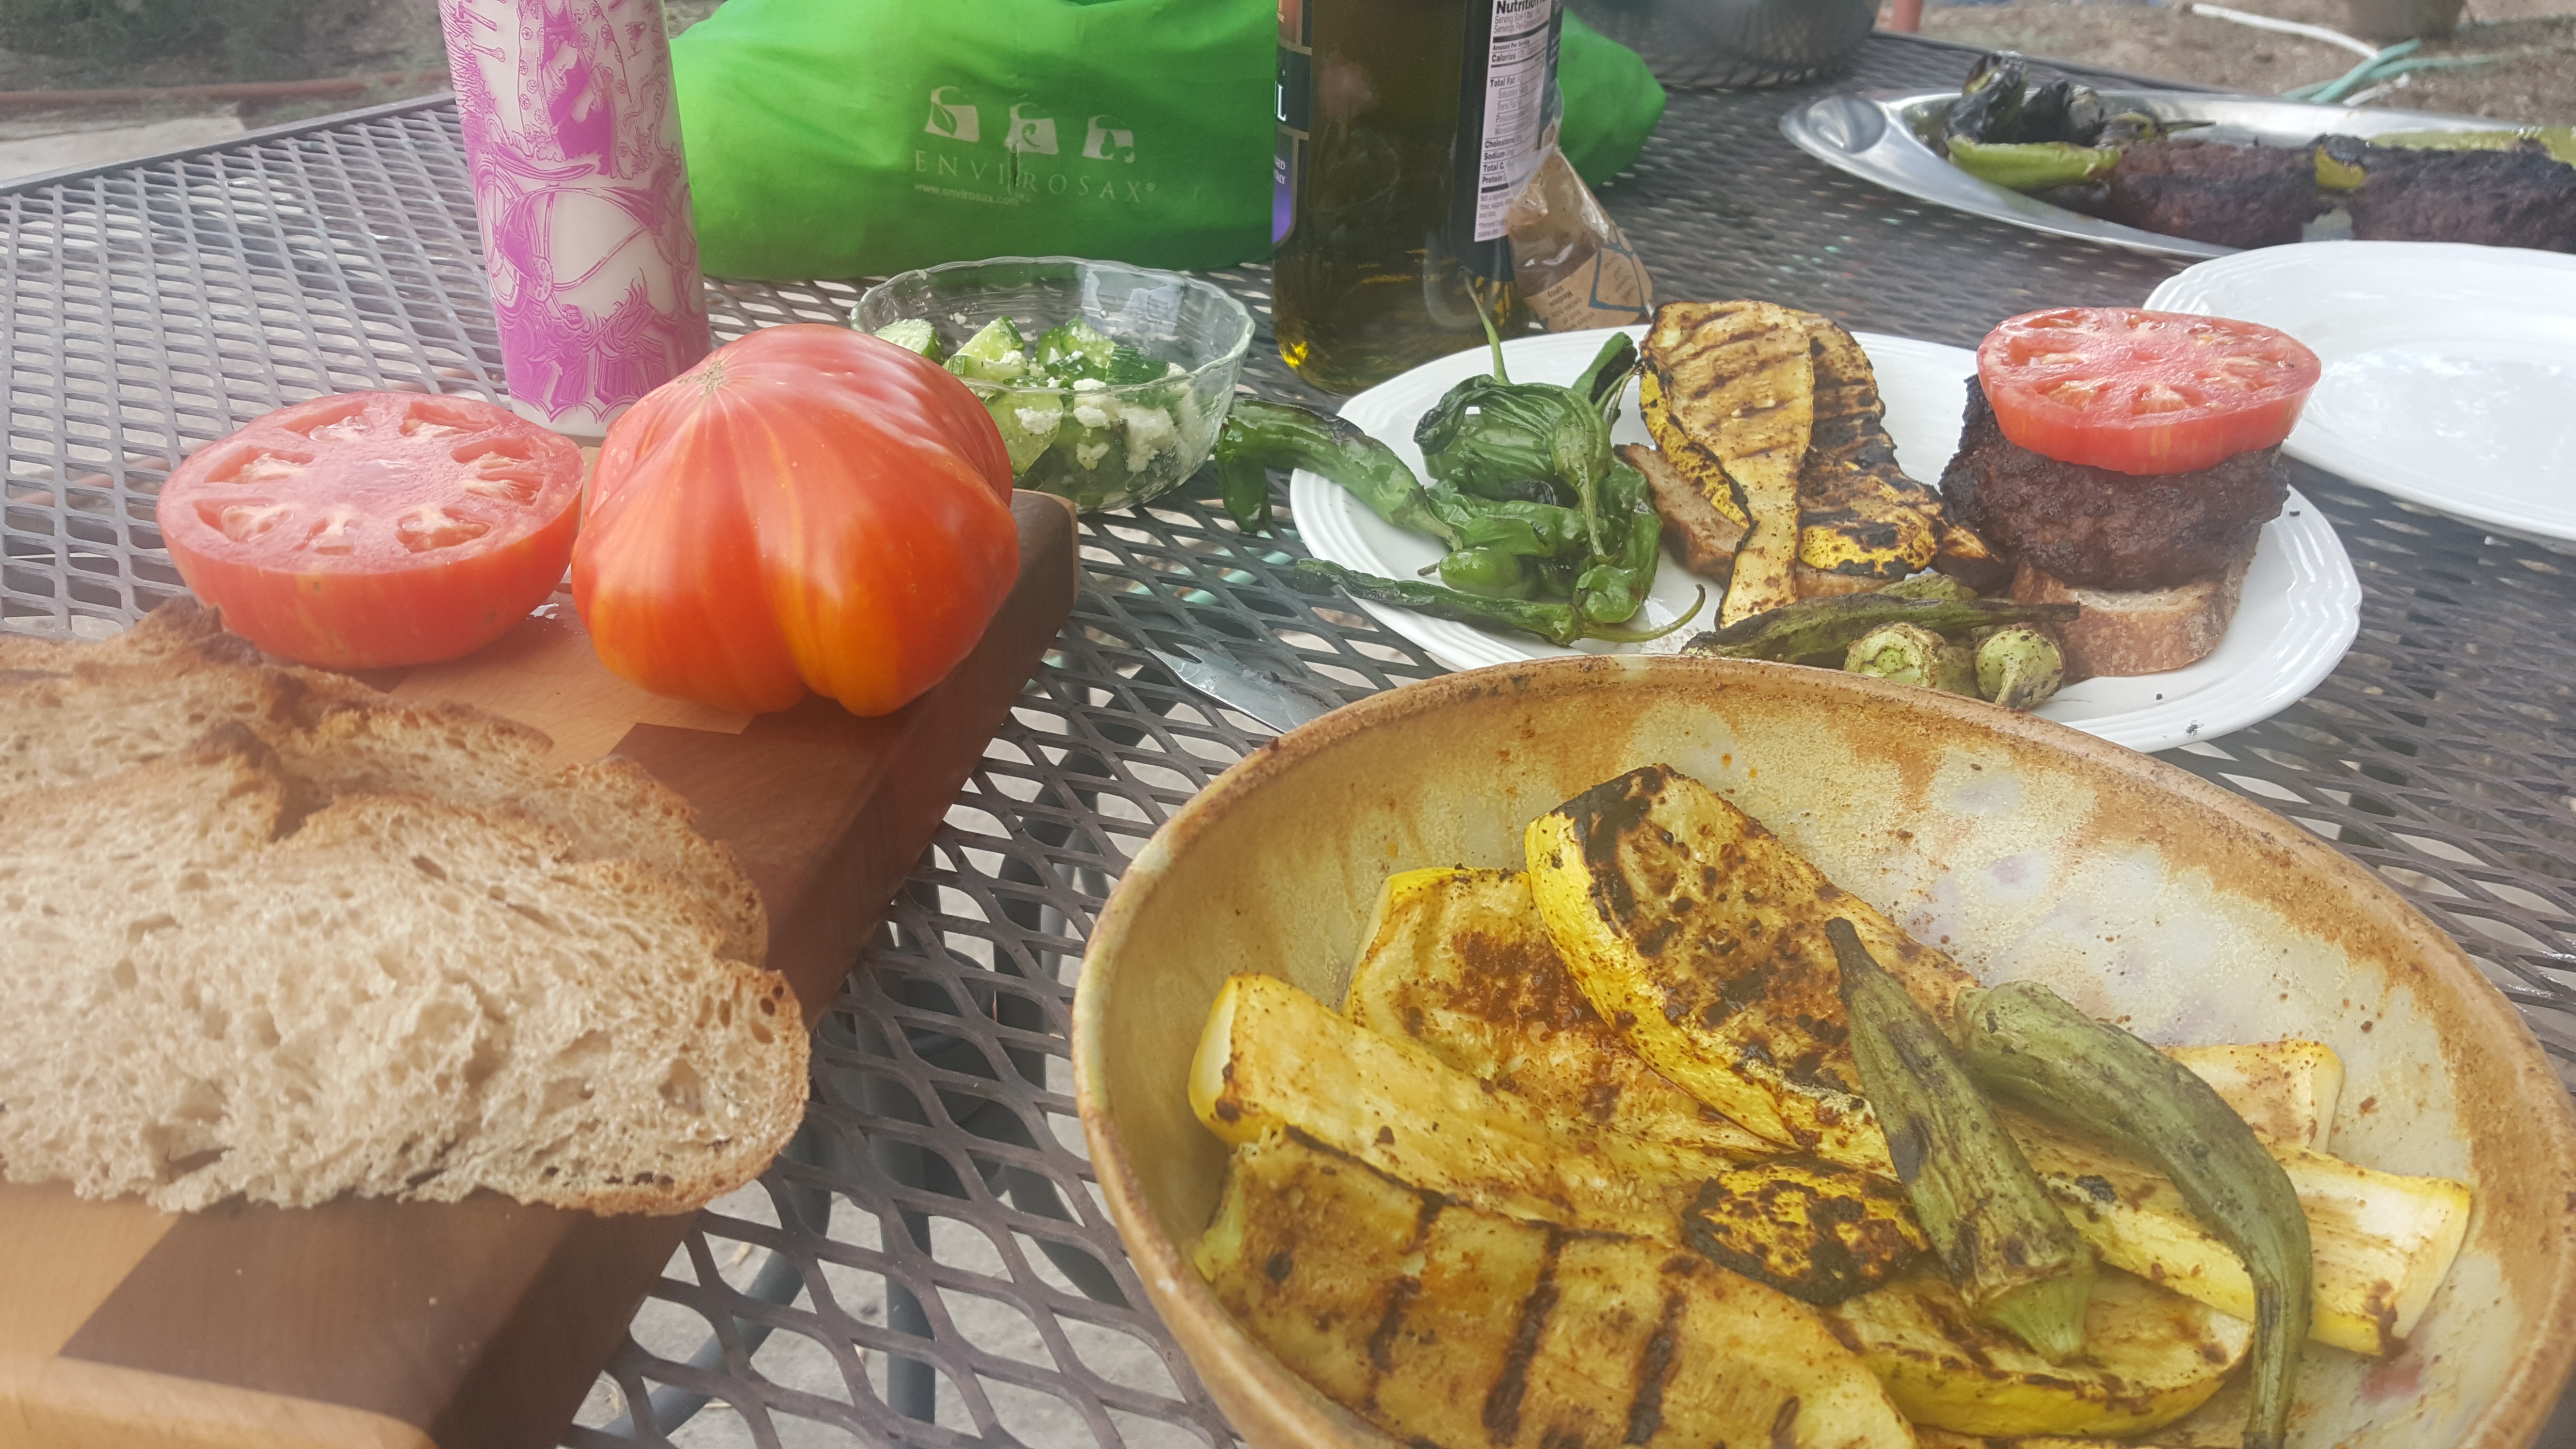
Enjoy with prickly pear lemonade. Happy picnicking!

table

Desert Harvesters June Events

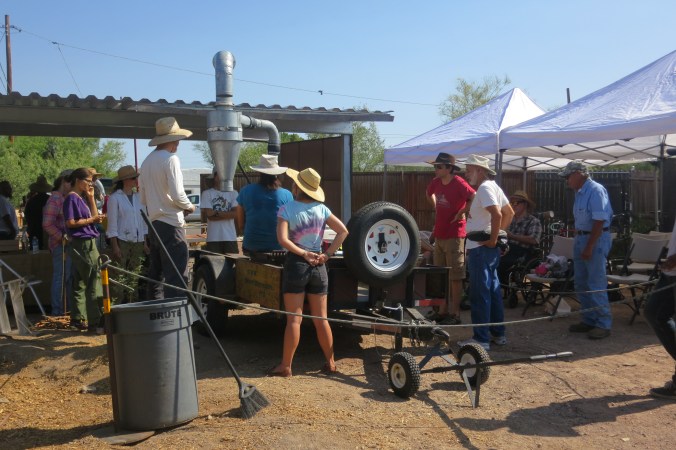
010Though newcomers to the Sonoran Desert sometimes miss the abundant fruits, berries, mushrooms, and greens of wetter forests, one Tucson organization wants you to know the desert is full of food: You just have to know where to look for it. Desert Harvesters is a nonprofit grassroots group that promotes the harvest of native, wild, and cultivated desert foods and also advocates for the planting of indigenous, food-bearing shade trees (such as the Velvet mesquite) and understory plantings within rainwater harvesting “gardens” in the landscapes where we live, work, and play. Funds raised at these events support the group’s educational efforts in the community, including demonstrations, publications, and tasting events.

The group announces its summer season of harvesting workshops and activities, which aim to help the public learn how to plant, harvest, process, and prepare wild, native, and local food items, including mesquite pods, ironwood & palo verde seeds, and saguaro fruit. Currently the group is raising funds to support the publication of a revised and expanded version of its 2010 cookbook Eat Mesquite! This new cookbook will include recipes for mesquite and other desert foods, as well as information about how to grow, harvest, and prepare native and local foods. Desert Harvesters is also seeking volunteers to help with (and learn from) these and other events.
041

June 18 & 19, 2016

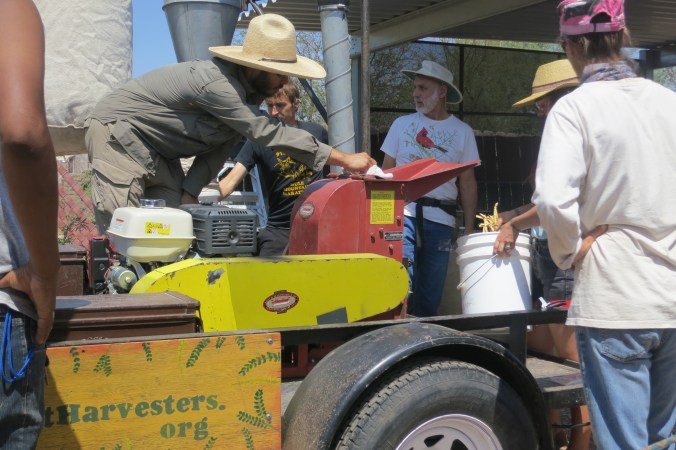
Workshops on Mesquite Pod Tasting, Inspection, and Ticketing and Hammermill Operation for those who want to become Desert Harvesters volunteers or staff, or others wishing to expand their mesquite-related skill sets. Visit http://www.DesertHarvesters.org or email volunteer@DesertHarvesters.org to learn more.


June 23, 2016

DESERT HARVESTERS’ 14th ANNUAL MESQUITE MILLING & WILD FOODS & DRINKS FIESTA Santa Cruz River Farmers’ Market at Mercado San Agustín, 100 S Avenida del Convento, Tucson

Bring your clean & sorted mesquite pods to be milled with our hammermill (fee applies) and taste an array of wild foods.

Harvesters can have their milled mesquite flour tested for aflatoxins (see below) at our 14th Annual Mesquite Milling on June 23, 2016, in Tucson. The cost per test will be a special subsidized fee of only $5.

We will also be serving craft beers (Smoked Mesquite Apple beer as well as a beer finished with creosote flowers) from Iron John Brewing Co. with proceeds going to Desert Harvesters.


June 24, 2016

Desert Harvesters’ Happy Hour at Tap & Bottle

403 N 6th Ave #135, Tucson

5–8 pm

Enjoy great regional brews, some infused with locally sourced native wild ingredients. A percentage of all happy-hour sales goes to Desert Harvesters! A local food truck will also be on site with delicious offerings including native wild ingredients.
IMG_2000

BE IN SYNC WITH THE SONORAN DESERT’S NATURAL PATTERNS

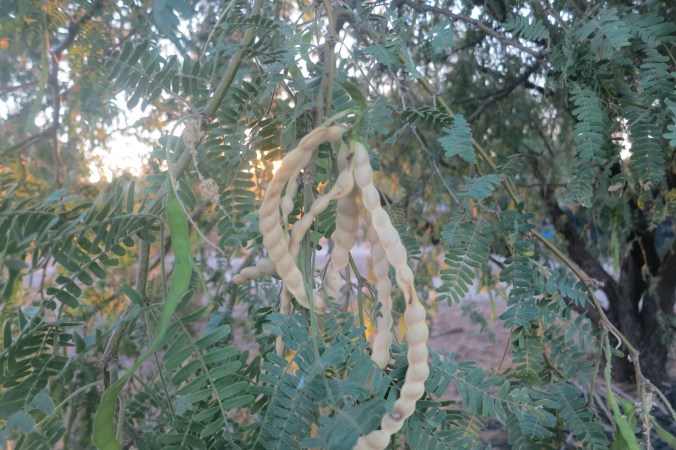
To encourage harvesting before the monsoons, and to be more in sync with the Sonoran Desert ecology’s natural patterns, Desert Harvesters has shifted its annual harvesting and milling trainings, along with its mesquite millings and fiesta, to the month of June—BEFORE the summer rains. This is also when our native bean trees (mesquite, desert ironwood, palo verde) are ready to harvest (they produce before the rains so their seed is on the ground ready to germinate when the rains arrive). Regularly check our Calendar of Events for more such event info.


FOOD SAFETY: Aflatoxin and how to avoid it

Aflatoxin is a toxic natural compound produced by certain molds; it can cause liver damage and cancer. Aflatoxin is found in many common foods, but only in small quantities is considered safe (U.S. ≤ 20 parts per billion (ppb), Europe ≤ 2 ppb). We at Desert Harvesters are specifically concerned with the invisible mold (Aspergillus flavus) that can produce aflatoxin B1 on mesquite pods, as well as on other food crops (legumes, corn, etc) that have been exposed to moisture.

HARVEST MESQUITE PODS BEFORE THE RAINS (at higher elevations, harvesting in dry autumn weather may be an option)

Desert Harvesters is now recommending that, as much as possible, harvesters collect mesquite pods BEFORE the monsoon rains. (This can be more difficult at higher altitudes due to later ripening. In these areas the best practice may be to only harvest in dry autumn weather.) The reason for pre-rain/dry-season harvesting is to reduce the pods’ exposure to moisture, and thus the risk of the development of an invisible mold (Aspergillus flavus) and the aflatoxin it can produce. Aflatoxin poisoning can have serious health consequences over the long term, so we want to harvest in a SAFE manner. To further avoid moisture issues with the pods we recommend you do NOT rinse or wash pods.

In the small number of batches of mesquite flour we have tested thus far…ALL mesquite pods we tested which were harvested BEFORE the rains have tested SAFE.

In other words, NO mesquite pods harvested BEFORE the rains had results with unsafe levels of aflatoxin. The U.S.-designated safe limit of aflatoxin is 20 parts per billion (ppb), so safe test results will be 20 or fewer ppb.

However, all test batches of mesquite pods that DID have results with unsafe levels of aflatoxin were harvested AFTER the onset of the rains. Again, in the U.S., safe aflatoxin levels of 20 or fewer parts per billion (ppb) are considered safe. However, many other batches harvested AFTER the onset of the rains tested SAFE.


We hope to continue to share more studies and best harvesting practices.


What to do with mesquite flour?

Sonoran Cookies

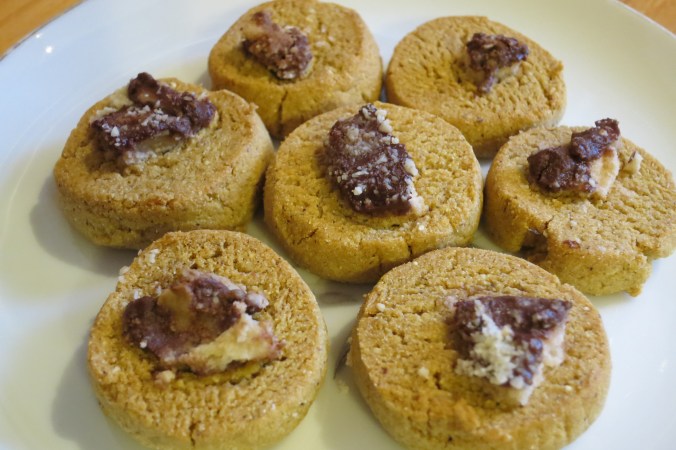
Here’s a truly classic recipe from the first EAT Mesquite! Cookbook.We’ve made hundreds of these cookies. The author of the original recipe is unknown. The ones in the photo below are topped with mesquite toffee.
mesq cookies toffee

.25 lb (one stick) butter

1 cup sugar (can be reduced to .75 cup sugar, plus .25 cup mesquite)

1 egg

2 teaspoon vanilla (or local lemon extract)

2 cup corn tortilla meal (or whole wheat flour)

1 cup mesquite meal

2 teaspoons baking powder

2 teaspoons baking soda

.5 cup pecans, finely chopped (optional)

Cream softened butter.  Mix in sugar, egg and extract.  Sift dry ingredients and add to the first mixture.  Add nuts (optional) and beat until smooth.  Roll dough into 2 inch balls and press onto ungreased cookie sheet.  Or, roll dough into thin logs, wrap in waxed paper, and refrigerate or freeze.  Slice cold logs into rounds and place on cookie sheet.  (Doubled cookie sheets or Airbake prevent bottoms from browning too fast.)  Place in preheated 375 F oven and bake 12 minutes or until golden.  Cool on racks until crisp, or eat warm and soft.  Makes up to 200 tiny (.75 inch) cookies.



Spring Salad

cholla 2016

Amy collecting cholla buds

Some years, spring seems to last about a week in the desert, going from winter to summer too fast. When the weather is beautiful, we know to celebrate these days outside!!!!

blog 20160415_100732

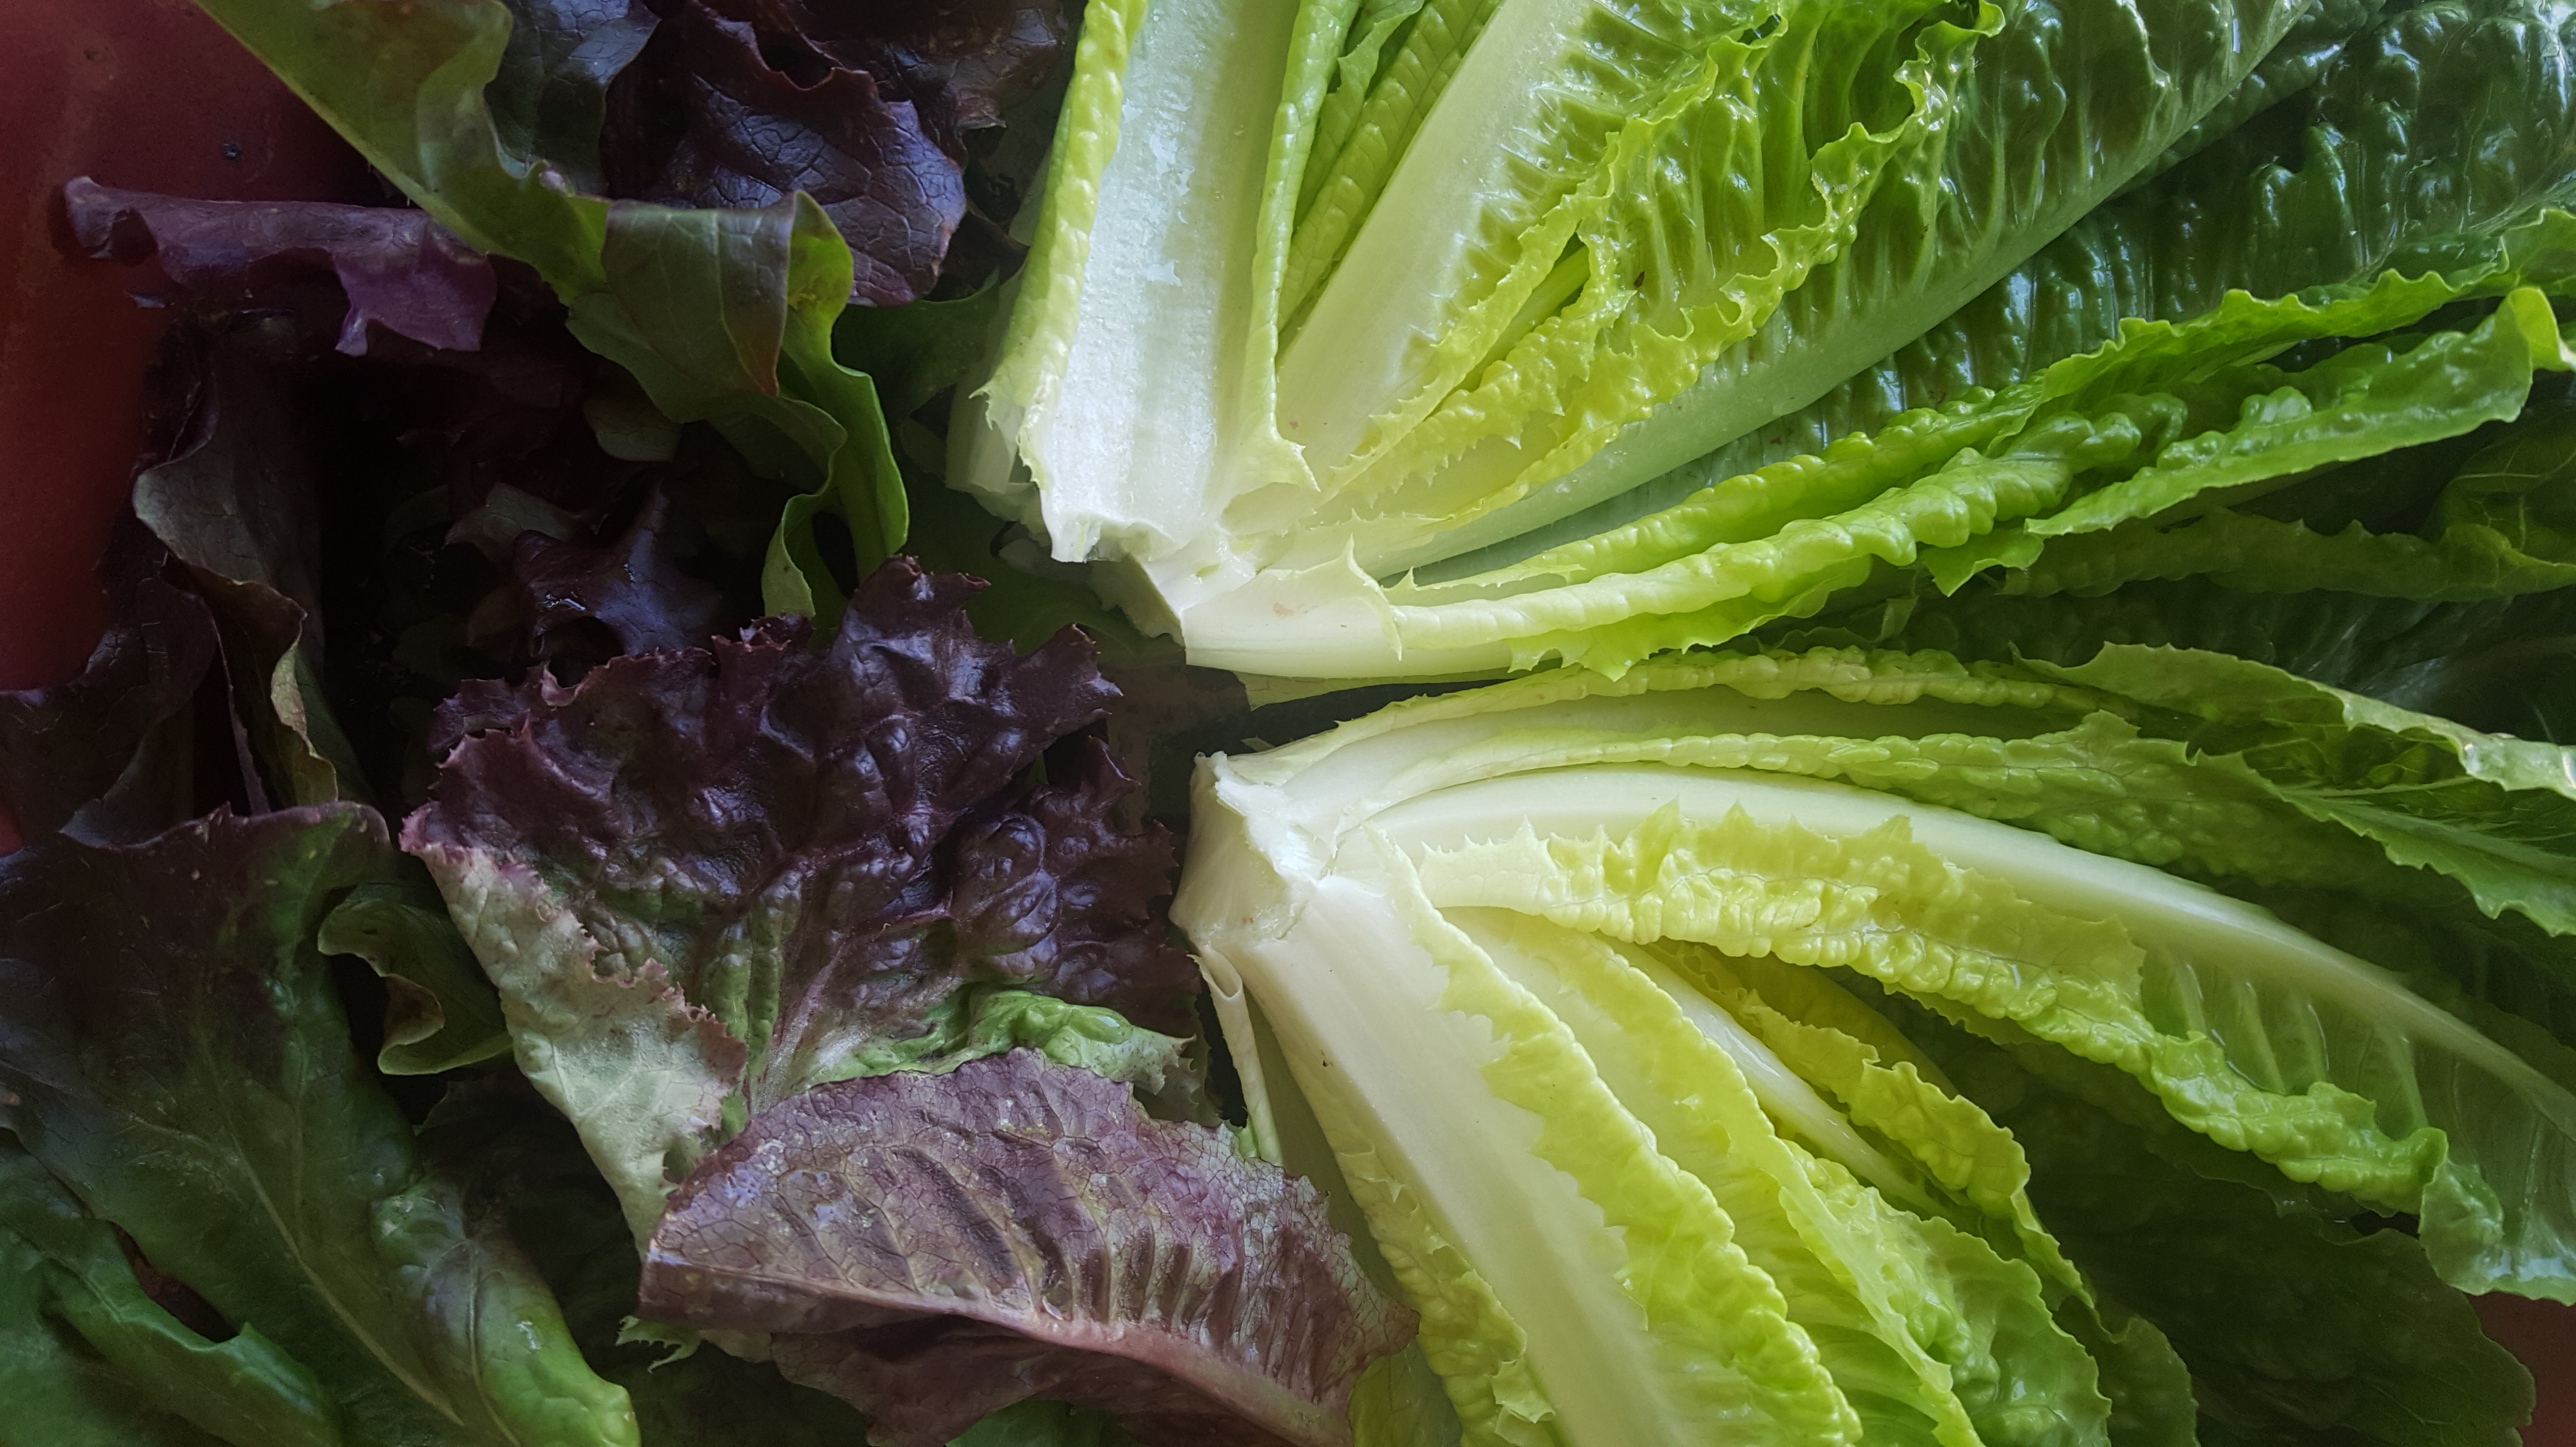
Romaine hearts and assorted red lettuces

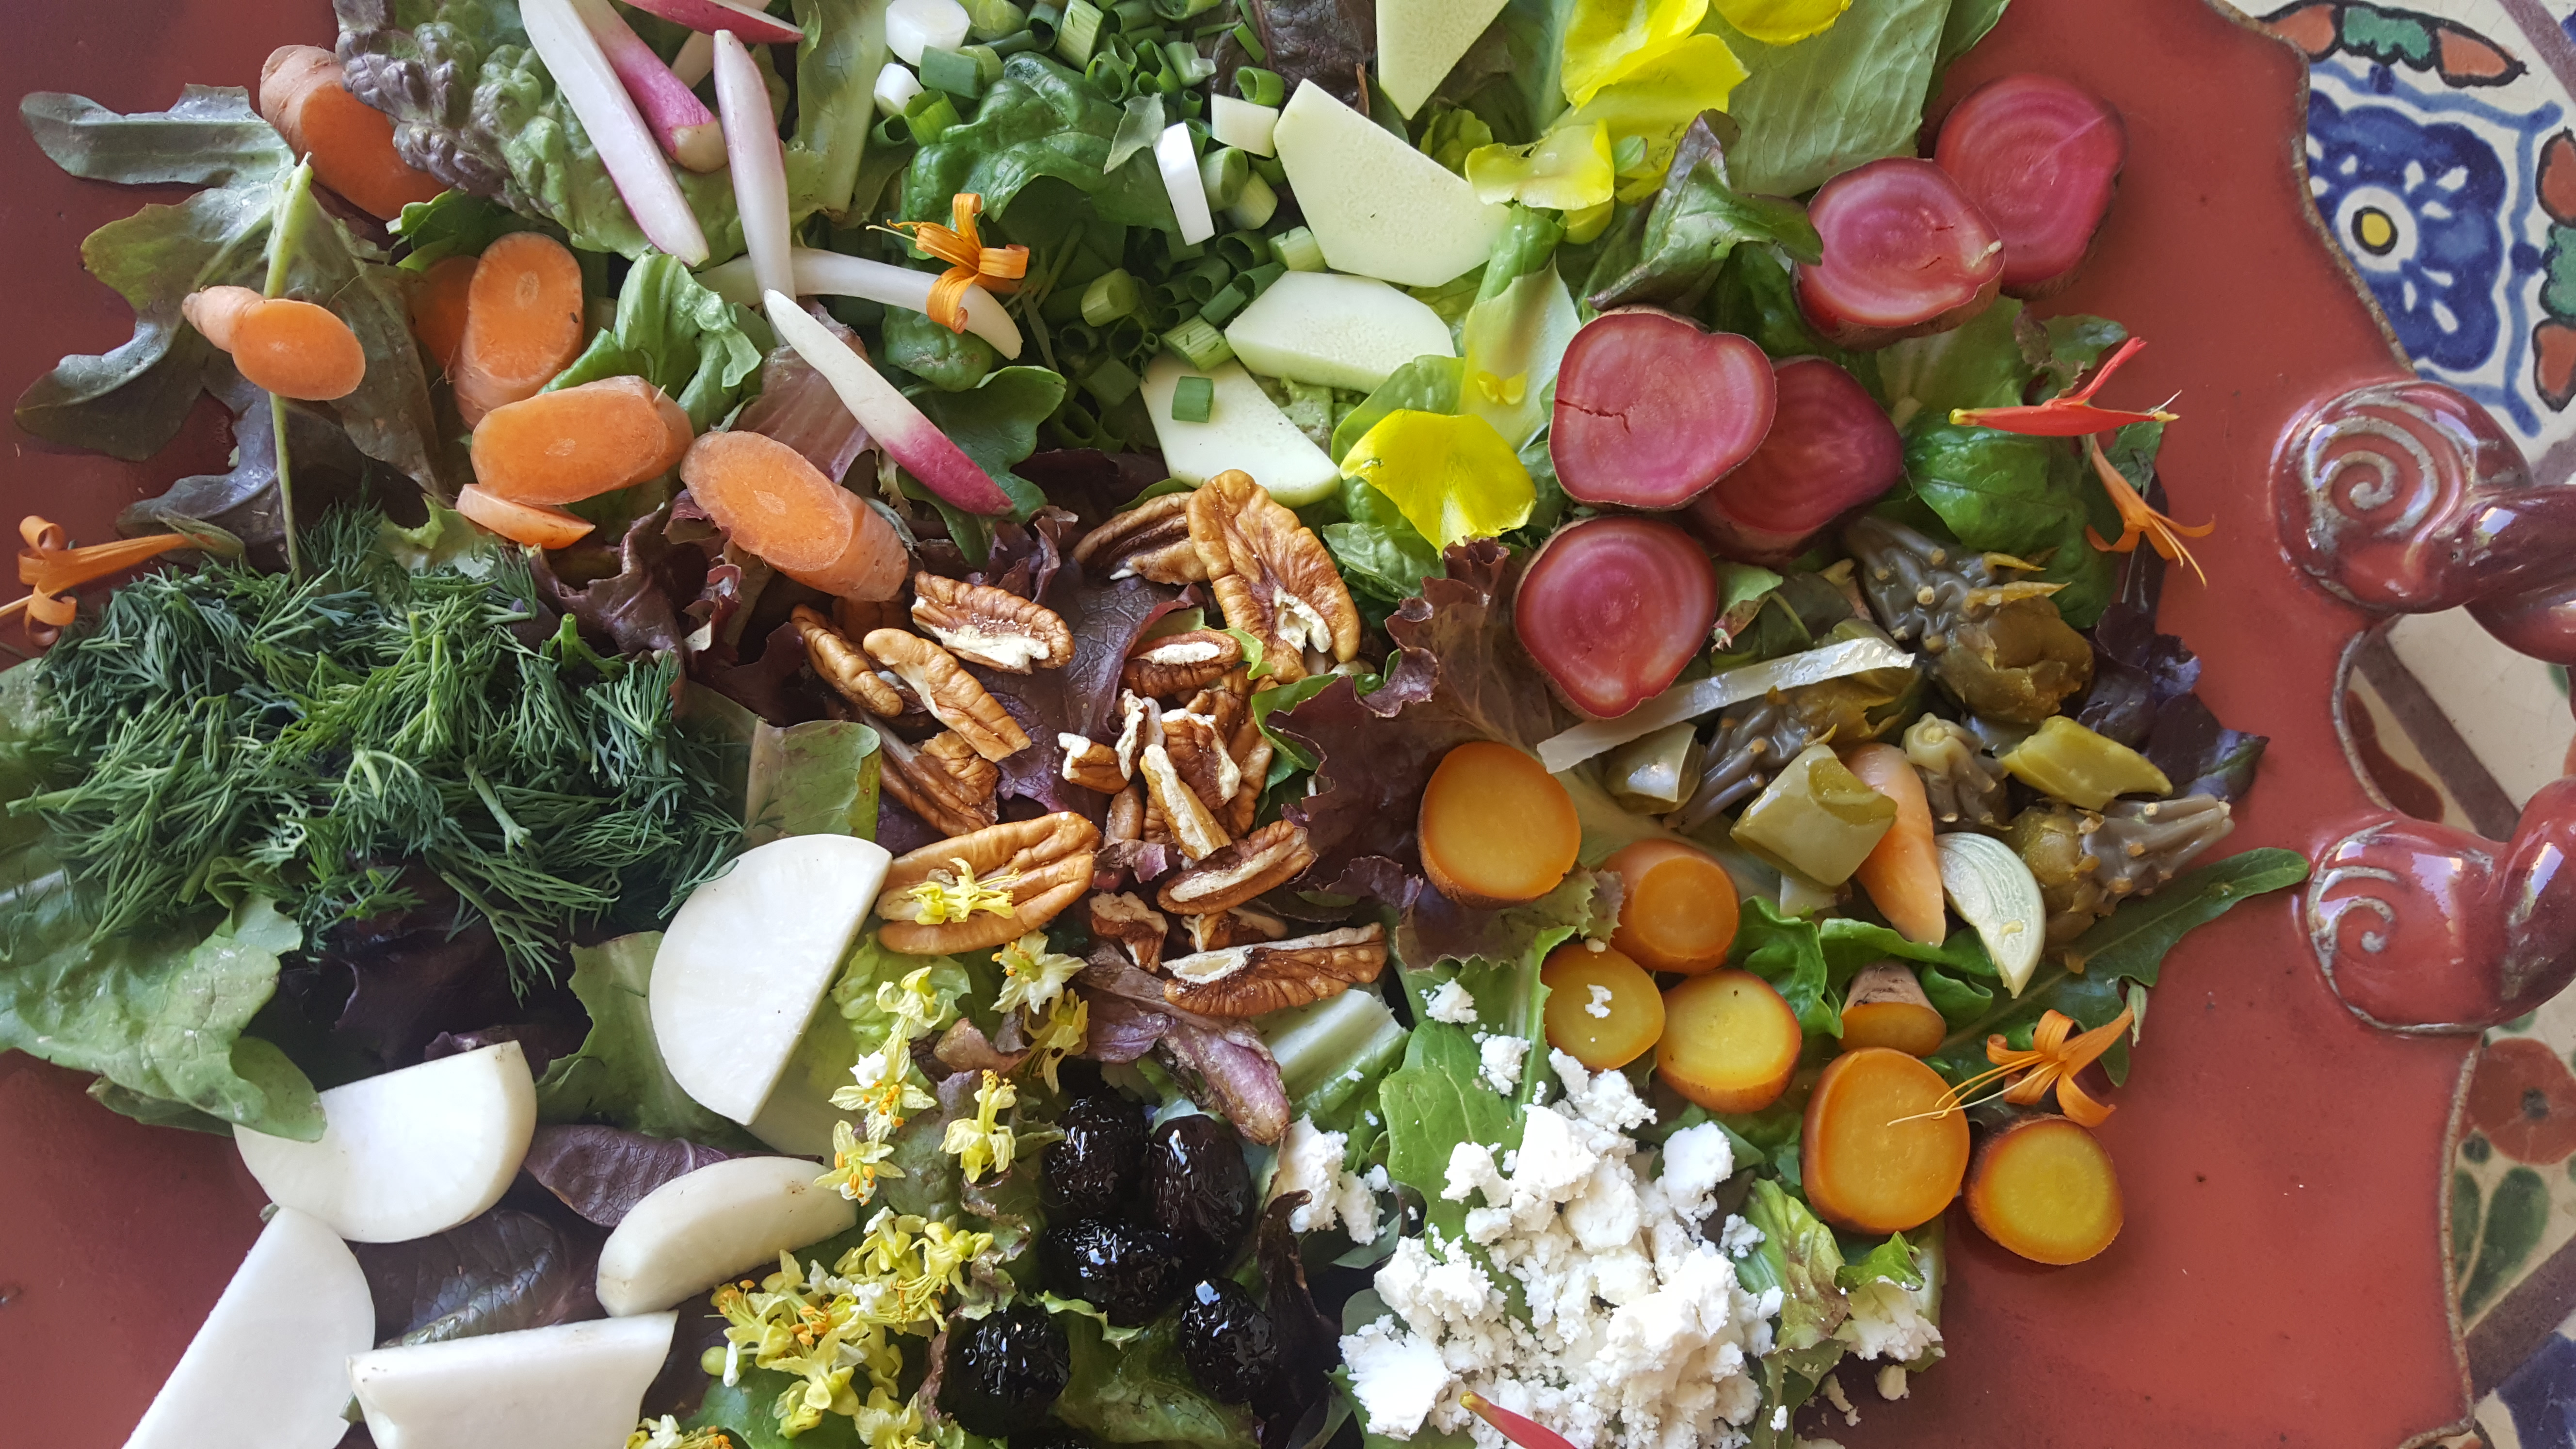
Winter lettuces are still around for a short time more, and the weather is finally warm enough that I feel like eating a salad. Here is a salad made with ingredients I had on hand. I traded for most items, the exceptions being the items I made. I hope this serves as an inspiration to go to a farmers’ market, use little bits of what you have in the refrigerator, go into the desert near your home, and forage in your yard.

blog 20160415_093007

Hakurei turnips, Chioggia and Golden beets, Carrots, Kholrabi, , and French Breakfast Radishes.

Hakurei “salad turnips” are so sweet and tender, they can win over stubborn turnip haters, and are a treat raw for turnip lovers.

I steamed and sliced the beets, peeled and sliced the kholrabi, and simply sliced the turnips, carrots and radishes.

I'itoi onions and dill.

I’itoi onions and dill.

For fresh herbs, I used dill and I’itoi onions. I like the green tops as much as the white parts.

Crusts of Small Planet Bakery Cottage Wheat make excellent croutons. Just chop, drizzle with olive oil, salt, and garlic powder (my guilty pleasure), then toast in a skillet until crunchy.

blog 20160415_104817

Heels of Cottage Wheat.

blog 20160415_104958

Cast iron skillet croutons.


blog 20160415_085613

Brined goat feta.

20150910_120612

Mango Salsa.

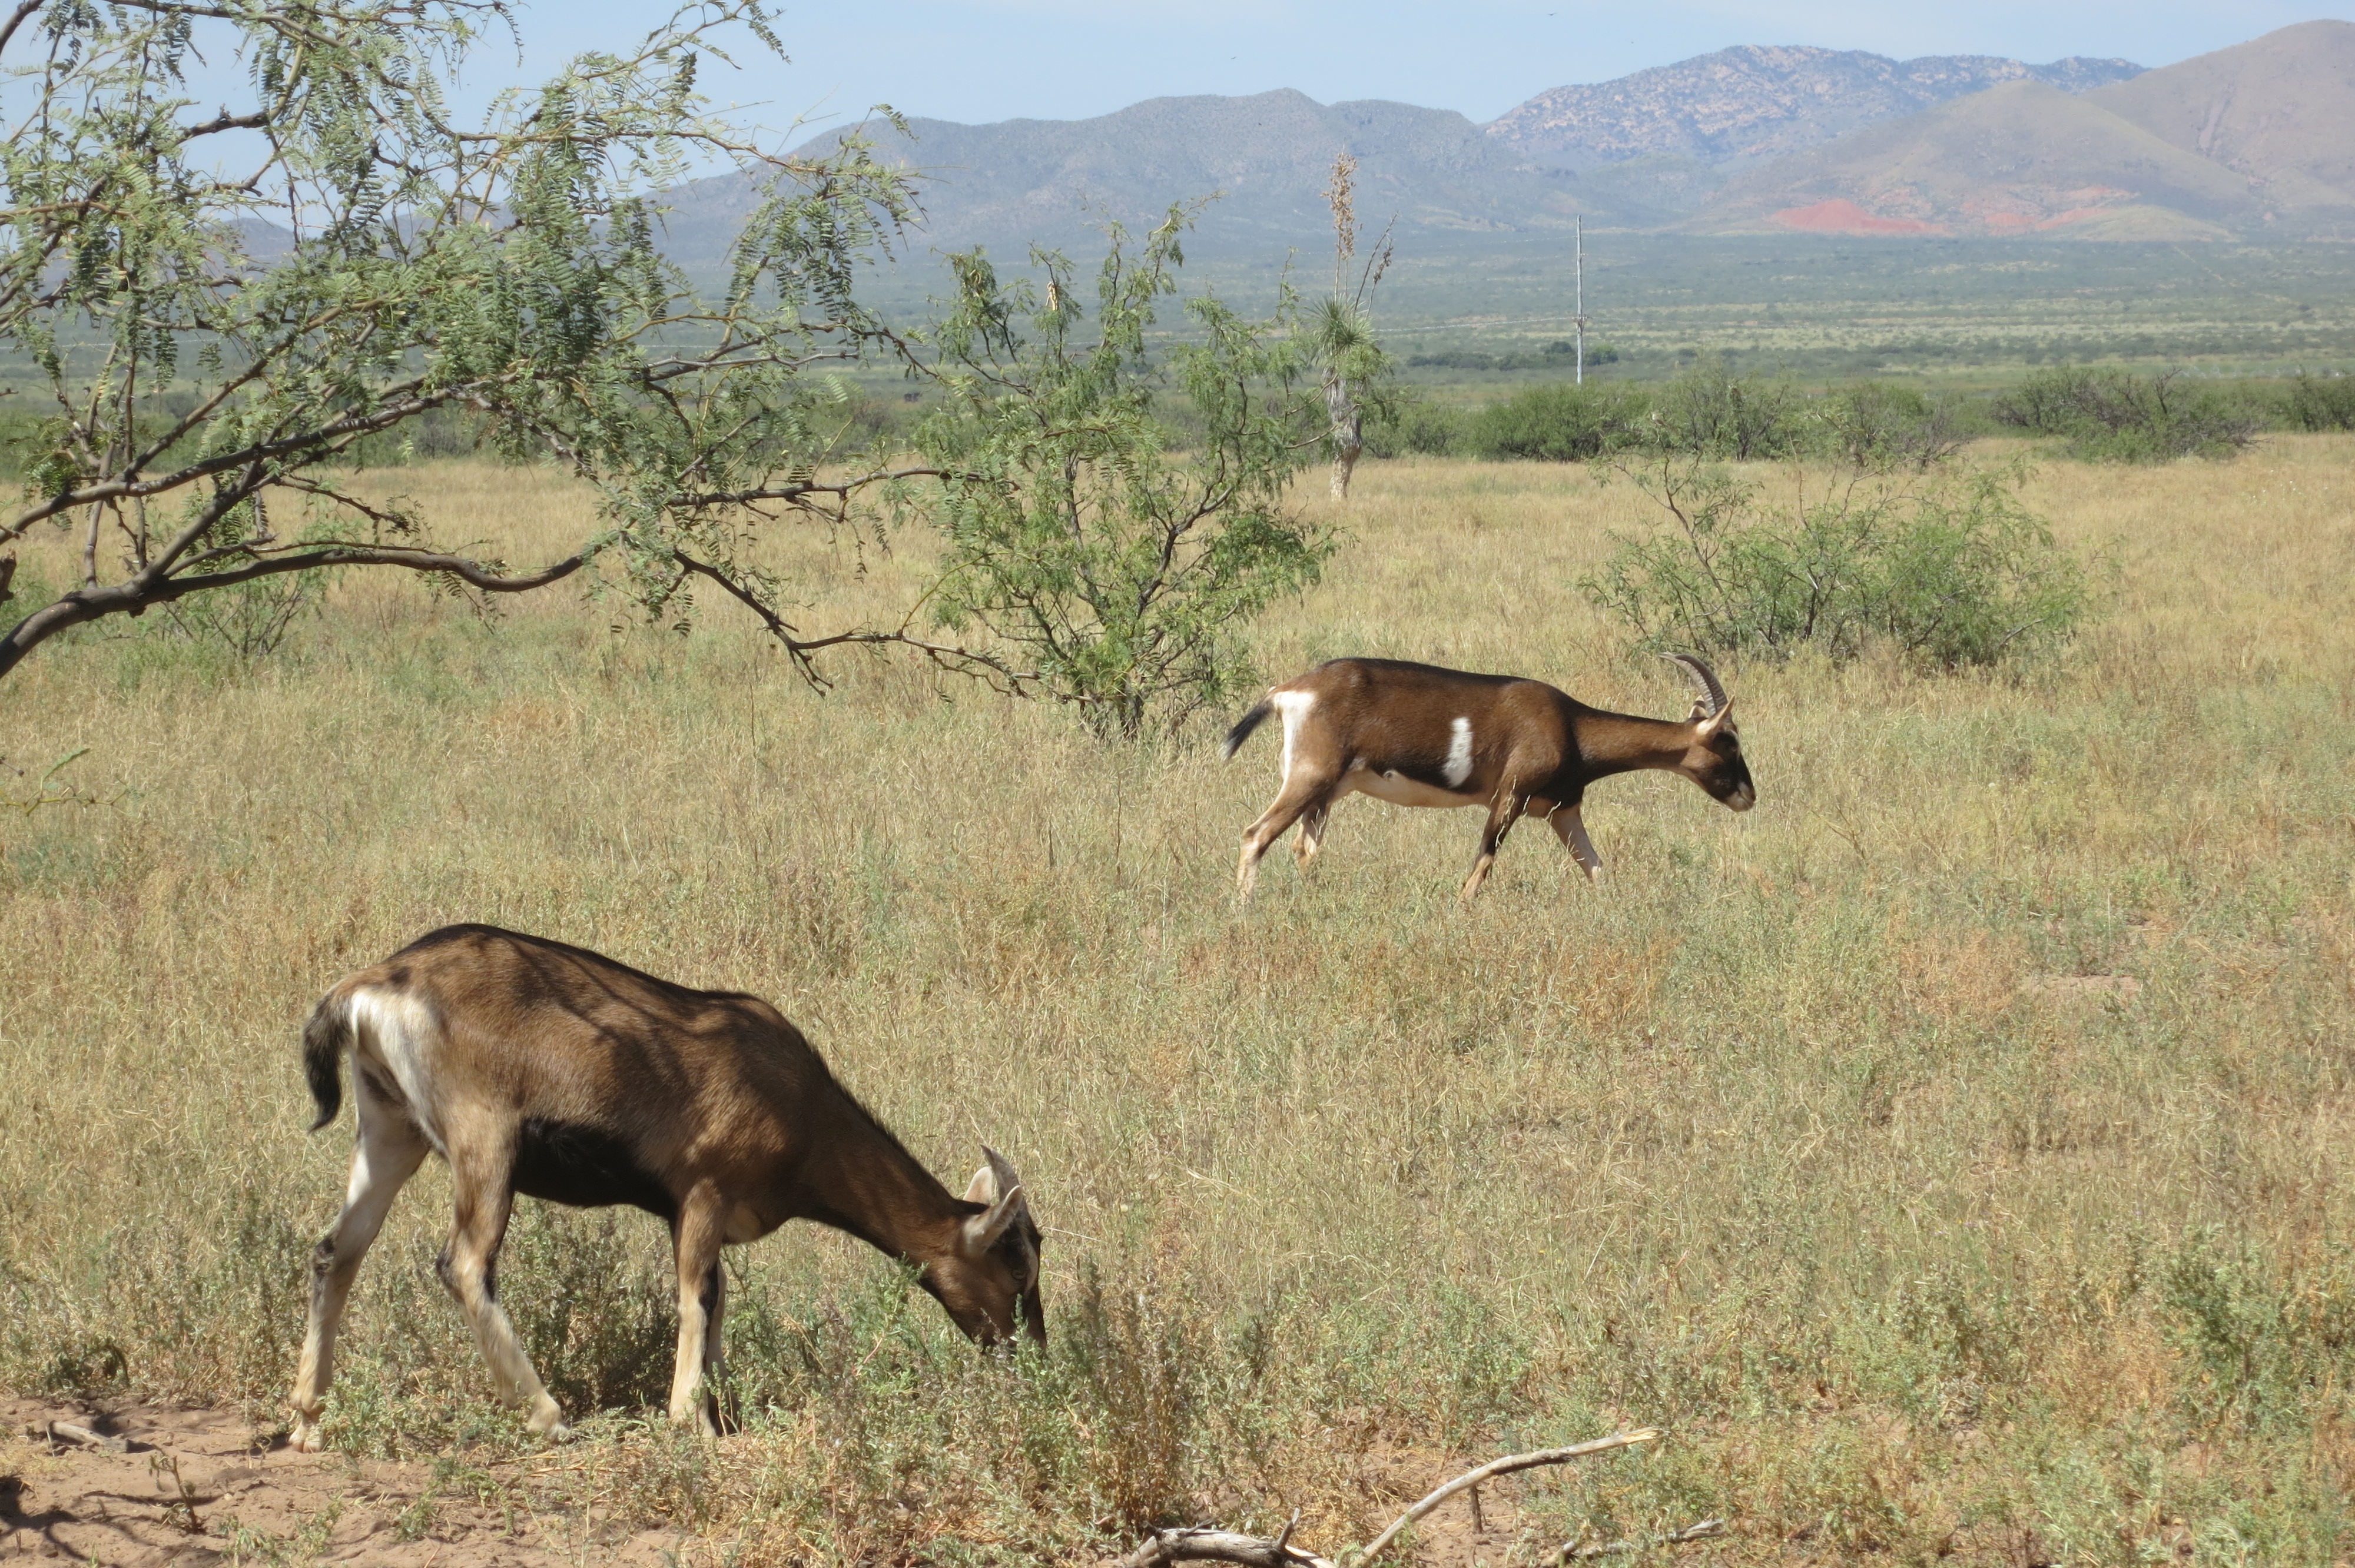
Last fall, I goat/house sat for a friend, and this is the feta I made from the milk. Mango the goat has mellowed over the years since I first learned to milk and she first learned to be milked.

IMG_3508

The heard on the grassland.


IMG_3517

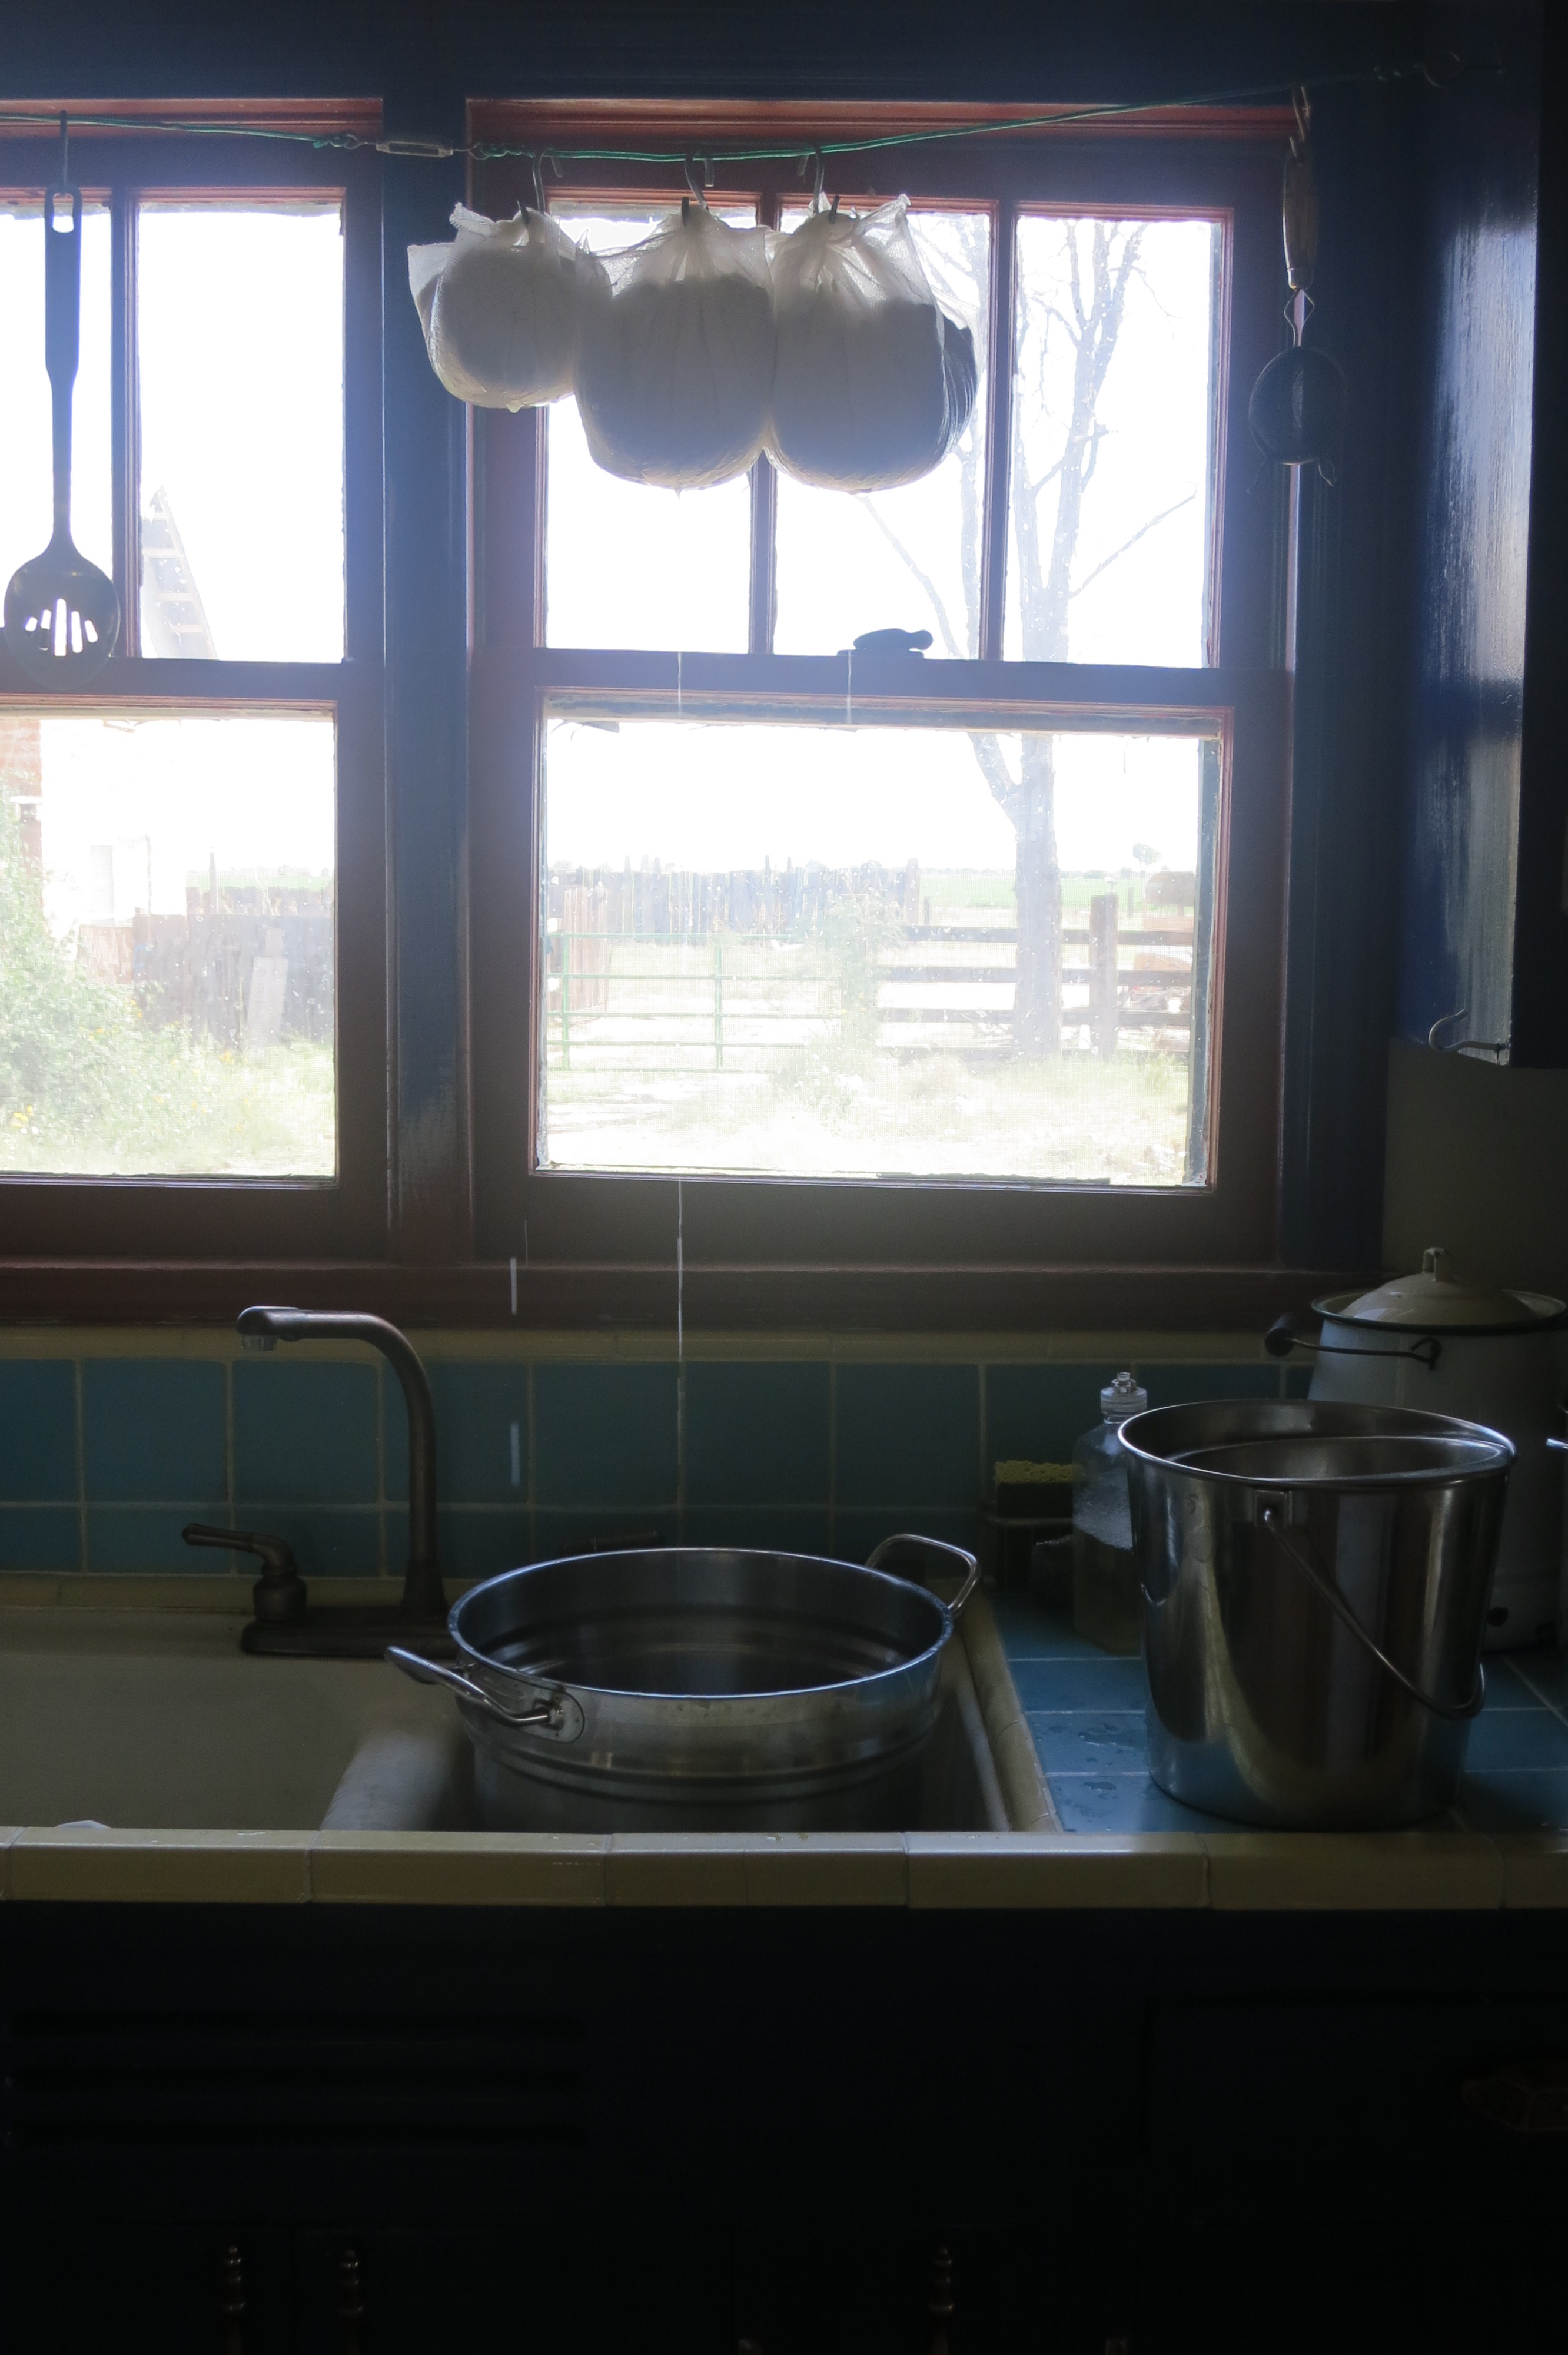
Fresh cheese curds draining whey.

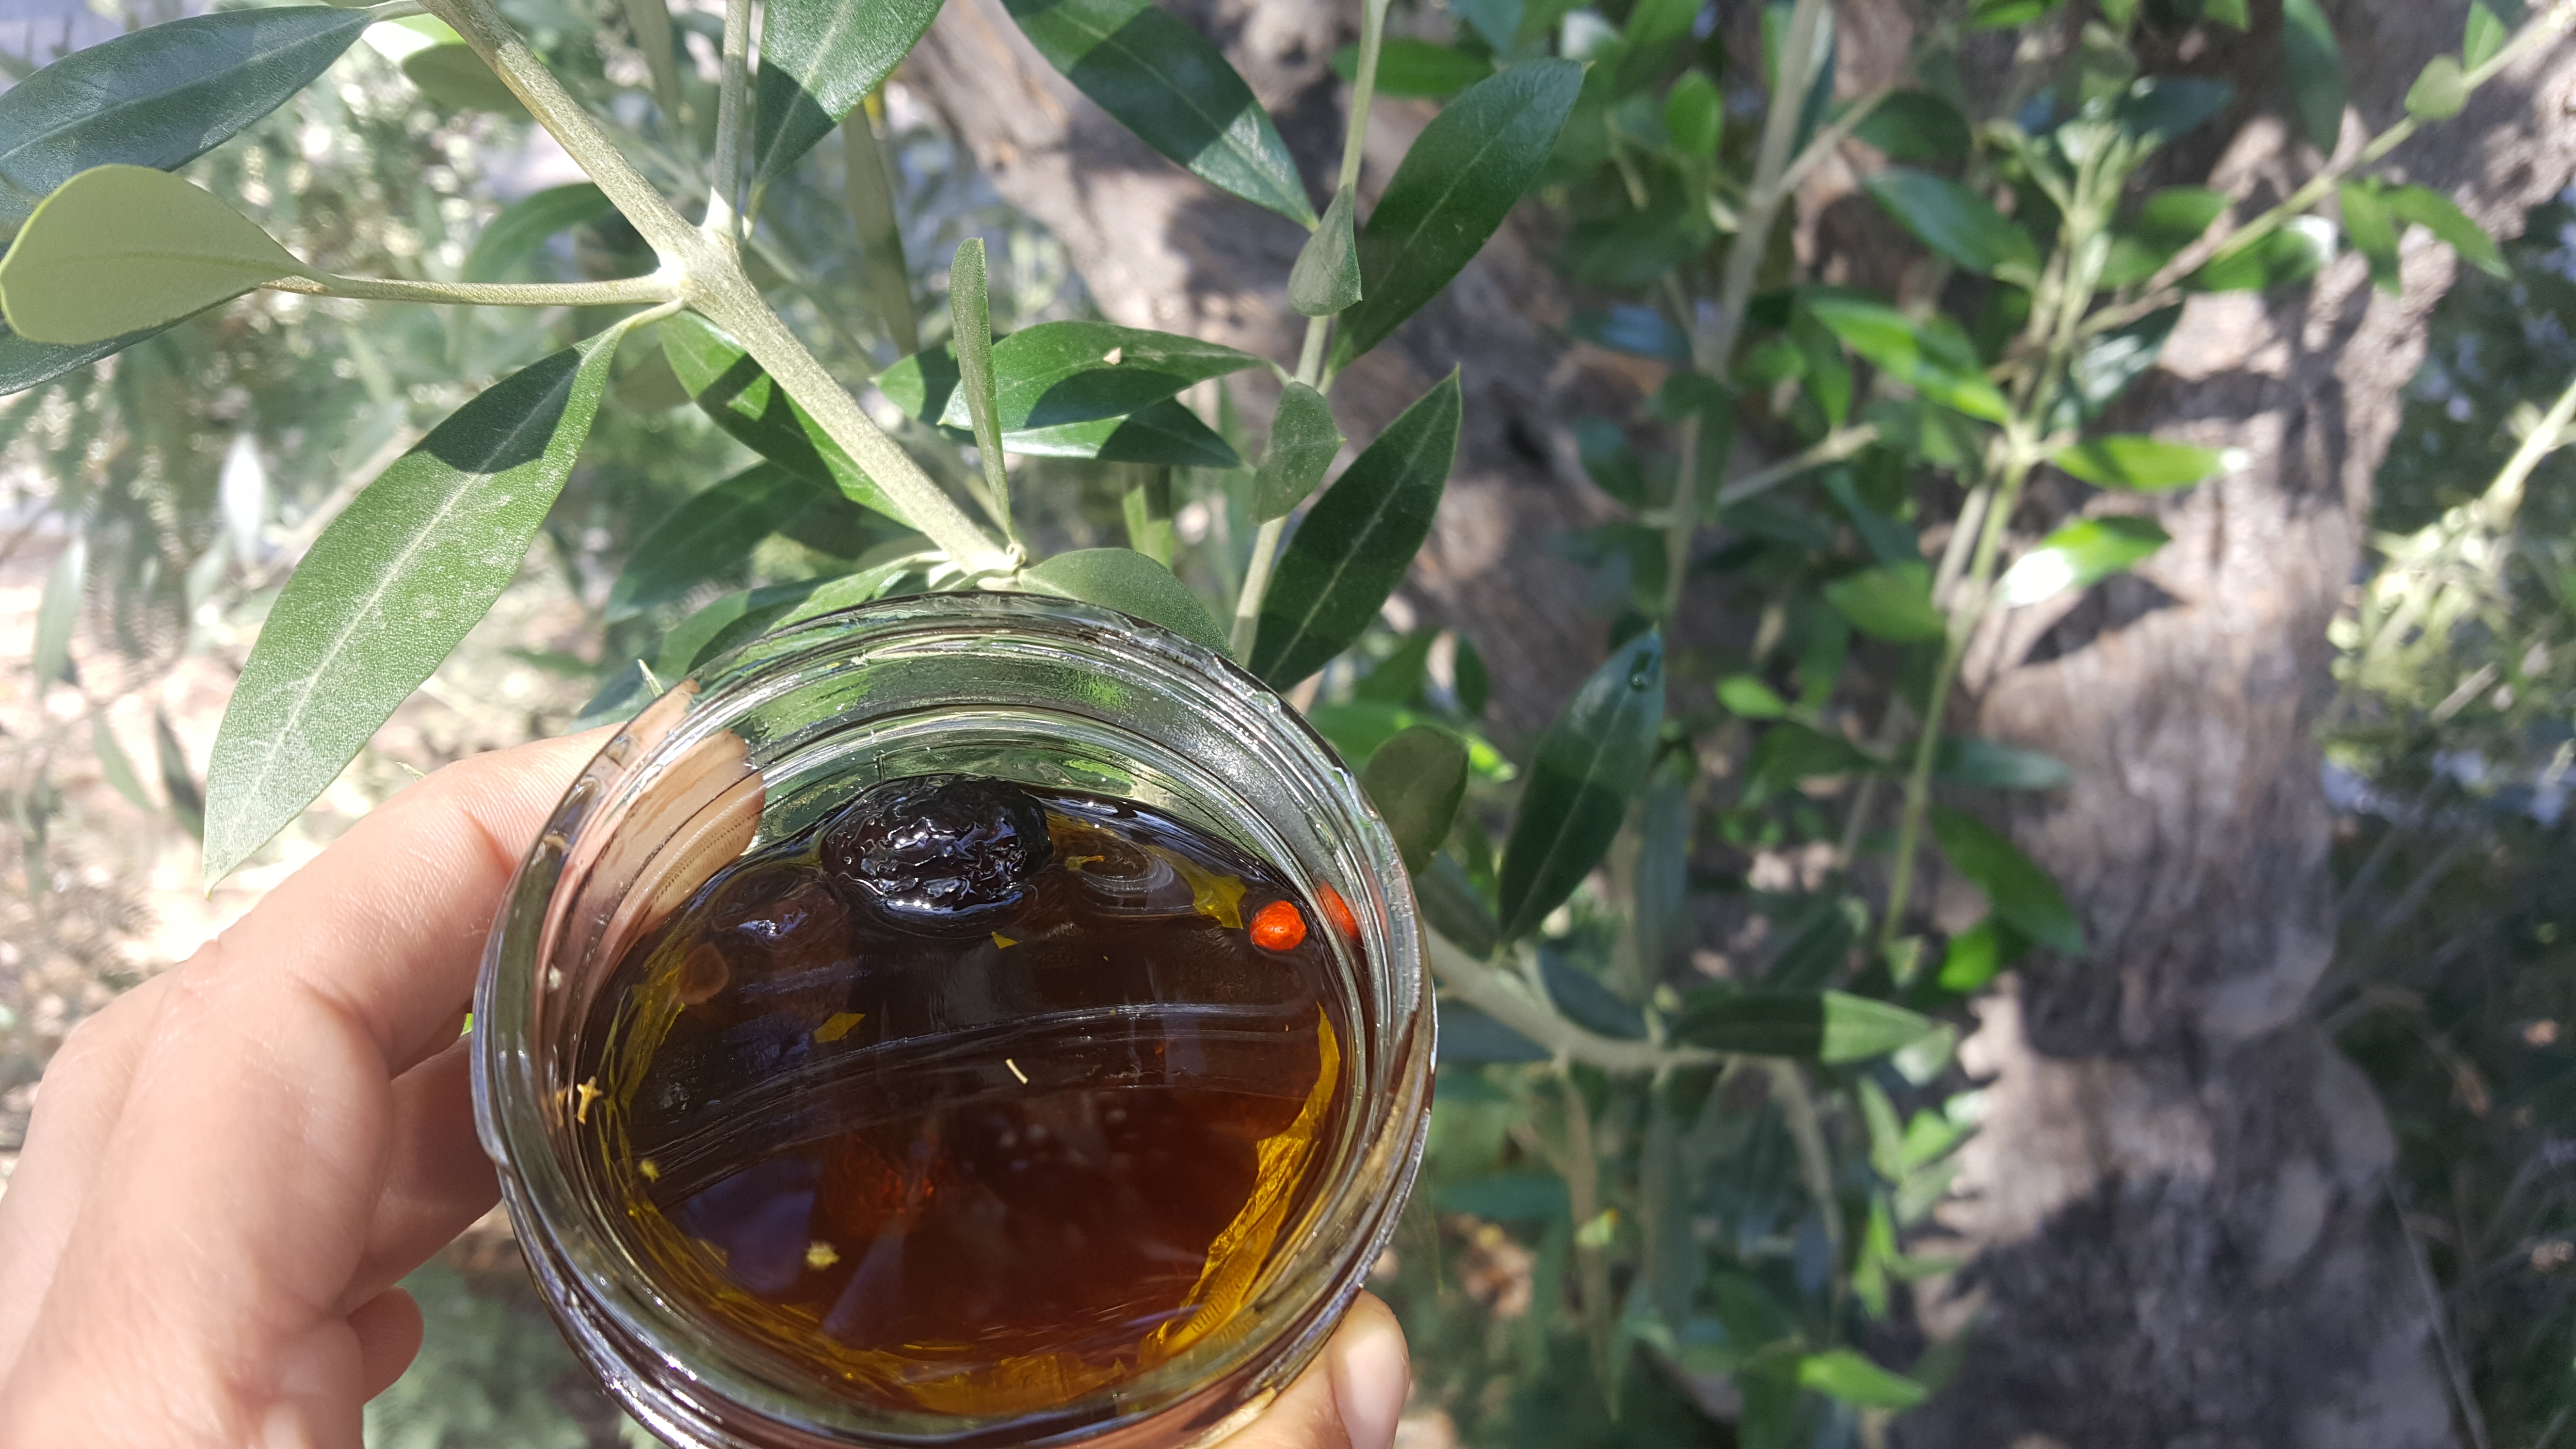
Solar cured olives from Bean Tree Farm.

Solar cured olives from Bean Tree Farm.

Pickles! Cholla buds and nopalitos en escabeche.

Pickles! Cholla buds and nopalitos en escabeche.

blog 20160415_103012

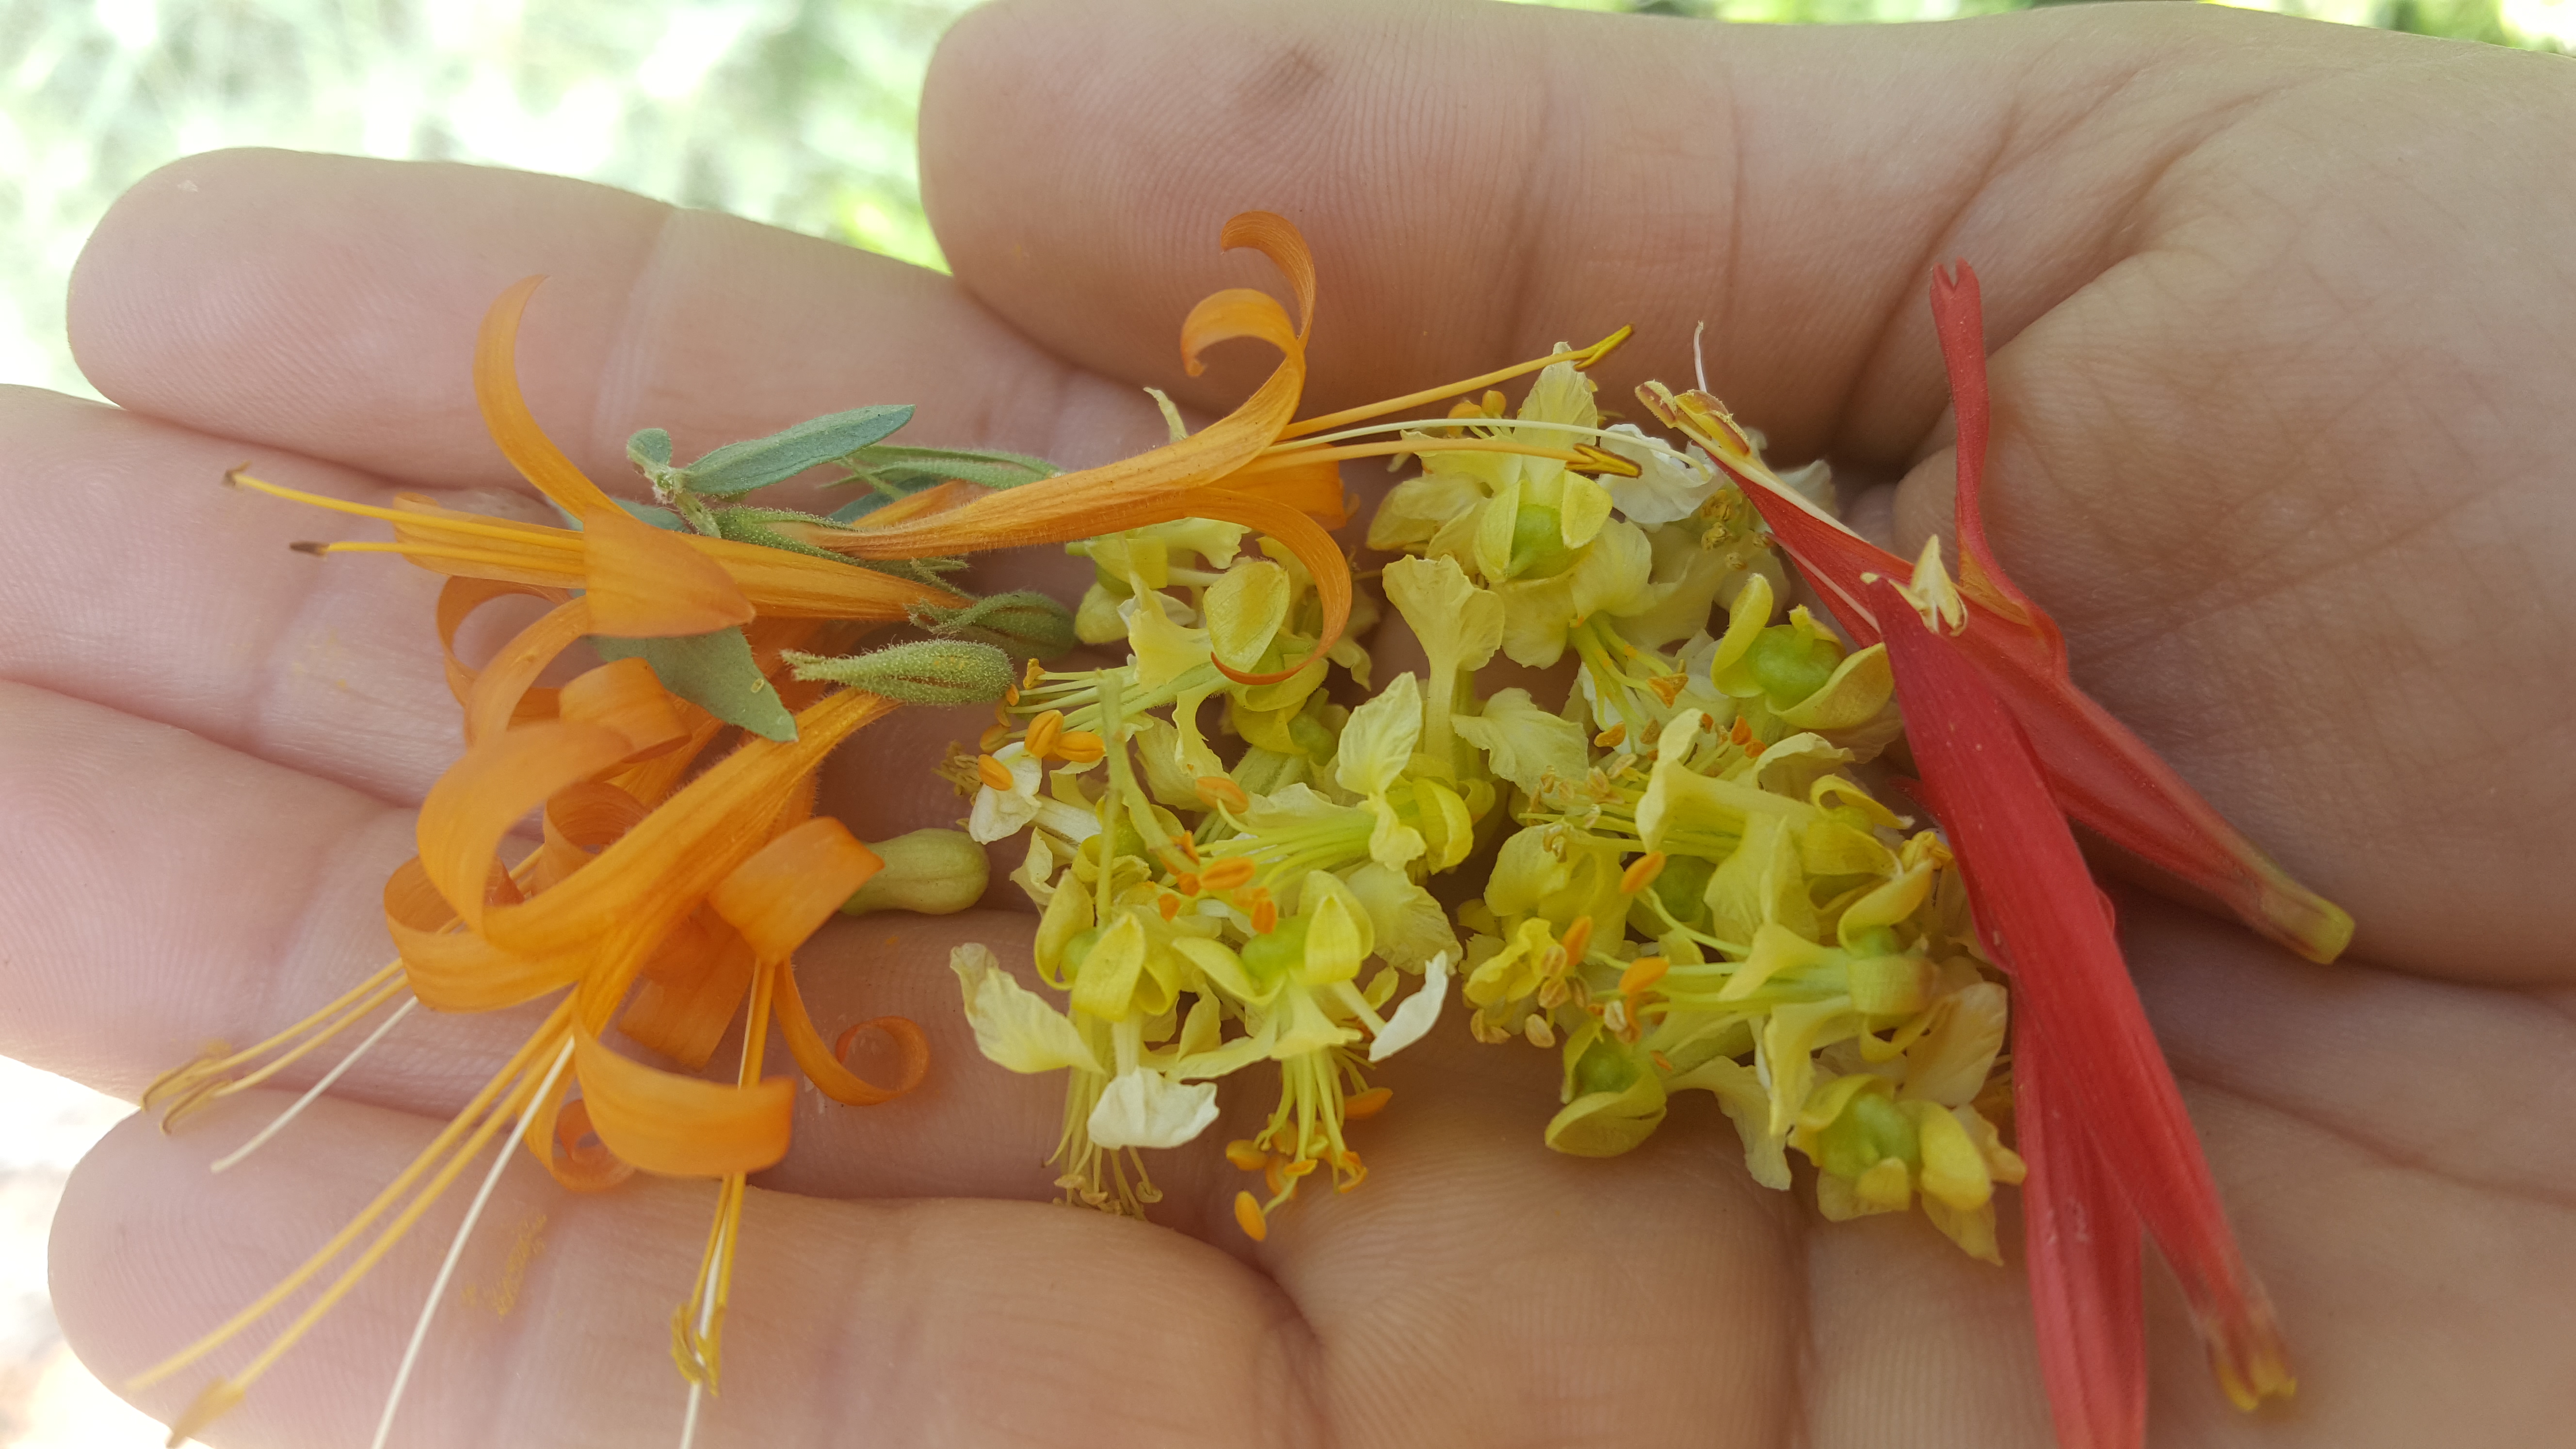
Fresh flowers for garnish.


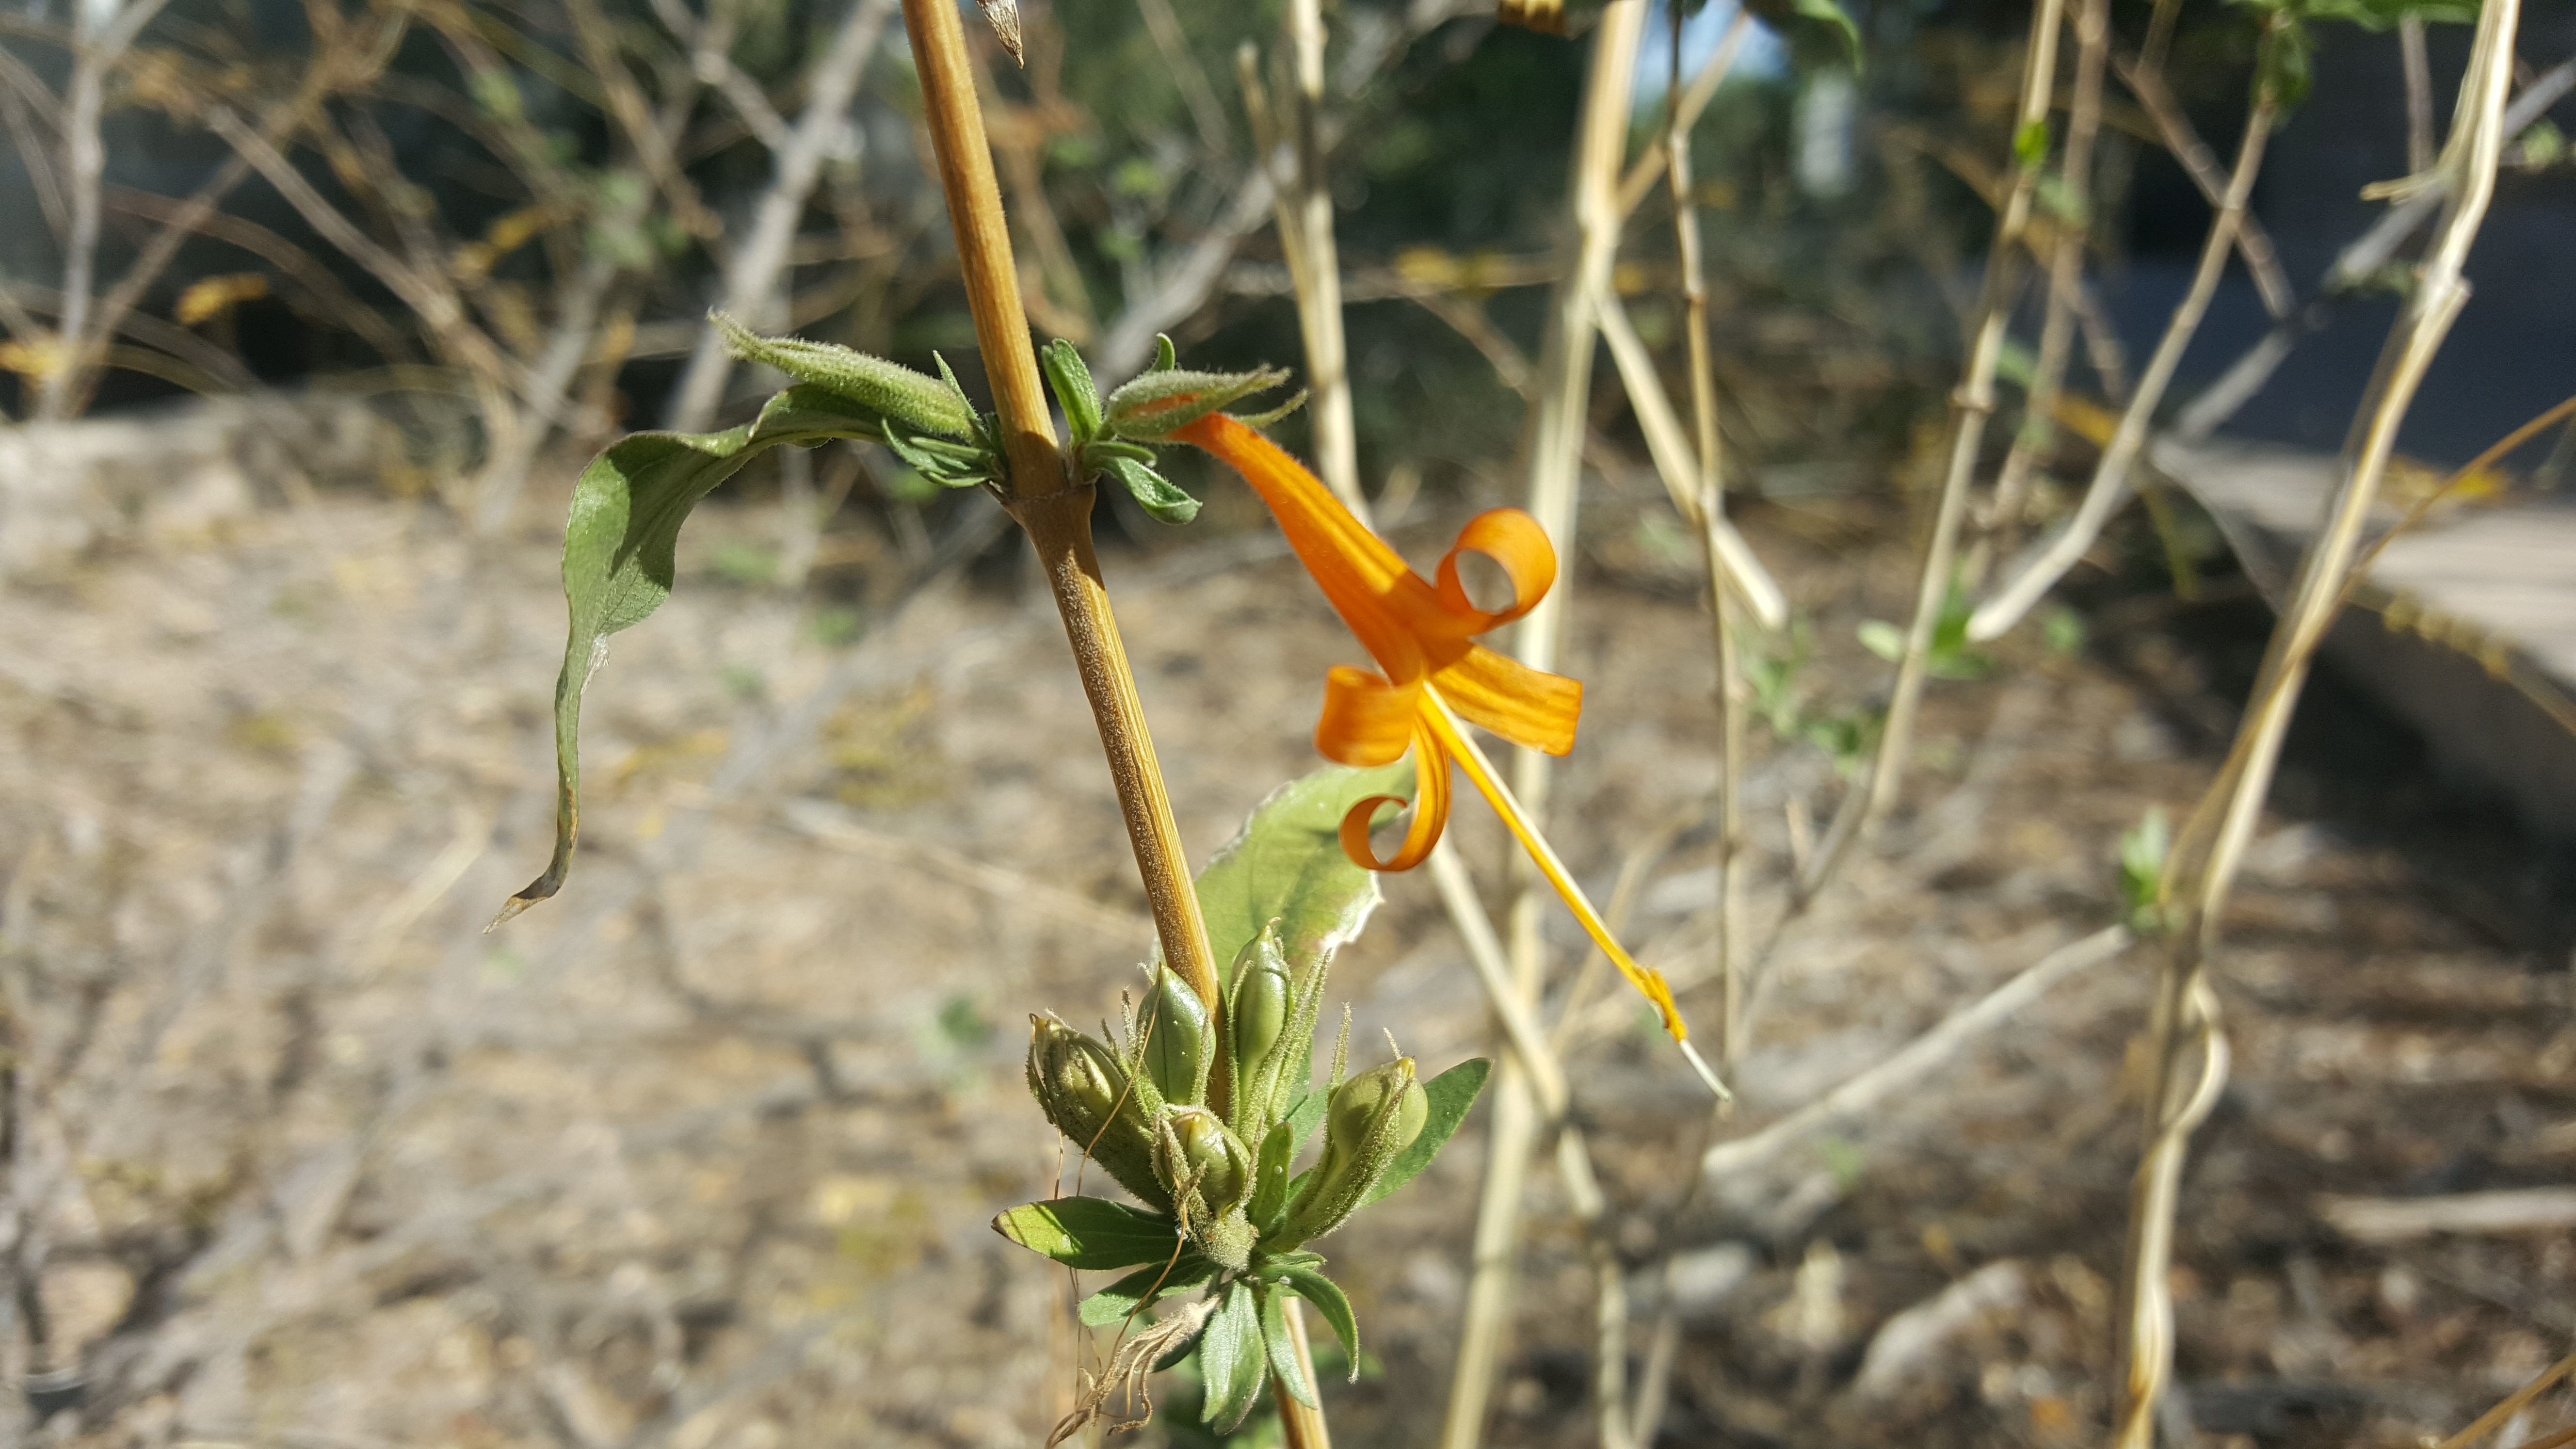
blog 20160415_090830

Desert Honeysuckle, Anisacanthus thurberi.

blog 20160415_104348

Foothills Palo Verde, Parkinsonia microphylla.

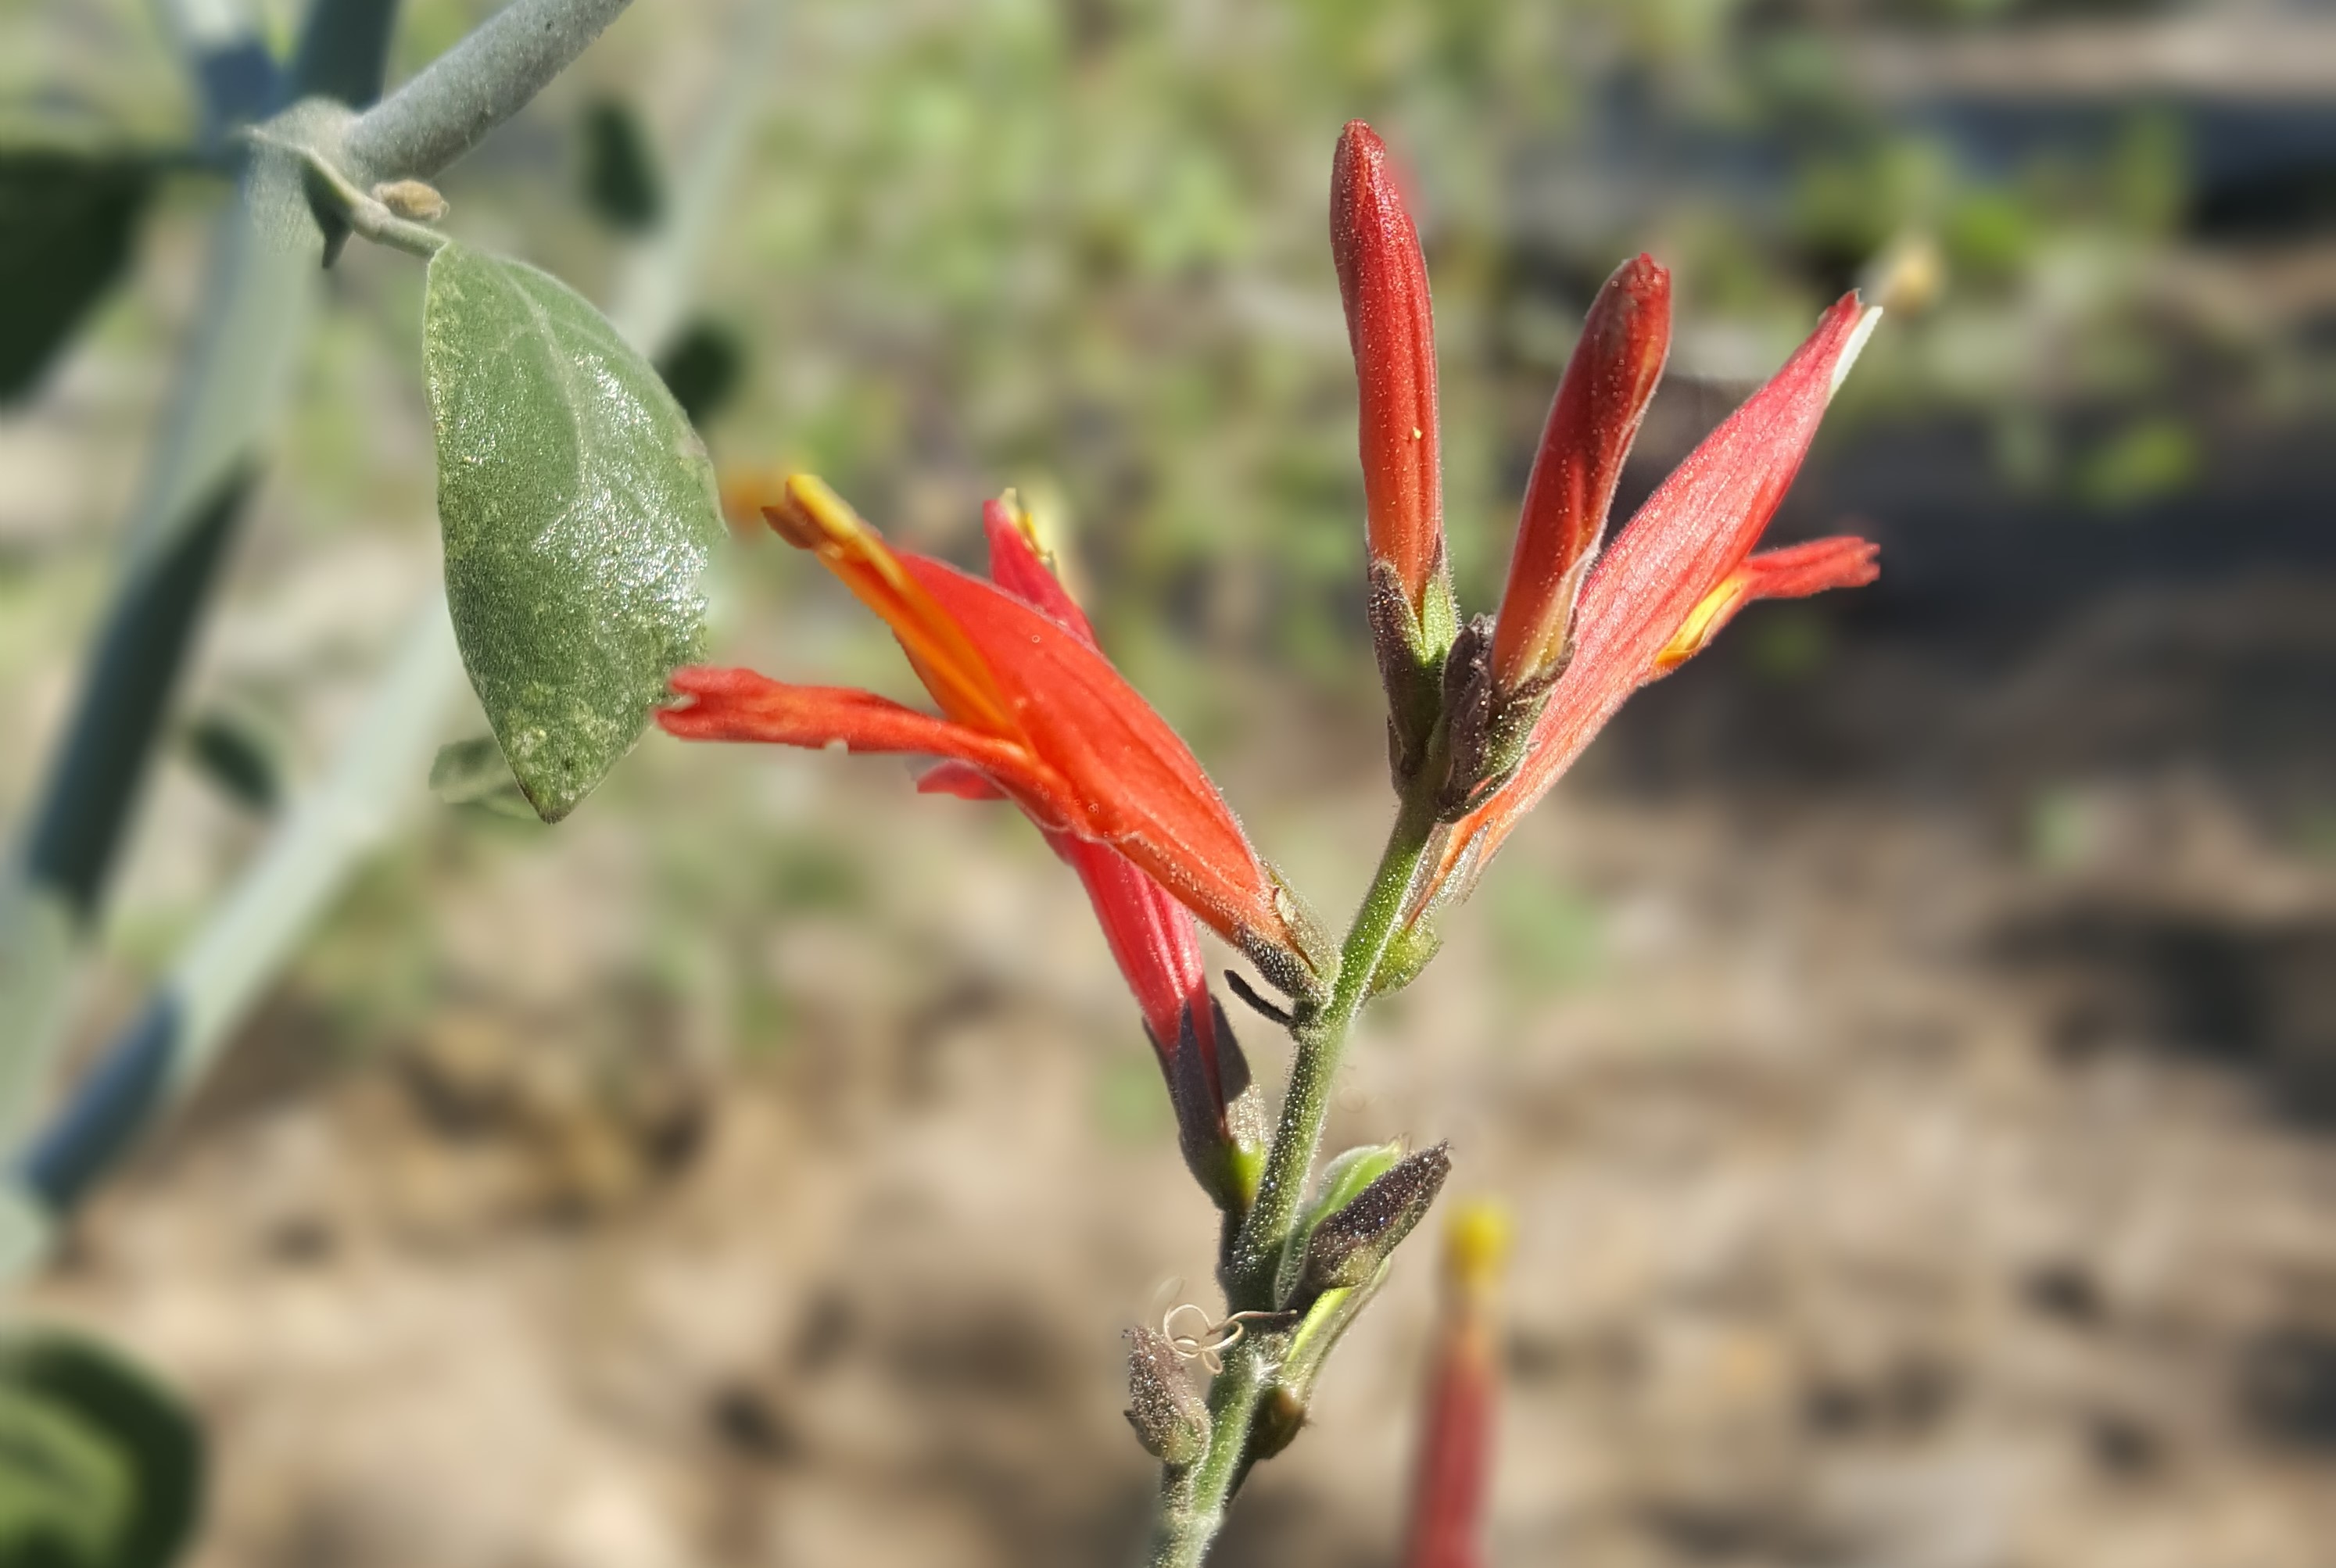
blog 20160415_091001

Chuparosa, Justicia californica.

Prickly Pear Cactus flowers are a fleshy, vegetal garnish. Opuntia engelmannii

Prickly Pear Cactus flowers are a fleshy, vegetal garnish. Opuntia engelmannii

blog 20160415_103501

Dress with olive oil and lemon juice. Enjoy!


On the Transformational Power of a Humble Pot


IMG_2487

View inside a  clay cooking pot made in Sonora, Mexico. Hand crafted several years ago, by an elder woman who digs the clay herself; each March.

Aunt Linda here this still, cool morning in the Old Pueblo. Today’s post is inspired by the tiny pots I discovered when removing a birdhouse filled with wasps, instead of  baby birds. Wearing my bee veil I safely peeked inside – immediately mesmerized by the sight of beautifully crafted, tiny mud pots. Potter Wasps I wondered?  And what on earth do they DO with these pots? I began to research these tiny pots.  English naturalist John Crompton  described them as “vases of earthenware that the Greeks might have envied.”

IMG_2477

Tiny mud pots

Eric Grissell, in his book BEES, WASPS, and GARDENS writes “unlike many wasps that simply place their egg on the prey or at the bottom of a cell, potter wasps suspend their eggs by a thread from the top of the pot. When it hatches, the wasp larva is hanging directly over it’s supper, and it remains attached safely to it’s line until the first caterpillar or two is consumed, then it is bold enough to drop down and feast among it’s hosts. Apparently, the reason for this odd behavior is that female potter wasps only partially paralyze their hosts, which are still capable of some movement. A tiny wasp larva might be crushed if it had no way to retreat from its twitching dinner plate, so it essentially becomes a trapeze artist.”(p177)

IMG_2524 (1)

insect potter in action

Potter Wasps may not cook per se; but they do collect mud, shape pots, and provide meals  in those pots for their larva. Which gets me thinking about pots. And how humans feed – and have fed ourselves – over time. How might such a simple thing as a fired clay pot have transformed our  lives?

IMG_2490

Simple Cook pot whose “insides” are shown in the top photo. 

Research offered by Michael Pollan in his book COOKED fascinates me. Before the technology of fired clay cooking pots humans heated stones (found in archaeological sites as ‘burned stones’) and fired clay balls. These “cooking stones” were added to the water held in animal skins or watertight baskets (which were not fire proof; that would come later with firing clay) to boil water. Boiling water – another thing we take for granted – allowed humans to transform previously inedible foods edible. This opened wide up our culinary and nutritional world – and seeds, nuts, grains, sometimes rendering some toxic plants safe to eat.

Pollan writes “the cook pot is a kind of second stomach, and external organ of digestion” … “these auxiliary clay stomachs made it possible for humans to thrive on a diet of stored dry seeds which in turn led to the accumulation of wealth, the division of labor, and the rise of civilization. These developments are usually credited to the rise of agriculture, and rightly so, but they depend as much on the cook pot as on the plow.” (154)

IMG_3099

Stew forming with vegetables and, yes you saw right,  some chicken feet; no part goes unused.

Todays Recipe is to add some reverence for the deceptively simple cook pot – (as well as for the act of boiling water) – to your very favorite ingredients. There is no need to use a clay pot; nor to even get complicated. You might add this reverence to making a pot of beans, your grandmothers favorite soup or stew, or even to jam making.


Mole Dulce Brownies

mole brownies 002

Amy here, running, needing something for a cookie trade! Recipe below.

Mole Dulce is perfect in desserts and sweet treats, like in EXO Roast Co‘s Mole Latte. My friend Amy there is always asking for more mole. I developed a Mole Dulce variation without the graham cracker, so the drink would be wheat free. Someday I’ll get to making a label for that, so people can buy it on the shelf.

mole latte

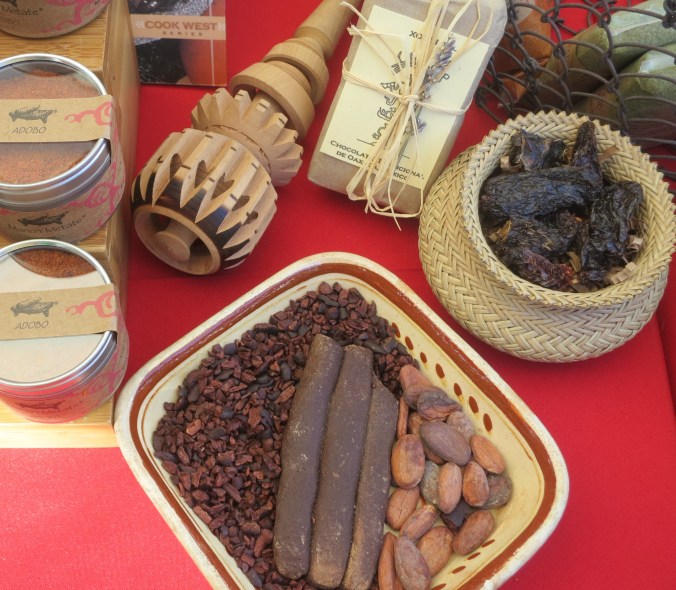
Savory, salty, spicy Mole Dulce gets its sweetness from raisins and Xocolatl, very fine Oaxacan drinking chocolate imported by my friends Yissel and Dave. The beautiful brown paper wrap with dried lavender protects the hand formed sticks.

034

The chocolate contains cacao, cane sugar, almonds and cinnamon. The Mole Dulce powder contains additional almonds, giving body and flavor to the sauce. Or in this case, BROWNIES!

Mano Y Metate Mole Dulce Brownies

4 eggs (room temperature)
2 cups sugar
2 sticks softened butter (8 ounces)
1 1/4 cup cocoa powder
1 teaspoon vanilla
1/2 cup flour
1/4 teaspoon salt
3 tablespoons Mole Dulce powder (www.manoYmetate.com)
Mole Dulce powder for topping, 5 tablespoons or so, to taste
Preheat the oven to 300 degrees F. Line a 9” x13” baking pan (or 2 pans, each 8”x8”) with parchment paper.

With an electric mixer, beat the eggs just until fluffy. Beat in sugar. Add remaining ingredients and beat. Pour batter into pan(s) and spread to level. Push Mole Dulce powder though a wire strainer to evenly distribute over the batter as a topping. Bake for 35 minutes, or until a toothpick inserted comes out with crumbs instead of batter on it.

I like them thinner, so there’s more spicy, chocolaty topping per bite. Feel free to take it out sooner or bake them in a smaller pan if you like them gooey, but the edges of the pan always seem to go first around here.

Now, off to the cookie trade. And to grind more mole.

Love, light and peace to all! Amy

Bean and Corn Cakes with Mole

IMG_3597

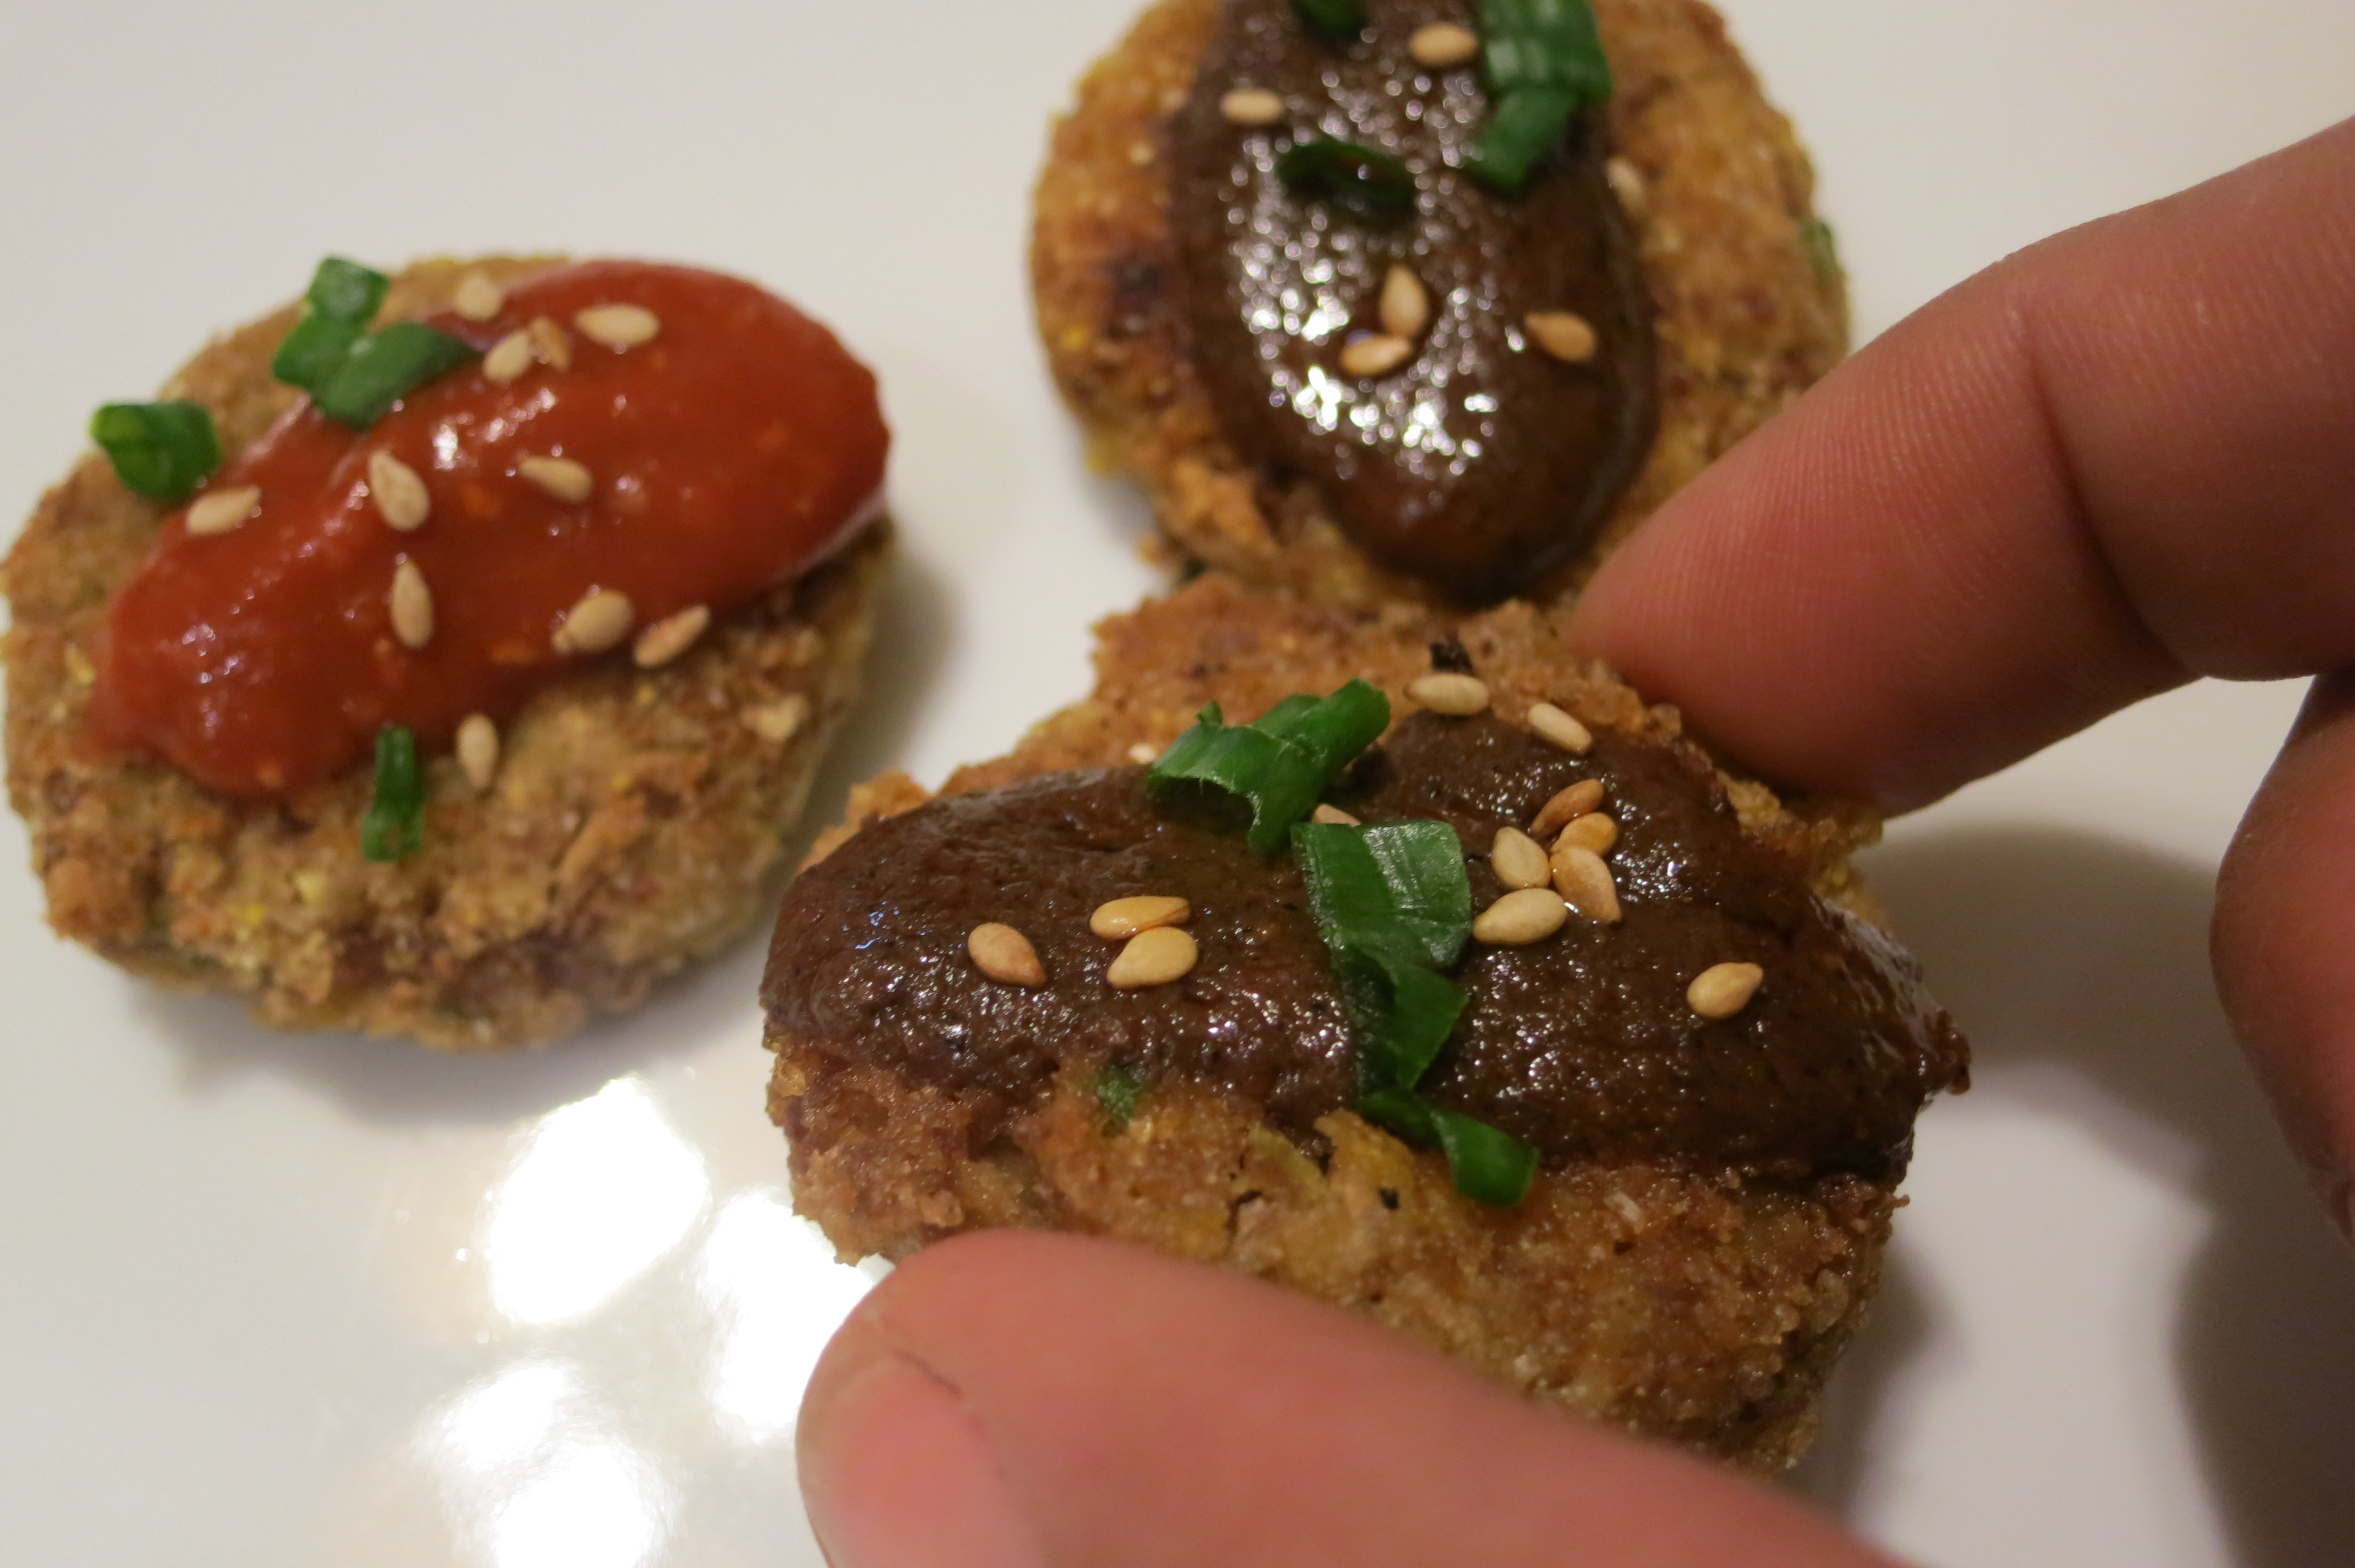
Hello, Amy Valdés Schwemm here. When I want to offer people several varieties of mole to taste, I make small batches of each sauce and serve them in mini electric crocs. Guests can spoon mole over servings of turkey or these bean and corn cakes. They make a perfect vegetarian main course or a hearty side.

011

If you want a taste, meet me at The Food Conspiracy Co-op Saturday, November 21, 4-7pm. There will be other samples, including wine, and everyone (not just members) gets 10% off everything.

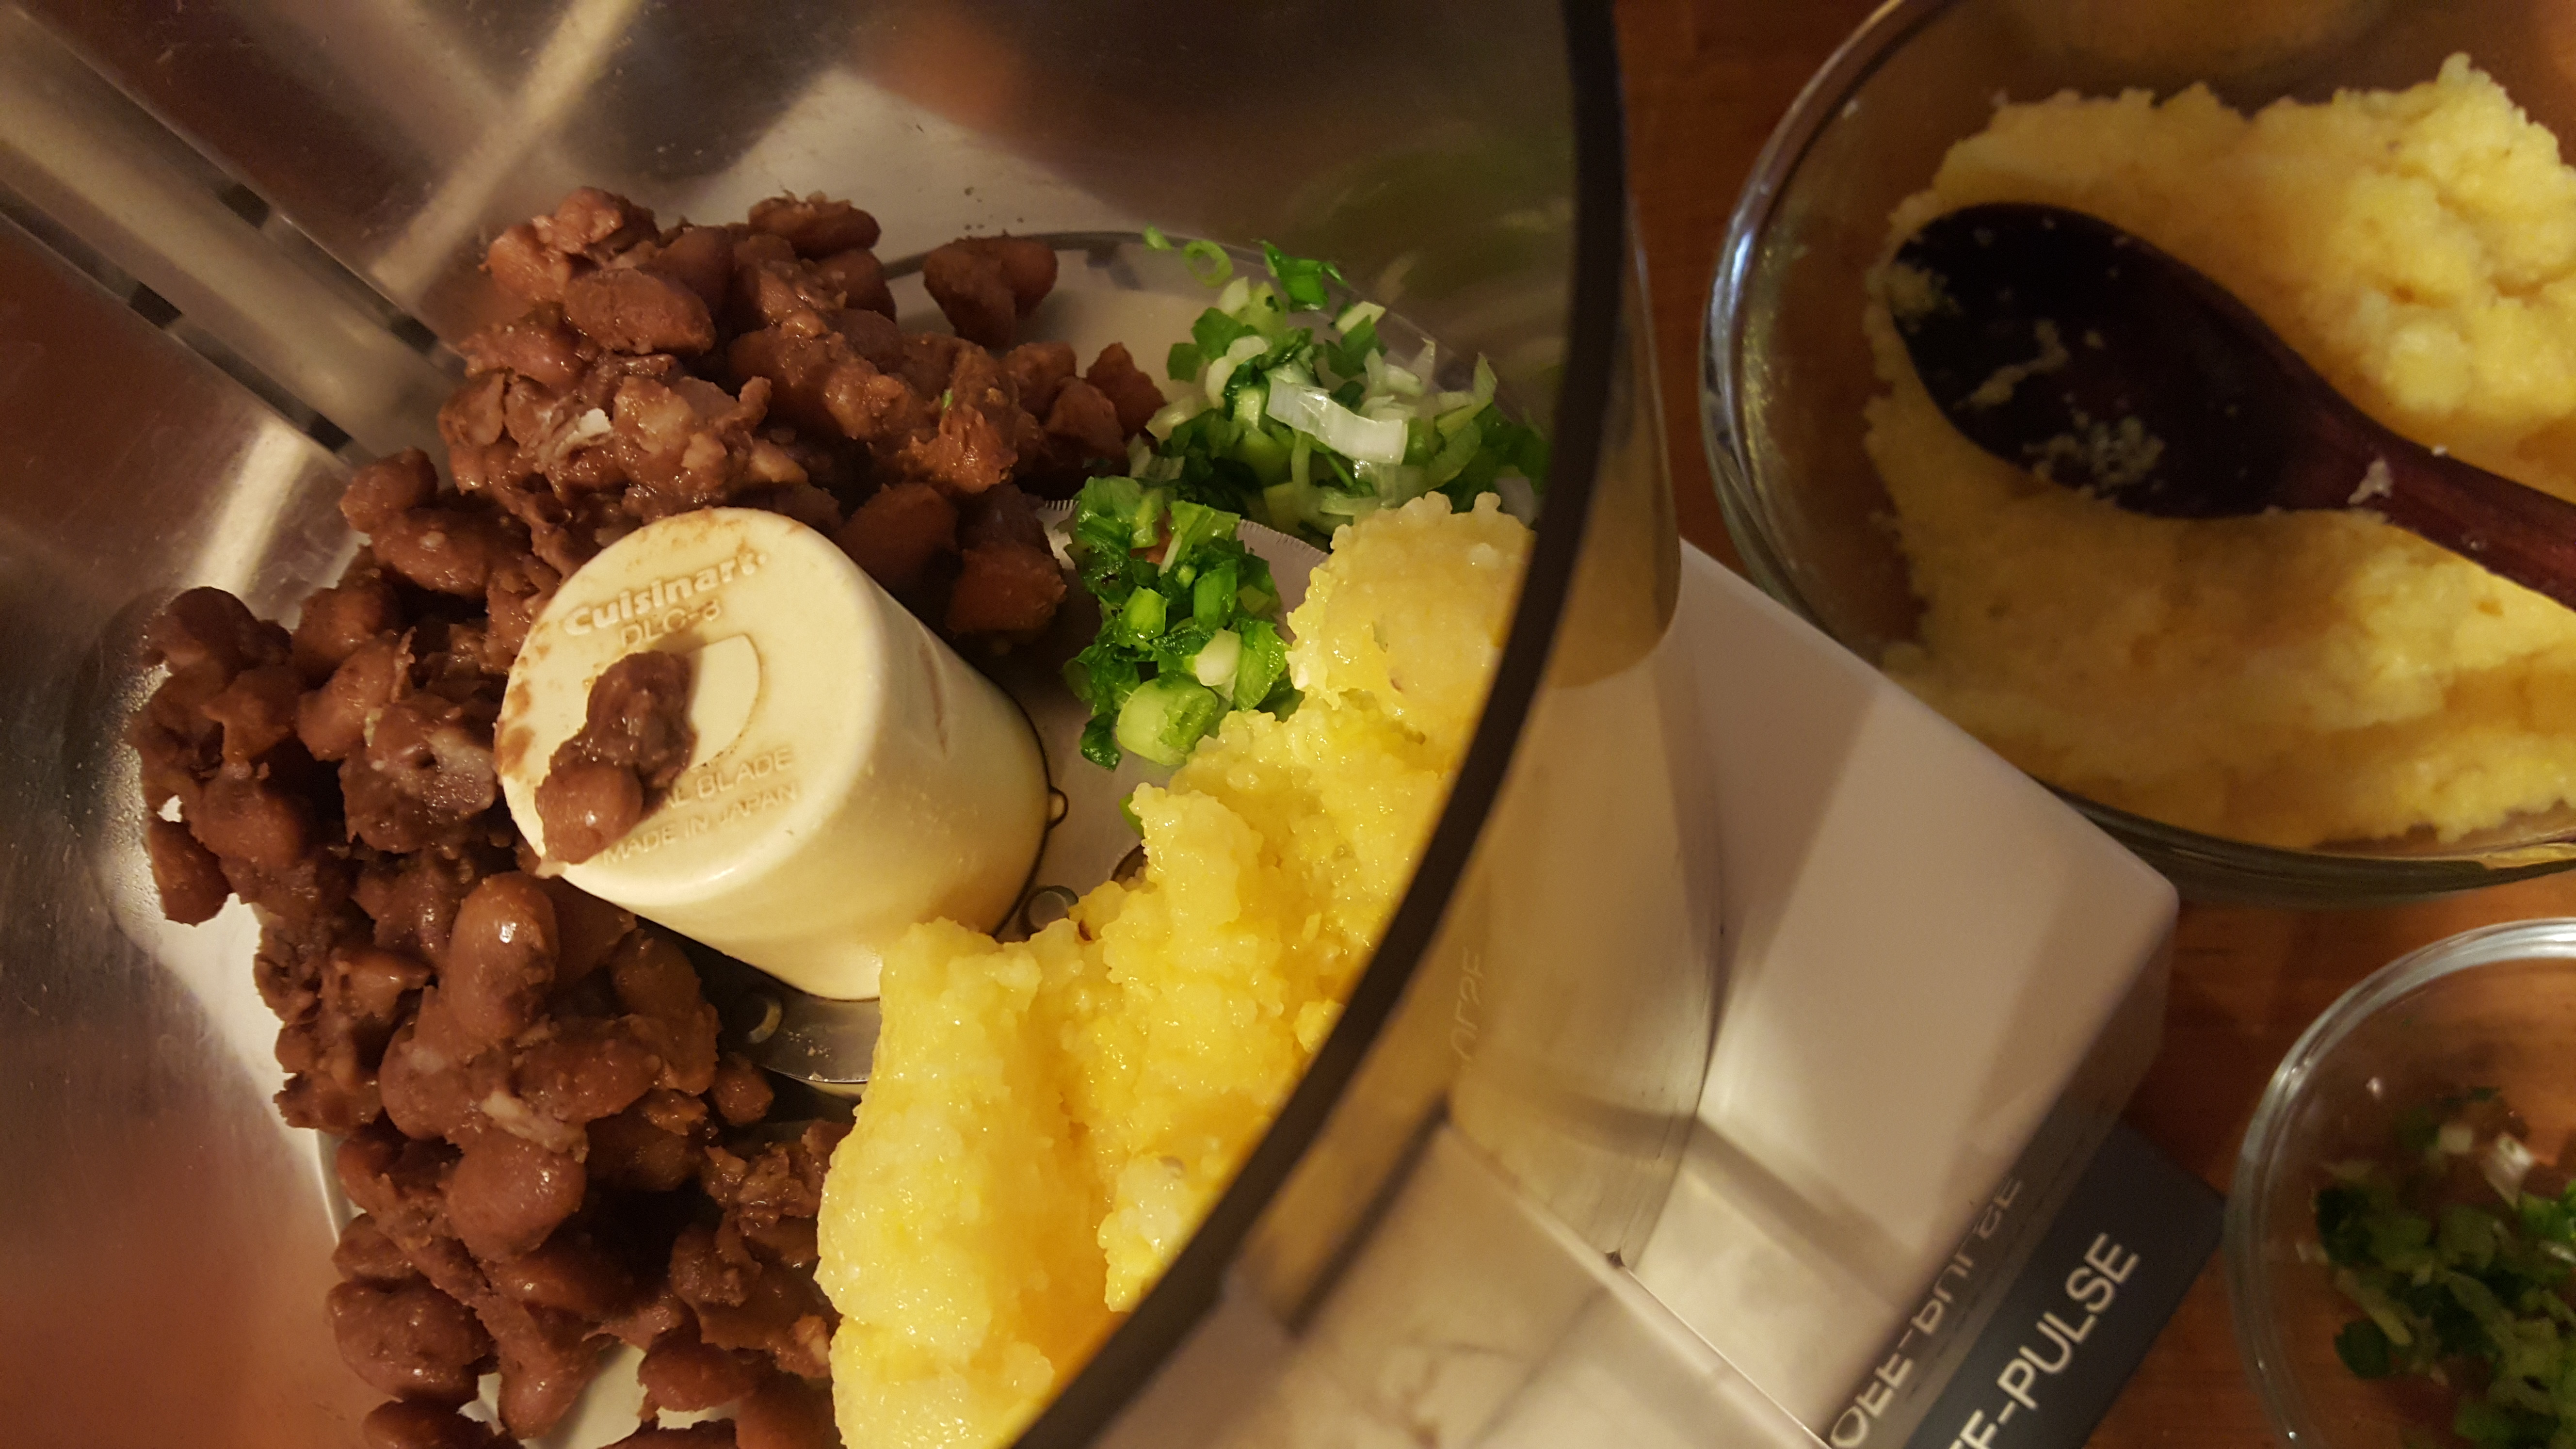
The recipe for Bean and Chicos Dinner Cakes was published in Furrow to Fire: Recipes from the Native Seeds/SEARCH Community, its author unknown to the editors. Chicos are New Mexican corn kernels roasted when still fresh, then dried. Sometimes they have a smokey taste that can almost be a seasoning if you cook a handful with a pot of beans. I often substitute Tohono O’odham gai’iwsa or Mexican posole. Using a bean with a creamy texture helps to hold the patties together. I’ve made it countless times, sometimes substituting ingredients wildly. They hold in a warm oven perfectly until ready to serve.

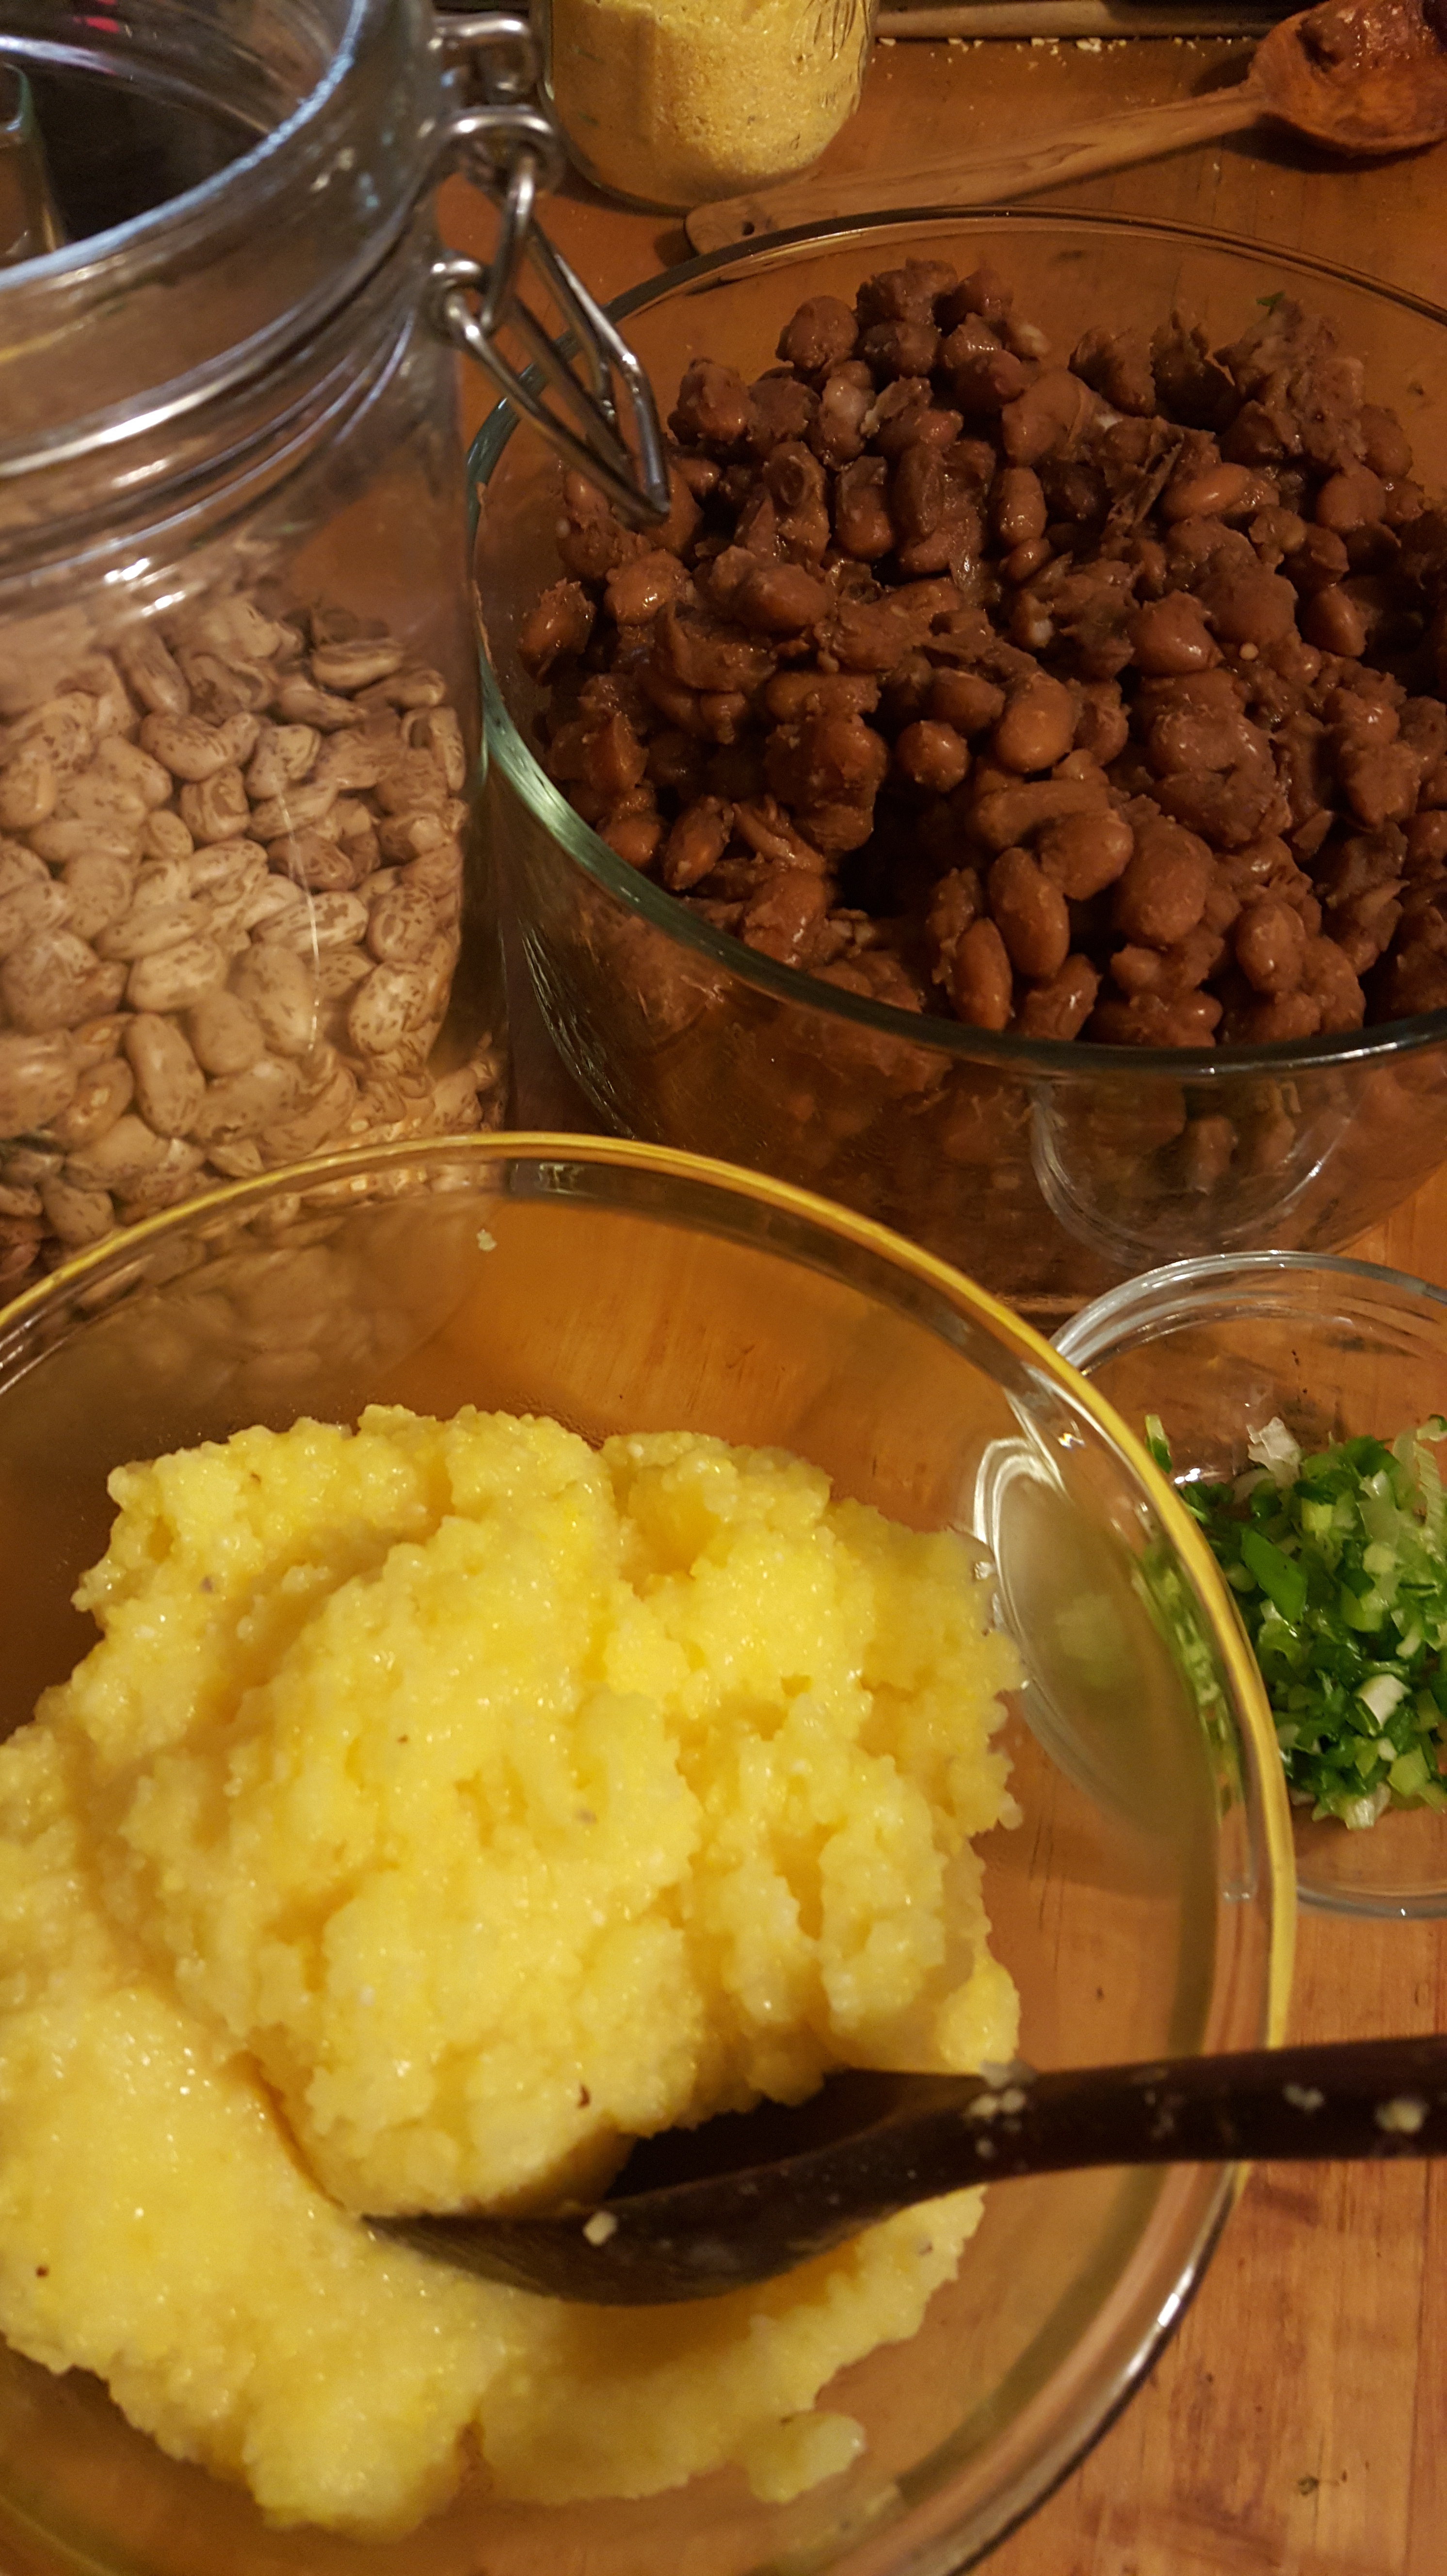
The photo above used lots of white posole and some canario beans. For tomorrow’s tasting, I’m using plenty of pintos and a little yellow polenta. No need to measure or time the polenta, as this recipe is so forgiving. Kneading in dry cornmeal when forming the patties (instead of just mixing it in) will fix the mixture at the perfect consistency.

20151120_205304

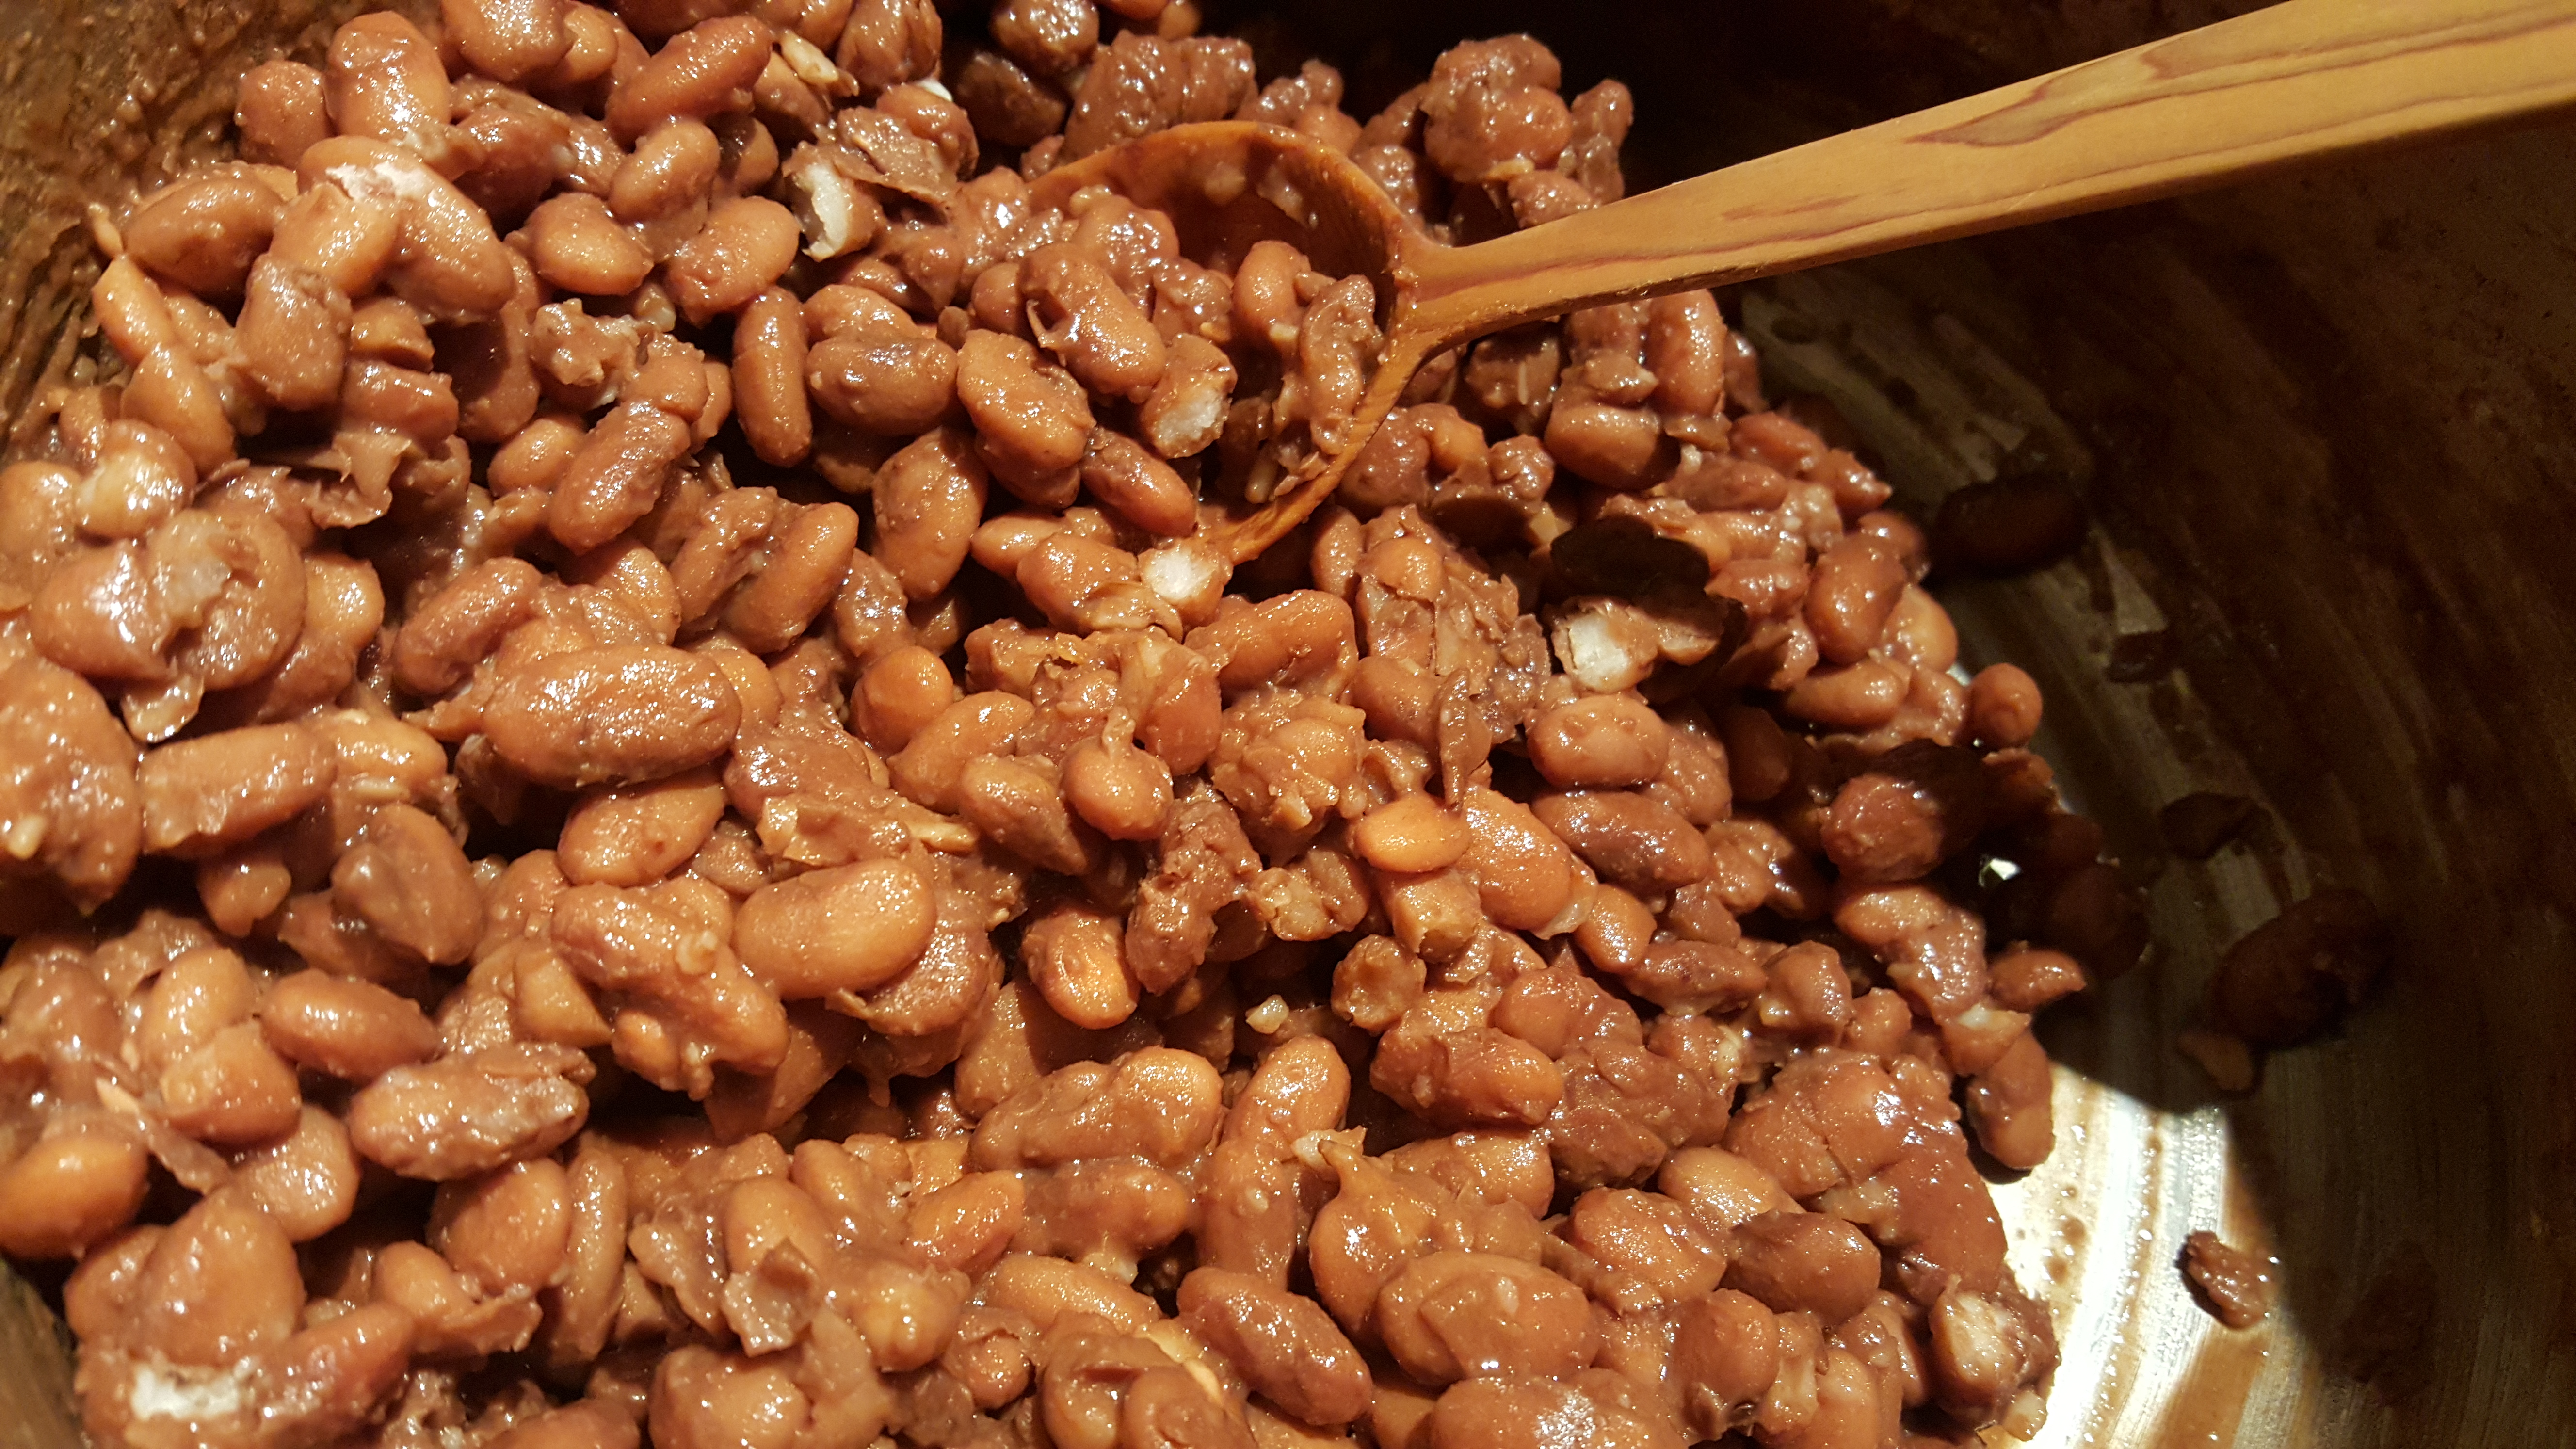
I like to carefully reduce the bean cooking liquid, affectionately referred to as bean juice in our family, because I can’t imagine draining it.

20151120_202041

Pulse everything in the food processor or mash by hand, and season to taste. Make big or small cakes to suit the occasion.

20151120_210134_001(1)


1/2 cup chicos

1 cup beans, cooked and drained

2 tablespoons cornmeal

1 I’itoi or green onion, minced

salt to taste

Options:

1/4 teaspoon Mexican oregano

1 teaspoon chile powder (or substitute Mano Y Metate Adobo powder)

Place chicos and enough water to cover in a medium saucepan and bring to a boil. Reduce heat to a simmer and cook for about one hour, until chicos are fairly soft. Cool slightly, then drain and coarsely chop. Set aside.

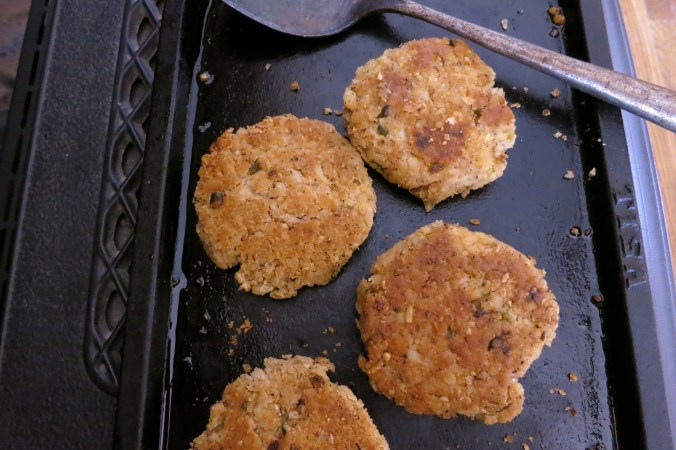
Combine beans, cornmeal, onion and chile powder and either mash by hand or whirl briefly in a food processor. Combine with the chicos, adding salt and adjusting seasoning to taste. Shape into about 1/3 inch thick patties.

In a lightly oiled skillet over medium heat, brown dinner cakes on each side. Serve with mole, pipián, or salsa.


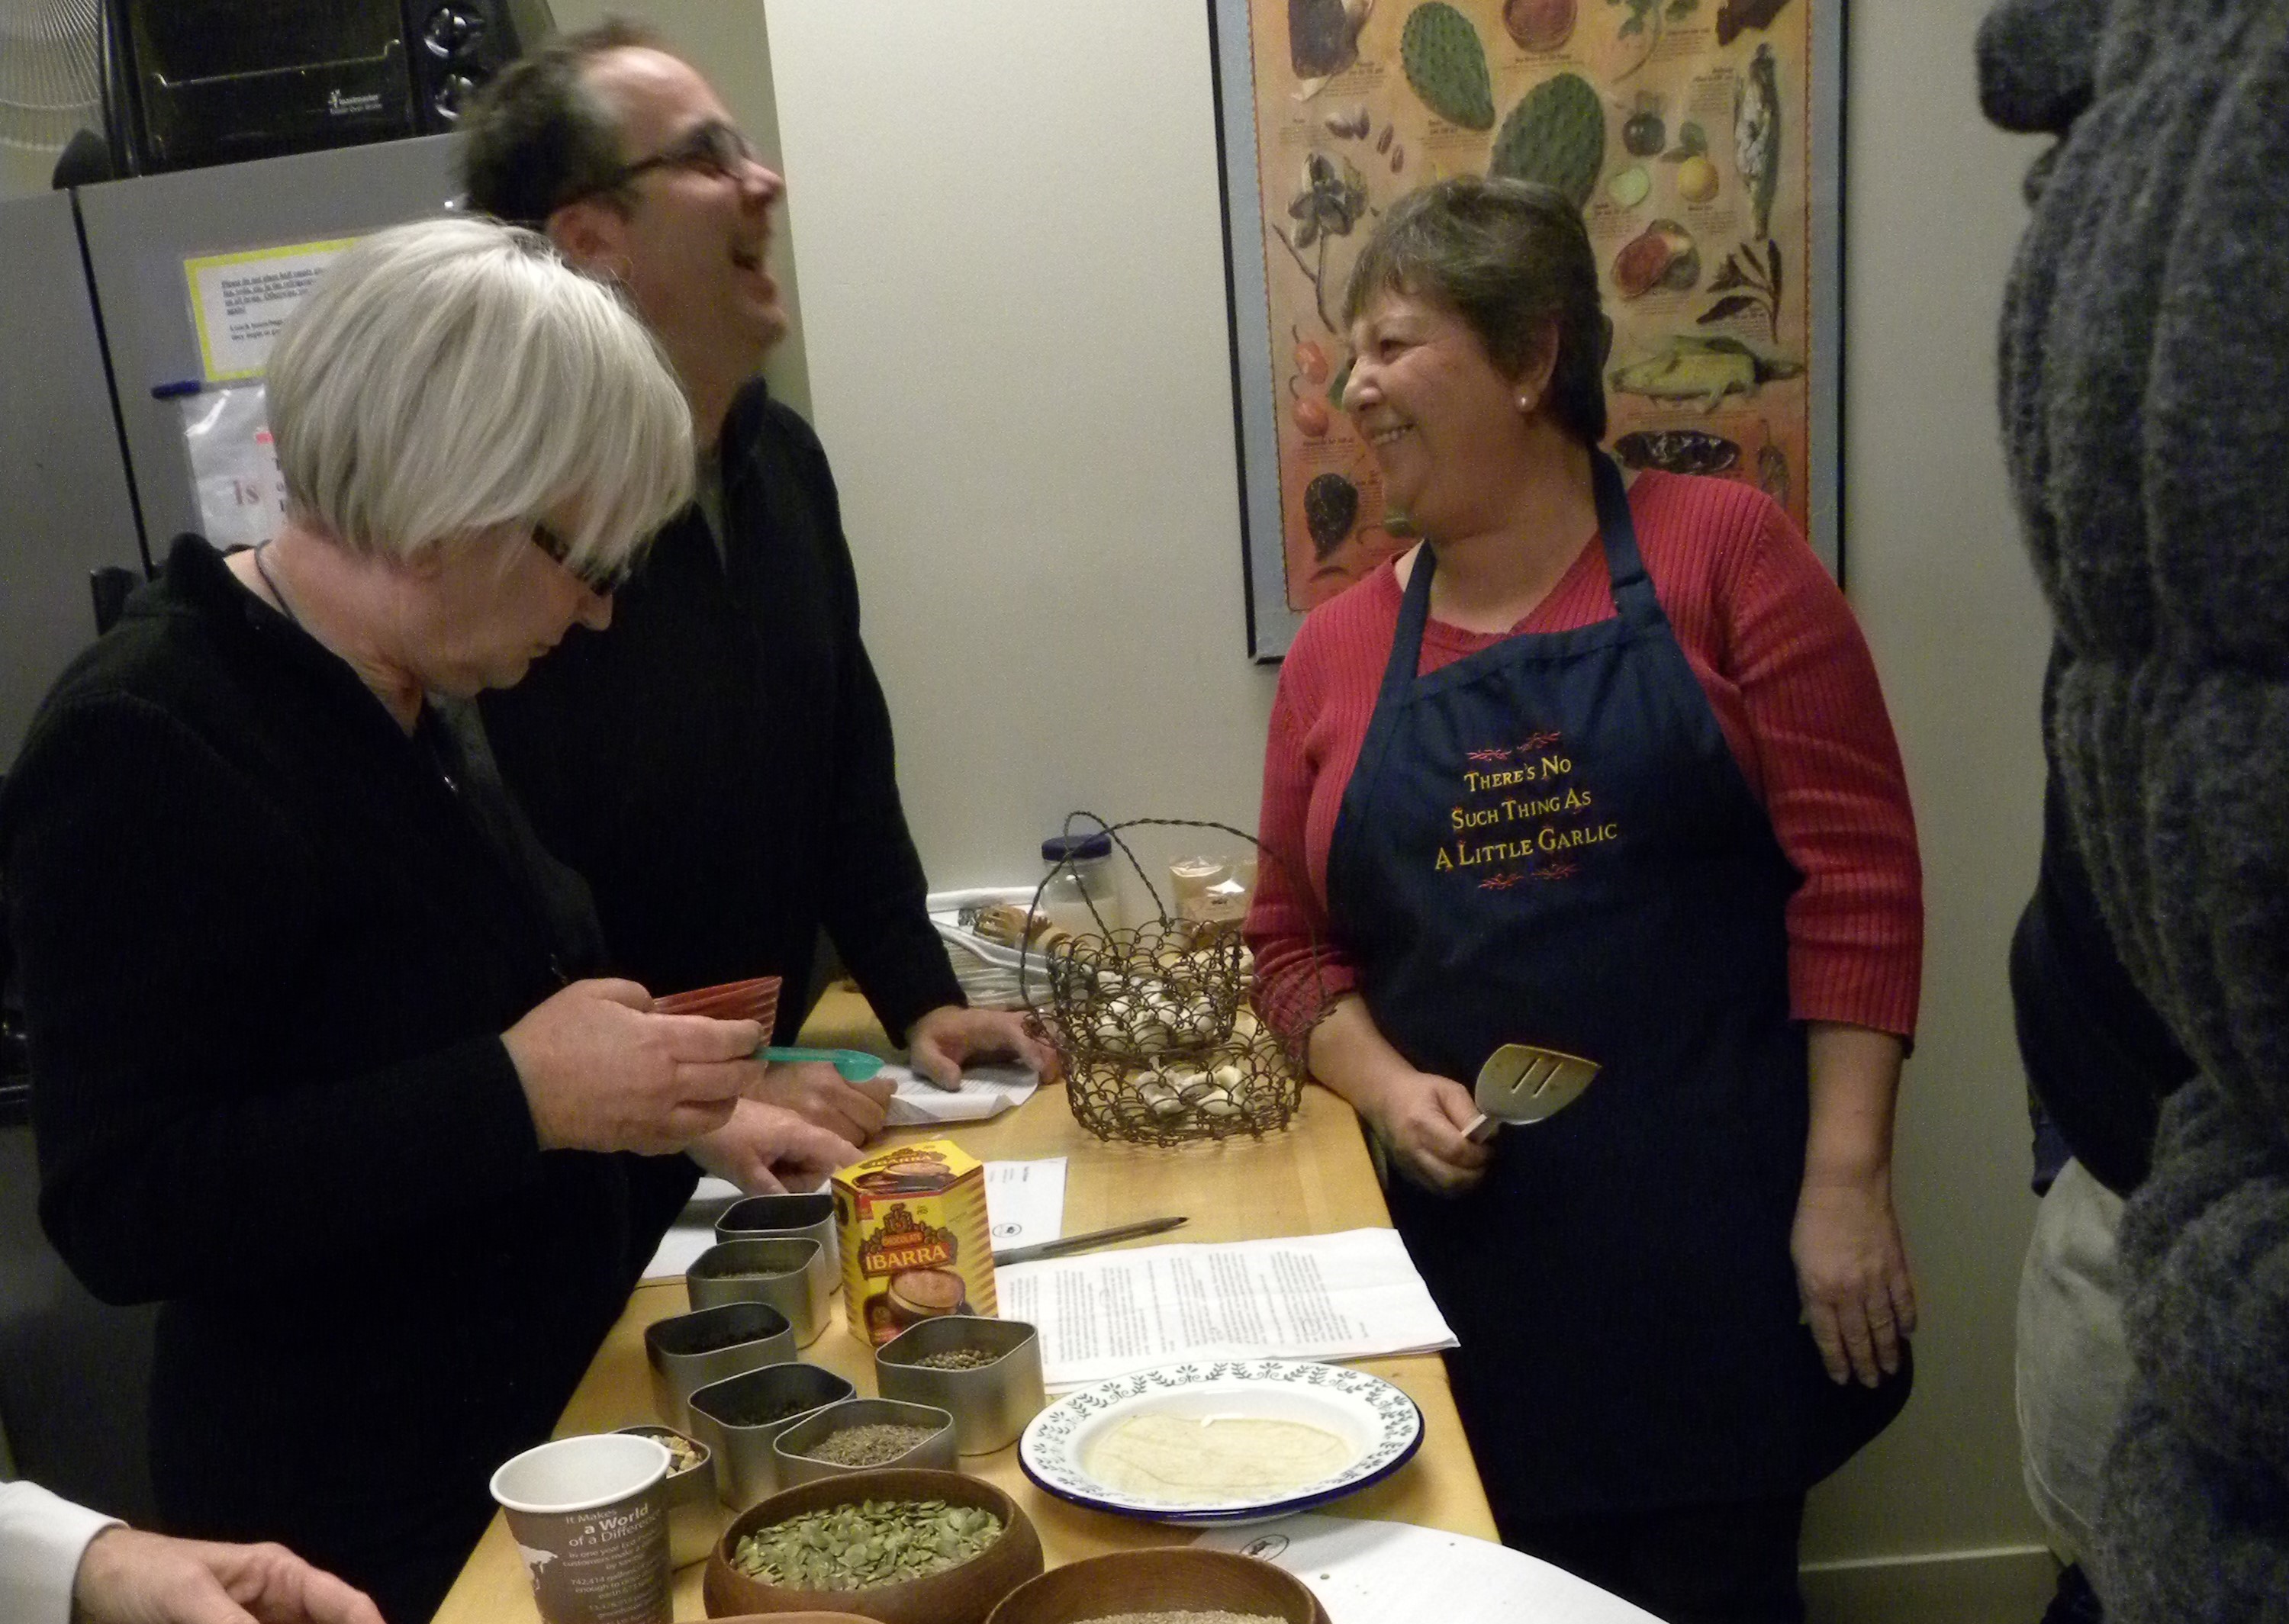
My Aunt Bertie has shaped and browned lots of these little things with me. Here she is taking a break from flipping during a cooking class my family taught. We love to cook together!
bertie cooking dbg 11


Fermented salsas

molcajete

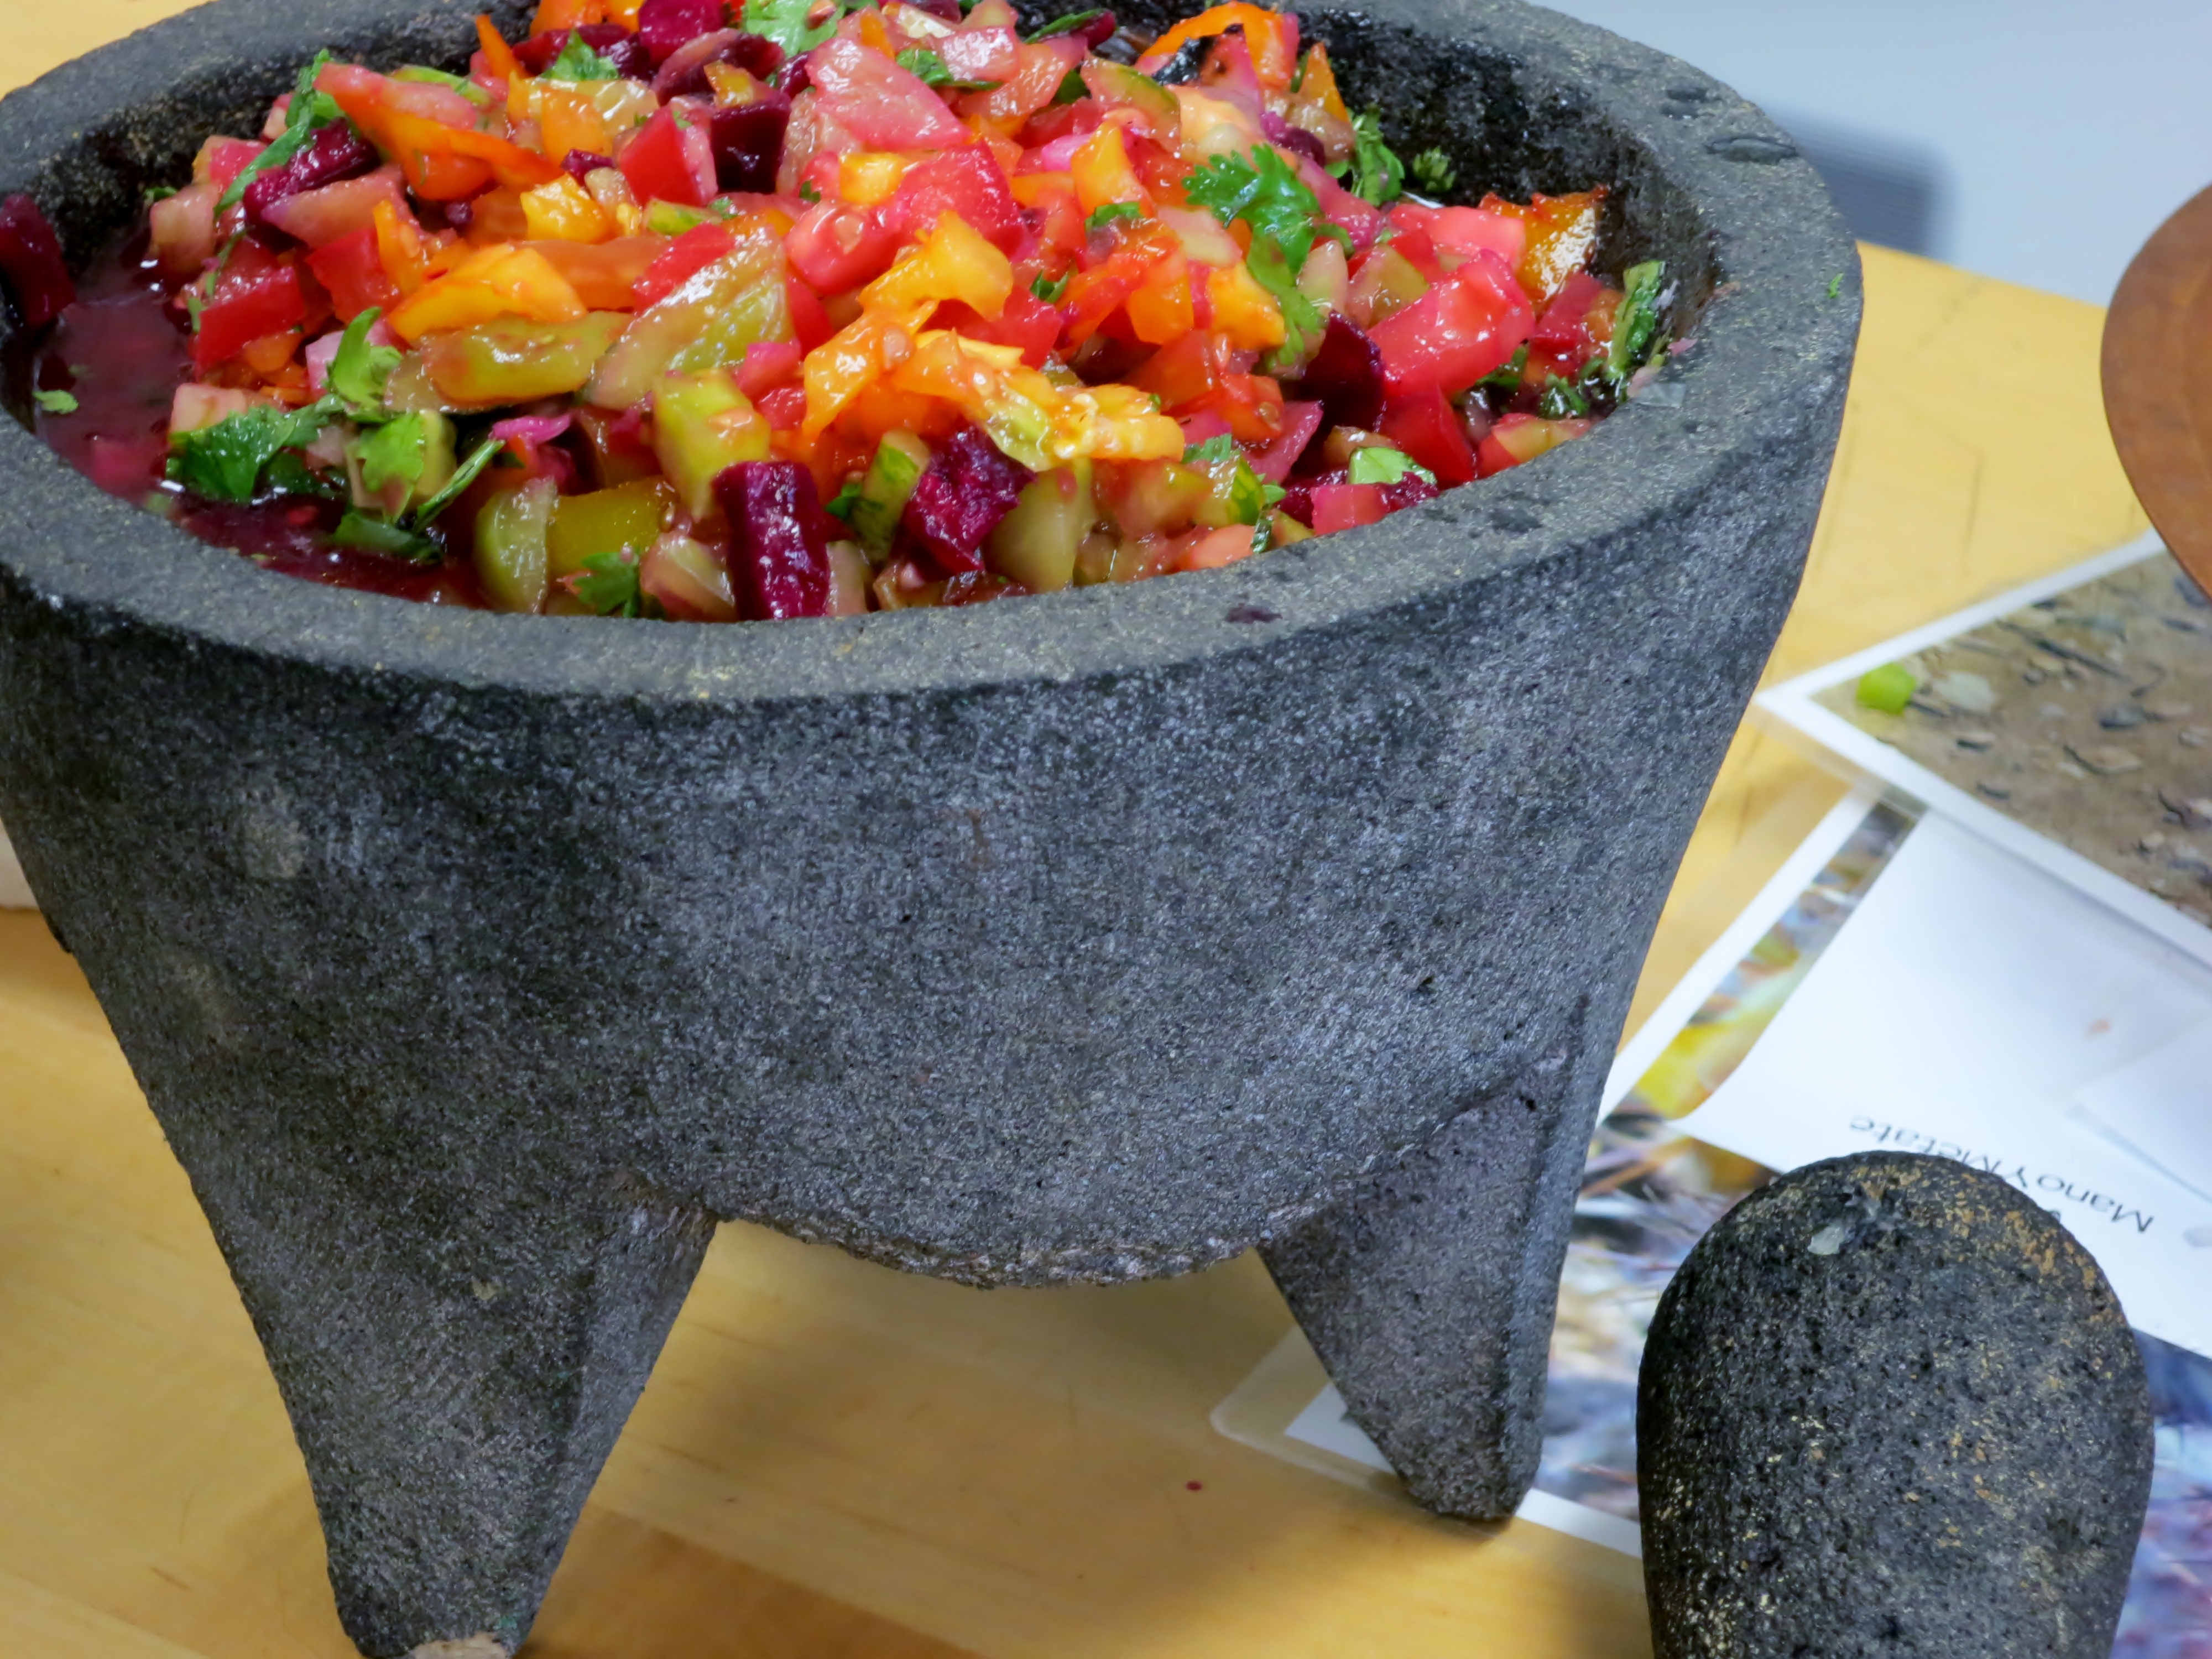
fermented salsa,with fresh cilantro and tunas (prickly pear fruit) added before serving

Amy Valdés Schwemm

Amy Valdés Schwemm

Naturally fermenting salsa makes a richer and more complex flavor than simply adding vinegar or lime juice, but it does take a little patience. I love tart salsas and sour foods with a bite. Grandma and Grandpa Schwemm on my dad’s side passed on a tradition of sauerkraut, and my mom’s family loves chile. How could chiles fermented like kraut not be my favorite food?

Fermented salsa is a source of pro-biotic microorganisms, recently rediscovered as essential for the digestive system. Home fermented foods probably provide more active and diverse cultures than what comes in a capsule at great expense.

late summer is chile season at Tucson CSA, Walking J, Santa Cruz Farmers' Market Consignment

late summer is chile season at Tucson CSA, Walking J, Santa Cruz Farmers’ Market Consignment

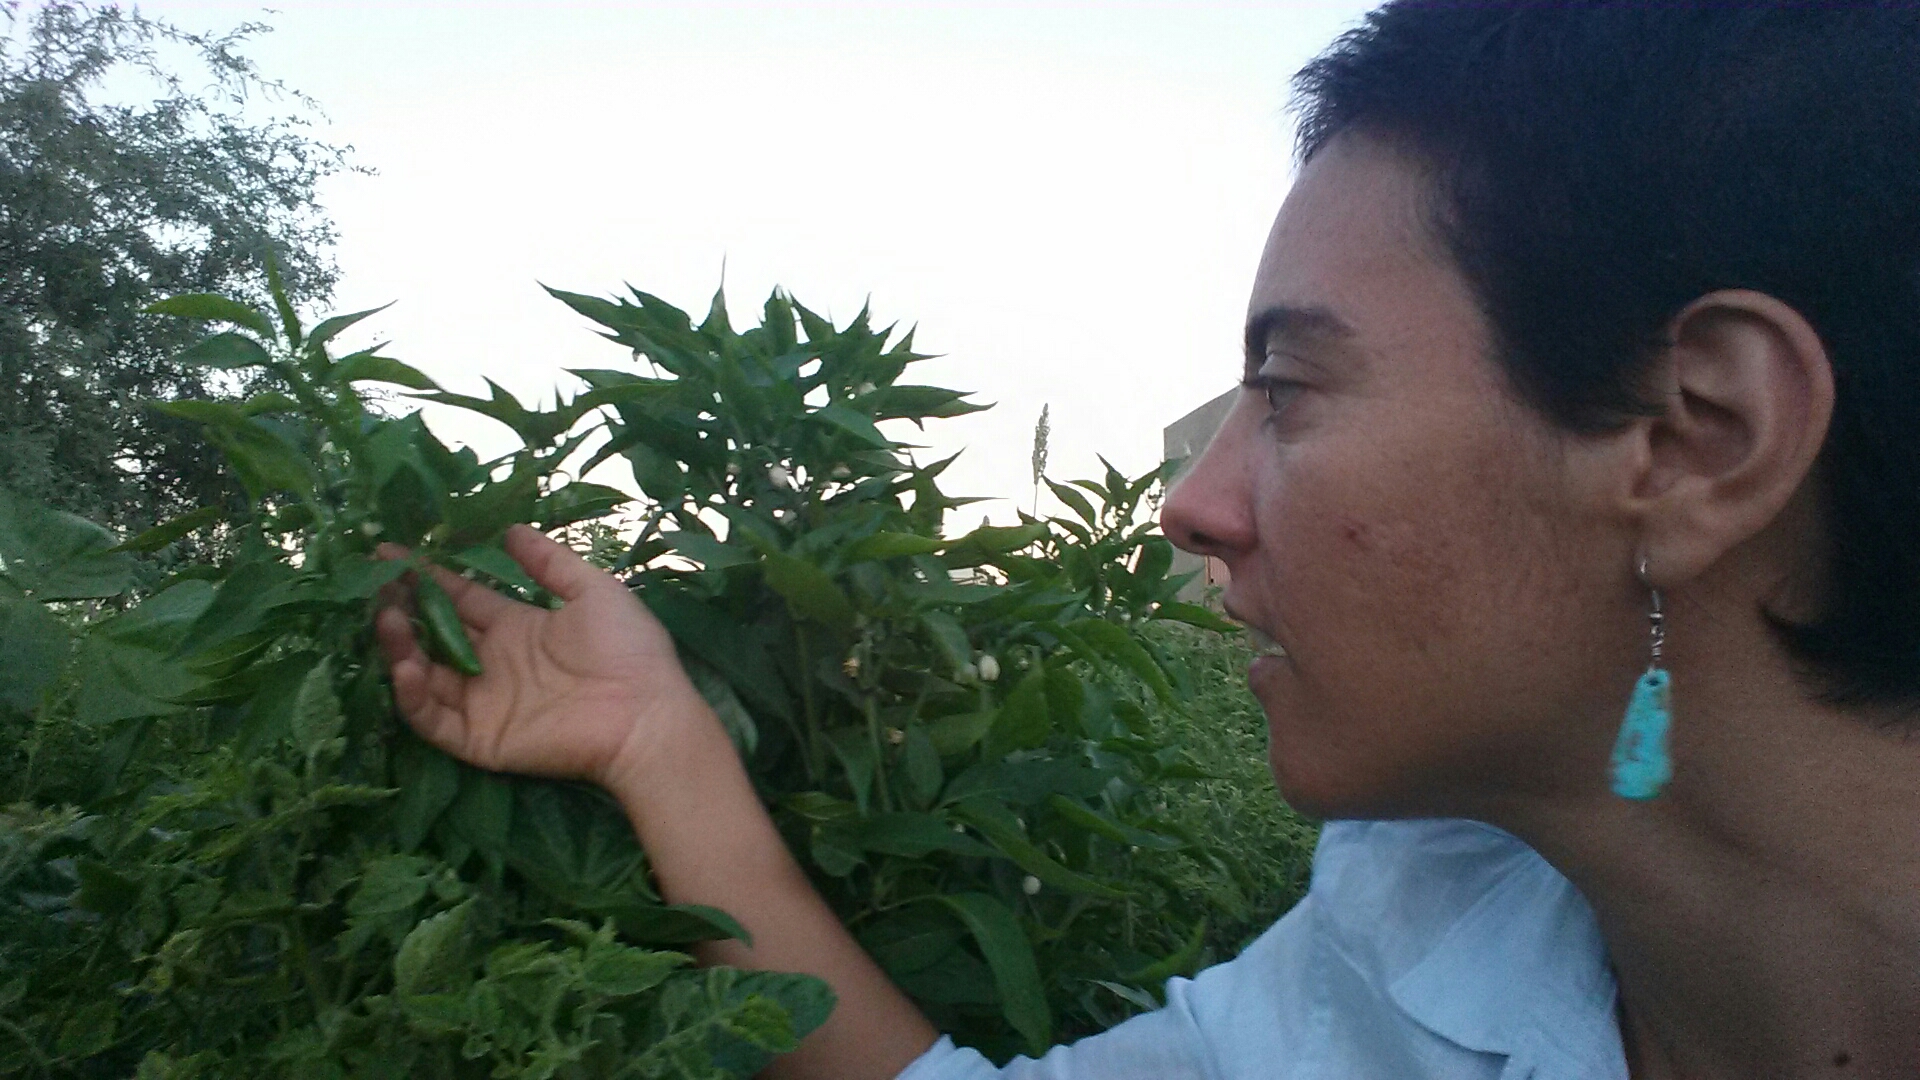
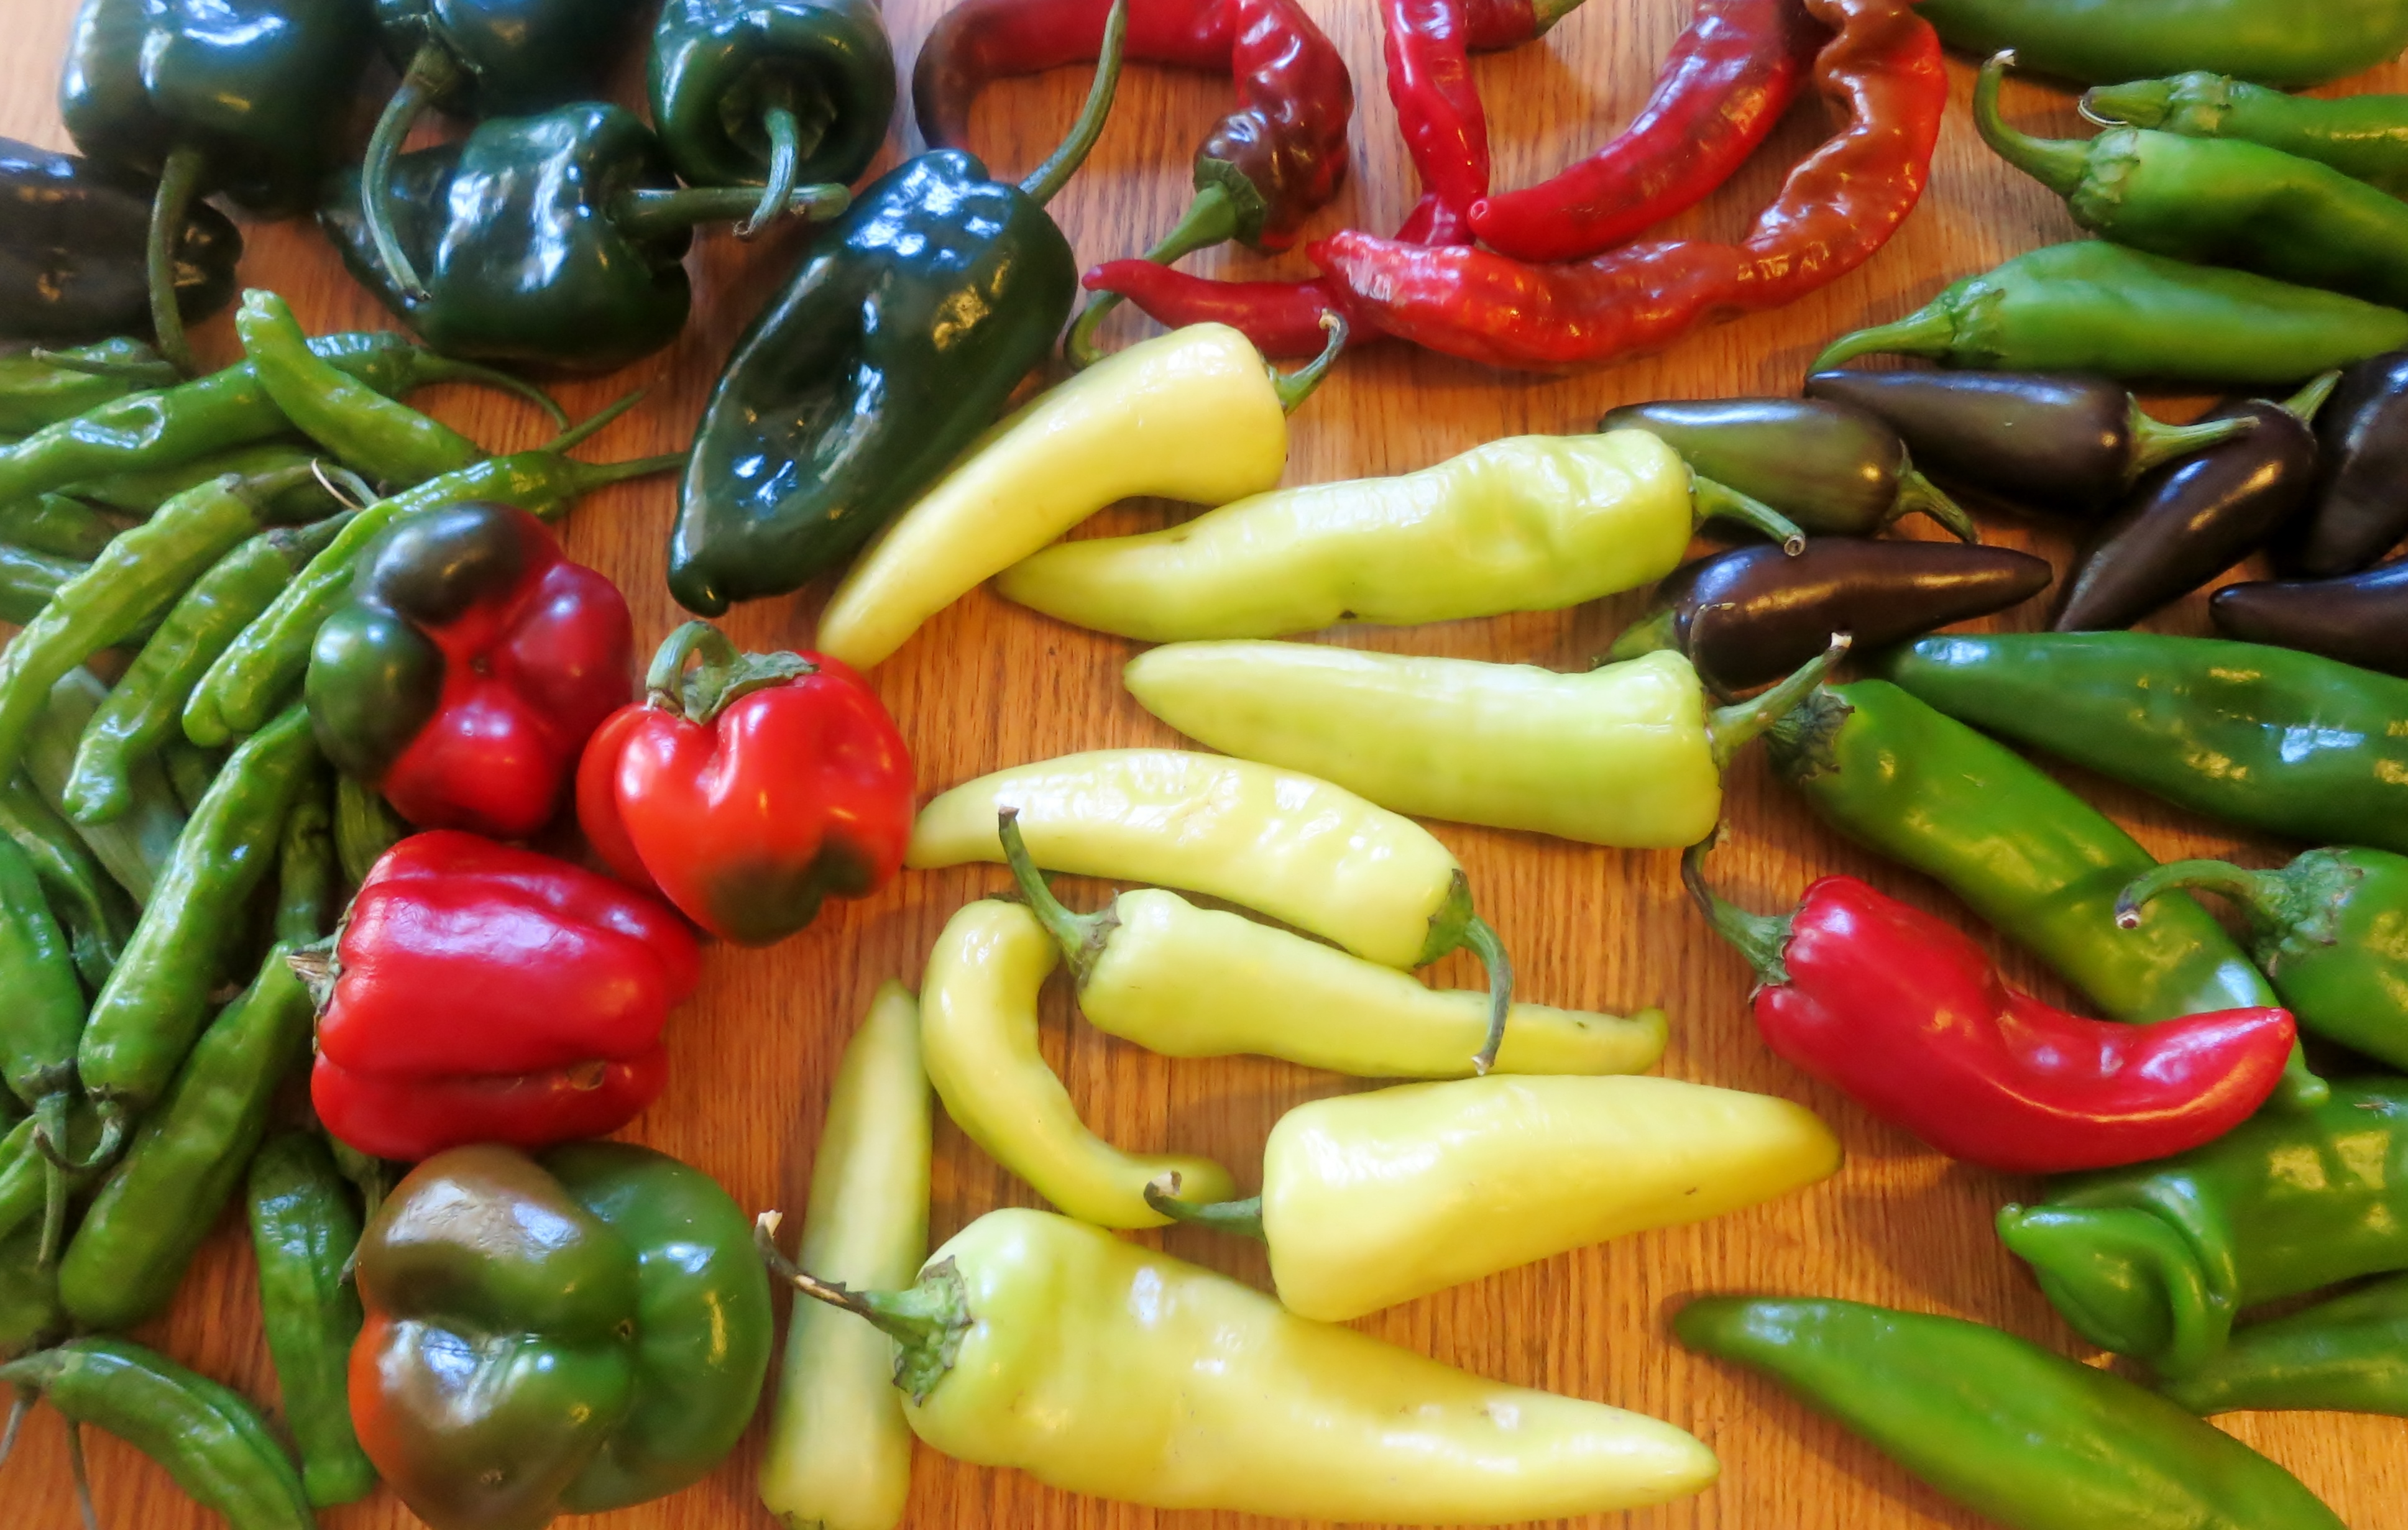
Chiles for this preparation can be fresh or roasted or even dried. I’ve used everything from dried chiltepines to fresh Big Jims and sweet peppers. Hot, fleshy chiles like Jalapeño, Serrano, Guero, Wenks Yellow Hot, and Sinahuisa are ideal.

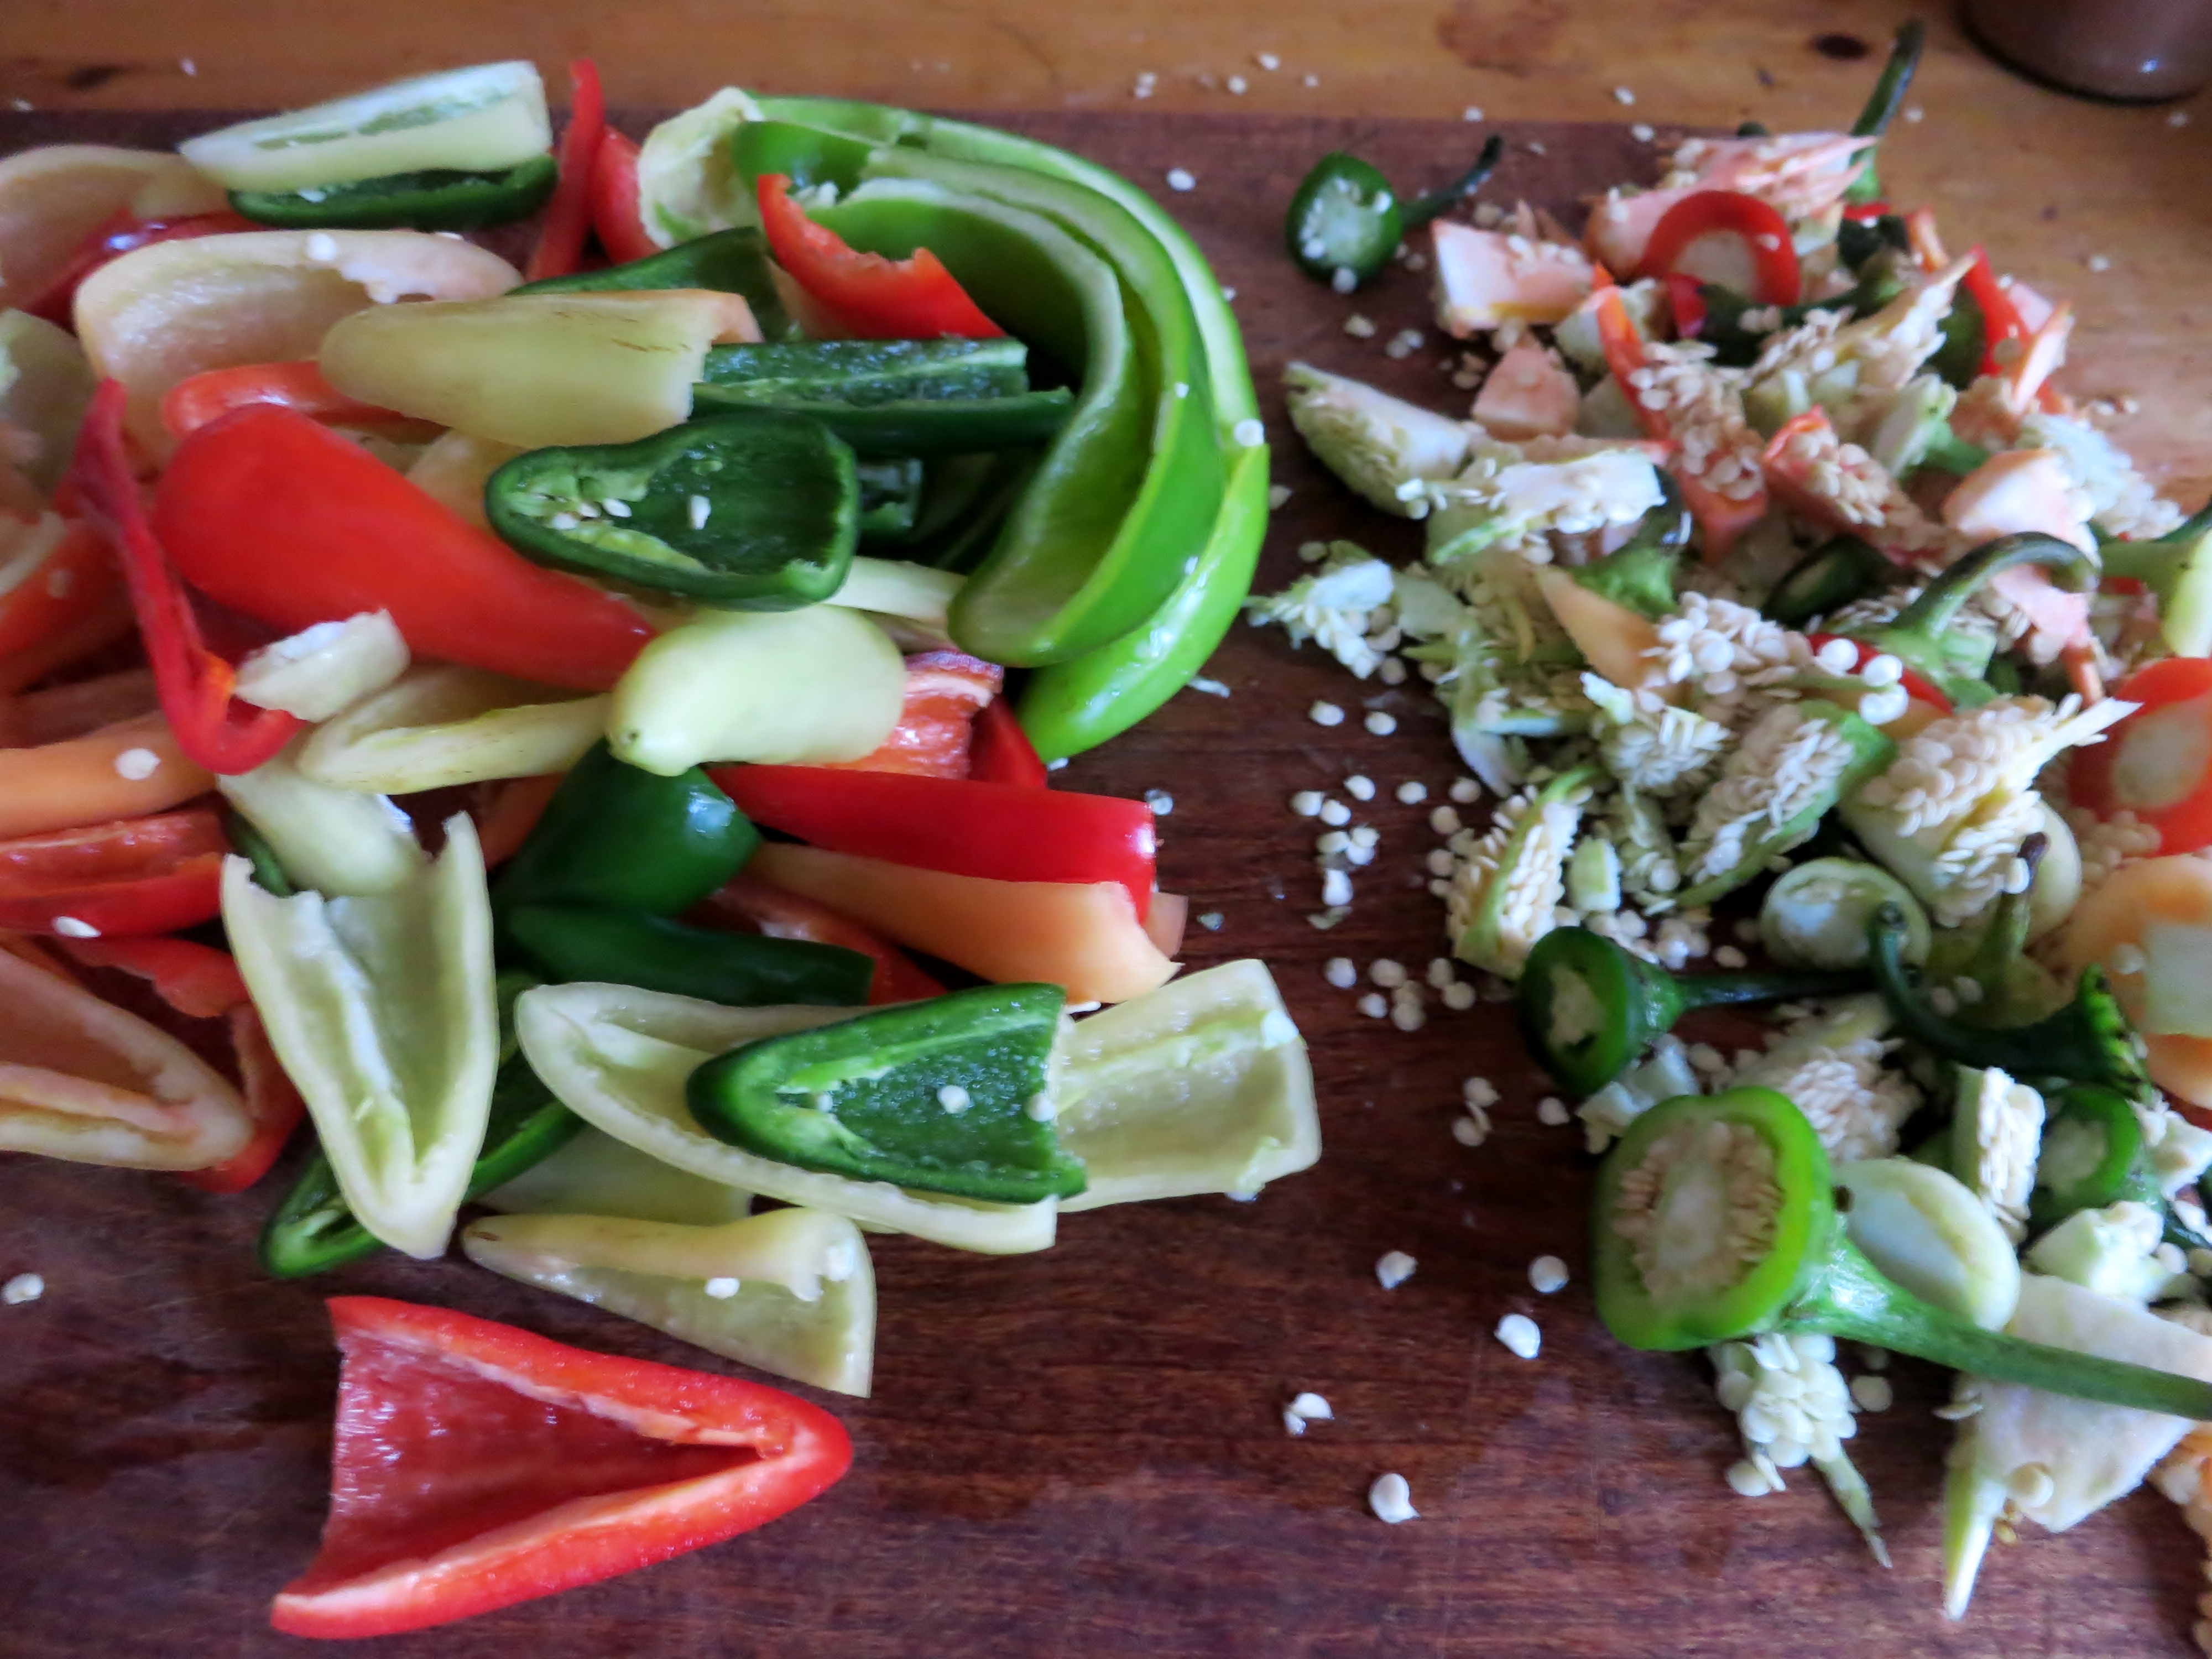
deseeding chiles

deseeding chiles

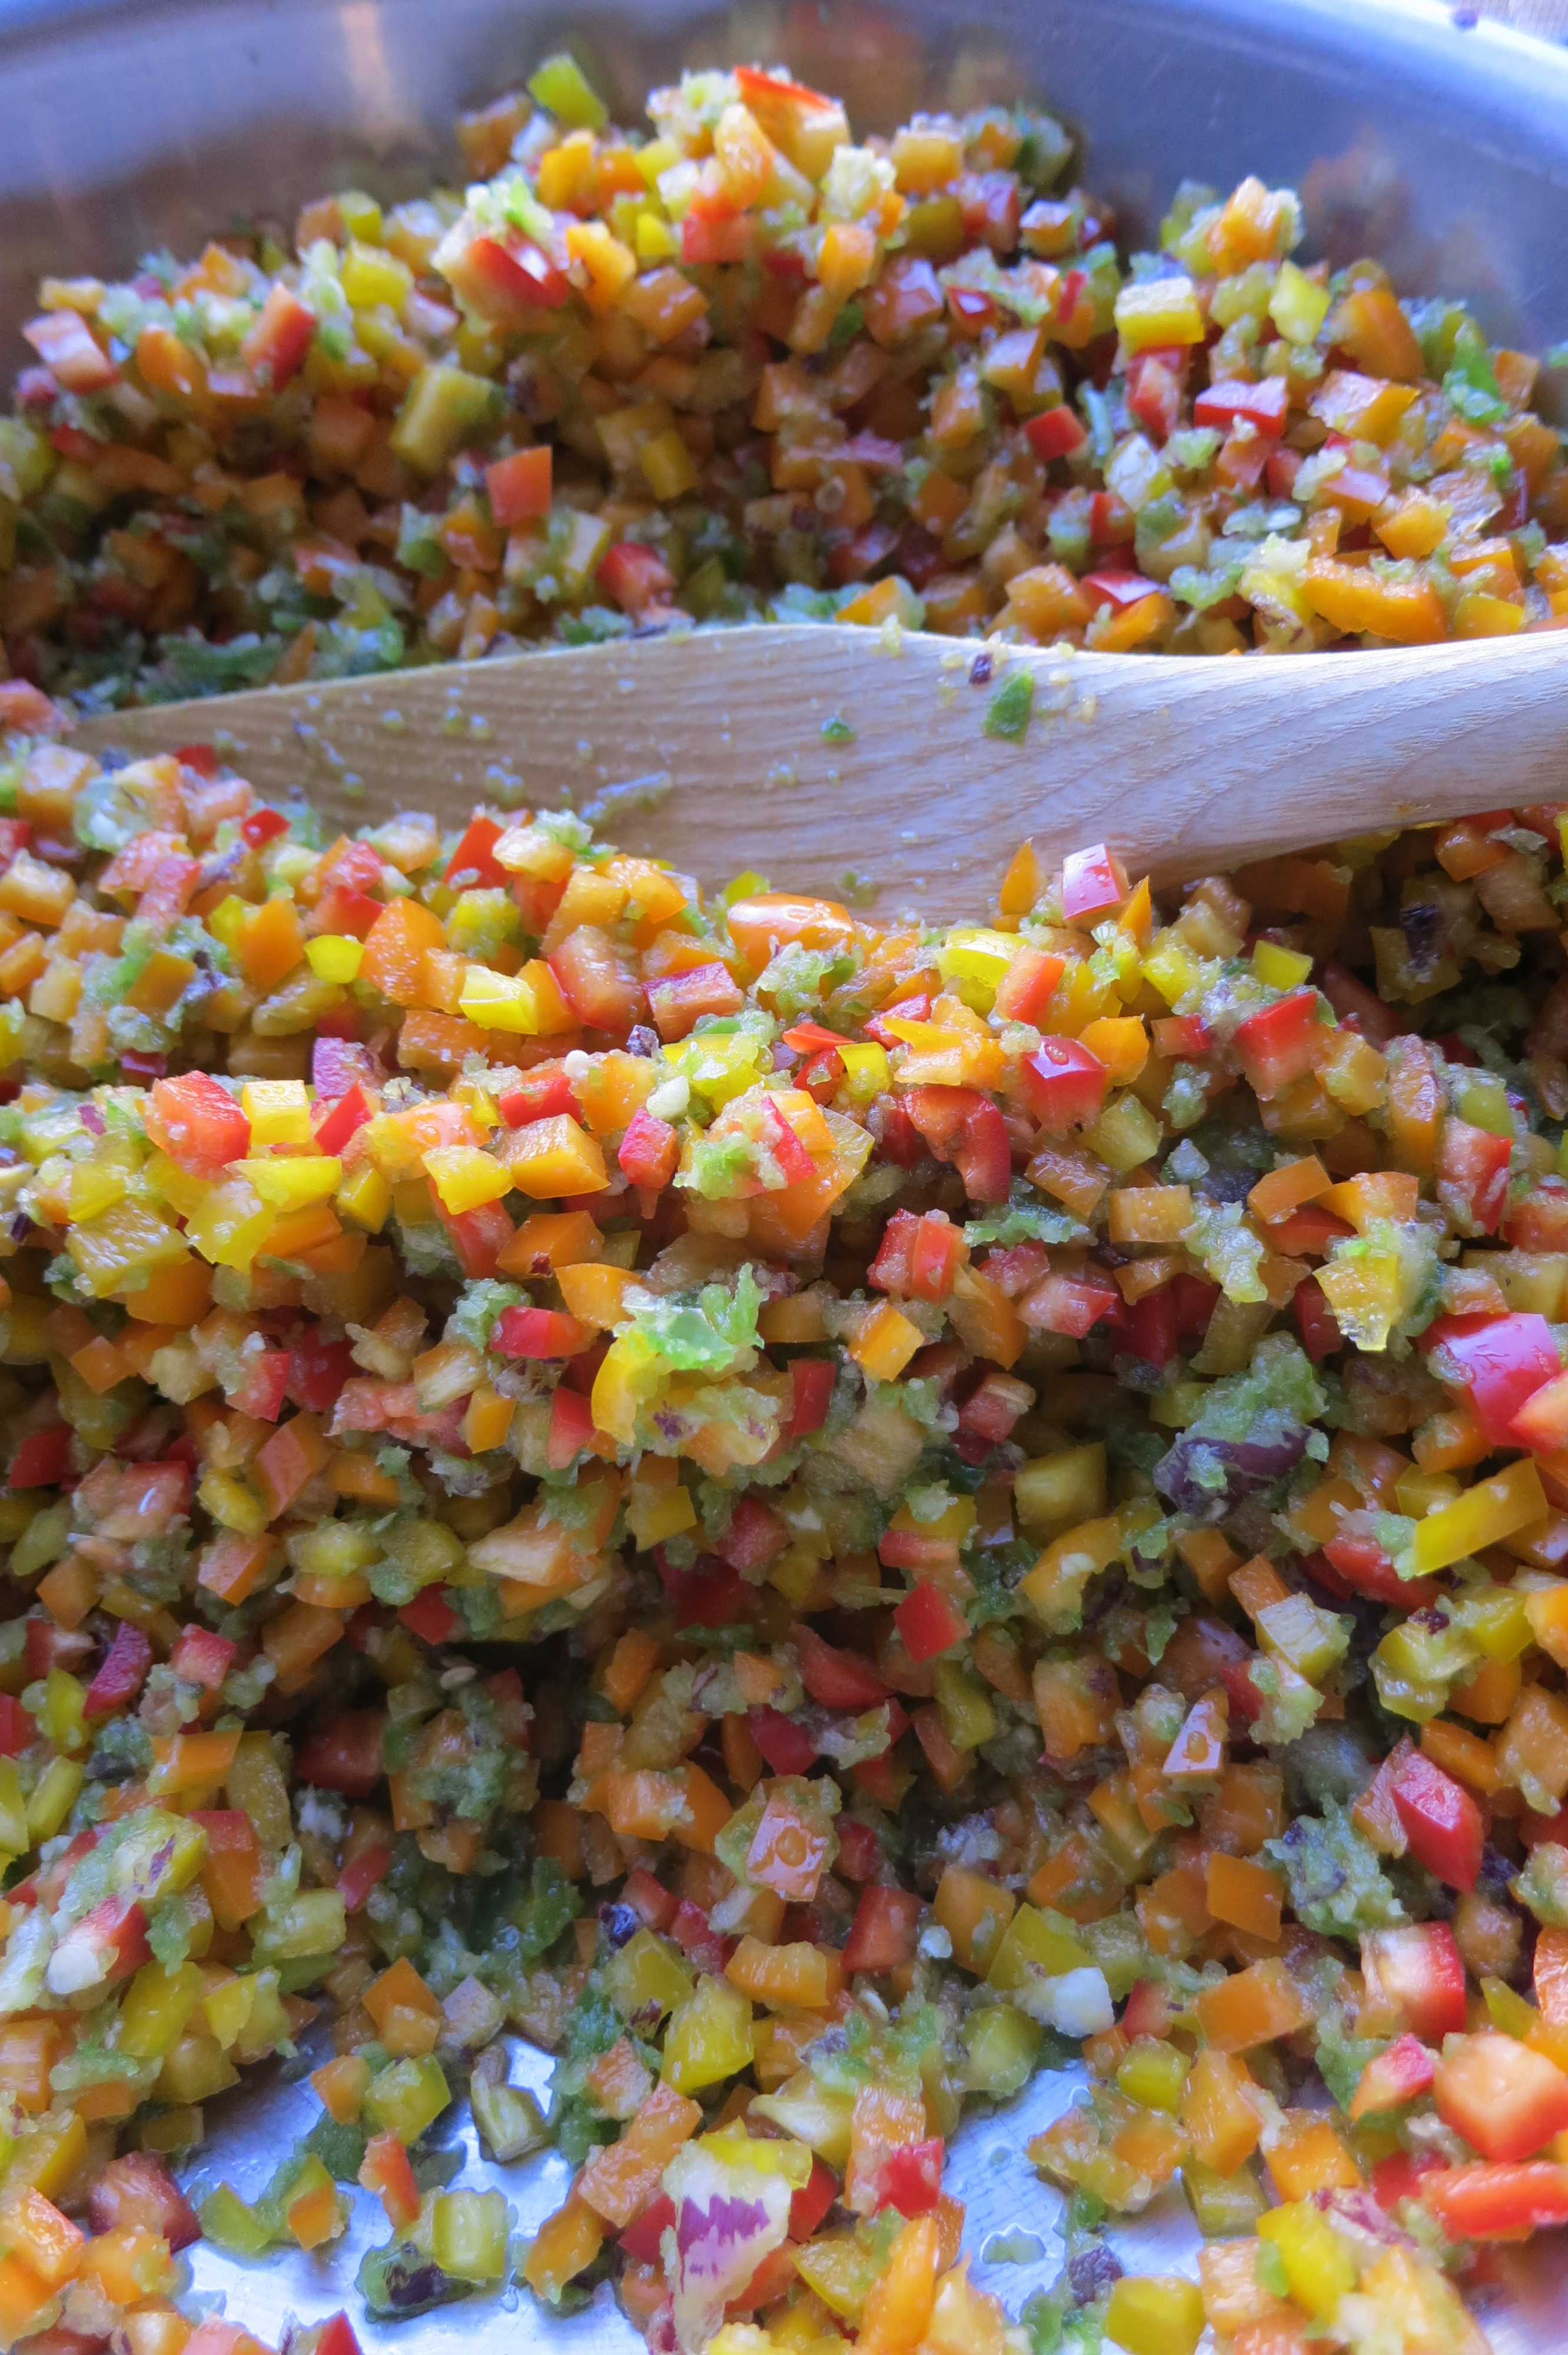
Sometimes I meticulously seed and dice the chiles, sometimes I only cut off the stems and coarsely chop in the food processor.

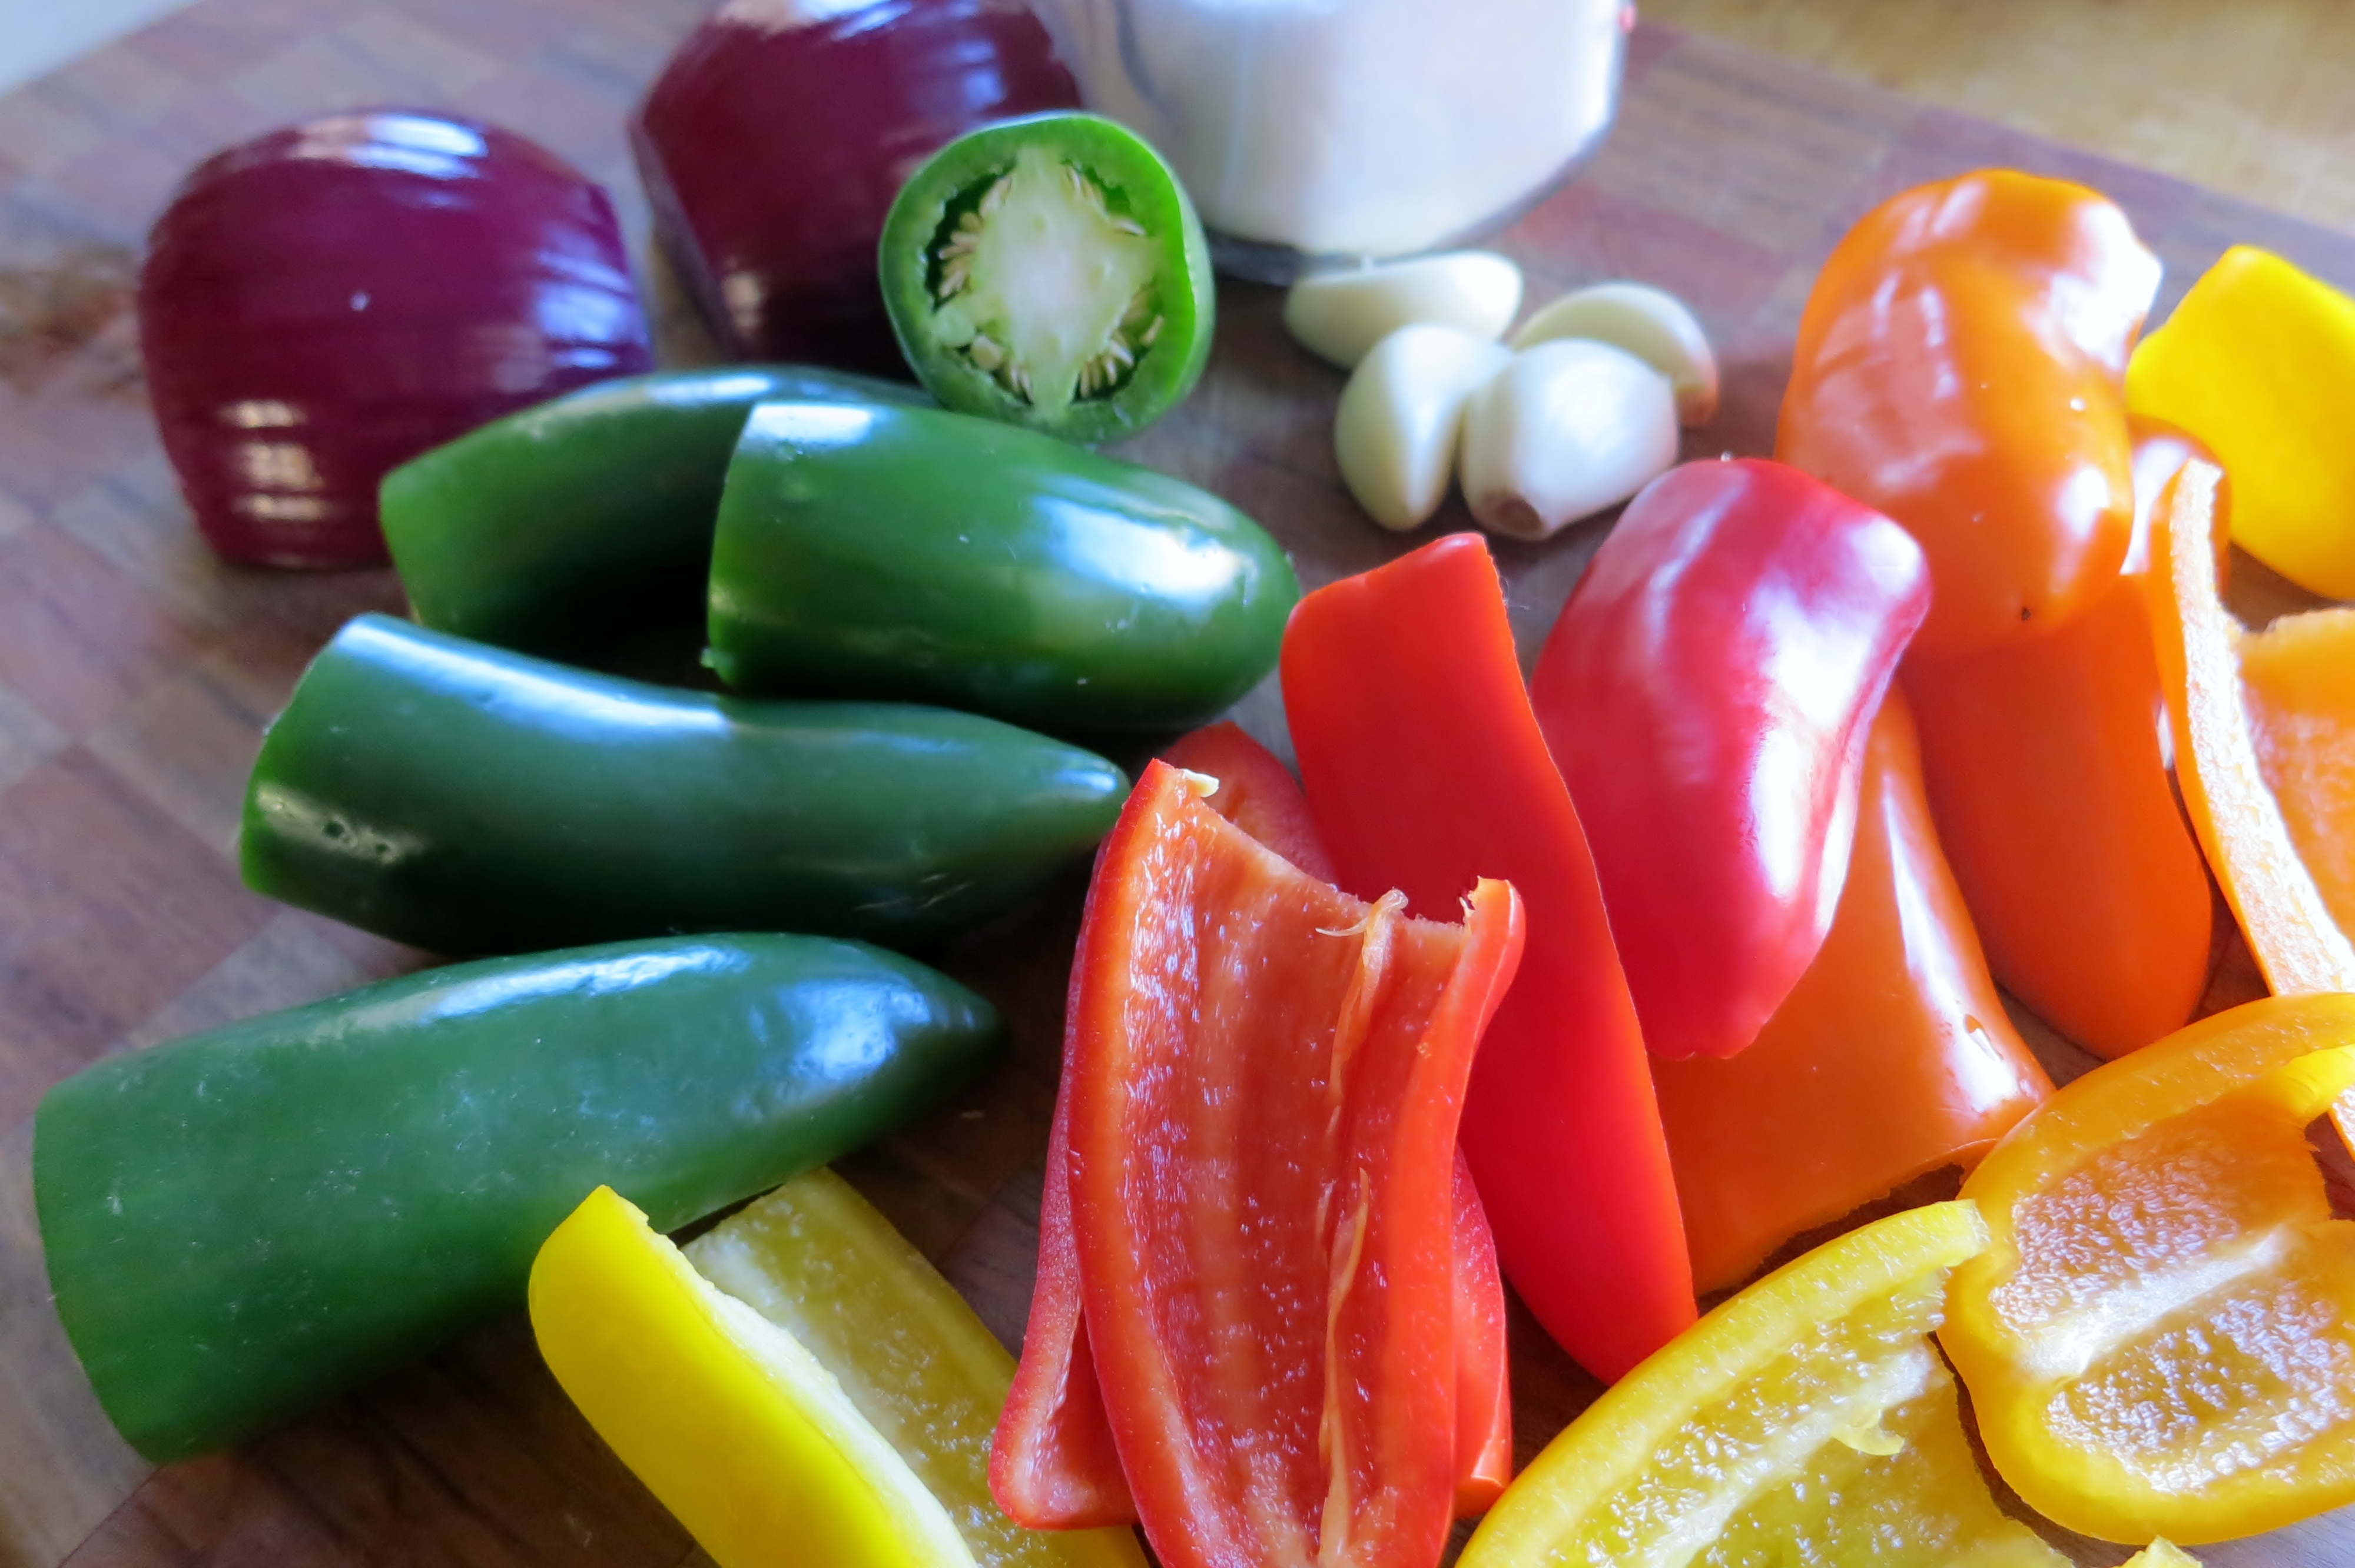
chiles, onion, garlic and salt

chiles, onion, garlic and salt

I usually add onion, garlic and herbs, as the season and whim direct.

chopping chiles reminds me of Uncle Bob and cousin Doug

chopping chiles reminds me of Uncle Bob and cousin Doug

Add salt to the salsa, 2% of vegetables’ weight. This is roughly 1 teaspoon non-iodized salt per cup of diced vegetables, more or less. Salt slows and directs biological activity to make the food more delicious. Lactobacilli thrive in salty environments where other organisms cannot, and the lactic acid they make further inhibit harmful bacteria. Since this is a condiment, I don’t mind it a little salty. There are enough beneficial bacteria on the fresh produce and in the air, so no starter culture is necessary.

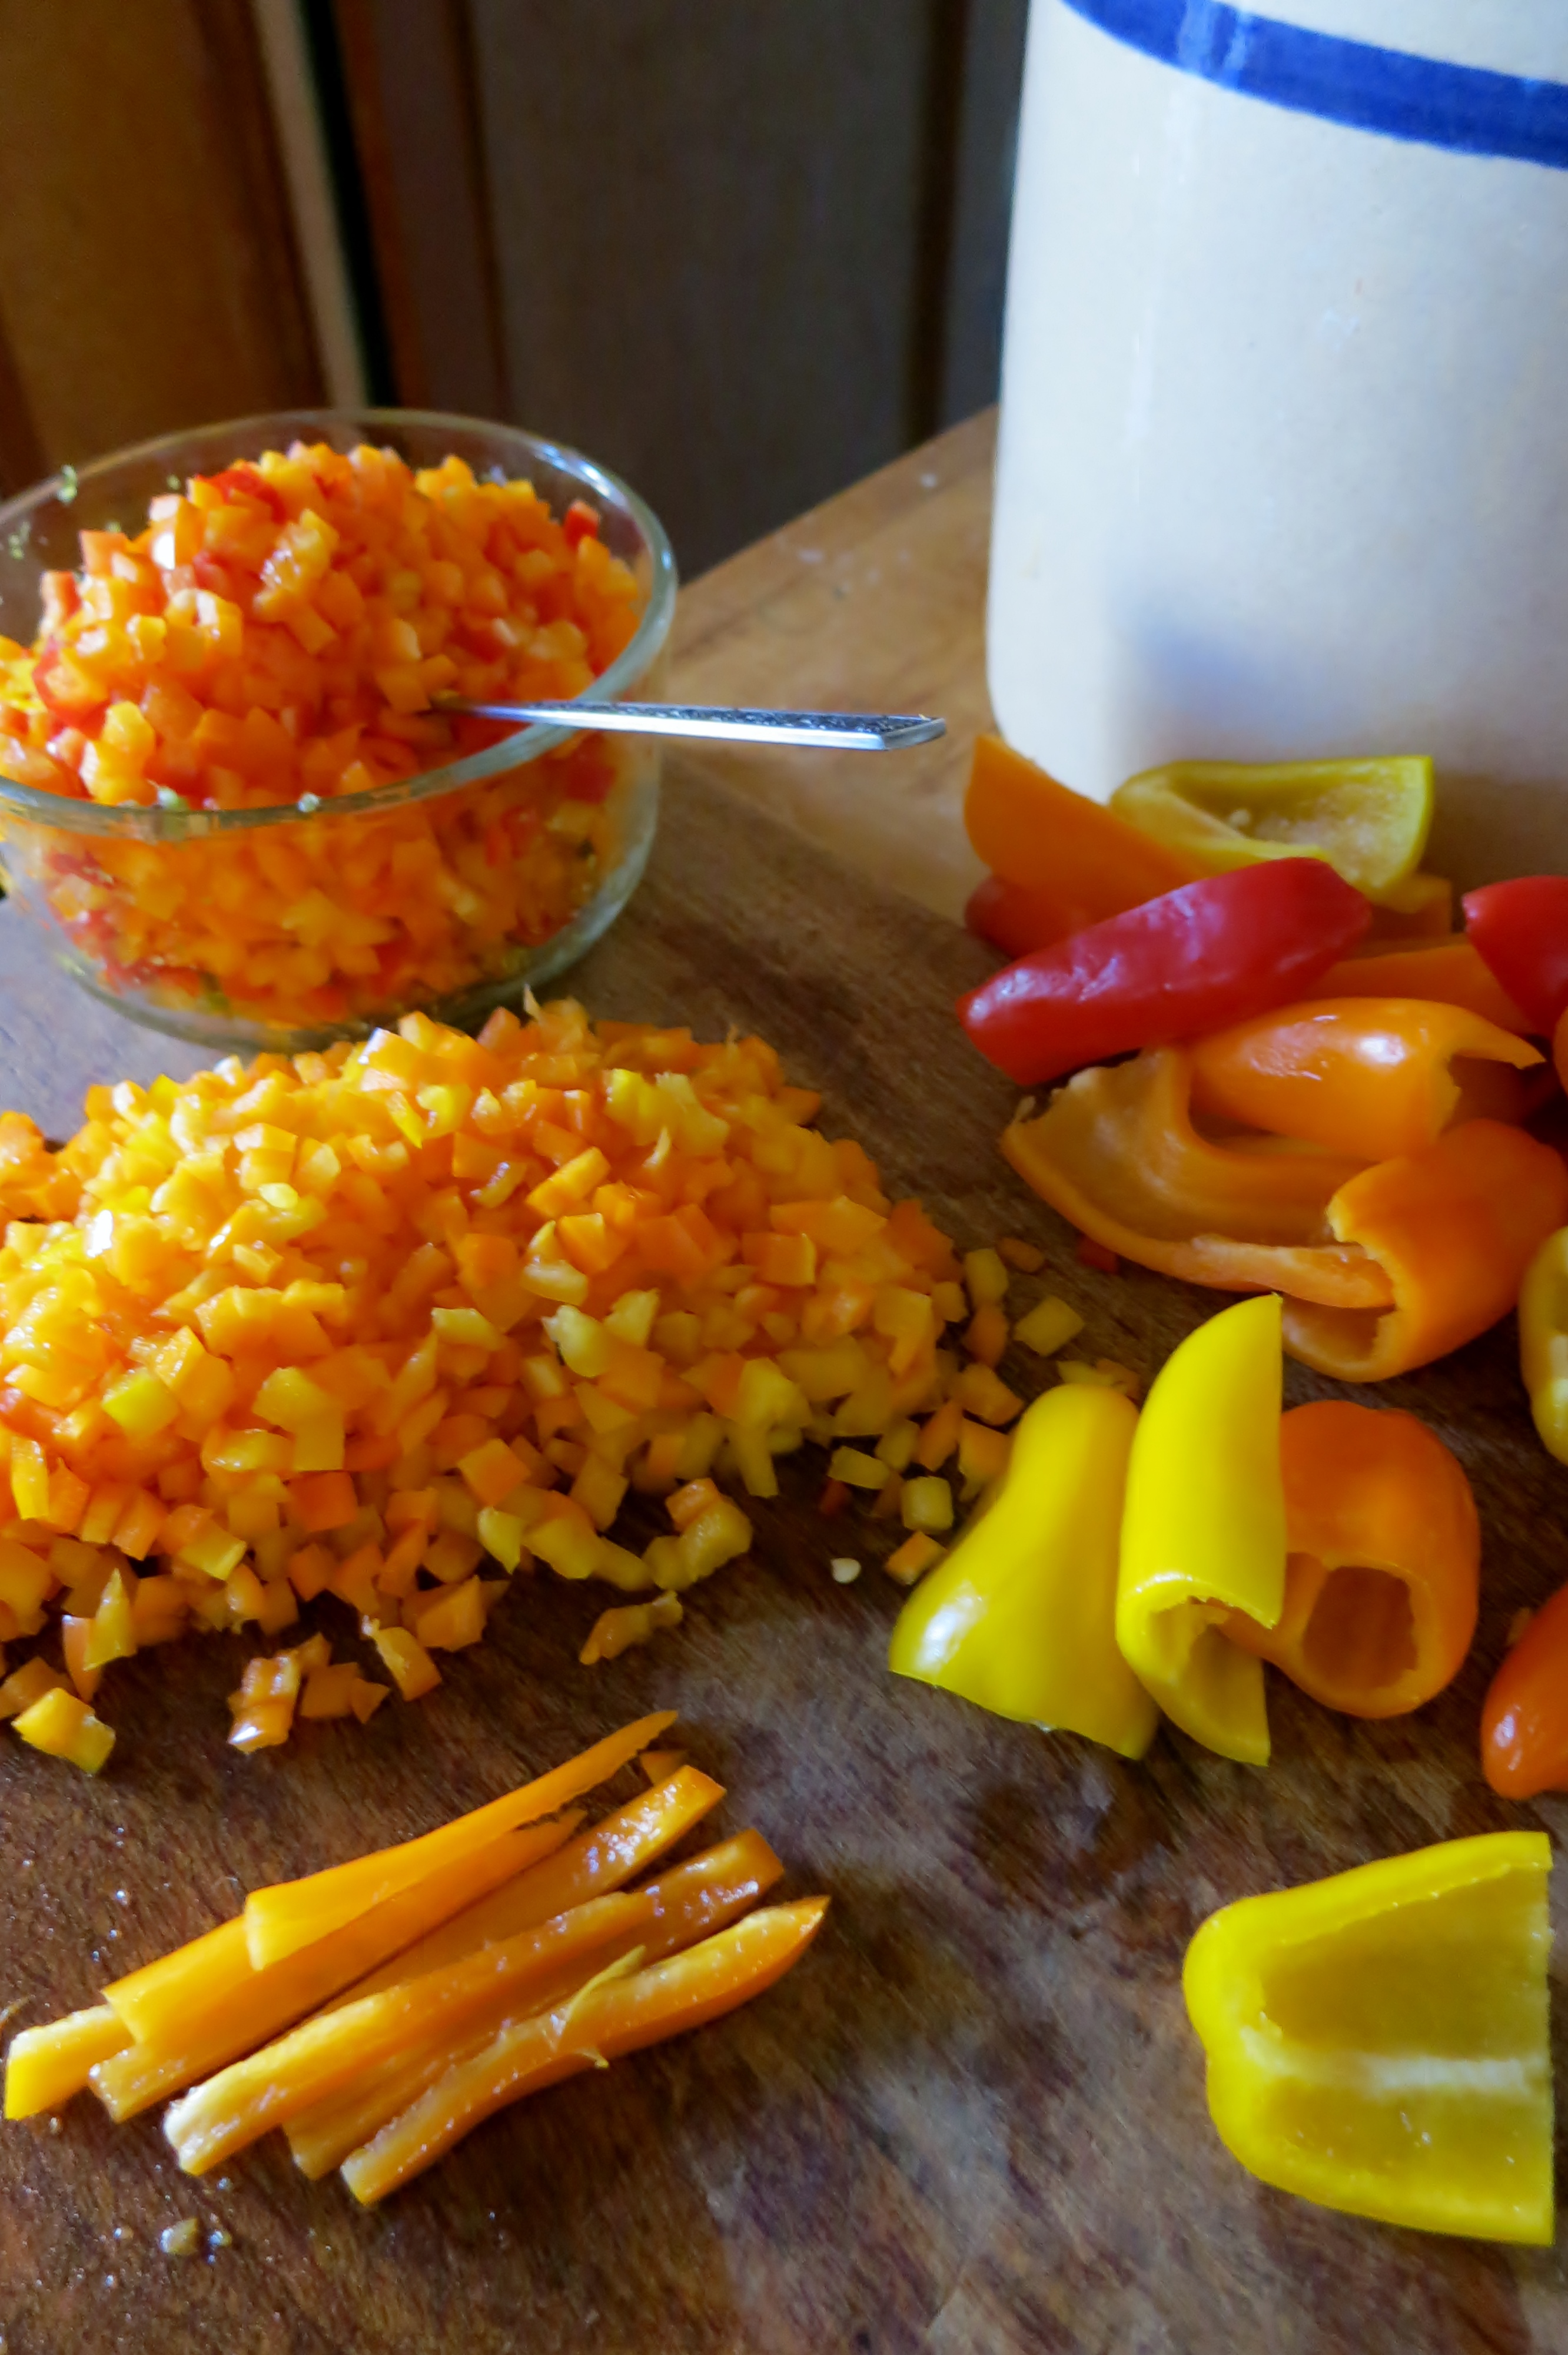
diced chiles

diced chiles

If the chiles are not very fleshy or I want a thinner sauce, I add a little brine made with 2 teaspoons salt per cup of water. Thinning the sauce is a good idea when the chiles are very hot!
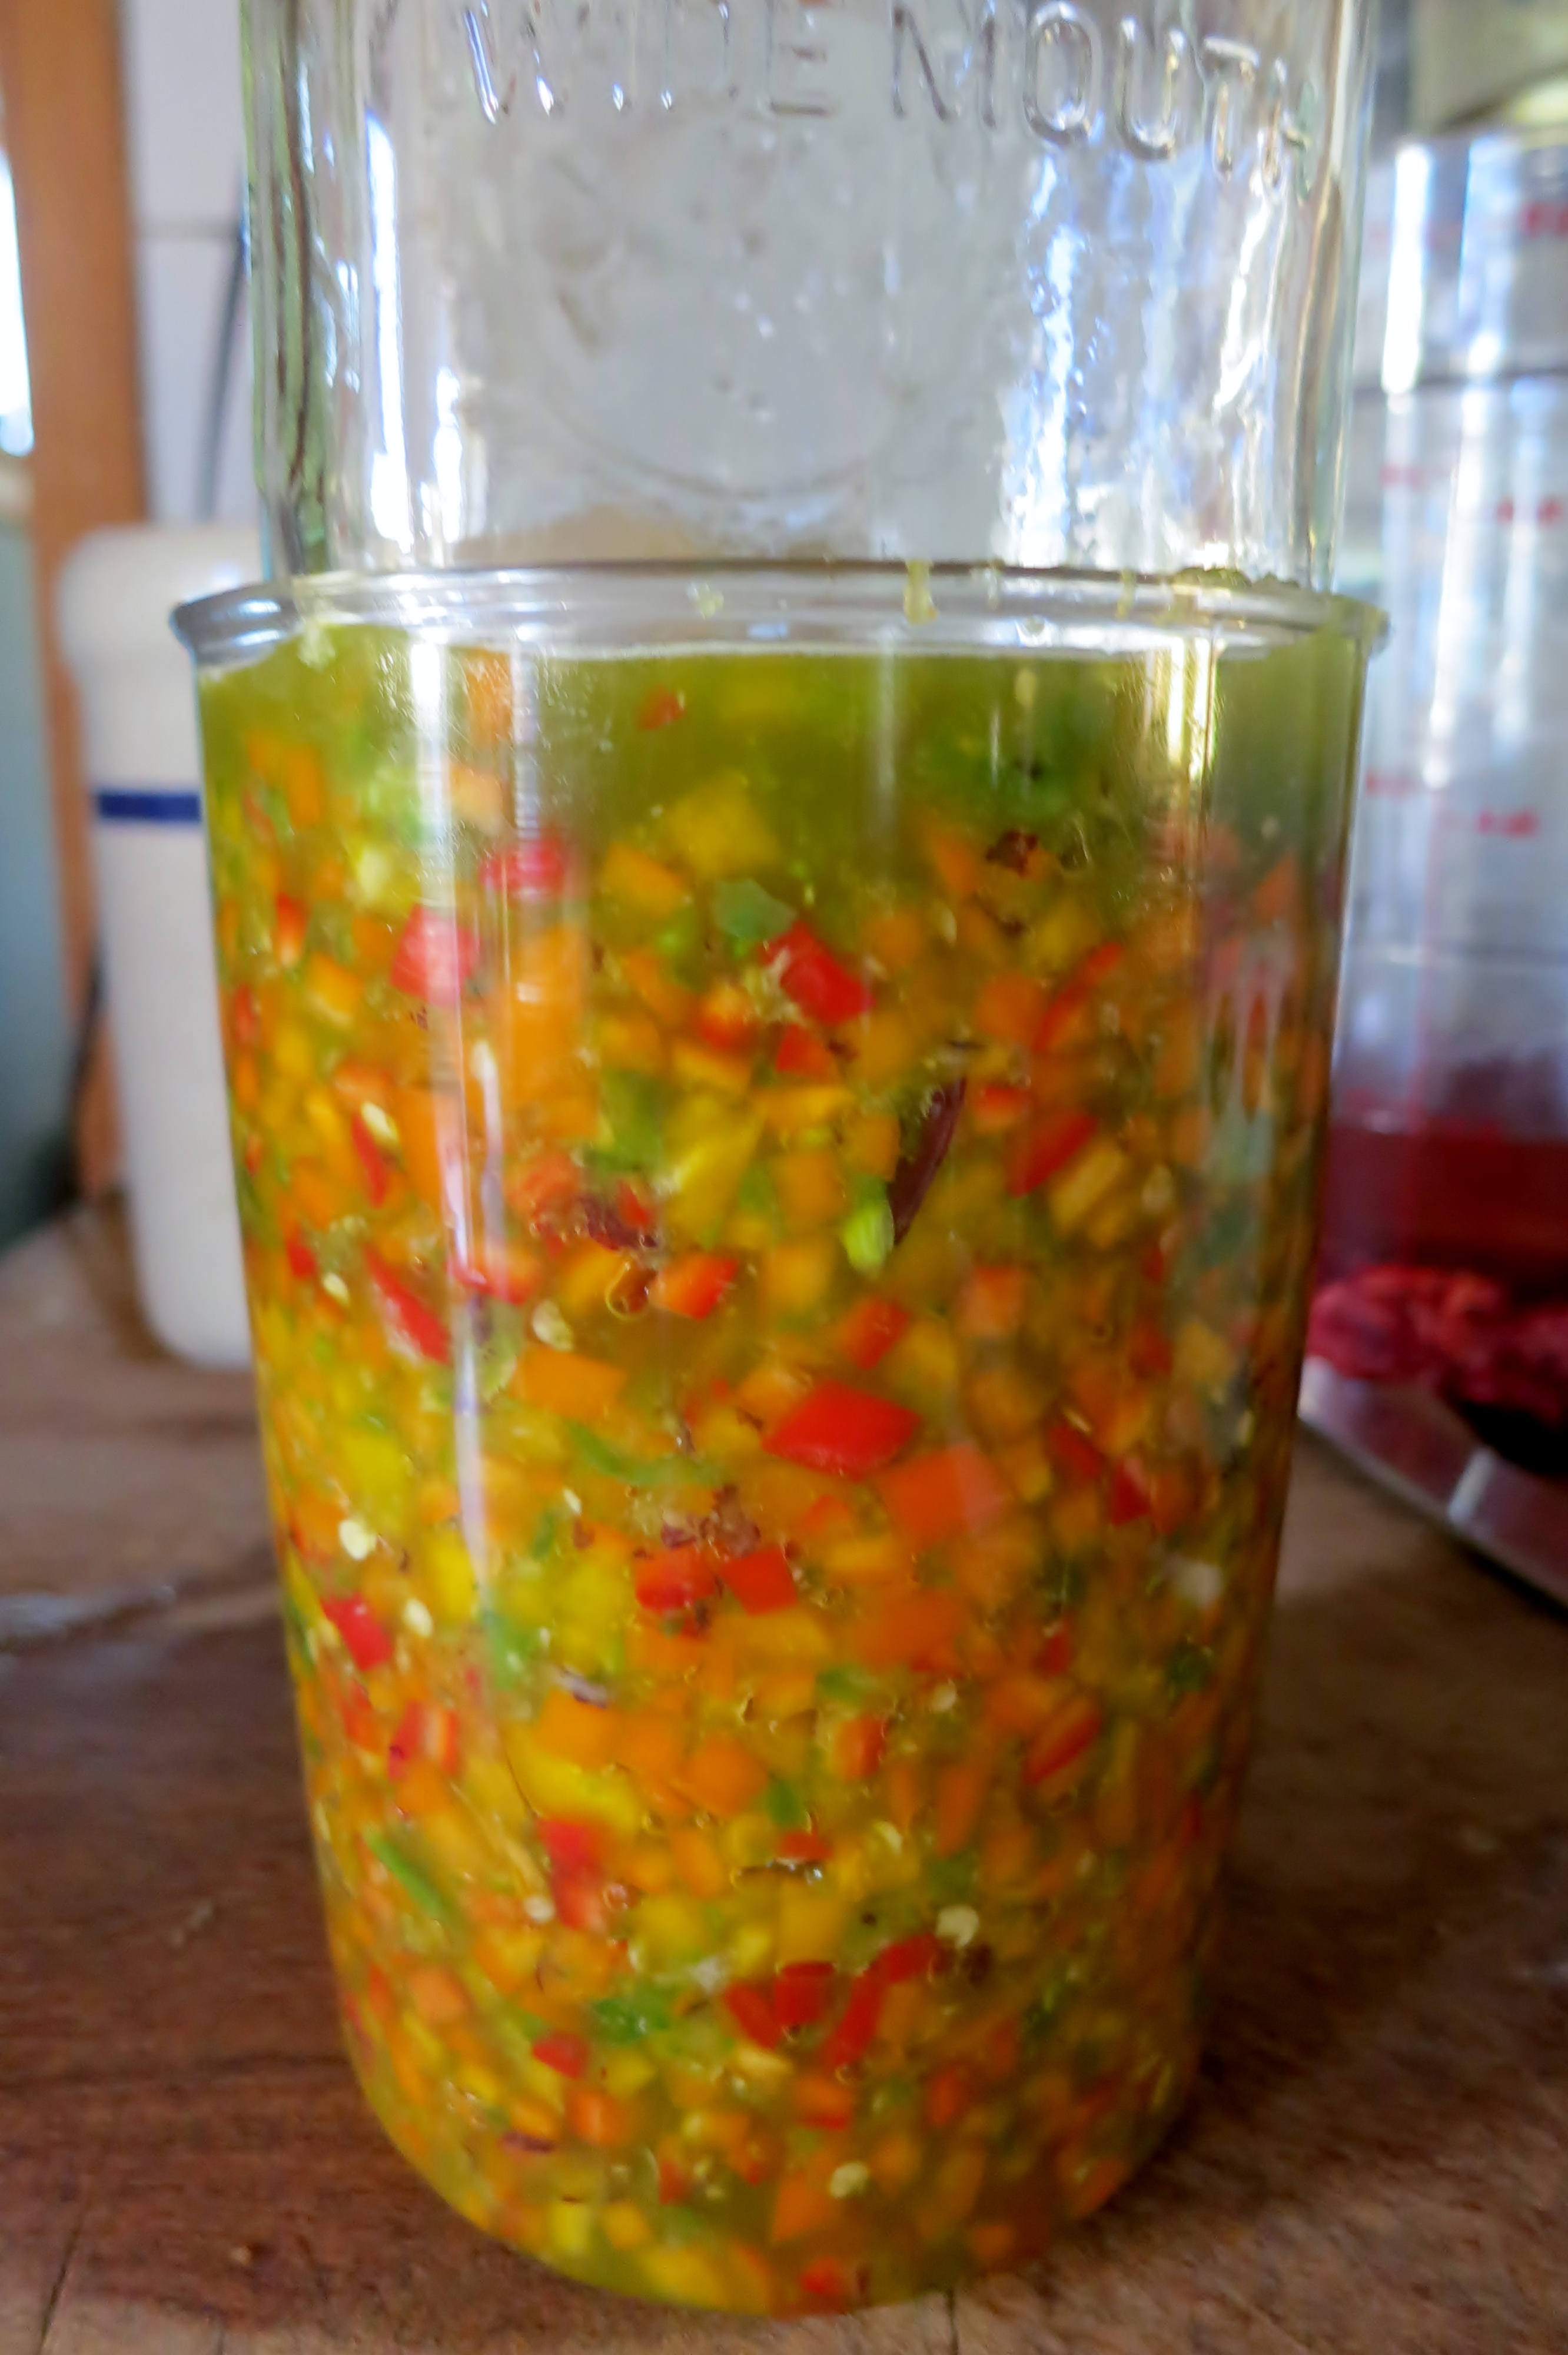
Put the salsa in a jar with a weight on top, keeping the pieces of chile submerged in exuded juice or brine. I use a smaller jar as a weight.

pureed jalapenos with  diced multicolor sweet peppers

pureed jalapenos with diced multicolor sweet peppers

Cover the tower with a tea towel to keep out dust and insects, and keep at room temperature.

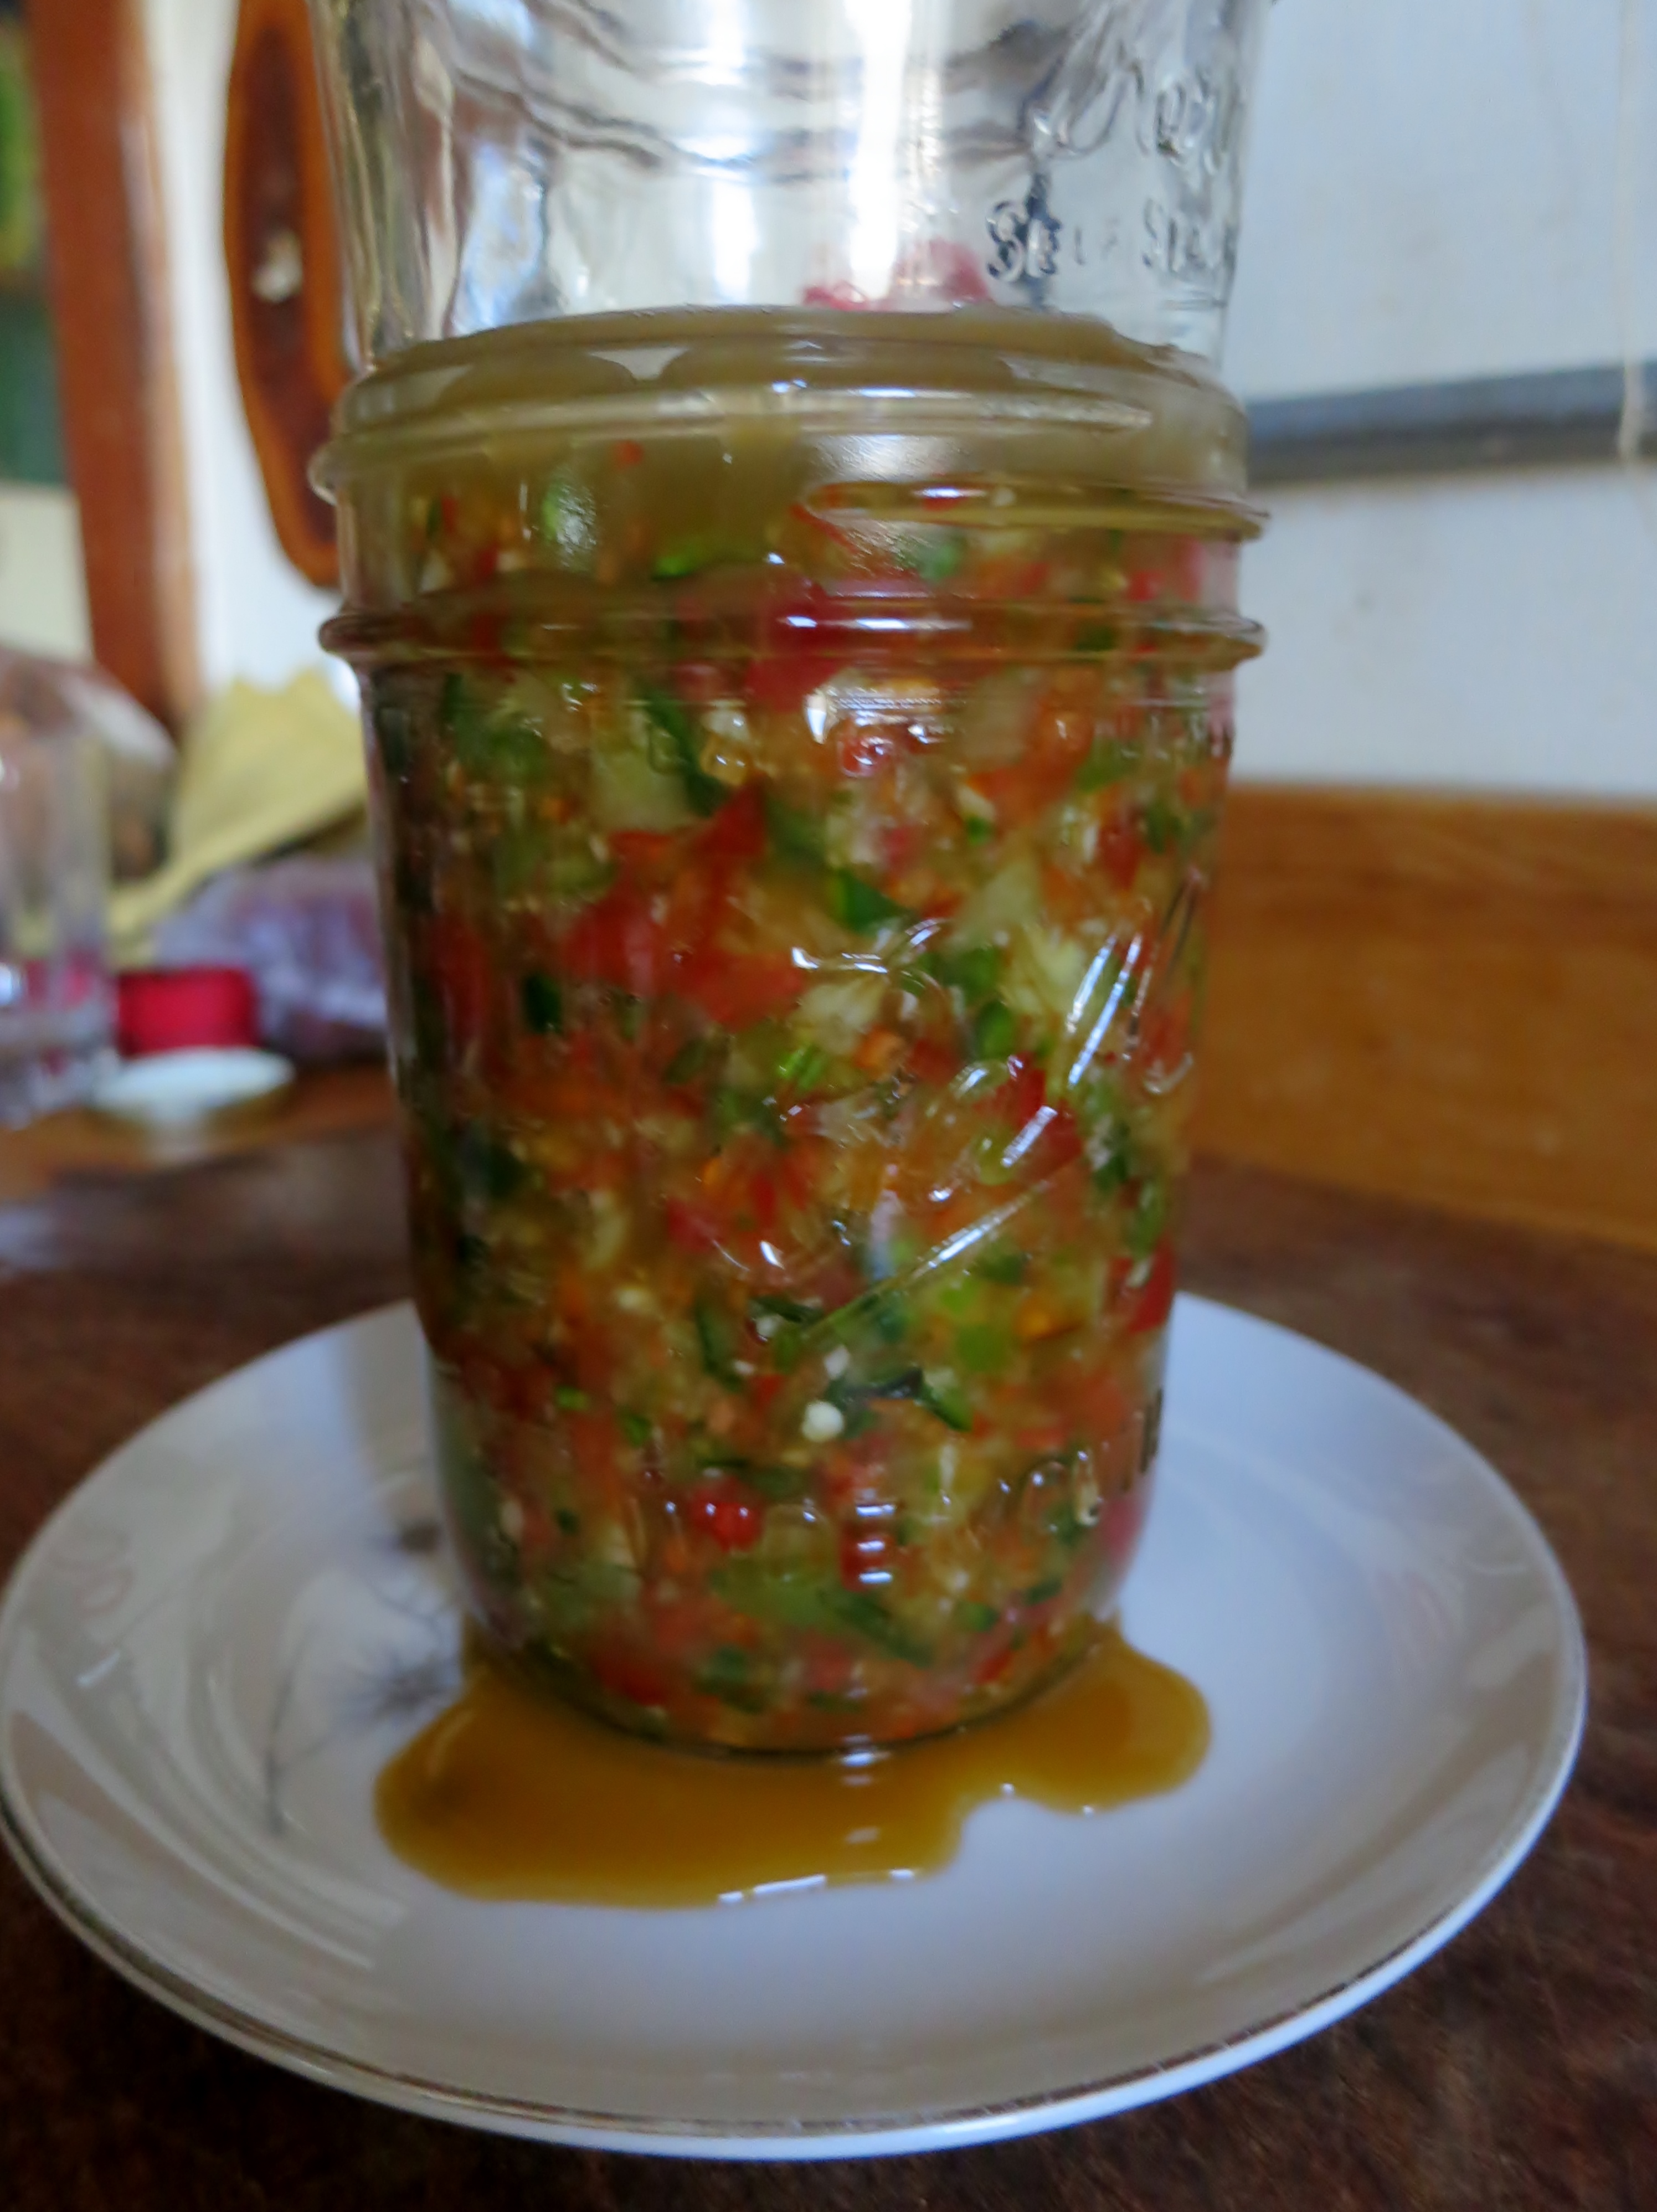
fermenting chiles can be messy

fermenting chiles can be messy

How long before it’s ready? Test daily in warm weather to see if it is sour enough for your taste. In winter, the process is slower, taking up to a couple weeks. If white mold forms on the surface, skim off the top. It is harmless. If the mold is any color other than white, or below the surface of the liquid, discard the whole batch. Better safe than sorry.
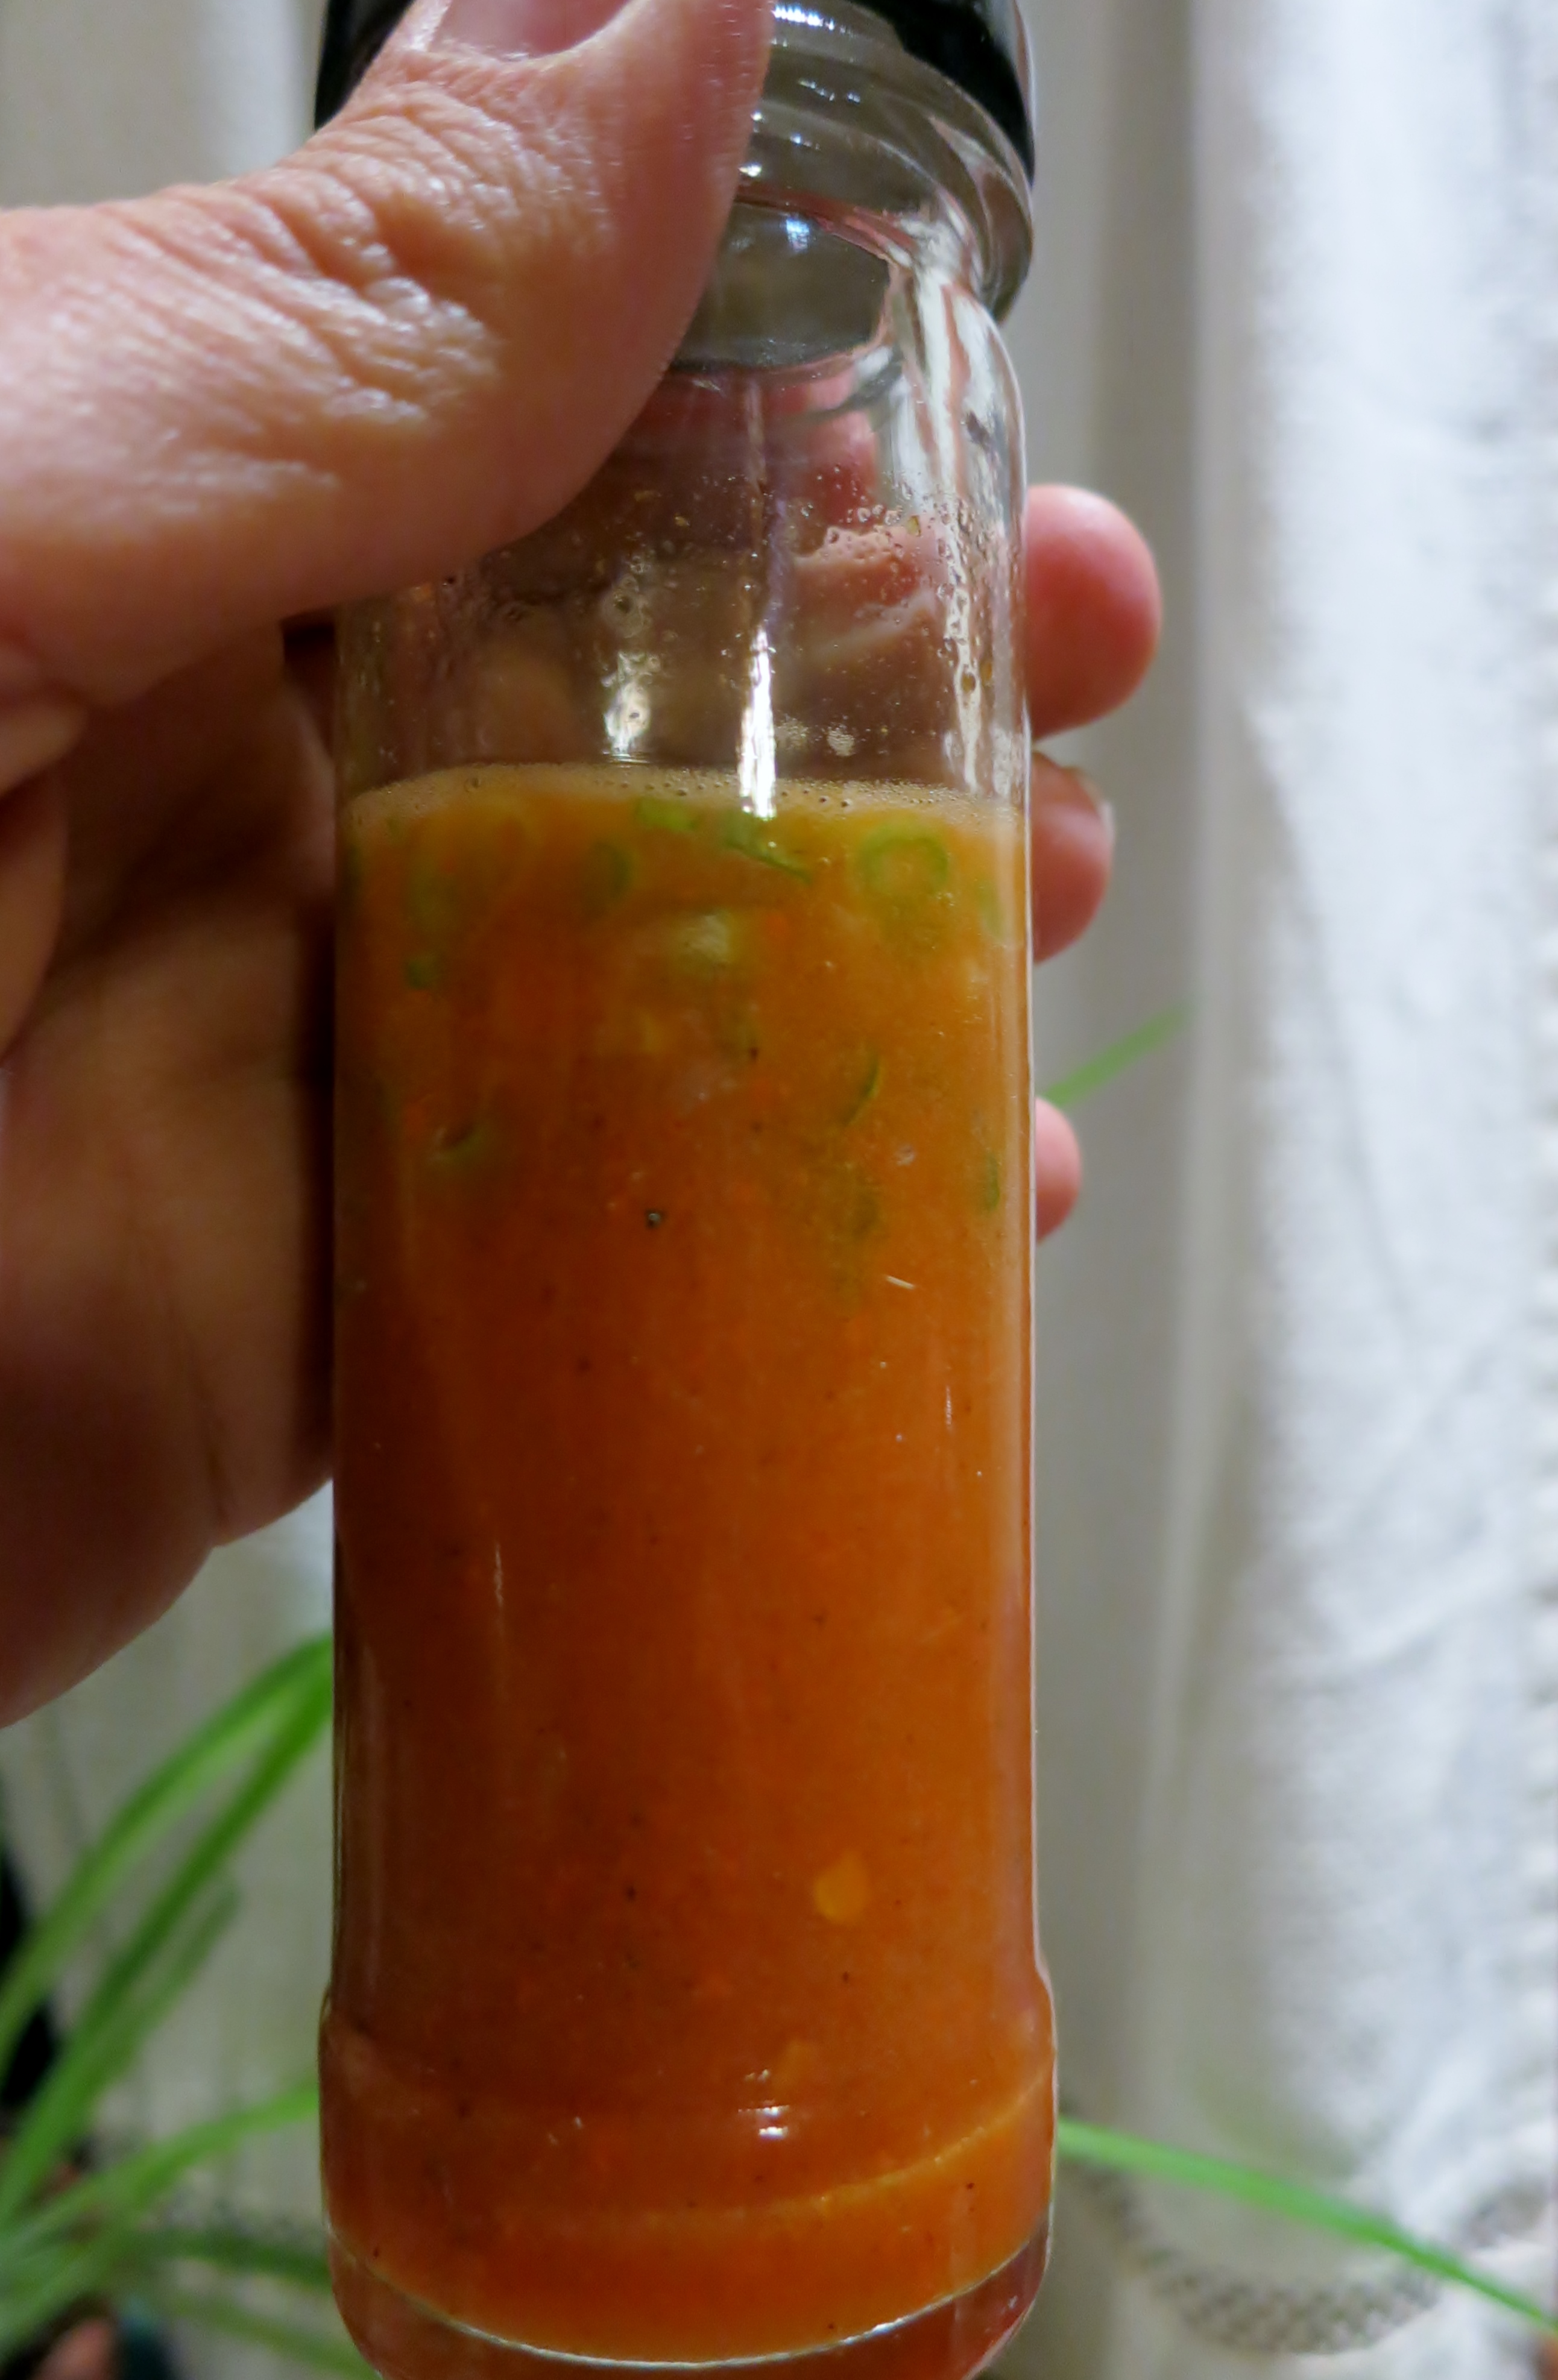
When the salsa is tart and delicious, it can be eaten as is or pureed. For a smooth salsa, it can be strained. Sometimes I add fresh herbs or minced I’itoi onion tops.

pureed salsa with diced I'itoi onion tops

pureed salsa with diced I’itoi onion tops

Store fermented salsa in the refrigerator with an airtight lid.
Chef Molly Beverly from Prescott, Arizona suggested fermenting a sauce from Mano Y Metate Pipian Rojo, so I have some of that going now. I can’t wait to taste it!
elote salsa
For more details about fermenting food, see Sandor Katz’s The Art of Fermentation. For an encouraging primer on safely fermenting food, find Wild Fermentation also by Katz. This is one of my all time favorite cookbooks.

It’s Saguaro Season

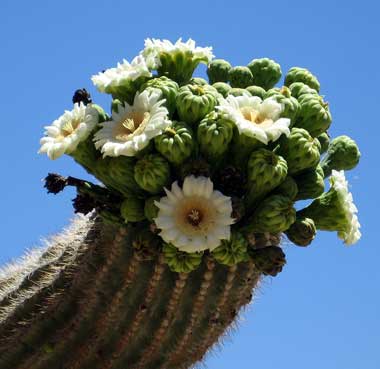
Saguaro flowers and unripe fruit. Photo by Rael B.

Saguaro flowers and unripe fruit. Photo by Rael B.

Our fire has burned and the sun has gone down;

Our fire has burned and the sun has gone down.

Come together, following our ancient custom.

Sing for the liquor,

Delightfully sing.

This was the song that called the people of the Tohono O’odham villages together for the saguaro wine ceremony that followed the  harvest. During the ceremony, they people invoked the intercession of a deity far away in a “rainhouse” full of wind, water and seeds in the hopes of hastening the storms.

This and many other songs were collected and translated by Ruth Murray Underhill, an early anthropologist who lived among what were then called the Papago in 1938. They appear in her book Singing for Power.

When I go saguaro gathering, I get up around 4:30 a.m. and aim to be out among the saguaros just at dawn.  I am always joined by doves and other birds looking for their breakfast. Alone on the desert, I occasionally find myself talking to the saguaros. “So what have you got for me?” I ask. I might worry about my sanity, but I know others have felt the same way. The late desert chronicler Edward Abbey agreed, calling saguaros “planted people.”

Dove getting breakfast

Dove getting breakfast

My harvest

My harvest


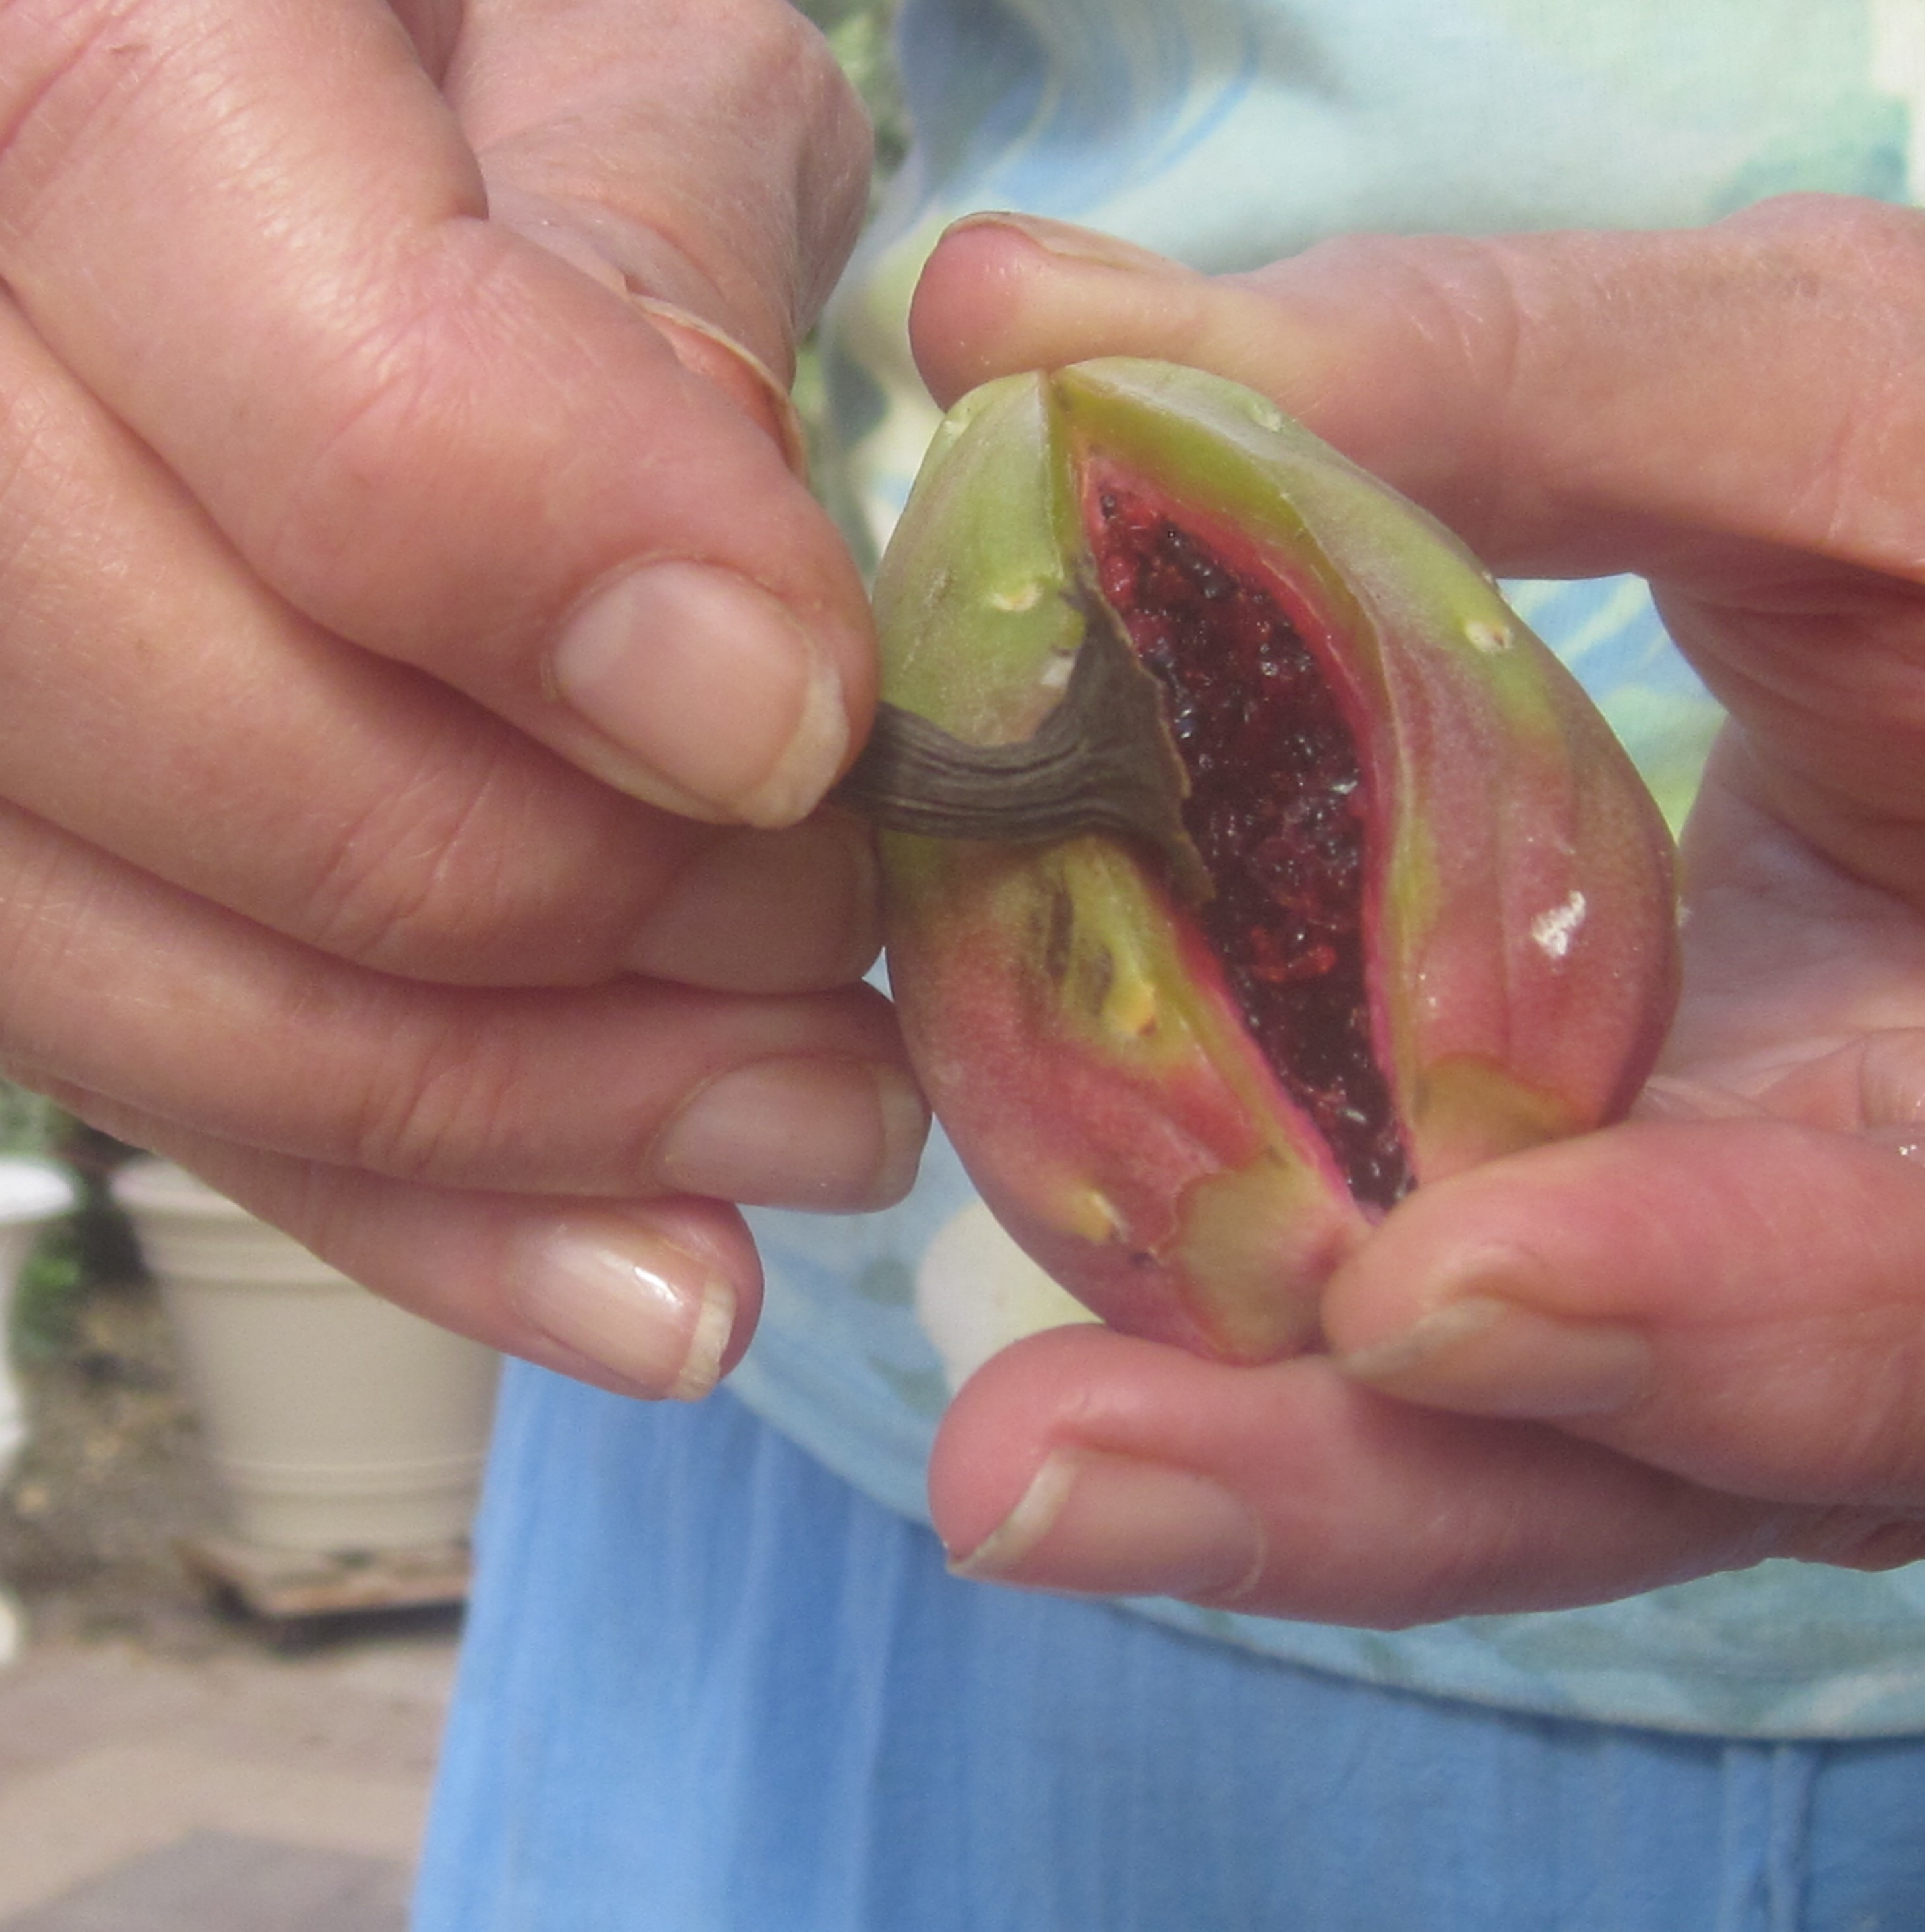
The orginal desert dwellers used a dead saguaro rib to push the fruits off the cactus. If you can’t find one, any long pole or a fruit picker will do. You can separate the fruit from the rind in the field or bring it home to clean. Each fruit comes with its own sharp-edged knife, like a natural can opener.


Opening a fruit with the calyx on the blossom end.

Opening a fruit with the calyx on the blossom end.


Sharp edge of the calyx can be used as a knife.

Sharp edge of the calyx can be used as a knife.


Once you have extracted the fruit, you can either dry it whole or separate it into the seeds and juice. This is a simple process. To your pan or bucket, add as much water as you have fruit. Let it sit, covered loosely for six to eight hours. Then plunge your hands in and break up the fruit. Strain off the juice. Boil to concentrate.  If you want to make syrup from the concentrated juice, add half as much sugar as you have juice and boil until clear. Store in a clean glass jar in the refrigerator. It will usually keep for months.

So what are the options for the seeds. You can put them in any baked good, make pilaf or porridge or cookie filling. But an easy use is homemade crackers. Spread the wet seeds on a cookie sheet in the sun. There will be some white material left from the juice, but either blow it off or ignore it.  I made these crackers in around a half hour. We are accustomed to eating commercial crackers that are very sweet and salty. So if you want a familiar flavor, use the higher amounts of salt and sugar.

Black Beauty Wafers

1/4 cup saguaro seeds

1 cup whole wheat flour

1/4 teaspoon baking powder

1/4 to 3/4 teaspoon salt

1-2 teasp0ons sugar

1/4 cup water

1 tablespooncider vinegar

1/4 cup vegetable oil

8 teaspoons whole saguaro seeds

Preheat oven to 400 degrees. Grind the 1/4 cup saguaro seeds in a blender or coffee grinder. In a large bowl, combine seeds, flour, baking powder, salt and sugar. Add water, vinegar and oil and mix, stirring and kneading until a stiff dough forms.

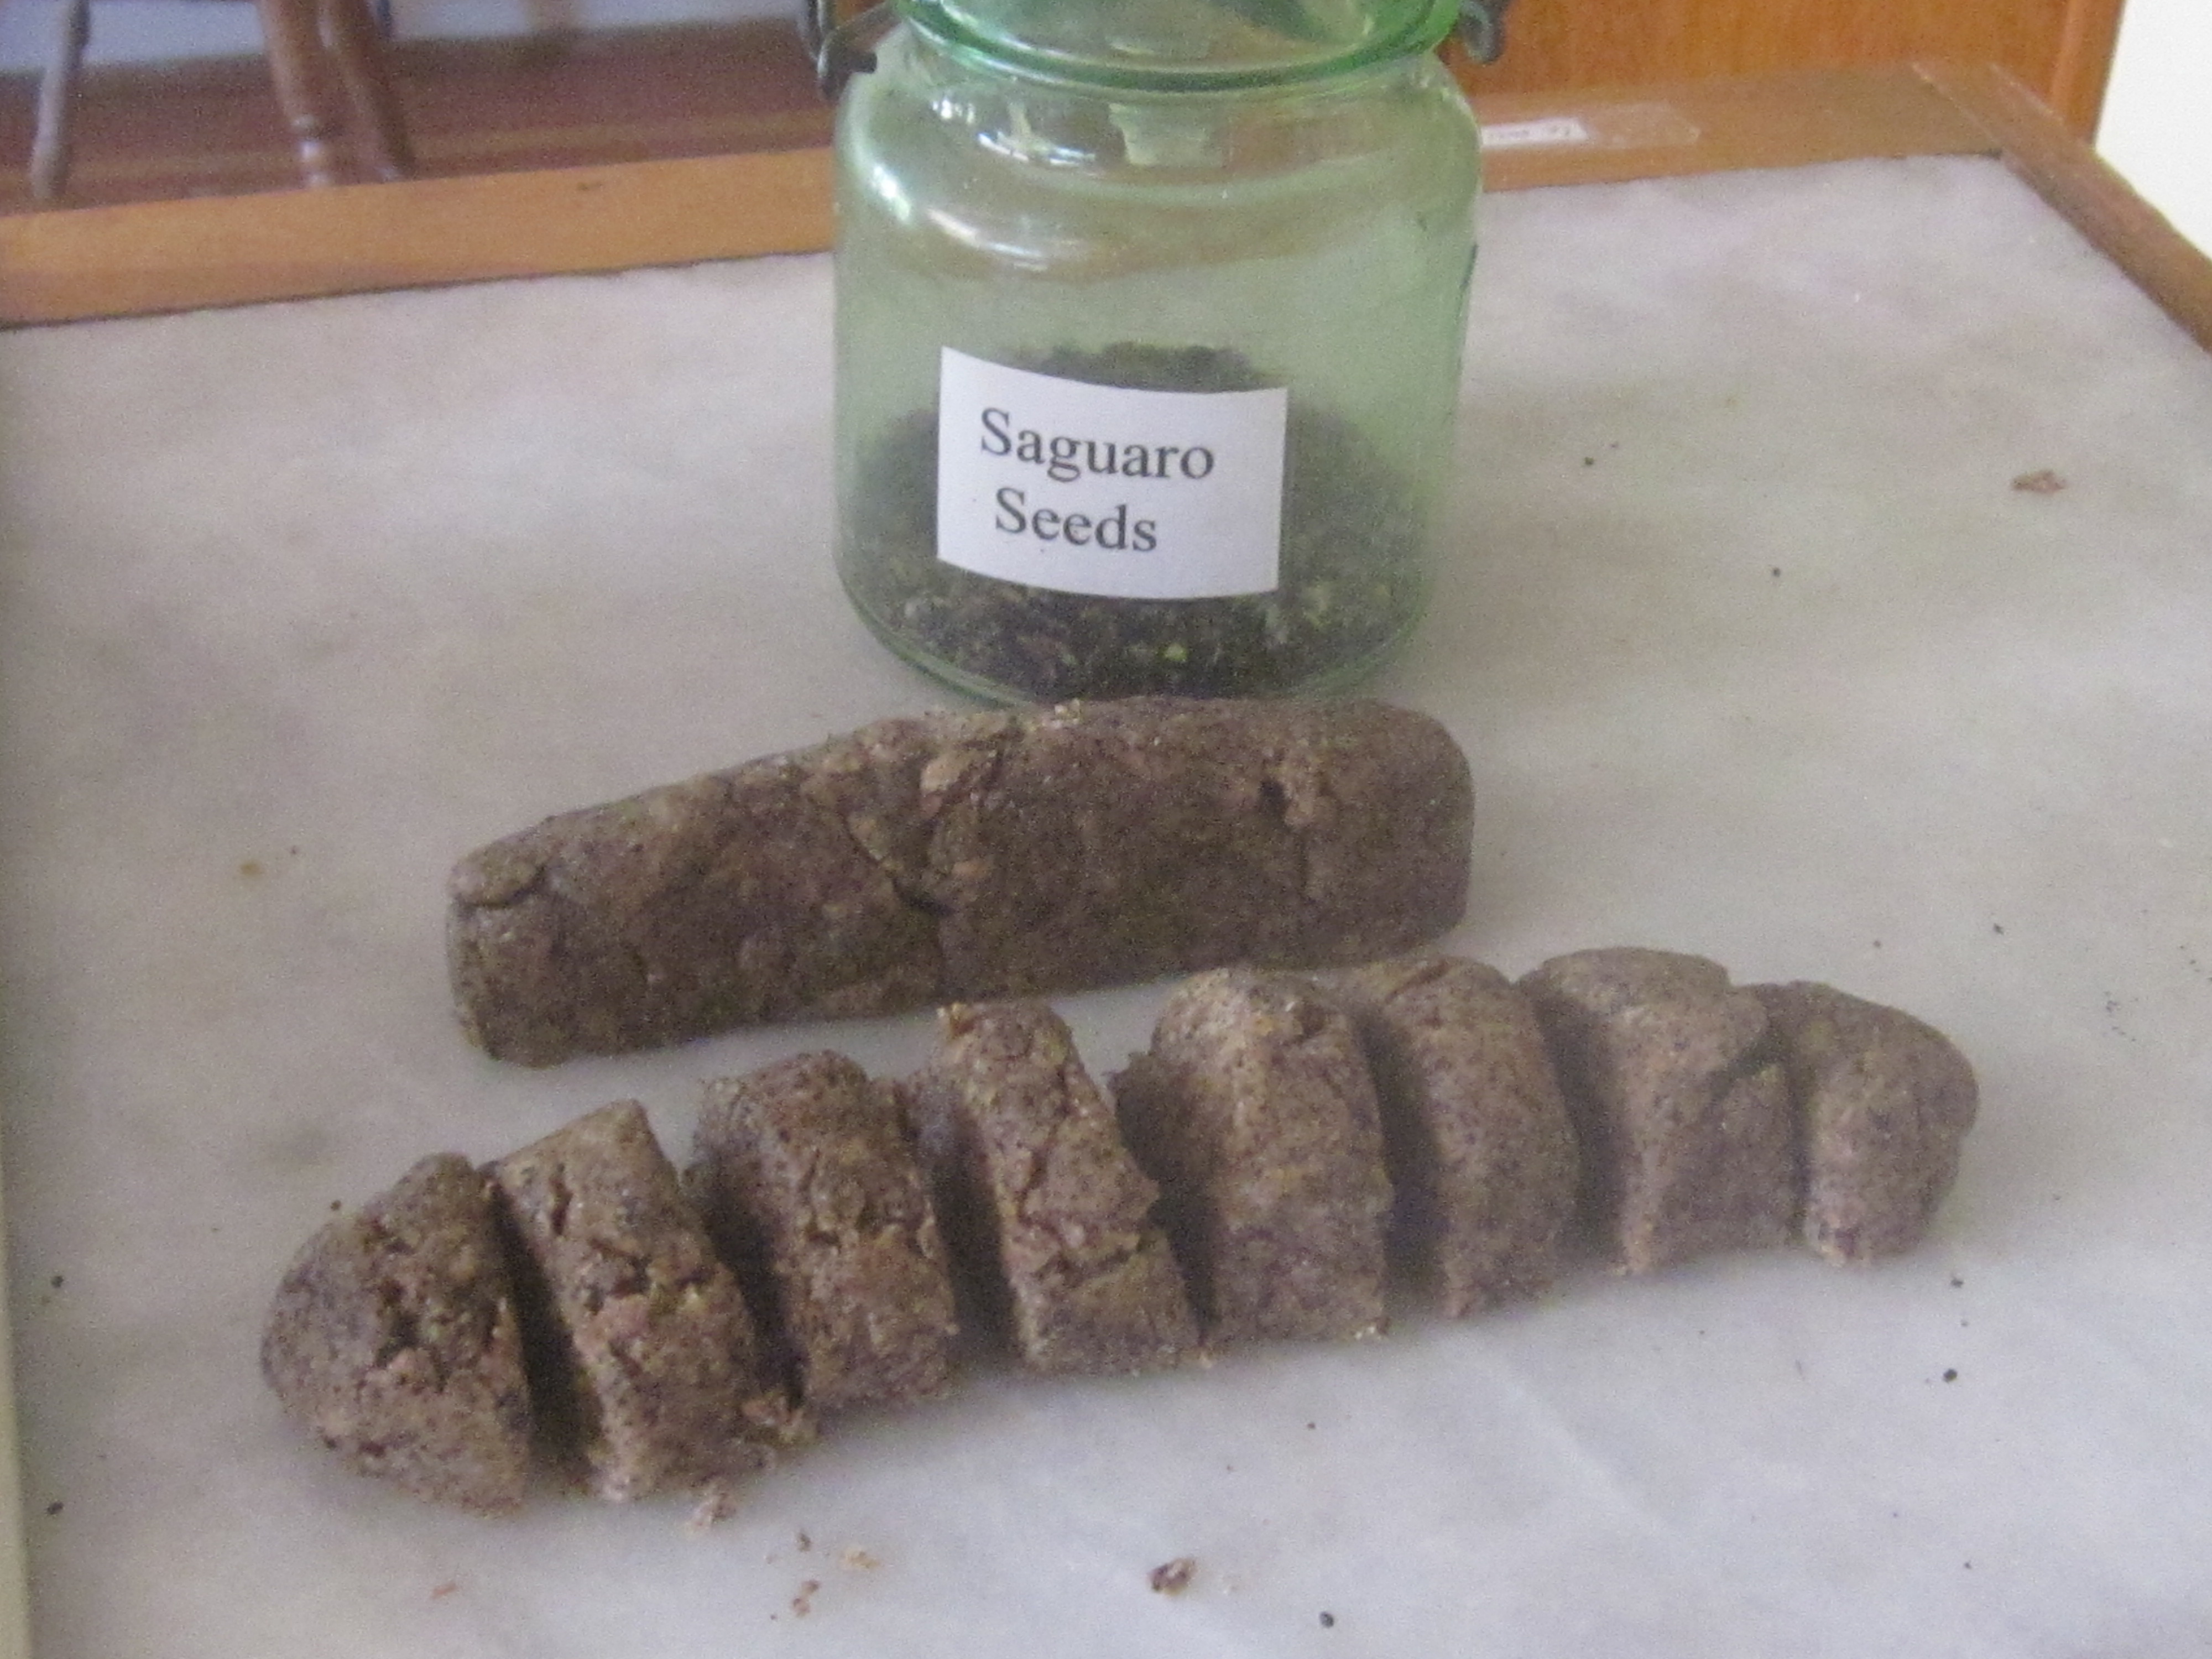
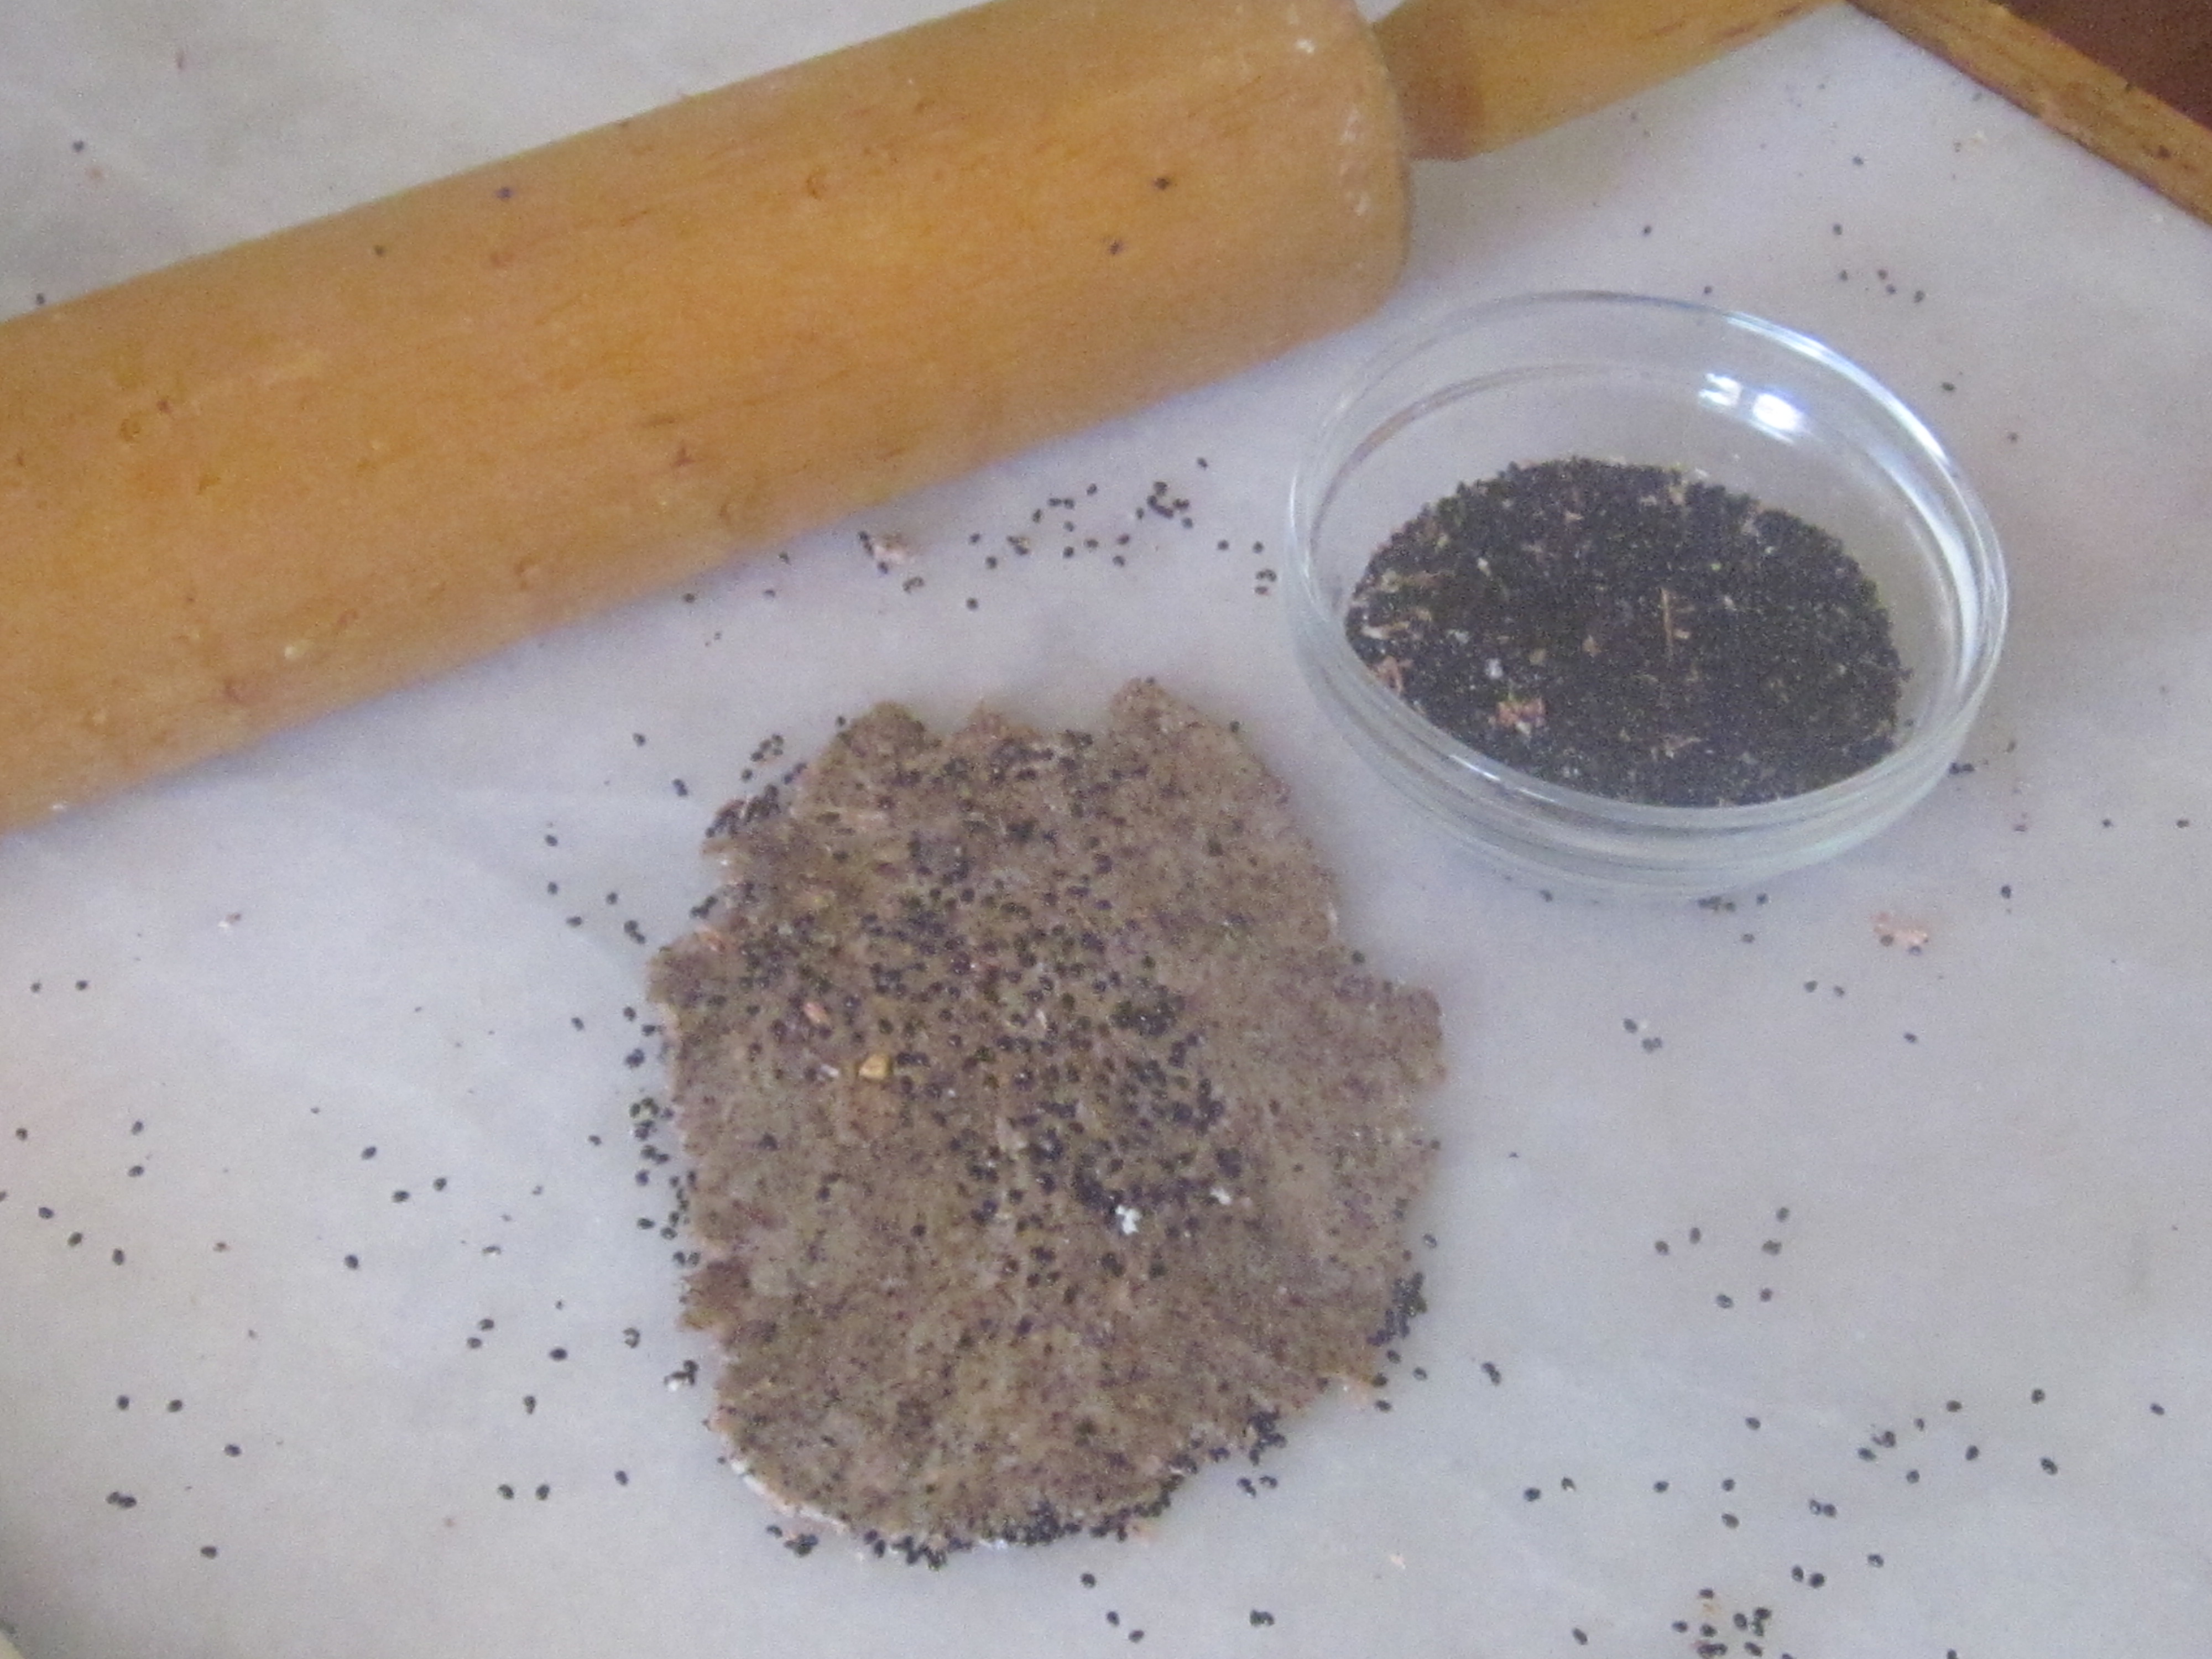
Shape dough into two rolls, 6 inches long and 1 inch in diameter. Then slice each roll into eight wafers.  Sprinkle some seeds on a flat surface, place one disk of dough on it, sprinkle some more seeds on top and roll with a rolling pin as thinly as you can. The thinner the cracker, the crisper they will be.  The shapes will be irregular.

Form dough into log and divide into eight portions.

Form dough into log and divide into eight portions.


Roll out each portion of dough.

Roll out each portion of dough.

Transfer the crackers to an ungreased nonstick cookie sheet. If you have a regular metal pan, use a sheet of parchment paper. Bake in the preheated oven for just 5 to 7 minutes. Watch closely to ensure they do not burn.

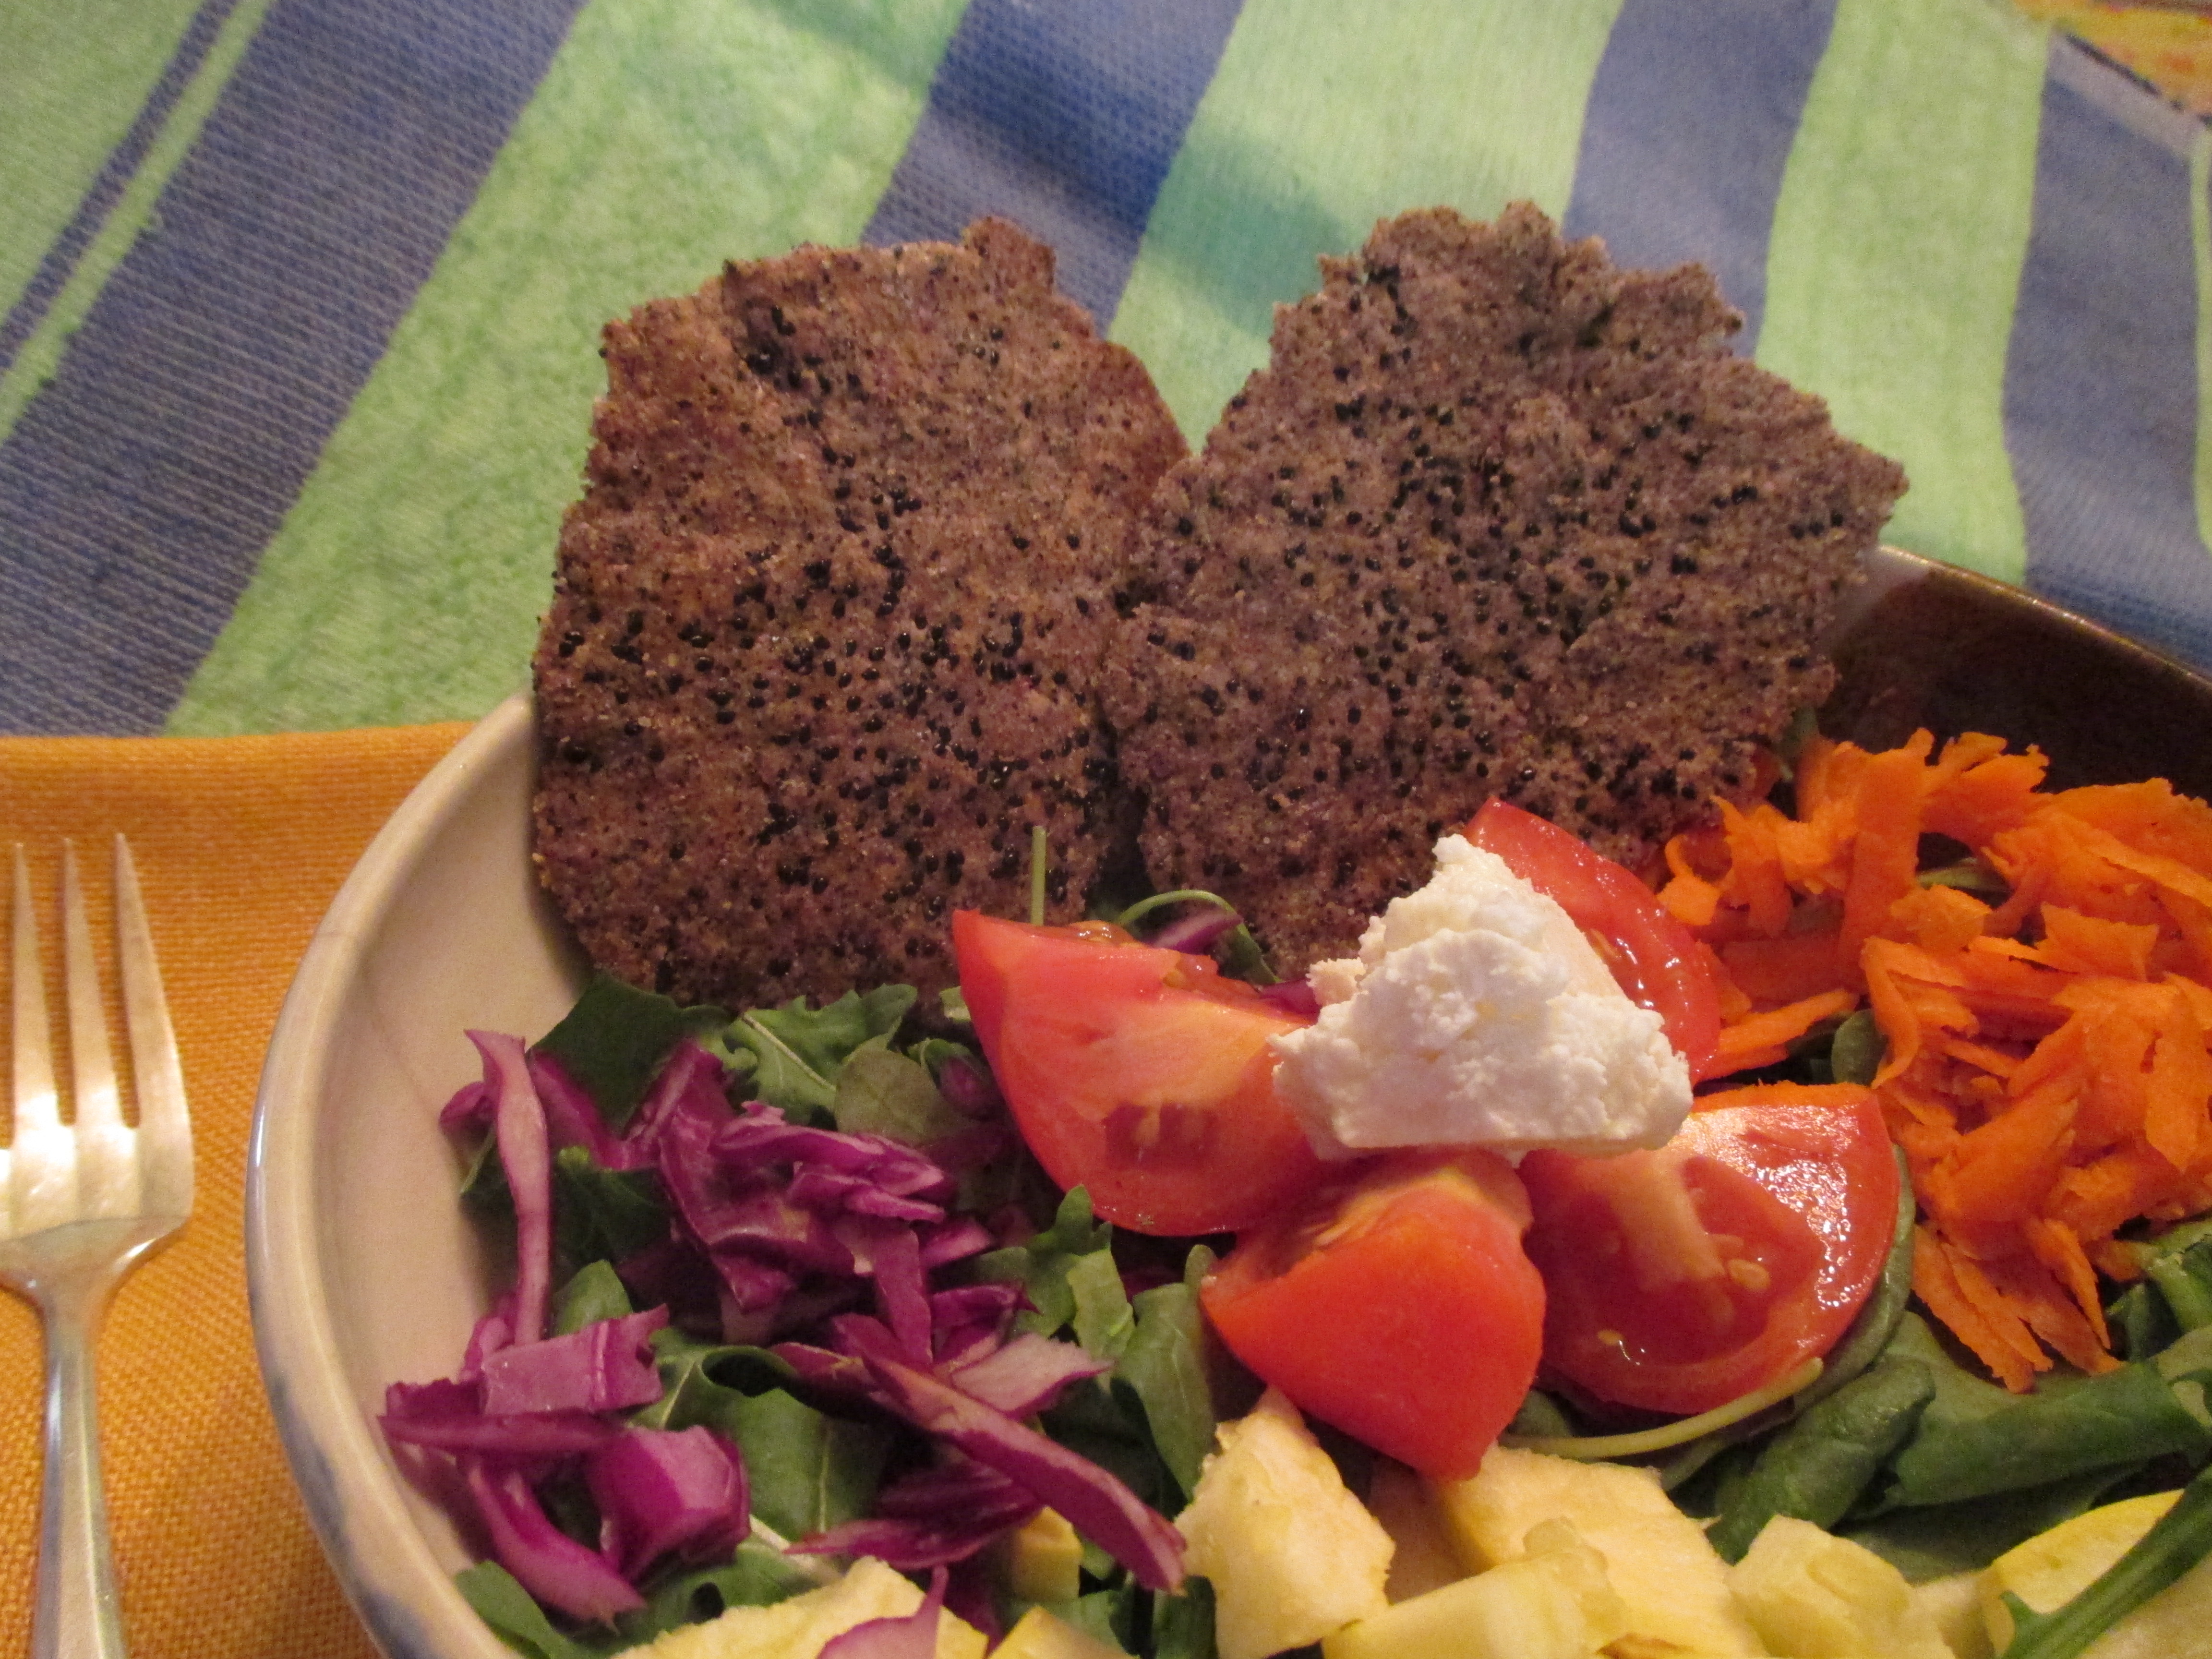
You can serve with soup or salad. Or spread with a soft cheese.


Serve your Black Beauty Wafers with a crisp salad.

Serve your Black Beauty Wafers with a crisp salad.


And when you eat your saguaro syrup or enjoy your Black Beauty Wafers, remember the words an elderly Tohono O’odham woman said to Ruth Underhill back in 1938:

“To you Whites, Elder brother gave wheat and peaches and grapes. To us, he gave the wild seeds and the cactus. Those are the good foods.”


____________________

For more recipes using both saguaro fruit and seeds, consult Cooking the Wild Southwest: Delicious Recipes for Desert Plants.  You can find a copy at Native Seeds SEARCH or order online here.