Prickly Pear Upside-down Cake, Summer in Tucson

20150730_185022

Amy Valdes Schwemm here today, with glochids in my hands.

20150811_111746

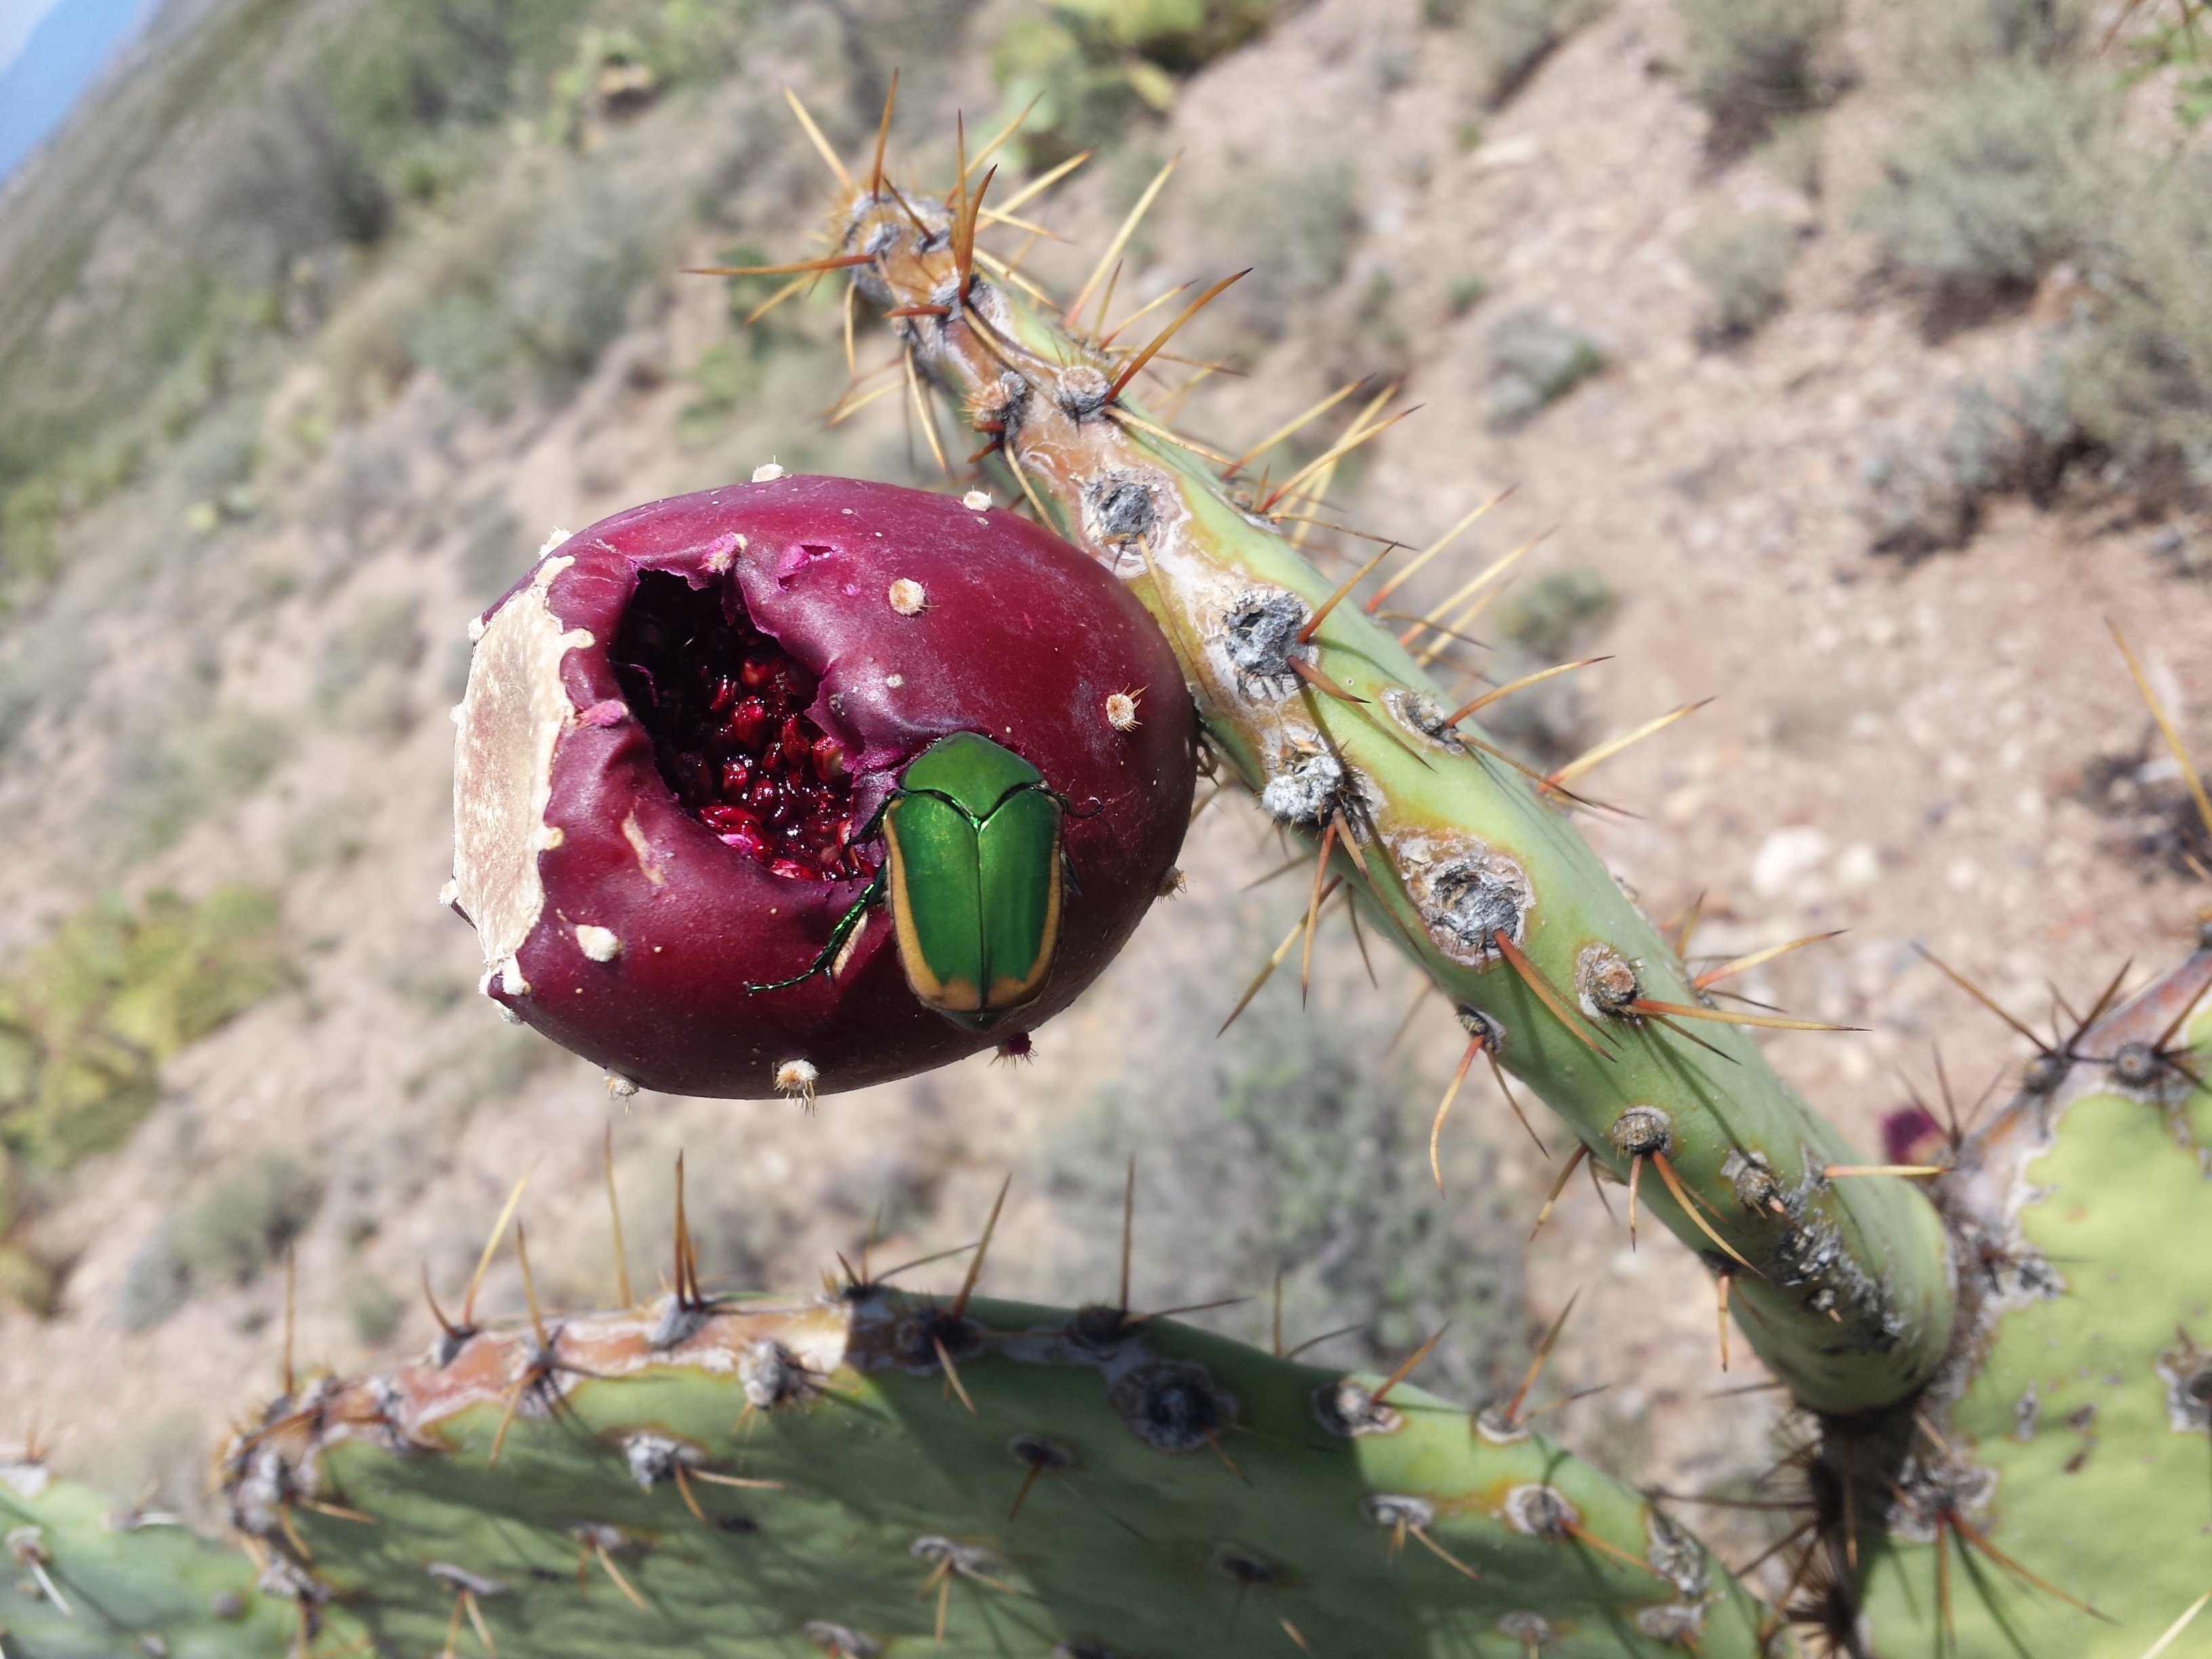
Figeater beetle, Cotinis mutablilis

20150813_185004

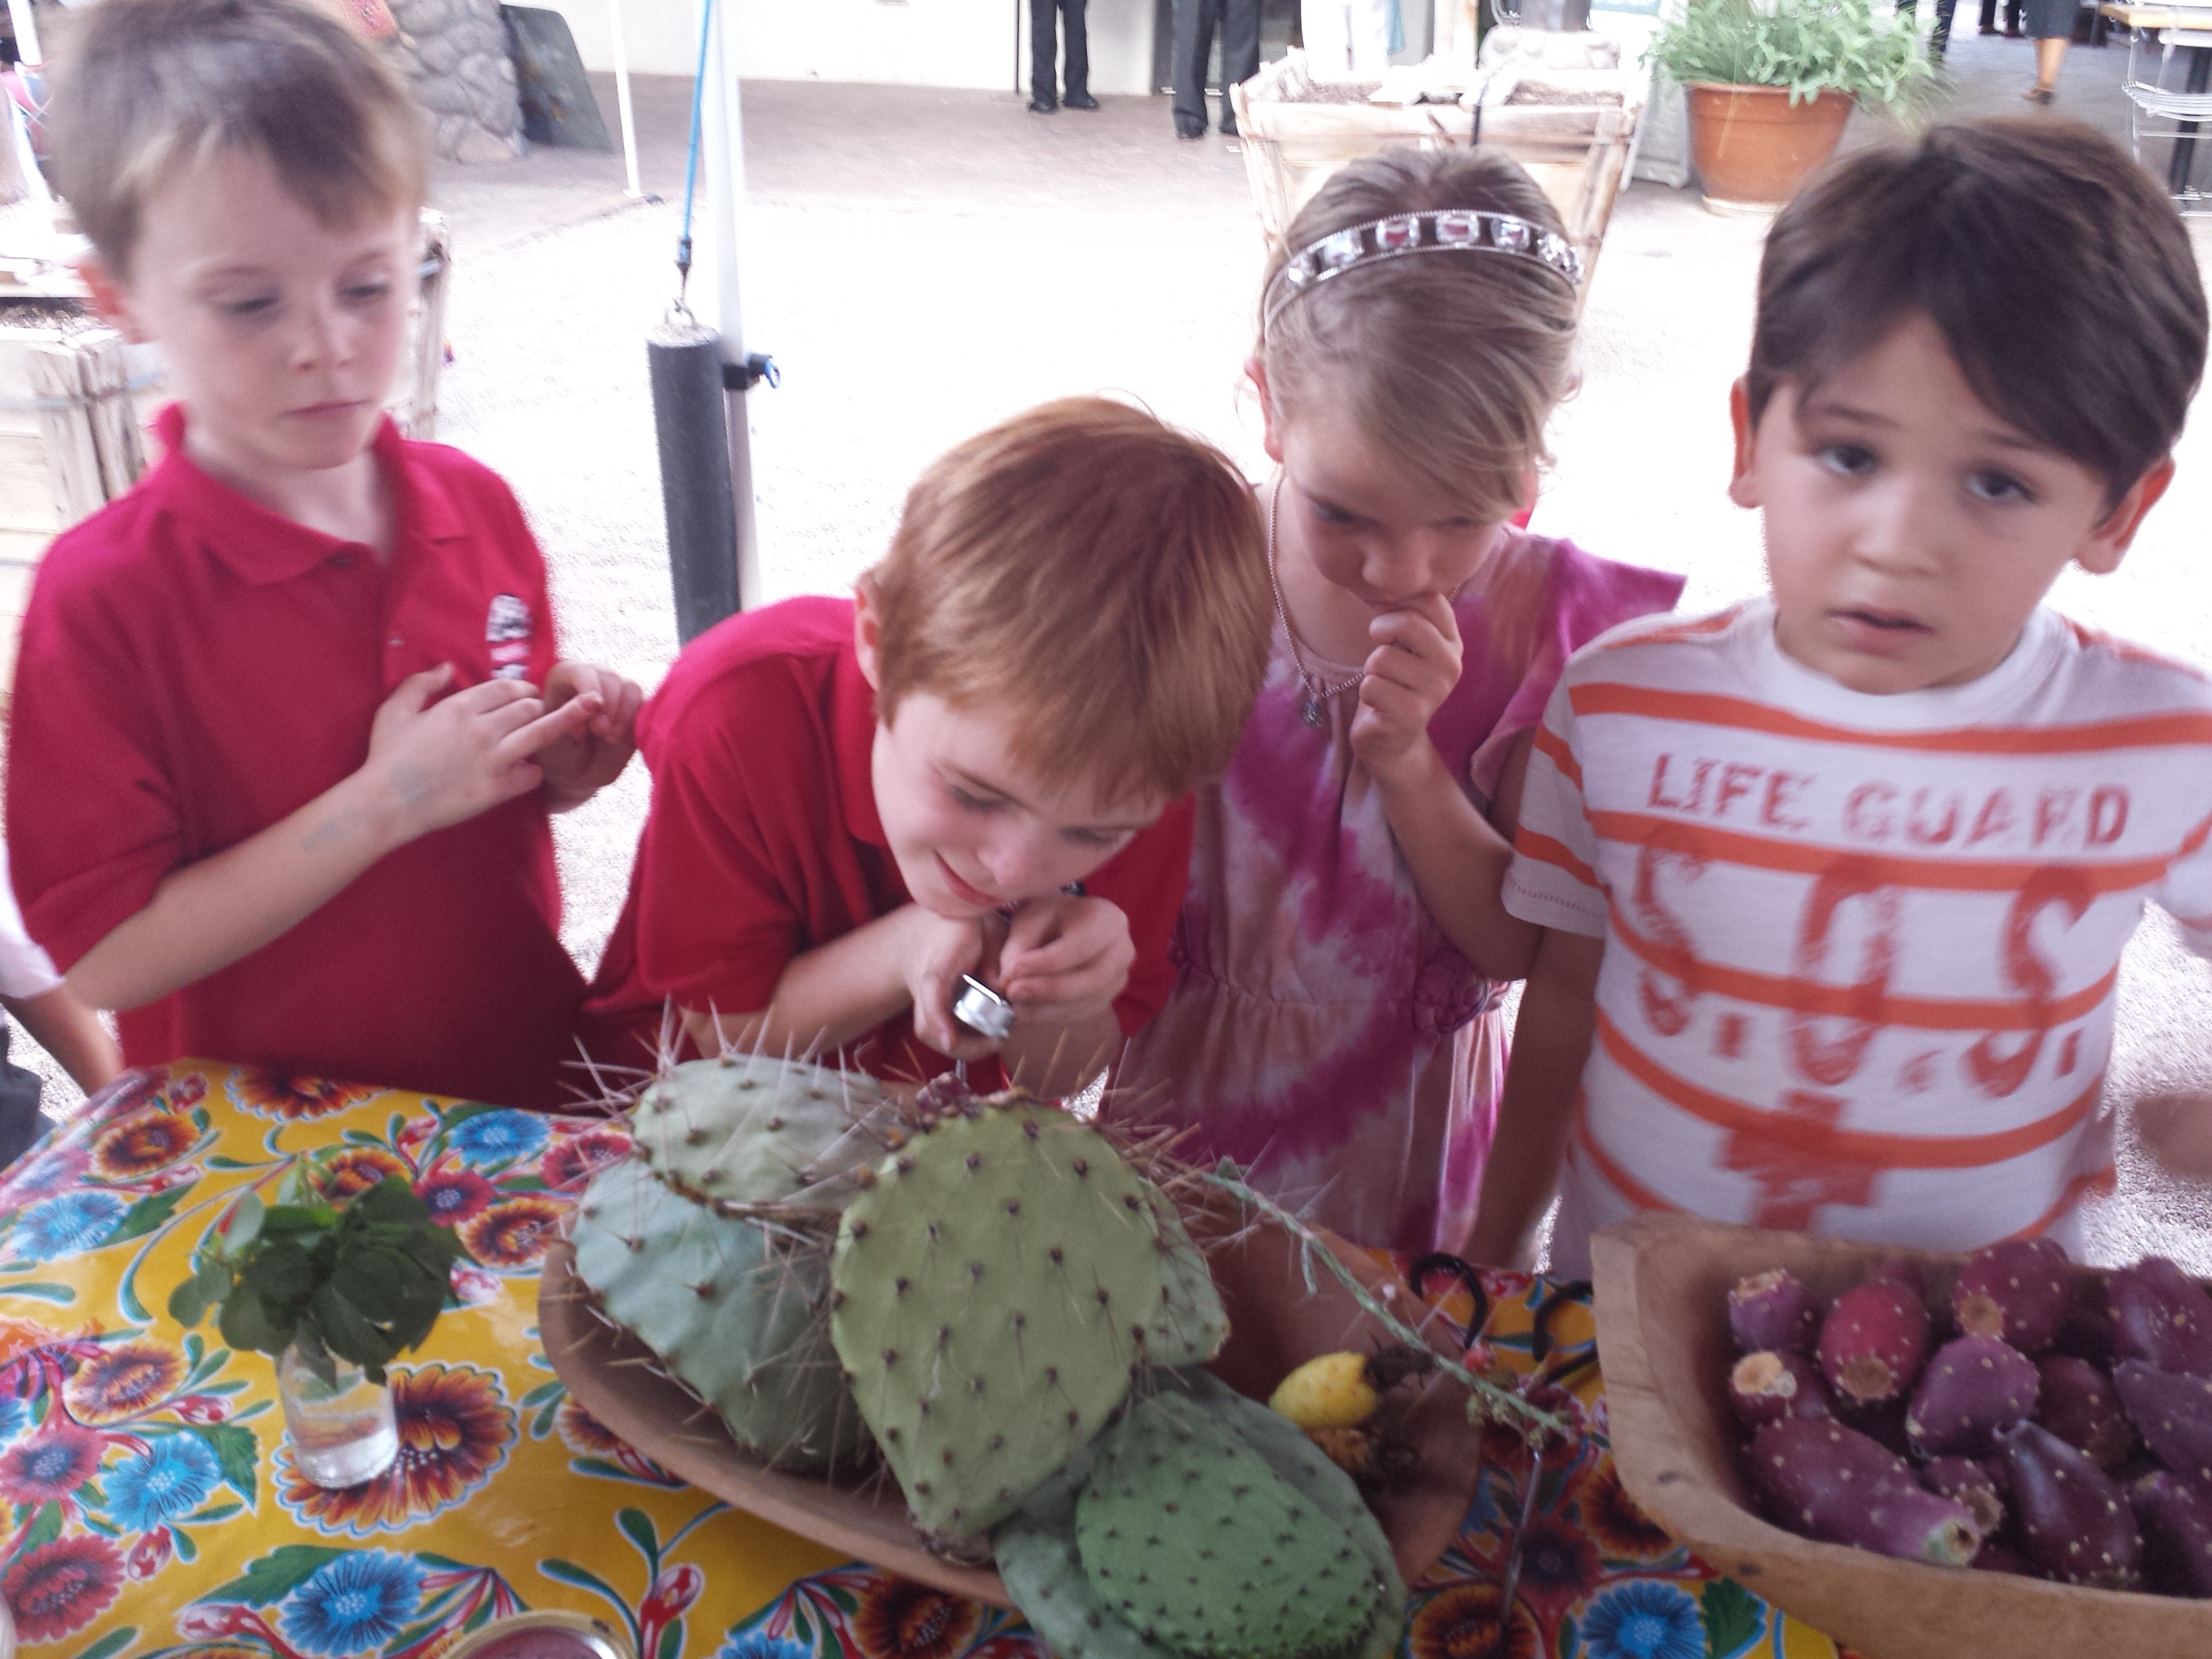
Santa Cruz River Farmers’ Market Workshop

20150813_184946

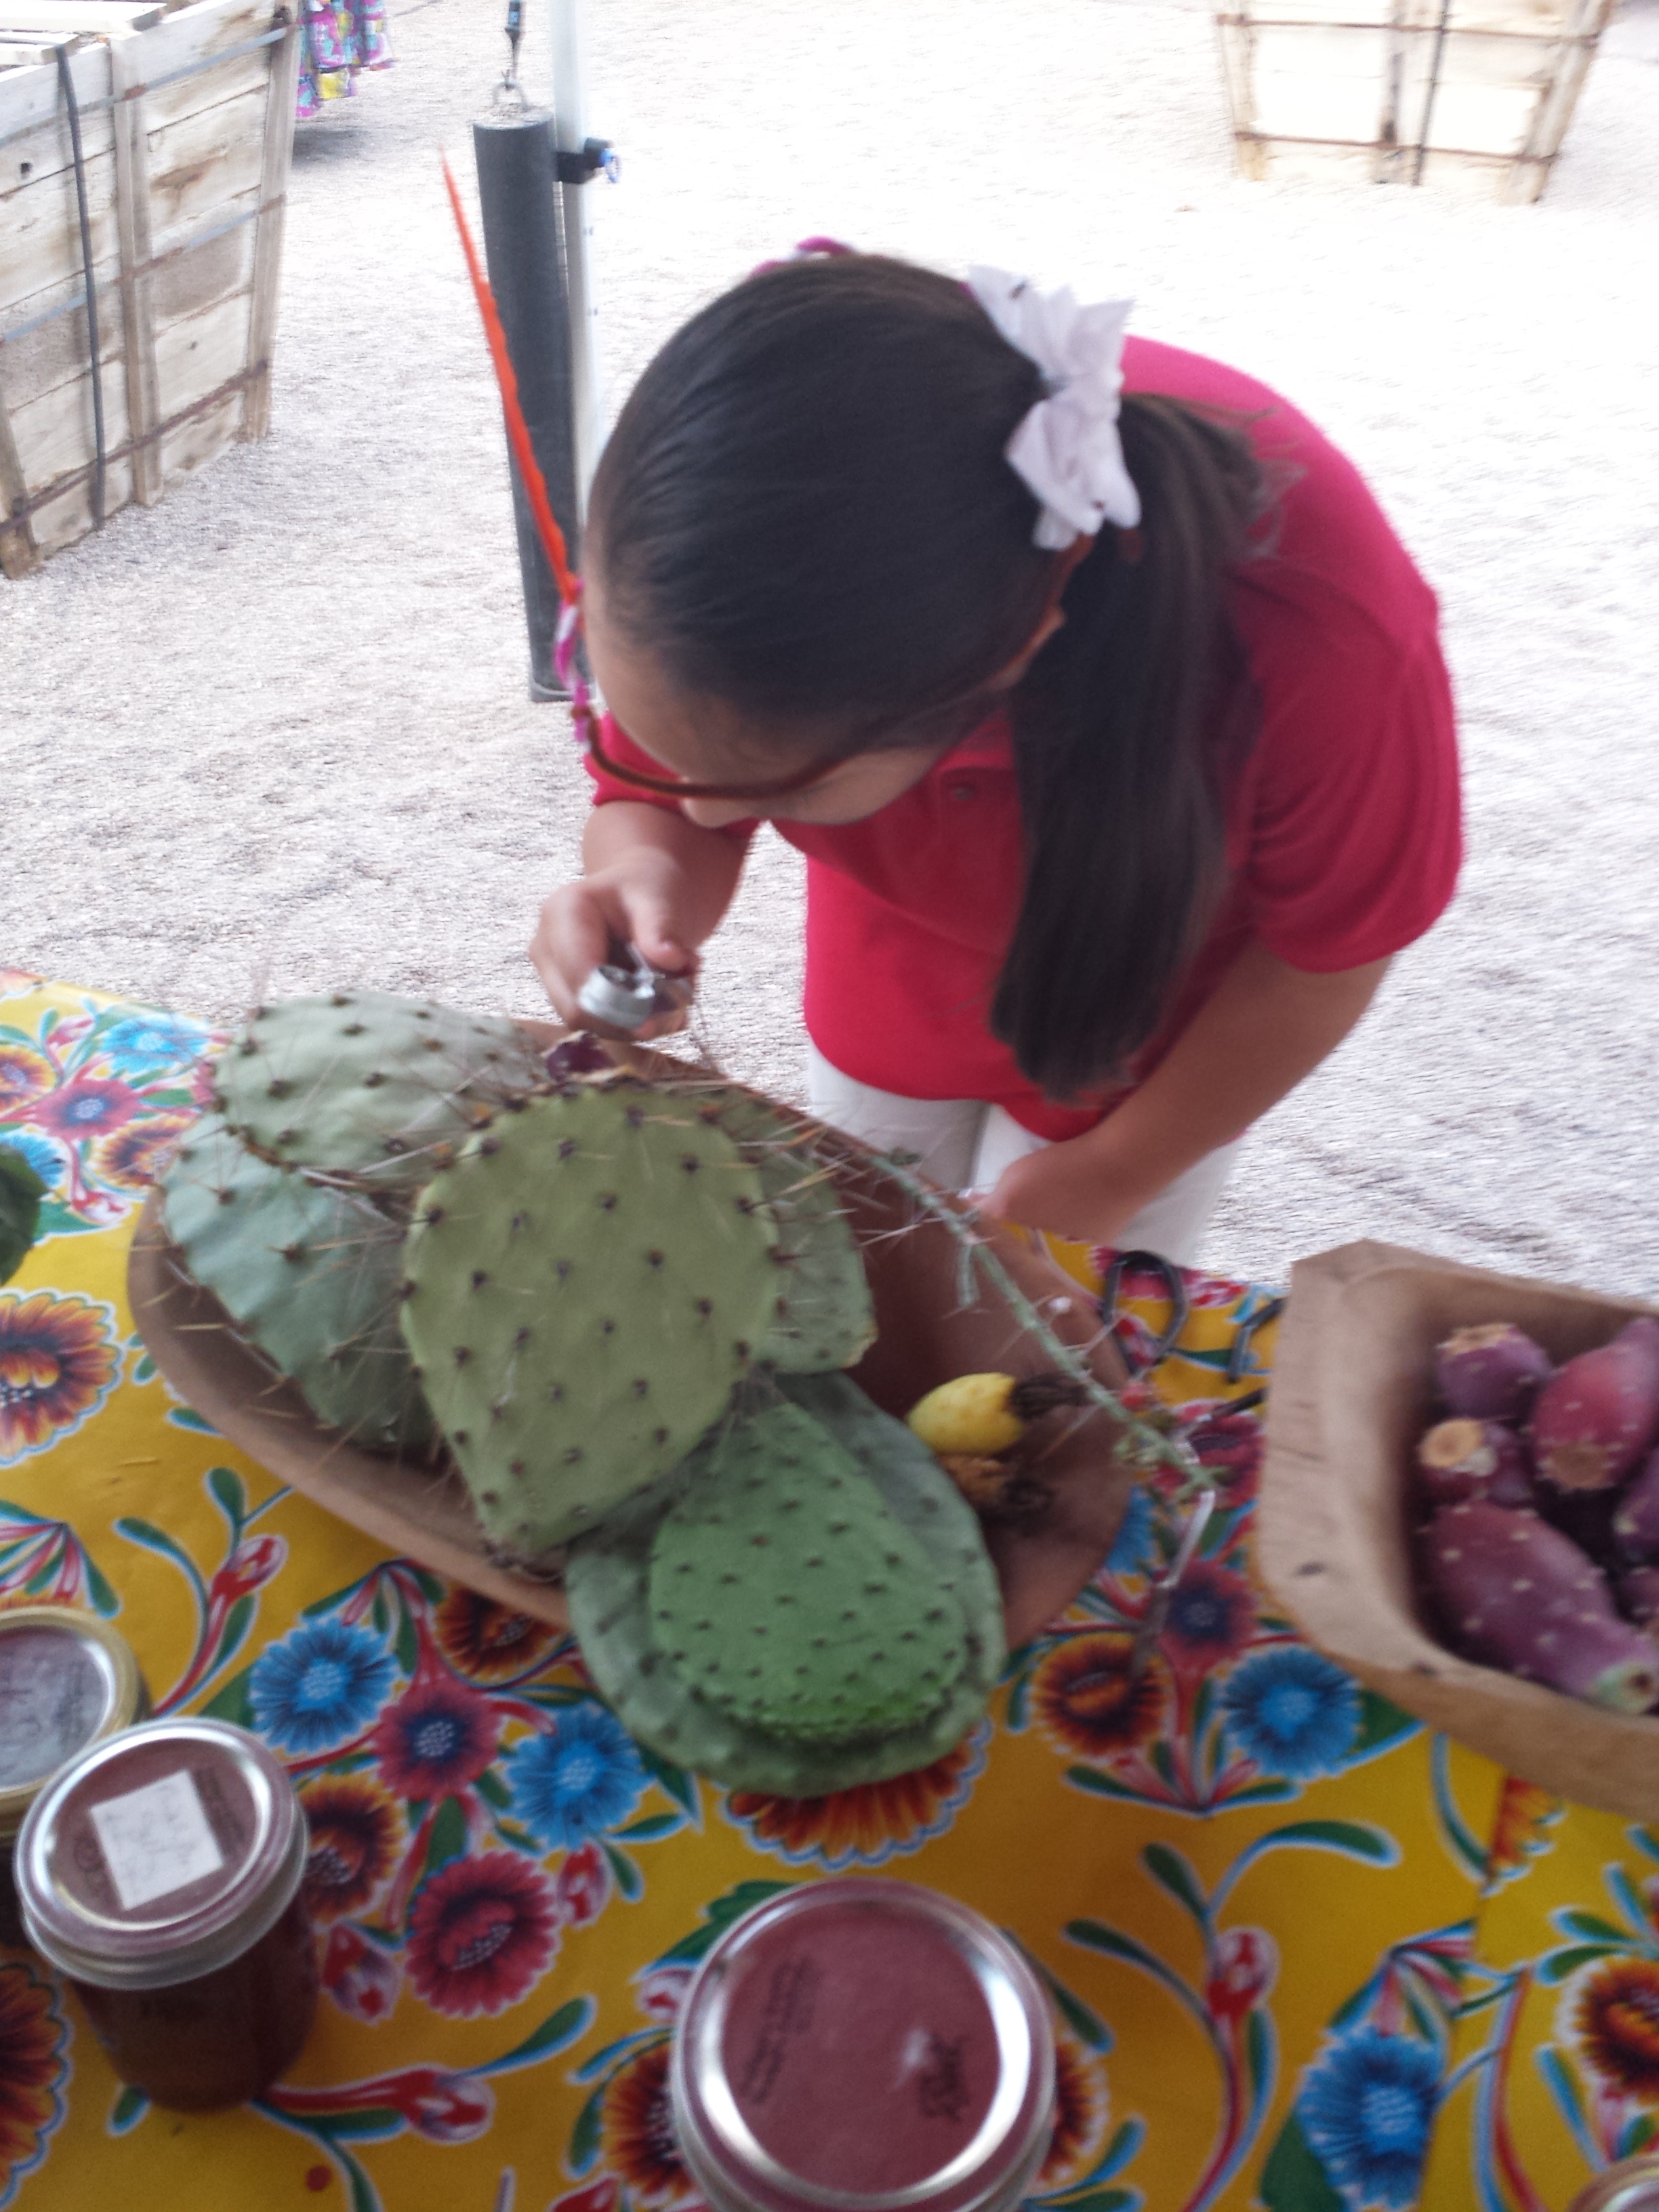
“I want to be a scientist!” she said.

20150814_145703

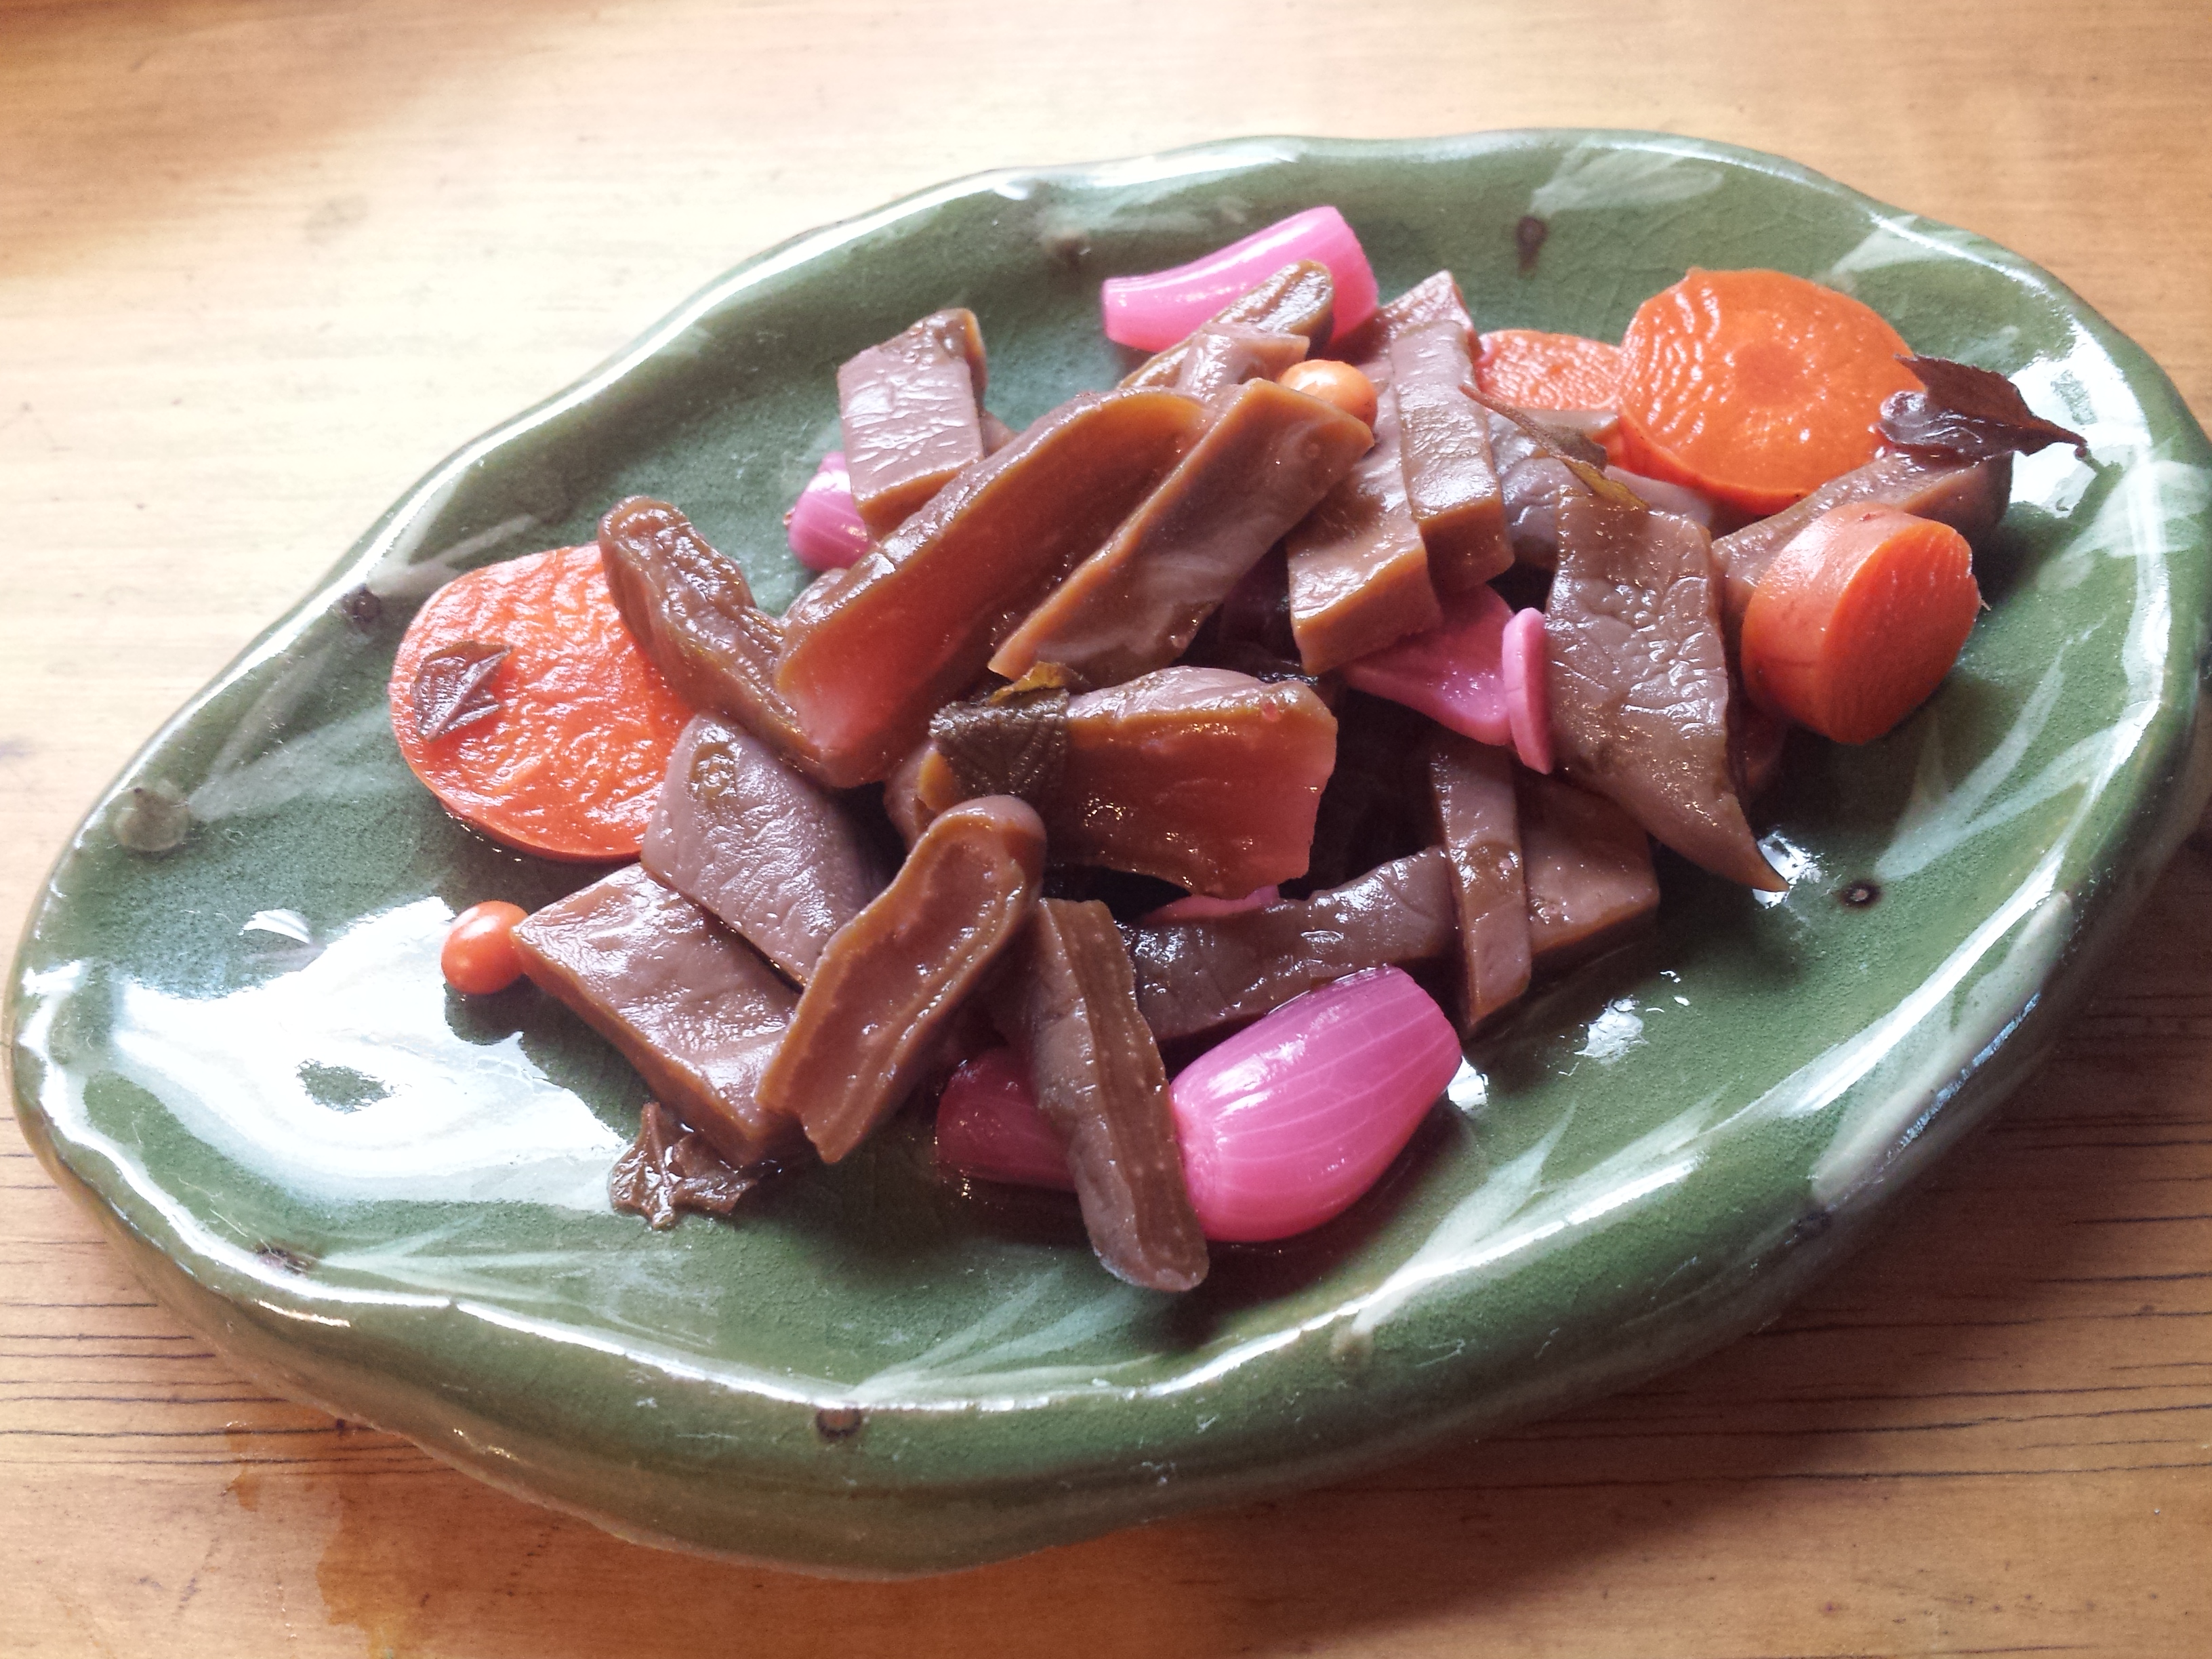
Nopalitos en escabeche (pickled cactus pads with carrots, garlic, I’itoi onion, chiltepin, Mexican oregano)

20150814_103012

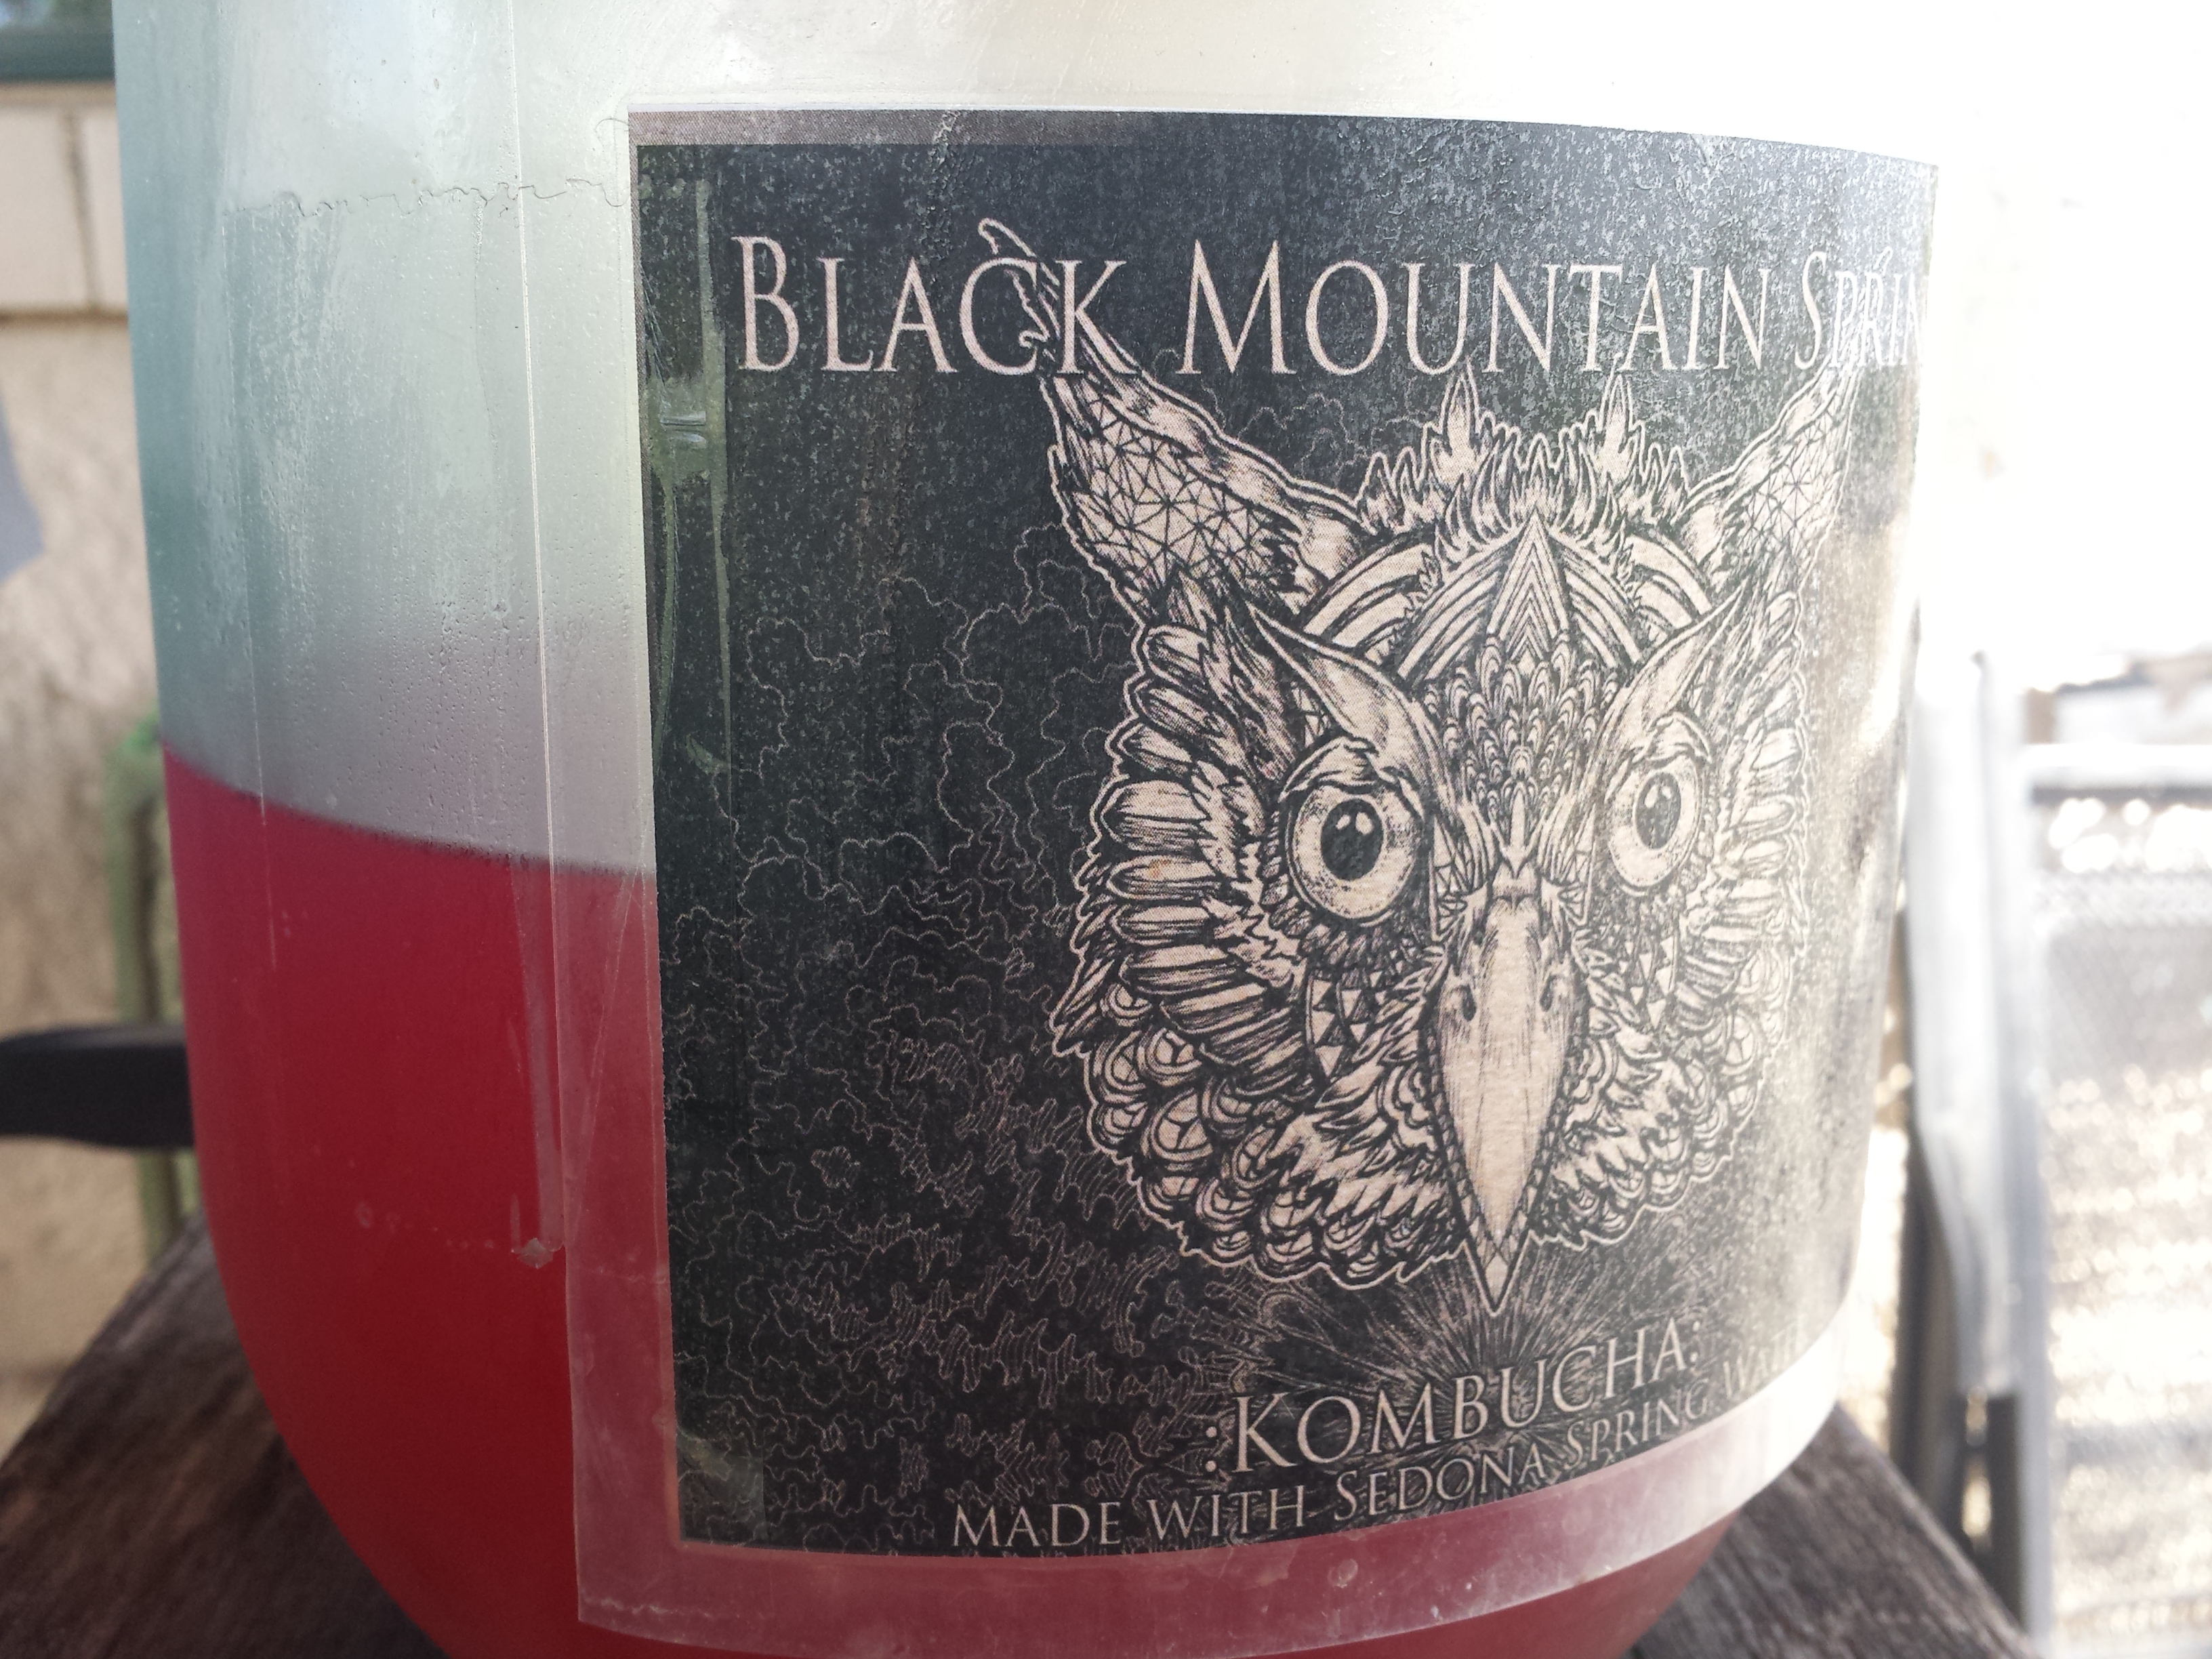
Prickly pear kombucha

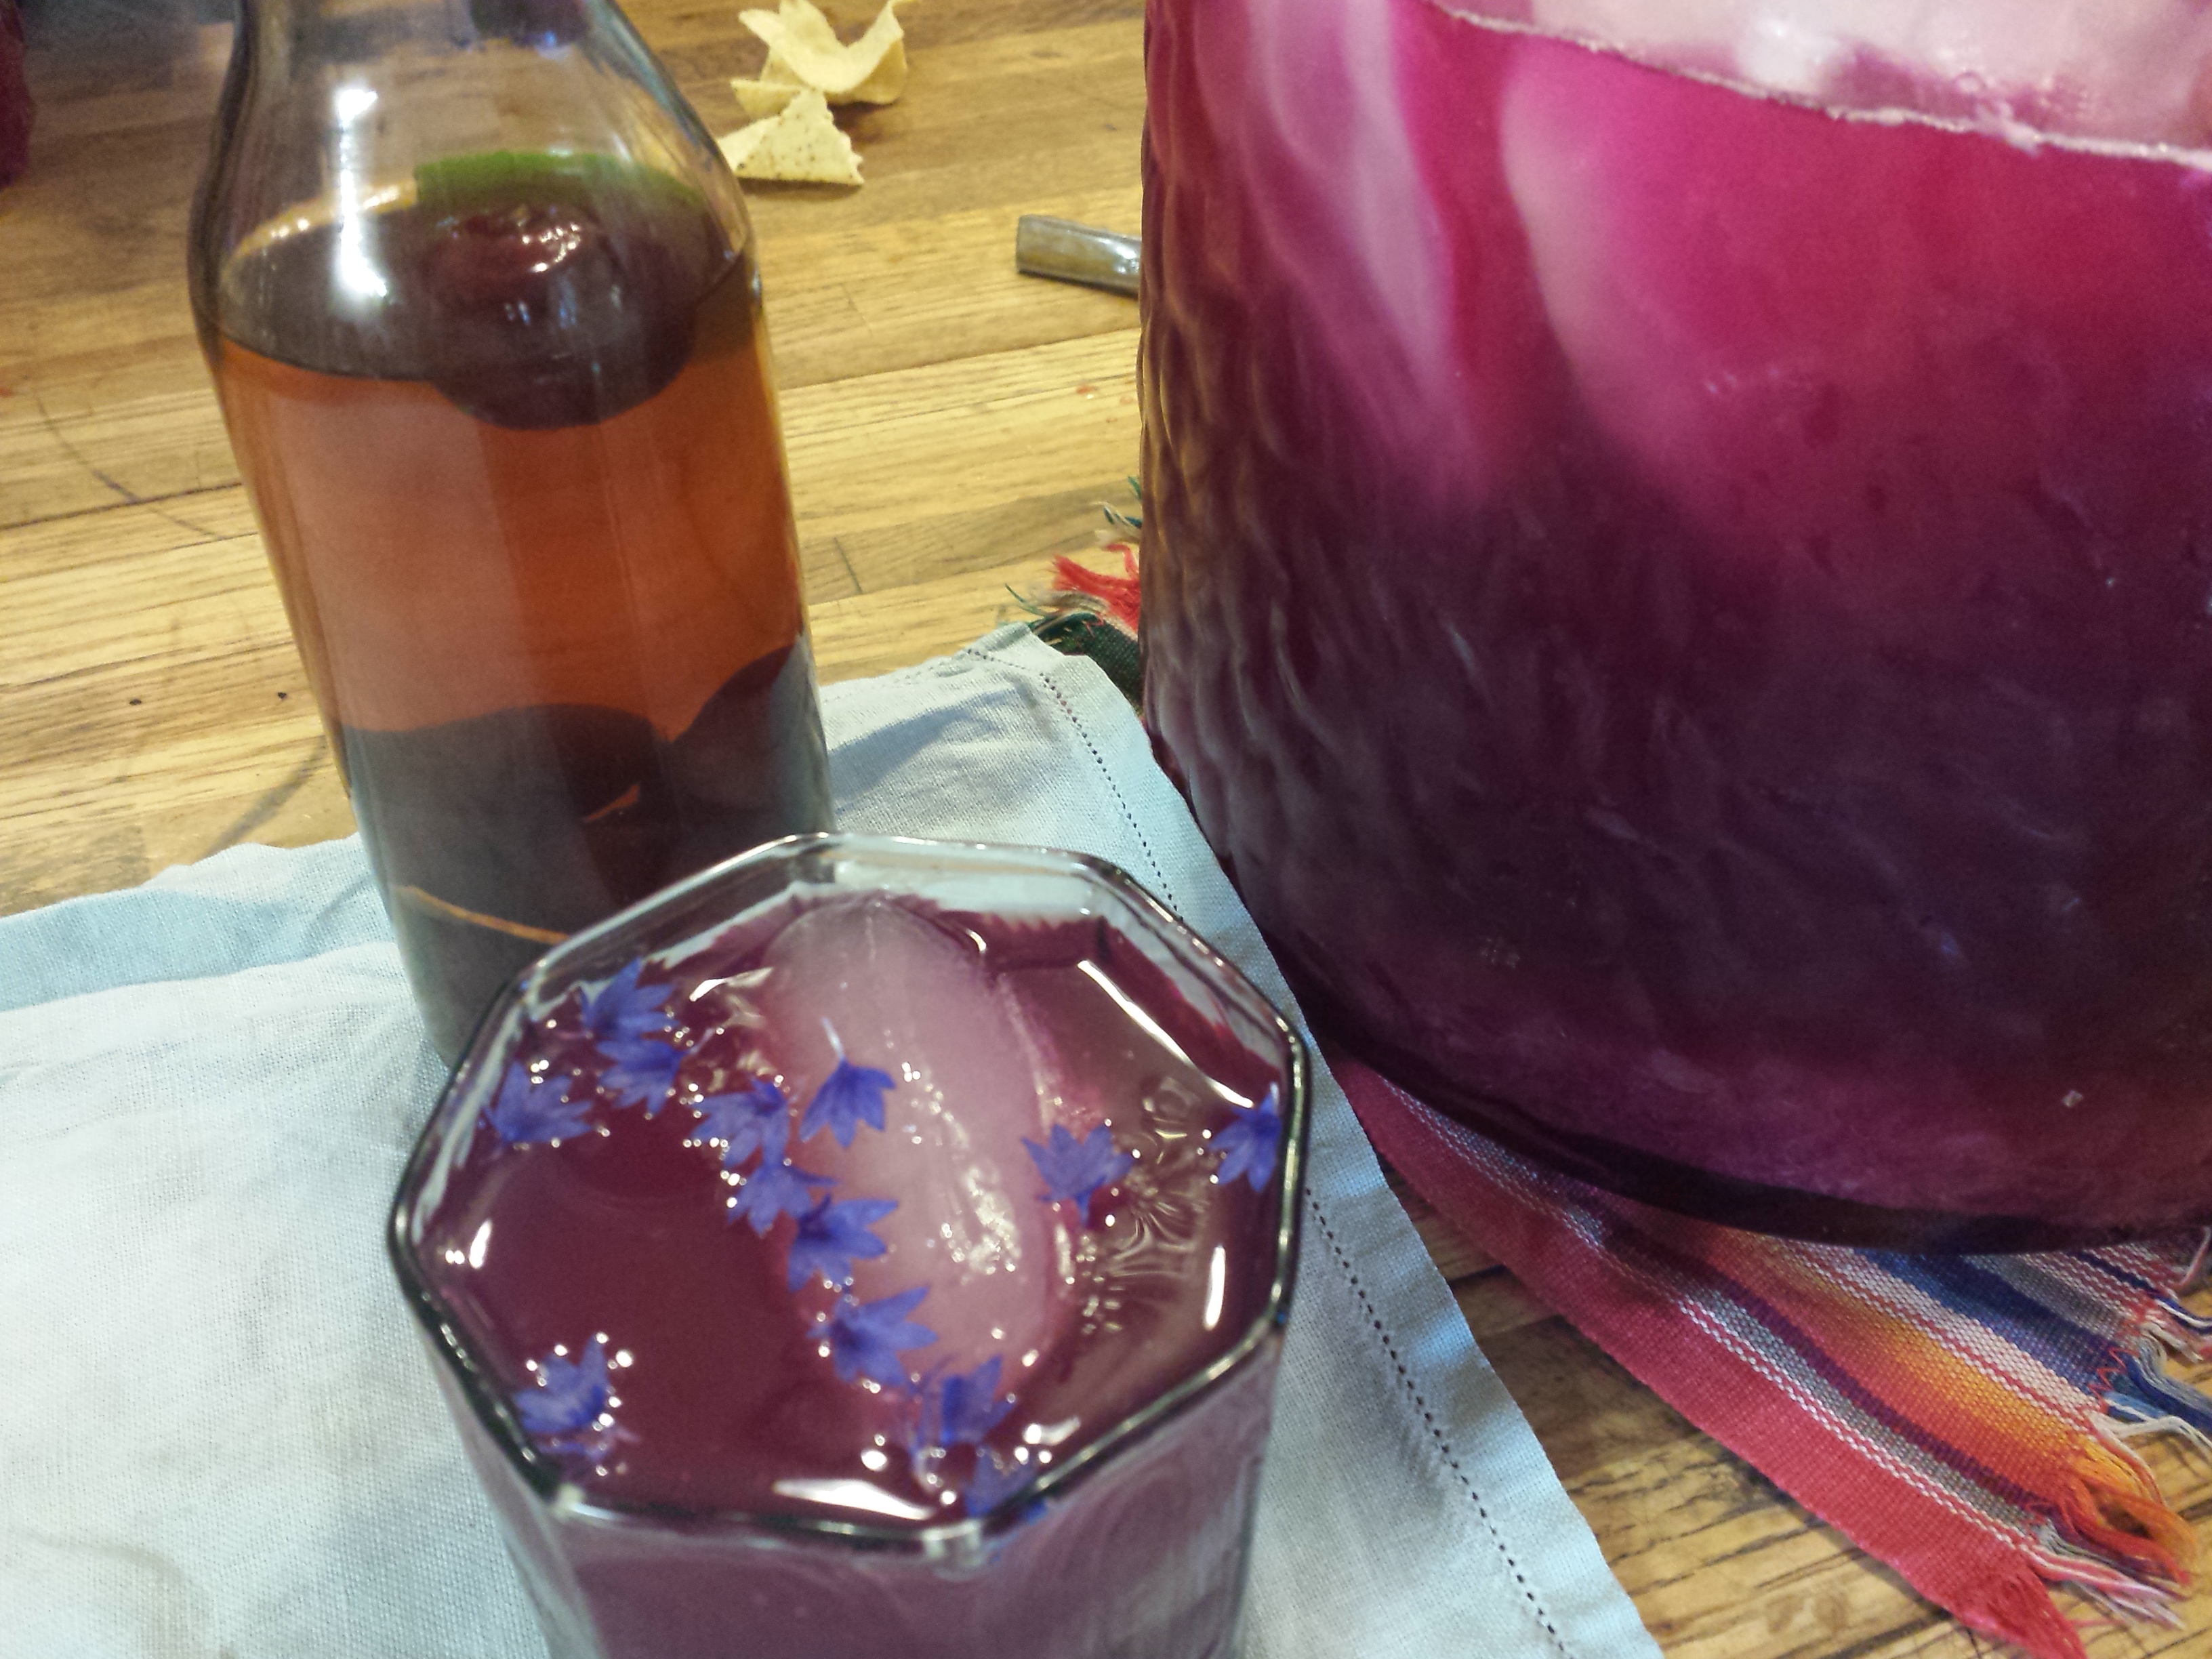
Harvest party at Bean Tree Farm. Classic Barbara Rose cocktail with too many ingredients to list!
Harvest party at Bean Tree Farm. Fancy cocktail by Barbara Rose!

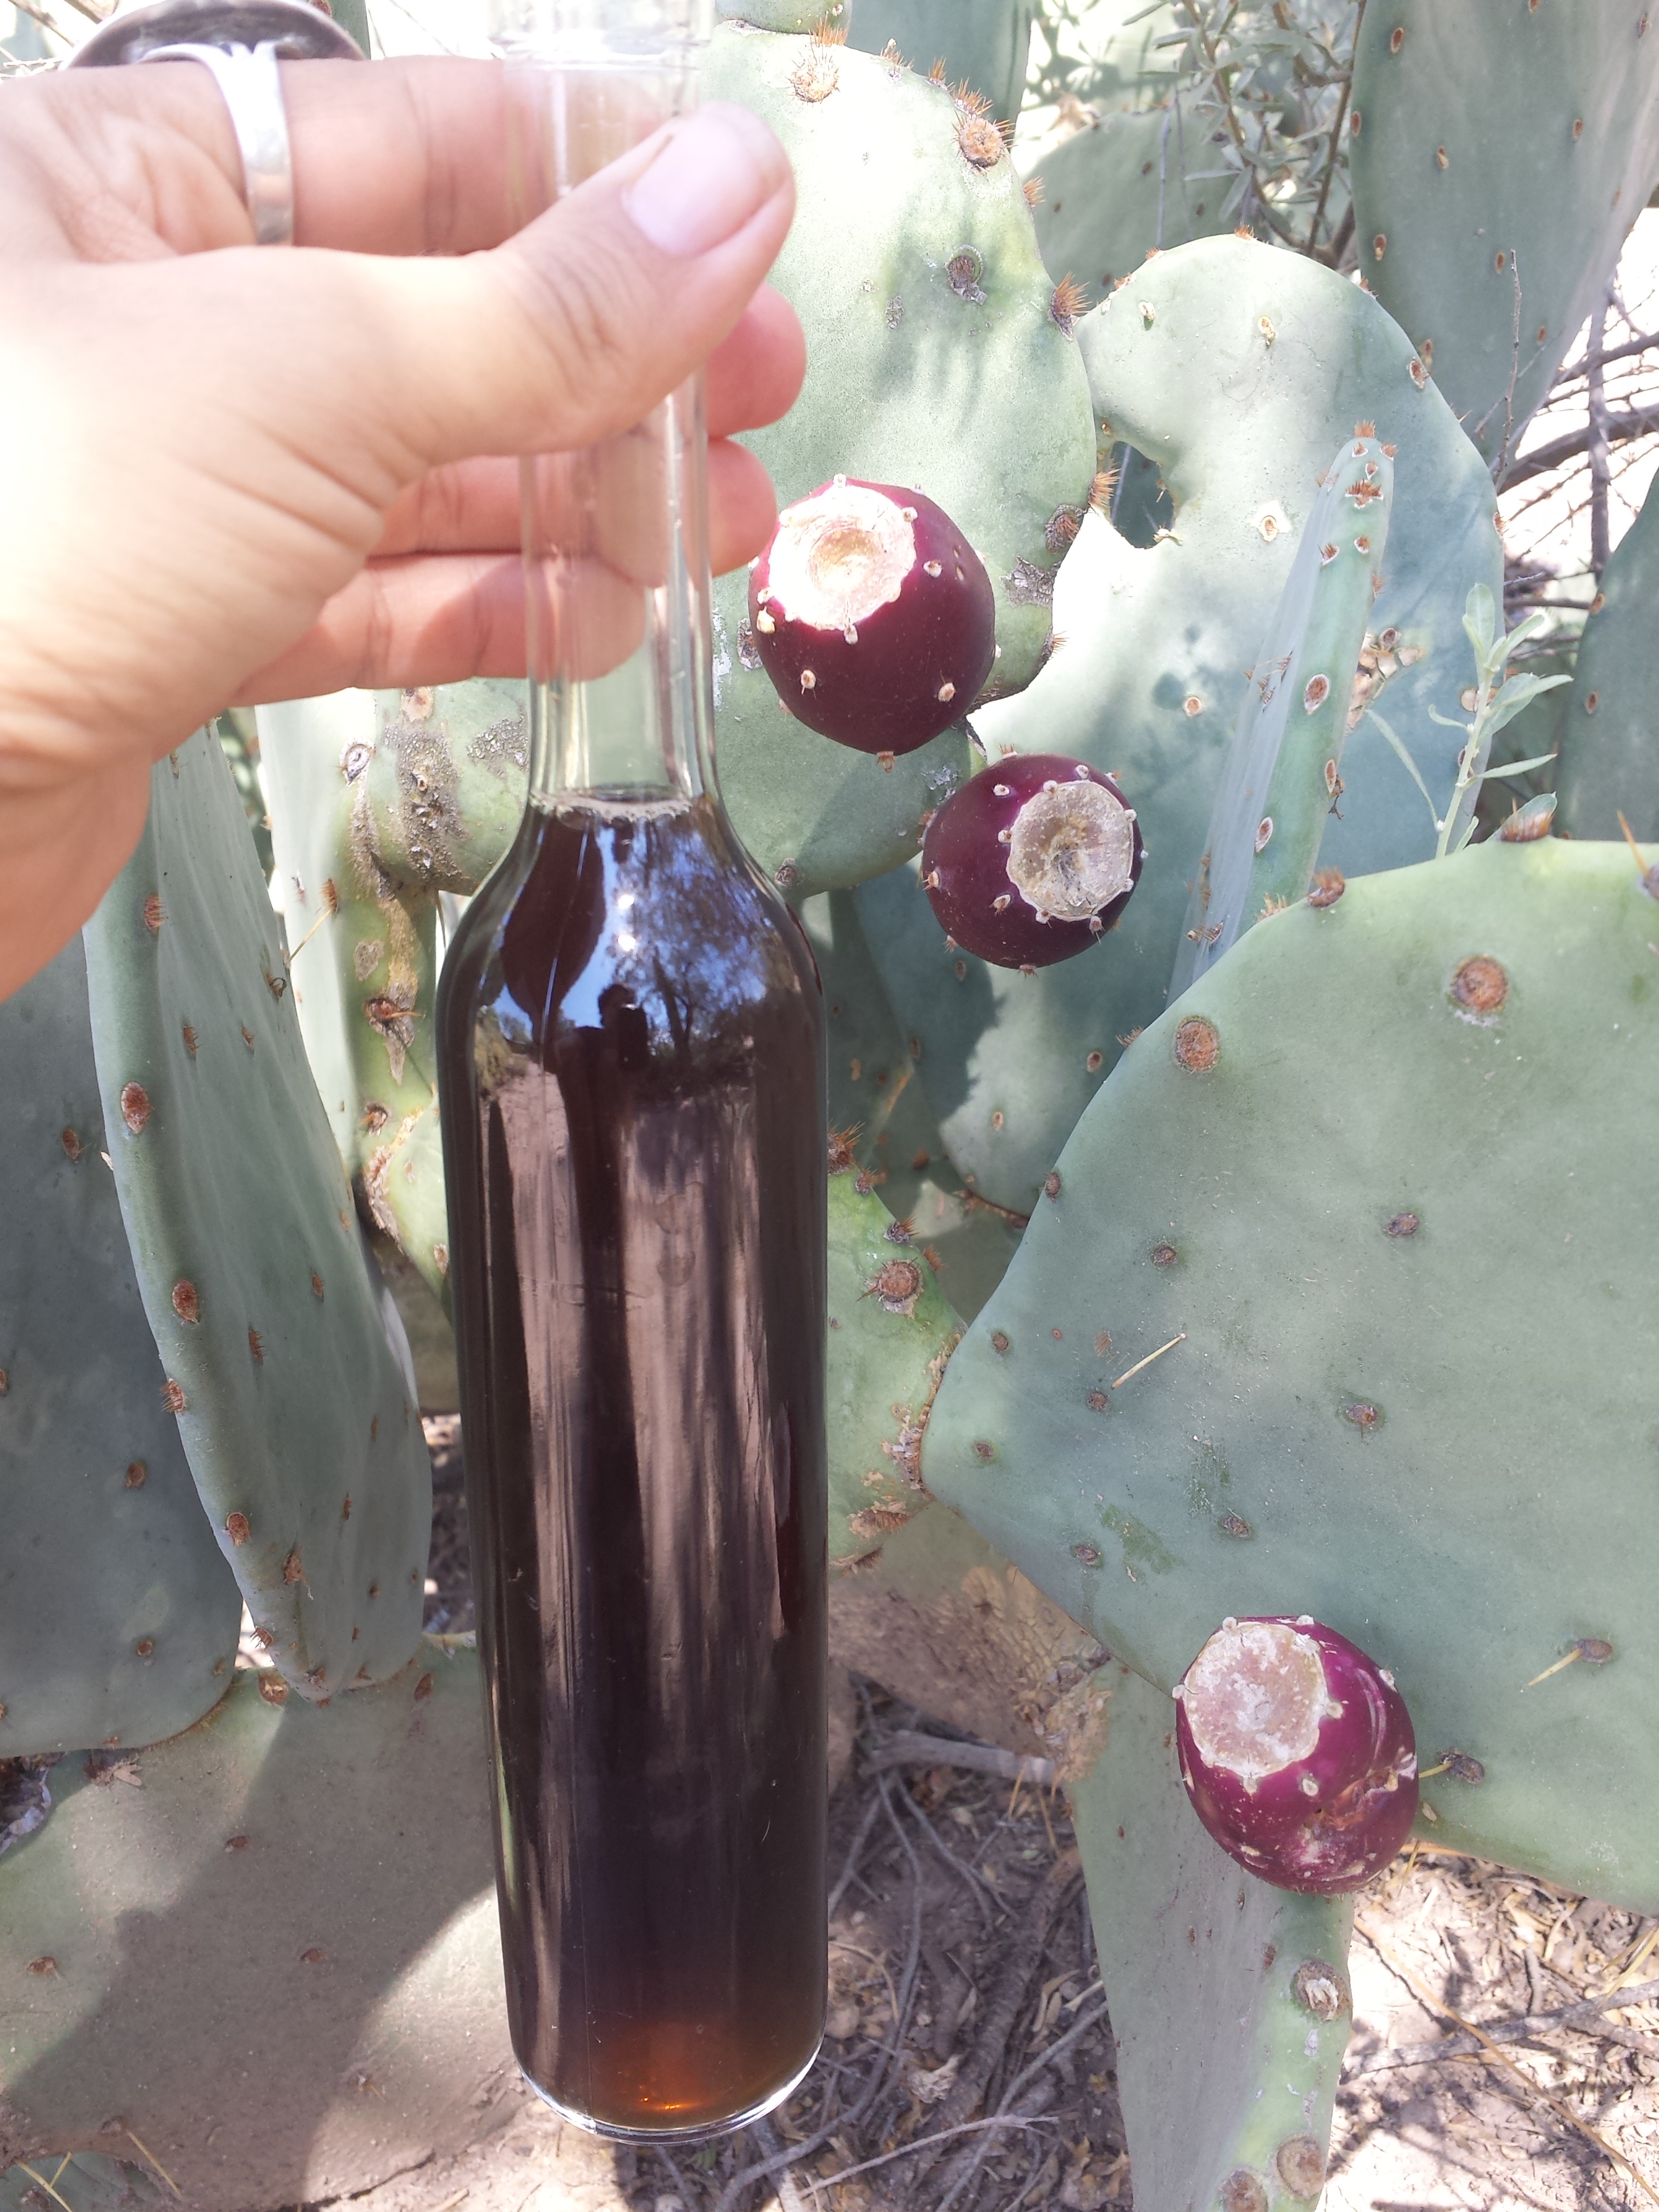
Prickly pear vinegar

Prickly pear vinegar

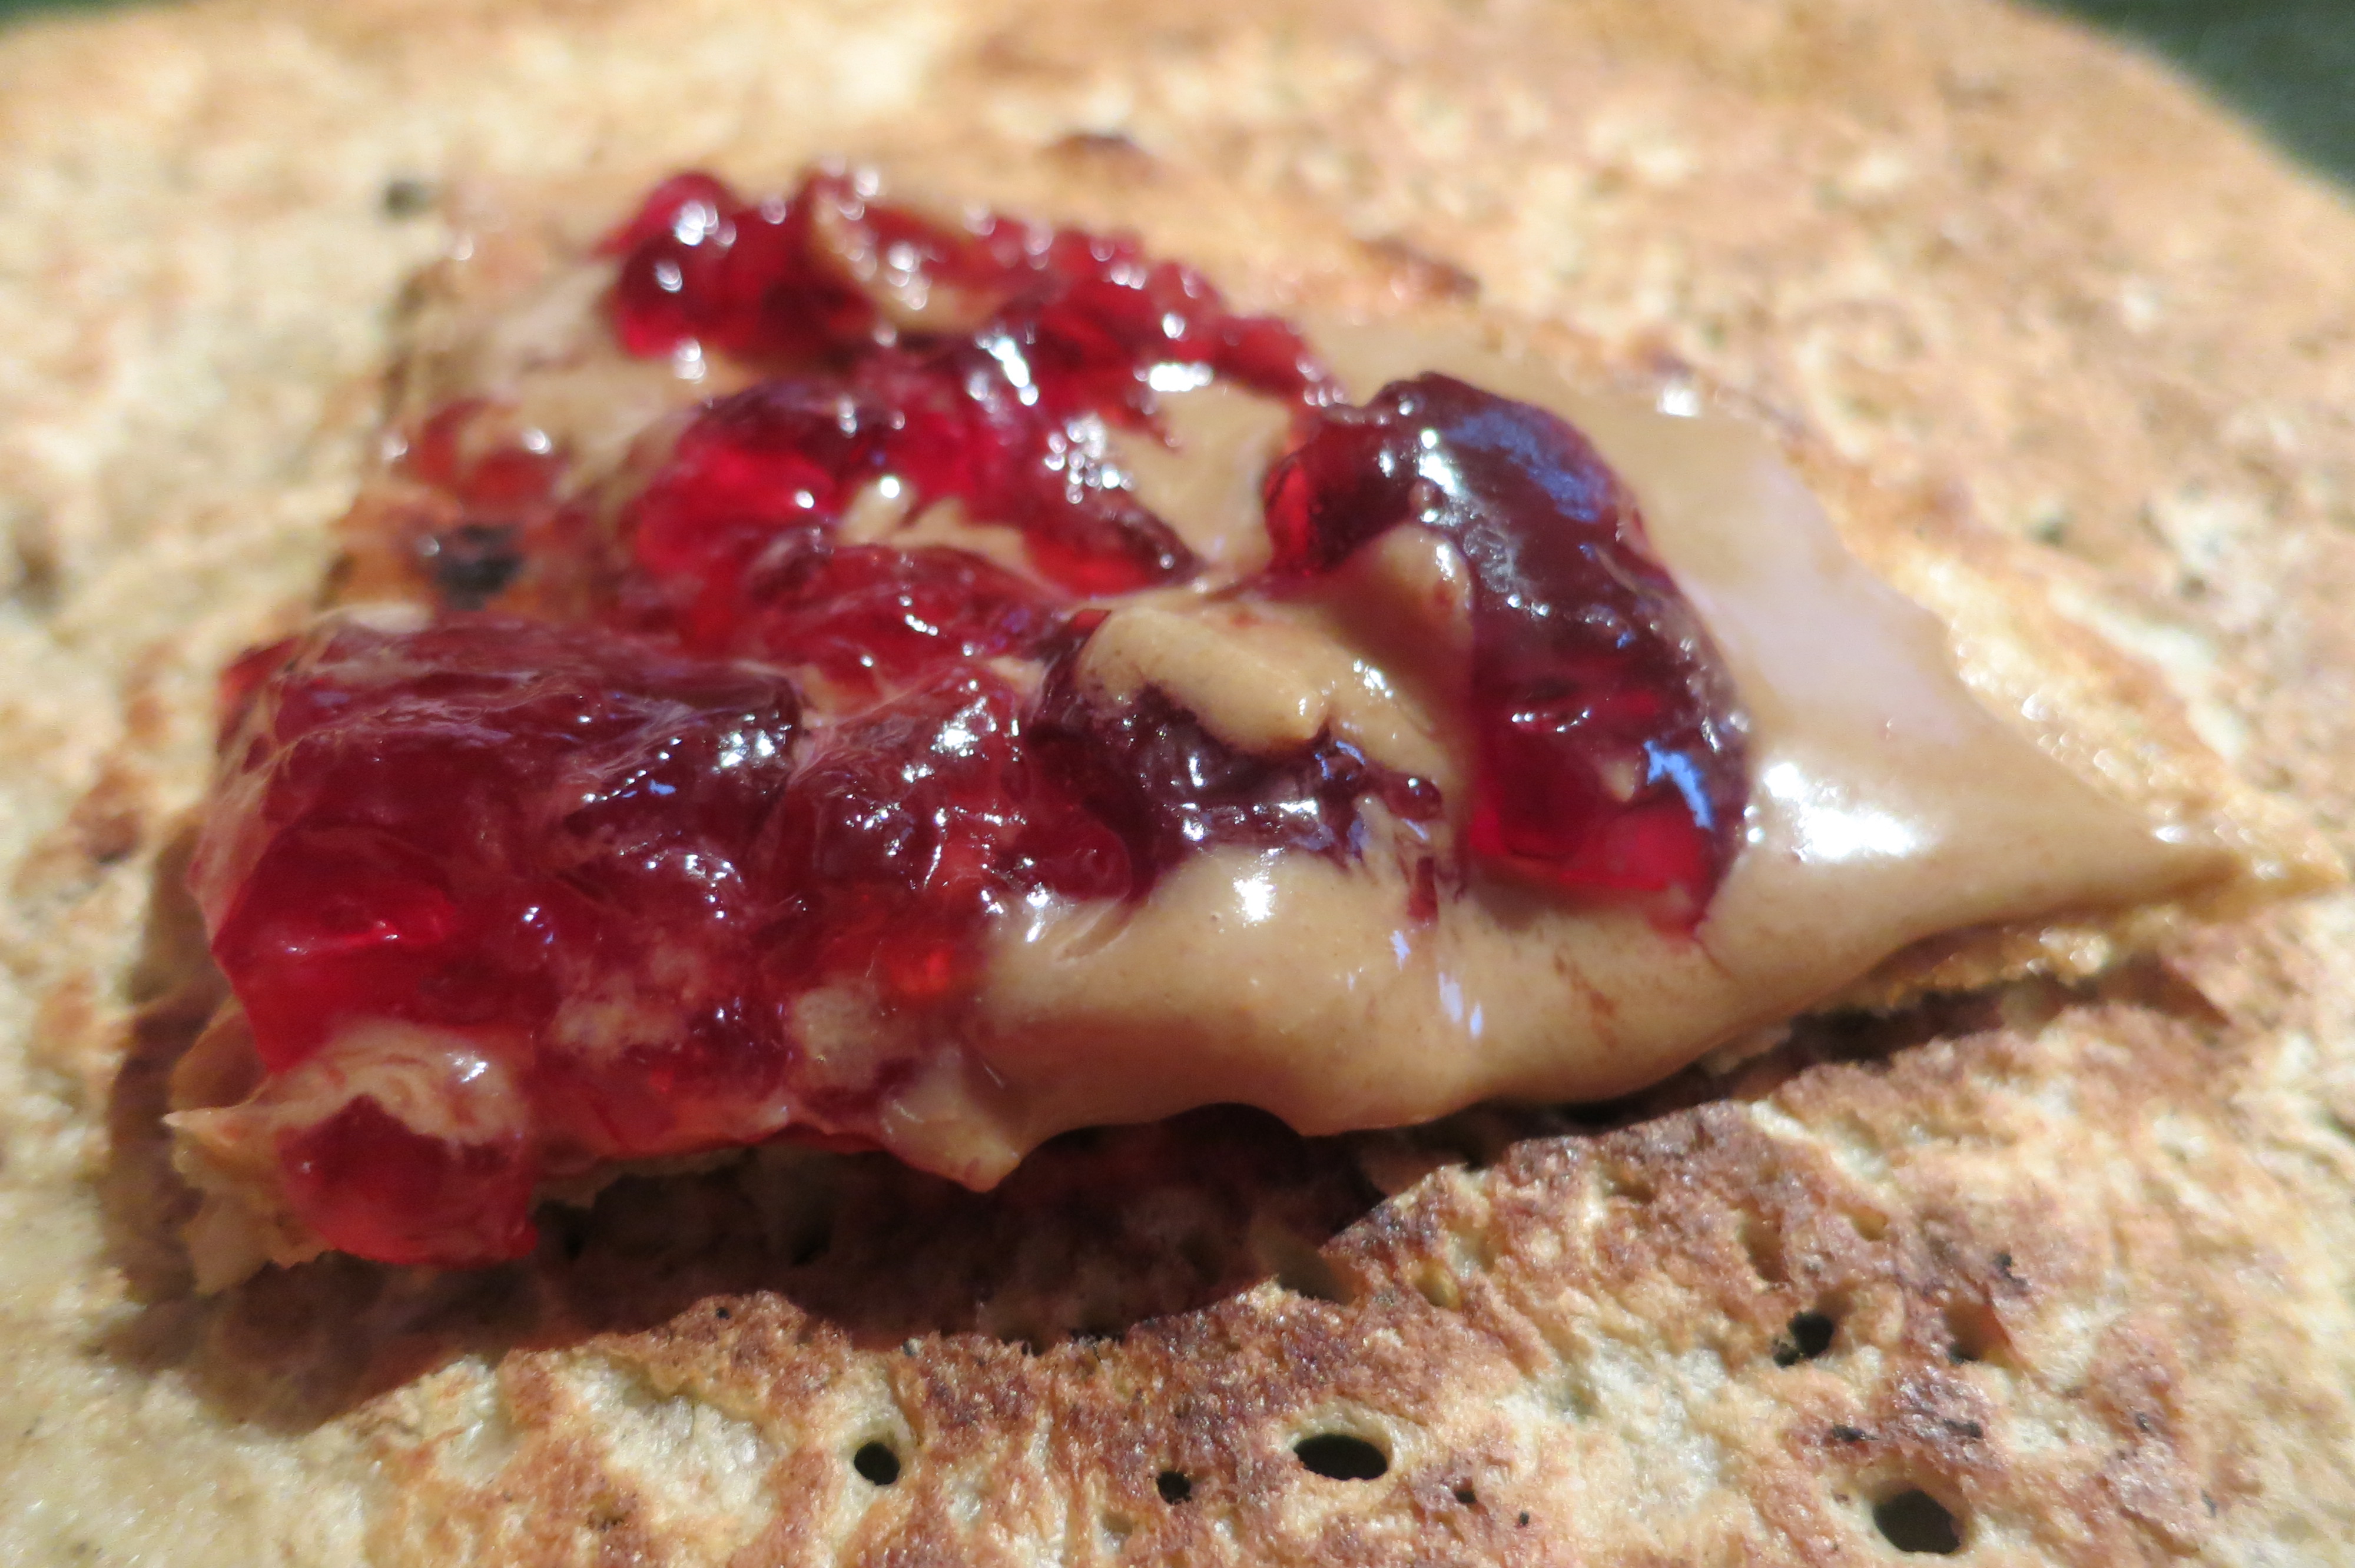
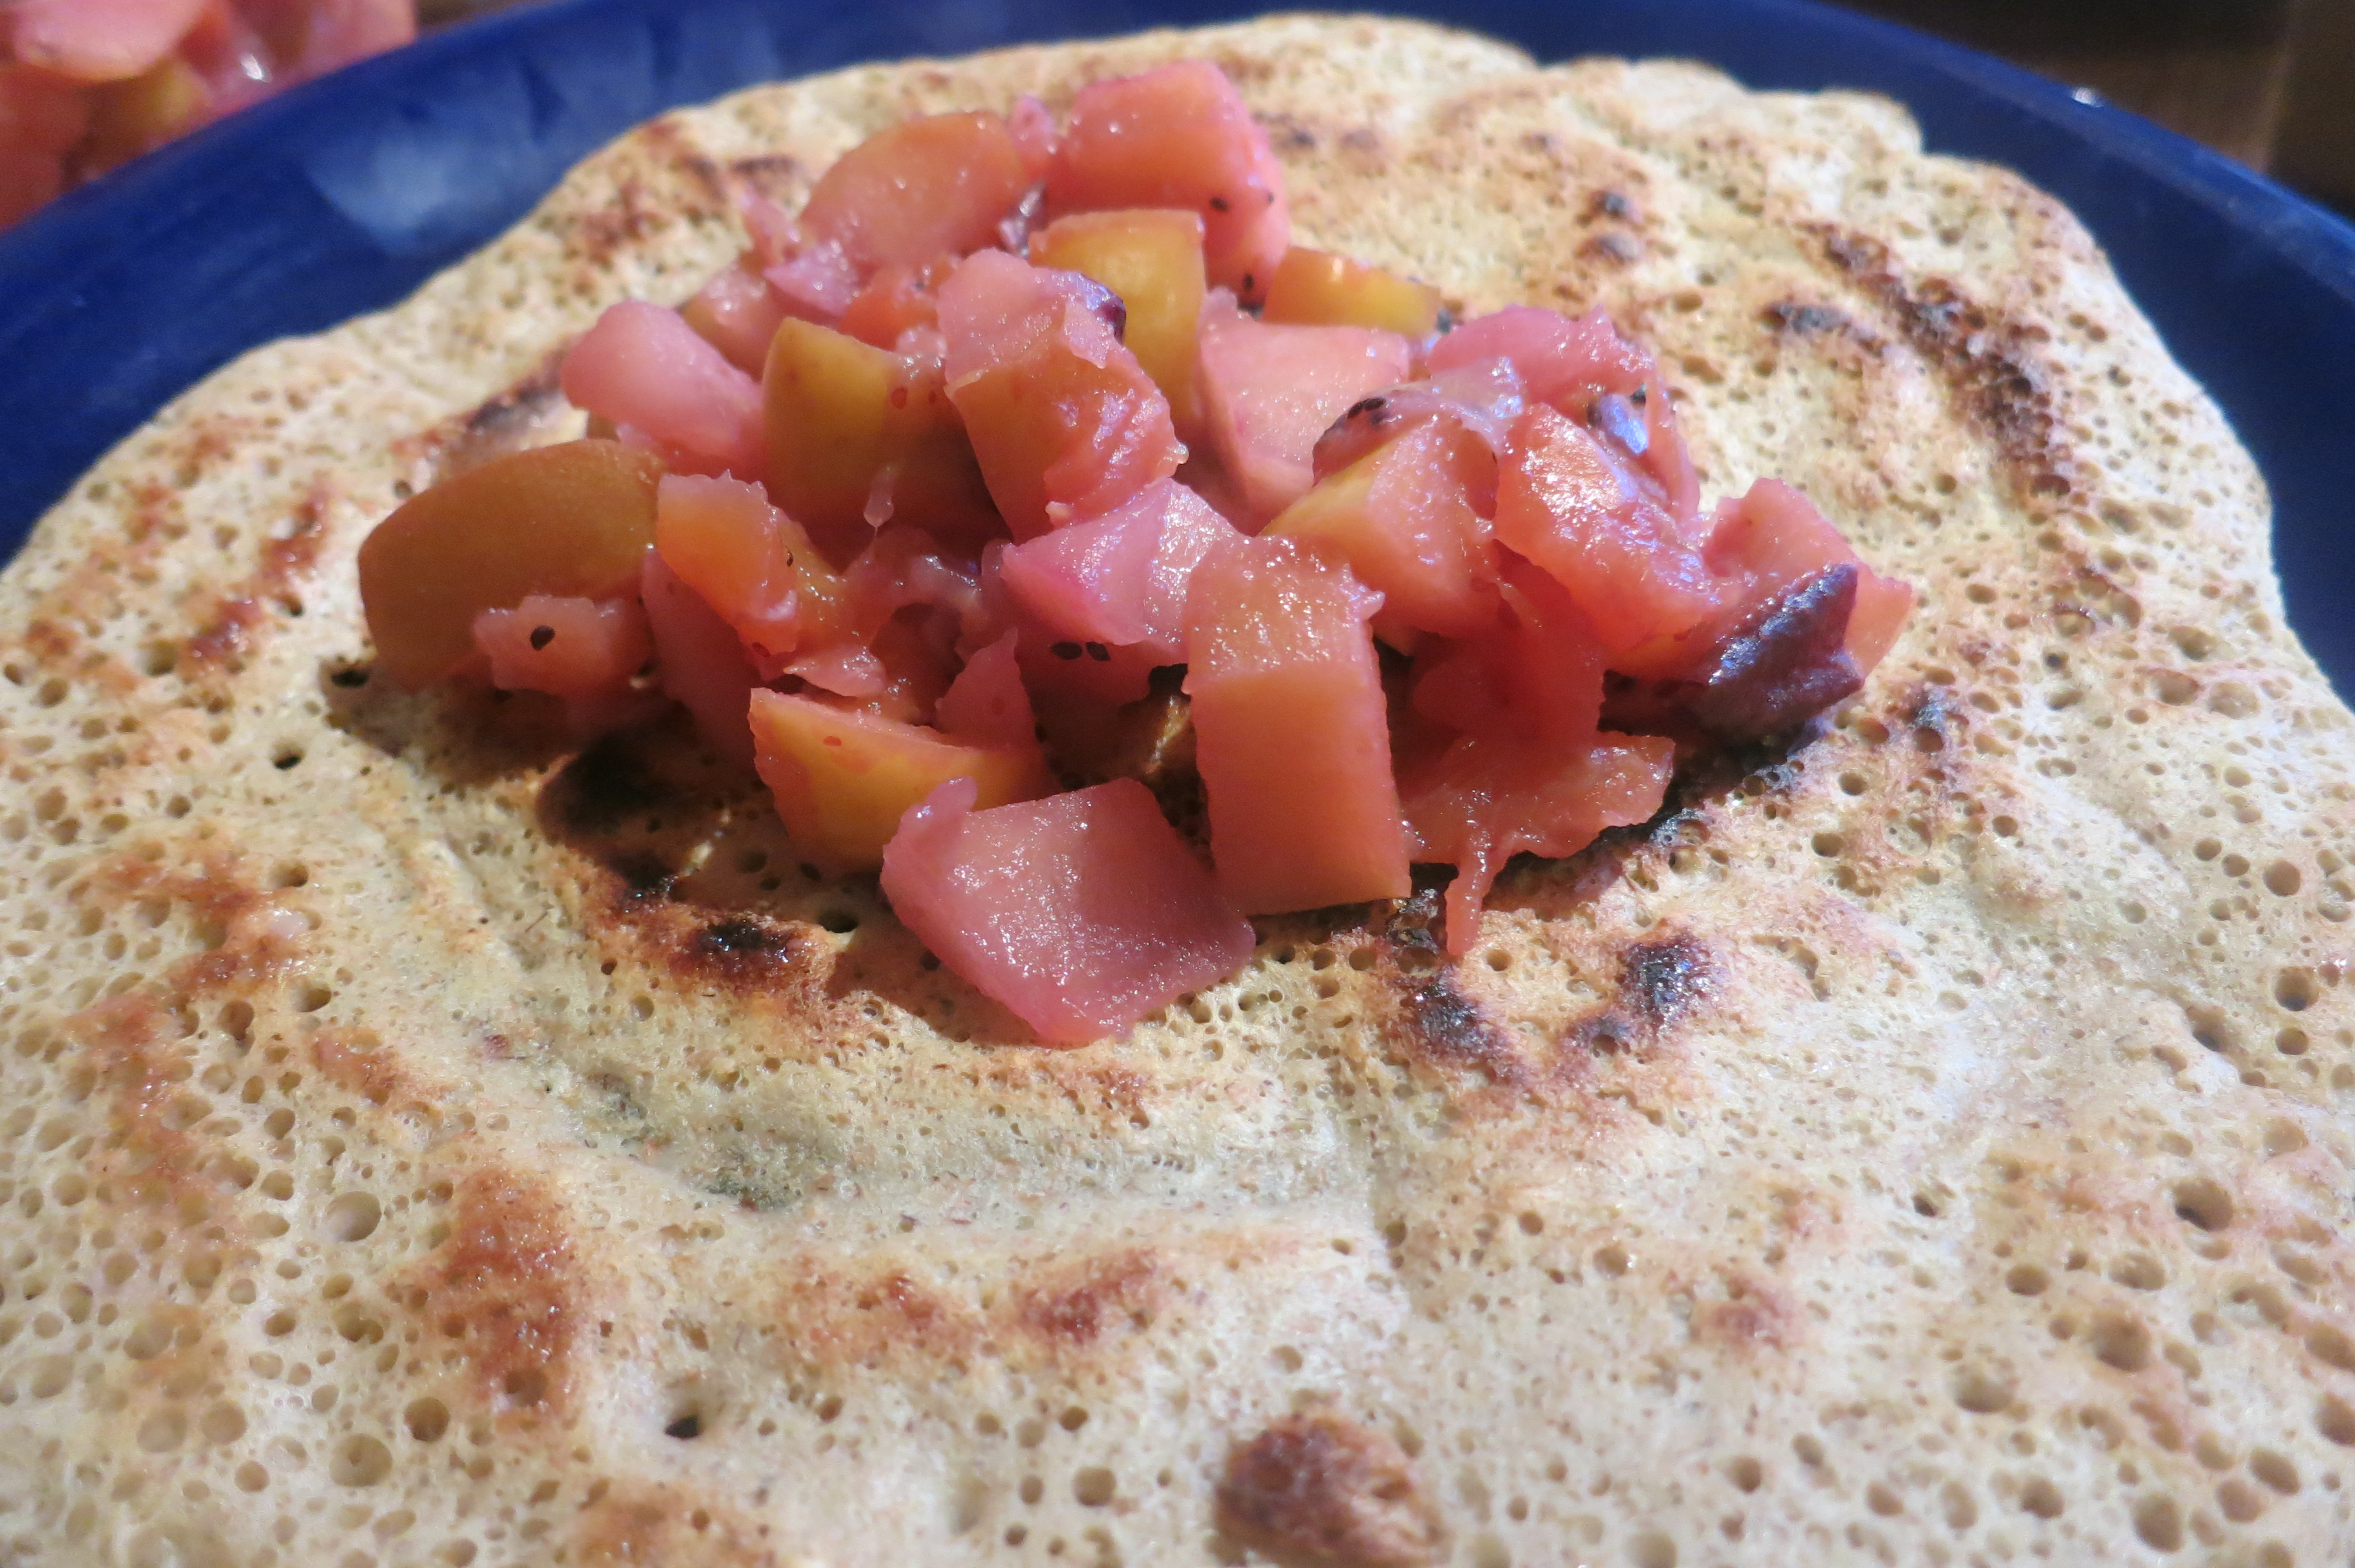
Prickly pear jelly on Sourdough Sonoran Wheat, Barley, Almond crepe

Prickly pear jelly and nut butter on sourdough Sonoran wheat, barley, almond crepe

Apple, prickly pear and friends compote

Apple, prickly pear and friends compote

Peach prickly pear cobbler

Peach, raspberry, prickly pear cobbler

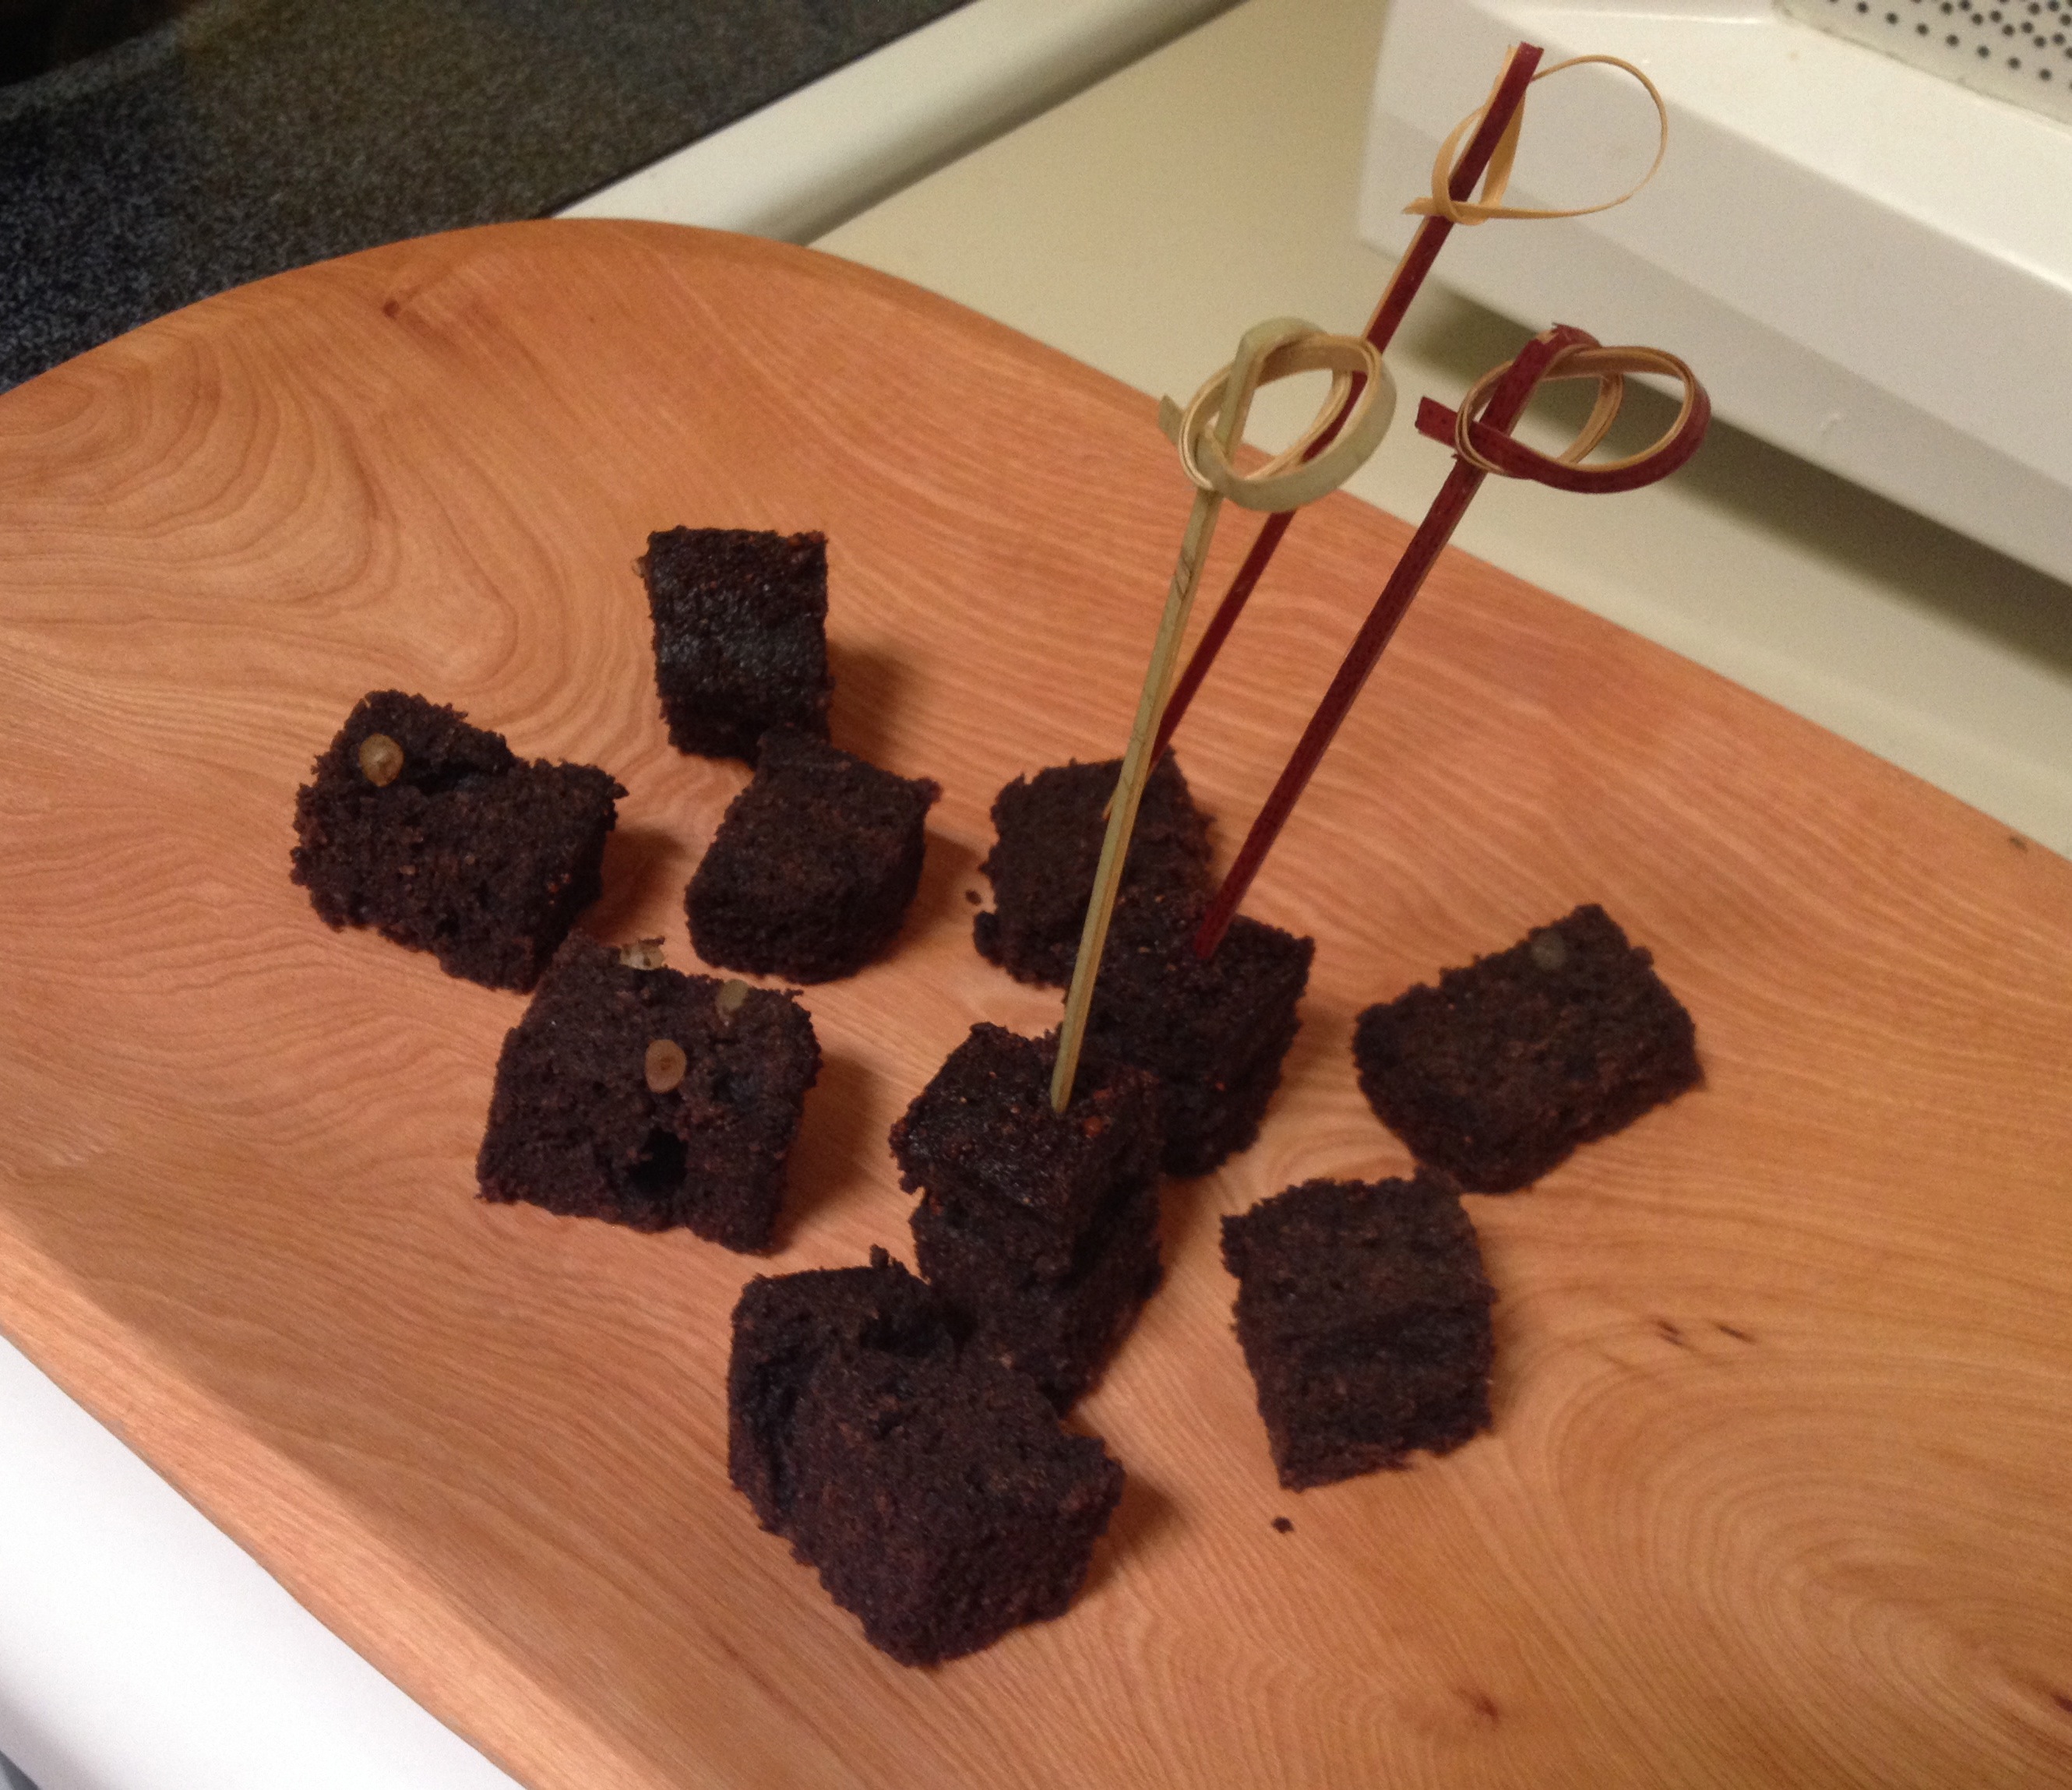
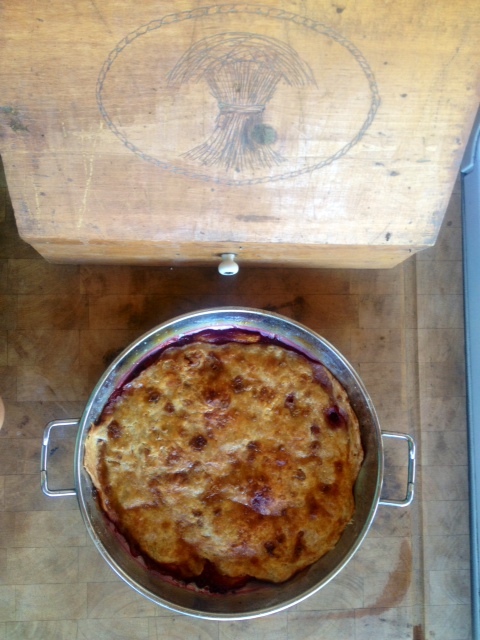
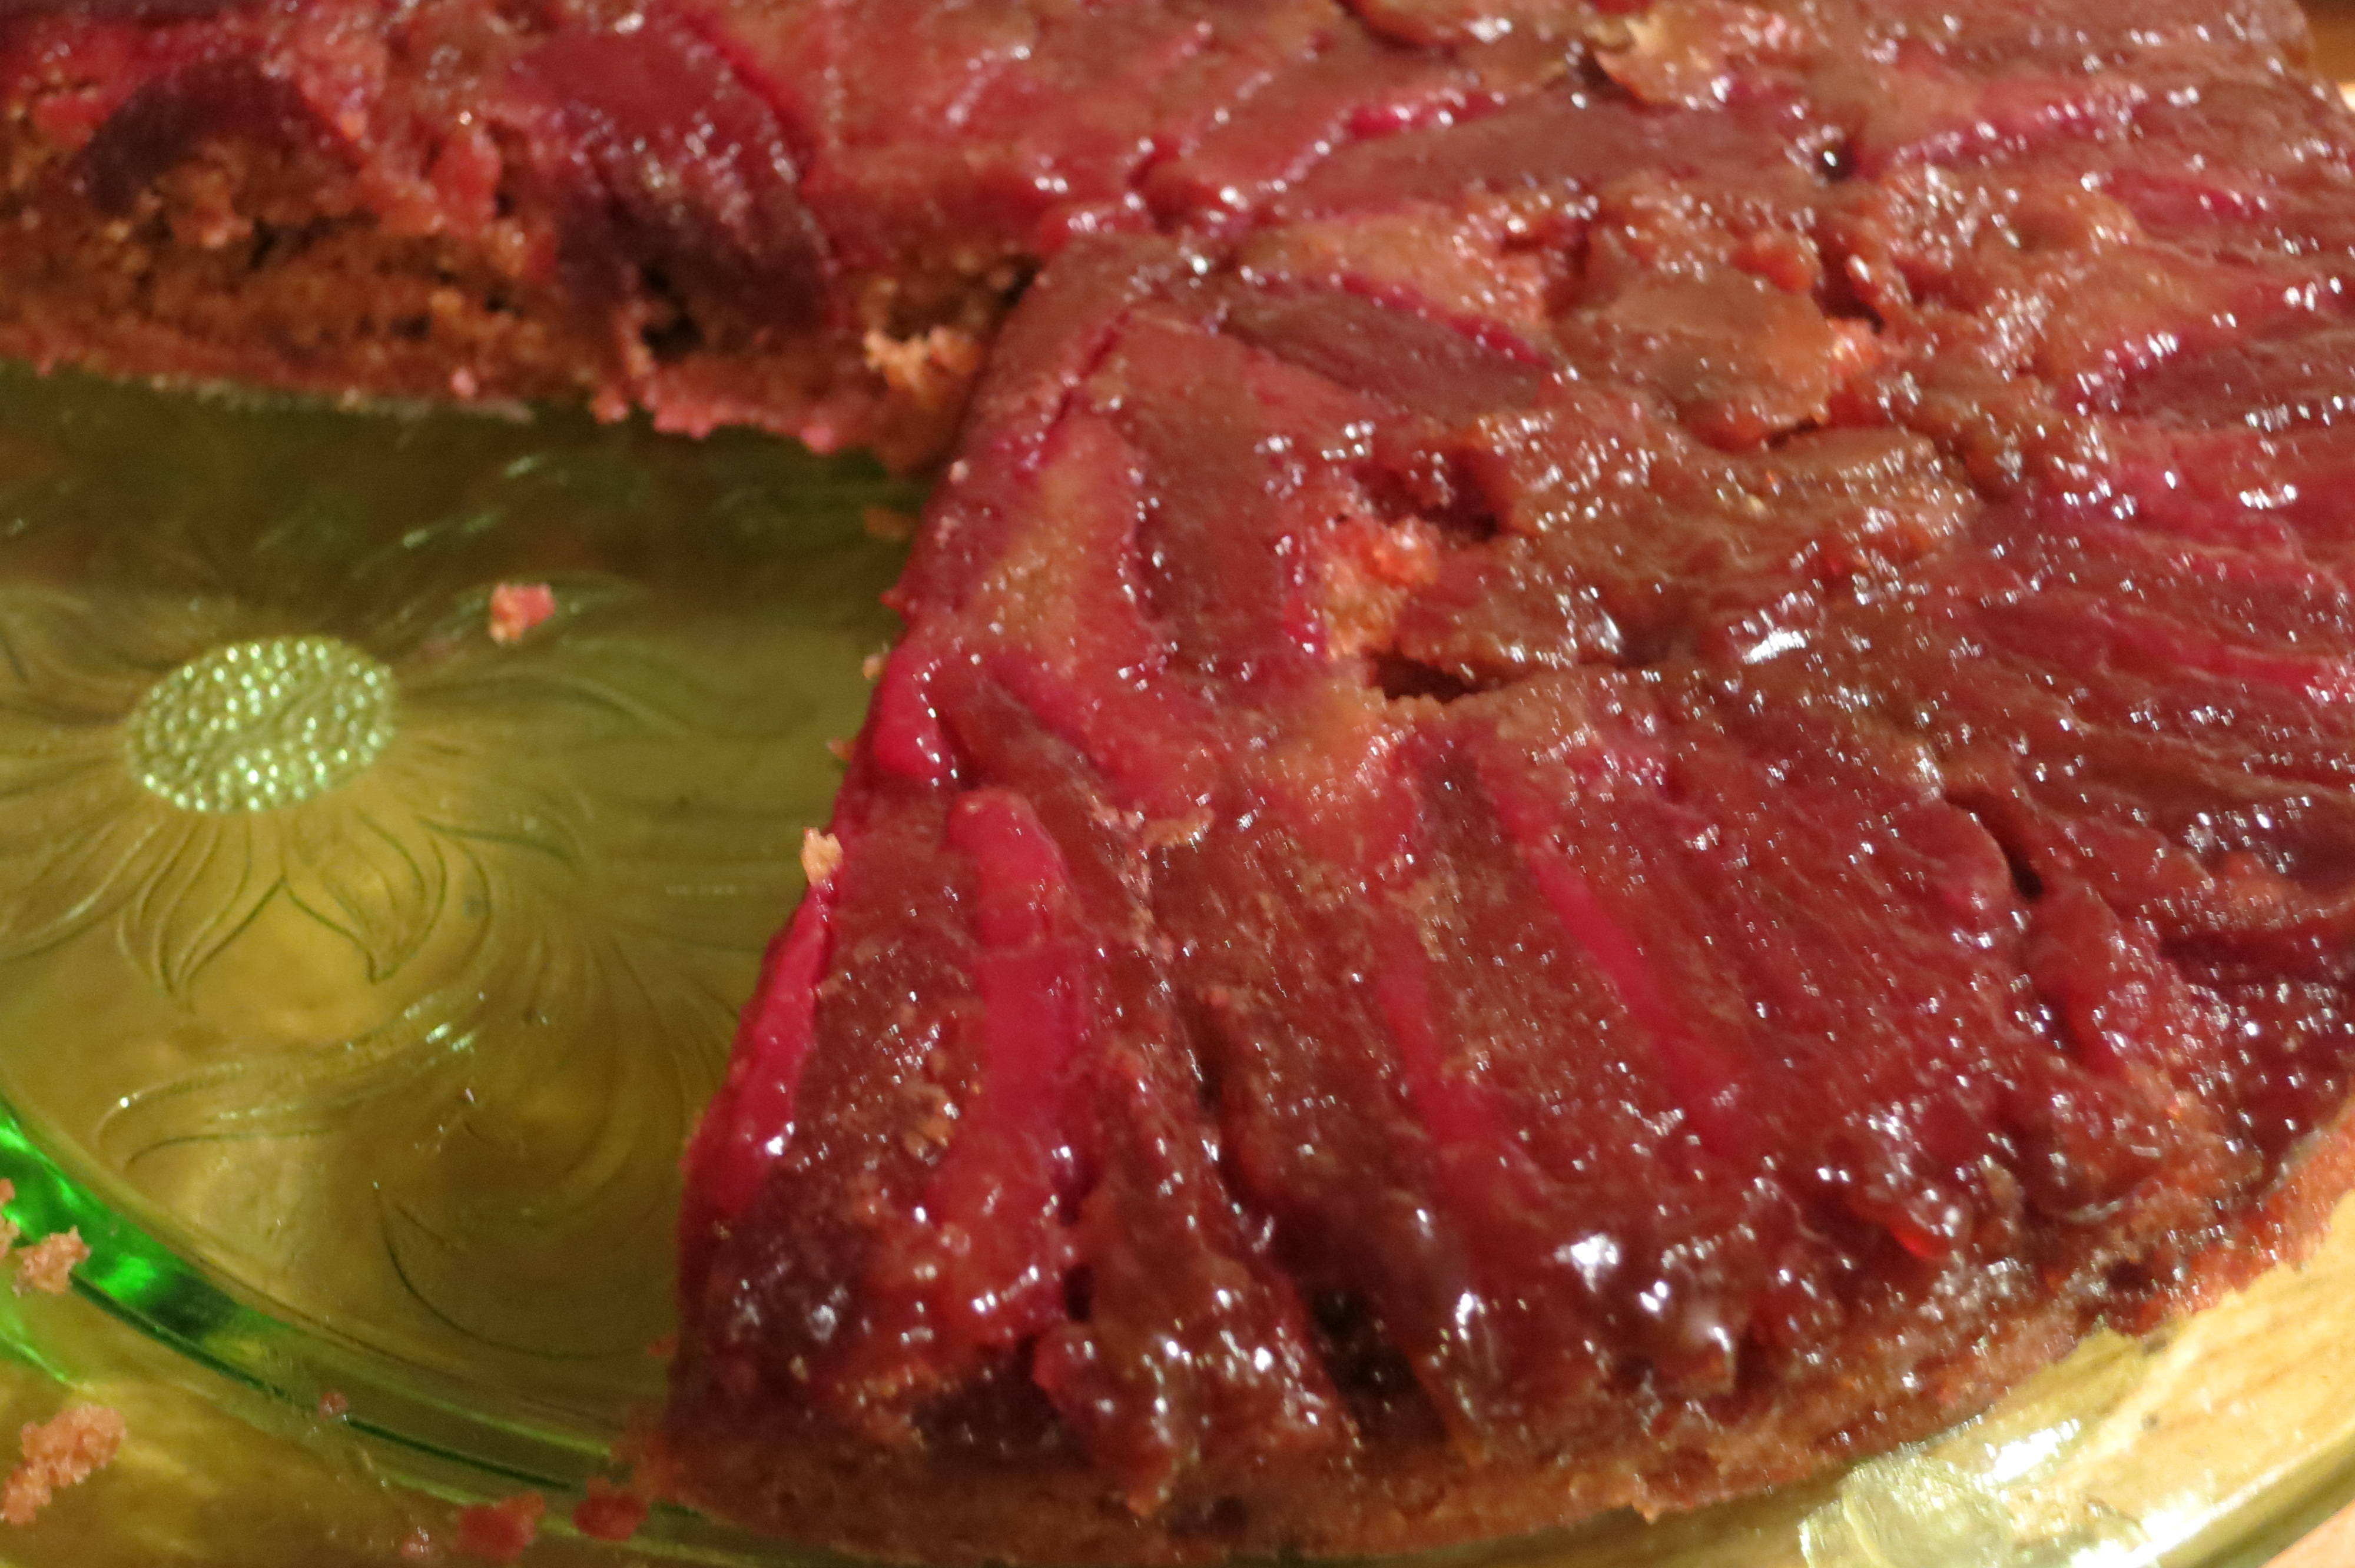
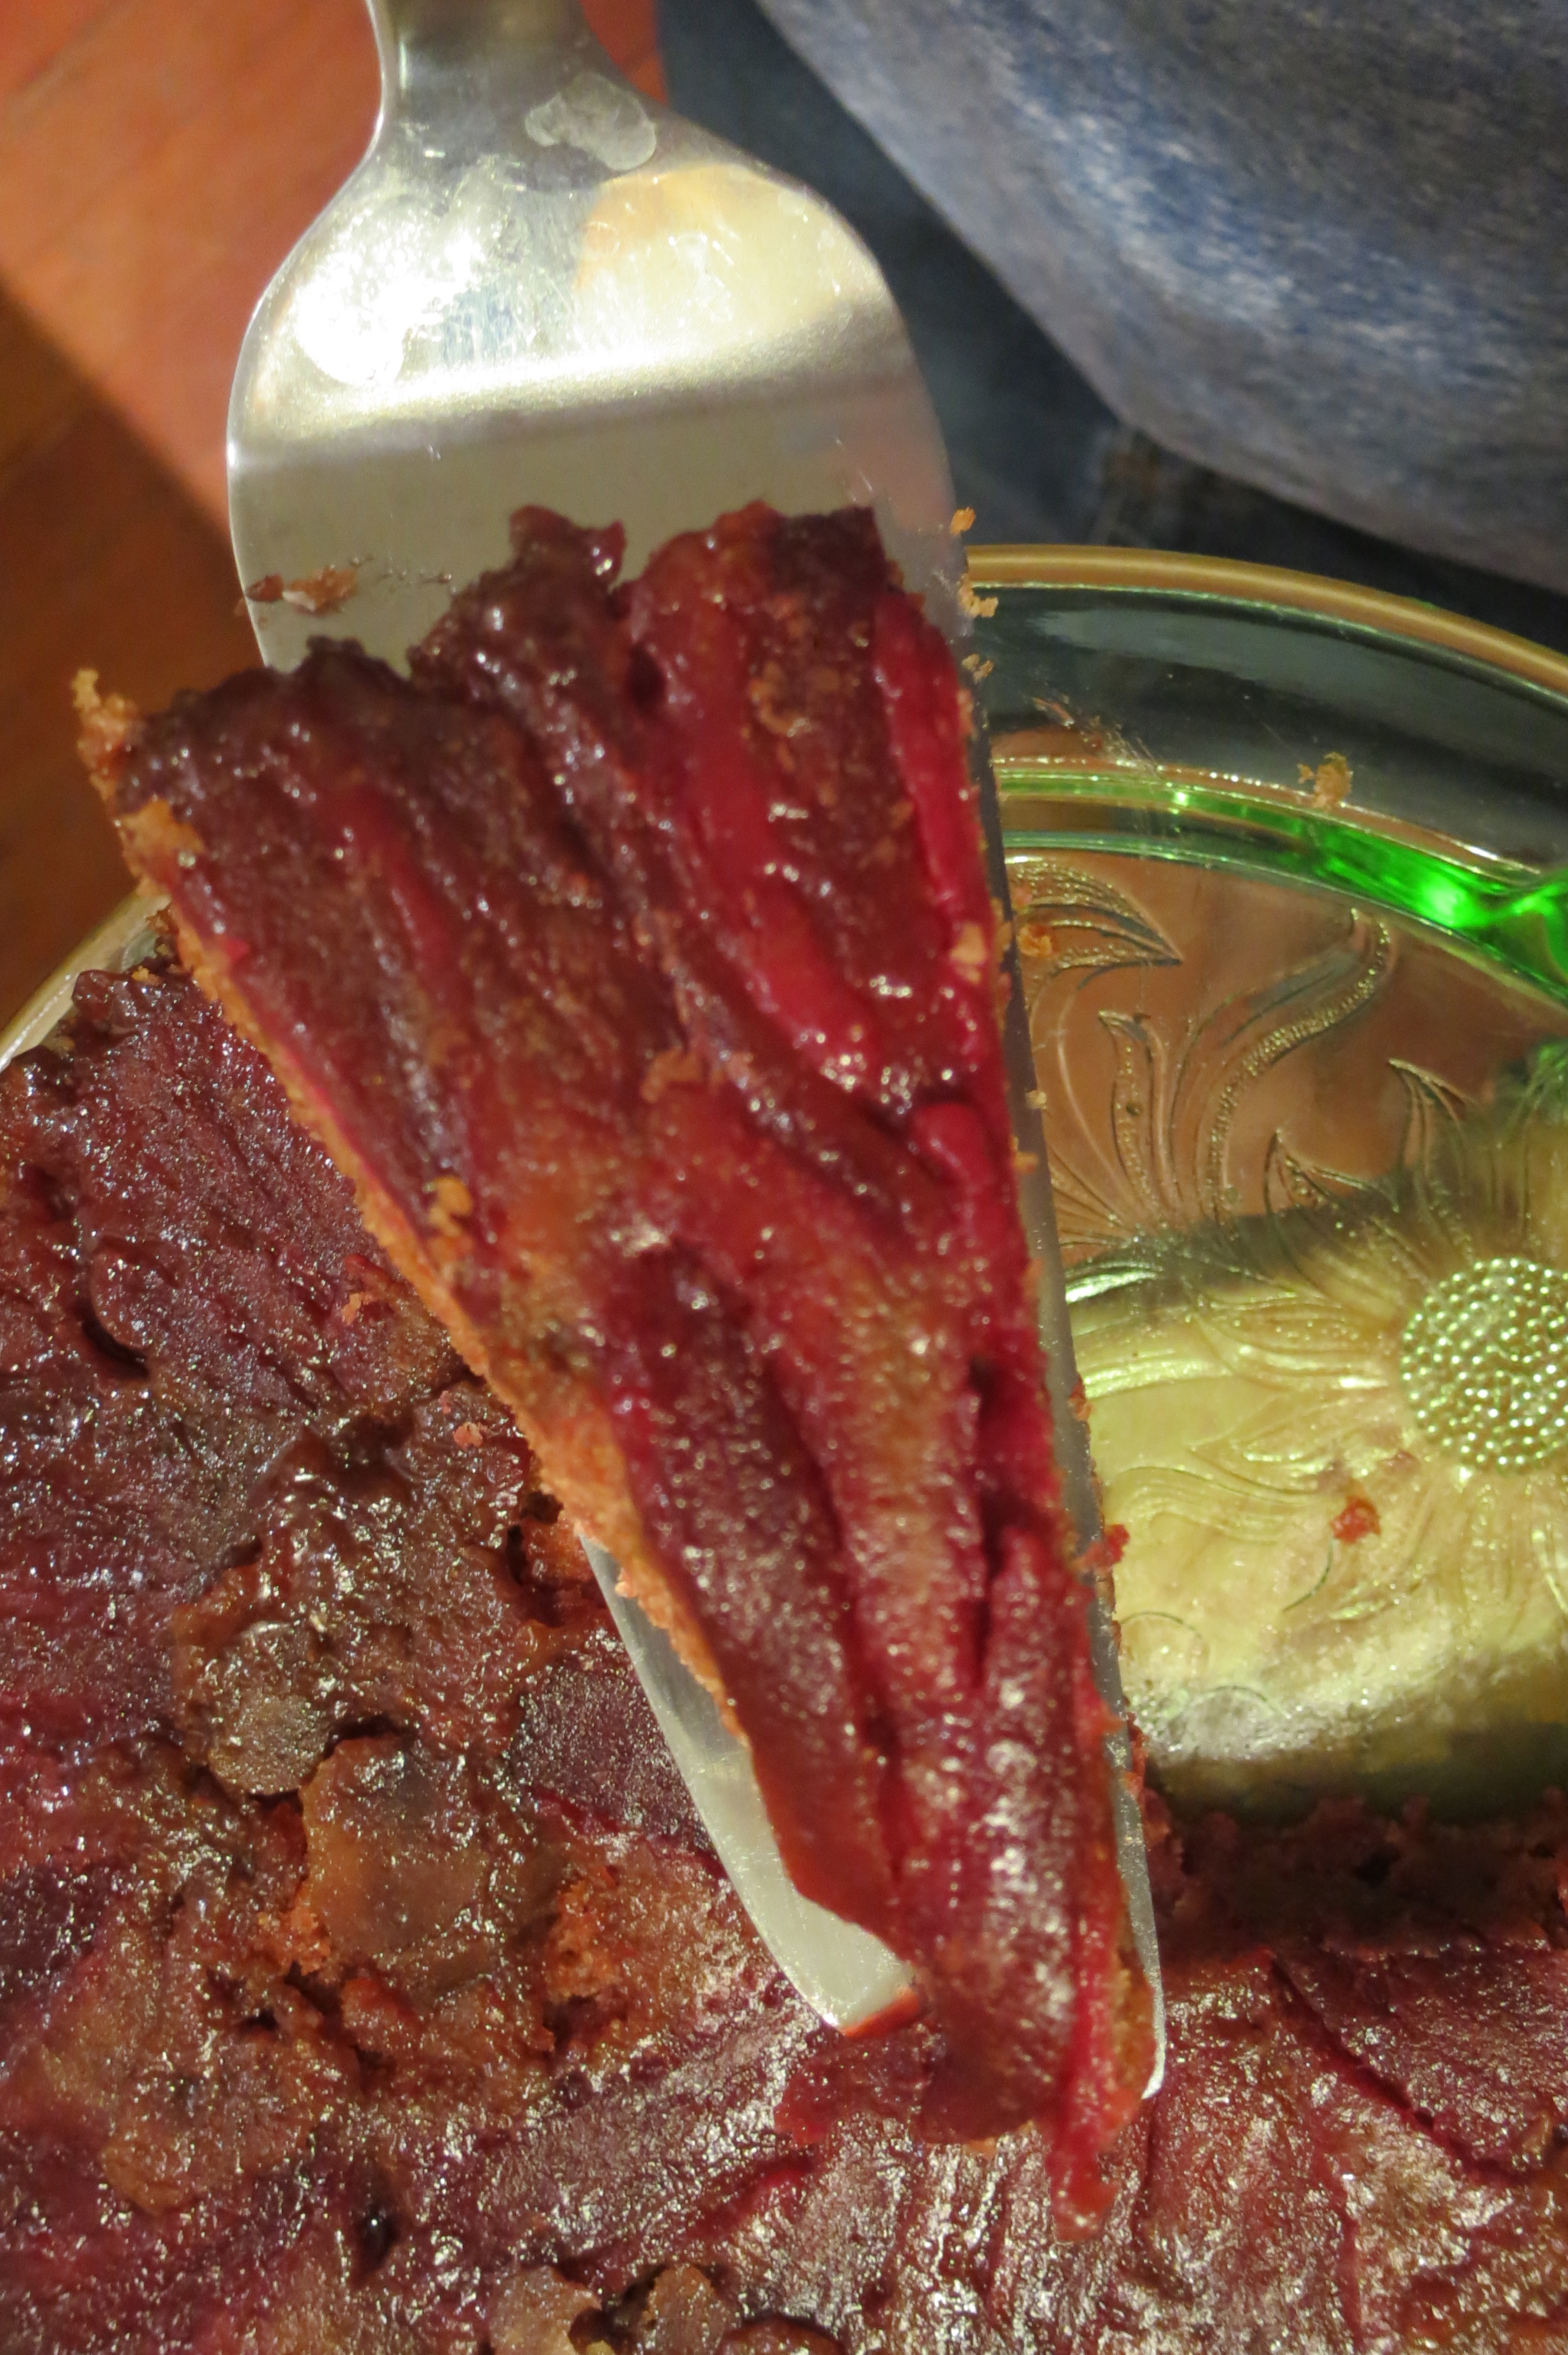
Prickly pear upside down cake

Prickly pear upside down cake

Prickly Pear Upside-down Cake

1/4 cup butter

1/2 cup brown sugar

3/4 cup whole wheat flour

3/4 cup unbleached all purpose flour

3/4 cup sugar

1 teaspoon baking powder

1/4 teaspoon salt

3/4 cup prickly pear juice

1/2 cup butter, melted

1 teaspoon vanilla

6 prickly pear fruit, glochids singed over fire, peeled, seeded and sliced

Preheat oven to 325 degrees F. In a 9 inch springform pan, put 1/4 cup butter. Put pan in the oven just until butter is melted. Sprinkle with brown sugar and arrange prickly pear fruit on top. Mix flours, sugar, baking powder and salt. Separately, mix prickly pear juice, 1/2 cup melted butter and vanilla. Combine the two mixtures and pour into prepared pan. Bake for 3o minutes or until a toothpick inserted in cake comes out clean. I like the cake to have some brown edges. Cool, invert on to a serving plate and enjoy. IMG_3286

Fig Jam Ready for Farm to Table Picnic

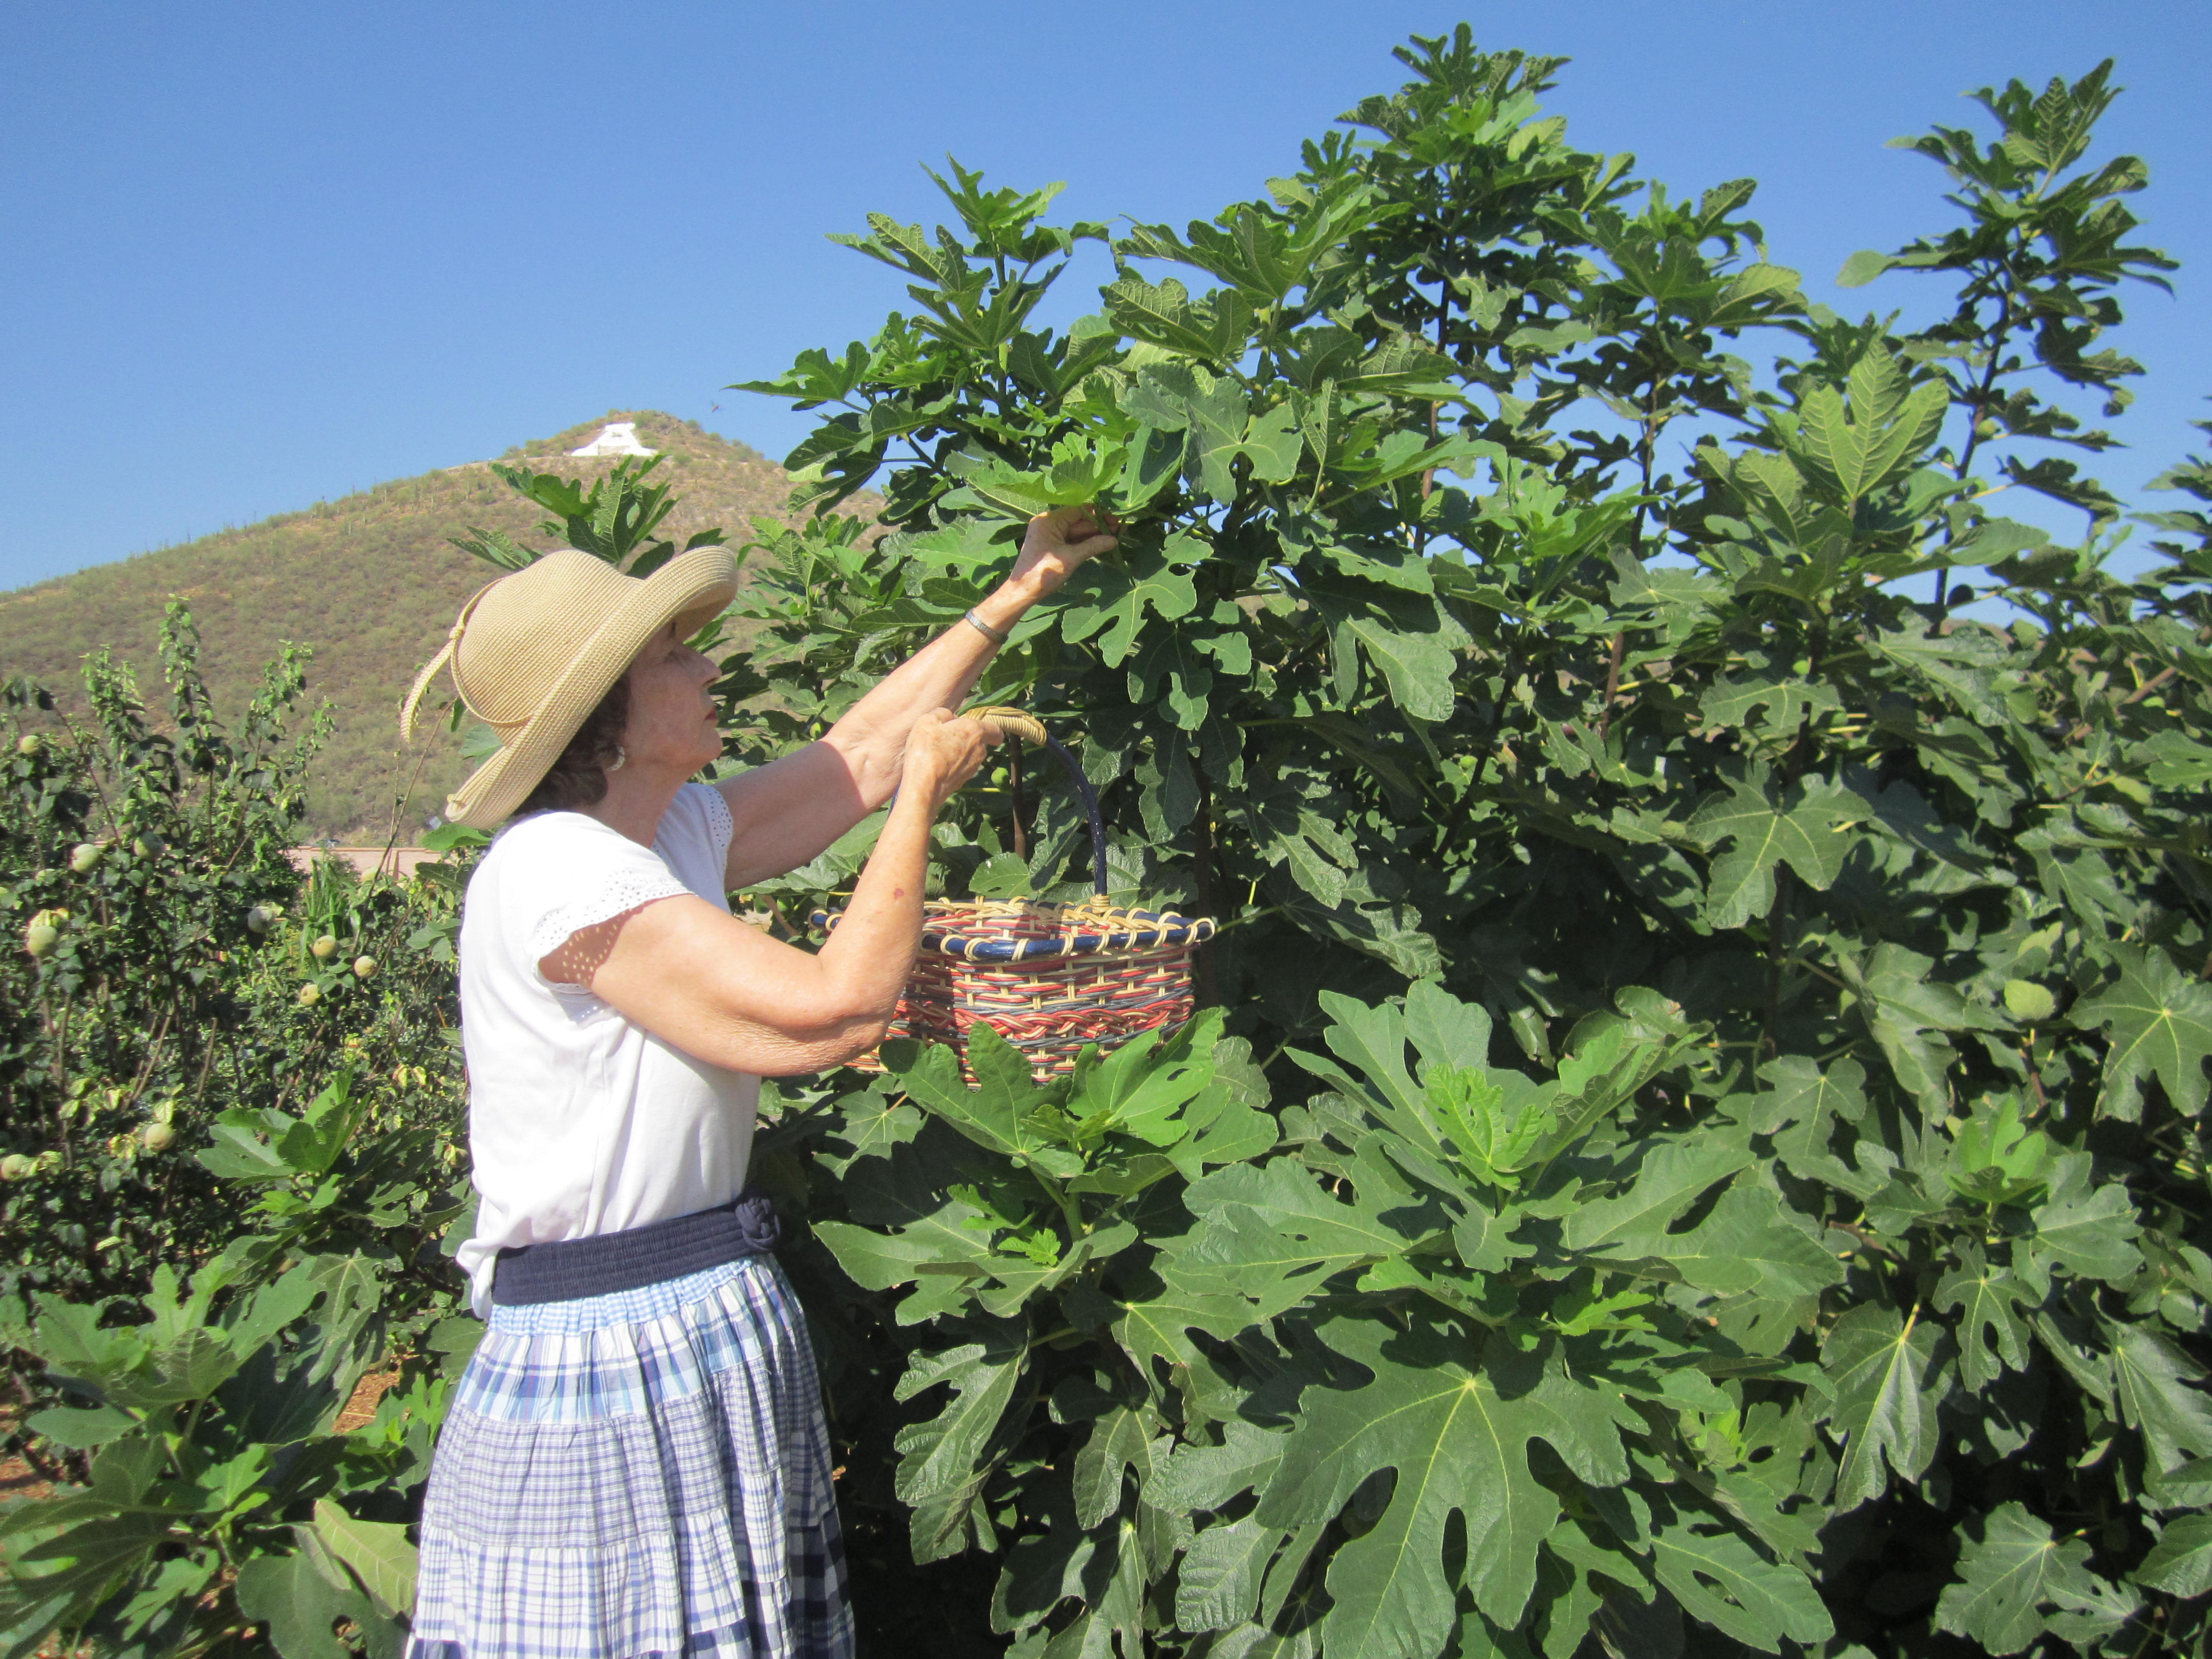
Picking figs at the Mission Garden.

Picking figs at the Mission Garden operated by Friends of Tucson’s Birthplace.

The hottest weather of summer brings Tucson one of its sweetest treats, figs. The figs at the Mission Garden operated by Friends of Tucson’s Birthplace, are ripening  now. Some of the trees have already produced and are beginning to  grow their second crop. This is Carolyn today, and that is me picking figs from one of the trees in the lush recreated historic garden near the Santa Cruz River.  The plan was to preserve the figs as jam to be used as an ingredient in cookies  for the Farm to Table Picnic being organized by the  Mission Garden and Native Seeds/ SEARCH.  On the late afternoon of October 18, dinners will be able to picnic on Southern Arizona’s agricultural  bounty at tables  spread through the Garden. (Ticket detals next month).

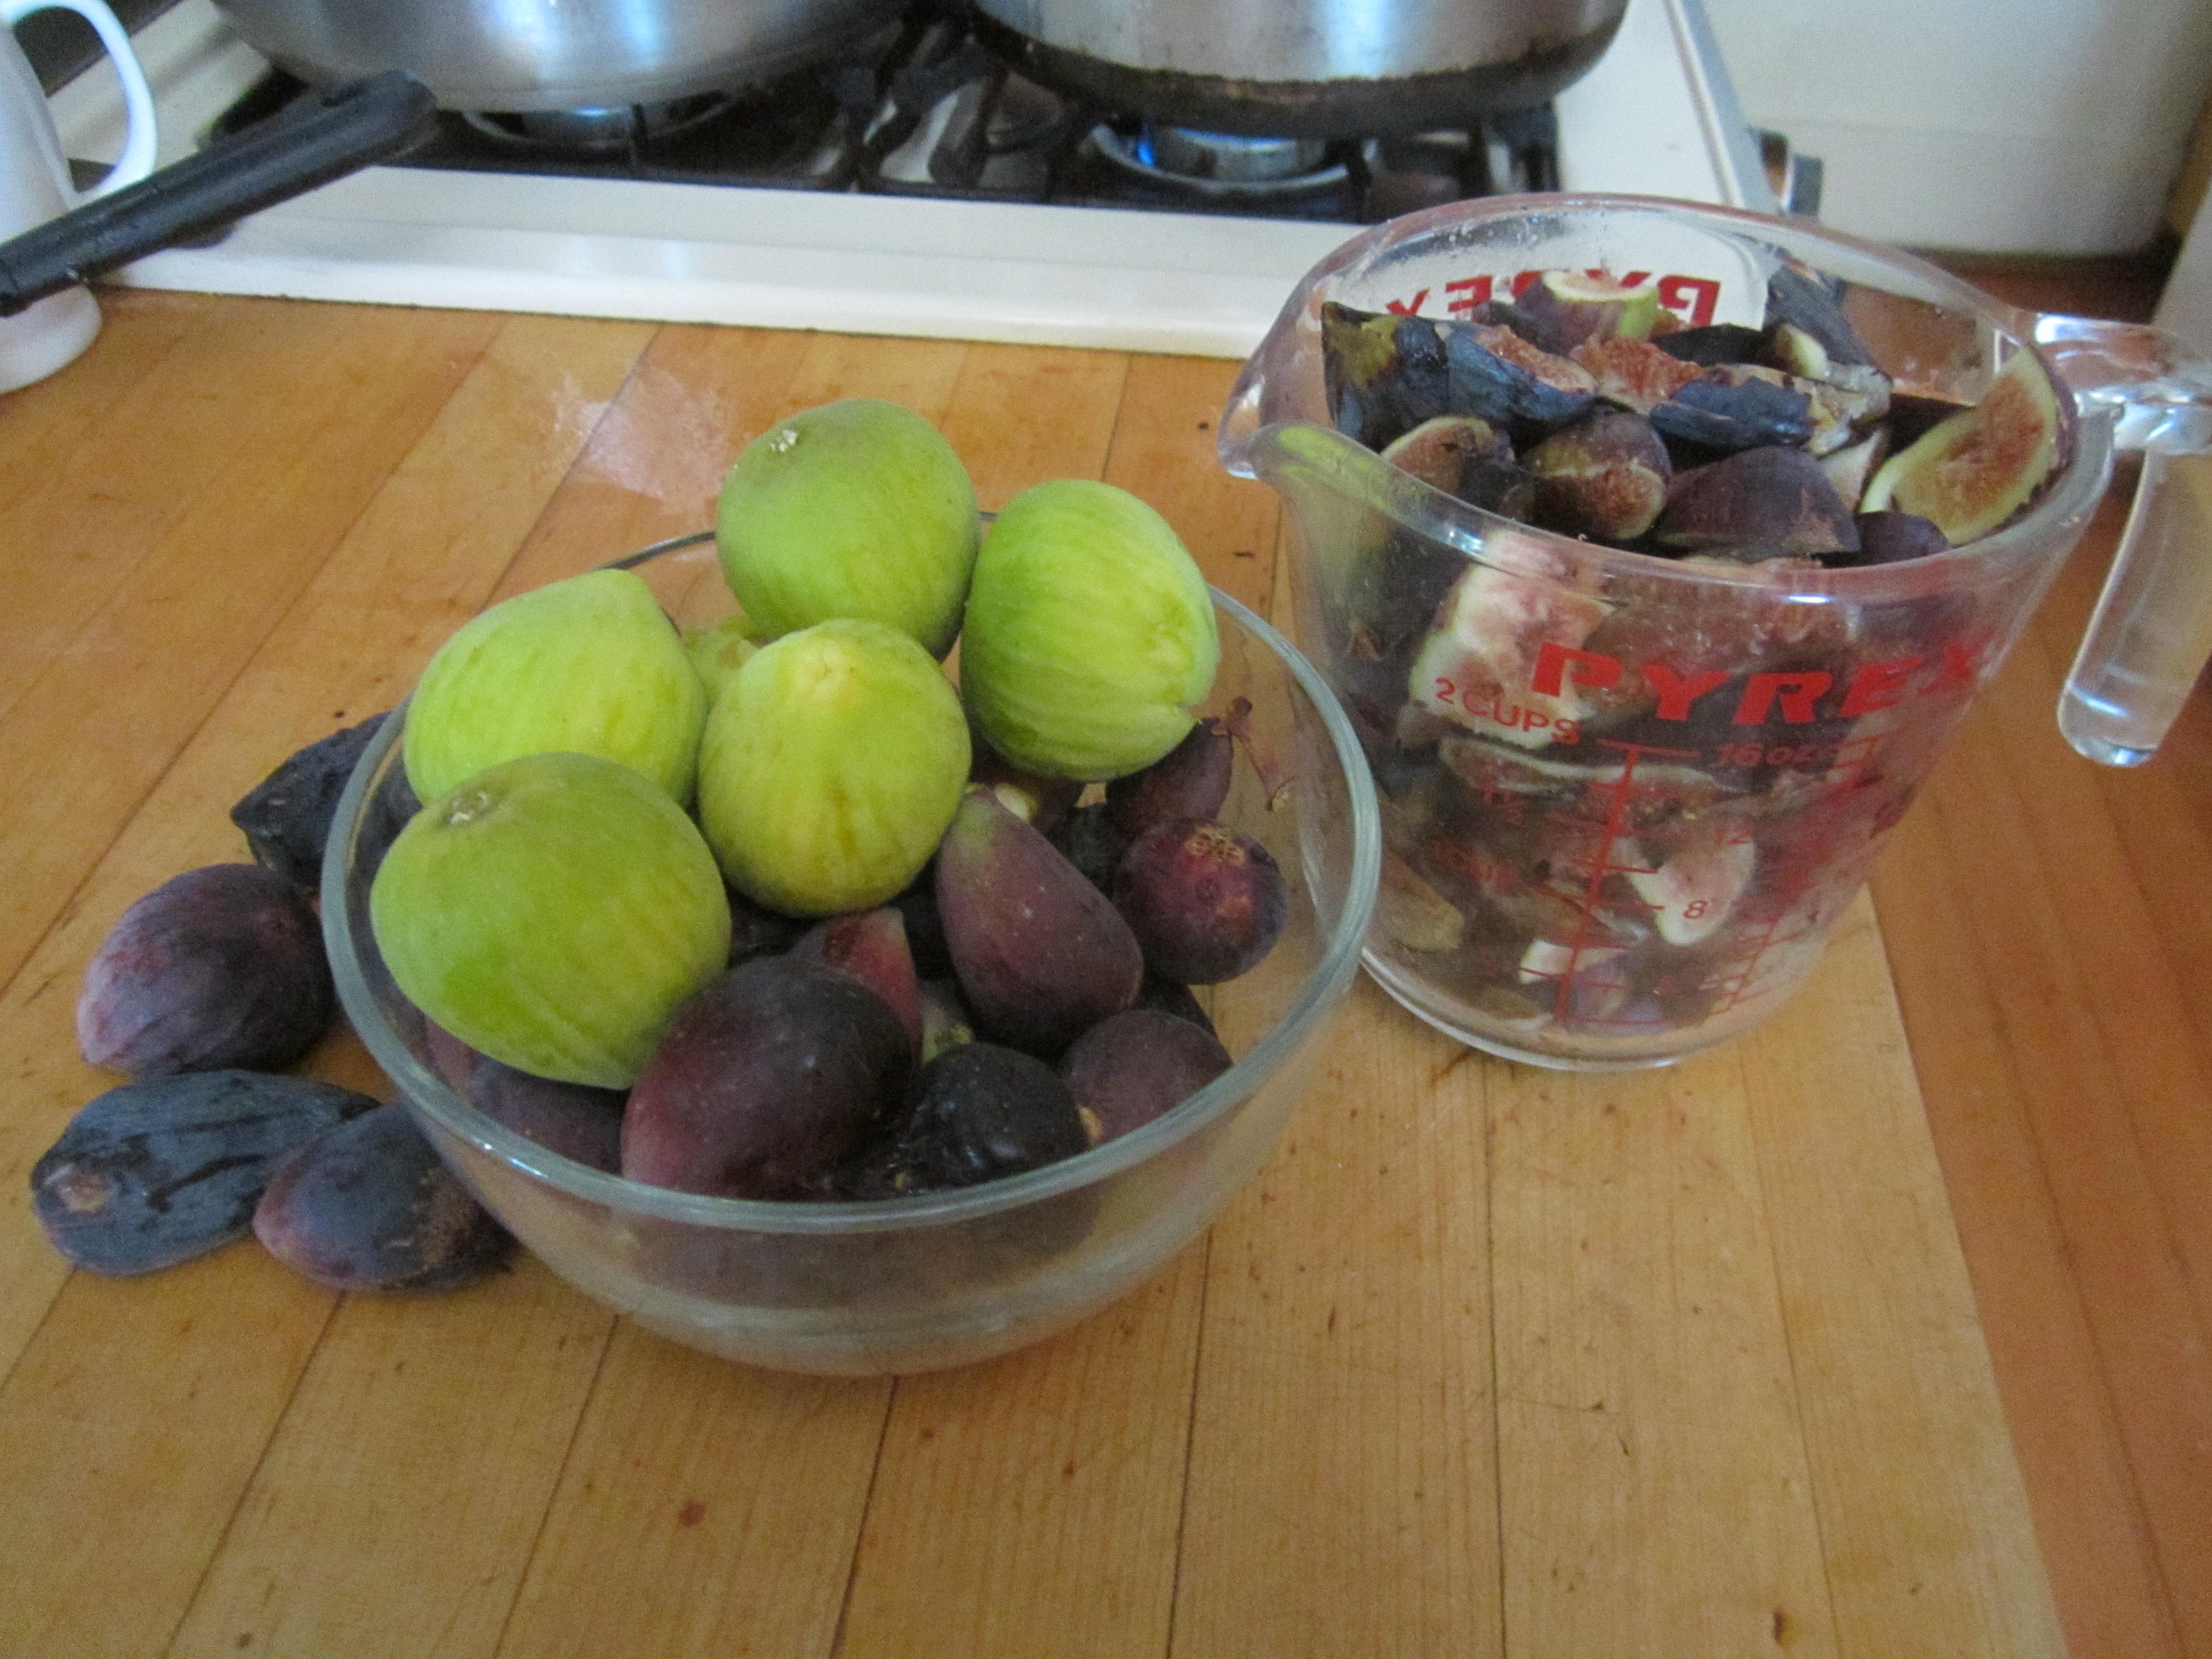
The brown figs at Mission Garden are living relics of trees brought to Southern Arizona by Father Kino. They were grown from twigs cut from plants behind the Sosa-Carrillo House. Historic records show that those trees came from cuttings of trees at San Xavier Mission. The green figs were grown from cuttings taken from trees at the  settlements near the Ruby and Oro Blanco mines.

Plump figs from Mission Garden. The green ones are called "white" and some people think they are sweeter.

Plump figs from Mission Garden. The green ones are called “white” and some people think they are sweeter.

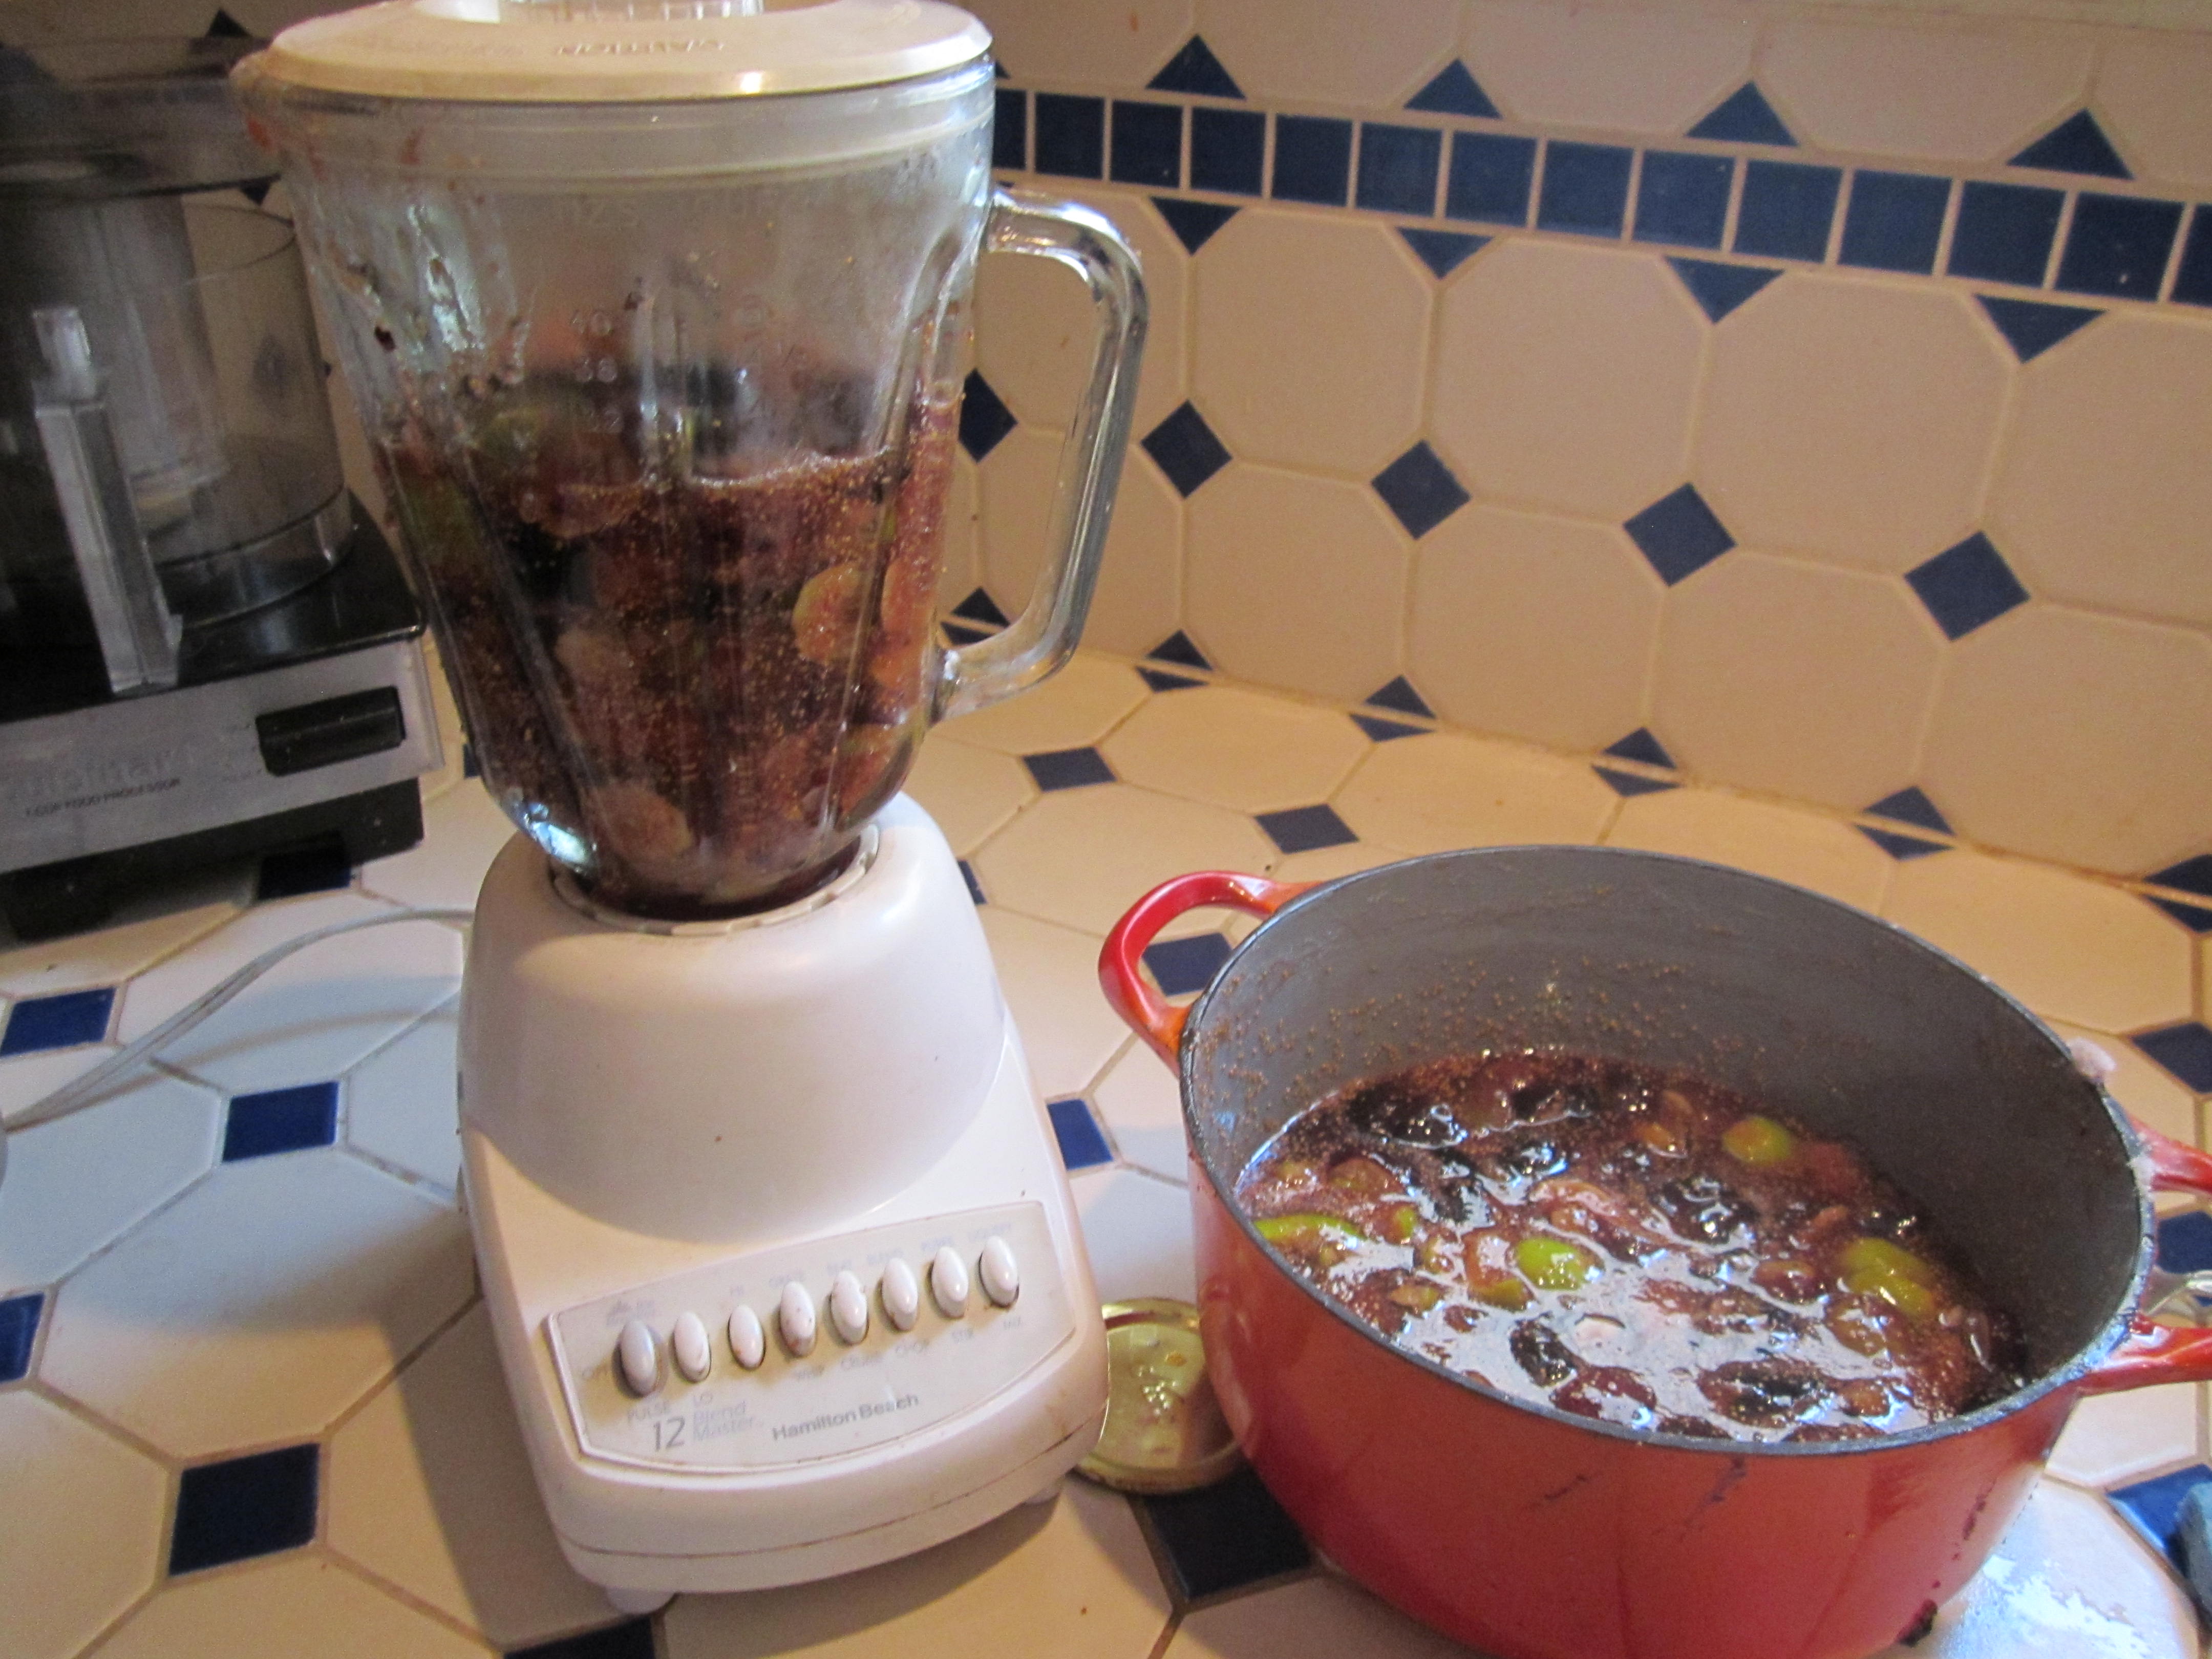
Generally in making jam the old-fashioned way without added commercial pectin, you measure an equal quantity of fruit and sugar and simmer until it is thick. Because these figs were incredibly sweet and because I plan to spread the jam over a base crust, I didn’t care if the jam set up like I would, say a plum or strawberry jam. So I thought it would be safe to use less sugar. Ultimately I used about 4 cups of sugar to 8 cups of chopped figs, about half the usual amount. Since I wanted a smooth product, I put the chopped figs through the blender.  I could have also used my food processor.

Blending the chopped figs for a smooth product.

Blending the chopped figs for a smooth product.

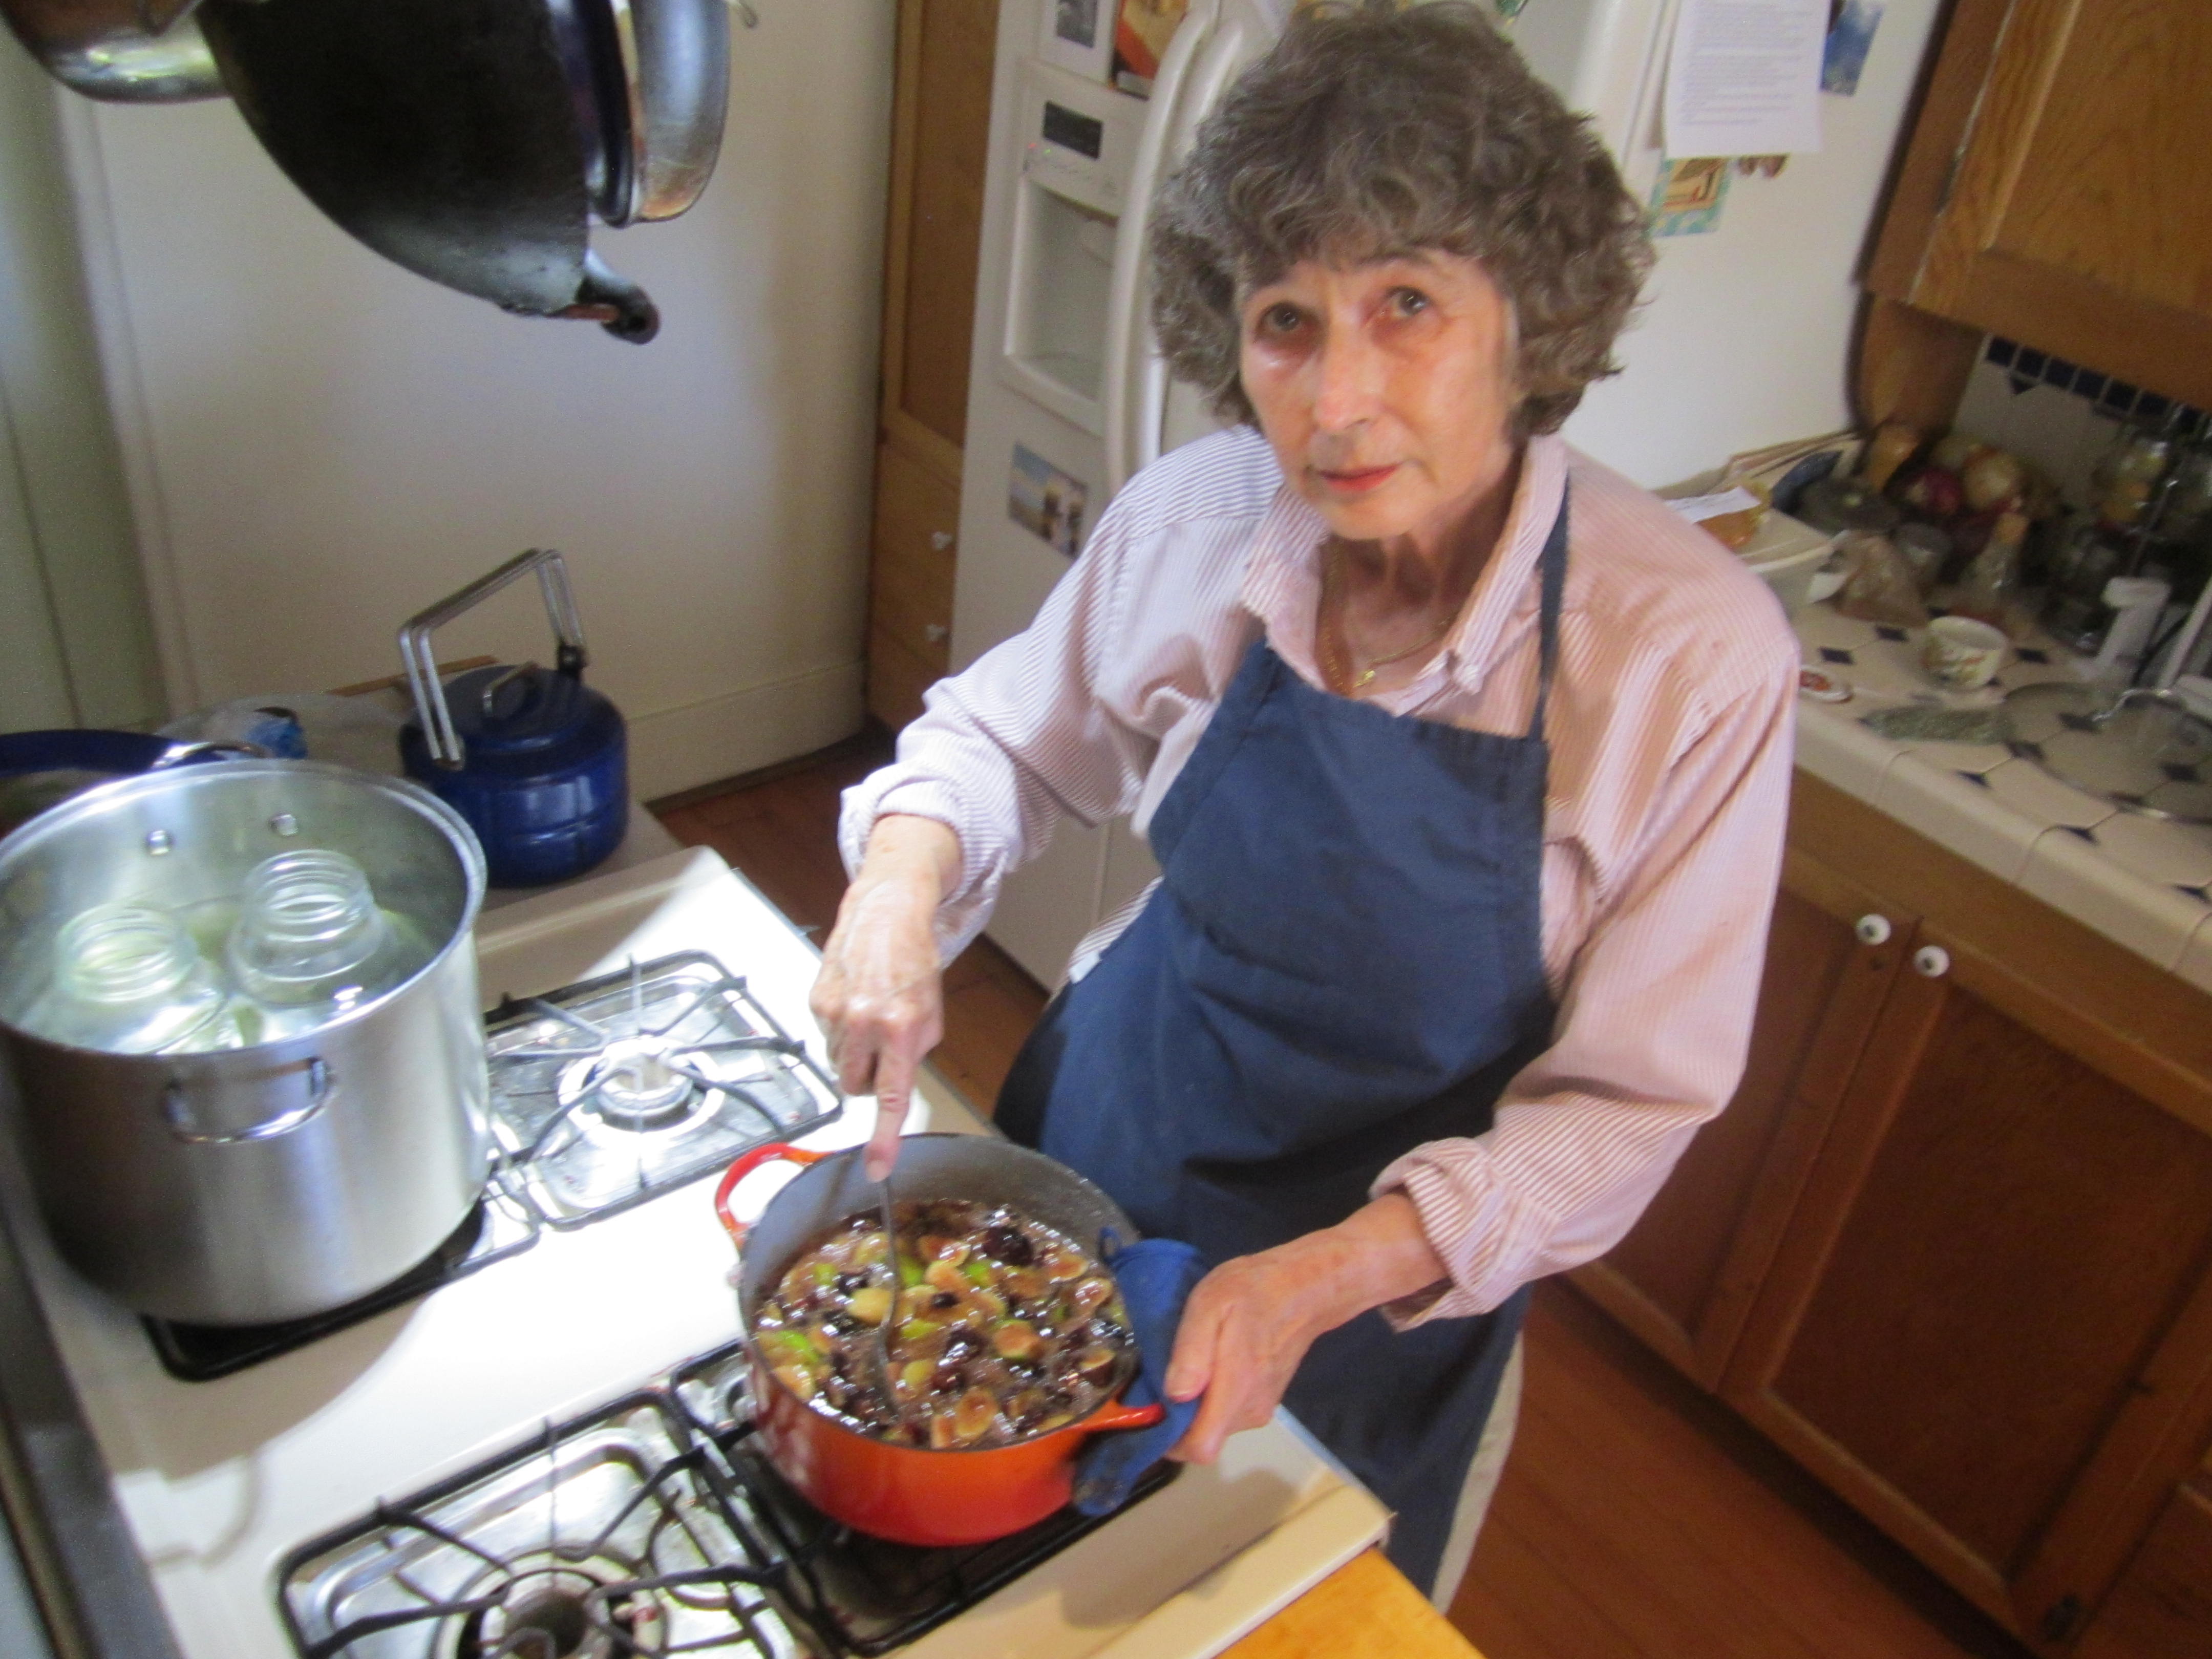
Next came the long slow cooking.  In the picture below, you can see the large pot on the left where I was boiling the storage  jars to sterilize them.

Cooking the jam.

Cooking the jam.

In any jam making, you need to simmer the fruit and sugar until it reaches about 220 degrees F. This takes both time and careful watching to get the jam to a point where it is not too runny and not too stiff.  In Tucson, because of our altitude, 218 degrees F usually gives a better product. Use too high a heat and the jam will burn on the bottom of the pot before it reaches the proper temperature.

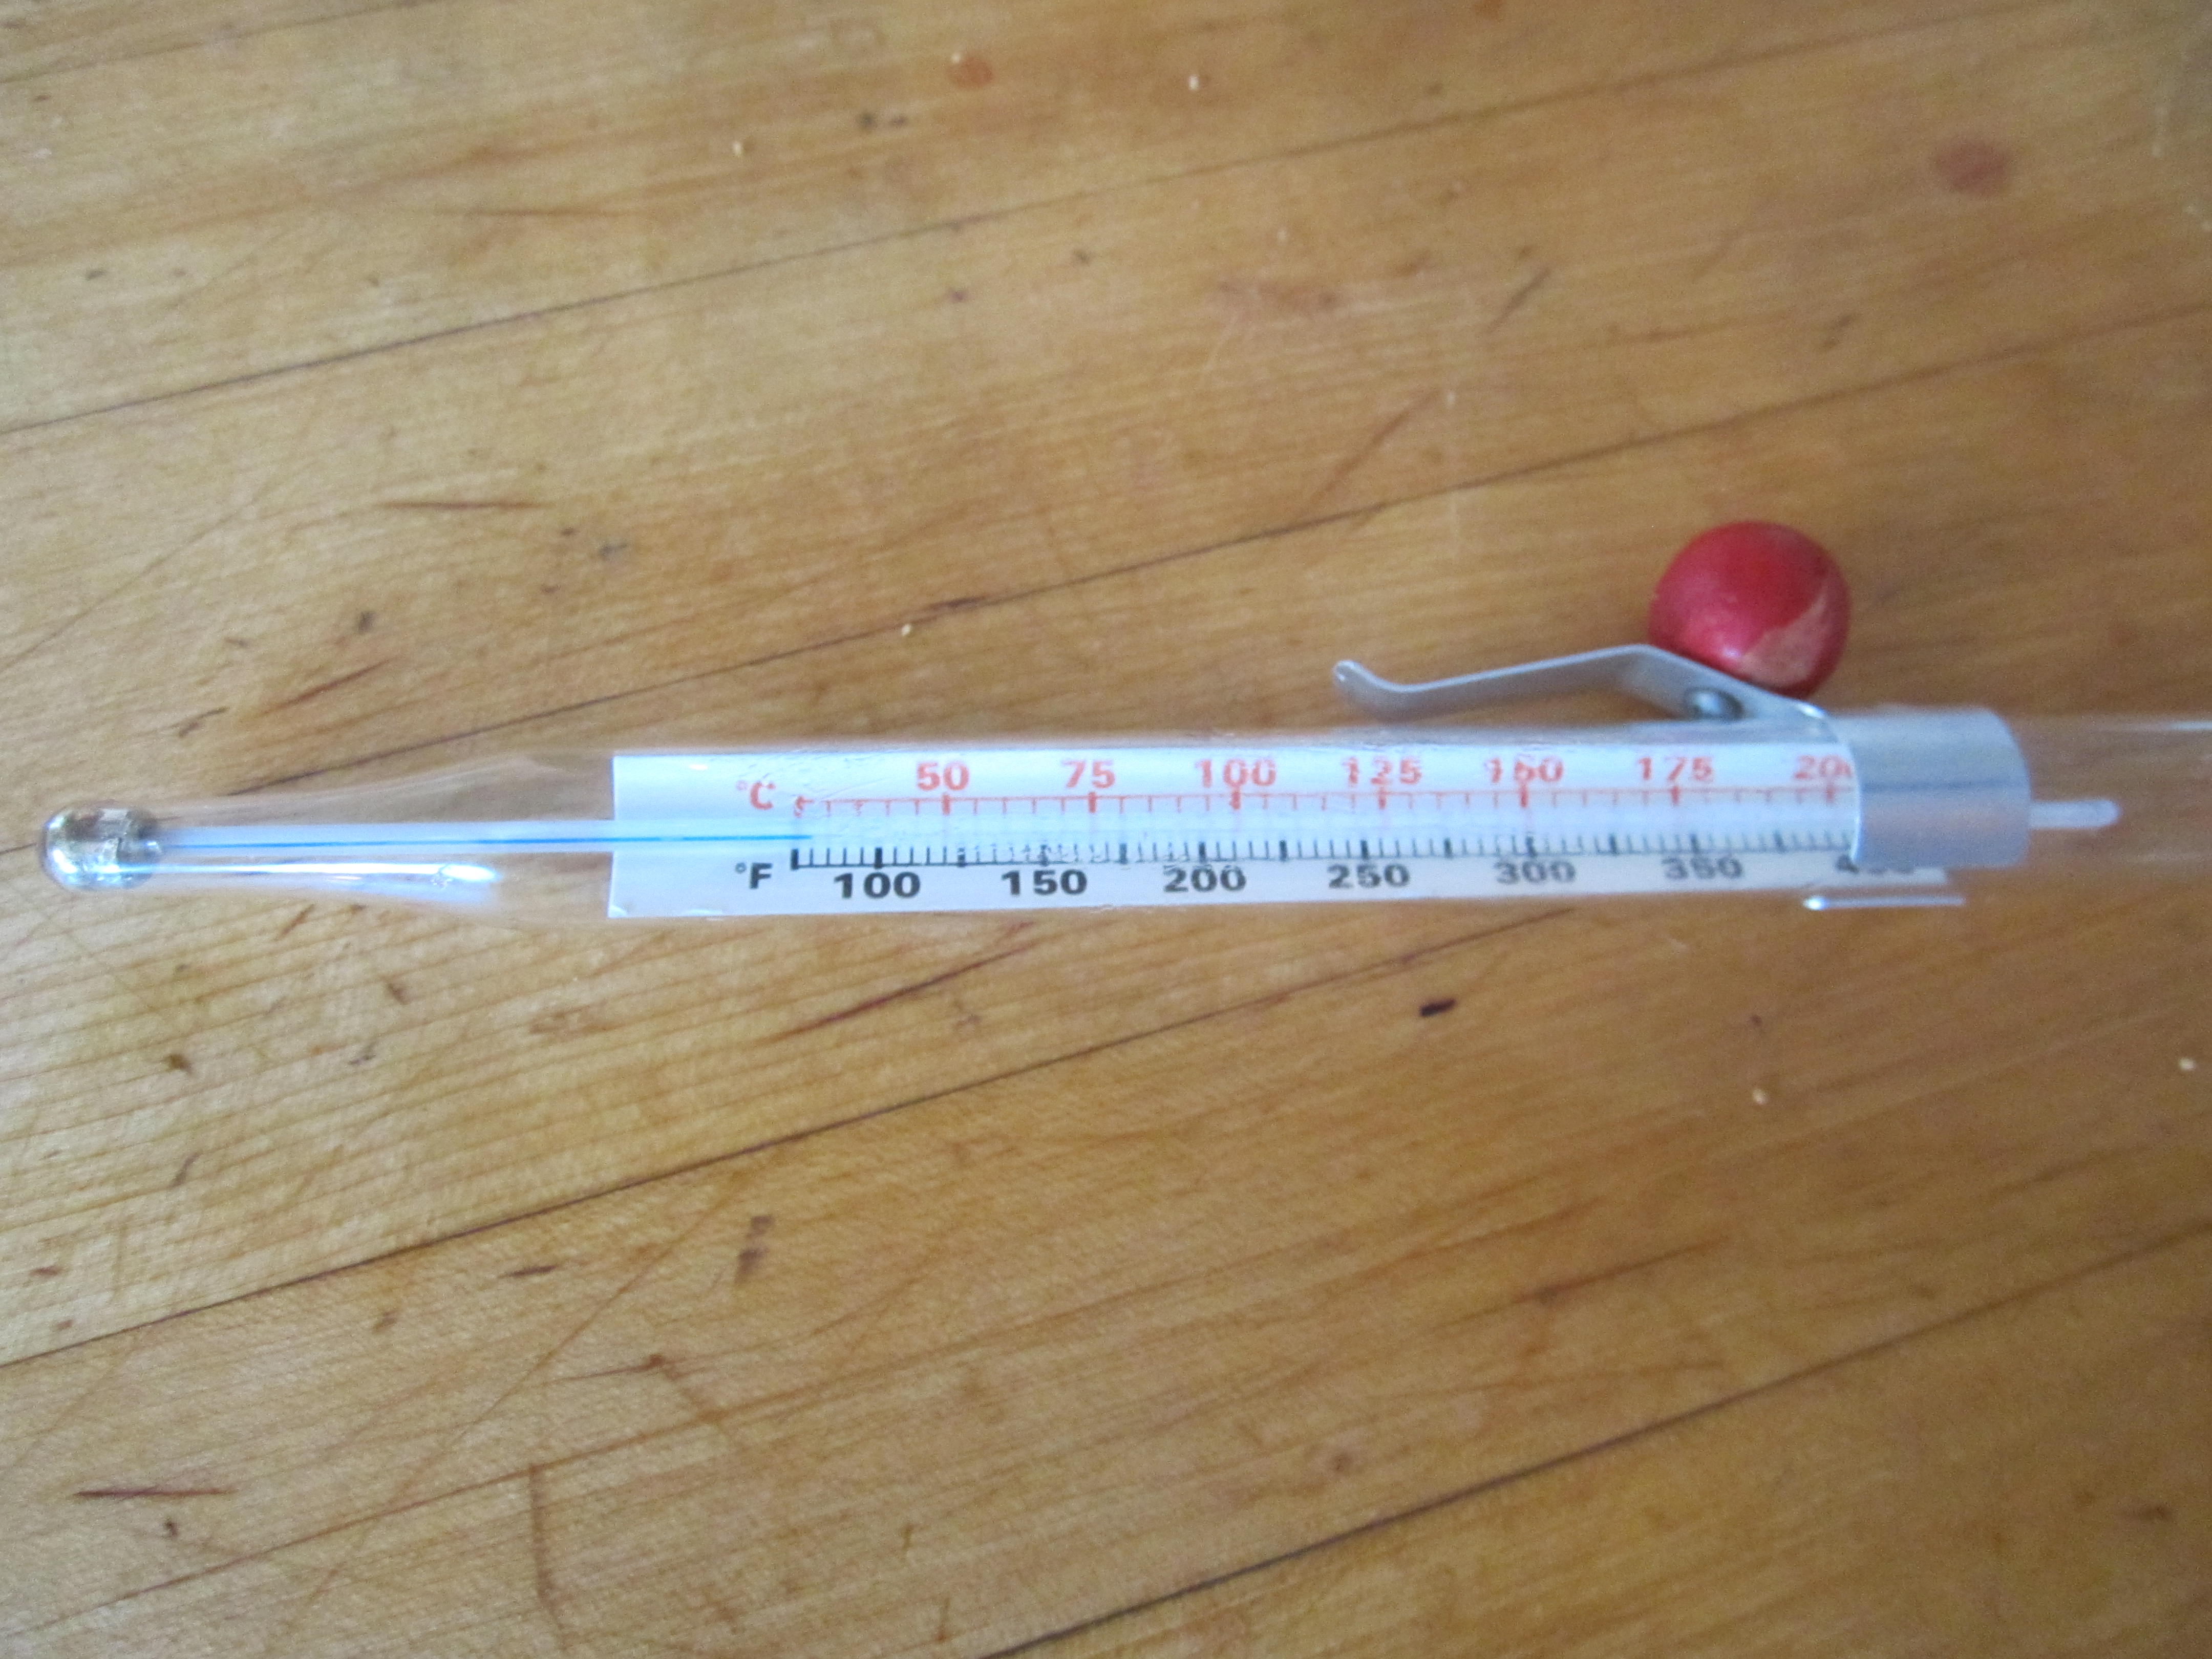
To check the temperture,  I used to use a traditional candy thermometer that looks like this and works with a column of mercury:

Traditional candy thermometer.

Traditional candy thermometer.

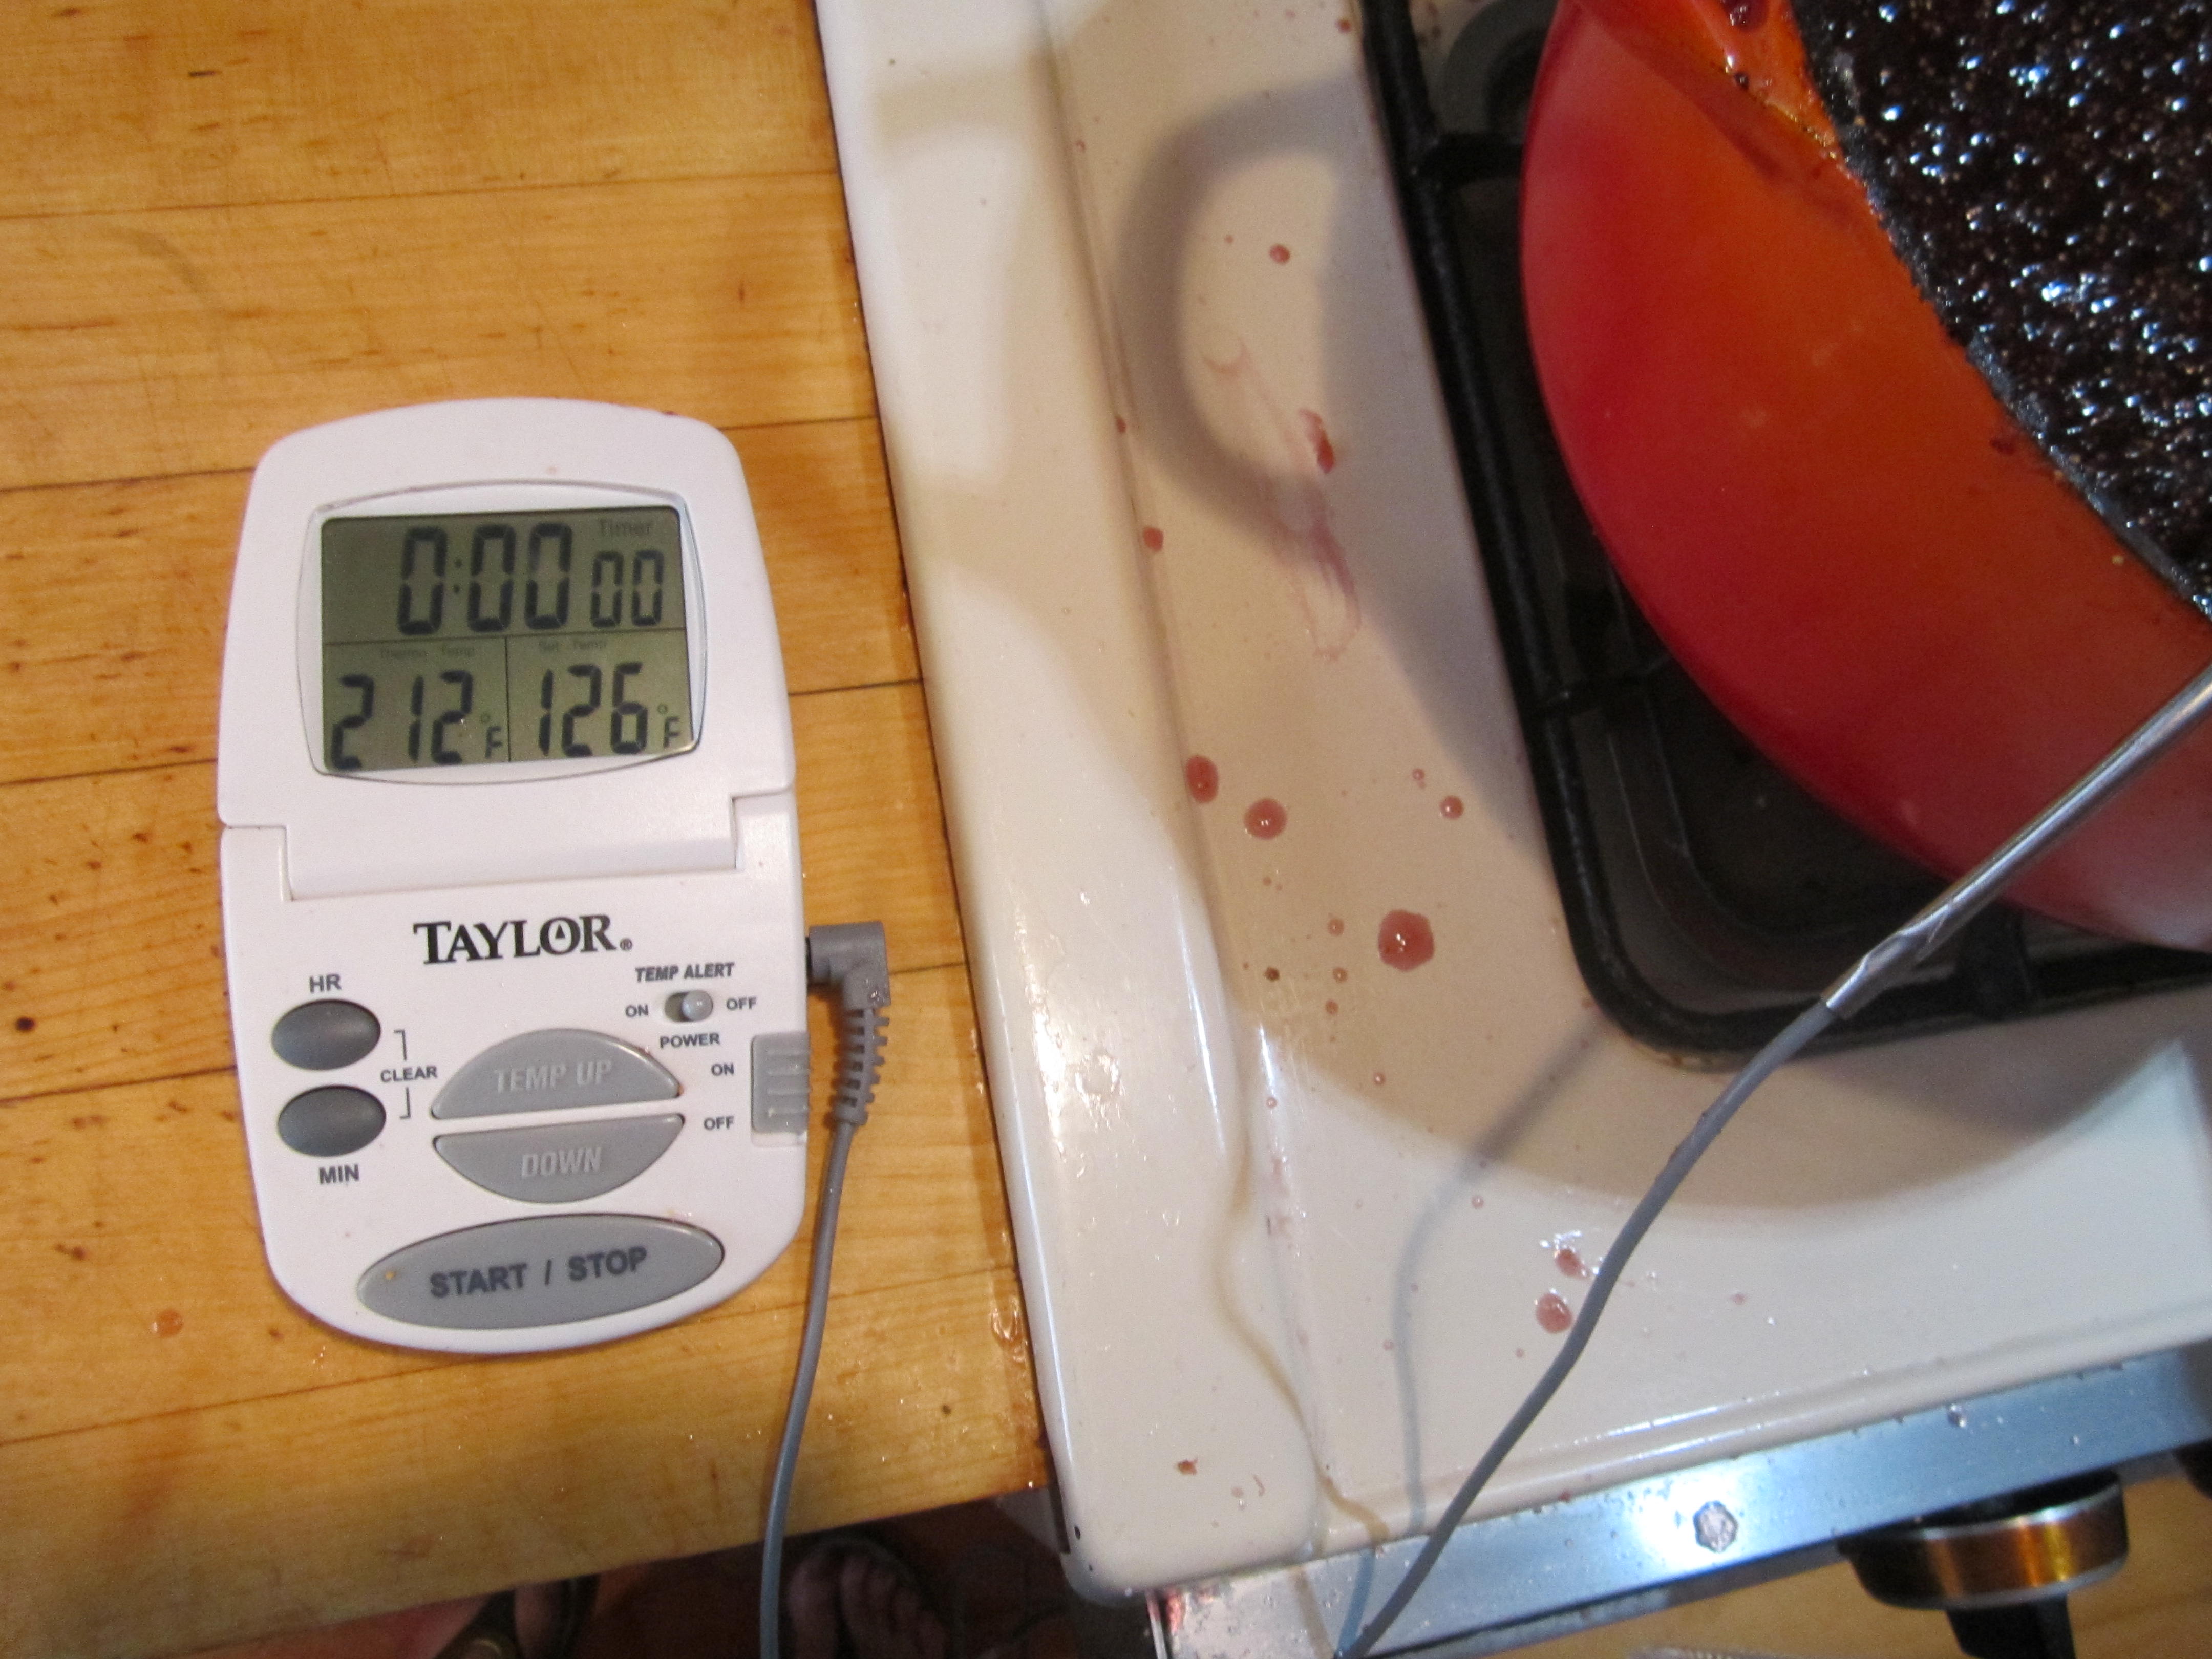
A couple of Christmases ago, however Santa brought me a digital thermometer that is good for roasting a turkey, cooking a thick steak and making jam. It has a probe that sticks in whatever you are cooking and gives you a readout.   See the photo below. You can see this one has reached 212 degrees F. and the jam is almost done.:

Battery-operated digital cooking thermometer.

Battery-operated digital cooking thermometer. The thin silver wire on the right is a probe that rested in the jam.

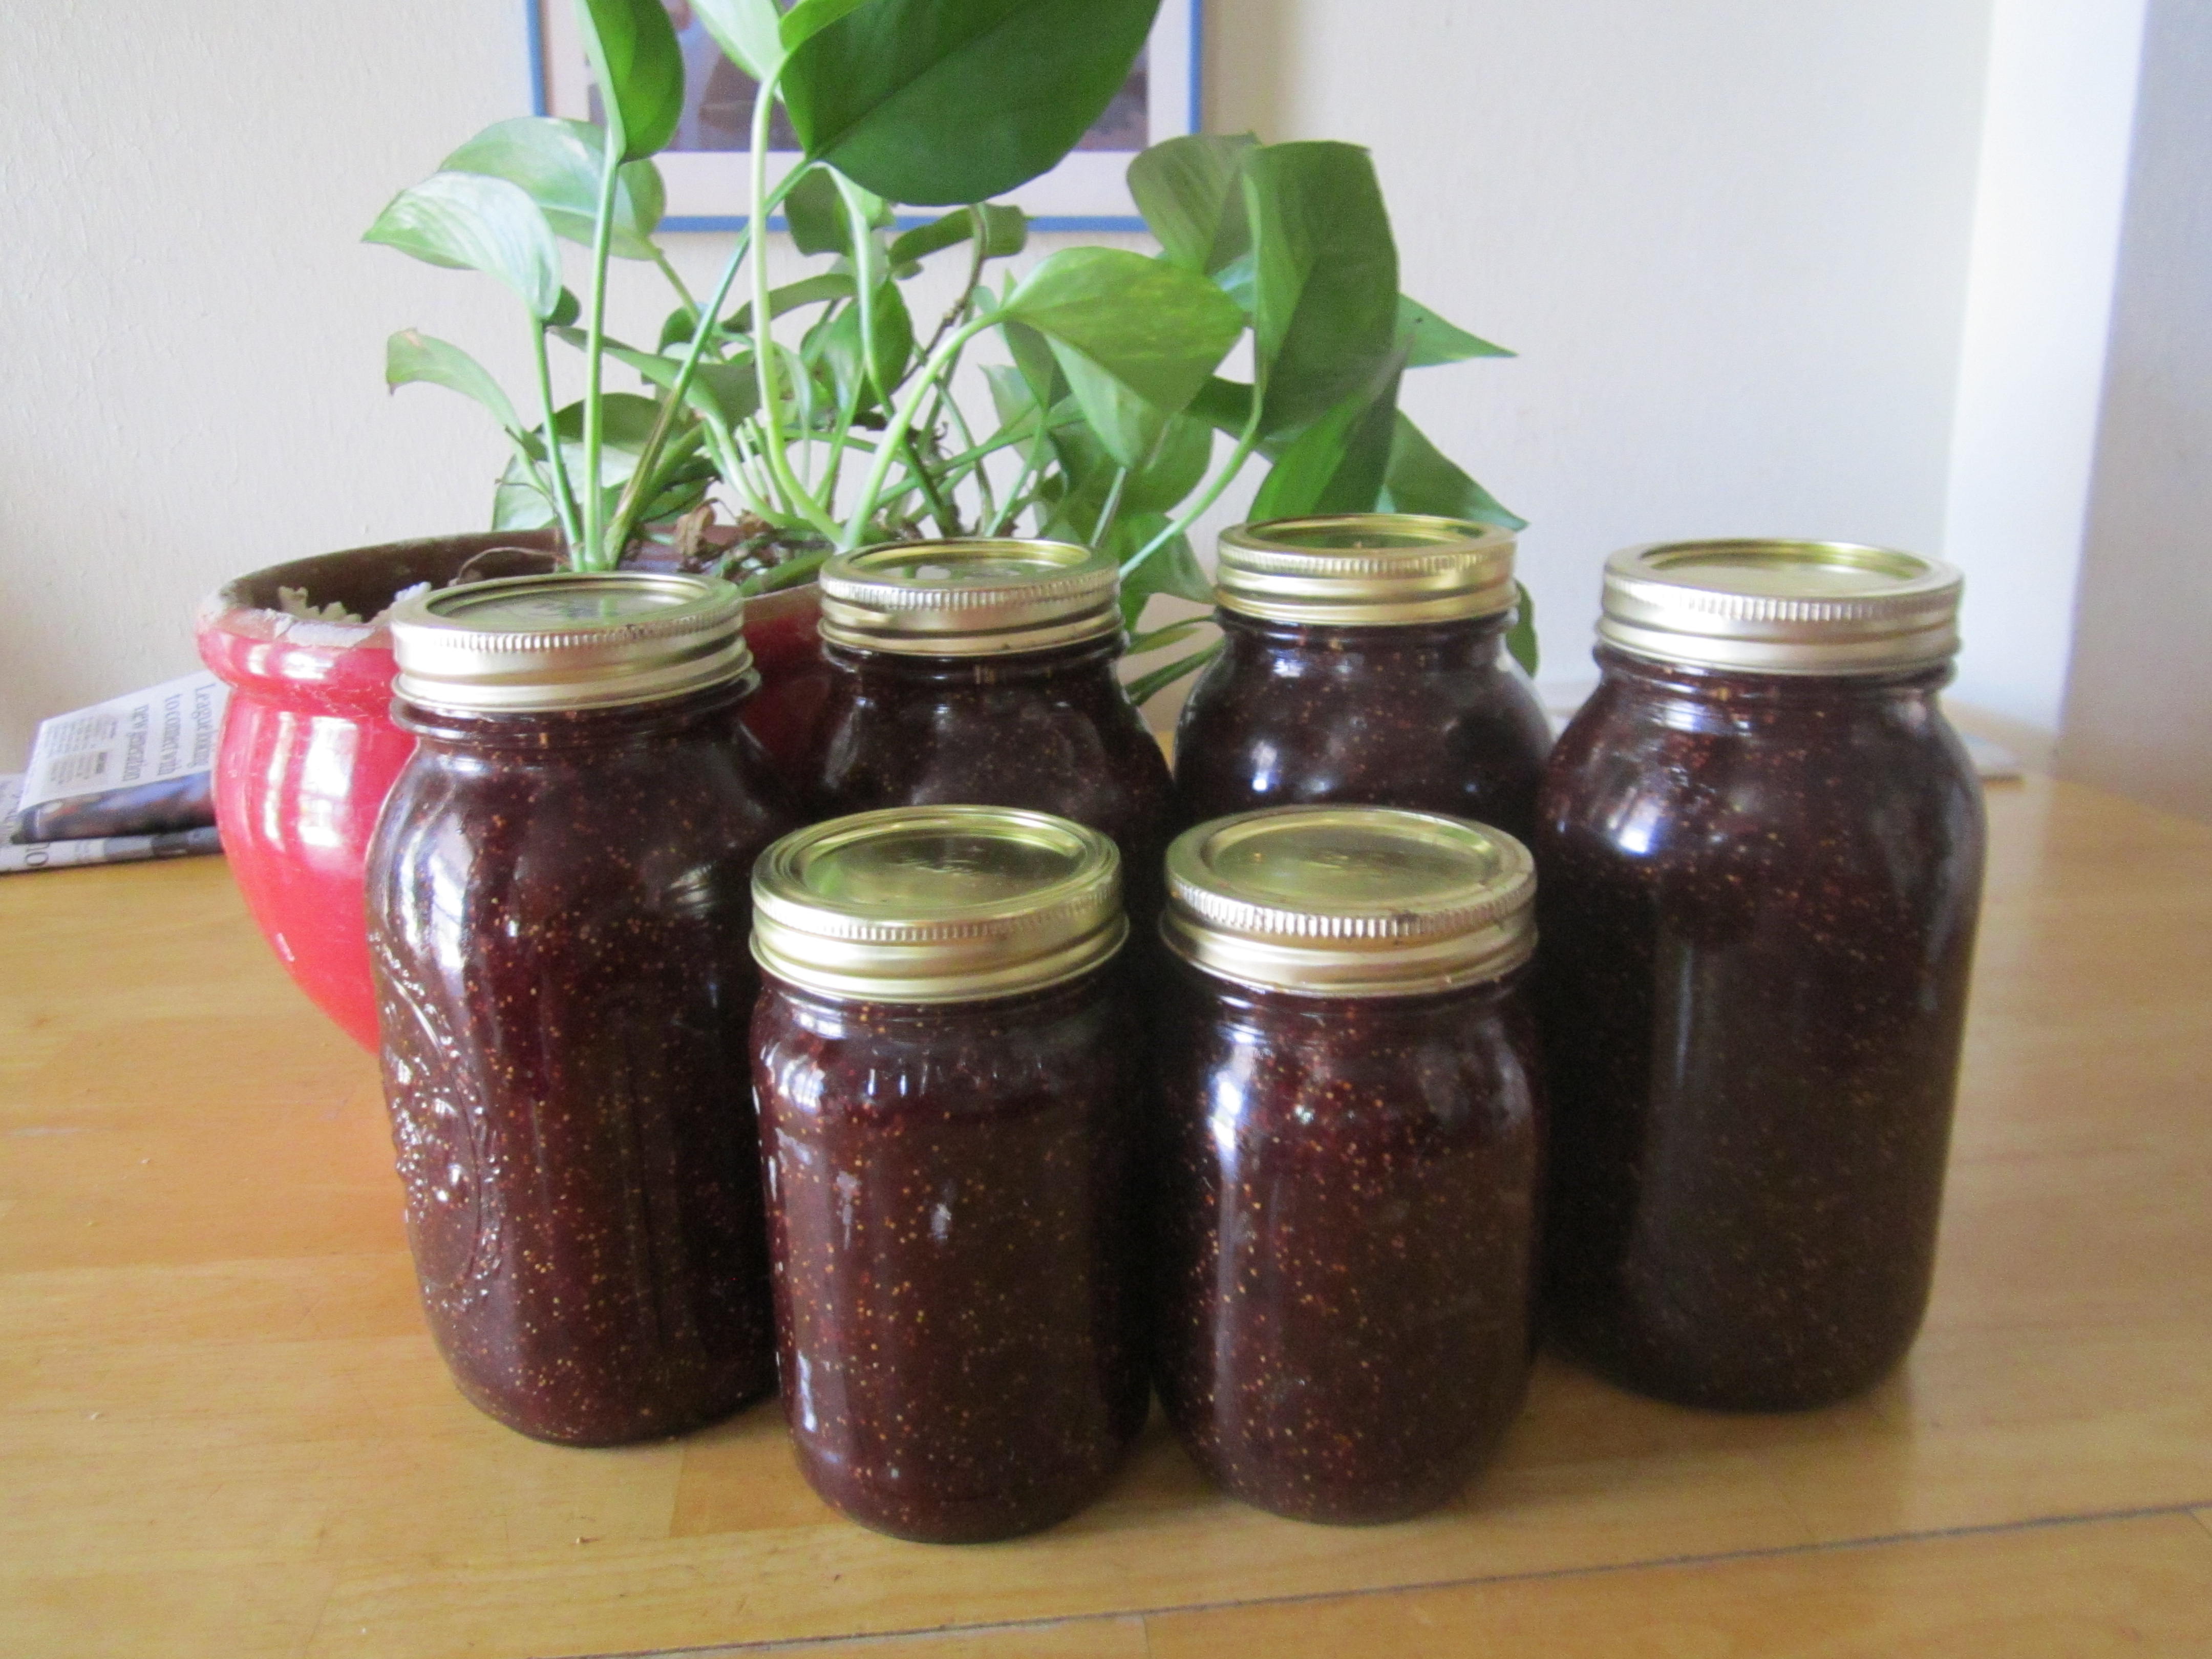
Once finished, the jam just needed to be ladled into the prepared jars, capped and processed for 10 minutes in a boiling water bath.  That’s a lot of jam, but I’ll be baking cookies for 200 ticket holders and a whole bunch of volunteers.

Five quarts of fig jam will wait until October to be made into fig bars for the Farm to Table Dinner.

Five quarts of fig jam will wait until October to be made into fig bars for the Farm to Table Dinner.

I can’t show you a picture of the fig bars, because I haven’t made them yet. But I have used this recipe previously and it is great. It is a modification of a recipe in Fruits of the Desert by the late food writer Sandal English.  If you have fresh figs and are looking for a way to showcase them, try this:

Layered Fig Bars

1 cup sifted flour

1/2 teaspoon baking soda

1/2 teaspoon salt

1 cup oatmeal, quick or old-fashioned

1 cup firmly packed brown sugar

1/2 cup butter, melted

1-1/2 to 2 cups fig jam

Preheat oven to 350 degrees F. and line an 8-inch square pan with foil or parchment paper, leaving some extending over two sides as flaps.

Sift together the flour, baking soda and salt in a large bowl. Mix in the oatmeal and sugar. Stir in the melted butter and mix until crumbly. Firmly press 2/3 of the mixture in the bottom of the prepared pan. Spread fig jam evenly over the base layer. Top with remaining crumb mixture. Gently pat the top layer down. Bake in preheated overn for about 30 minutes. Cool, lift from the pan using the paper flaps, and cut into 24 bars.

Note: If you are making this for your family and don’t care that the bars come out perfectly shaped, you can skip the step of lining the pan.

_________________________________________

Looking for ideas for how to use desert fruits and vegetables?  The Prickly Pear Cookbook has delicious recipes for both the fruit and pads and complete instructions for gathering and processing. Cooking the Wild Southwest gives directions for harvesting and cooking 23 easily gathered desert plants. Find both at the Native Seeds/SEARCH retail store on Campbell or at on-line sellers.

Harvest Time for I’itoi Onions

Big clump of iItoi onions. All this from just one little onion planted last October.

Big clump of  I’itoi onions. All this from just one little onion planted last October.

I had to put my vegetable garden to bed for the summer early this year since we were leaving for a month.  No use having the housesitter water for the weeks we were gone as the hot weather would overcome the vegetables about the time we got home anyhow. The plants were at the end of their season, but still pulling them up was almost as painful as putting down a beloved pet. I go through this mourning every year when one by one the winter crops reach the end of their production – first the peas, then the broccoli, then the last of the lettuce and spinach even in the shade. The kale was still so hearty I simply could not consign it to the compose bin. After freezing some for soup and making as many kale chips as we could handle, I dug up the plants and put them in a pot to transfer to a friend.

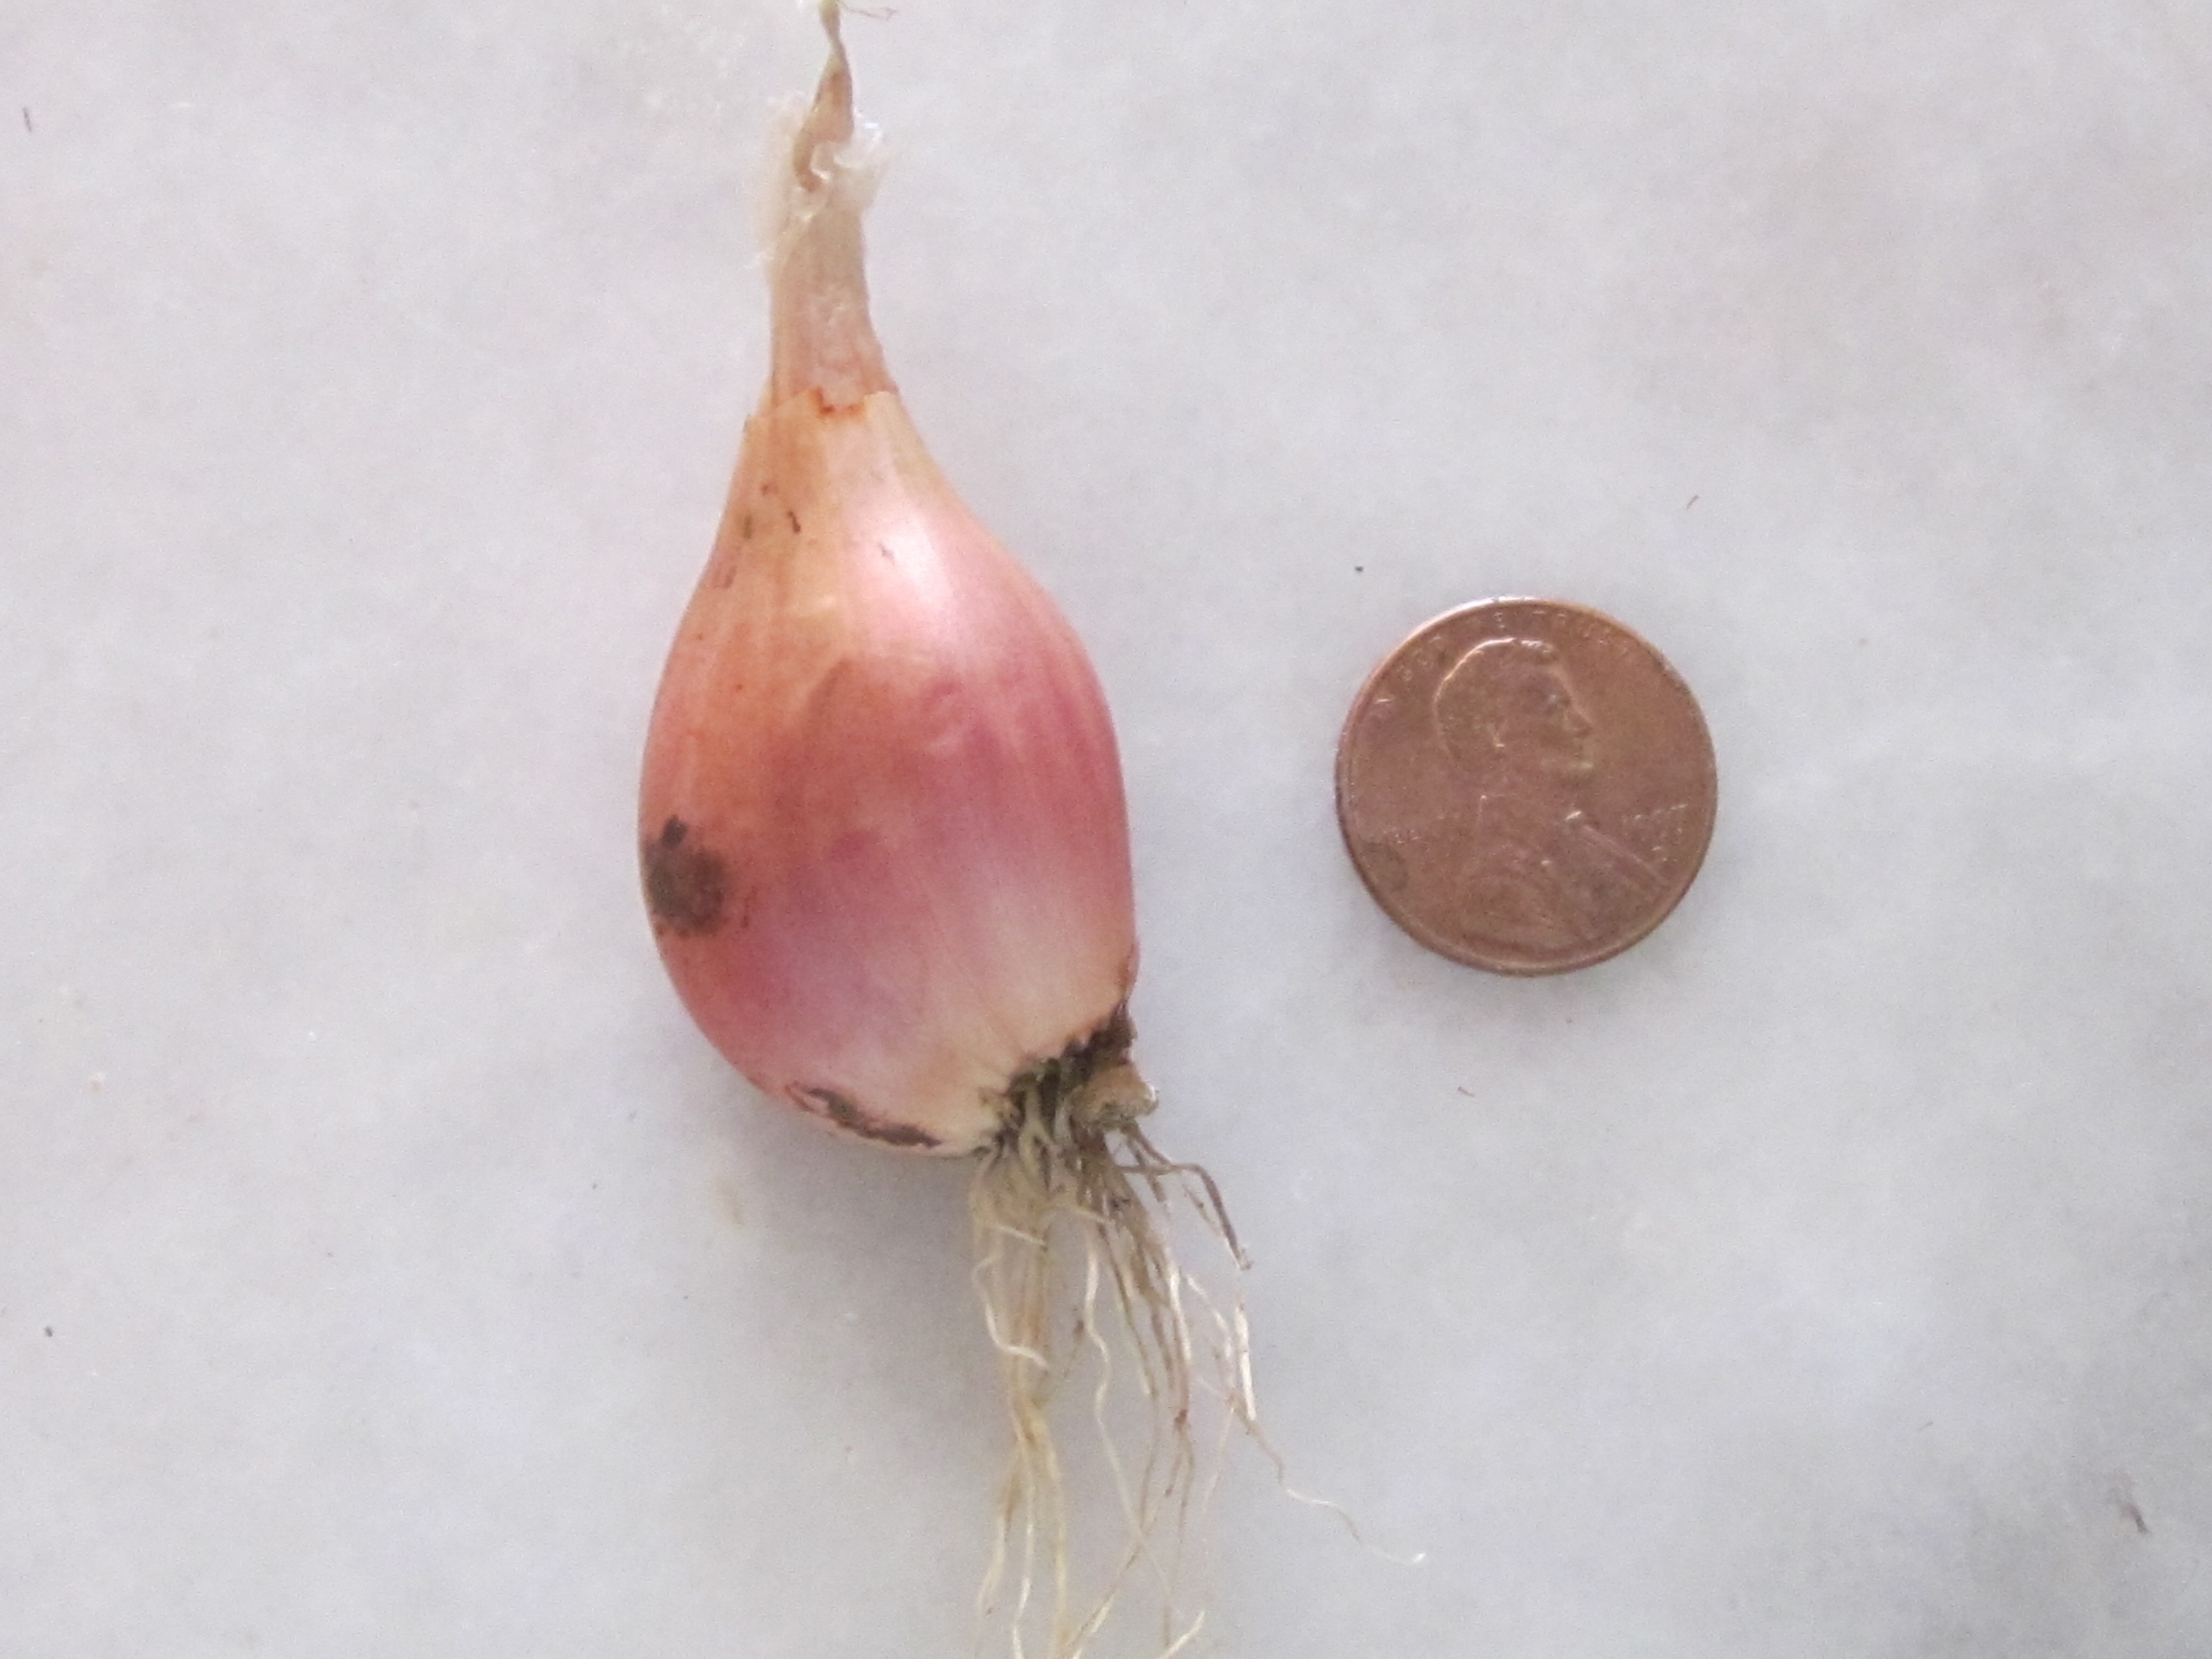
One chore involved pulling out the remaining I’itoi bunching (or multiplier) onions.  I’ve been using them all spring, but they are very prolific. One little onion that looks like this produced the bunch in my hands at the top of the page:

Lovely little iItoi onion with penny for size comparison.

Lovely little I’itoi onion with penny for size comparison.

I’itoi onions were brought to the Southwest in the 17th century by Spanish missionaries, but have become such a part of the Tohono O’odham biology that they are called by the name of their creation diety, Elder Brother, or I’itoi.  These little gems were beginning to die out when they were brought to Native Seeds SEARCH by a Tohono O’odham woman.  They are one of the plants in the Slow Food Ark of Taste. 

I’itoi onions (Allium cepa var. aggregatum) are easy to grow — in the fall, just plant each bulb about an inch below the surface and at least eight inches apart.  They will send up chive-like greens first that can be used until you decide they have multiplied enough and pull them up for use.  When you harvest the last clump in the summer,  put aside a dozen or so bulbs in a paper bag and set aside on a cool shelf to await fall.  (I find it amusing that the onions “know” when to start again — if I don’t get around to putting them back in the ground until later in September, I sometimes find that they have begun to sprout in anticipation.)

To prepare onions for cooking, first separate and clean off the dirt,  then peel.

Like most onions, these contain potassium, vitamin C, folic acid and vitamin B6. Onions contain substantially the same amount of vitamins and minerals when cooked.  I’itoi onions can be substituted for onions or shallots.  You can find them at farmers’ markets and from Crooked Sky Farms in Prescott and the Phoenix area and from Native Seeds SEARCH. Both of these places will ship to you as well.

A healthy row of iItoi onions.

A healthy row of iItoi onions.

You’ll have a ratio of green tops to bulb of about 10:1 so you’ll have to find a use for all the green onion tops.   When you’ve used all you can fresh, freeze them to add to soup stock later. You can also make delicious Chinese Onion Pancakes.

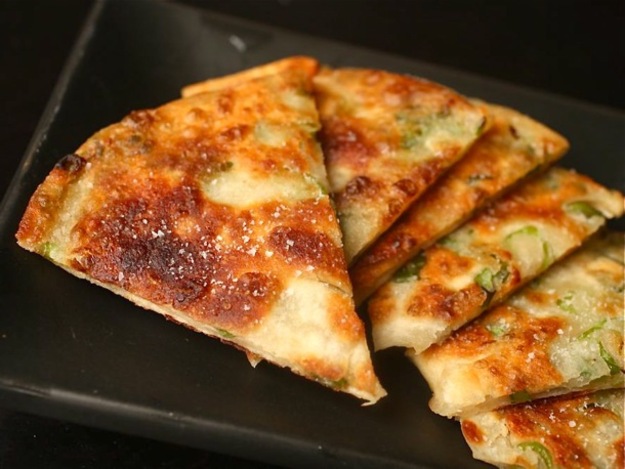
Savory pancakes using onion tops.

Savory pancakes using onion tops. (Photo from Serious Eats)

It’s easy, but rather than recount the recipe here, go to this link. These are the best directions I’ve found for making this delicacy and the author also gives a wonderful tutorial on the difference between adding cold and hot water to flour.

If you’d like a recipe to show off your onion harvest, this one is easy and delicious.

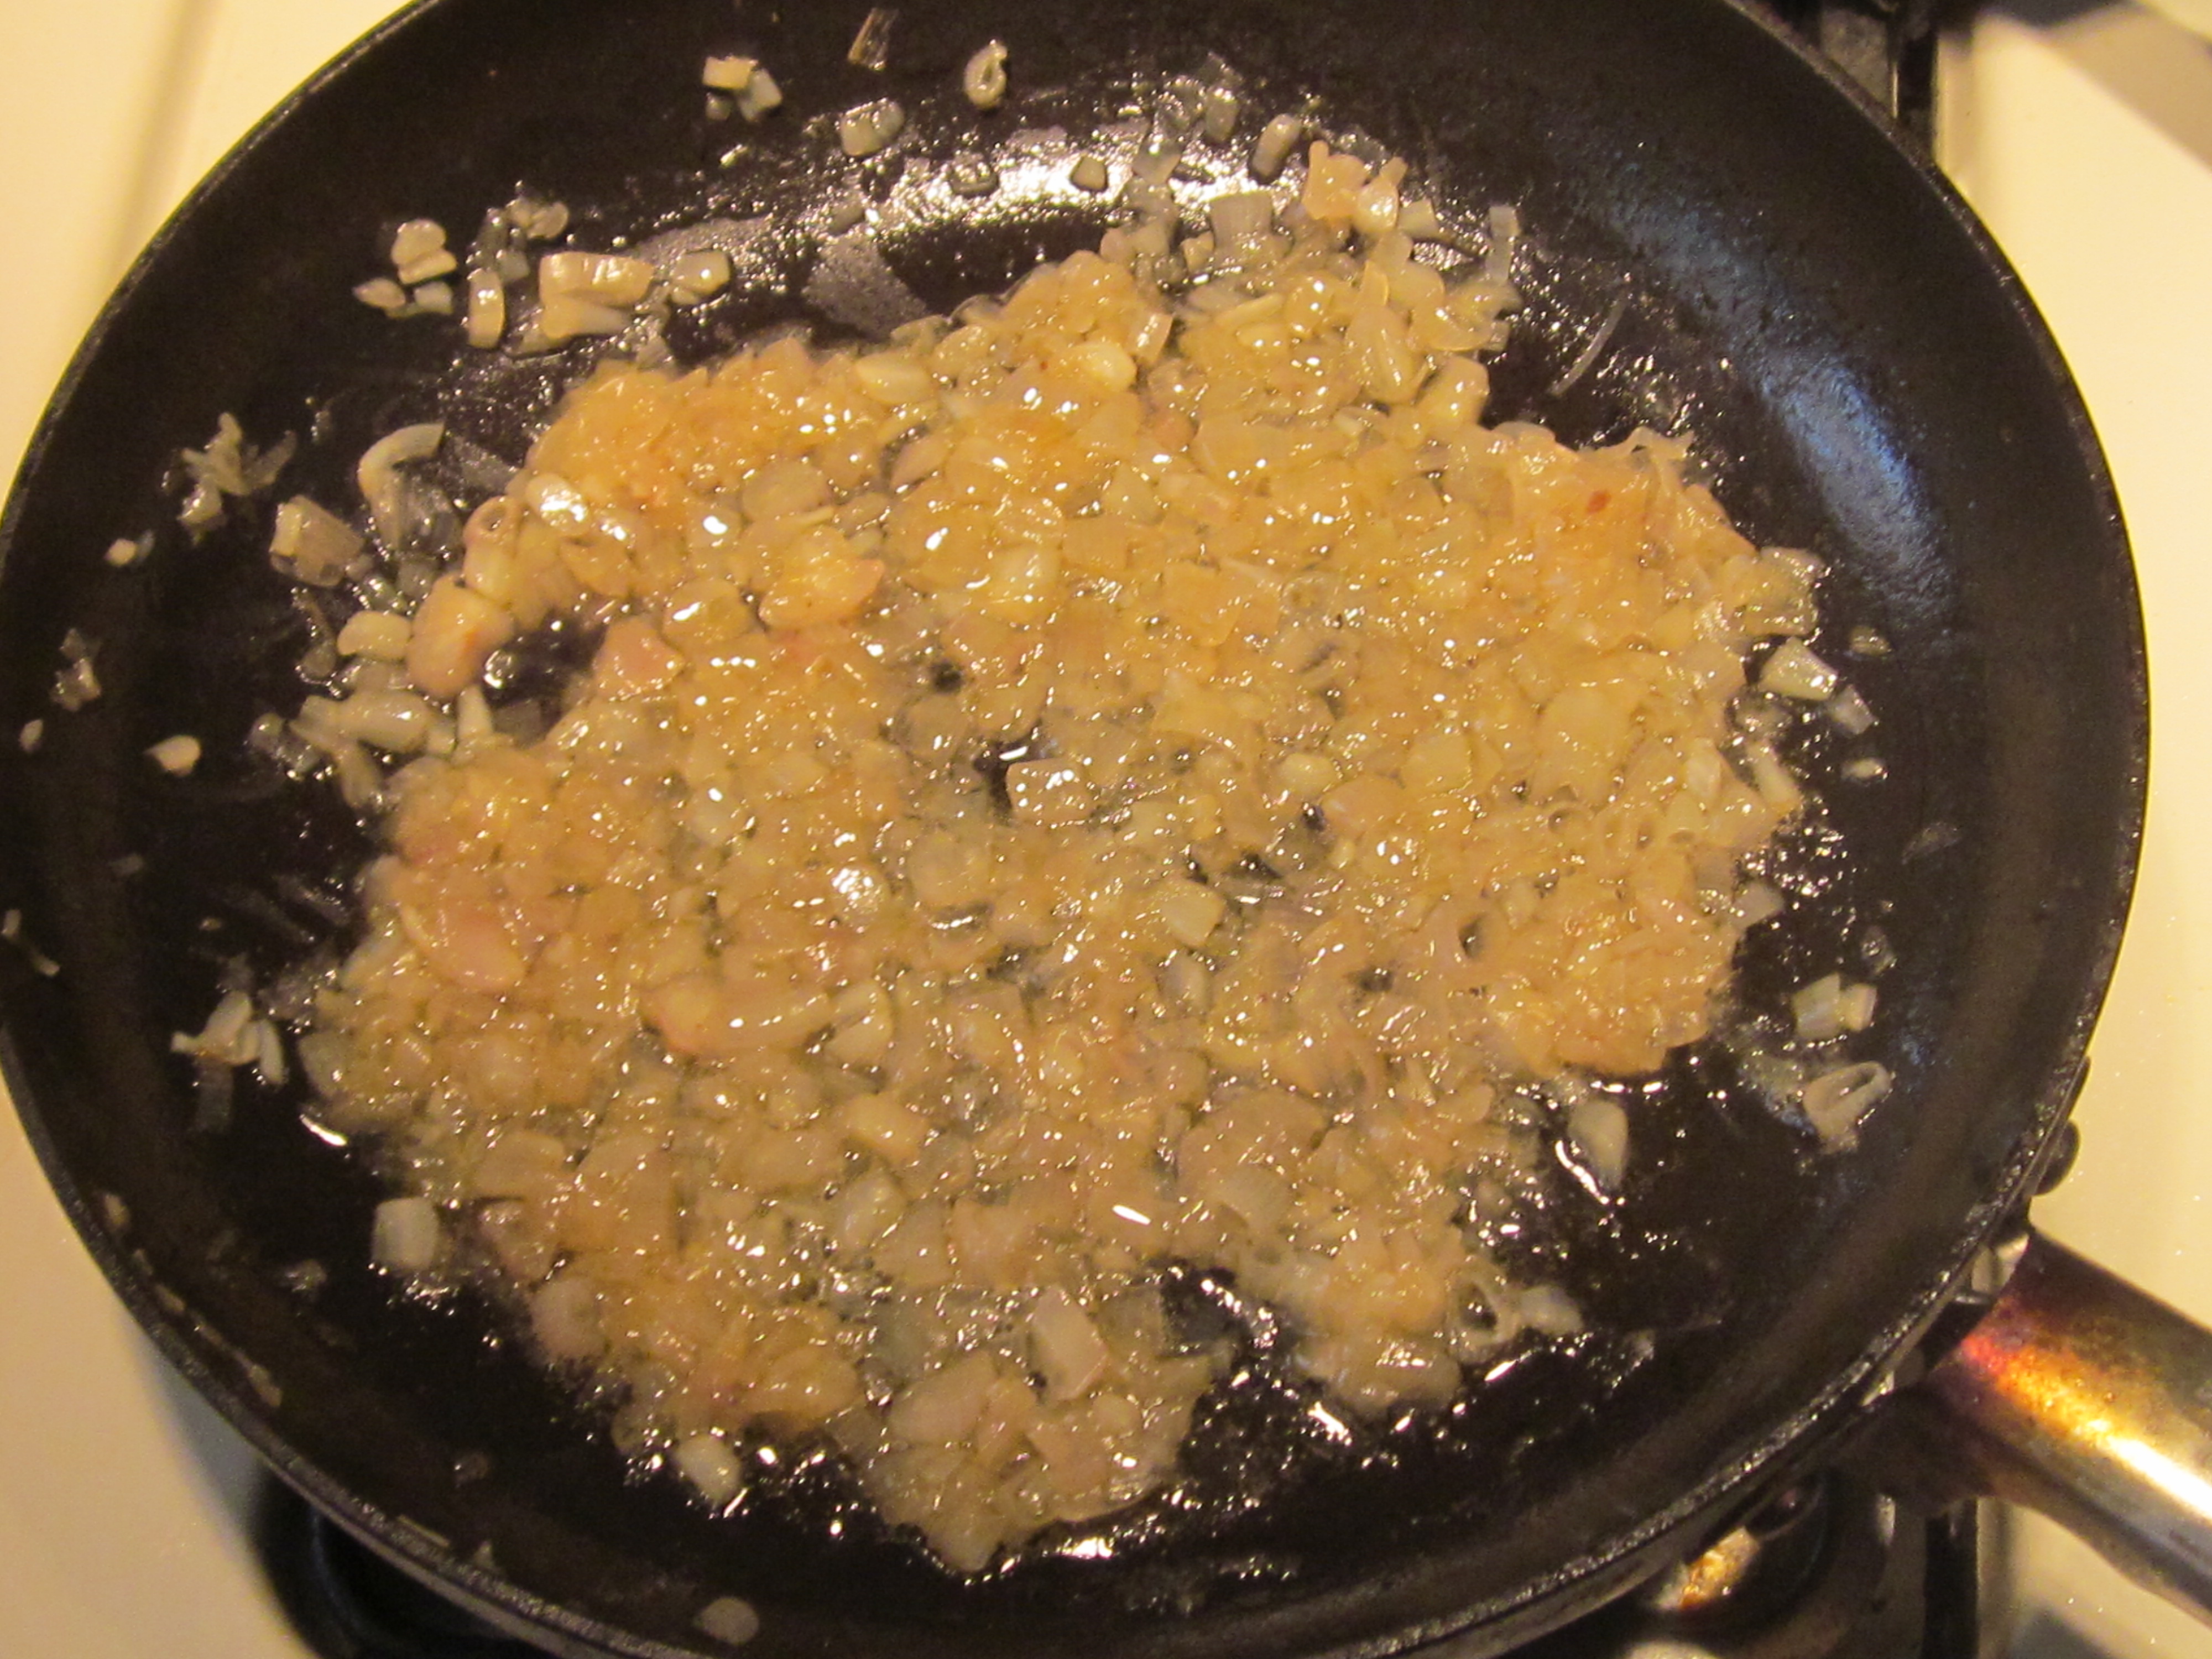
I'itoi onions cooking for Sweet and Sour sauce.

I’itoi onions cooking for Sweet and Sour sauce.

 Sweet and Sour I’itoi Onions

Here’s my recipe for sweet and sour I’itoi onions.  You can use red wine and red wine vinegar or white wine and white wine vinegar. Makes a great topping for grilled fish or chicken or mix it into steamed vegetables to add flavor.

1 cup cleaned and sliced I’itoi onions

1/2 cup water

2 tablespoons wine vinegar

2 tablespoons wine

1 tablespoon olive oil

1 teaspoon sugar or agave syrup

1/2 cup water (again)

In a large heavy frying pan, cook sliced I’itoi onions and water covered over very low heat for 10 minutes until soft.  Add wine, wine vinegar, olive oil and sugar or agave syrup.  Cook over very low heat for another 10 minutes.

My blog sister Jacqueline Soule wrote a column about I’itoi onions for the Explorer and finished with a recipe for I’itoi onion and goat cheese scones. You can see it here

**************************

If you are interested in wild and heritage foods of the Southwest, check out my cookbooks Cooking the Wild Southwest, Delicious Recipes for Desert Plants,   and the Prickly Pear Cookbook.  The books are also available through Native Seeds/SEARCH. For inspiration and directions on what wild plants are available in what season, watch a short video here.

Luscious Lemons

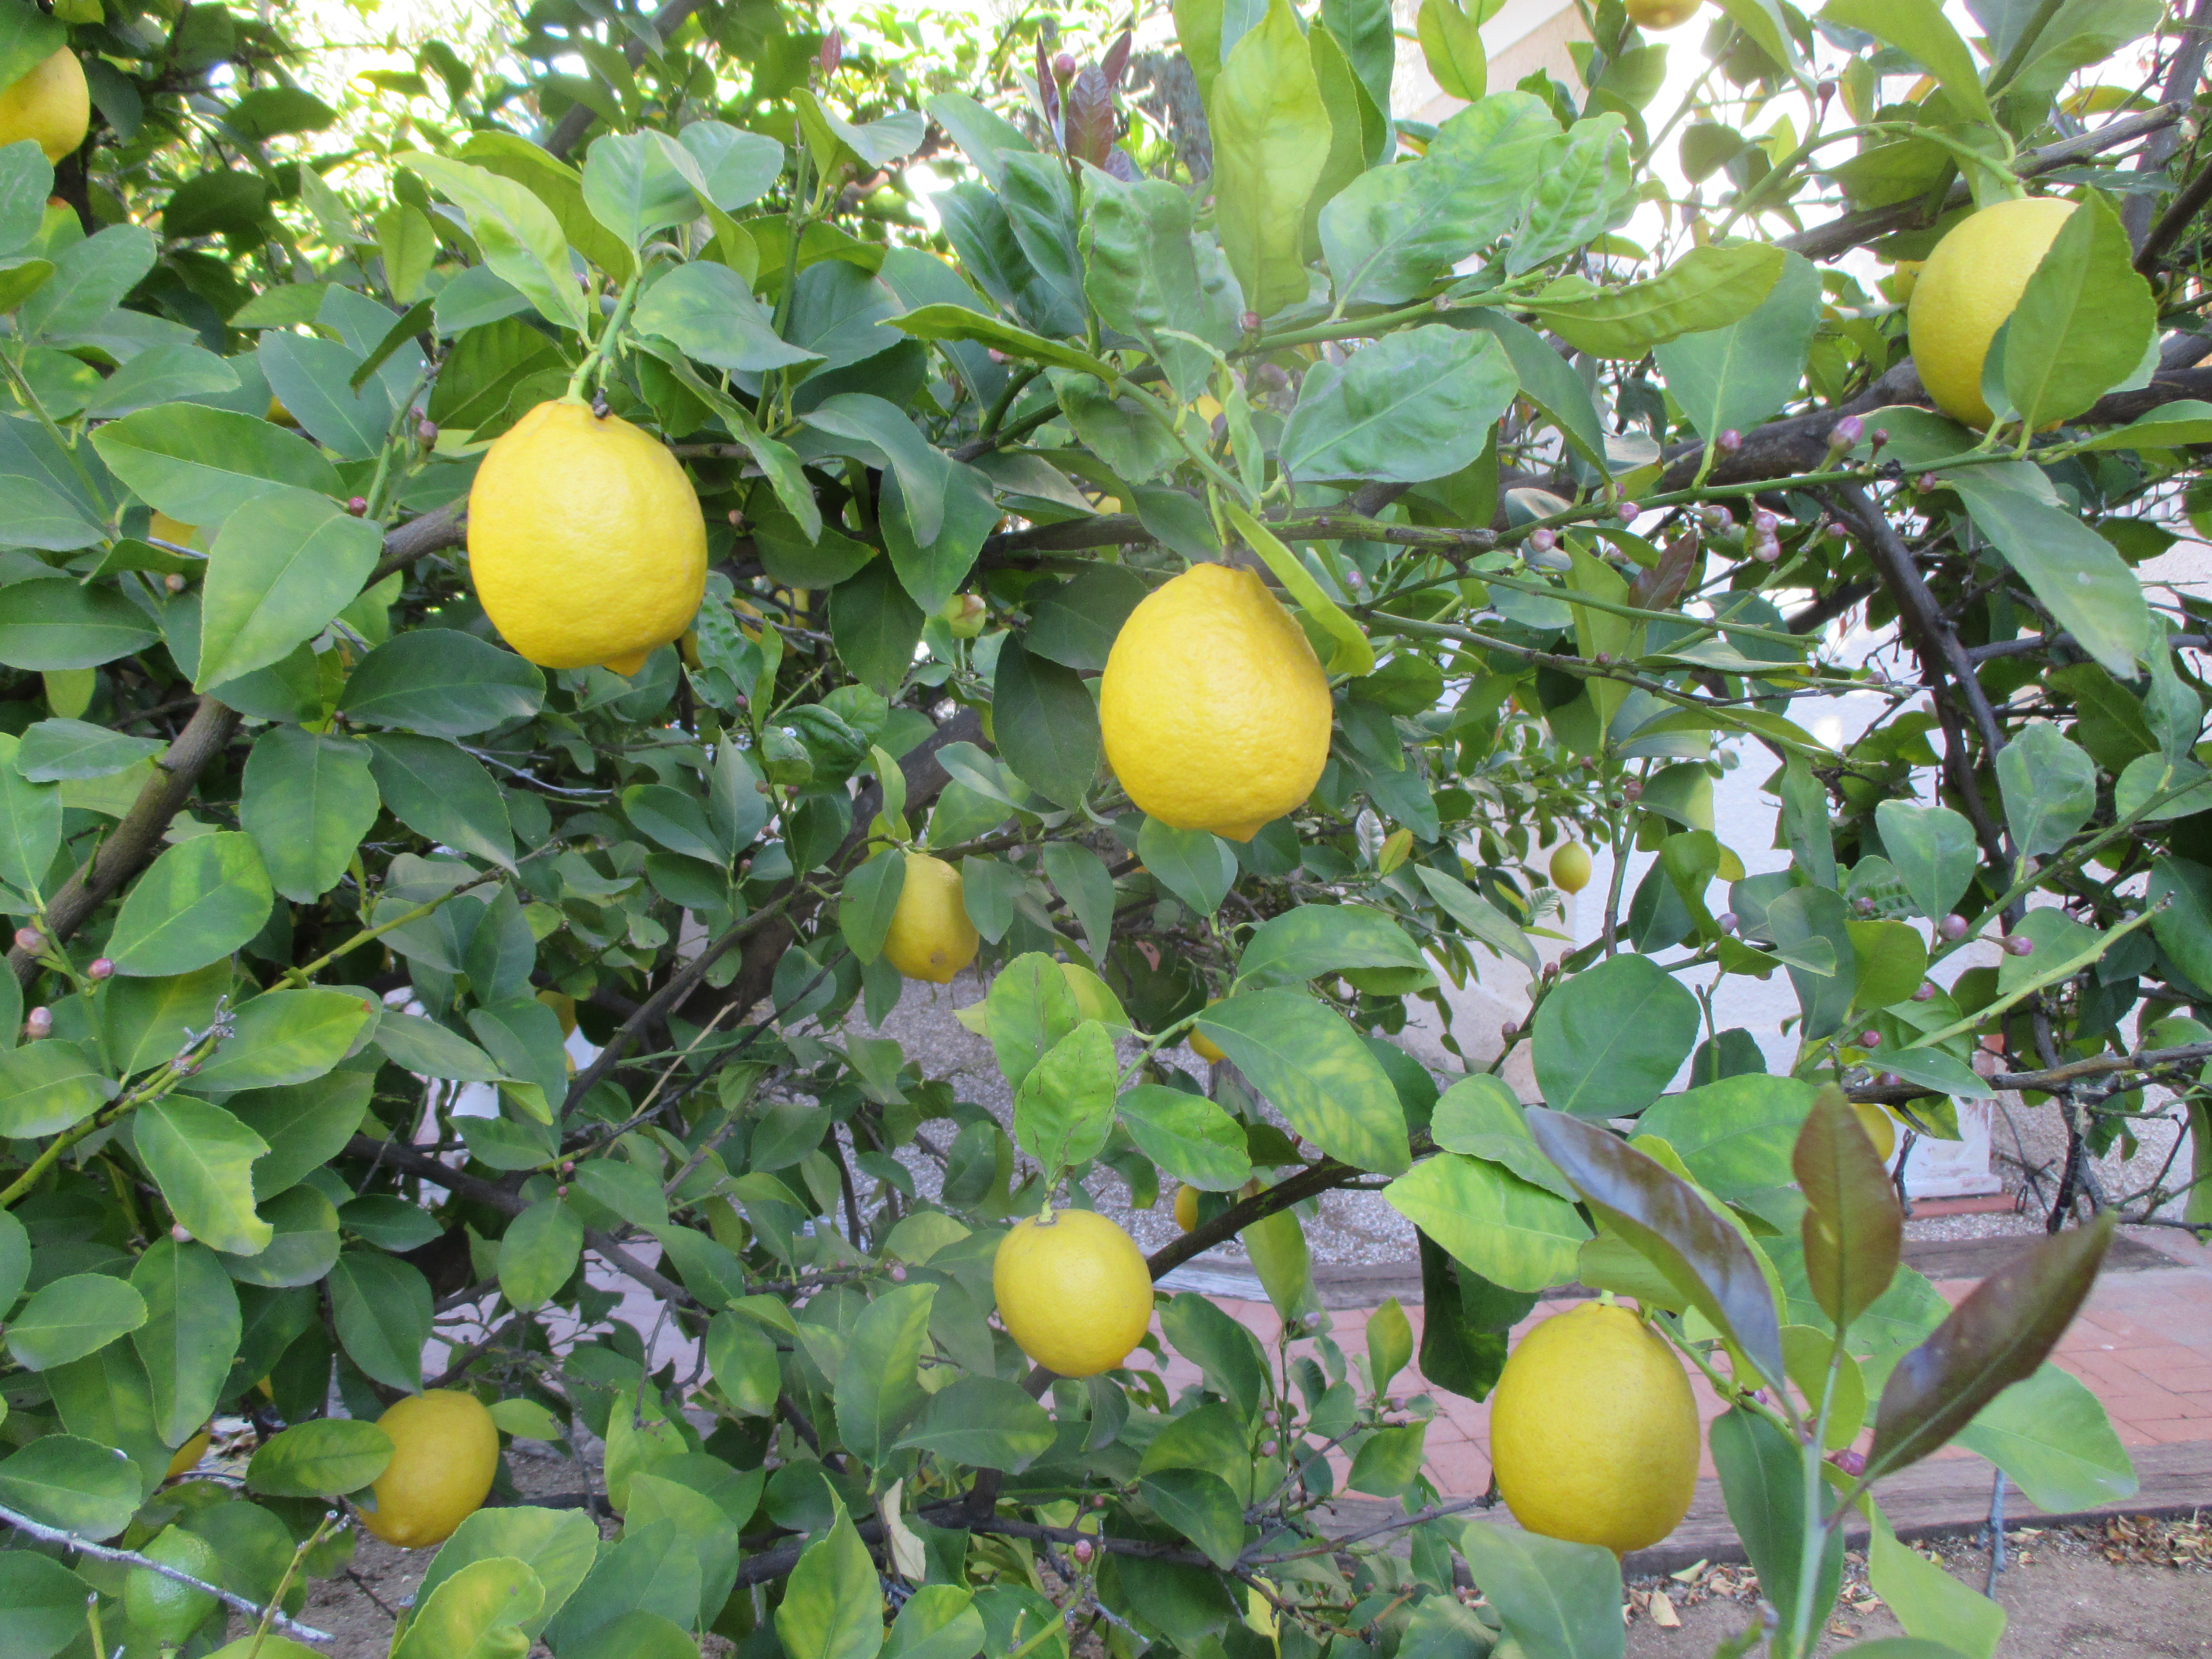
IMG_0092

As I write, the citrus trees in my neighborhood are beginning to bloom and sending waves of  scented the air through my exuberantly flowering garden. This is the kind of experience poets rhapsodize about. The two big freezes we had in 2011 and 2013 affected most of Tucson’s lemon trees, and some gardeners went without lemons as the trees recovered. But this spring they came roaring back. It’s Carolyn this week giving you ideas for using lemons from your own trees, those you can beg from neighbors or buy at the farmers’ market.

Make Some Lemon Curd

The word “luscious” could have been invented to describe lemon curd. It’s sweet without being cloying; tart without being sour. Yum. I made it once before with so-so results. As with any recipe involving cooked eggs, there is always the chance of curdling if you don’t handle the ingredients delicately. This recipe, developed by Elinor Klivans from Fine Cooking reduces the risk. You can use your lemon curd on toast or scones or fill tiny tart shells for a dessert.

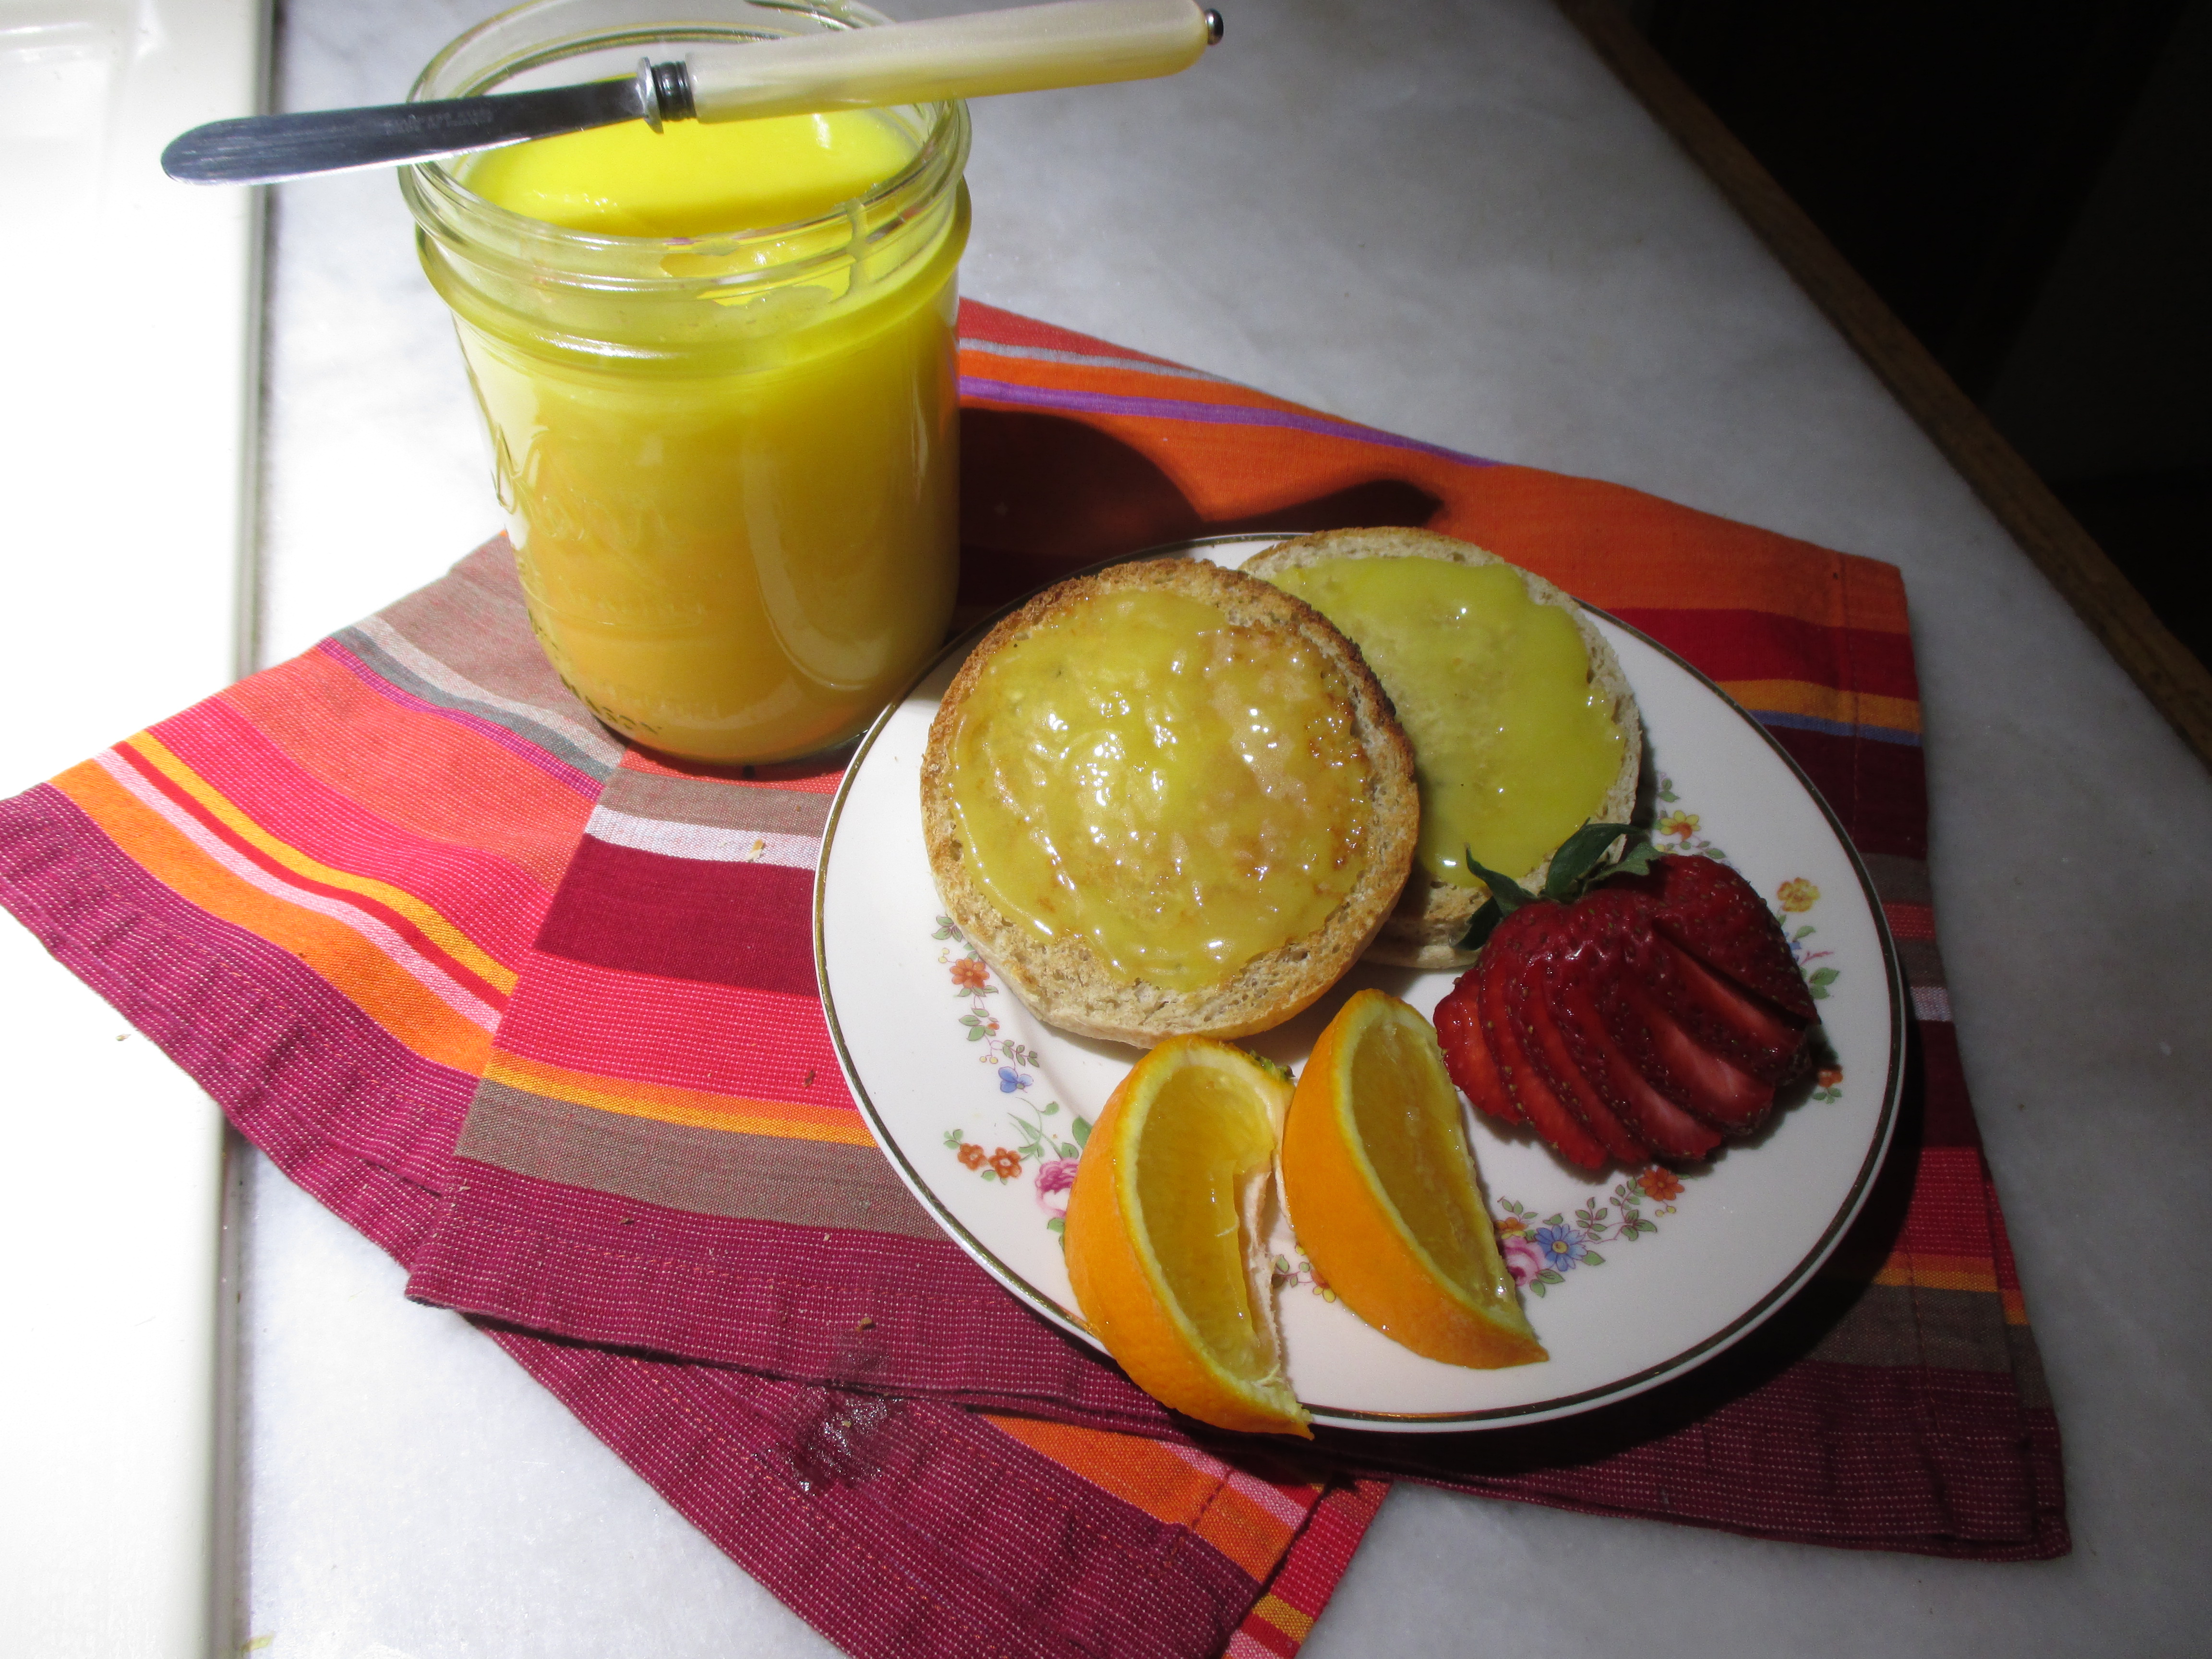
Lemon curd and English muffins make an elegant breakfast.

Lemon curd and English muffins make an elegant breakfast.

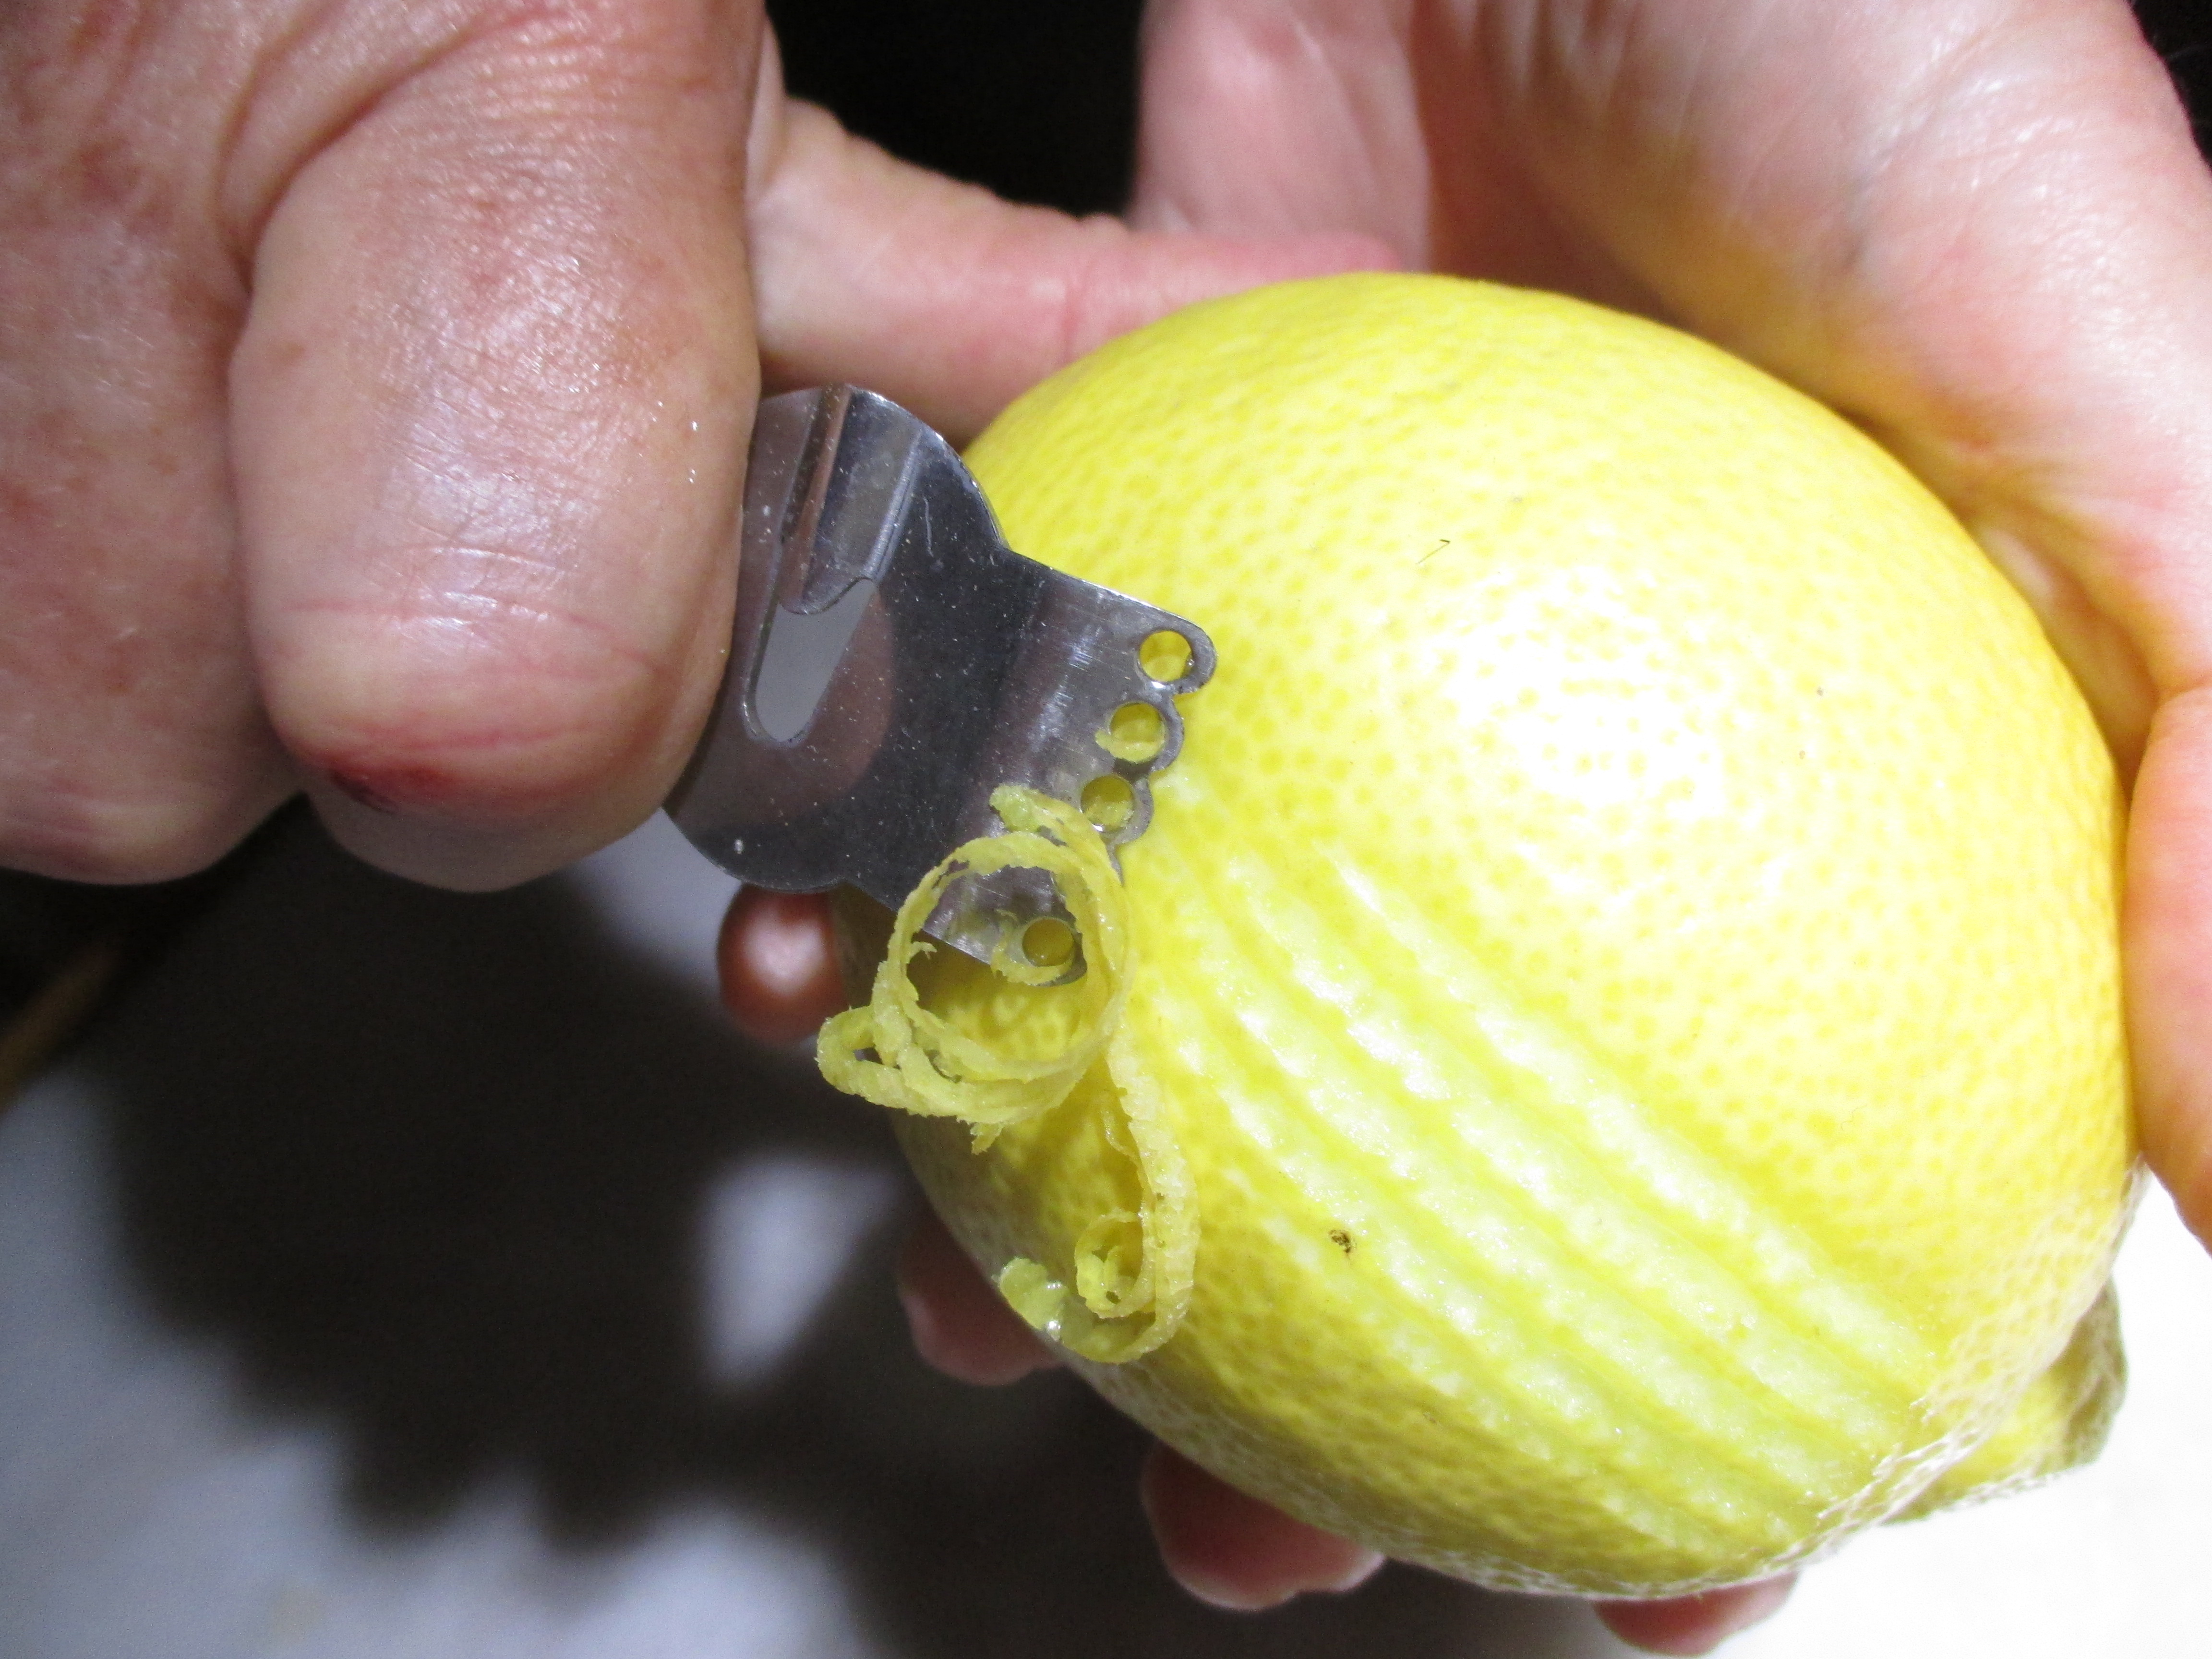
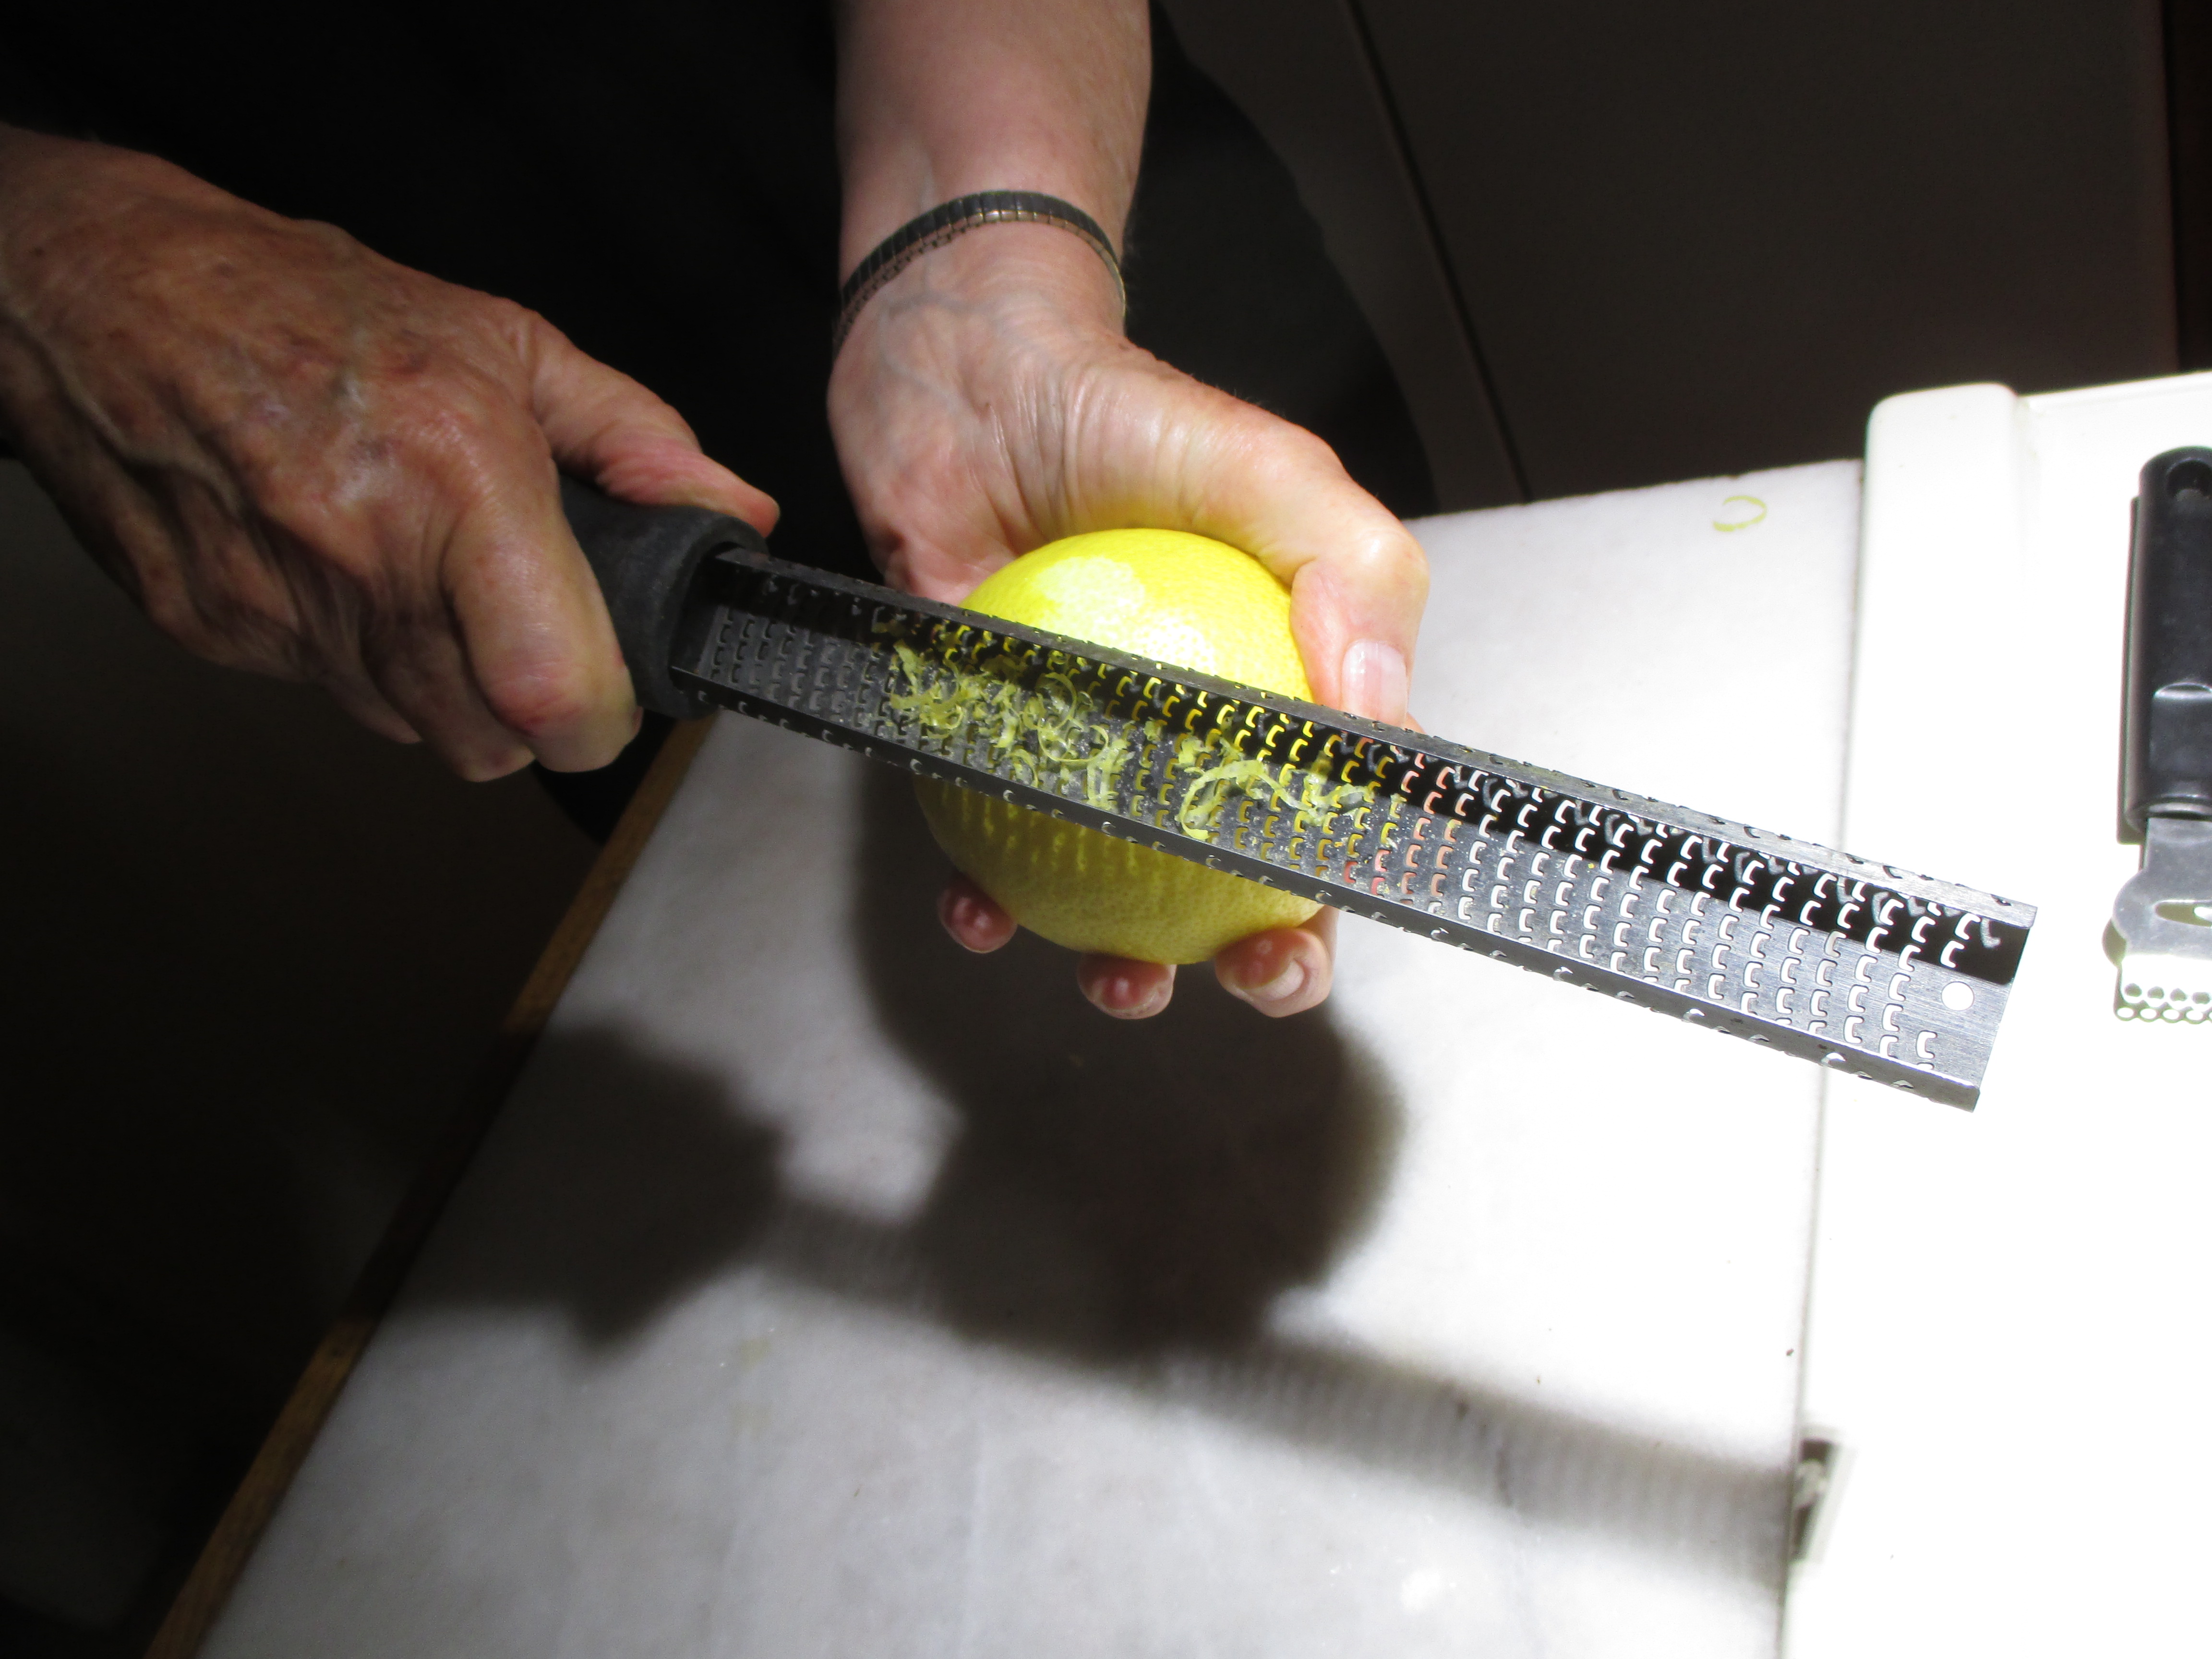
To make lemon curd, you’ll need to zest a lemon first. You only need a tablespoon of zest. You can use a lemon zester or get finer zest with a microplane.

Zesting with a simple lemon zester.

Zesting with a simple lemon zester.

Using a microplane to make lemon zest.

Using a microplane to make lemon zest.

Lemon Curd

by Elinor Klivans from Fine Cooking

6 tablespoons unsalted butter, softened at room temperature

1 cup sugar

2 large eggs

2 large egg yolks

2/3 cup fresh lemon juice

1 tablespoon grated lemon zest

In a large bowl, beat the butter and sugar with an electric mixer, about 2 minutes. Slowly add the eggs one at a time, beating between, then add the yolks. Beat for 1 more minute. Mix in the lemon juice. The mixture will look curdled. Don’t worry as it will smooth out as it cooks.

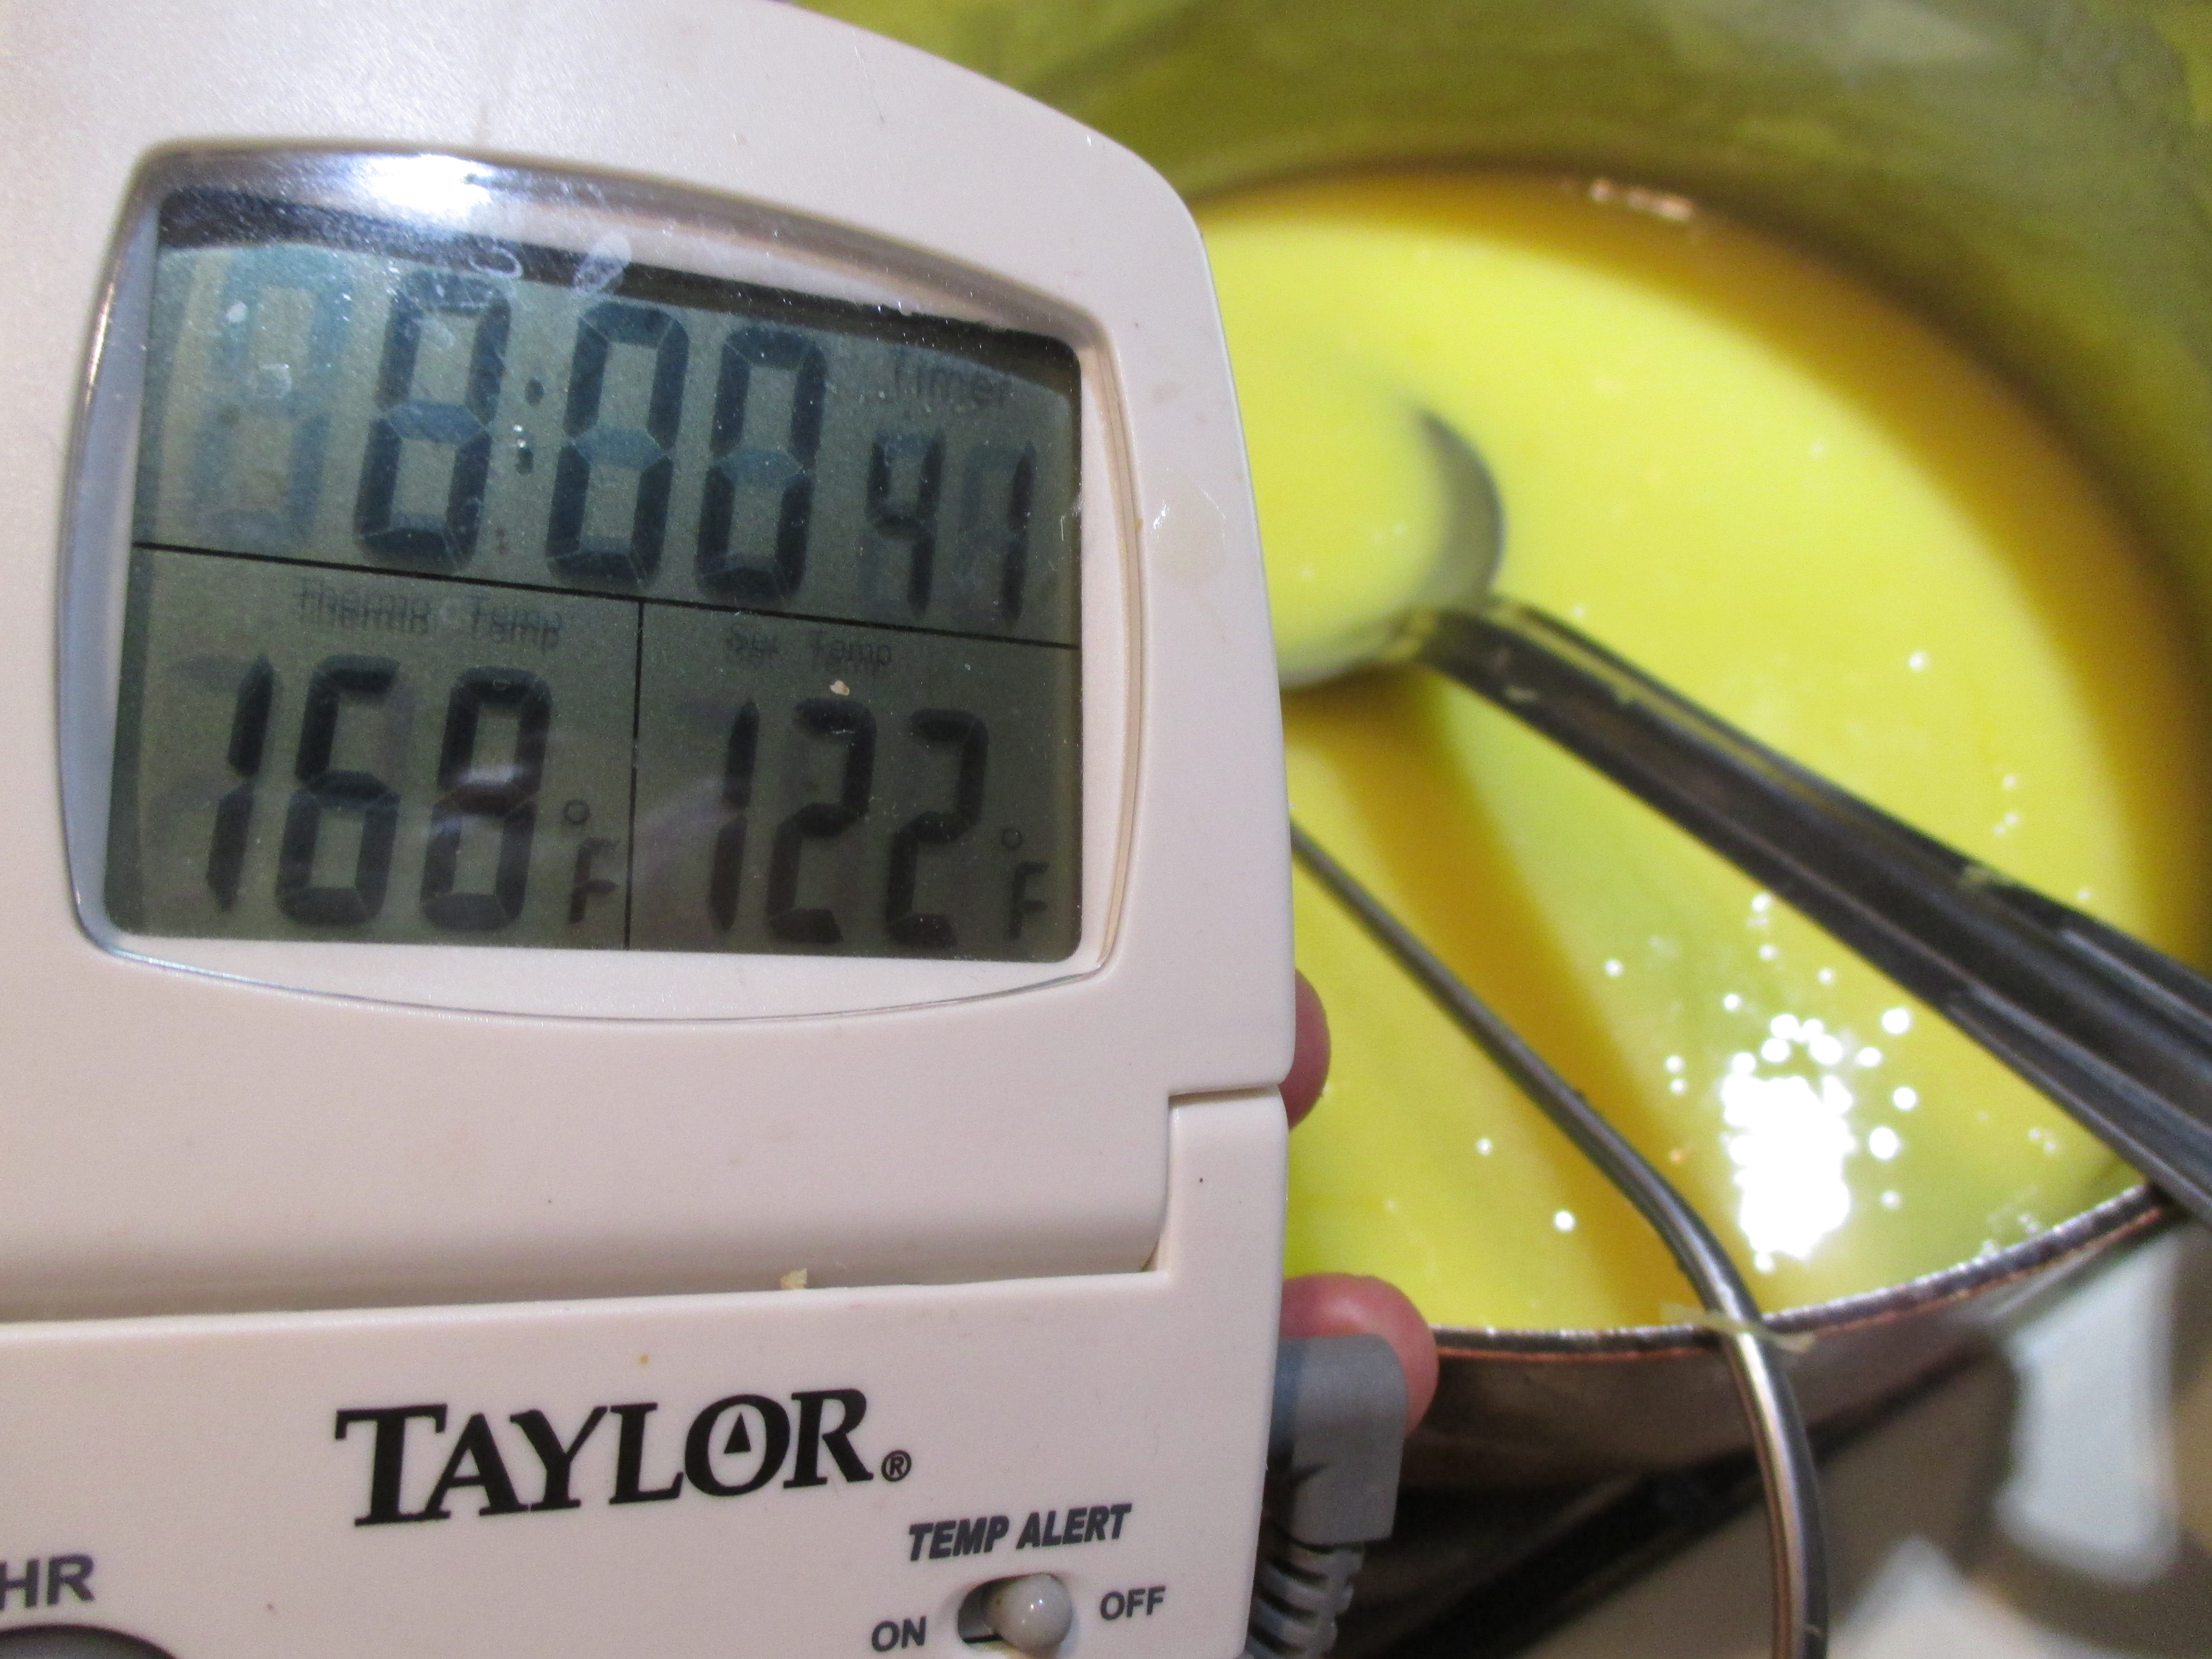
Transfer the mixture to  a medium, heavy-bottomed saucepan and cook the mixture over low heat until it looks smooth. You will find that the curdled appearance will disappear as the butter in the mixture melts. Increase the heat to medium and cook, stirring constantly, until the mixture thickens, from 8 to 15 minutes. Don’t try to rush this. Put on the radio or some music to entertain yourself. If you have a cooking thermometer, it should read 170 degrees F. when the curd is finished.

The curd is almost ready.

The curd is almost ready.

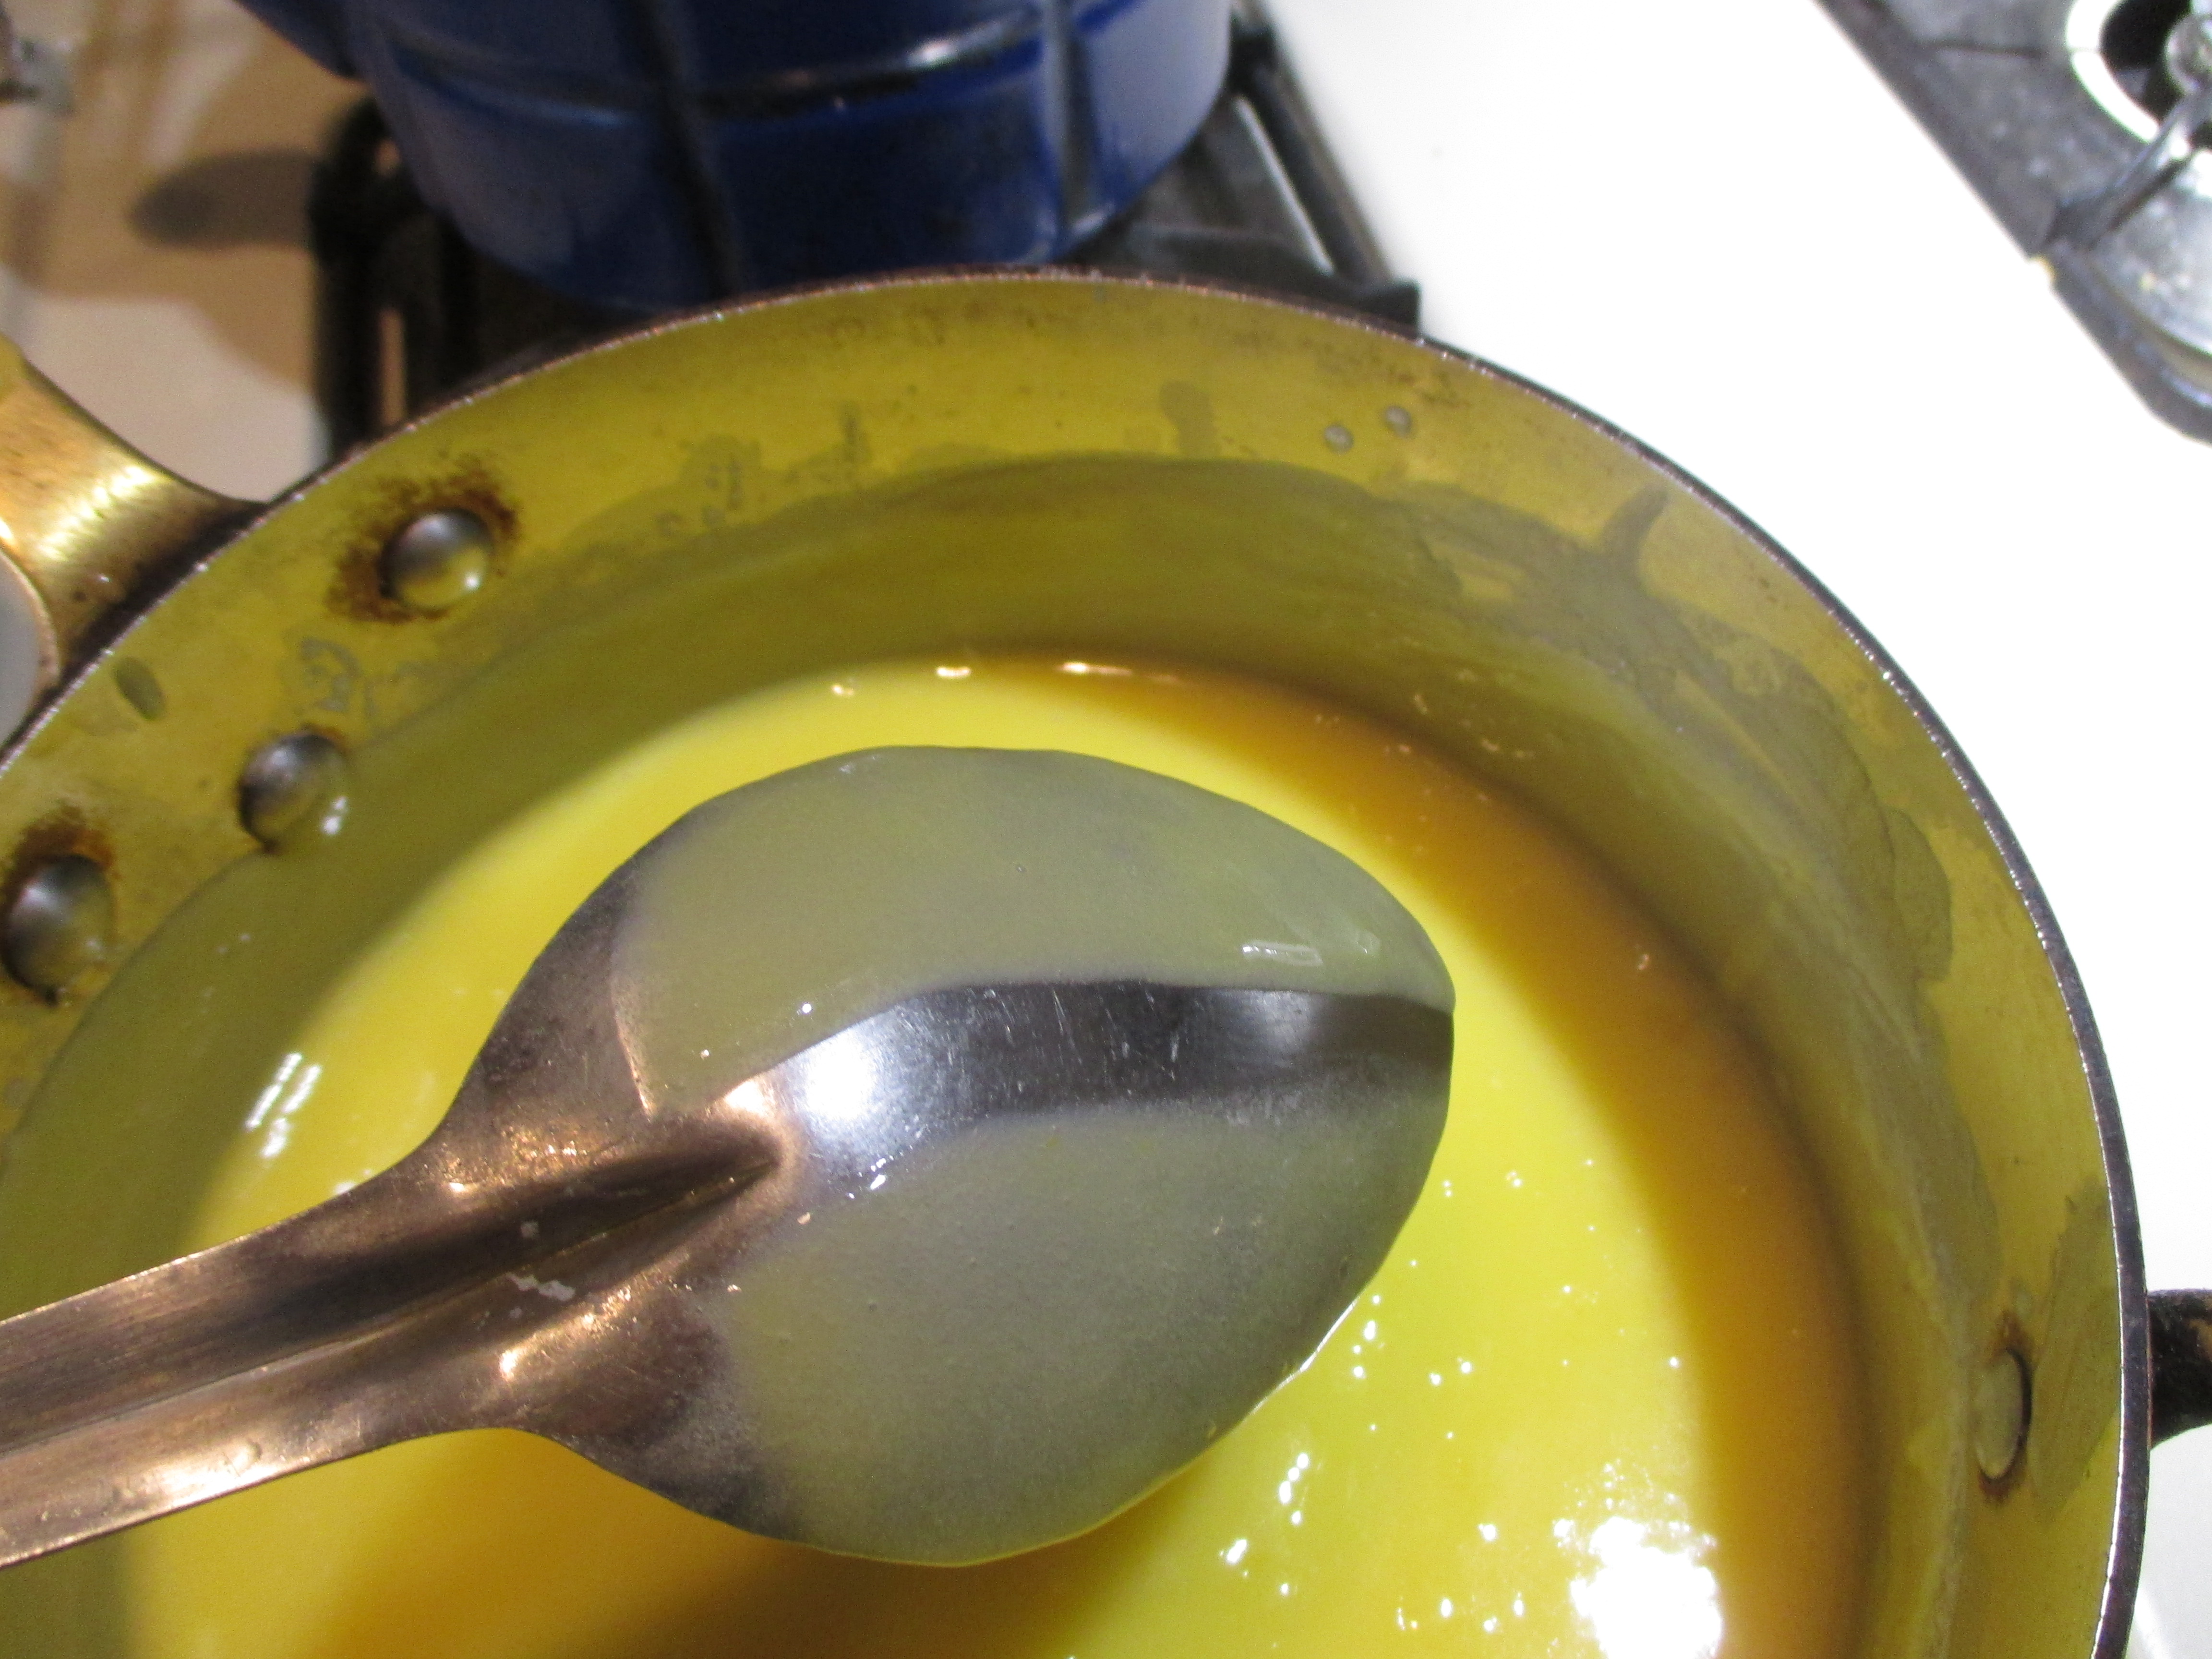
If you don’t have a thermometer, dip the back of a spoon into the sauce, and and run your finger through it. A path should remain. Most important:  Don’t let the mixture boil.

Test doneness without a thermometer.

Test doneness without a thermometer.

Remove the pan from the heat; stir in the lemon zest. Transfer the curd to a bowl. Press plastic wrap on the surface of the lemon curd to keep a skin from forming and chill  in the refrigerator. The curd will thicken further as it cools. Covered tightly, it will keep in the refrigerator for a week and in the freezer for 2 months. Each tablespoon has about 50 calories.

Limoncello: A Treat from Italy

Italian limoncello is easy to make.

Italian limoncello is easy to make.

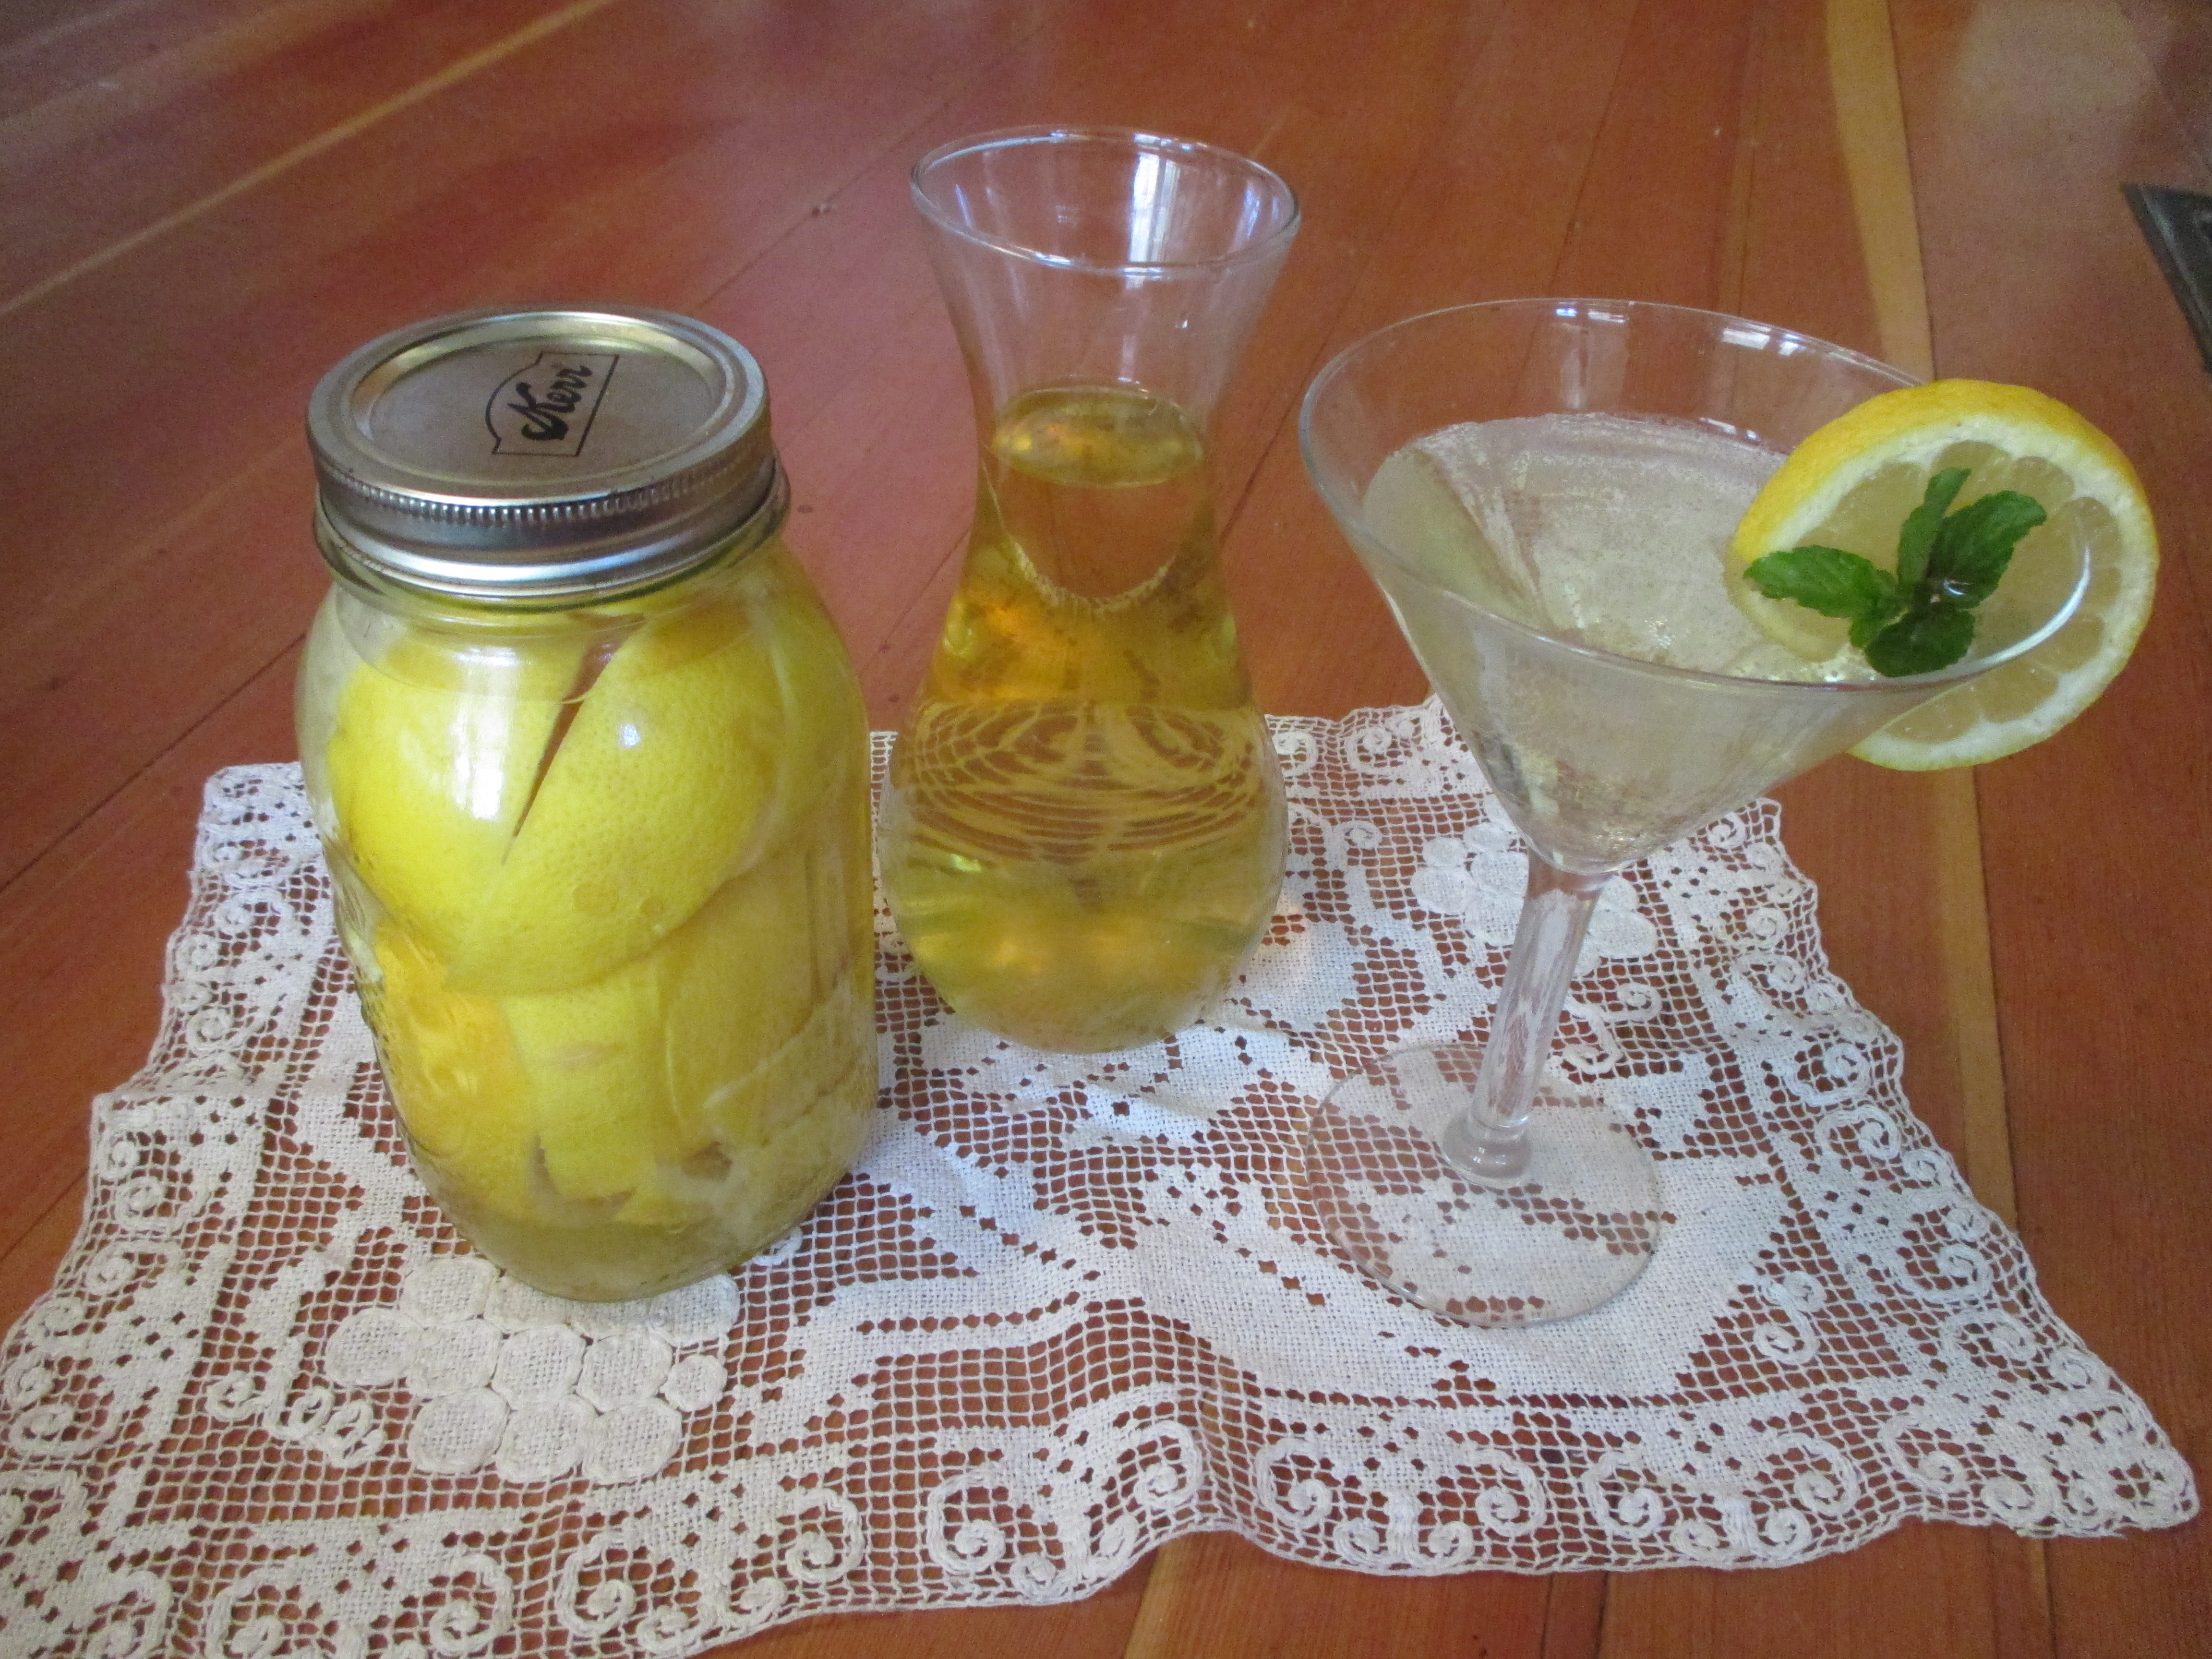
If you have ever been to Italy, you probably know about limoncello, the generic name for an Italian citrus-based lemon liqueur that is served well chilled in the summer months. All you need is lemons, vodka and sugar. When choosing lemons you want to use organic if possible to avoid wax and pesticides on the peel. This recipe is adapted from one given by the television cook Giada De Laurentiis.

Limoncello

10 lemons
1 (750-ml) bottle vodka
3 1/2 cups water
2 1/2 cups sugar

Start with a clean gallon jar. First, carefully peel the lemons in long strips with a vegetable peeler so there is no white pith on the peel. Use only the outer part of the rind. Put the rinds in the jar and cover with the vodka. Let it sit at room temperature for at least 10 days and up to 40 days in a cool dark place.

When you are ready to proceed, combine the water and sugar in a saucepan, bring to a gentle boil and let it boil 5 to 7 minutes. Remove from heat and let the syrup cool. Add to the limoncello mixture and let it rest from overnight to 10 days (the experts really differ on this. I just waited 2 days and it was fine.) Strain into bottles, seal and refrigerate.

Limoncello Cocktail

Mix half-and-half limoncello, seltzer water, tonic, or champagne and serve over ice.

Easier, Better Lemonade

No squeezing needed when you pour boiling water over sliced lemons.

No squeezing needed when you pour boiling water over sliced lemons.

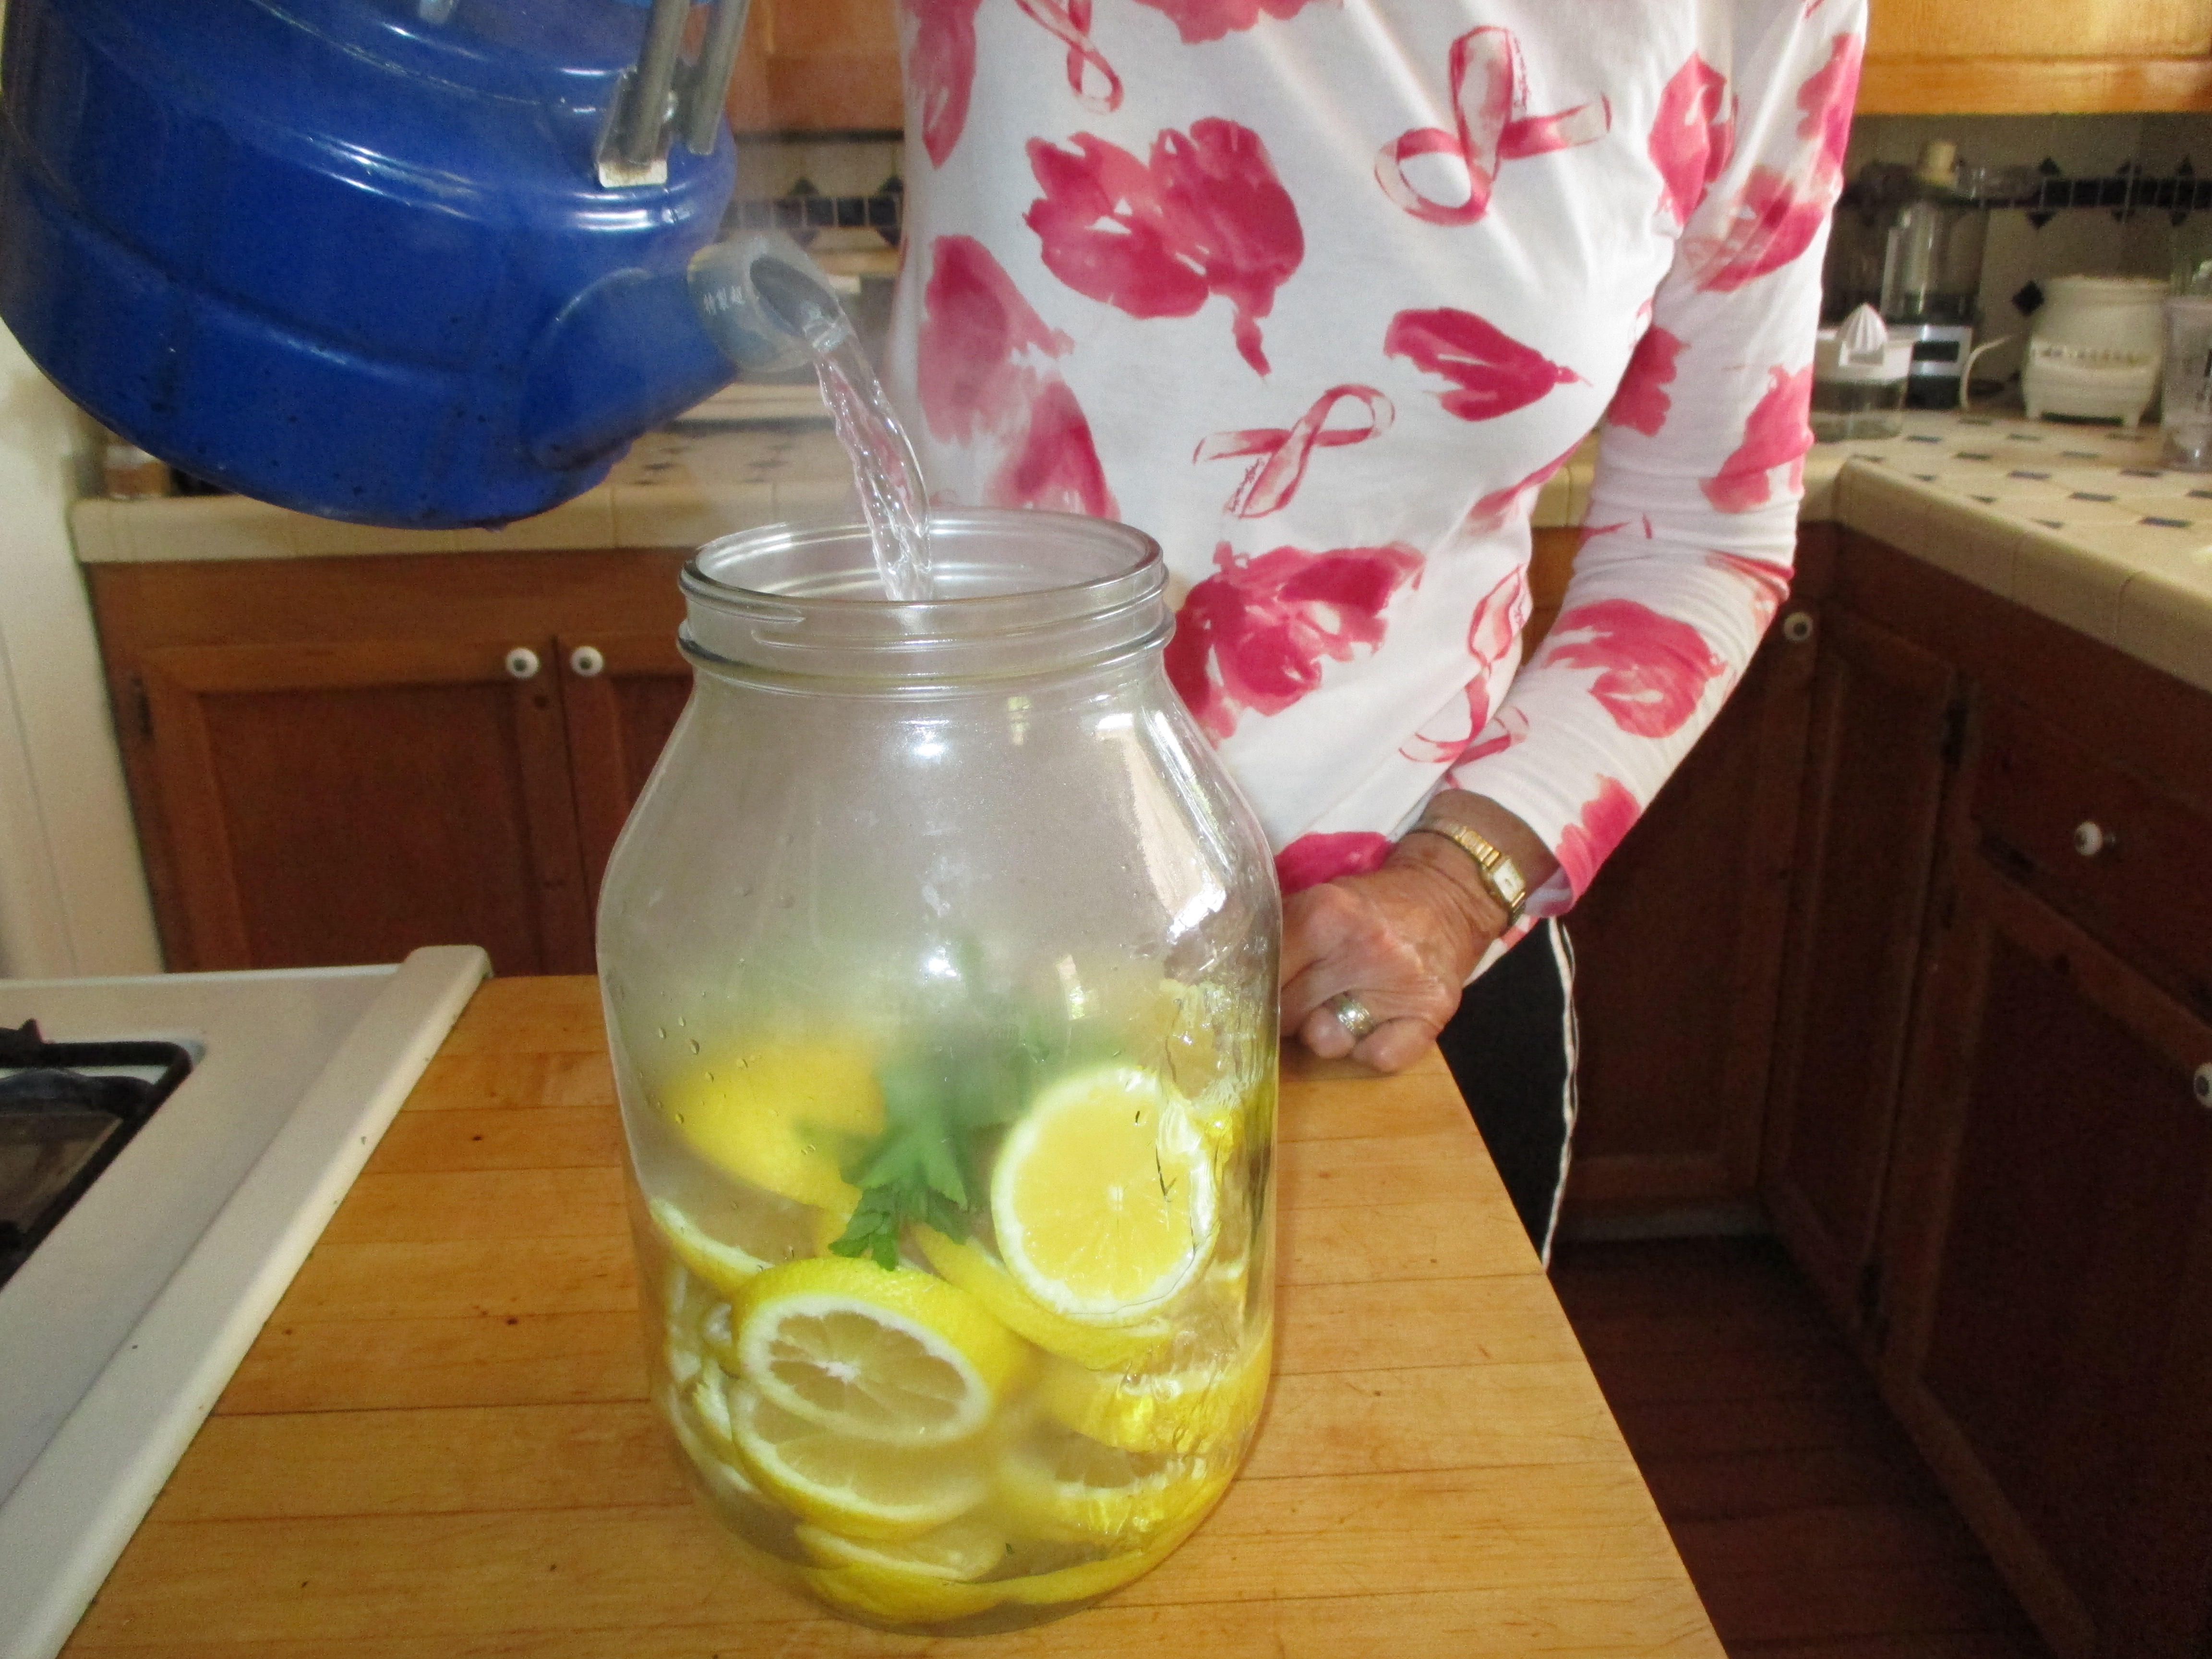
I learned to make the best lemonade from my friend Ann who lives in New Jersey. She learned it from a woman in Germany. Neither of these areas are lemon-growing regions so it may be a way of conserving. Rather than squeezing them, slice the lemons and pour boiling water over them. Let them steep for a couple of hours, pour off the water and repeat. You can keep adding water, letting it sit and draining until the taste grows too weak. This makes a juice with greater depth of flavor because it extracts the lemon oils from the rinds. Sweeten to taste with your choice of sugar, honey or agave syrup.

And Don’t Forget…

Tia Marta is running several classes in gathering and preparing cholla buds. This is a great year for desert plants and the cholla buds are fat and juicy.

Workshop Dates (find a downloadable flyer on the website http://www.flordemayoarts.com):
Saturday April 4, 2015, 7:30-9:30am—register at 520-907-9471
Wednesday, April 8, 8-11am, Pima Co Parks & Rec 520-615-7855 x 6
Saturday, April 11, 8-11am, Westside, sponsored by NativeSeeds/SEARCH, call 520-622-0830×100

Saturday, April 18, 8:30-11:30am, Tohono Chul Park, 520-742-6455 x 228

Here’s to the Budding Desert!

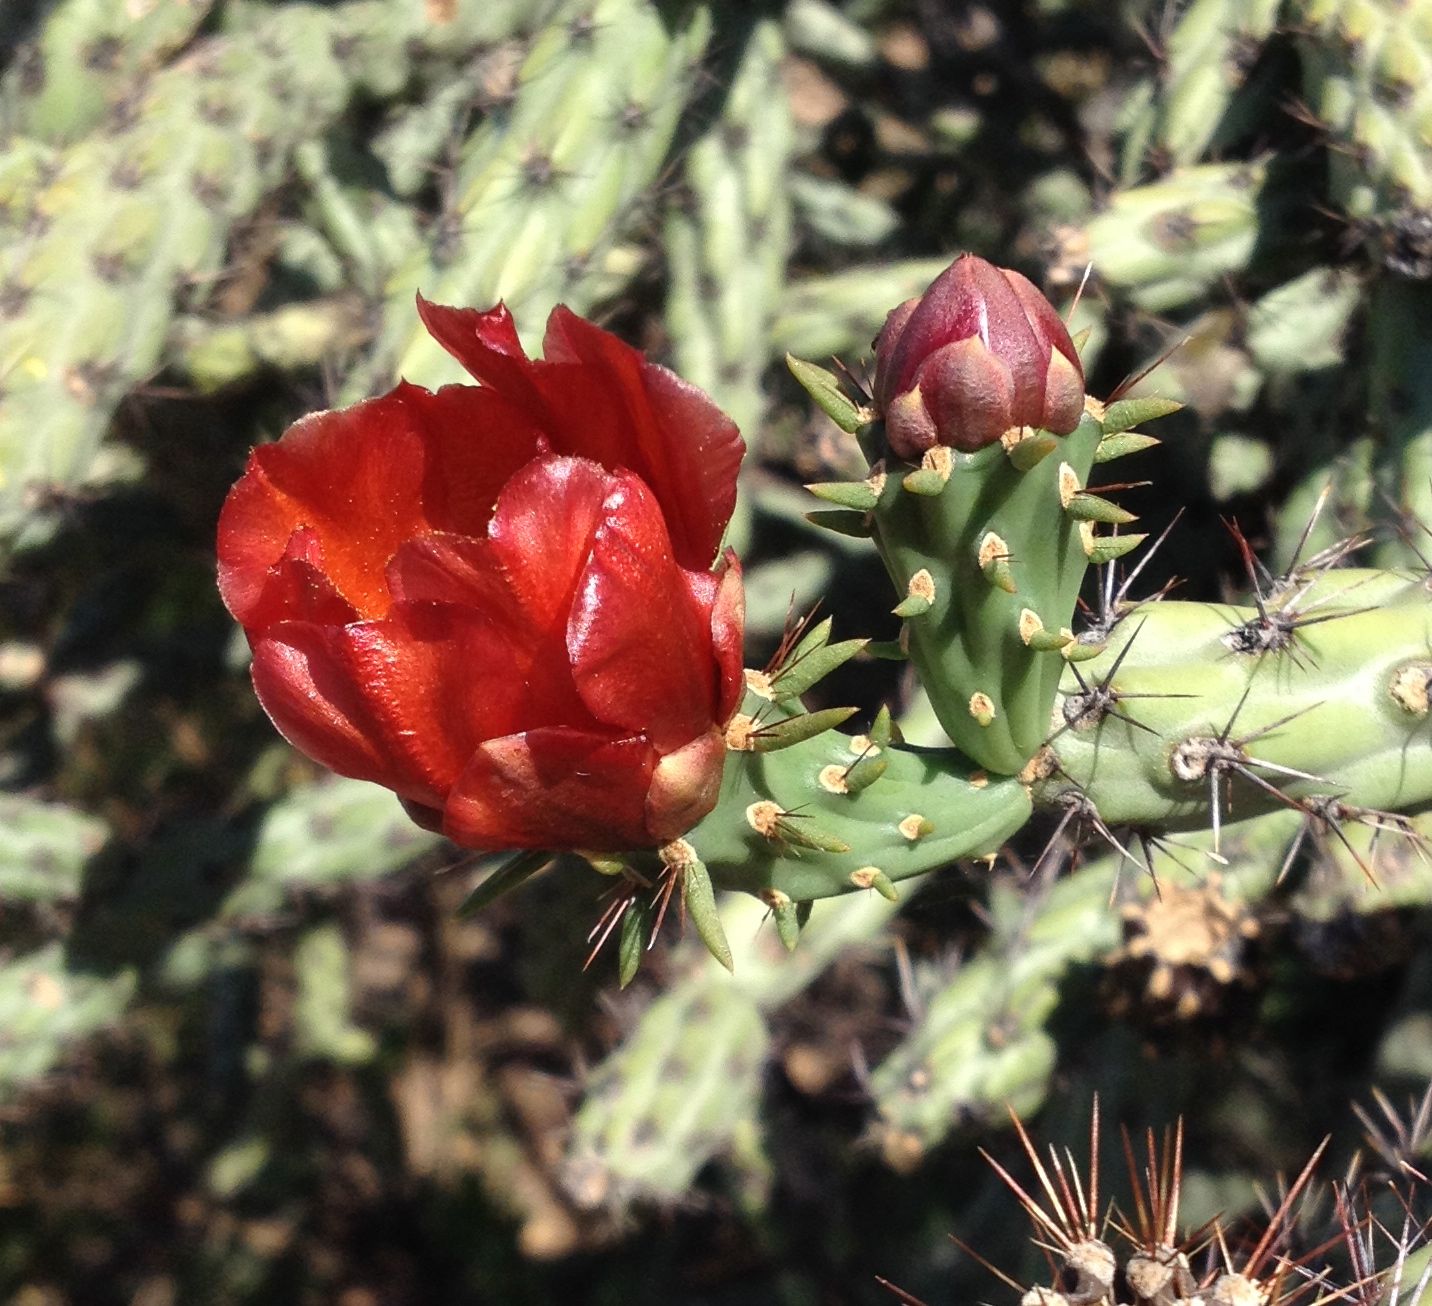
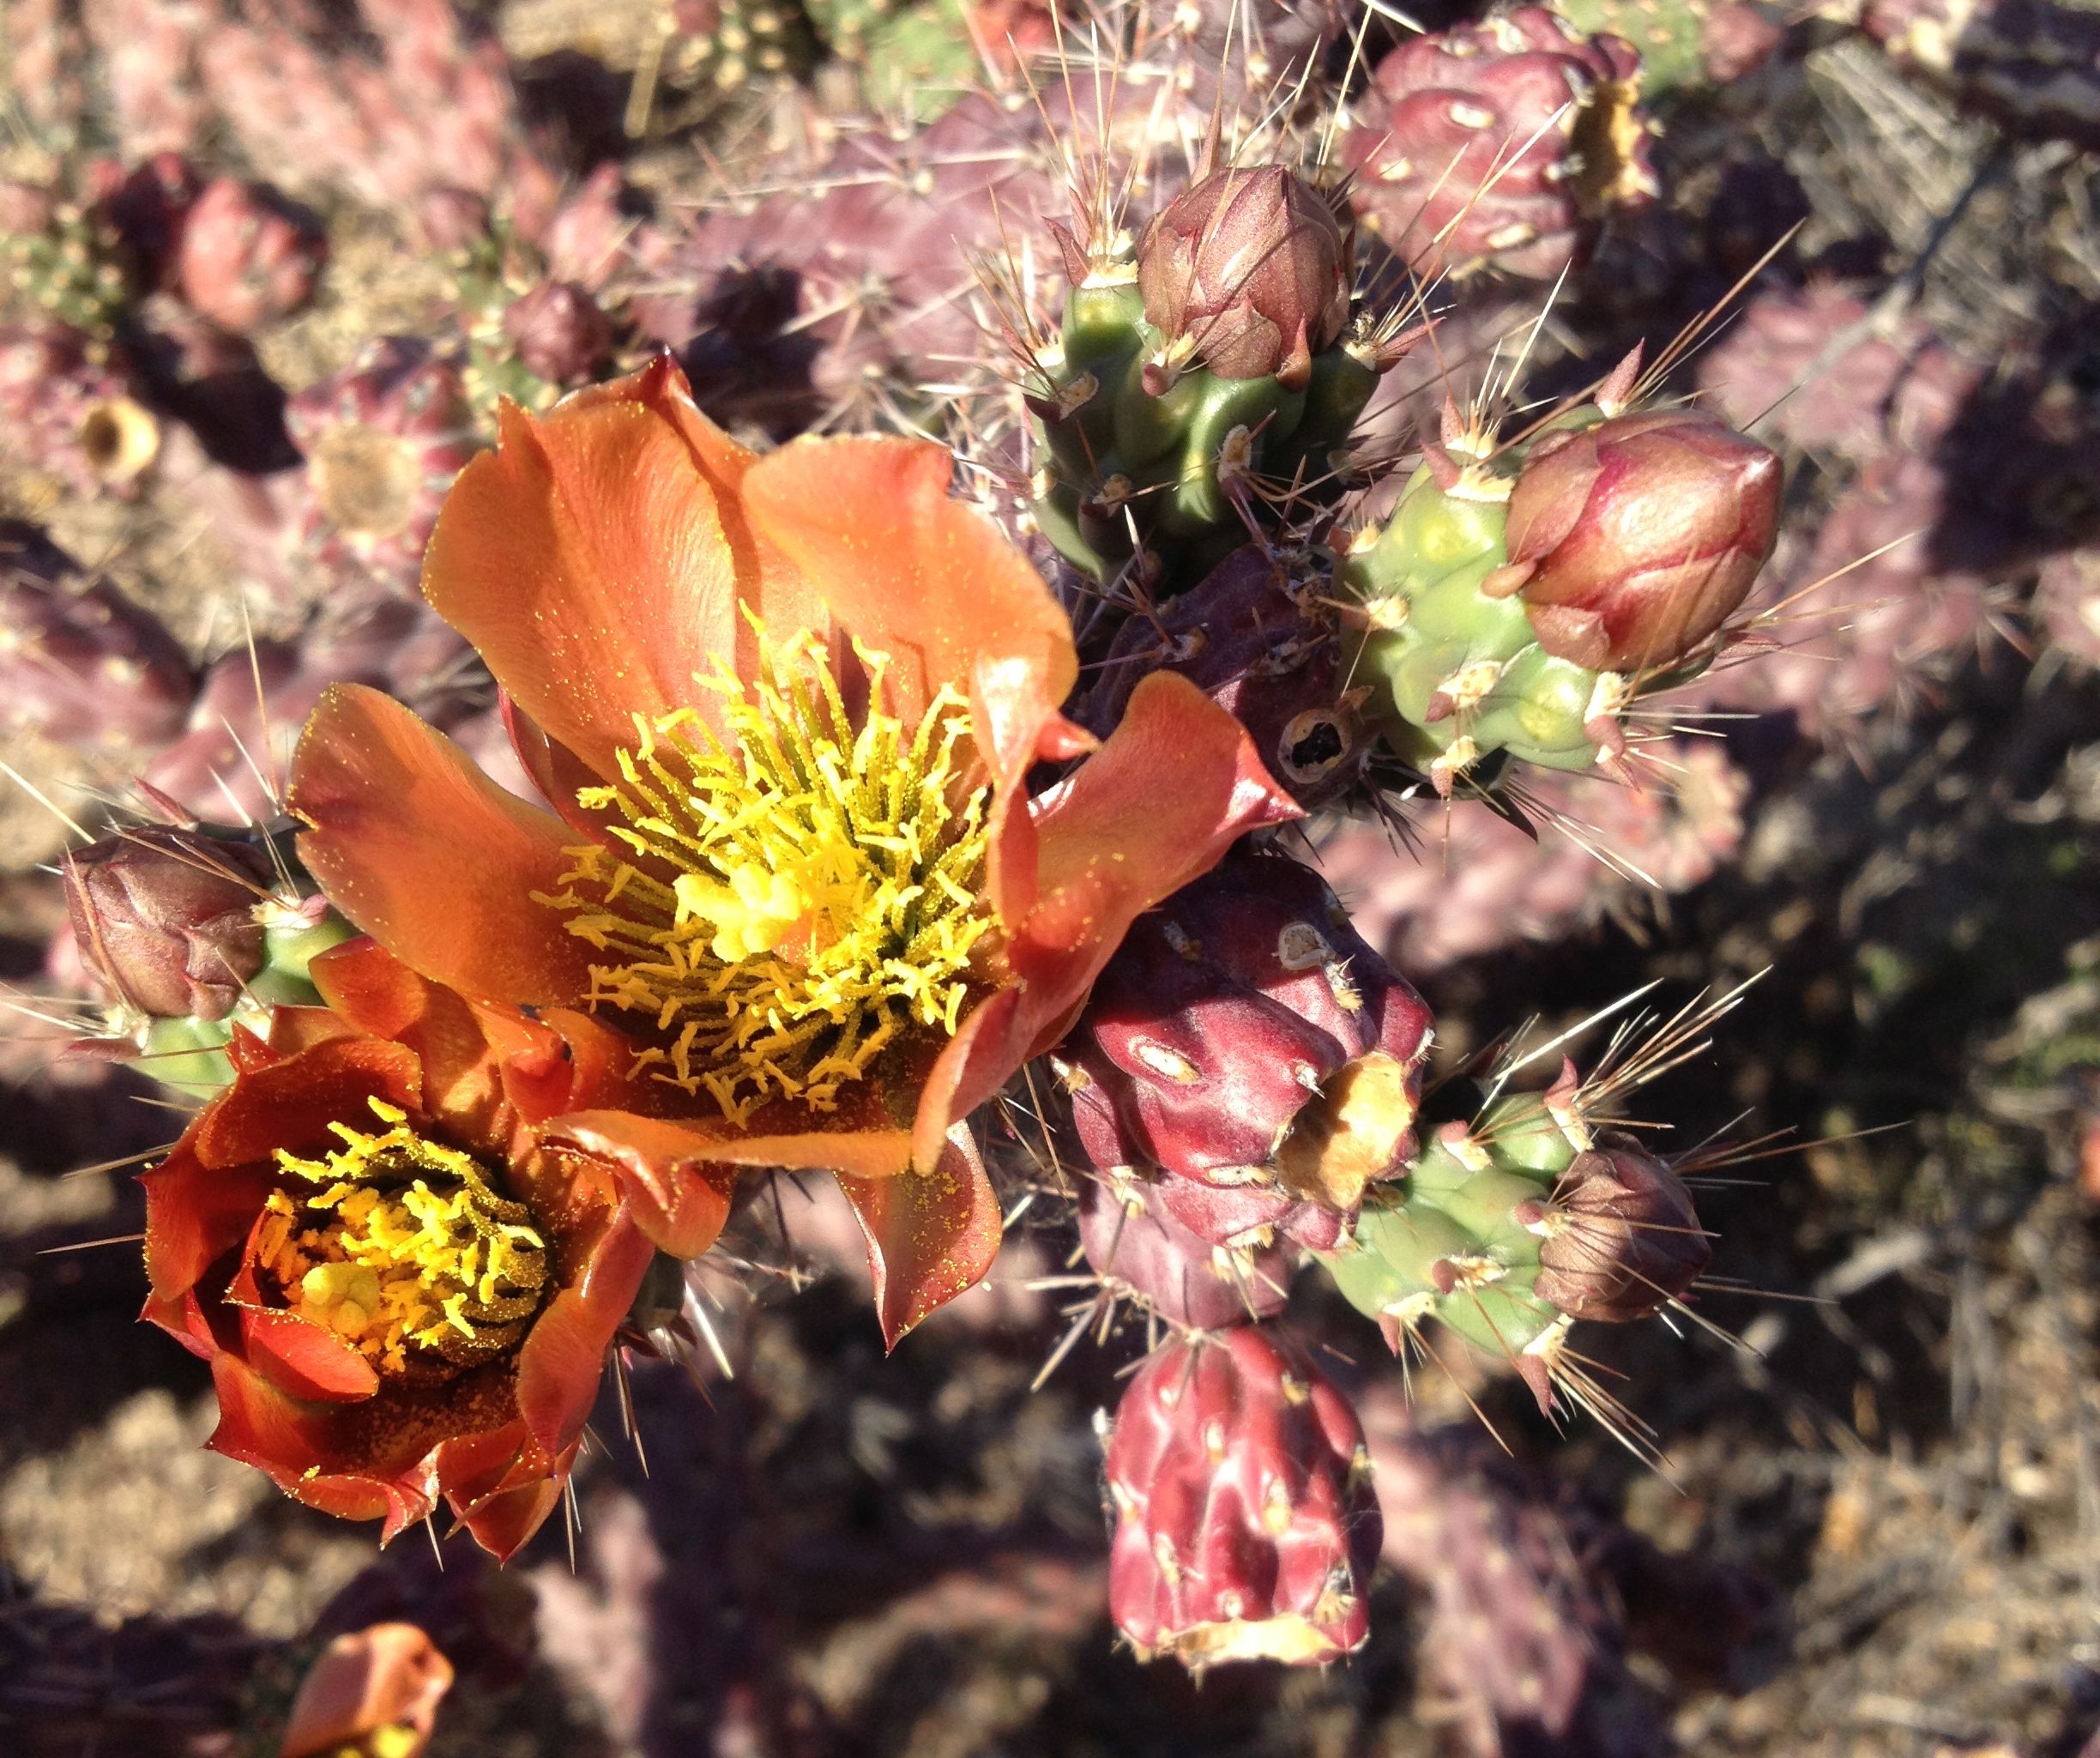
red staghorn cholla flower and bud (MABurgess photo)

red staghorn cholla flower and bud (MABurgess photo)

Can you almost hear them?  I mean the sound of buds swelling and bursting with life out there is the rain-soaked desert?  This spring the wildflowers are a joy, for sure, but the perennials this season will really be in their glory.  Tia Marta here with some wonderful ideas about how we can share in the coming cornucopia of cholla.

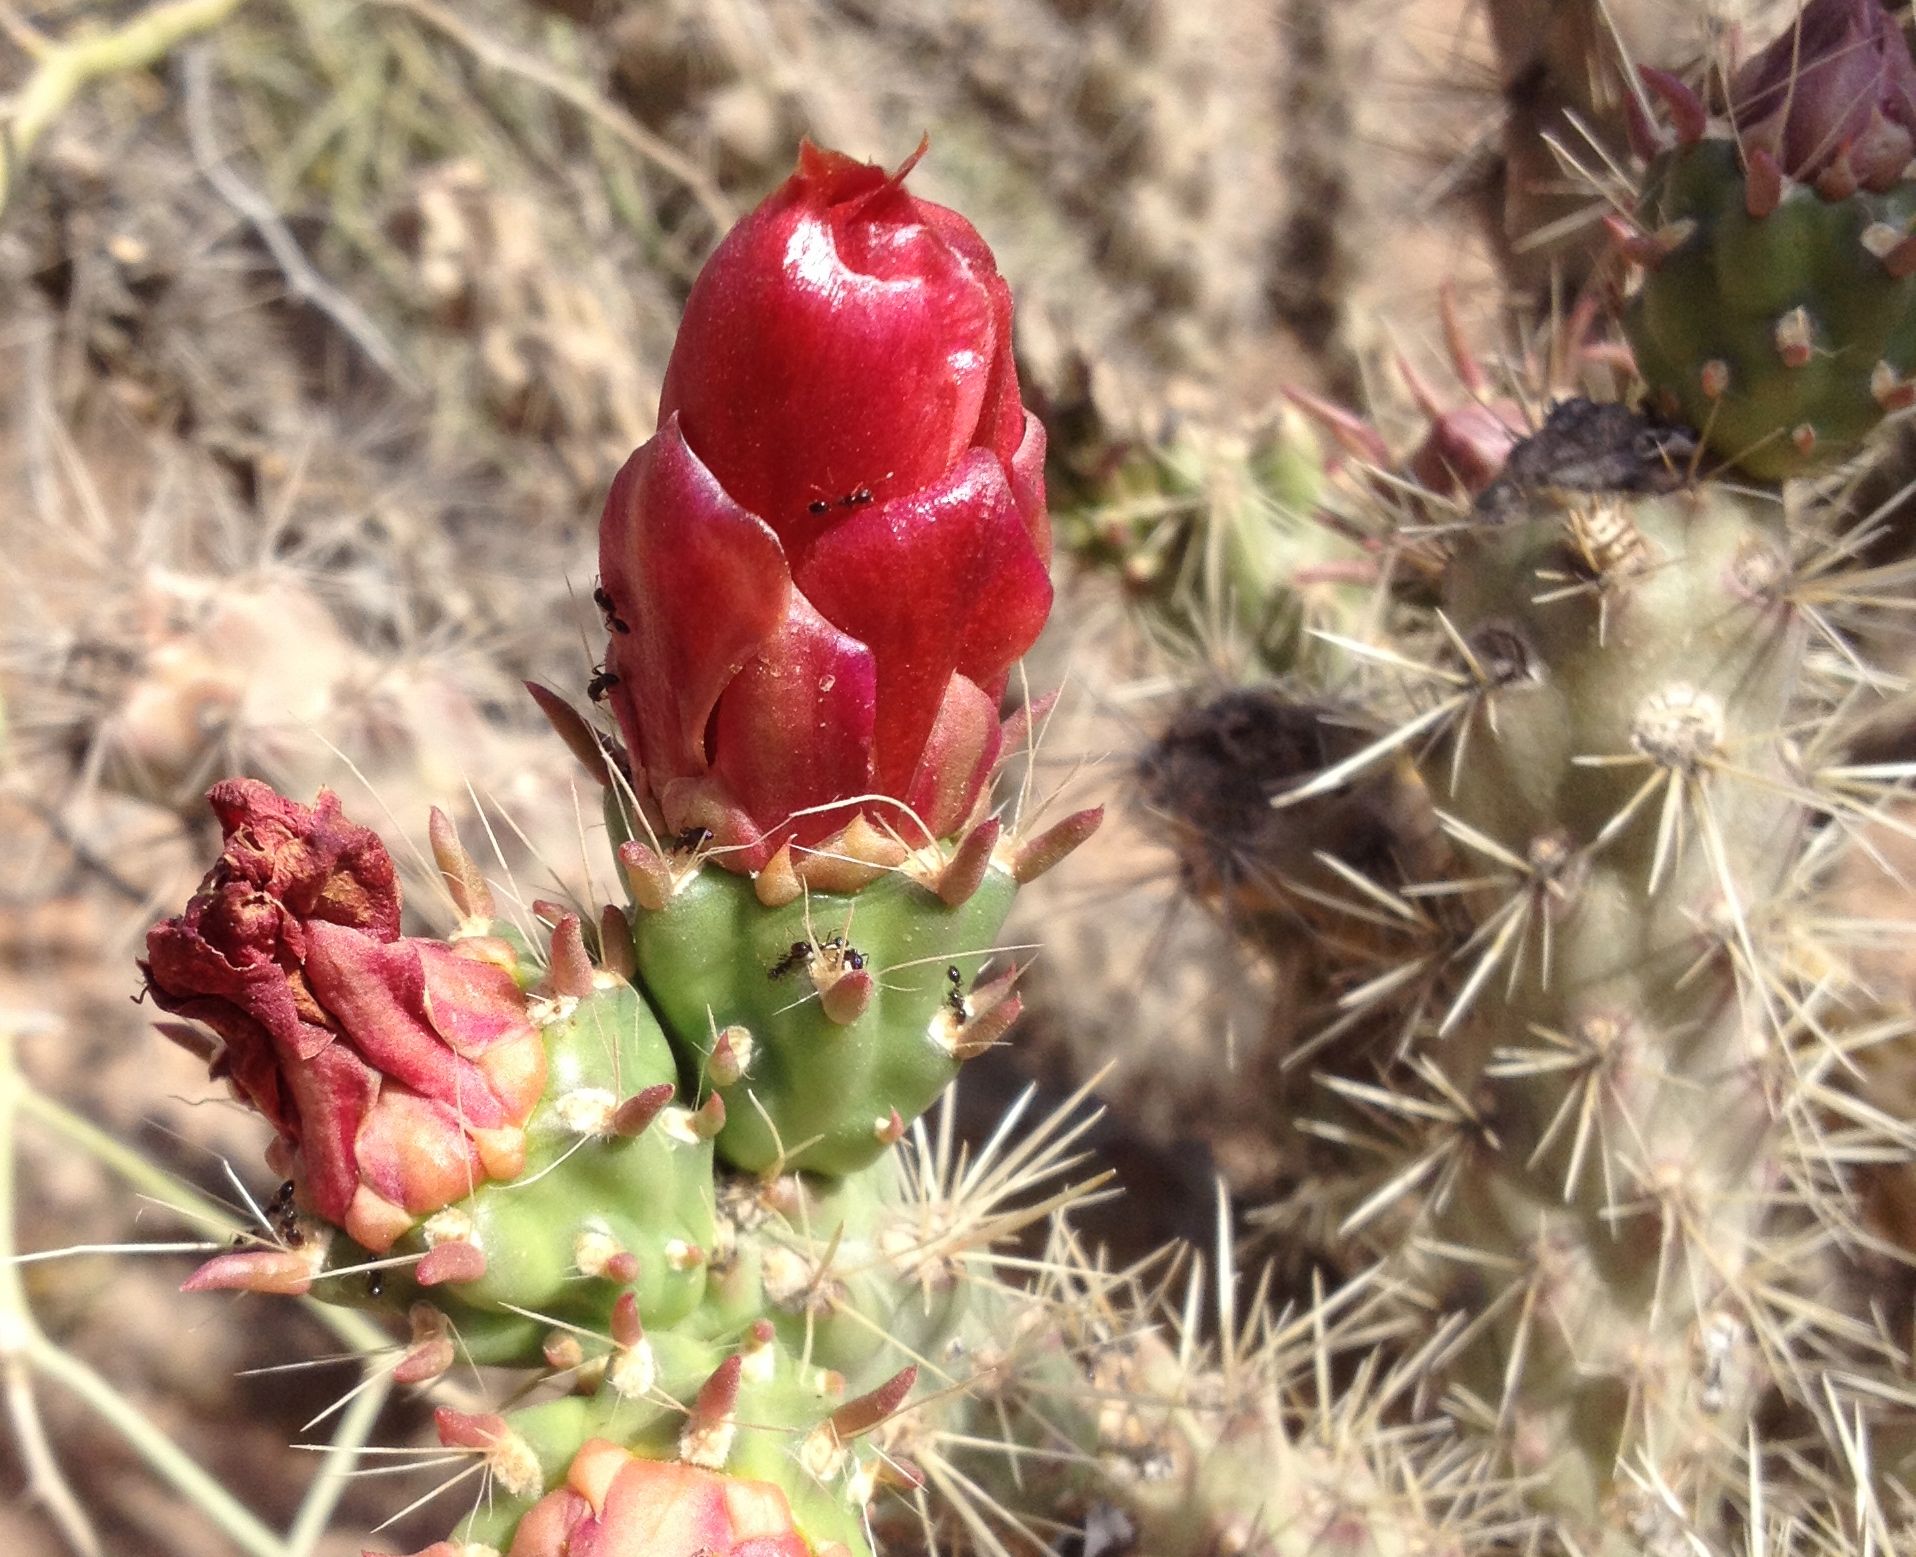
Cholla cactus flower buds emerging, covered with spines--brimming with goodness for all desert creatures….

Cholla cactus flower buds emerging, covered with spines–brimming with goodness for all desert herbivores….(MABurgess)

It should be a bountiful bloom this year–the buds are off and running already.  Every branch on our Sonoran Desert chollas is loaded with little buds, and they seem to double in size every day.  It looks the same in the western part of Arizona, the Mojave….a zillion buds on the golden branches of Cylindropuntia echinocarpa.

While the chollas are preparing for their yearly reproductive ritual–a wildly colorful show for attracting pollinators–many desert creatures will be benefitting from this flamboyant event, including Native Desert People who have always shared in the bounty.

cholla feeds many desert creatures (MABurgess photo)

cholla feeds many desert creatures (MABurgess photo)

You can learn traditional and modern ways of harvesting, preparing and cooking cholla buds in one of several classes coming up soon in April.  With the guidance of ethnobotanist of Tia Marta (yo,) we will get out in the bloomin’ stickery desert, get up close and personal with chollas, get to know their lore, their anatomy, their culture, learn to carefully de-spine them, cook, dry, pickle, and prep them into the most unusual and fun recipes.  Their health benefits are off the charts–we’ll learn about those too.

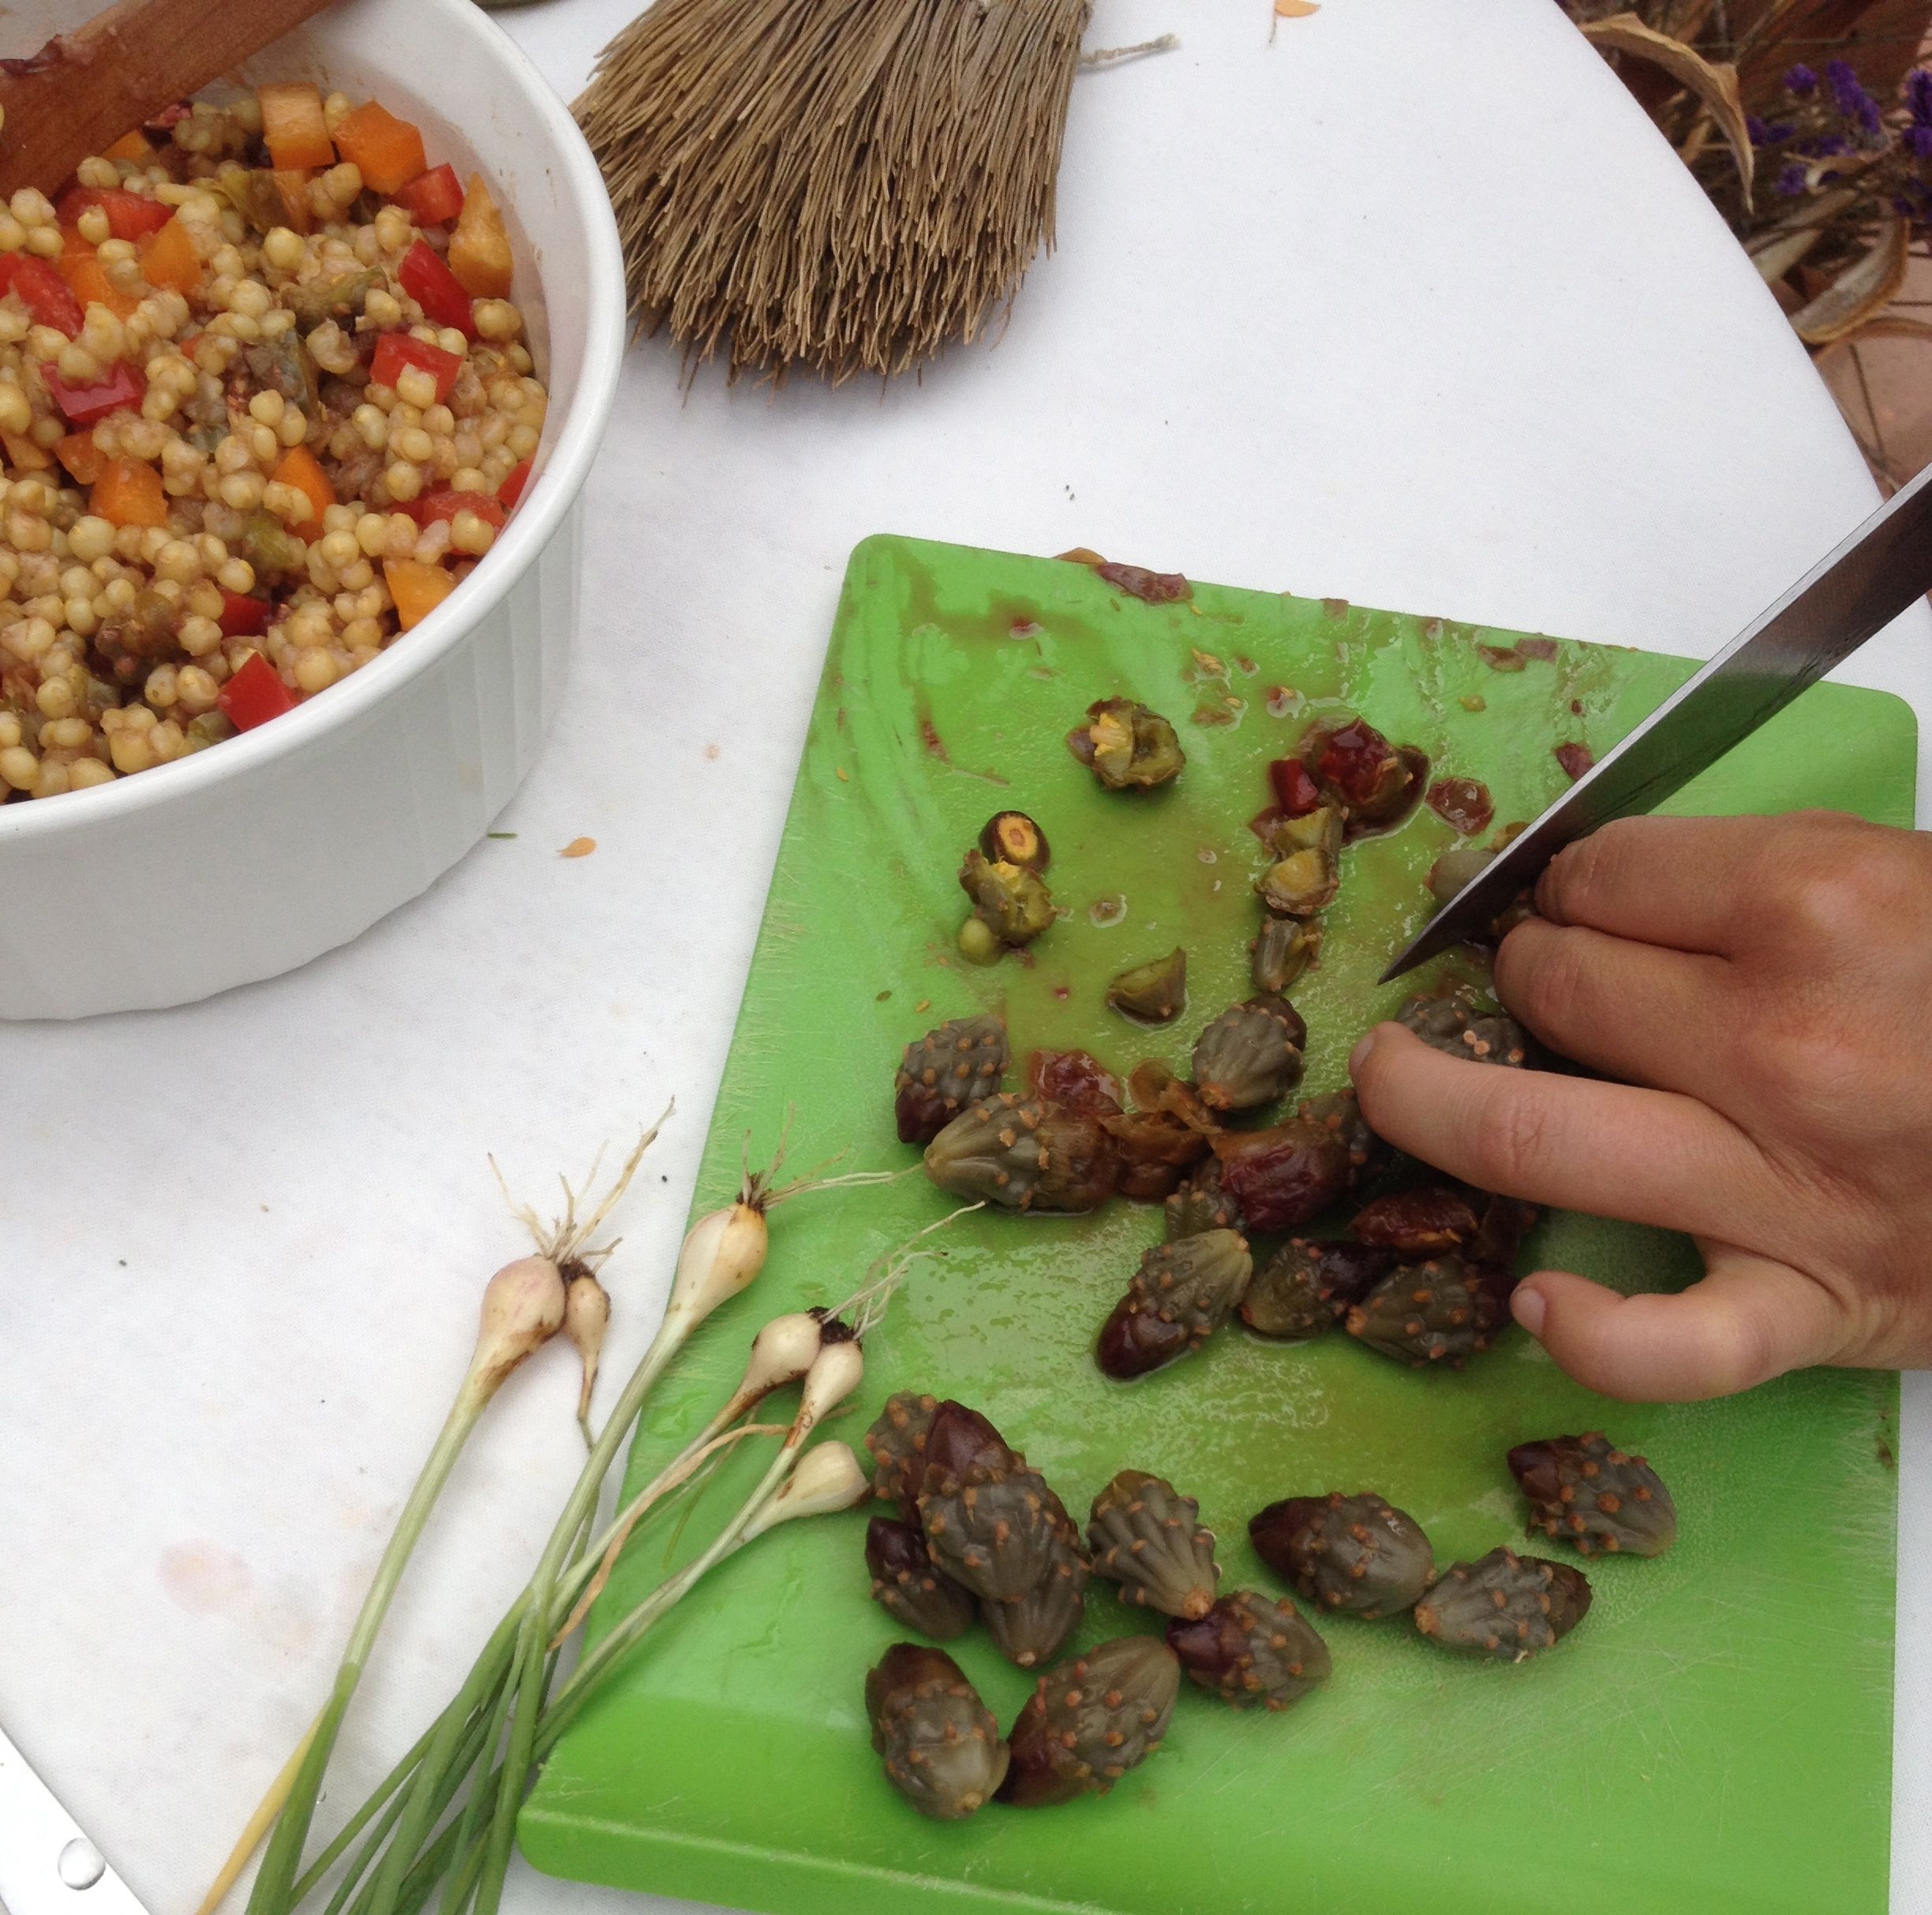
prepping cooked cholla buds with I'itoi's onions for White Sonoran Wheatberry salad

prepping cooked cholla buds with I’itoi’s onions for White Sonoran Wheatberry salad (MABurgess photo)

The biggest kick will be impressing your family and friends with off-the-wall gourmet recipes that no one else makes (other than some wild and wonderfully creative foodies like Janos Wilder, Chef of the Downtown Kitchen, not to mention NativeSeeds/SEARCH staff cooks!)


rusty orange flower of the various-colored staghorn chollas

Rusty orange flower of the various-colored staghorn cholla, Cylindropuntia versicolor (MABurgess photo)

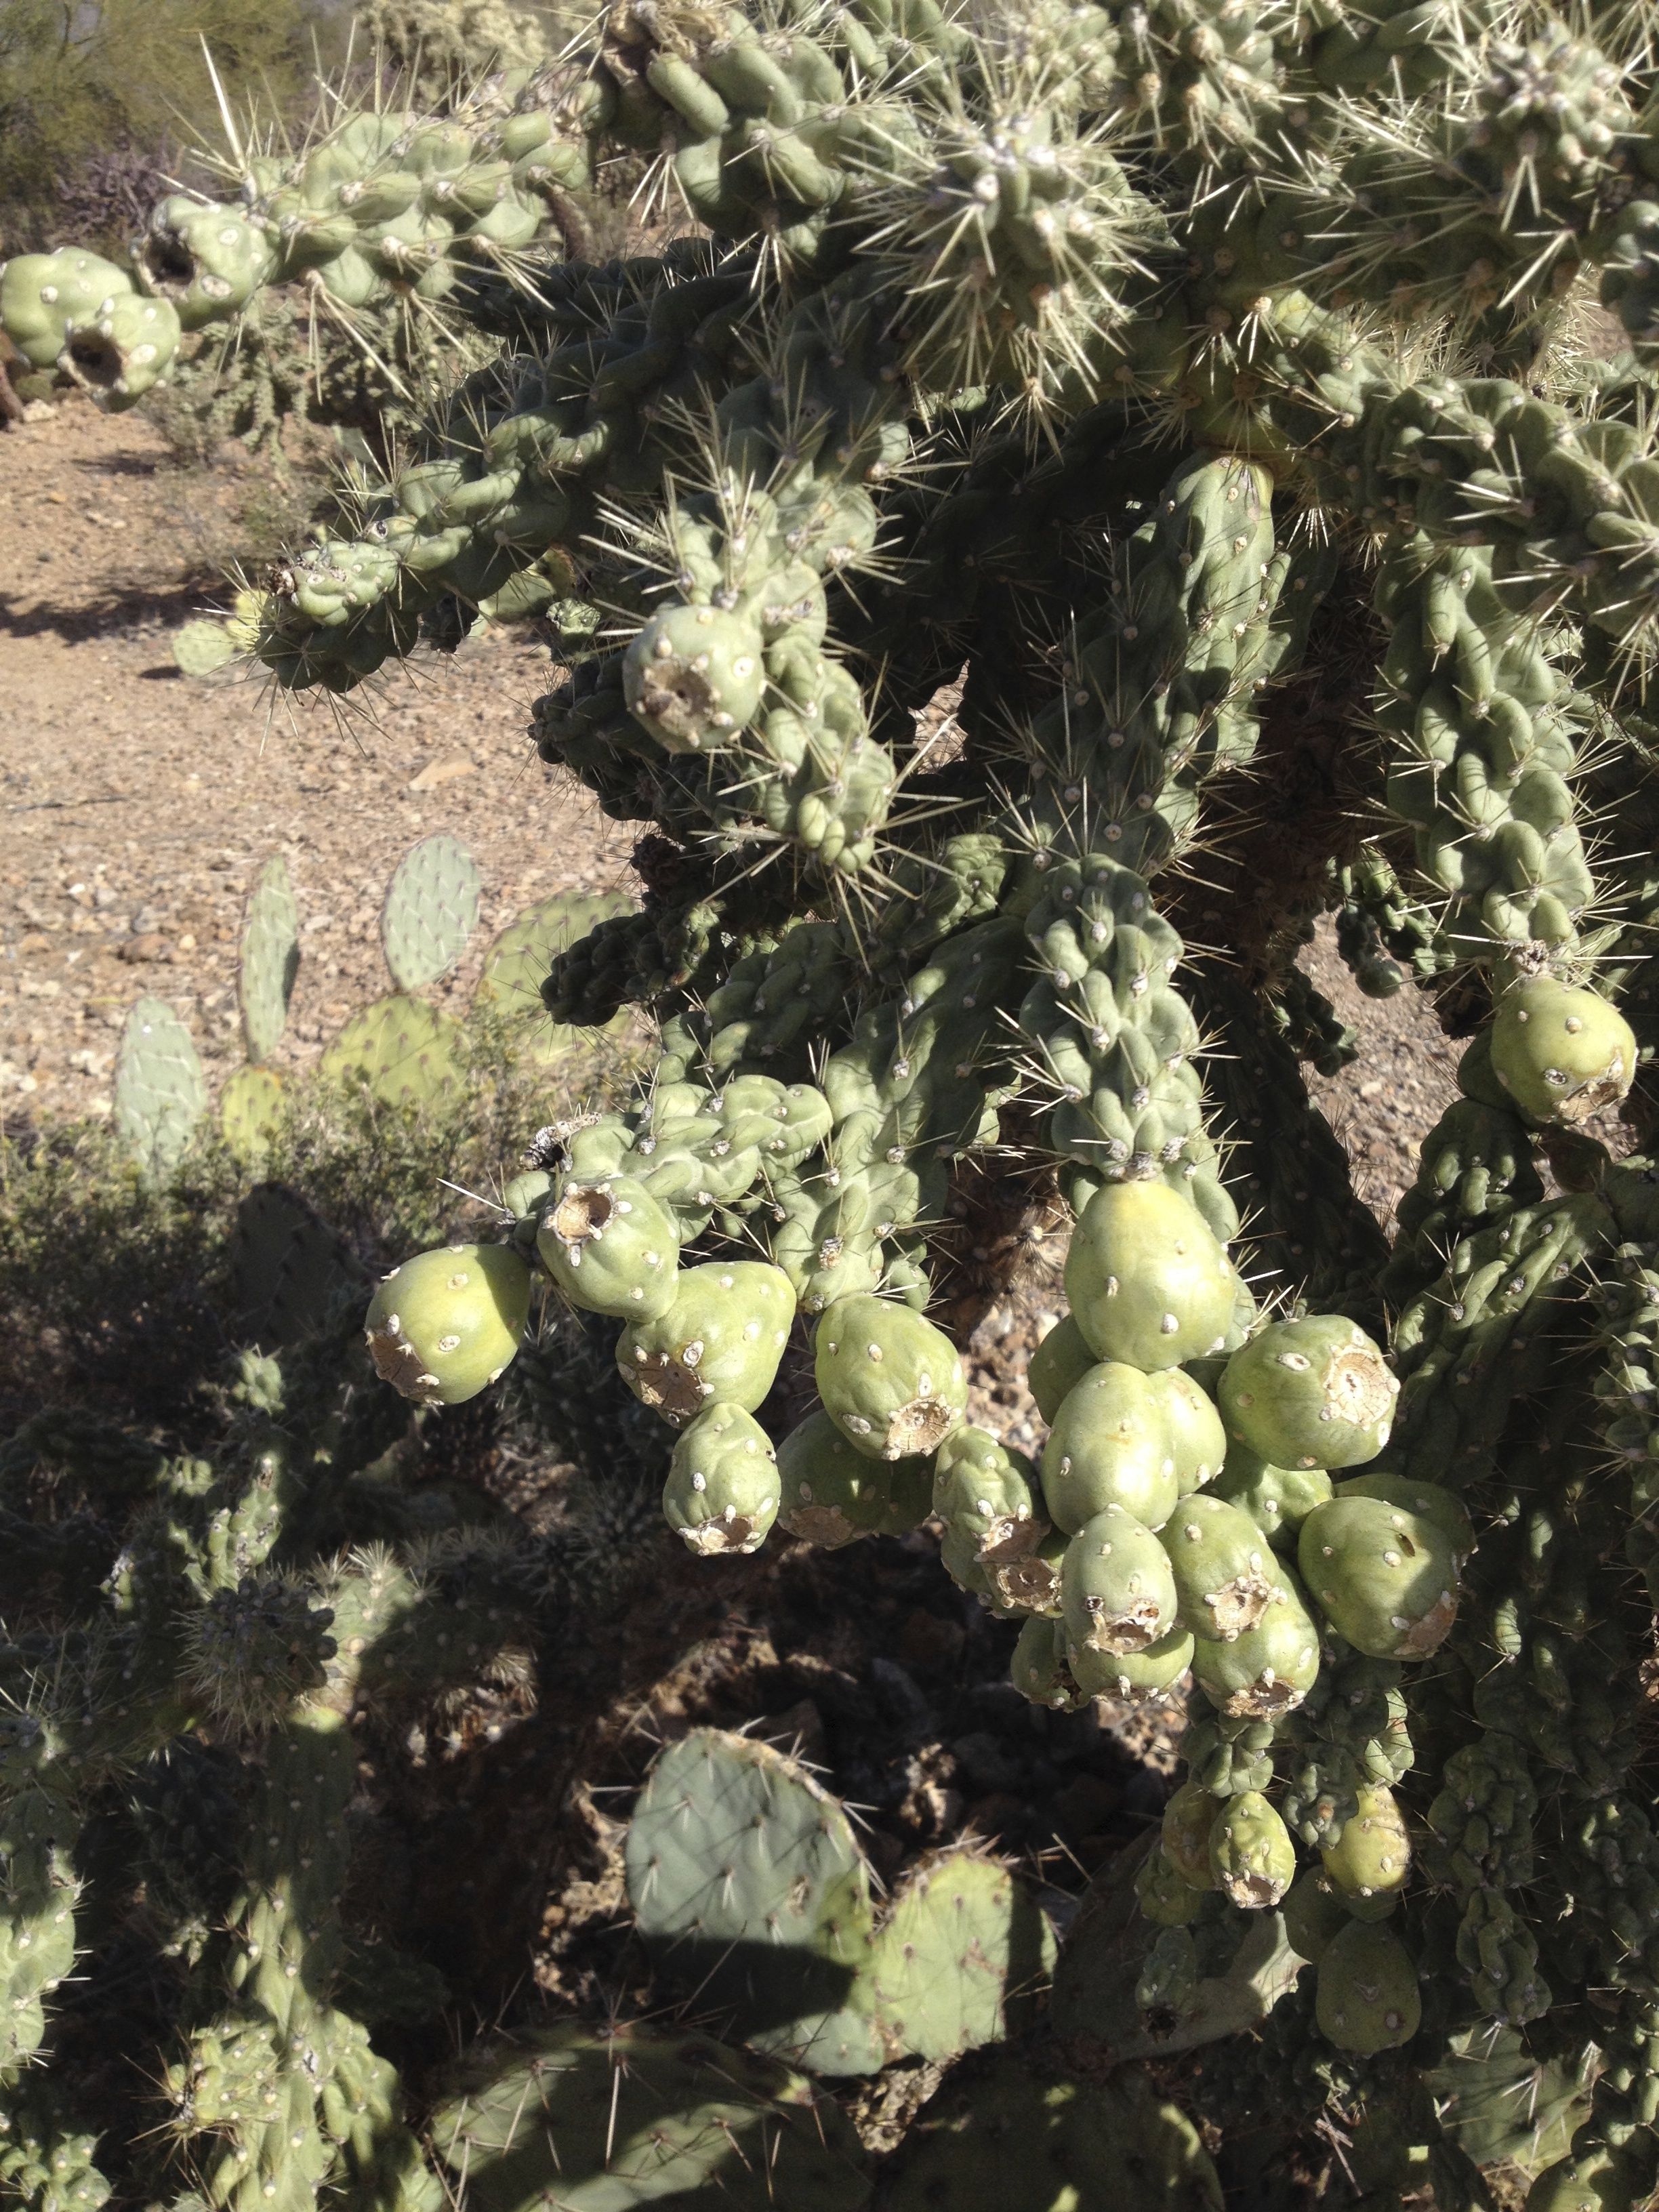
We have many cholla varieties in the Sonoran Desert—each with its own distinct characters and timing of flowering. The cane cholla (Cylindropuntia spinosior) is found in a few places in low desert but is more typical of higher desert and desert grassland. It’s the one with the persistent round yellow fruits, and gorgeous magenta flowers. The jumping cholla (C. fulgida) always has long clusters of green persisting green fruits hanging like bunches of grapes. It typically blooms with the monsoon rains of summer with a lovely deep rose flower. If you can find the buds of either of these chollas in their season, their buds are great tasting too.  The buds of both are spiny, but the first-mentioned staghorn cholla (C.versicolor) bears easily-removable spines, so that’s the one my Tohono O’odham “grandmother” and mentor Juanita preferred to pick. I will be demonstrating her teaching at our upcoming workshops in April.

cane cholla in bud with last year's persistent yellow fruits

Cane cholla (C.spinosior) in bud with last year’s persistent yellow fruits

fruits of jumping cholla clinging to former years' fruits

Fruits of jumping cholla (C.fulgida) clinging to former years’ fruits


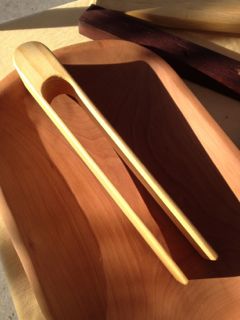
tongs specially designed for harvesting cholla buds and prickly pear--available at Flor de Mayo tent Sunday St Phillips farmers' market

Tongs specially designed for harvesting cholla buds and prickly pear–available at Flor de Mayo tent Sunday St Phillips farmers’ market

The best instrument for safely harvesting buds is simply a pair of tongs. Long barbeque tongs can help you maneuver through hazardous cactus branches at a safe distance. We commissioned a young woodworker from Sedona to fabricate the right size tongs for us out of fire-killed ponderosa pine—available at the NativeSeeds/SEARCH store and in our selection of handmade wooden utensils at our Flor de Mayo booth at the Sunday St Phillips market.

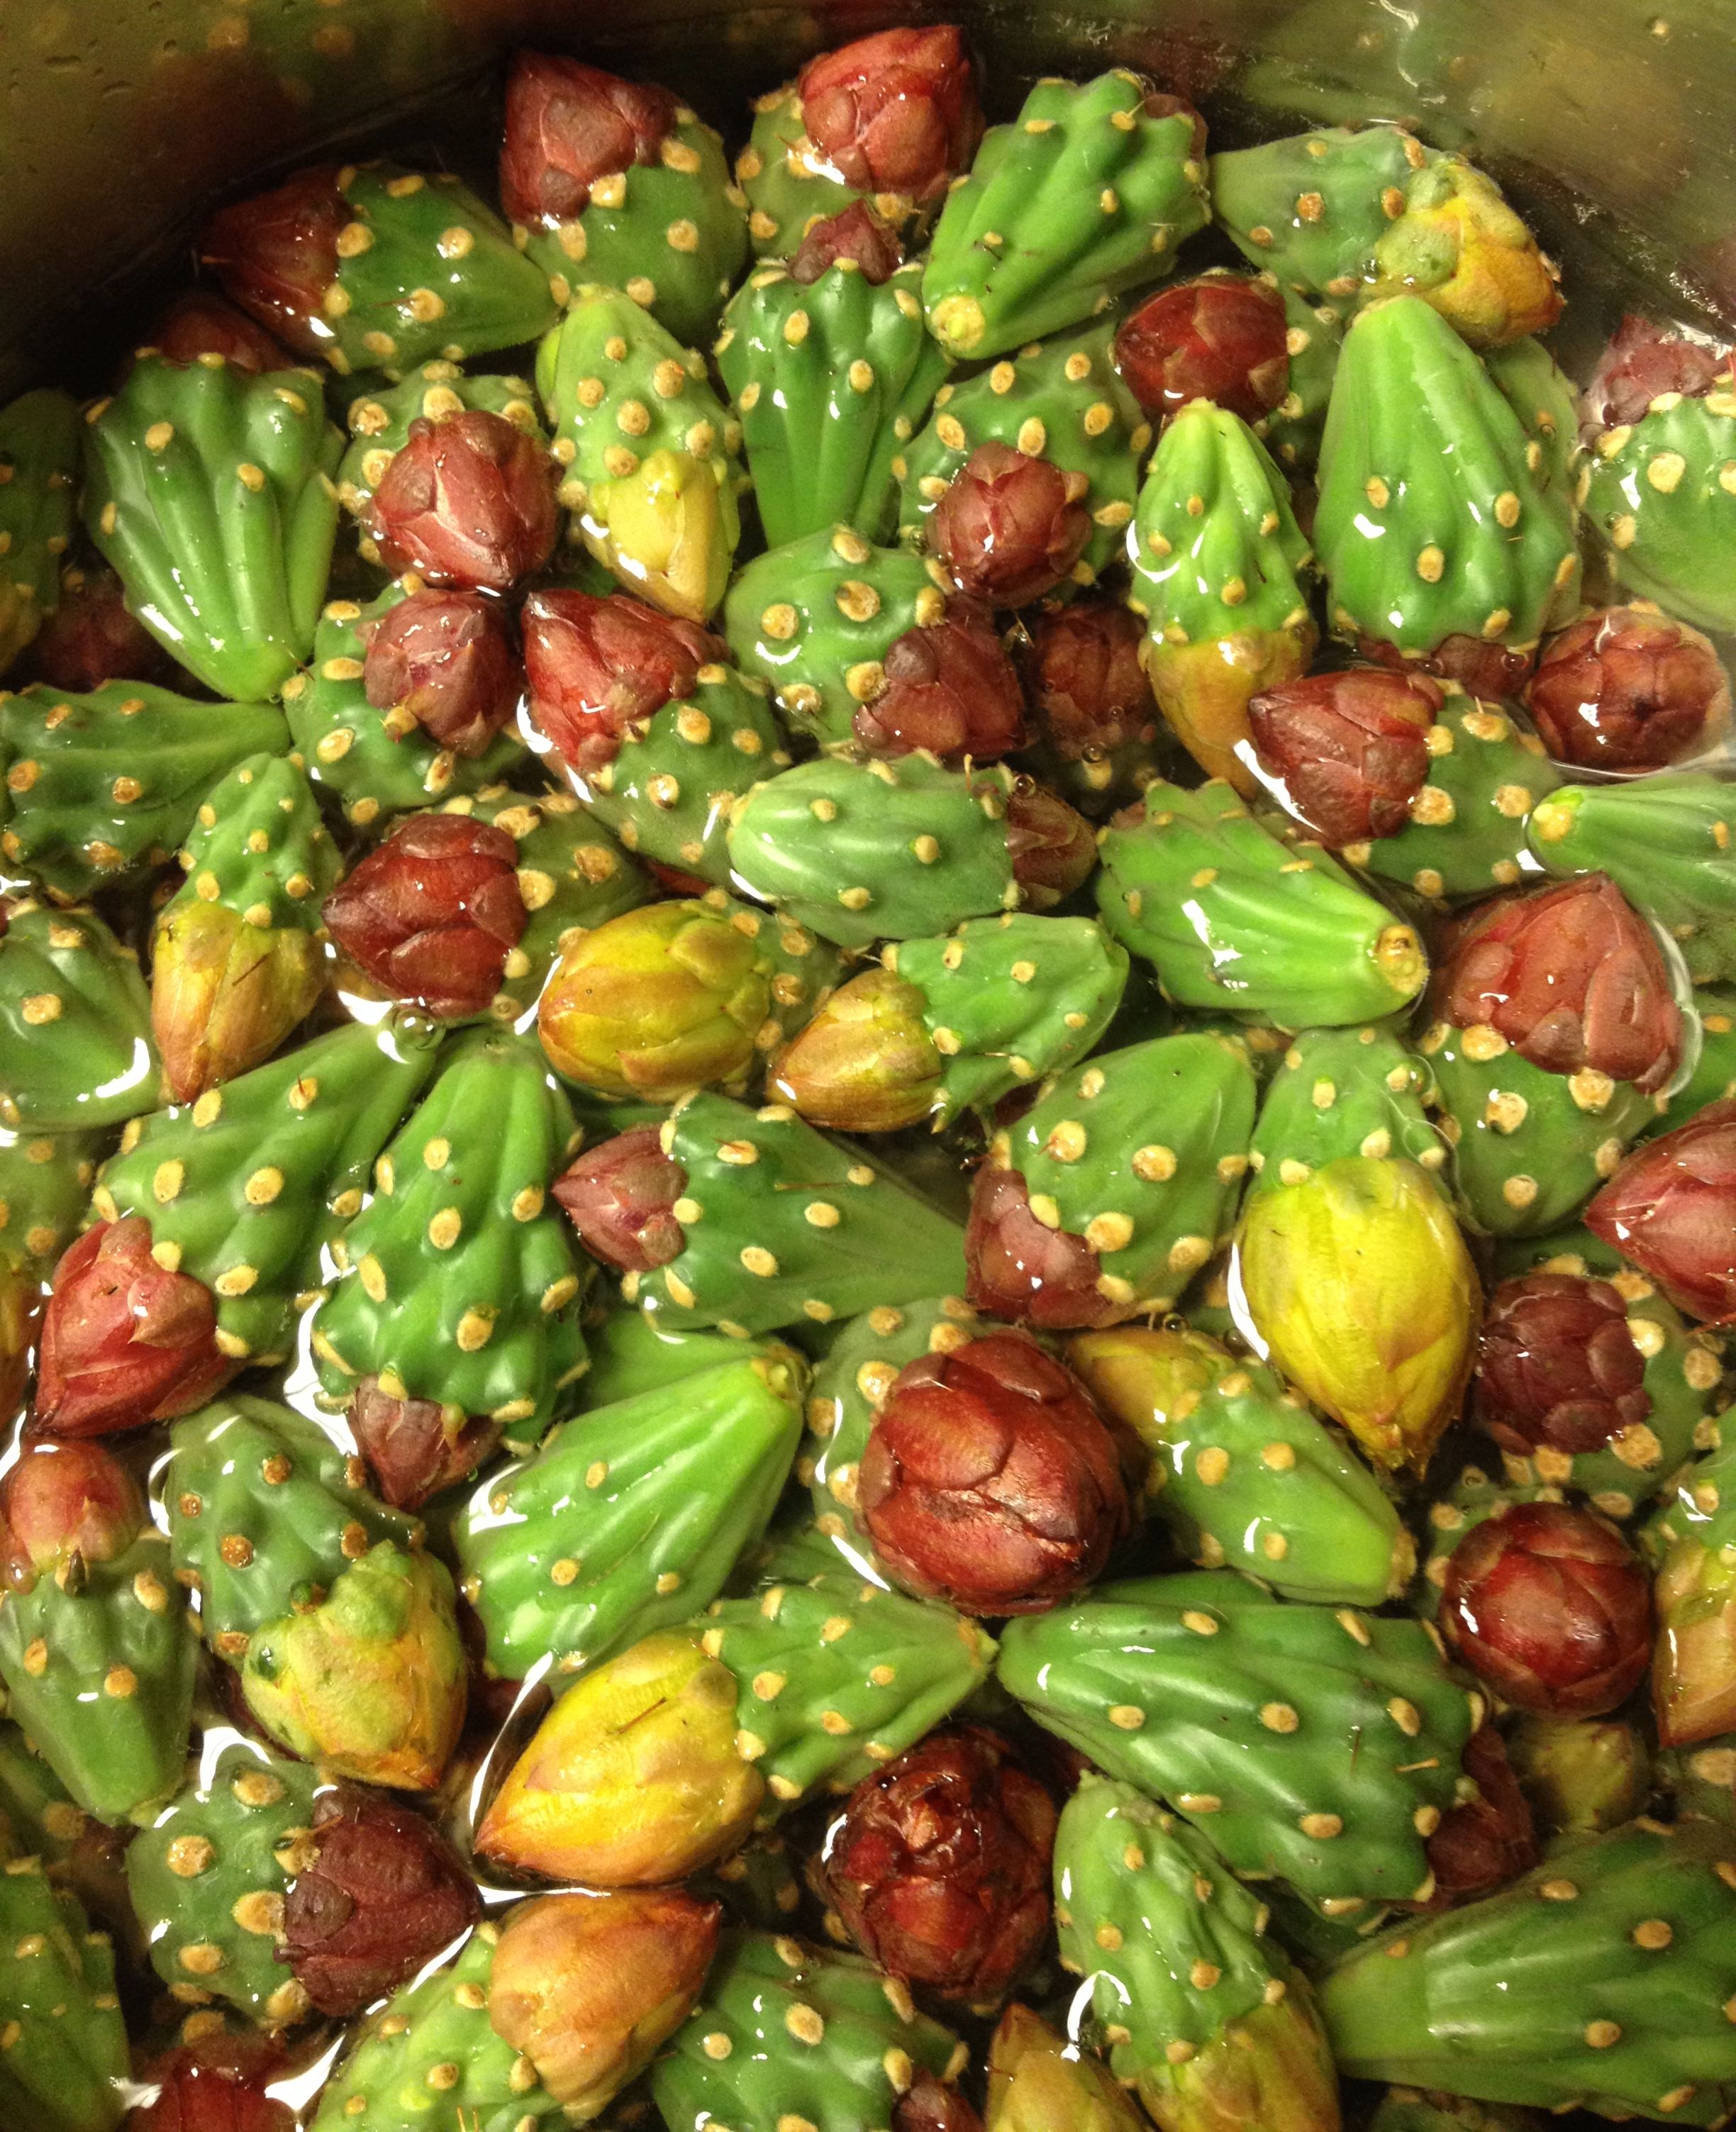
Cholla buds from yellow and red flowers--de-spined and ready to cook

Cholla buds from yellow and red flowers–de-spined and ready to cook (MABurgess)

After de-spining, the buds must be further prepared by roasting or boiling before eating them either plain as a tasty vegetable or fixing into other delectable dishes.


Here’s an easy sure-fire winner for pot lucks……

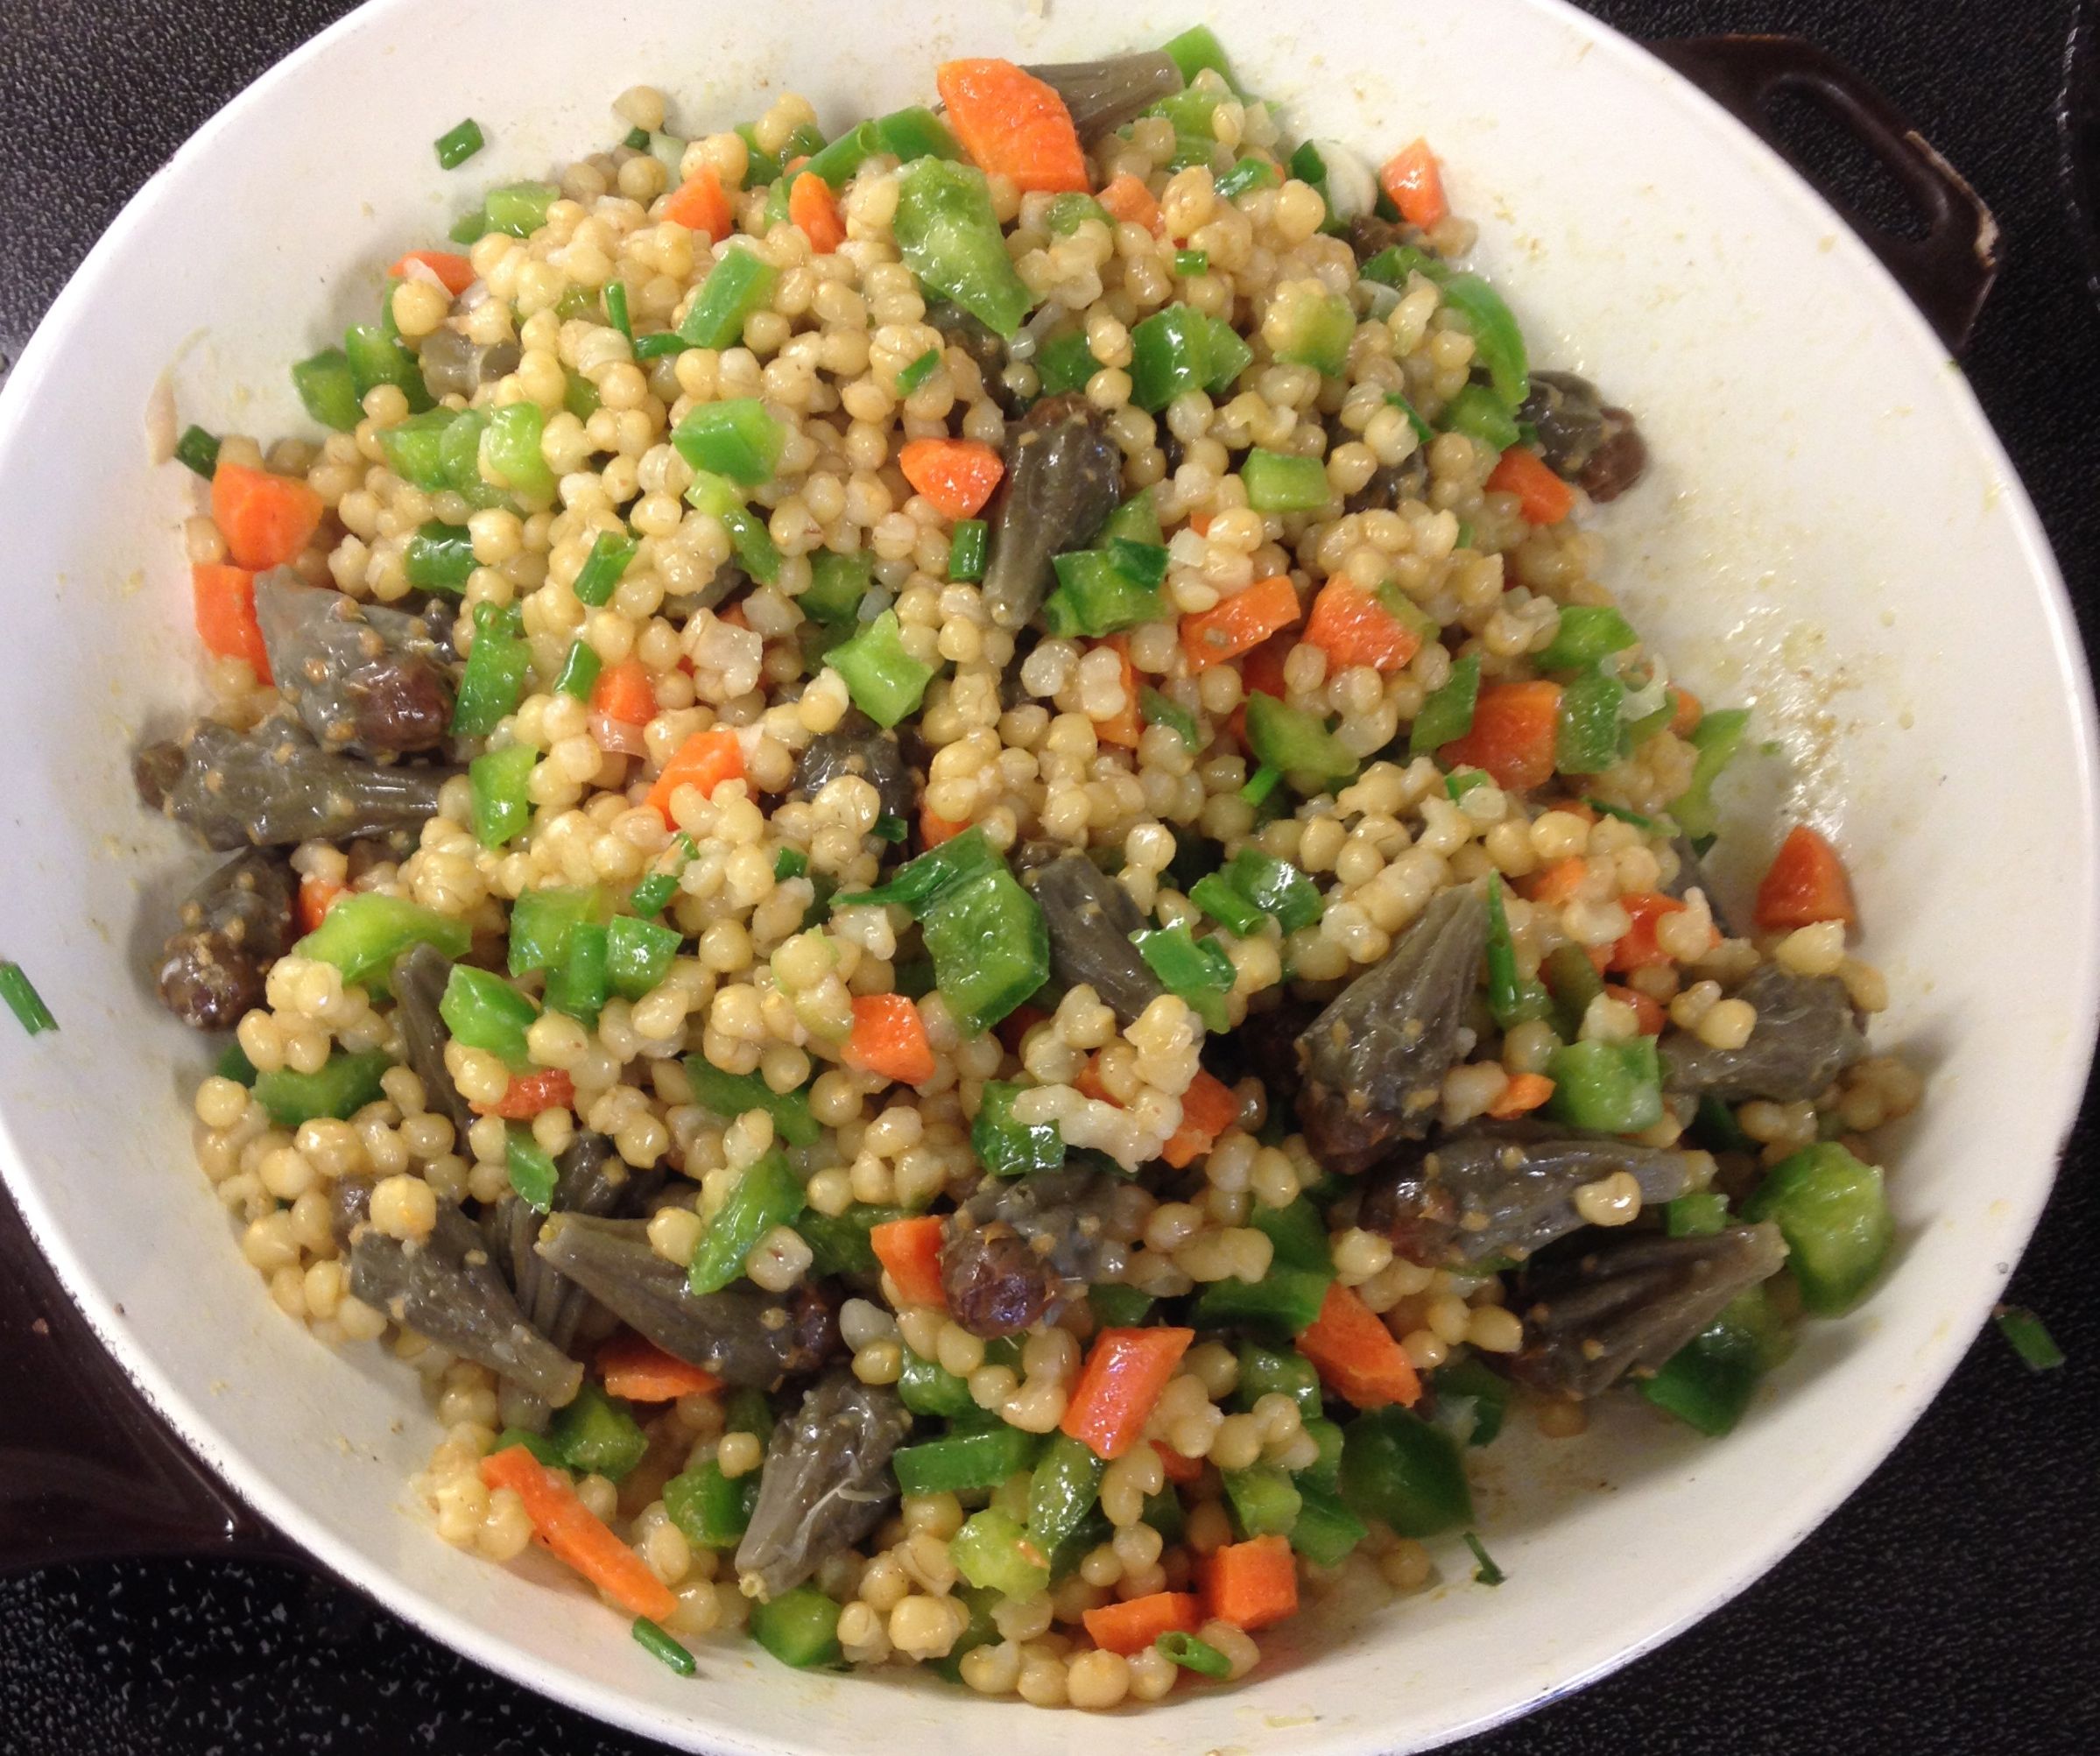
delectable cholla bud and white Sonora wheat-berry salad

Delectable cholla bud and white Sonora wheat-berry salad


Marinated Wheat-berry Salad with Cholla Buds!                                                                                         

Ingredients:                                                                                                                                                                                                                    2 cups cooked and cooled White Sonora Wheat-berries**                                                                                                                                1/4 -1/2 cup of your favorite Italian vinagrette dressing

¼ cup chopped celery
¼-1/2 cup chopped colorful sweet peppers
¼ cup minced I’itoi’s Onion bulbs and tops, or minced red onion
1/2 cup cherry tomatoes cut in half (optional)
½ cup cooked and cooled cholla buds.                                                                                                                                                                                                                     Romaine lettuce leaves as bed

Instructions: Marinate cooked white Sonora wheat-berries in the dressing overnight in frig, stir once or twice.
Mix in all fresh chopped veggies and cholla buds.
Serve on a fresh romaine leaf.   Makes 6 generous servings.

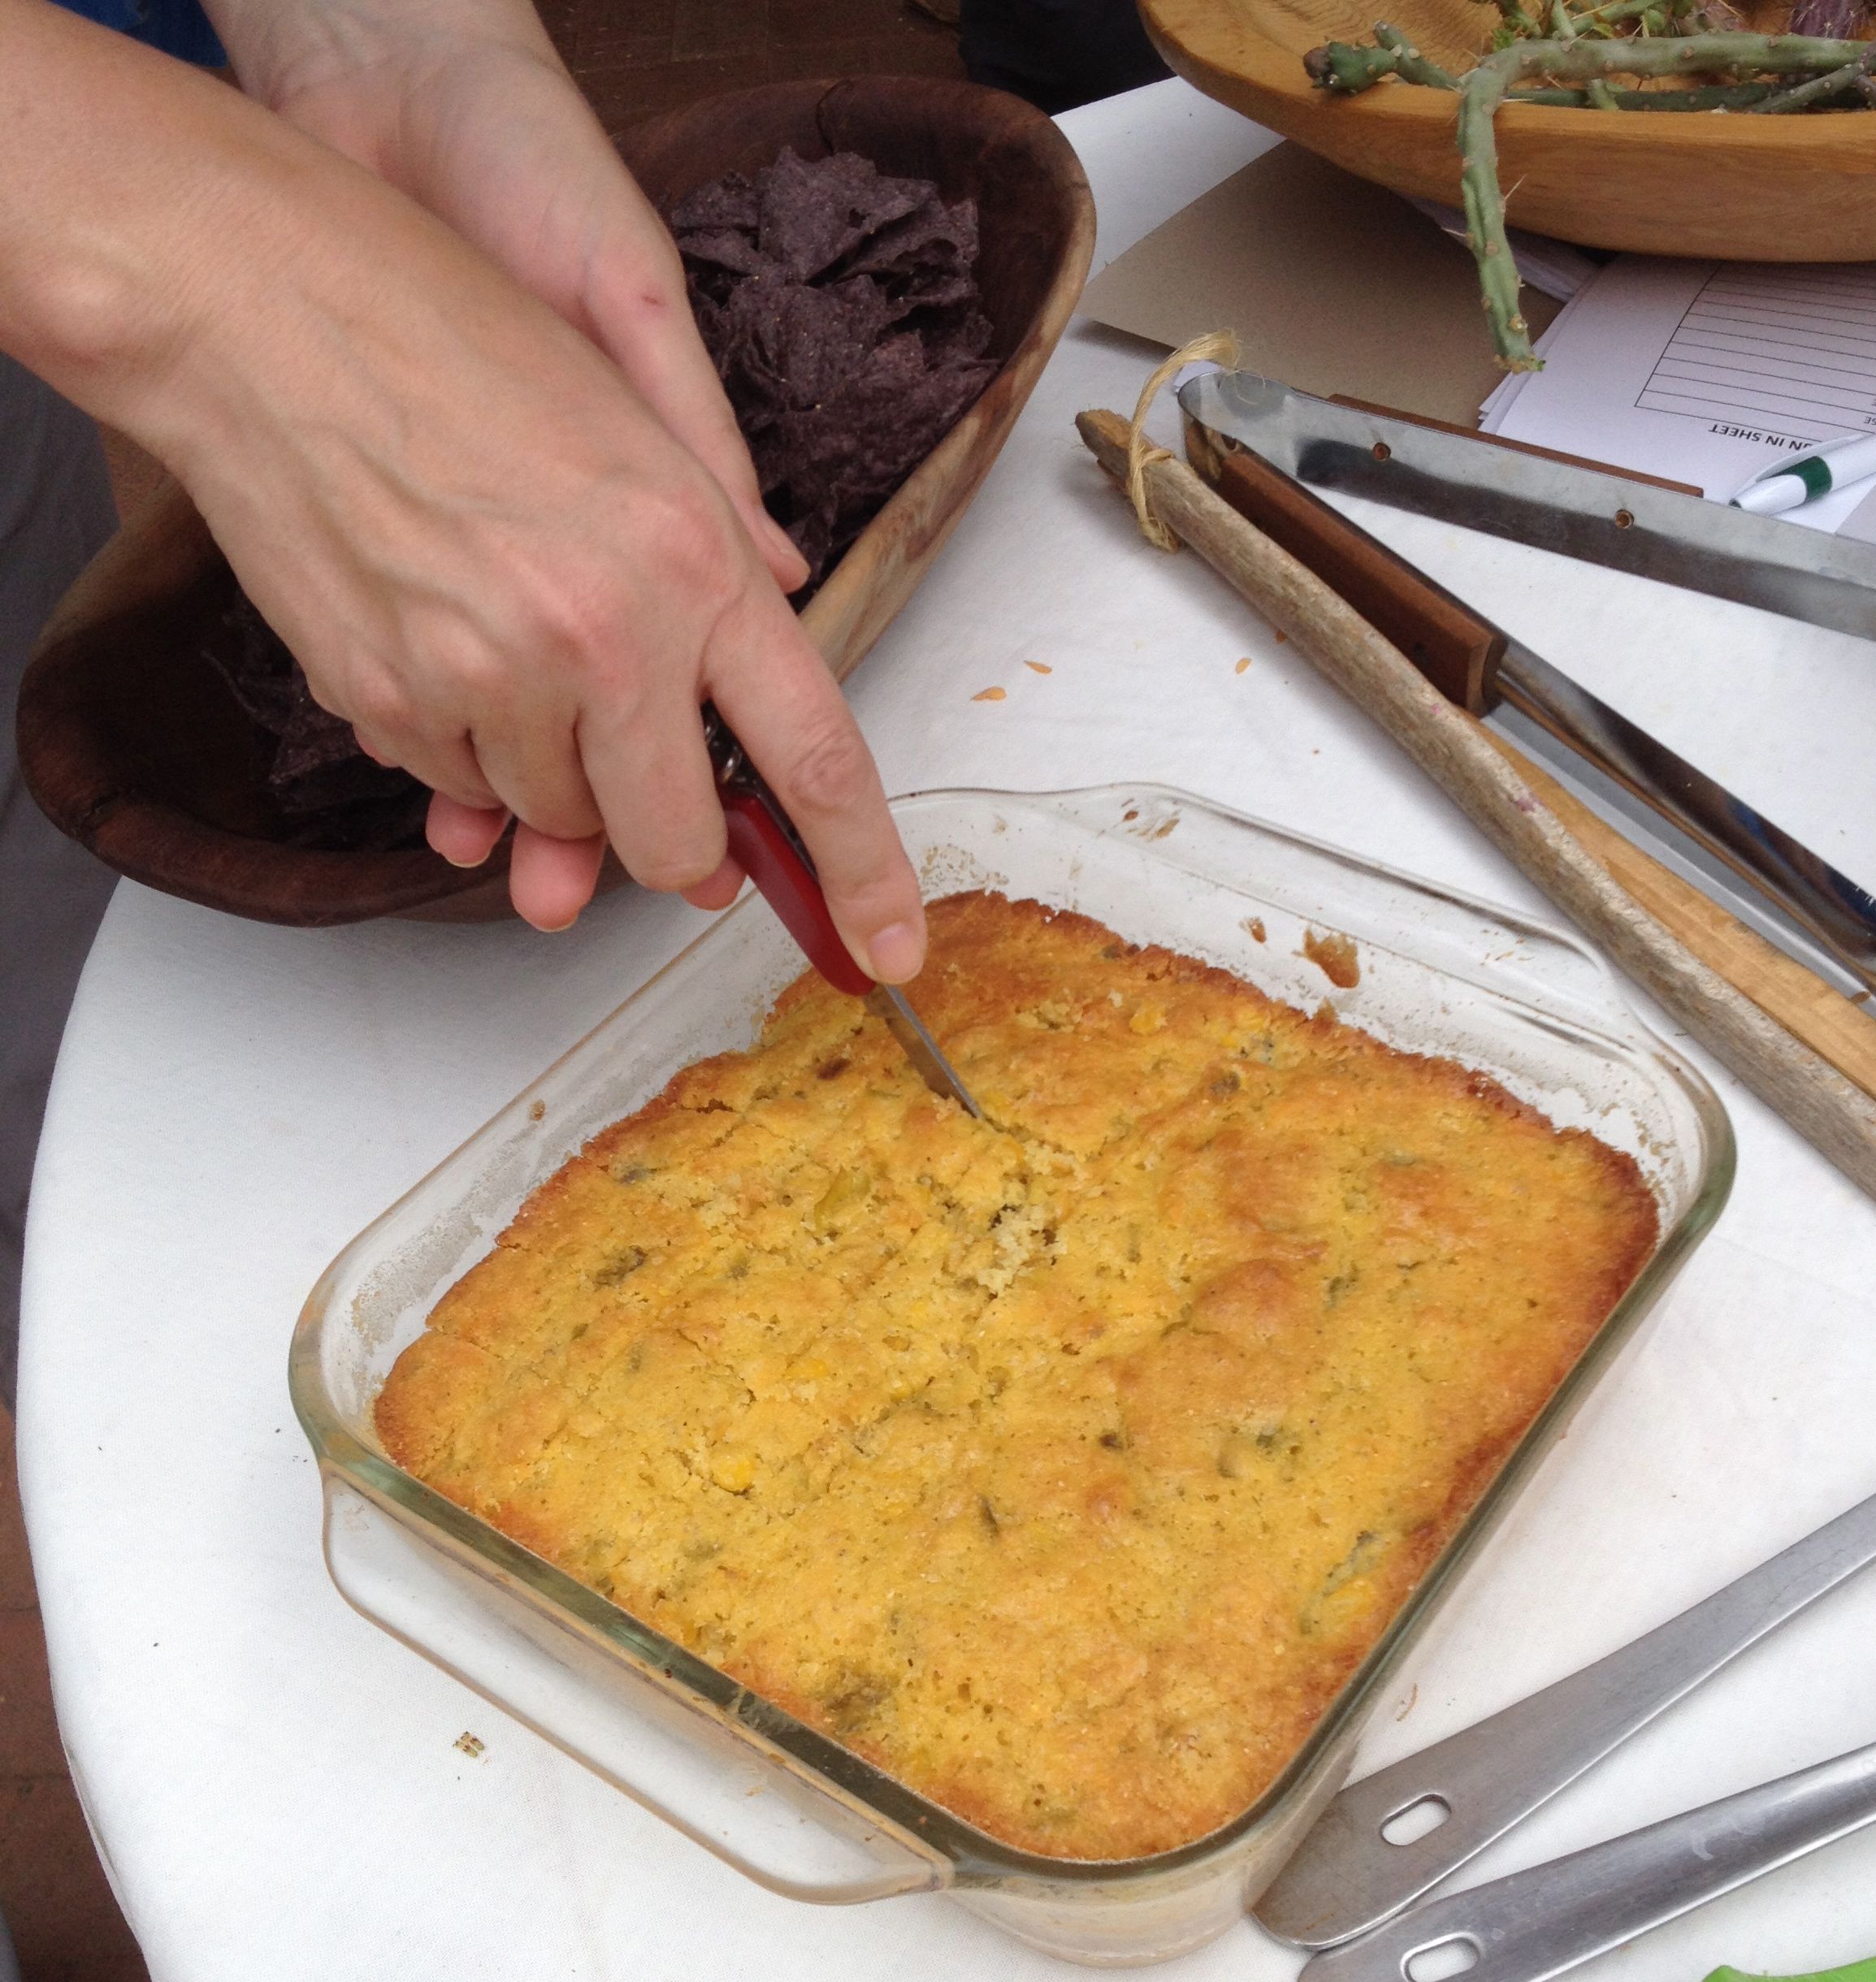
first cut into cholla bud cornbread--yum!

first cut into cholla bud cornbread–yum!

At our up-coming Cholla Bud Harvesting Workshops you will joyously taste cholla in a variety of gourmet recipes. You will a;sp learn how to preserve them, dry them for storage, learn their survival strategies and how those natural “tricks” can help us. Come “internalize” a deeper appreciation of these desert treasures!

For more photos and interesting details, please check out my Edible Baja Arizona article from April 2014 online at http://www.ediblebajaarizona.com. You can view a neat short clip about cholla harvesting created by videographer Vanda Pollard through a link on my website http://www.flordemayoarts.com.  Best of all, you can attend one of our scheduled Cholla Bud Harvesting Workshops to learn the process first-hand!  From there you can harvest your own–and bring these nutritious and off-the-wall taste treats into your home and party menus.


Workshop Dates (find a downloadable flyer on the website http://www.flordemayoarts.com):
Saturday April 4, 2015, 7:30-9:30am—register at 520-907-9471
Wednesday, April 8, 8-11am, Pima Co Parks & Rec 520-615-7855 x 6
Saturday, April 11, 8-11am, Westside, sponsored by NativeSeeds/SEARCH, call 520-622-0830×100                   Saturday, April 18, 8:30-11:30am, Tohono Chul Park, 520-742-6455 x 228

Hoping to see you at one of these fun classes!  Happy harvesting–to all budding harvesters and cholla aficionados!

**Certified organic heirloom White Sonora Wheat-berries from BKWFarms are available at the Flor de Mayo booth at FoodInRoot’s Sunday St Phillips Farmers Market, St Phillips Plaza, N Campbell Avenue, or online from http://www.flordemayoarts.com in ½ lb, full pound, kilo bags, and greater quantities for chefs. Also available from the NativeSeeds/SEARCH Store, 3061 N Campbell Ave, Tucson.

Dry cholla buds for reconstituting to cook are available at San Xavier Coop Association booth at Thursday Santa Cruz Market and at NativeSeeds/SEARCH.

Time for Some Thyme

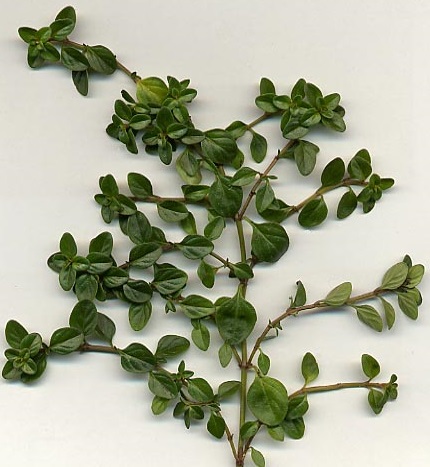
Thymus_vulgaris_branch crop

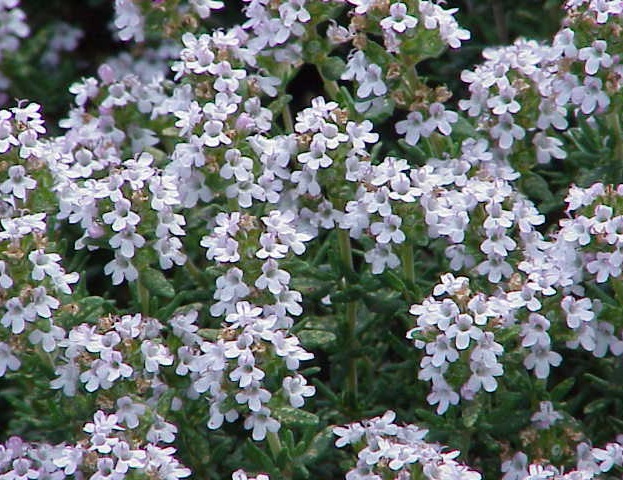
Common thyme (Thymus vulgaris)  is best grown with a dappled noon-time shade in the summer in the southwest.

Special for Savor the Southwest  February 2015
by Dr. Jacqueline A. Soule

Spring is springing out in my garden – and the little thyme cutting I got from Savor Sister Muffin Burgess back in at our anniversary party in November is finally starting to take off.  November was a terrible time to take cuttings of this warm climate herb – but the great thing about herbs is that humans have been mistreating them for 7000 years or so, and the weak ones have mostly died out.

Thymus_(zaatar)_Jerusalem_BG crop

There are many species of thyme, like this species in the Jerusalem Botanical Garden, used for the herb blend za’atar.

Thyme is a large and very popular genus, with over 350 species and countless cultivars grown around the world. Aside from looking lovely in the landscape, thyme is a strong herb used in cooking, and has some proven medicinal properties as well. It can also be grown indoors in bright, indirect light.

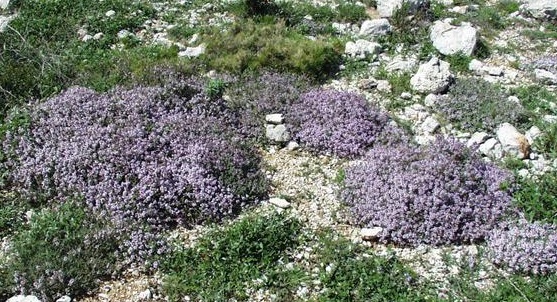
Thymus_vulgaris_habitat_003 crop

Many herbs that do in the Southwest are originally from a similar climate – like this Thymus vulgaris growing wild on the rocky hillsides of the Galilee.

This lovely, fragrant, tasty, and healthful herb in native to the rocky slopes of the mountains of the eastern Mediterranean region, in the area that is now mostly Greece. Since they are pre-adapted to low water conditions, most species of thyme can be grown here. I grow my thyme plants where they get roof run-off, thus I rarely need to water them; and yet they offer a lush look to my entryway with their glossy green leaves.

Thymus_vulgaris_bloom_001 crop

Not just tasty, thyme is also another pretty face in the garden! For peak flavor, it is best to harvest this (and most culinary herbs) just before they bloom.

Make sure you grow your thyme in well-drained soil. You may have to add some sand to your soil. I killed several thyme plants until I had finally added enough sand to their bed.

There are many thymes to choose from, but here are the species most commonly found in the nursery.

Common or culinary thyme (Thymus vulgaris) is a low woody plant barely reaching a foot tall. It quickly becomes leggy with bare wood showing so harvest and use or dry your thyme often. (You can give friends jars of your dried herbs as truly personal and unique gifts.)

Creeping thyme (Thymus praecox) makes an attractive and useful groundcover. It is culinary too! Harvest as needed.

Thymus_praecox crop

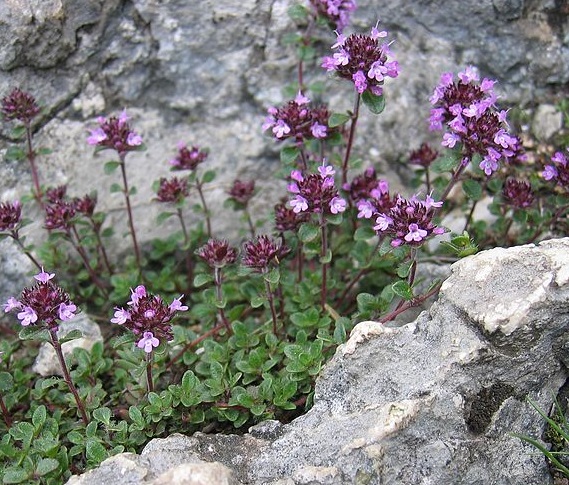
Creeping thyme, with tiny leaves and charming purple flowers, is perfect for a fairy garden.

Lemon thyme (Thymus X citriodorus) is a delicious and fragrant low-growing variety with glossy green leaves, and goes wonderfully with fish dishes.

Thymus_citriodorus_variegata_crop

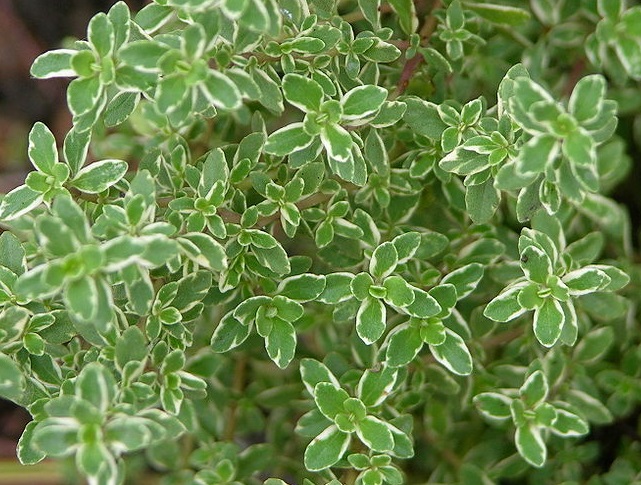
Lemon thyme is great for flavoring fish dishes – two flavors for the price of one!

Equally fragrant and delicious is the golden lemon thyme (Thymus X citriodorus ‘Aureus’). With wonderfully variegated leaves, it looks good in the landscape.

Not generally used as culinary herbs, two popular species of creeping thyme are useful in the landscape. Mother-of-thyme (Thymus serpyllum) and woolly thyme (Thymus pseudolanginosis) both grow well between shady flagstones, and smell great when stepped on.

Thymus_pseudolanuginosus_crop

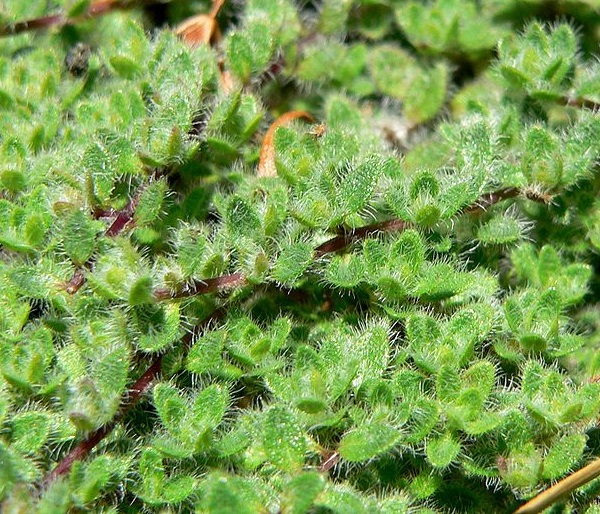
Add some fragrance to your landscape – plant this heat tolerant woolly thyme between the flagstones of your path.

Sprinkle thyme (either fresh or dried) in soups, salads, on meat dishes or use in herb breads. Use an ample number of sprigs in herbal vinegars and oils for an intense and refreshing flavor.

thyme IMG_2655 crop

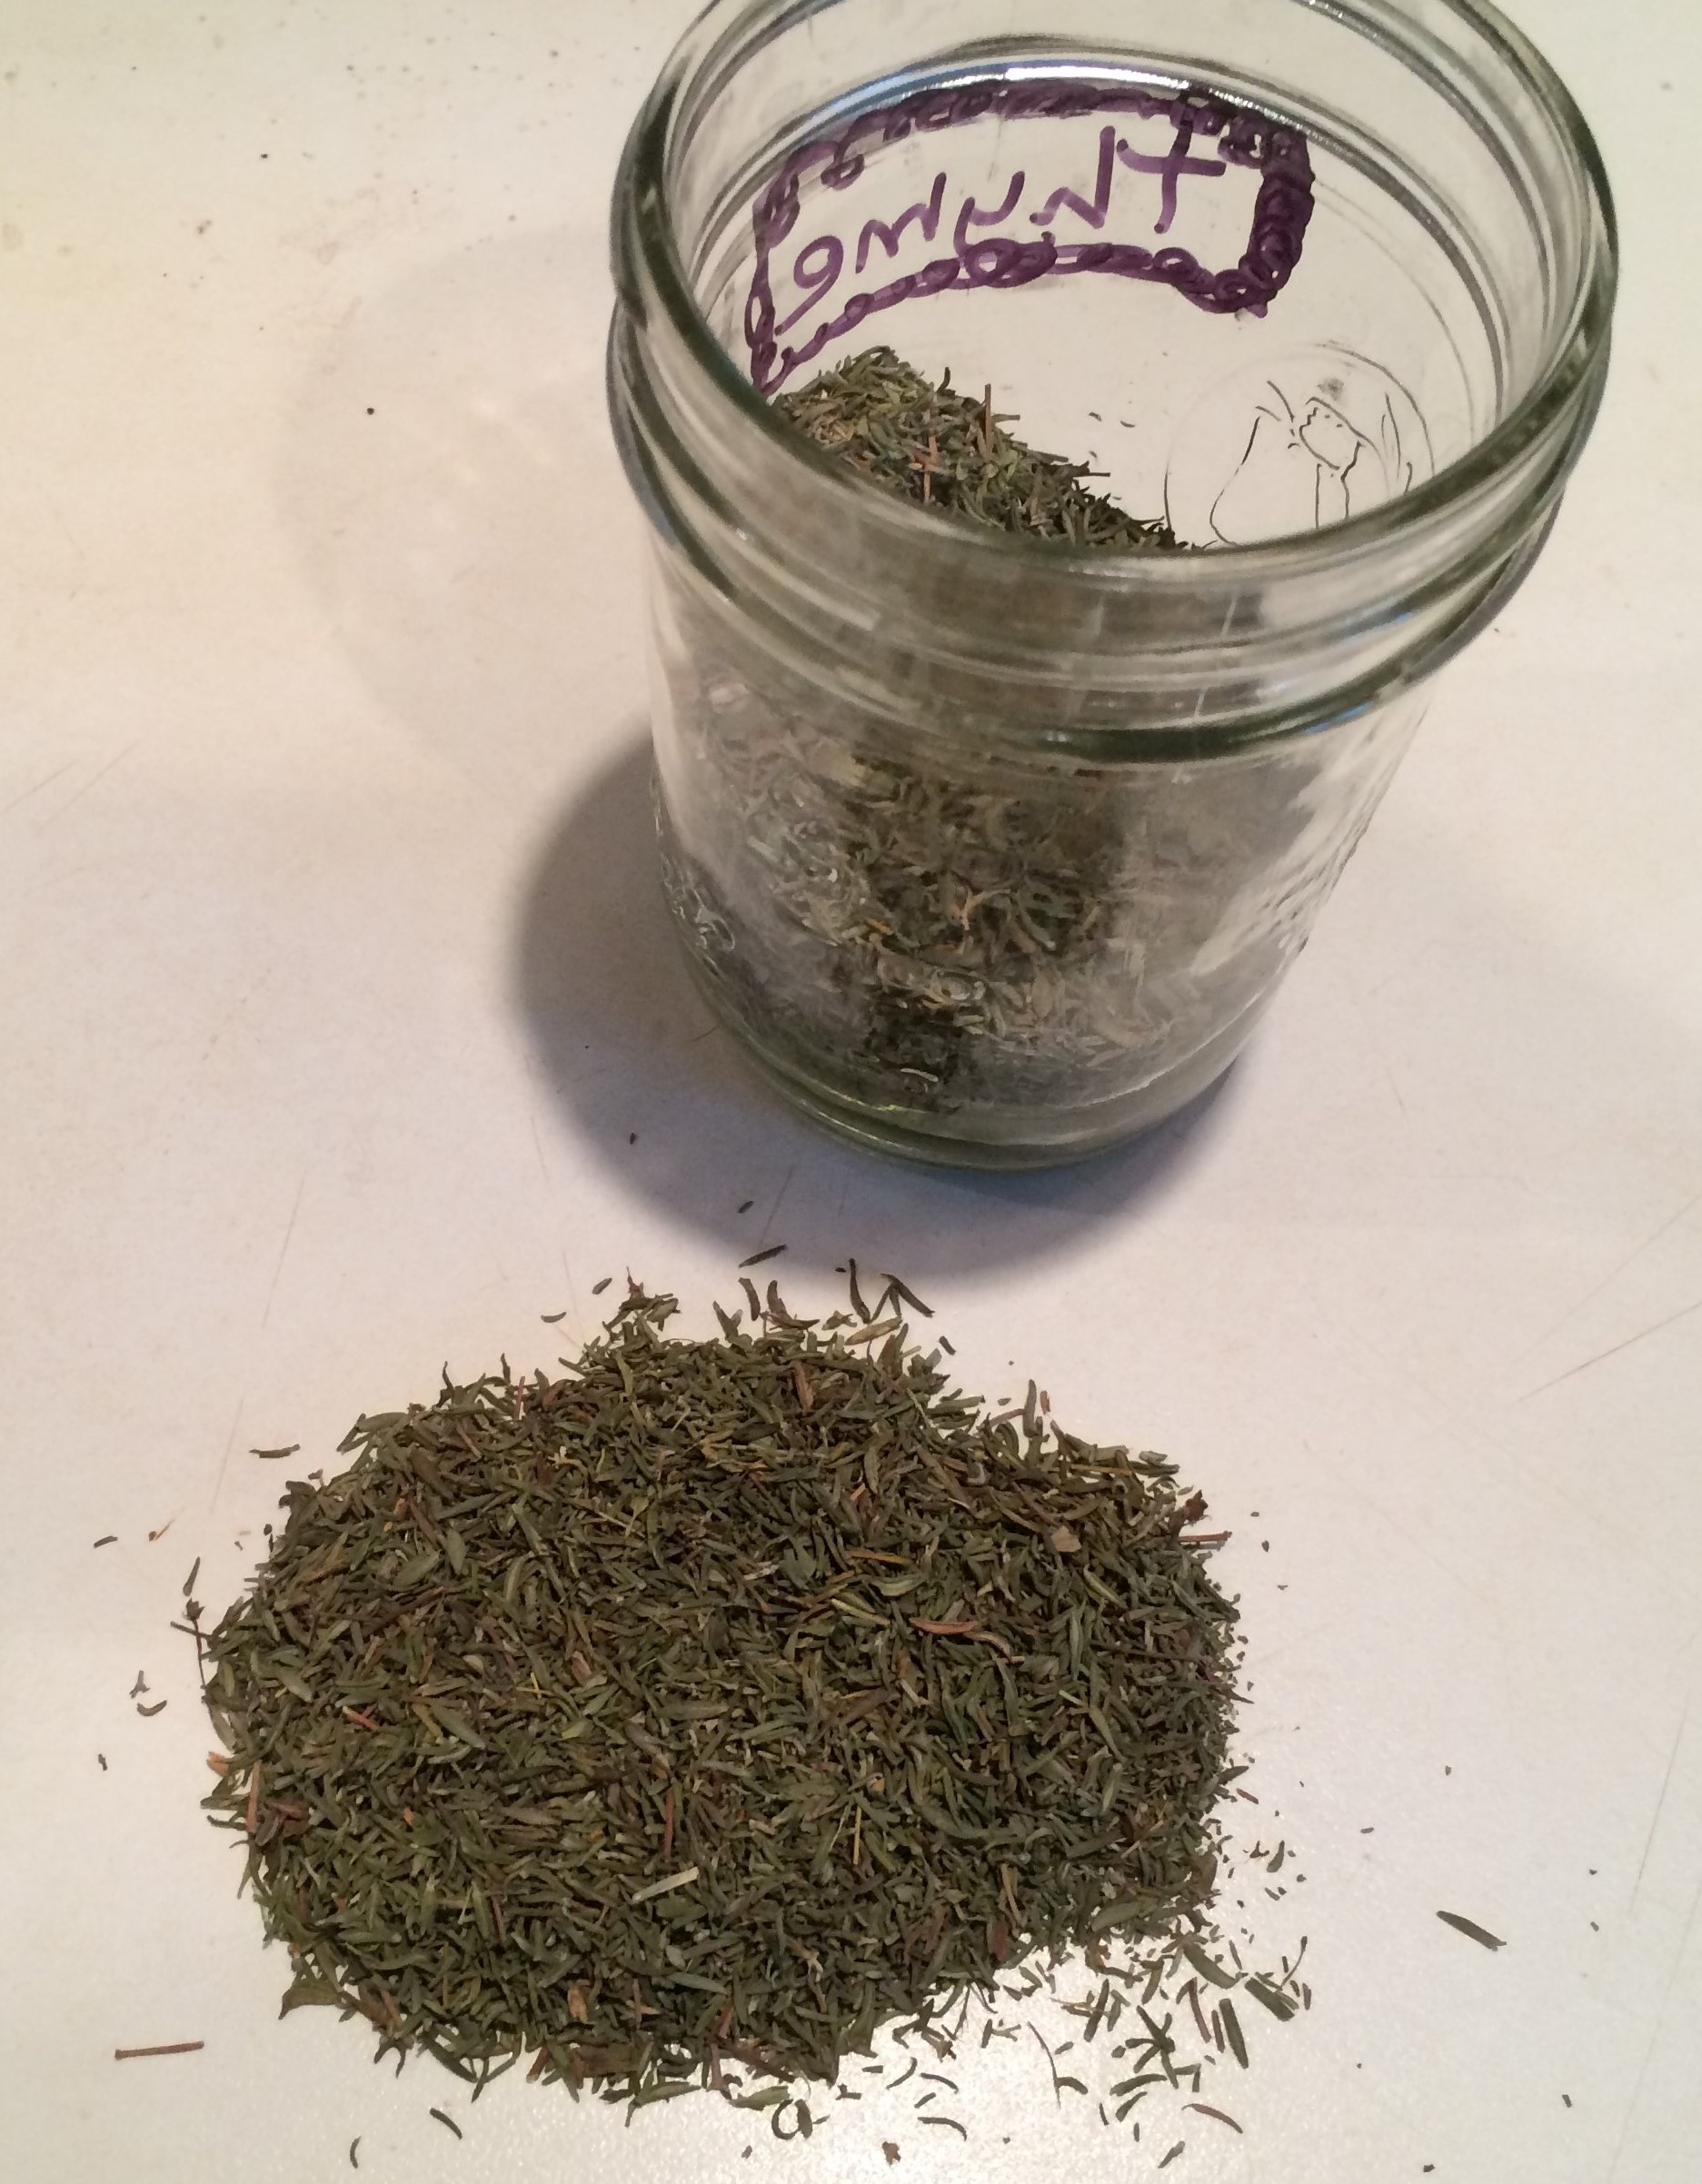
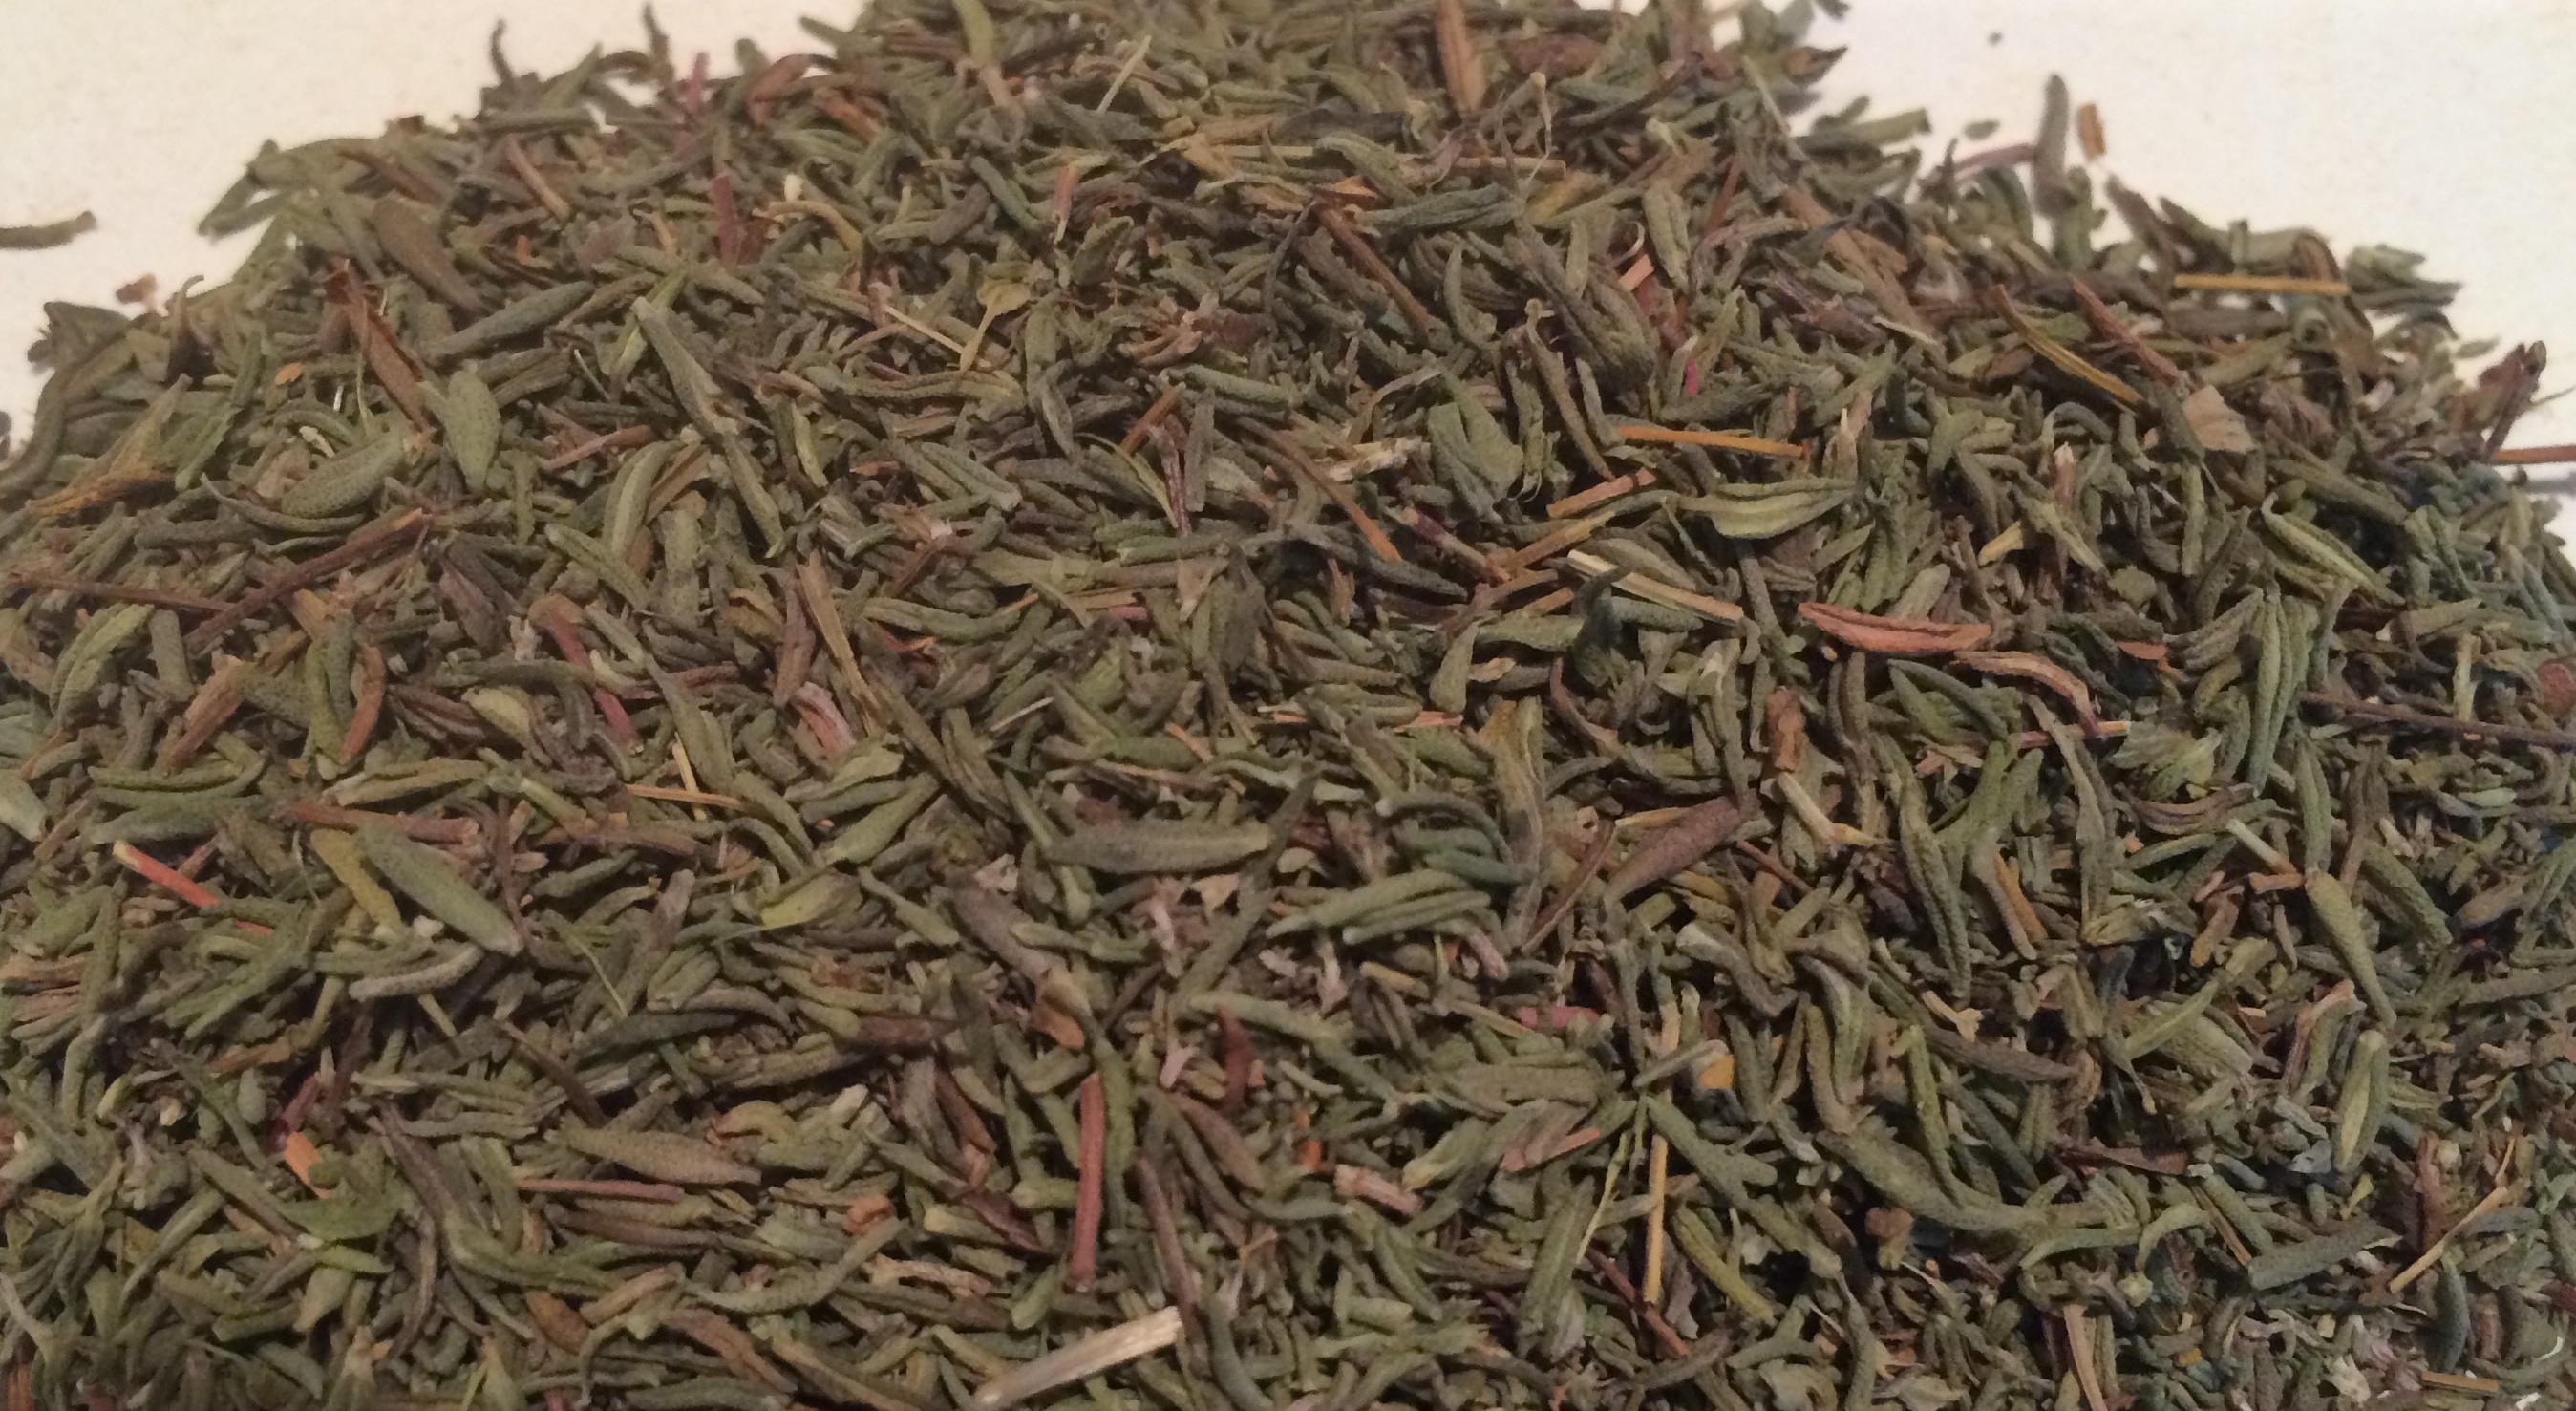
We use ample thyme in our cooking. This 8 ounce jar gets refilled several times a year.

For a quick meal at the end of a long day make Sopa de Farigola, or Thyme Soup, a dish popular in the Catalonia region of northeastern Spain, and thus part of our Sonoran heritage as well.  Fresh eggs and day-old bread are topped with a boiling broth made from water, sprigs of thyme and some olive oil. Great for replacing electrolytes after a day working in the garden!

More about thyme in my books which I will be selling and signing at the Tucson Festival of Books March 14 & 15 this year – Southwest Fruit & Vegetable Gardening (Cool Springs Press 2014, $23), and Father Kino’s Herbs: Growing & Using Them Today (Tierra del Sol Press 2011, $15) also available at Tucson area bookstores, nurseries, botanical gardens, and state parks.

JAS avatar  © 2015, Jacqueline Soule. All rights reserved. I have received many requests to reprint my work. My policy is that you are free to use a very short excerpt which must give proper credit to the author, and must include a link back to the original post on our site. Please use the contact me if you have any questions.

thyme IMG_2657 crop

More Ideas for Wild Dates in Borderlands Towns

Washingtonia filifera near UA main gate (R.Mondt photo)

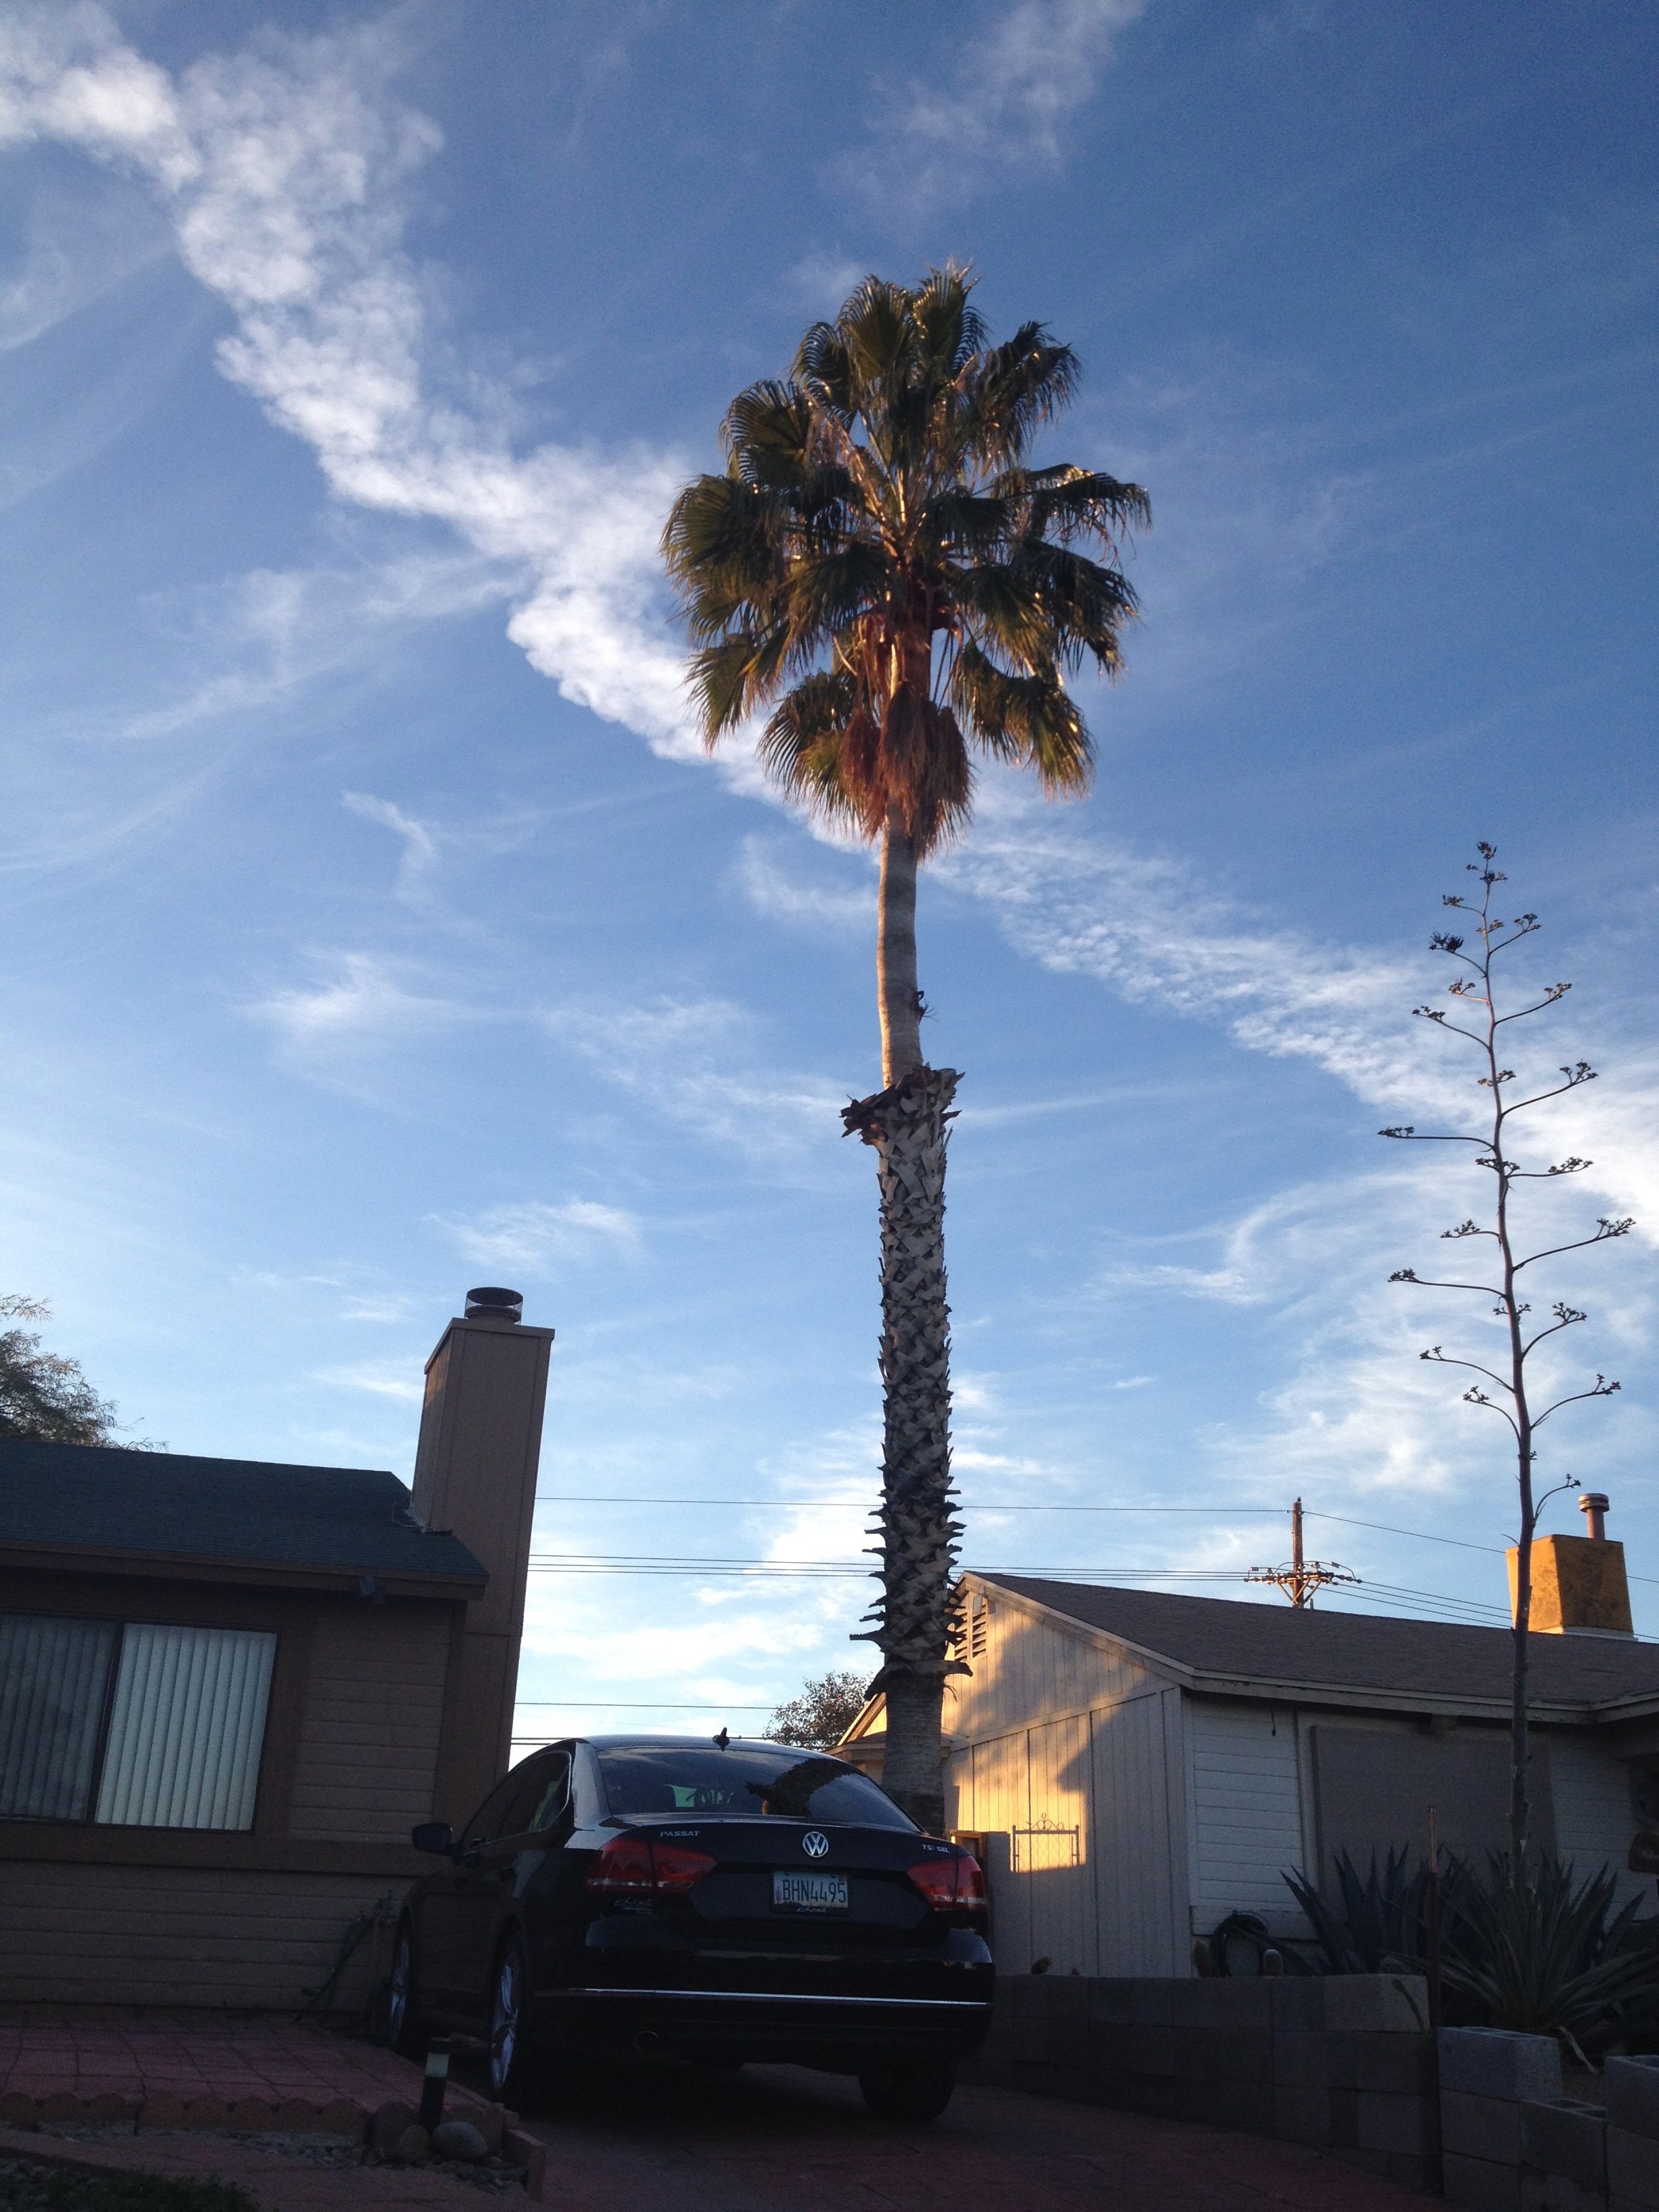
Our native fan palm, Washingtonia filifera, near UA main gate.  Original seed from Arizona’s KOFA Mountains.   (R.Mondt photo)

Yes, we can delight in the most fabulous wild dates right here in Baja Arizona. We don’t have to put out lots of energy into finding these tasty little morsels because they are now all over the urban landscape. Once, in olden times, they were confined to oases, but now they line every old neighborhood street in low-desert towns. Harvest at the right time and enjoy their bounty.

Our Native Fan Palm Washingtonia filifera, UA photo (Note the stout trunk)

Our Native Fan Palm Washingtonia filifera, UA photo (Note the stout trunk)

Tia Marta here to continue our culinary explorations of native fan palm fruit. Our street sentinels are more than vertical shade.  They bear other surprising gifts. Our so called California fan palms (“palma taco”) offer tiny sweet and plentiful fruits (the size of a plump pea), and were harvested and relished by Native People of the Sonoran and Mojave deserts long before Hispanics brought date palms (the pinnate-leafed palms) from the Old World.

Washingtonia robusta in a S.Tucson landscape

Washingtonia robusta planted in a S.Tucson landscape

When ripe in summer into fall, zillions of fruits hang from pendulous stalks of Washingtonia filifera, with 20 pounds or more of the little buggers in one cluster—talk about prolific! As mentioned in my blog-sister’s post two weeks ago, Carolyn and I were challenged by renowned ethnobotanist Dr Richard Felger to try our hands at creating some “contemporary” recipes for this ancient and well-adapted desert food—which is now disregarded as nothing more than a columnar street planting. We know from ethnographic accounts (see them summarized in Wendy Hodgson’s Food Plants of the Sonoran Desert, UA Press, 2001) that for the Native Cahuilla of Southern California, the fan palm meant survival—a staple in their diet, used both fresh or dried and ground, hard seeds and all, into a flour for cooking or griddling. Another ethnobiologist friend Dr. Amadeo Rea (1997) documented Pima children collecting fan palm fruits as snacks. Dr. Felger intends now to bring this native palm back into new, appropriate use as a sustainable desert food crop.

Fruits newly harvested from the California fan palm Washingtonia filifera (MABurgess photo)

Fruits newly harvested from the California fan palm Washingtonia filifera (MABurgess photo)

Washingtonia fruit is mostly seed, but the small amount of pulp has a group impact (MABurgess photo)

Washingtonia fruit is mostly seed, but the small amount of pulp has an impact in numbers (MABurgess photo)

Harvesting the high hanging fruit clusters proves challenging. Native harvesters used a lasso. More recently some harvesters fit a sharp can lid to the end of a pole to cut off the entire fruit stalk. A Tohono O’odham saguaro harvesting kuipaD might suffice—or a long-poled tree-trimmer—both worth a try.


In addition to their success as hot-desert food producers, both fan palms native to southwest North America, Washingtonia filifera (the stout, shorter one) and W.robusta (the super-tall, spindlier one), provide excellent nutrition. It has been estimated that one fan palm’s fruit could sustain one human’s nutritional needs for more than 200 days! Get a load of these figures from James W. Cornett (Principles Jour.Internat.PalmSociety,1987):  Protein 3.1%, Carbs 77.7%, Fiber 10.4%, Calcium 110 mg per 100g, VitaminA(Carotenes) 180mg per 100g.  Comparing these wild date nutritional figures with the commercial date palm (Phoenix dactylifera), our wild fan palm is way ahead on all counts except carbs (carbs 94.1% in standard dates).

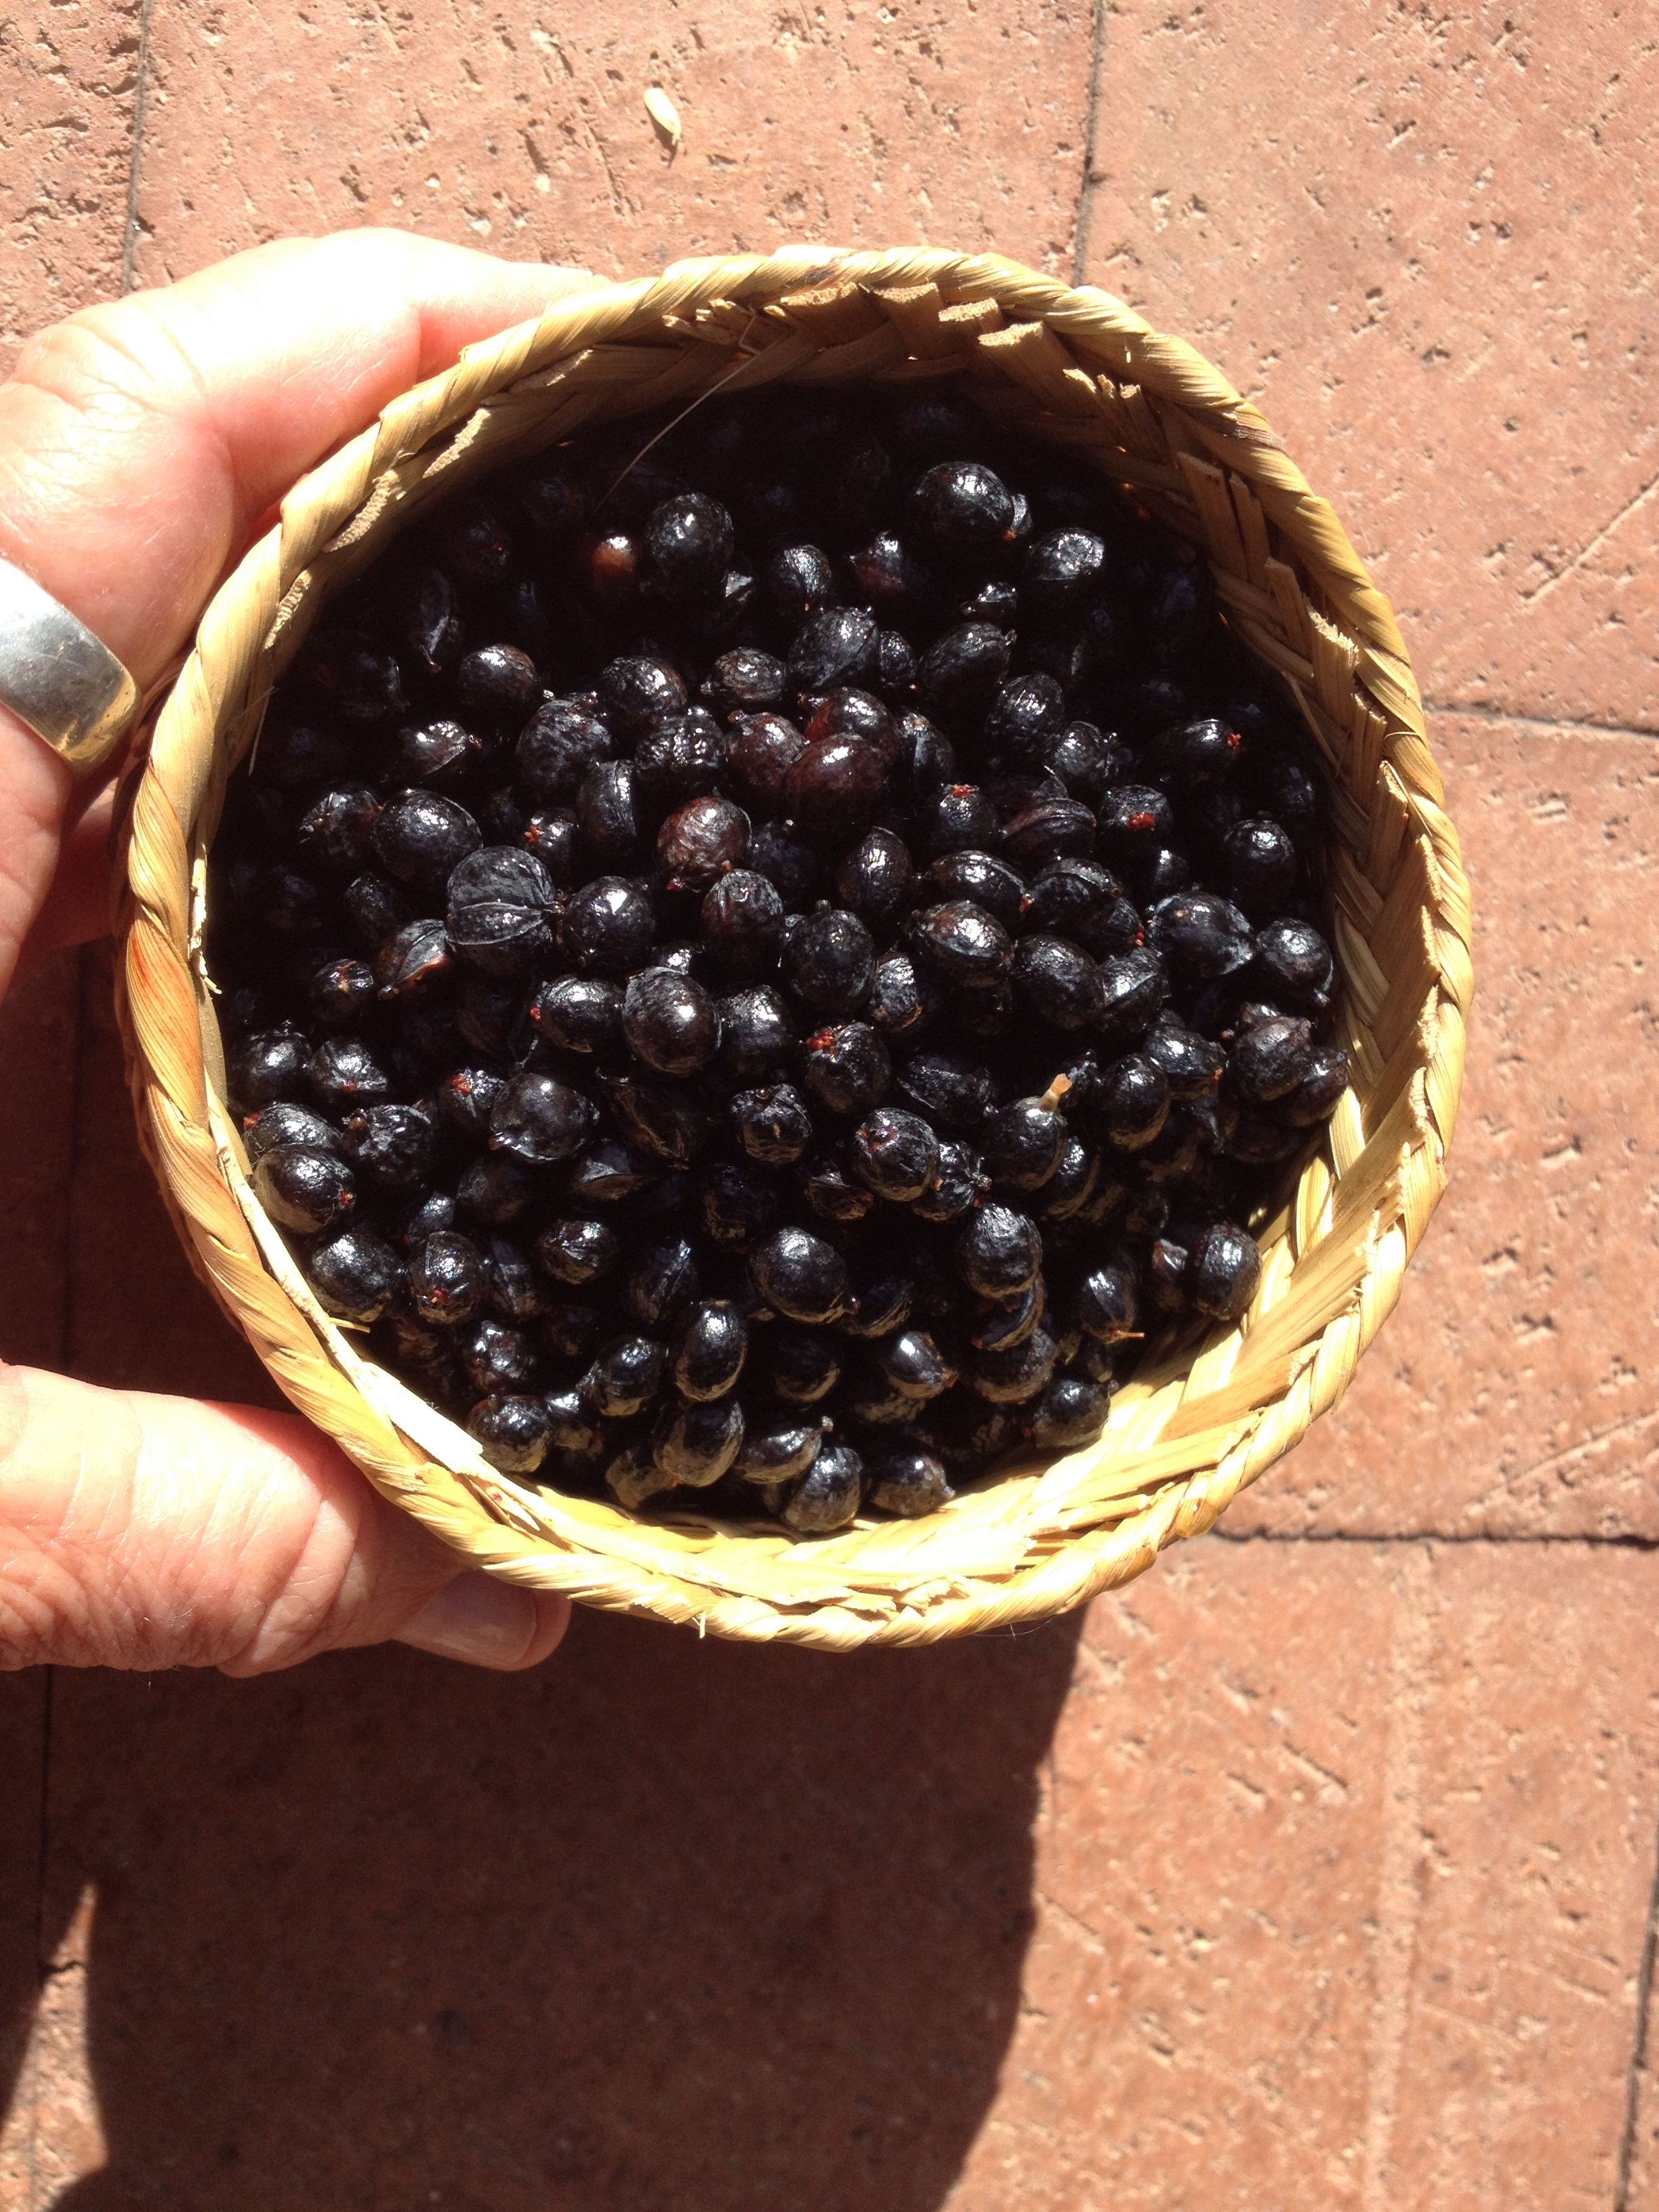
Washed and drained fruits of Washingtonia filifera ready for snacking! (MABurgess photo)

Washed and drained fruits of Washingtonia filifera in Tarahumara sifting basket, ready for snacking! (MABurgess photo)

Since the fruits of W.robusta (the tall one) are even tinier than W.filifera, I chose to do my foodie experiments with the latter one’s “bigger” datelets–both small.  Fruits of both are mostly seed, a stony seed surrounded by a thin layer of sweet skin and dry, date-like pulp. Here are two fun ideas I’ve come up with for using fan palm fruits, which can be done easily in any kitchen or patio. These ideas also might present interesting potential for commercial-scale food production. (I hope our wonderful local companies like Cheri’s Desert Harvest are listening to the significance herein!)                 So, here’s my first idea–really in three delicious parts:

Simmering fan palm fruits

Simmering fan palm fruitsSolar Fan Palm Syrup, Datil Molasses, or Datil Candy

SOLAR FAN PALM SYRUP

Directions:

Wash thoroughly and drain 4 cups desert fan palm fruits. Place in a saucepan with 8 cups drinking water to cover fruit well. On stove-top, gently simmer the fruits for at least 30 minutes, (if using solar oven, make it 1 hour). Add more drinking water to keep fruits covered. Let cool and stand in refrig for 1-3 days. This process is bringing out the complex sugars into solution. Again, when you have a little time, bring back to simmer 15-20 minutes. Taste the liquid. It should be deliciously sweet with a rich, almost smokey bouquet—but still thin. With a sieve, decant the sweet liquid from the cooked fruits, saving the fruits aside.

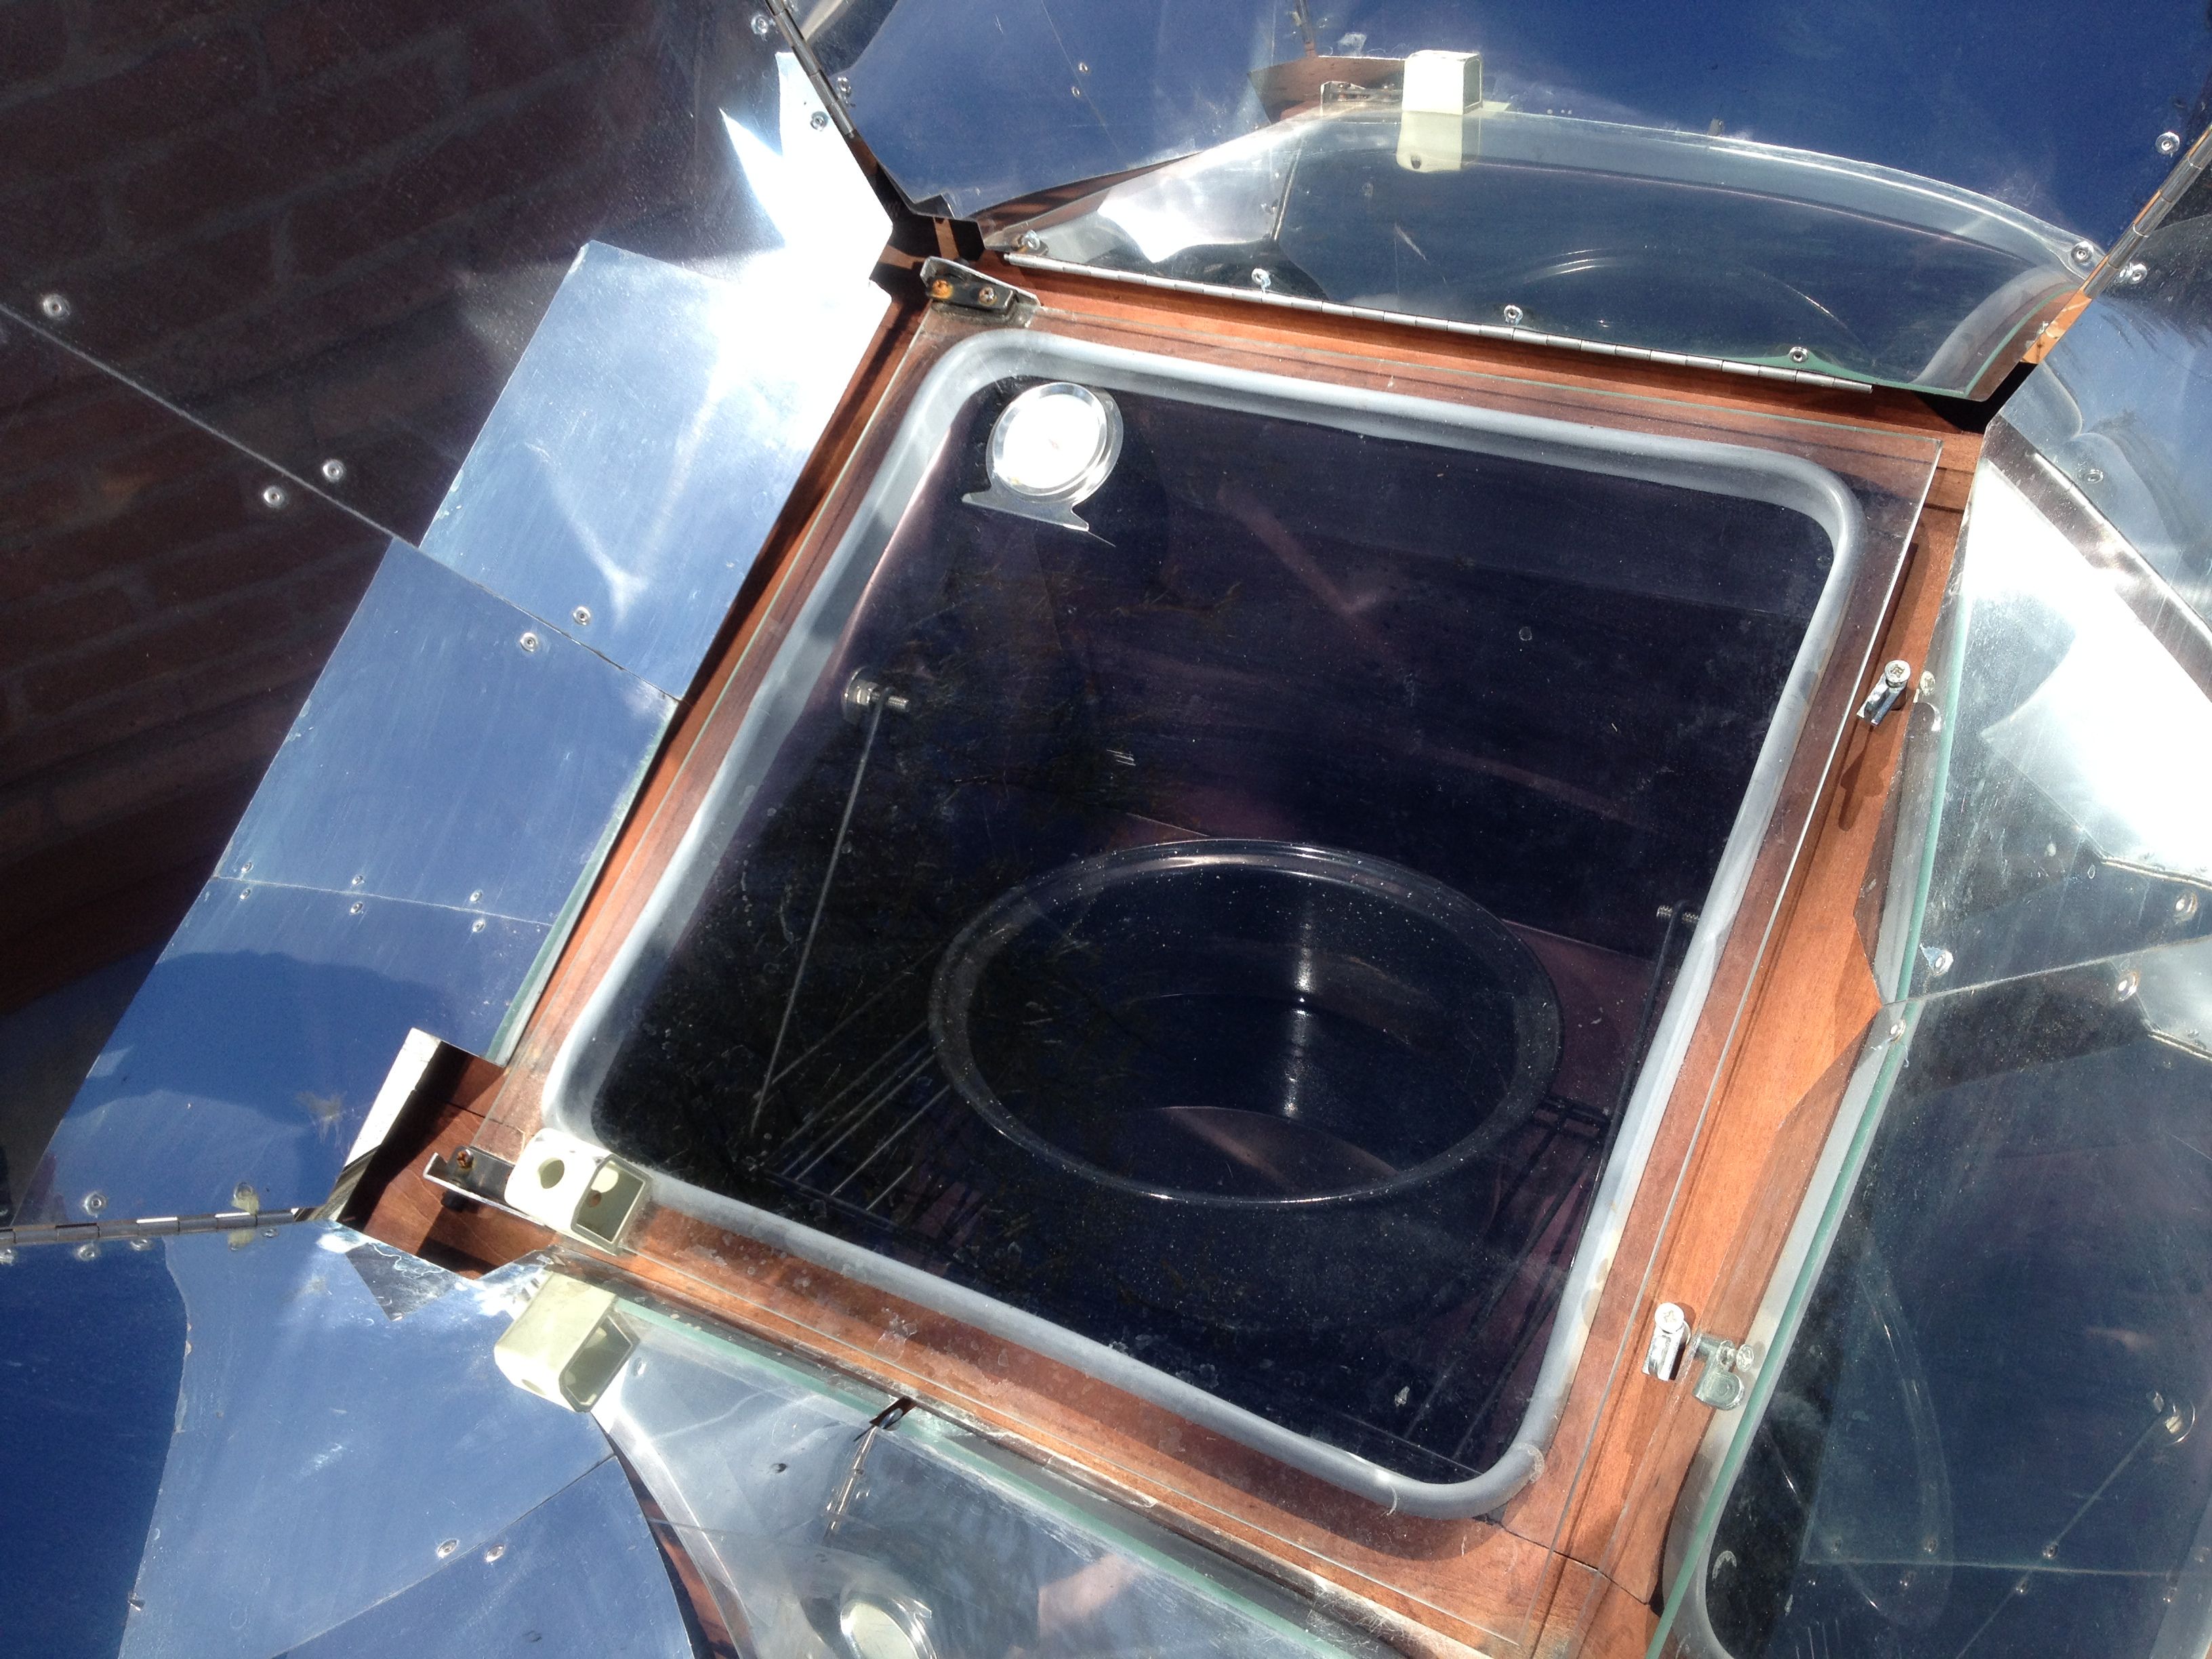
After sieving out the simmered fruit, the liquid is being concentrated in a solar oven with oven cover slightly open to release moisture (MABurgess photo)

After sieving out the simmered fruit, the liquid is being concentrated in a solar oven with oven cover slightly open to release moisture (MABurgess photo

[Here is where my experience reducing thin saguaro fruit juice kicked in. I knew that this thin, sweet liquid from the fan palm dates had to be cooked down slowly.]

Pour the juice into a solar-oven-worthy pan and put in preheated solar oven—without a lid on the pan. Let the glass cover of the oven be slightly open to allow steam/moisture to escape. Check after 15 minutes. If syrup is desired, check for correct syrup consistency.  Keep heating until thickened to pourable syrup.  Then, try this wonderful and healthful solar syrup over mesquite pancakes for the ultimate Southwestern breakfast!

Concentrated Solar Fan Palm Syrup--nothing added--just water and fan palm fruit!  (MABurgess)

Concentrated Solar Fan Palm Syrup–nothing added–just water and fan palm fruit!  Come taste it at the StPhil’s farmers market!(MABurgess)


“DATIL SYLVESTRE” MOLASSES

With more time and further moisture reduction, there are more delicious options….. Here’s one:  For the best, richest “Datil Molasses” you ever tasted, let the liquid cook down for another 45 minutes or an hour (depending on sun intensity).  Be careful not to overcook, which might leave a sweet glue on the bottom of your pan. (The same reduction of liquid can be done of course on the stove-top or over a fire, like reducing maple sap, but hey, this is a desert product. We’ve got our fuel overhead! Let’s use it.)

“DULCES DE DATIL SYLVESTRE”

Carrying the process of concentrating the syrup yet another step further…If an even more chewy candy is desired, you might use the concentrated sweet molasses in a candy mold or for gelling like a fan-palm gummy bear.

Here’s another totally delightsome, exotic yet simple idea for maximum pleasure from fan palm fruits…..

DESERT OASIS CORDIAL

Wild Fan Palm Liqueur (MABurgess photo)

Wild Fan Palm Cordial (MABurgess photo)“Desert Oasis Cordial”

It takes about 4-5 weeks to make this rich cordial liqueur, so plan ahead. With a fall harvest of wild dates you could start making your Desert Oasis Cordial by Thanksgiving and have it ready for Christmas-time celebrations. But don’t wait—when the fruits are ripe, go for it.

This is how I did it:

Wash, wash, wash and drain at least 2 cups of ripe native fan palm fruitlets (W.filifera), enough to pack firmly into a mason jar.  Into the packed jar, pour vodka of your choice, filling all the space between the little fruits to the brim to cover them. (You could use tequila or EverClear for differing degrees of delight.)  Screw on lid and place jar in a cool dark corner of your kitchen, where you can be reminded to agitate it. After a week, open it and add more vodka to cover fruits, as the fruit tissue will have absorbed some of the alcohol. Shake and turn over the closed jar every week.  For the herbalists among us, you will recognize this process is basically tincturing the wild dates. After 4-5 weeks, decant (i.e. separate) the liquid from the fruit. The decanted liquid will be a rich dark chocolate brown color like Godiva liqueur only translucent. Taste it and serve sparingly in small cordial glasses. Store any remaining liqueur in a closed decanter for the next festive occasion.

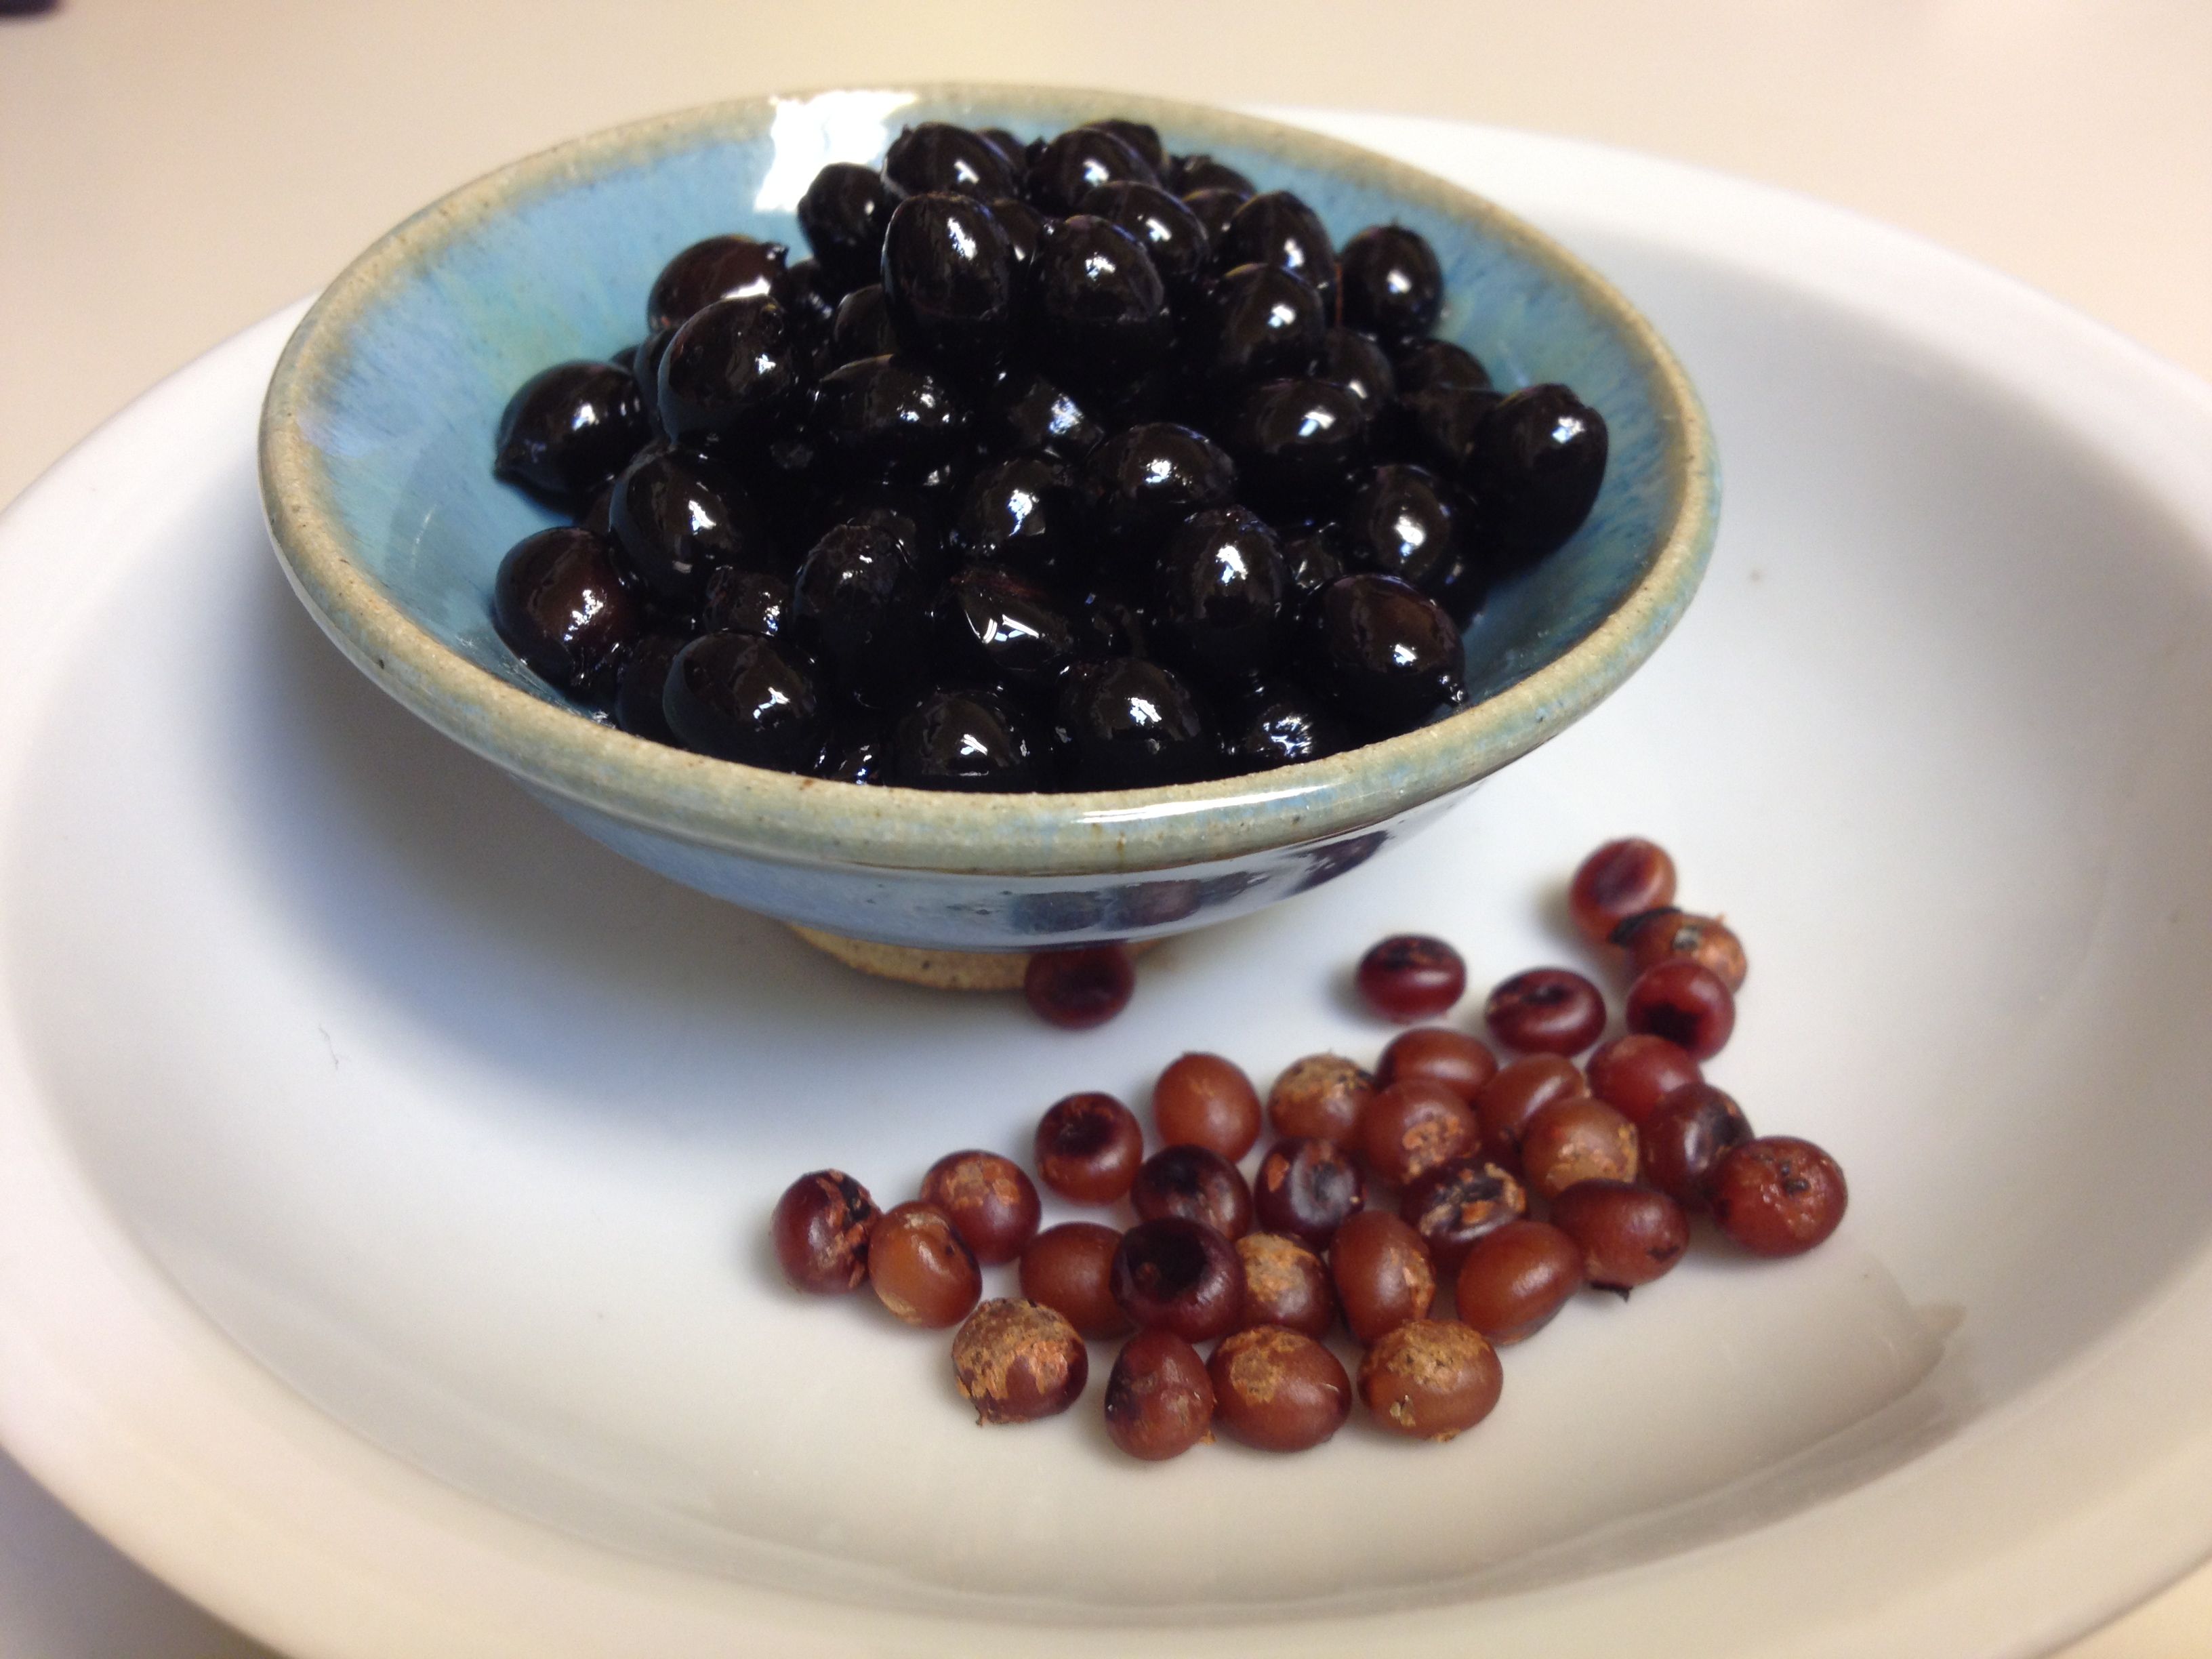
W.filifera fruit AFTER tincturing and decanting makes a fabulous alcoholic treat (seeds to be discarded)

W.filifera fruit AFTER tincturing and decanting makes a fabulous alcoholic treat (seeds to be discarded) (MABurgess)

Decanting the marinated fan palm fruits from the liqueur (MABurgess)

Decanting the marinated fan palm fruits from the liqueur (MABurgess)

After both your Fan-Palm Syrup-making and your Desert Oasis Cordial-making, you will have delicious fruits left over in the straining or decanting process.

Don’t forget the simple joy of snacking on little fruits, doing the pulp-from-seed separation maneuver with your tongue and teeth. Move over, sunflower seeds!  The boiled fruits after syrup-making are still tasty.  Better still–the vodka-soaked wild dates give an extra kick, so don’t overindulge.

Both can be briefly quick-whirled or mashed in a blender, meat grinder, or CuisinArt to begin the process of separating the remaining pulp from the hard seeds.

After decanting the cordial, remaining fruit is whirled and put thru colander to separate pulp from seeds

After decanting the cordial, remaining fruit is whirled and put thru colander to separate pulp from seeds

[If someone has a good idea of how best to separate seeds from pulp easily, please share it!] Fruit leathers, energy bars, jams, “datil newtons”, spreads, supplements—there are SO many ways the remaining fruit pulp could be used, so that none of the nutrients and fiber need go to waste. Even the hard seeds could be parched and ground into a nutritious flour—as Native People did in earlier times, to their advantage.


"Desert Oasis Cordial" from wild fan palm fruits (MABurgess photo)

“Desert Oasis Cordial” from wild fan palm fruits (MABurgess photo)

BTW, after snacking on Washingtonia fruitlets, be sure to check your smile in the mirror for black flecks of the yummy pulp between your incisors.  I can see it now—the next fad question after “Got milk?” will be “Got datil?”  That could make for a wild date experience. Enjoy!

For a taste of the native fan palm fruits, come by our Flor de Mayo booth at Sunday’s St Phillips farmers market, 9am-1pm. There we also have a demo of solar-oven cookery in action.  The cleverly designed solar ovens are for sale from us with a discount and no shipping costs. We’d like to see every household in Baja Arizona equipped with a solar oven for emergencies as well as for sustainable living.

You can find the perfect makings for the pancakes to eat with your Solar FanPalm Syrup for that Southwestern breakfast–mesquite flour and heirloom White Sonora Wheat flour— at the Native Seeds/SEARCH store (3061 N Campbell, Tucson) and at Flor de Mayo’s booth at St Phillips farmers market.  See you on Sunday! Have your taste-buds ready for a wild date.

Playing with Washingtonia palm fruit

Washingtonia filifera (California fan palm)

Washingtonia filifera (California fan palm)


It’s Carolyn this week, taking you backstage to a food experiment. As we move into a hotter, drier climate here in the Southwest, we’ll have to consider agricultural products that can handle the changes. Although I’ve been playing with edible wild plants for decades and Tia Marta (Muffin Burgess) has put in similar years of work, it’s always exciting for us to find something new. We’re going to do a two-part investigation of what to do with a wild food new to both of us.


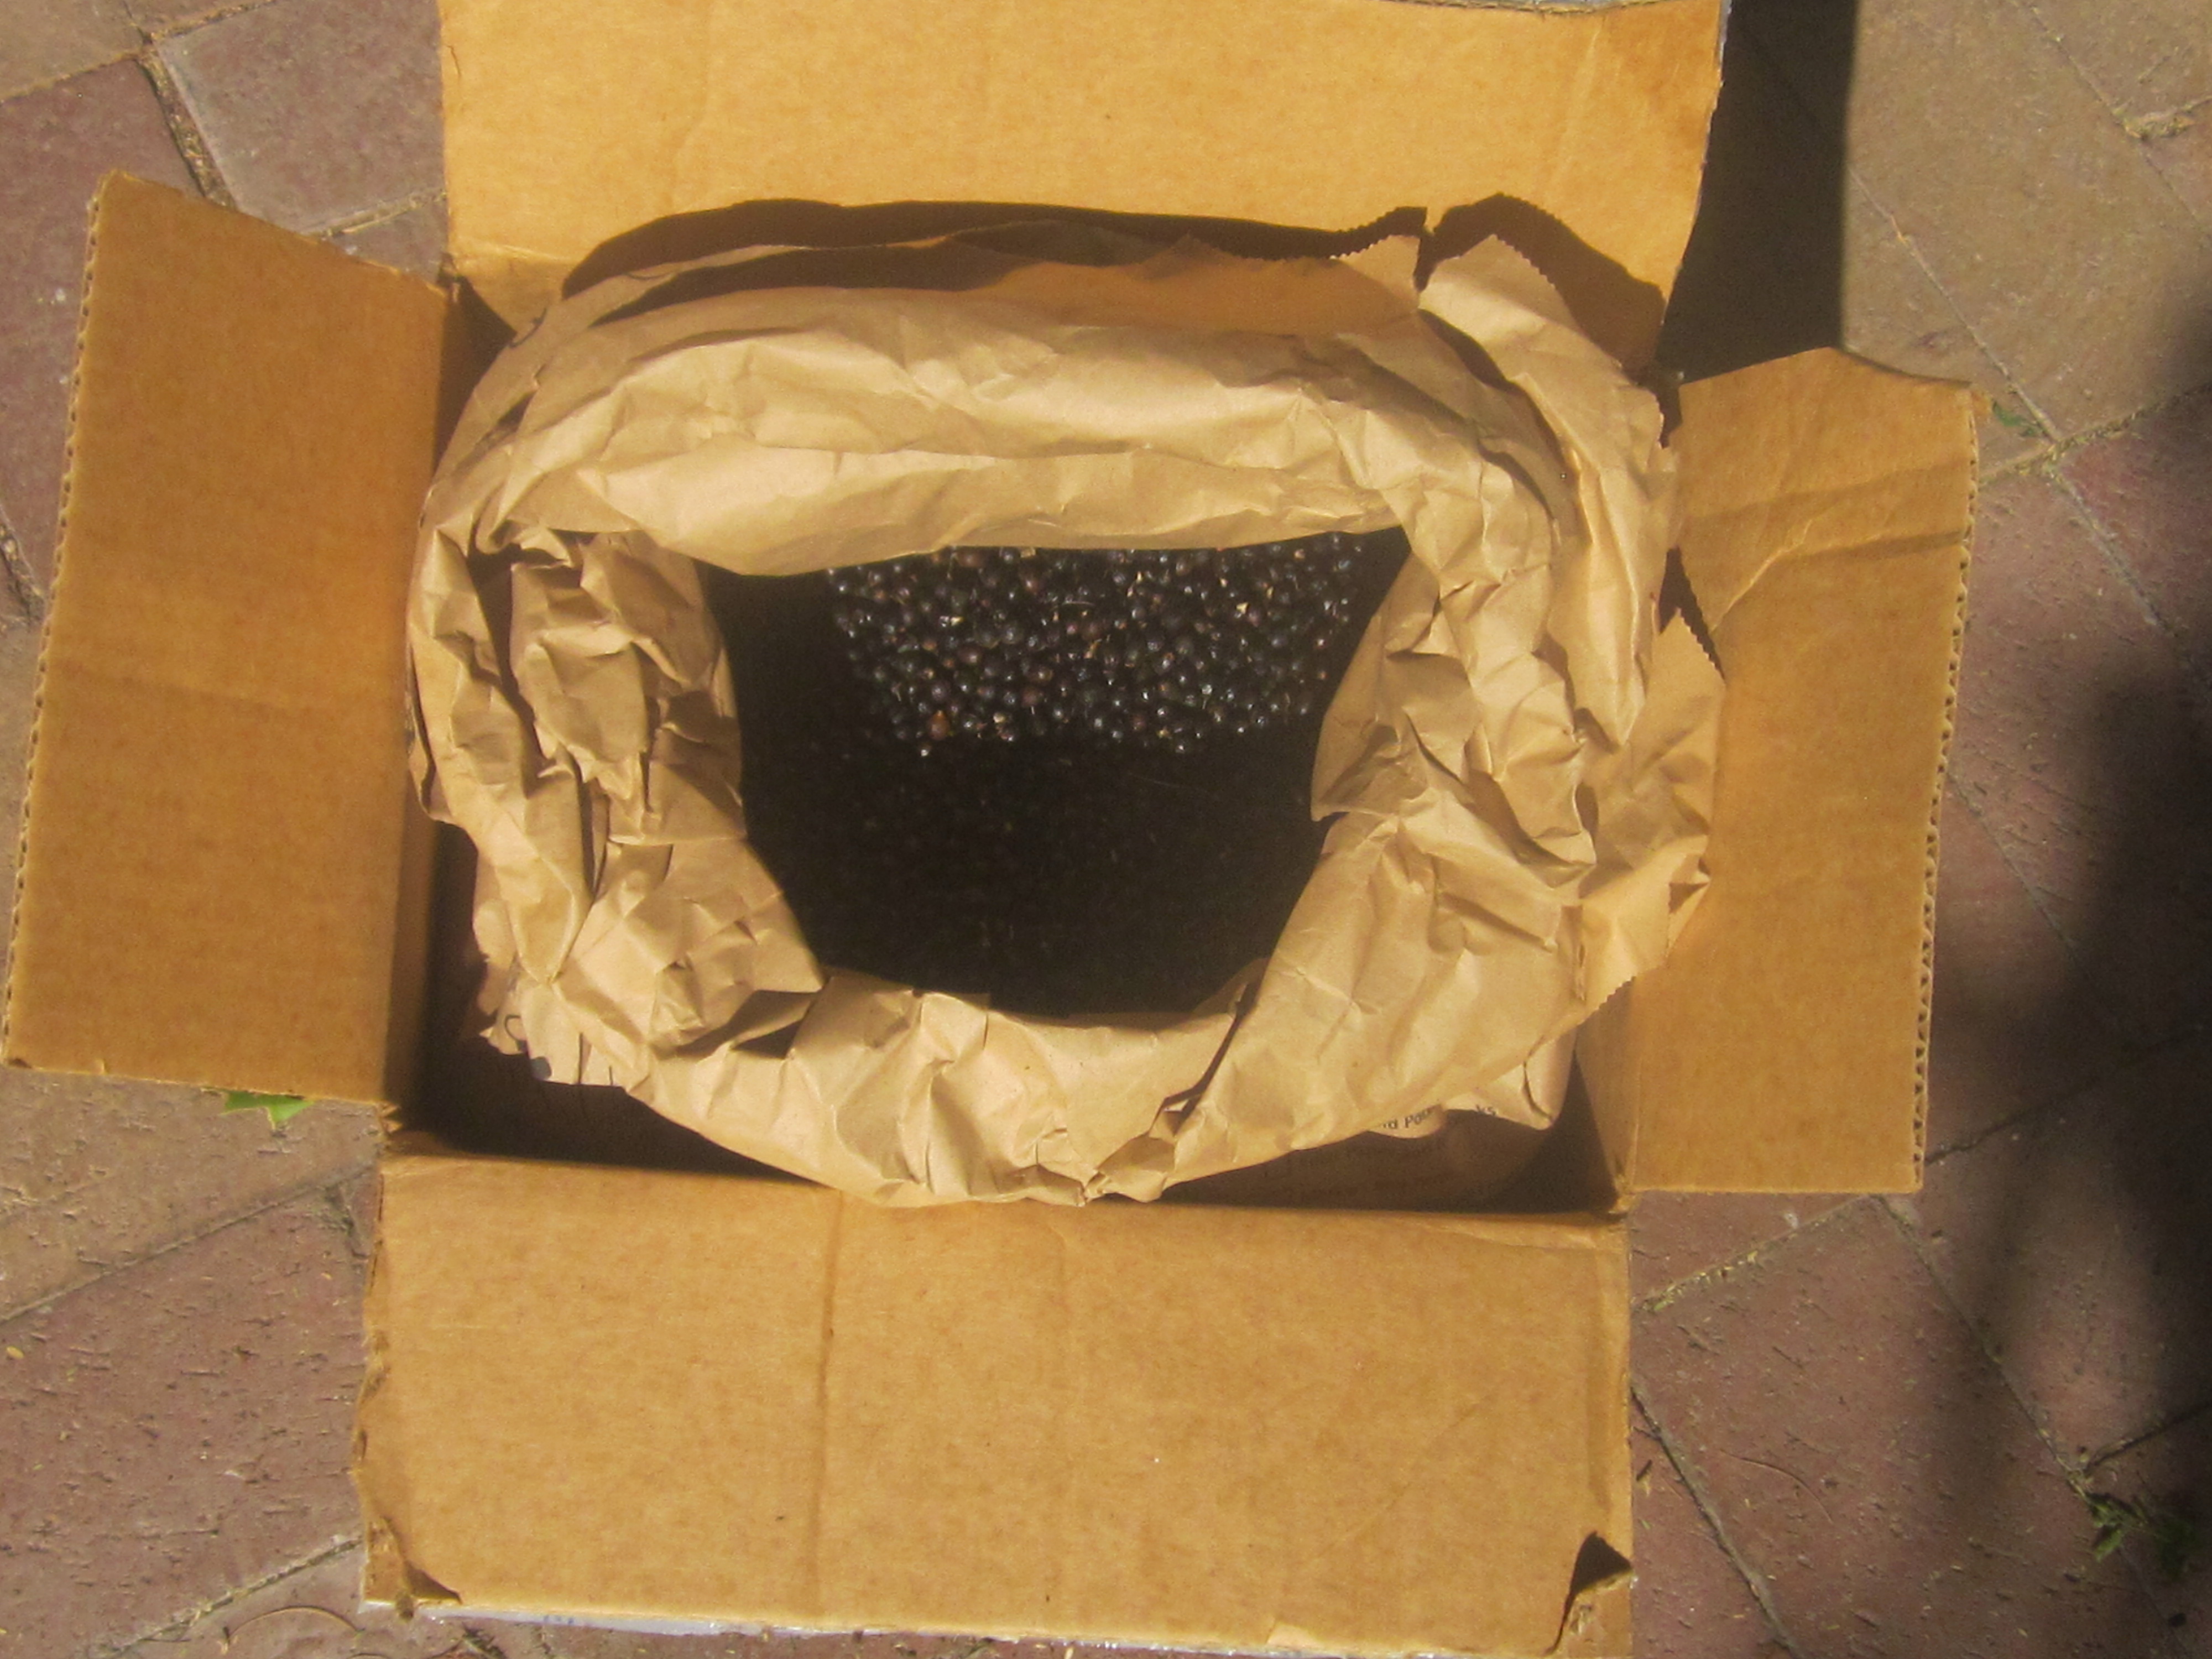
Big box of palm fruit.

A big box of  W. robusta palm fruit arrived at my house.


Last fall I received an email from noted ethnobotanist Dr.Richard Felger. He and a colleague, Dr. Don Hodel, an environmental horticulturist for the University of California Cooperative Extension, were working on some wild palm fruits, two species of Washingtonia, also called Mexican or California fan palm. He wondered if I could come up with some recipes. Back in the early 1970s when I was just beginning work with wild edibles, Dr. Felger took me on one of my first plant walks and over the years has answered many questions for me. I figured I owed him. I also asked Tia Marta if she wanted to join in the fun.

After a couple of days,  FedX deposited a box with about 10 pounds of tiny hard black nodules on my doorstep – Washingtonia robusta fruit gathered from a park in Signal Hill, Calif. , near Long Beach. Not promising, they were little more than skin on seed with almost nonexistent flesh, nothing like their cousins the palm fruits we know as dates. Humans have a long history of using palm fruits – in fact some scholars think that the honey referenced in the Bible was actually date syrup.

Wendy Hodgson, THE expert on wild desert foods, says in her book Food Plants of the Sonoran Desert, that the Washingtonia fruits were very important to the Cahuilla and Cocopa. She writes, “They made flour from the ground dried fruits and mixed it with other flours and water to form a mush.” We don’t eat much mush anymore (unless you consider oatmeal for breakfast), so I’d have to devise something else to do with them.

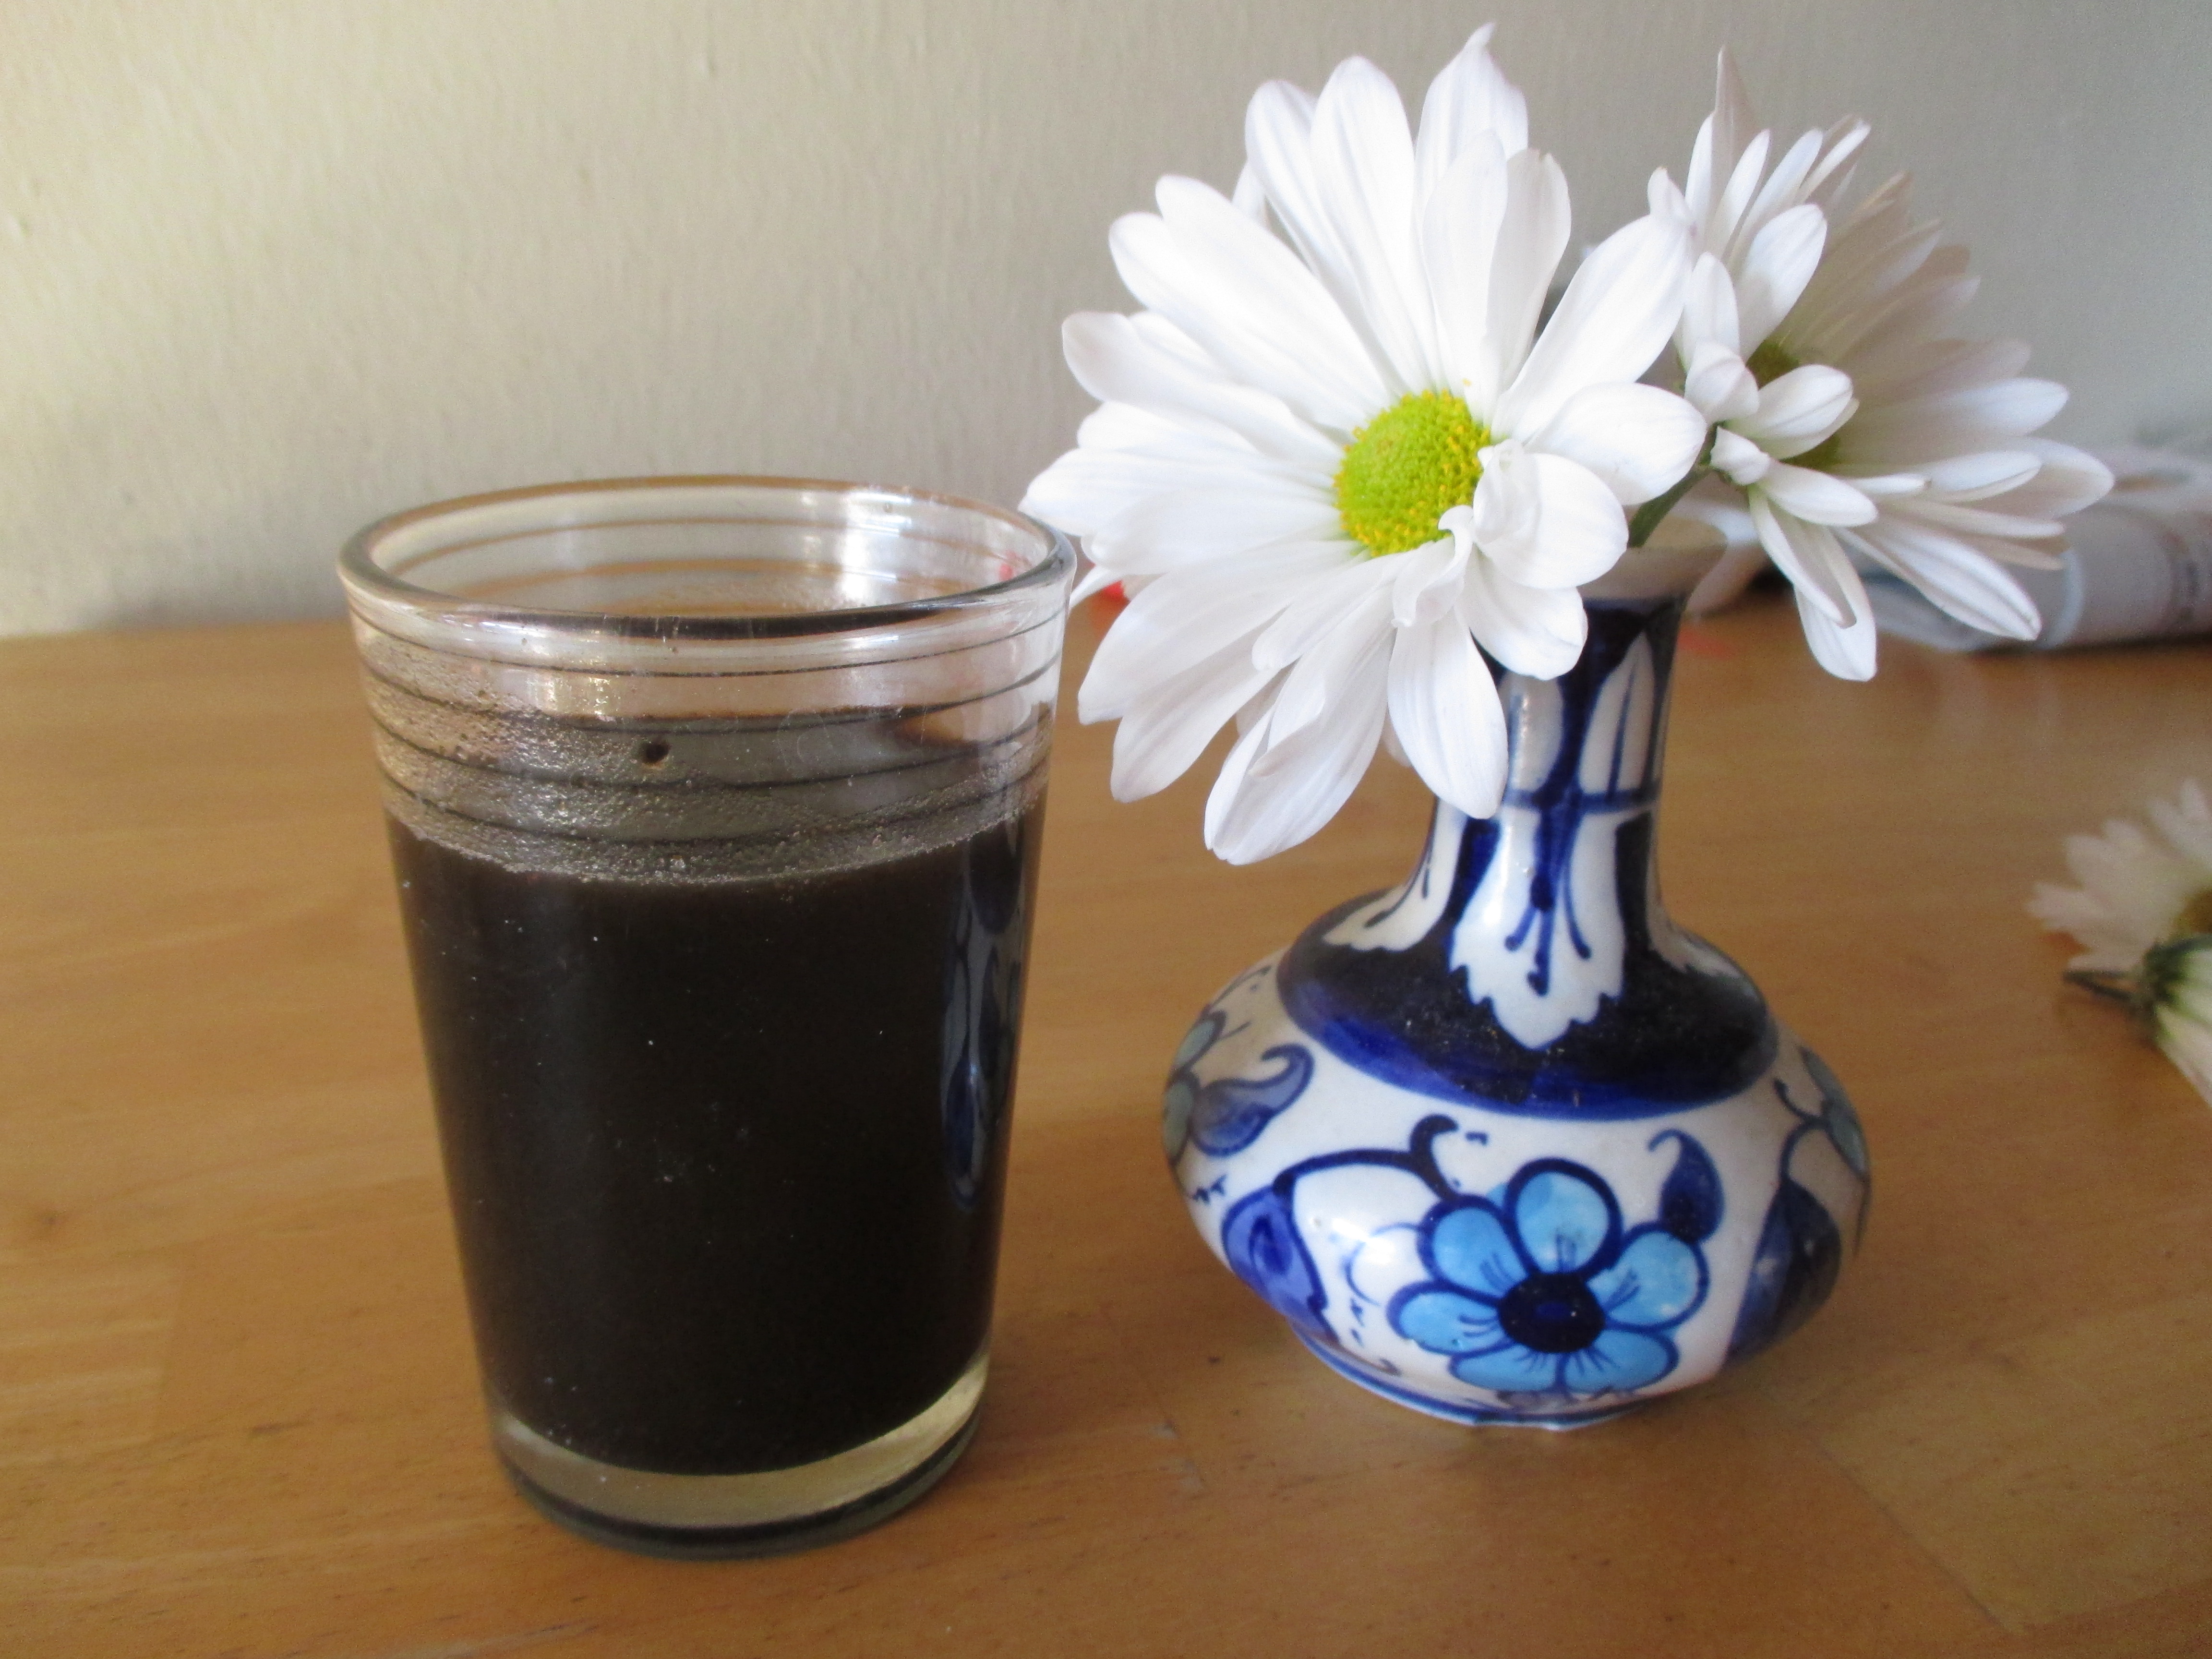
I took 4 cups of fruit and covered them with 8 cups of water. Brought it all it to a boil, then simmered uncovered for 30 minutes. I ran the softened fruit through a blender in batches and strained the liquid, ending up with 5 cups of almost black liquid that tasted something like prune juice.

Even flowers don't make this liquid look appetizing.

Even flowers don’t make this liquid look appetizing.

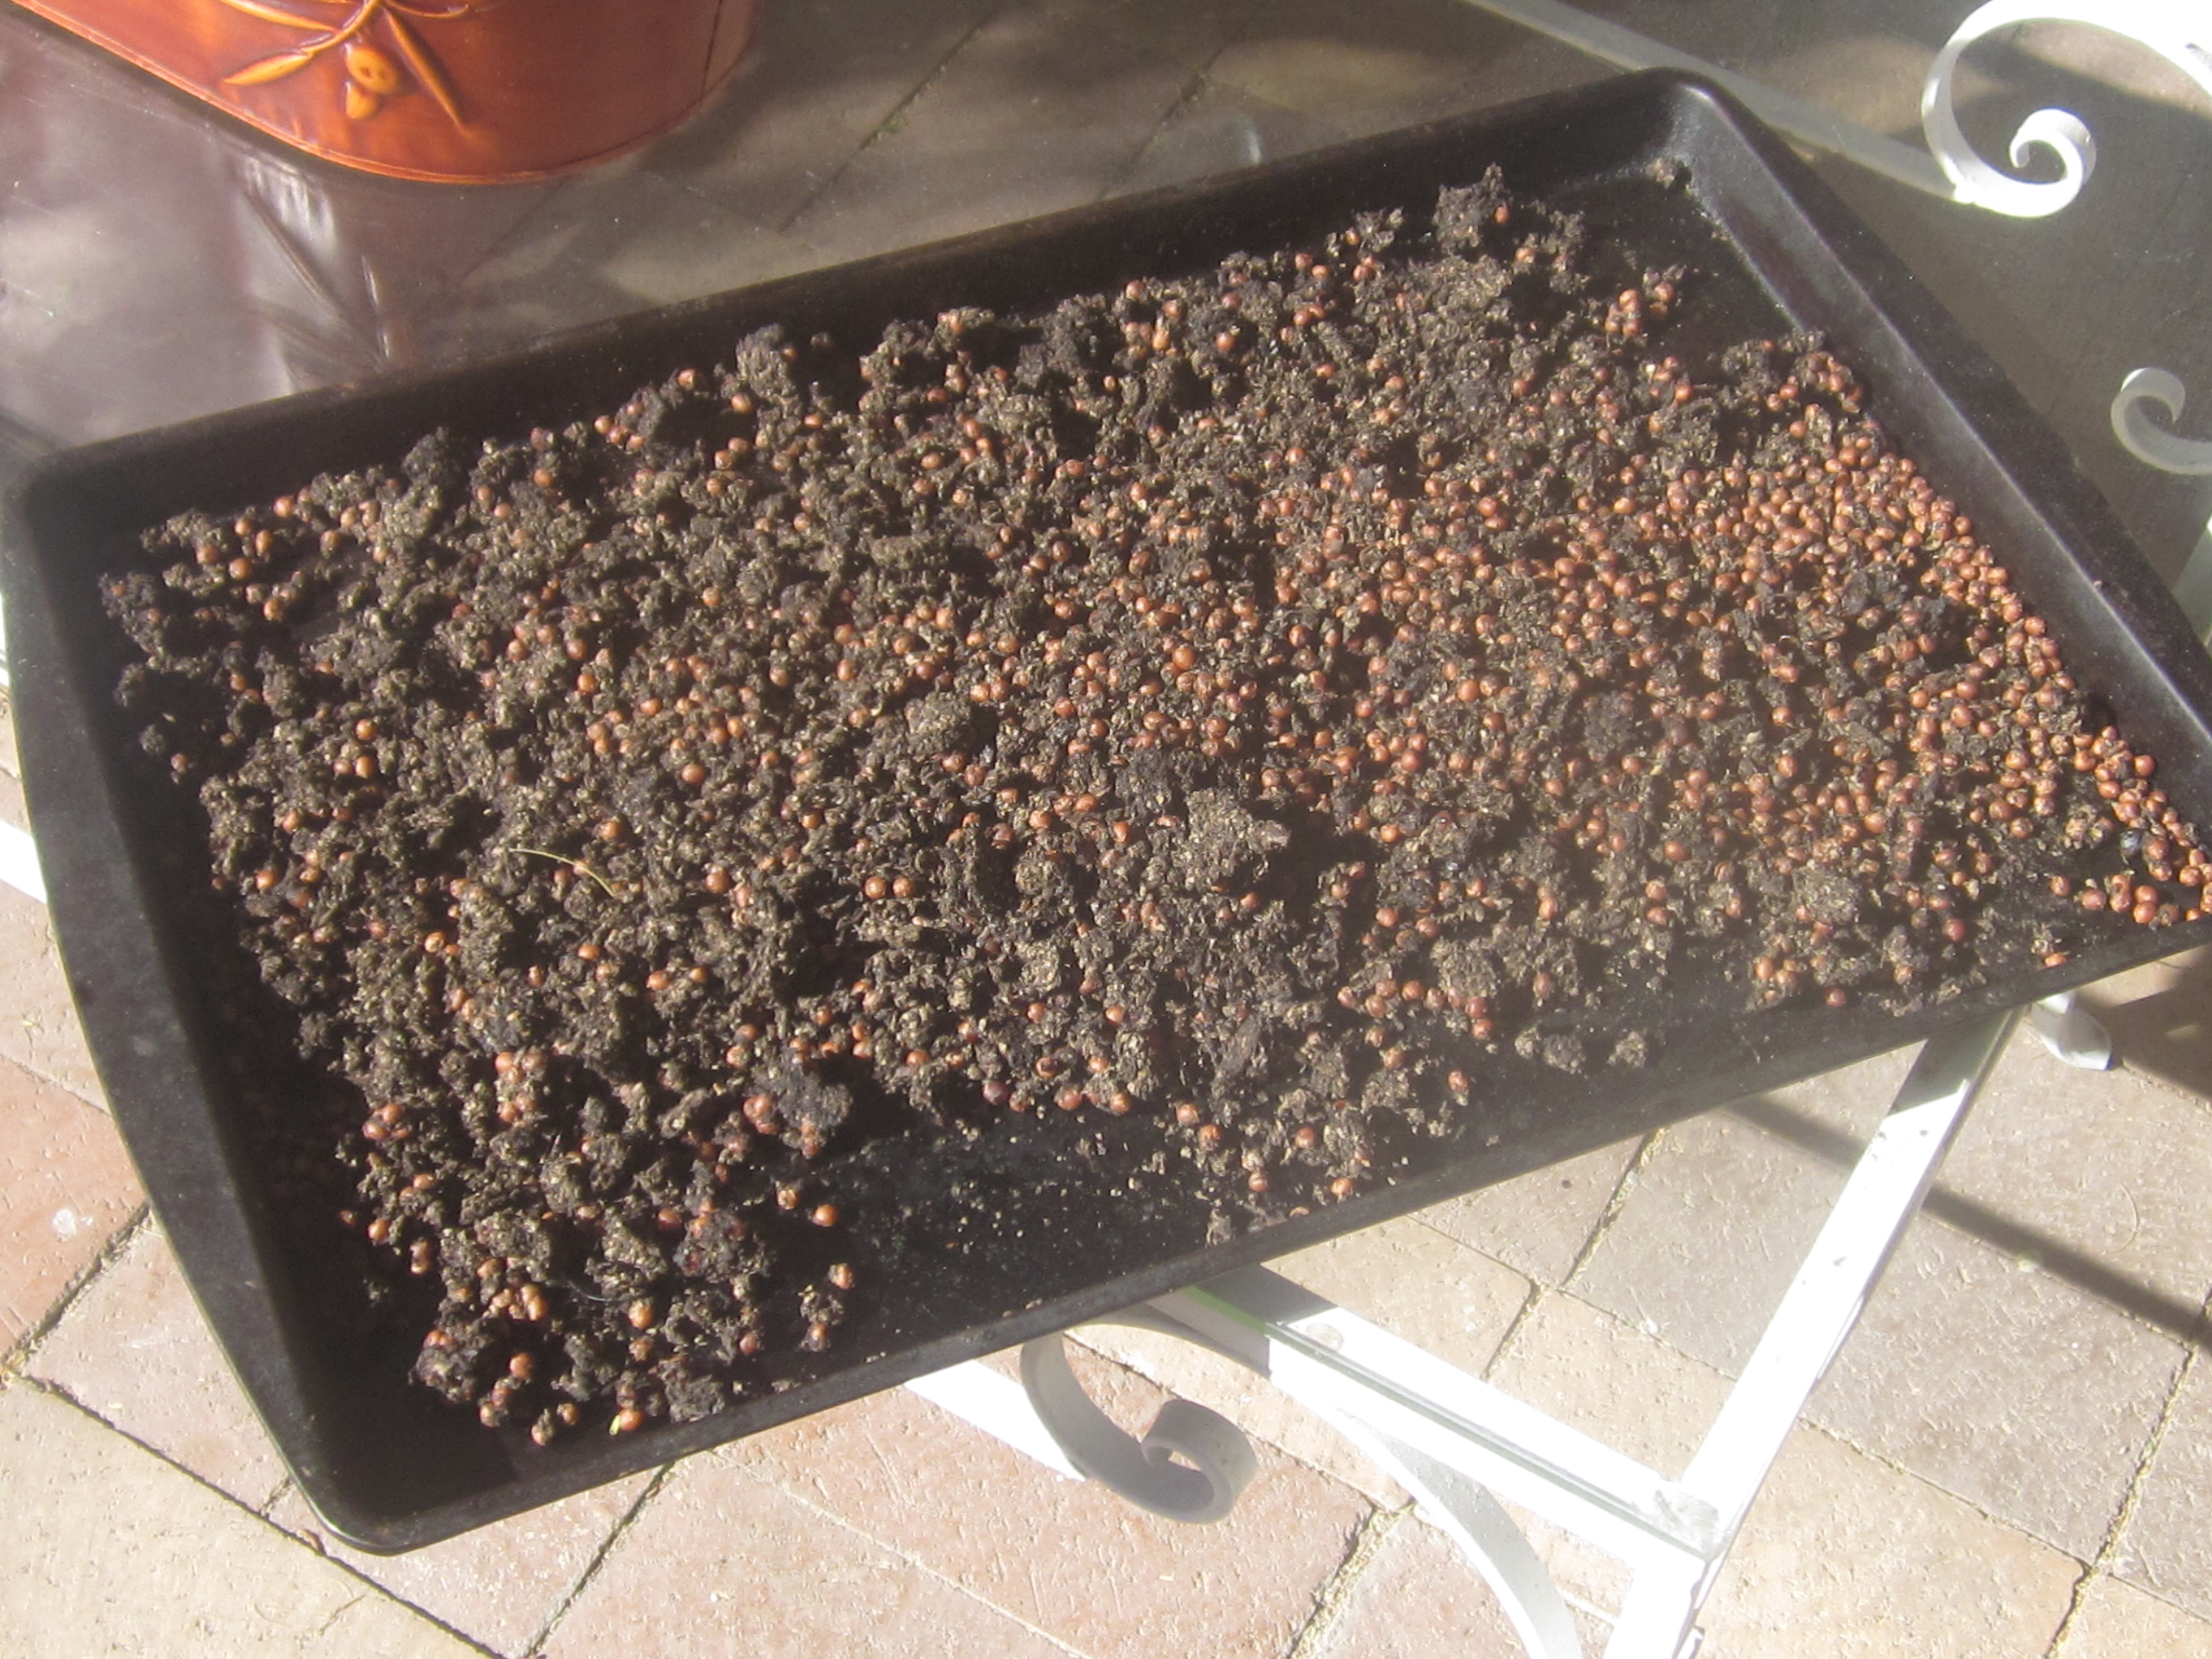
. I simmered it until reduced to ¾ cup pulpy liquid then spread the remaining pulp and seeds on a cookie sheet and put it in sun to dry. Later, I sifted out ¼ cup dried flakes and discarded the hard seeds.

Pulp and seeds drying in the sun.

Pulp and seeds drying in the sun.

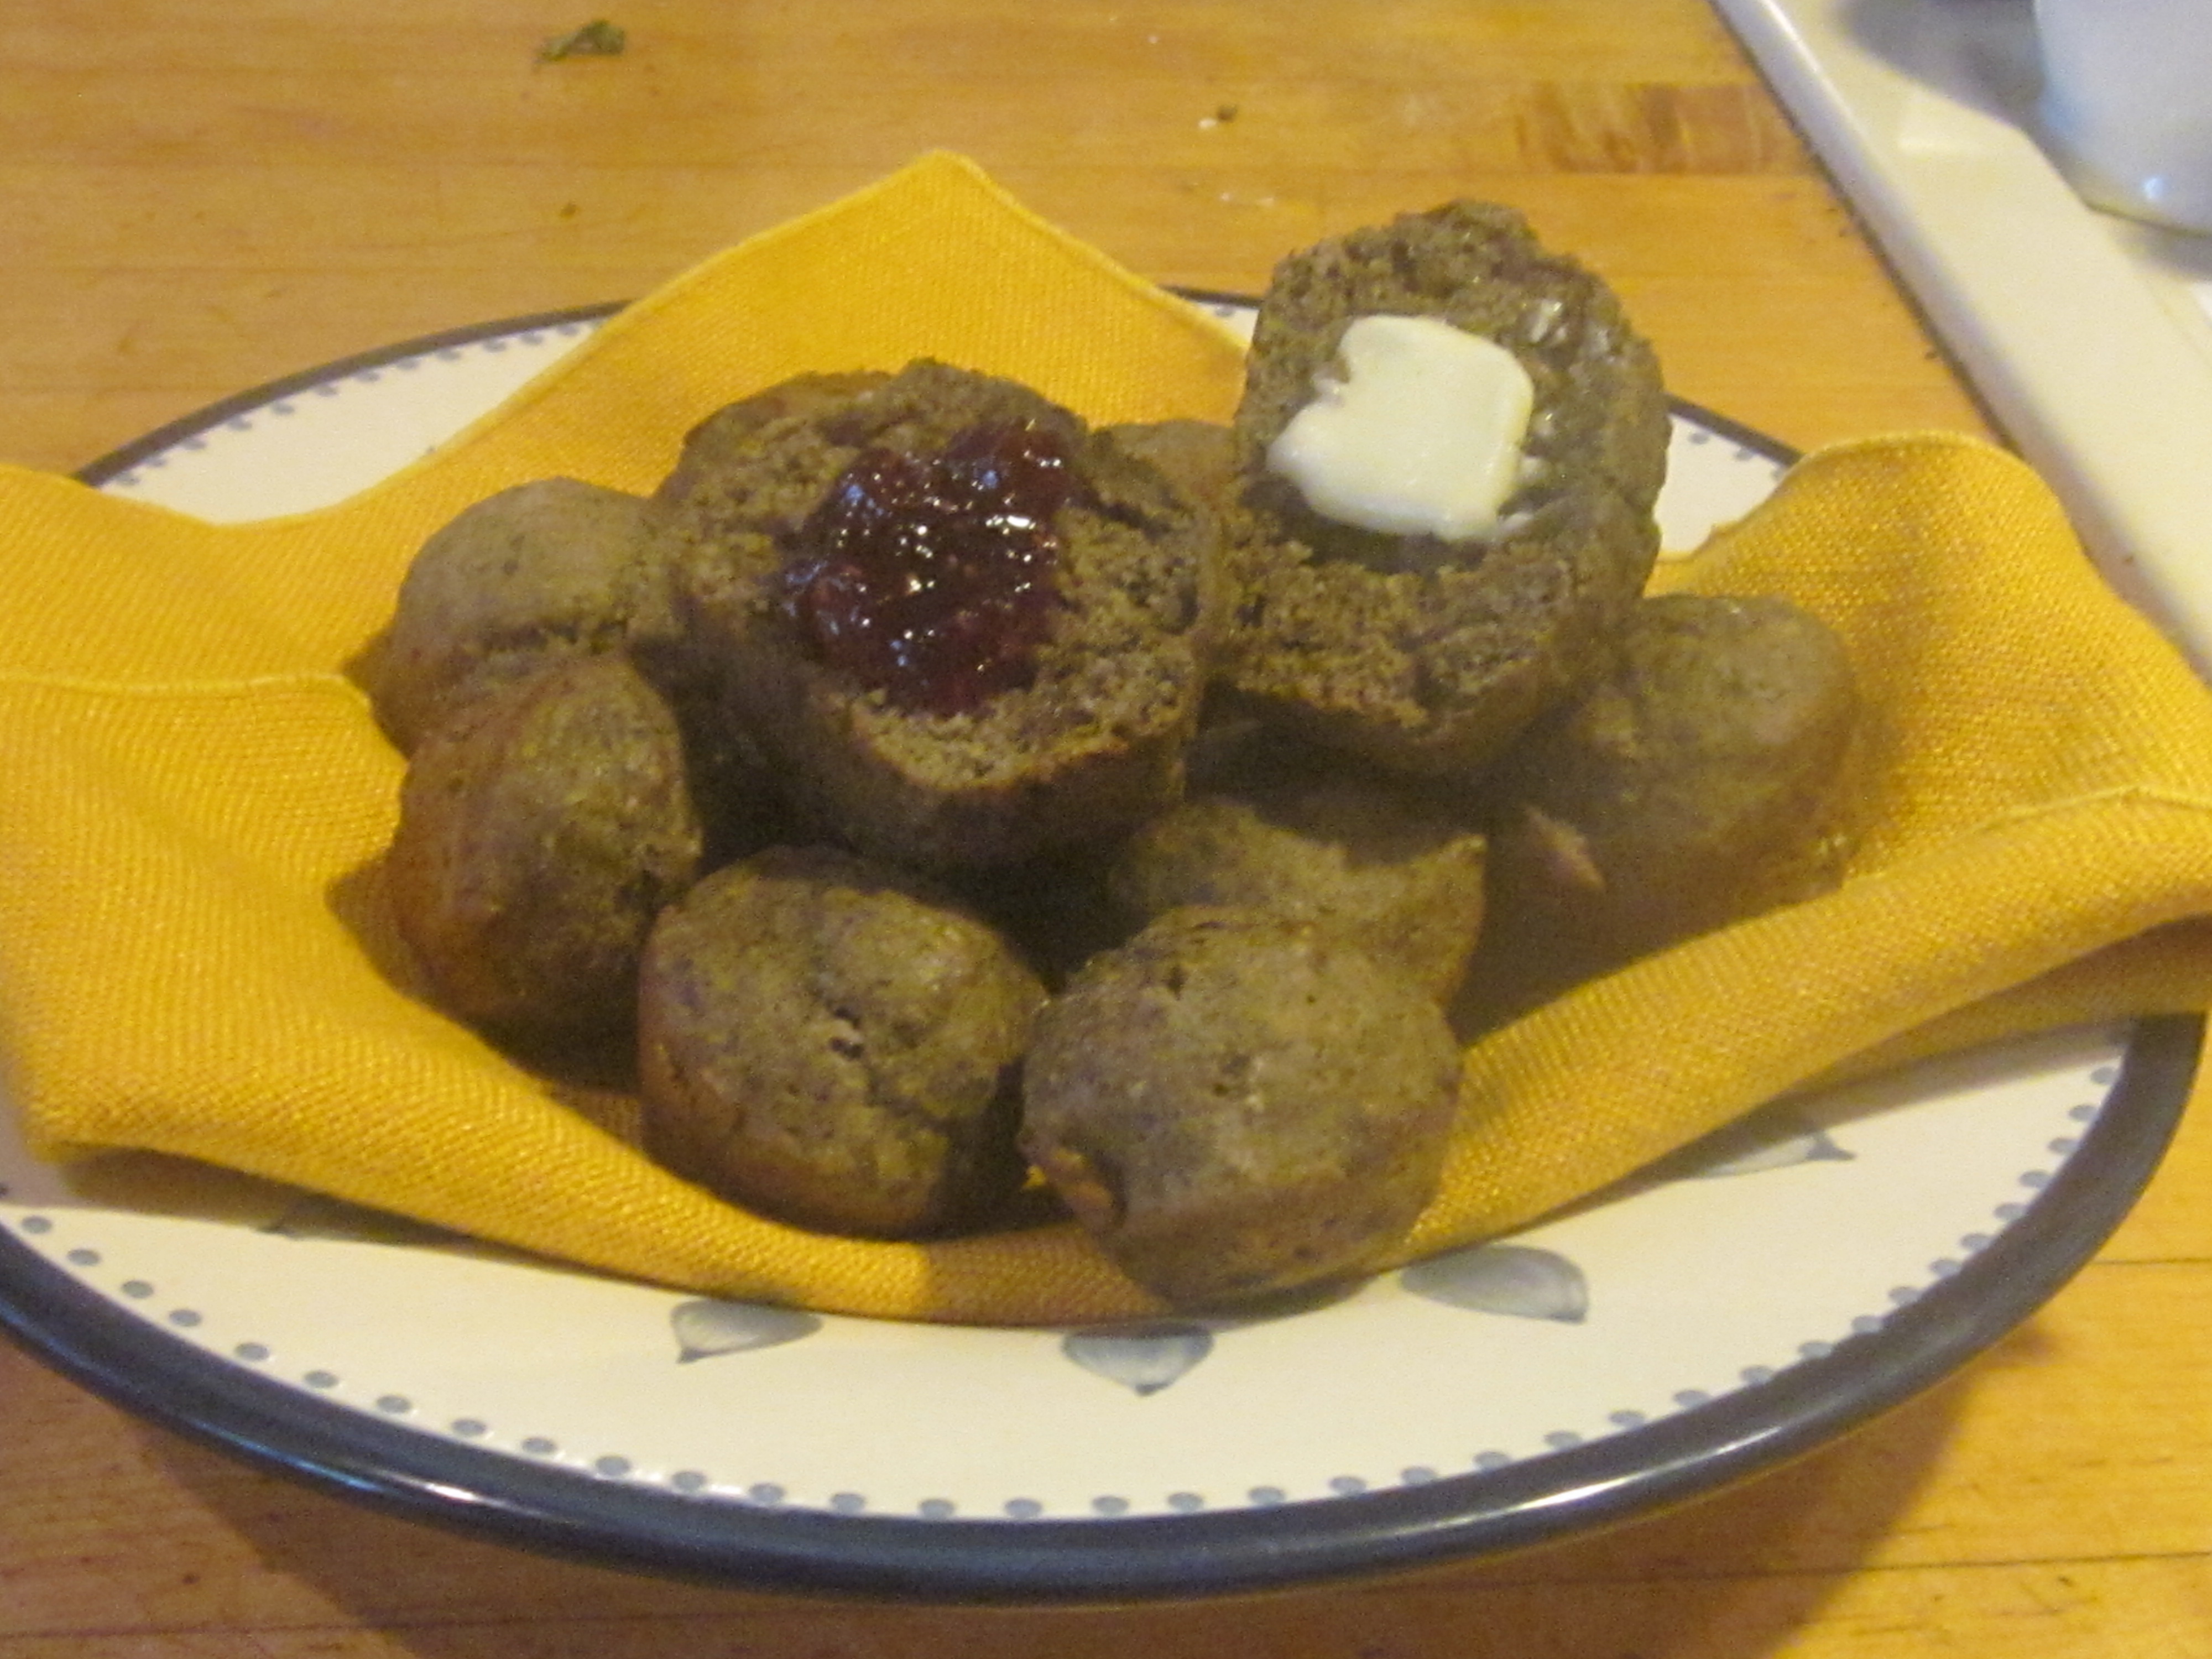
At this point I wrote Dr. Felger my scientific assessment: Sweet — but definitely not yummy. I pressed on and made some tasty muffins. Since there is interest in natural sweeteners, I concentrated on that aspect. Using a standard muffin recipe, I substituted the palm syrup for the liquid milk and reduced the sugar. I added the dried flakes just because I had them and to add some texture.

Muffins with palm syrup and dried flakes.

Muffins with palm syrup and dried flakes.

Fan Palm Muffins

Makes 1 dozen

1 ¾ cup unbleached white flour

¾ teaspoon salt

2 teaspoons baking powder

2 tablespoons sugar

¼ cup dry powdered milk

¼ cup dried Washingtonia  flakes

2 eggs

¾ cup pulpy Washingtonia syrup

3 tablespoons melted butter

Mix dry ingredients in a bowl. In another bowl, mix eggs, Washingtonia syrup and melted butter. Stir wet ingredients into dry ingredients. Do not overmix; some lumps are OK. Bake in greased muffin tins at 400 degrees F for about 15 minutes or until they appear done.

Washingtonia filifera fruit (about 1/4 inch) on left and W. robusta on the right.

Washingtonia filifera fruit (about 1/4 inch) on left and              W. robusta on the right.

Meanwhile, Dr. Hodel acquired some Washingtonia filifera fruit from a street tree near Indio, Calif., and sent another 10 pounds. Oh boy. They were still tiny, but bigger than the robusta. I put them through a similar process of simmering, blending, straining and reducing. The taste difference was subtle – more date-like than prune-like. Better.

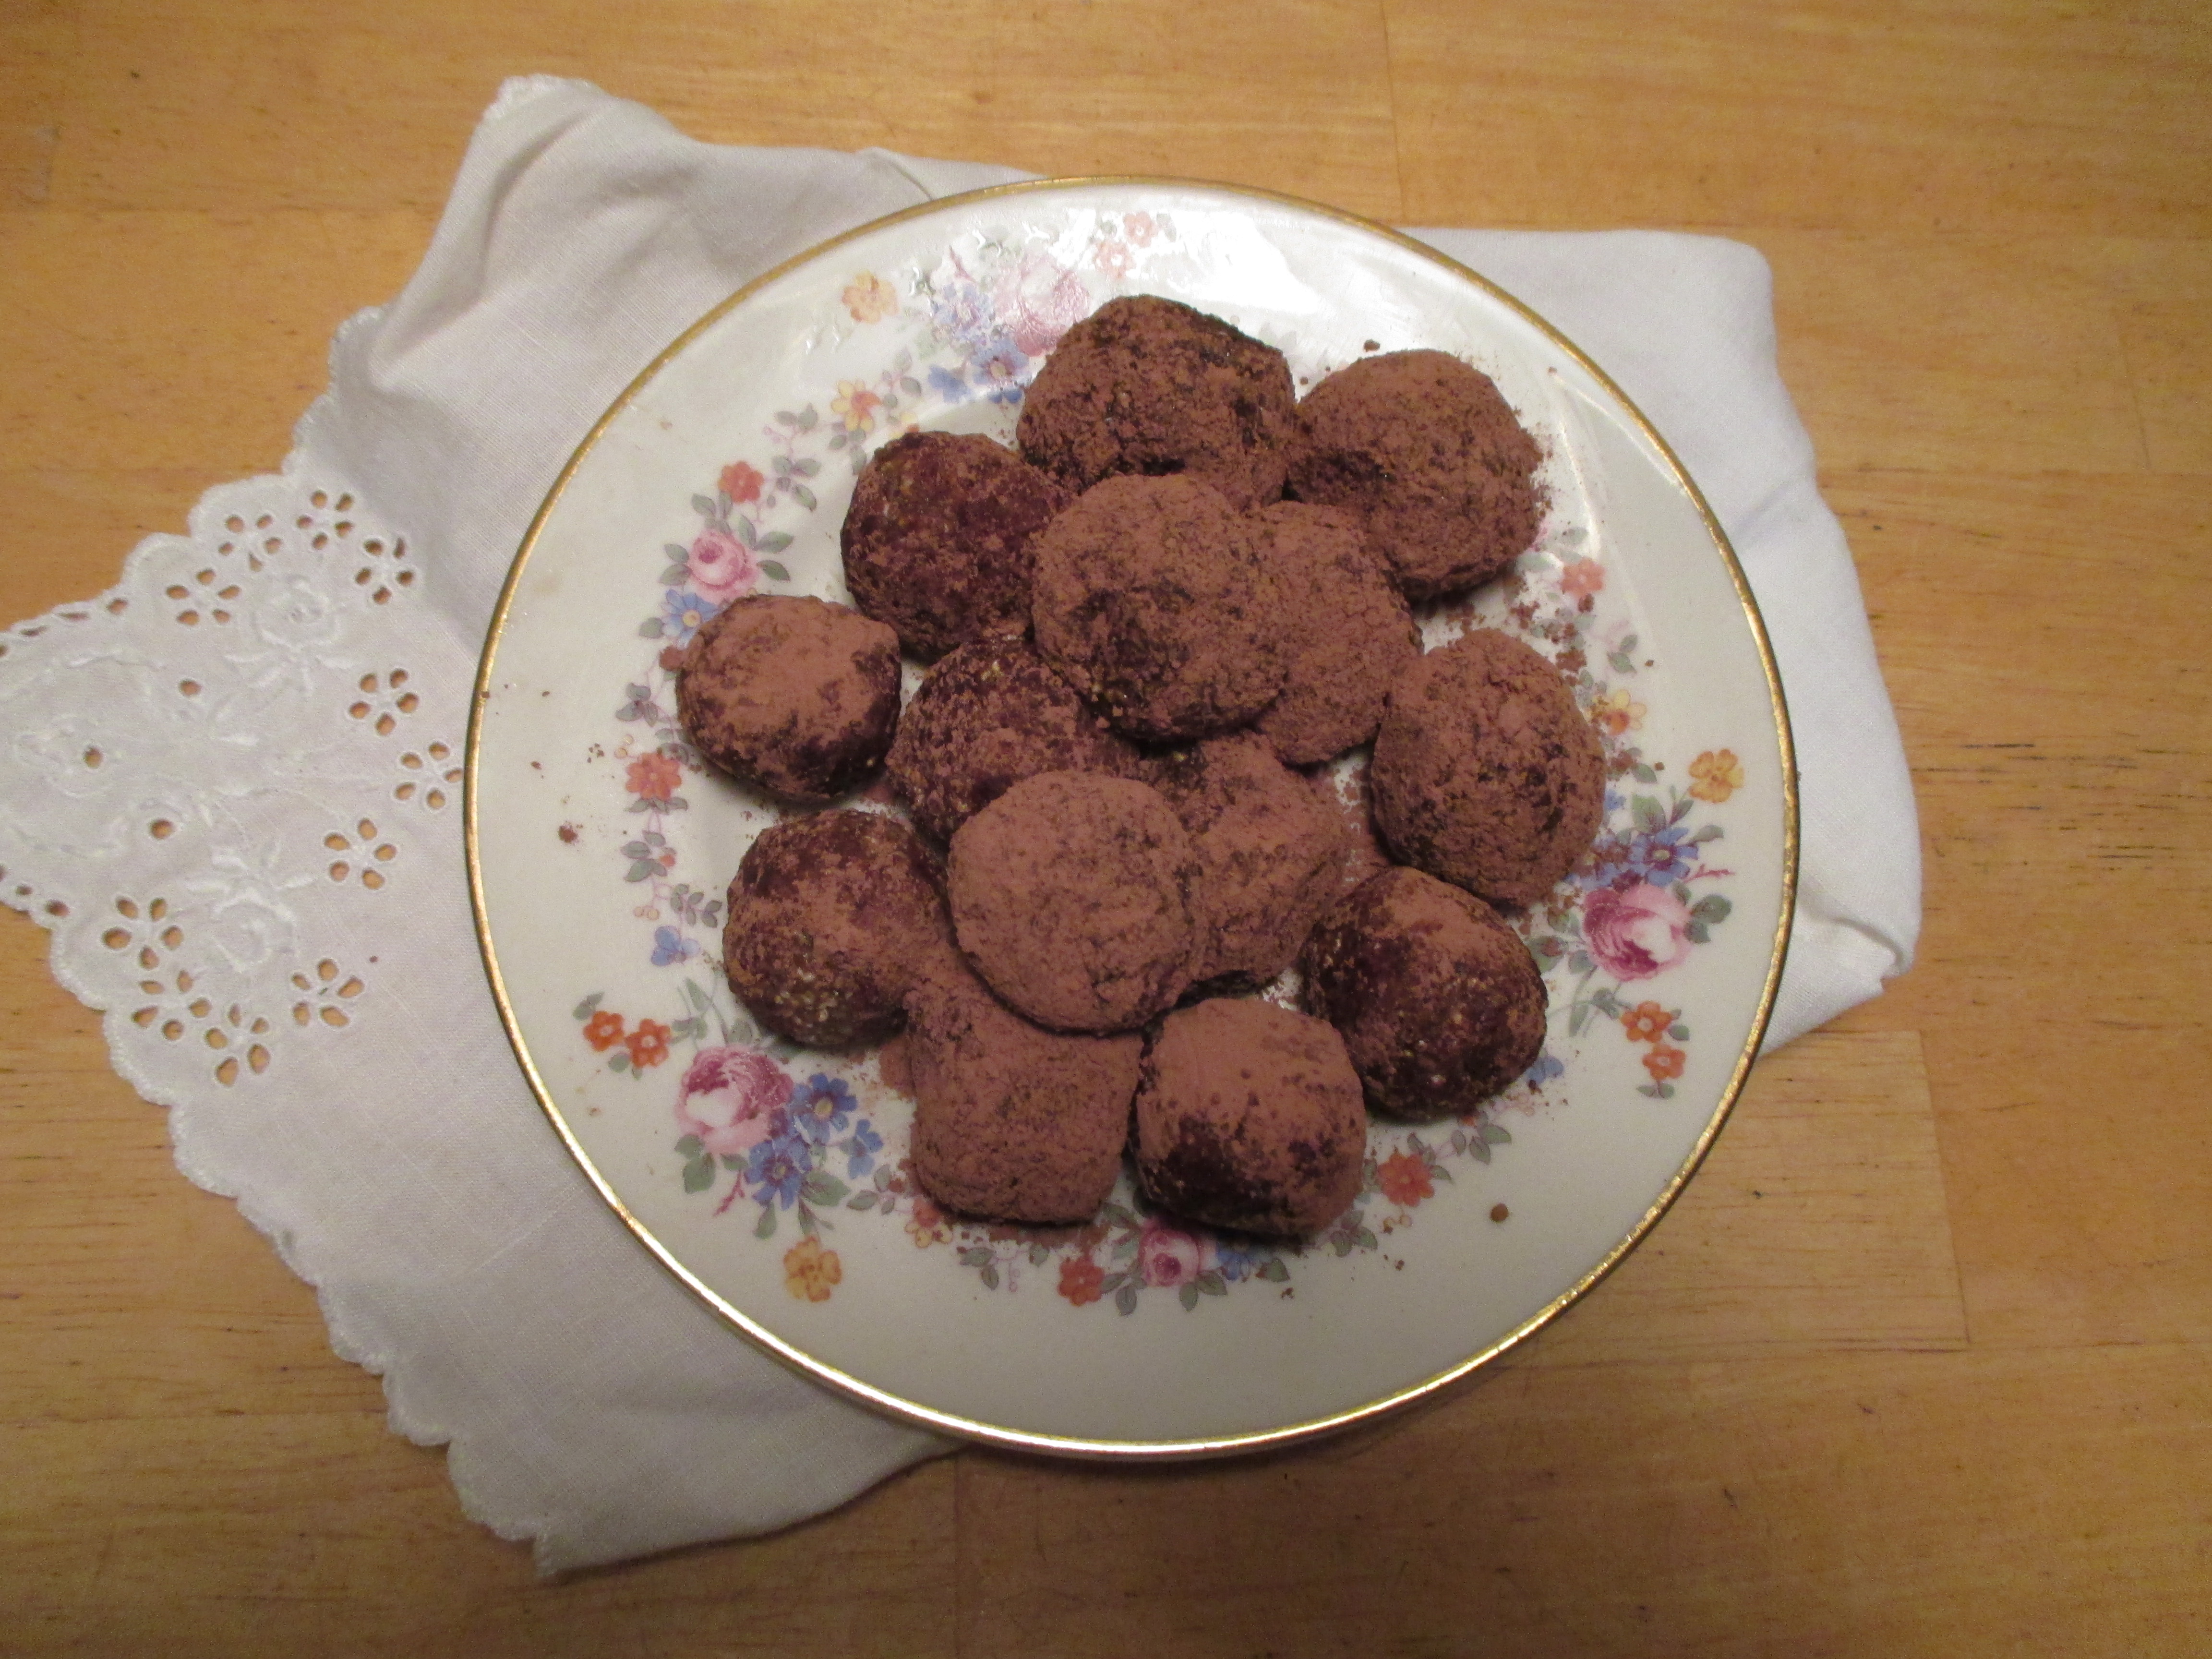
I decided to use the filifera syrup in a healthy treat, showcasing its natural sweetness, and came up with these truffles. I used almond butter, but other nut butters will do.


Nutty truffles sweetened with W. filifera syrup and rolled in cocoa.

Nutty truffles sweetened with palm syrup and rolled in cocoa.

Nutty Truffles

Makes 1 dozen

½ cup almond butter

½  cup popped amaranth grain

¼ cup ground popped amaranth

6 tablespoons Washingtonia filifera palm syrup

1/3 cup cocoa or carob powder

Combine all ingredients except cocoa in a bowl and blend with a spoon. Form into 12 small balls. Roll each in cocoa. (You can buy popped amanranth at Native Seeds SEARCH)

 ♥  ♦  ♥  ♦

What’s the point of trying to find a way to use the fan palm fruits? With climate change bringing hotter, drier summers to the Southwest, ethnobotanists like Dr. Felger and Dr. Hodel are looking for plants that can take those conditions and still produce food.

I don’t expect a rush of  people heading out to gather bushel baskets of fan palm fruits. They’ll appeal to the more ardent wild food enthusiasts who, like me, want to taste every berry on every bush.  But  they may have uses in more industrialized food production. They are sweet and easy to harvest and process. Some entrepreneur may see opportunity there. After all, nobody I know makes their own agave syrup.

(Check out Dr. Richard Felger ‘s article at  “Arizona Native Food Plants for a Dry Future” in The Plant Press: The Arizona Native Plant Society vol. 37, no. 2: 1, 3-5.)


Mesquite Gingerfolk for Christmas

Mesquite Gingerfolk are tasty treats for the holidays.

Mesquite Gingerfolk are tasty treats for the holidays.

It’s Carolyn today sharing one of my favorite holiday recipes. The flavor of mesquite meal blends nicely with the warm spices we like in the winter.  These Mesquite Ginger Folk are pretty cute and they taste wonderful.  I used good quality margarine rather than butter or Crisco because I like the eventual texture and the flavor is good. This recipe makes a spicy cookie. If you want more of the mesquite flavor to come through, cut down on the spices. The dough must be well chilled before you roll it out, so this is a two-step recipe: mixing first, then later rolling and baking.

Mesquite Ginger Folk (makes about 3 1/2 dozen rolled cookies)

In a medium bowl, combine 2 cups all-purpose flour, 1/2 cup whole-wheat flour,  1/2 cup mesquite meal, 1 1/2 teaspoons ground cinnamon, 2 teaspoons ground ginger, 1 teaspoon allspice, 1/2 teaspoon salt, 1/4 teaspoon ground black pepper.  Stir and fluff with a fork and then set aside.

In a large bowl, use an electric mixer to beat 1 1/2 sticks margarine  with 1/2 cup packed brown sugar until fluffy. Beat in 2/3 cup molasses and one large egg. Then gradually add the flour mixture to make a stiff dough. You may need to give up the mixer for a wooden spoon.  Divide the dough into two thick disks and wrap each in plastic wrap.  Refrigerate until chilled, about three hours.

When you are ready to bake, take one disk from the refrigerator .   You’ll want the dough just warm enough to roll without cracking.  While you are waiting, preheat the oven to 350 F. and put out brown paper or wire racks to receive the baked cookies. You’ll also need lots of flour to keep the dough from sticking when rolled.  So get a small bowl of flour, take part of the disk, and roll it in the flour before you roll out with the rolling pin.

Roll a ball of dough in the flour.

Roll a ball of dough in the flour.

Roll out the dough about 1/8-inch thick on flour-dusted surface. Cut out the cookies and transfer them to the cookie sheet, placing them 1 inch apart. Gently knead the scraps together and roll out again.  When you fill one cookie sheet, bake it for about 10 – 12 minutes while you prepare another sheet.

This cutter gives a nice uni-sex cookie.

This cutter gives a nice uni-sex cookie.

If you wish, you can use raisins and dried cranberries to make eyes, a mouth and buttons.  Chop the dried fruit into tiny pieces.

IMG_0413

Sometimes it is difficult to position those tiny pieces on the cookies. But remember those tweezers you keep in the kitchen to deal with cactus stickers?  Perfect for placing the eyes and buttons.

IMG_0408

To further decorate the cookies, perhaps make some shoes or pants, mix up some white frosting using powered sugar, a little butter and a few drops of milk.  If you have a decorator bag, use it to pipe out some decorations or just draw the decorations with a flat-end toothpick.  Either way, you’ll love your Mesquite Ginger Folk and you’ll love sharing them.

If you’d like to make some mesquite cookies but can’t face the cutting and decorating, you can use the same recipe to make drop cookies. Frost if you have time.

Mesquite Ginger Cookies in simple form.

Mesquite Ginger Cookies in simple form.

If you have not harvested your own mesquite meal, here are a few places to purchase it:  The Flor de Mayo Table at Sunday St. Phillips Farmers Market; the Native Seeds/SEARCH store at 3061 N. Campbell Ave. and http://www.nativeseeds.org for mail order; and the San Xavier Farm Store, http://www.sanxavierfarm.org.  If you are in Phoenix, check the farmers markets there.

For more great mesquite recipes, check out my cookbook Cooking the Wild Southwest: Delicious Recipes for Desert Plants. You’ll learn how to make Mesquite Apple Coffeecake, a fabulous rolled cake with mesquite and coconut, a a dozen other delicious recipes.


Versatile Tomatillo Salsa

Salsa Verde is the perfect addition to a tostada.

Salsa Verde is the perfect addition to a tostada.

When I was interviewing chefs for my book The New Southwest Cookbook back in 2005, tomatillos were the vegetable du jour — every chef had them on the menu, usually “blackened” or roasted to heighten the flavor.  I gained new respect for how versatile they are.

I planted six tomatillo plants in August and hoped for a plentiful harvest, I even dreamed about making enough green salsa to can or freeze. Alas, my homegrown tomatillos were so tiny they weren’t worth the trouble and I ended up buying tomatillos grown by a farmer who had a better technique.

My homegrown tomatillos next to commercial

My homegrown tomatillos next to commercial

In Mexico the tomatillo is called tomate verde, which means “green tomato.” However, tomatillos are not just small, underripe tomatoes, but a distinct vegetable in their own right. Tomatillos are the size of an apricot and covered with a papery husk. They are meatier and less juicy inside than a tomato.  Tomatillos are an essential part of Mexican cuisine and have been since the Aztecs domesticated them. Most tomatillos are harvested slightly underripe when then have a tart, slightly lemony flavor that adds zip to salsas.  As they fully ripen they turn more golden and become sweeter.

Tomatillos are the main ingredient in the classic salsa verde which includes tomatillos, sliced green onions, green chiles of some variety, garlic and cilantro.  Salsa verde can be served raw or very lightly cooked. Of course, you can always put your own spin on salsa verde by using the herbs you have fresh in your garden.

To prepare tomatillos, remove the husk and rinse off the stickly substance on the skin. Rub them with a little oil and then put them under the broiler until they are soft and just slightly brown.

Roast the tomatillos until soft.

Roast the tomatillos until soft.

I love the flavor of poblano chiles in anything, so I roasted a couple of those while the tomatillos were cooling.  When their skins were charred on all sides, I put them in a paper bag to sweat for about 10 minutes (OK, 5 minutes, I was impatient).  This makes them easy to peel.  Also take off the stem and the seeds.

Nicely charred poblano chiles.

Nicely charred poblano chiles.

Next it is time to get creative.  Put your tomatillos, skin and all into the blender with some sliced green onions, some peeled garlic cloves, and the peeled chiles. If you want a little more heat, add a half or whole jalapeno, chopped. (And of course you remember to use gloves while chopping the jalapeno and don’t touch your eyes.)  Add some chopped cilantro. I had some lovely fresh basil, so I added that as well. Blend well until you have a nice smooth consistency.  The chef at Medizona, a top Scottsdale restaurant, added a little apple juice to mellow out the tartness.


Blend together tomatillos, chiles, onions, garlic and herbs.

Blend together tomatillos, chiles, onions, garlic and herbs.

So now you have this wonderful salsa.  How to use it?  Try it on tacos or tostadas (photo top of post) or as a sauce for chicken, pork chops or even shrimp.

Salsa Verde on broiled chicken.

Salsa Verde on broiled chicken.

Charboiled Tomatillo Sauce from Medizona

Feel free to vary the amounts in this recipe.  As they say, “for reference only.”

1/4 pound tomatillos

1 tablespoon olive oil

2 poblano chiles

1/2 jalapeno (optional)

3 green onions, sliced

1/2 cup chopped cilantro leaves

5 cloves garlic, peeled

1/4 cup apple juice

Salt and pepper to taste.

1. Remove husks from tomatillos, wash and rub with oil. Put under boiler until soft and slightly browned. Let cool.

2. Broil or grill poblano chiles until all sides are charred. Sweat in paperbag until skins remove easily. Peel and deseed.

3. Combine all ingredients in a blender and whirl until smooth.  If using on hot food, heat in a saucepan before serving.


And just for fun, here’s a garnish tip I learned from Chef Janos Wilder. Carefully loosen the husk from tomatillos, peel them back and you have a lovely flower. They are a great addition to a cheese plate or relish tray for a party.

IMG_0130____________________________

For more great Southwestern recipes using local ingredients or fruits and vegetables from the wild, check out my cookbooks Cooking the Wild Southwest (University of Arizona), The Prickly Pear Cookbook (Rio Nuevo Press), or The New Southwest Cookbook (Rio Nuevo Press).