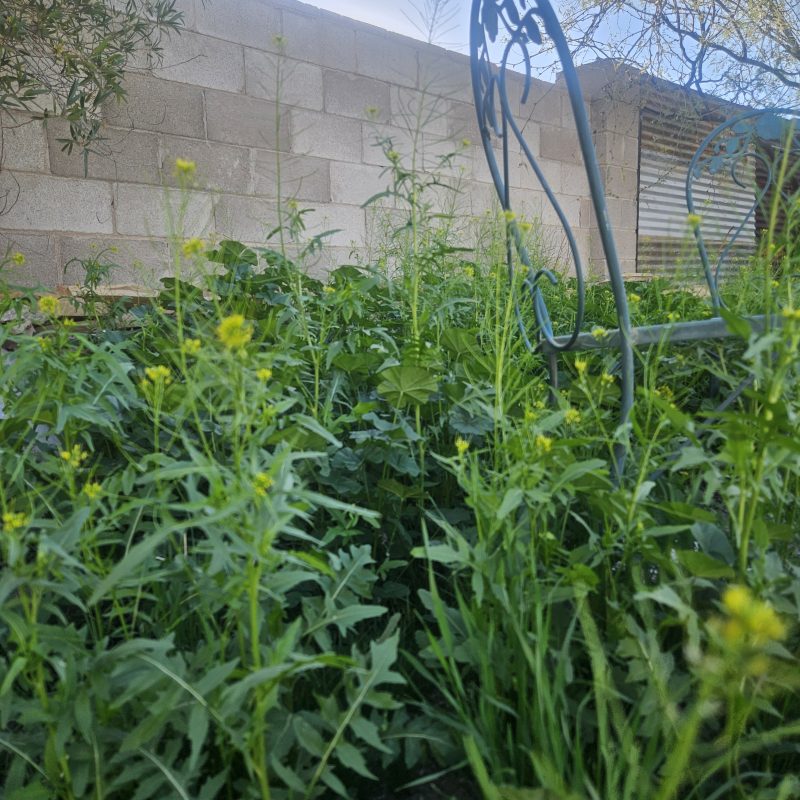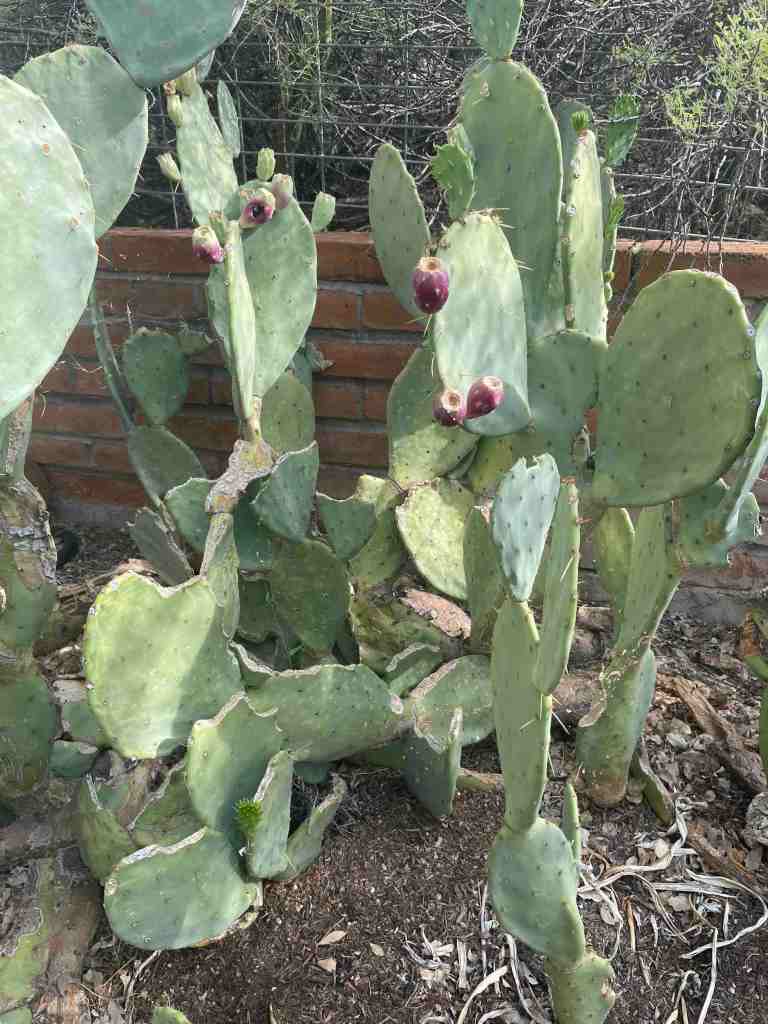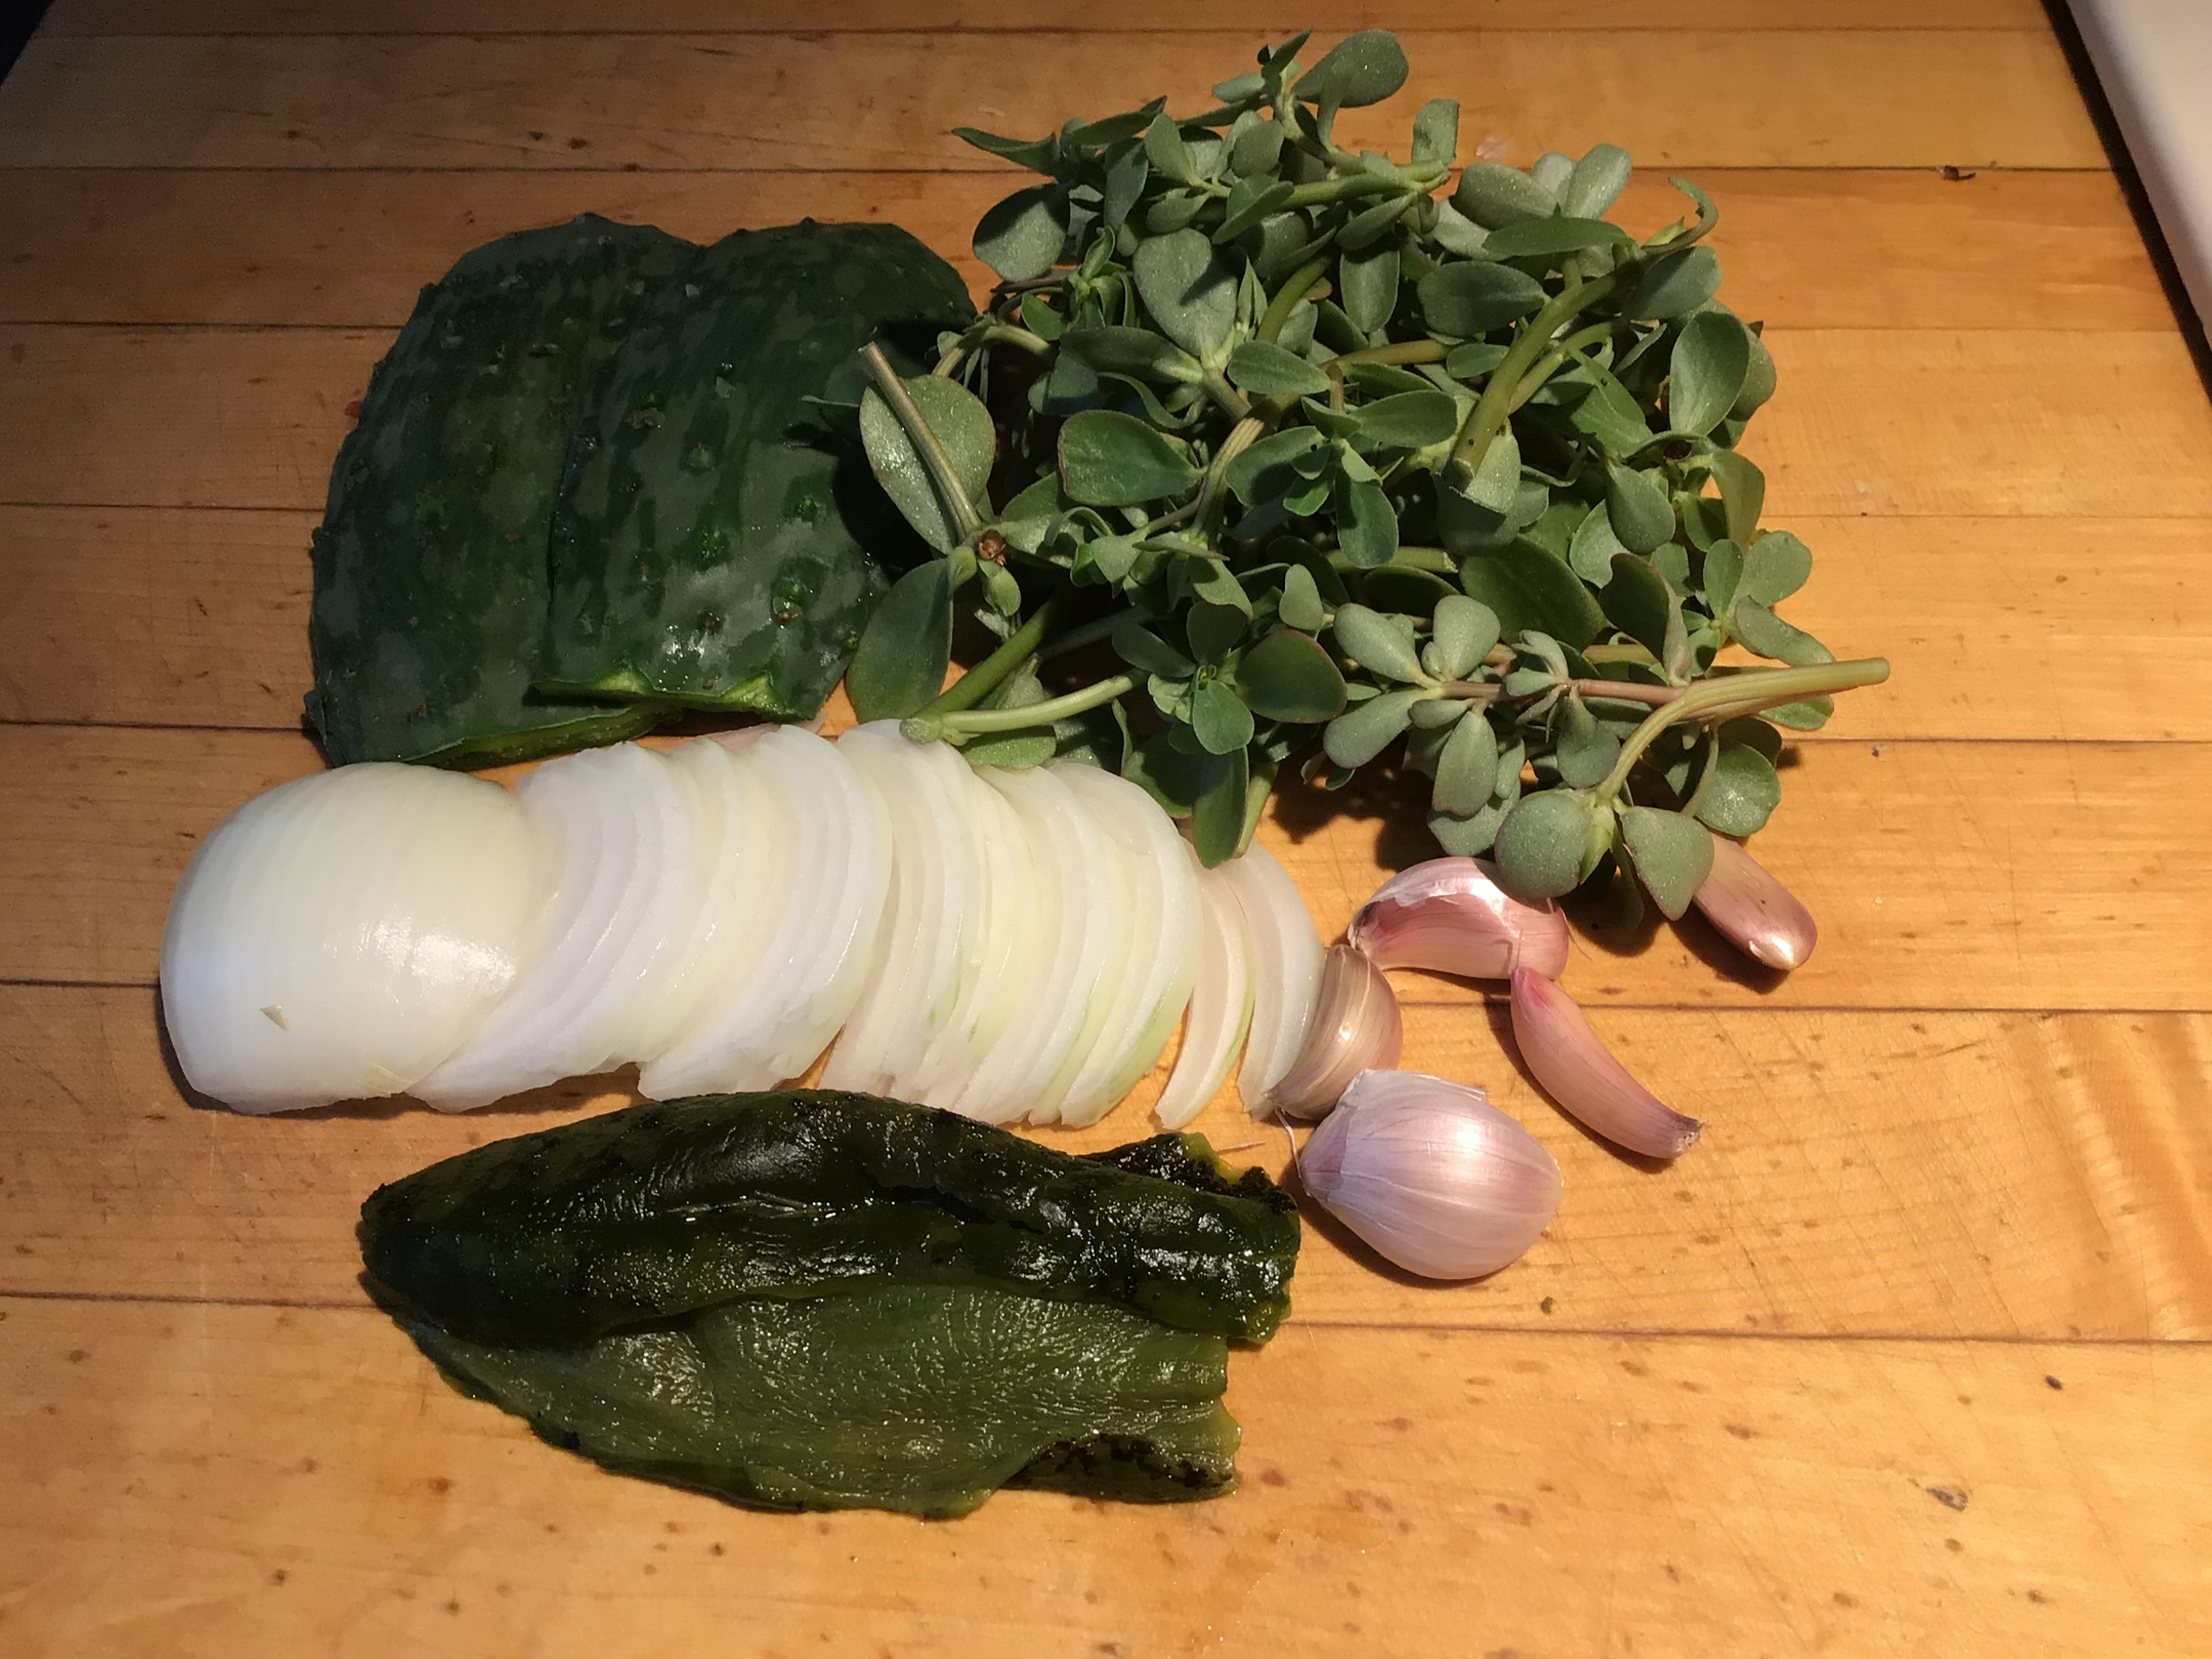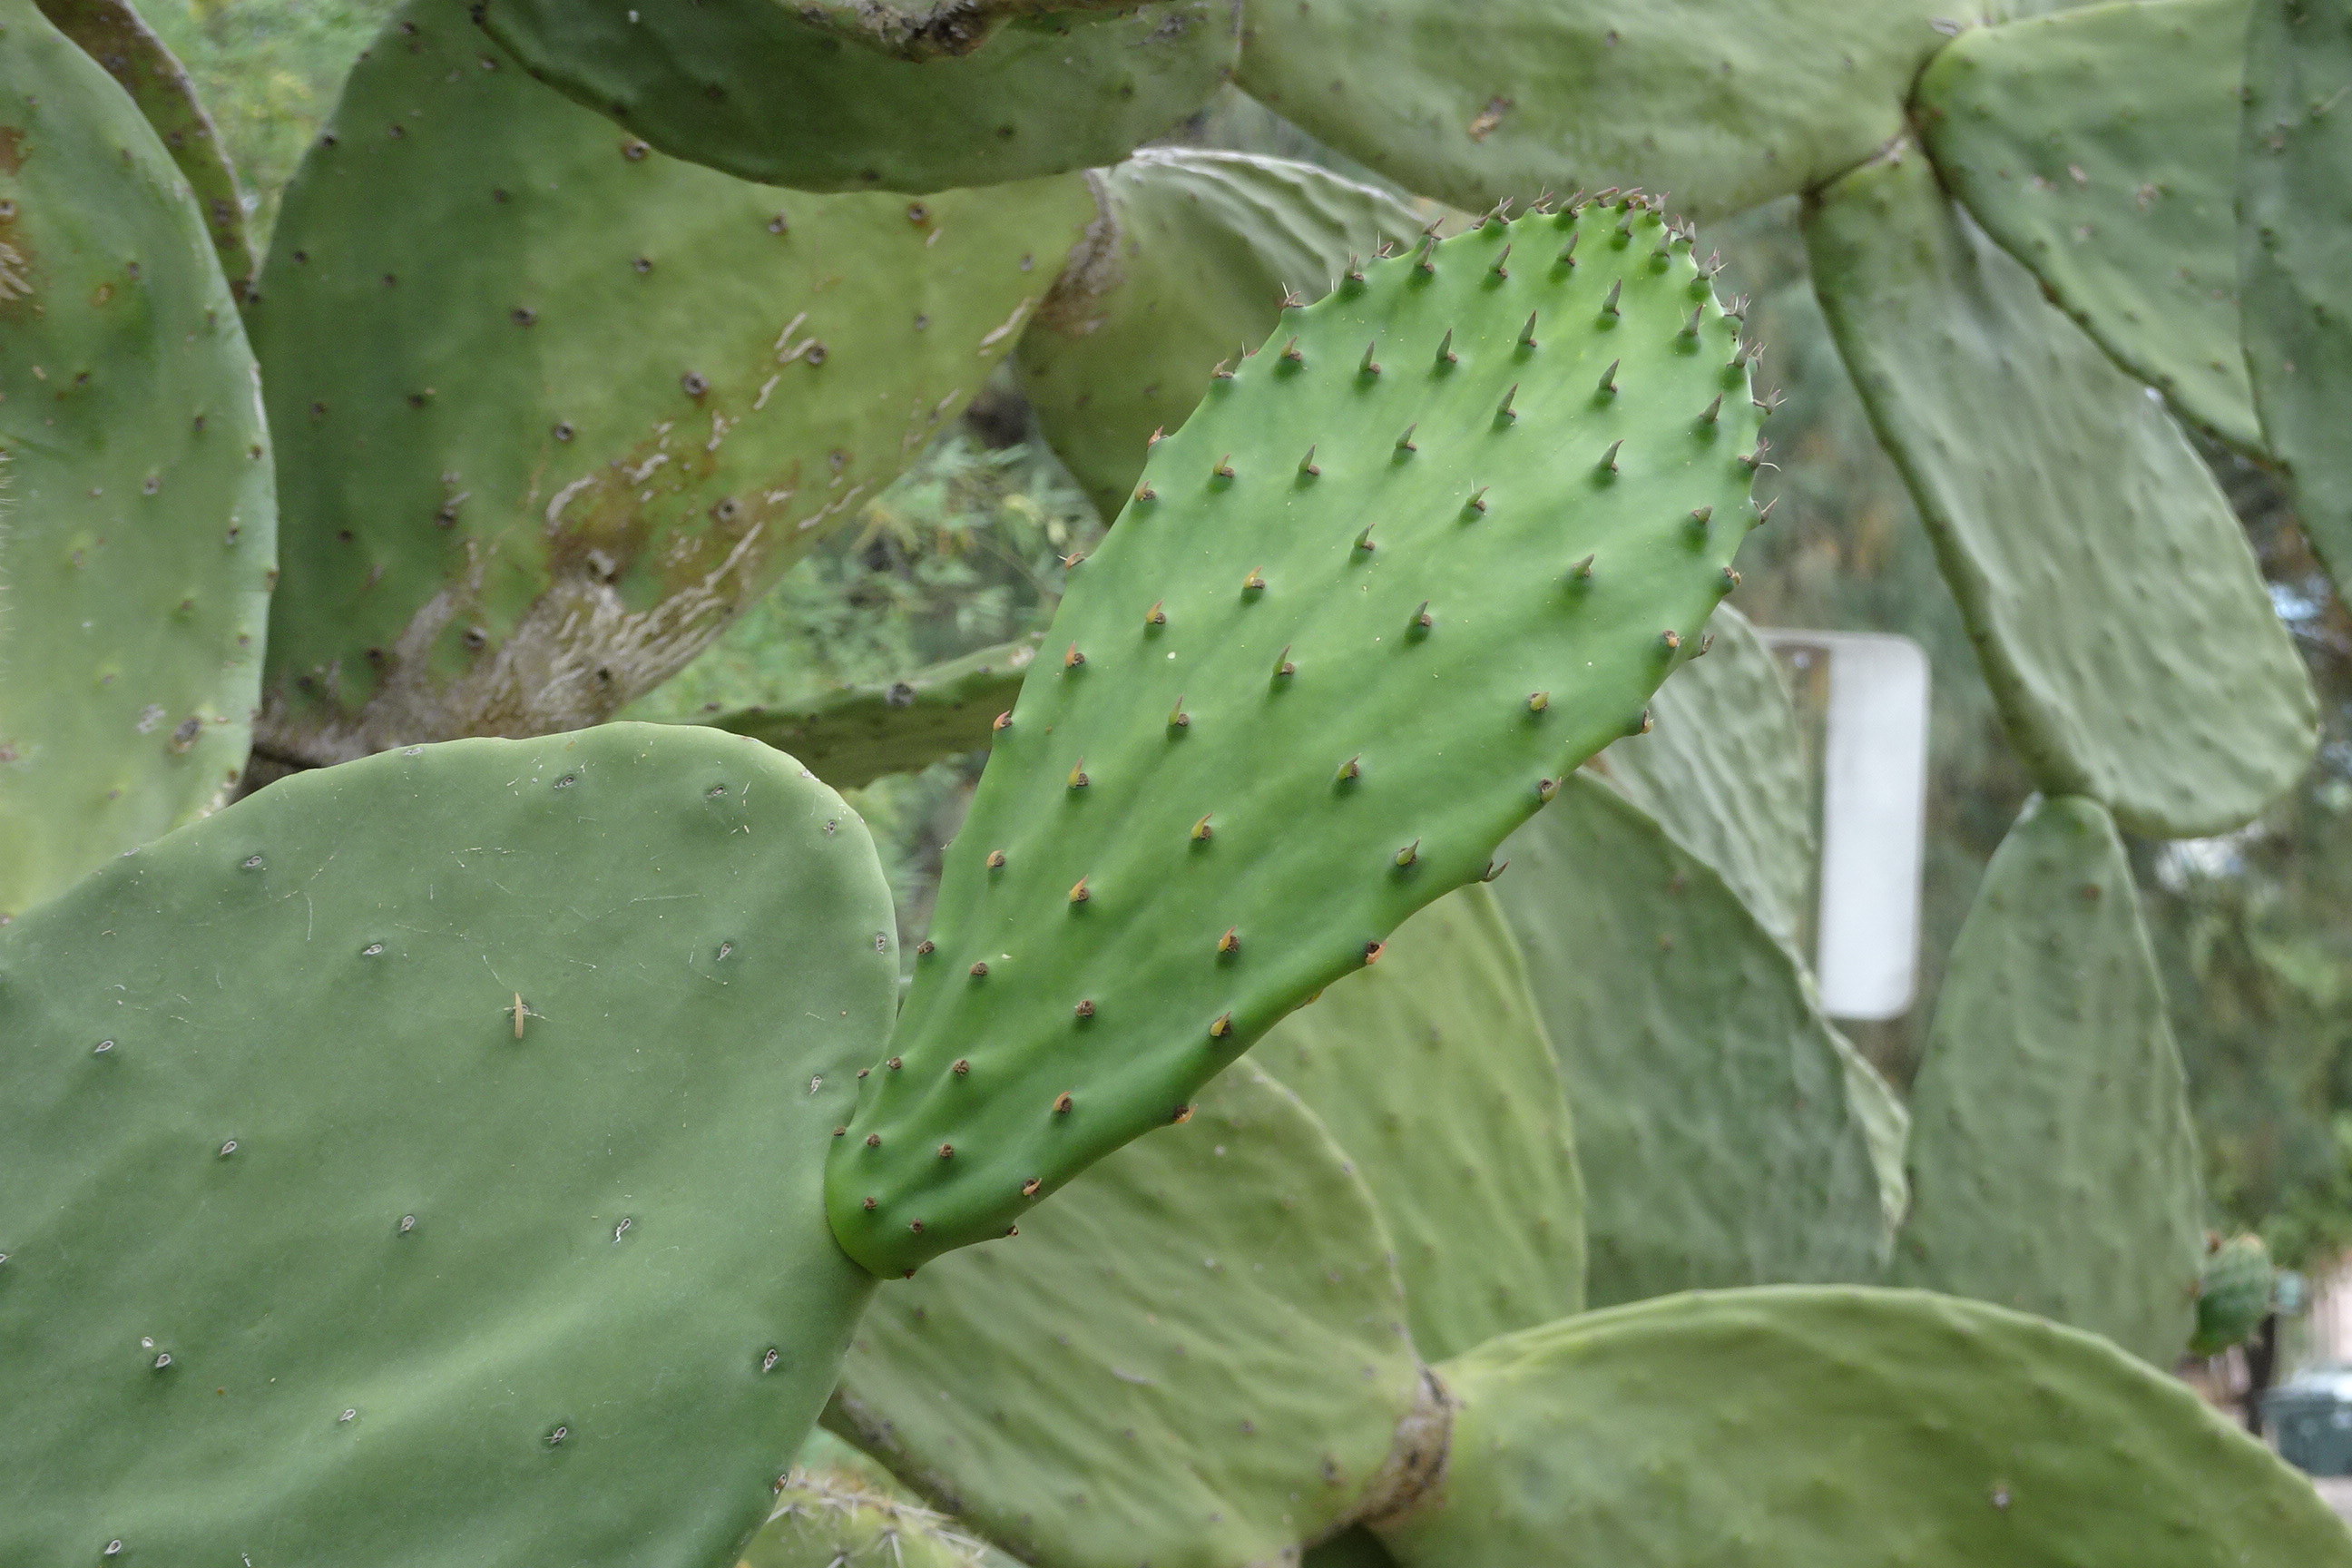
When spring comes to the desert it’s time for the prickly pear cactus to send out their new pads, in Mexico called nopales or pencas. This is when they are are tender and perfect to harvest for food. Later in their lives, they develop a woody interior structure.
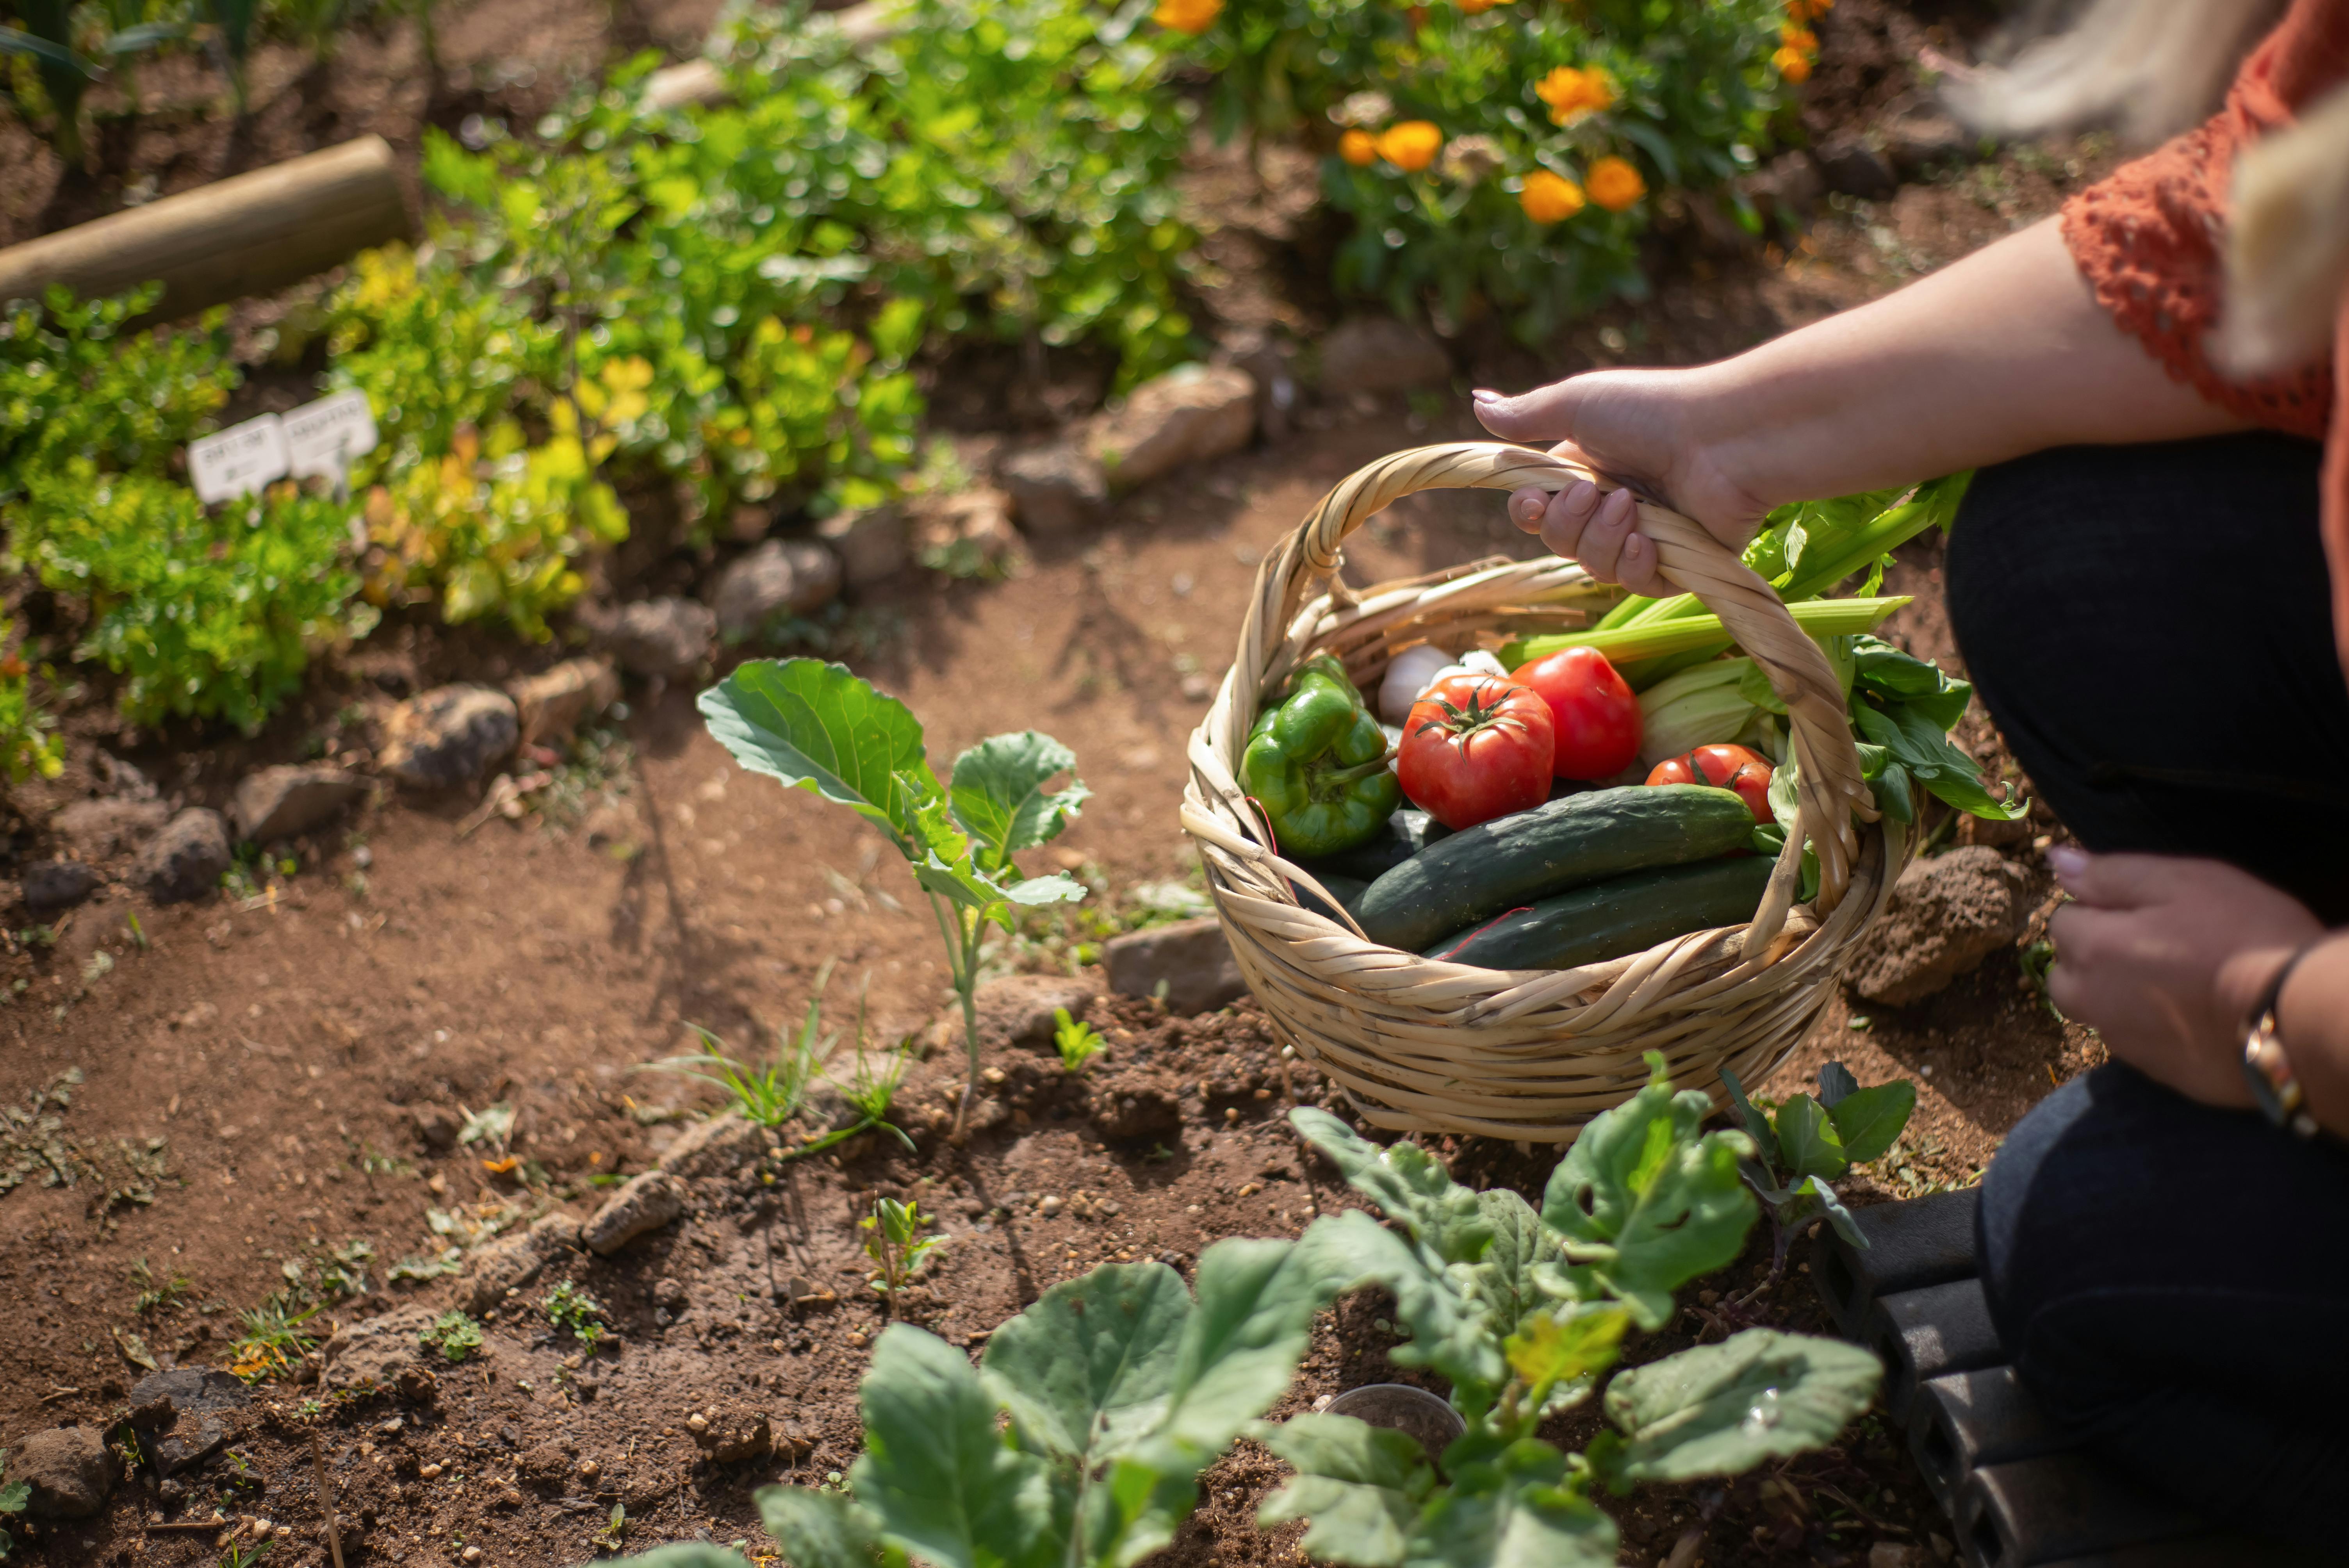
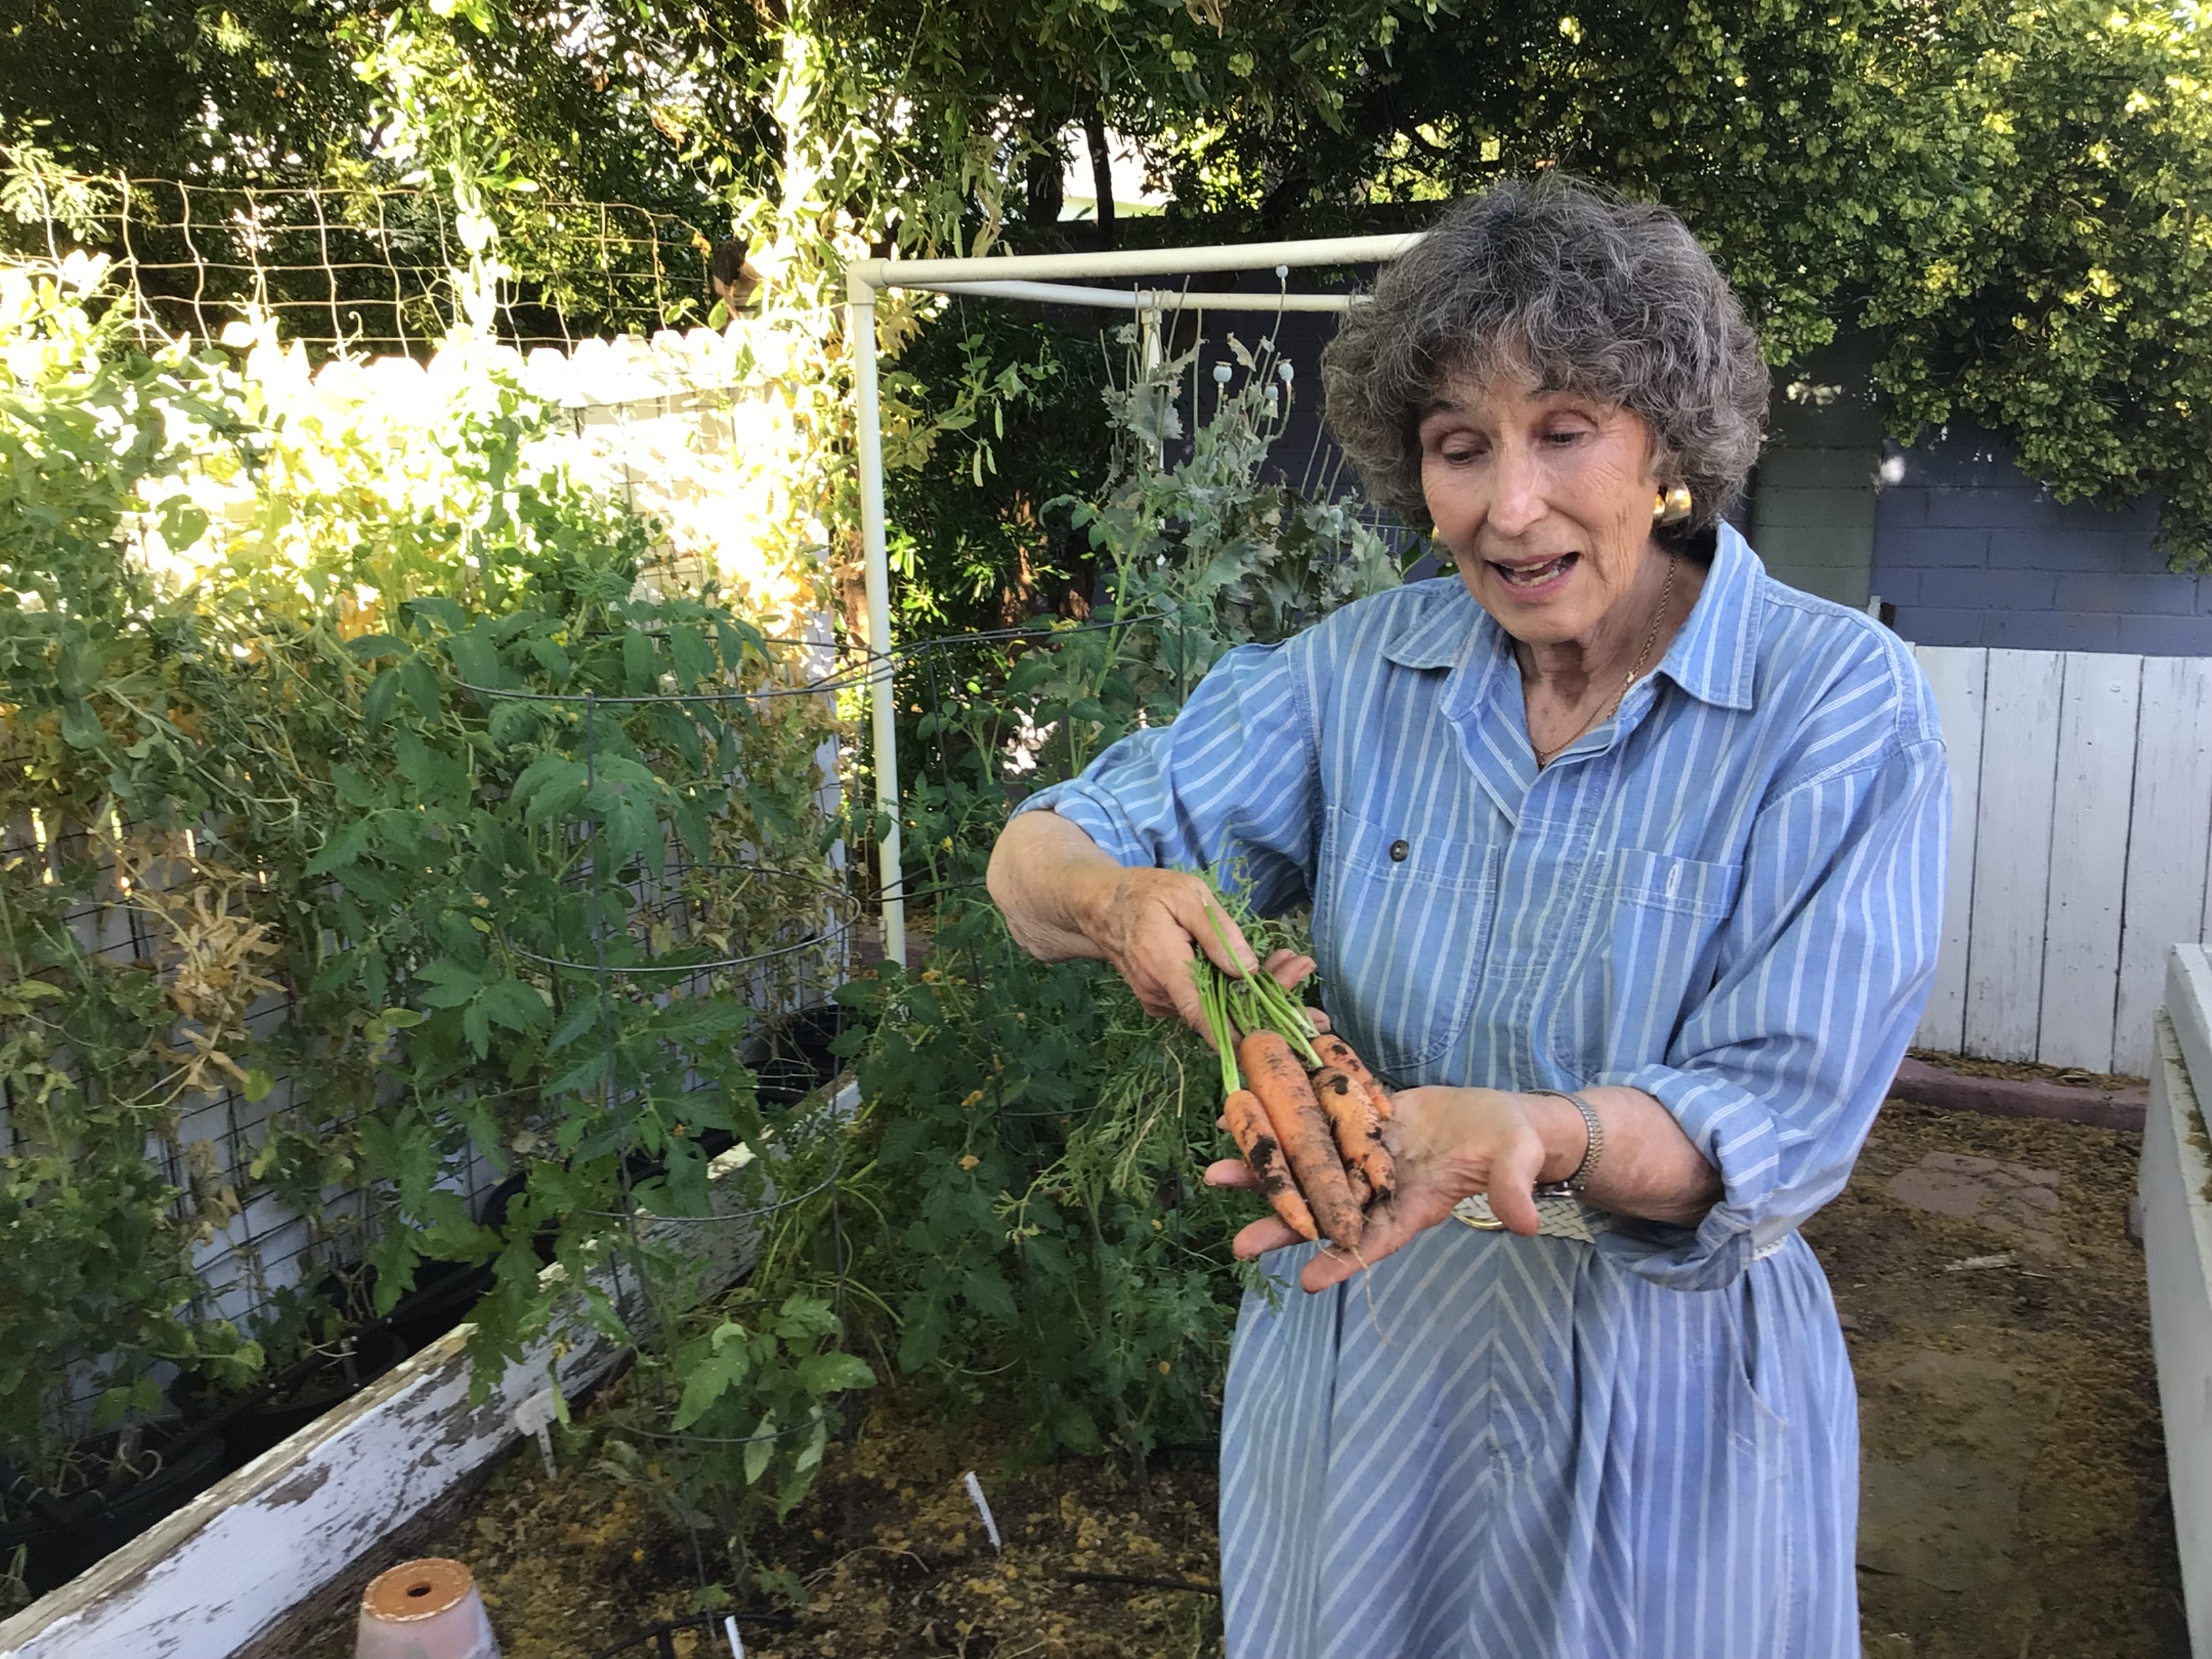
It’s Carolyn today. Although I have loved gathering wild foods for half a century, I also deeply enjoy my garden. This year was a fabulous carrot year for me. So my thoughts went to combining carrots and nopales.
Although all prickly pear pads are edible, the easiest to clean are the tall Mexican type called Opuntia ficus indica. These don’t grow wild in the US, preferring the comfort of a garden where they can be watered and protected from the occasional freezing night.
The nopales (or nopalitos when cut up small) are a common vegetable in Mexico and found frequently in Mexican restaurants. They are a long-time Mexican folk remedy for cholesterol and blood sugar issues.When a team of medical investigators did some experiments about 20 years ago, they found that the traditional knowledge was true!
Now researchers in the US and Europe are using sophisticated laboratory techniques to investigate prickly pear fruits, pads, flowers and seeds as a cure for a wide array of ills. They think they have properties that are antioxidant, antiviral, anti-tumor, anti-diabetic, anti-parasitic, and anti-cancer. Good reasons to include them in your diet!
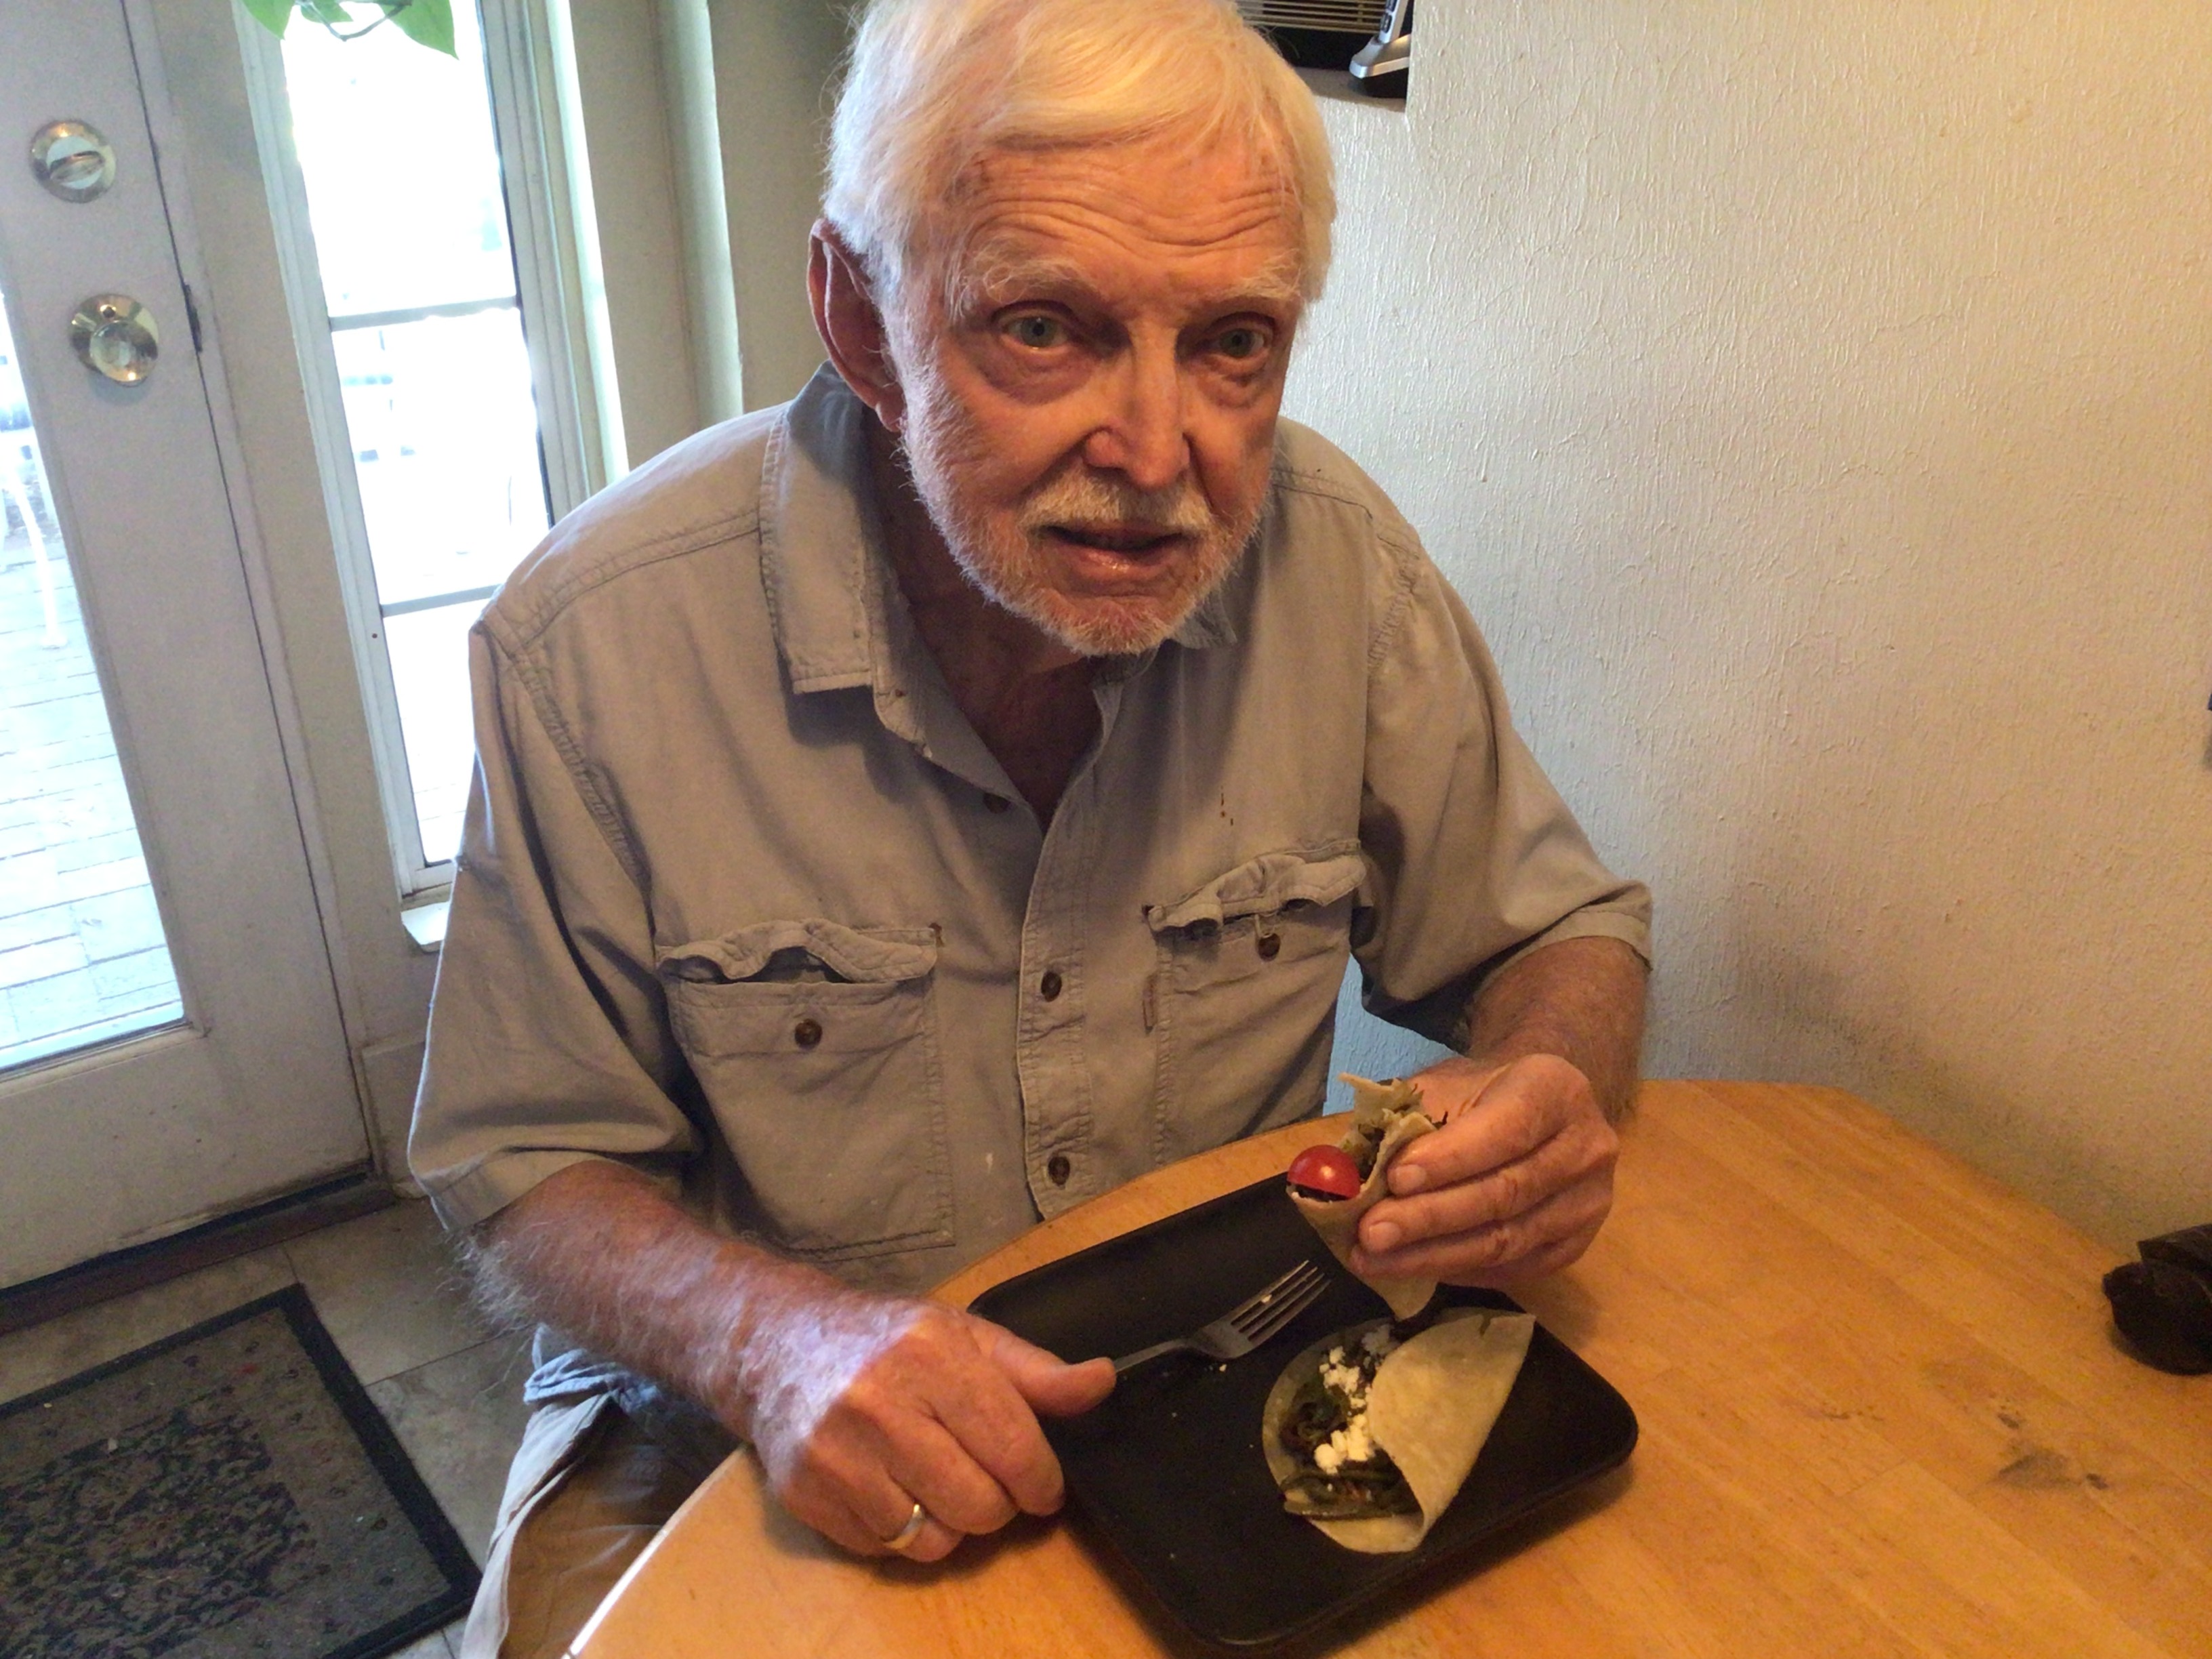
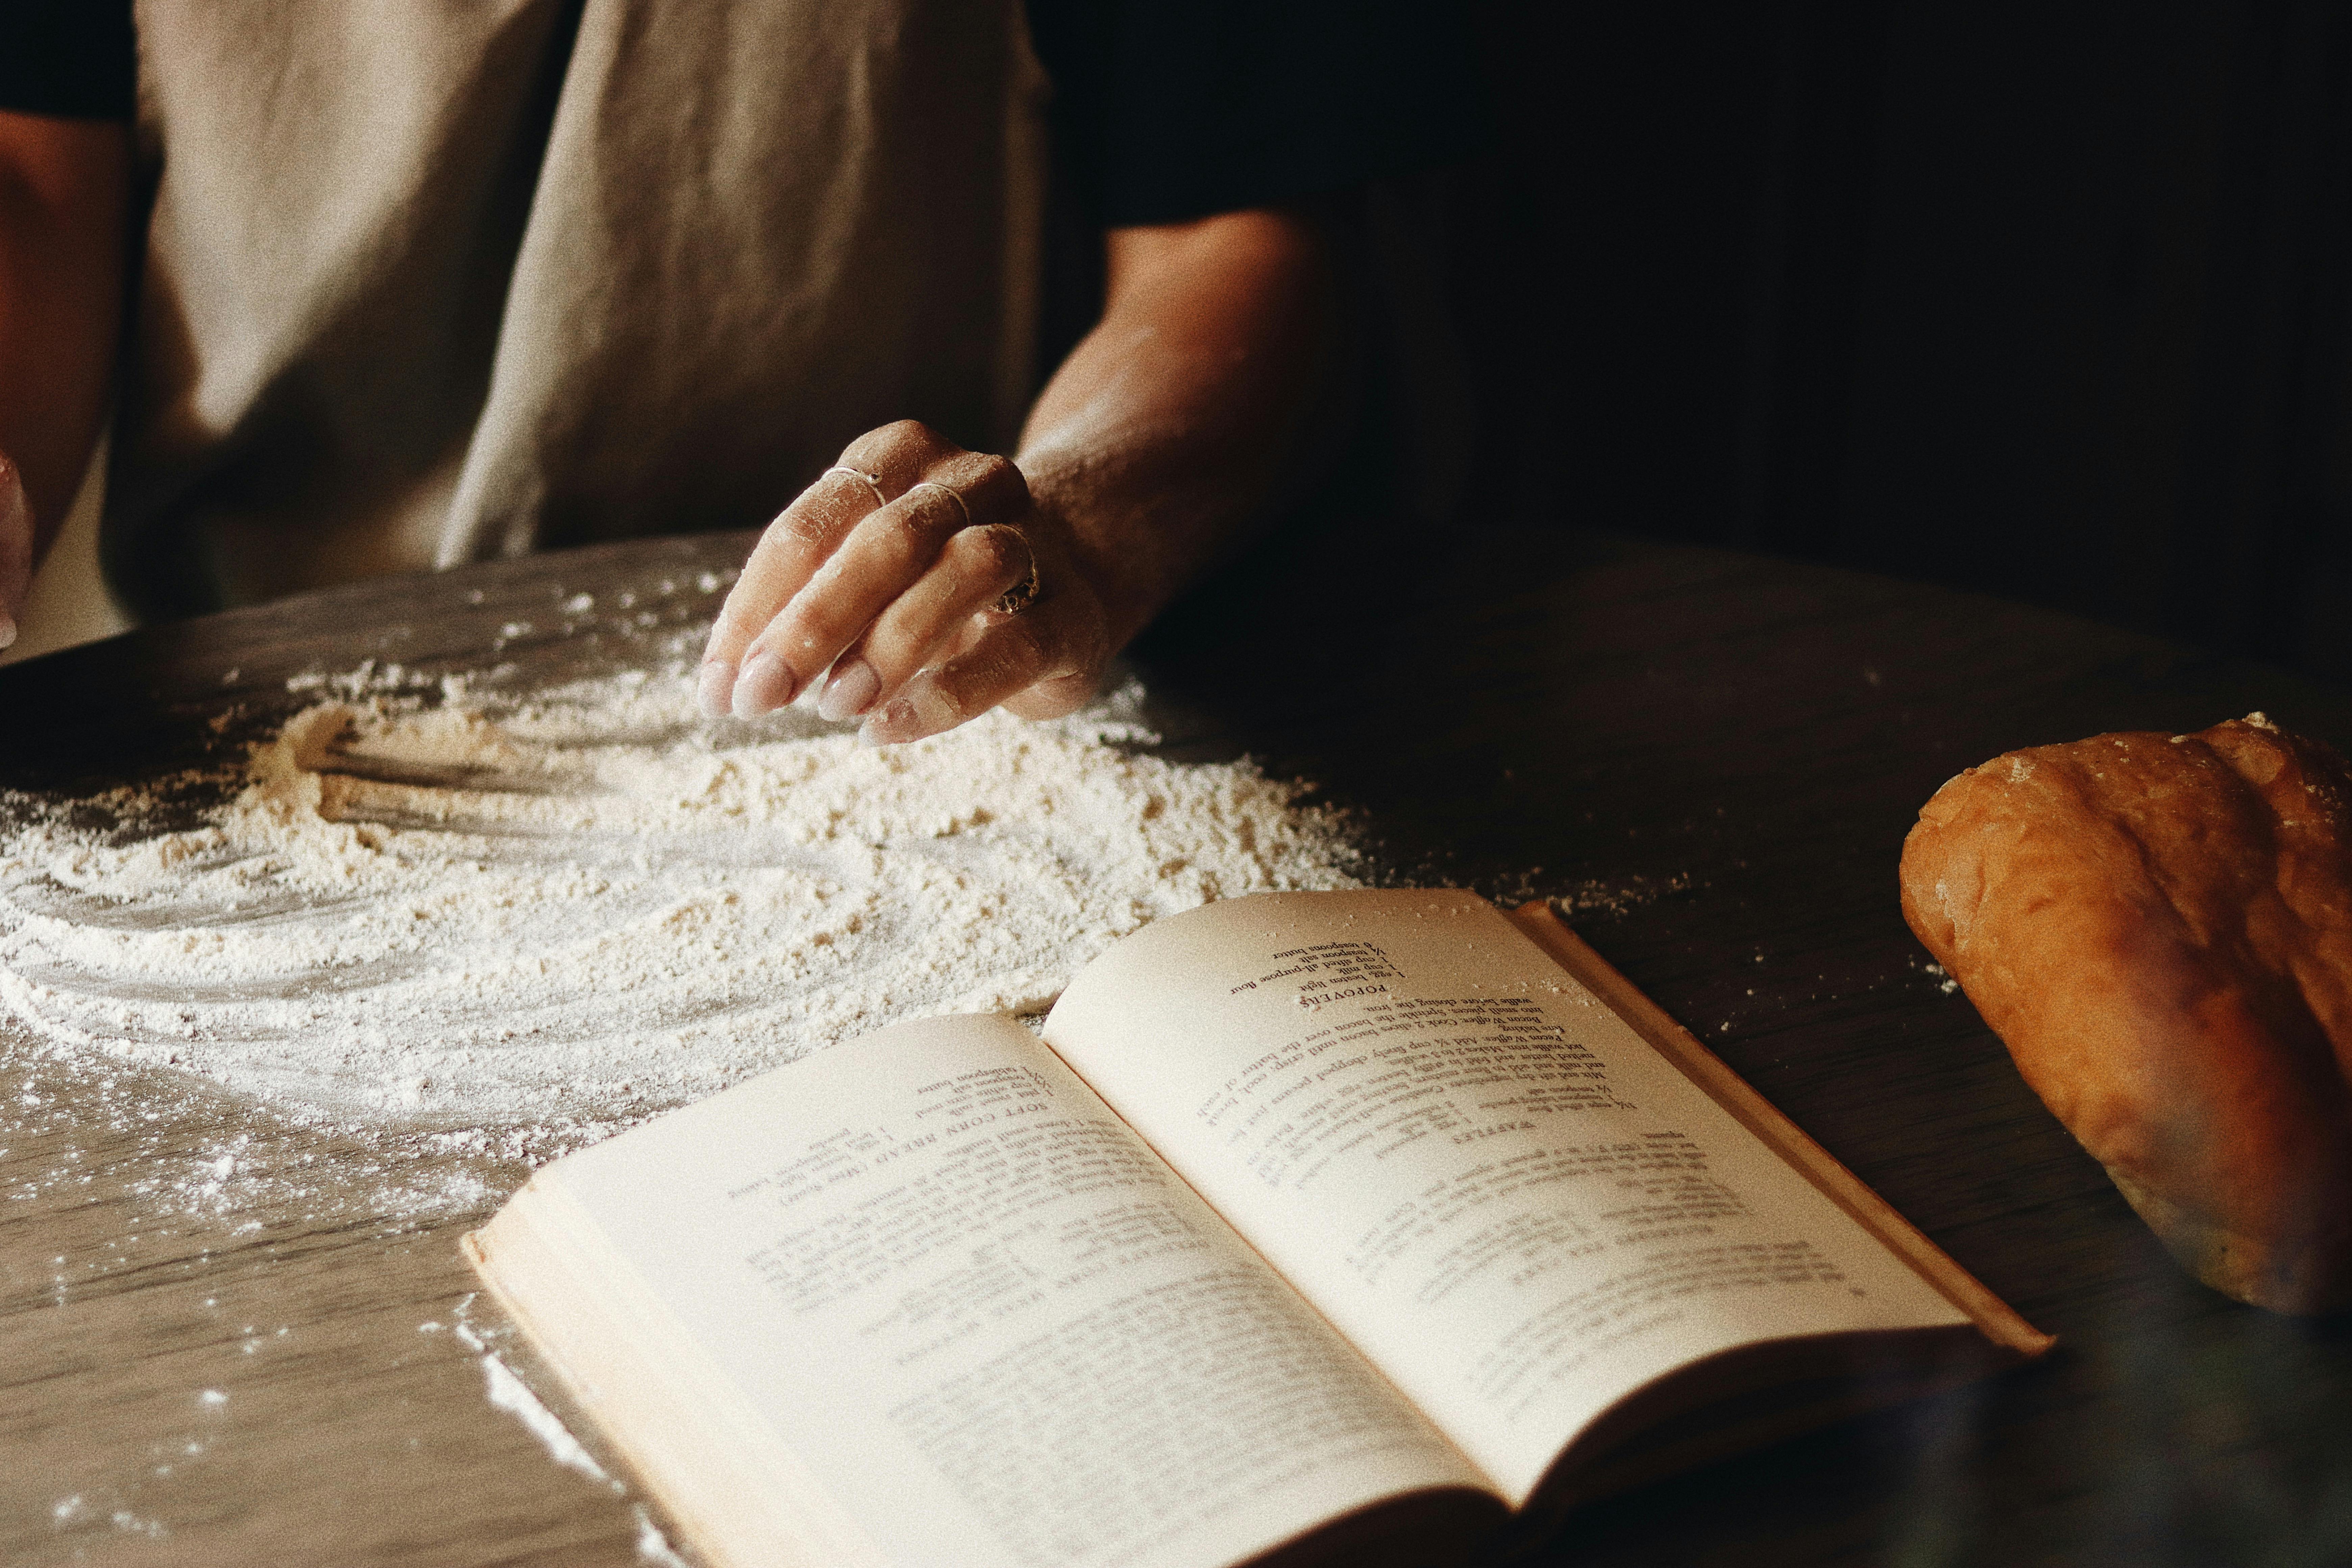
If you love trying new foods, you’ll want to share them with family and friends. It’s best to introduce something unusual in the context of something familiar. This easy recipe fills the bill and is delicious as well.
Roasted Nopales and Carrots
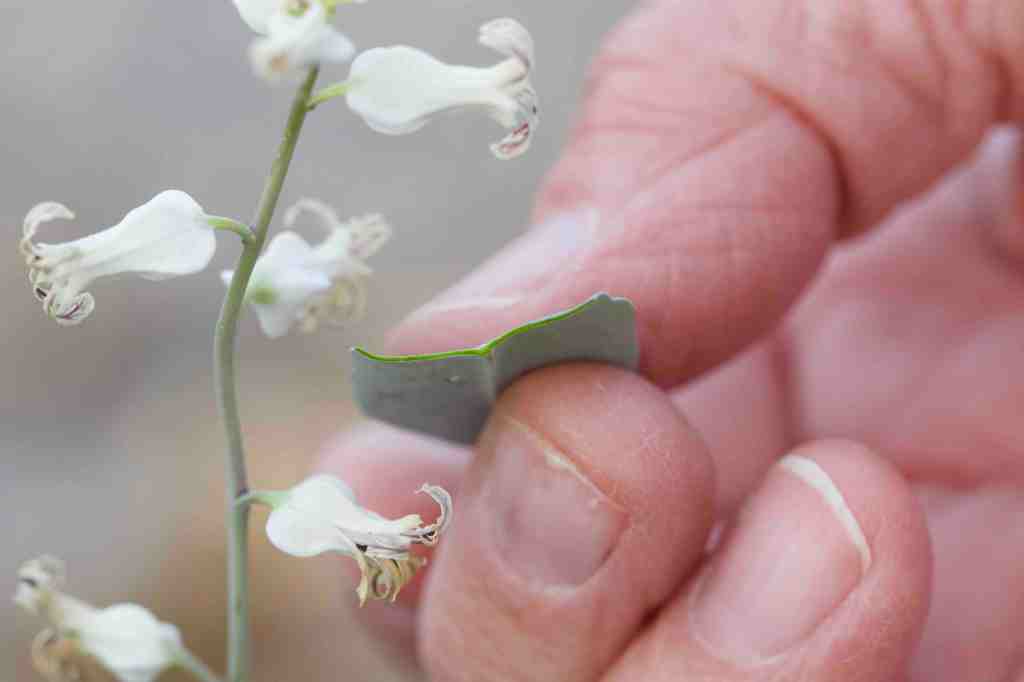
First, you’ll have to clean the prickly pear pad. Using gloves, scrape against the stickers using a steak knive and rinse to made sure they are clean.
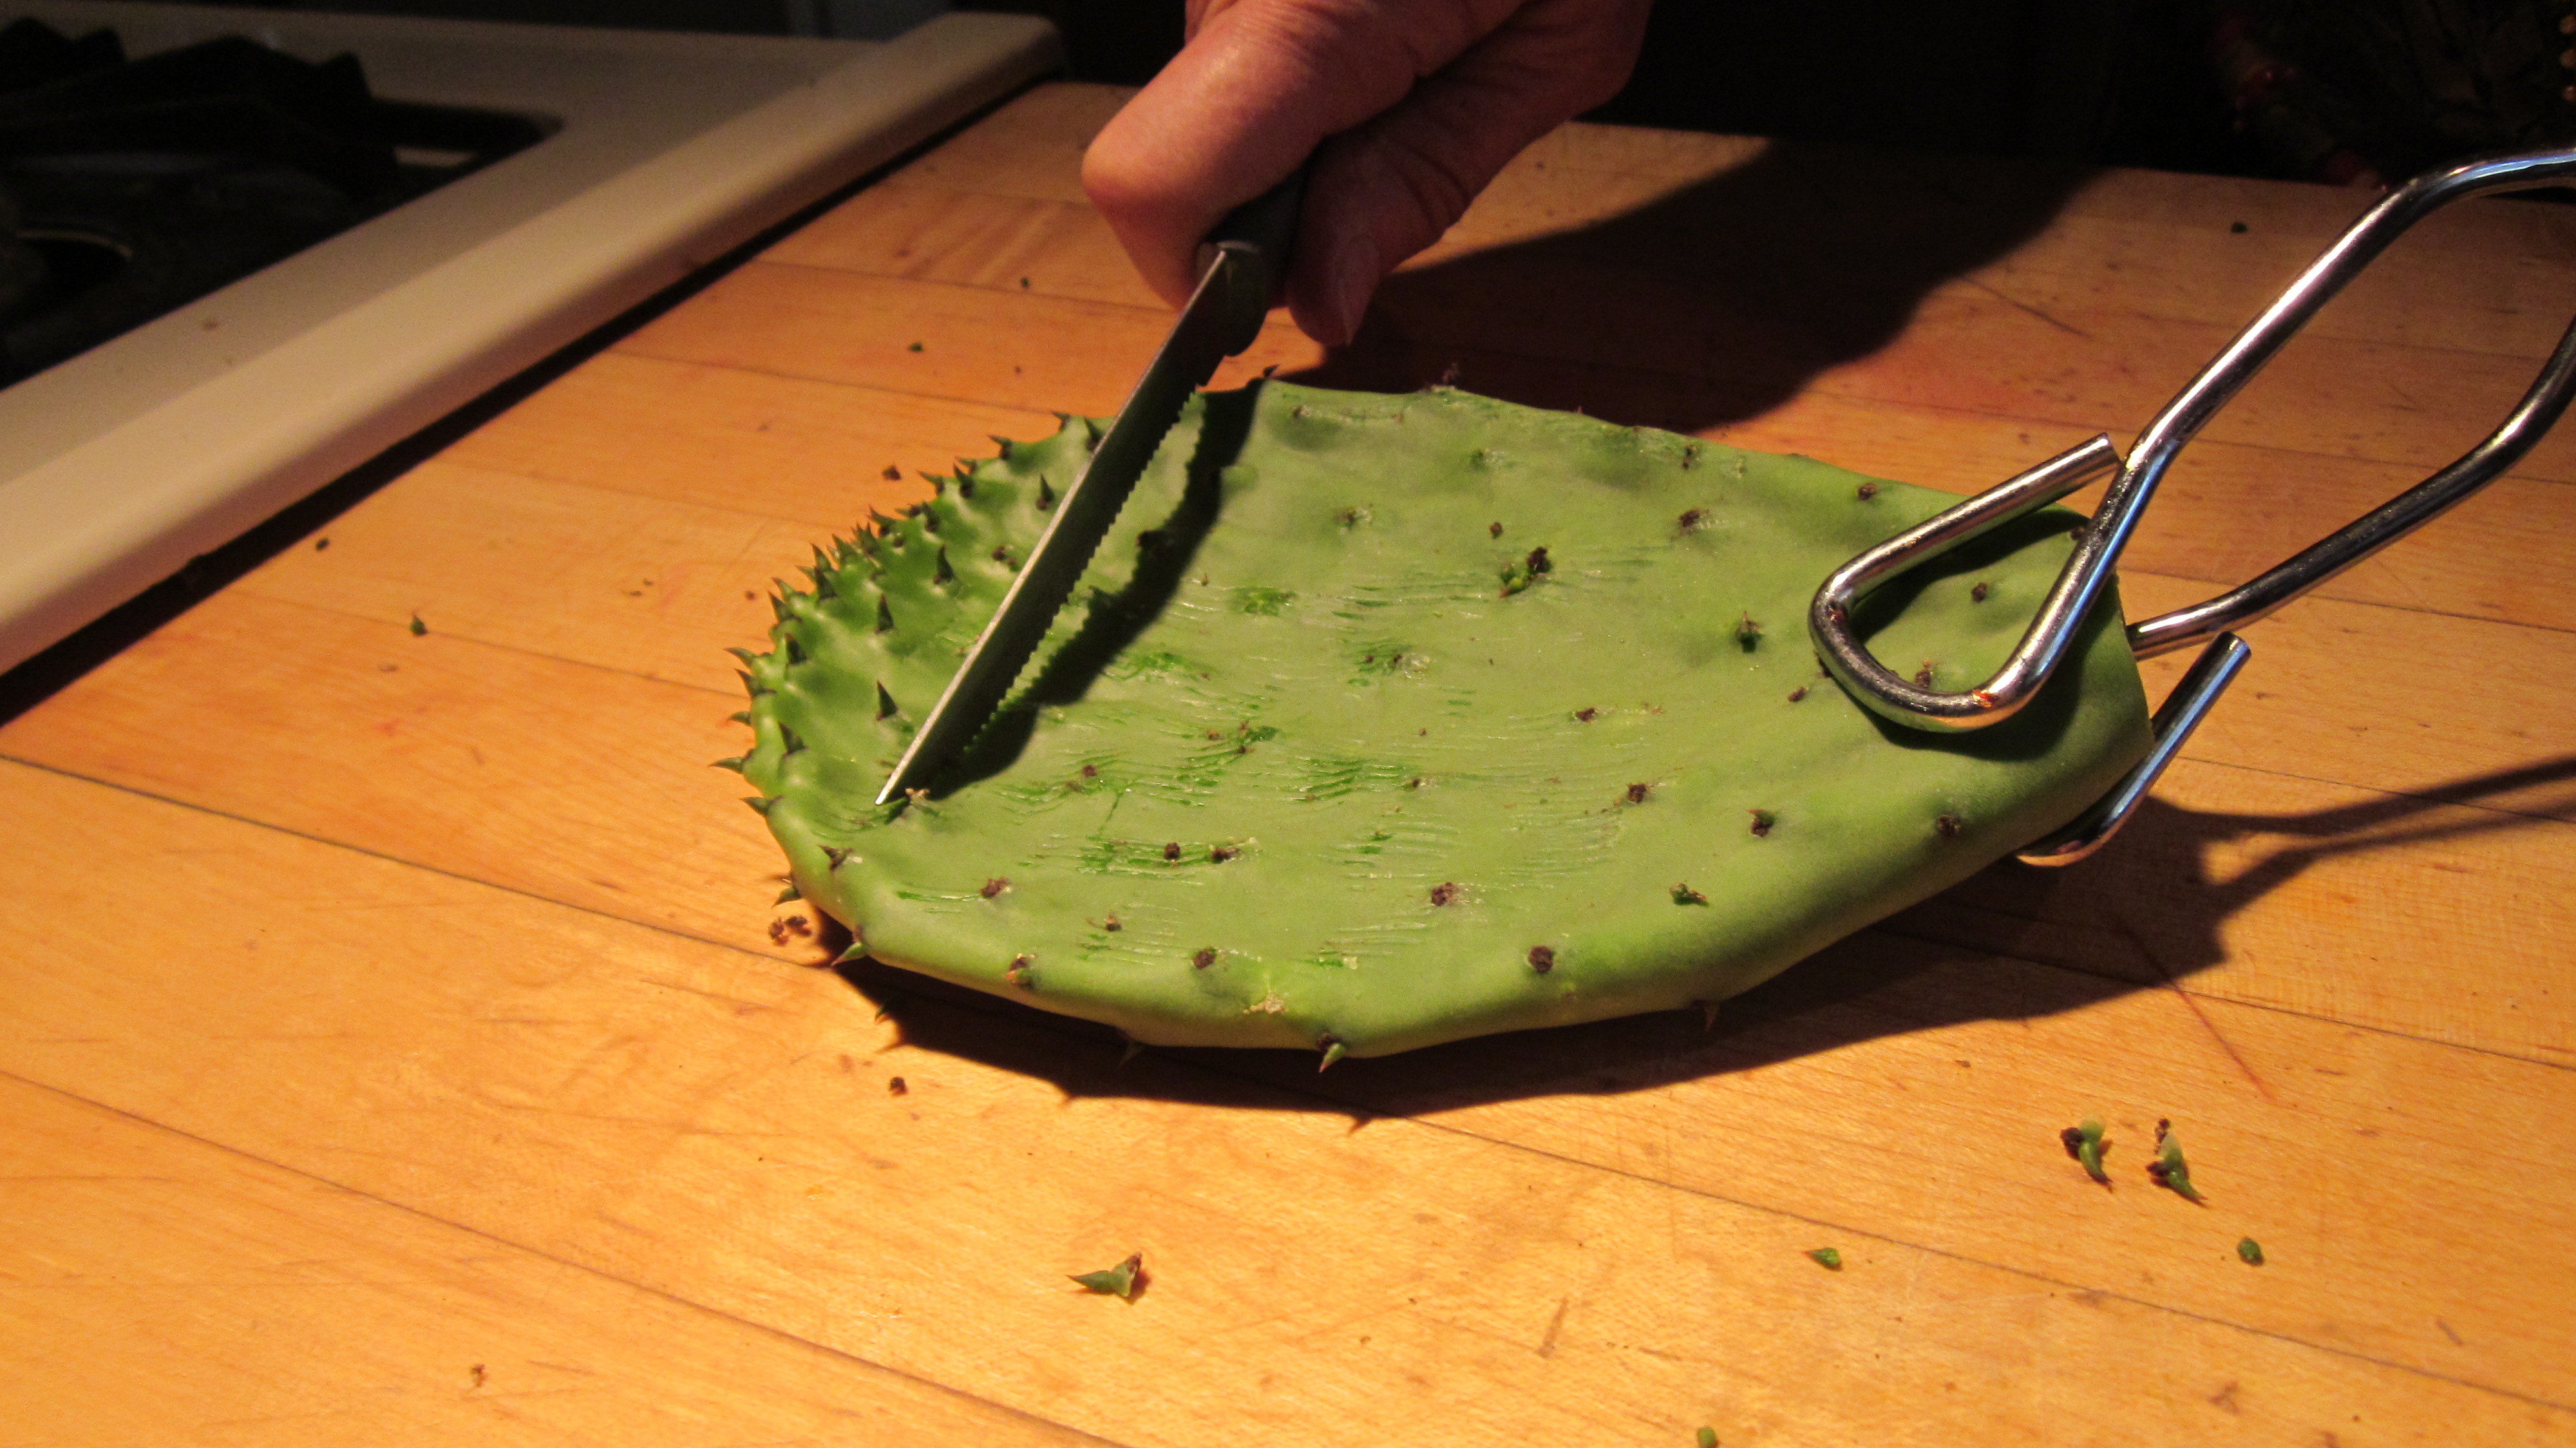
Scrape against the stickers until the pad is clean.
This recipe does not use exact amounts because it is very flexible. Use what you have. From one medium prickly pear pad, I cut about 24 match-stick size pieces. I used three medium-sized carrots to make 24 small pieces. You can also add other vegetables such pencil-thin asparagus, rutabaga, or beets.
Put the cut vegetables in a small bowl and drizzle in a little olive oil and toss to cover. Arrange on a cookie sheet lined with parchment paper or aluminum foil. Sprinkle with your favorite spices. I used seasoned salt, pepper, and Trader Joe’s citrus-garlic mix. Be generous as this will give your finished dish vibrant flavor. Bake in a 400 degree oven for 20 minutes.
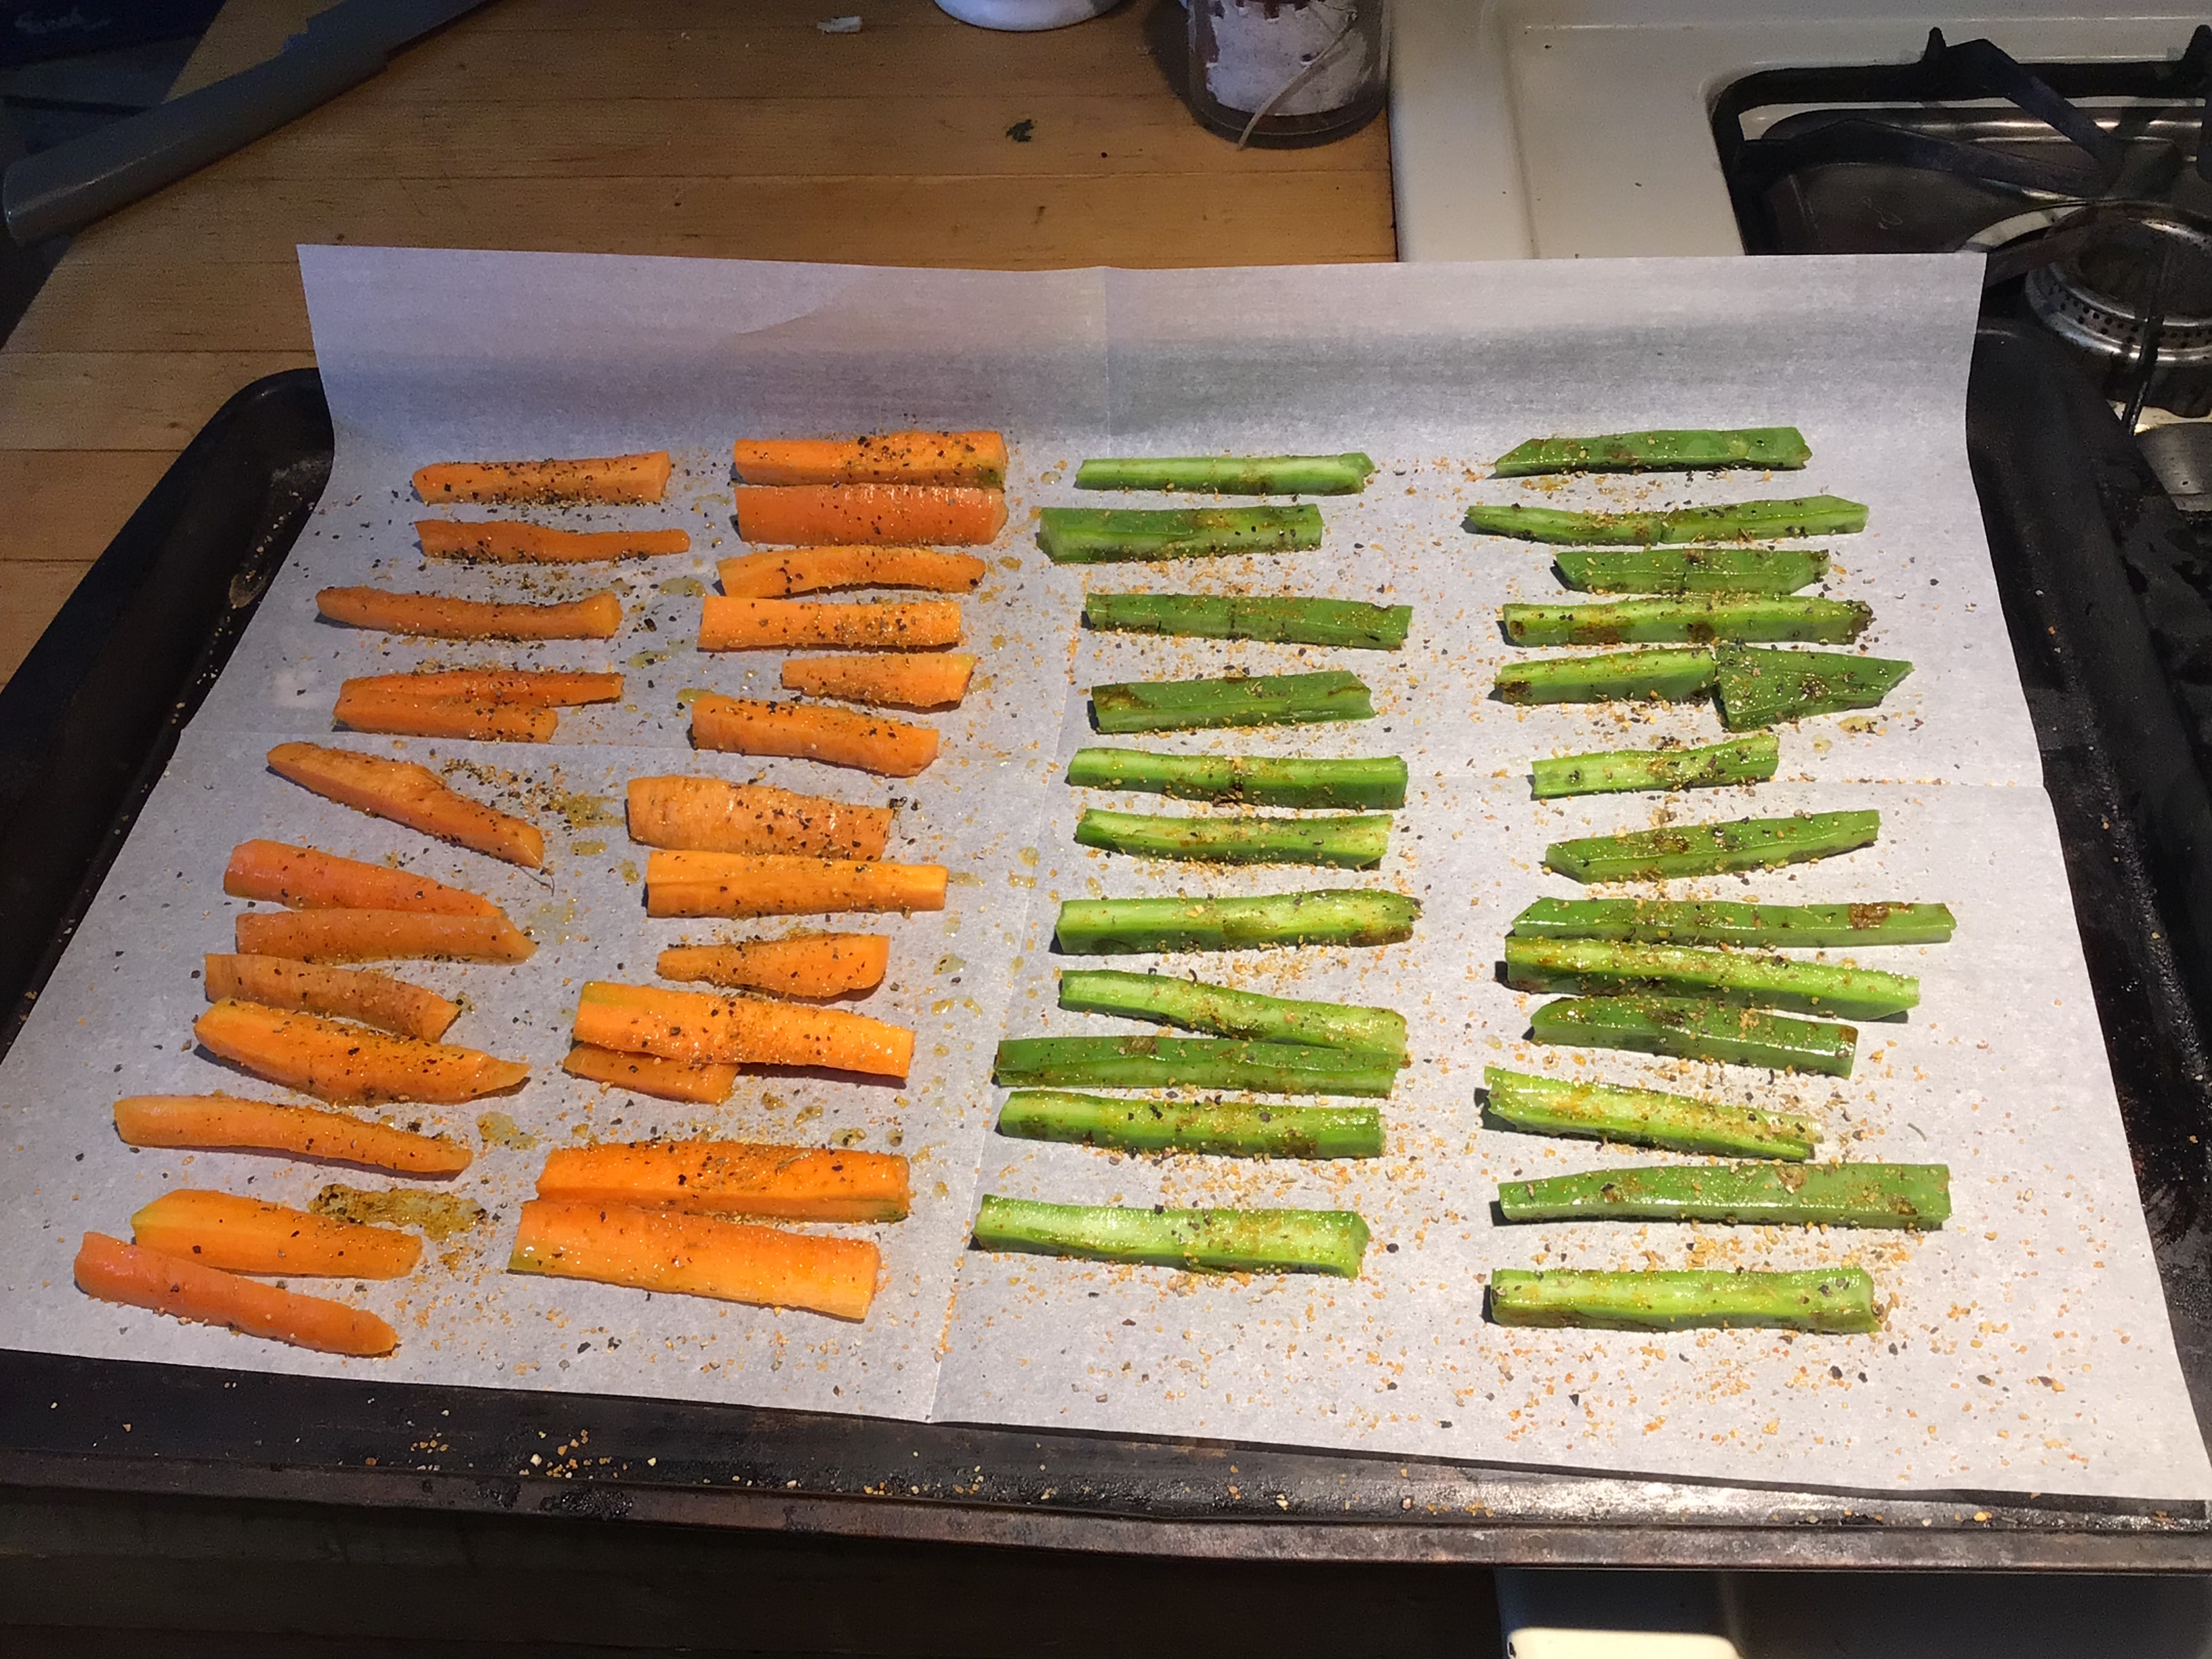
Vegetables ready for roasting.
Tip: After roasting, I realized that the cactus pieces had shrunk to half the size of the carrots, changing the proportions of the dish. I suggest using twice the amount of cactus to other vegetables.
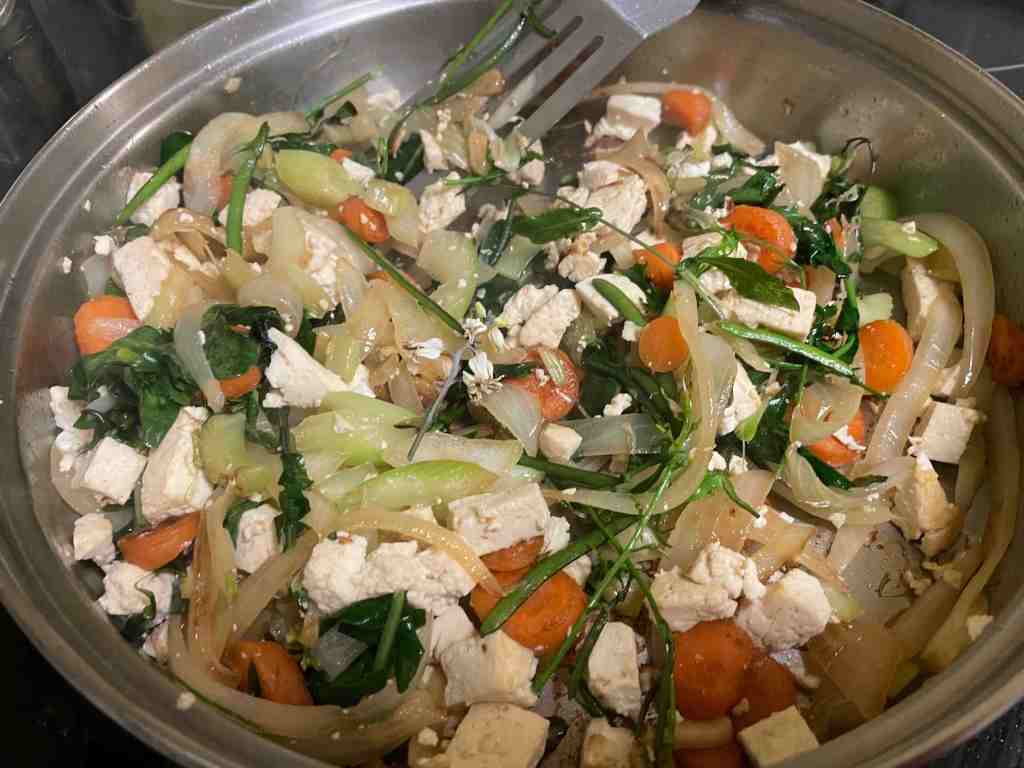
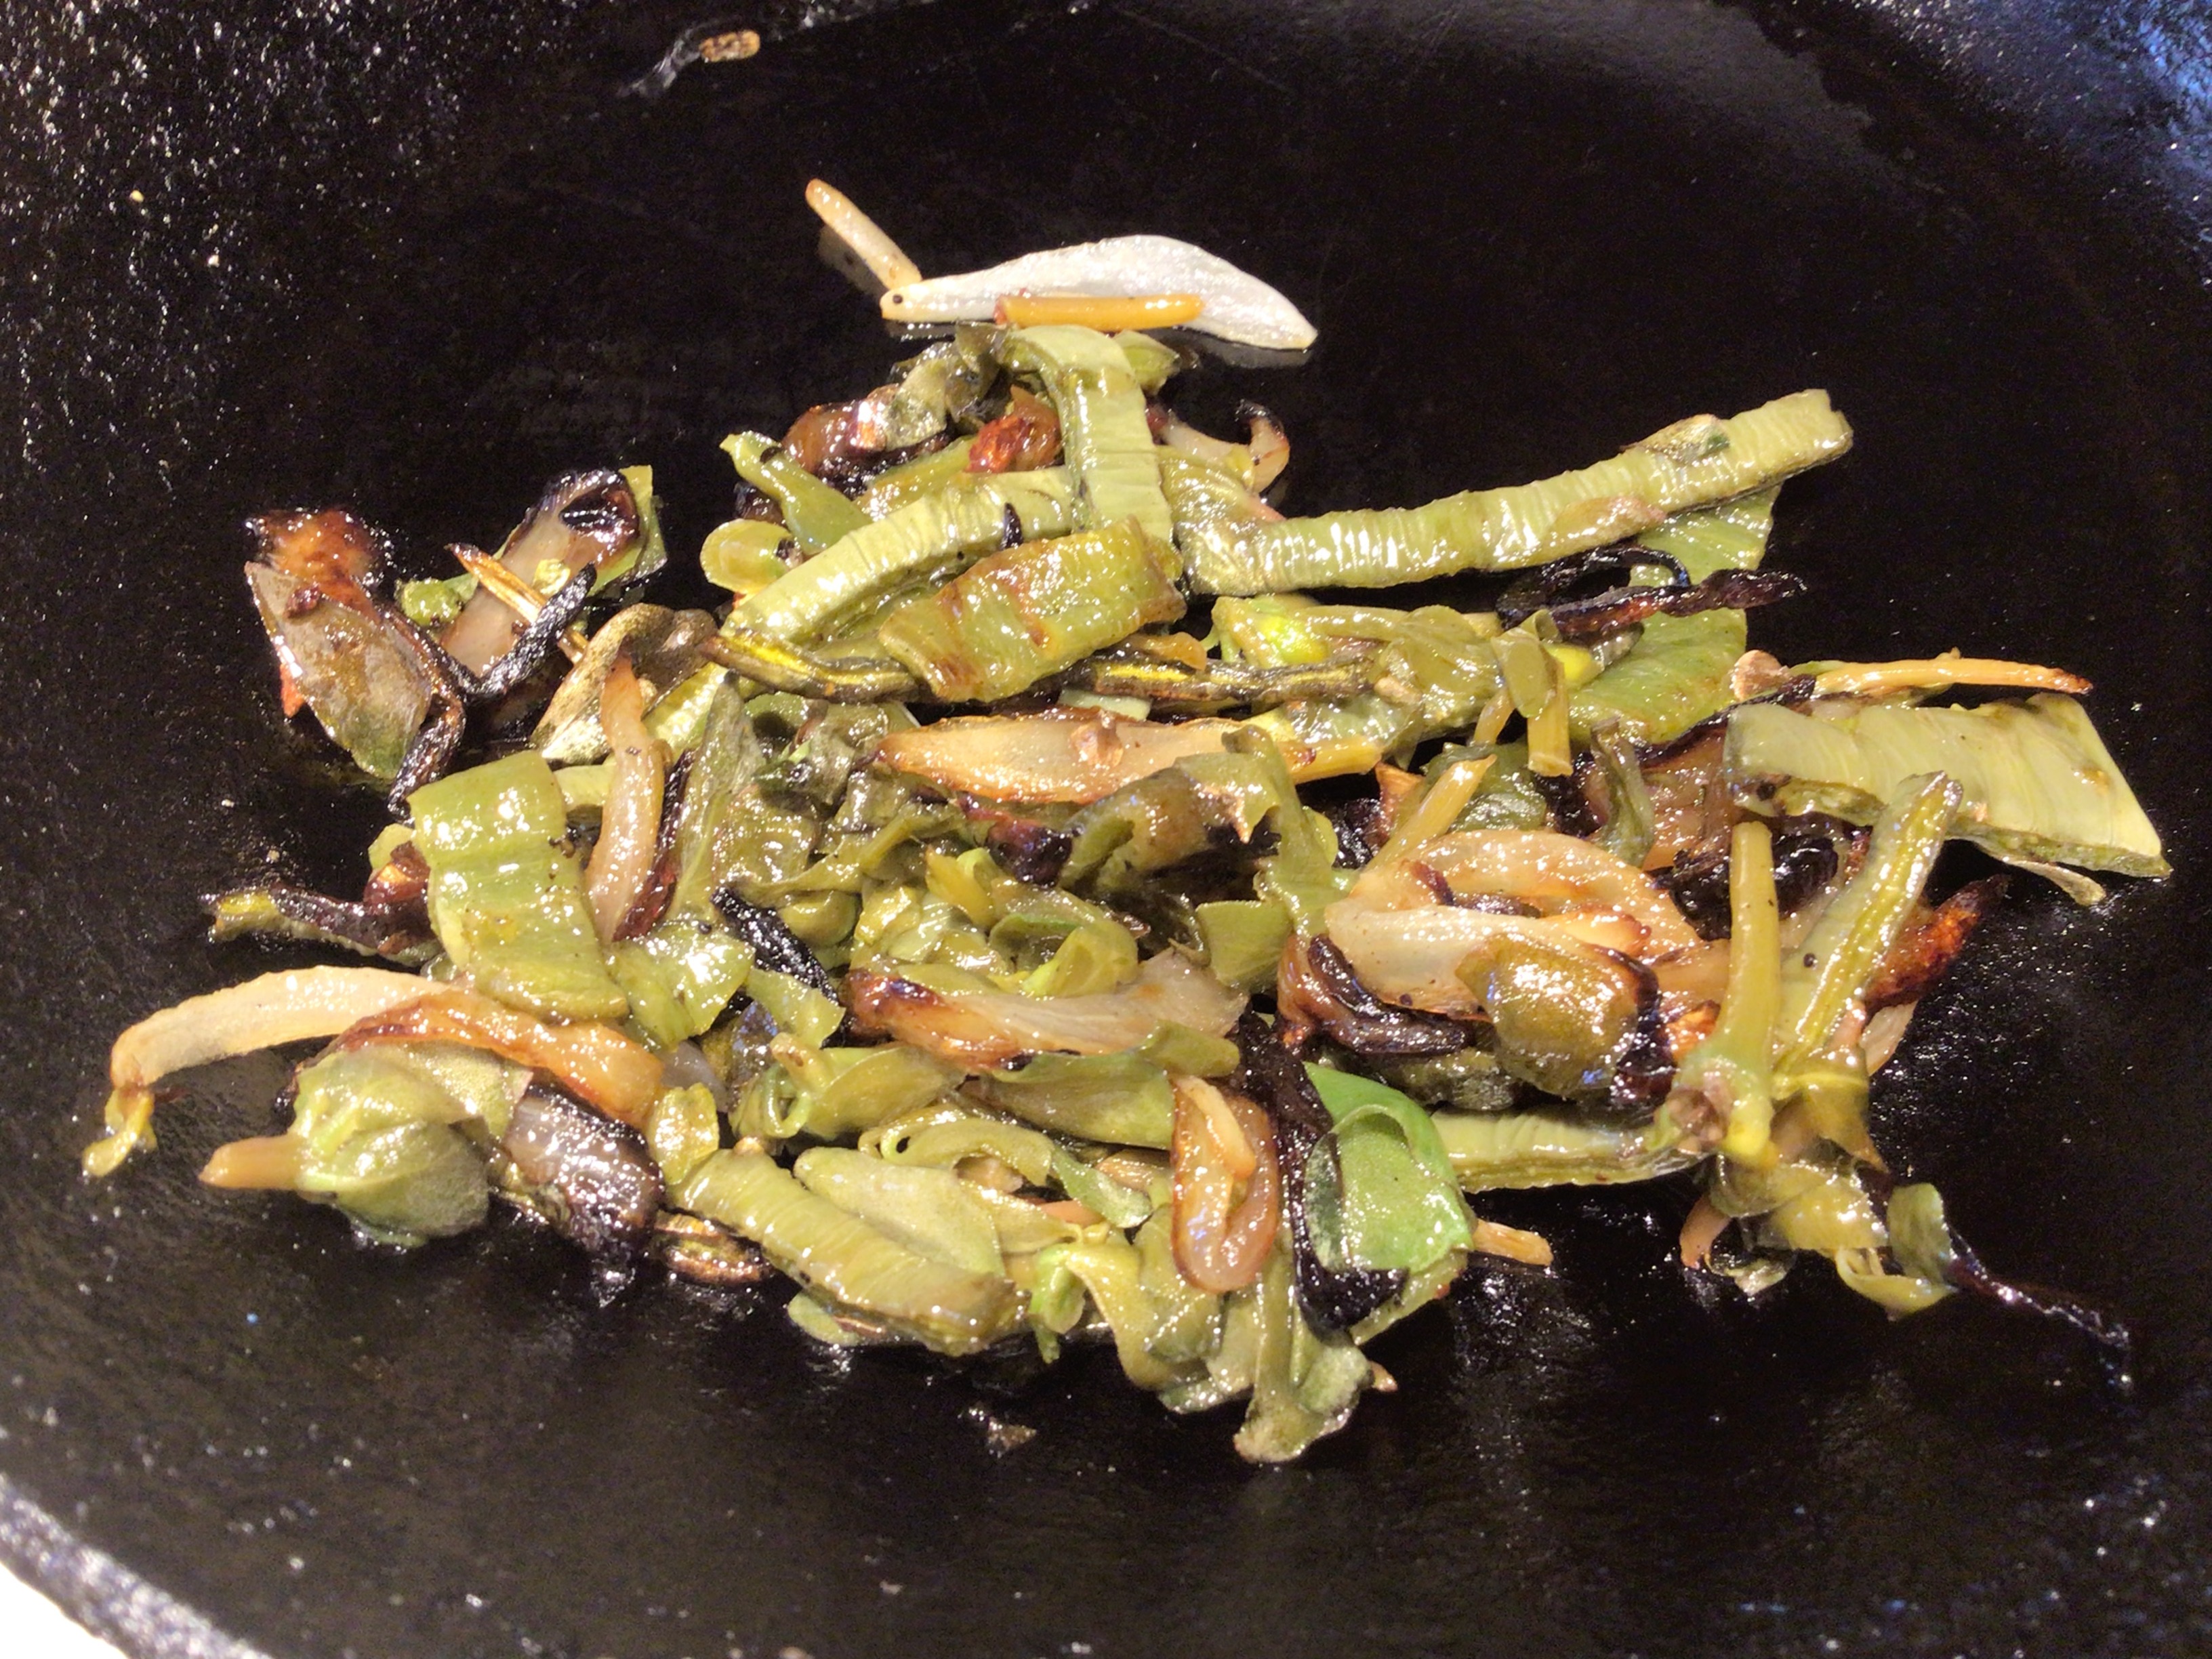
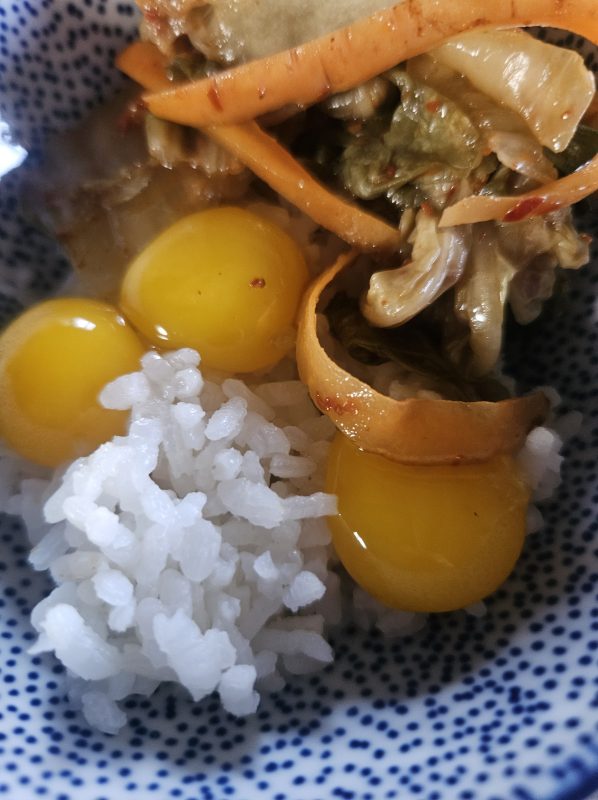
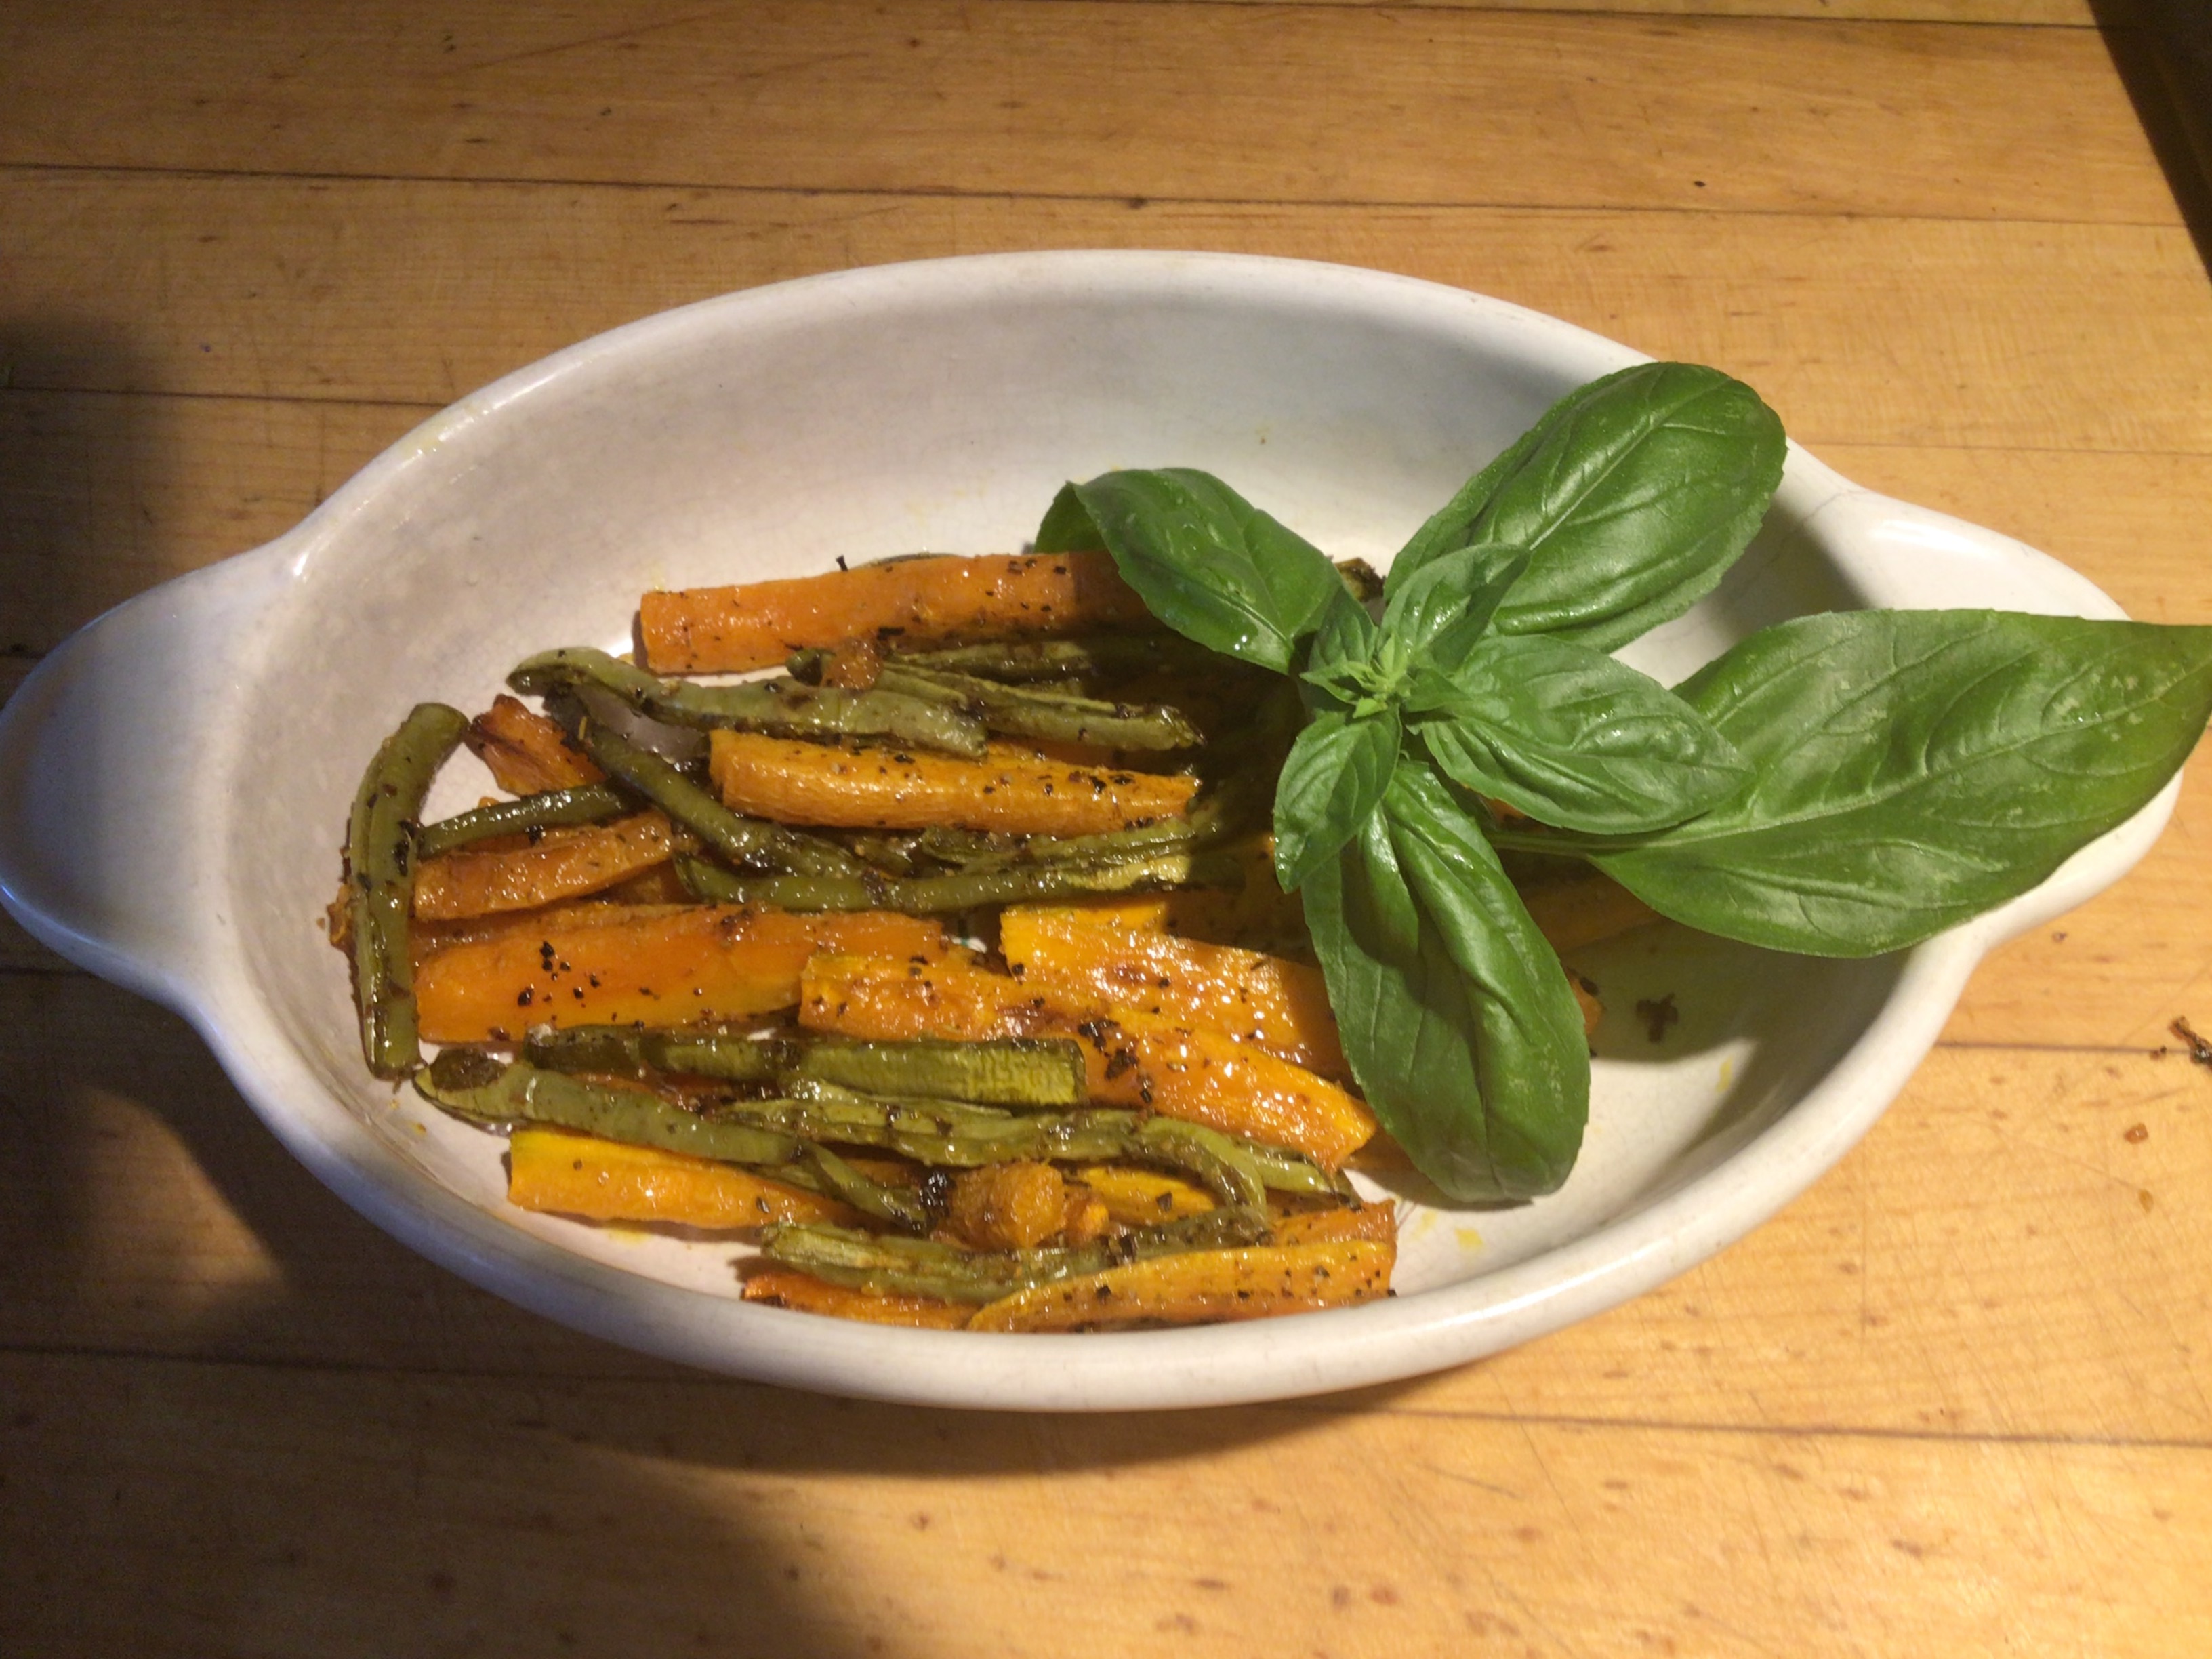
Transfer to serving dish. If you have seasoned generously you won’t need to add any dressing. If you wish more flavor, a simple homemade herb-heavy vinaigrette will work fine.
You can learn more about the history of food in Southern Arizona in my latest book A Desert Feast, the story of the last 4,000 years of food in the Sonoran Desert. Want more recipes using foods of the Southwest? You’d find ideas for collecting and using 23 easily recognized and gathered desert foods in Cooking the Wild Southwest: Delicious Recipes for Desert Foods. . Recipes from top Southwest chefs are collected in The New Southwest Cookbook. Just click on the titles for more information. You can learn more about me on my website.