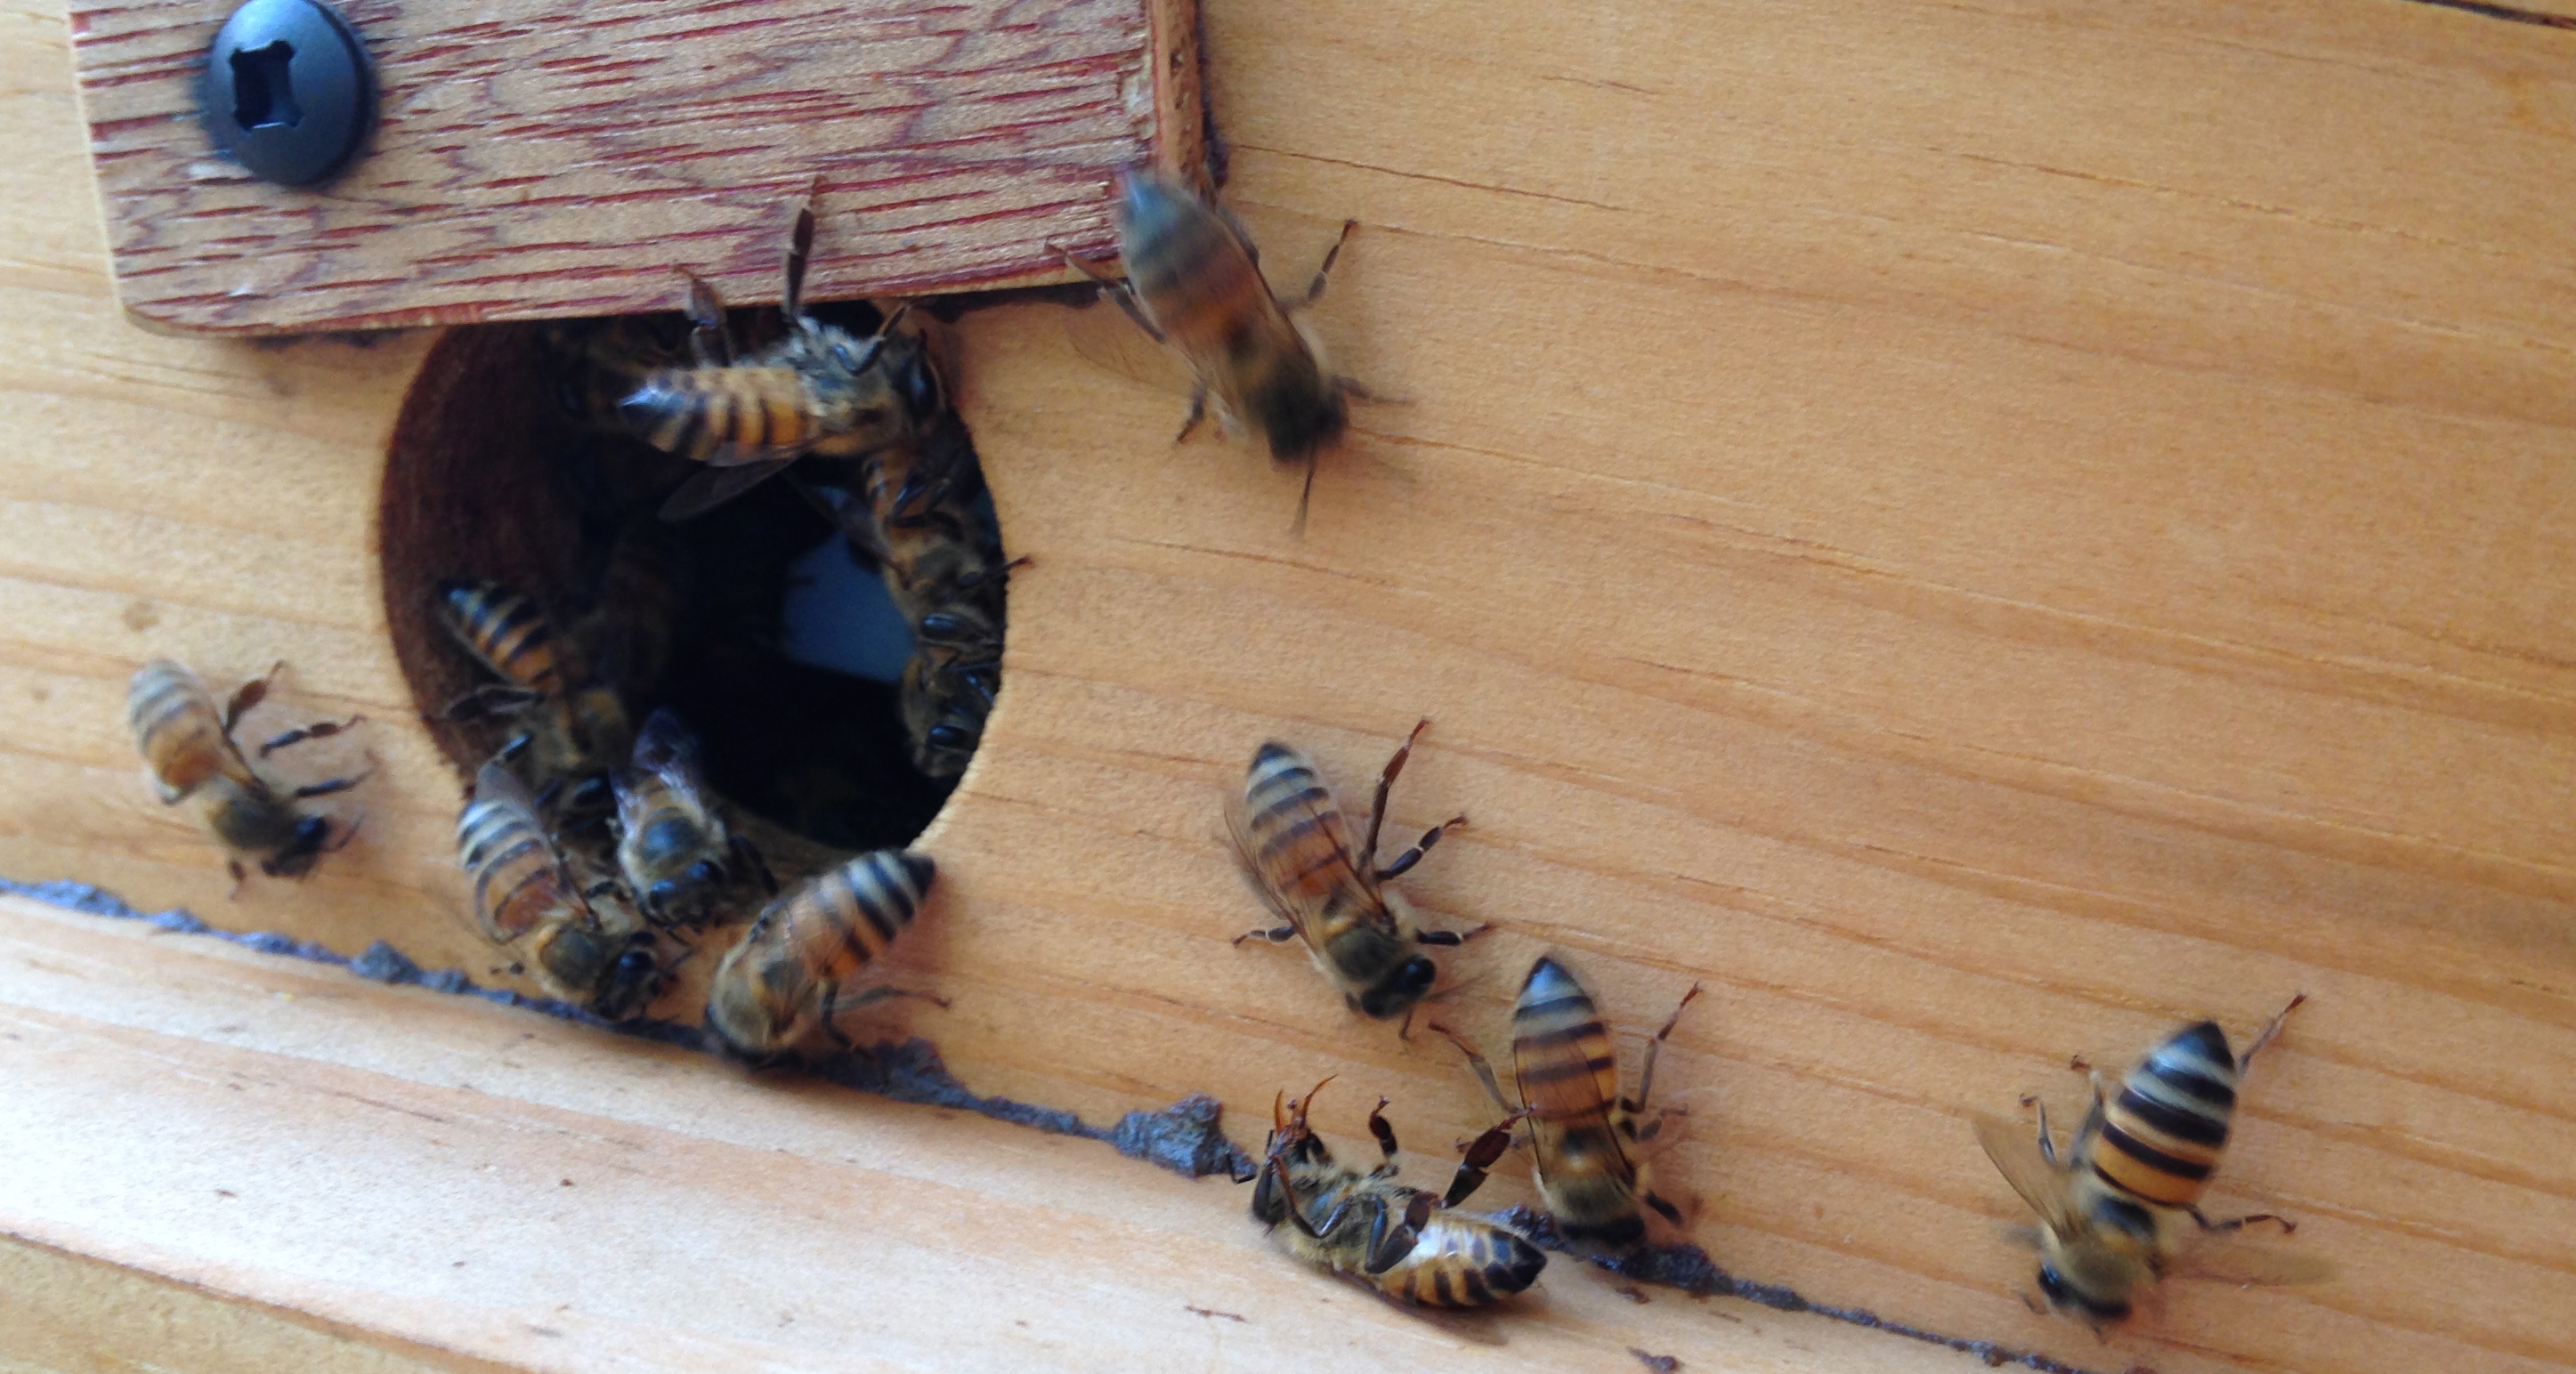
(Above: bees on water collecting duty; these workers will return to their hive where the water droplets will be distributed in strategic locations, then fanned/evaporated to keep the hive cool)
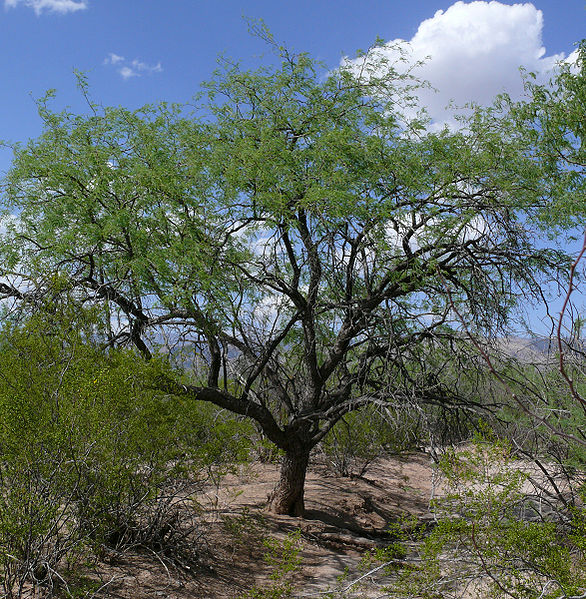
Aunt Linda here. It is early July in the Sonoran Desert, and triple digits temperatures have been the norm for weeks now. All creatures, great or small, utilize whatever methods and technologies they can to survive this kind of heat. As I write, it is pre-dawn and the planet Venus is twinkling at the horizon. The small cooler atop my roof is humming away, air passing through moistened pads, doing a noble job keeping me cool. Just outside the door, the humming of honeybees is noticeable as they get an early start, collecting water at the birdbath I have placed just for them. Evaporative cooling is a technology that both honeybees and humans use; it works for both species because it’s basic principles hold strong whether used by human or bee. Once the norm here in Tucson, fewer and fewer homes utilize evaporative cooling, opting instead for central air. While there are pros and cons to both systems, the simplicity and reduced energy consumption of this ancient technology has earned my true appreciation.
What is Evaporative Cooling? A simple example of it is that not so subtle sensation you have, likely, experienced when caught in unexpected down pour, that soaks both your cloths and skin. You immediately feel refreshed, or chilled, even on the hottest summer day – especially when a breeze aids in the evaporation of that water. The basic principle is this: AS WATER EVAPORATES, ENERGY IS LOST (or Used) REDUCING the temperature, whether it be from our skin or the air around us.
Following the principle of why evaporative cooling works, we humans have designed evaporative coolers that have 1) a water delivery system to 2) a pad (often aspen) which is moistened and 3) a fan, circulates air through the moist pads, evaporating the water, and reducing the temperature of the air in our homes. Similarly, honeybees cool their hives by collecting water, spreading it on or within the comb, and fanning to increase evaporation. Same principle. It occurred to me while writing this morning, that since honey bees have been on the planet for somewhere near 60 million years (and since science tells us that they have changes little as a species in all that time) that they have been effectively utilizing evaporative cooling for eons before humans even evolved.


(Above: bees are not good swimmers, so it is important that you add aids for them to alight upon; so that they can sip and gather water without drowning)
Honeybees collect water to cool the brood area (nursery) by evaporation on hot days. Pivotal studies by (Lindauer, 1955) revealed how bees regulate the hive temperature in hot conditions. Essentially: water is collected by water foragers, brought to the hive, and distributed around the hive and inside cells containing eggs and larvae. Bees fan the air, little evaporative cooling machines with wings. On hot days you can also see bees at one side of the hive entrance, facing away from the hive, drawing air INTO the hive – while on the other side of the entrance, bees face toward the entrance, fanning air Out and Away from the hive. Fanning bees point their heads downward and fan with their wings vigorously.
The Hive Tool –
A Cooling Cocktail for the Overheated Beekeeper
Measurements For Two People
INGREDIENTS:
2-3 OZ of Grapefruit Flavored Vodka
1 Tablespoon Local Honey
1 1/2 limes (freshly squeezed)
3-4 leaves of Lemon Balm/Lemon Verbena (bruised, to infuse flavor)
1 – 2 cups Sparkling Water
ice cubes
How: Mix together honey, vodka, herb leaves, lime juice until thoroughly mixed. Leave ice cubes out of the cocktail mixer as the cold won’t allow the honey to dissolve with the other ingredients.
Prepare your cocktail glass with ice ( I used hexagon/honey comb shaped cubes) and herbs and a slice of lime, and pour in your concoction.
Enjoy AFTER checking you hives, not before. Or enjoy whether or not you keep bees at all. Bees love citrus flowers, as well as lemon balm, which is what guided me in that direction. Feel free and experiment with other flavored vodkas and herbs. Another great version of the Hive Tool, included Ginger Vodka.


PS: Thanks to The RumRunner who sold me the Grapefruit Vodka, and encouraged me to use a Cocktail Mixer. Special thanks to Swan S. for being my playful “co-creator of flavor “while mixing up various versions of The Hive Tool. She is a goddess of Quilts, Color, and, now, Cocktails.
Another example of evaporative cooling is covering a canteen/water bottle with burlap or old jeans, and then soaking it in water. The evaporation will keep your water coolish, even in the Sonoran Desert.