A Useful Desert Broom

baccharis AMP_5239

People complain that they want more green in their landscape. Desert broom is one option for bright green foliage.

Desert broom is called escoba amarga in Spanish, and also called a weed by many.  But I advocate you take a moment to consider this shrub more fully.

Desert broom (Baccharis sarothroides) is a vigorous plant – often the first plant to grow on a cleared stretch of desert (or over the septic tank).  It can be useful to have such a tough plant in your landscape palatte.  Along with landscaping it is useful in a number of other ways.

baccharis seedling crop_6477

Sad to say – some people think the only good desert broom is a dead one.

Uses.

Desert broom has a history of use as a medicinal plant.  A decoction made by cooking the twigs of desert broom is used to treat colds, sinus headache, and in general “sore aching” ailments. The Seri use this when other medicinal plants are not available. The same tea is also used as a rub for sore muscles.  (Perchance Father Kino used some after one of his epic rides.)

Studies done on plant extracts show that desert broom is rich in leutolin, a flavonoid that has demonstrated anti-inflammatory, antioxidant, and cholesterol-lowering capabilities. Desert broom also has quercetin, a proven antioxidant, and apigenin, a chemical which binds to the same brain receptor sites that Valium does. However, many members of the Sunflower family also contain compounds that cause negative side effects, thus caution is advised.

baccharis seedling AMP_6330

Desert broom seedlings are often among the first plants to appear in a cleared area. The rabbits do not eat them.

As it’s name indicates, branches of desert broom do make a passable broom for sweeping the dirt floors of an adobe home.

Desert broom is so plentiful, and many of it’s seep willow cousins are used as dye, so I had to do the experiment. The result – yes! It does dye wool. Various mordants result in differing shades as seen below.  Other members of the Baccharis genus have excellent colorfastness.

baccharis dye on wool crop

Baccharis on wool with different mordants. I use the chemical symbols to mark my mordants. Al = alum, Cu = copper, FE = iron.

Desert broom can be used as filler in fresh and dried floral arrangements, with long lasting color and minimum mess since it has few leaves to lose.

baccharis AMP_5426

This plant gets chopped often for filler in my flower arrangements. Regular clipping helps keep it a dense and bushy.

Desert broom comes in separate male and female plants. The females release their tiny fluffy seeds at the same time a number of other plants release their pollen, thus the seeds of desert broom often get erroneously called an allergen. The pollen of the male plants is released in fall and can be allergenic.

IMG_2701

No, desert broom does not have yellow flowers. In this case a desert broom grew up through a Cassia.

Planting and Care.
Plants may be purchased at nurseries or can be grown from seed. Avoid over-watering in heavy soils as desert broom will drown.

Desert broom will accept shearing and can be trained into a decent, short-lived privacy hedge. Such a short lived hedge is helpful while the longer-lived, taller, non-allergenic, but slower growing Arizona rosewood (Vauquelinia californica) reaches hedge size. Desert broom can also be useful in the landscape since it grows in heavy clay or saline soils where few other plants thrive.

IMG_2708

These plants get sheared once a month by landscapers with power tools. Note that the native desert broom is growing more vigorously than the non-native cassia from Australia.

JAS avatar If you live in Southeastern Arizona, please come to one of my lectures. Look for me at your local Pima County Library branch, Steam Pump Ranch, Tubac Presidio, Tucson Festival of Books and more. After each event I will be signing copies of my books, including the latest, “Southwest Fruit and Vegetable Gardening,” written for Arizona, Nevada and New Mexico (Cool Springs Press, $23).

All photos and all text are copyright © 2015, Jacqueline A. Soule. All rights reserved. I receive many requests to reprint my work. My policy is that you may use a short excerpt but you must give proper credit to the author, and must include a link back to the original post on our site. Photos may not be used.

Fig Jam Ready for Farm to Table Picnic

Picking figs at the Mission Garden.

Picking figs at the Mission Garden operated by Friends of Tucson’s Birthplace.

The hottest weather of summer brings Tucson one of its sweetest treats, figs. The figs at the Mission Garden operated by Friends of Tucson’s Birthplace, are ripening  now. Some of the trees have already produced and are beginning to  grow their second crop. This is Carolyn today, and that is me picking figs from one of the trees in the lush recreated historic garden near the Santa Cruz River.  The plan was to preserve the figs as jam to be used as an ingredient in cookies  for the Farm to Table Picnic being organized by the  Mission Garden and Native Seeds/ SEARCH.  On the late afternoon of October 18, dinners will be able to picnic on Southern Arizona’s agricultural  bounty at tables  spread through the Garden. (Ticket detals next month).

The brown figs at Mission Garden are living relics of trees brought to Southern Arizona by Father Kino. They were grown from twigs cut from plants behind the Sosa-Carrillo House. Historic records show that those trees came from cuttings of trees at San Xavier Mission. The green figs were grown from cuttings taken from trees at the  settlements near the Ruby and Oro Blanco mines.

Plump figs from Mission Garden. The green ones are called "white" and some people think they are sweeter.

Plump figs from Mission Garden. The green ones are called “white” and some people think they are sweeter.

Generally in making jam the old-fashioned way without added commercial pectin, you measure an equal quantity of fruit and sugar and simmer until it is thick. Because these figs were incredibly sweet and because I plan to spread the jam over a base crust, I didn’t care if the jam set up like I would, say a plum or strawberry jam. So I thought it would be safe to use less sugar. Ultimately I used about 4 cups of sugar to 8 cups of chopped figs, about half the usual amount. Since I wanted a smooth product, I put the chopped figs through the blender.  I could have also used my food processor.

Blending the chopped figs for a smooth product.

Blending the chopped figs for a smooth product.

Next came the long slow cooking.  In the picture below, you can see the large pot on the left where I was boiling the storage  jars to sterilize them.

Cooking the jam.

Cooking the jam.

In any jam making, you need to simmer the fruit and sugar until it reaches about 220 degrees F. This takes both time and careful watching to get the jam to a point where it is not too runny and not too stiff.  In Tucson, because of our altitude, 218 degrees F usually gives a better product. Use too high a heat and the jam will burn on the bottom of the pot before it reaches the proper temperature.

To check the temperture,  I used to use a traditional candy thermometer that looks like this and works with a column of mercury:

Traditional candy thermometer.

Traditional candy thermometer.

A couple of Christmases ago, however Santa brought me a digital thermometer that is good for roasting a turkey, cooking a thick steak and making jam. It has a probe that sticks in whatever you are cooking and gives you a readout.   See the photo below. You can see this one has reached 212 degrees F. and the jam is almost done.:

Battery-operated digital cooking thermometer.

Battery-operated digital cooking thermometer. The thin silver wire on the right is a probe that rested in the jam.

Once finished, the jam just needed to be ladled into the prepared jars, capped and processed for 10 minutes in a boiling water bath.  That’s a lot of jam, but I’ll be baking cookies for 200 ticket holders and a whole bunch of volunteers.

Five quarts of fig jam will wait until October to be made into fig bars for the Farm to Table Dinner.

Five quarts of fig jam will wait until October to be made into fig bars for the Farm to Table Dinner.

I can’t show you a picture of the fig bars, because I haven’t made them yet. But I have used this recipe previously and it is great. It is a modification of a recipe in Fruits of the Desert by the late food writer Sandal English.  If you have fresh figs and are looking for a way to showcase them, try this:

Layered Fig Bars

1 cup sifted flour

1/2 teaspoon baking soda

1/2 teaspoon salt

1 cup oatmeal, quick or old-fashioned

1 cup firmly packed brown sugar

1/2 cup butter, melted

1-1/2 to 2 cups fig jam

Preheat oven to 350 degrees F. and line an 8-inch square pan with foil or parchment paper, leaving some extending over two sides as flaps.

Sift together the flour, baking soda and salt in a large bowl. Mix in the oatmeal and sugar. Stir in the melted butter and mix until crumbly. Firmly press 2/3 of the mixture in the bottom of the prepared pan. Spread fig jam evenly over the base layer. Top with remaining crumb mixture. Gently pat the top layer down. Bake in preheated overn for about 30 minutes. Cool, lift from the pan using the paper flaps, and cut into 24 bars.

Note: If you are making this for your family and don’t care that the bars come out perfectly shaped, you can skip the step of lining the pan.

_________________________________________

Looking for ideas for how to use desert fruits and vegetables?  The Prickly Pear Cookbook has delicious recipes for both the fruit and pads and complete instructions for gathering and processing. Cooking the Wild Southwest gives directions for harvesting and cooking 23 easily gathered desert plants. Find both at the Native Seeds/SEARCH retail store on Campbell or at on-line sellers.

Begin with the End in Sight–Monsoon Planting time for a fall harvest

"Begin with the end in sight"--As we put seeds in the ground, we anticipate a delicious future harvest

“Begin with the end in sight”–As we put seeds in the ground, we anticipate a delicious future harvest

I’m salivating already…contemplating the harvest.  Nothing can motivate us more to get out in the heat and put seeds in the ground than the idea of eating that luscious melon or stringbeans bursting with flavor, straight from the garden!   Ah, anticipation!  Thinking about what taste treats and nutritional benefits we might harvest a few months later can inspire us now to prep soil, browse seed racks, and get busy planting with the monsoon!

Connecting with the soil, prepping for planting a seed, can be a communion and a meditation, good for the soul and beyond….

Connecting with the soil, prepping for planting a seed, can be a communion and a meditation, good for the soul and beyond….

Tia Marta here to share garden-to-table thoughts and ideas.  Necessary ingredients and skills to bring:  some stooped labor, lots of time, rain, patience, and perhaps songs will be needed for assisting plants into their food-giving maturity.  I like to think of “companion planting” as the partnership we commit ourselves to when we garden– just me and the plant, a dynamic duo.  We so need each other.  In this era of instant gratification (like fast money in exchange for something to stuff in the belly), we lose sight of the plant “companions” who are really growing our food.  What “companions” can we trust as well as ourselves?

Gardening provides new interactive games, new pets, beings to care for, a lively antidote to self-centered life.

Goodworks Volunteers Barney and Oscar planting chapalote corn seedlings at Mission Garden

Goodworks Volunteers Barney and Oscar planting chapalote corn seedlings at Mission Garden

When your hands are covered with good clean dirt, you can anticipate a fruitful future!

When your hands are covered with good clean dirt, you can anticipate a fruitful future!

We at NativeSeeds/SEARCH and Friends of Tucson’s Birthplace’s Mission Garden are planting –and planning– right now for a harvest feast in October:  the right Native American teparies, the most delicious heirloom squash, the best free-range local beef, the sweetest Southwestern heirloom GMO-free corn, the most pungent local chiles, the most flavorful melons, combined with the rich white Sonora wheat harvested from the winter garden.  Put the NSS/Mission Garden local foods feast on your calendar for October 18, and plan to join fellow locavores and food aficionados for a special down-home Farm-to-Table Picnic— very little distance between the farm where the food was grown and the table where we will break bread together and sip local sangria.

First burst of Hopi Red Dye Amaranth--a glorious ornamental and tasty "green" when eaten in the young stages (MABurgess photo)

First burst of Hopi Red Dye Amaranth–a glorious ornamental and tasty “green” when eaten in the young stages (MABurgess photo)


Marjorie Grubb's summer-fresh Verdulaga salad

Marjorie Grubb’s summer-fresh Verdulaga saladEven before growing your monsoon garden, weeds will greet you–and they aren’t all bad.  Even as your seedlings grow you can harvest some delectable weeds like verdulagas (summer purslane) or young amaranth greens.

If you are looking for ideas for planting, there are wonderful helpers at the NativeSeeds/SEARCH store at 3061 N Campbell Ave, Tucson, ready to share their monsoon gardening experiences and tested tricks.  Every Thursday 2-4pm expert gardener Chad Borseth will be there to give a timely demo and to answer questions.  Bring your queries to him–doubtless your questions and the answers will be of help to other fellow gardeners as well.  ALSO for those new to the gardening game, and for veteran gardeners who want a head-start, try planting starts for a leg-up.  They can be so much more dependable than planting seeds.  You can find a diversity of summer plant starts at the NativeSeeds/SEARCH MONSOON PLANT SALE coming up soon–next Friday thru Sunday, July 17-19, at the Campbell Avenue store.  There will be many varieties of chile pepper including our native chiltepin, tomatoes, okra, heirloom squashes and pumpkins, melons, corn, beans, even summer wildflowers…. Come early, as they get snapped up fast.

Seedlings of the ancient Chapalote corn (seed available from NativeSeeds/SEARCH)

Seedlings of the ancient Chapalote corn (seed available from NativeSeeds/SEARCH)

Young Tohono O'odham yellow-meated watermelon--come get seedlings at the NativeSeeds/SEARCH Monsoon Plant Sale July17-19

Young Tohono O’odham yellow-meated watermelon–come get seedlings at the NativeSeeds/SEARCH Monsoon Plant Sale July17-19

Speckled Tepary Bean seedling seen thru chicken wire protection at Mission Garden

Speckled Tepary Bean seedling seen thru chicken wire protection at Mission Garden

Vulnerable and a little fragile at first, these Southwest heirlooms actually hold in their genes the ability to produce quantities of good food, abiding the unpredictable ups and downs of rainfall and temperature in the desert monsoon season.  With tending, they can be little powerhouses.  Their genes, selected by desert farmers over many centuries, are truly to be respected and preserved–and the way to save them ultimately is not necessarily in a seed bank nor by engineering.  To save them we must GROW them!  Then enjoy positive reinforcement at the harvest.

White flowers of Tohono O'odham Black-eye pea quickly producing long pods in the humid heat of monsoon season at Mission Garden (MABurgess photo)

White flowers of Tohono O’odham Black-eye pea quickly producing long pods in the humid heat of monsoon season at Mission Garden (MABurgess photo)


Rich harvest of Tohono O'odham U'Us Mun (black and white spotted black-eye pea) from last summer's harvest at Mission Garden

Rich harvest of Tohono O’odham U’Us Mun (black and white spotted black-eye pea) from last summer’s harvest at Mission Garden


These summer-active black-eyes, introduced by early missionaries and adopted by the Tohono O’odham, are well-adapted to hot weather and will provide a prolific feast in the fall. (U’us mu:n, pronounced “moo0nya”, means spotted or patched.)  Some of their pods will reach a foot long.  If you can “catch” them in the fat, mature and still green-pod-phase in your garden, you might get close to Nirvana eating fresh black-eyes–a treat very few have ever experienced.

When you see silks emerge on your maturing corn plants, you can help Nature and Genetic Diversity along by touching a tassel  from another plant onto the silks.

When you see silks emerge on your maturing corn plants, you can help Nature and Genetic Diversity along by touching a tassel from another plant onto the silks.

Red Sweet Corn, from the Guarijio People of southern Sonora--note the wrinkly kernels indicating sweetness.  (Available through NativeSeeds/SEARCH)

Red Sweet Corn, from the Guarijio People of southern Sonora–note the wrinkly kernels indicating sweetness. (Available through NativeSeeds/SEARCH)


Slow knowledge–a term coined by philosopher/farmer Wendell Berry–is what we can gain as we patiently watch the transformation of life in the garden.  They say it even builds new neurological pathways.  At the very least it can help young people learn what the word patience means!


Planting  heirloom Flor de Mayo Beans, string beans, and corn now with the monsoon will mean great marinated bean salads in September!

Planting heirloom Flor de Mayo Beans, string beans, and corn now with the monsoon will mean great marinated bean salads in September!

The most nutritious and rich-tasting of all beans--our native Tepary Bean!  --domesticated by early Desert People of the Southwest

The most nutritious and rich-tasting of all beans–our native Tepary Bean! –domesticated by early Desert People of the Southwest


Get the heat out of the kitchen!  Summer is ideal time for cooking your garden or market produce with the SUN! Come see a demo at Sunday St Philips Farmers Market (on sale there).

Get the heat out of the kitchen! Summer is ideal time for cooking your garden or market produce with the SUN! Come see a demo at Sunday St Philips Farmers Market (on sale there).

Happy monsoon gardening!  See you at the NativeSeeds/SEARCH Monsoon Plant Sale next weekend at the NSS Store.  Or come visit our Flor de Mayo booth at Sunday’s St Phillips Farmers Market under the mesquites and sycamores, for gardening tips and a variety of beans to eat and plant.

A NativeSeeds/SEARCH heirloom sunflower--colorful protection for a garden margin

A NativeSeeds/SEARCH heirloom sunflower–colorful protection for a garden margin

Feed Sack Wisdom. Rendering Lard 101 DIY Photo-Essay Spicy-Chiltepin Lard

IMG_6750 Aunt Linda here on a glorious cloudy day here in the Old Pueblo. And,  Whoops (!)  there goes Life again, changing just when we were feeling comfortable again! Just when we think we have a handle on it, the game changes. Most of you know by now that fats are not “bad”. Fats are now heralded for the importance they play in our health.  If we are wise enough, we allow Beginners Mind to open, and explore what may be there for us. Of course, we can just Resist.

Remember when eating red meat was “all bad” ?  It turns out if it is grass pasture raised it is may be healthy for us.

Remember when soy was considered “all good”;  it was almost a cure-all?  Well … it turns out that is Not Always So.

And Remember: the game will change again.

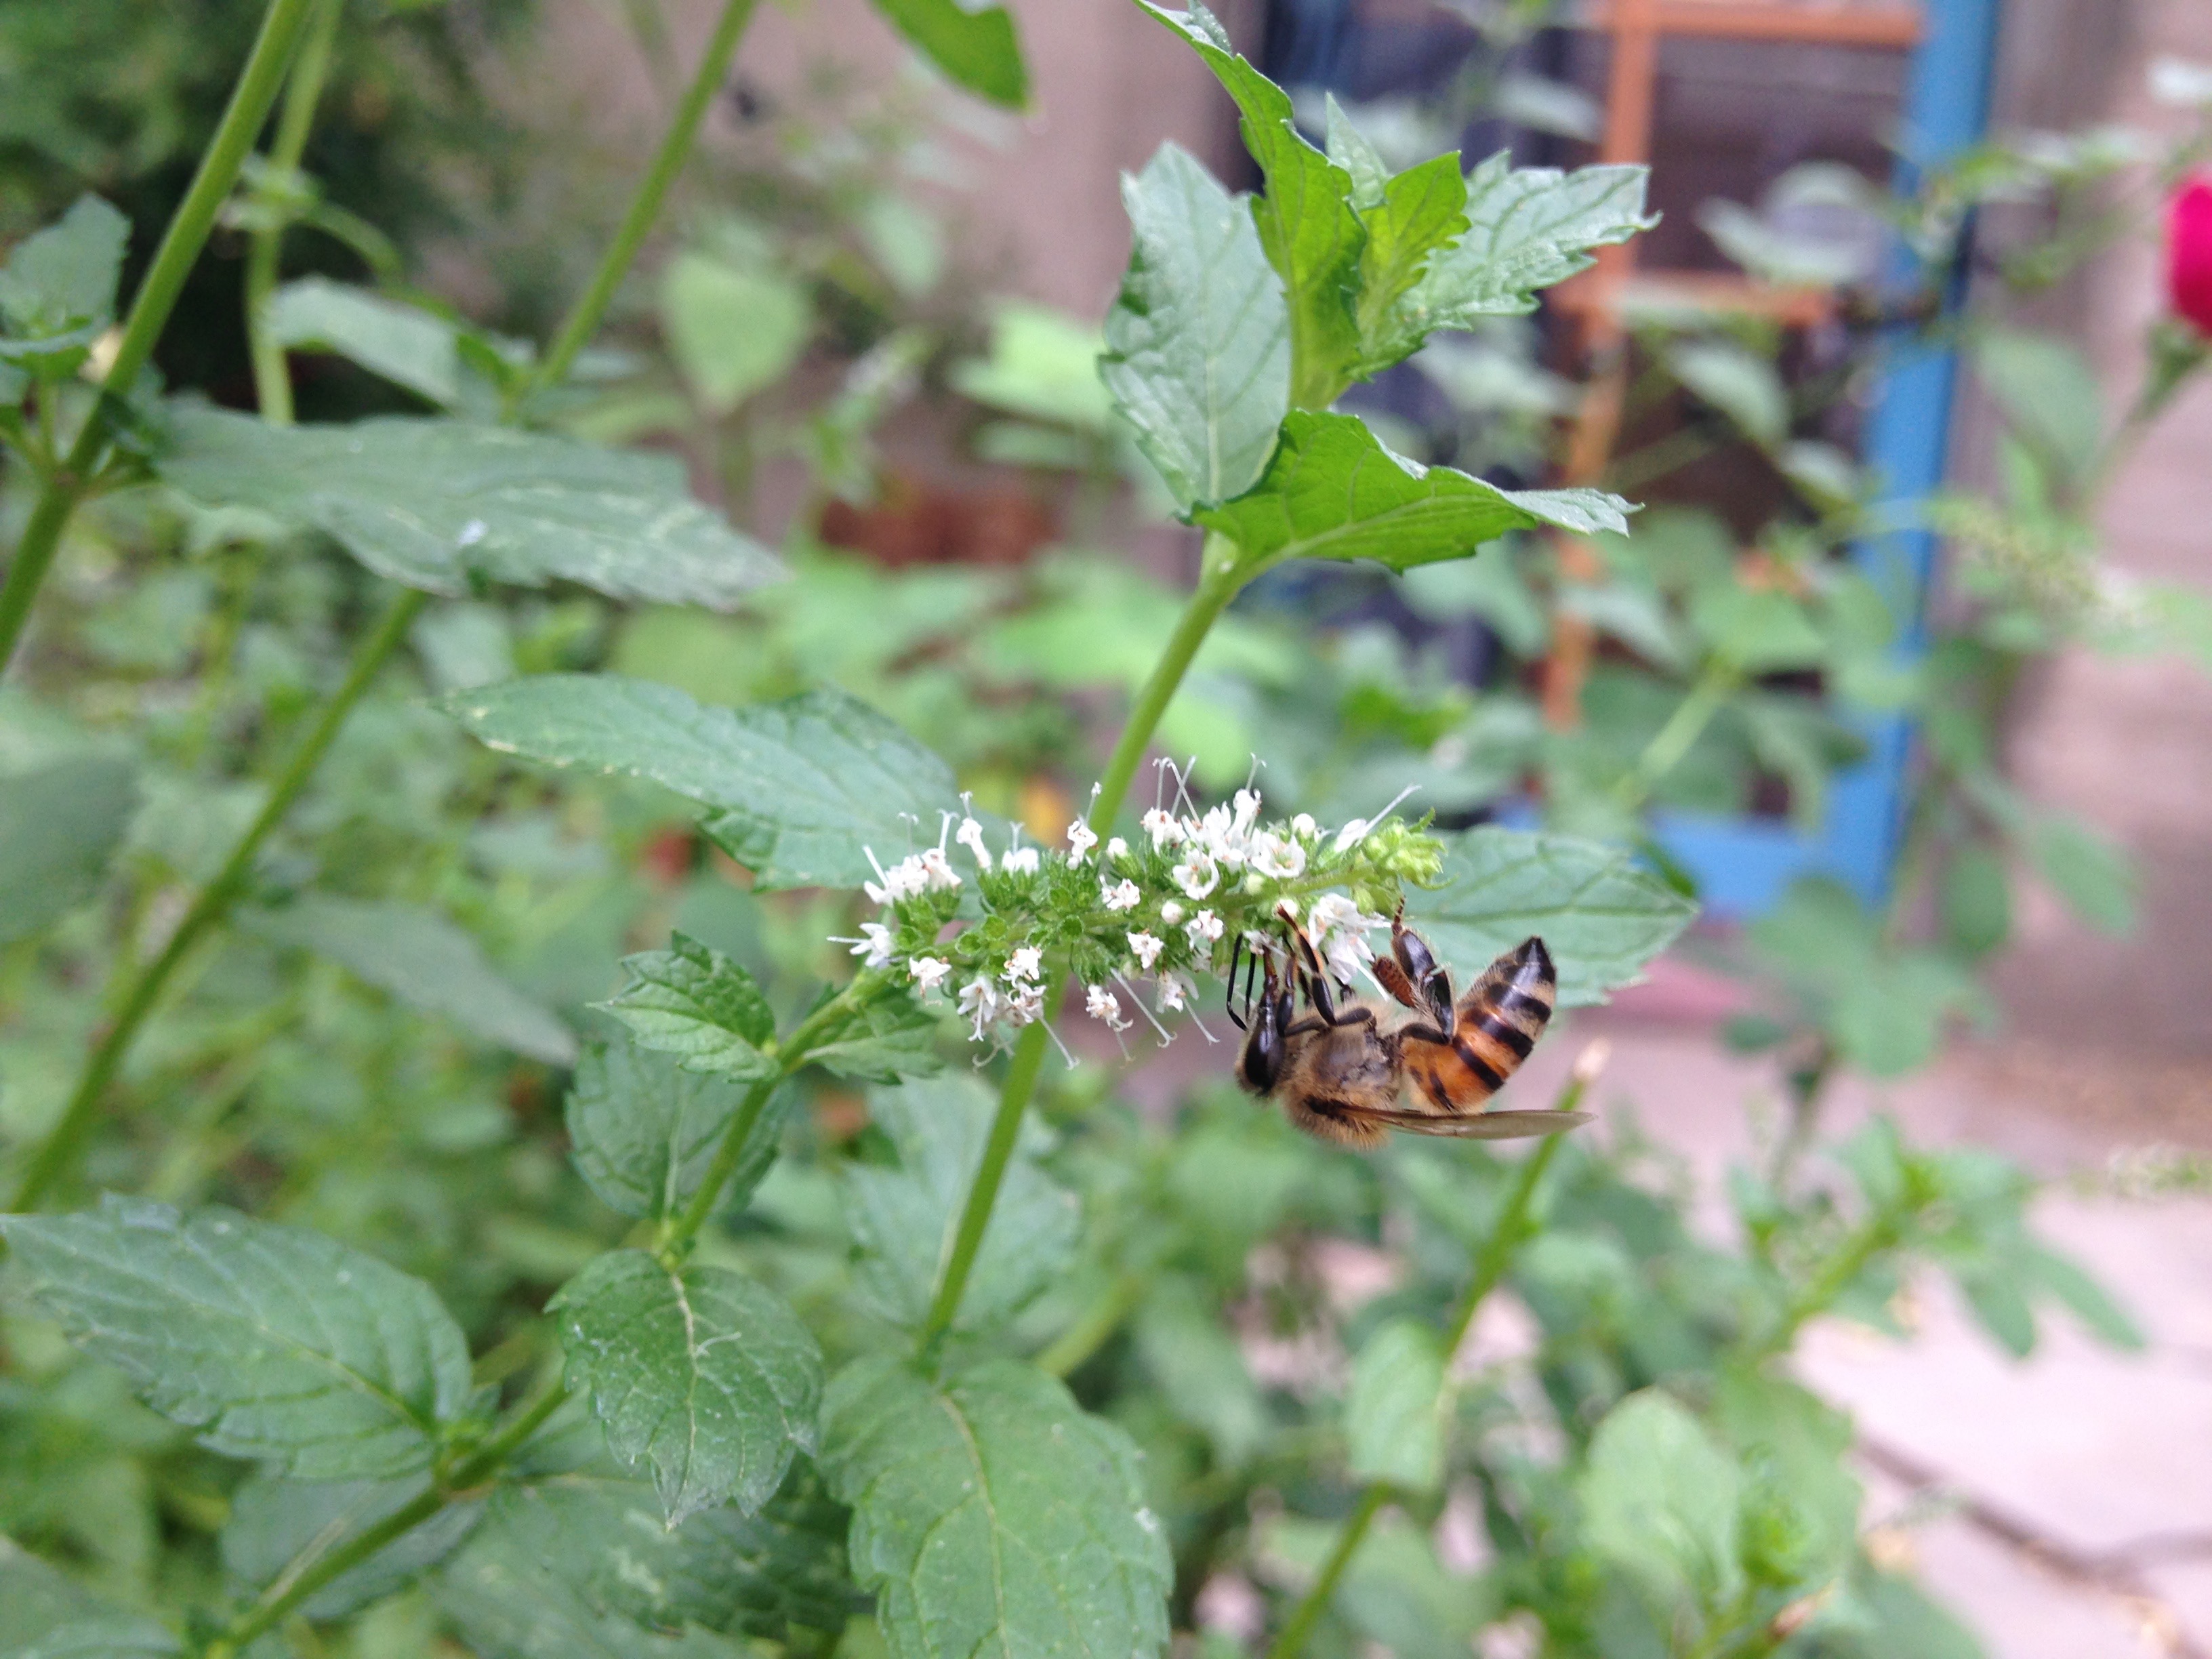
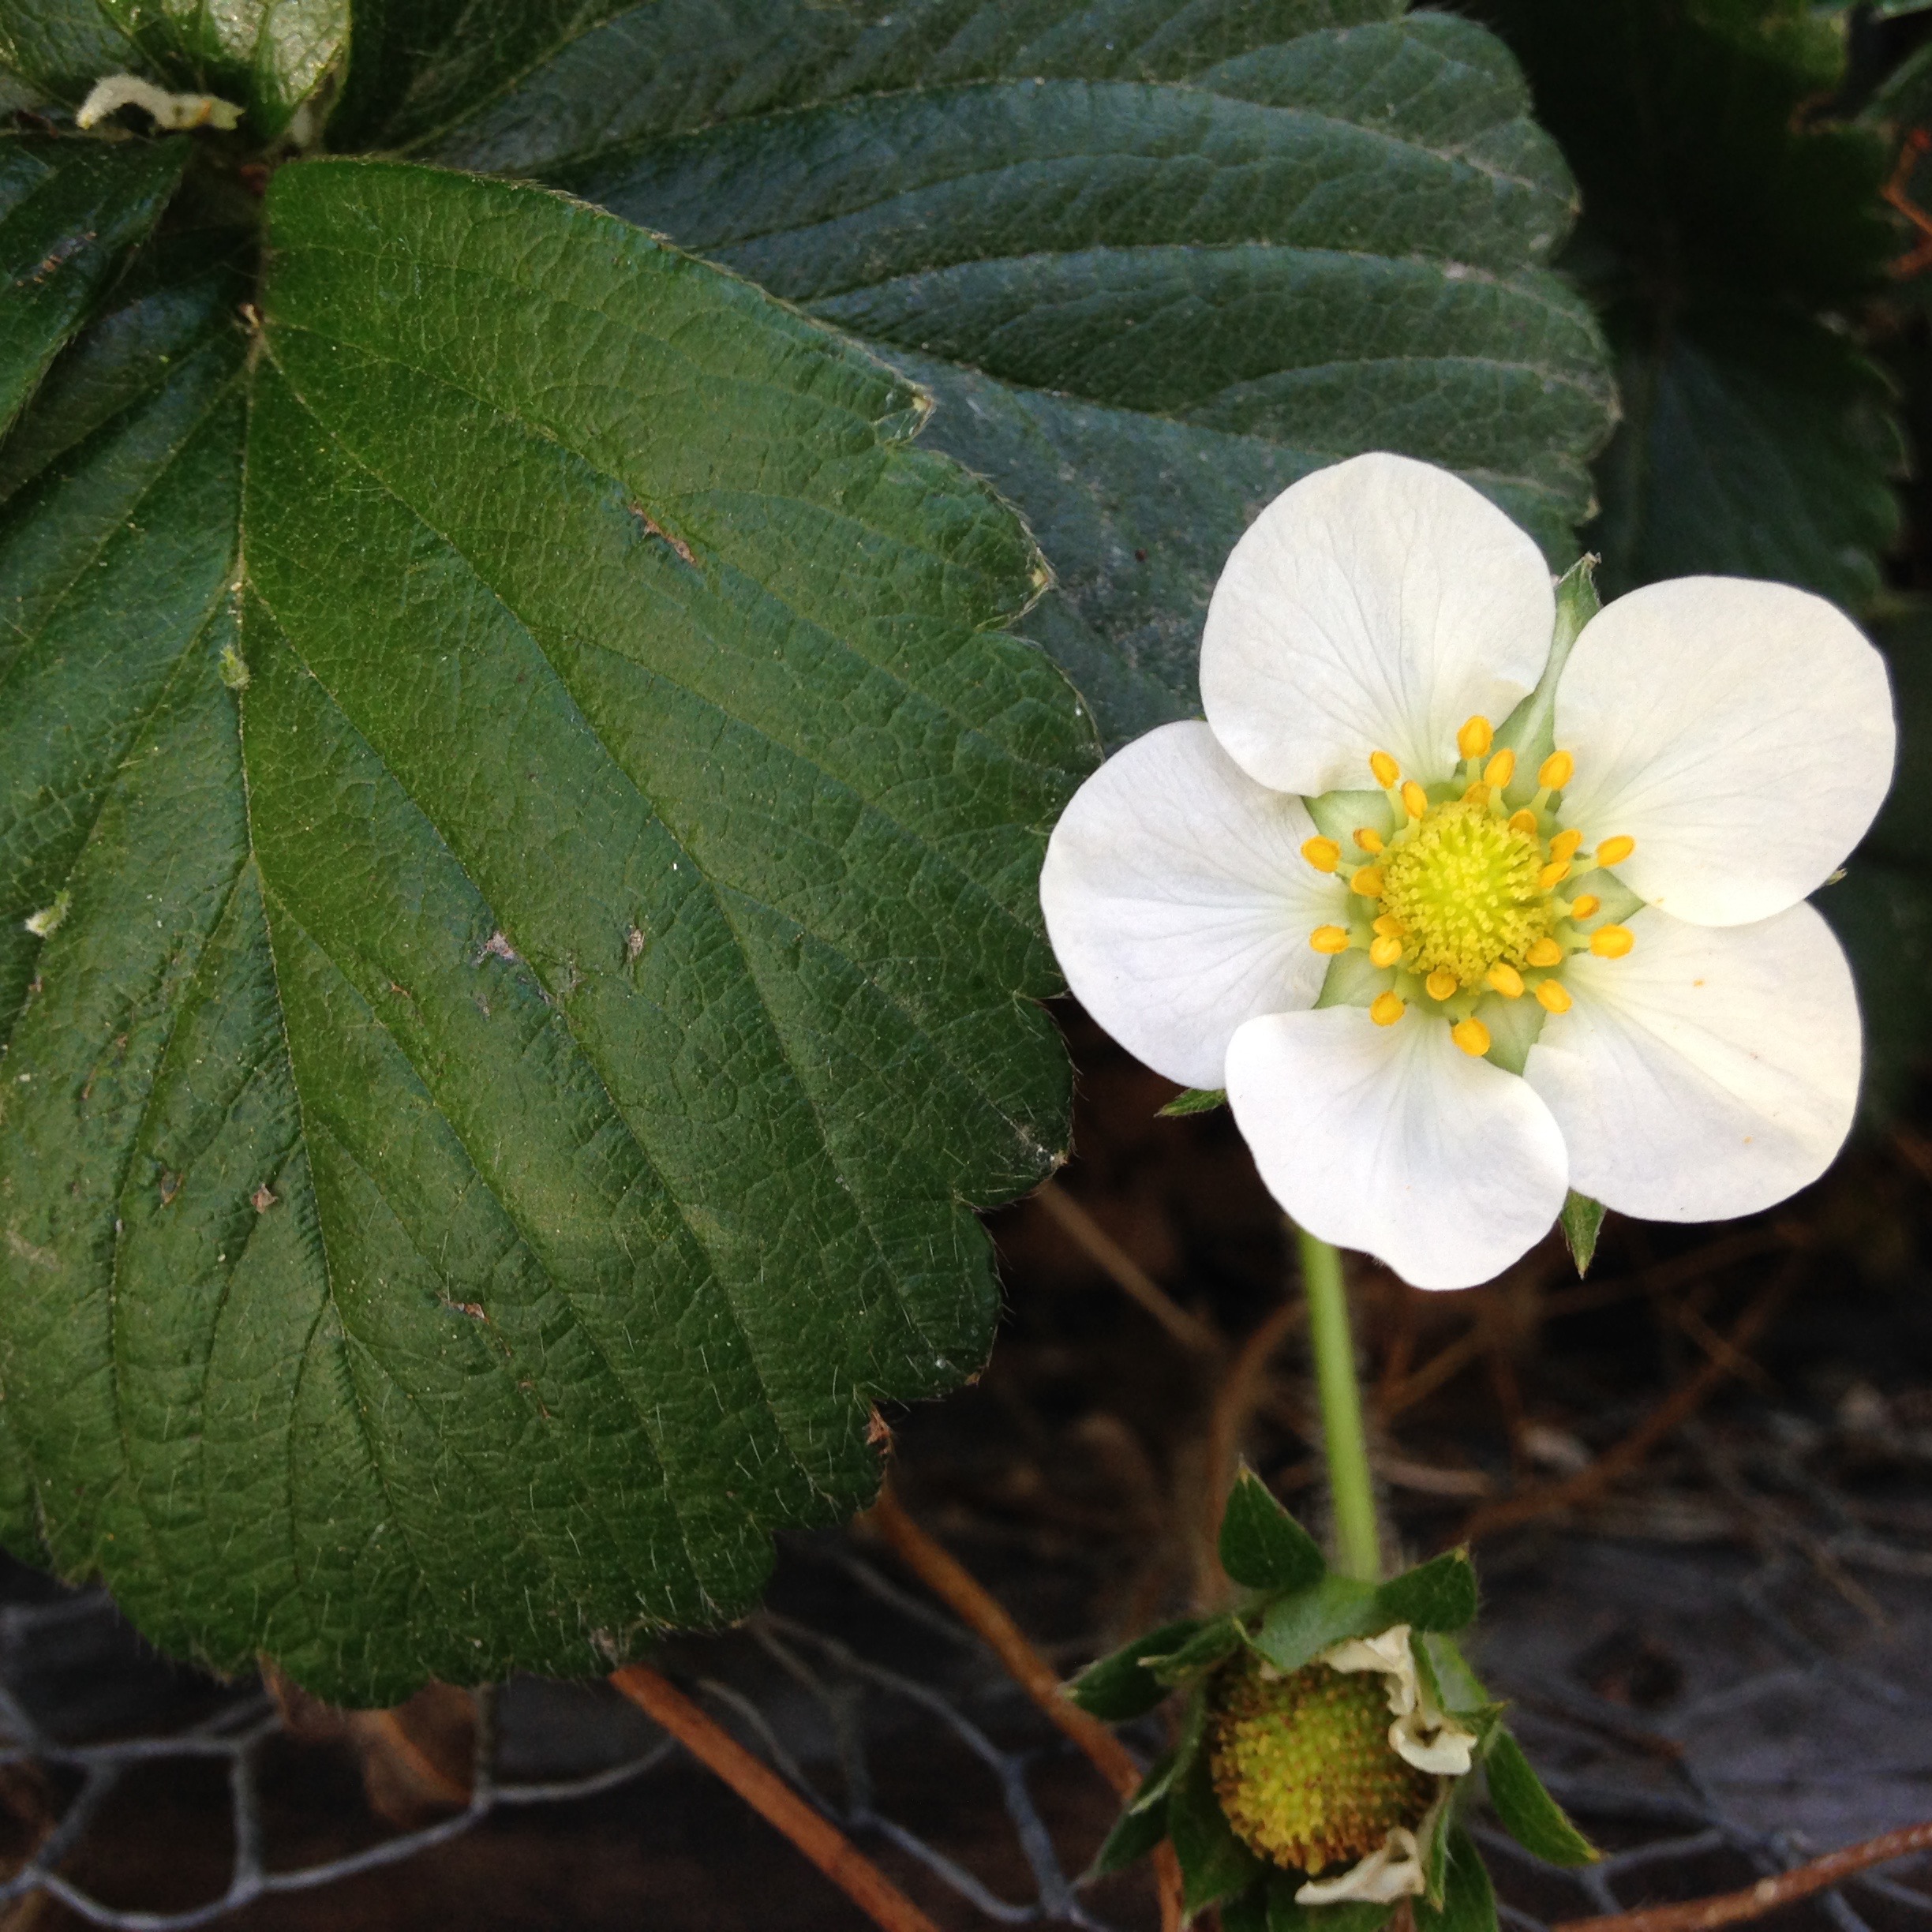
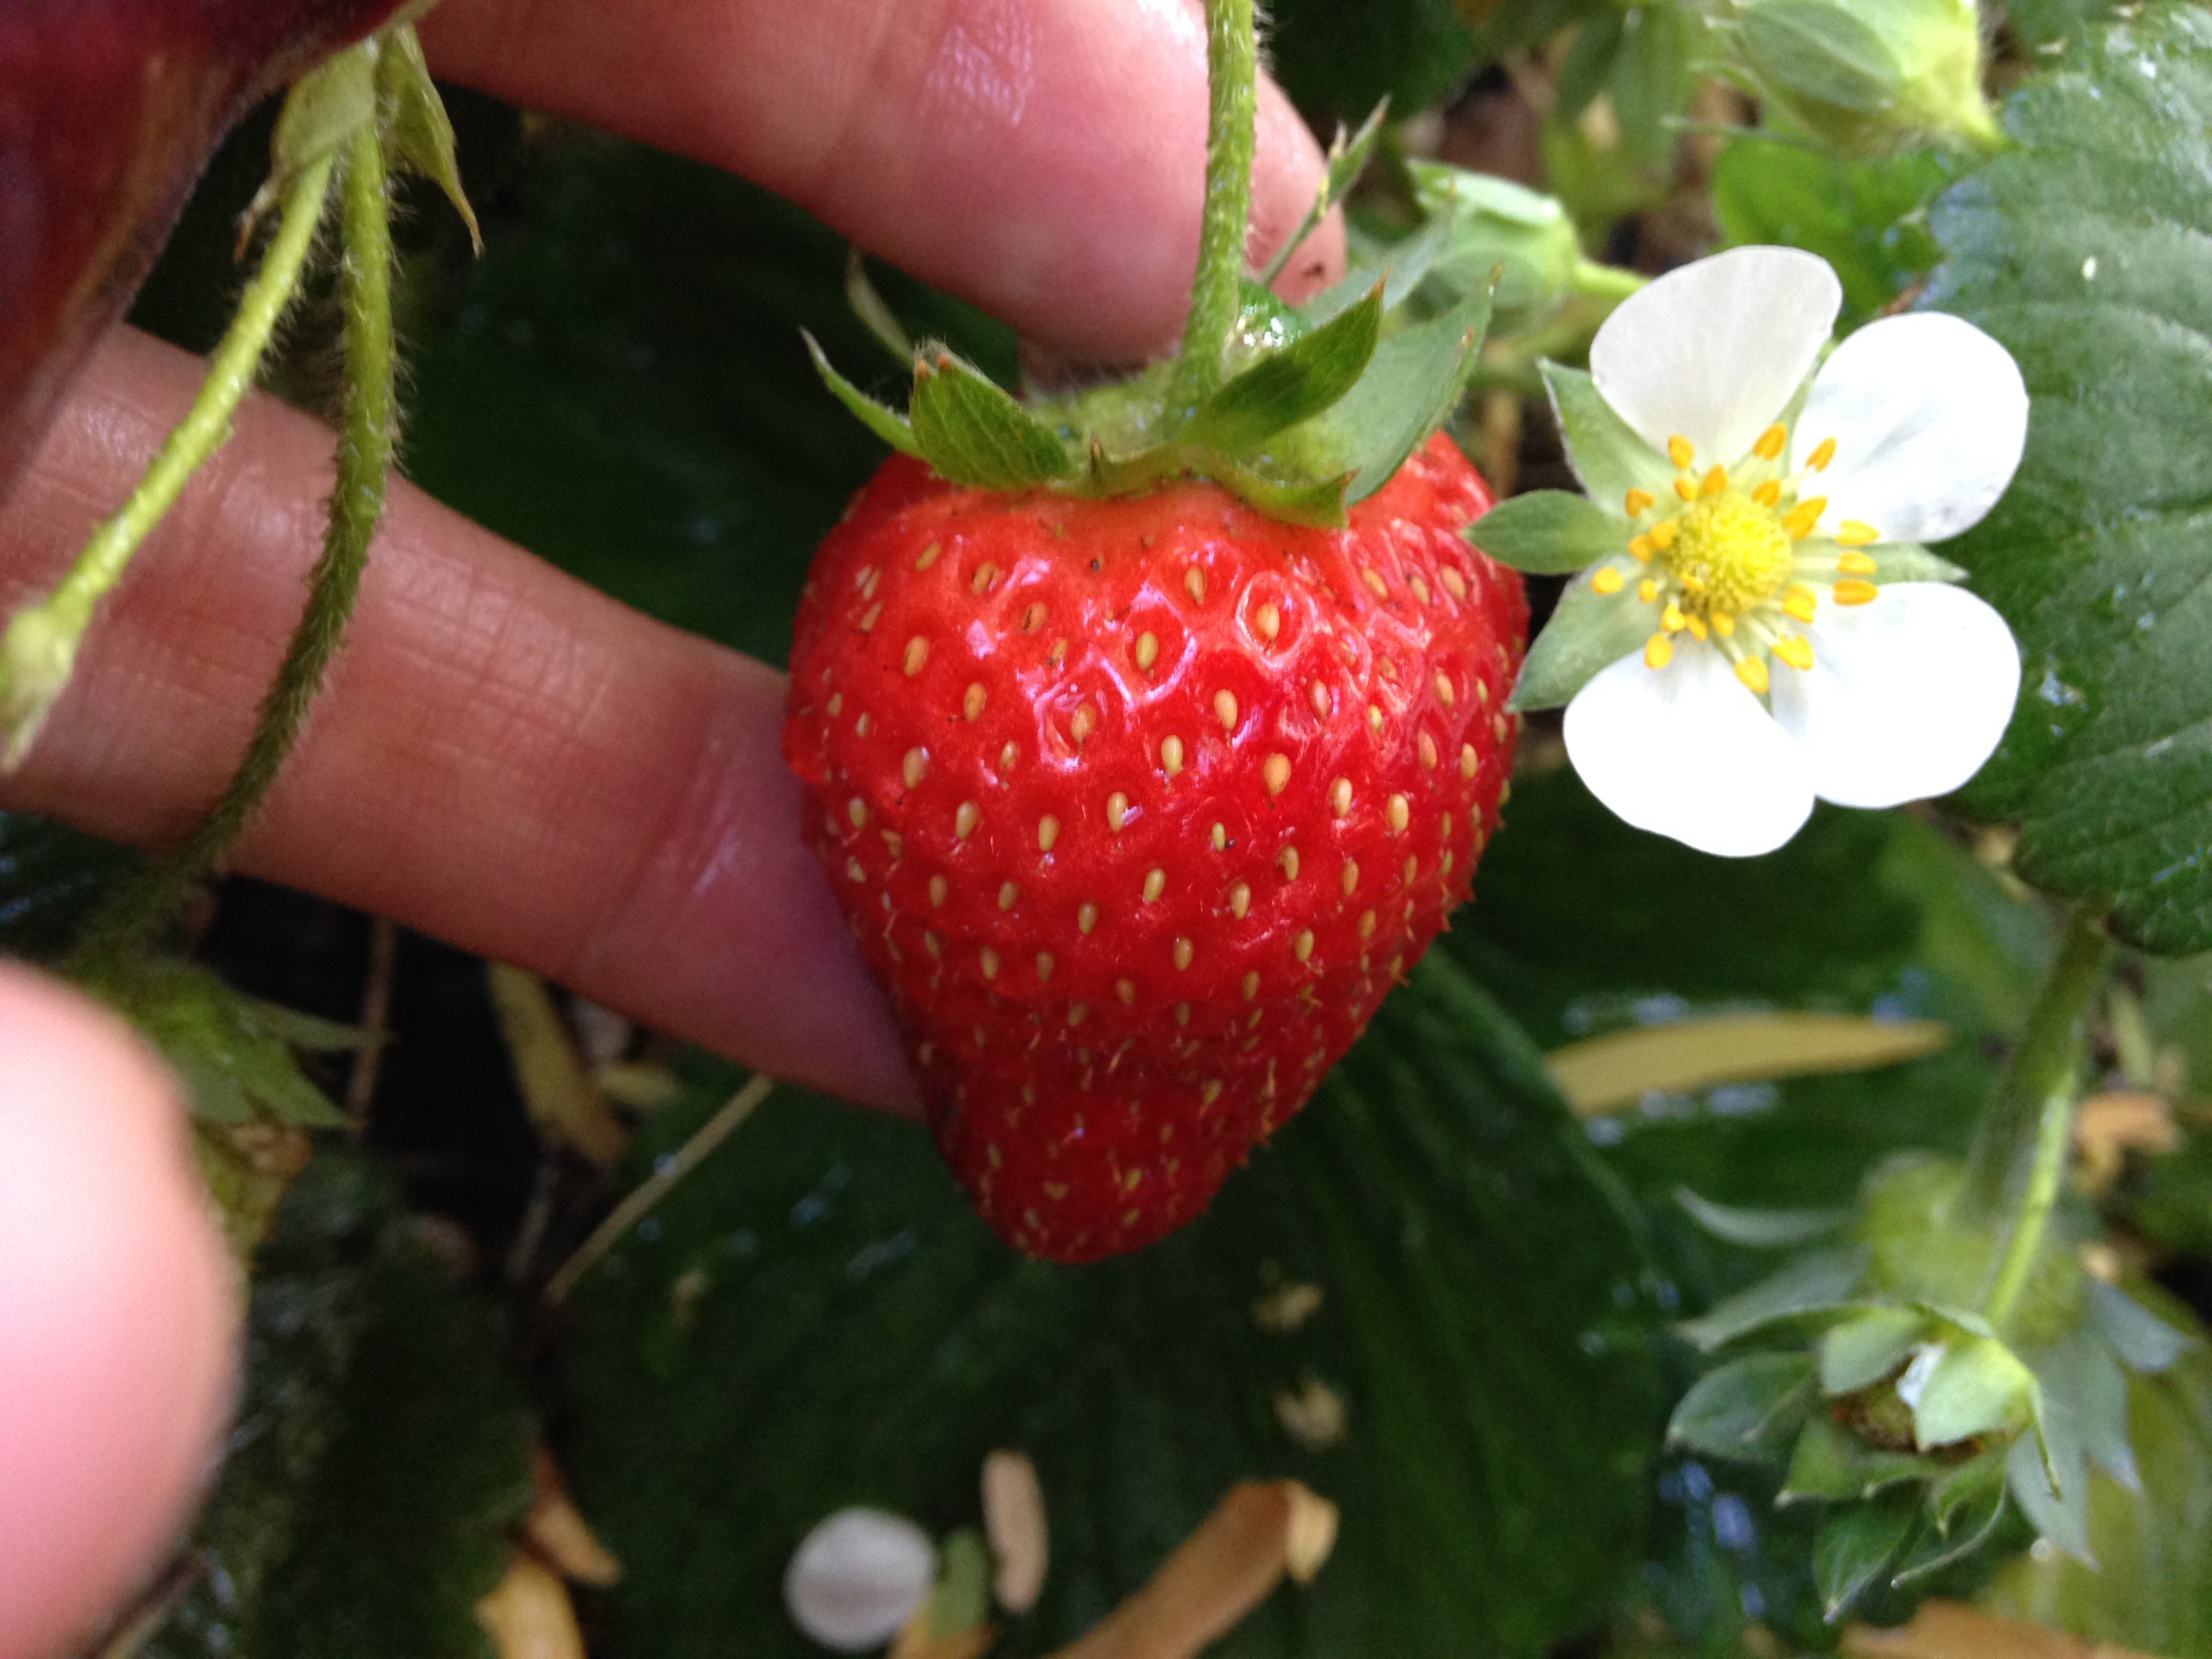
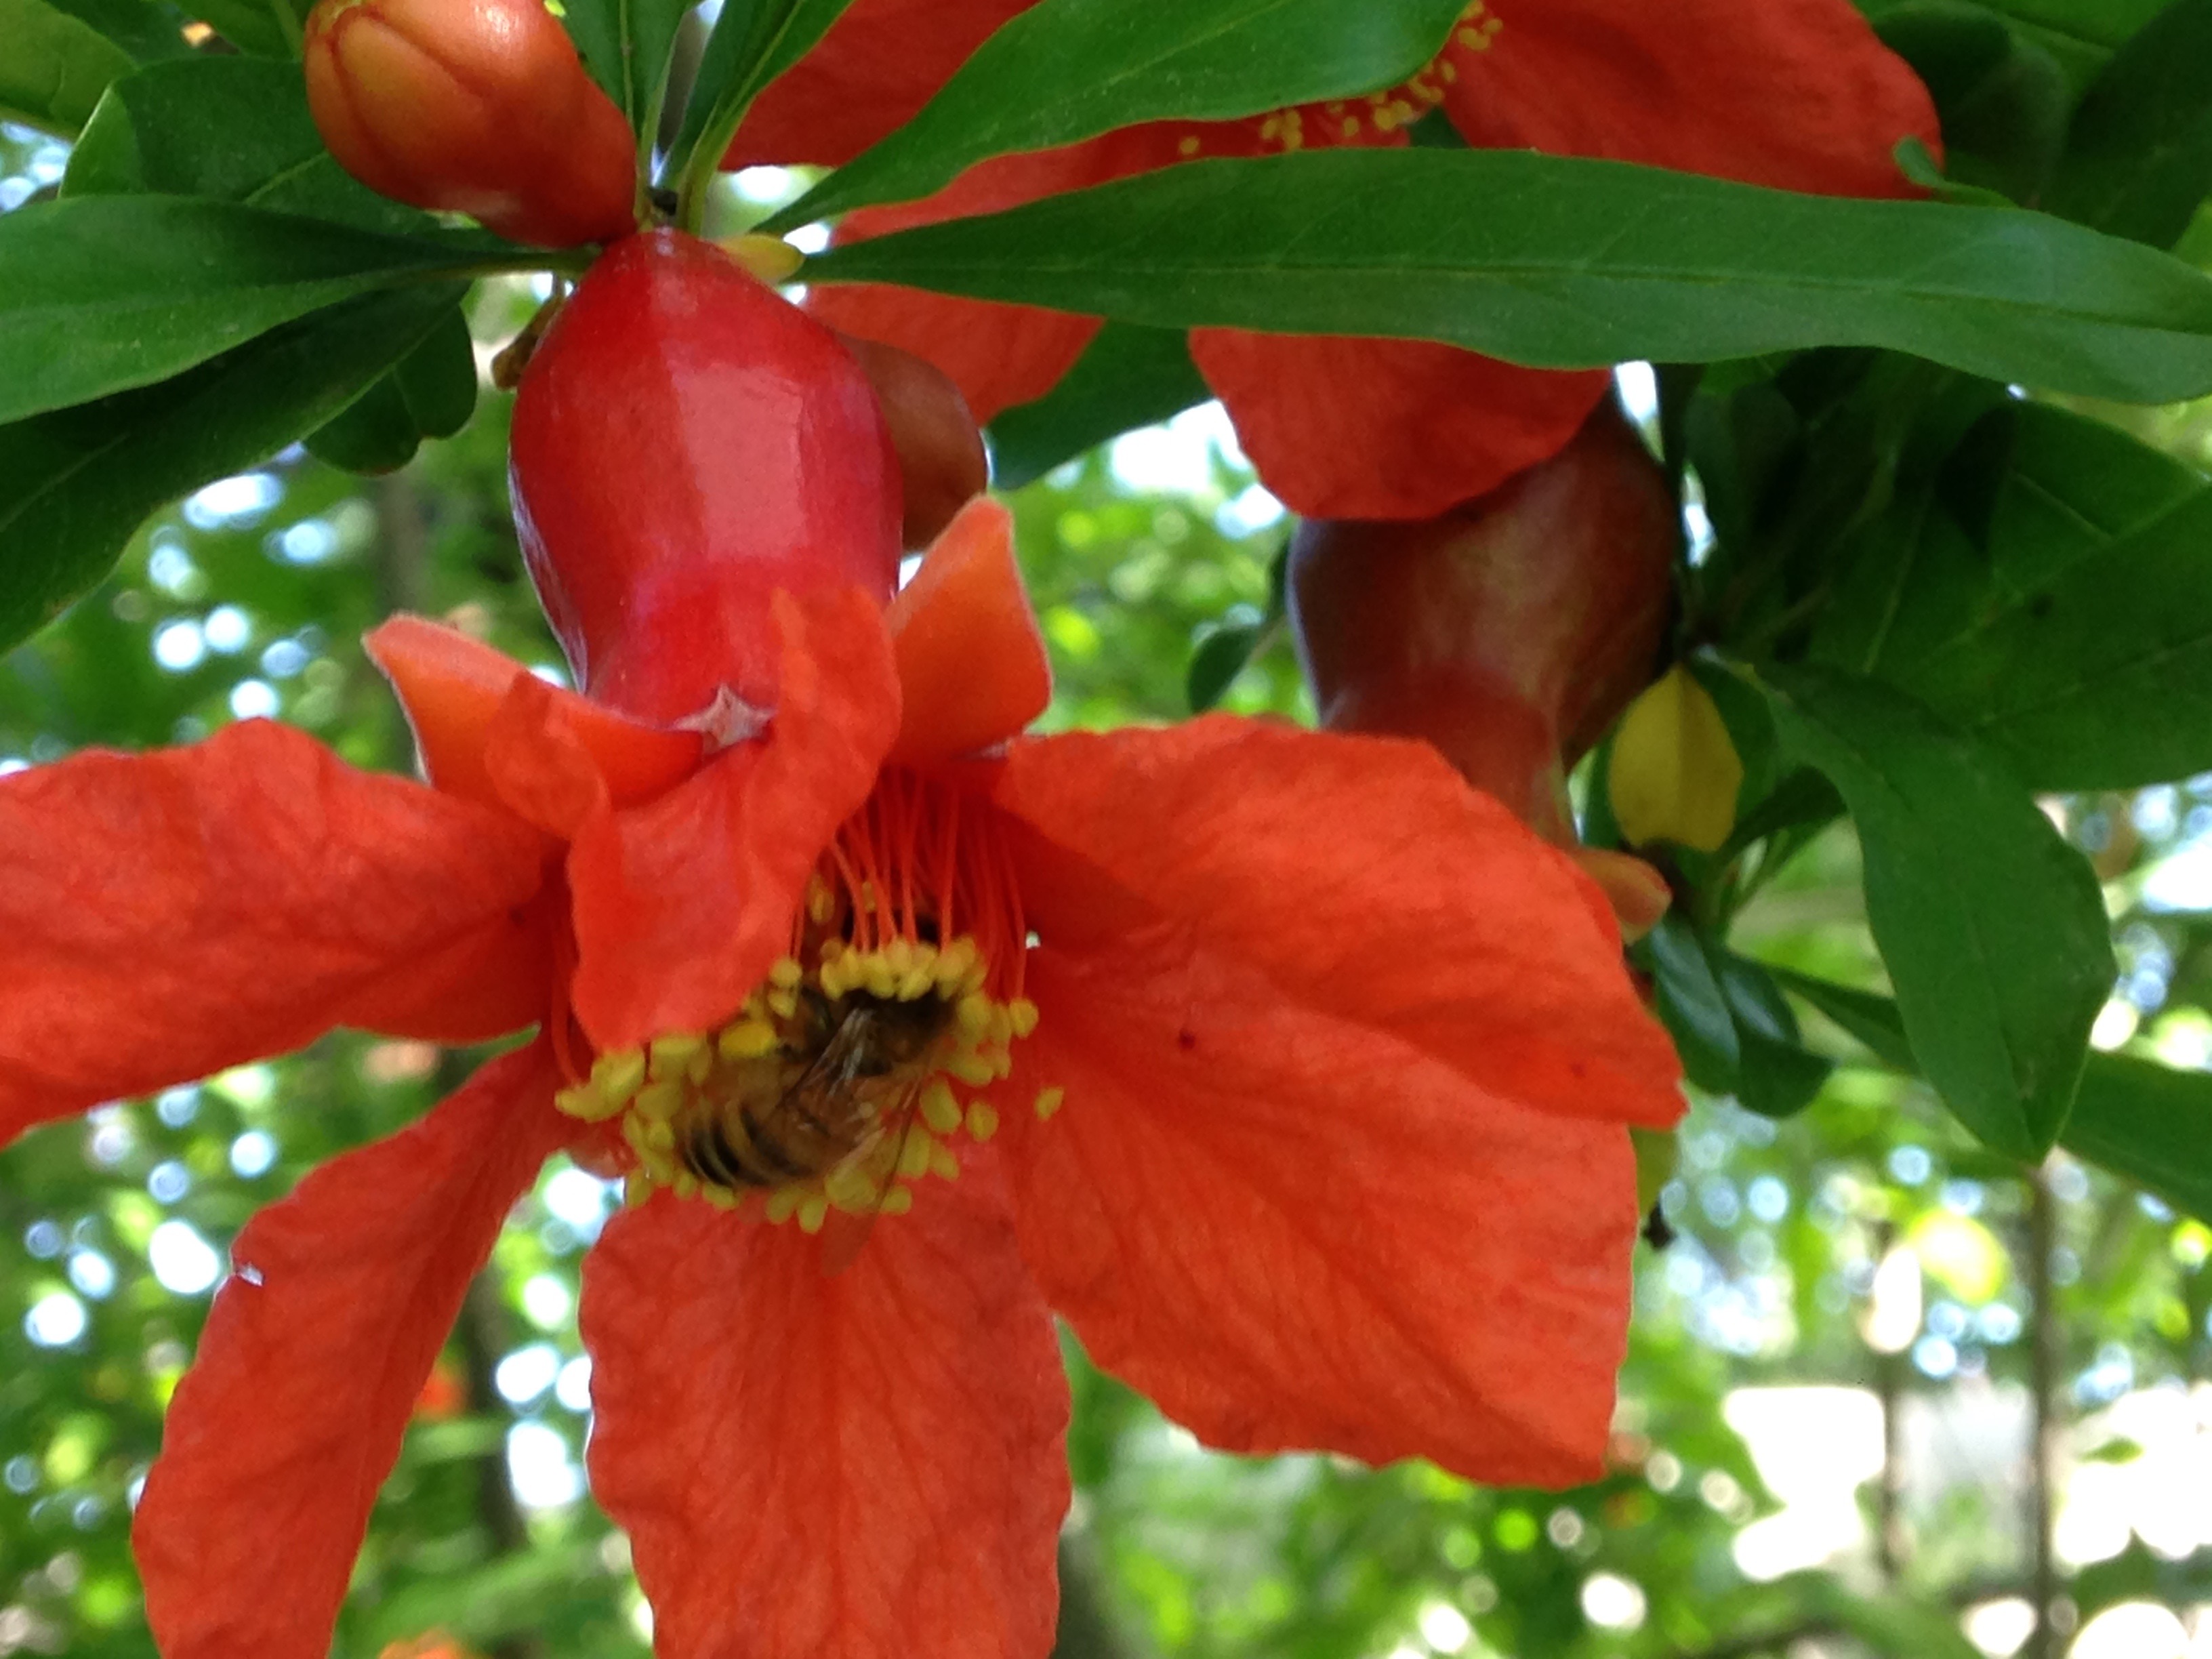
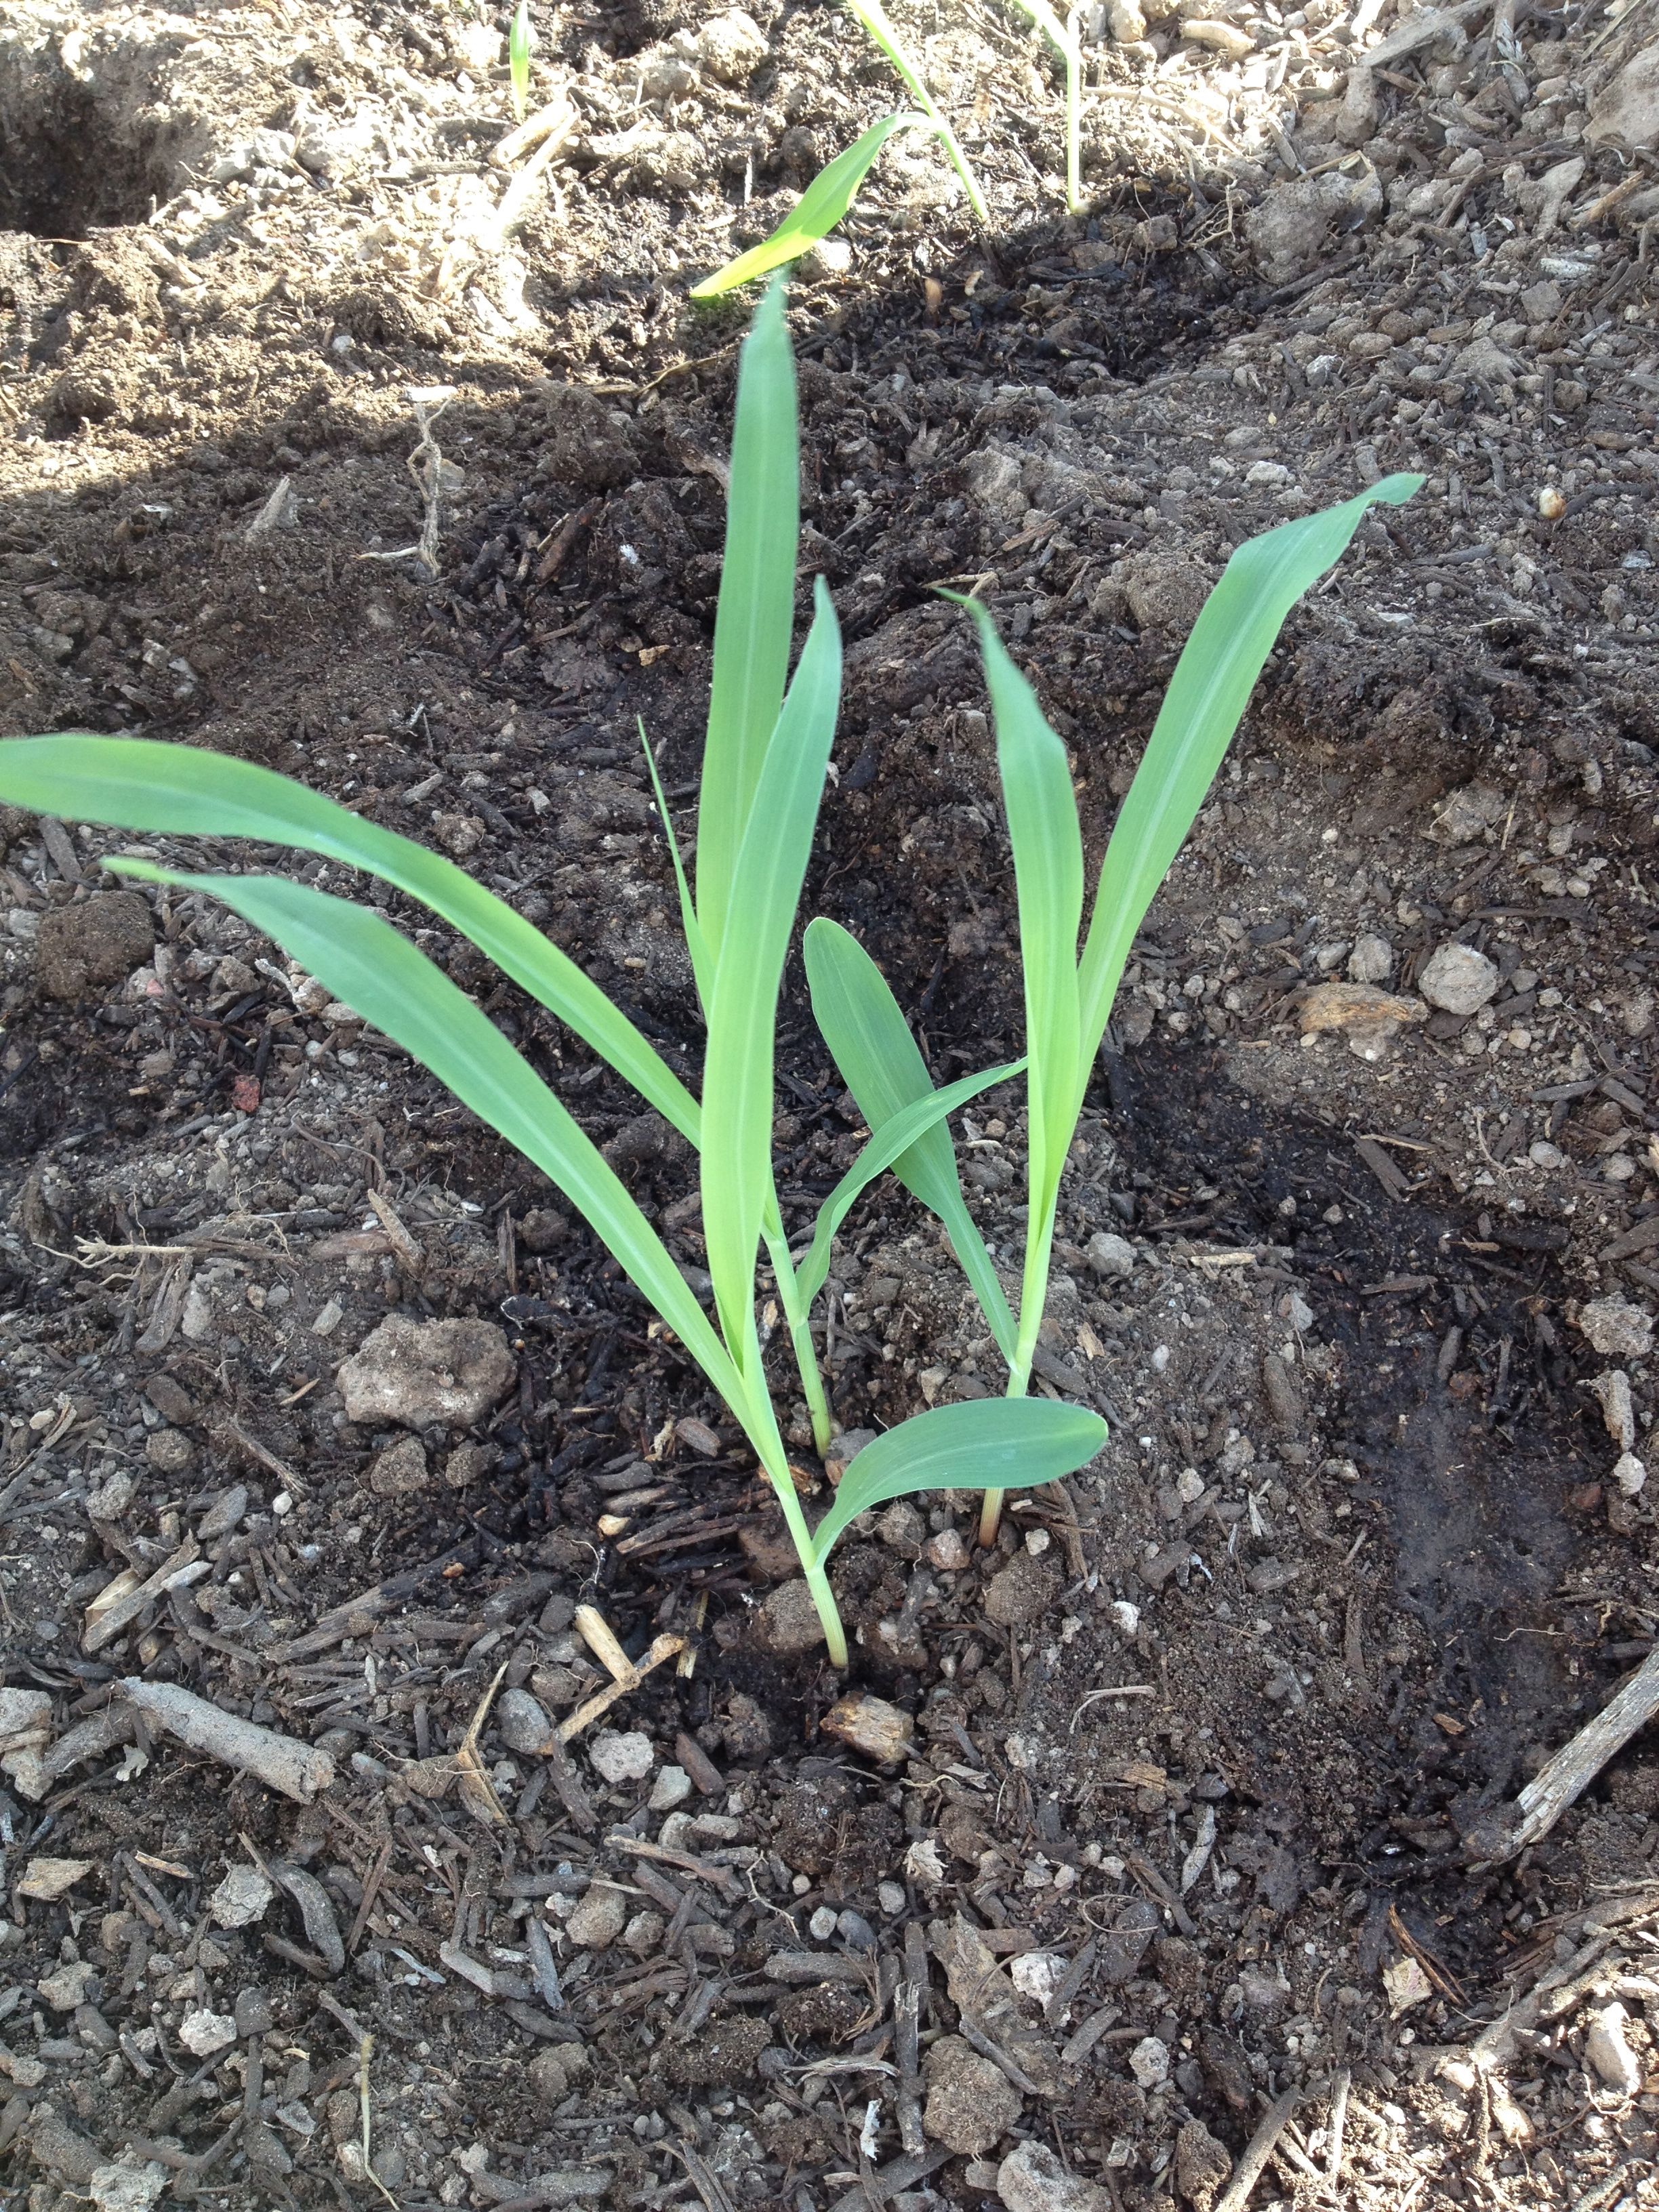
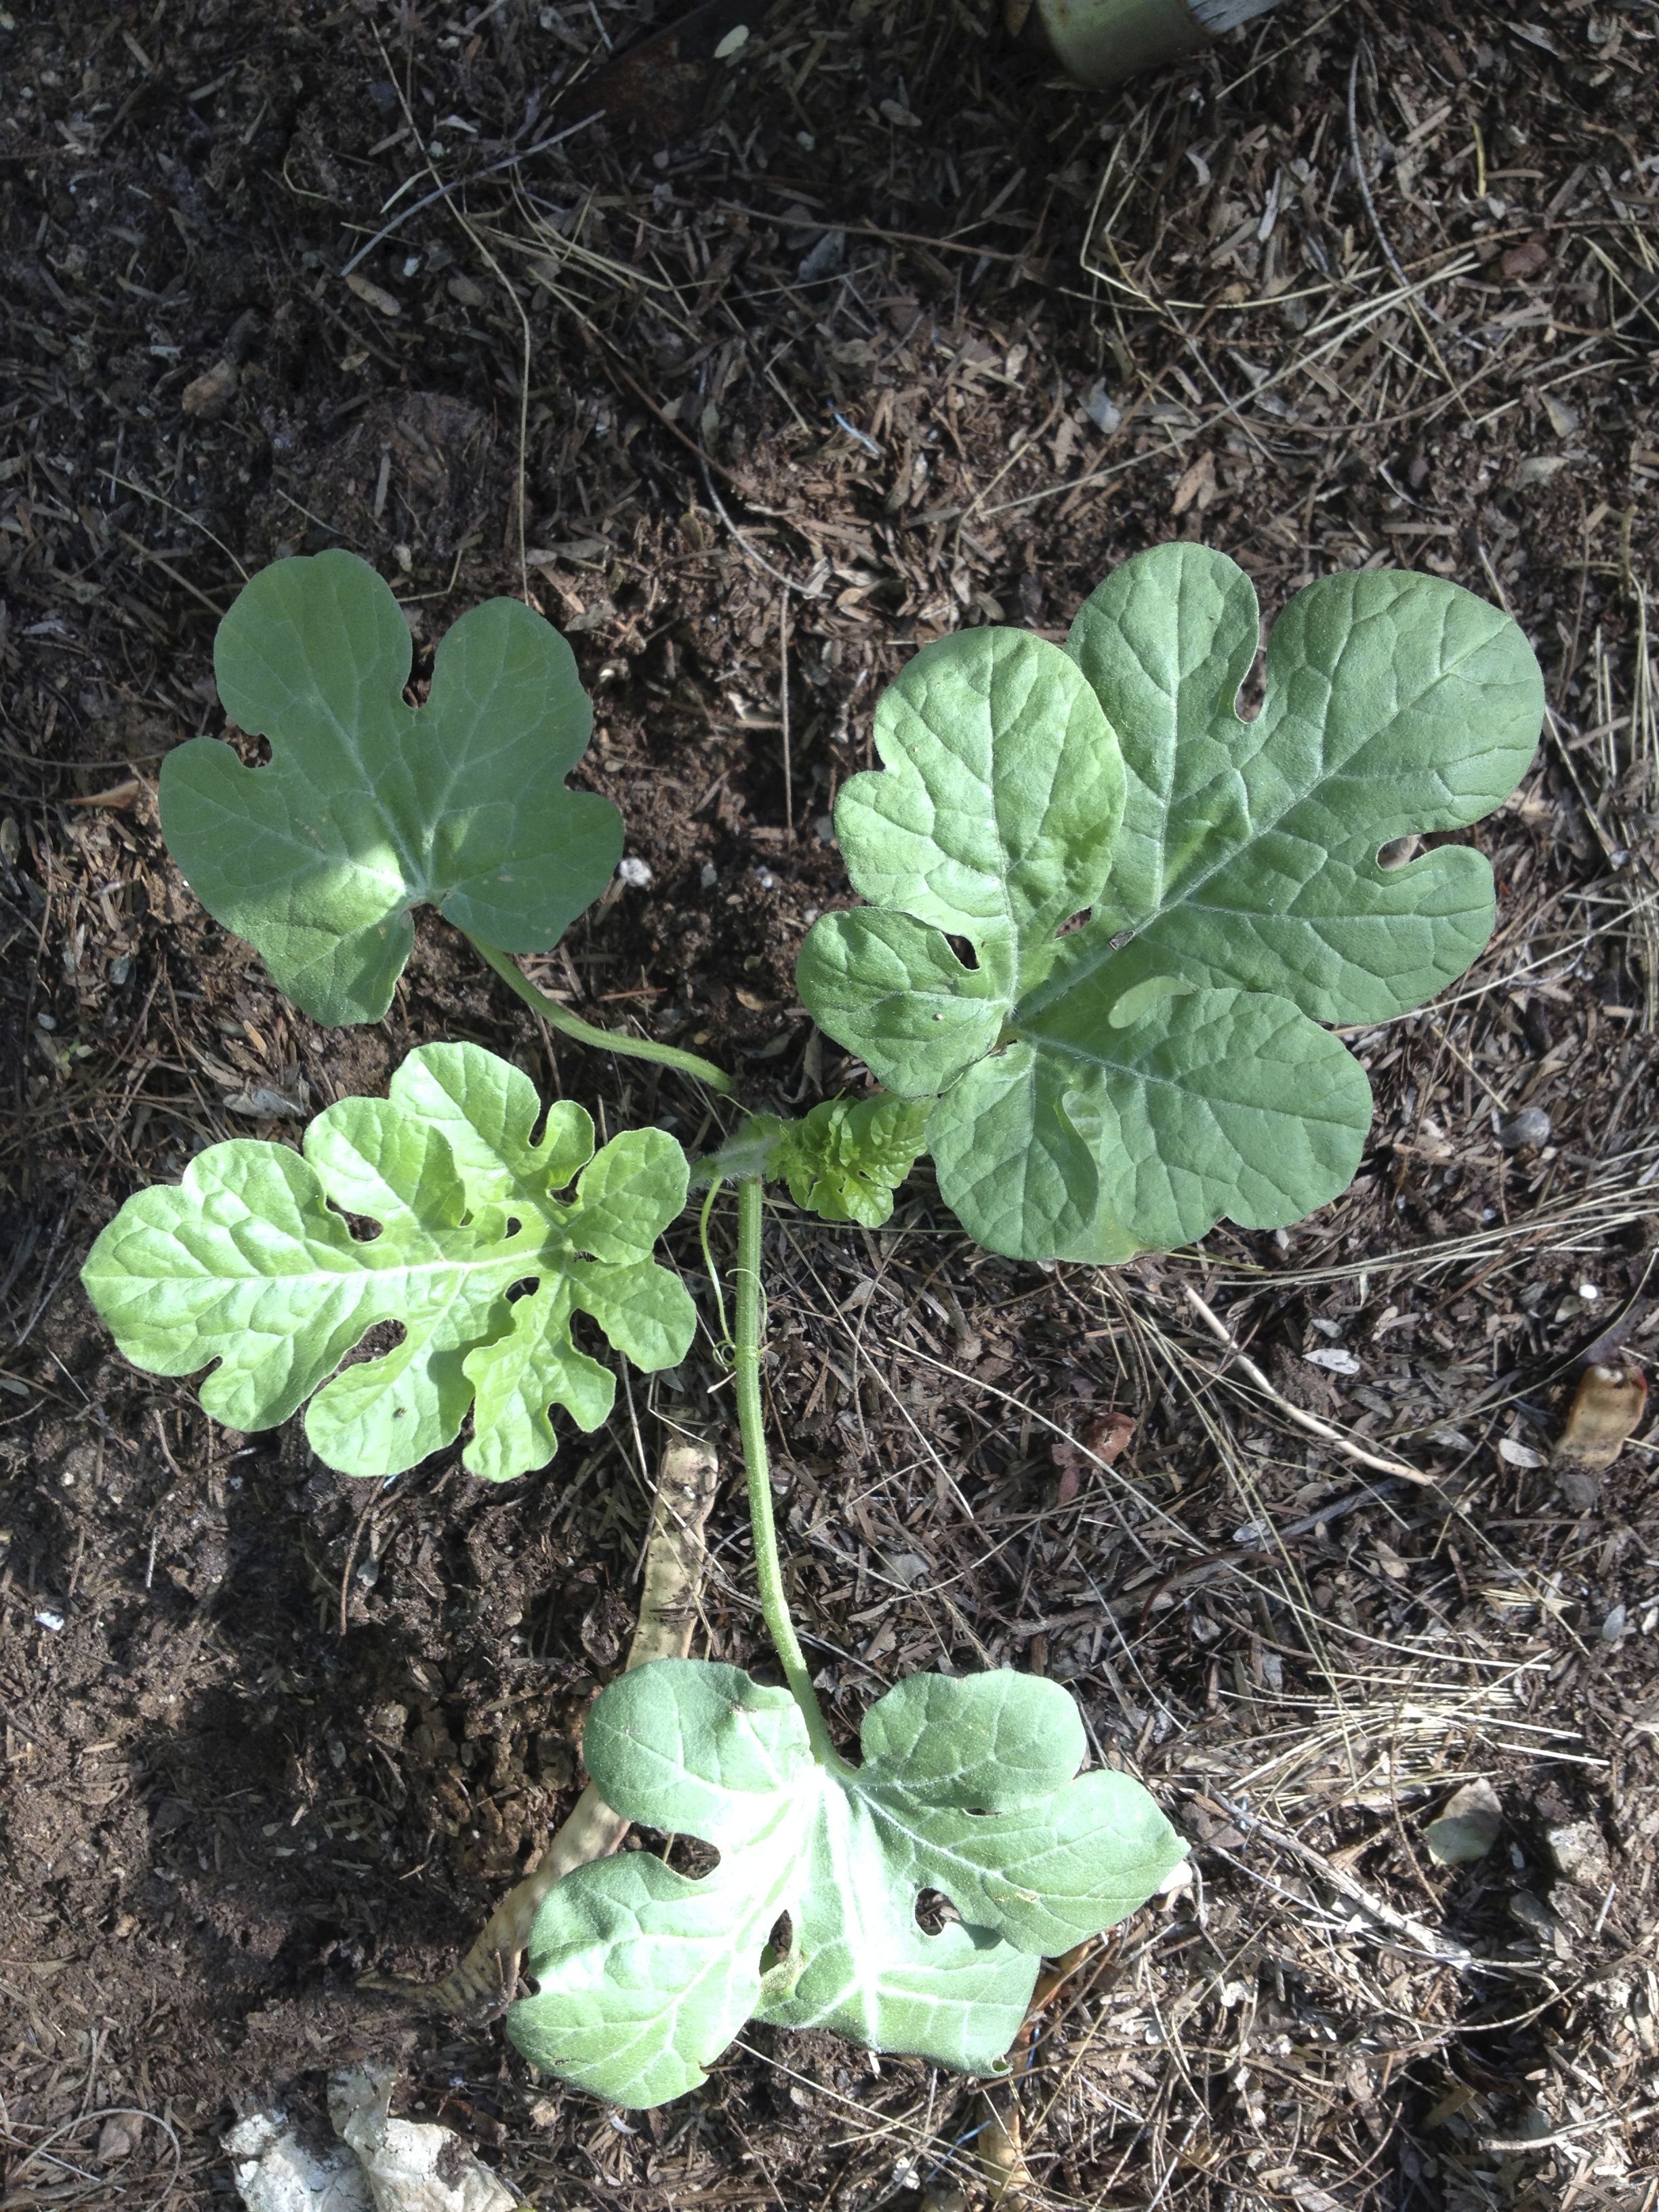
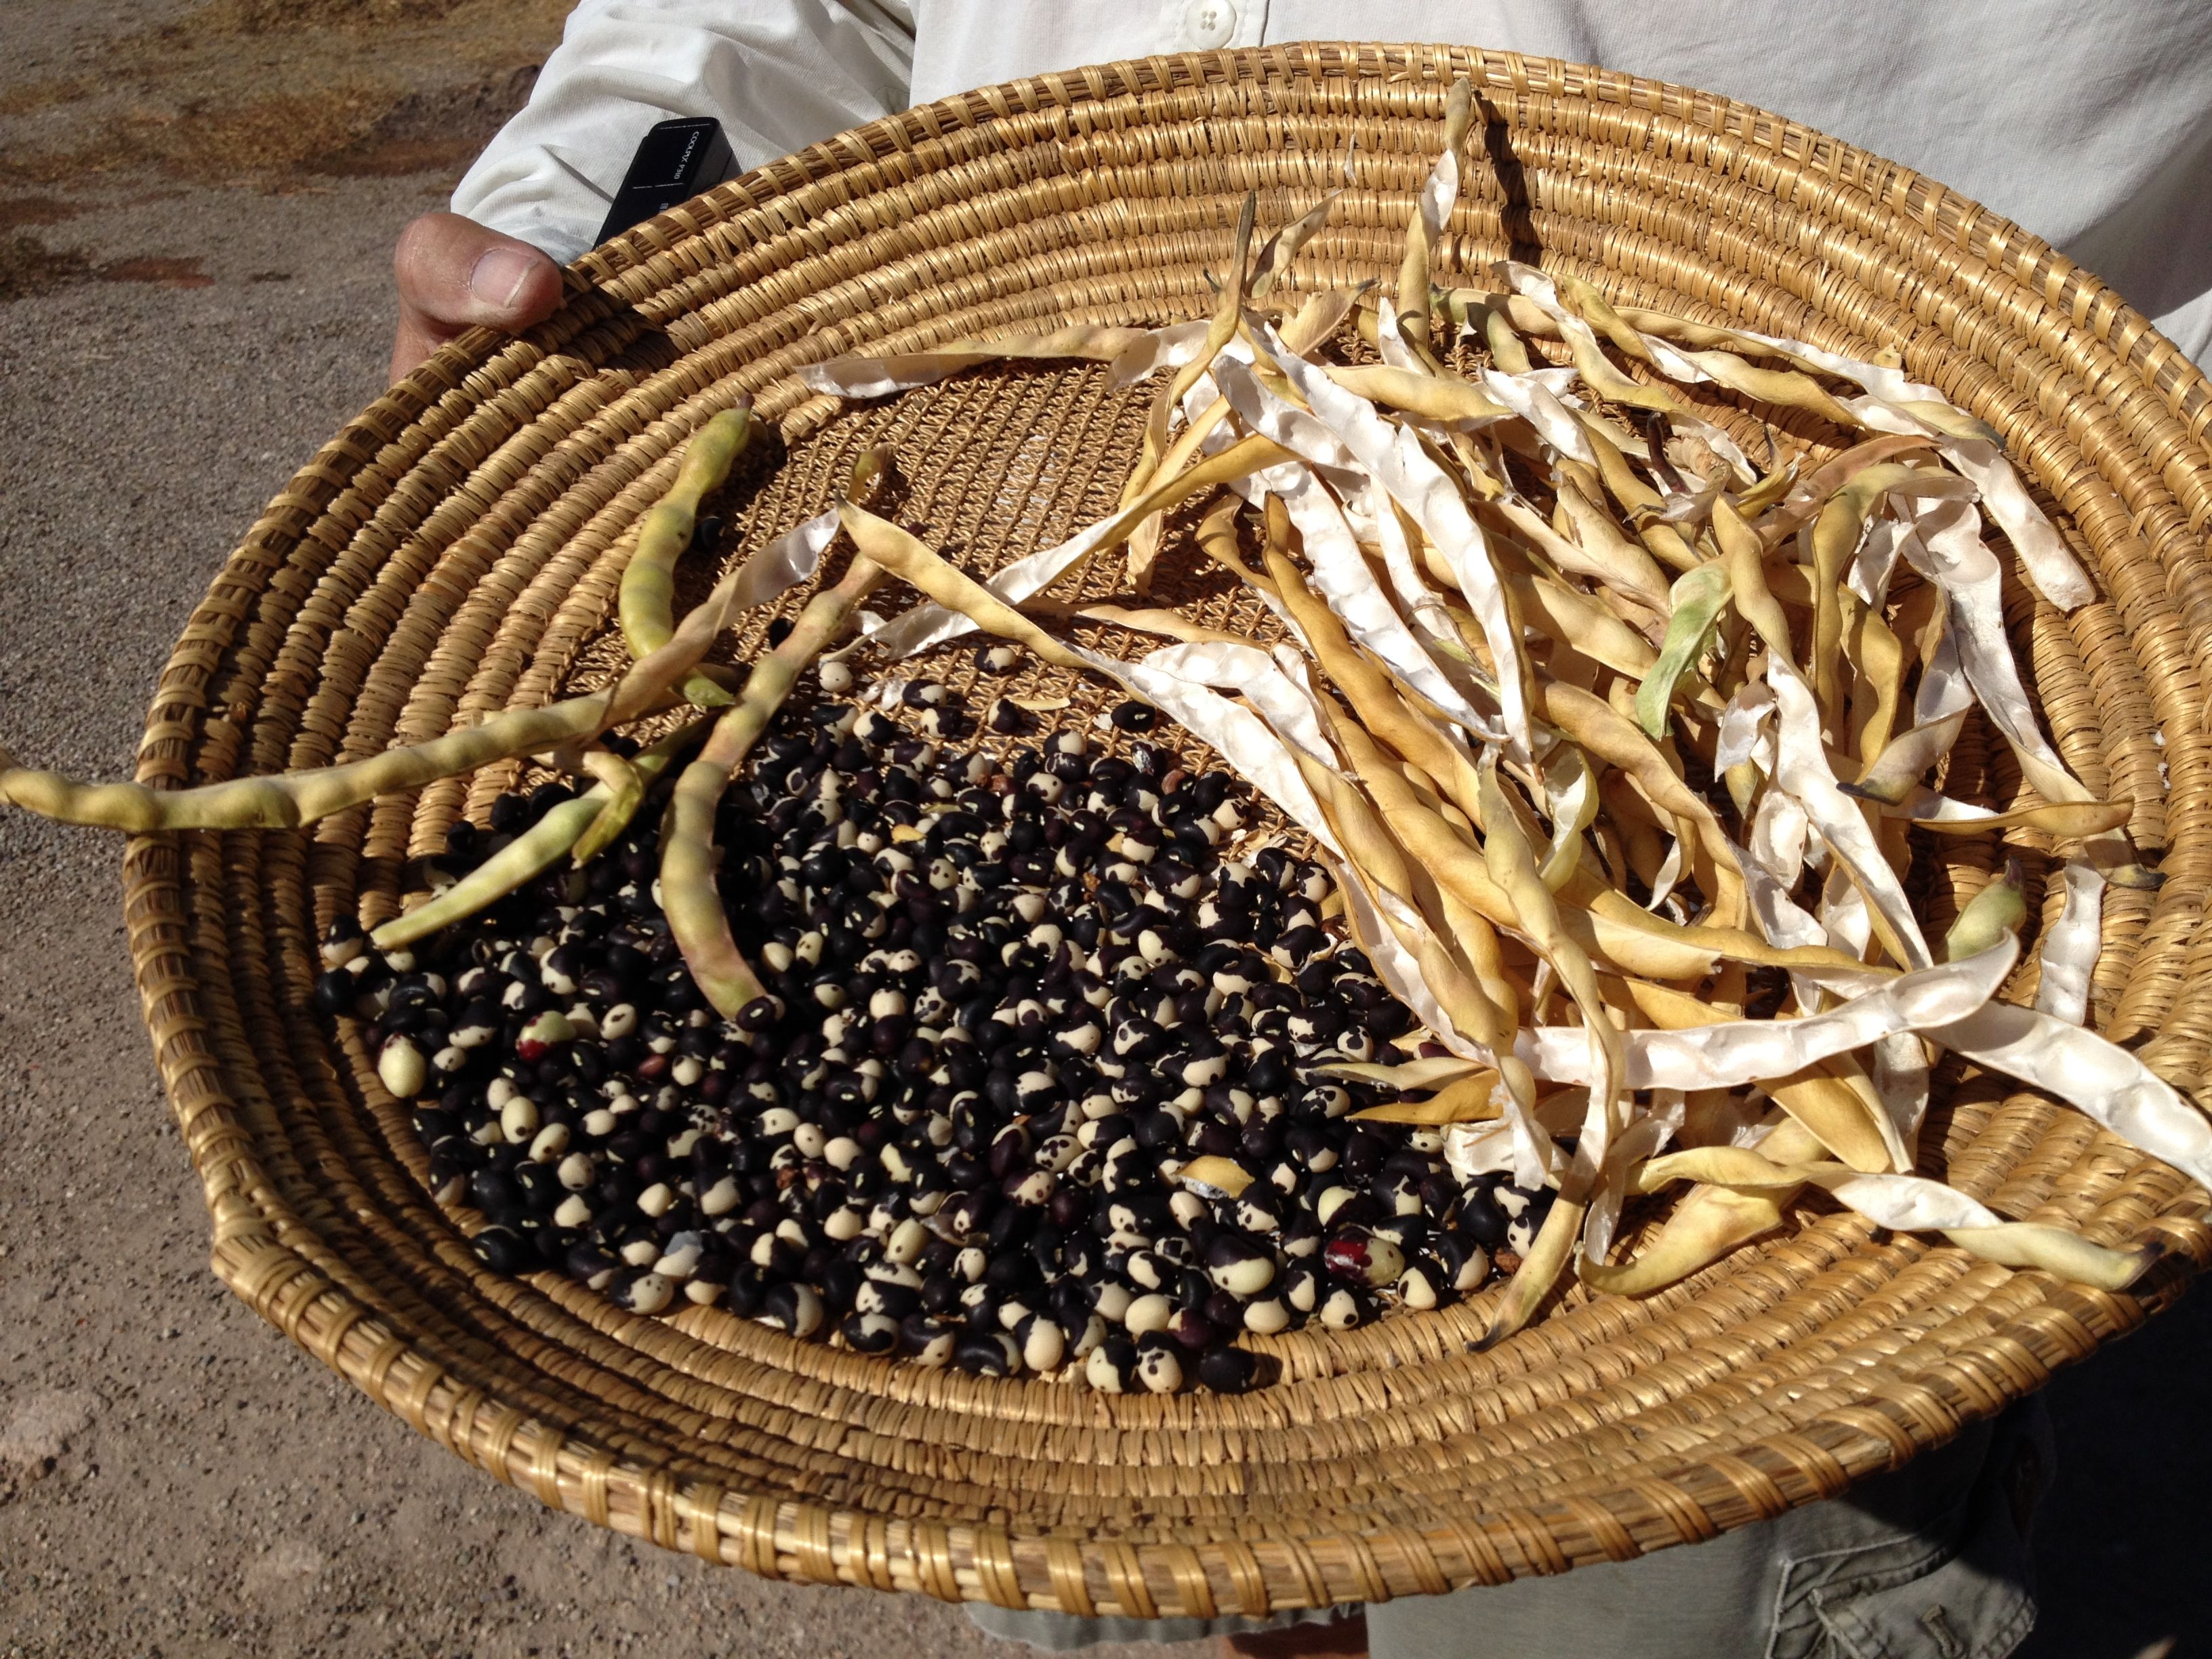
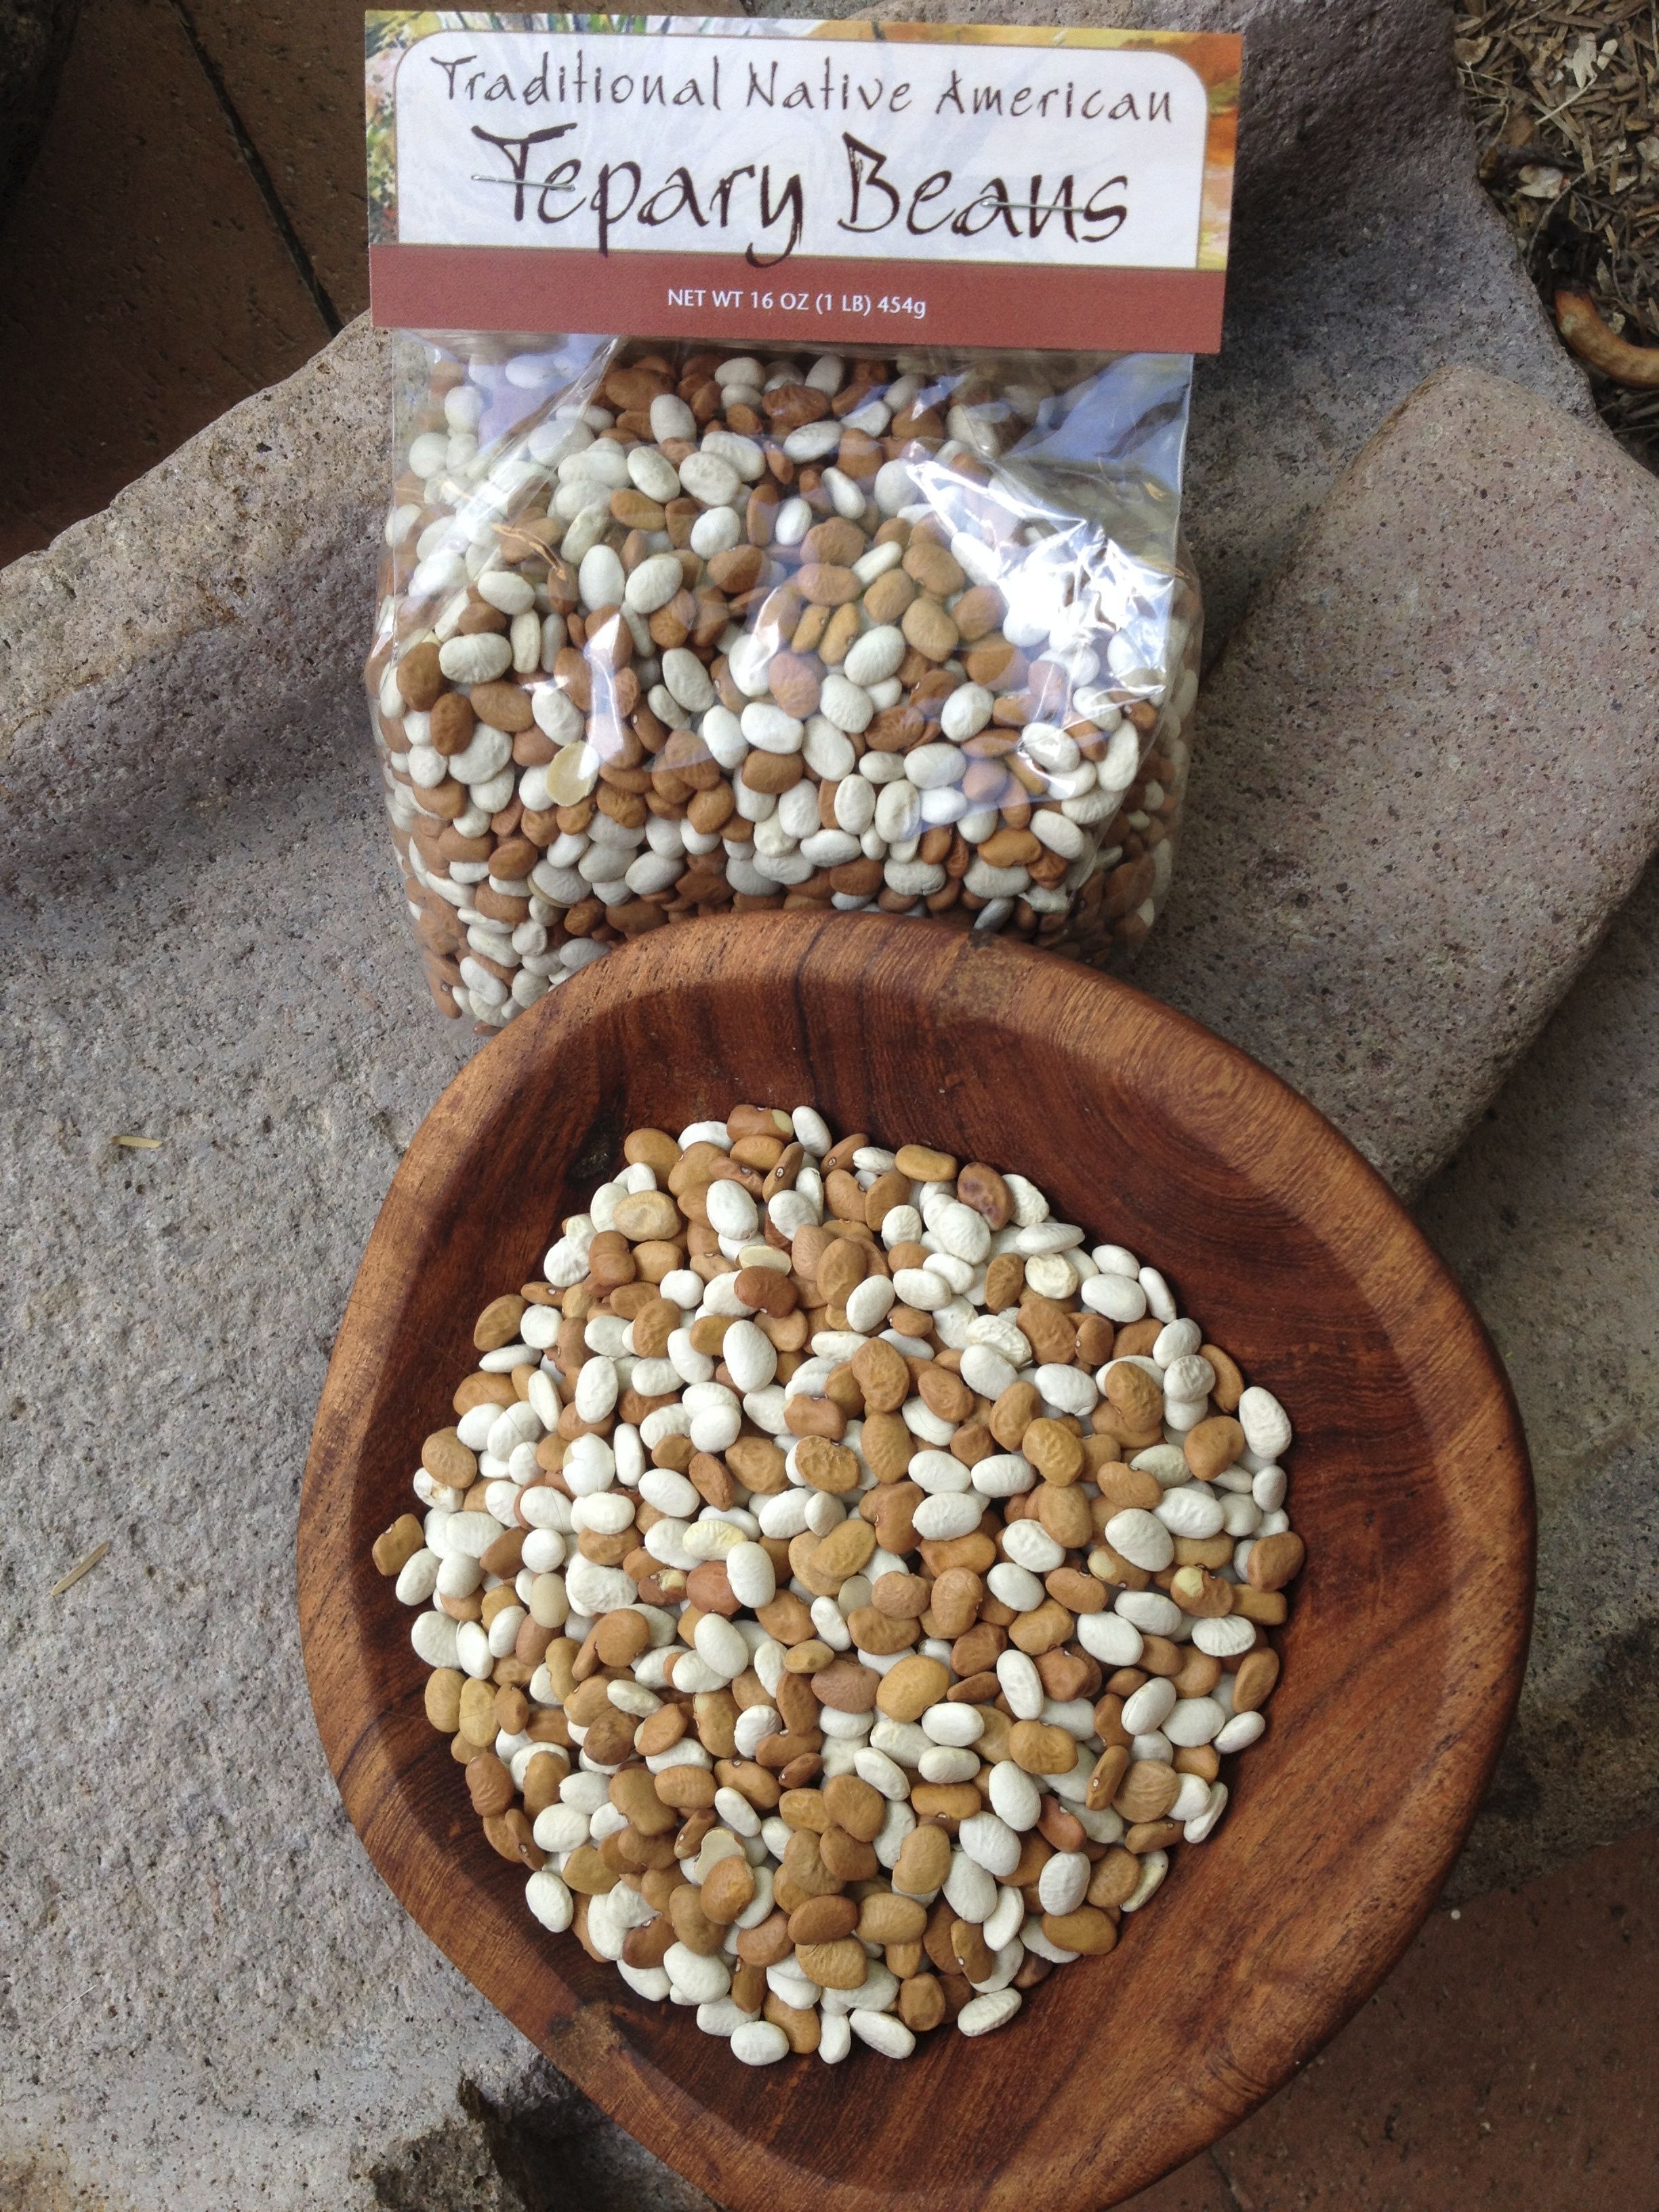
But one “truth” that seems to stand firm, is that What Goes Into the animal you eat, or that lays the egg your feed your kids, or the bee that harvests your honey/pollen, or the seed/soil that you plant is important.   For the sake of the lard we are about to render,  “You are What your Animals Eat” (see feed bag below) makes a significant difference in the health of the fat you are rendering.

IMG_6577

Well, trans-fats are “off the shelves” and in three years, as mandated by the FDA. They must be overwhelmingly “not good” for us if a government agency is willing to move that swiftly!  And, among the fats and oils reshuffling themselves, and reconsidered (based on science) as healthy, heat tolerant, and delicious: Lard is “back”.

Inspiration for exploring this new/old fat and how to use it is:  100% Natural LARD:  The Lost Art of Cooking with Your Grandmother’s Secret Ingredient (From the Editors of GRIT Magazine) As soon as I read about book (2012) which I ordered from our independent book store,  Antigone Books, here in Tucson. The book is mesmerizing. It’s recipes are divine, earthy,  and delicious all at once. And it turns out, we can render our own lard right in our own kitchens. Seemed like a fun thing to do for Independence Day.

To get “off the page” and to learn more, I interviewed Cheralyn Schmidt, my dear friend and Culinary Crusader, who has been rendering her own lard for years (and is famous for her Tamale Parties where invitees create their own tamales from different types of masa, the tastiest being made from home-rendered-lard). She is a Chef, has experience in Ag-Extension, teaches food, cooking, and nutrition —  and is the Make It Happen Woman behind Tucson’s Thriving THE GARDEN KITCHEN (google it).  I could gush on and on about her many talents and her bright spirit, but it is time to roll up our sleeves and get to work.

IMG_6647 1) WHY would you WANT to render lard? Well, One it is an act of independence to have the Know How. Two, it makes food taste more delicious. Three, contrary to conventional thinking, and as stated above, lard is considered HEALTHY these days. The chemistry involves in fats is complicated, but there is significant research that is changing our thinking about animal fats. Fats are very important in our diets, I encourage you to find out more; you may be surprised.  Four, fill in Your Own reasons. Five, I enjoy experimenting and learning;  the lard-rendering is one place to play with flavors. Do an experiment and see if you can Taste the Difference between pasture raised lard and corn raised lard. Also, embolden yourself with experimentation. Below you’ll see a CHILTEPIN INFUSED LARD that I played with. 2) What is lard? And where can I get it to render at home?  Lard is pig fat, that you can buy from your local butcher (even butchers at your grocery store,  Sprouts, Whole Foods),  4-H folks, your Heritage Breeders (VERY important in supporting Heritage Animals are folks who are willing to buy heritage animals), the county fair, FFA (used to be Future Famers of America, now I am not sure what it stands for).   VERY Preferably, for both your health and the health of the animal, (NOTE: not separate),  you would ask for the fat from Pastured Animals pigs. Specifically, request, the “leaf lard” of the pig, which is located around the kidney’s. It has the best quality, in terms of nutrition and taste. The book gives this as a resource for Resources as well: http://www.LardCookbook.com IMG_6668 IMG_6670 
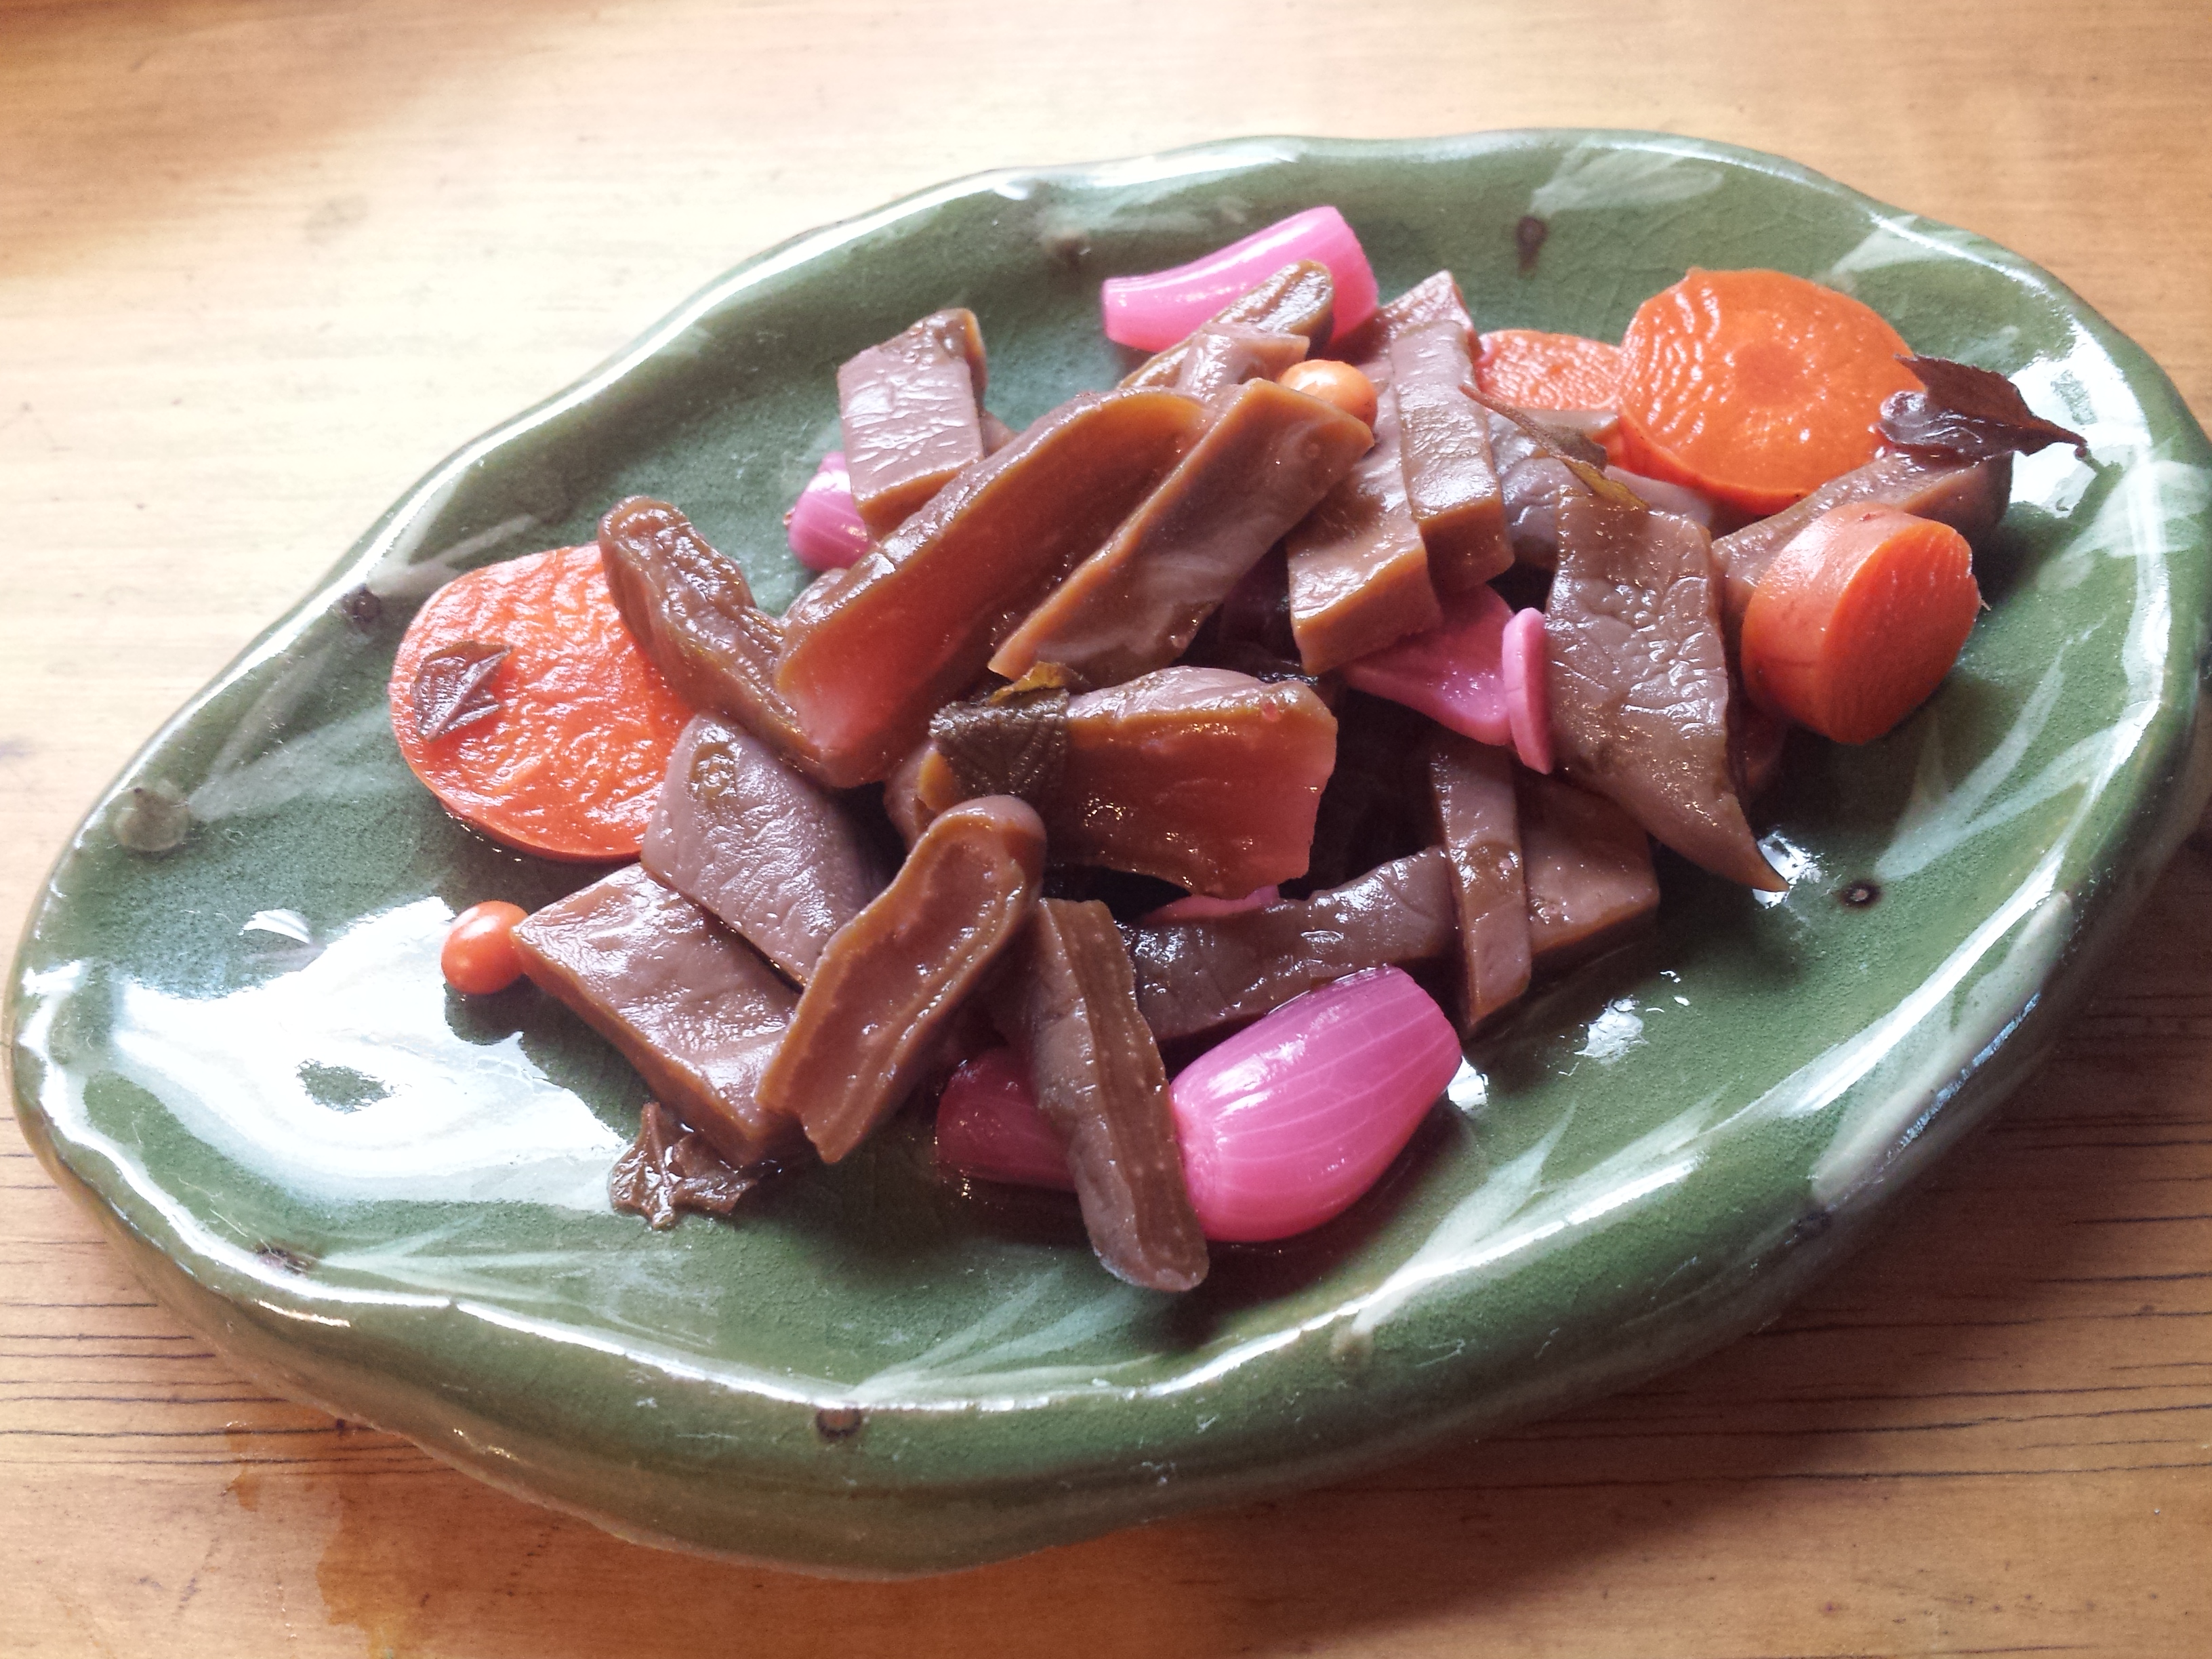
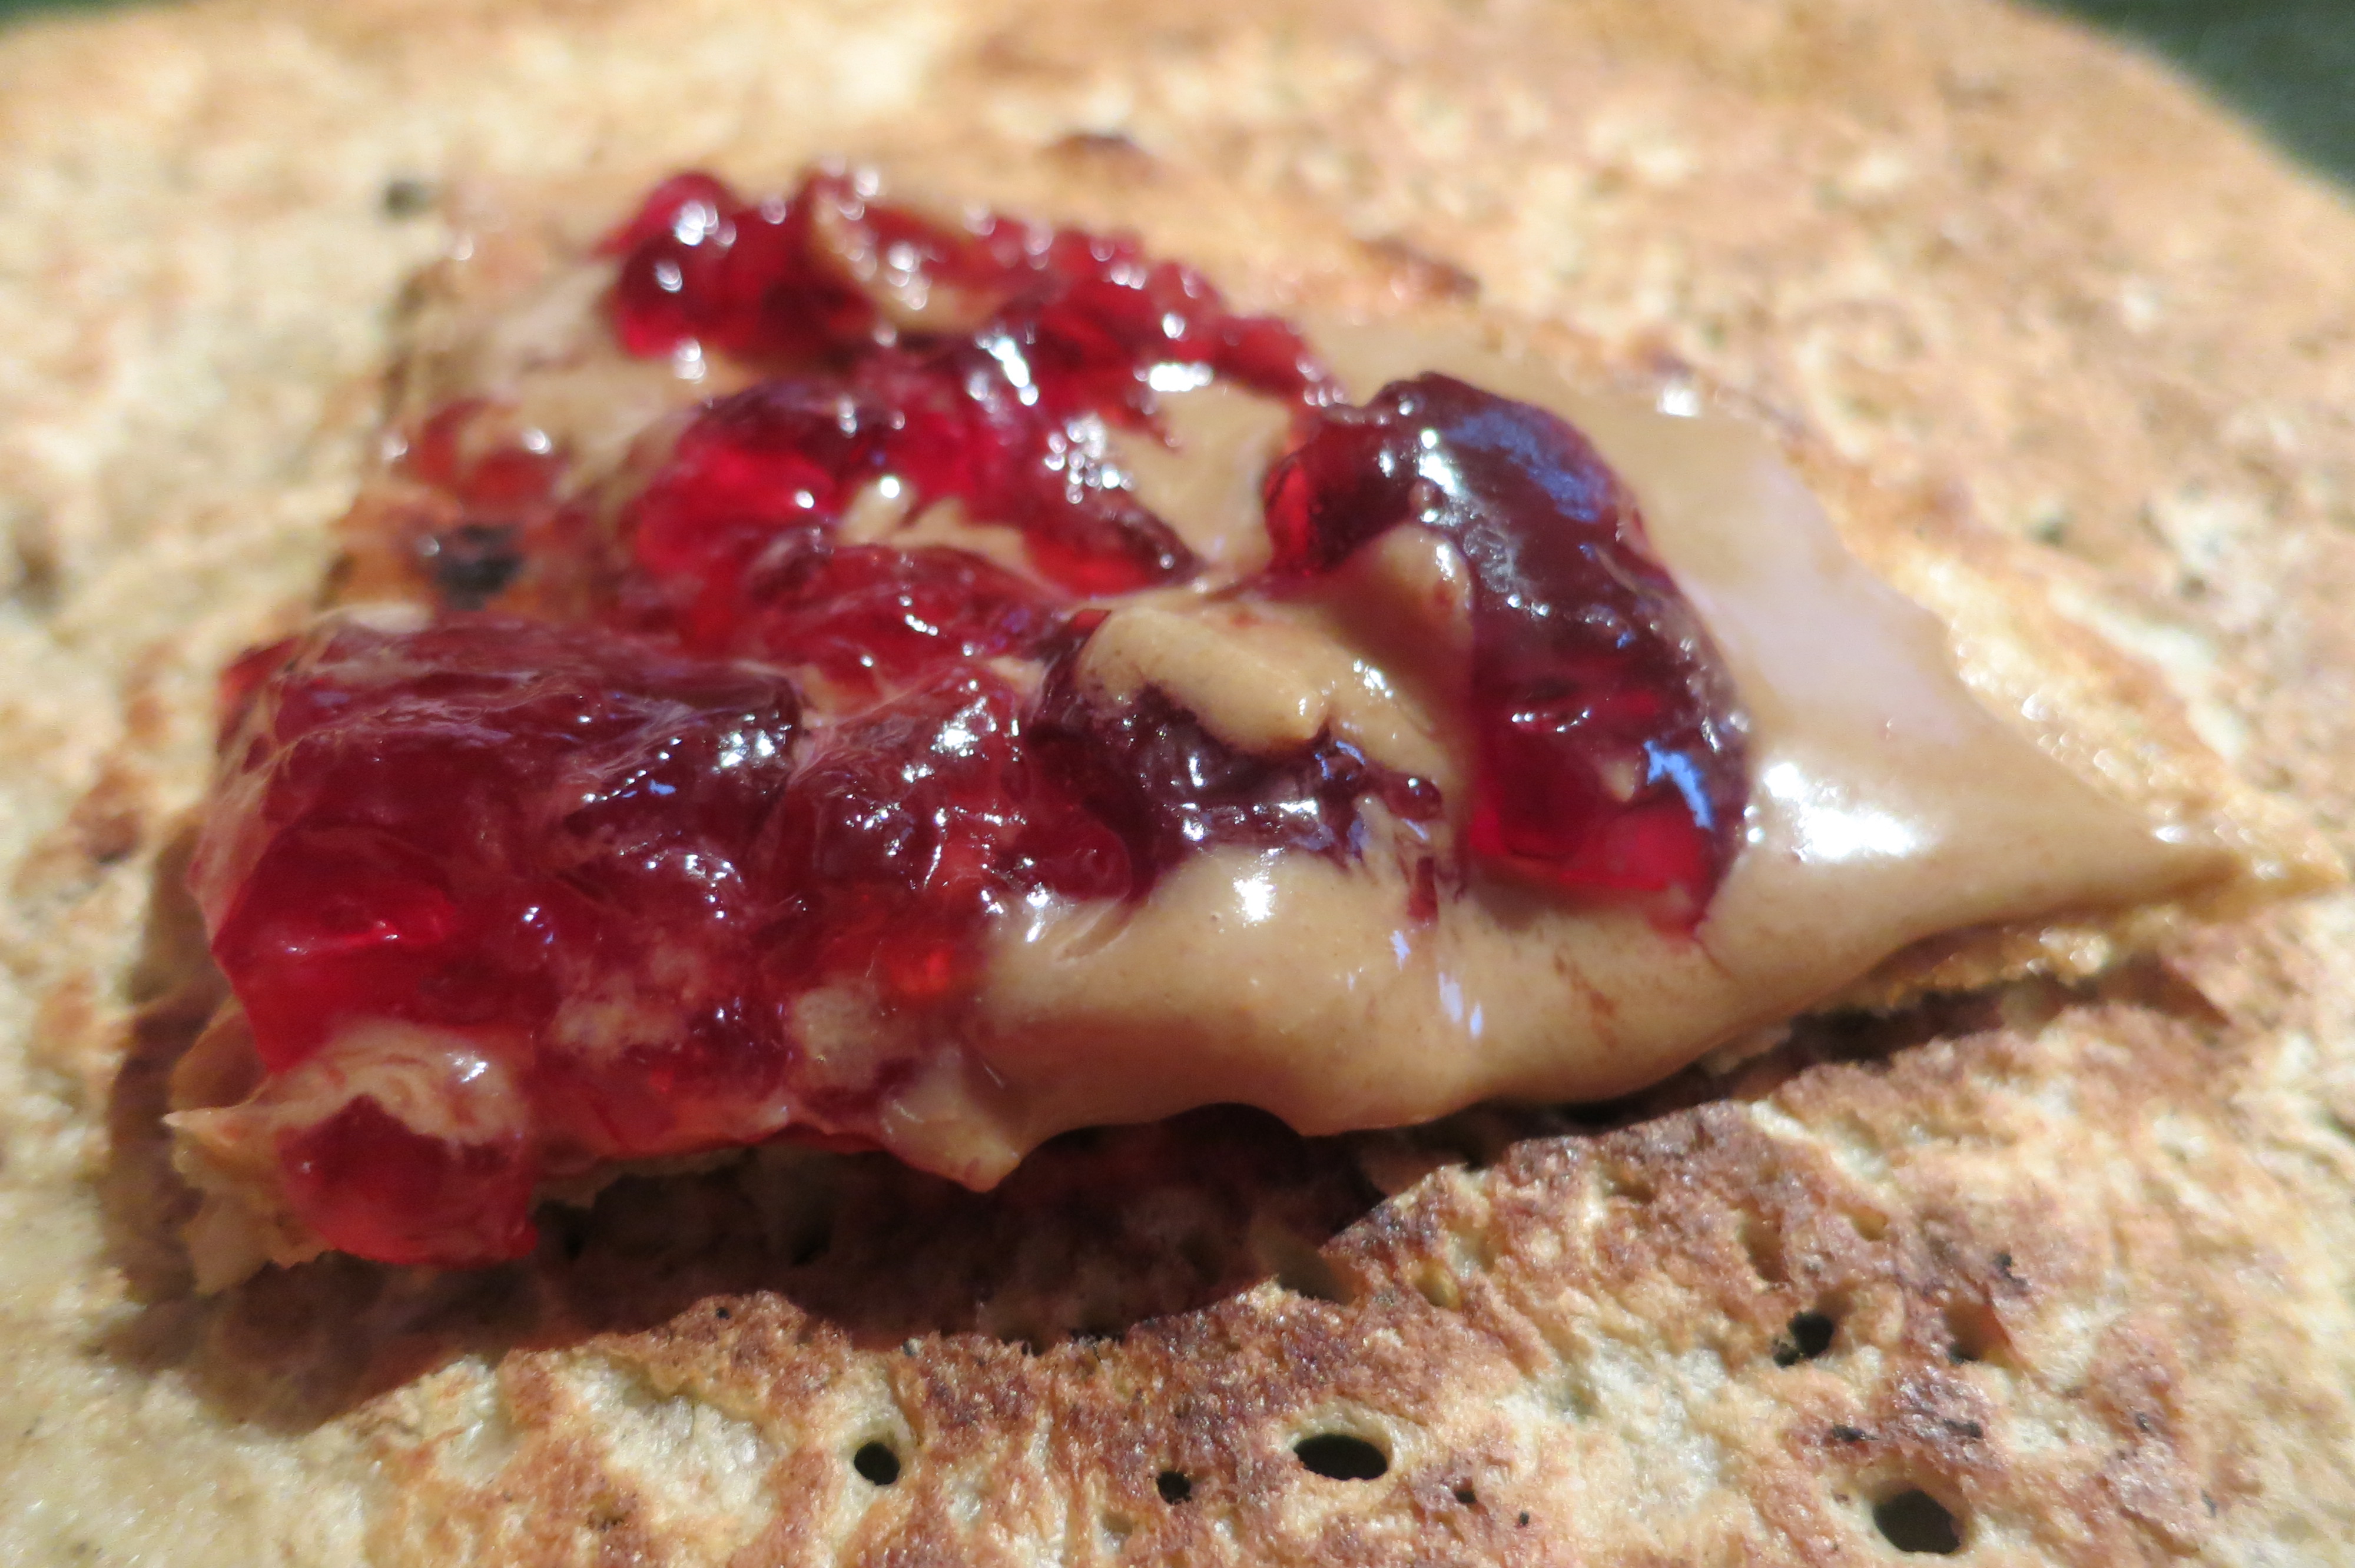
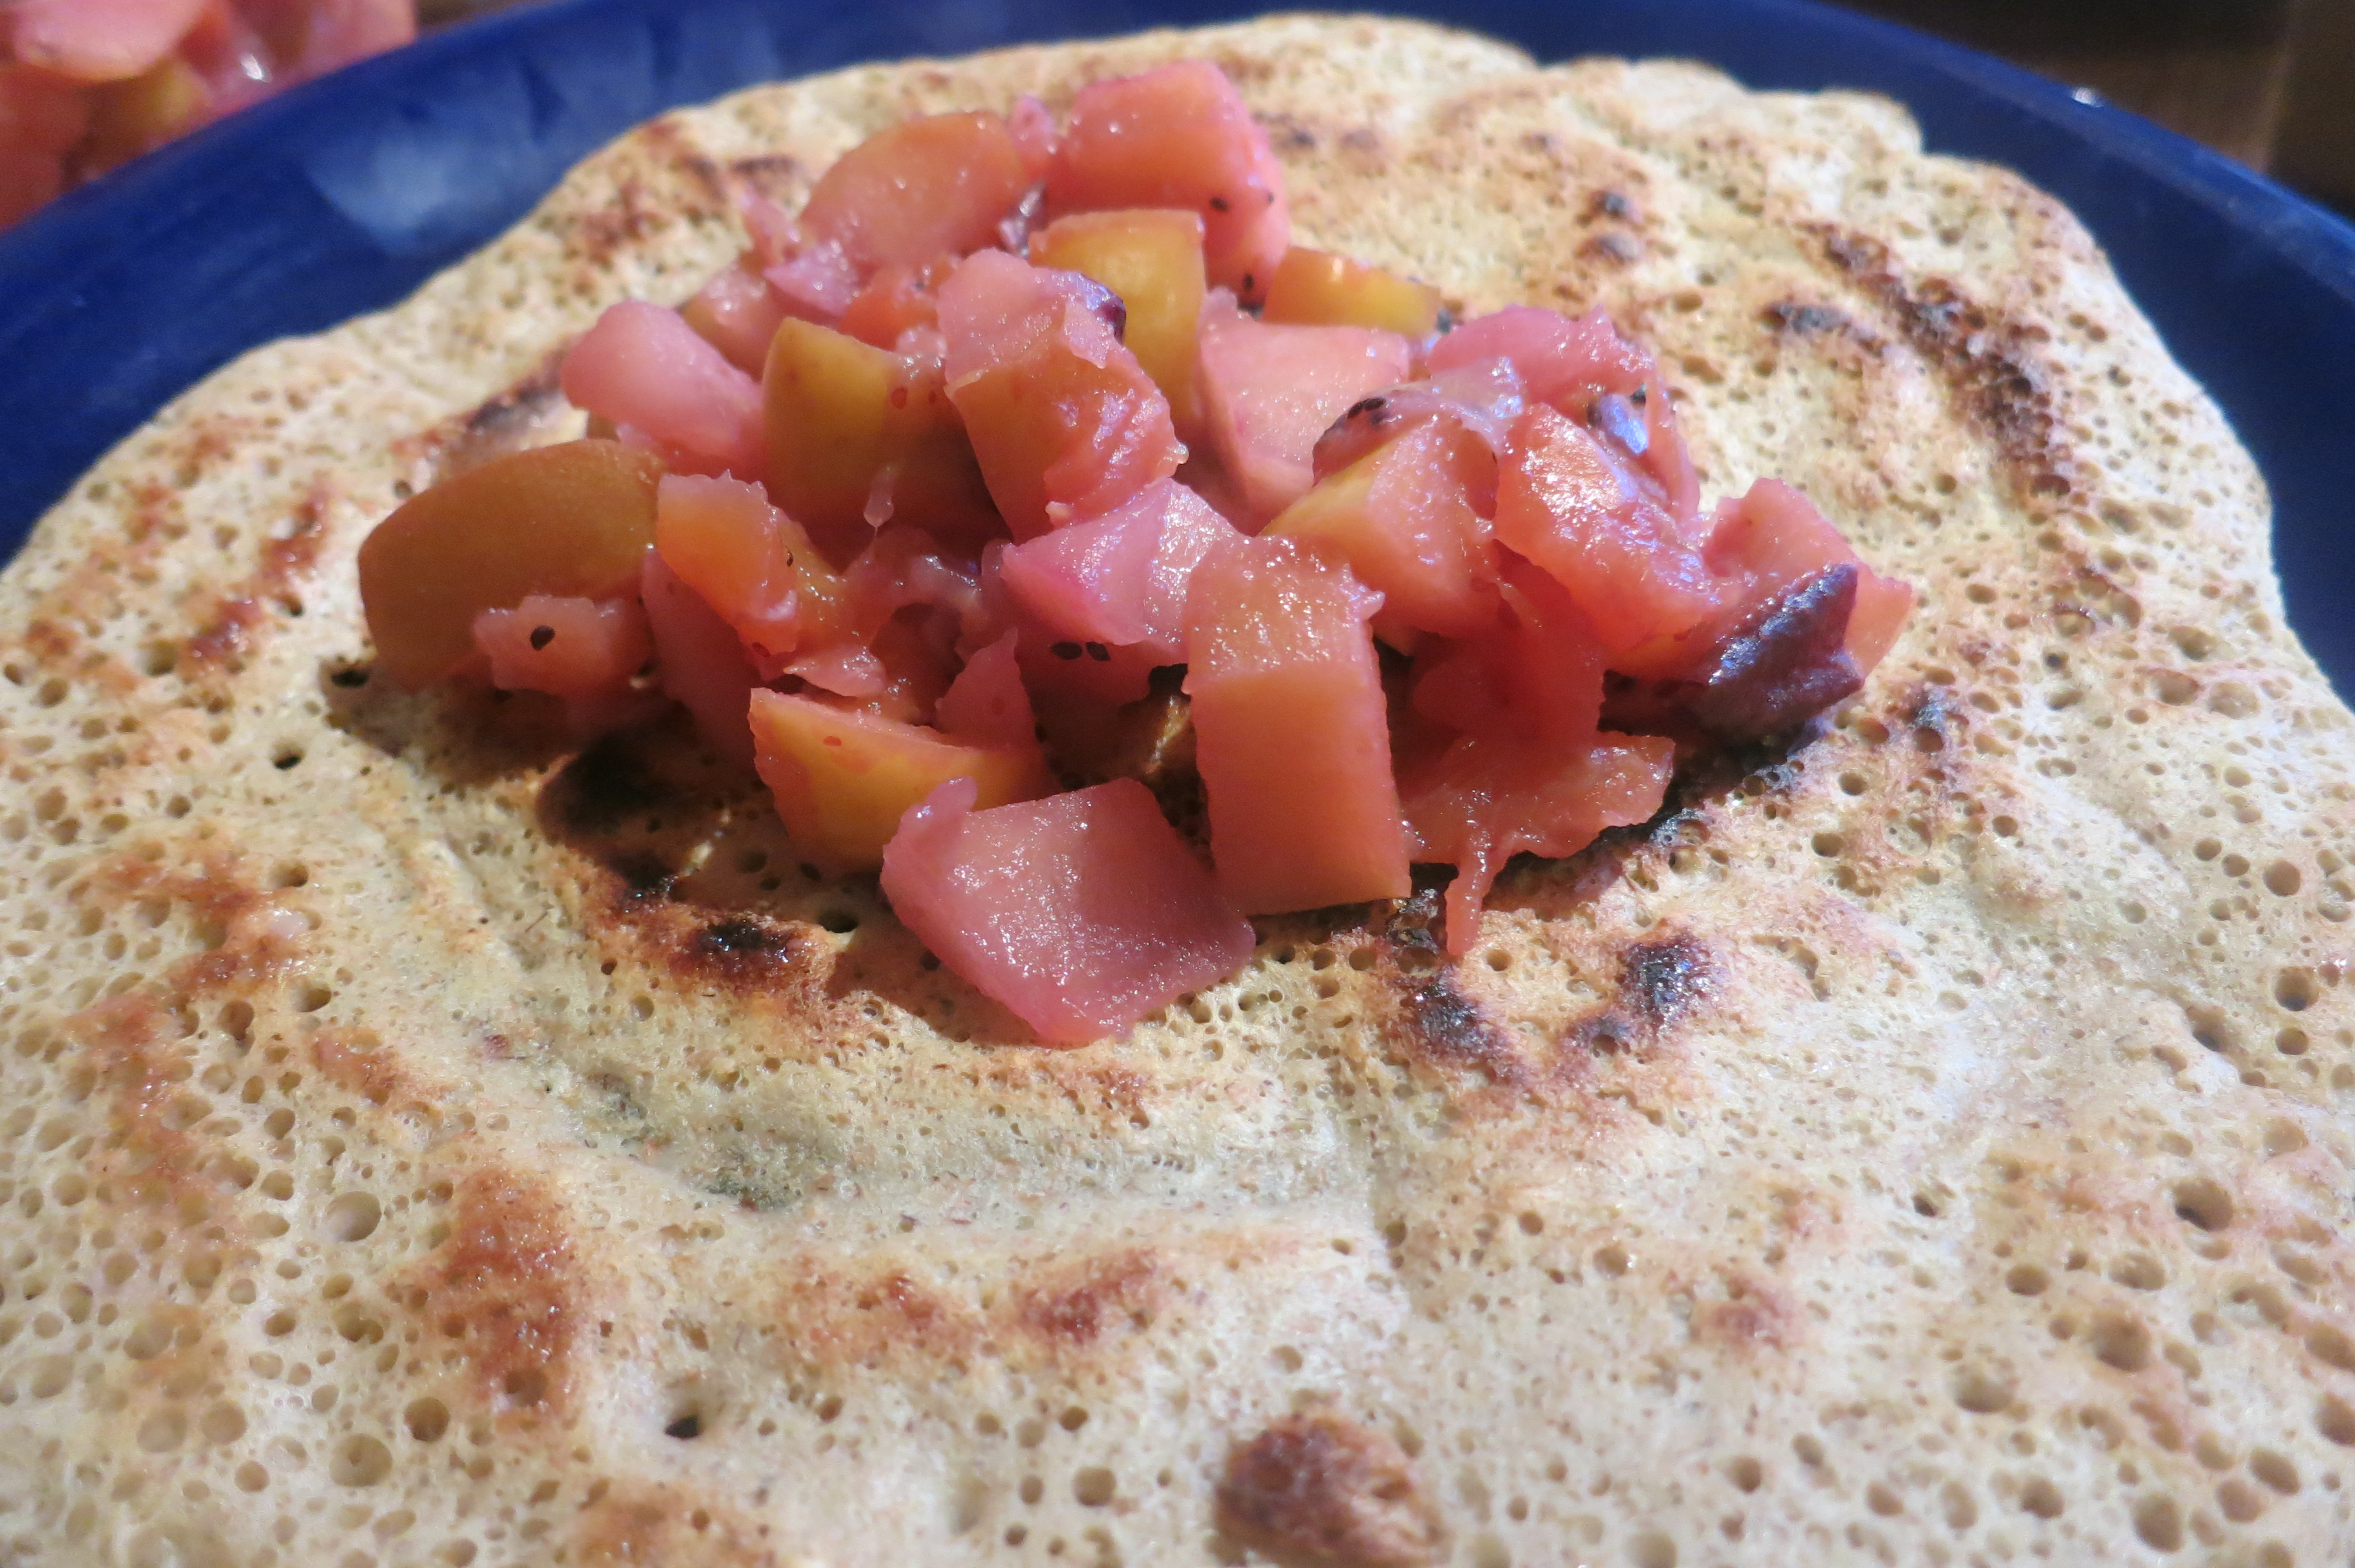
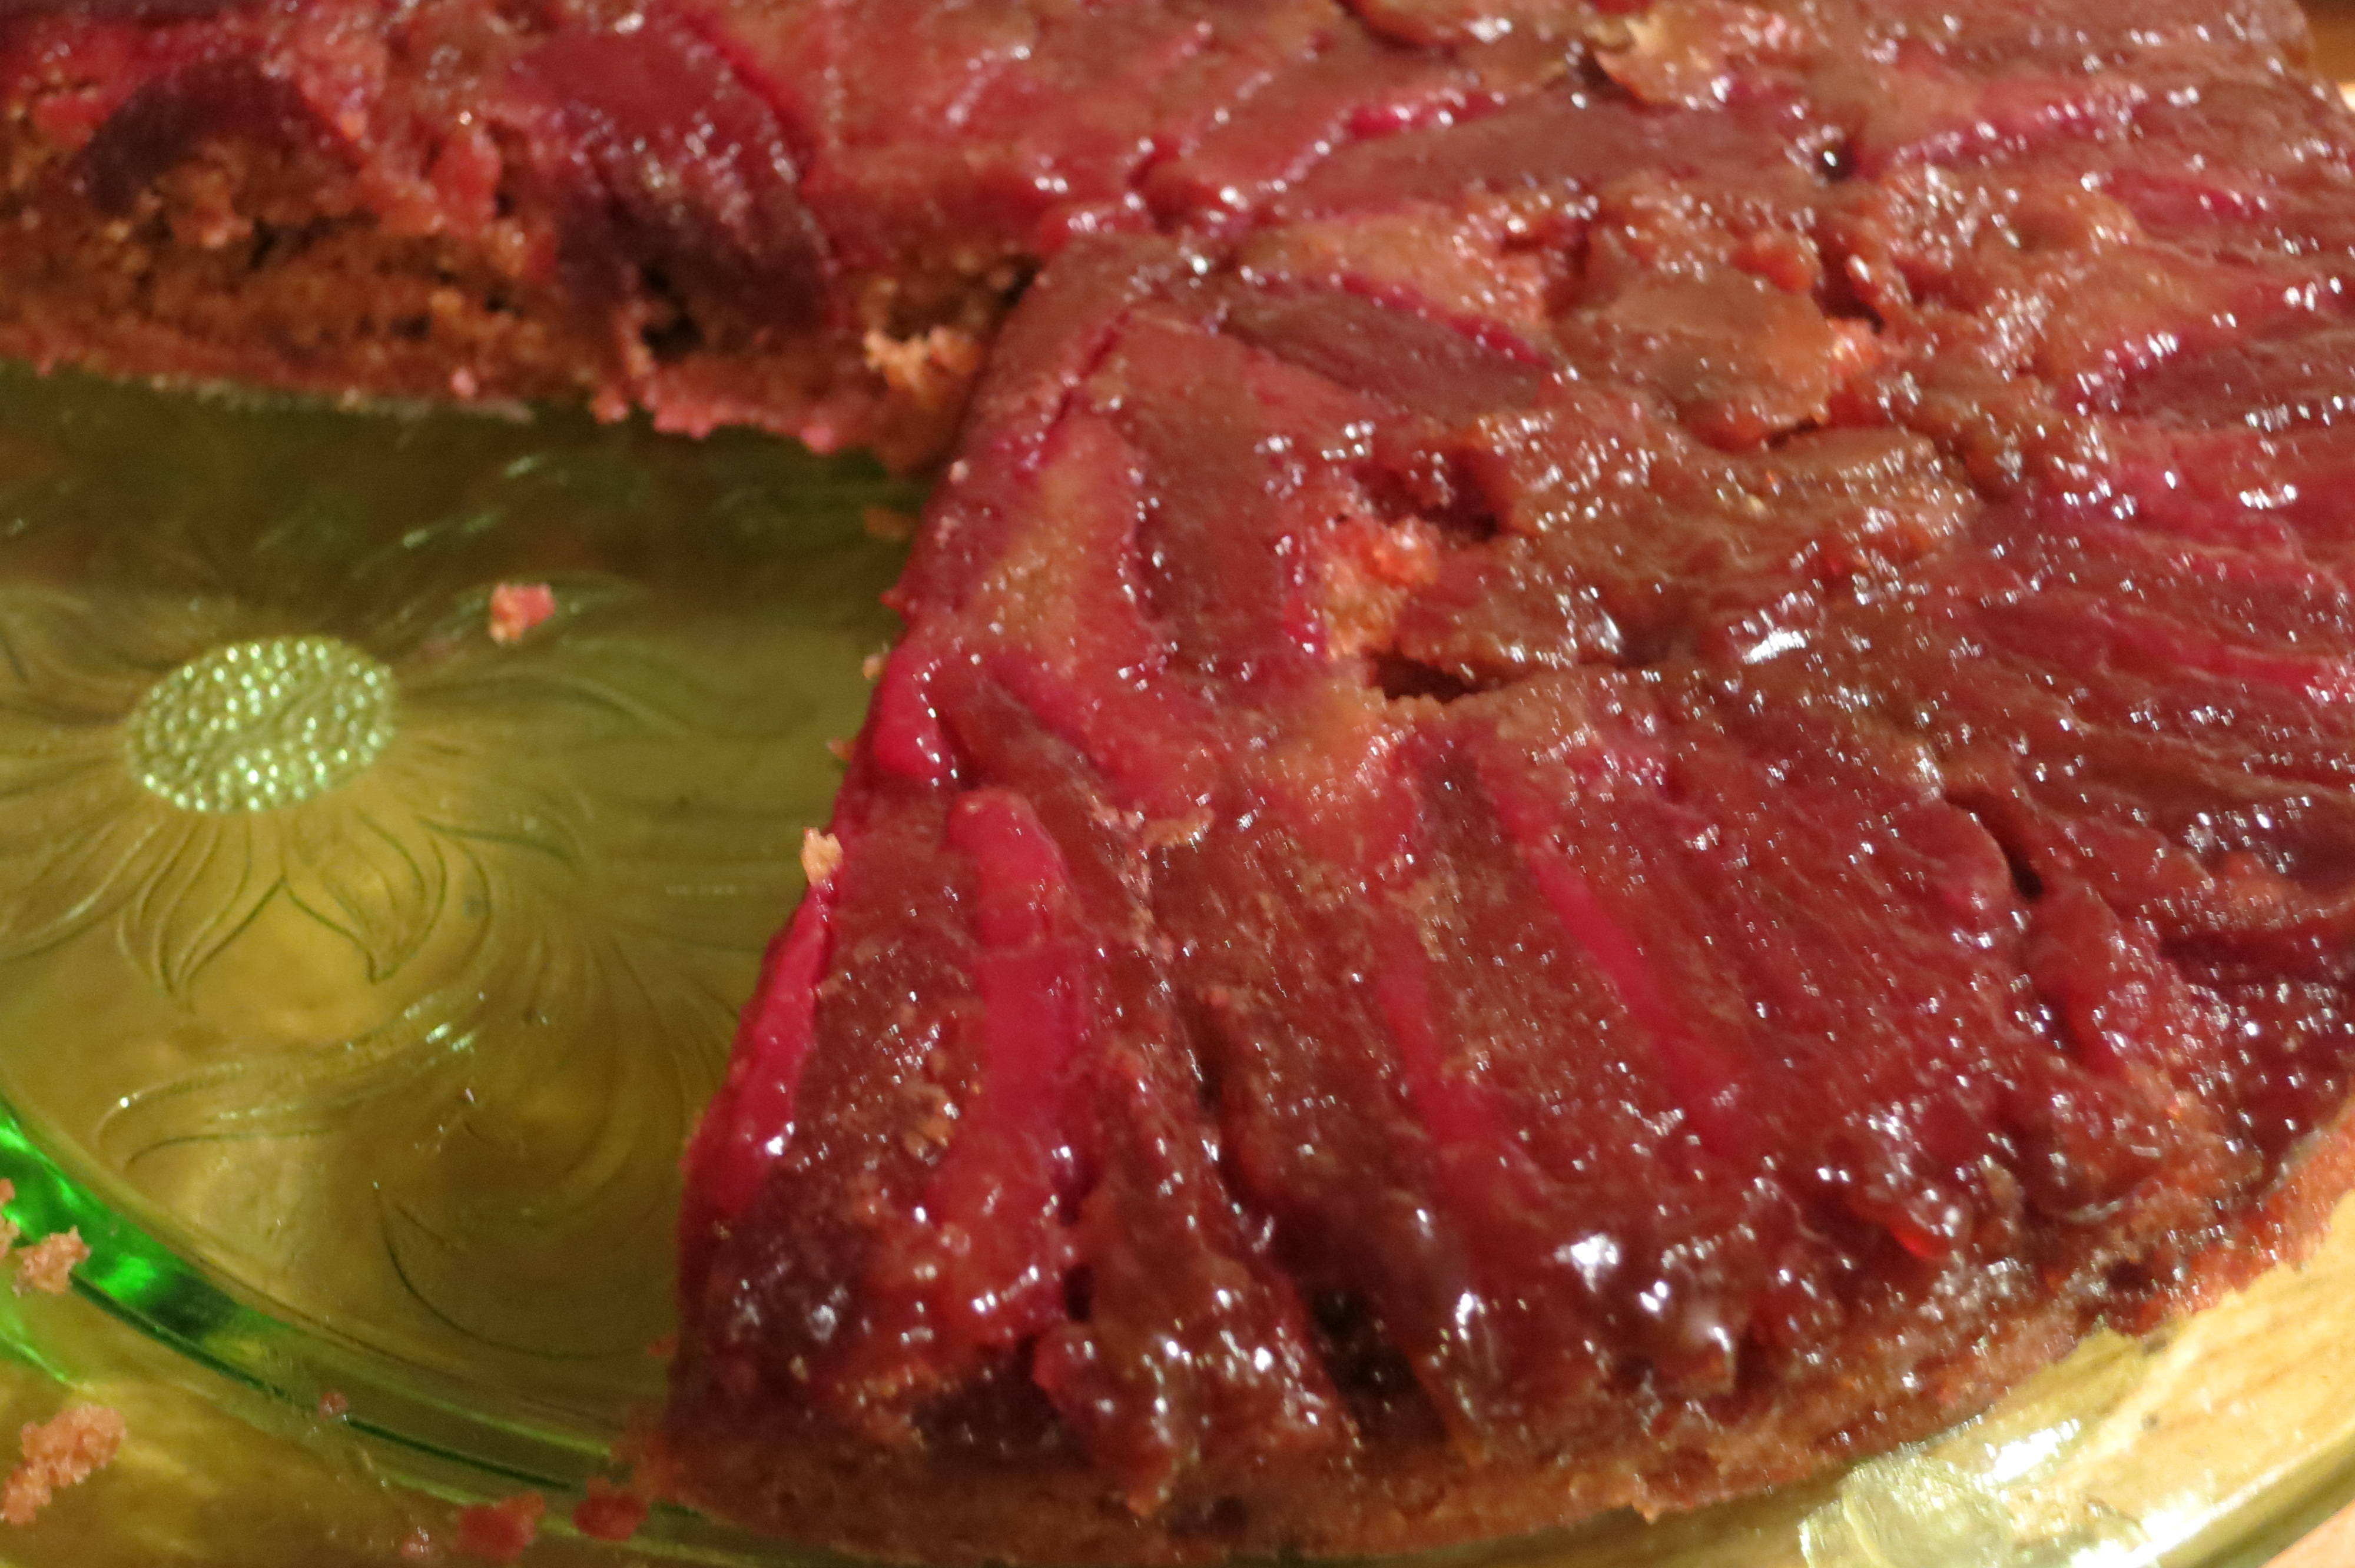
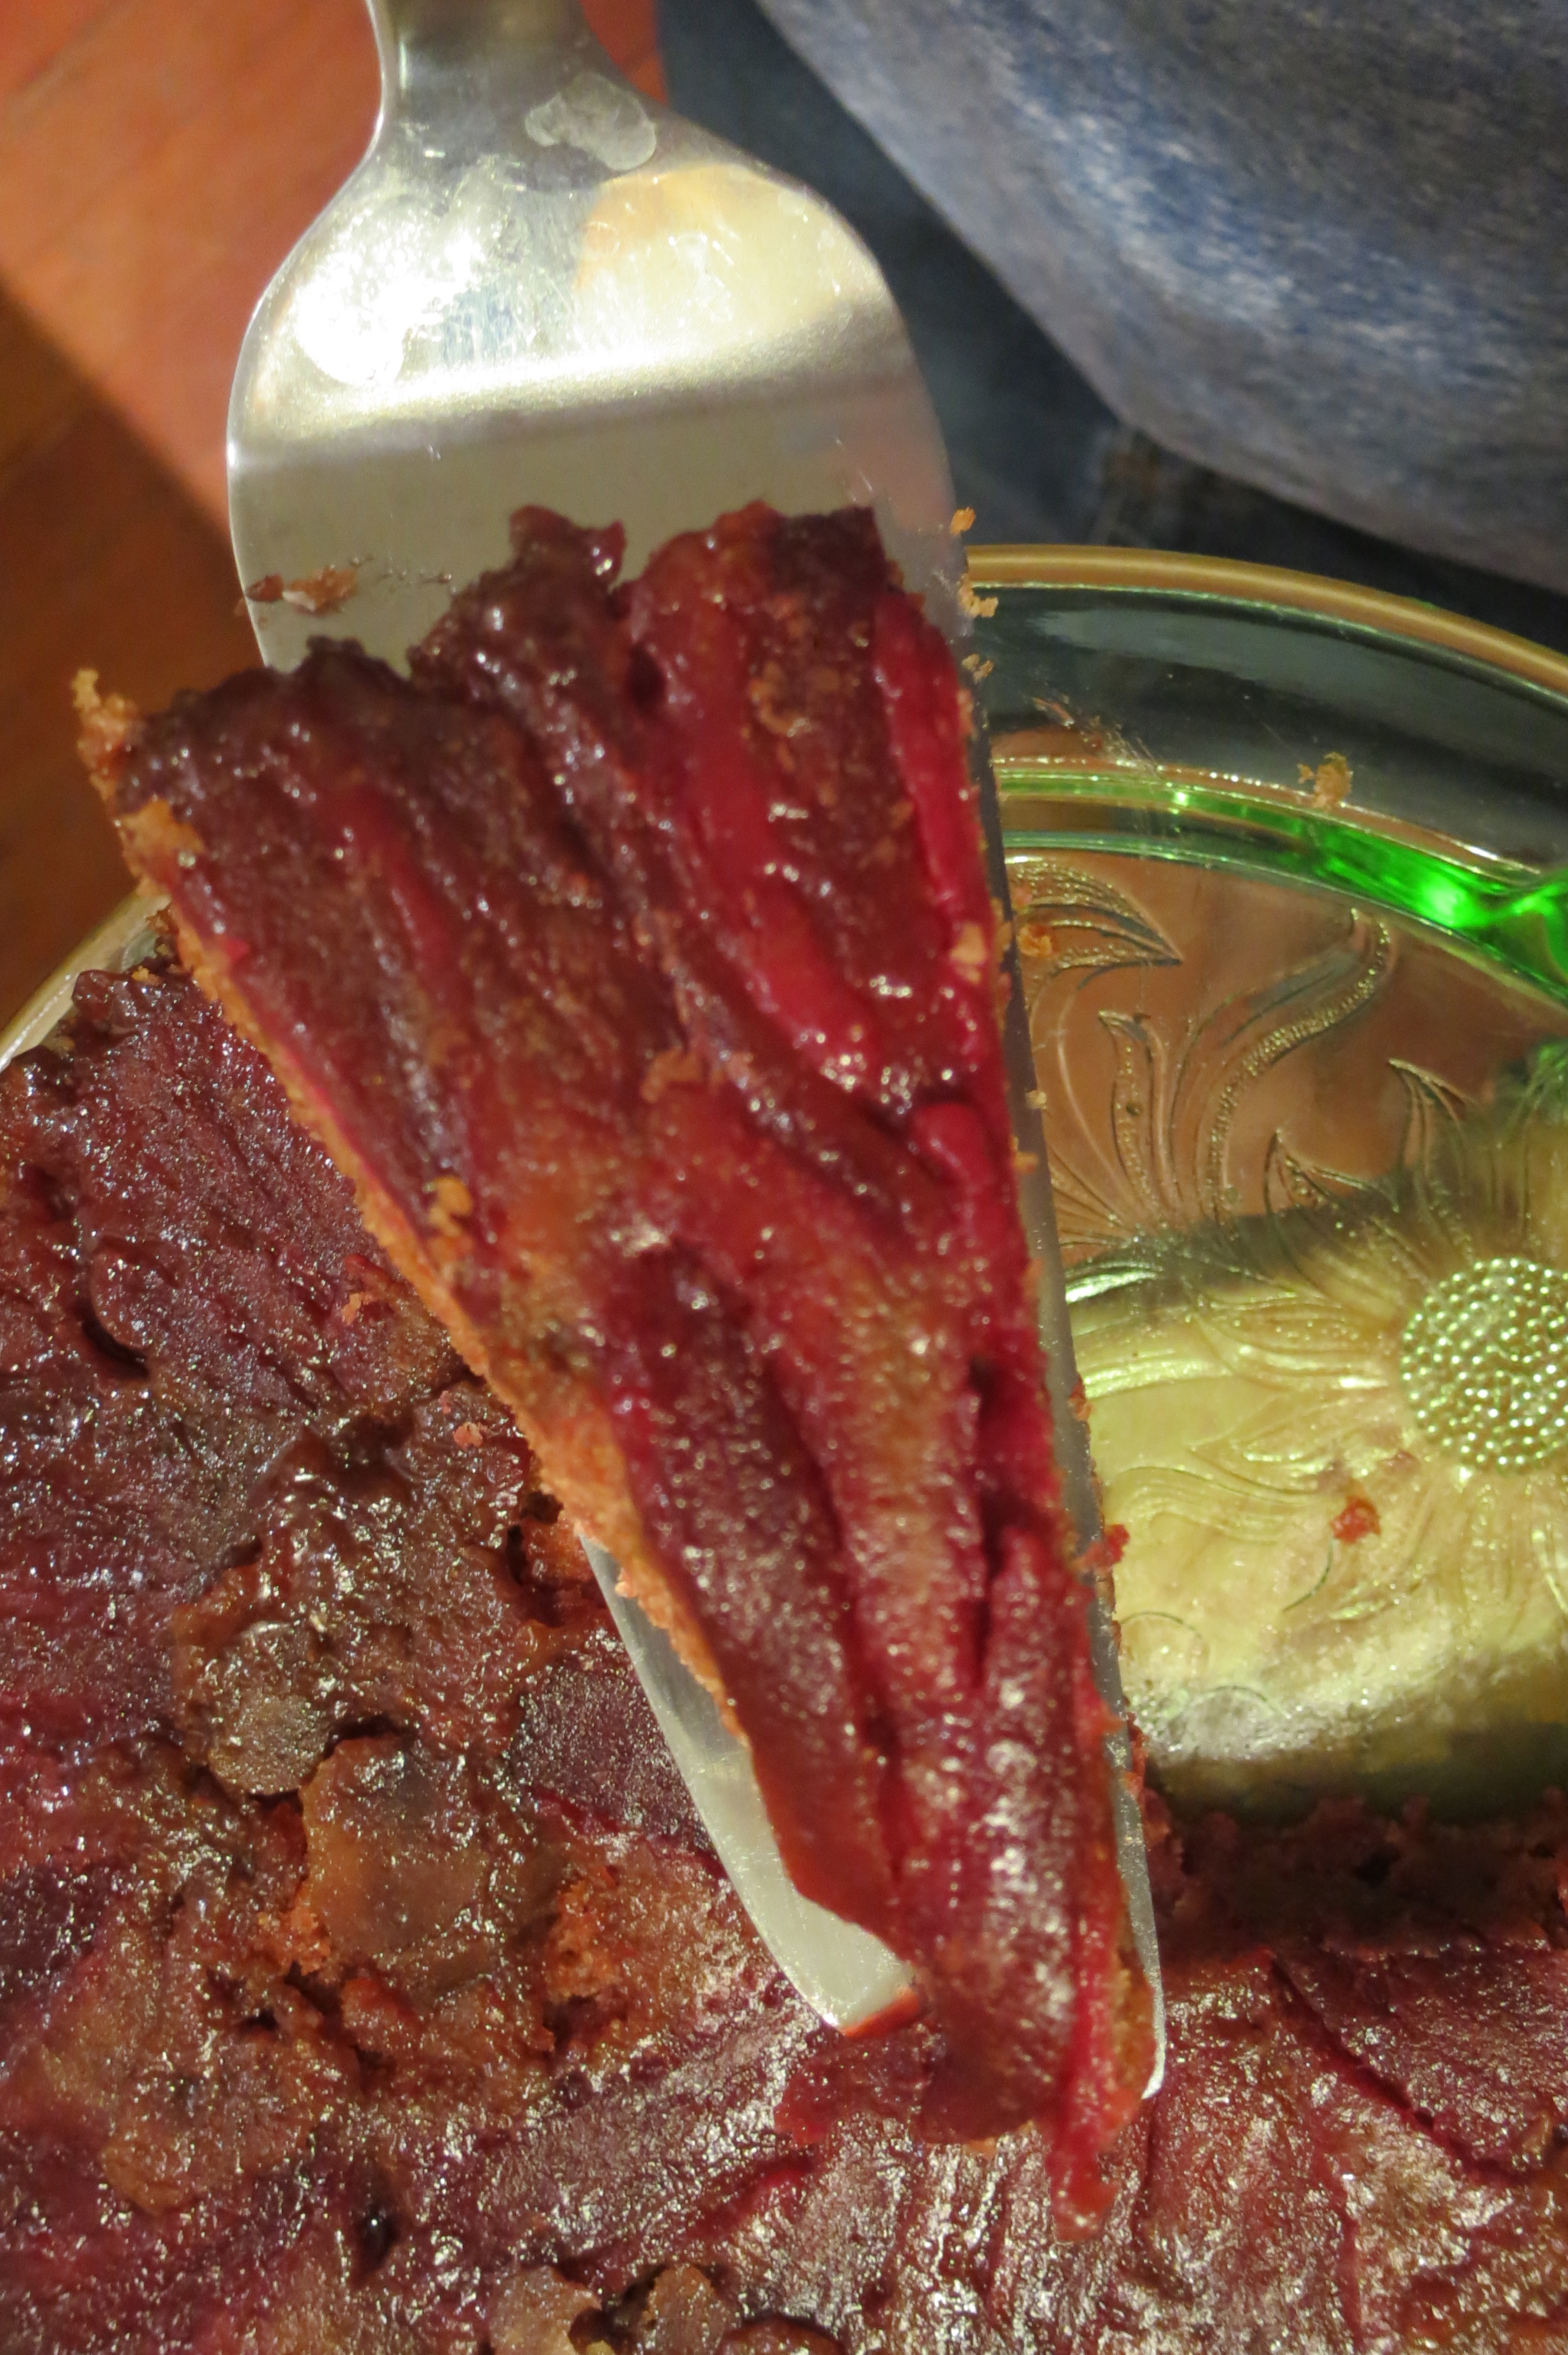
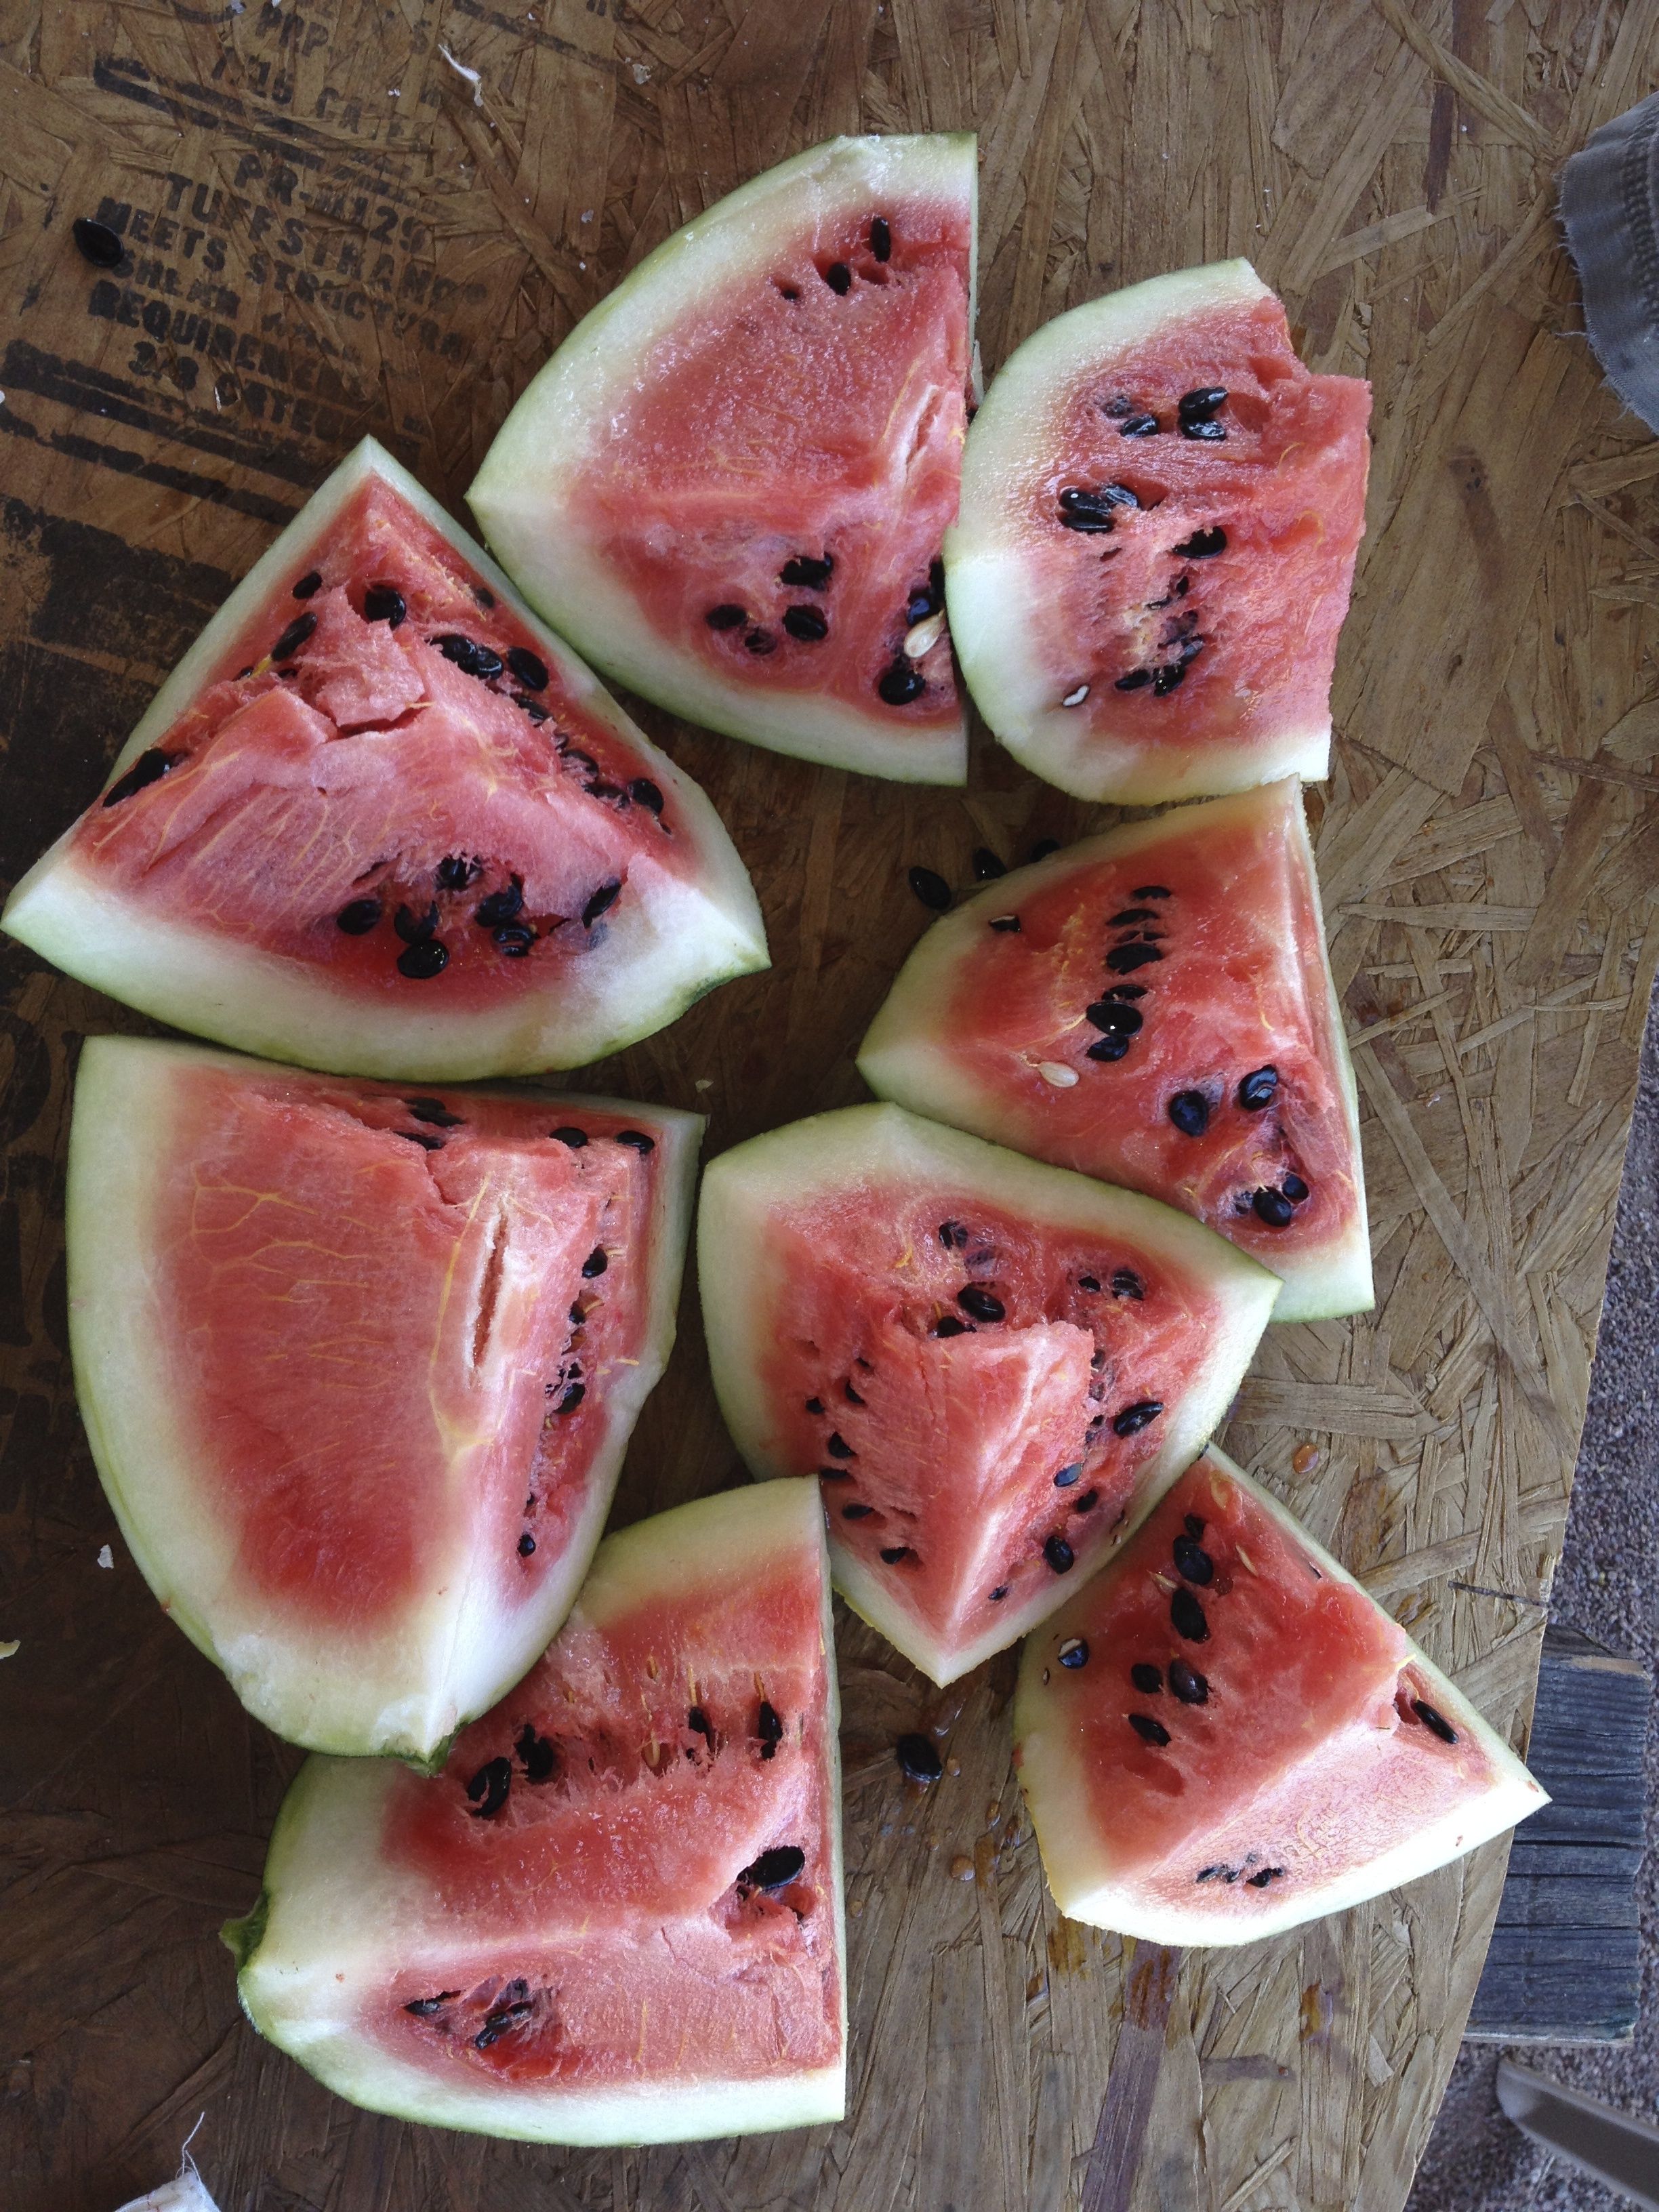
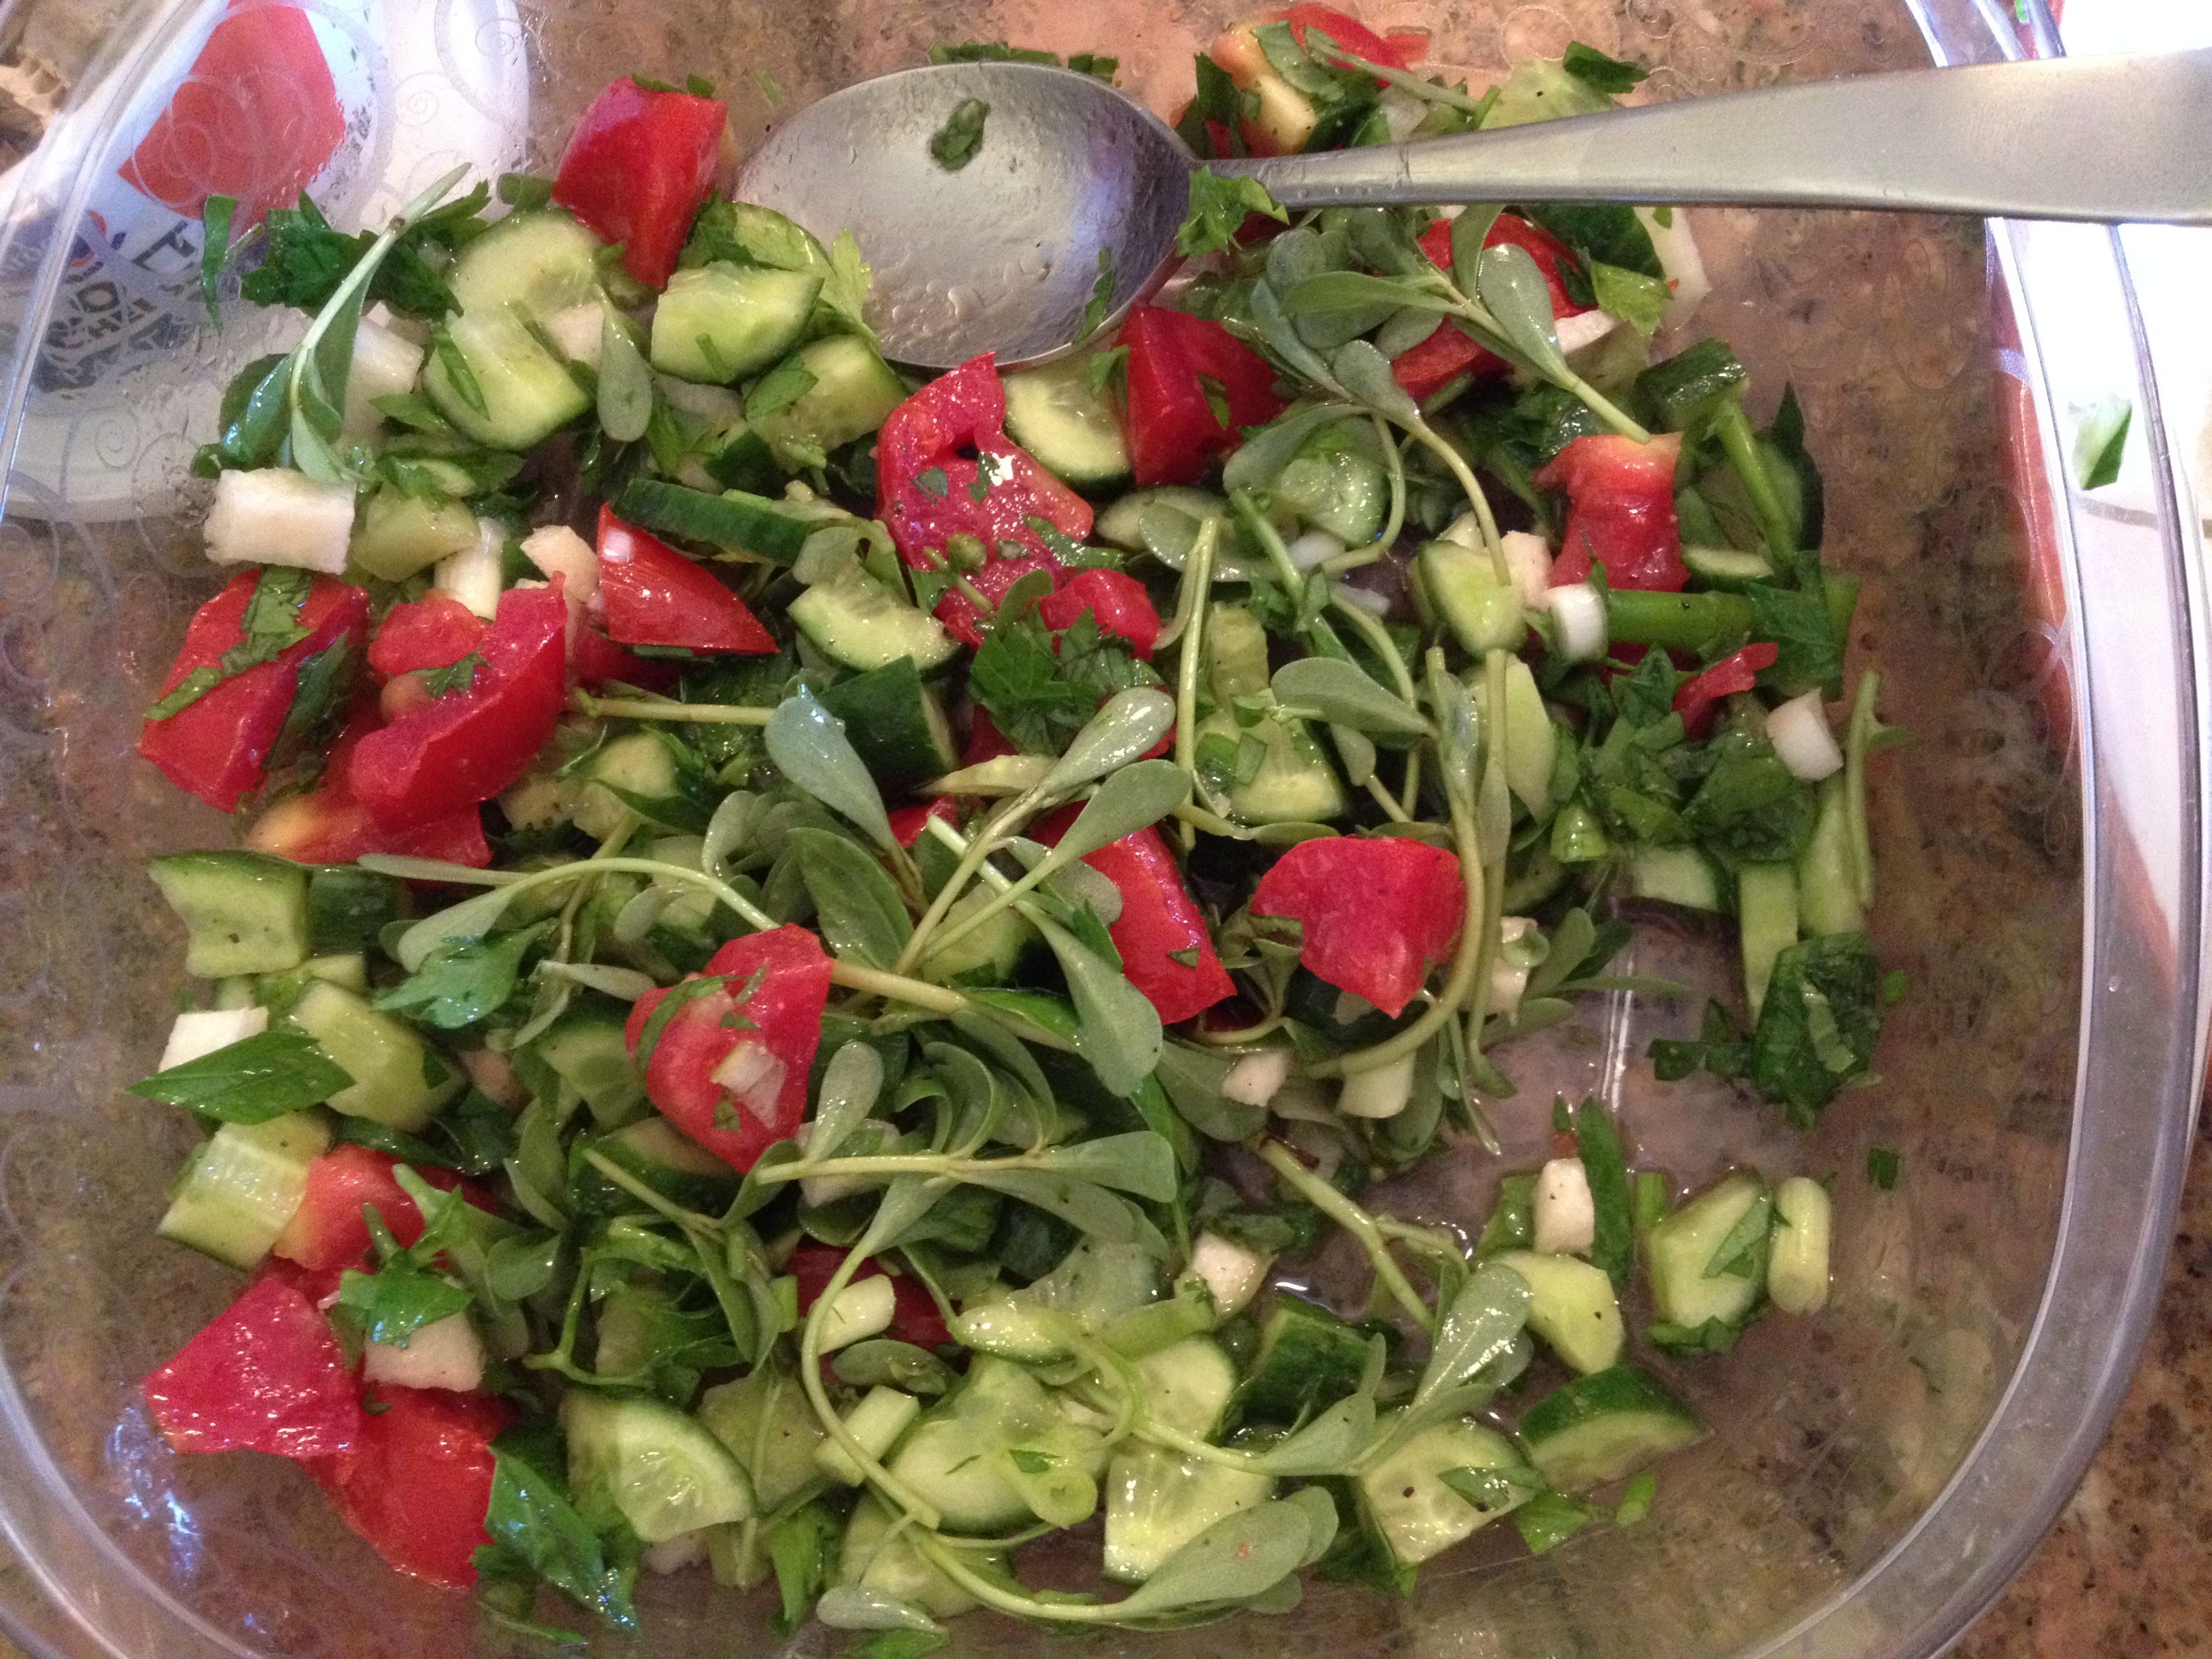
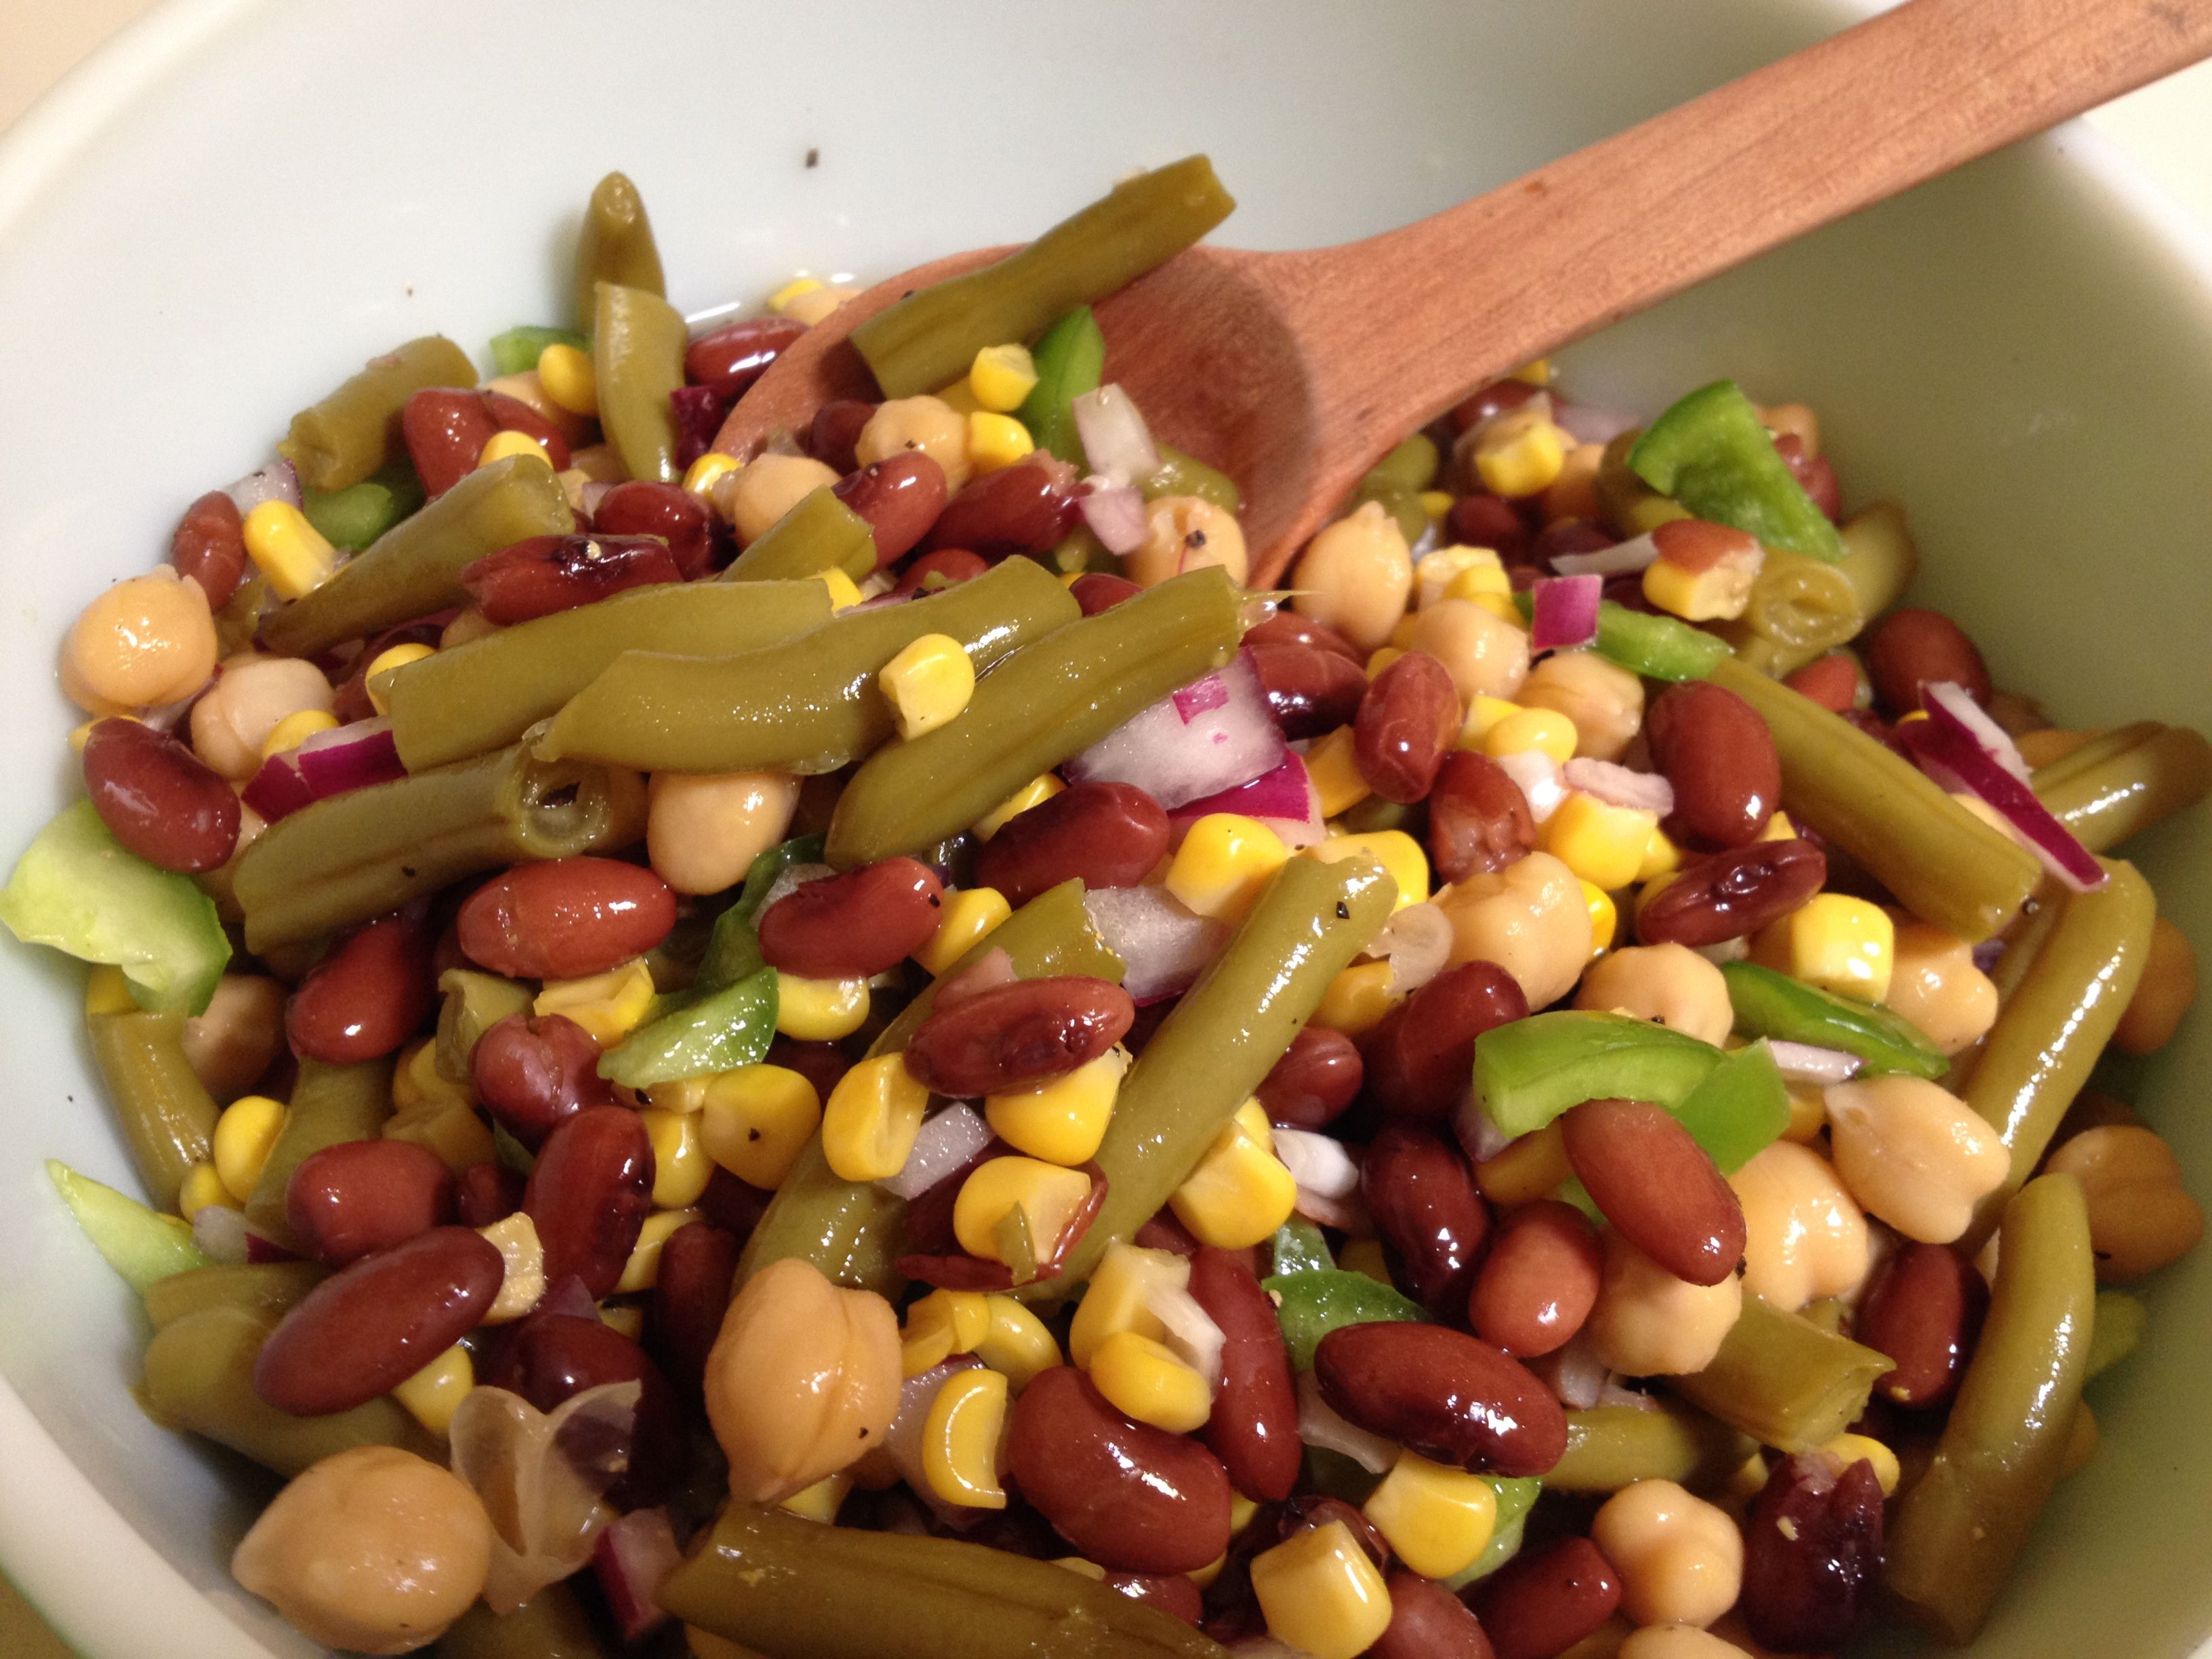
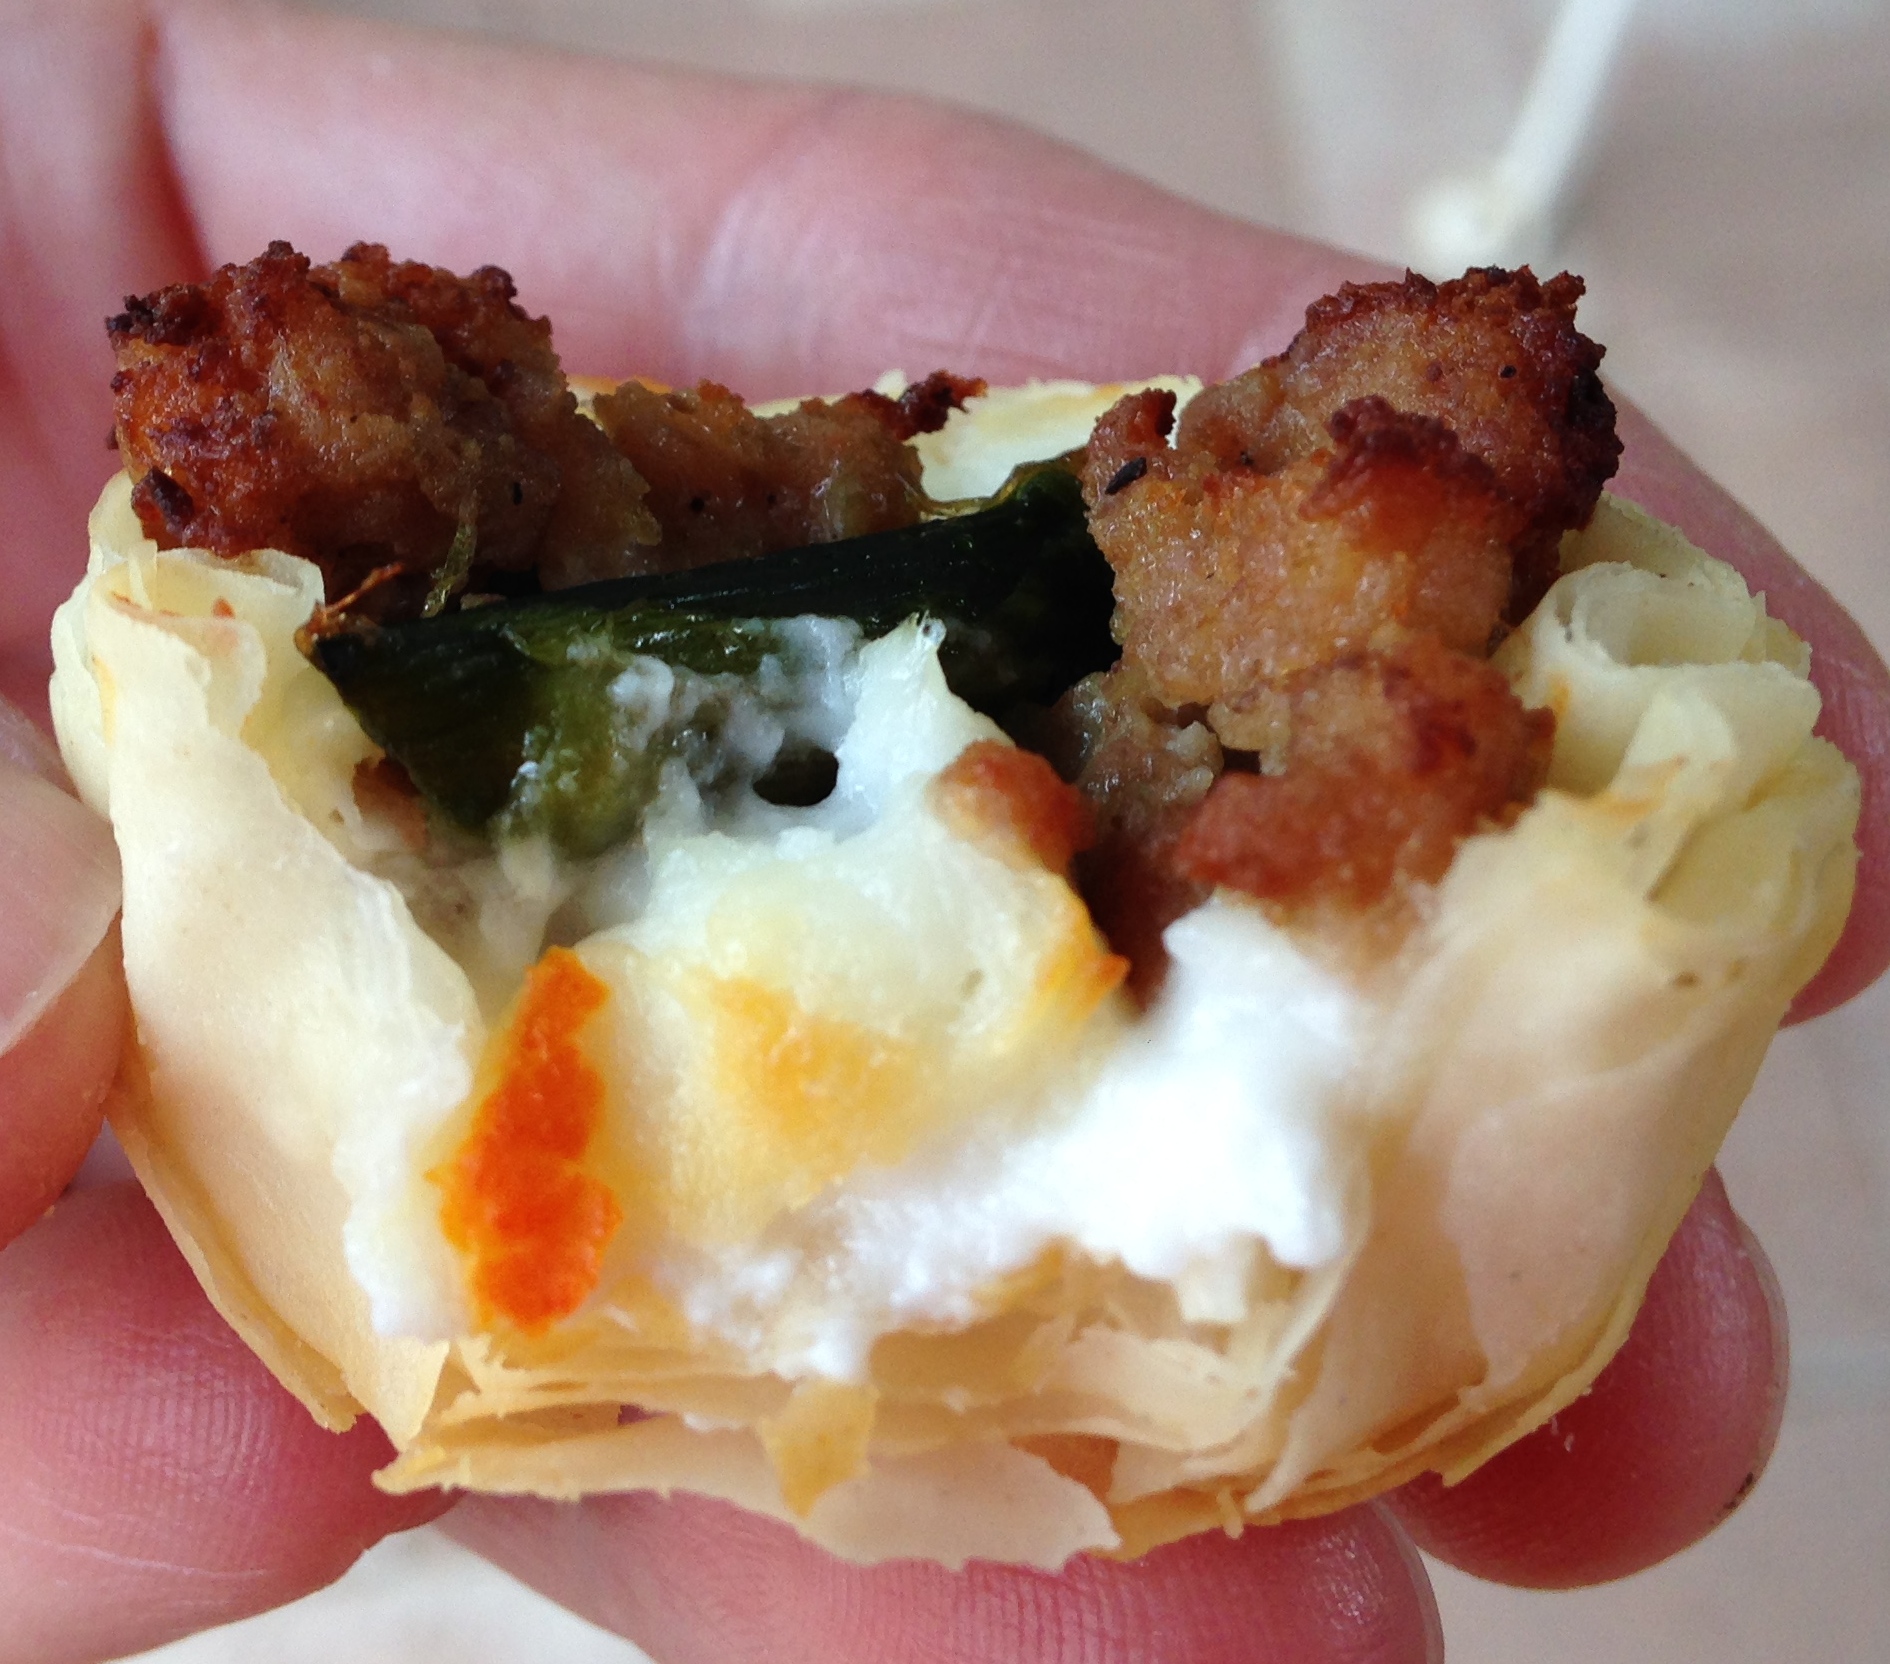
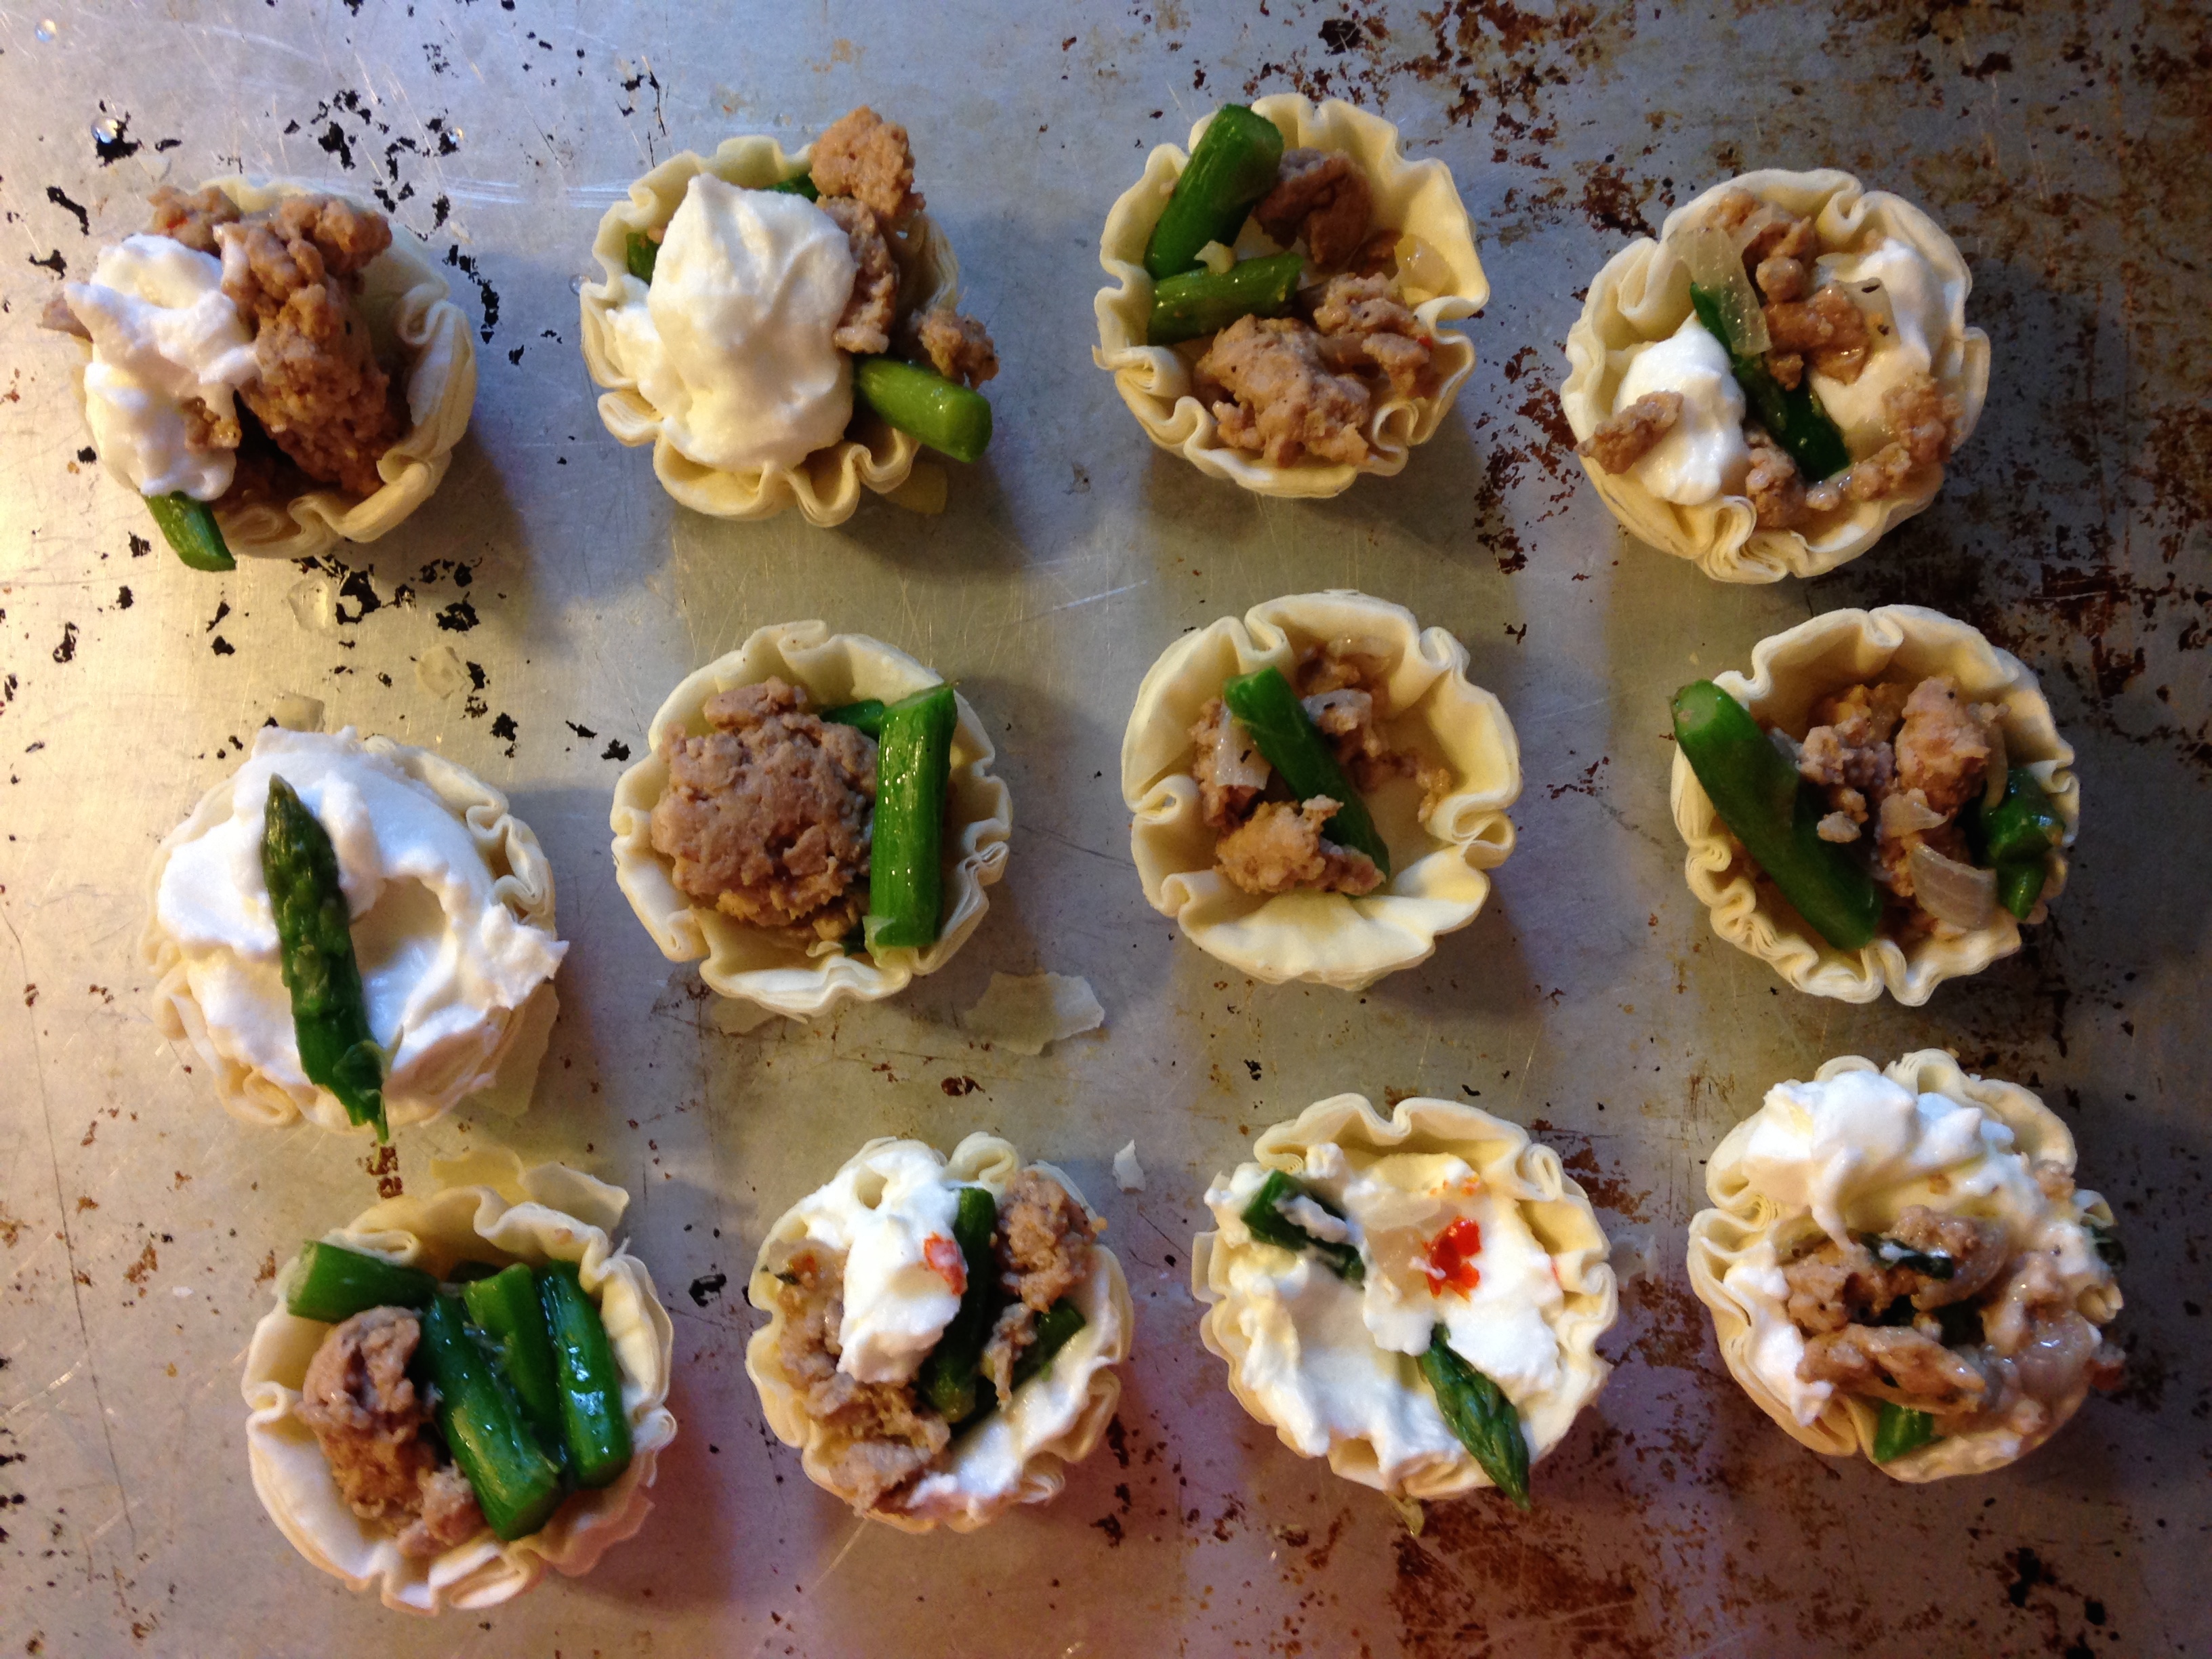
Above: fresh summer vegetables from the garden have even deeper sweeter notes when cooked in lard. 3)  What can you use this home-made lard to make?  Pie crusts, biscuits, sautéing vegetables, cooking eggs, main dishes such as crab cakes, salmon croquettes, beef wellington, cakes, pies, brownies, cookies, tortillas, tamales.  Summer fruit, berries and vegetables are abundant this time of year! Our nectarine tree is bursting – peoples gardens are brimming over!  and one way to handle the “extra” from your trees or garden is to make pie crusts or empanadas with all that summer joy. Remember to remember the Savory pies (as well as the sweet!)  – you can make a wonderful pie from your tomatoes, summer squash, herbs, your native crops …. whatever is presenting itself. If you are not a gardener, consider wooing yourself and your family/friends with the offerings of the Farmers Markets – with this much abundance comes lower prices and we can make pies galore! IMG_6763 
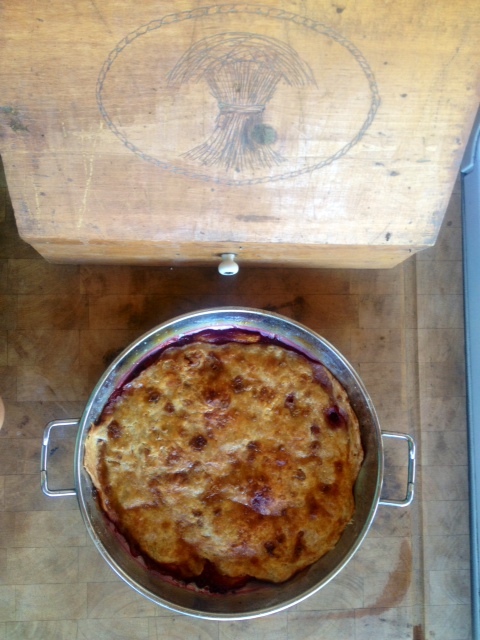
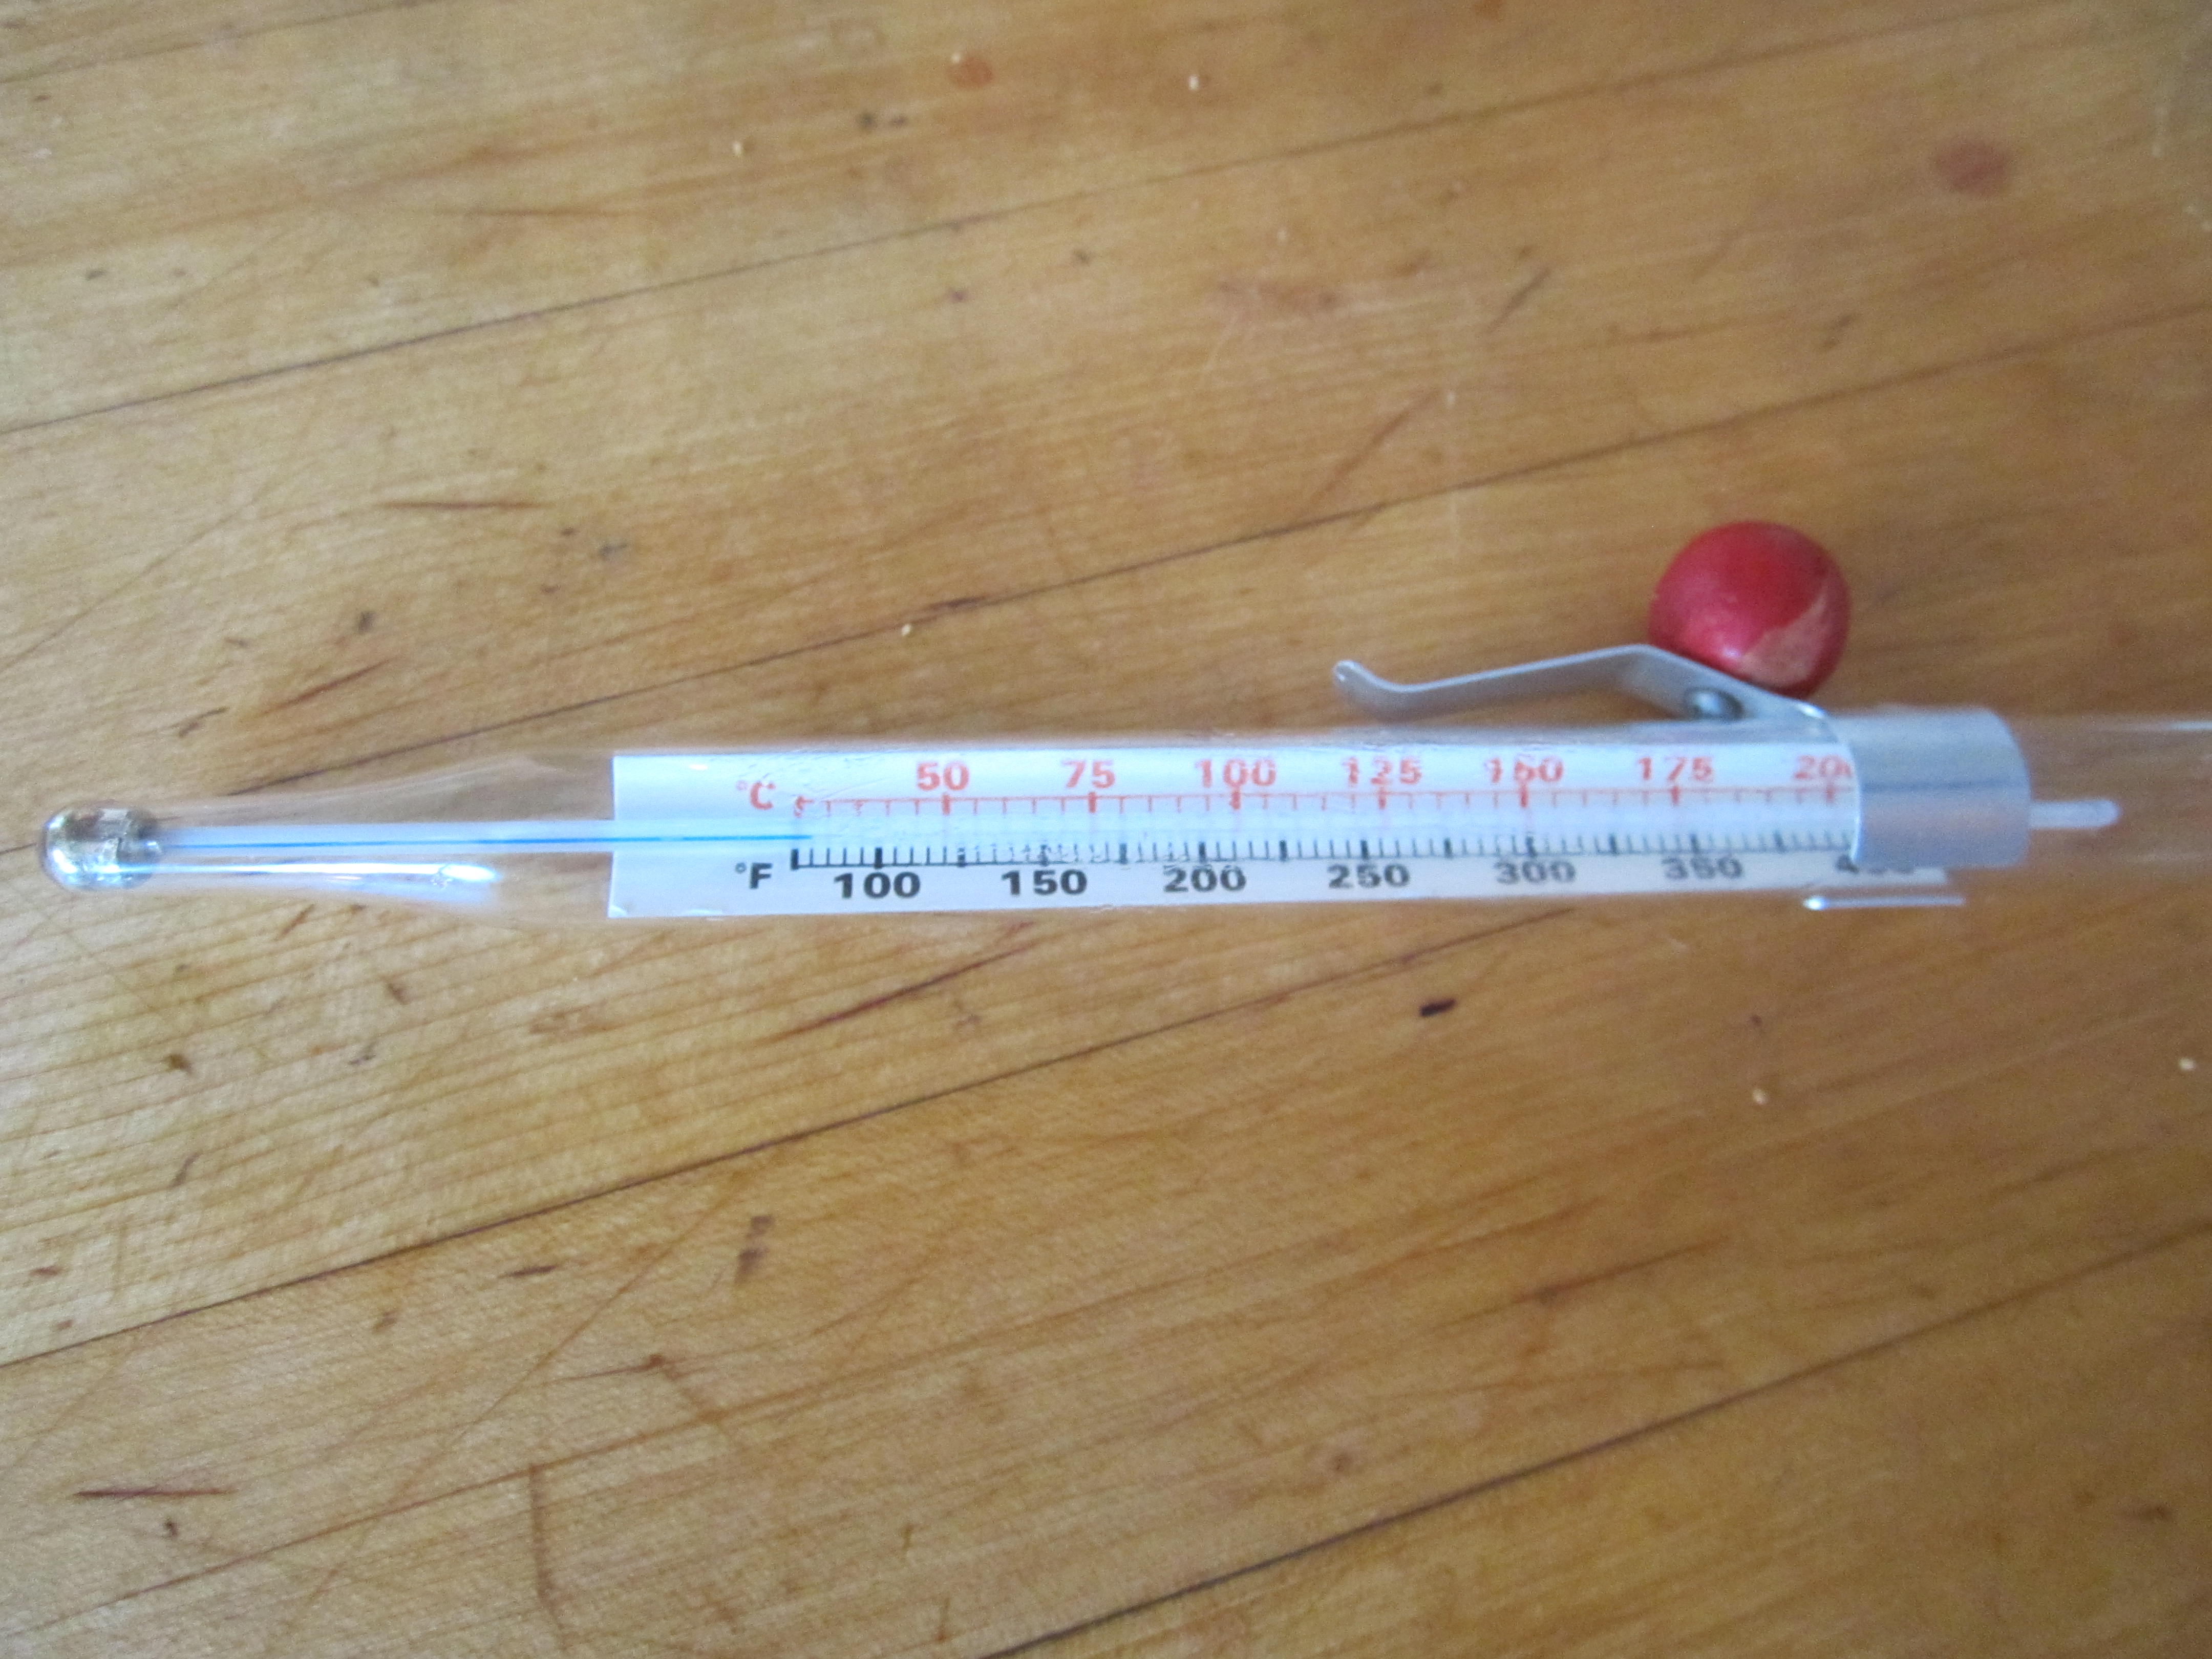
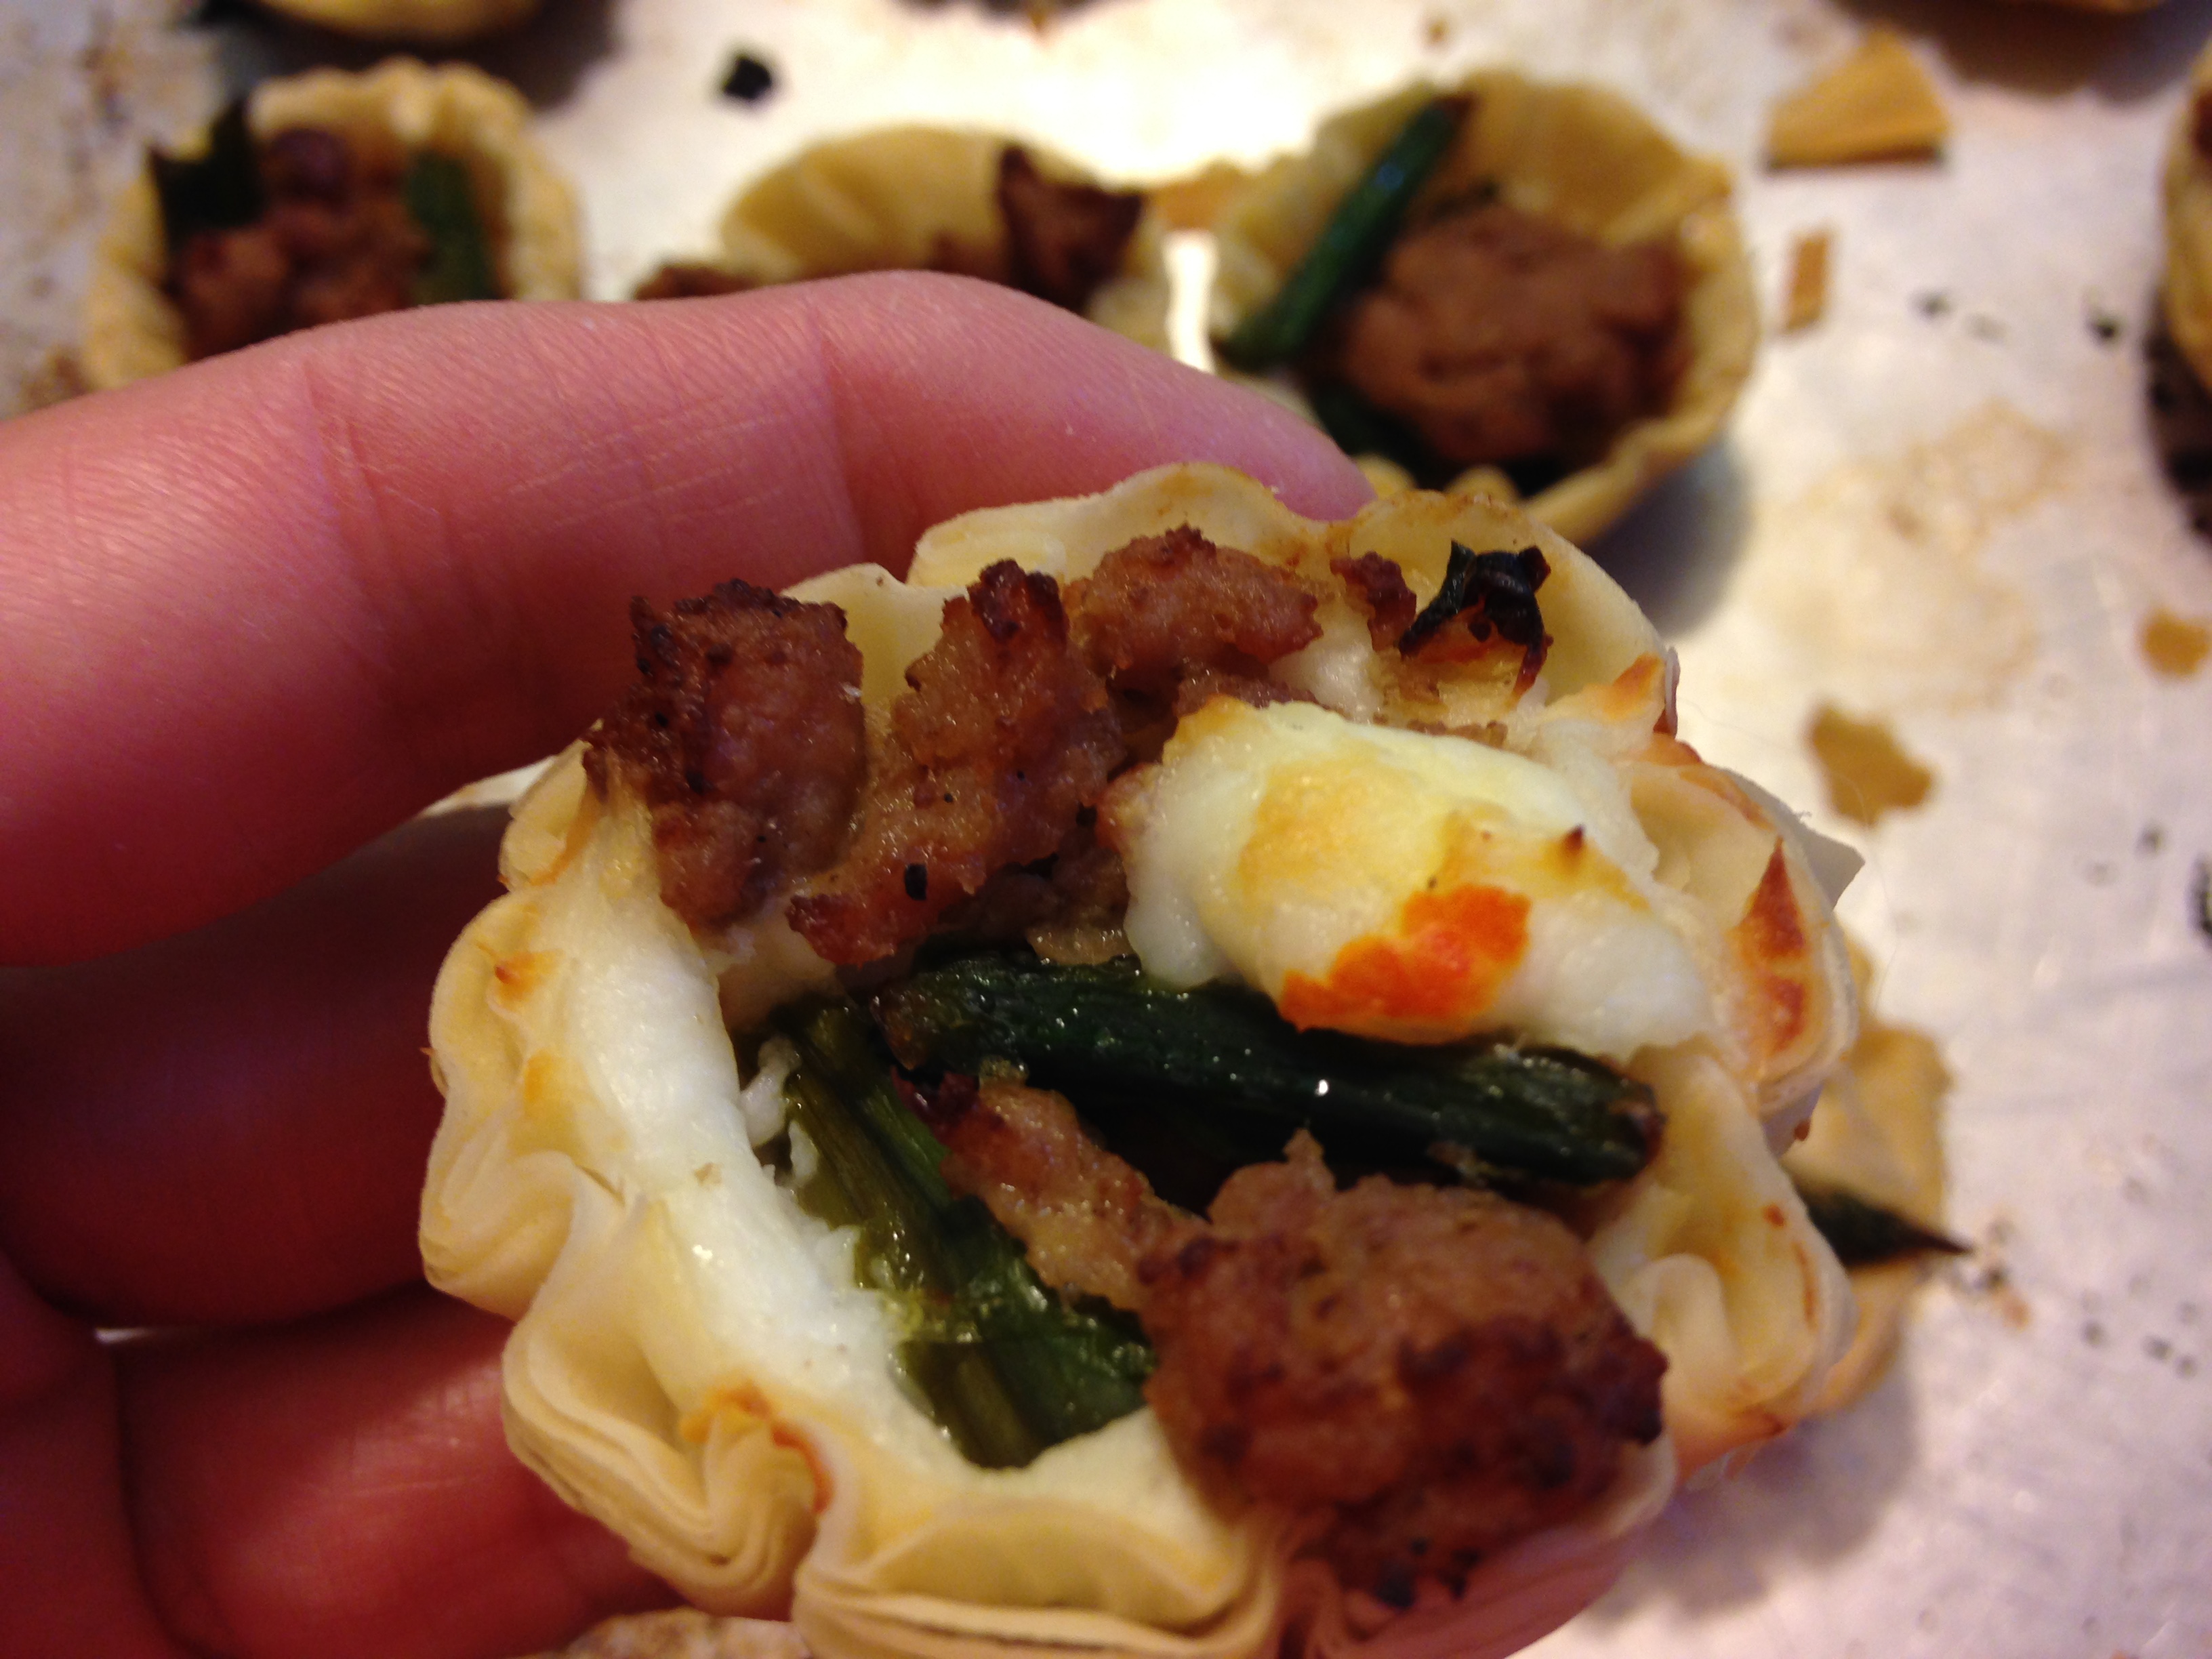
Above: Tortilla and Quesadilla made with chiltepin infused lard! Note that the color of the tortilla is a nice yellow from the chiltepin infused lard-fat. Are your sleeves rolled up? Here we go:  Karen Keb’s section “How to Render Lard” (in the beginning of the book), says it strait. I am going to use her basic guide as well as add photos and insights from Cheralyn and my Rendering Session – that took all of an hour and a half, for 7 lbs of pig fat. The focus this post is on rendering the lard itself, so you feel both inspired and confident enough to do this at home. Later this summer, I will feature a pie crust and some amazing filling that includes tequila – so stay tuned! LARD 101 – HOW TO: 1) ” Preheat the oven to 225 F.” 2) “Fill a large roasting pan with the chopped fat.” Ask for it to be chopped or ground. Our 7 lbs that we got from a 4-H pig raised on kitchen scraps was ground for us at the Meat Lab here in Tucson. IMG_6657 IMG_6655 IMG_6658 
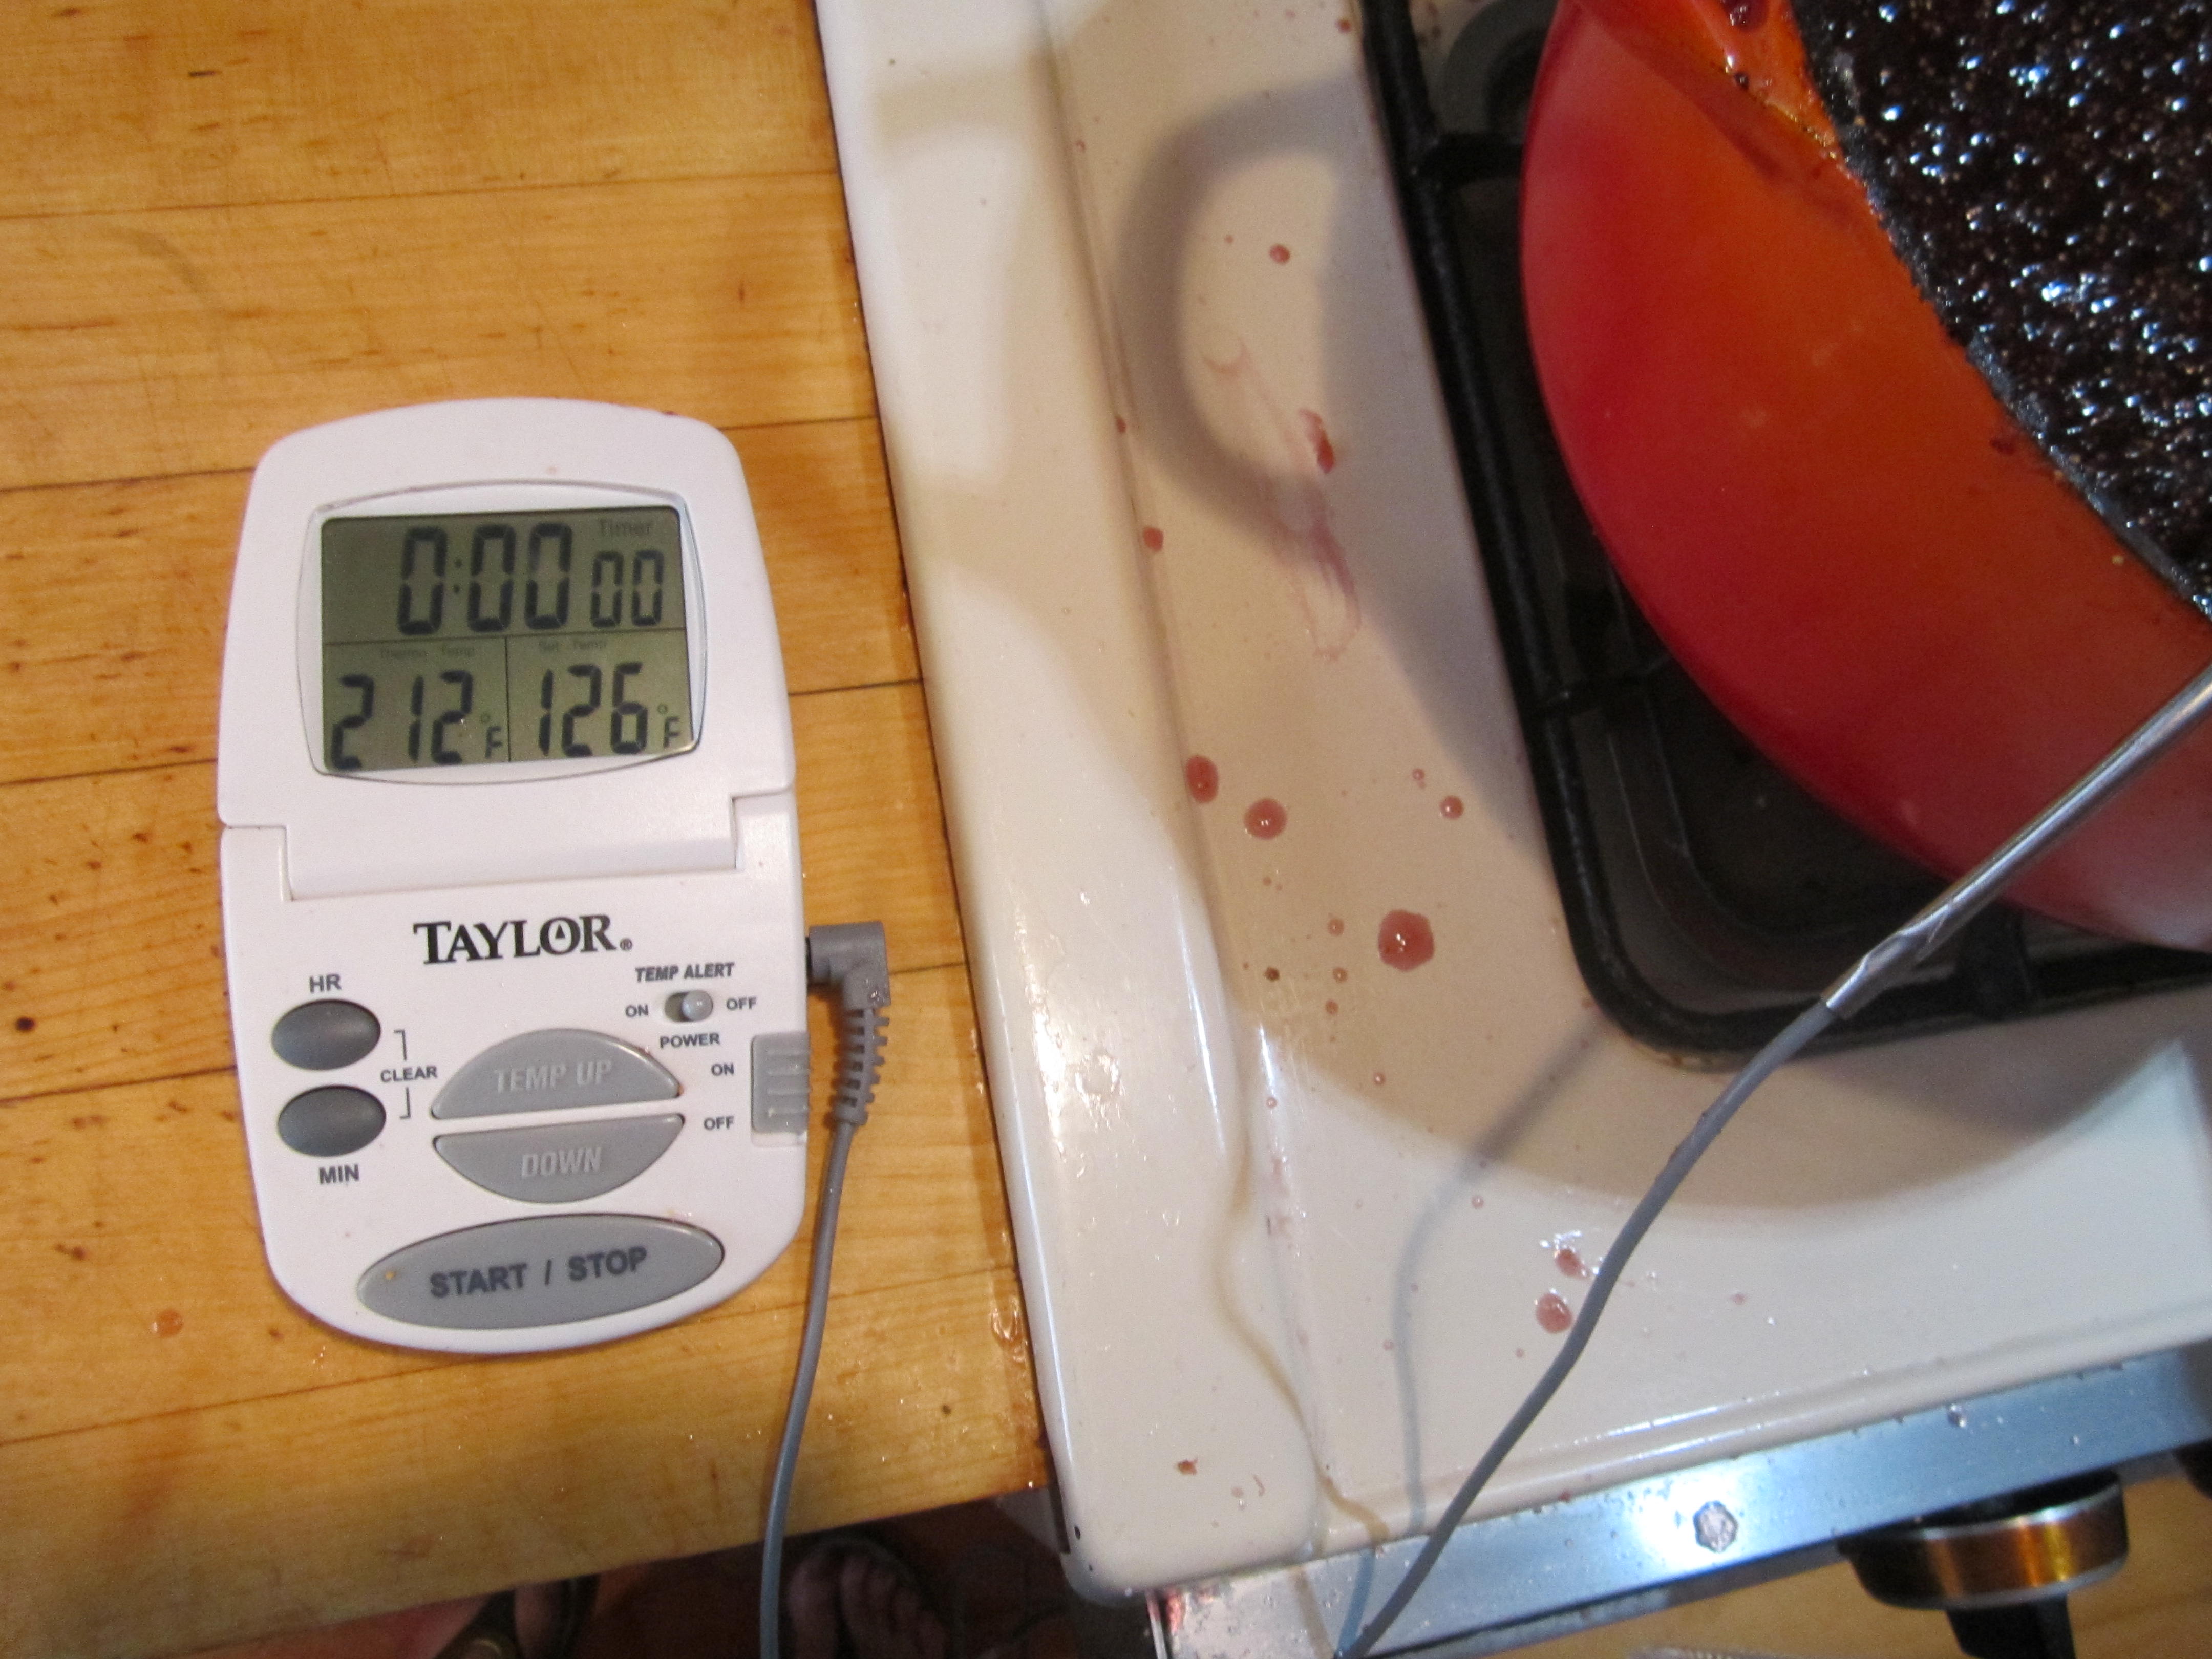
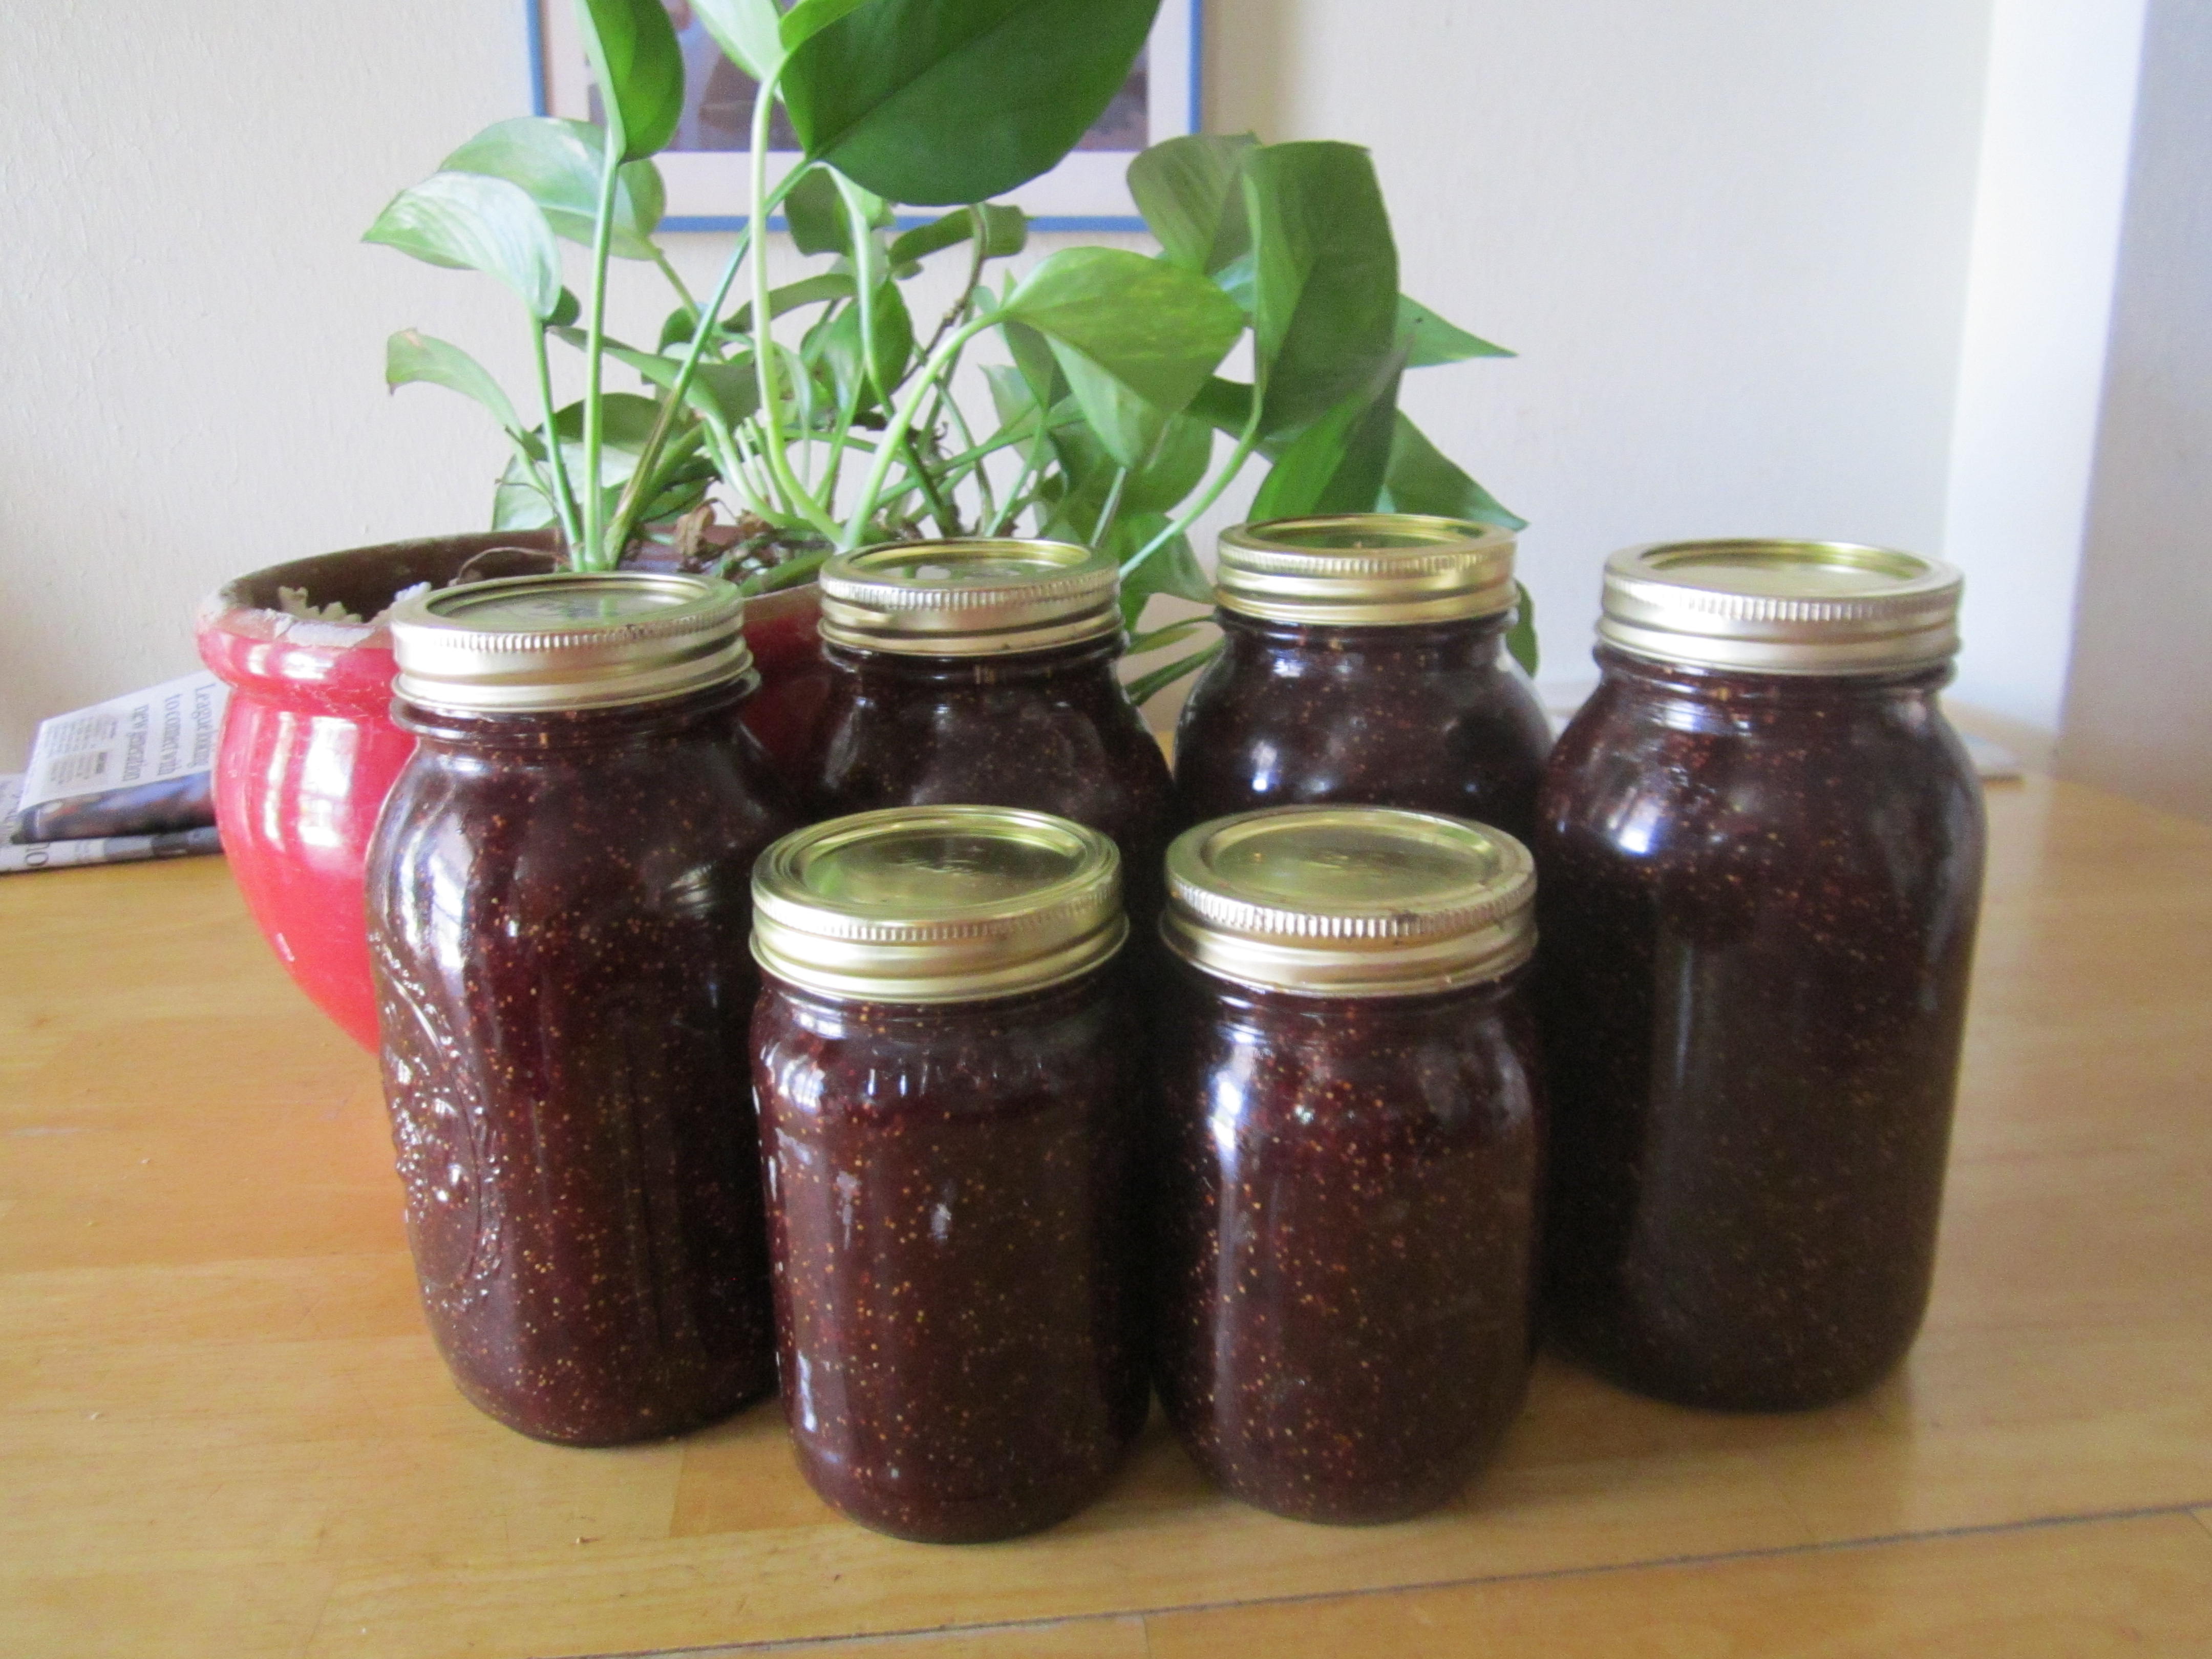
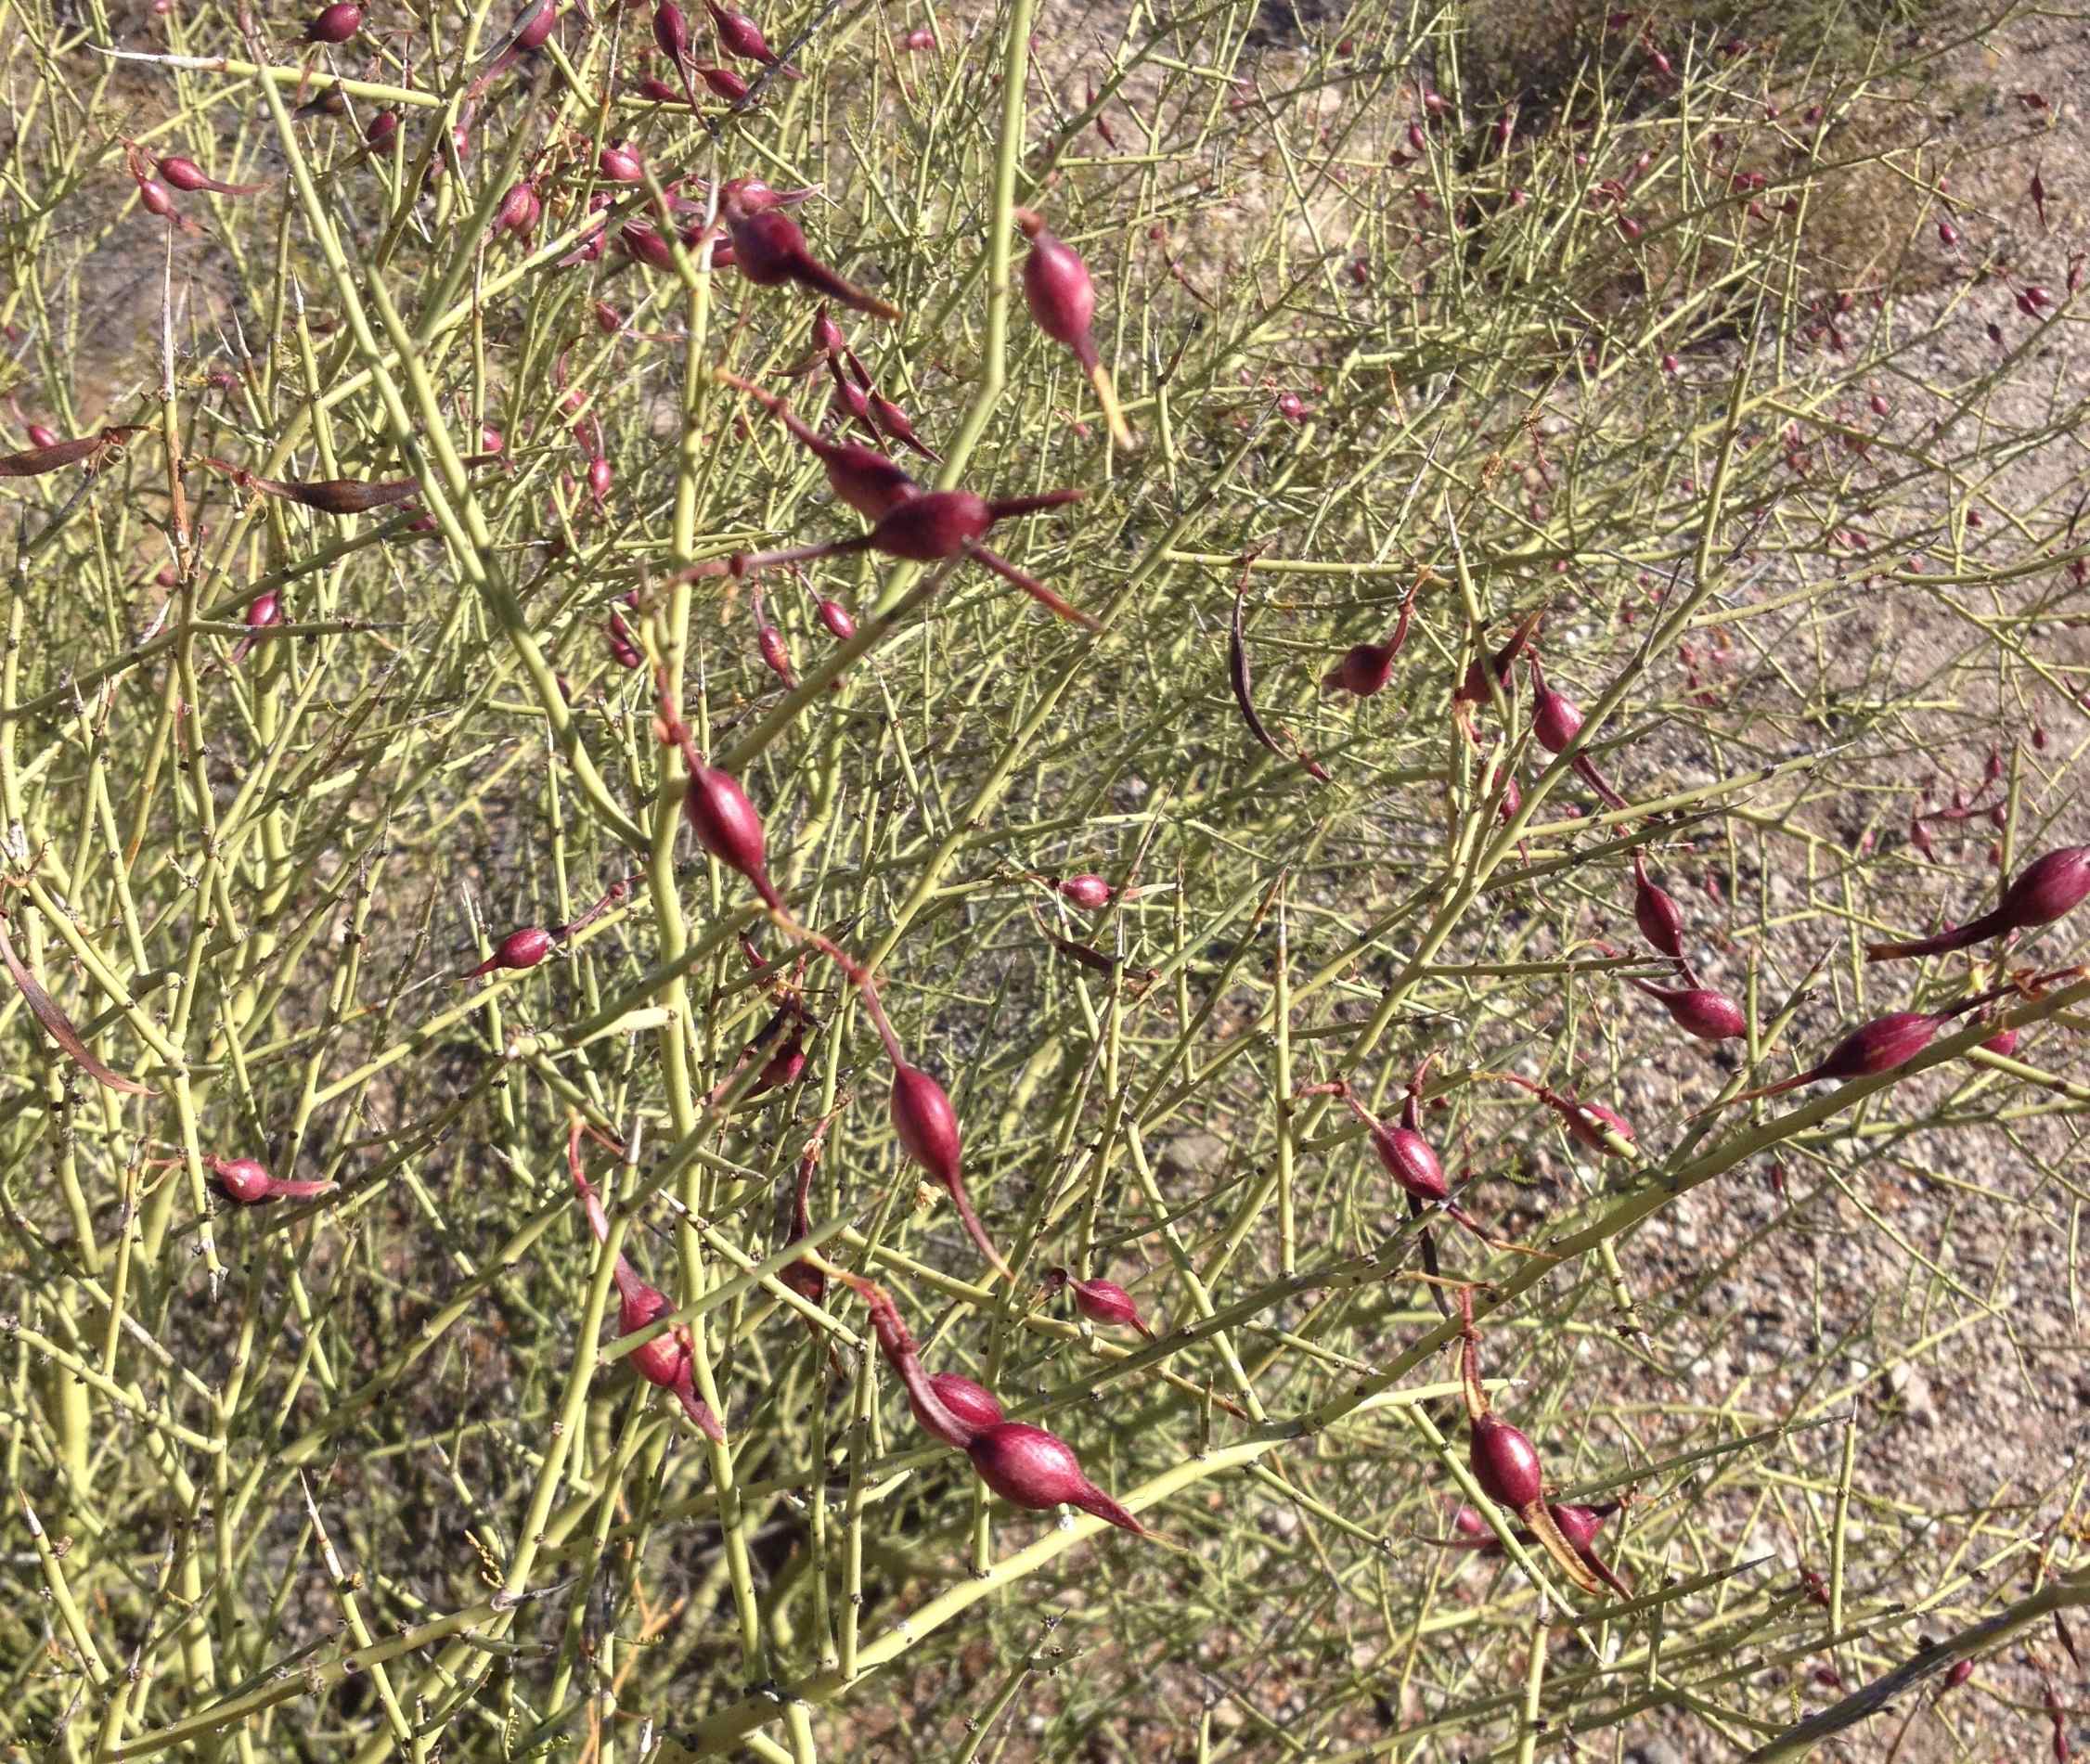
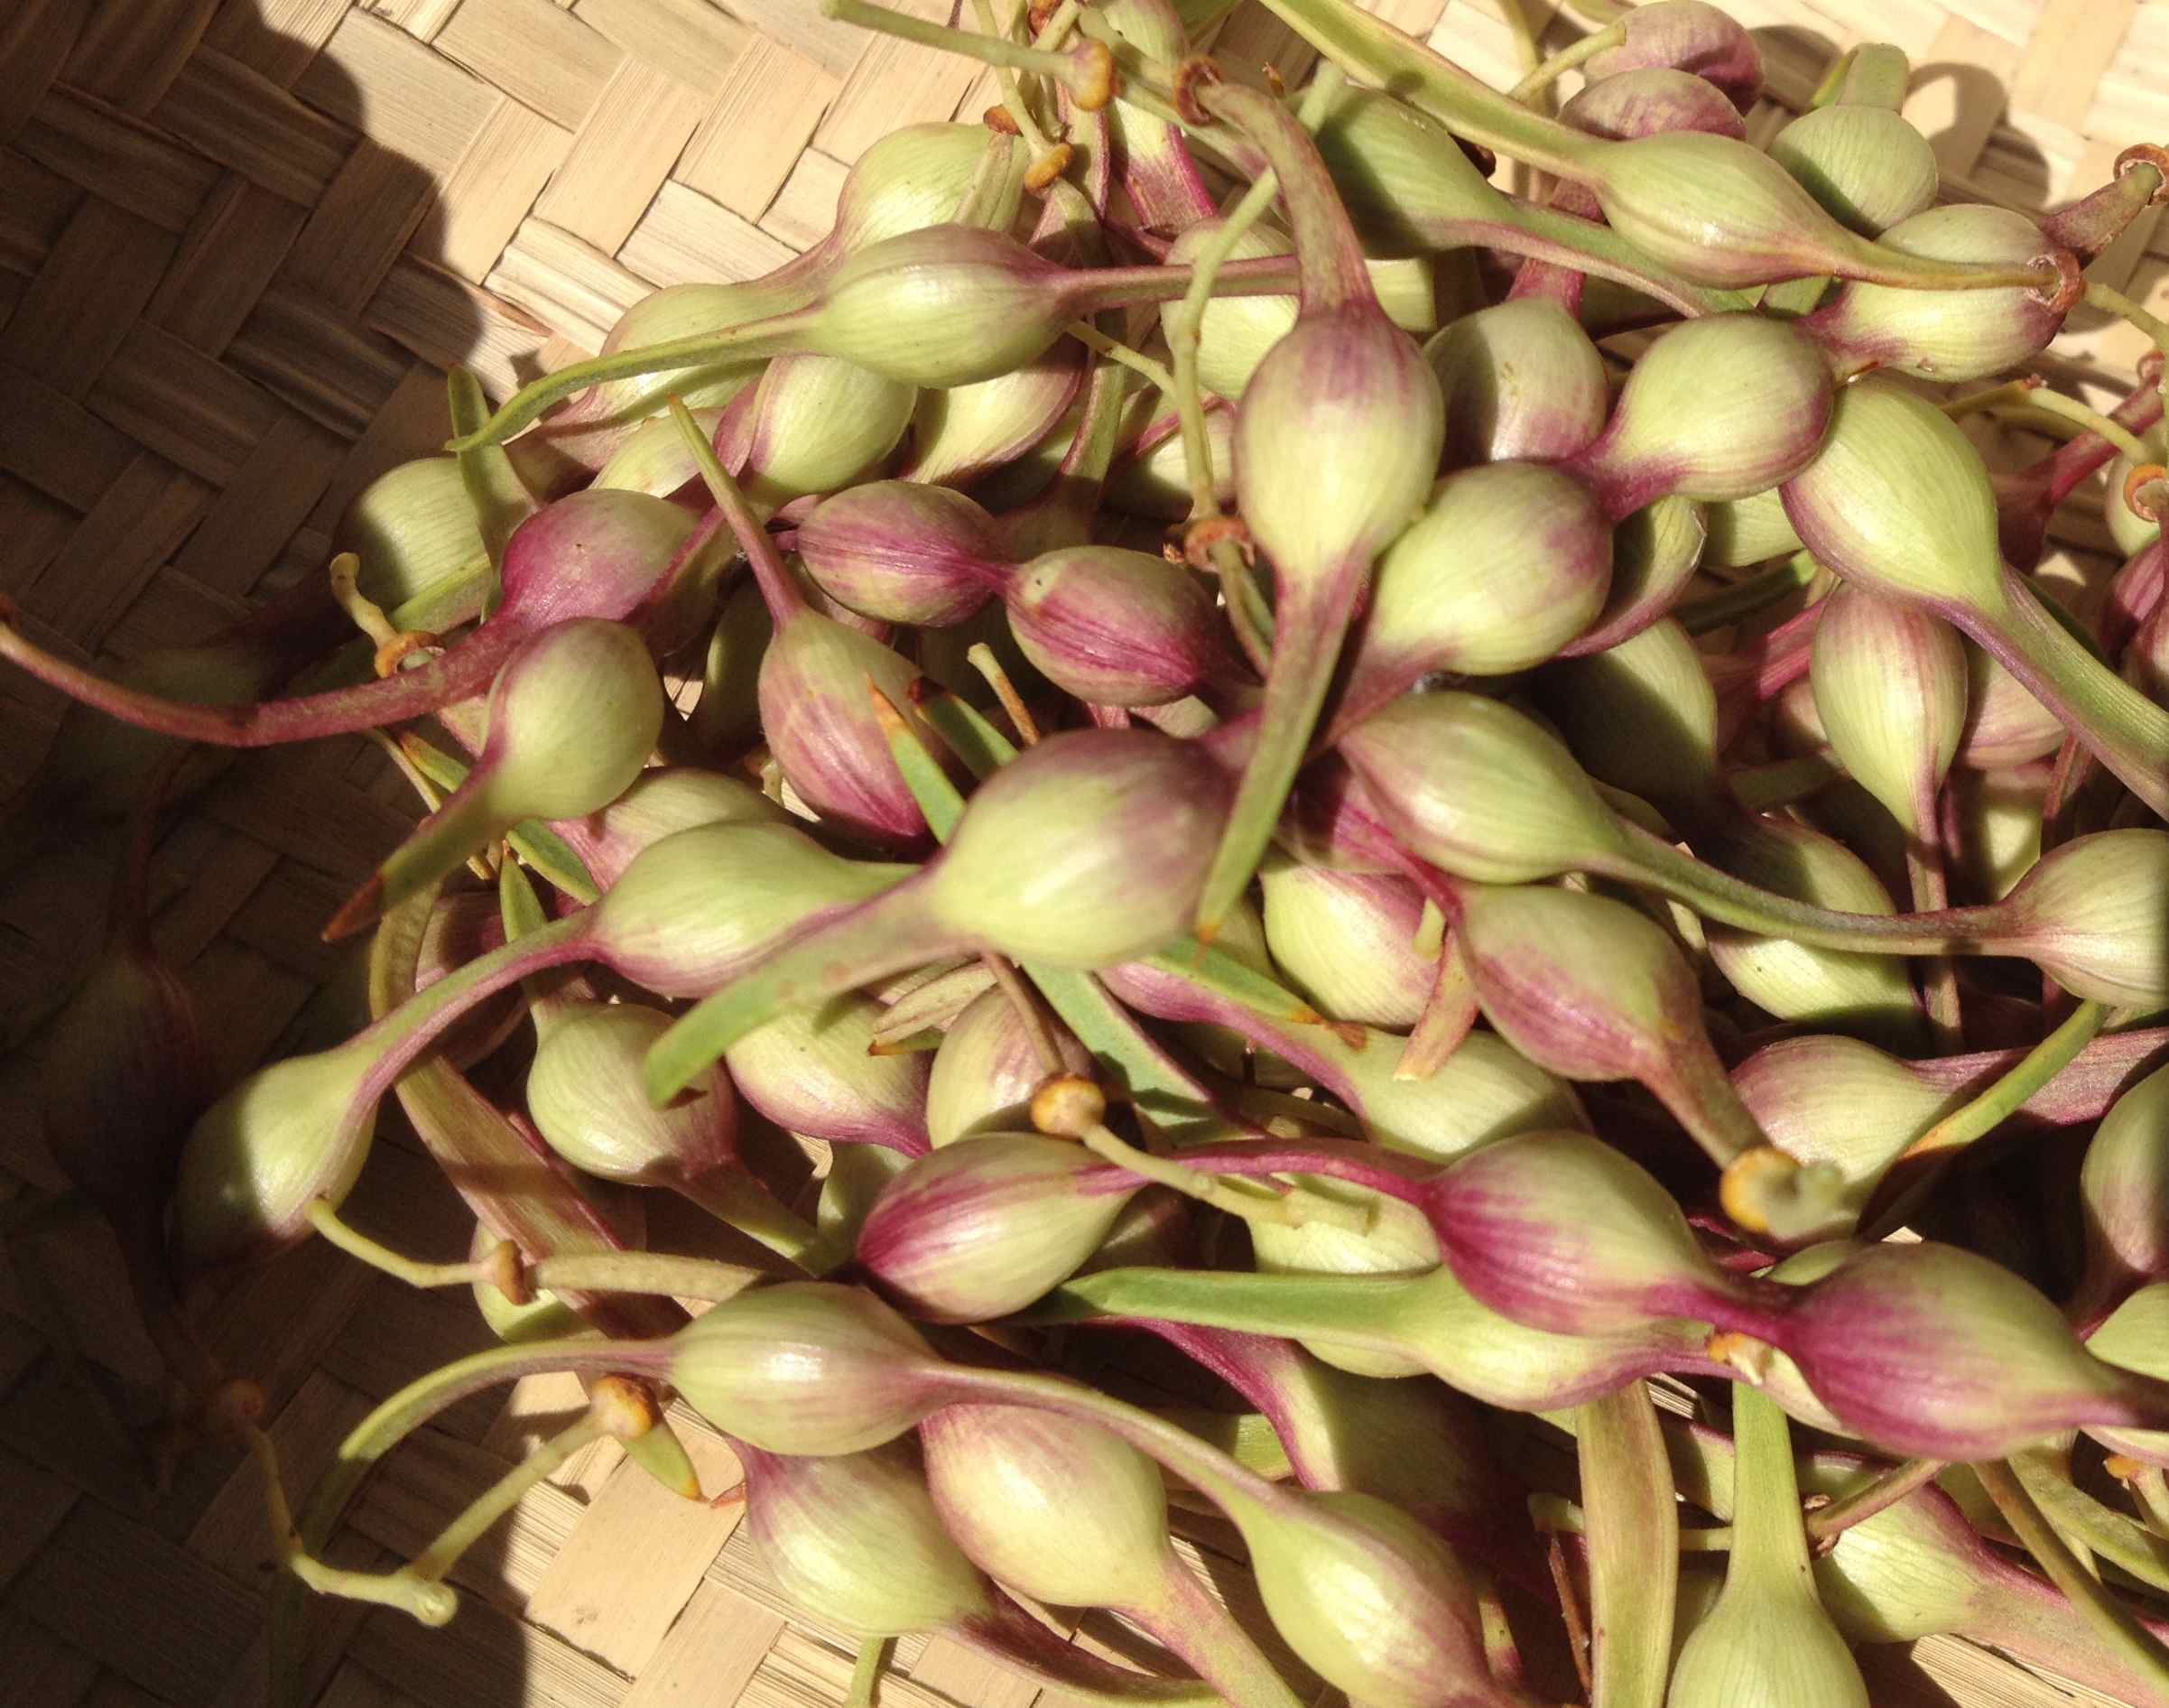
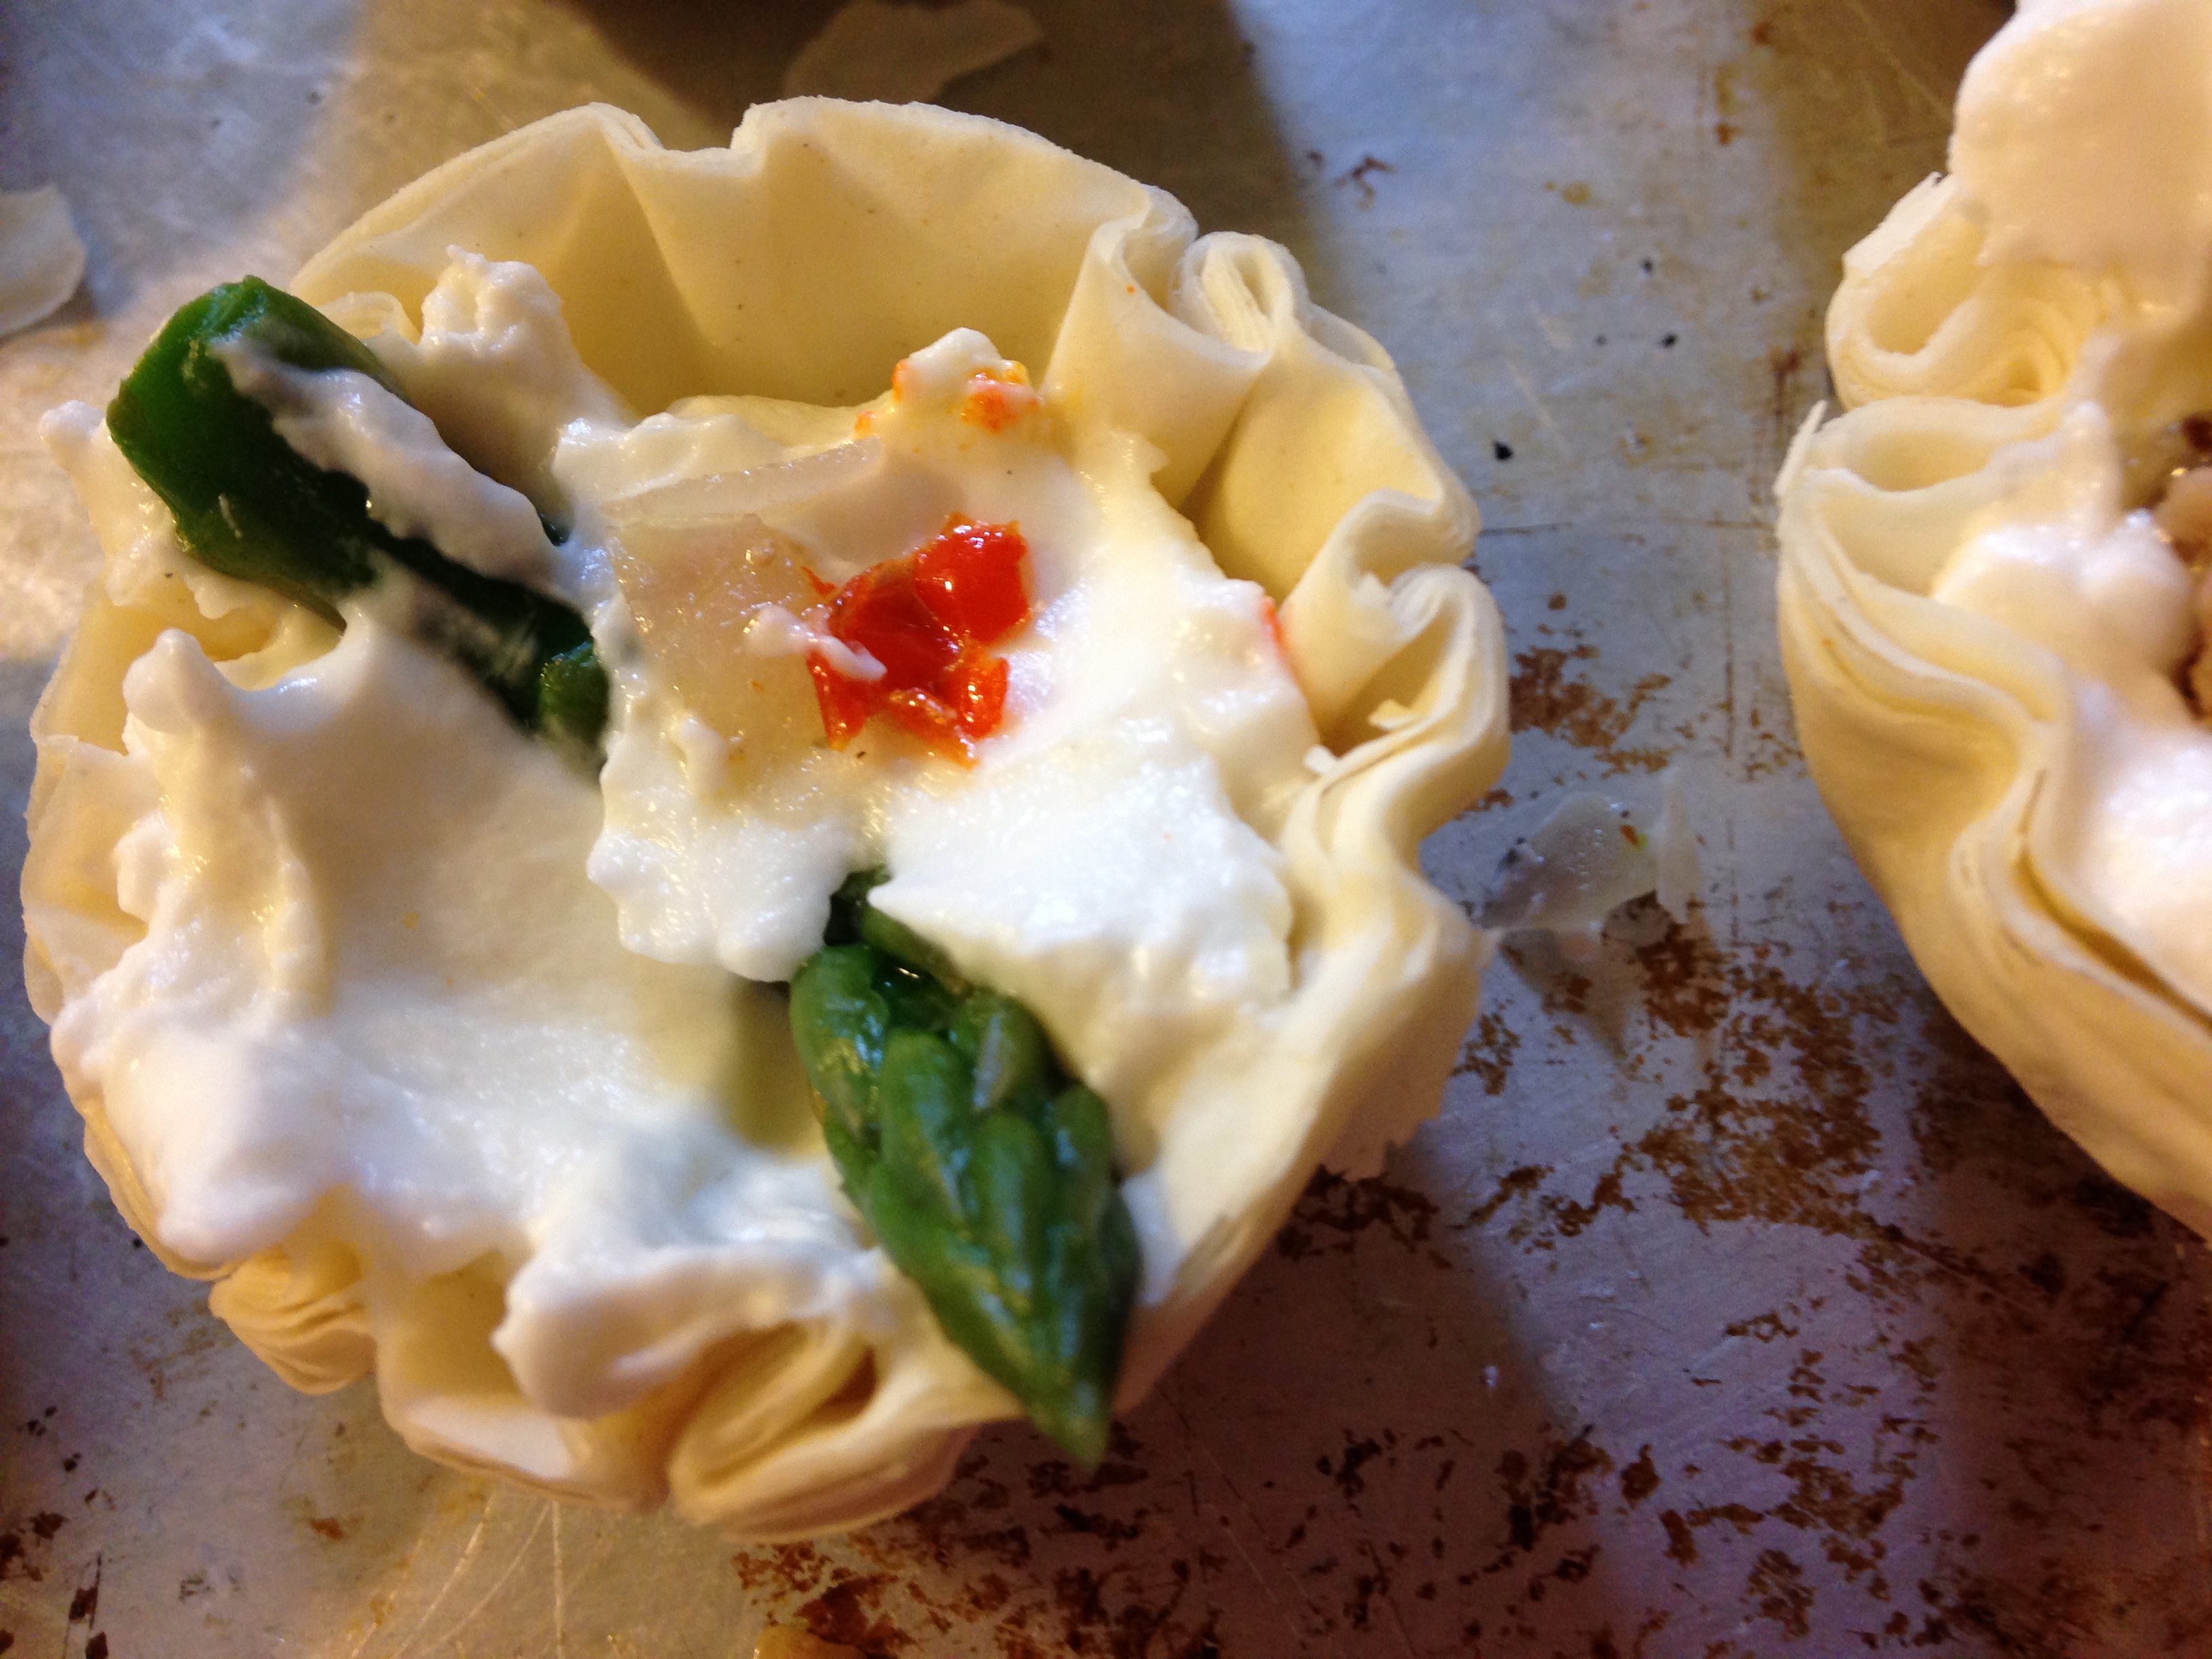
3  “Roast Slowly for 30 minutes to one hour”  (or) until the fat has melted and you and you have protein particles  floating on top. Our seven pounds was divided over several pans and took an hour and a half. You may have noticed the red, round, chiltepin added to the pig fat in one of the roasting pans. I love this ancient, “closest living relative to the oldest known chile on the planet” “chile so much I simply HAVE to use it whenever I can. The capsicum infused taste and color added some spice to the lard. Now this can work for you and against you. So for savory pie crusts, quesadillas, or egg cooking  it is SUPERB. You may not want to  add it to your delicate pastry or your sweet berry pie. You will note that the color of the chile infused lard has a  yellow-reddish tint,  and that the lard without the chile is a beautiful white. These colors are seen in both the liquid lard and when it is firm and in the jars as well. Try infusing your lard at home with rosemary. Explore! IMG_6673 
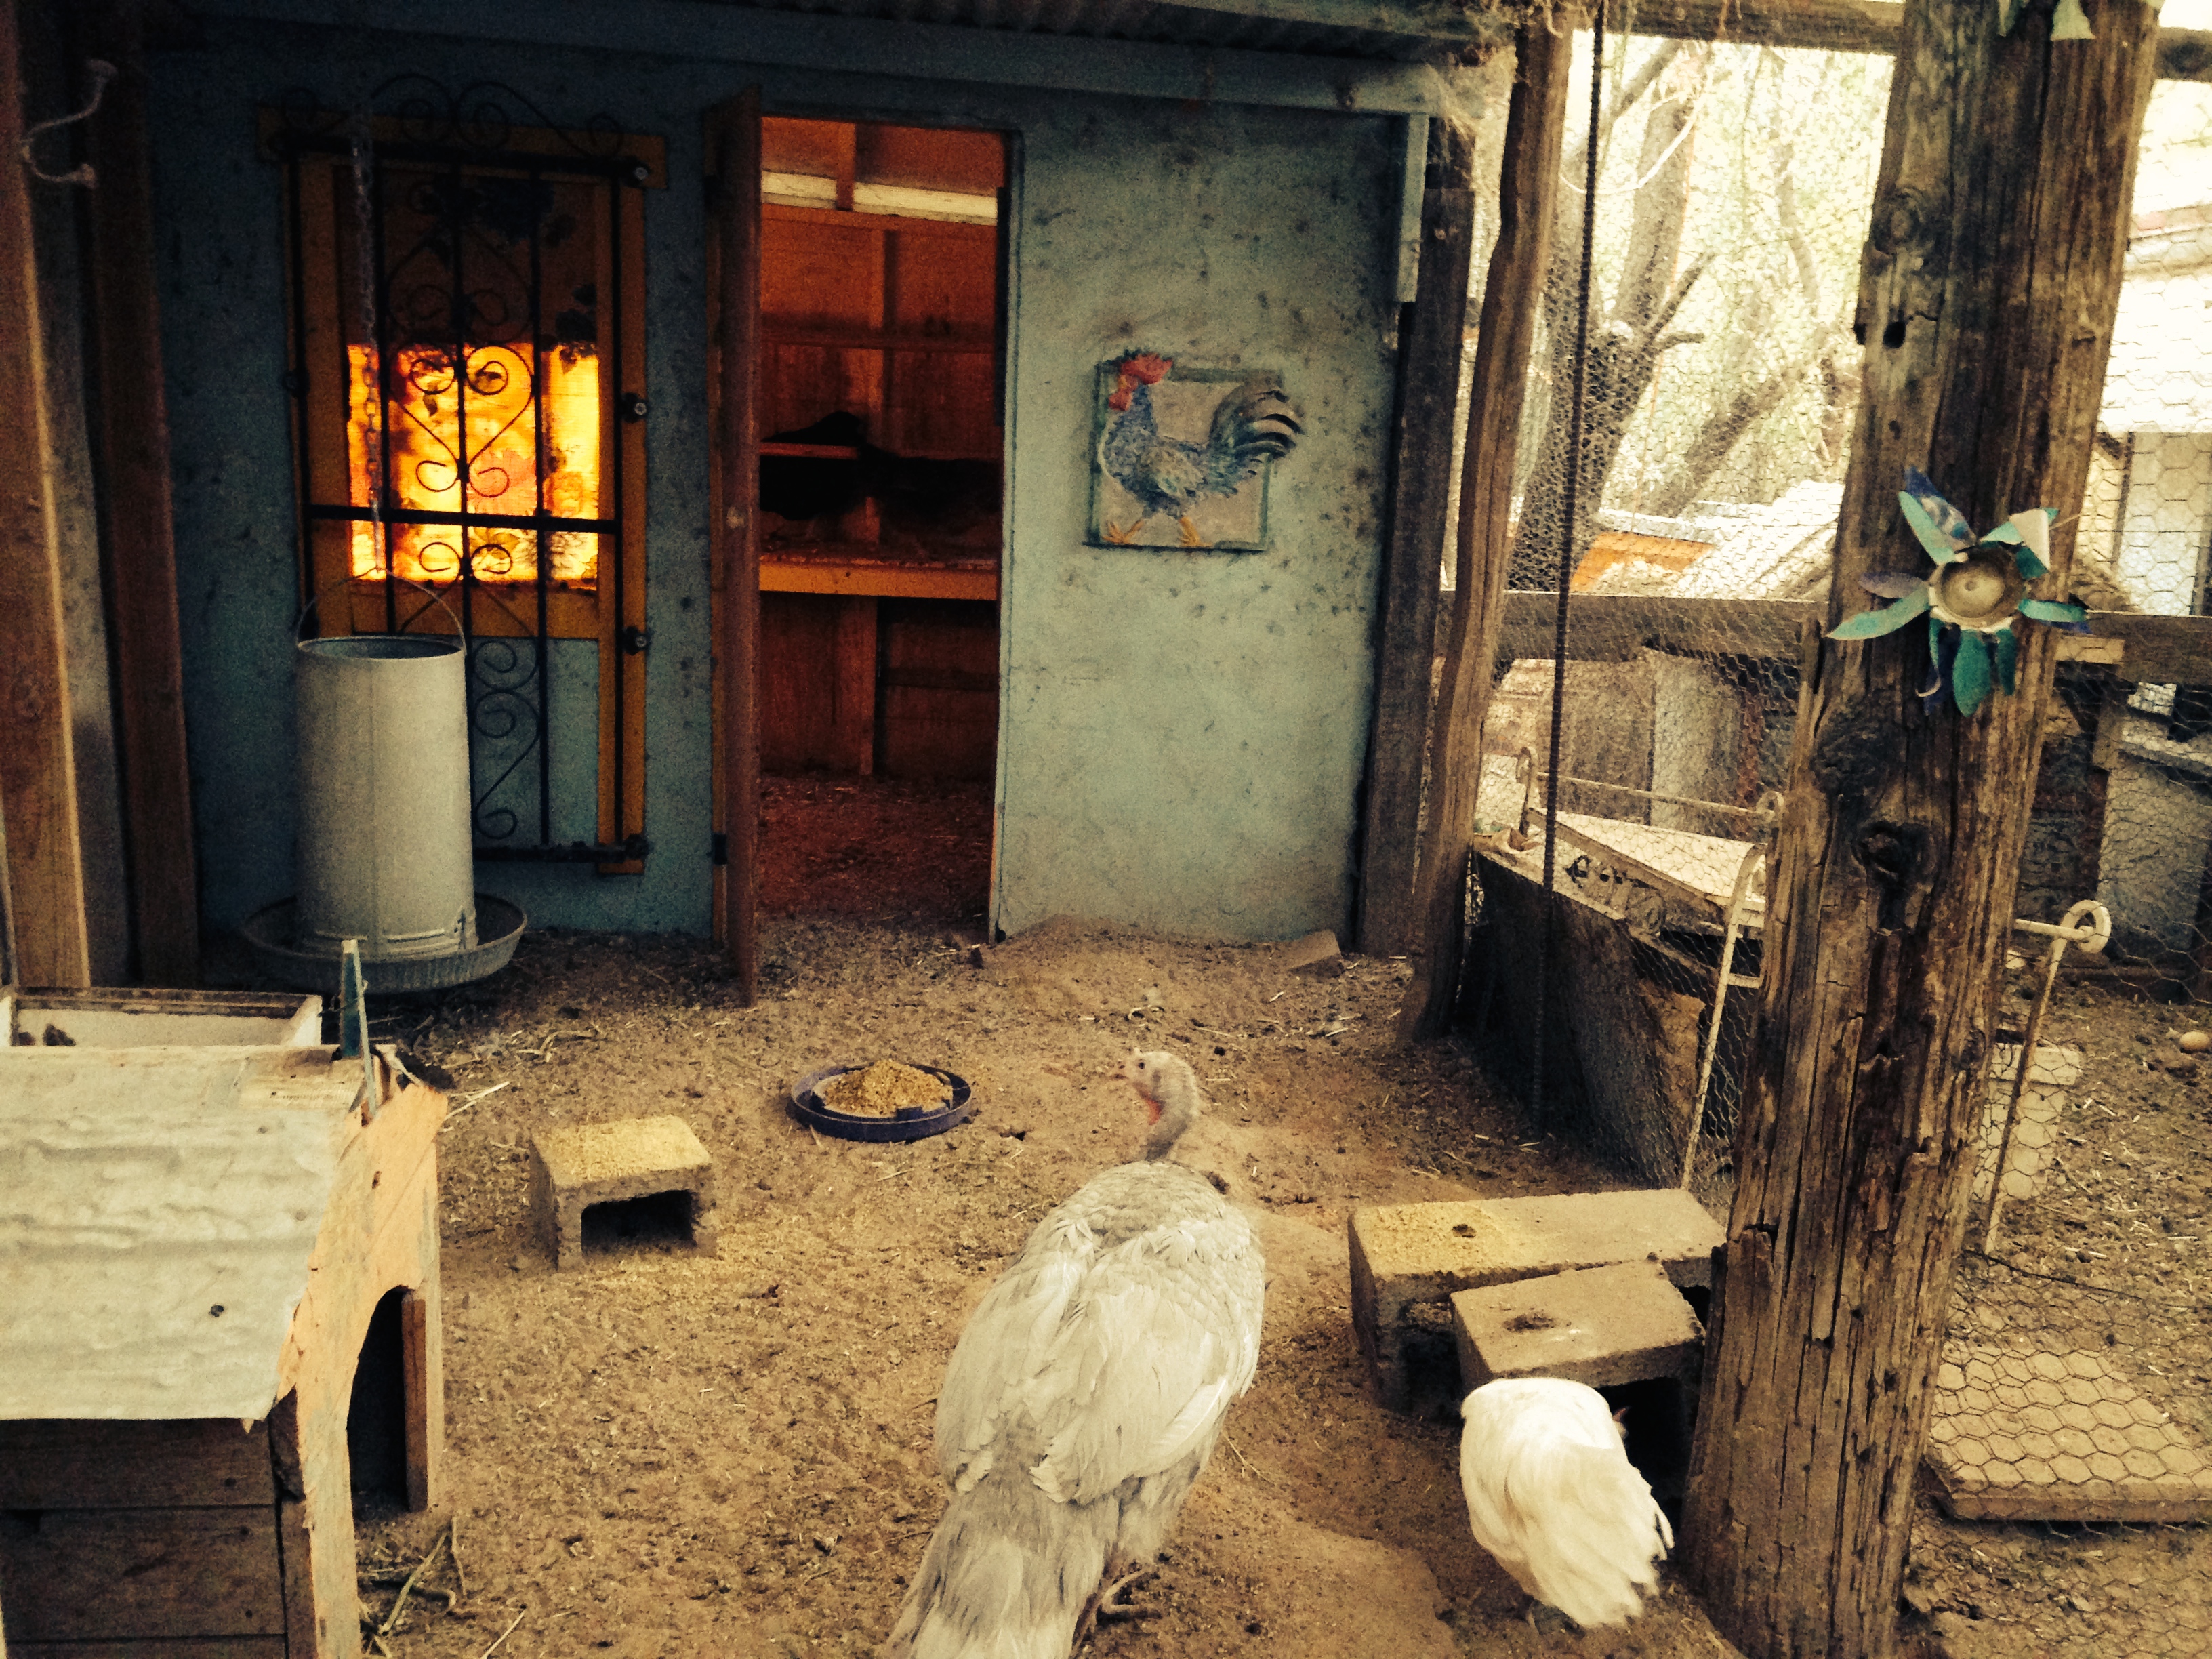
4)  “Skim off the solids and set them aside for the chickens” , (Keb really writes this – which I LOVE) Cheralyn suggests that these “Cracklin’s” are good on baked potatoes, on tortillas or in quesadilla’s, even in salads. IMG_6685 IMG_6687 IMG_6688 
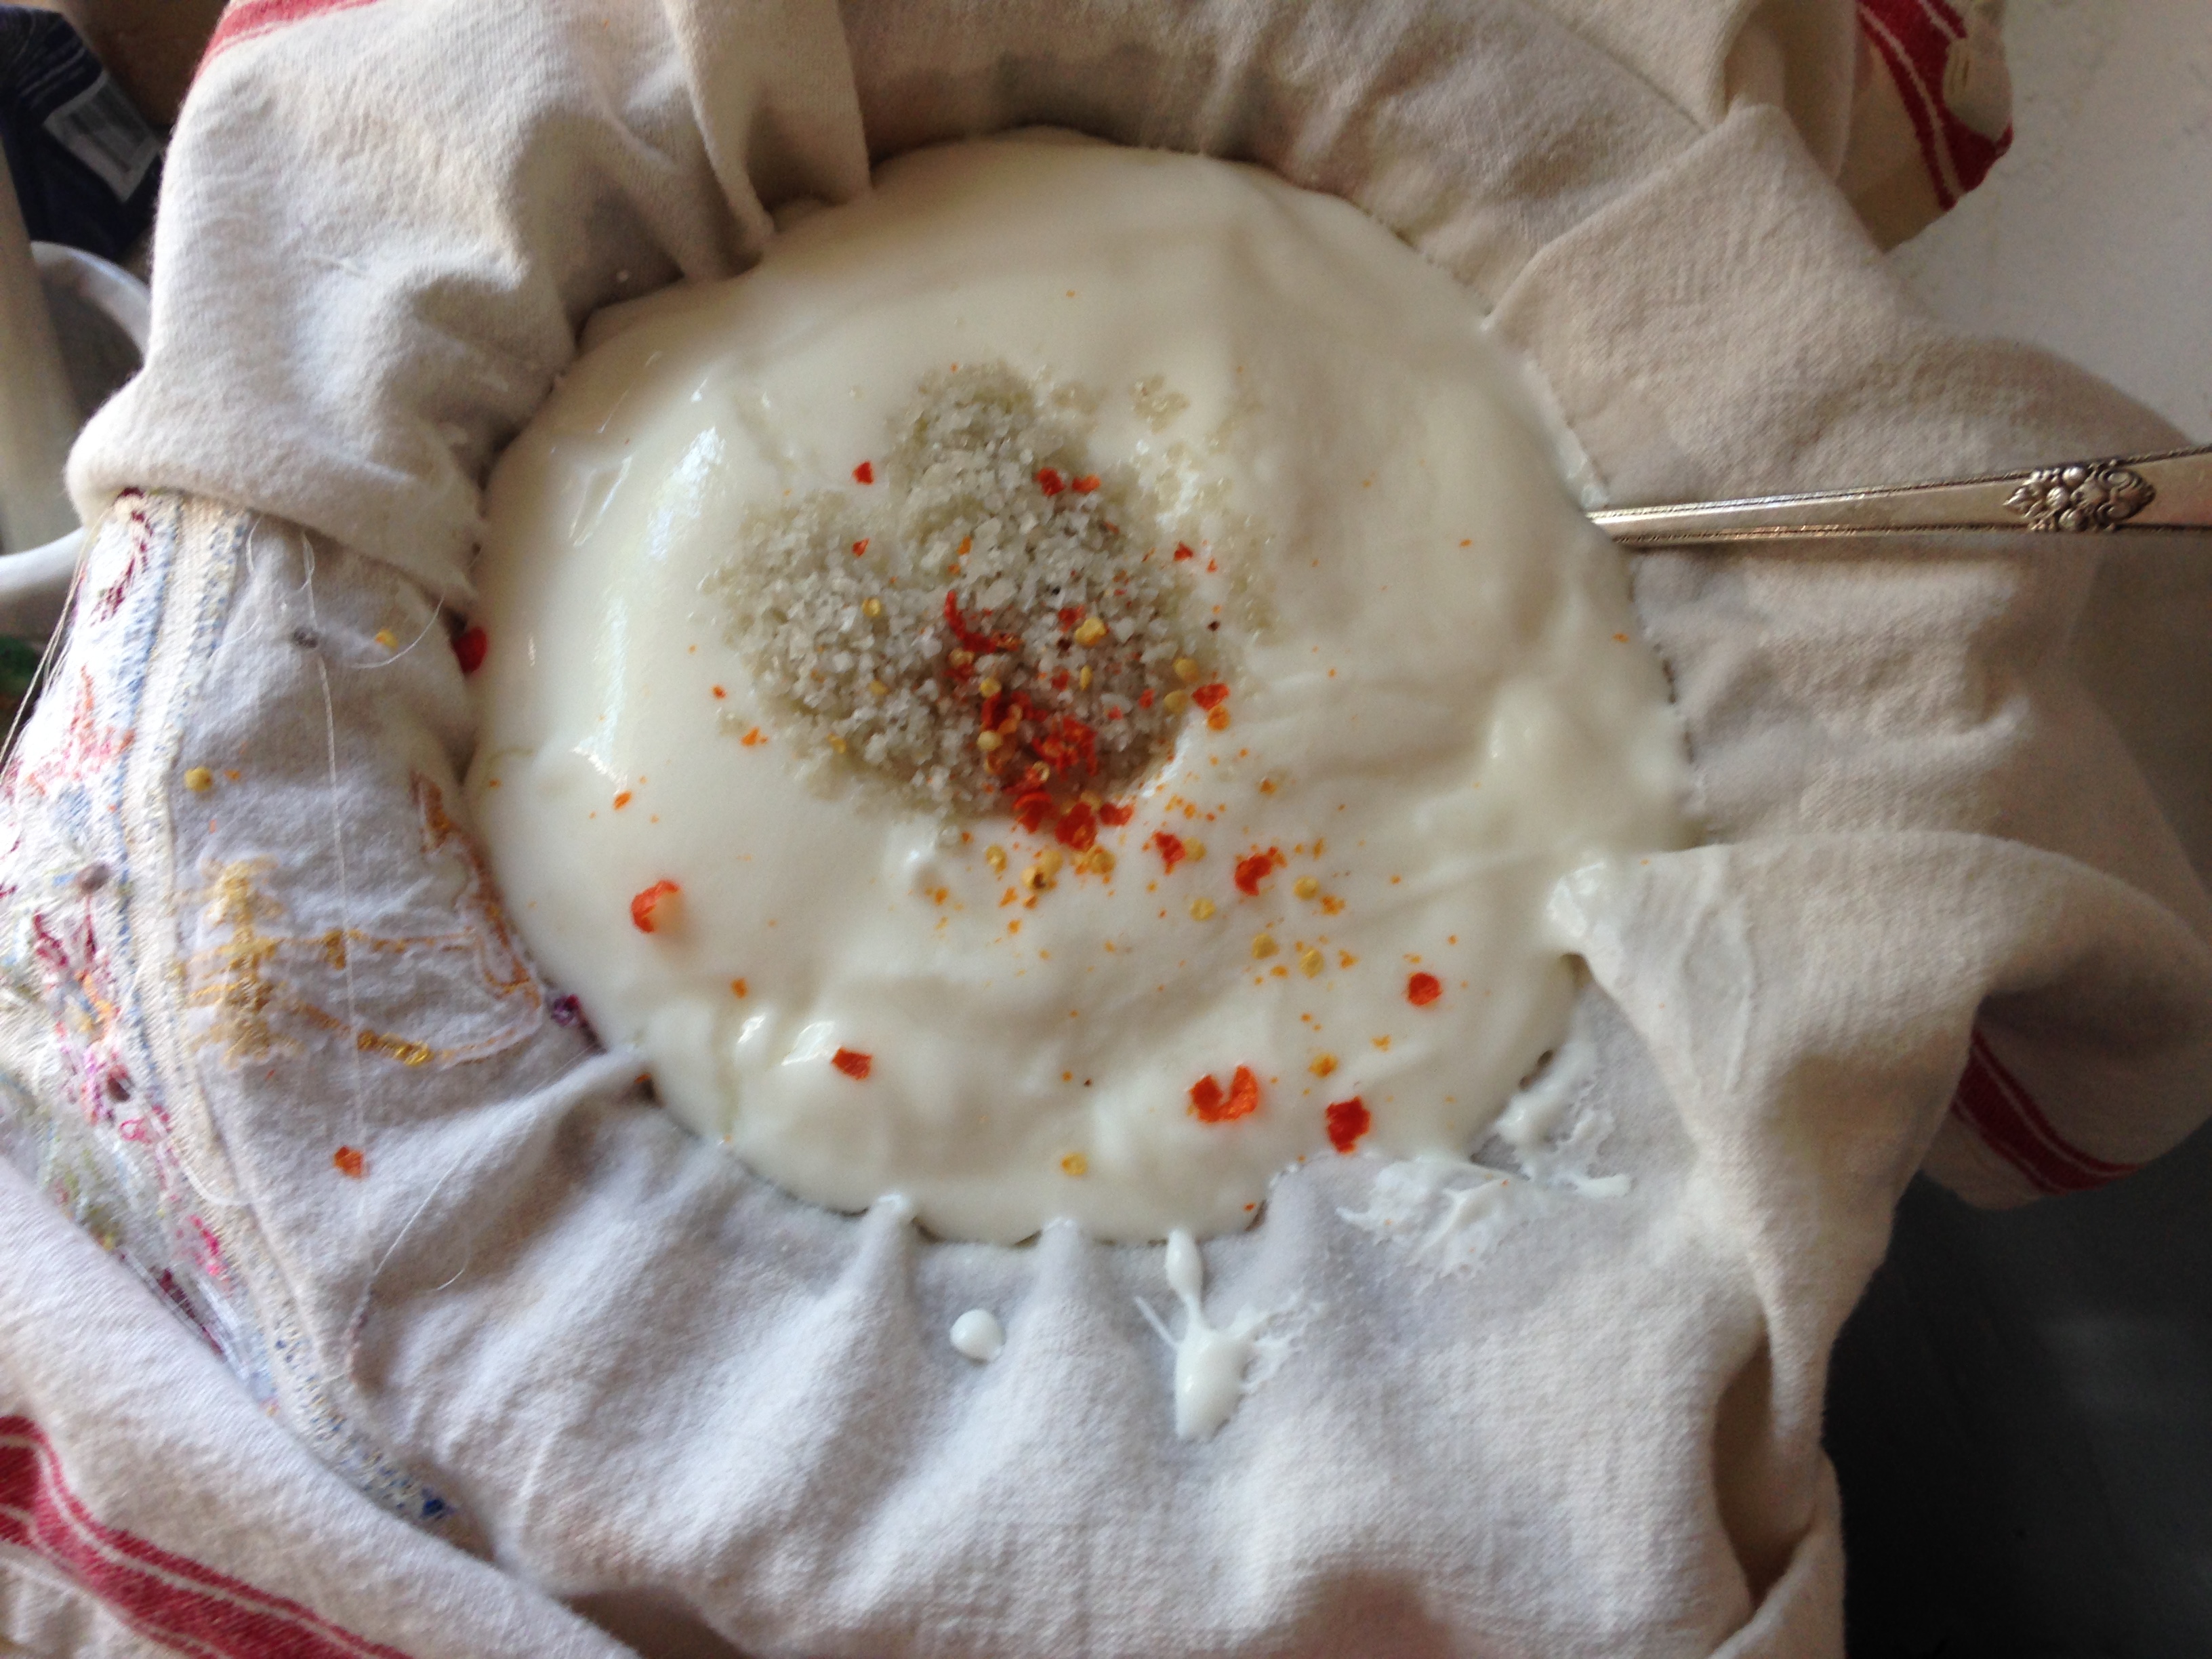
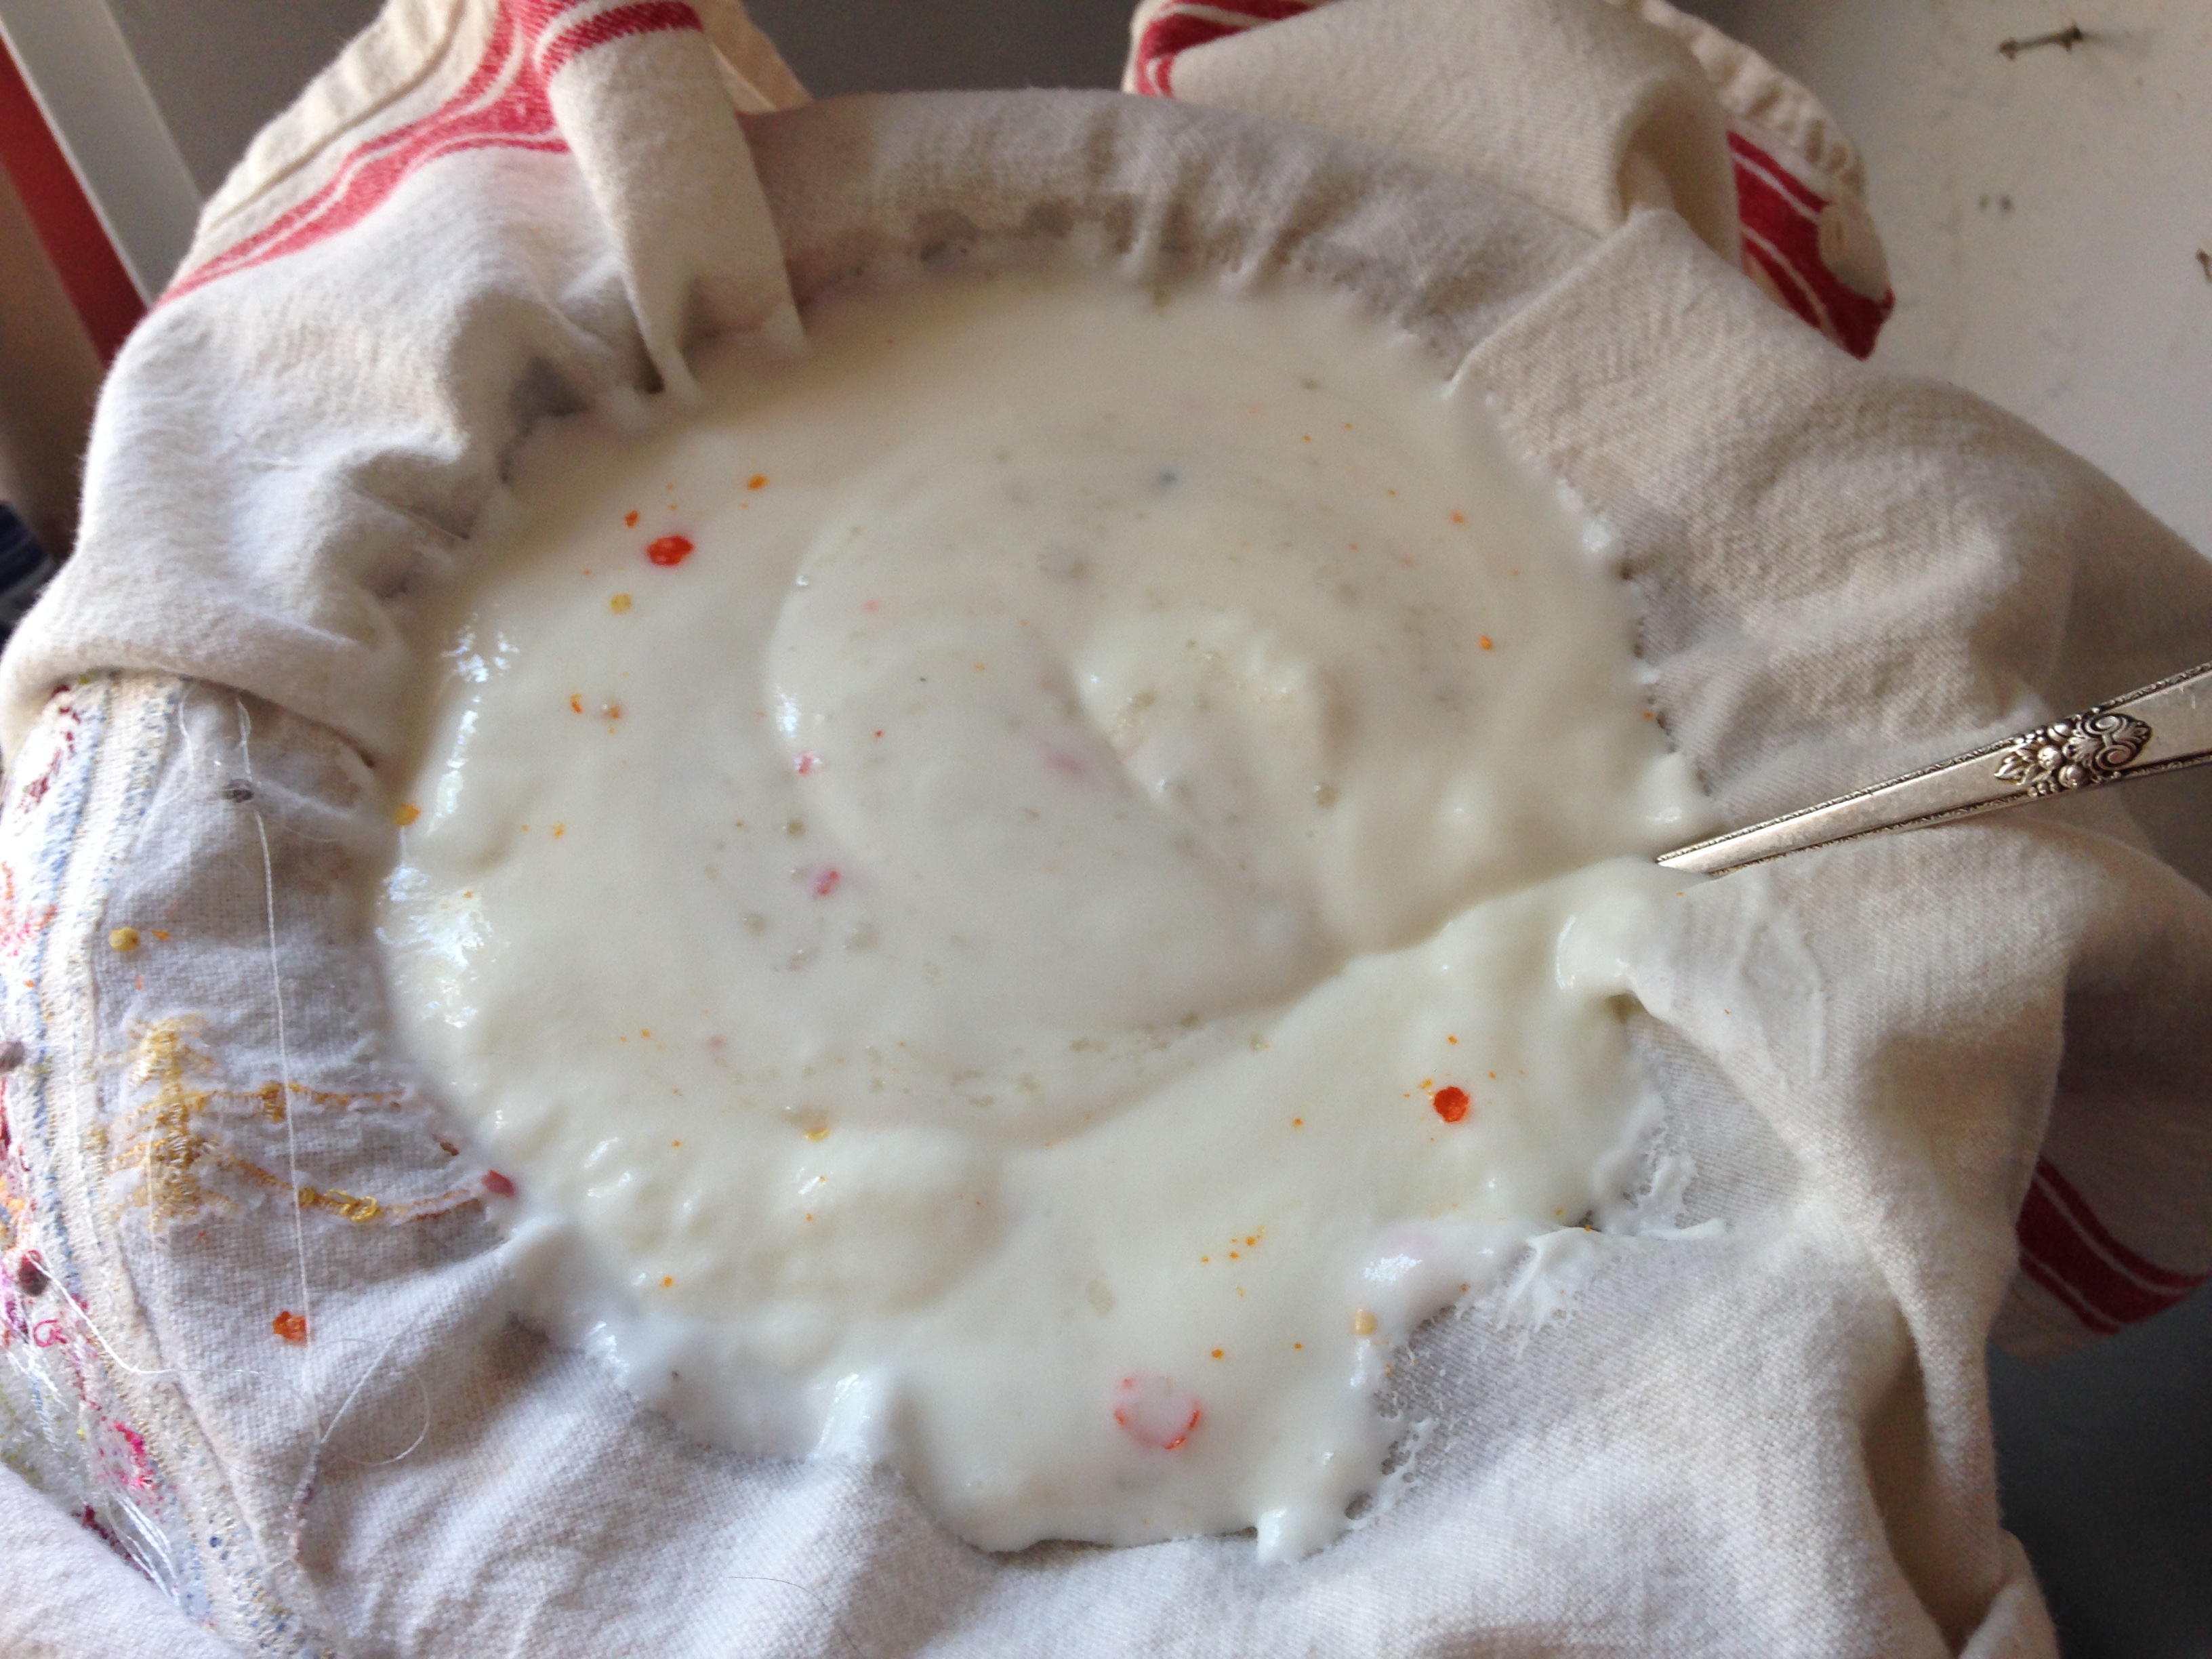
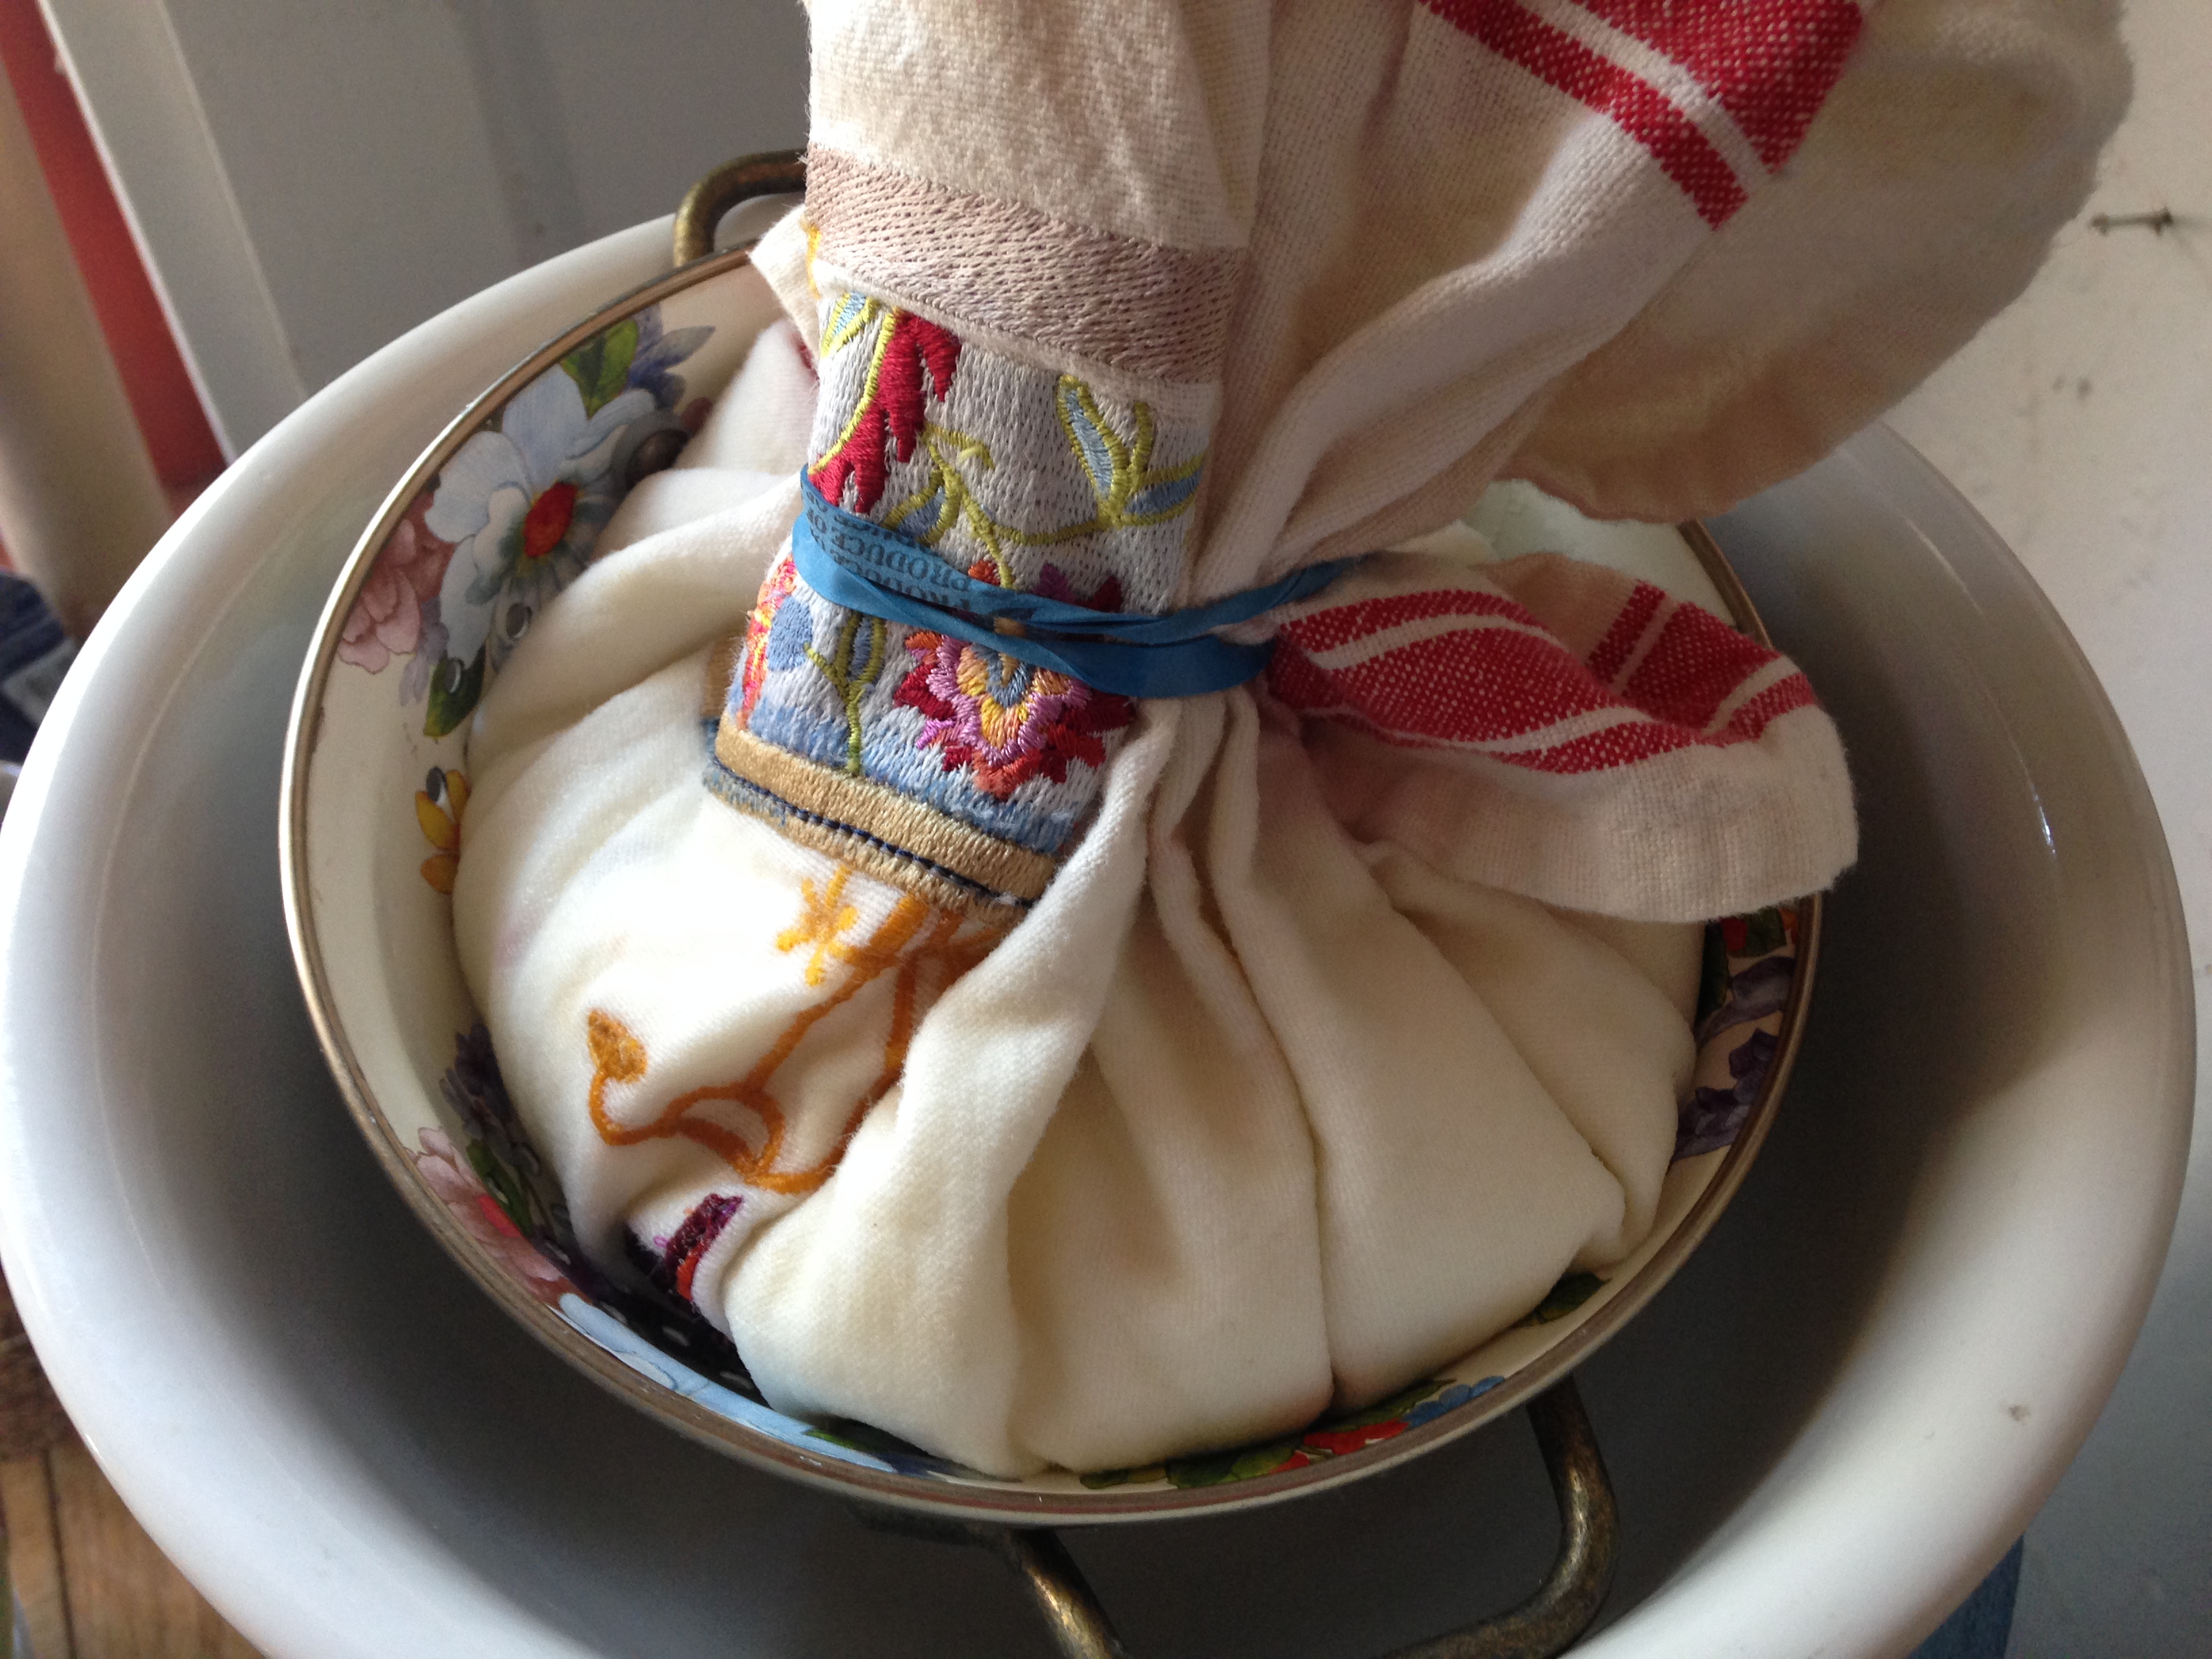
5) “Pour the liquid fat through a mesh colander lined with a double layer of cheesecloth.” We used flower sack material and it was perfection incarnate for such a project. Those of you who follow me, know I love to make the yogurts cheese; I plan to switch over to flower sack cloth from here-on-out. IMG_6706 IMG_6712 IMG_6710 6)  ” Store in a glass canning jar in the refrigerator or freezer. It will keep for months.” IMG_6750

All That Bountiful Basil

by Jacqueline A. Soule.

Last month I wrote about basil  in these pages.  In my Gardening With Soule Blog I wrote about how to grow basil in the desert.  Now let’s look at more basil uses, and some plant care in our heat not discussed previously.


Hot Plants. 

If you bought your basil plants at a big box store, chances are it is not an ideal variety of basil to grow here.  In the image below, the plant shows signs of both excessive light and heat stress with yellowing leaves and some sunburned and browned leaves.  Basil harvested from such a stressed plant will taste bitter, not really worth the water it takes to keep the plant alive.  If you did end up with a large leaved basil, consider growing it on a covered patio or under shade cloth.

basil habit 009

Some varieties of basil, like this large leaf cultivar, do not appreciate hot sun and high temps.

Basil Blooms.

If you want basil seeds, let your basil bloom.  Otherwise, you should remove and spikes of blooms – ideally before they get too big and use up the energy the plant could use making more luscious leaves instead of flowers.

basil pinch 001

These spikes of basil blooms were pinched off the plant.

Remove the spikes of blooms by pinching them off.  Yes, you can use pruners or scissors or a knife, but scientific evidence shows that good old fashioned fingers are the best tool for the job.  Why?  Because when we cut, we cut through plant cells, but when we pinch, the plant ruptures between cell walls.  The plant heals more quickly when the damage is between the cells instead of right through the middle of them.

basil pinch 006

The best tool for removing basil blooms is your own hand.


basil pinched stalk 002

The plant heals more rapidly when hand pinched, even though a tidy-minded person might not like the ragged look to the pinch site.

Harvesting Basil.

You can harvest basil leaves any time you need some.  If you are careful about it, your plant will just keep making more leaves, especially if you harvest just above a node of young leaves.


basil harvest_2678

Yes you should pinch your harvest – just like you pinch blossoms. The scissors are in the picture to indicate where to cut – just above a node of young leaves.


Using Your Basil.

Tons of ways to use basil, but I am fond of one I just learned – basil spreadable pseudo-cheese.  (I have to come up with a better name!)

You will need: a clean bandanna, a quart of plain Greek yogurt, a bowl, a colander, time, and some basil.

Put the colander into the bowl and line the colander with the clean bandanna.  Dump the yogurt into the bandanna and let this sit in the ‘fridge overnight.  The whey will drip out of the yogurt.  (You can leave it for 24 hours if you want.) From a quart of yogurt, I got almost a cup of whey.

This un-wheyed yogurt becomes thick and spreadable, almost like cream-cheese, and it does not stick to the bandanna!  It is not as creamy as cream cheese, but if you add flavorful herbs like basil, it is entirely tasty!

basil chop_6259

Chop your basil finely for this dish.


Dump your yogurt-cheese out of the bandanna.  Harvest some basil, chop it up, mix it into your yogurt, and let it sit for at least four hours to help the basil flavor to merge into the cheese.

basil chop_6262

Let your basil flavor infuse into the cheese for at least 4 hours. Longer is just fine.

Using the Whey.  

Since I got a cup of whey, I did not want to throw it away.  I tried a sip – not my cup of tea!  Since it is an animal product it shouldn’t go into the compost heap either.  I put it into a smoothy with sweet fruit and with a dollop of honey it was fine.


About Jacqueline Soule

JAS avatarJacqueline’s latest book “Fruit and Vegetable Gardening in the Southwest” (Cool Springs Press, 2014) is available at Tohono Chul Park and the Tucson Botanical Gardens. It is divided into warm season and cool season growing so you can easily select other plants to grow this summer.

All text and all photos (except where noted) are copyright © 2015 by Jacqueline A. Soule. All rights reserved. I receive many requests to reprint my work. My policy is that you may use a short excerpt but you must give proper credit to the author, and must include a link back to the original post on our site. Photos may not be used.


Lovely and Luscious Legume Trees

Desert Ironwood (Olneya tesota) still in flower!  This should be a good bean year for ironwood.

Known as hoh’it-kahm to Tohono O’odham, the Desert Ironwood (Olneya tesota) is still in flower! This should be a good bean year for ironwood as the flowers produce pods.

Hasn’t this been the most incredible, elongated spring in the Sonoran Desert ever?  Tia Marta here to celebrate this red-letter year for our desert legume trees–they are still coming on!!

Desert Museum hybrid palo verde--thanks to St Mary's Hospital for beautiful landscaping!

Desert Museum hybrid palo verde–thanks to St Mary’s Hospital for beautiful landscaping!

We have had the joy of palo verde blossoms from mid-April thru May.  Mark Dimmitt’s amazing Desert Museum hybrid palo verde continues to grace public buildings and roadways with a glorious yellow glow.  Mesquites (life-giving kui wee’hawk to traditional Tohono O’odham) are still producing creamy yellow catkins and greening pods soon to ripen.  Red pod clusters are hanging from white-thorn acacia.  Dusty lavender ironwood blossoms still bedeck the foothills….Color and Beauty–the first of the gifts…


For wild-food aficionados and first time experimenters, this promises to be a bountiful bean year.  Bees are already going wild–they know the buzz.  I’m going wild just thinking about the desert’s gifts of nutrition for so many life-forms.  Humans are just a few of the happy recipients.  With the help of bacteria, the desert’s bean trees even feed the soil with bio-available nitrogen, hidden from our awareness in their root nodules.

Foothills palo verde pods   ready for eating off the tree! (maburgess photo)

Foothills palo verde pods ready for eating off the tree! (maburgess photo)

This week is PALO VERDE TIME for sure!  We gotta get out there right away because this only lasts a few days!  If you want a sweet treat to pluck right from the tree, take a walk up almost any rocky hillside in the Sonoran Desert and find the Little-leaf or Foothills Palo Verde (Parkinsonia microphylla–the green barked shrubby tree with teensy leaflets, actually no leaflets right now in June’s heat).  It will be covered with little hanging pods that look like paternoster beads, each seed making a bulge in the pod.  Say a prayer of blessing and thanks to the Koh’o-koh-matk Tree and to Nature for this food.

Seed pods of foothills palo verde plump and ready to pick fresh for a green desert treat.

Seed pods of foothills palo verde plump and ready to pick fresh for a green desert treat.

If you find it at the right stage, you can snip the pod-covering with your teeth and peel it back to reveal the pea-like green bean–sweeter than any sweet pea you ever tasted.

Just peel back the outer fiber and voila! there's the delicious sweet "pea"

Just peel back the outer fiber and voila! there’s the delicious sweet “pea”

It can be eaten fresh right then and there. Most harvesters can’t help gorging at first, gathering later.


The variations from one palo verde to the next are interesting to see.   Some pods are all green, some flecked with red, some are even purple!

Foothills palo verde with bright purple pods--Tucson's west side.

Foothills palo verde with bright purple pods–Tucson’s west side.

Foothills palo verde (Parkinsonia microphylla) pod ready to eat.

Foothills palo verde (Parkinsonia microphylla) pod ready to eat.


If you find palo verde pods that are really getting super-plump and the pods are turning slightly buff or straw colored, they may be a little beyond the sweet stage.  At that point it’s best to let them fully mature and to use them for grinding later.  Both the sweet soft green “beans” and the later hard stony seeds when mature are super nutrition for whoever eats them–both chucky-jam-full of complex carbs and high protein.

Foothills palo verde harvest (maburgess photo)

Foothills palo verde harvest (maburgess photo)

Years ago in Myrtle Beach, South Carolina, I purchased snacks from a kid selling what he called “balled peanuts.”  The delectable treats had simply been boiled in a salt-brine.  Inspired by that treatment, I tried the same process on our desert legumes.  It works wonders on mature ironwood pods–watch for them to be ripening in the coming weeks.  Great also for prepping plump green foothills palo verde pods before they harden.  Quick brining produces a gourmet delight–Desert Edamame!–creamier and tastier than soy bean (and who knows now if any soy is  GMO-free?).   Just imagine….Sonora Desert sushi, tilapia caterpillars with a side of Palo Verde Edamame….

Foothills palo verde pods cooked in brine ready to eat (maburgess photo)

Foothills palo verde pods cooked in brine ready to eat (maburgess photo)

Here’s a quick recipe for Desert Palo Verde “Edamame” Hors O’ouvres:

In a saucepan:

2 cups washed whole foothills palo verde pods

2 cups water

2 tsp sea salt or RealSalt

Boil for 5-10 min to desired “done-ness” or softness.

Chill and serve as snack, as a blow-em-away pot-luck offering,  or as a complement to any Asian cuisine.

Easier than edamame--and you know they are not GMO! Yum!

Easier than edamame–and you know they are not GMO! Yum!

As pods ripen further on our Sonoran Desert bean trees to become hard seeds, the cooking technology can adapt.  Parching and grinding the nutritious but super-hard seeds of palo verde, ironwood, and acacia can create unusual and delicious flours for baking–but that’s another story…

Contact http://www.DesertHarvesters.org for upcoming events like the mesquite milling at Mercado San Augustin, Thursday, June 25, and demos by some of the great Bean Tree harvesters like Barbara Rose, Amy Valdes Schwemm, and Brad Lancaster.  Also Google Bean Tree Farm for more harvesting ideas.  Hey, thanks to Barbara Kingsolver for spreading the idea of our “Bean Trees” to the outside world!

With such nutritious plenty surrounding us, delicious gifts from  hoh’it-kahm,  kui wee’hawk, and ko’o-ko-matk,  bean trees which the Tohono O’odham have known for centuries, we can taste–and experience–food security in our bountiful desert.

If you want more info on harvesting the desert or monsoon gardening, do come talk with me, Tia Marta, at our Sunday, St Philips Farmers Market booth–in the shade of the Flor de Mayo canopy–8am-12noon.  You can find more wild desert food products at our website http://www.flordemayoarts.com.   Also watch for announcements by Tohono Chul Park of our upcoming Fruits of the Desert class this August (www.tohonochul.org).

NATIVE FLAVORS: Talking Turkey & Turkey Tapas Pies with Bird Peppers

Aunt Linda here talking turkey on this soft, surprising, rainy, June morning.  For me, turkeys are magic. They may not be very bright, but there are many times when smarts may be over rated. On this rainy morning, where the dust of life and the desert is washed clean, I choose heart and magic over brains.

IMG_4389

The heirloom turkey chick in the photo above is about two hours out of the shell; you can still see it’s “egg tooth” (the hard and temporary tooth that helps it peck its way through the shell and “out” into Life prominent on the tip of it’s beak.)

All domesticated turkeys, (like the hatchling above) come from wild turkeys indigenous to North and South America,

Turkey’s have run wild on this continent for centuries. There are campaigns afoot to re-wild them again, The Gould’s Wild Turkey was re-intorduces to the Sky Islands, here in Arizona, in 2013 – and appear to be thriving. Gould’s Wild Turkey (M.g. mexicana) (Gould, 1856) have long legs, large feet, long tail feathers; it’s primary coloring is copper and greenish gold.  The south Mexican wild turkey (M.g. gallopavo) is not found in the US or Canada.  Archeological sites in central Mexico, dating back to 800-100 BC reveal M. gallopavo bones, but whether these were domestic or wild is not clear.

IMG_6244

On a trip to New Mexico last summer,  I came across the ruins of the ancient Village of Tyuonyo (QU-weh-nee); (see photo above)  where rooms were built to shelter turkeys. There, archeological records tell us that Turkeys were raised primarily for their feathers – which were twisted with yucca fiber and woven into blankets, socks, and clothing. This would make sense for COLD winters in the high worlds of the  pinon-juniper of northern New Mexico.

IMG_5407

When raising a new-to-me breed, I never make a move without consulting the Livestock Breeds Conservancy. A trip to their website alone is an adventure! It is filled with nutrition information etc ,,, (heritage breeds have requirements that differ from conventional breeds).   I highly encourage you  to find out more at http://livestockconservancy.org/.

I love the way they move. I love the way they sound.  I love how protective the Toms (the males) can be  when they “sound the alarm” upon hearing something (bobcat,  hawk, or human) enter the yard). Toms, in all honestly, can become quite aggressive as they come of age, so be careful if you decide to raise them and you also have small children.  I love the THUMP the males make as they strut. I love the way a warm, just laid turkey egg feel in my hand.  I love how the hens will brood over any number of eggs.. Whether you raise turkeys for meat or eggs or just plain fun, I encourage you check out an heirloom breed and consult the http://livestockconservancy.org/

IMG_6453

RECIPE: Magic turkey Tapas – Pies  – with bird pepper goat cheese. The Magic of these little Tapas-Pies is that they are made from two significant indigenous Ingredients.  The native bird of the America’s, the turkey. And: native chiltepin/bird peppers (humans have been eating for about 9000 years.) Chilpetin is considered the closest living relative to the oldest known chile.

NOTE: if you think you want to try the goat yogurt chiltpein cheese, make it 24 hours ahead. (See January 2014 for recipe)

*To start. preheat the oven to 350 and thaw 24 Mini FIllo Shells (of course if you are a purest, by all means make your own)

INGREDIENTS:

-half a medium red onion (finely chopped)

-two toes of garlic (finely chopped)

-16 oz of ground turkey

-6-10 crushed chiltepin (or any red chile you like)

-a handful of oregano from the garden

-one bunch of asparagus (steamed or roasted)

-chileptin goat cheese (make from full fat. 12 oz yogurt, with two tablespoons of chunky salt)

HOW TO:

saute the onion, garlic,

IMG_6428

then add turkey, ground chile – cook thoroughly — add oregano and asparagus.

IMG_6435

Fill the Fillo Shells

IMG_6440 IMG_6443

Bake at 350 until golden brown – baking time will depend on the oven – mine took about half an hour

IMG_6449

I could not believe how flavorful these little turkey are! ENJOY!!!!

A chile cheese review:

Place one 12 oz., full fat goat yogurt into a towel, in a colander, over a bow, (so whey can drip out)

Add two tablespoons coarse sea salt and chitepin to taste.

Mix thoroughly.

Tie up cloth.

Untie 24 hours later.

Refrigerate after opening.

You can also let it sit in the fridge while you are letting it transform from yogurt to infused cheese.

IMG_6422

IMG_6423

IMG_6426 IMG_6431

Bountiful Basil

basil-trio_renees garden_1

Basil comes in over 150 varieties. Here is a trio grown in Renee’s Garden. Photo courtesy of Renee’s Garden Seeds.


by Jacqueline A. Soule, Ph.D.

Summertime is basil-time in the Old Pueblo. As the nights turn to their sultry summer phase, the sun provides light for hours on end, and the soil temperatures become toasty warm – in other words, we enter our tropical phase of the year – and basil is truly delighted. Originally native to India, basil is genetically a tropical plant, even though it is now grown around the globe wherever (and whenever) it is warm enough.

basil lemon mrs burns famous nss

Mrs. Burn’s Famous Lemon Basil is a lemony flavored basil that grows well indeed in our climate. Photo courtesy of Native Seeds/SEARCH.

Basil is a real taste treat. It can be used in Italian cooking (like the pesto recipe below), fresh, in green salads, and it even has a reputation as a medicinal herb.

basil-saladleaf_renees garden

Salad leaf basil features large leaves. Not as strongly flavored as other basils, it does taste great in salads. Photo courtesy of Renee’s Garden Seeds.

Basil does grow well in the Tucson area, but it isn’t the easiest herb to grow. It has some very specific preferences if it is to thrive. I will put growing tips up on my Gardening With Soule blog on June 4th. Why wait? Because the 4th of each month is national “You Can Grow That” Day.

basil_PA_08

I was in Philadelphia and spotted a bunch of basil growing in a raised bed. Ideally, you want to pinch the blooms off to encourage more leafy growth.

The National Institute of Health reports that Americans consume too much salt. Cooking with flavorful herbs like basil could help you reduce your salt use and stay heart healthy.  Here’s an easy to make pesto to get you started.

Basil Pesto

4 oz. fresh basil leaves (a generous double handful)
1/4 cup pine nuts
2 cloves garlic, peeled (double amount of onion may be substituted if garlic is an issue)
8 tablespoons olive oil
1/4 cup grated Romano cheese
1/4 cup grated Parmesan cheese

1. Rinse basil and pat dry.
2. Toast pine nuts in an ungreased skillet over medium heat until golden. Cool.
3. Place cooled pine nuts, basil, garlic and olive oil in a food processor or blender and puree until creamy.
4. Stir in the cheeses and serve over pasta or rice. Also excellent with quinnoa or toasted tofu. Vegans can omit the cheese or use shredded soy cheese.


JAS avatarAbout Jacqueline Soule

Jacqueline’s latest book “Fruit and Vegetable Gardening in the Southwest” (Cool Springs Press, 2014) is available at Tohono Chul Park and the Tucson Botanical Gardens. It is divided into warm season and cool season growing so you can easily select other plants to grow this summer.

All text and all photos (except where noted) are copyright © 2015 by Jacqueline A. Soule. All rights reserved. I receive many requests to reprint my work. My policy is that you may use a short excerpt but you must give proper credit to the author, and must include a link back to the original post on our site. Photos may not be used.

Harvest Time for I’itoi Onions

Big clump of iItoi onions. All this from just one little onion planted last October.

Big clump of  I’itoi onions. All this from just one little onion planted last October.

I had to put my vegetable garden to bed for the summer early this year since we were leaving for a month.  No use having the housesitter water for the weeks we were gone as the hot weather would overcome the vegetables about the time we got home anyhow. The plants were at the end of their season, but still pulling them up was almost as painful as putting down a beloved pet. I go through this mourning every year when one by one the winter crops reach the end of their production – first the peas, then the broccoli, then the last of the lettuce and spinach even in the shade. The kale was still so hearty I simply could not consign it to the compose bin. After freezing some for soup and making as many kale chips as we could handle, I dug up the plants and put them in a pot to transfer to a friend.

One chore involved pulling out the remaining I’itoi bunching (or multiplier) onions.  I’ve been using them all spring, but they are very prolific. One little onion that looks like this produced the bunch in my hands at the top of the page:

Lovely little iItoi onion with penny for size comparison.

Lovely little I’itoi onion with penny for size comparison.

I’itoi onions were brought to the Southwest in the 17th century by Spanish missionaries, but have become such a part of the Tohono O’odham biology that they are called by the name of their creation diety, Elder Brother, or I’itoi.  These little gems were beginning to die out when they were brought to Native Seeds SEARCH by a Tohono O’odham woman.  They are one of the plants in the Slow Food Ark of Taste. 

I’itoi onions (Allium cepa var. aggregatum) are easy to grow — in the fall, just plant each bulb about an inch below the surface and at least eight inches apart.  They will send up chive-like greens first that can be used until you decide they have multiplied enough and pull them up for use.  When you harvest the last clump in the summer,  put aside a dozen or so bulbs in a paper bag and set aside on a cool shelf to await fall.  (I find it amusing that the onions “know” when to start again — if I don’t get around to putting them back in the ground until later in September, I sometimes find that they have begun to sprout in anticipation.)

To prepare onions for cooking, first separate and clean off the dirt,  then peel.

Like most onions, these contain potassium, vitamin C, folic acid and vitamin B6. Onions contain substantially the same amount of vitamins and minerals when cooked.  I’itoi onions can be substituted for onions or shallots.  You can find them at farmers’ markets and from Crooked Sky Farms in Prescott and the Phoenix area and from Native Seeds SEARCH. Both of these places will ship to you as well.

A healthy row of iItoi onions.

A healthy row of iItoi onions.

You’ll have a ratio of green tops to bulb of about 10:1 so you’ll have to find a use for all the green onion tops.   When you’ve used all you can fresh, freeze them to add to soup stock later. You can also make delicious Chinese Onion Pancakes.

Savory pancakes using onion tops.

Savory pancakes using onion tops. (Photo from Serious Eats)

It’s easy, but rather than recount the recipe here, go to this link. These are the best directions I’ve found for making this delicacy and the author also gives a wonderful tutorial on the difference between adding cold and hot water to flour.

If you’d like a recipe to show off your onion harvest, this one is easy and delicious.

I'itoi onions cooking for Sweet and Sour sauce.

I’itoi onions cooking for Sweet and Sour sauce.

 Sweet and Sour I’itoi Onions

Here’s my recipe for sweet and sour I’itoi onions.  You can use red wine and red wine vinegar or white wine and white wine vinegar. Makes a great topping for grilled fish or chicken or mix it into steamed vegetables to add flavor.

1 cup cleaned and sliced I’itoi onions

1/2 cup water

2 tablespoons wine vinegar

2 tablespoons wine

1 tablespoon olive oil

1 teaspoon sugar or agave syrup

1/2 cup water (again)

In a large heavy frying pan, cook sliced I’itoi onions and water covered over very low heat for 10 minutes until soft.  Add wine, wine vinegar, olive oil and sugar or agave syrup.  Cook over very low heat for another 10 minutes.

My blog sister Jacqueline Soule wrote a column about I’itoi onions for the Explorer and finished with a recipe for I’itoi onion and goat cheese scones. You can see it here

**************************

If you are interested in wild and heritage foods of the Southwest, check out my cookbooks Cooking the Wild Southwest, Delicious Recipes for Desert Plants,   and the Prickly Pear Cookbook.  The books are also available through Native Seeds/SEARCH. For inspiration and directions on what wild plants are available in what season, watch a short video here.