Linda here celebrating a springlike day here in the Old Pueblo. I am sitting near an open window as I write; warm springtime air feels great on my skin – the sounds of birdsongs flood me with Spring Fever.
It is the Year of the Fire Rooster in Chinese Astrology. Roosters have many characteristics; they strut about; they are prone to power struggles; they are excellent sentinels. And they crow. They actually crow throughout the day (and sometimes night) and for different reasons, but their signature trait is their morning crow. I am going to take artistic license here and say that Fire Rooster 2017 is crowing: “Time to Wake Up”.
Wake up? To what? Ah, well I could get political … what with all the “waking up” going on, and not going on, in the US right now. For our purposes here, however, let’ Wake Up to the fact that we are all “eaters. Let’s “get” that as Eaters we both influence and are influenced by our food Systems/Sources.
As a country and increasingly as a globe, we eat standardized, high yield hybrid crops for a variety of reasons. The cultivation of just a handful of crops is a subject that impacts our lives on a multiple of level – and for more in depth reading I HIGHLY recommend Michael Pollan’s intelligent research and writings as well as investigative journalist Simran Sethi’s Bread Wine Chocolate: The Slow Loss of Foods We Love.
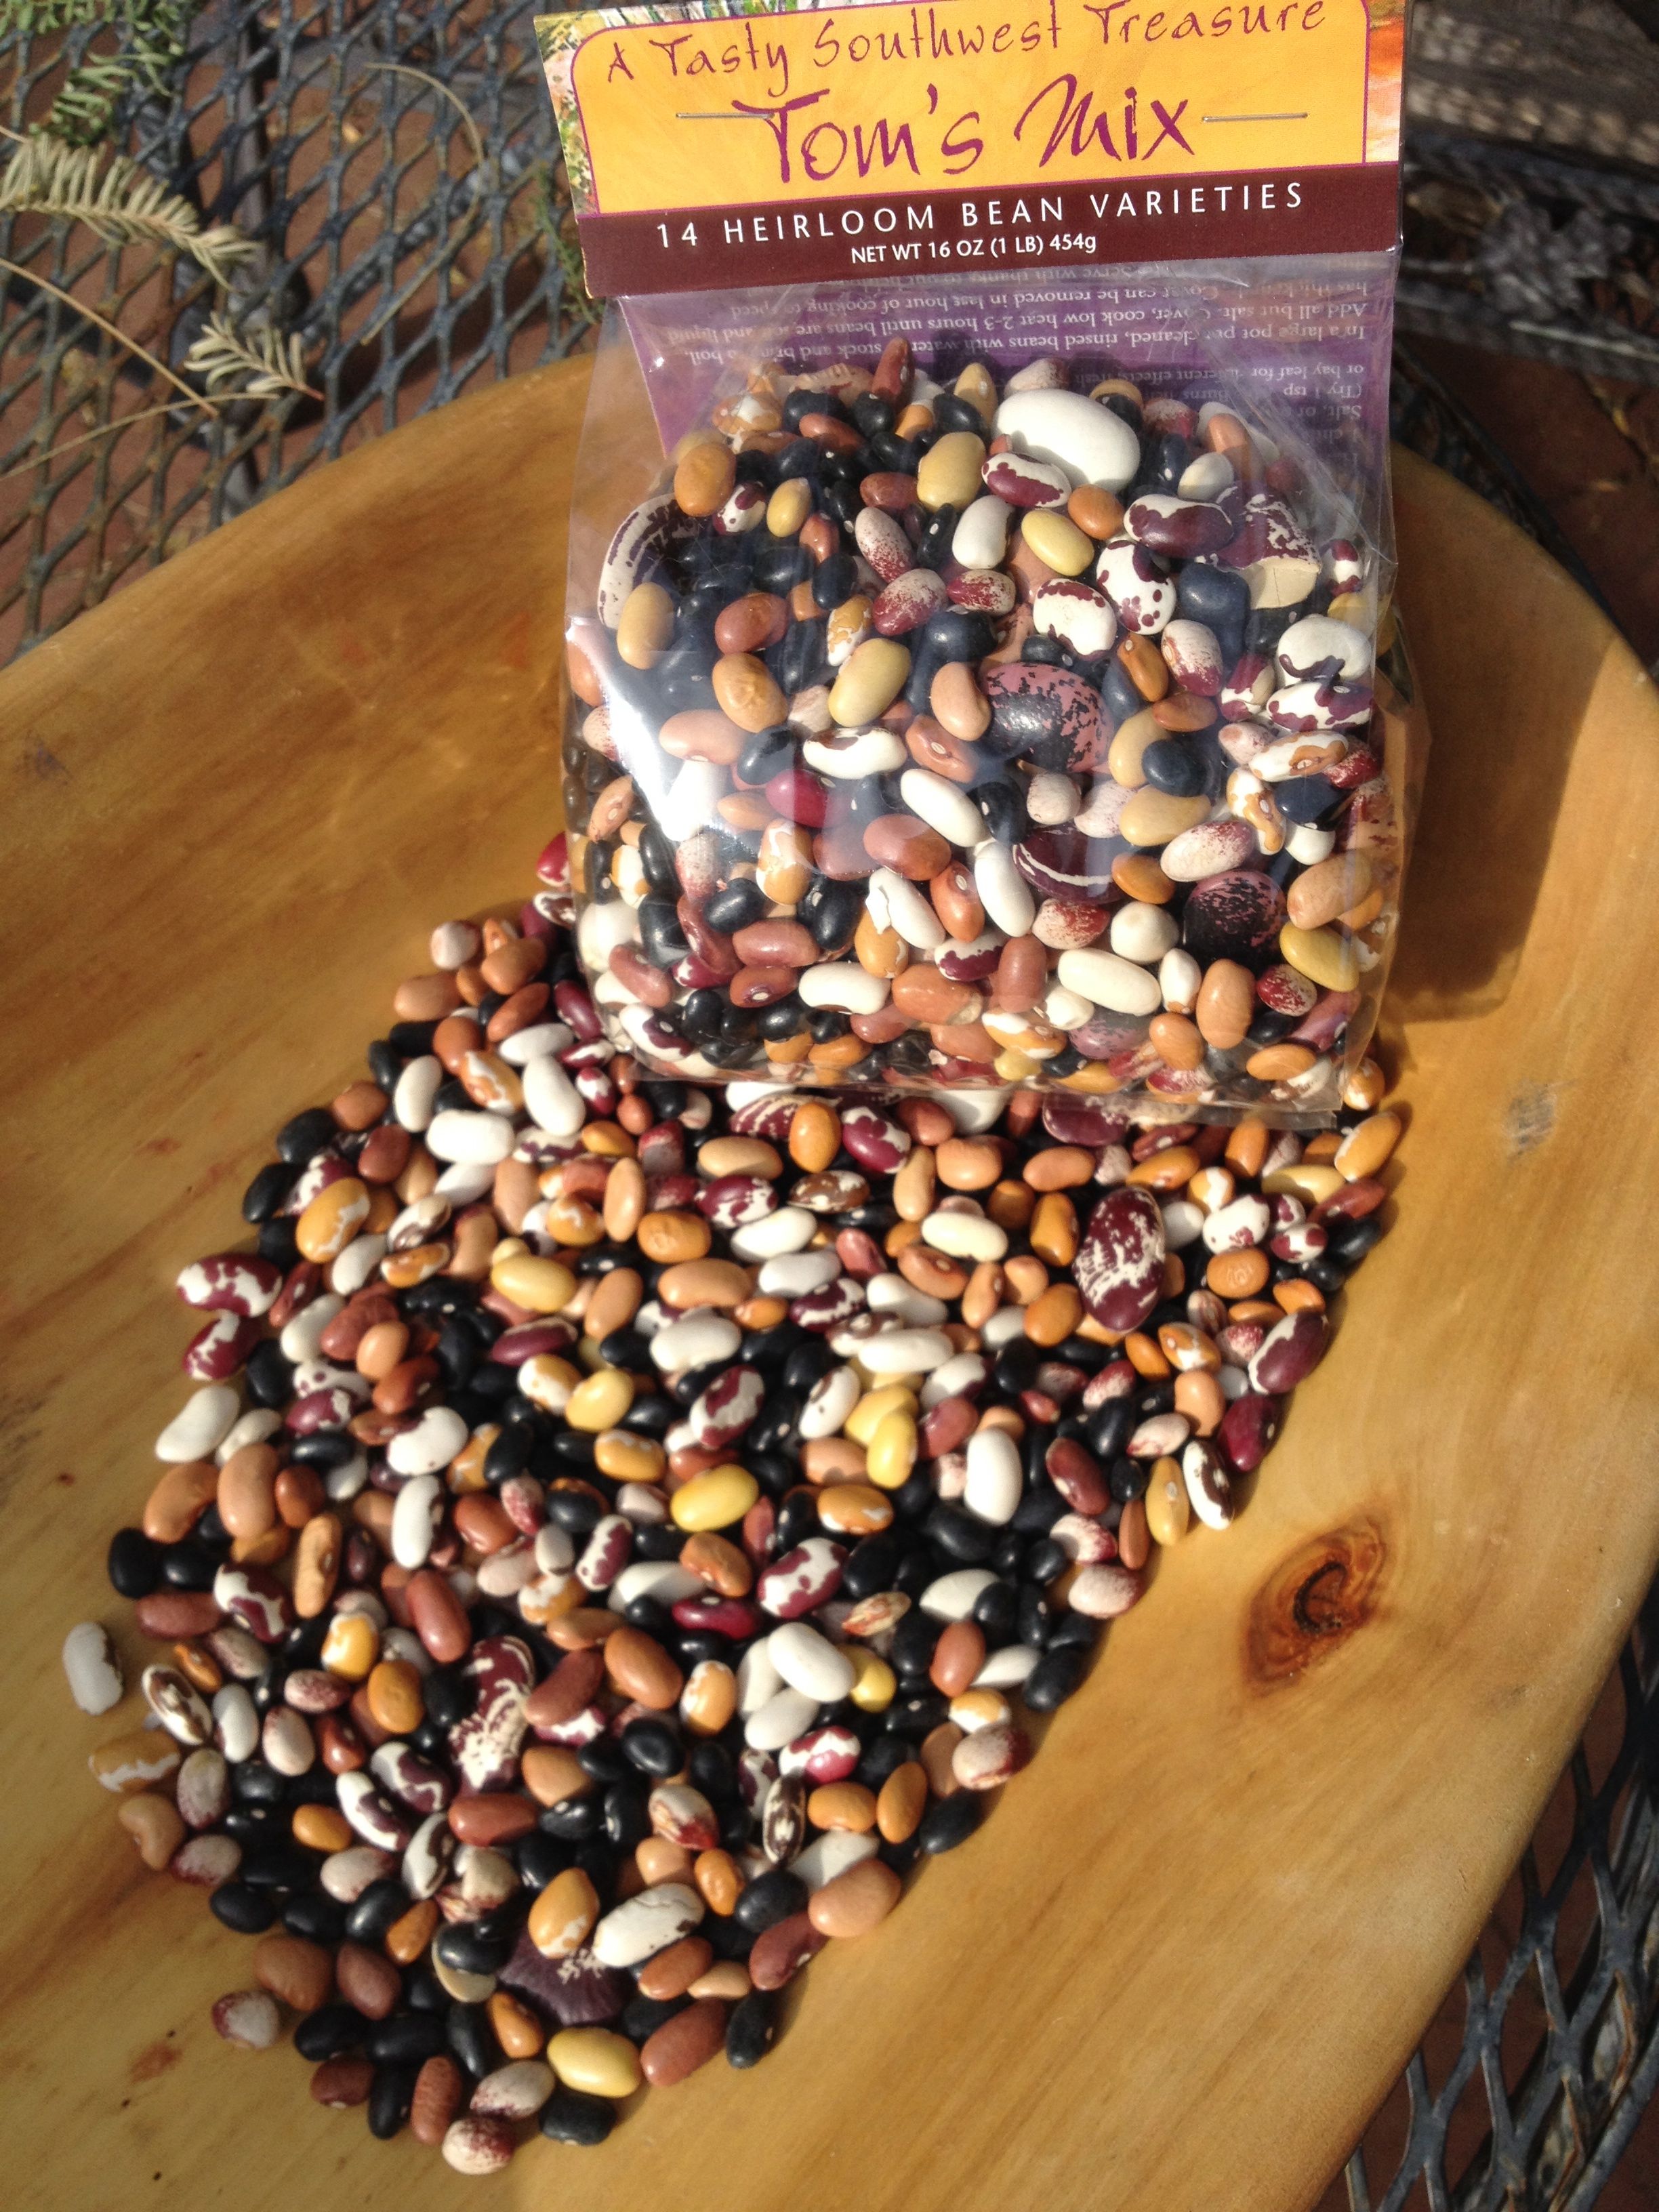
Today, lets adventure into a cross border food to highlight how fun food diversity is. Remember Biology 101: we learned that biodiversity is the crucial strategy nature uses to ensure survival – whether it be plant, insect, animal, or human-animal. Biodiversity also happens to taste good on the tongue and might as good for the planet as it is for your health. (And may even be good for your pocketbook)
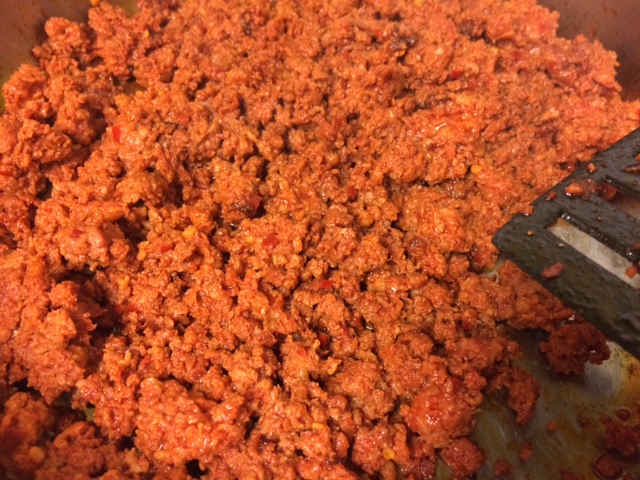
Chorizo is really sausage. It is a hearty, spice-filled food that is easy to make and versatile. Traditionally it was made with pork, but can be made with ground turkey, wild game, even tofu. You can vary the spices to your liking.

We made this chorizo with Javelina meat just the other day.
Today we will explore two chorizo recipes from the same region in Sonora, Mexico.
Liby’s Y Carlos’s Chorizo Receta
Liby was born in 1910 and was a fantastic “cocinera” (cook) all her life. Her son Carlos learned her recipes and relayed her Chorizo Receta to me just today. Liby made it with ground pork. He has made it both pork, and also with ground turkey. I am going to start with this recipe as it is more user friendly for the modern Eater; the meats are readily available in stores and can be obtained already ground.
A few notes from Carlos:
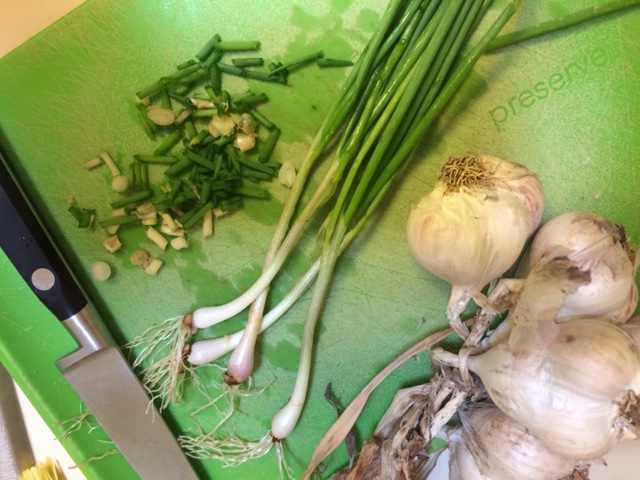
- Except for the garlic, which should be mashed (if you are not grinding the meat yourself) all the other spices should be dried; in chorizo the dried spices make it more flavorful. Carlos uses the flat side of a knife to really mash the garlic cloves until they are “almost pasty”. Then add it to the ground meat; “you really cannot add enough garlic”.
- Add the spices one at a time to the ground meat. (versus mixing all the spices together and then adding them to the meat)
- If you are using Turkey you might want to add more spices than the recipe amounts below to make sure it has a strong enough flavor.
- Finding a good quality chile powder is fundamental to making great tasting chorizo. Ideally, he said, the red chile powder is made from chile from the red chile ristras (wreaths) here in the southwest. If that is not an option, look for the best quality of red chile powder you can find. “Quality chile is “Precious”!
- Do not be afraid to make the chorizo a few times to really perfect it to YOUR liking.
INGREDIENTS:
2-3 lbs of ground pork or turkey
20 garlic cloves – (mashed) “Garlic makes it
2 Tablespoons white vinegar
one handful of dried mint
one handful of “cilantro de bole” (coriander seed) Crush it in a blender or molcajete
Salt and Pepper to taste
At least one handful of Red chile powder – added at the end- it will add a fantastic flavor as well as add a beautiful red color to the chorizo
Mix in each ingredient one at a time and then let it sit in the fridge over night.
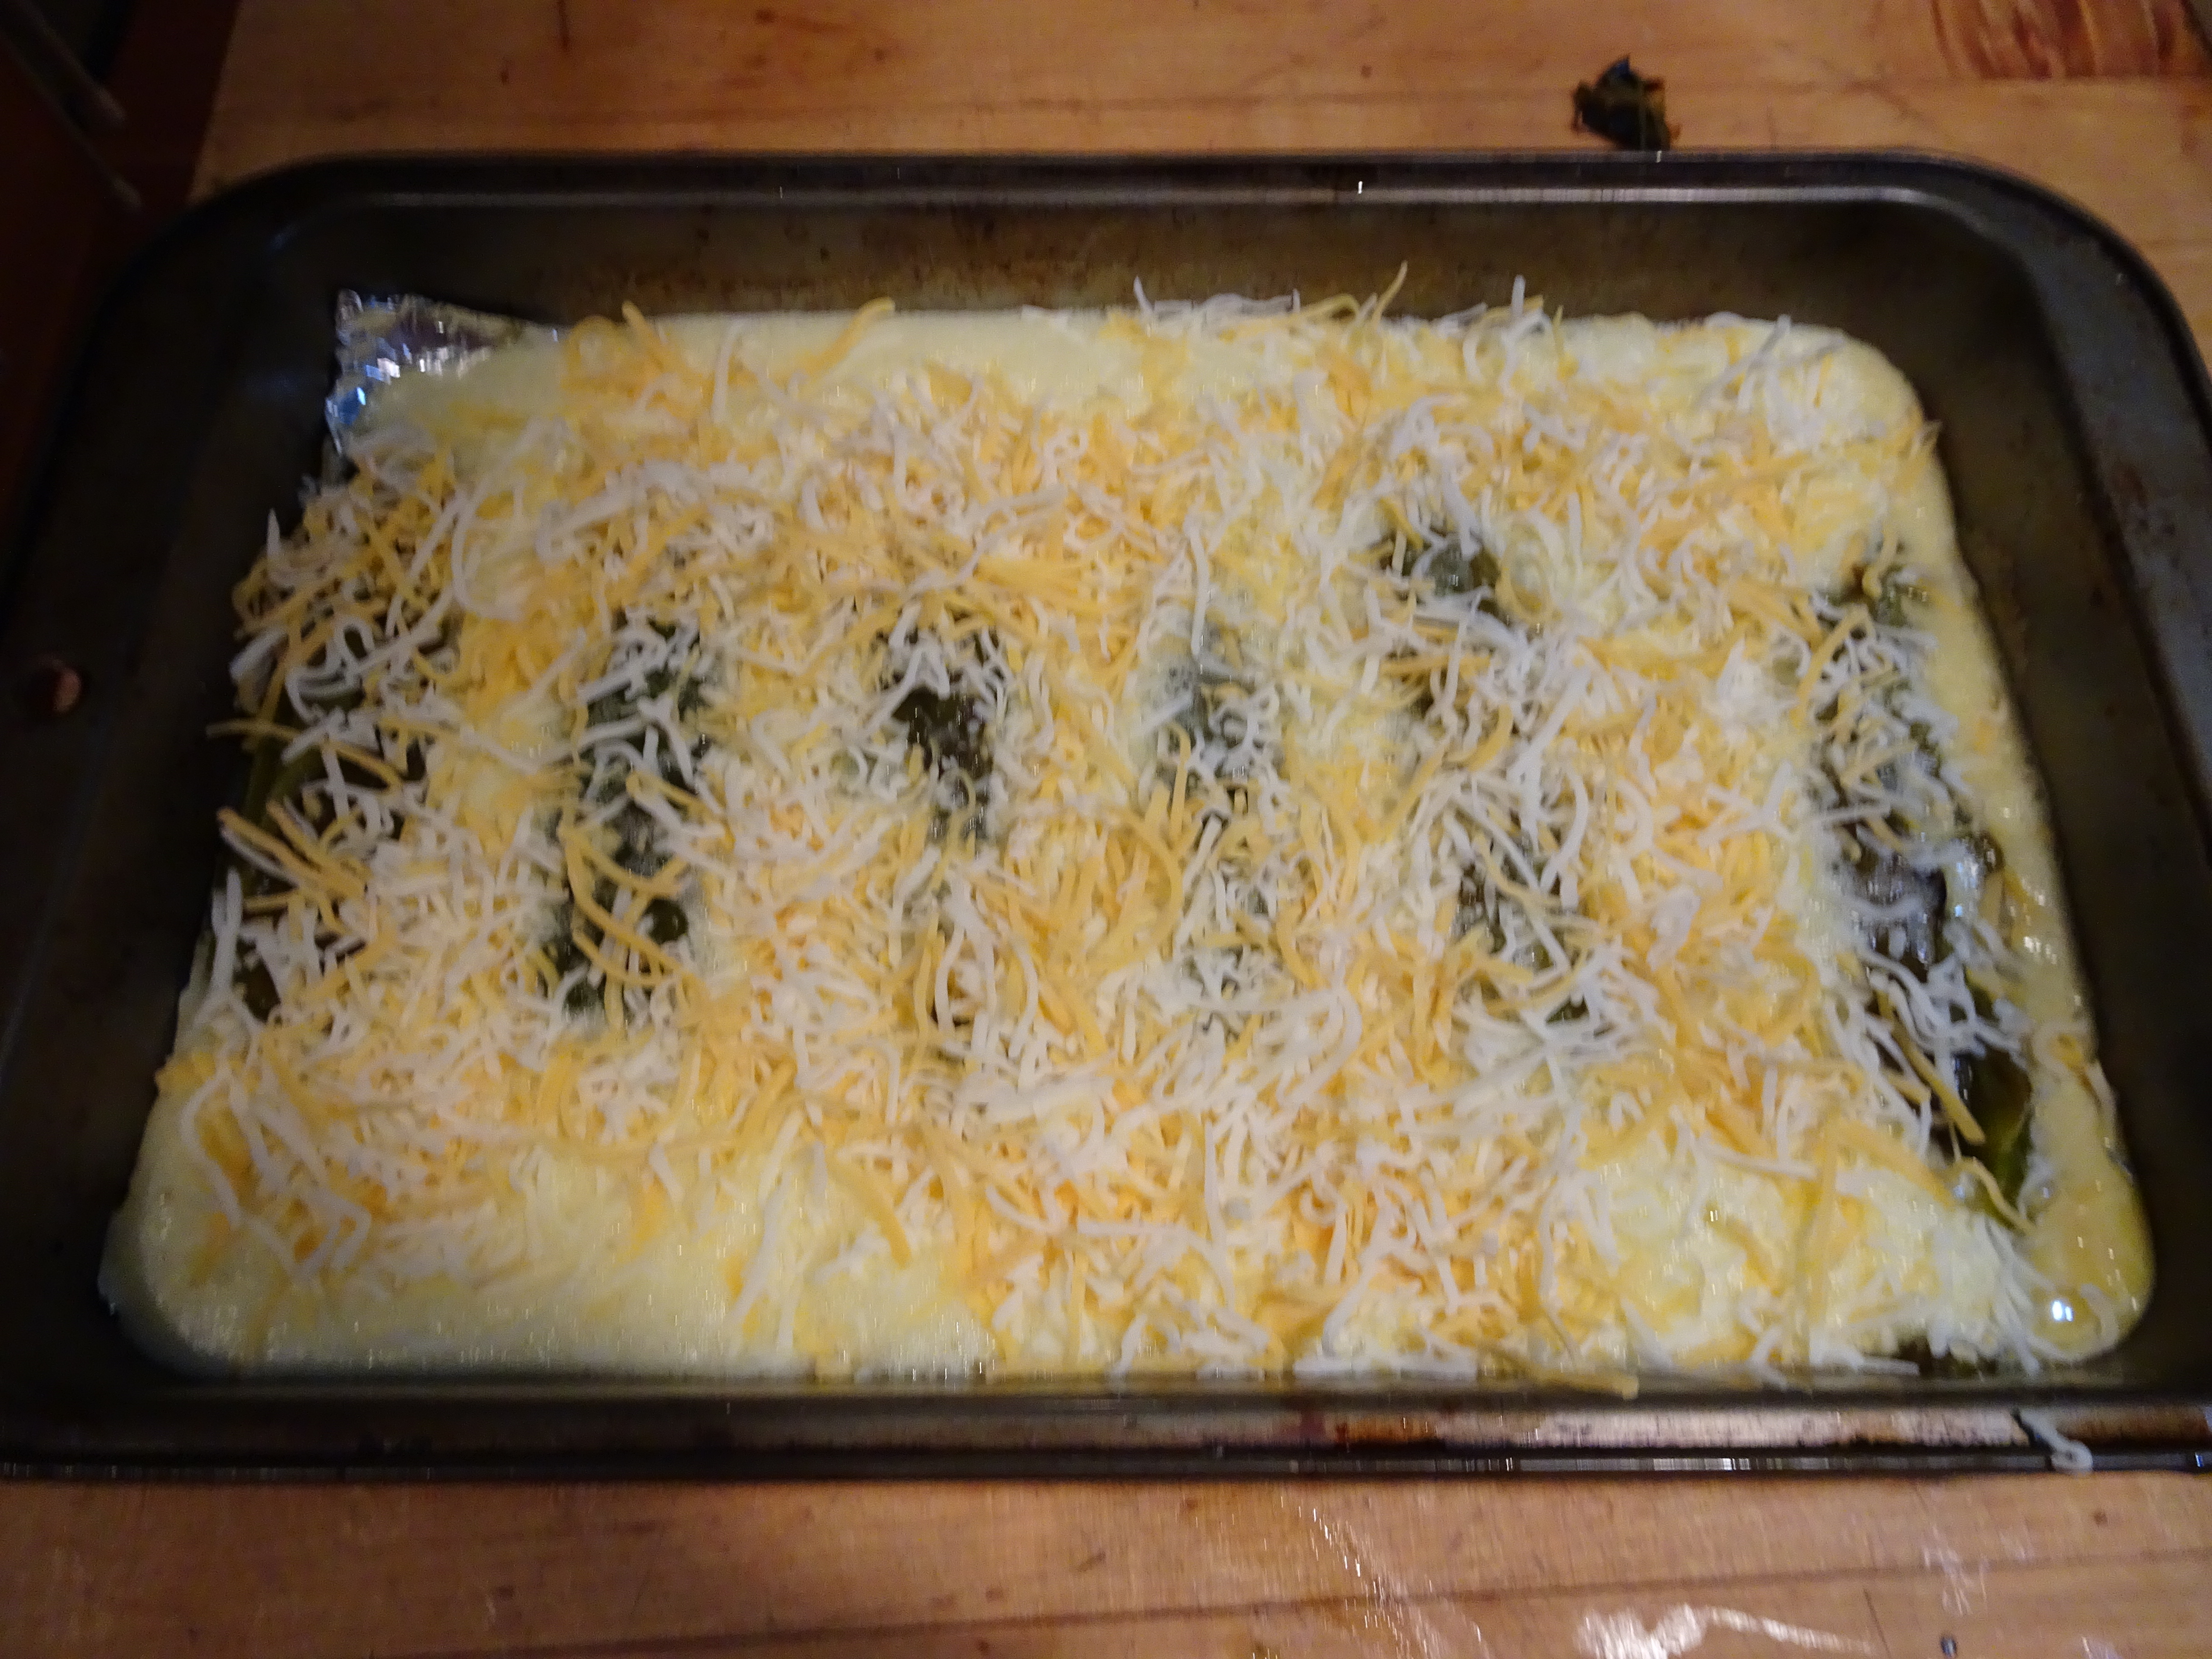
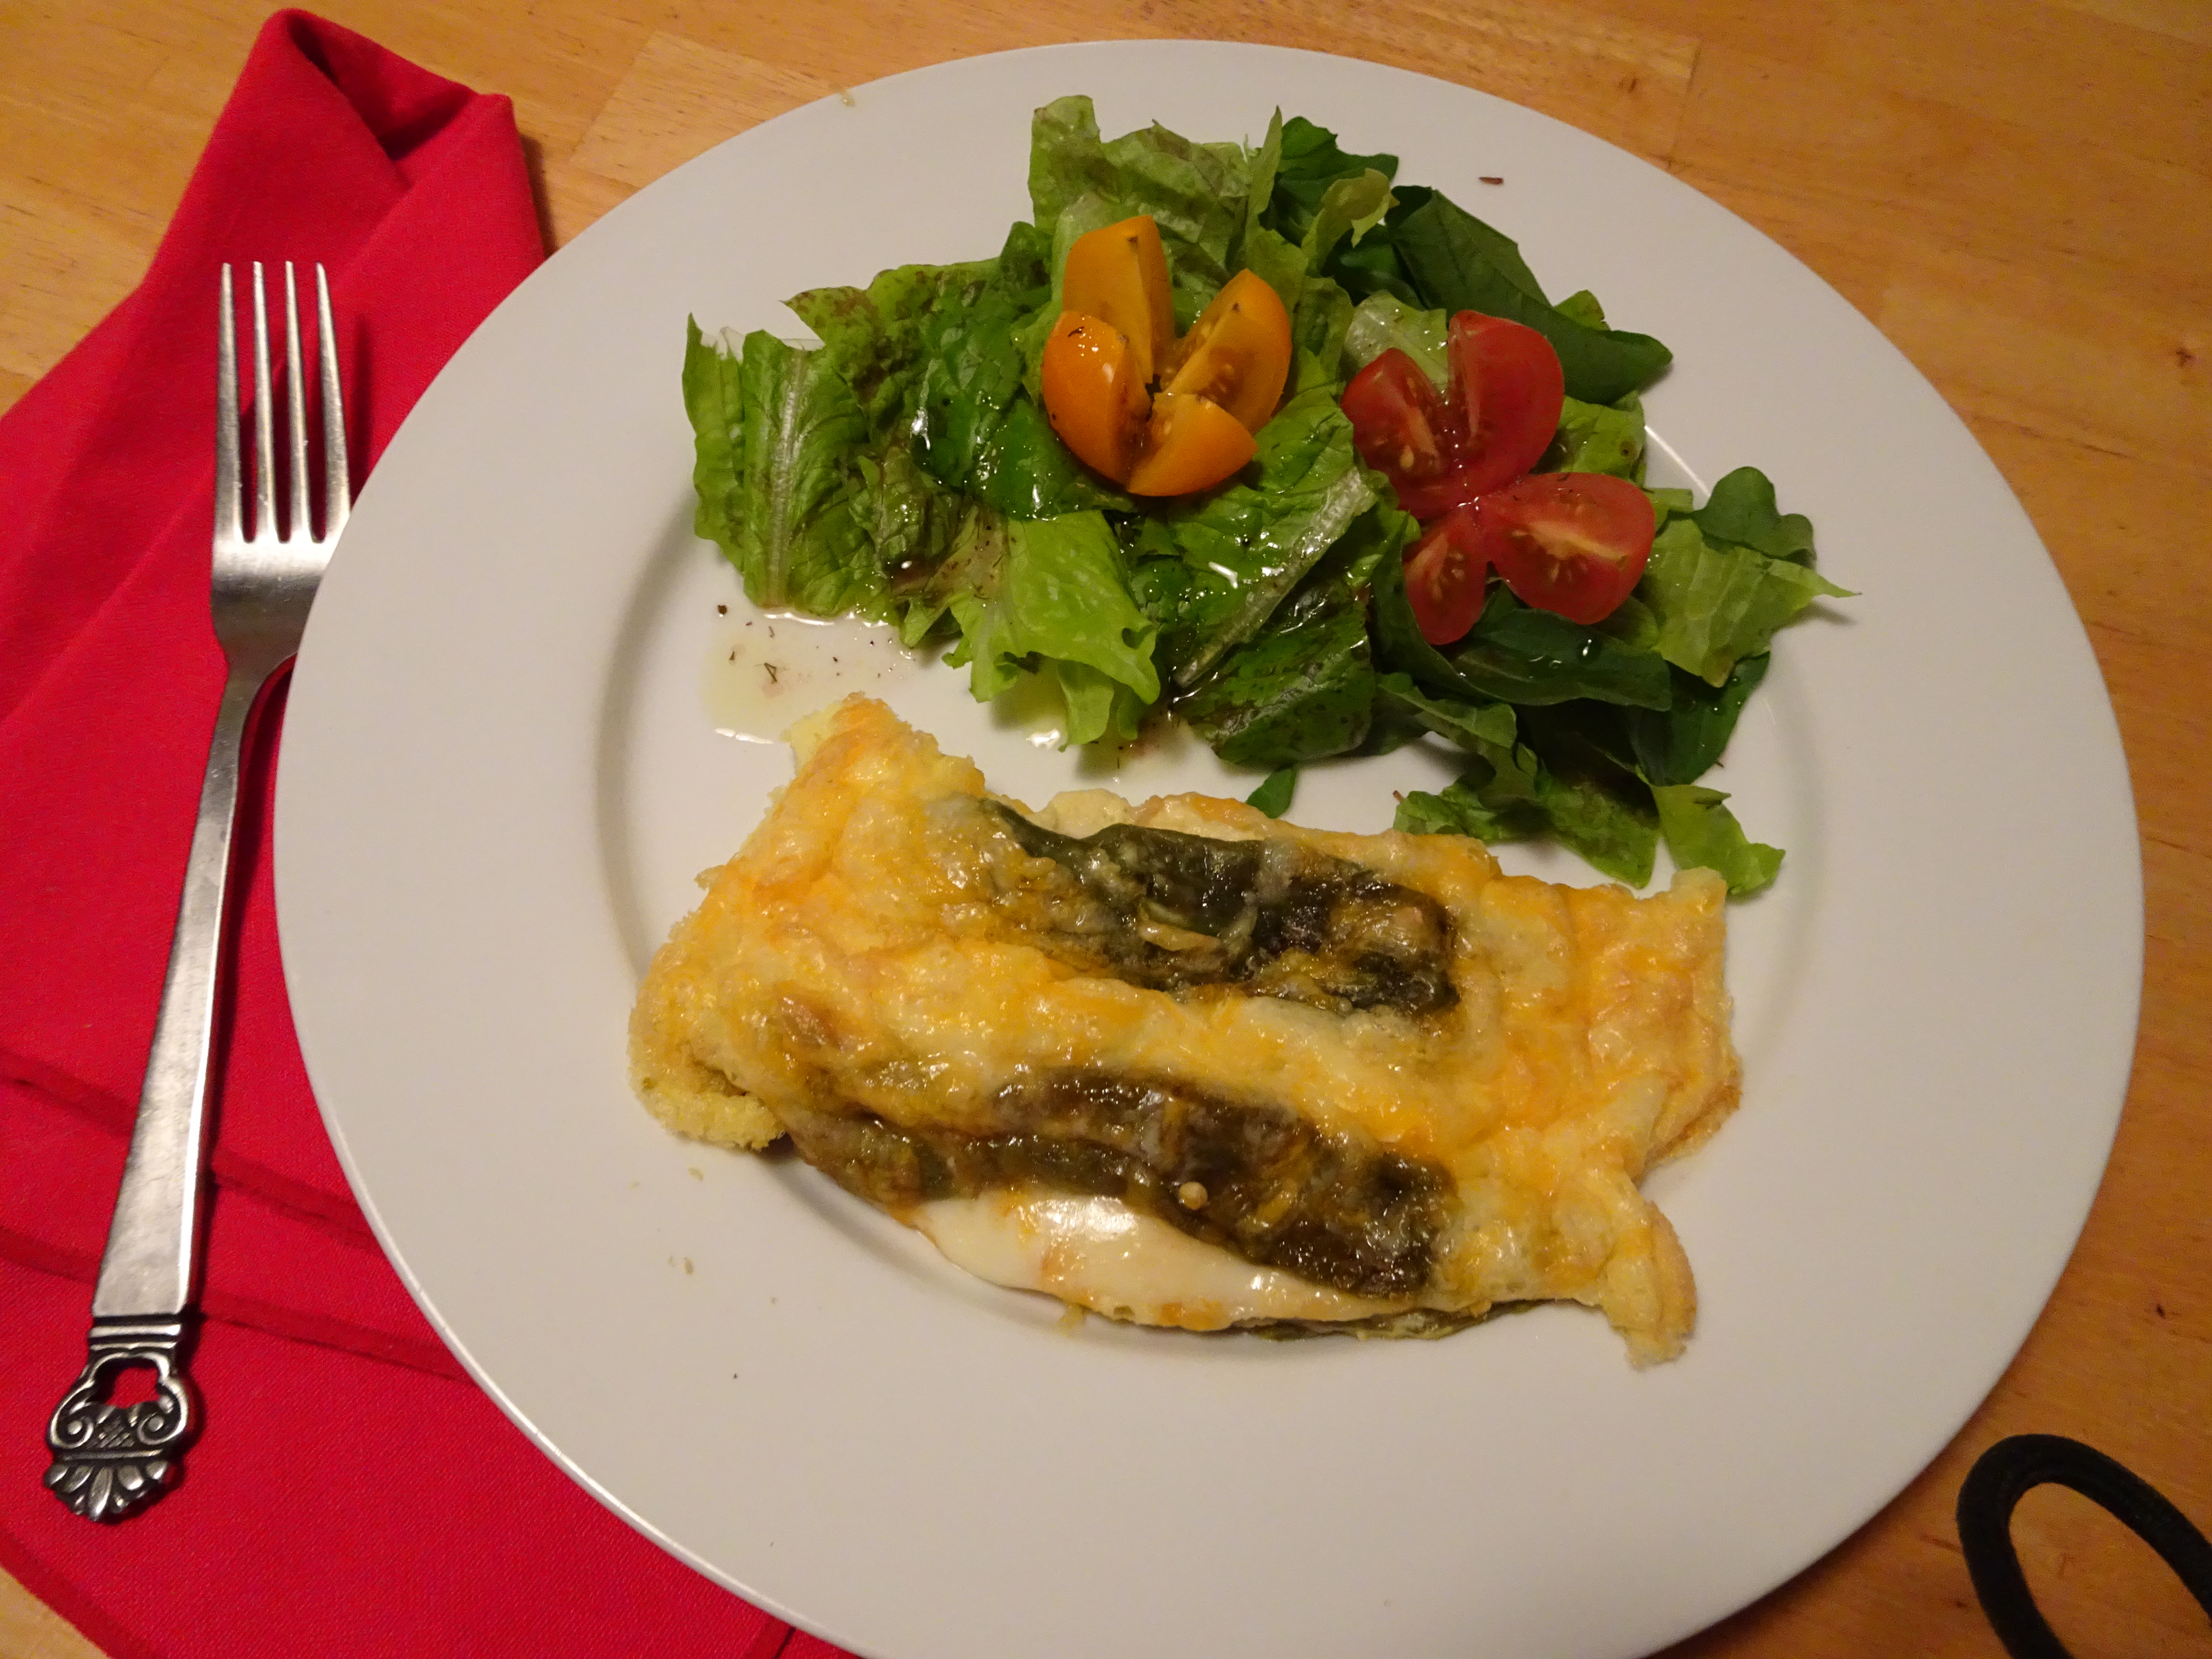
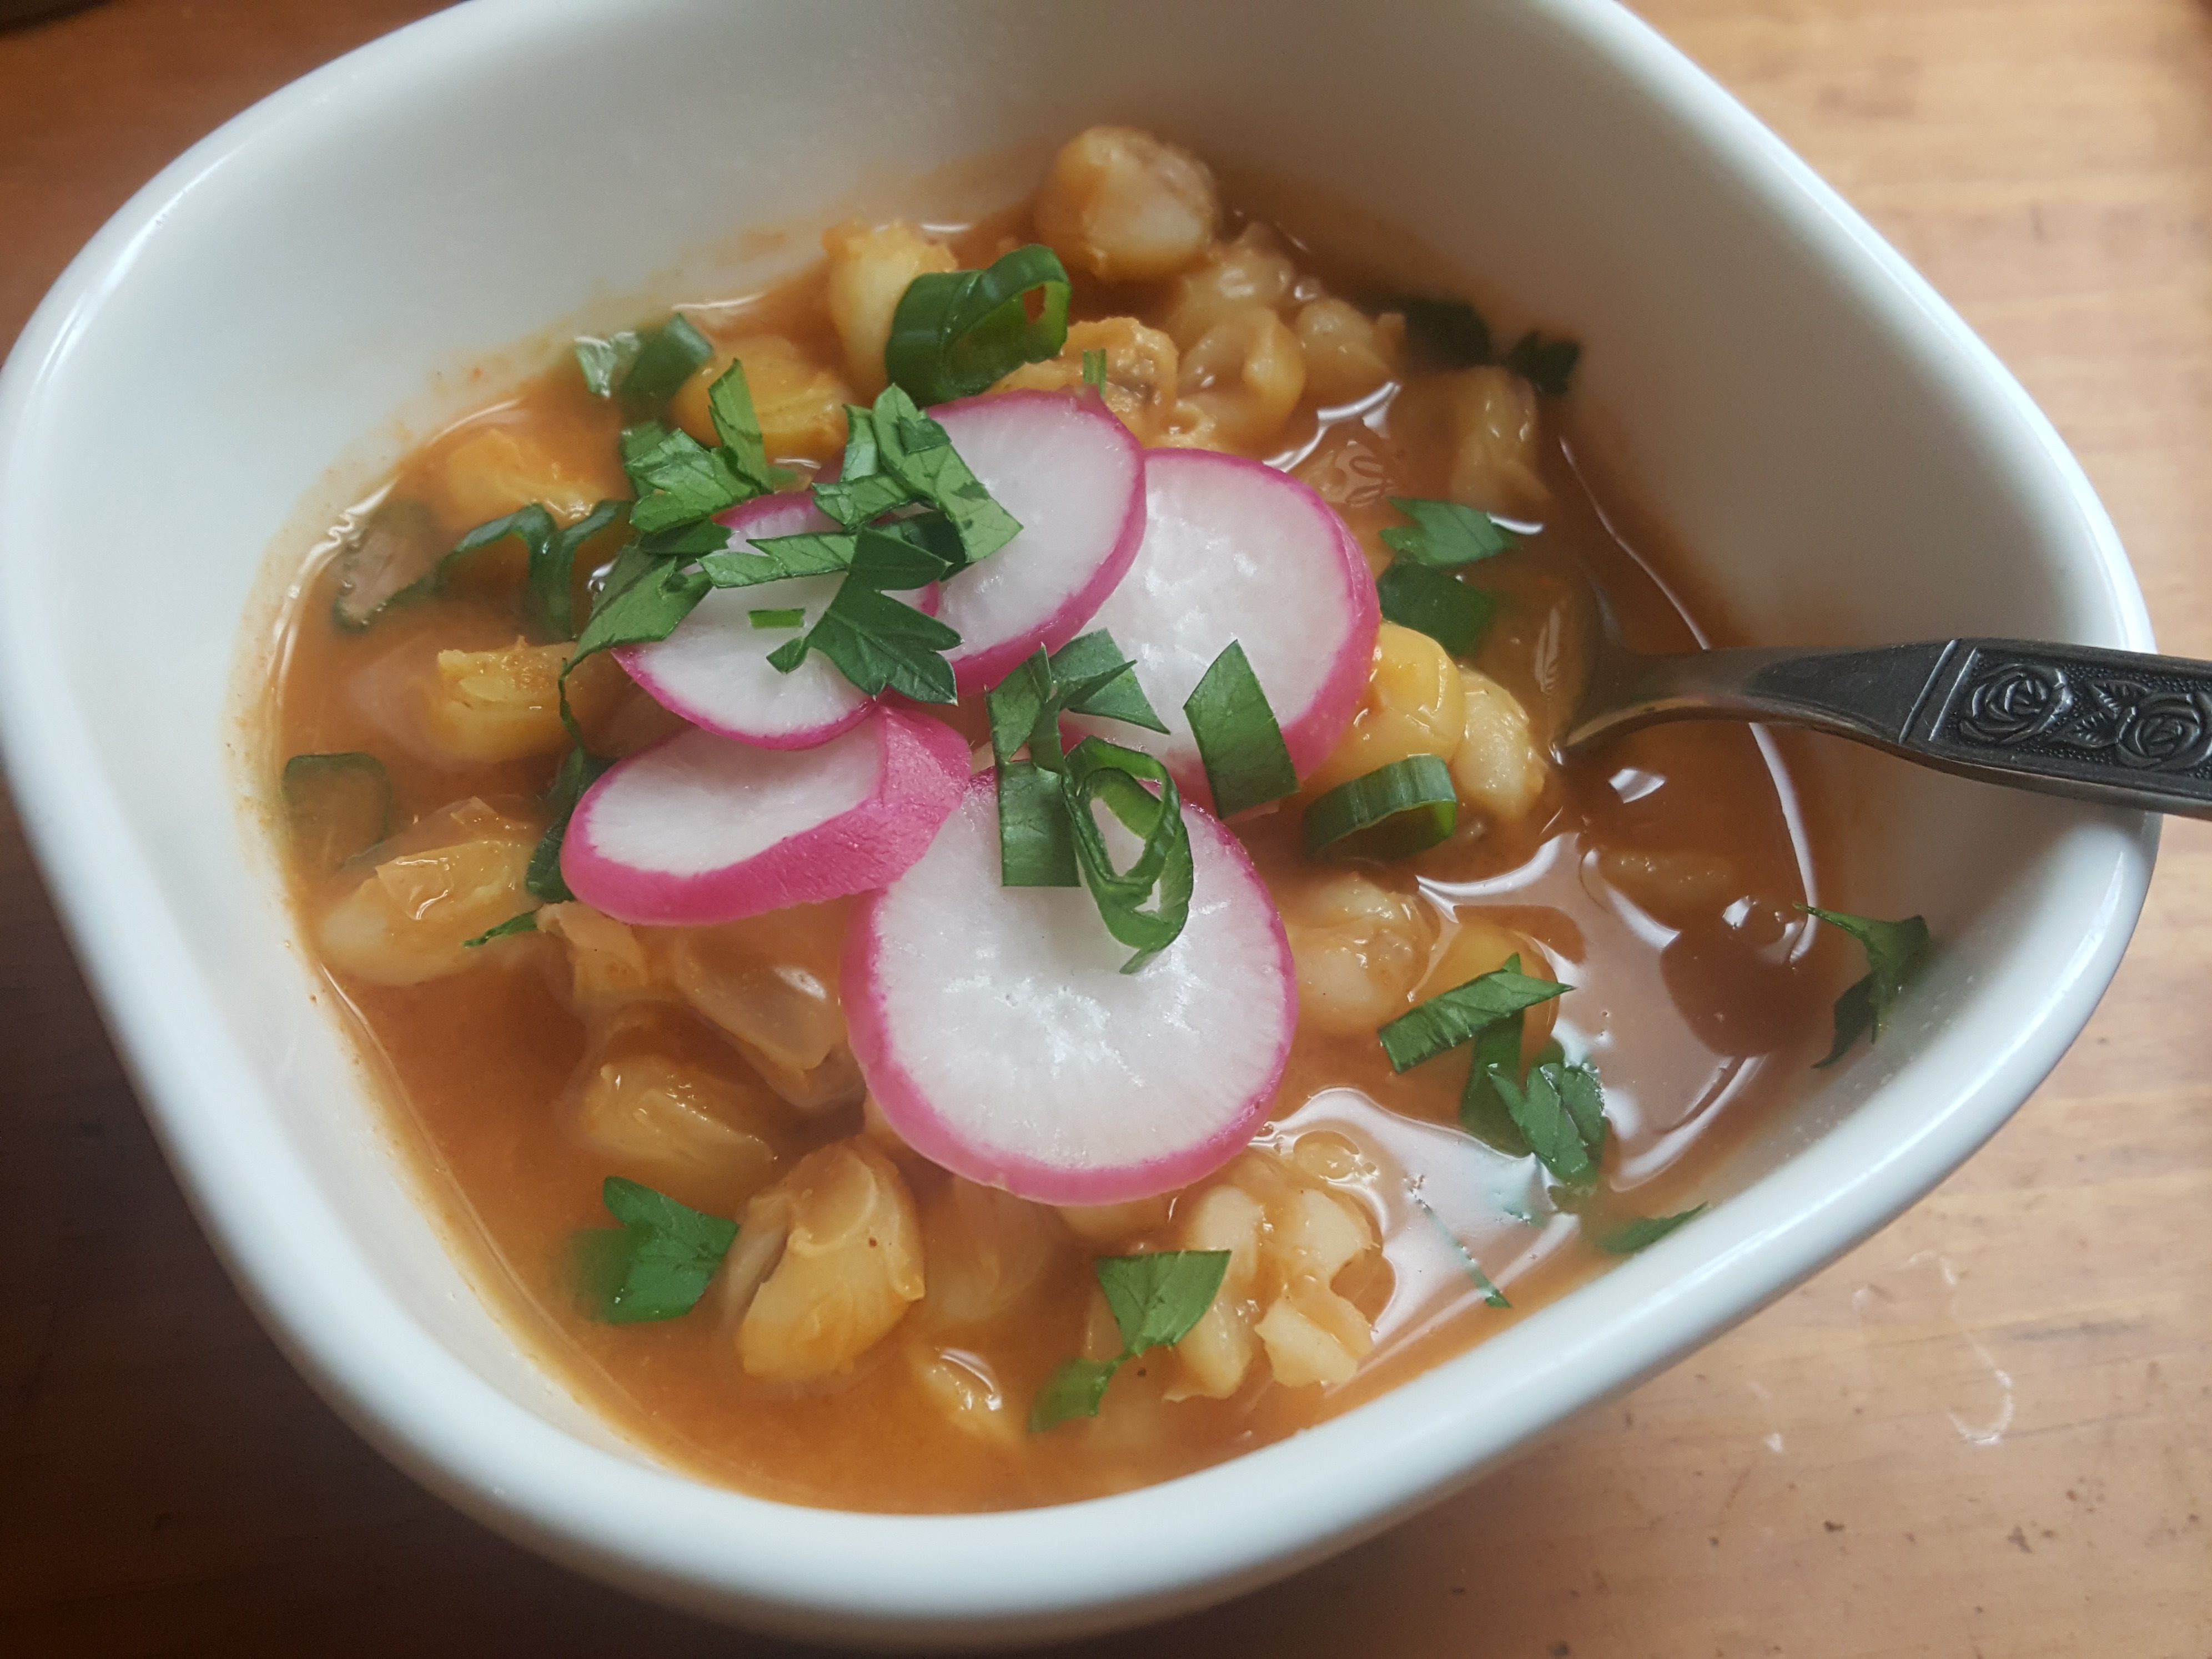
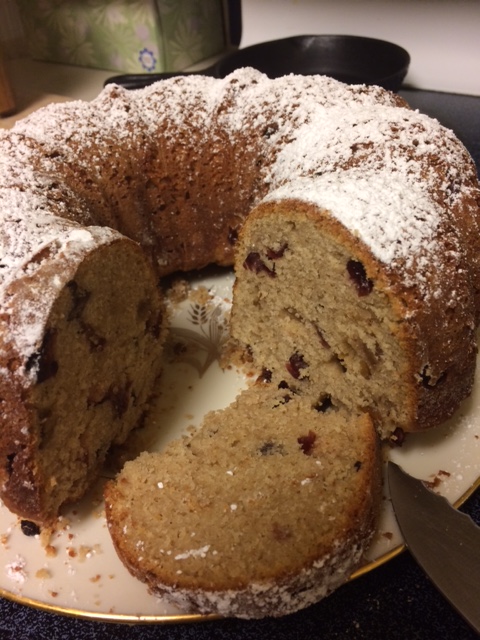
Chorizo is great with eggs, potatoes, beans – and for the more urban or modern pallet put on top of pizzas, in quiches …. use your imagination!
Gracias Carlos!!! Y Gracias a Liby tambien!
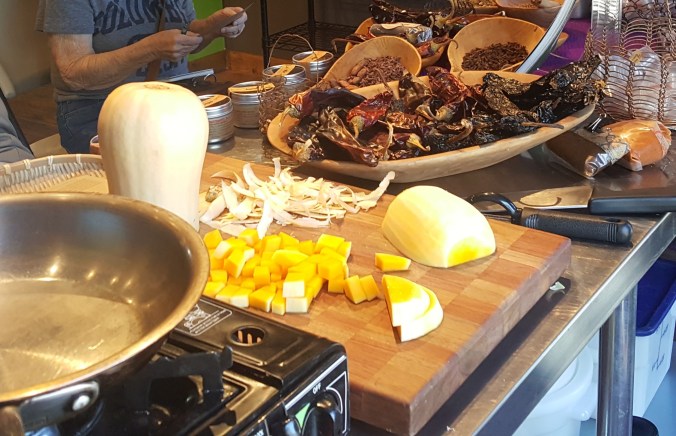
Chorizo de Rancho: Chorizo de Javelina
The recipe below is made essentially the same way – except that the Javelina meat was from the Campo (countryside) and we ground it ourselves. We used a hand grinder and added the garlic directly to the meat. No mint nor vinegar was used, but dried Mexican oregano and cilanto (crushed) were used.
Our ancestors were not squeamish. They new intimately where their food came from. Food was not taken for granted, and large amounts energy went into thinking about food and survival. They were actively engaged in hunting, foraging, planting, harvesting, preparing, and storing food. They knew exactly where their food came from as they were not just Eaters, but food producers (or finders/foragers). You do not need to hunt your food or ingredients (although if you so I highly recommend Jesse Griffiths book Afield: A Chef’s Guide to Preparing and Cooking Wild Game and Fish.

Add the meat little by little to the molino and grind.

add the garlic one clove at a time and grind

this gives you an idea of the texture

once ground, add the handfuls of dried herbs: this is Mexican Oregano

we grew this cilantro, which when it goes to seed is Coriander (Cilantro de Bola)

the light is poor in the photo – but red chile was added here.
More ideas: Rooster Chorizo.
Backyard chicken keepers and poultry farmers alike know that in a typical batch of chicks will yield 50% males and 50% females – give or take. If you have too many roosters in one area and you will quickly find power struggles as well as a lot of crowing, so city ordinances do not allow them in most city limits. (Barking dogs are more socially acceptable). So “what to do” with roosters is a something backyard chicken keepers, who live in the city limits, have to deal with. I can’t tell you how many calls I have gotten from new chicken keepers about What to Do with their roosters. My answer: there is no Right Answer. You can find them new homes, you can respectfully eat them. I don’t espouse one way over another way. I have done both and for differing reasons, as the years have progressed. If you decide to cull your birds, do it respectfully and skillfully (find someone to teach you if you don’t know) and consider making Rooster Chorizo – with the recipes above as your springboard.
A Few More Regional Foods:

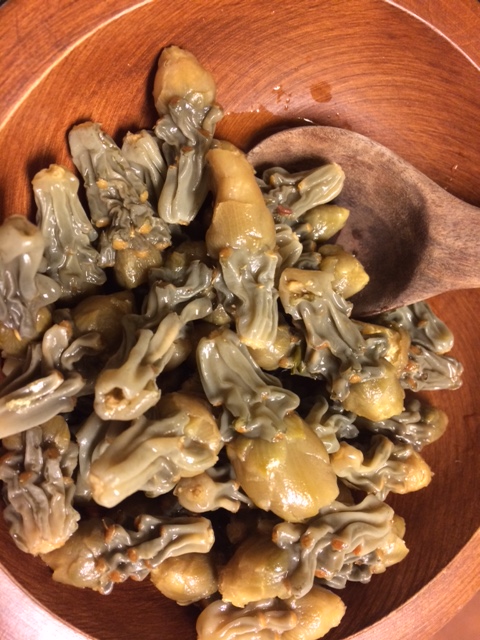
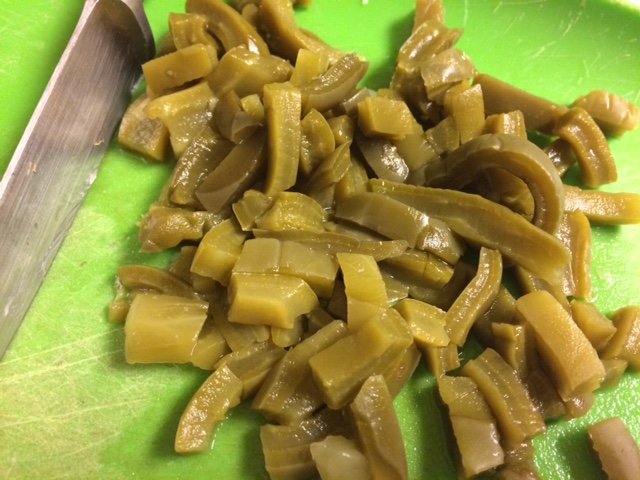
Fresh caught fish and “mountain oysters” being prepared for lunch

Another version of ‘mountain oysters” cooked with lots of garlic.
Above I mentioned that eating in diverse ways may be good for your pocket book – it takes time and skill to catch the Fish or Javelina in the photos above (or to “gather” the mountain oysters!) but not much money. It is also empowering to provide for oneself.
This idea of Waking Up to our food sources requires some real courage and honesty. Often because we have a lot tied up in food-lifestyle ideologies and identities. I know that my food choices have changes and evolved as I have lived and learned. I try to read and study broadly on the subject – and I fully expect some more editing in my choices as I Wake Up.