Yikes–look what has happened all around us!

Verdulagas — purslane — exploding in the garden. (photo by ChadBorseth, NativeSeedsSEARCH store mgr.)
With our recent record-breaking rainfall in Baja Arizona, weeds continue to go rampant. Now, what to do with them? Tah-dah–Eat them before they eat up all your garden space!
Tia Marta here—admitting I actually don’t believe in weeds at all—Weeds are gifts to be used, relished gastronomically and nutritionally, admired as amazing strategists,… appreciated! Weeds are much-maligned plants with a different way of surviving than our regular “garden variety” plant. They know genetically how to hustle to “make hay while the sun shines.” So if you need to deal with a bounty of weeds coming on like gang-busters in your garden or nearby in the desert, I’d like to share some fun ways to consume and internalize them. If we are what we eat, perhaps their “energies” may be a form of speed on some ethereal plane.

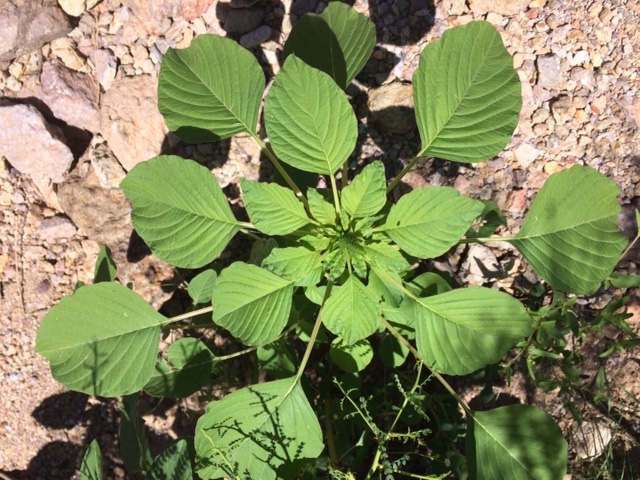
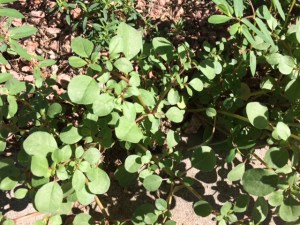
Fresh young quelites (Amaranthus palmeri), aka pigweed and carelessweed, popping up with summer rains–ready to pick! (MABurgess photo)
Quelite, weed of many names– careless weed, pigweed, Amaranthus palmeri, known as “rain spinach” or Juhukia i:wagi to the Tohono O’odham–is popping up in great green swaths wherever rainwater has pooled. It grows faster than one can imagine. The scourge of cotton farmers, it is, on the flip side, a positive boon to traditional harvesters—Native, Hispanic, African or Asian. As climate change digs its teeth into desert environments, our native Amaranth “weed” holds great potential as a rapid-responder “dry-land” crop for the future.
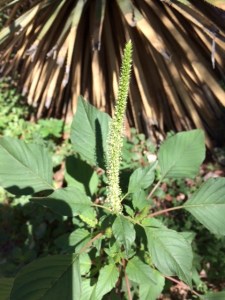
When flower stalks of Amaranthus palmeri emerge, leaves toughen. Be sure to harvest only the tender leaves. (MABurgess photo)
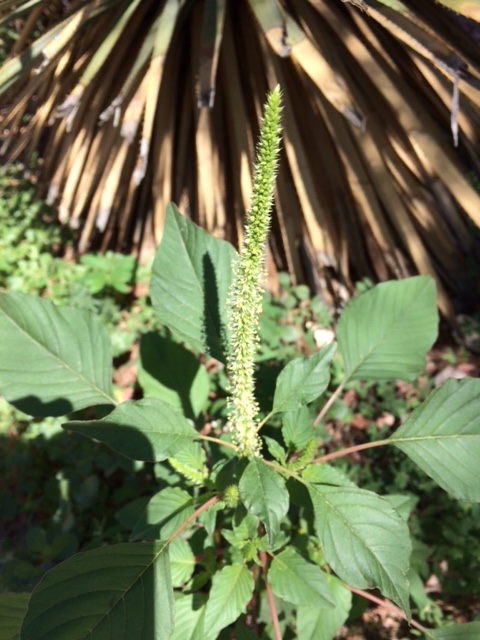
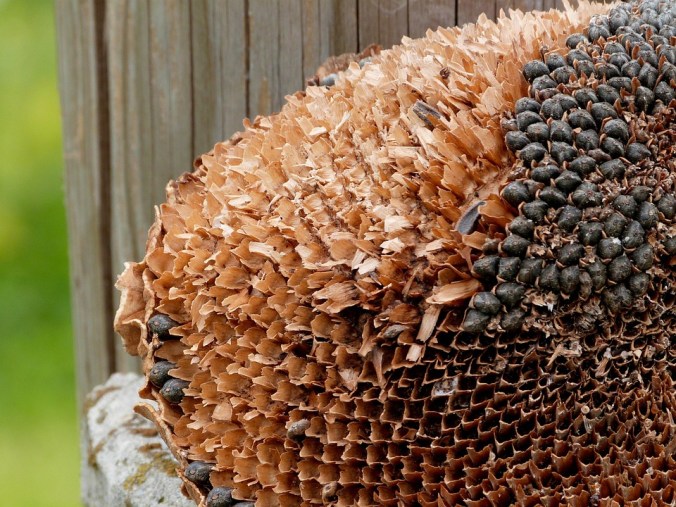
Mature, drying Amaranthus palmeri image taken at Mission Garden. The seedhead is spiny but contains nutritious seeds! (MABurgess photo)
The nutrition of Amaranth, our rain spinach, is way up at the top of the chart. Consider that 100g of young shoots provides 42 calories packed with 3-4 grams of protein, 3mg iron, and 4-11 mg of available calcium.
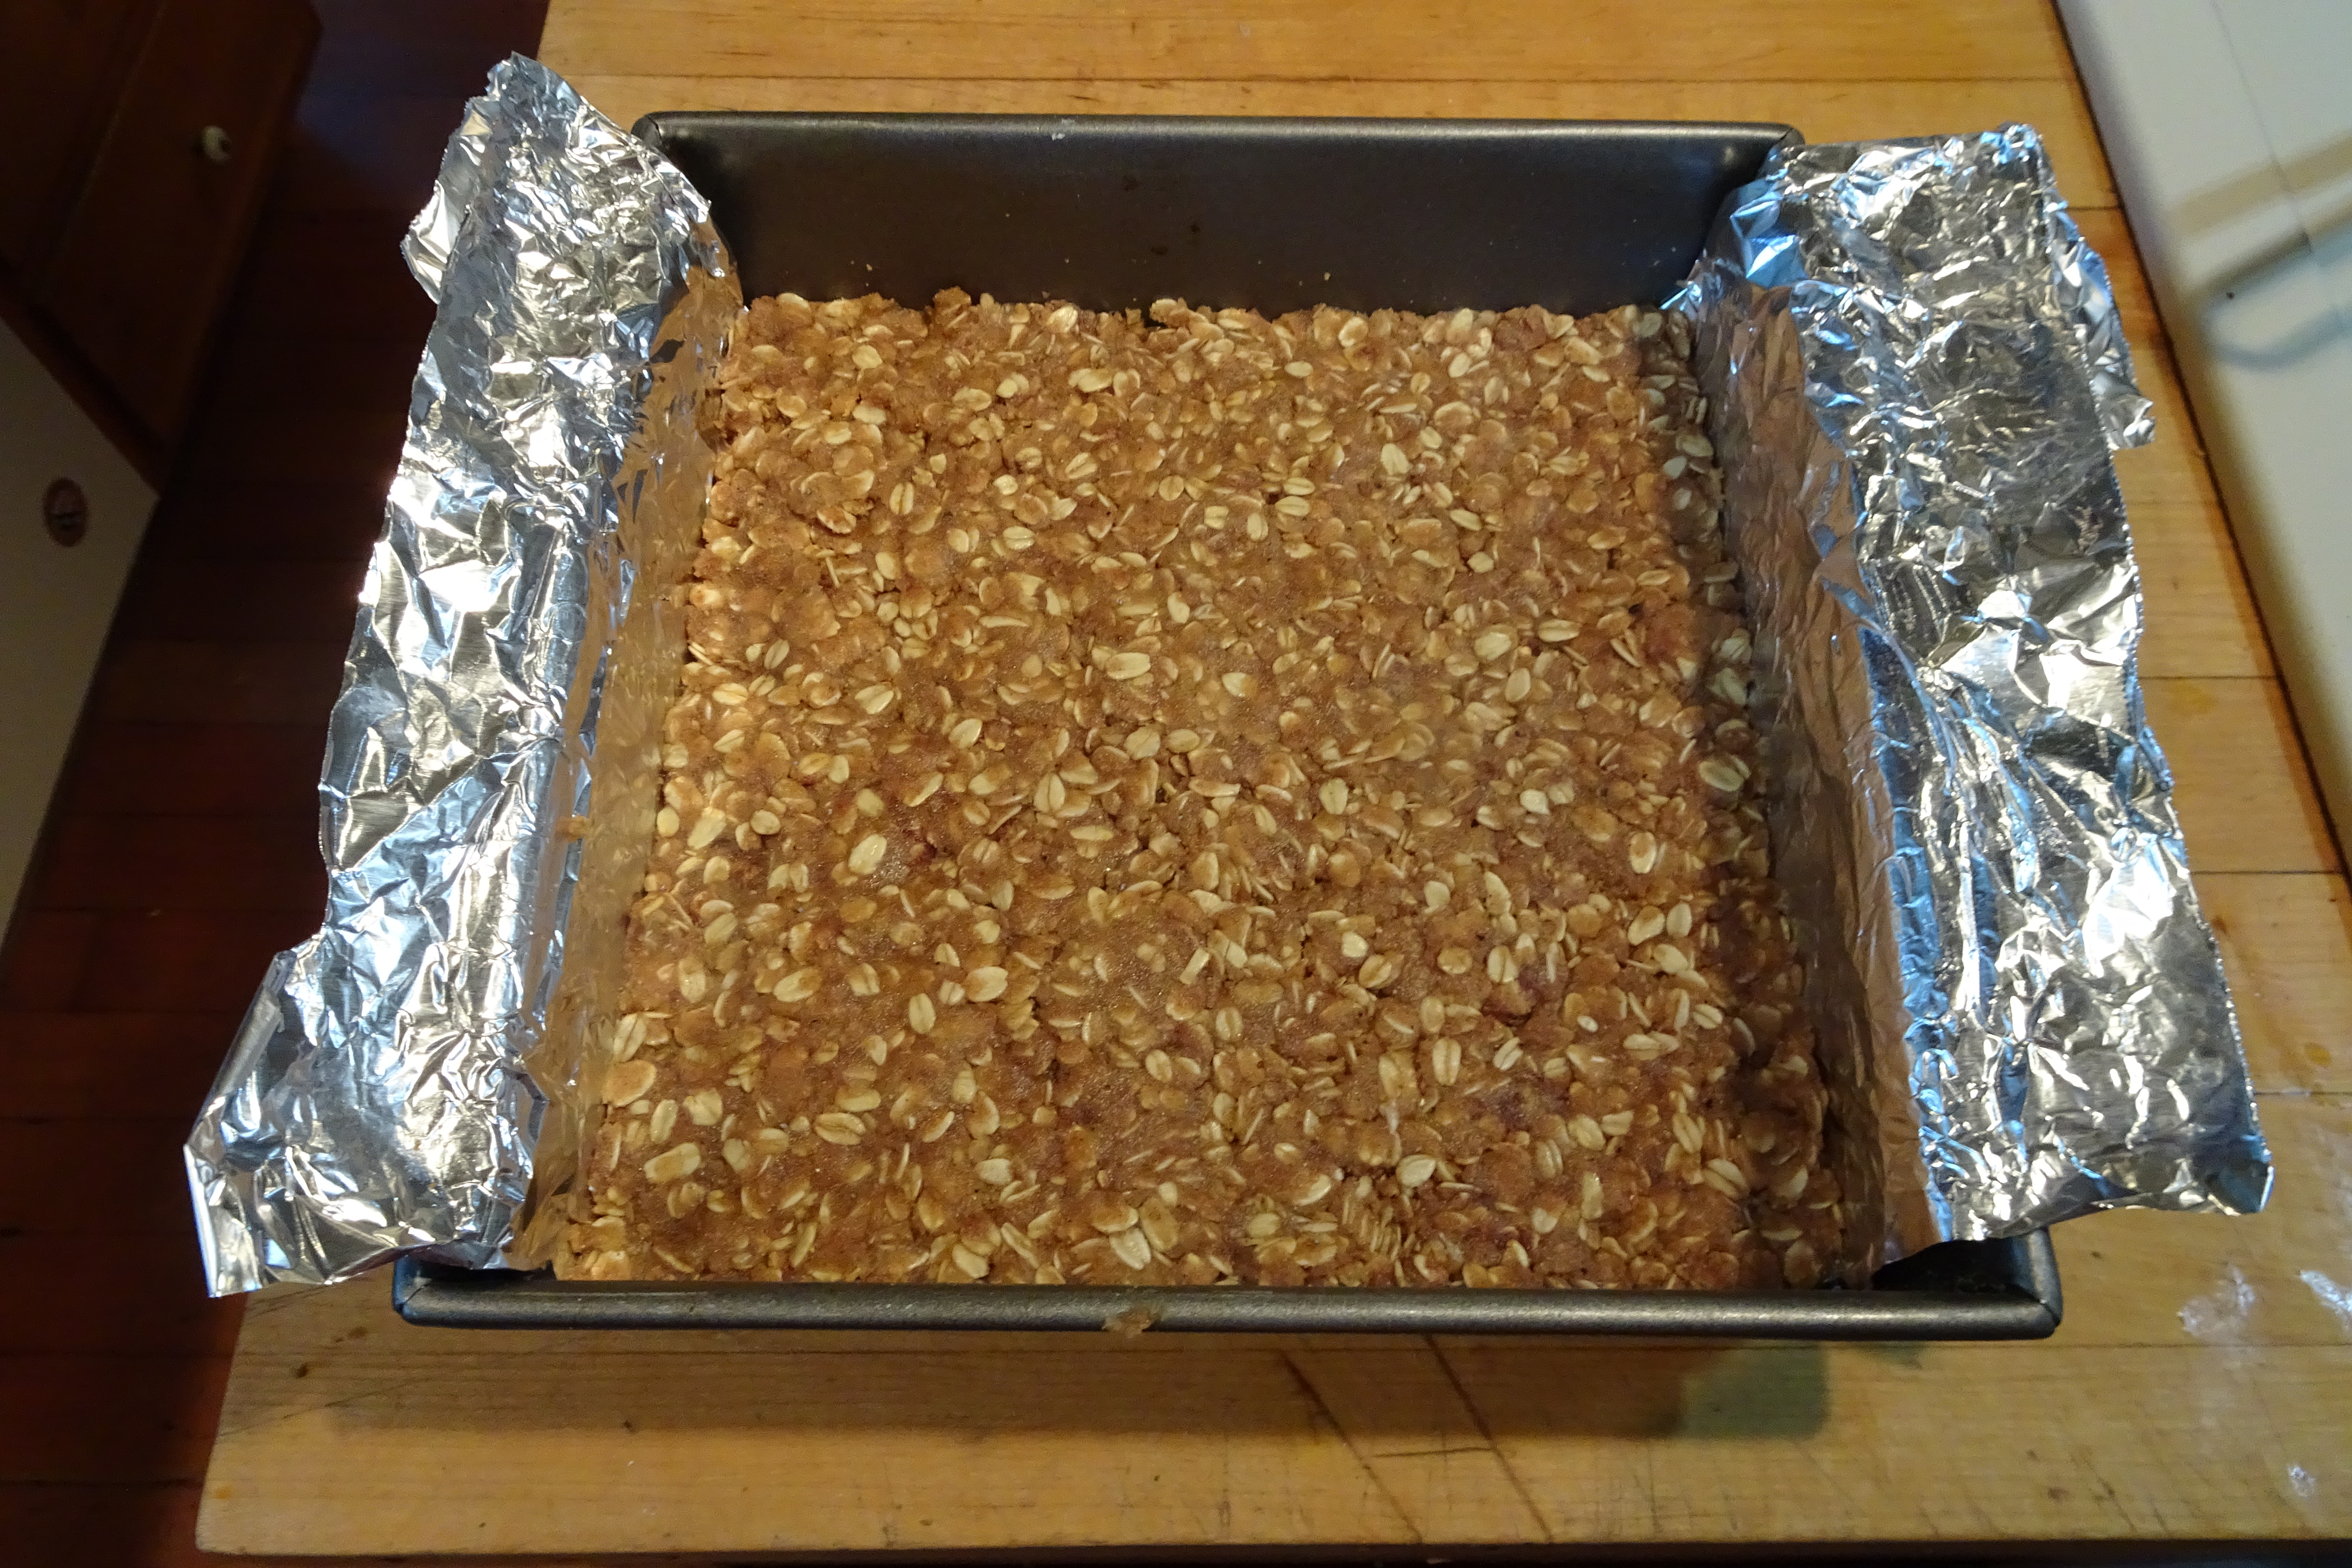
If your Amaranth patch matures faster than your harvesting schedule allows, don’t fret–all is not lost. As long as there are soft, non-fibrous leaves to pick, they are fair game for steaming or stir-frying as greens or quelites. Later, when the arching spike of spiny seed capsules matures and dries, you can harvest seeds (carefully with gloves) and winnow the tiny grains in the breeze. THEY are fabulously nutritious too. Amaranth seed is 15-18% protein—far higher than most cereals. They can be cooked as hot cereal or ground into flour– full of healthy, gluten-free carbs and fiber. Amaranth weed seed baked into bread adds a pleasing and healthy crunch. If you want quantity and lack patience to harvest wild carelessweed, the NativeSeedsSEARCH store, 3061 N Campbell Ave, Tucson, has grain-amaranth for cooking or milling, also popped amaranth for adding to baked goods or confections for Dia de Los Muertos. [More to come on that topic in early November.]
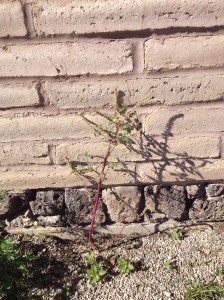
Caution: Here’s a trick plant that may look like Amaranth but it is a perennial that leafs out with summer rains, especially in the Tucson Mtns area–Ambrosia cordifolia–not good for eating–better for soil stabilization. (MABurgess photo)
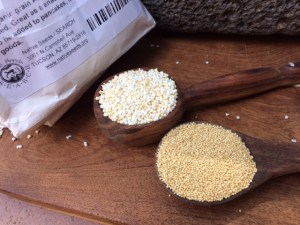
Delicious and healthy grain amaranth and popped amaranth, available at the NativeSeedsSEARCH store for cooking.
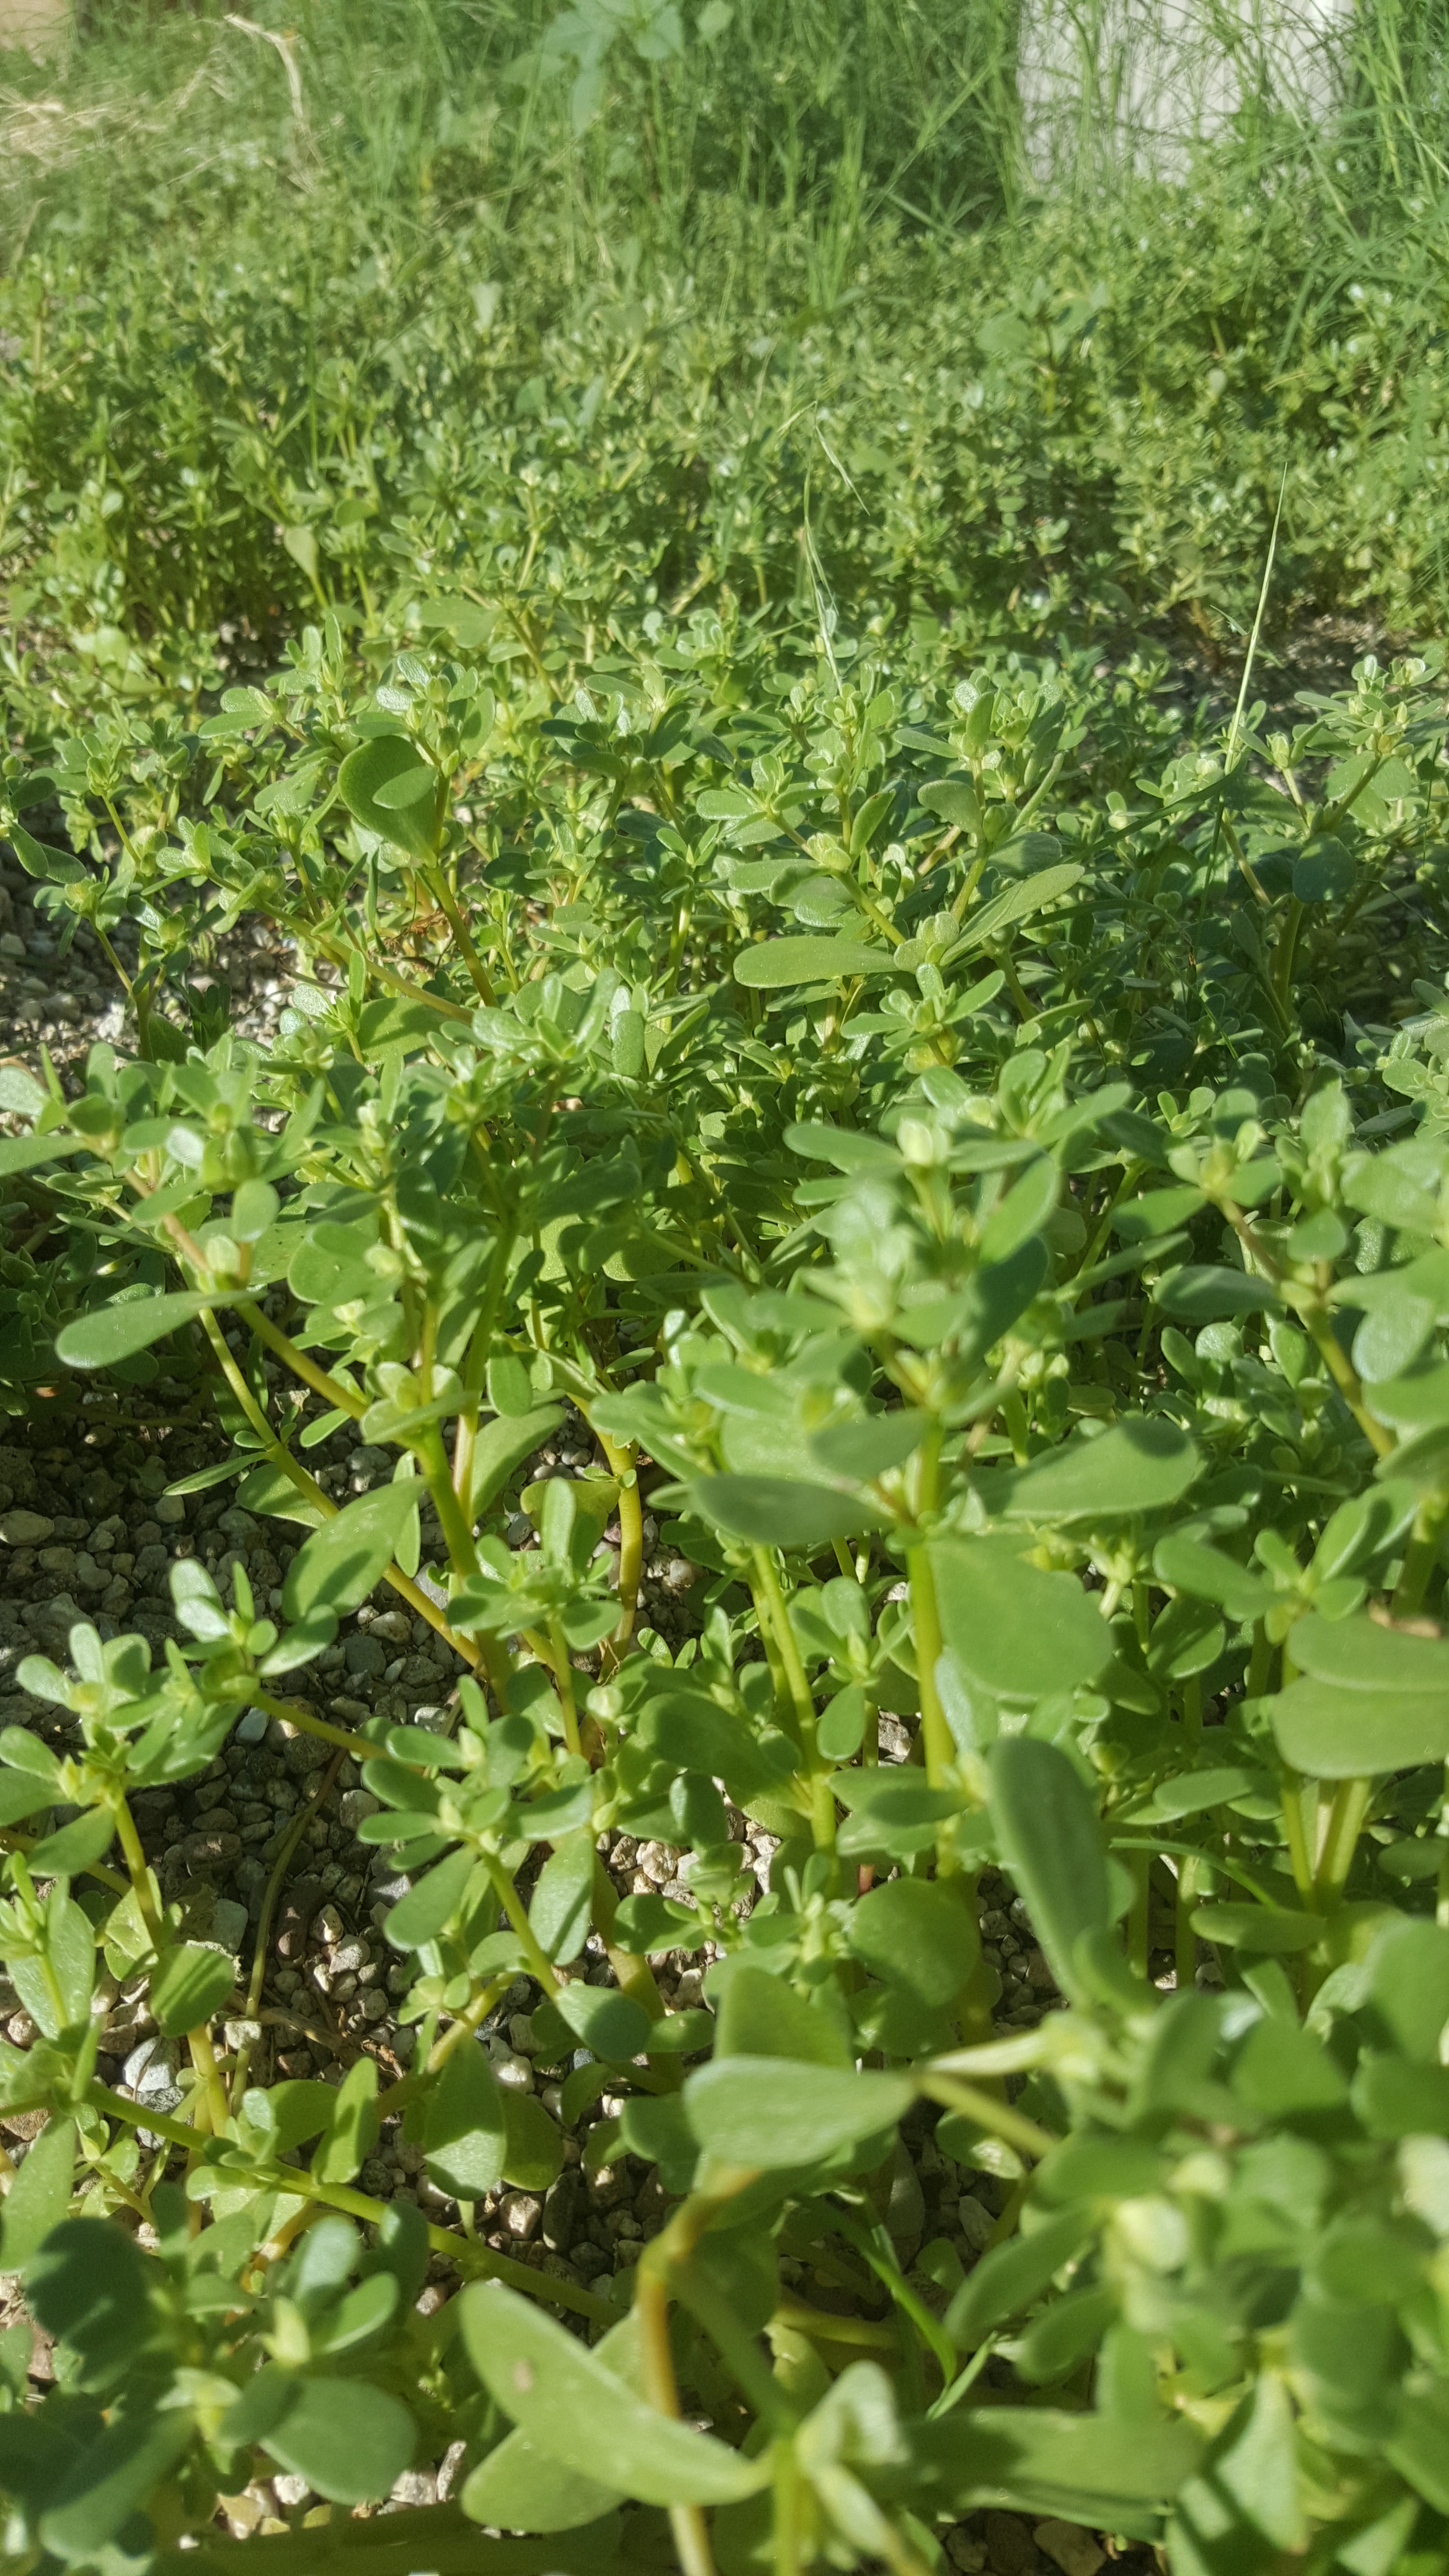
Another “weed” that is probably at this very minute creating mats of green in your garden is verdulaga. Traditional Tohono O’odham know it as ku’ukpulk, and some gardeners refer to the same puffy-leafed ground-sprawler as purslane (Portulaca oleracea). It can be added fresh to any salad for a juicy, succulent texture and tang. And check the nutrients, especially if your body needs available calcium. Every 100g (a little less than ½ cup) of verdulagas provides 0.3mg iron, 19mg calcium, high omega-3-fatty acids and lots of vitamins A&C. Rinse your verdulagas in a bowl of water, then toss the water back in the garden where the many teensy seeds that have dropped to the bottom can go for a “second round.”
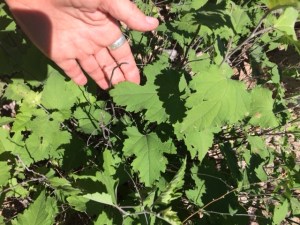
Caution: Another “trick plant” is this purslane- look-alike called “horse purslane”-Trianthema portulacastrum. It will taste a little soapy if you try it. (MABurgess photo)
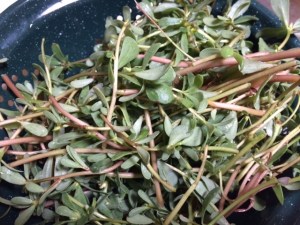
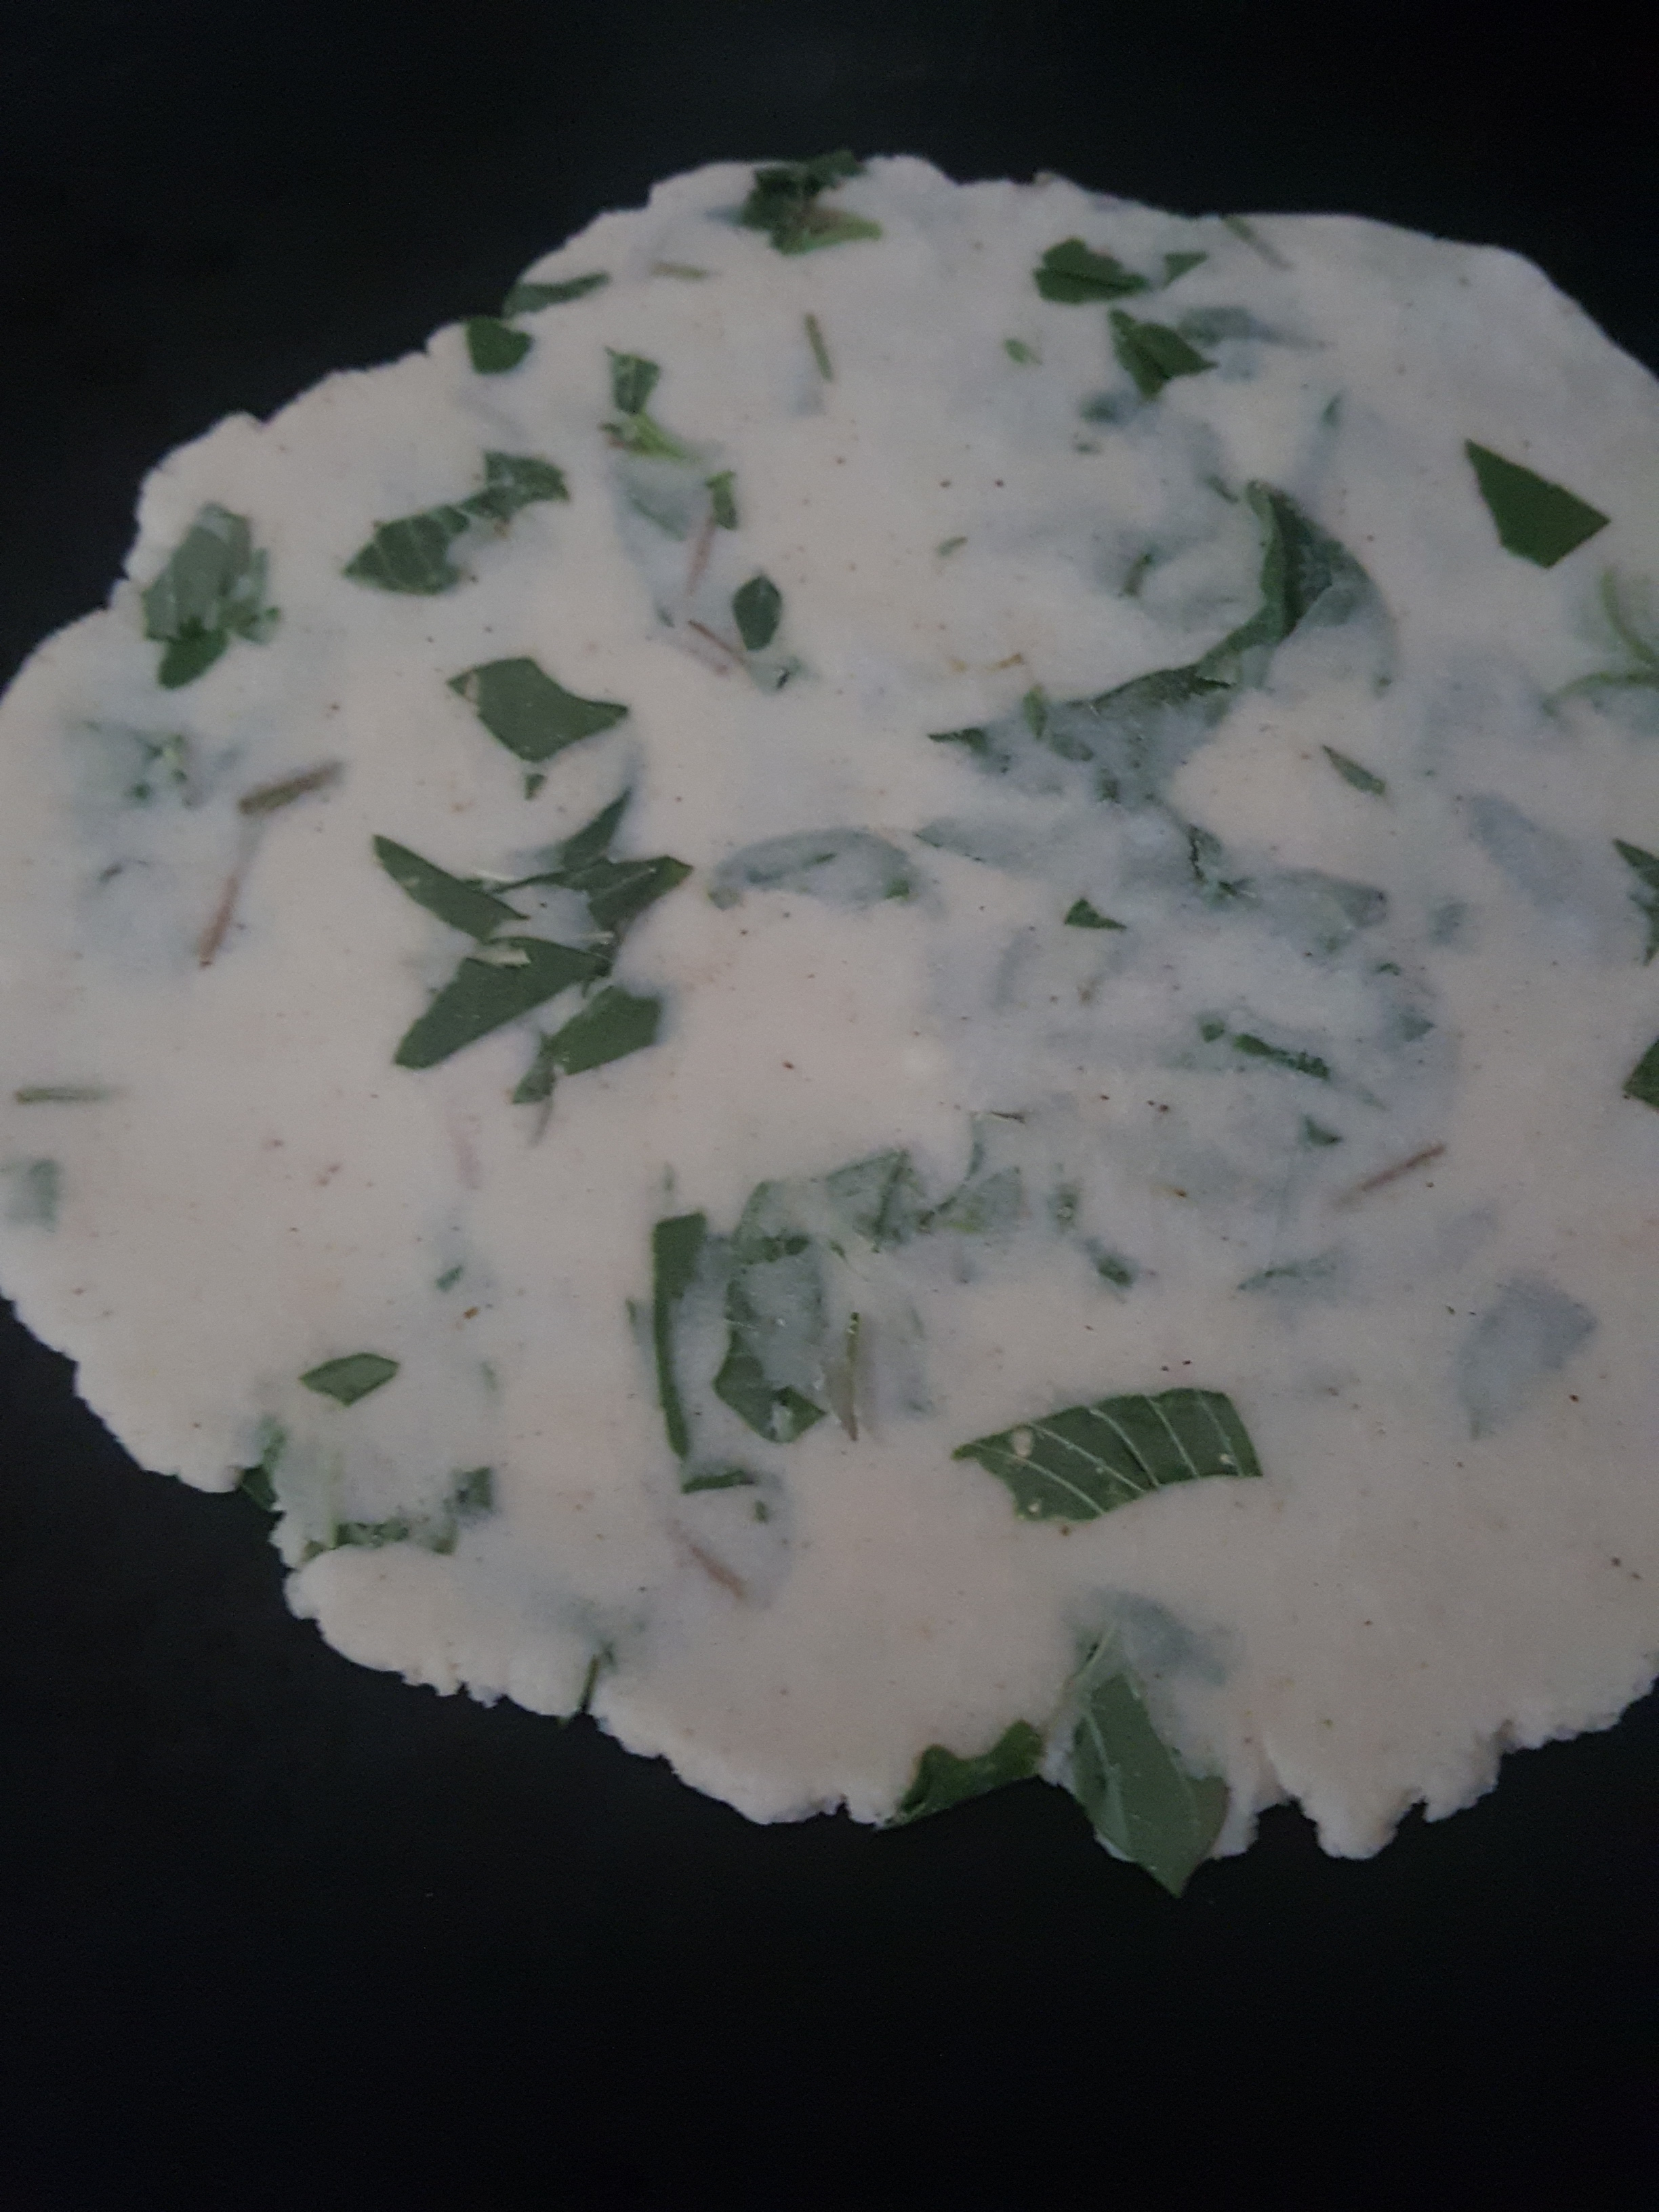
Picked and washed true verdulaga/purslane, ready to make into pesto (MABurgess photo)
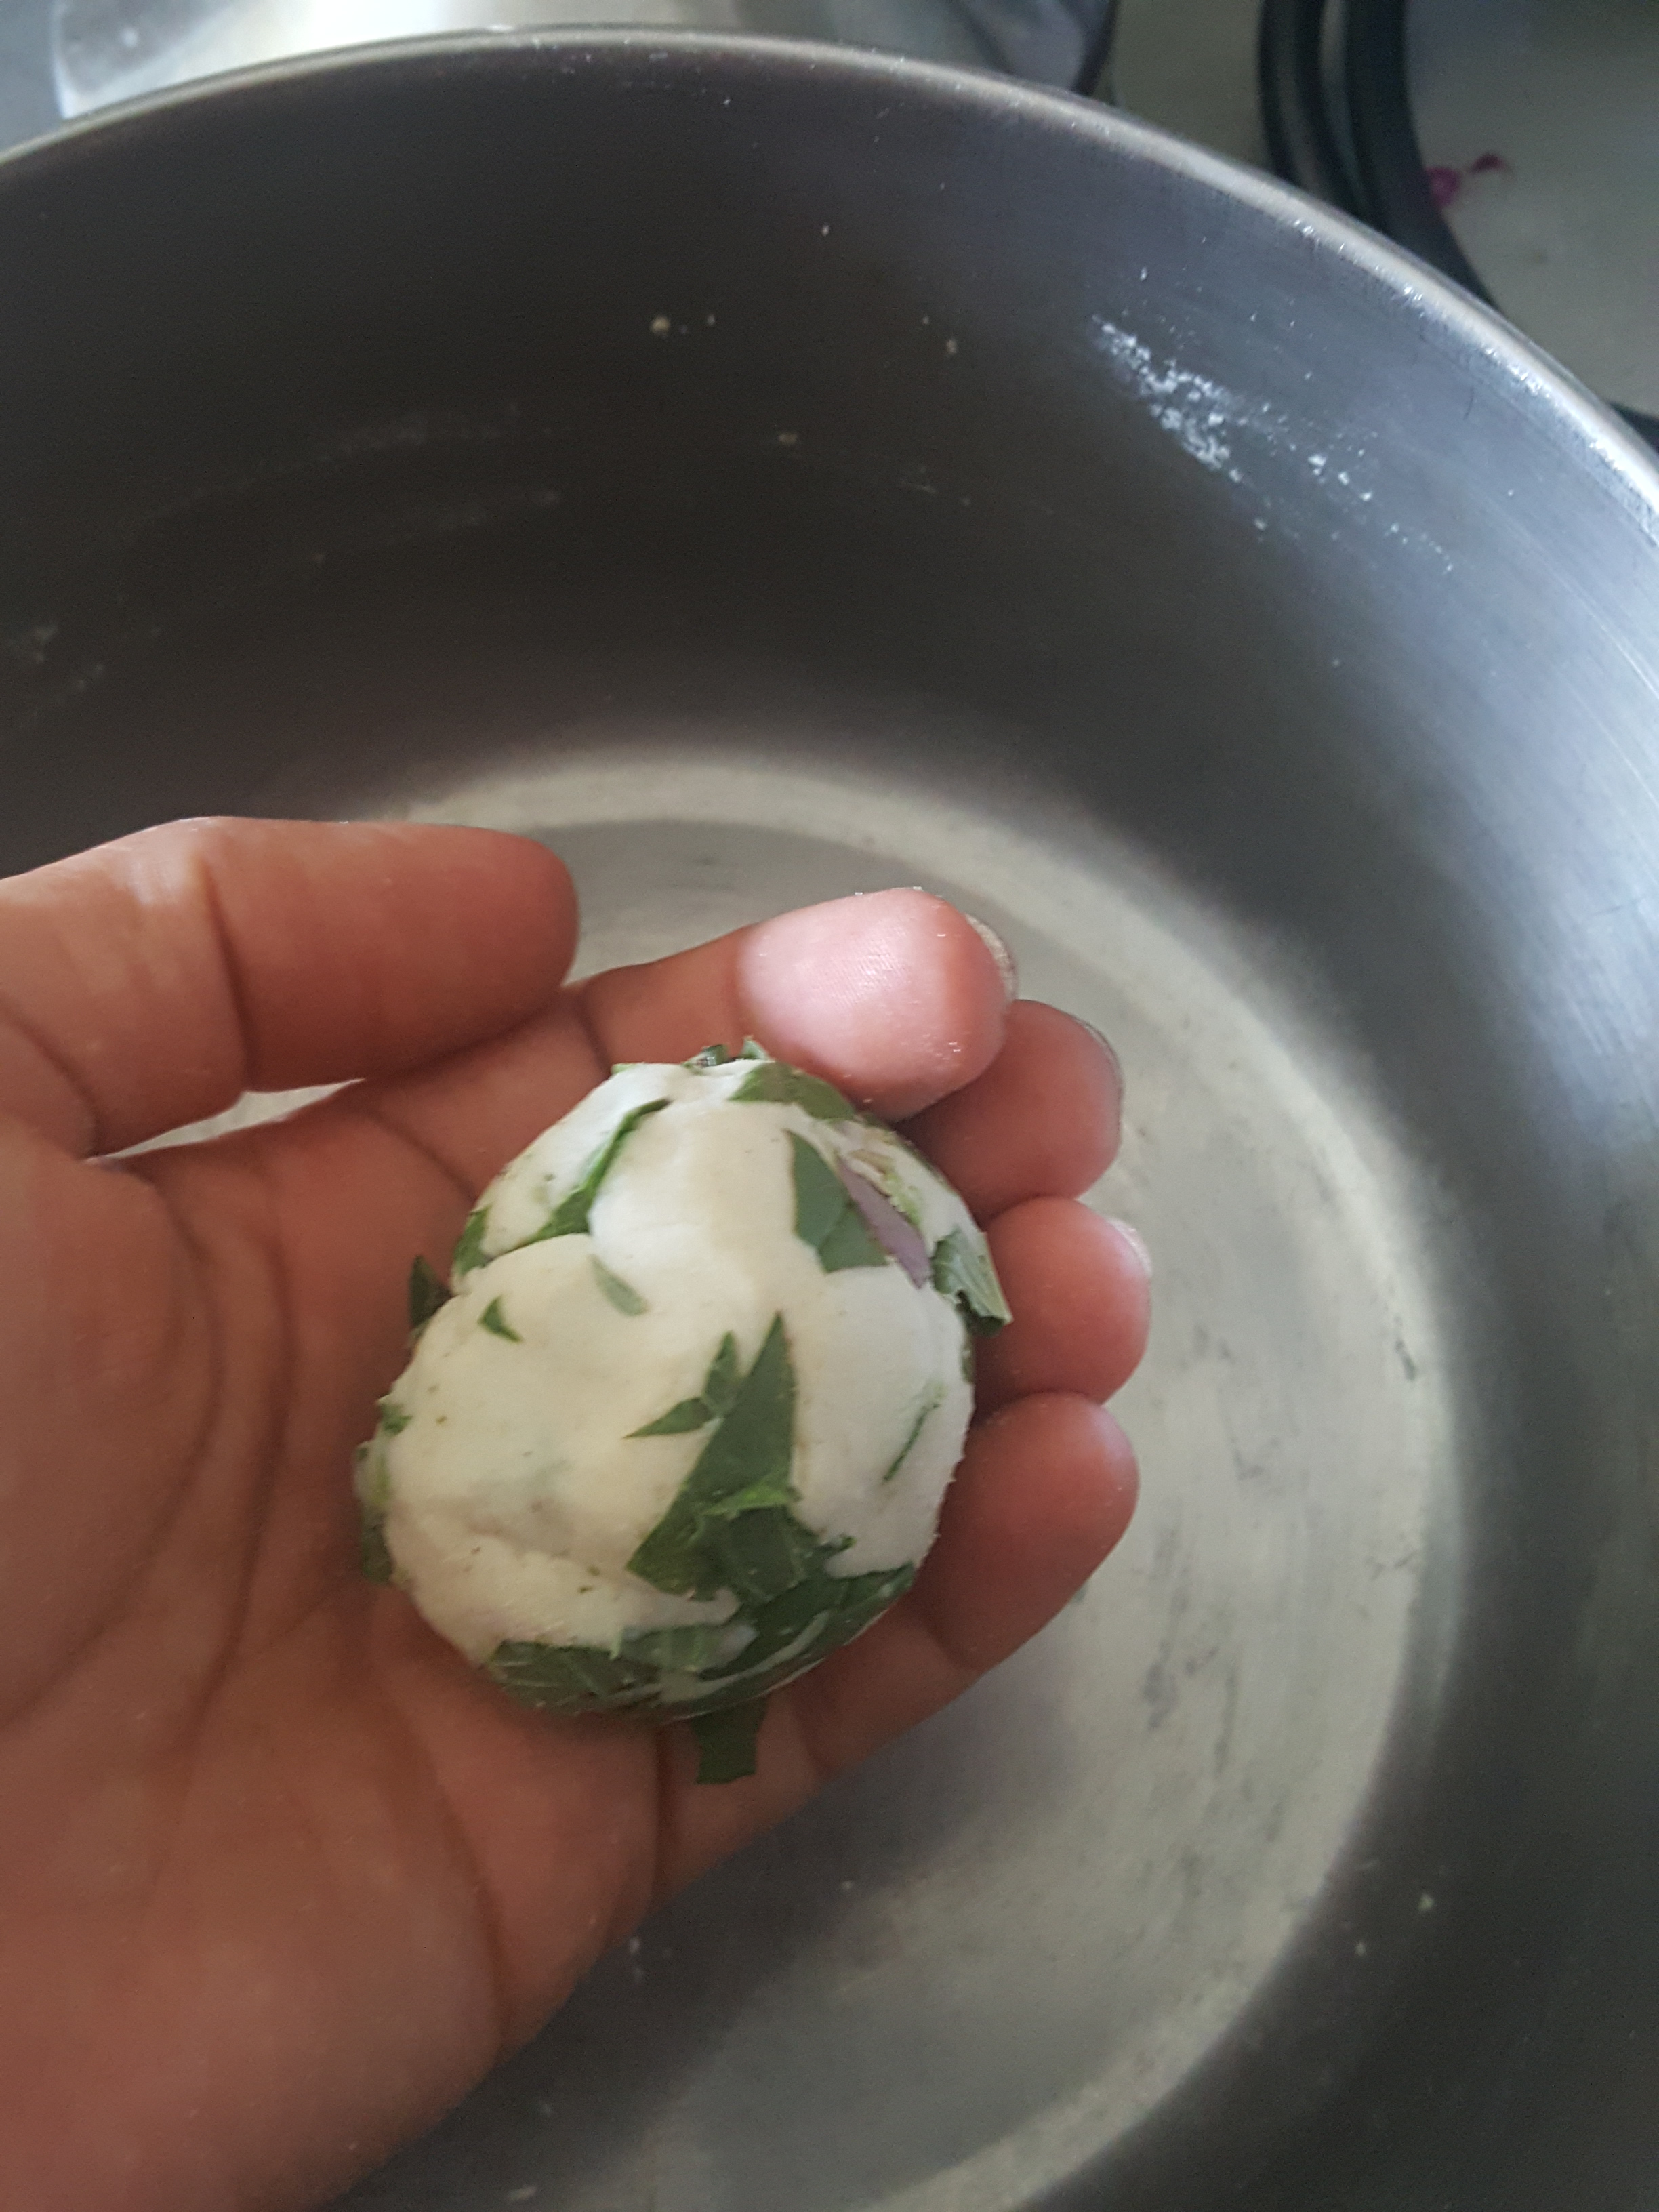
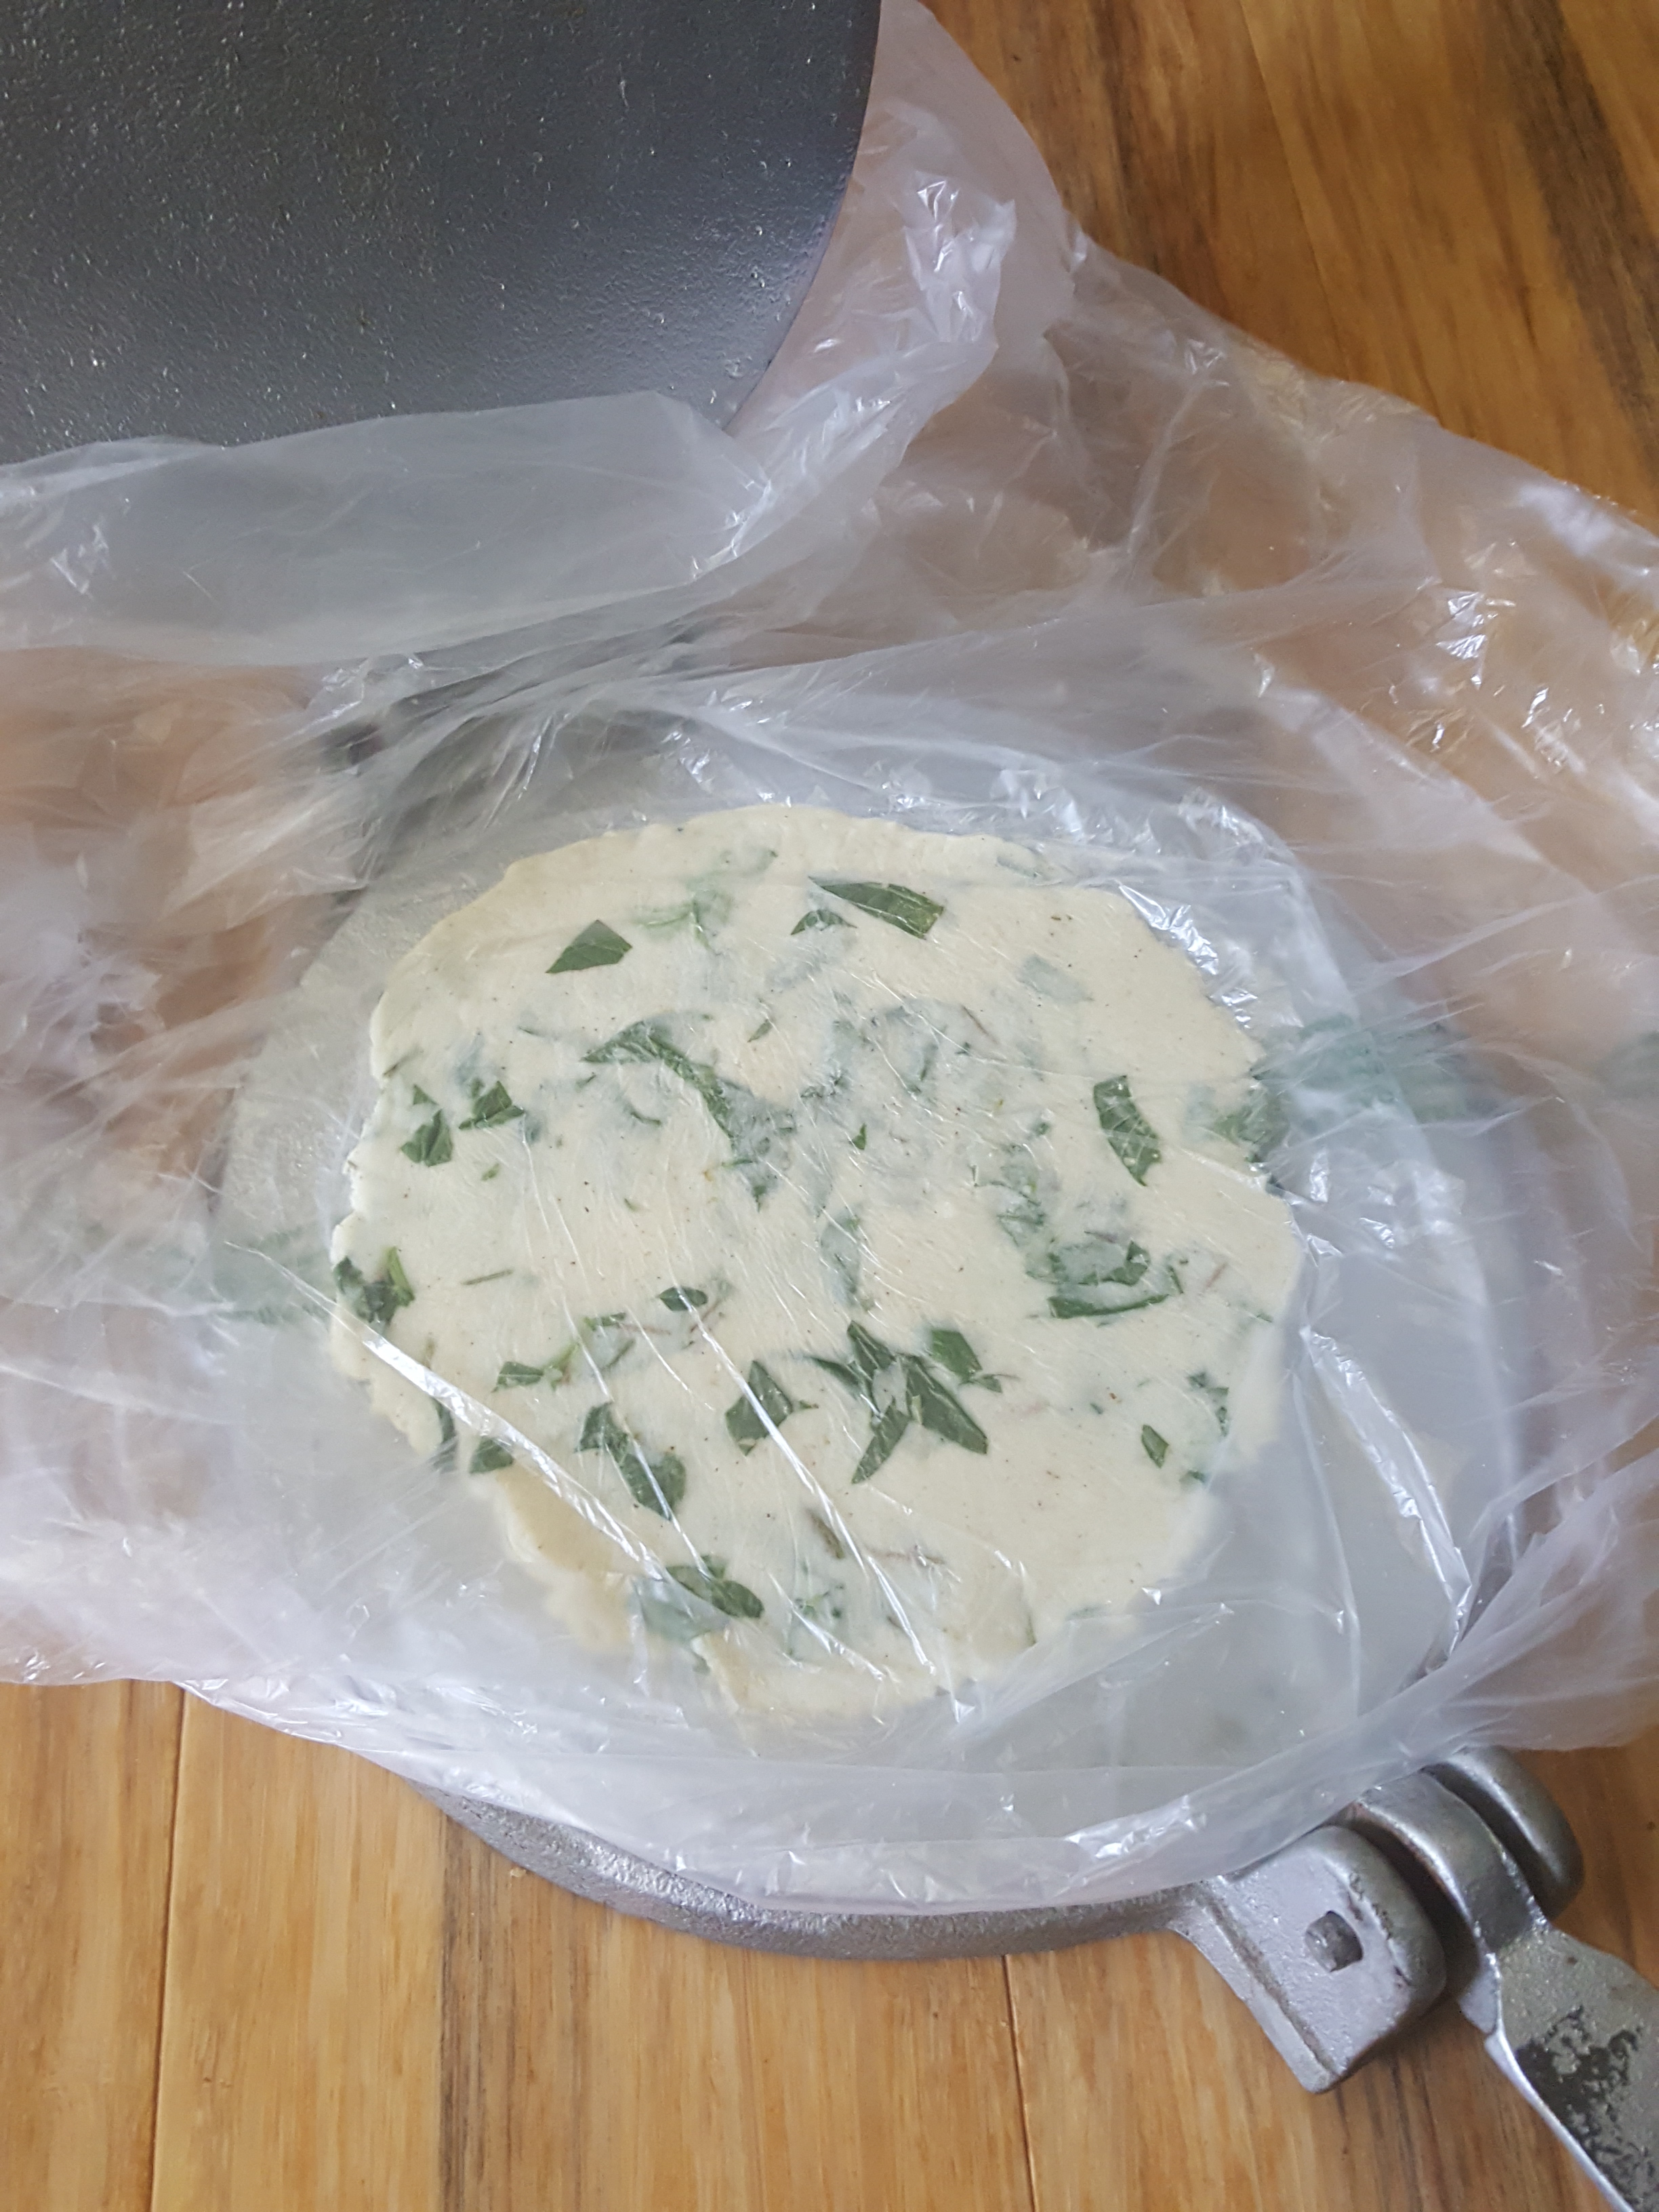
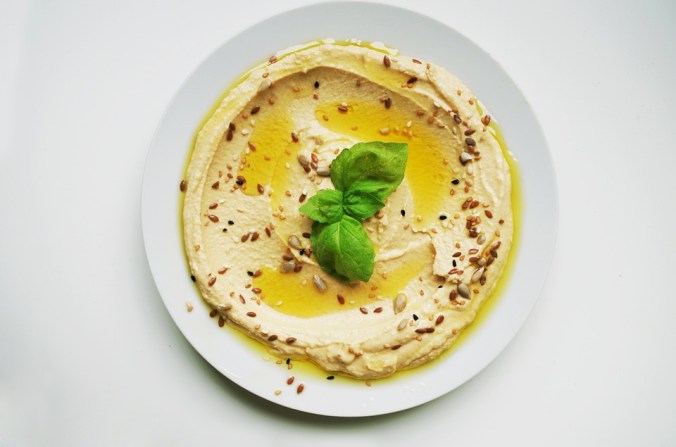
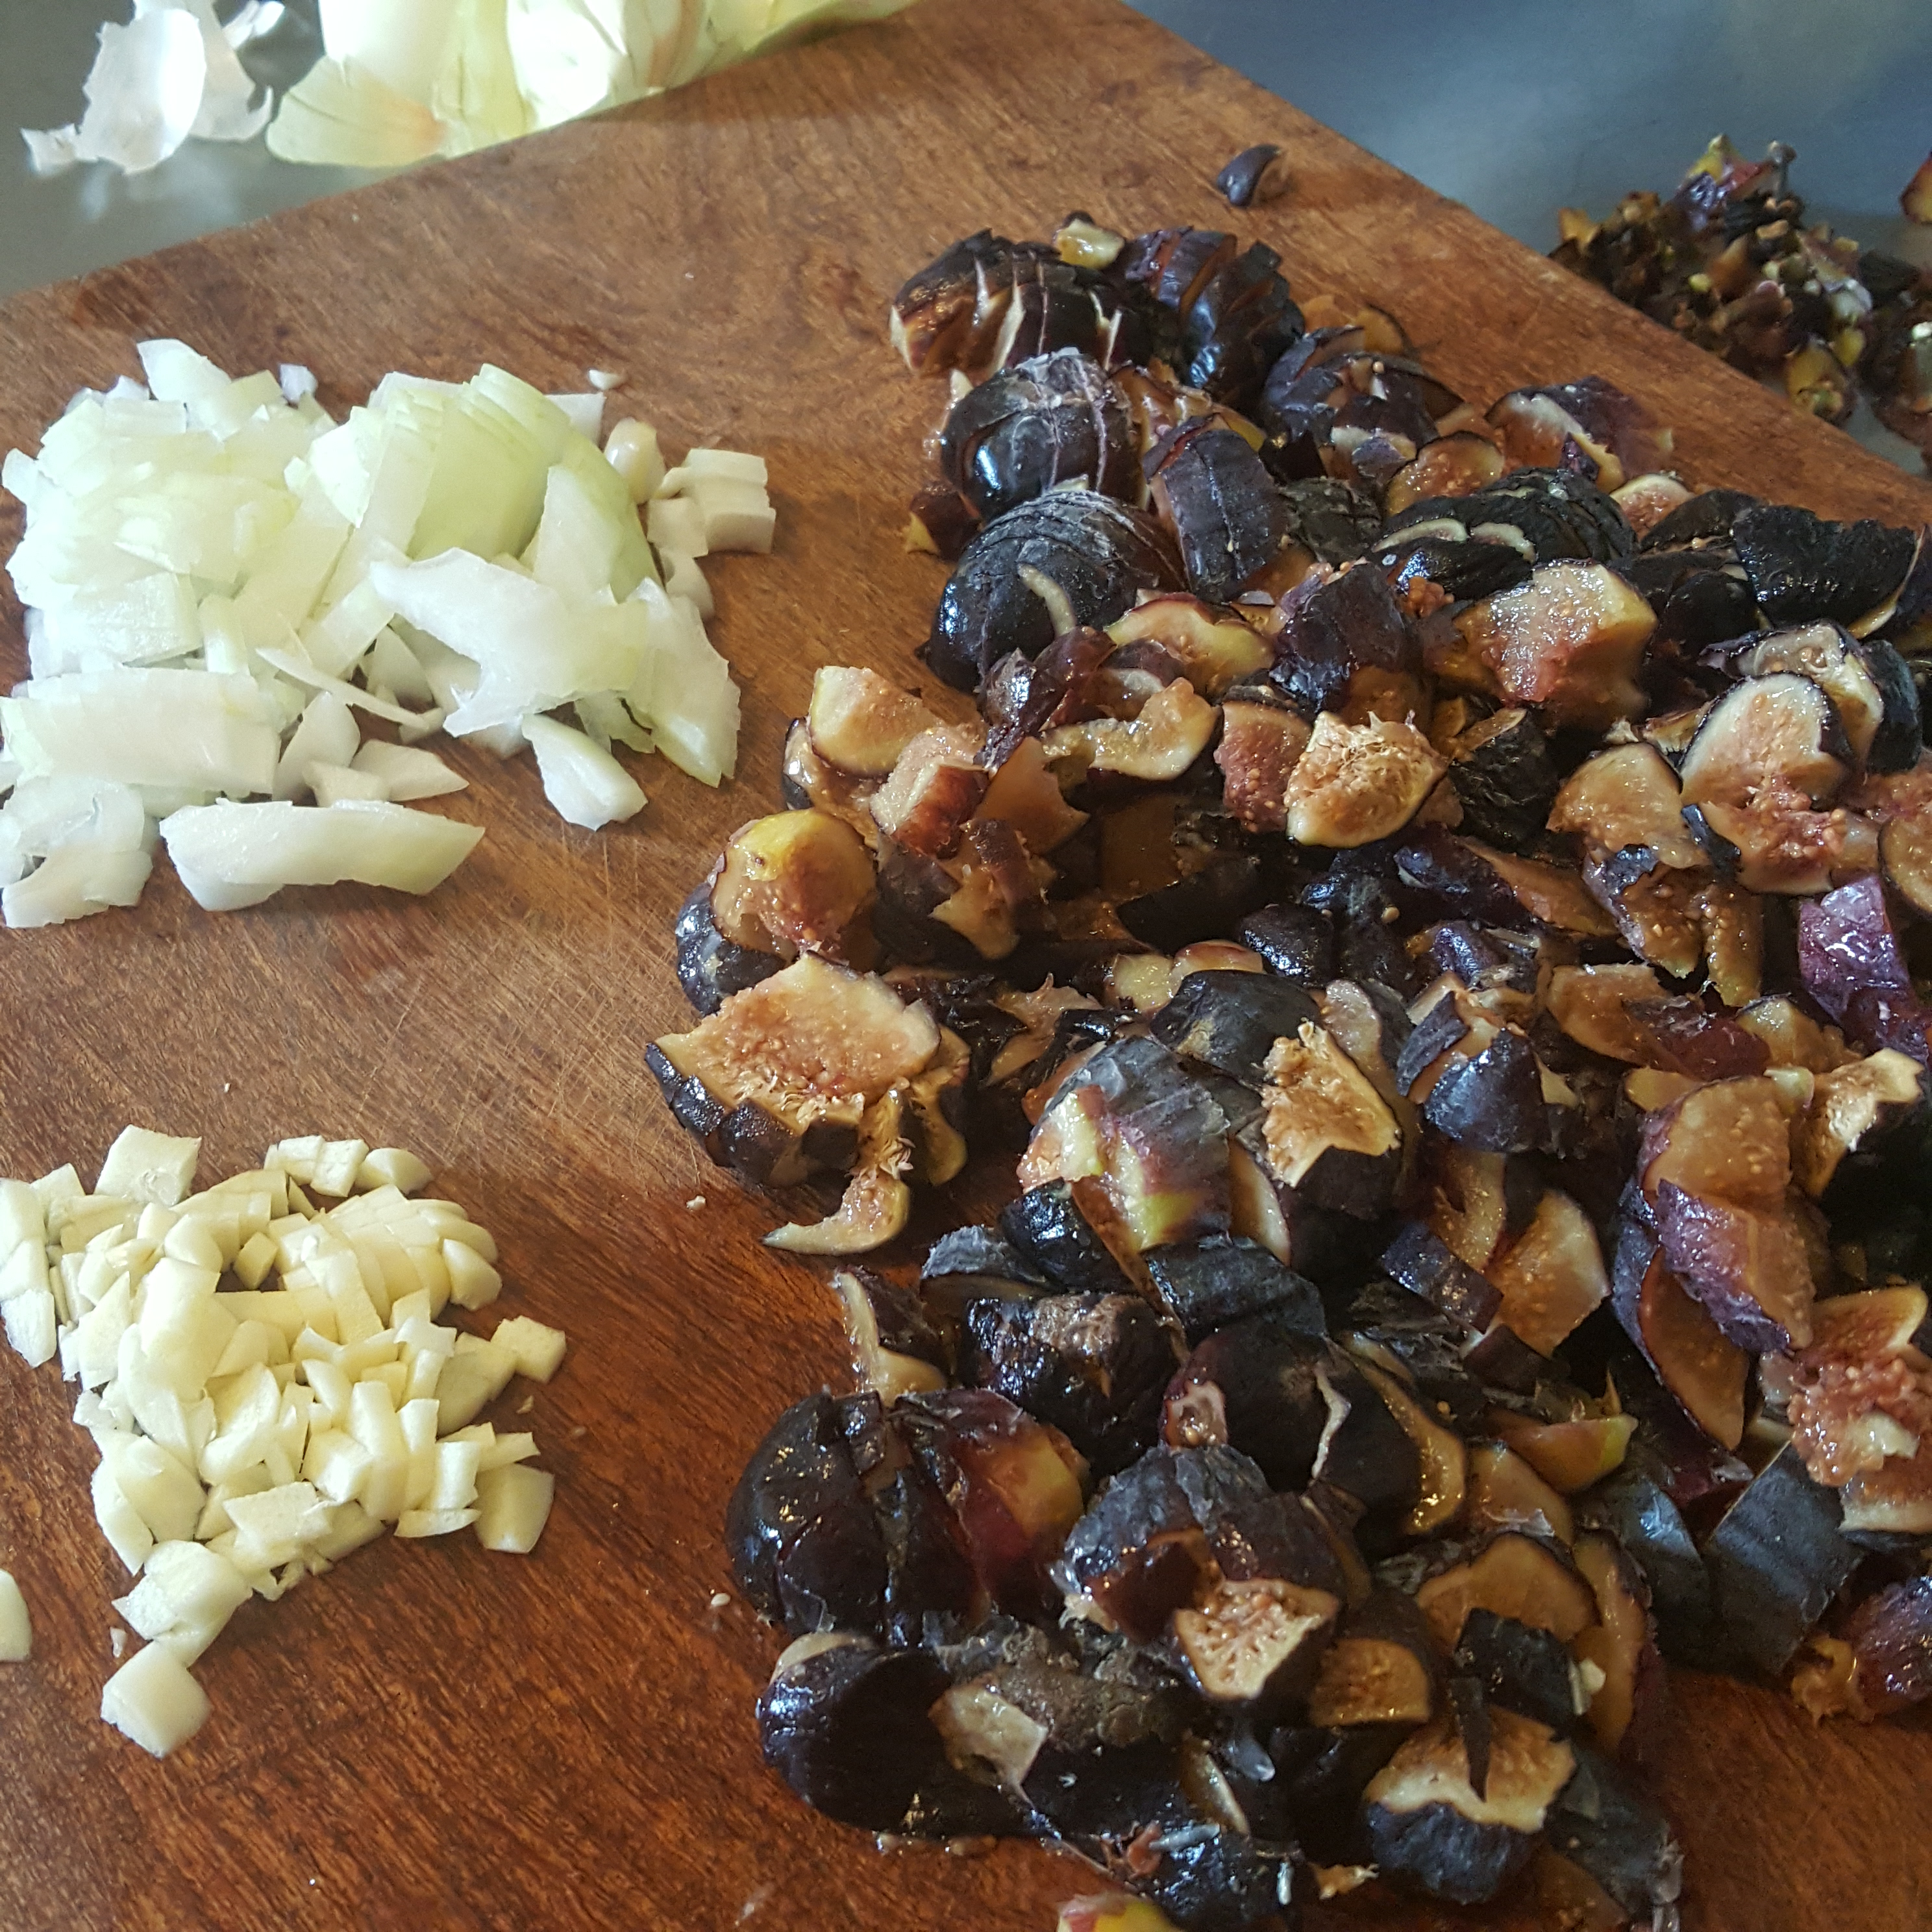
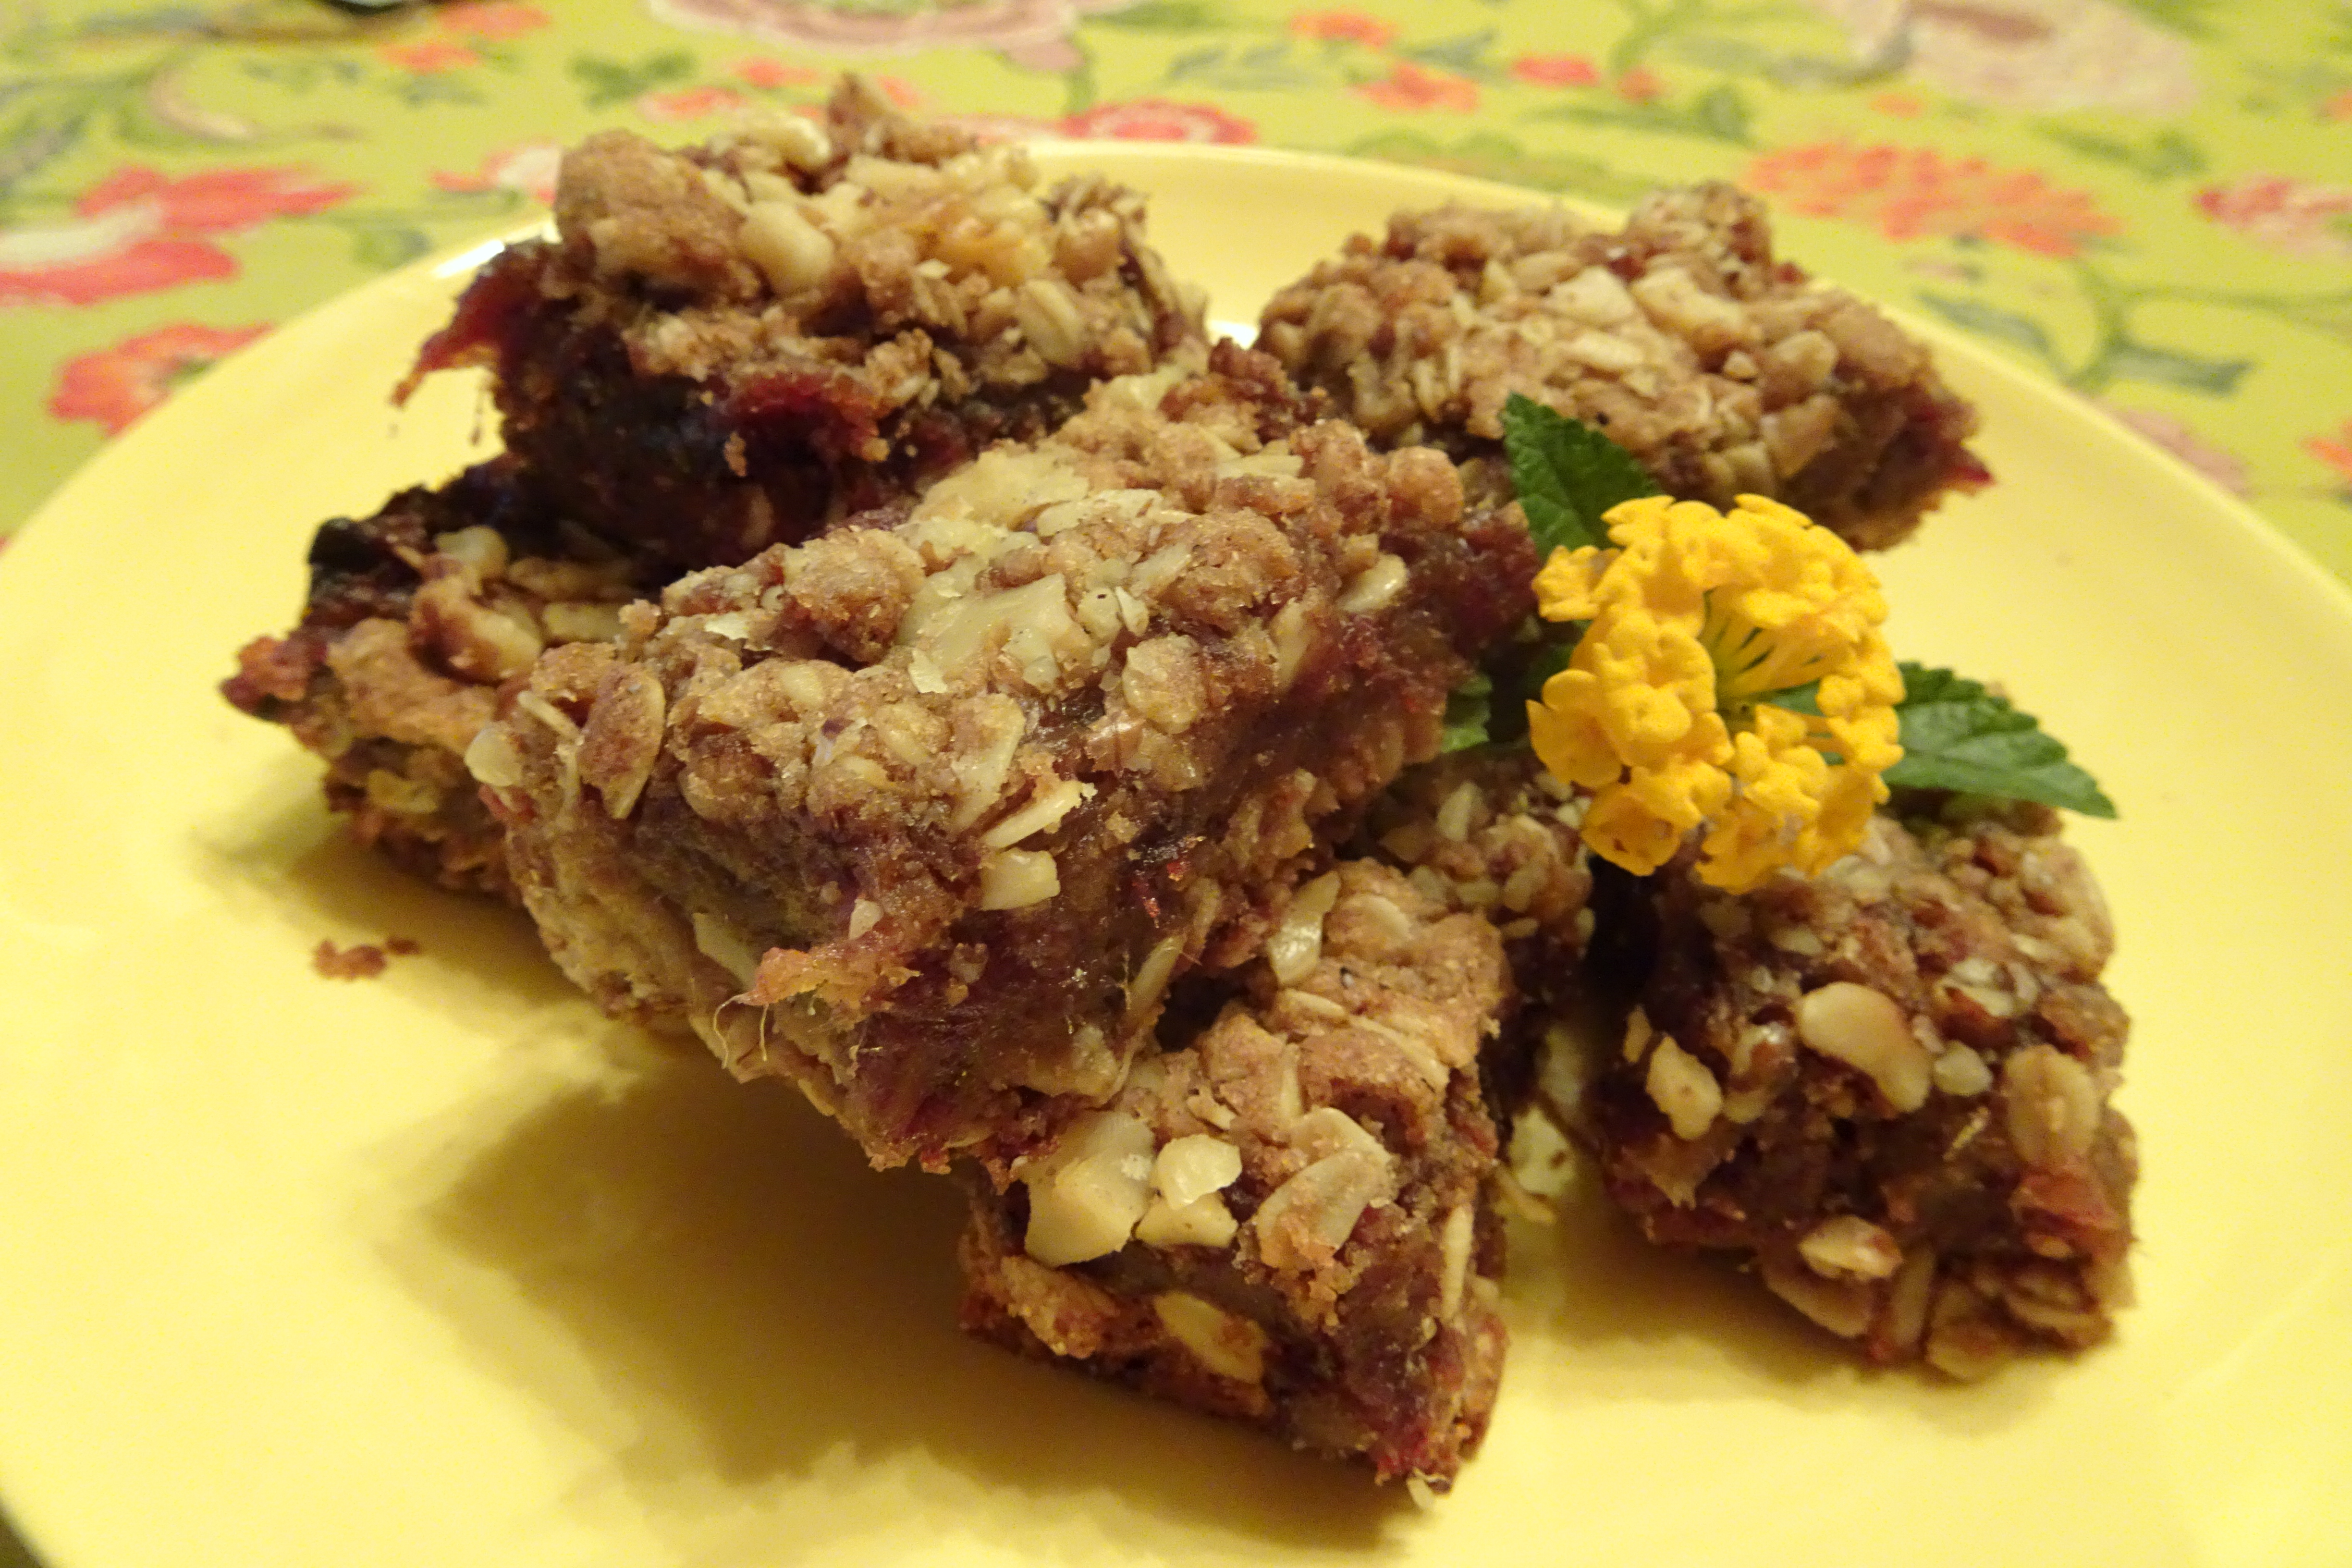
Here is an idea for Monsoon Pesto made with tasty weeds! Pestos of course can be made with almost any greens—e.g. with kale in the winter—so why not use what Nature provides locally and now? Both amaranth or verdulaga can be used in your favorite pesto recipe for a healthy and tasty Southwest vacation from basil. [A word of caution: If you harvest from the wild, be sure to collect at least 50 feet from a roadway, or upstream from any road along an arroyo. Know your plants when harvesting!]
Here is a SUPER-NUTRITIOUS SONORAN DESERT MONSOON-WEED-PESTO RECIPE:
Ingredients:
2+ cups well-packed, fresh, washed Amaranth or Purslane greens
2-3 cloves heirloom garlic
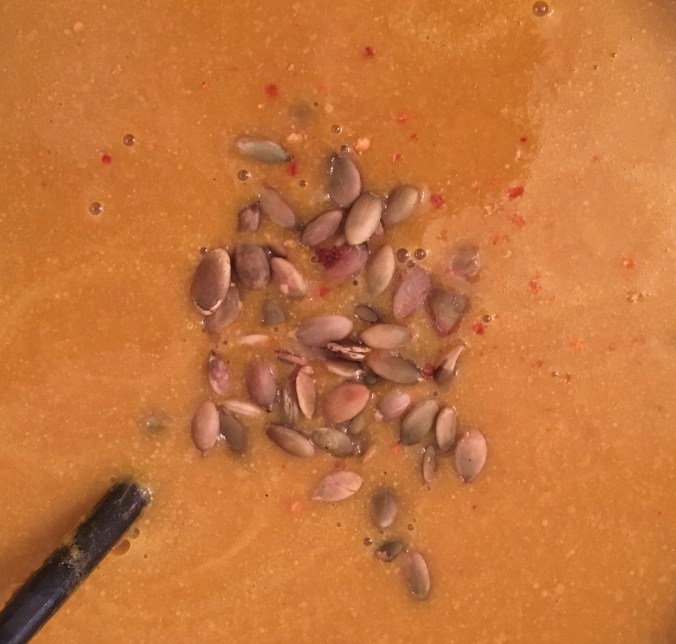
¼ cup pinyones shelled (pine nuts), or any other fresh nutmeats, or soft seeds such as pepitas (pumpkin seeds)
2/3 cup cold-pressed extra-virgin olive oil
sea salt or ancient Utah salt, and ground pepper, to taste (all optional)
½ cup grated Parmesan or Pecorino cheese
Directions:
In a food processor, combine wild weed greens (Amaranth or verdulaga), garlic, and pinyones, and process on the “pulse” setting until finely chopped.
With processor running, slowly drizzle in the olive oil until the texture is smooth and fine.
Add the cheese and pulse briefly just to combine ingredients.
Taste, then season with salt and pepper as needed. (It may not need any.) Give one last pulse after seasoning.
(Pesto can be stored in frig or freezer.)
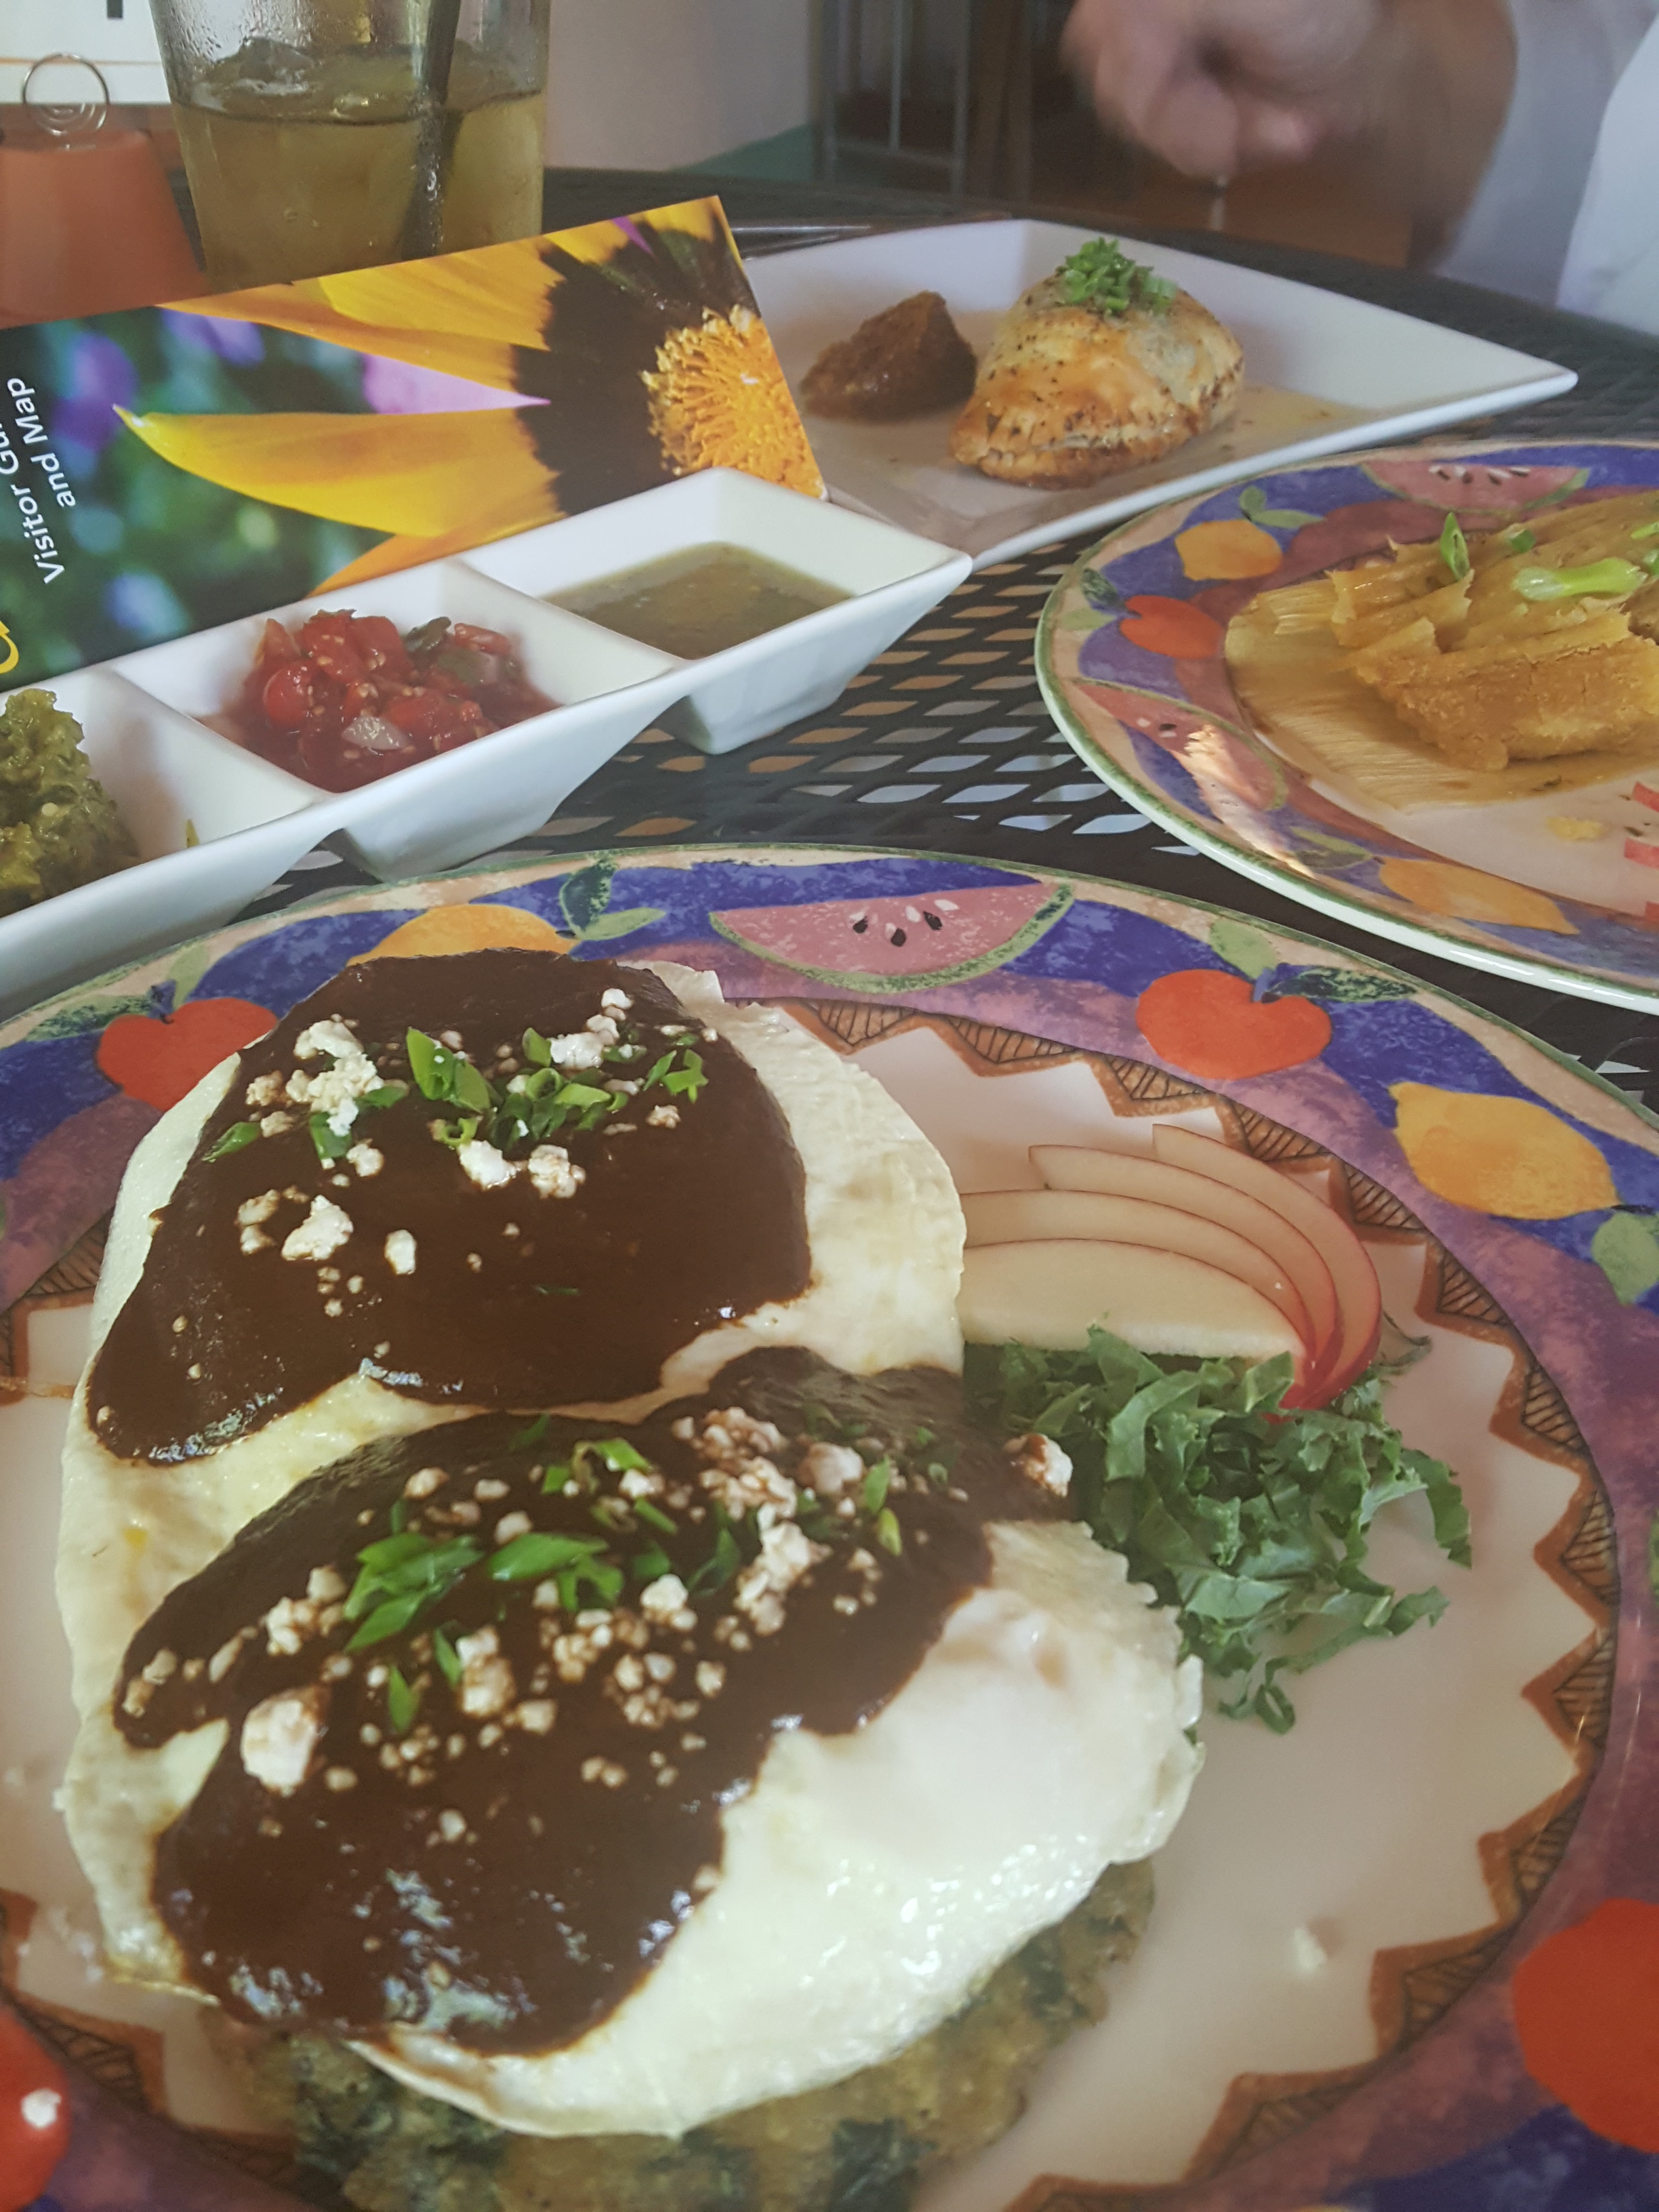
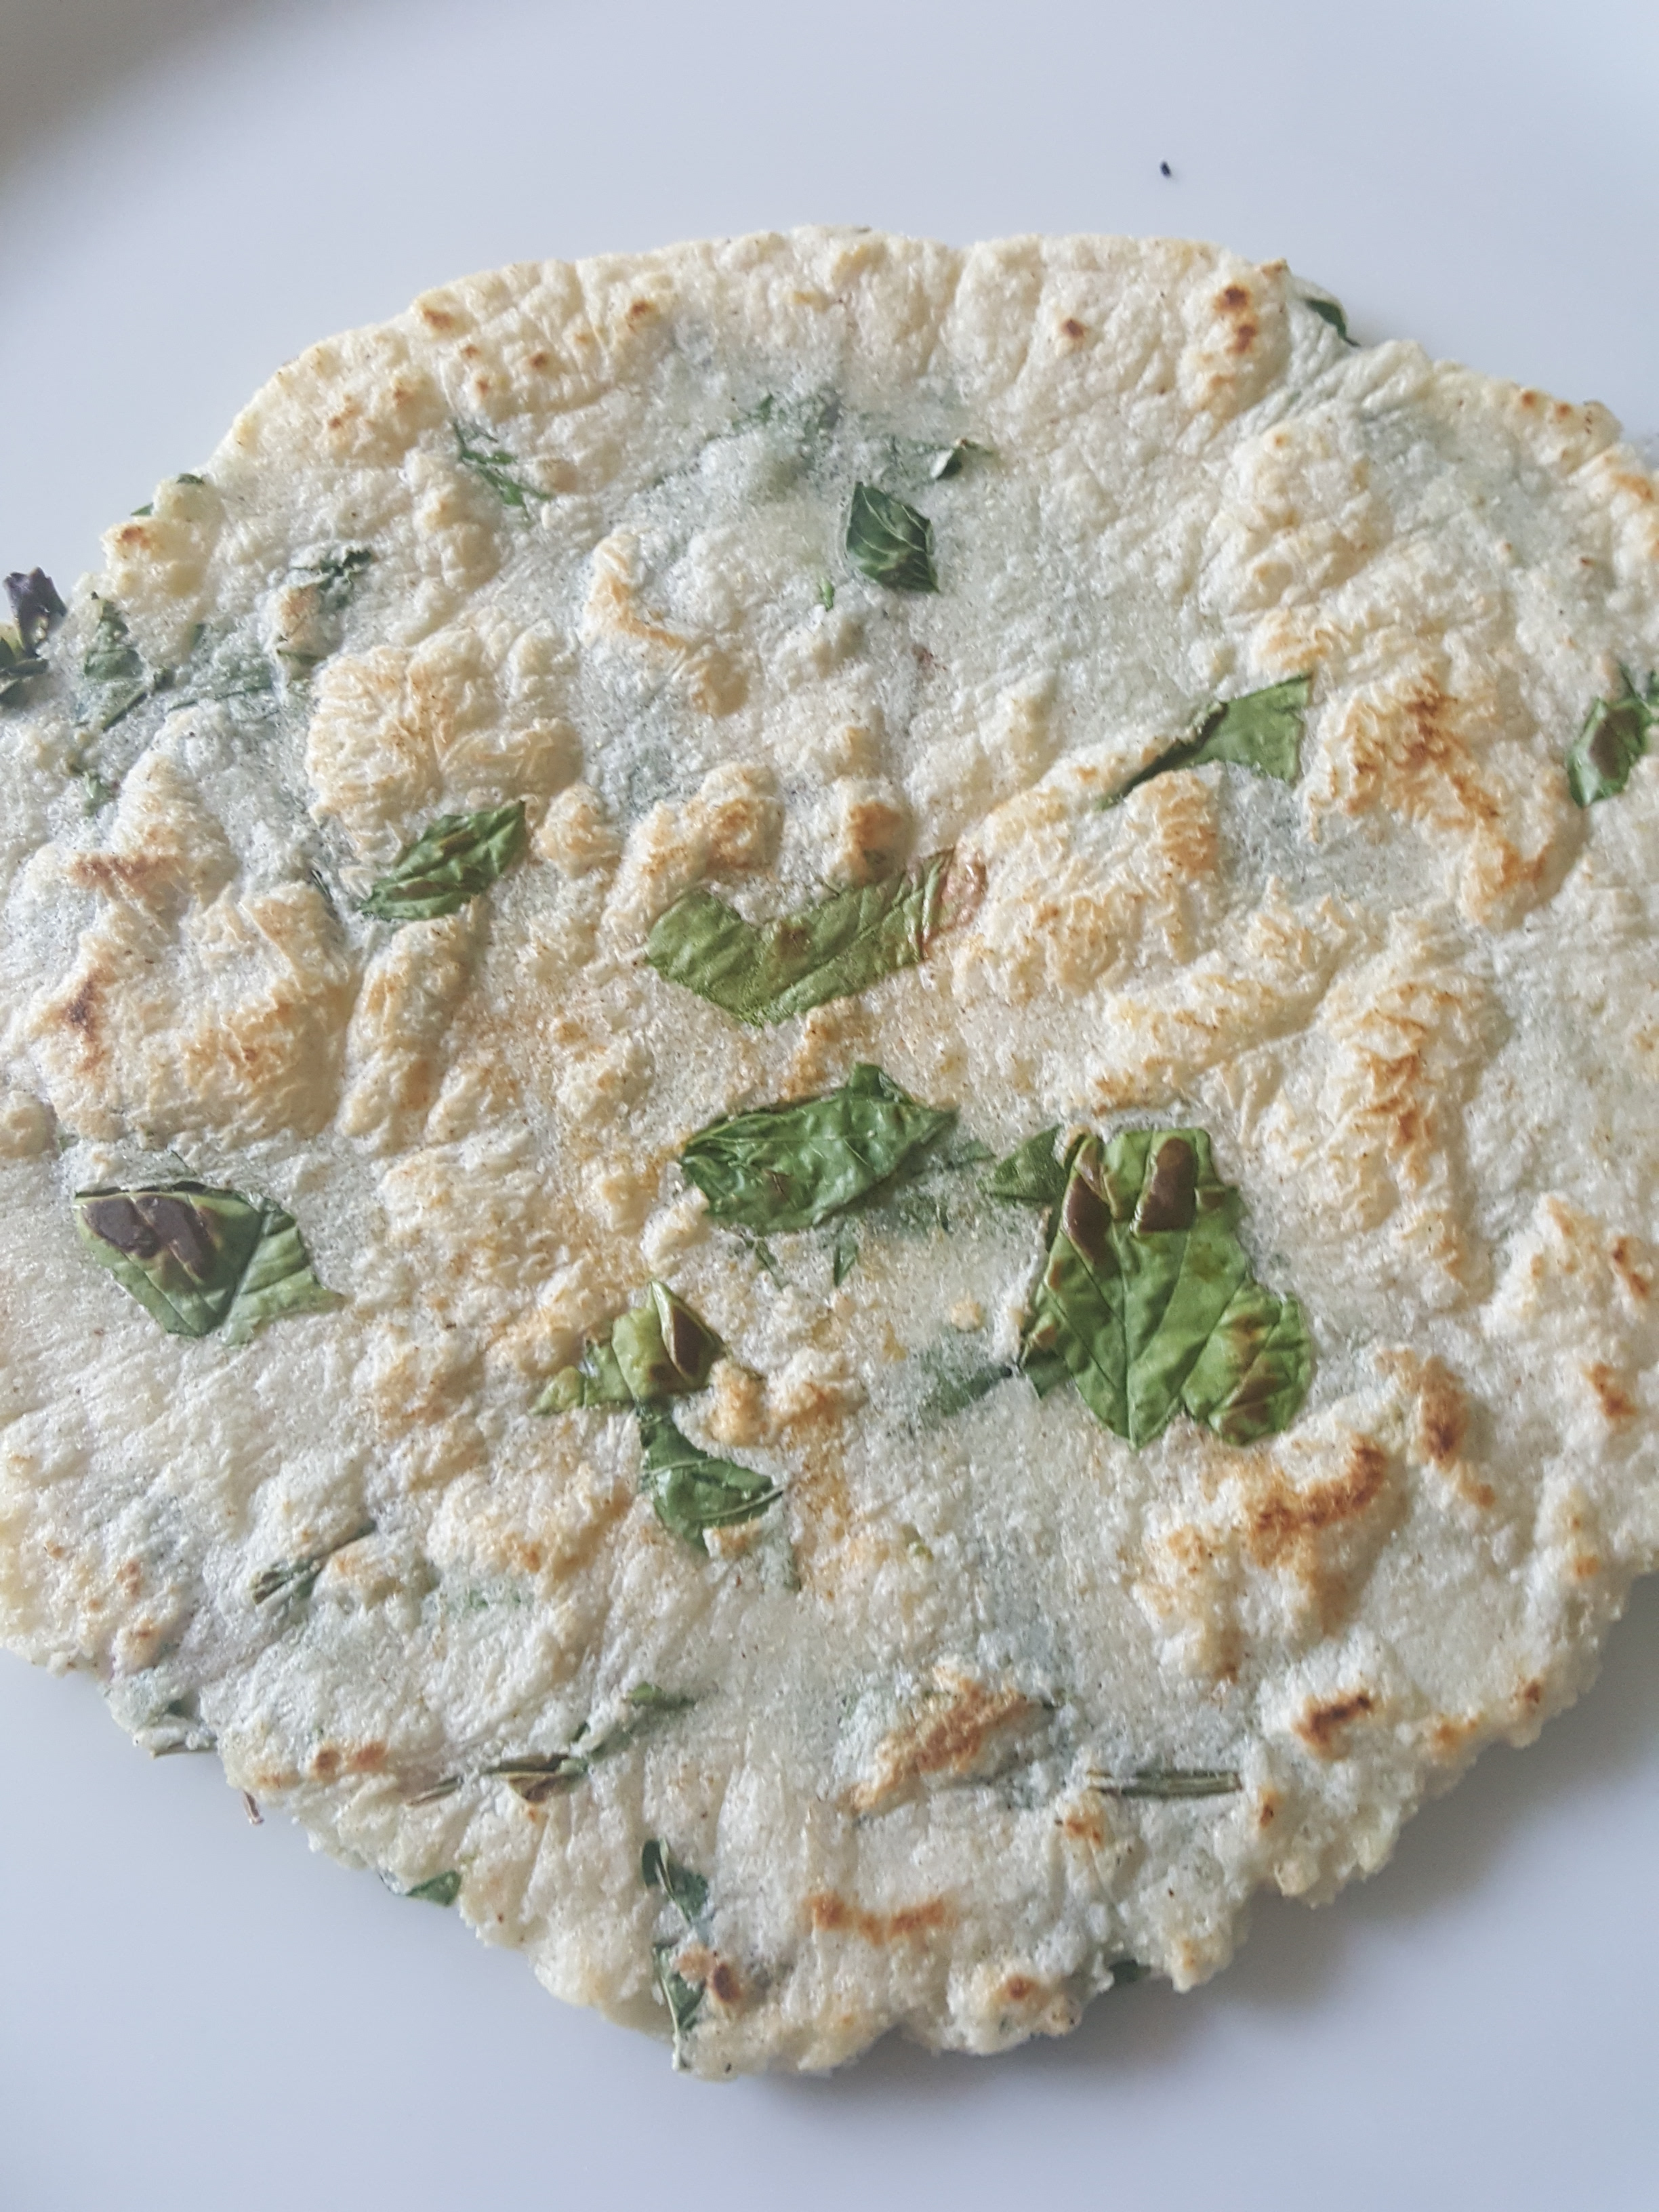
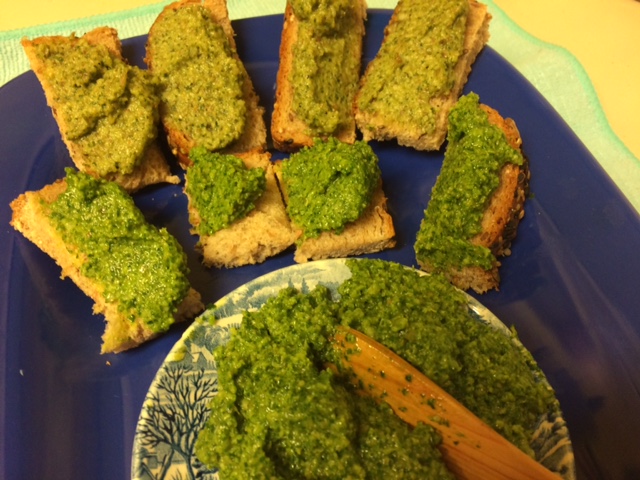
Serve on crackers with cream-cheese, in pasta, on pizza made with local white Sonora wheat flour for another local twist, or simply spread on good bread for a fantastic snack, as seen below!

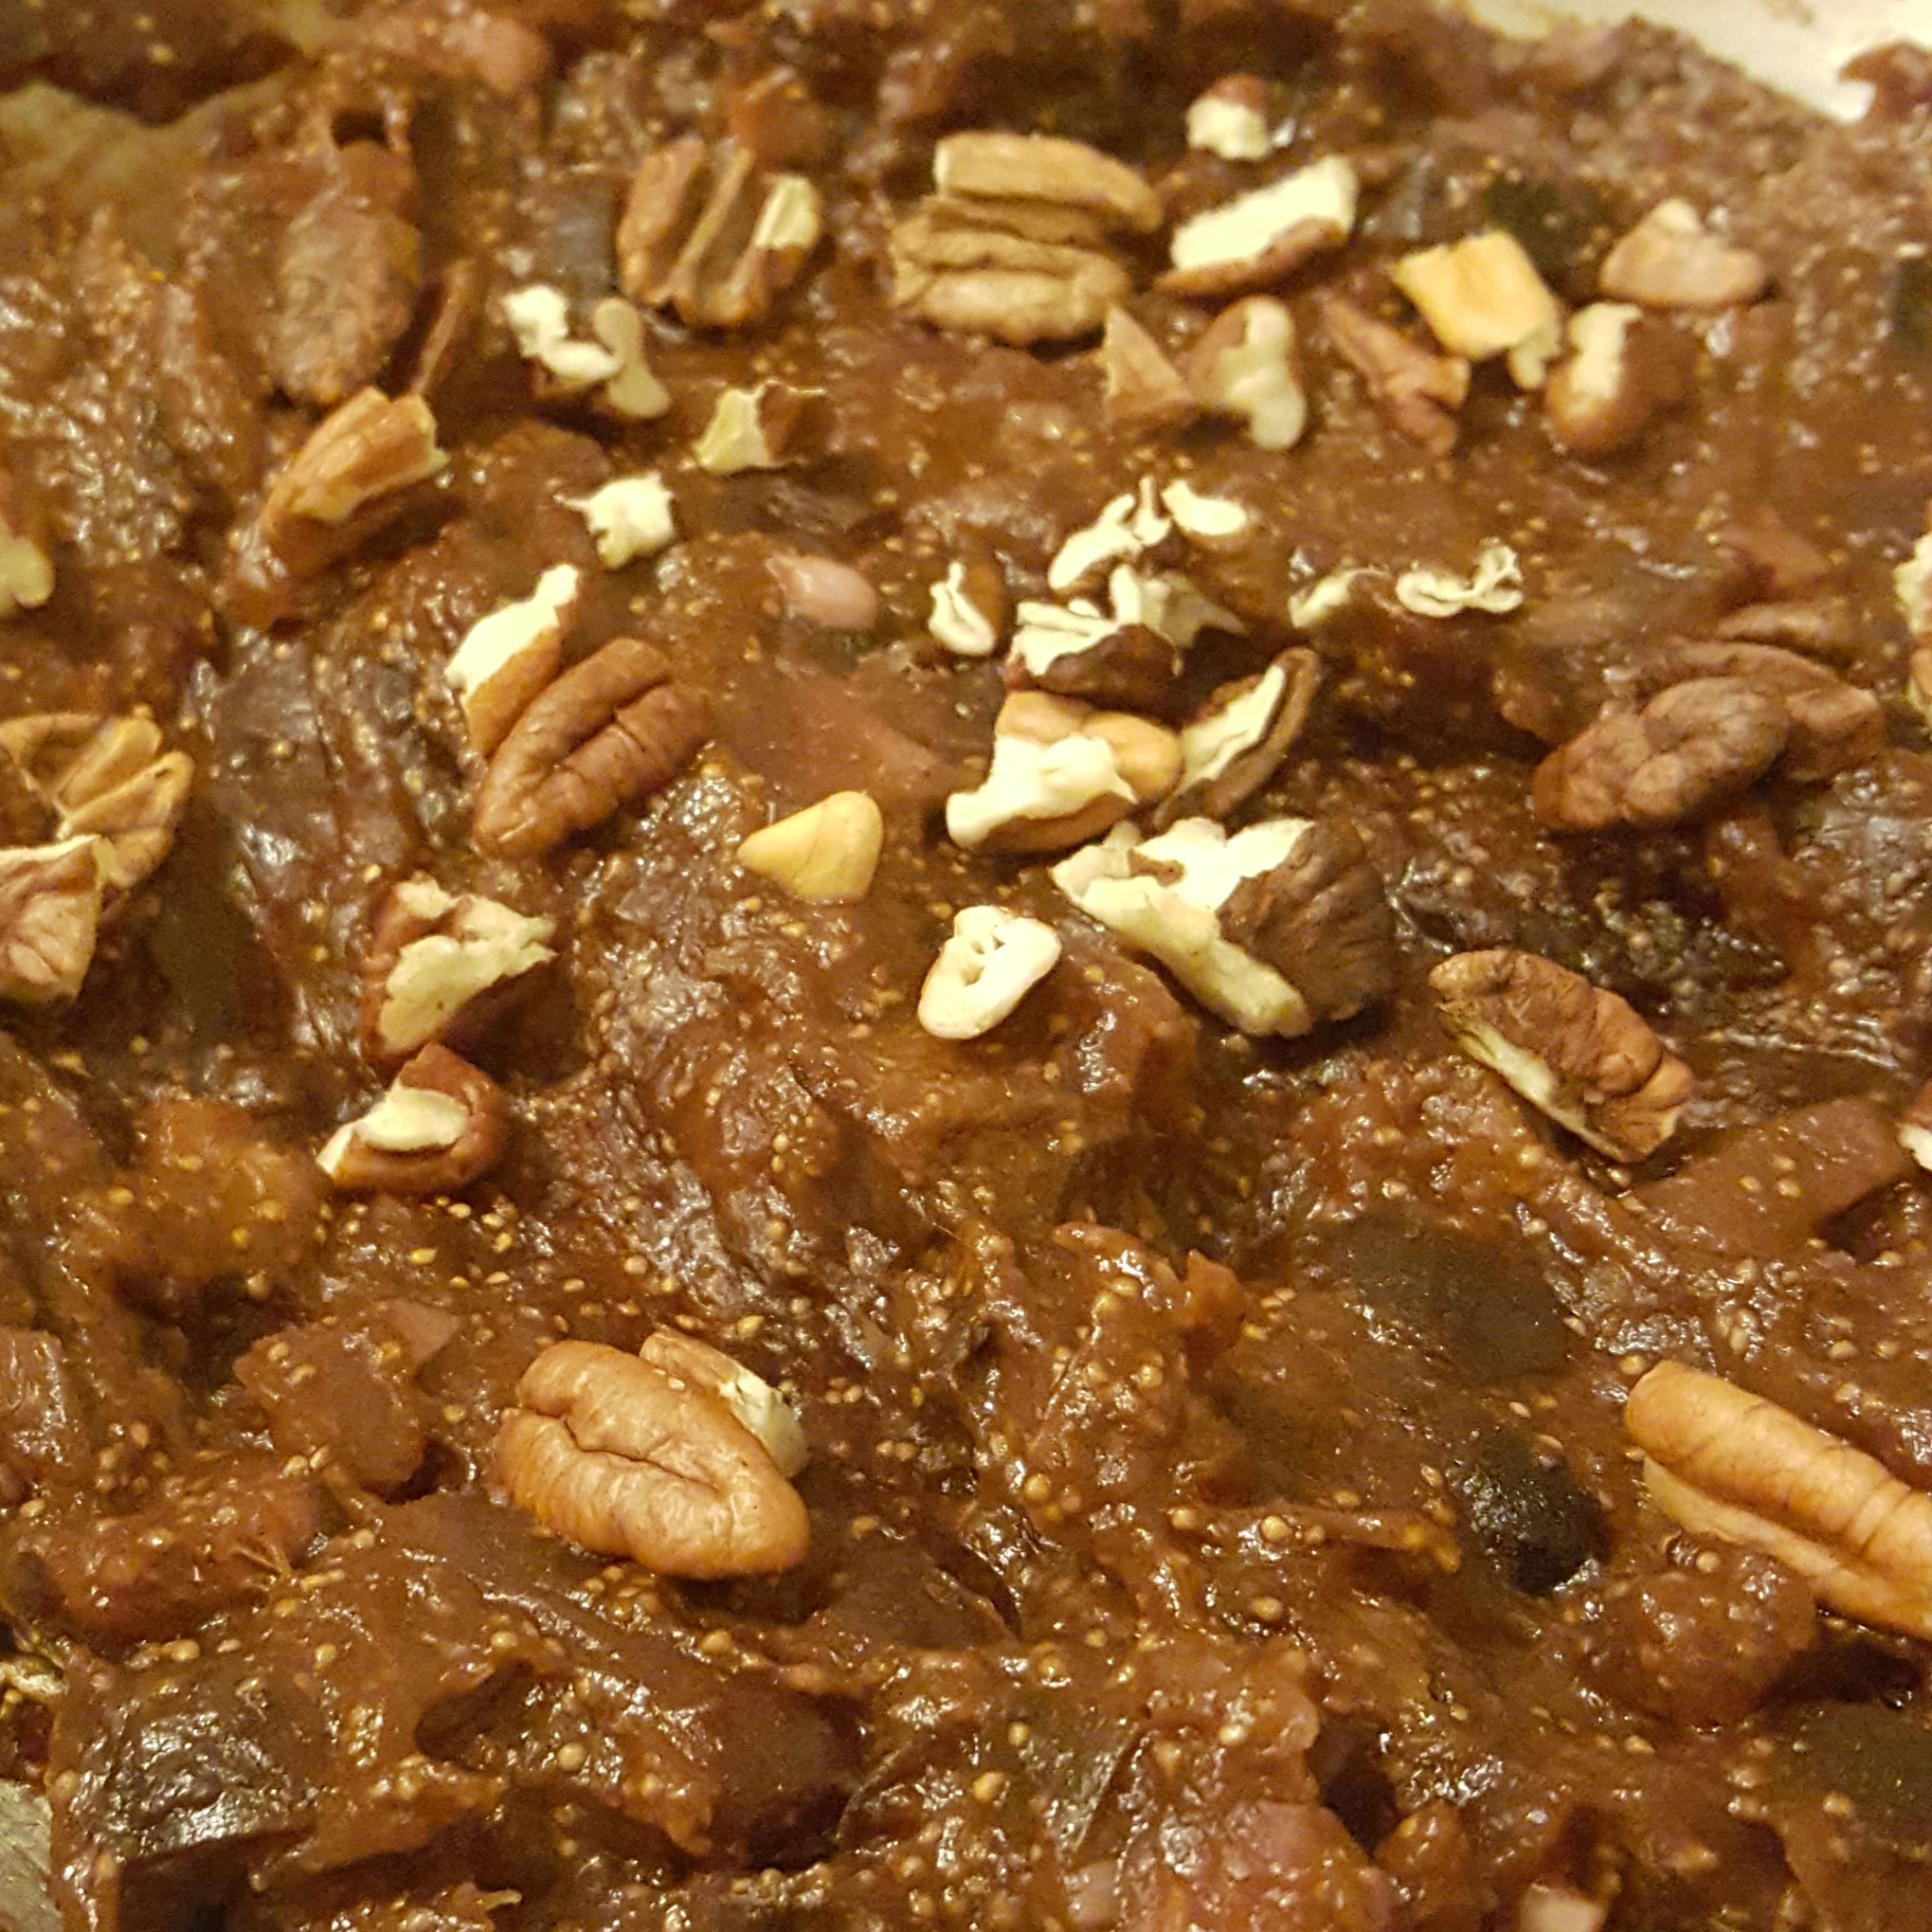
Monsoon Weed Pestos–The top row is Purslane Pesto with Pine Nuts. The darker green is “Pigweed & Pepita Pesto” made with pumpkin seeds–(here served on harvest seed bread squares)–Both Weed Pestos are SO delicious (MABurgess photo)
As you taste either of these nutritious weed pestos with eyes closed, you can SAVOR the wild Southwest bouncing back into its burgeoning monsoon mode and relish the desert’s rhythms. This is Tia Marta’s wish for you– Happy weeding and eating your way through monsoon season!
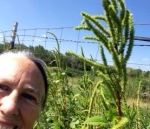
Amaranthus palmeri seedheads growing too tall for a selfie –but soon ready to harvest for seed
(You can read about Winter/Spring Weeds in my blog from February 14, 2014. Interestingly, the weeds that flourish with our Sonoran Desert summer rains in the heat are totally different from the species that sprout in winter with cool/wet conditions here. The metabolism of winter vs. summer weeds involves totally different biochemical strategies—tho’ they are all similarly nutritious.)


 Believe it or not, autumn has officially arrived. Once it no longer gets into the triple digits, it is time to think about planting perennial plants. Get them in the ground in fall – and then they will have a fighting chance to become well established before the heat of next summer hits.
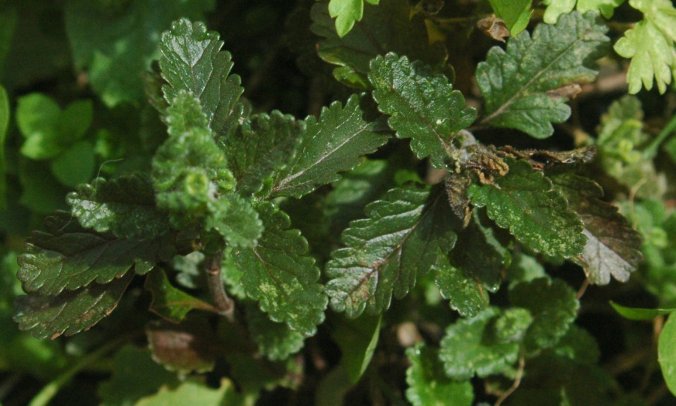
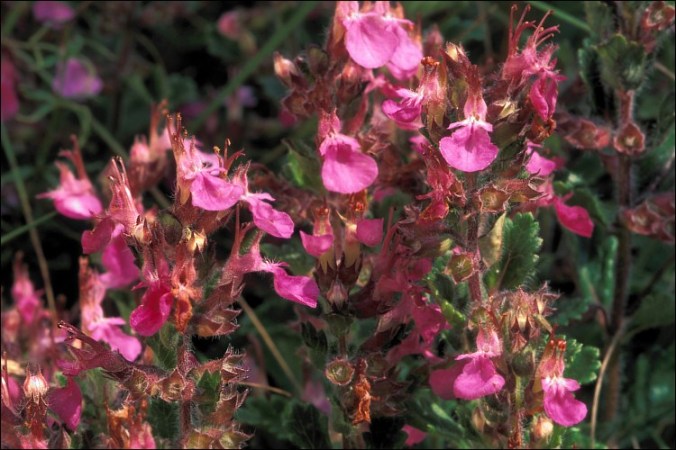
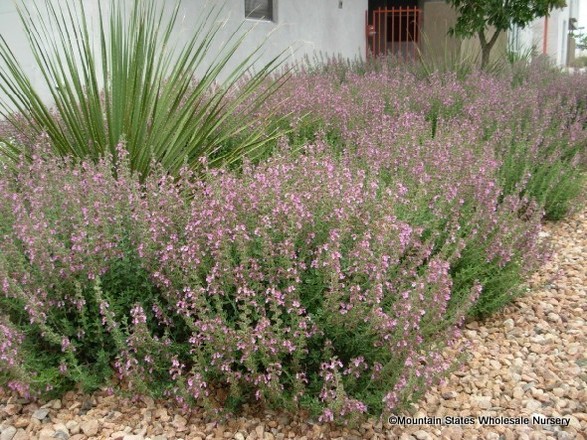
 A list of landscape herbs can go on extensively, but I do want to mention one that is often overlooked – germander. Originally brought here in Father Kino’s time, germander was originally used as a medicinal, but it can also be used in cooking. Like so many other herbs that come to us from the eastern edge of the Mediterranean (along with bay laurel, sage, rosemary, thyme, and more). On their native rocky hillsides of Greece and Turkey, these herbs receive rain only in the winter, and are thus excellently drought adapted for our region.