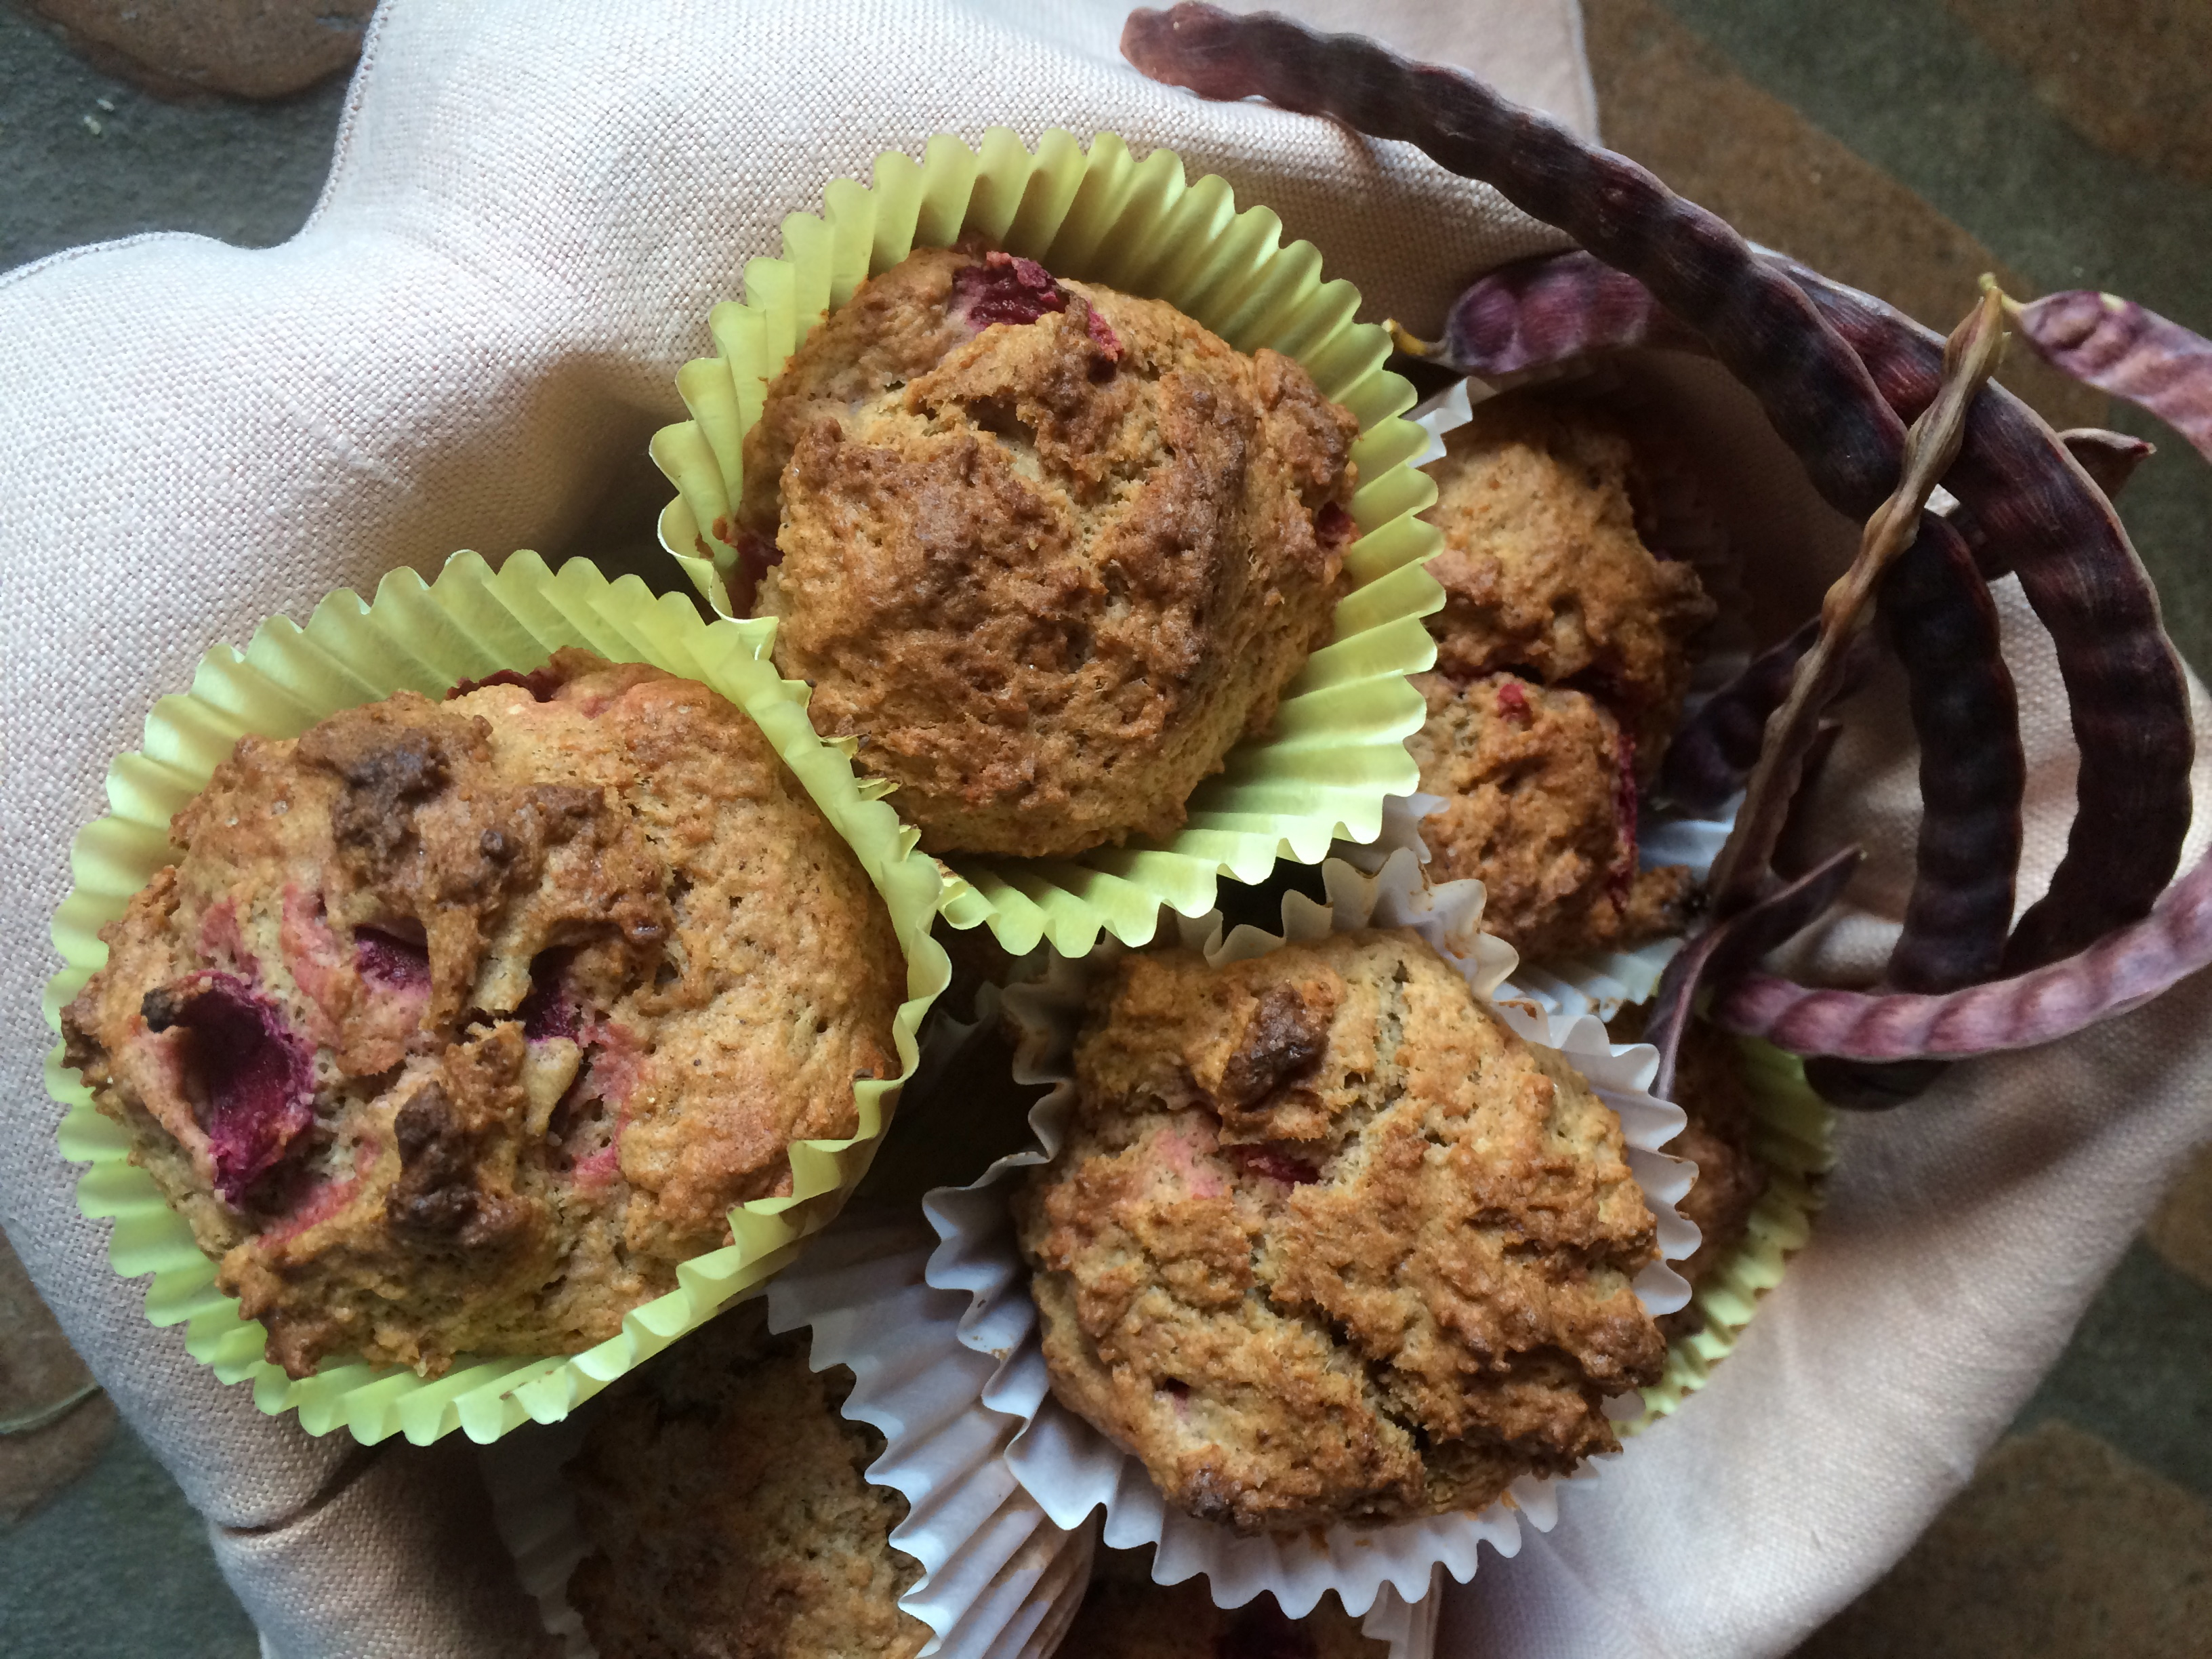
No matter who your candidate was this momentous month, by fixing this festive treat called “Election Bread,” we can at least toast the democratic process AND local heirloom foods all in one delicious slice!
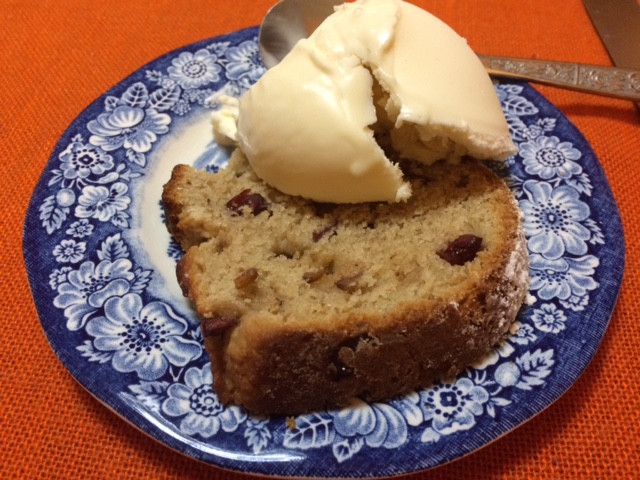
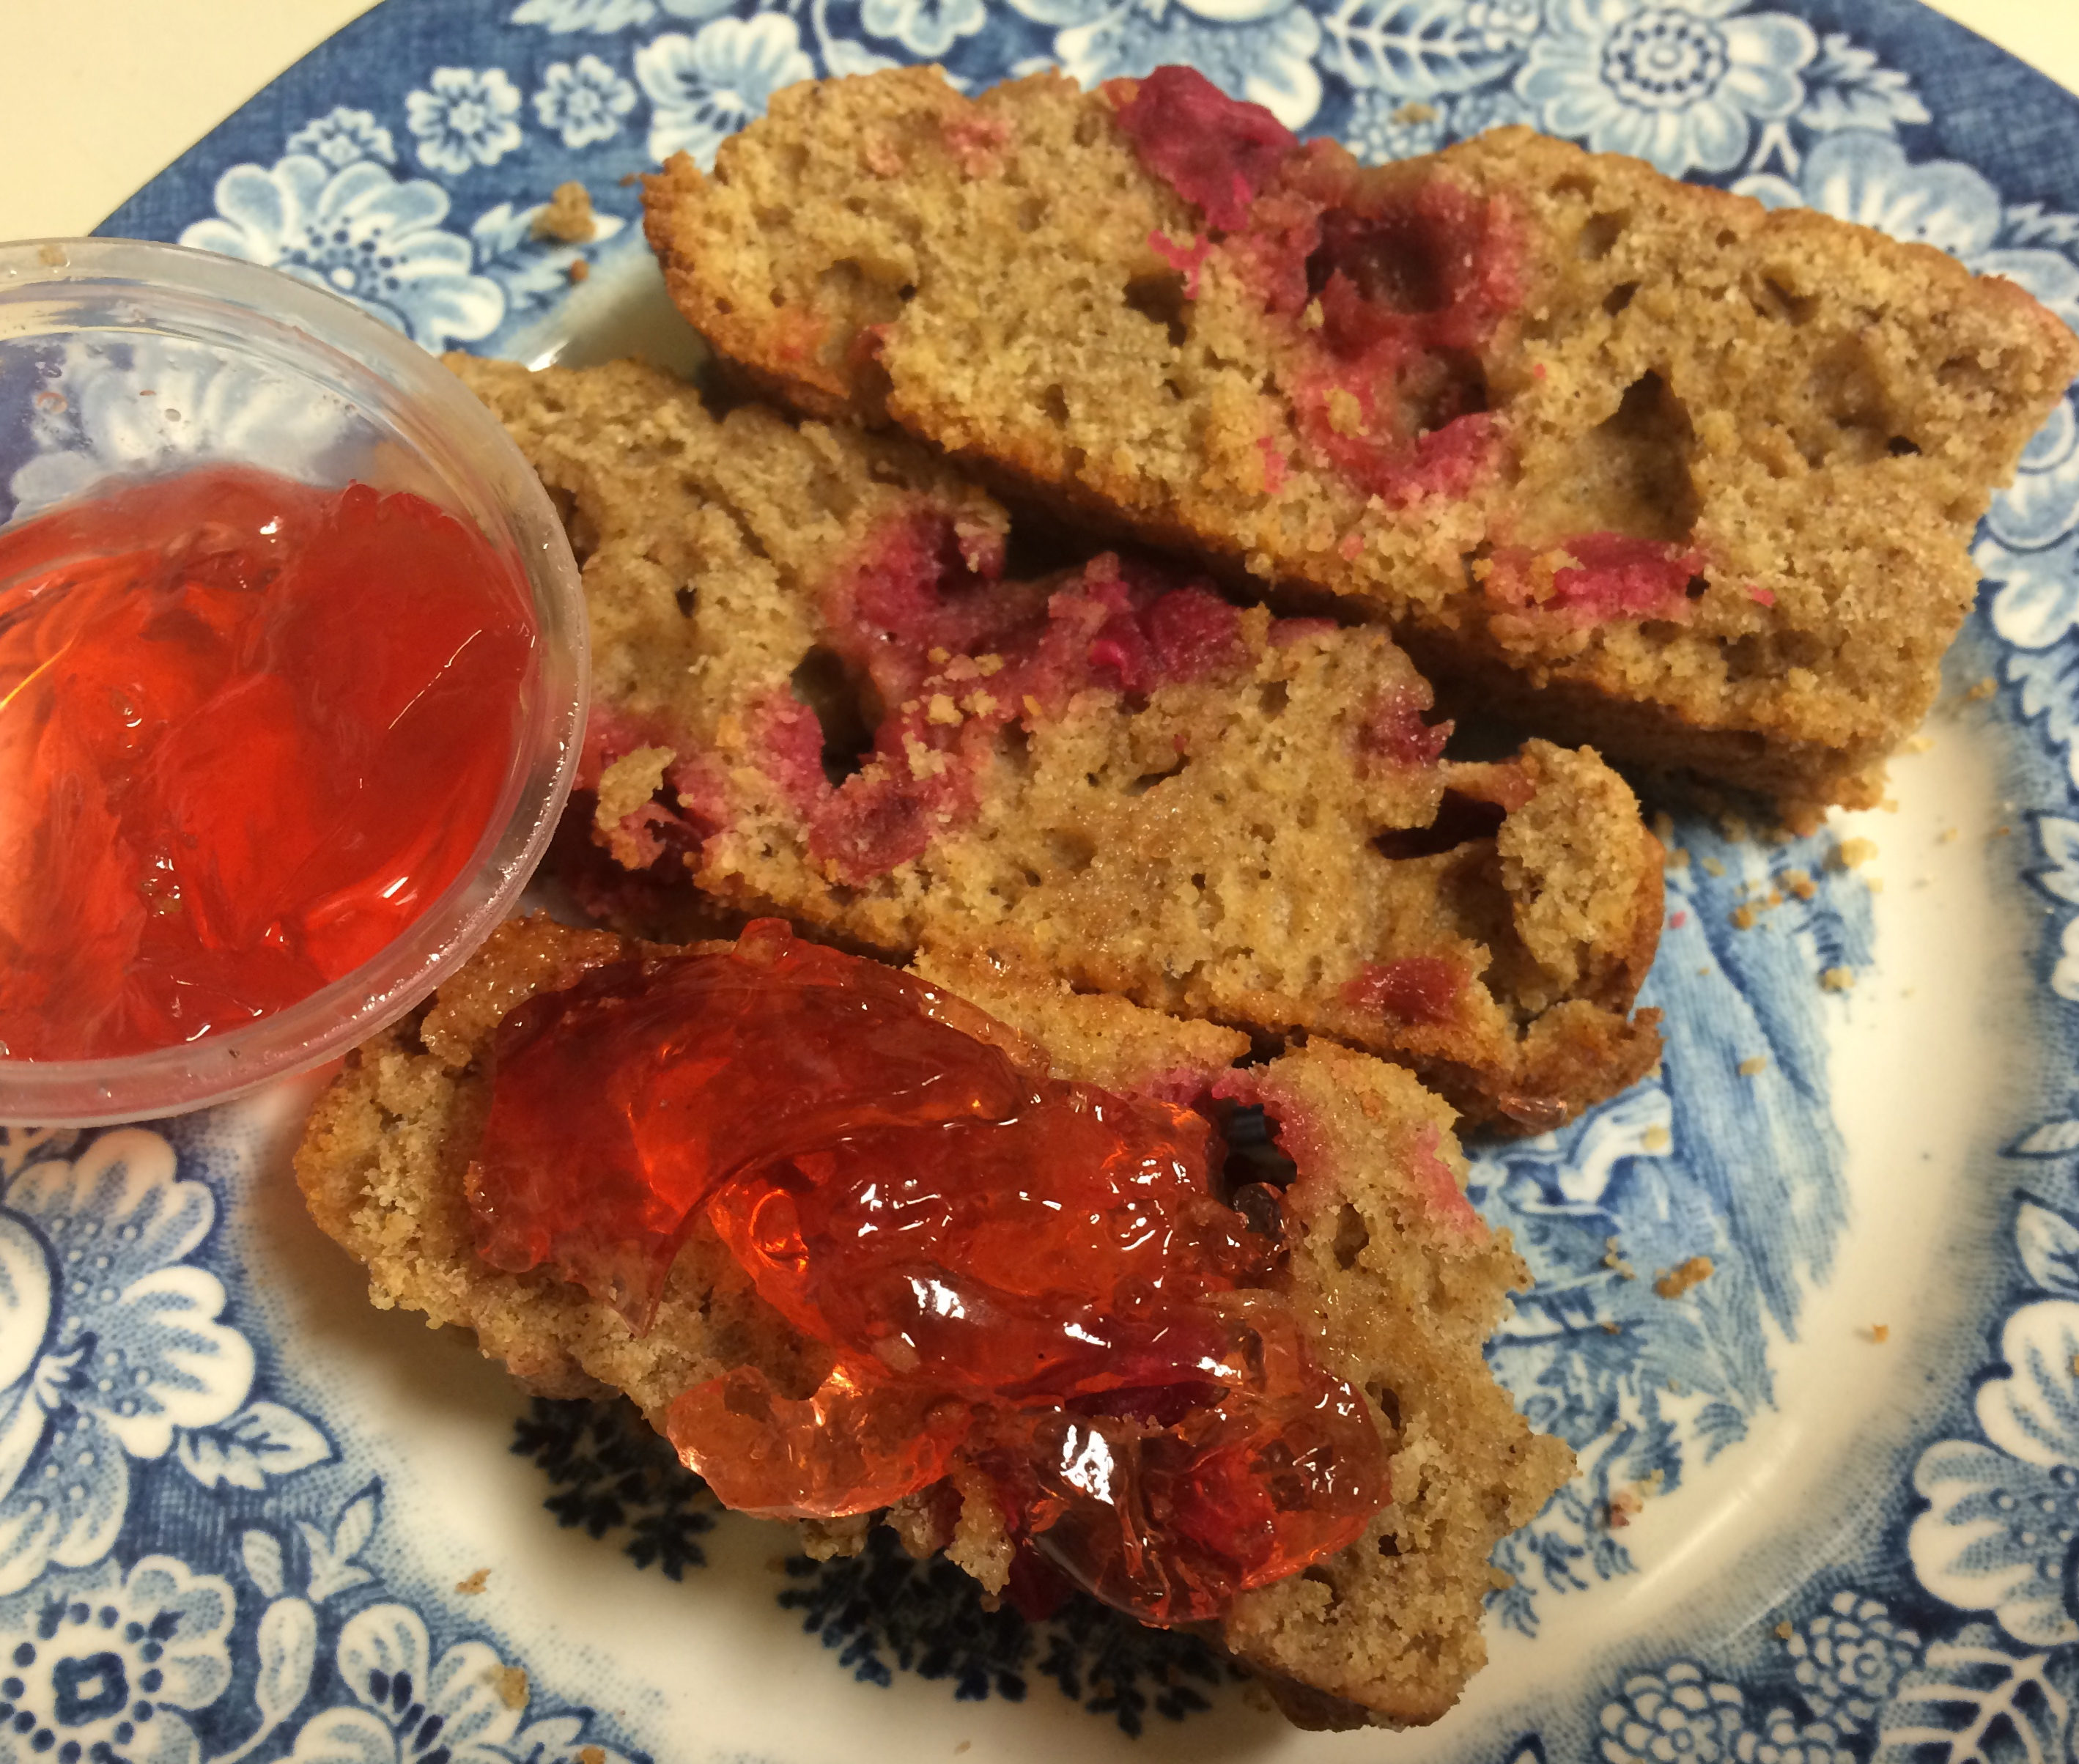
Ames family traditional Election Bread served joyously as a dessert topped with natural vanilla ice cream
Tia Marta here to share an Election Bread recipe inspired from my own family tradition served around election time each November. On the internet you might find historical variations of it with the moniker “Election Cake.” Technically it is a fruity yeast bread—probably one of the precursors of holiday fruit cake, reminiscent of Italian panettone–a nice addition as weather cools and fruits ripen. In the “old days” they say this Election Bread was baked to attract people to the polls on Election Day and fortify them for the trip home.
I gleaned our Ames Family Election Bread recipe from a cherished little cook’s notebook which my 80-year-old great Aunt Rina wrote for me when I was just learning to cook—yikes, some decades ago. My new adaptation of it reflects our home turf in the flavor-filled Sonoran Desert.
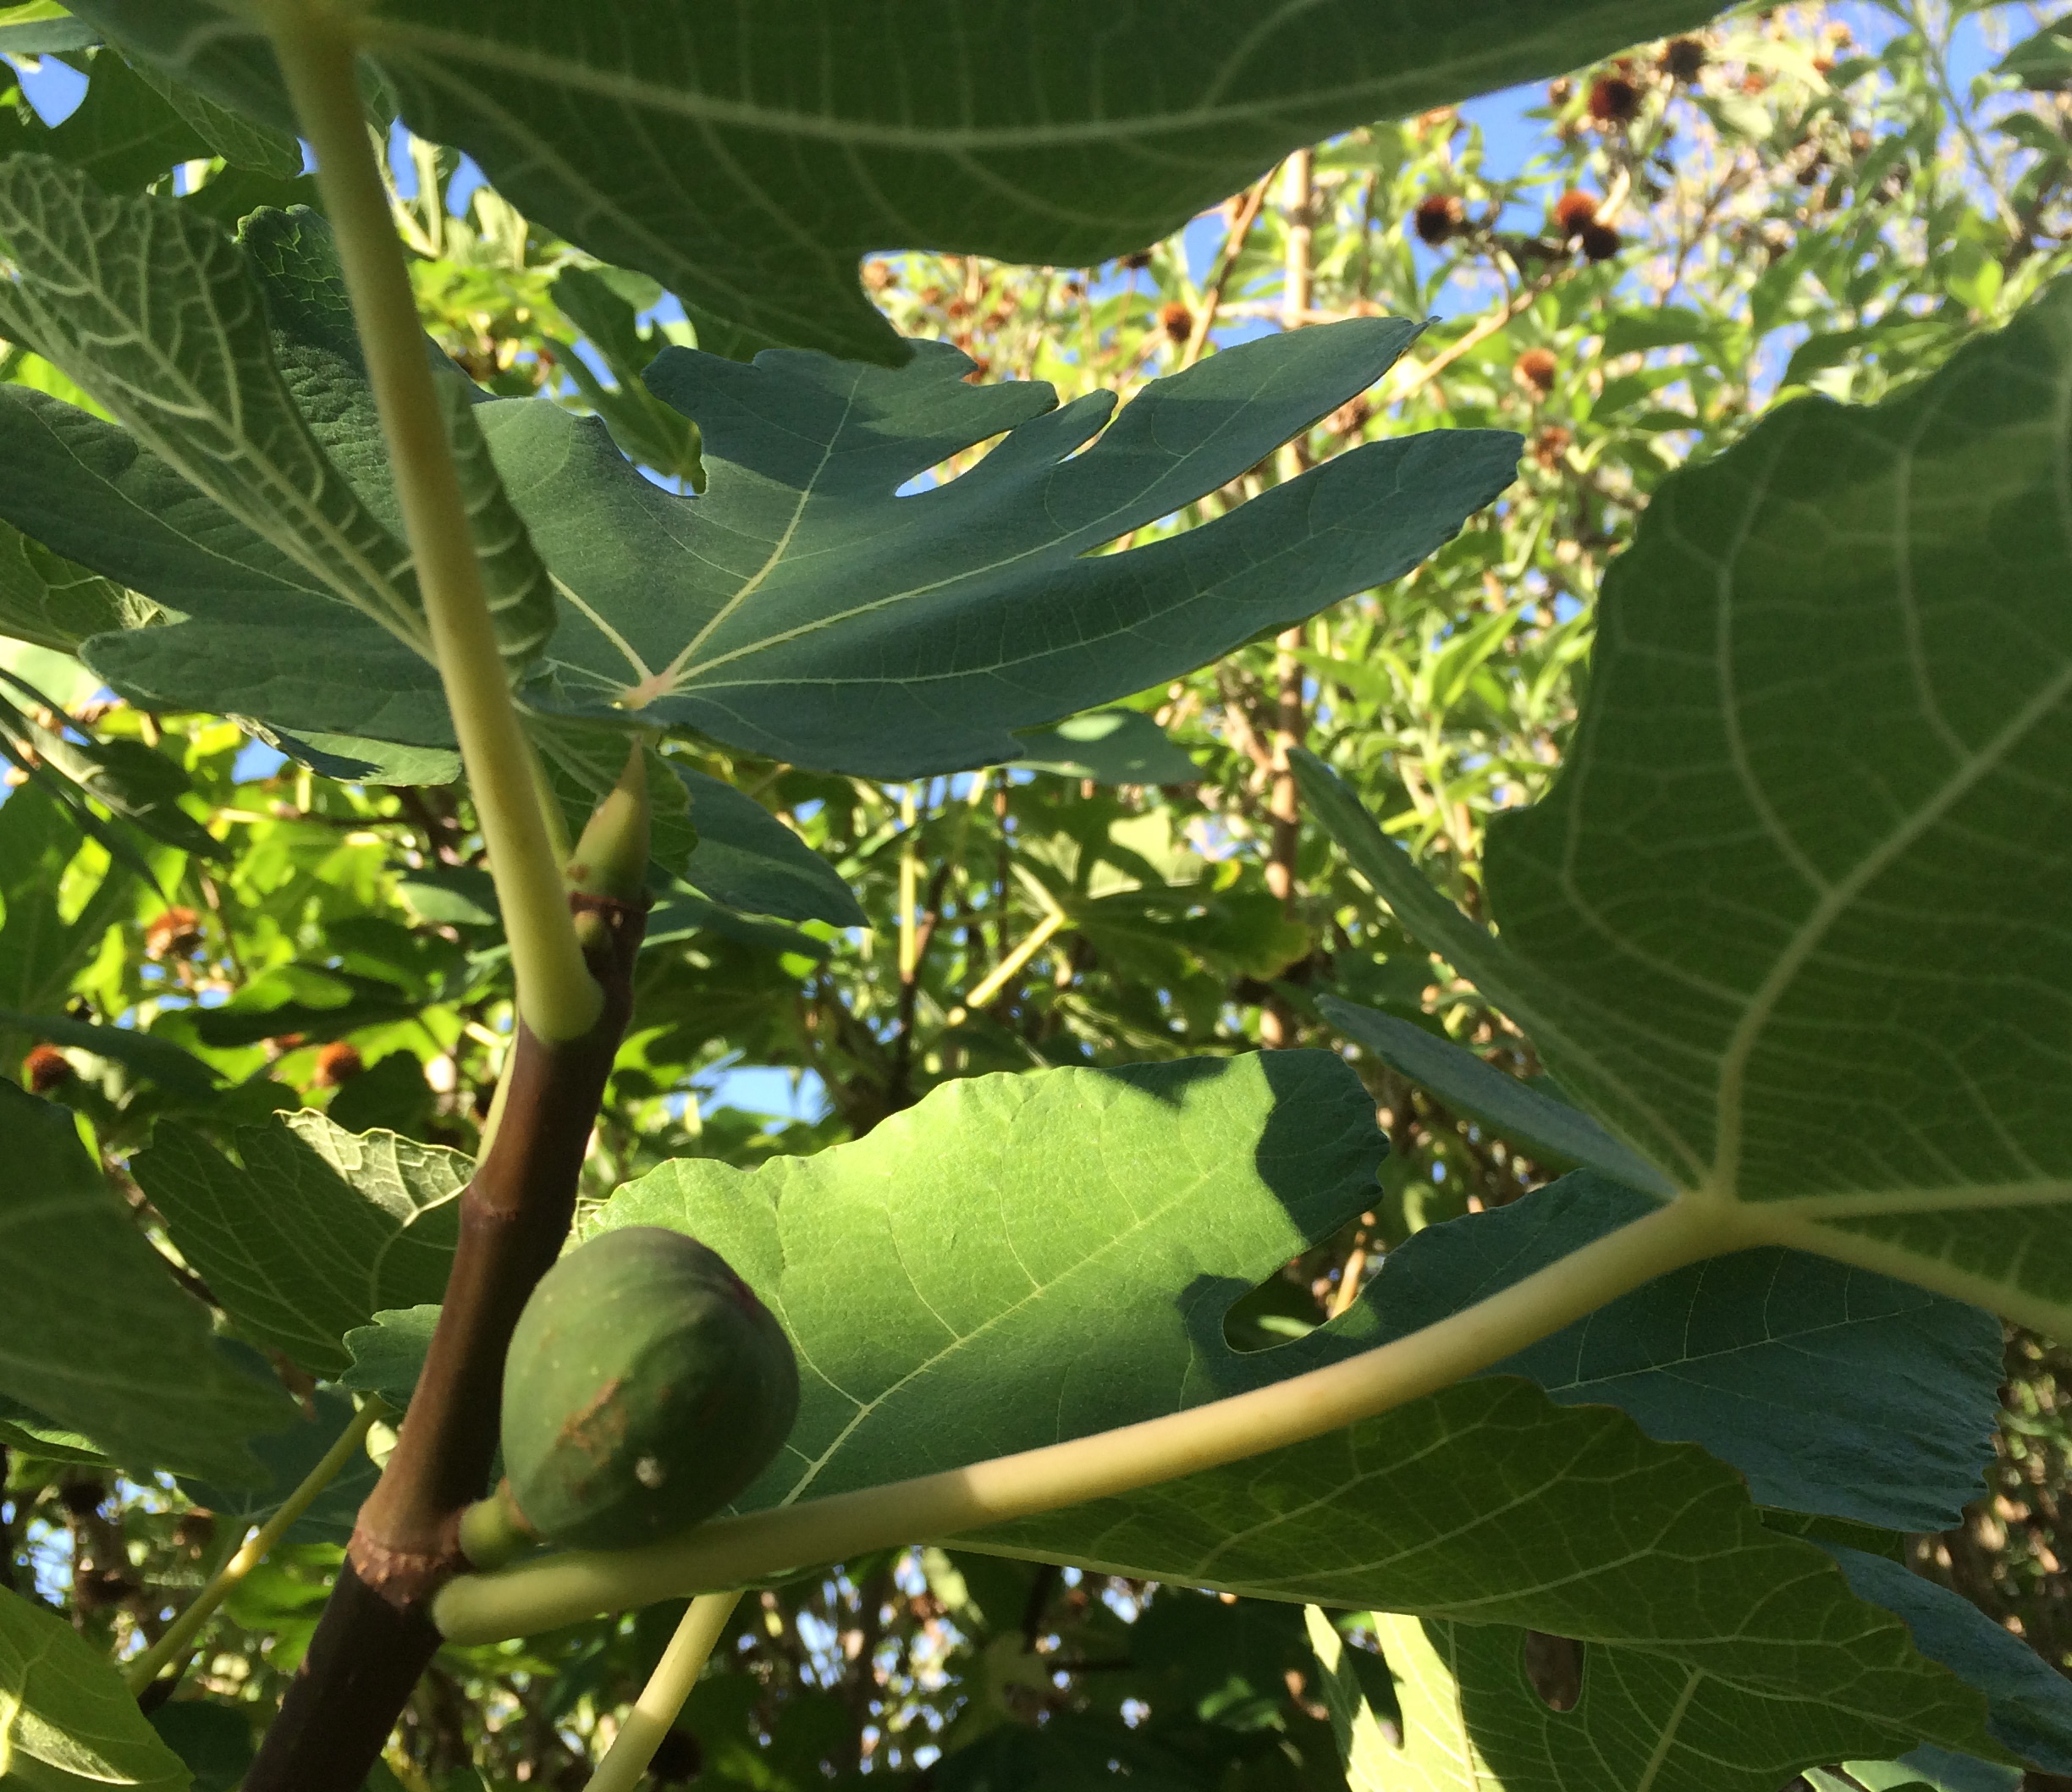
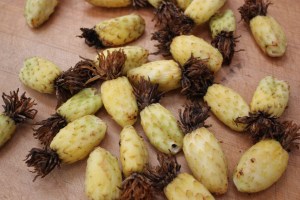
Heirloom Sosa-Carrillo fig (a Padre Kino introduction) from Mission Garden now producing in my yard (MABurgess photo)
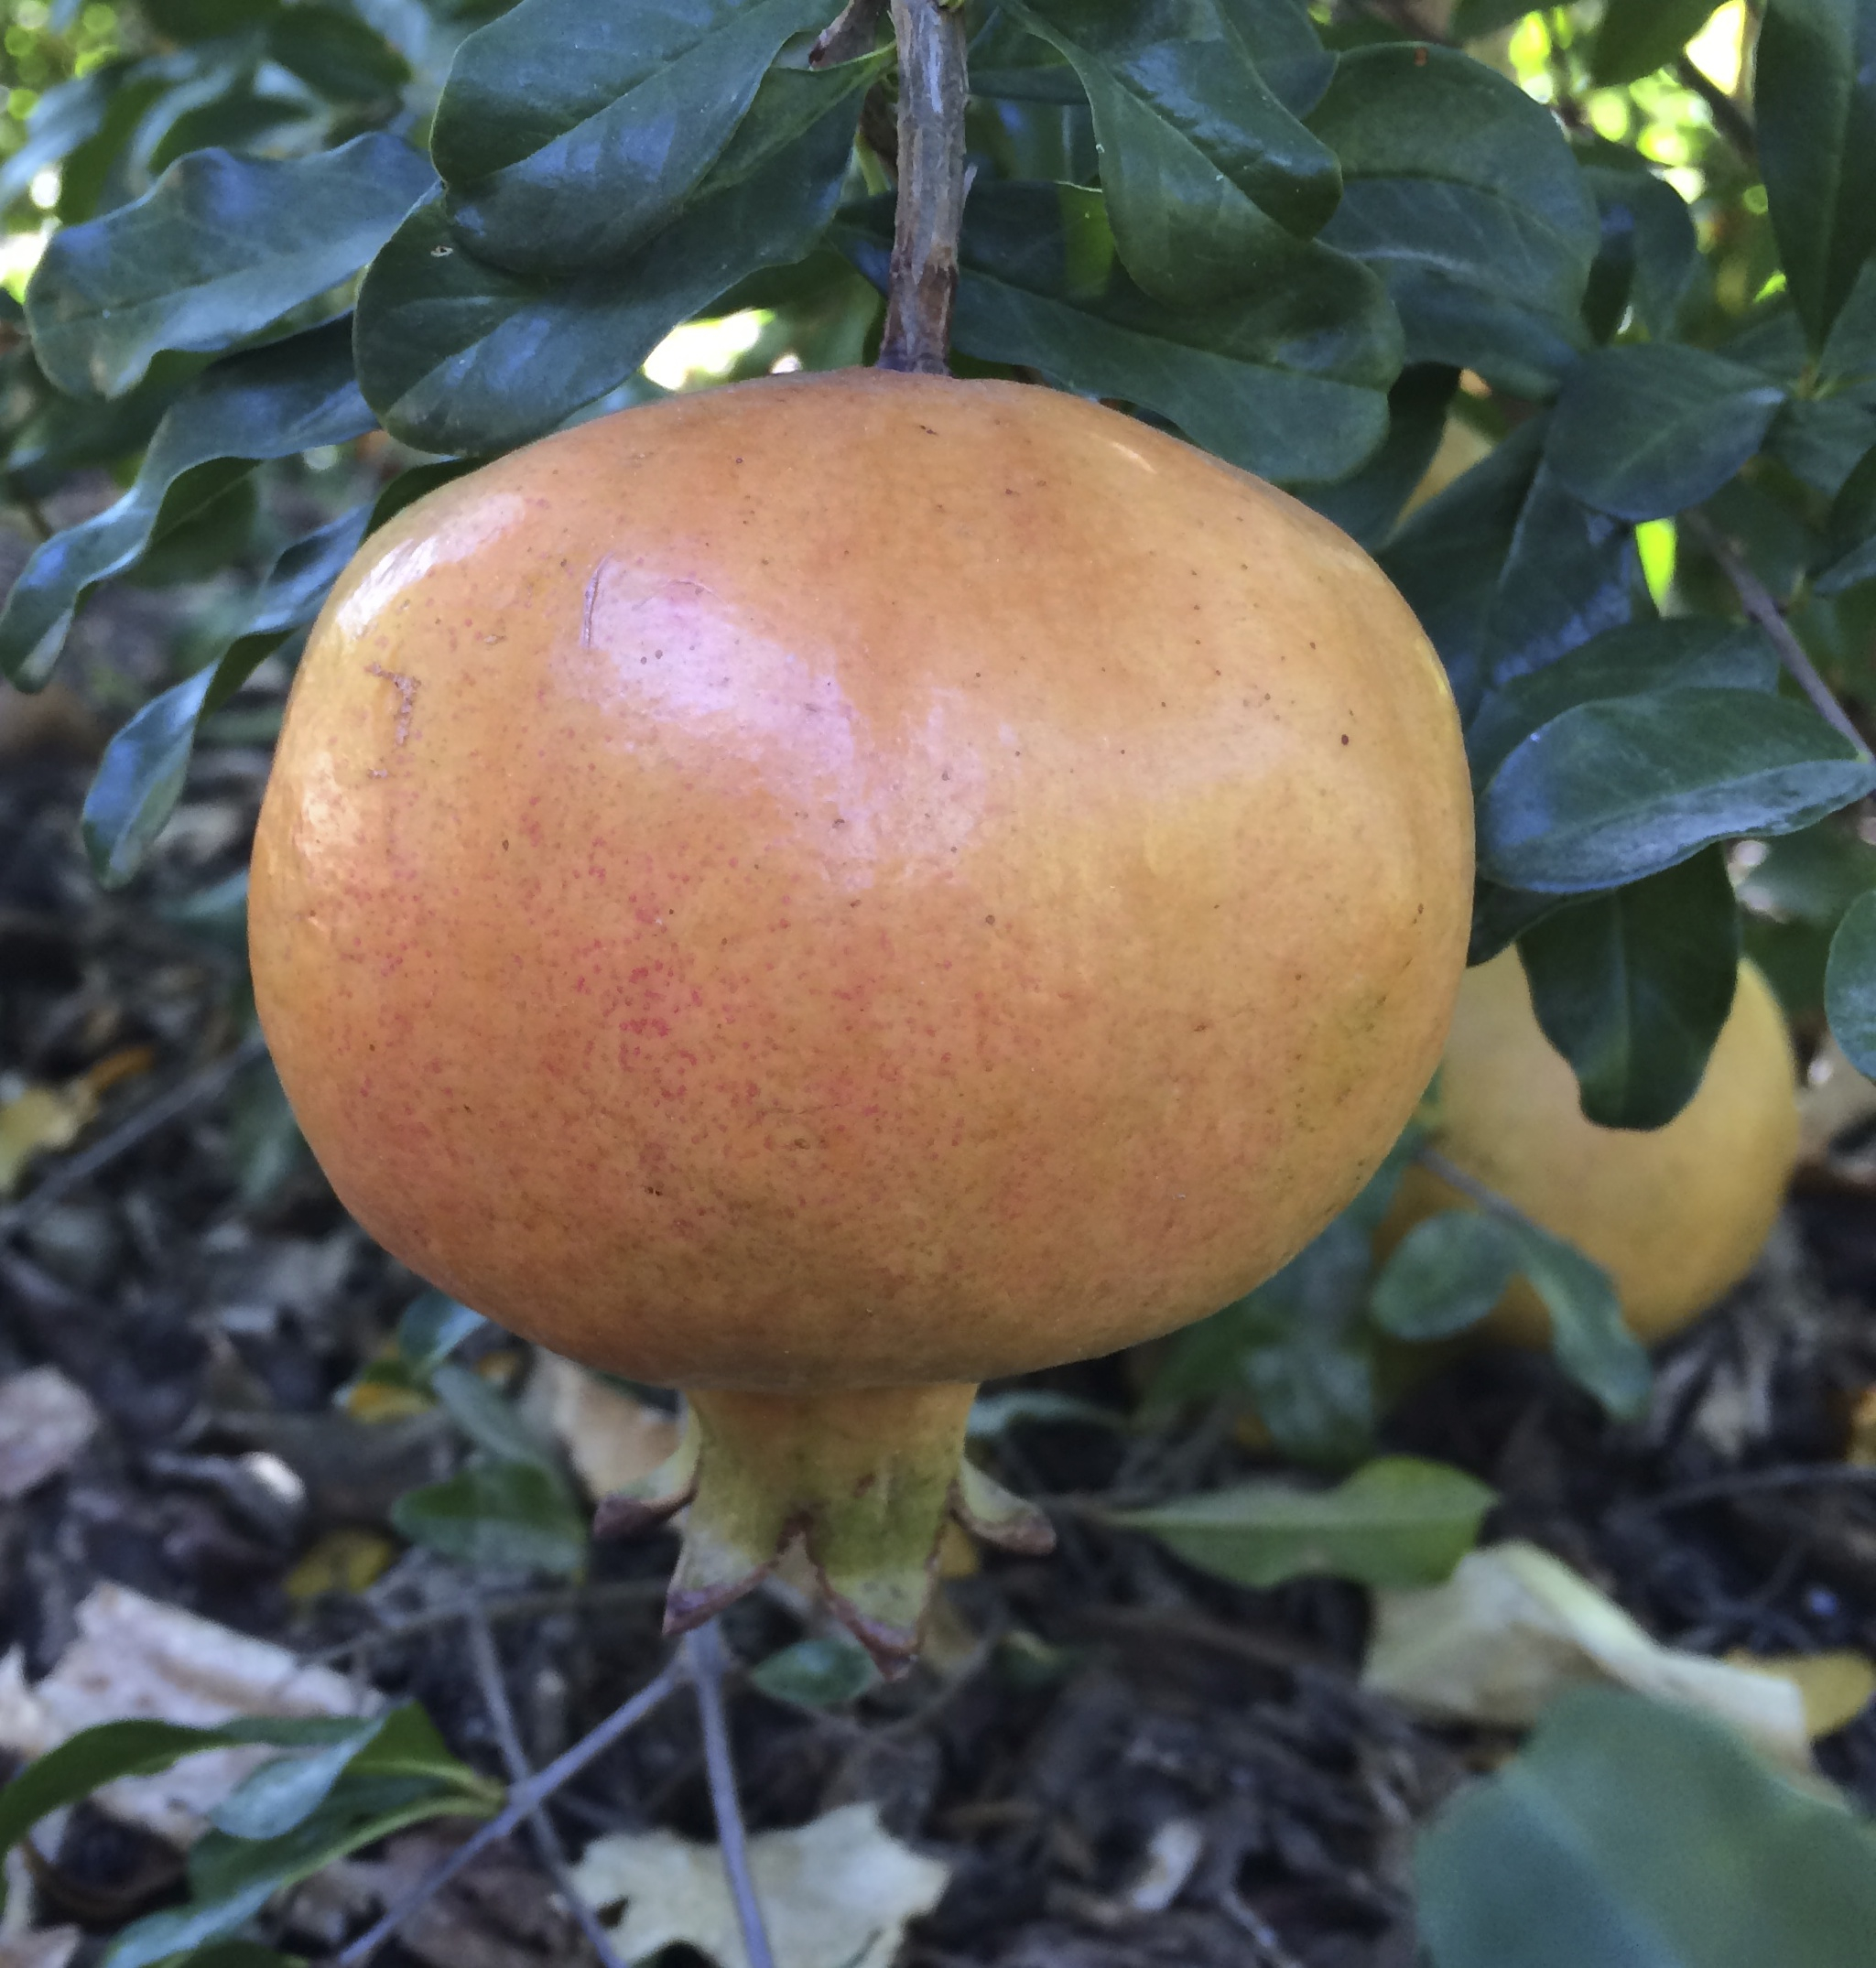
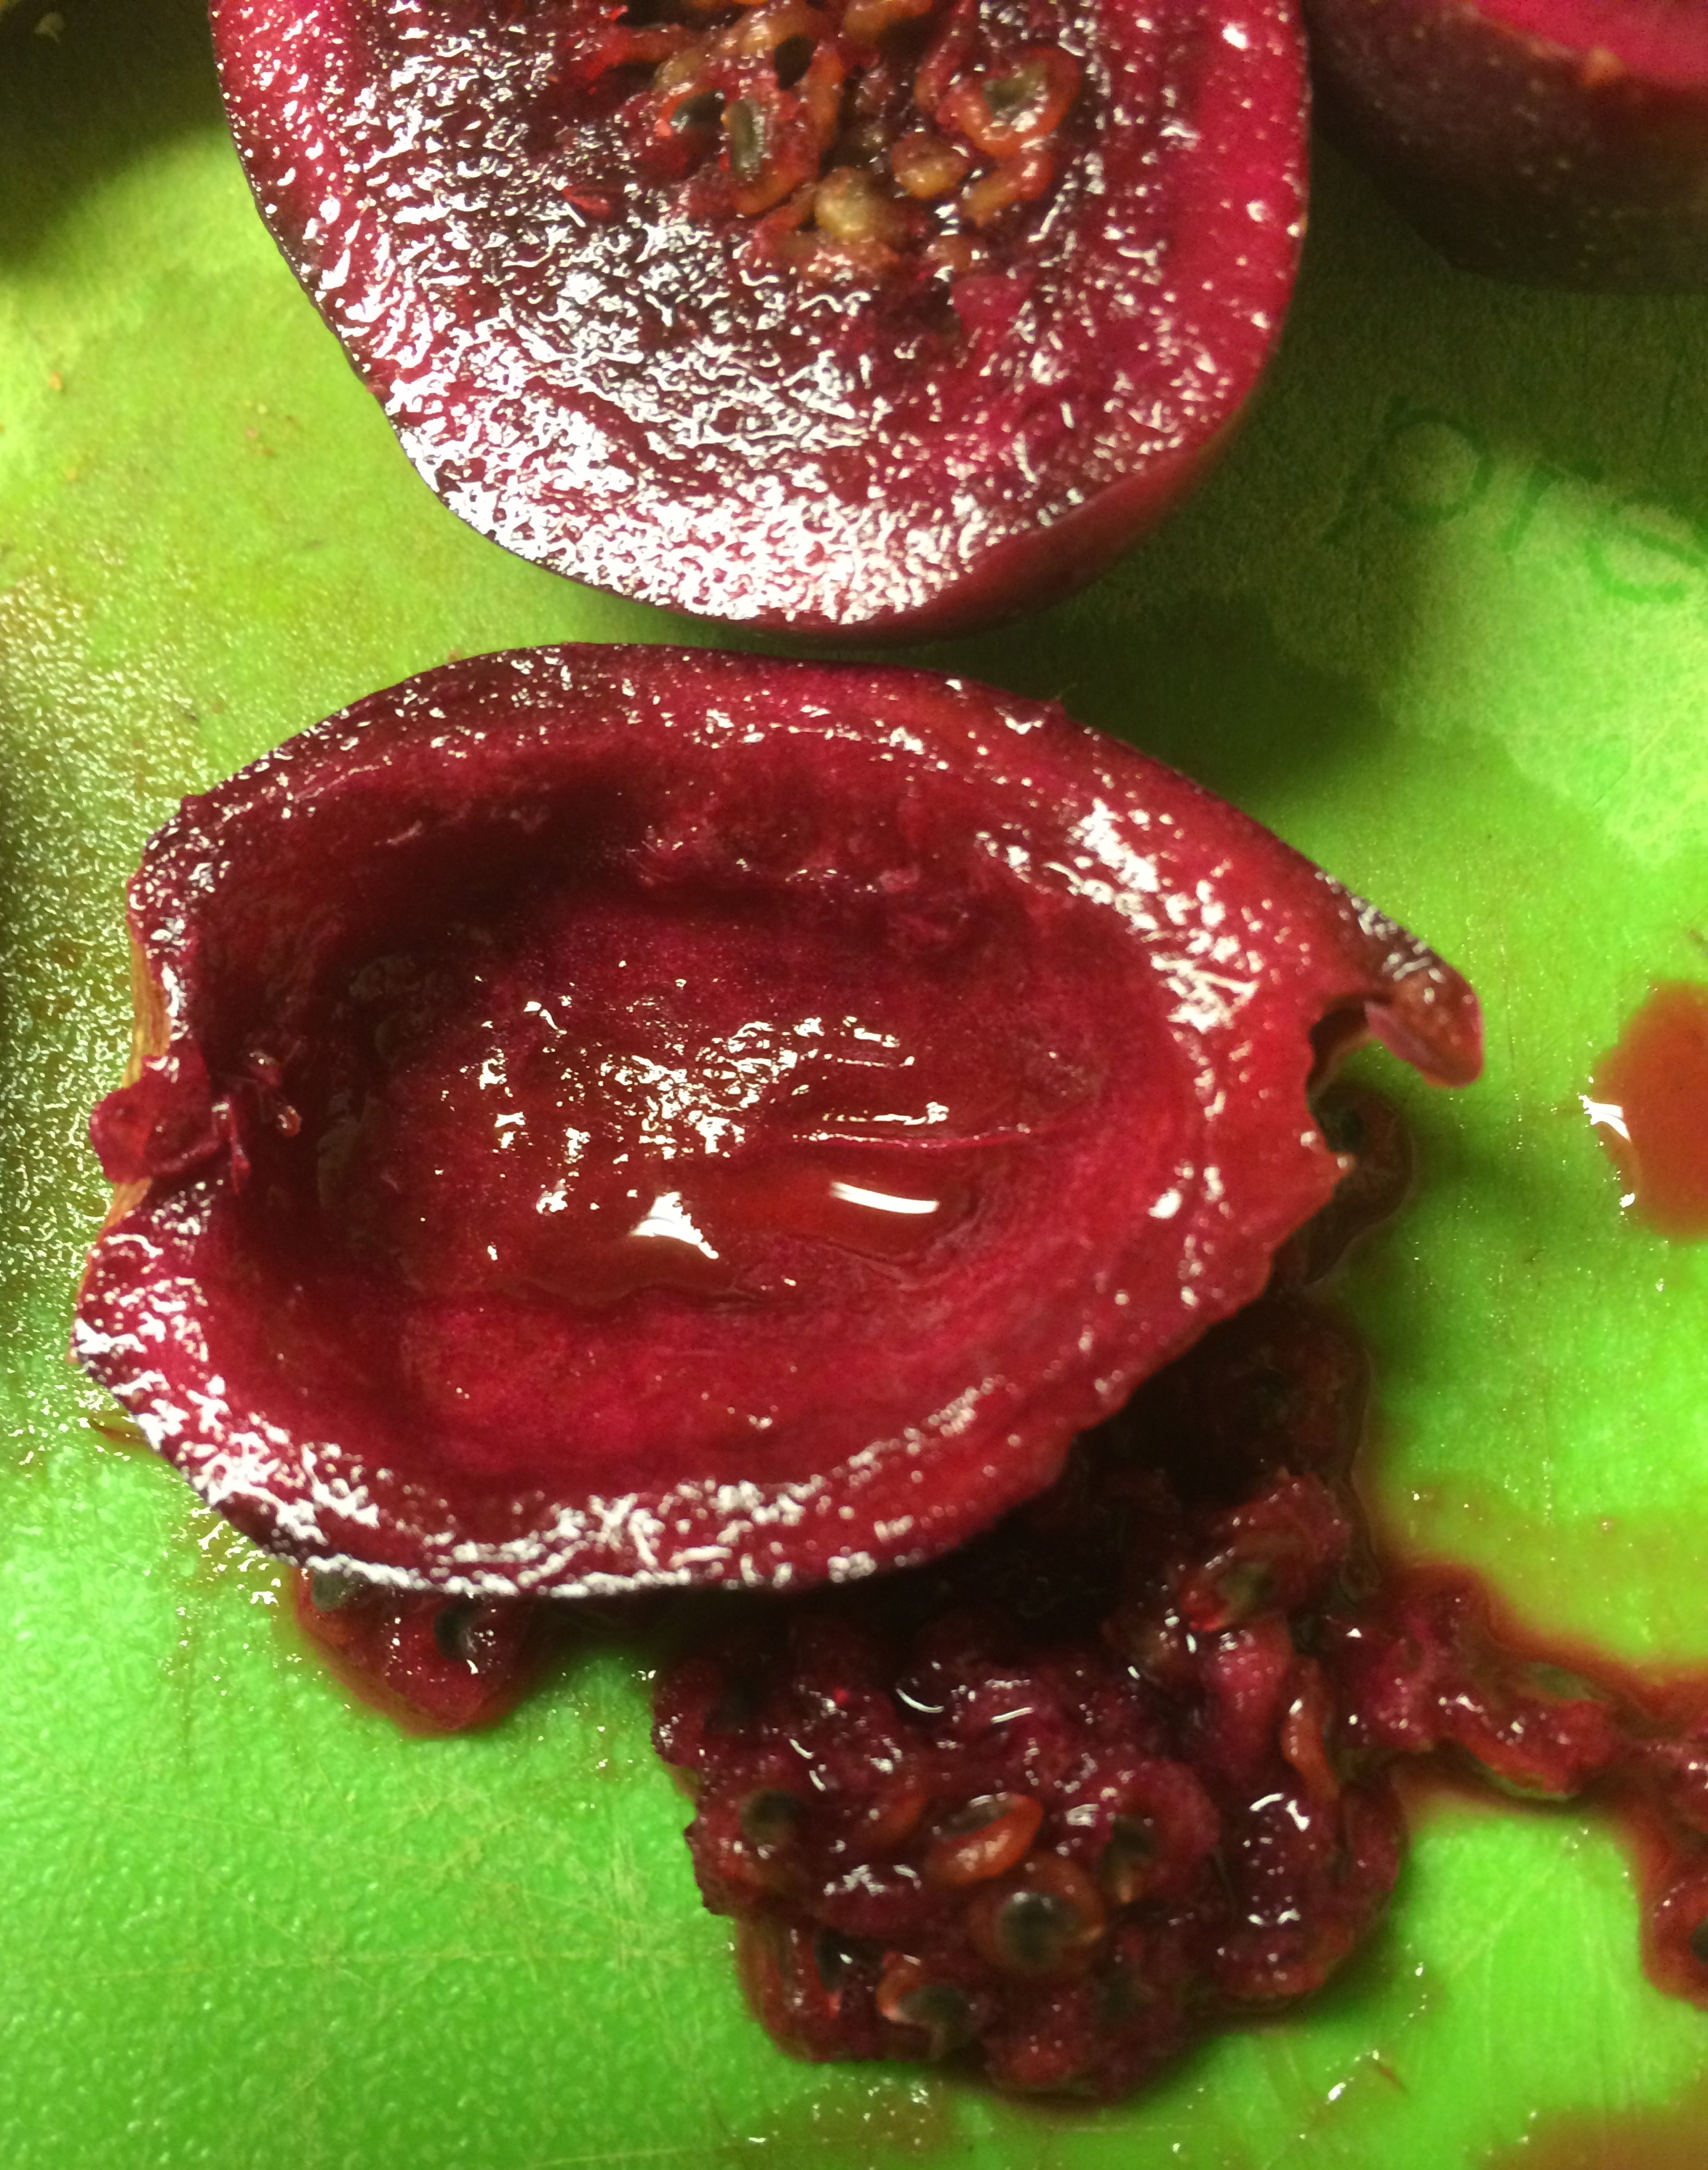
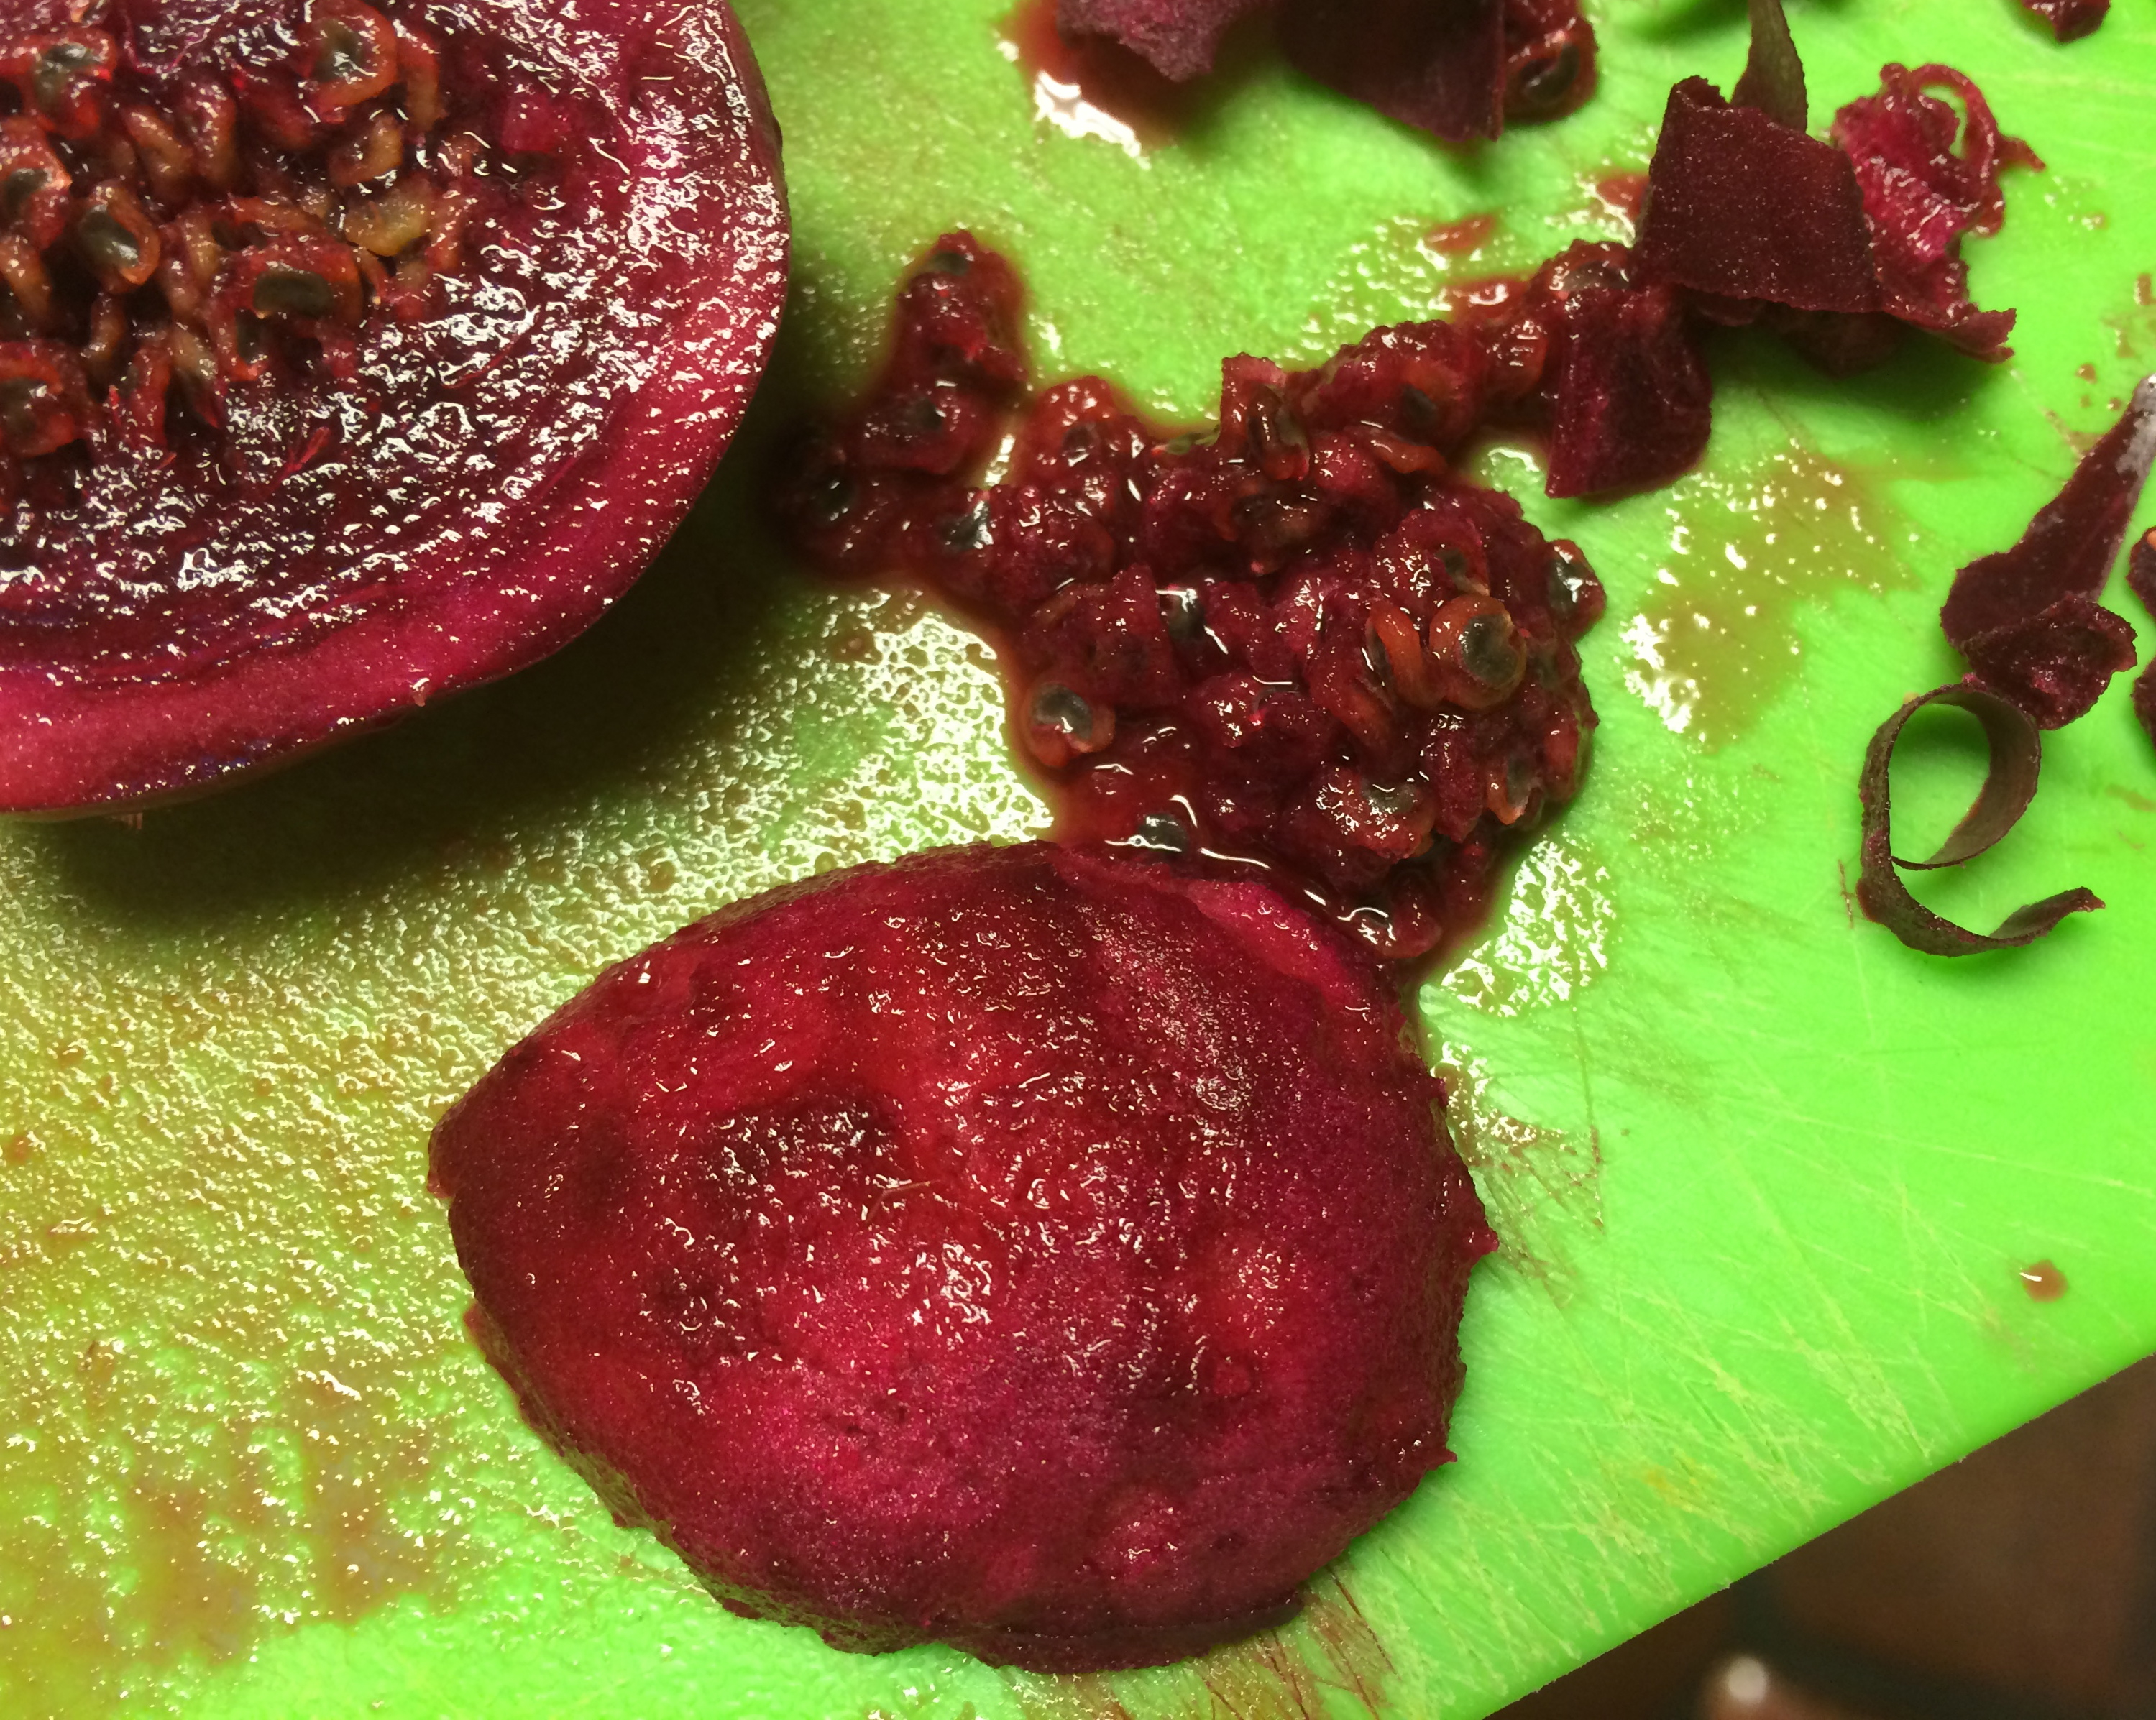
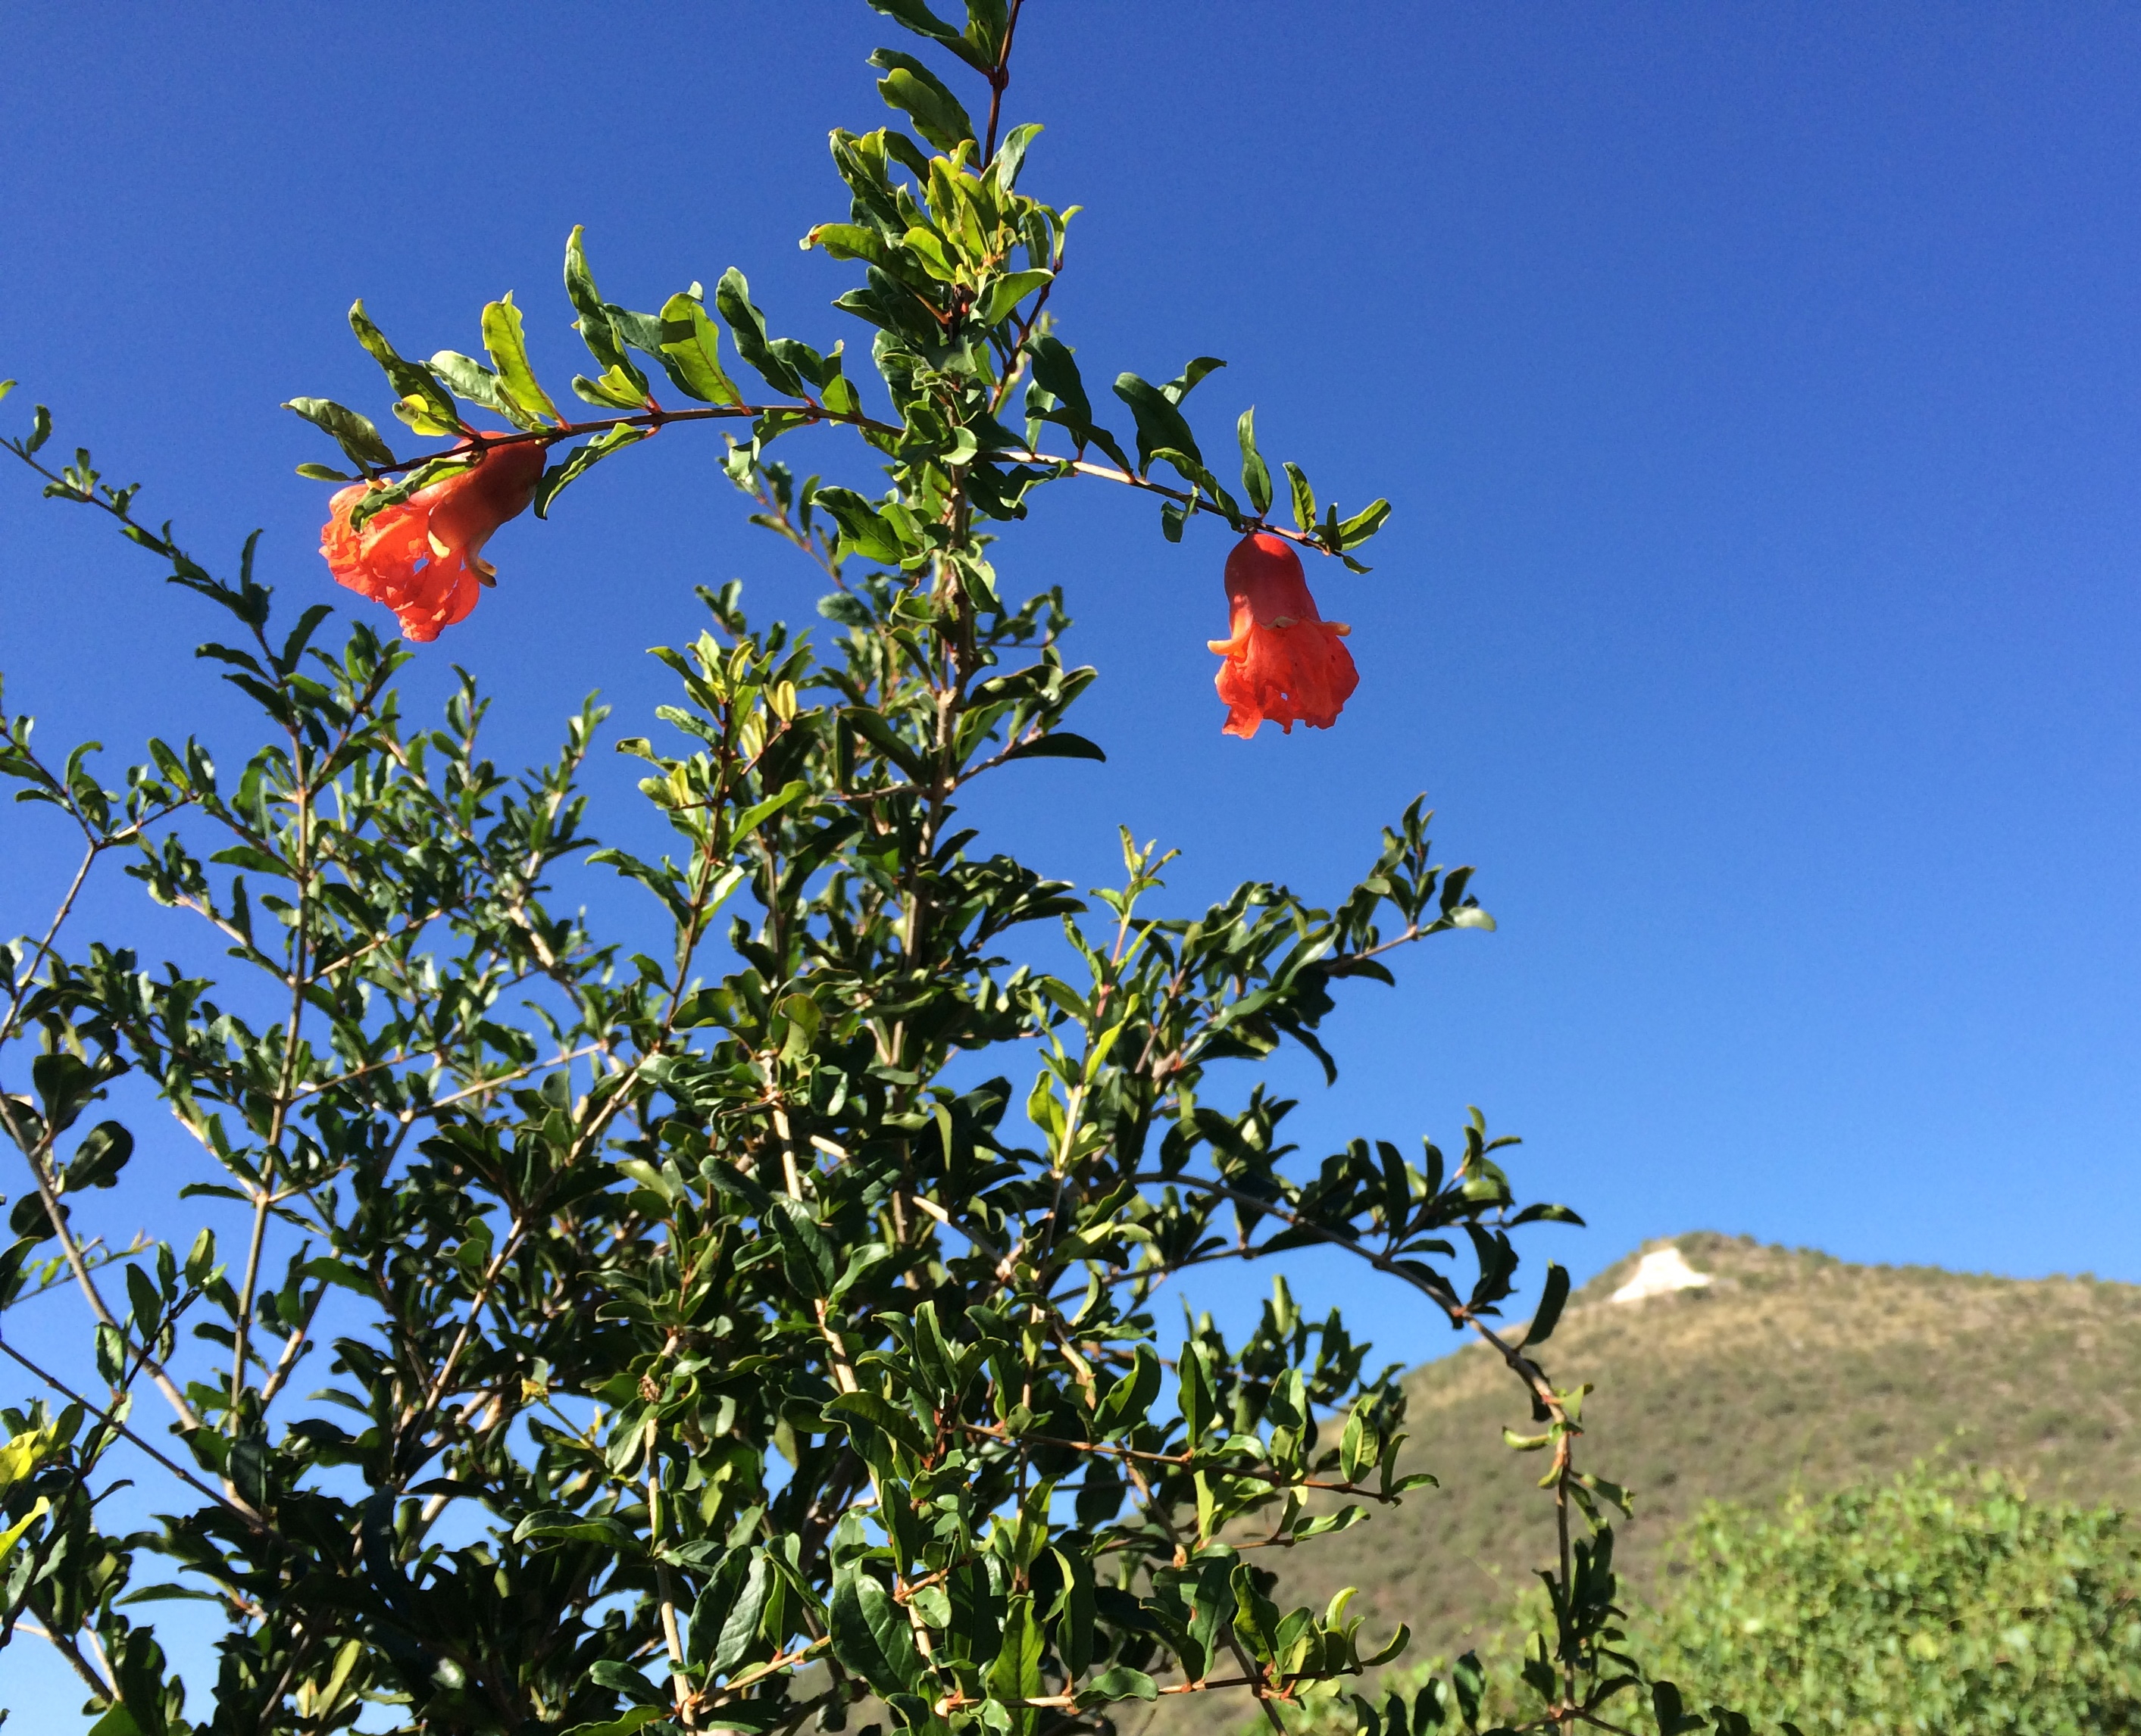
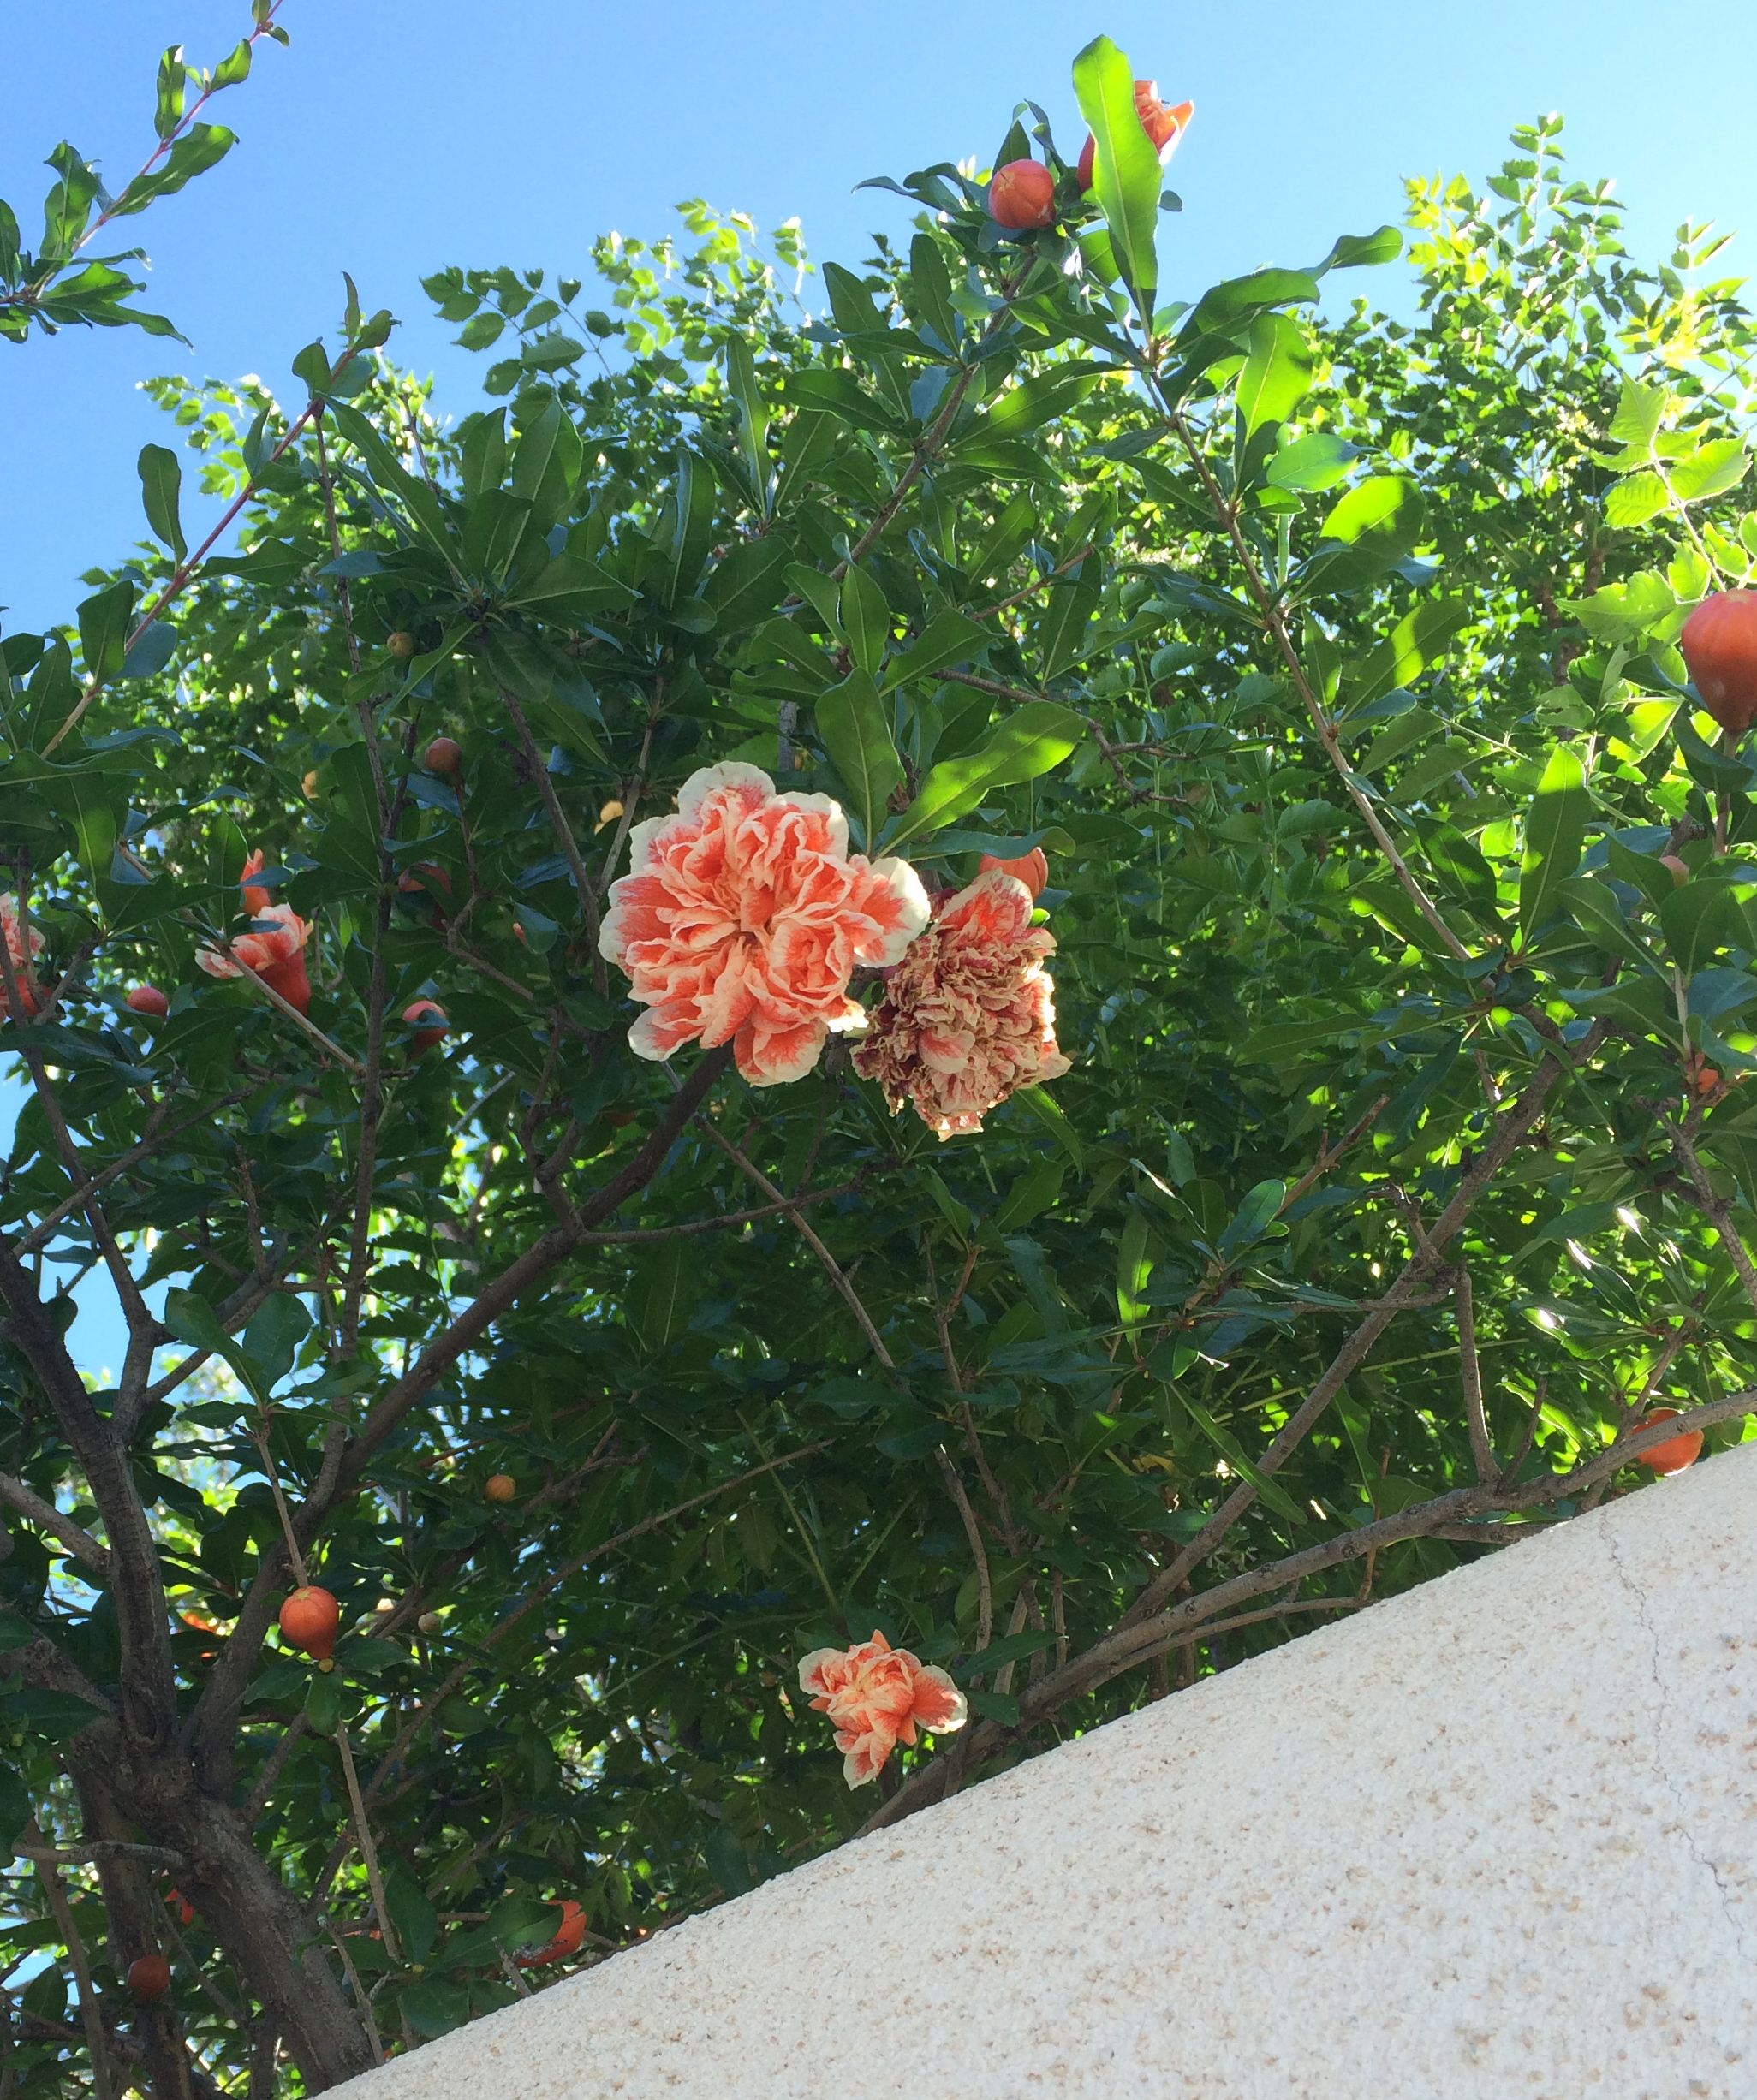
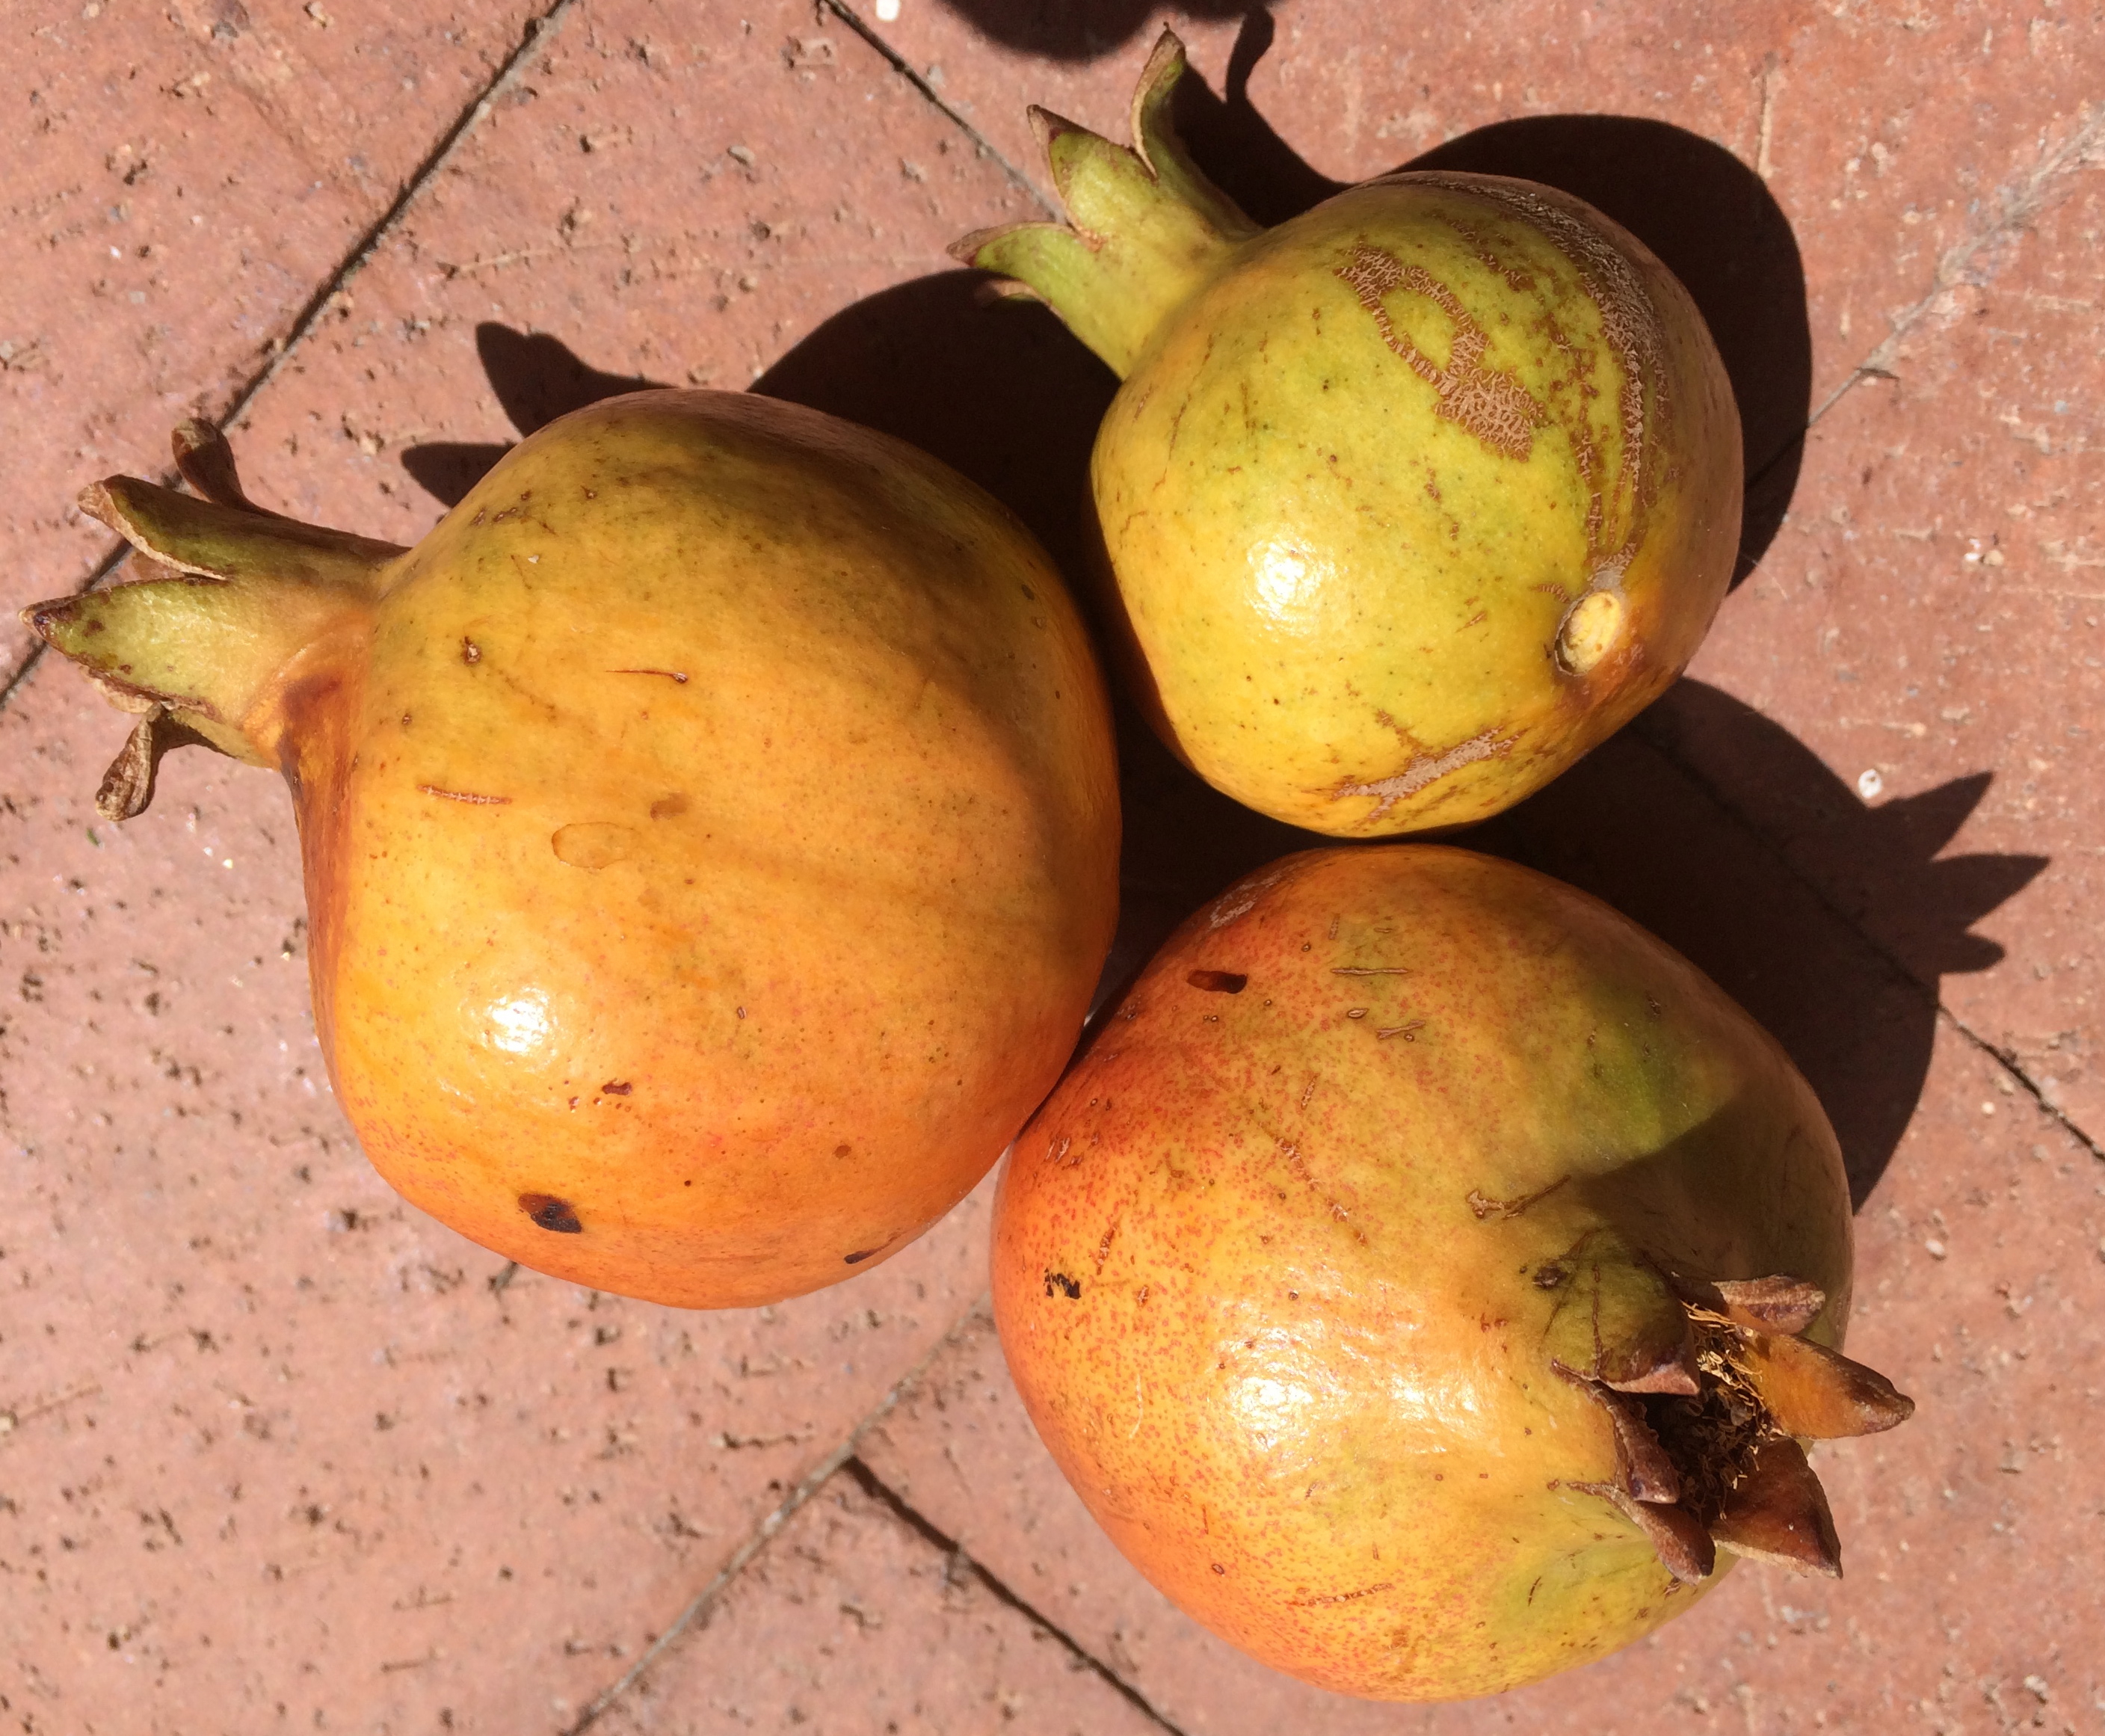
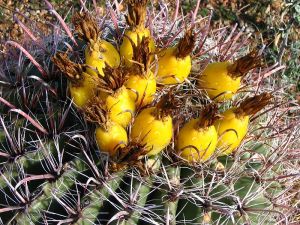
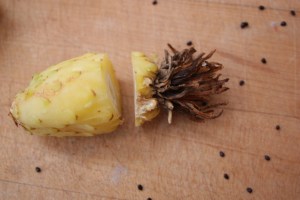
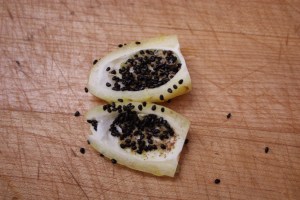
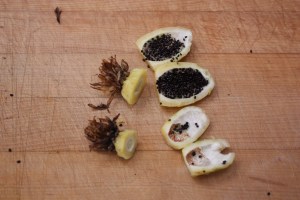
Heirloom pomegranate from Mission Garden, Tucson (MABurgess photo)
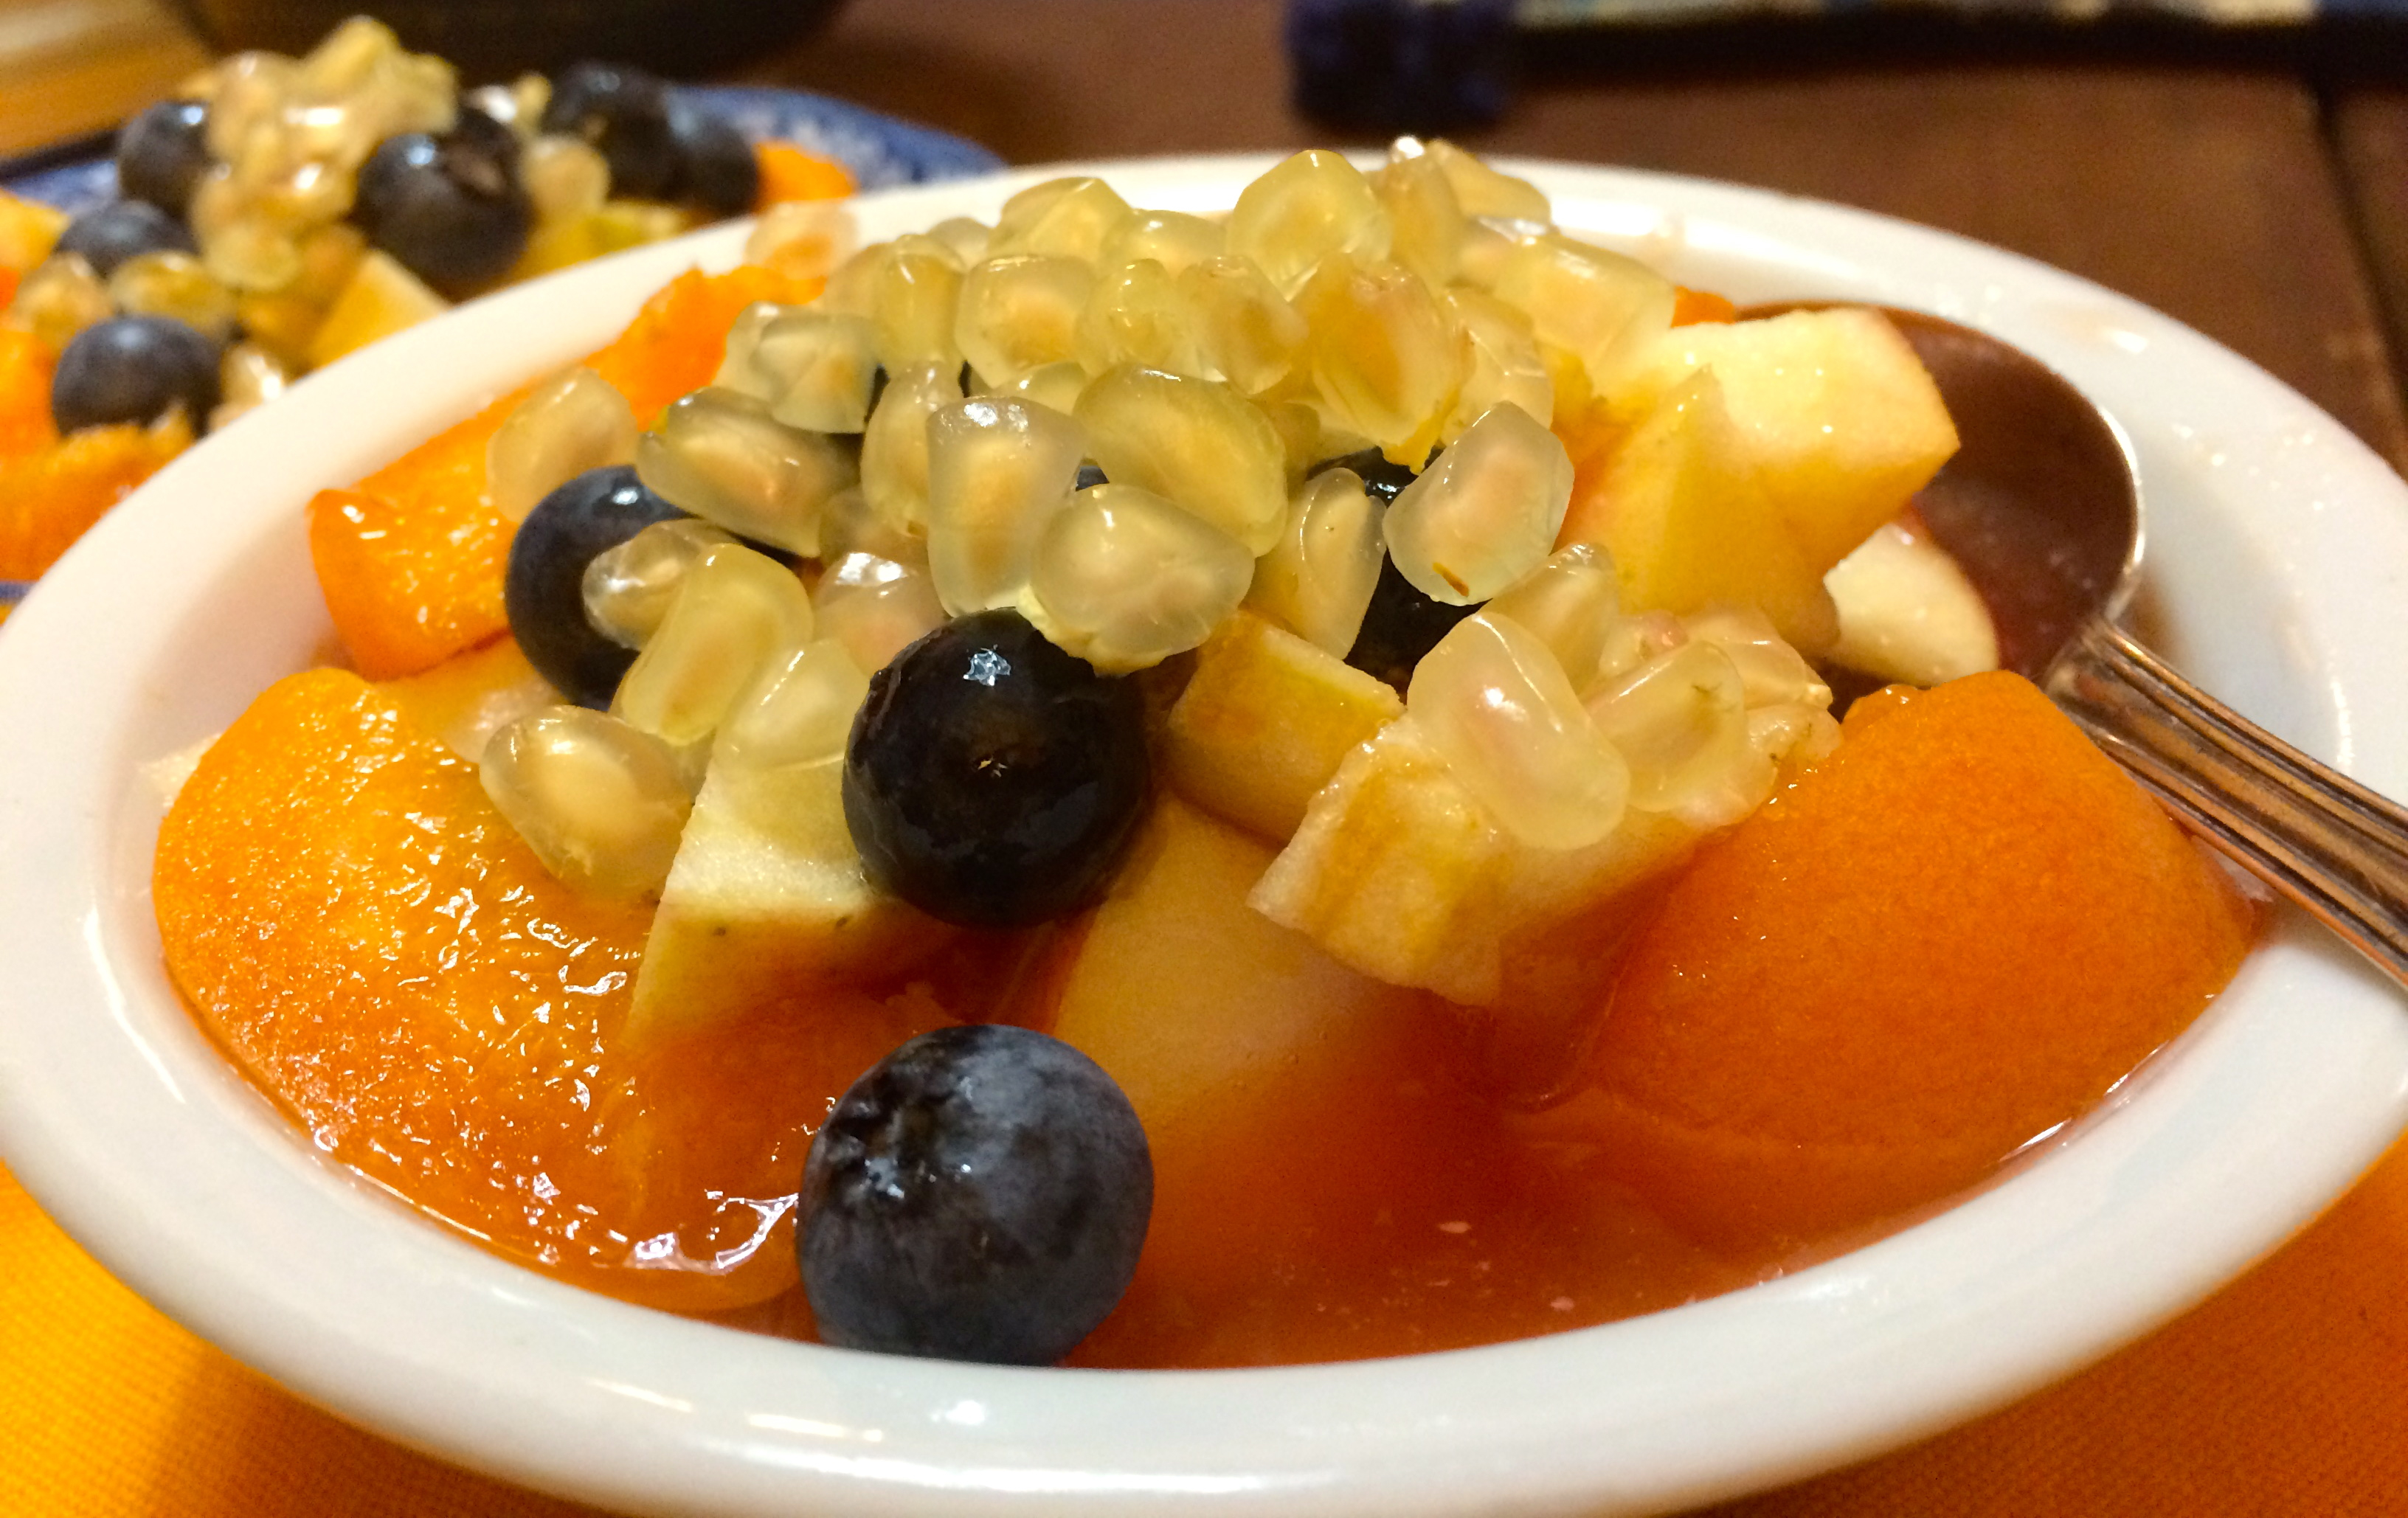
But here in Baja Arizona, instead of waiting for fall, I had to begin prep a few months ago by harvesting ripe heirloom figs, pomegranates and apricots as they ripened. Father Kino’s figs grace my yard and the other two yummy fruits, grown at Tucson’s Mission Garden at the base of A-Mountain, were purchased at the Thursday Santa Cruz farmers’ market.
Preserving them for later use, I dried the fruits in my solar oven with the lid slightly opened, allowing humid air to escape.
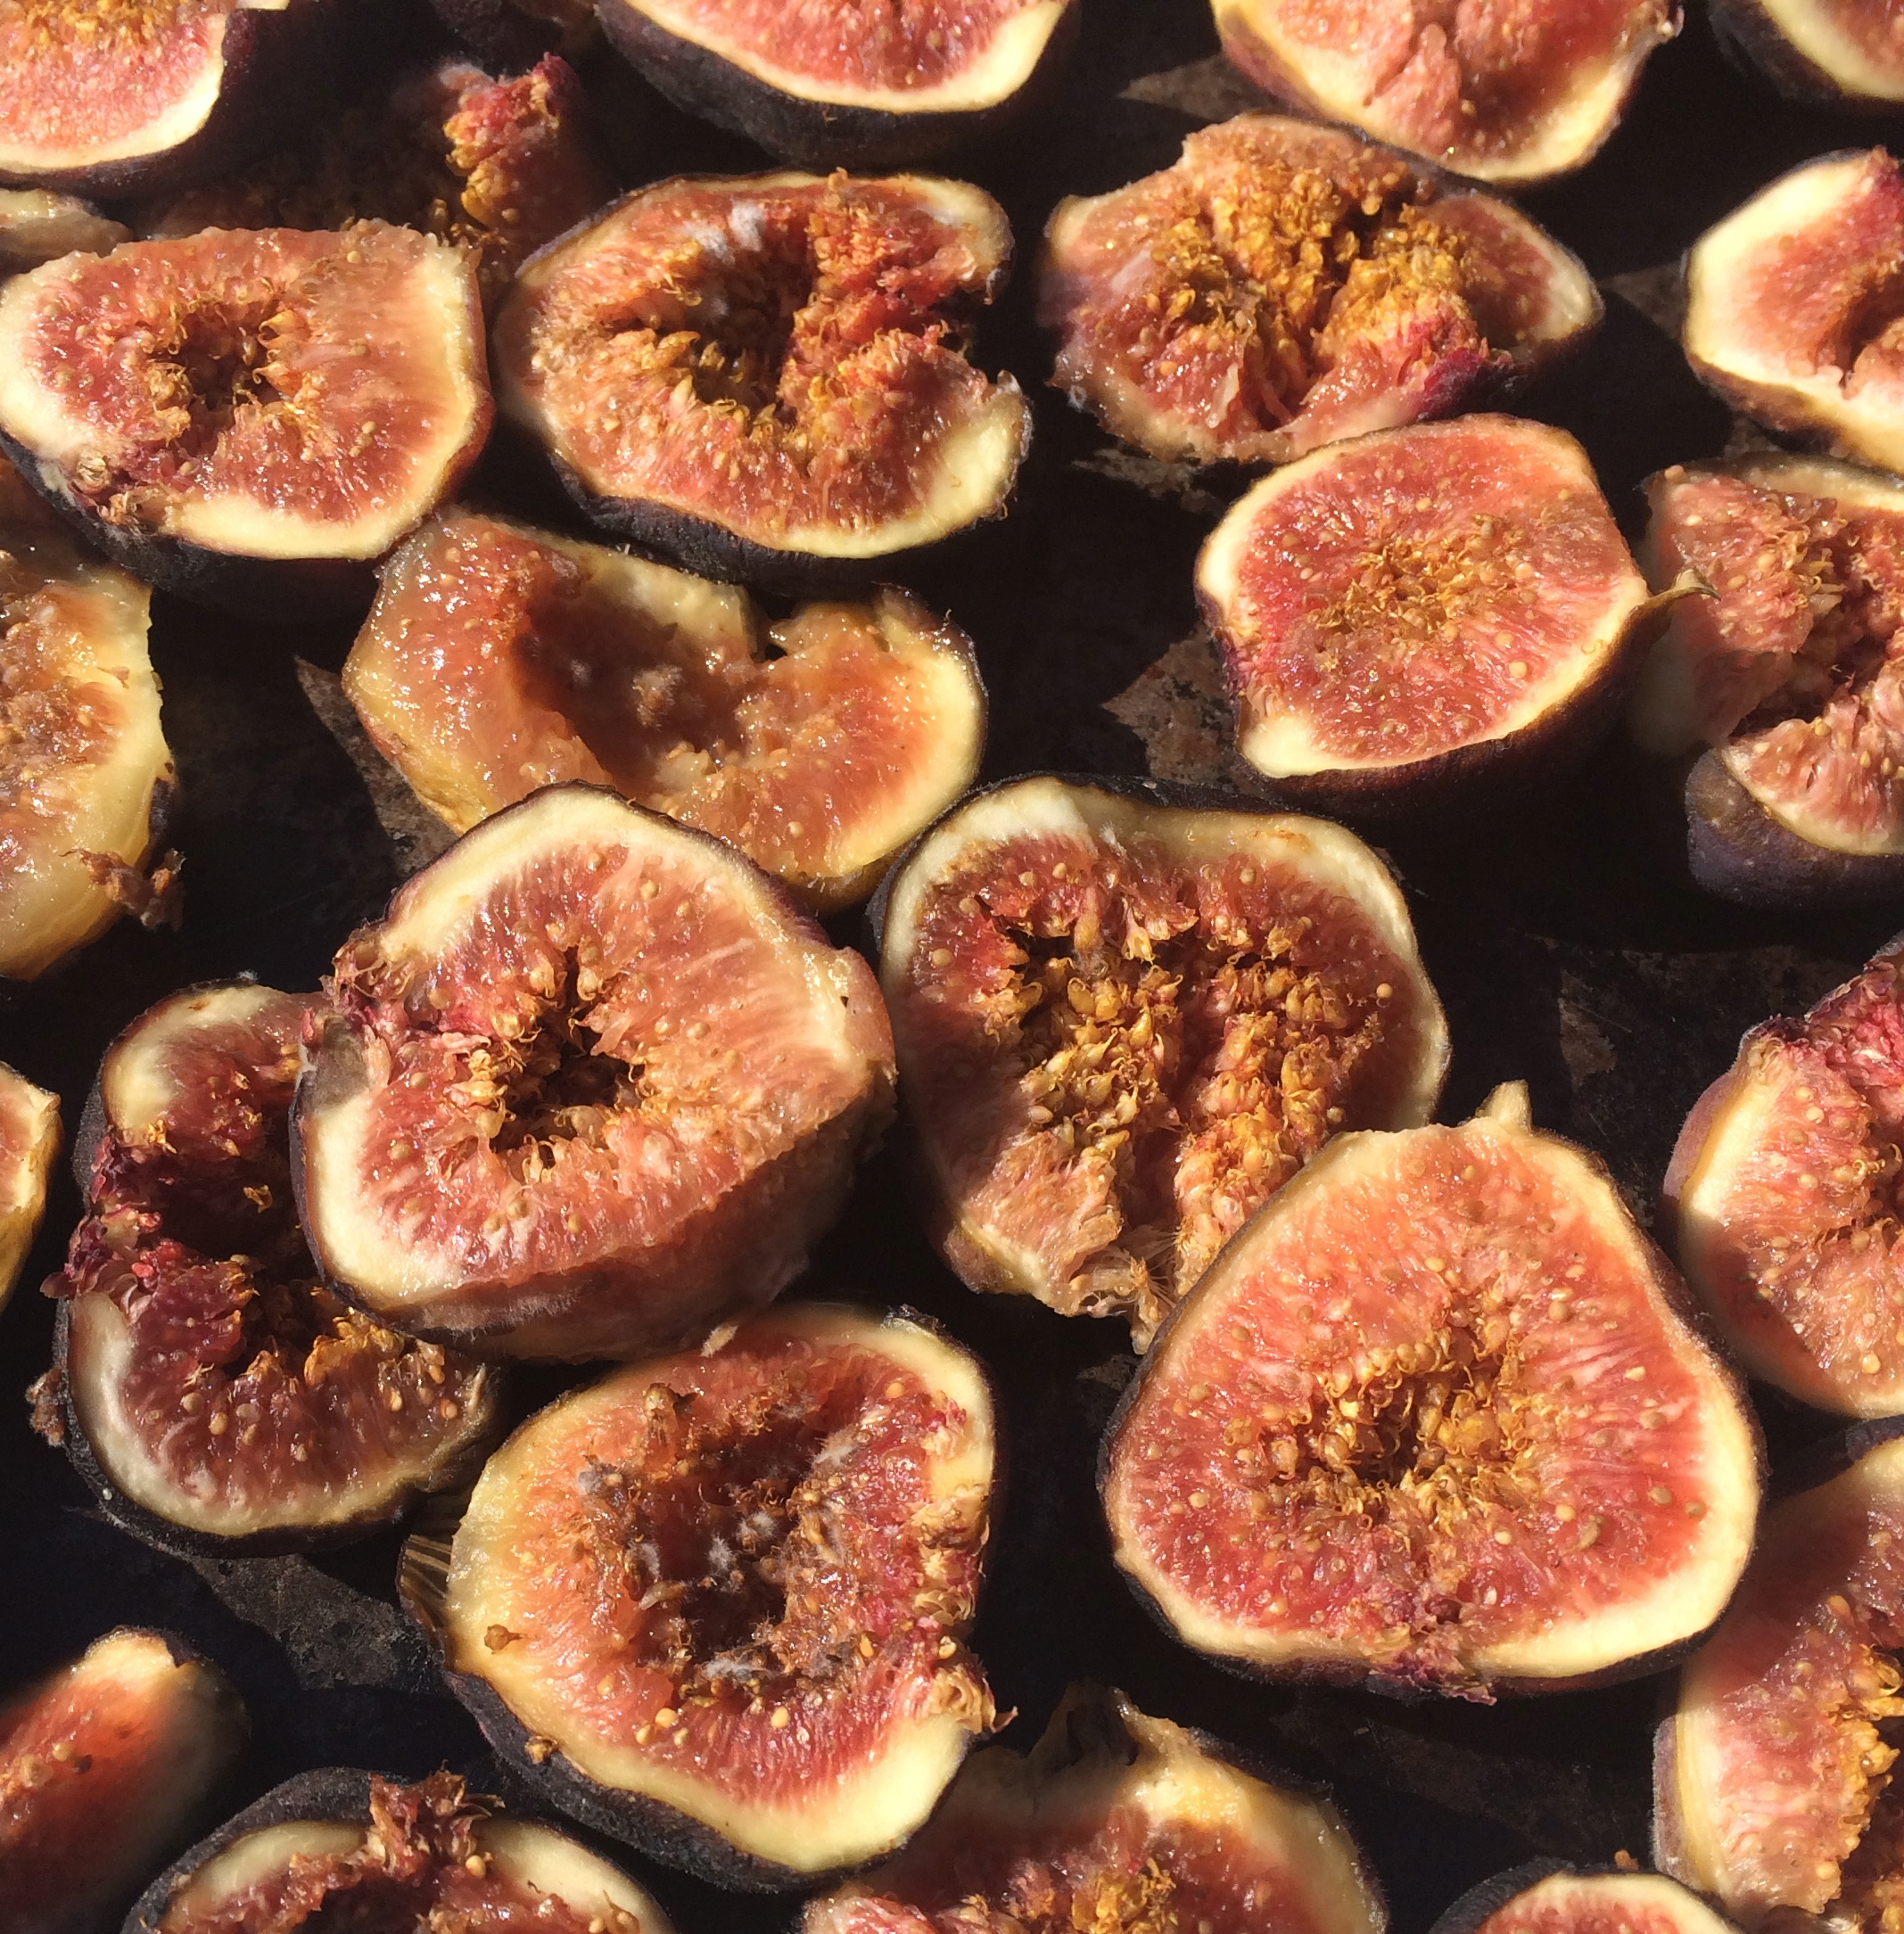
Fresh Mission figs cut ready for drying in the solar oven

Sun-dried figs get even sweeter and more flavorful than when they are fresh!
Celebrating our International City of Gastronomy, I rejoice in using flours grown and milled locally by BKWFarms in Marana, Arizona, to bake this rich bread. Other ingredients I sourced close to home as well — Tucson’s precious mesquite-smoked Hamilton whiskey, homegrown heirloom fruit propagated at Mission Garden, agave nectar in place of sorghum molasses — from the bounty of Baja Arizona’s foodscape, its green thumbs, and its creative local “food-artists.”
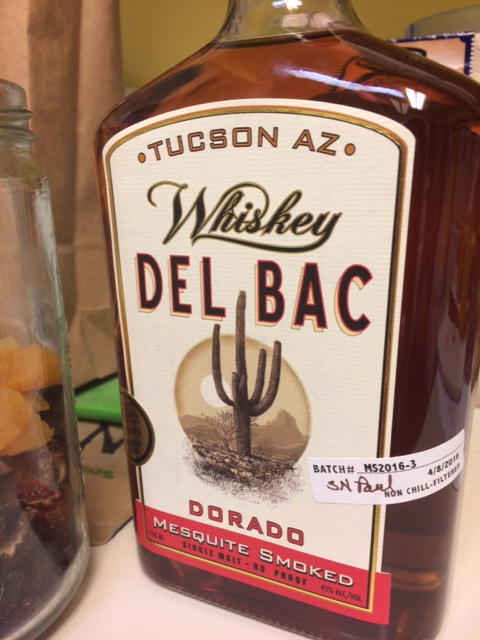
Tucson’s best whiskey from Hamilton Distillers–made with organic local malted grain dried using local mesquite.
Bread teaches us patience. It is a beautiful meditation so take time to enjoy the process. There are tasks for this recipe to be done on two consecutive days. At the very least, in between texts and emails, radio news and phone calls, take time out to go to the kitchen, check the status of your “rehydrating” fruit, or check your yeast sponge, take a nip, etc. Bread is a living gift and this Election Bread in particular brings many quite lively foods together. Be not daunted–become one with the yeasts!
If you are already into sourdough baking and have live starter, take method A. If you are beginning with dry yeast, take method B. Both will give olfactory pleasure from the git-go.
RECIPE FOR AMES FAMILY ELECTION BREAD
Day 1—Making the Pre-ferment –method A–Using Sourdough Starter
1 cup whole milk, warmed to ~ 70º F
¼ cup active starter — fully hydrated
2 ¼ cups all-purpose or whole wheat pastry flour *
OR Day 1 — Making the Pre-ferment — method B– Using Yeast
1 1/8 cup milk, warmed to ~70º F
1 tsp instant dry yeast
2 ¼ cups plus 2 Tbsp organic all-purpose or whole wheat pastry flour *
Pre-ferment Instructions: In a bowl, combine milk and sourdough starter or yeast. Mix thoroughly until starter or yeast is well dispersed in the milk mixture. Add flour and mix vigorously until the yeast mixture is smooth. Scrape the sides of your bowl to use all yeast. Cover the bowl with a damp towel or plastic wrap. Allow your sponge to rest and ferment 8-12 hours at room temperature. When ready to use, your pre-ferment will have bubbles covering the surface.
Also Day 1–Pre-Soaking Dried Fruits
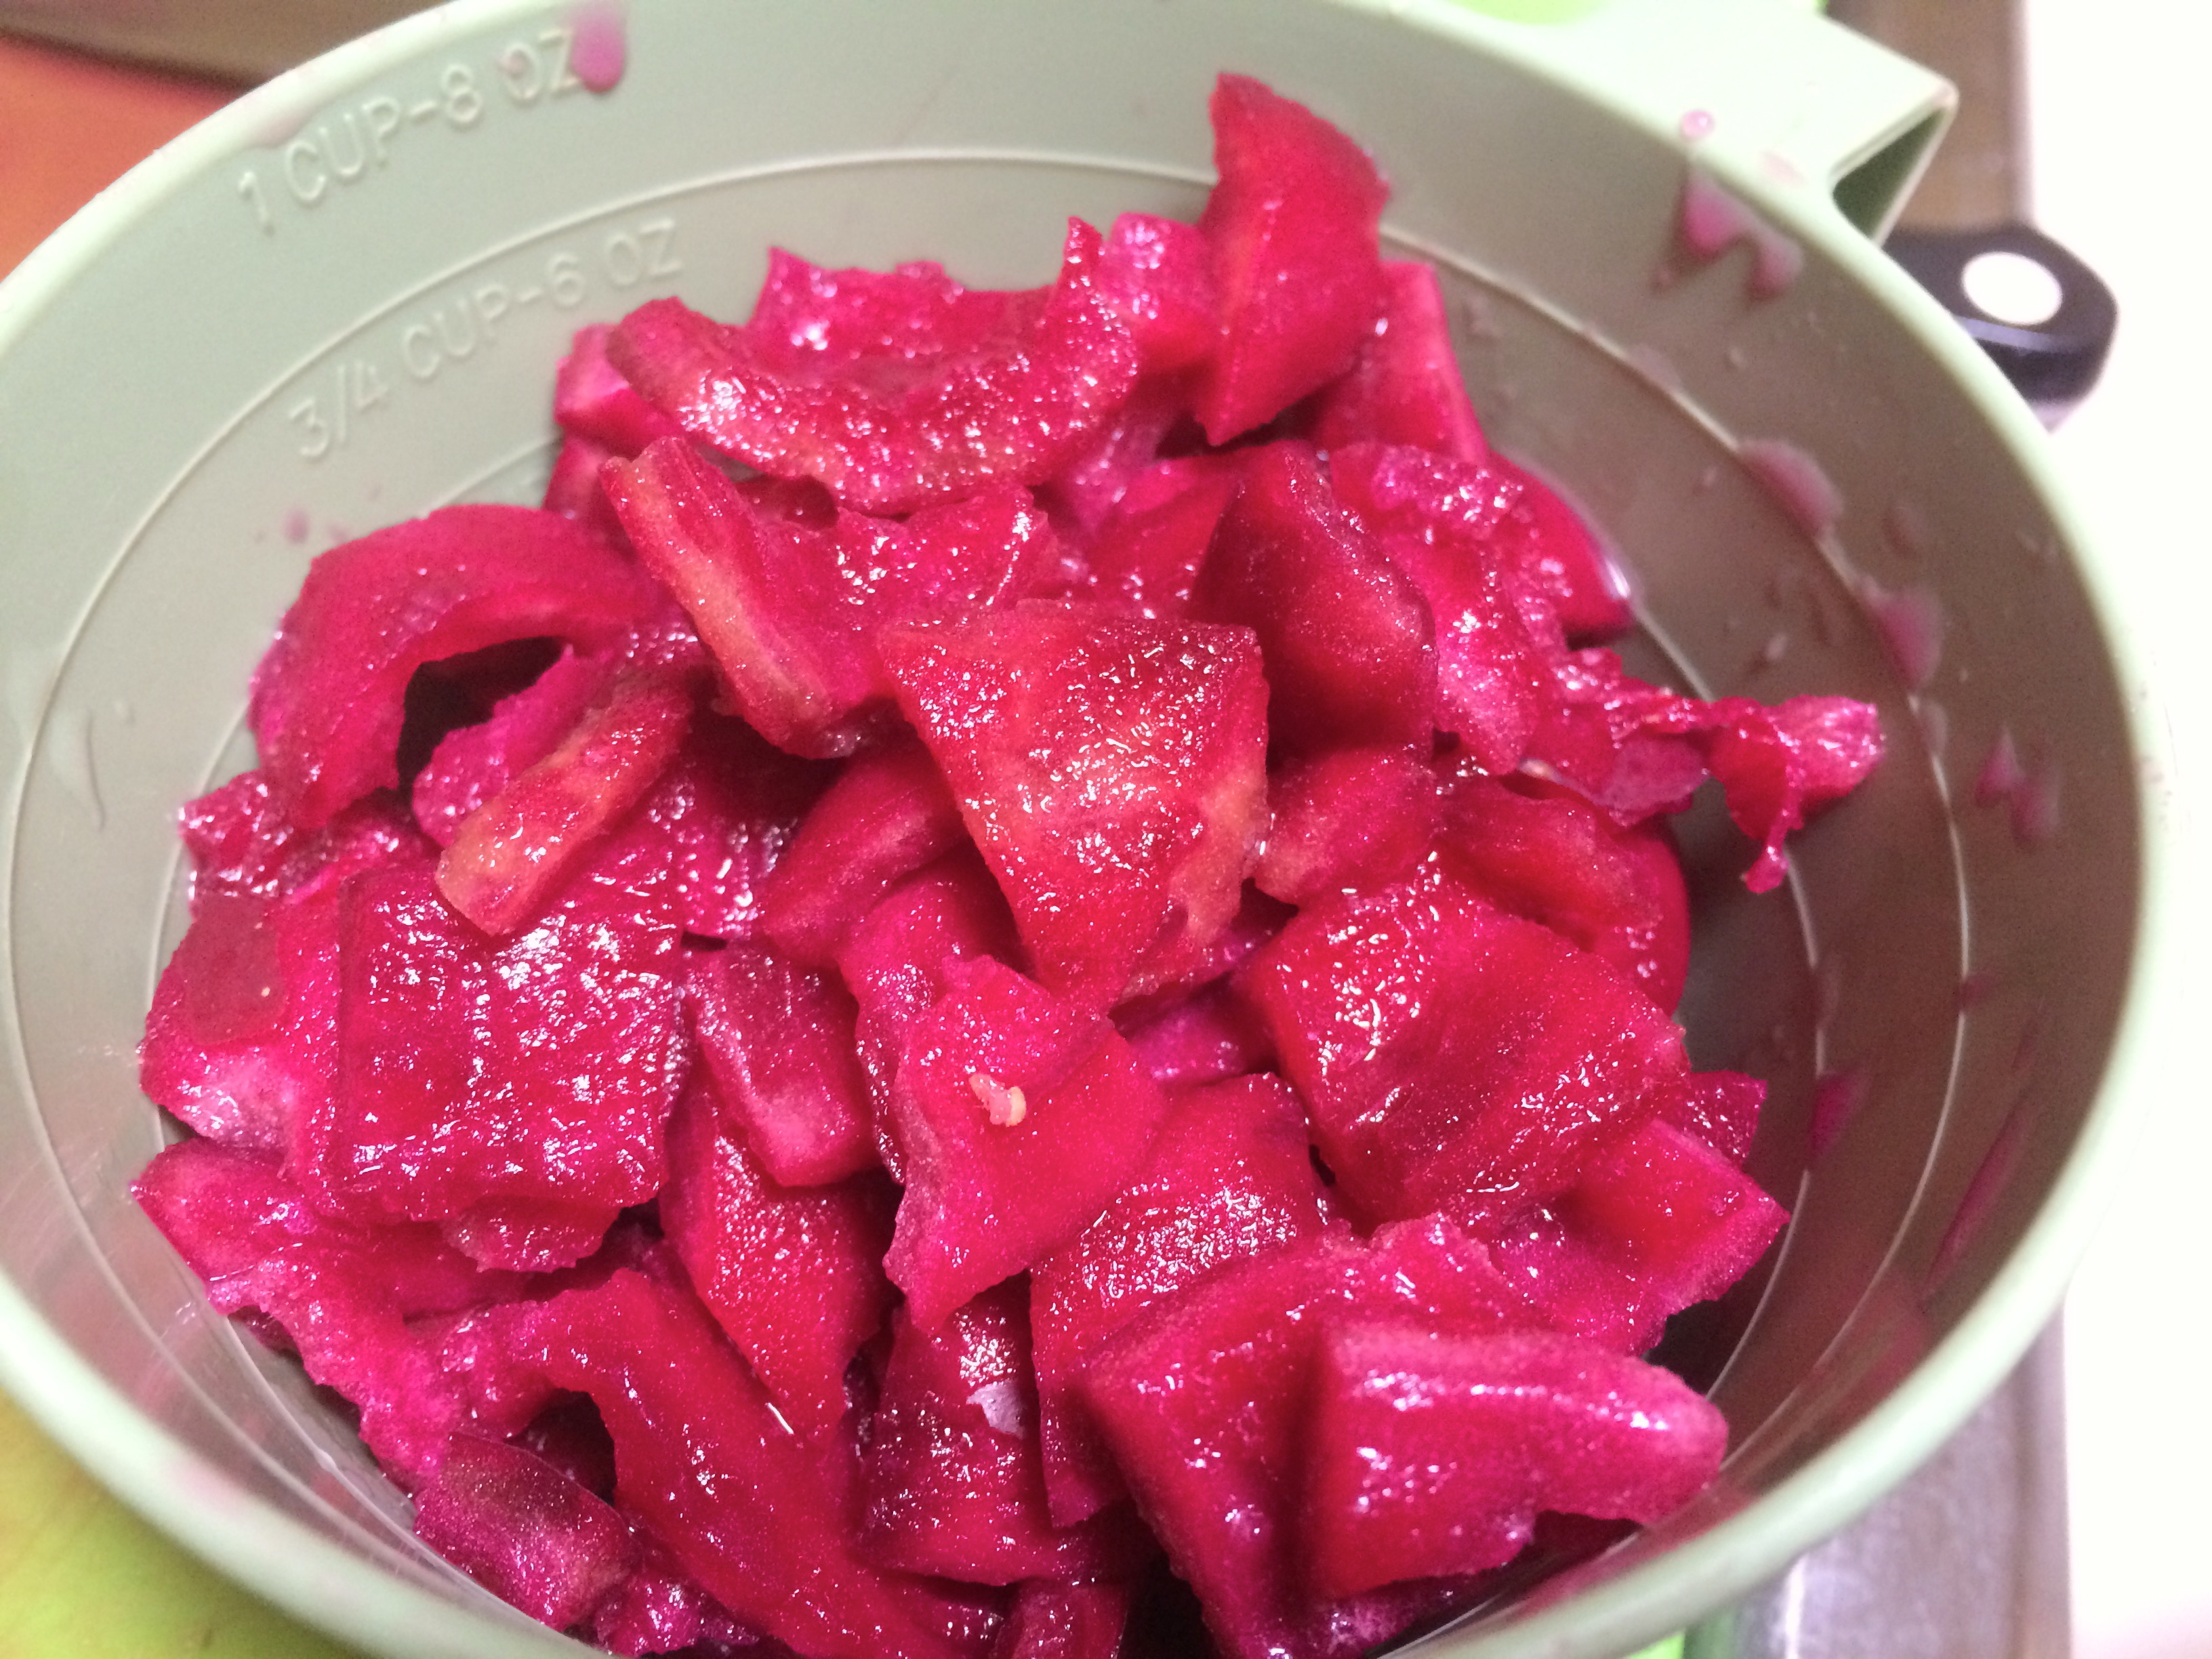
1 cup dried fruits, coarsely diced in 3/8-inch or ½-inch pieces **
1-1 ½ cup whiskey, bourbon, brandy, or non-alcoholic fruit juice ***
Instructions for Pre-soaking Dried Fruit: To prepare dried fruits for your bread, soak them overnight, or for several days beforehand, in a lidded jar. Measure your dried fruit then cover with liquor or liquid of choice. (To speed up the soaking process put diced fruit in a small sauce pan, warm over low heat for a few minutes, remove from the heat, and allow fruit to soak, covered, for several hours.) Until the fruit is totally softened, you may need to add more liquid to keep fruit submerged. Before adding fruit to your dough, strain the liquid off of the fruit. Use this fruity liquid as a cordial, or to make a simple glaze after bread is baked.

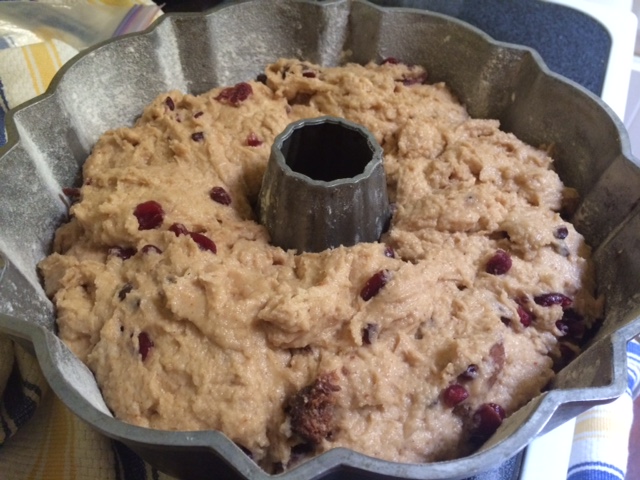
Freshly mixed dough in greased and floured bunt pan
Proofing Election Bread dough–after covering and allowing dough to rise to almost double size–fruit bites visible
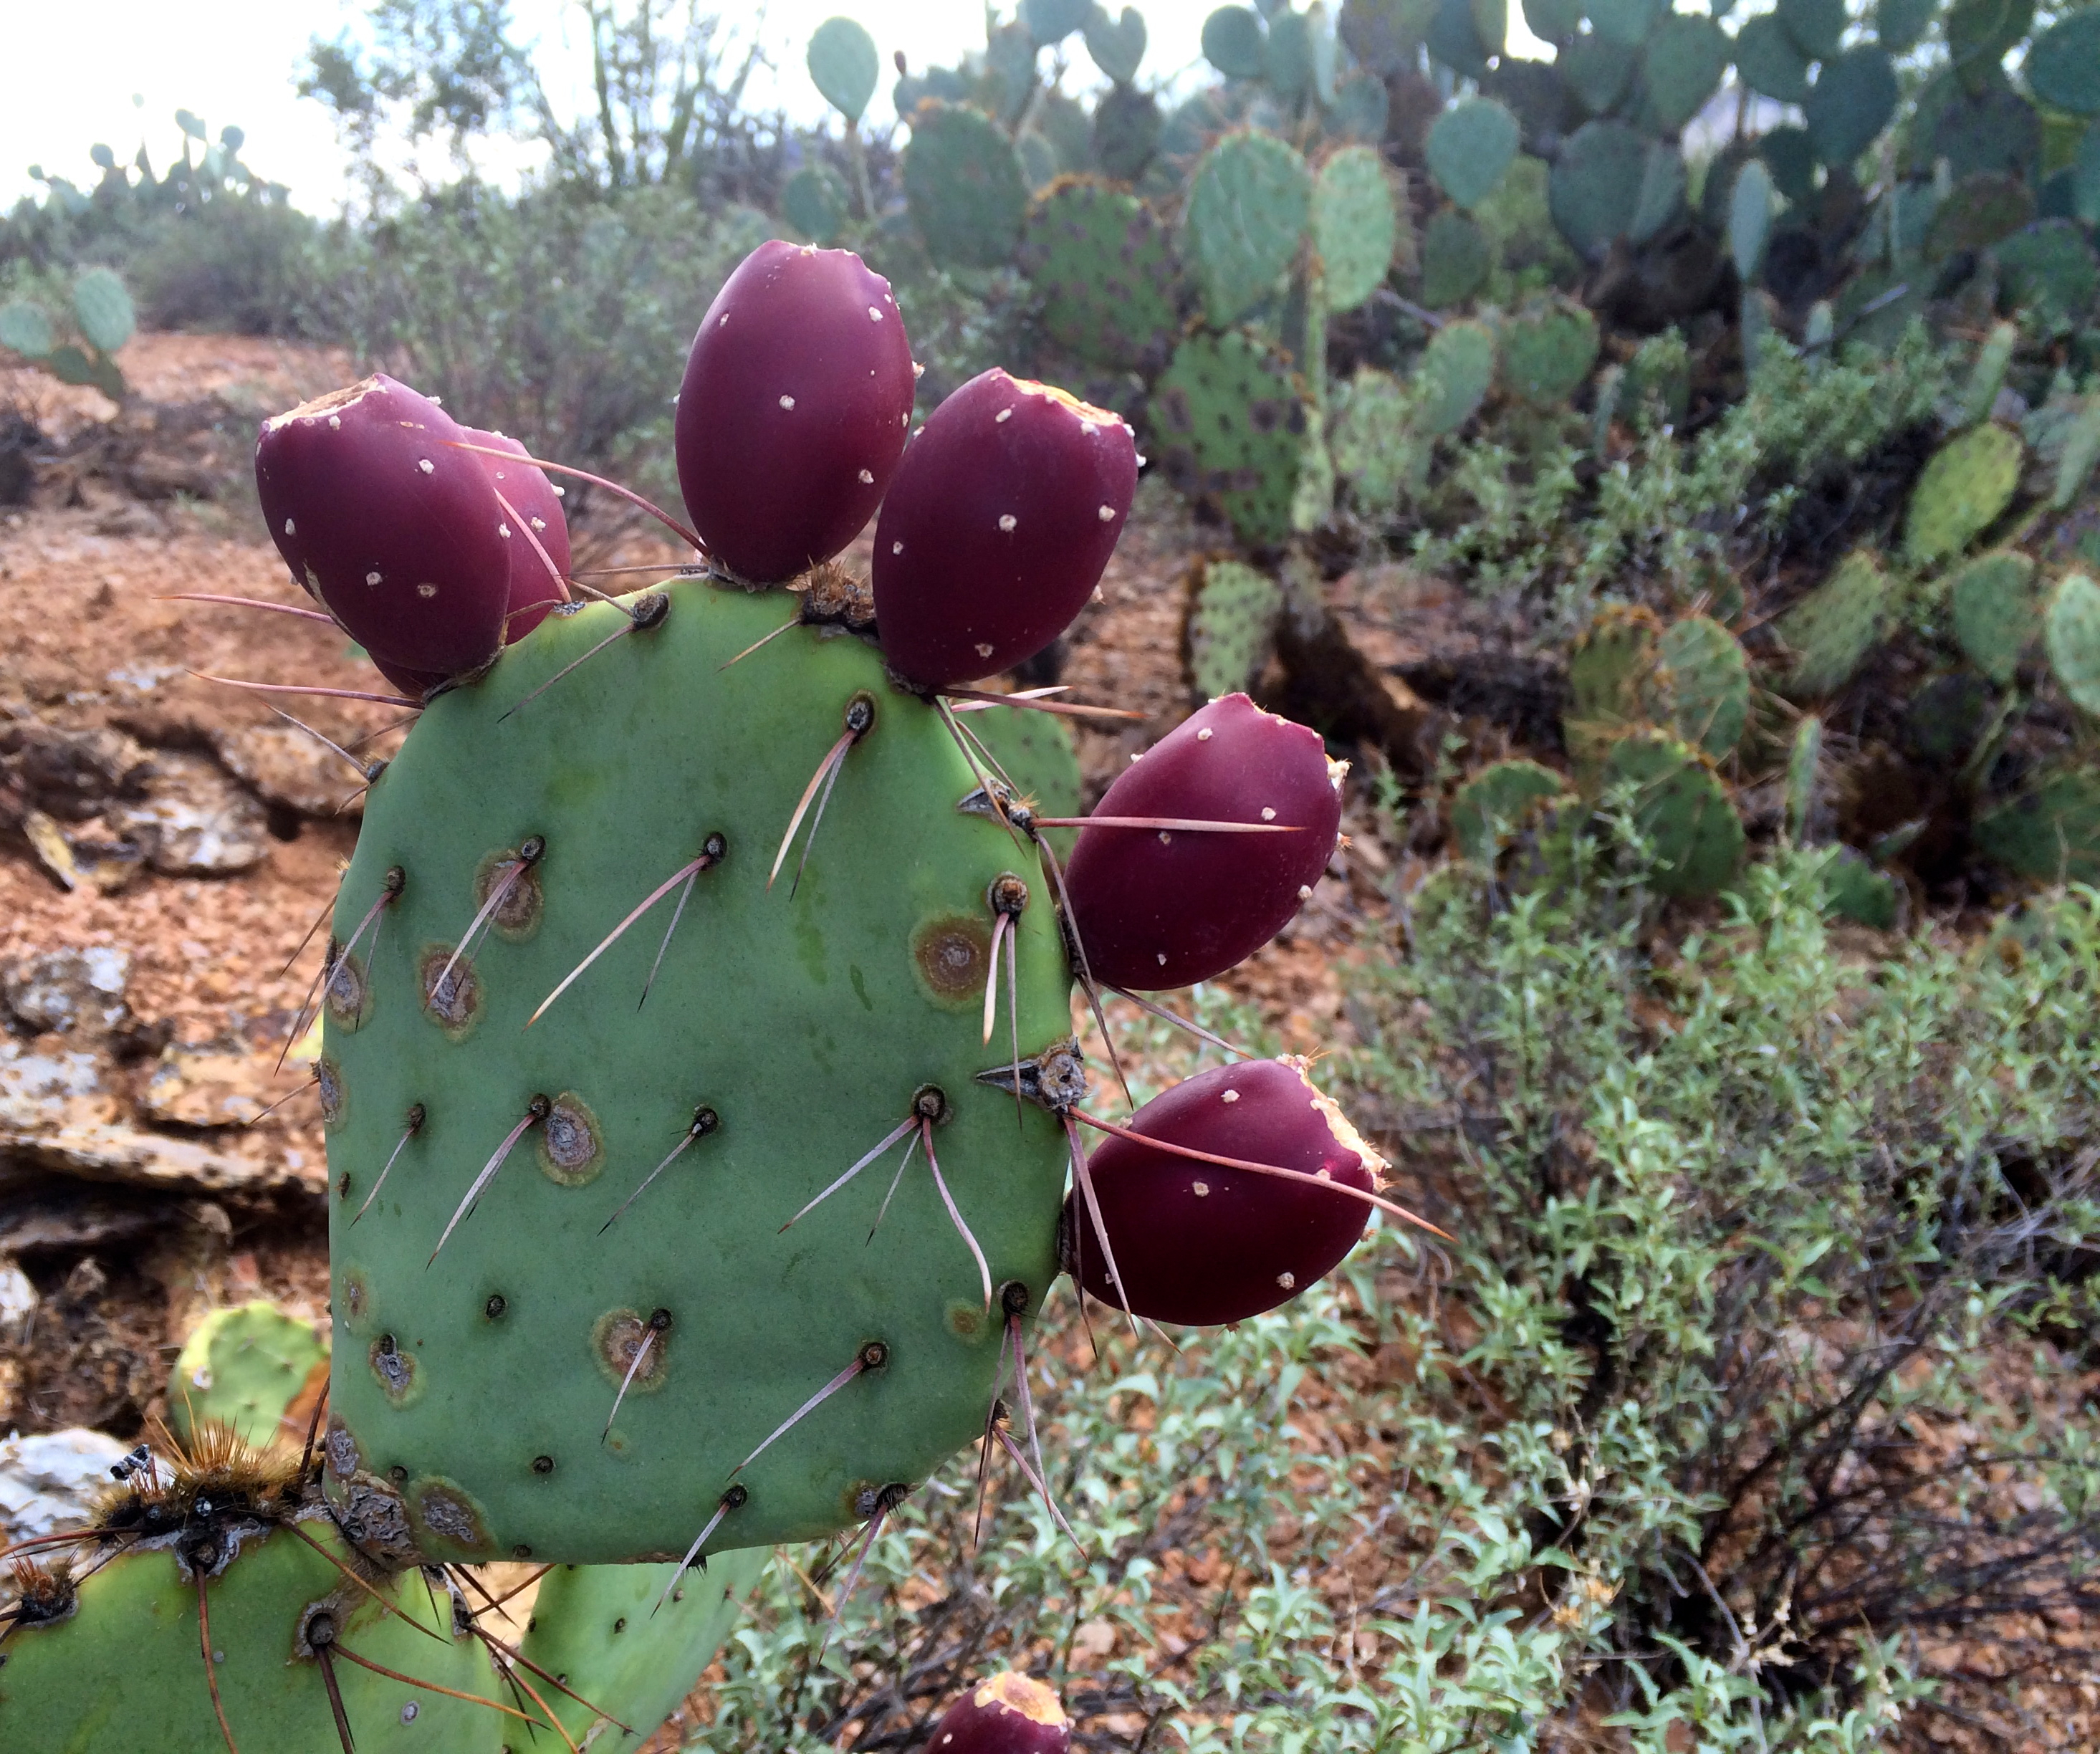
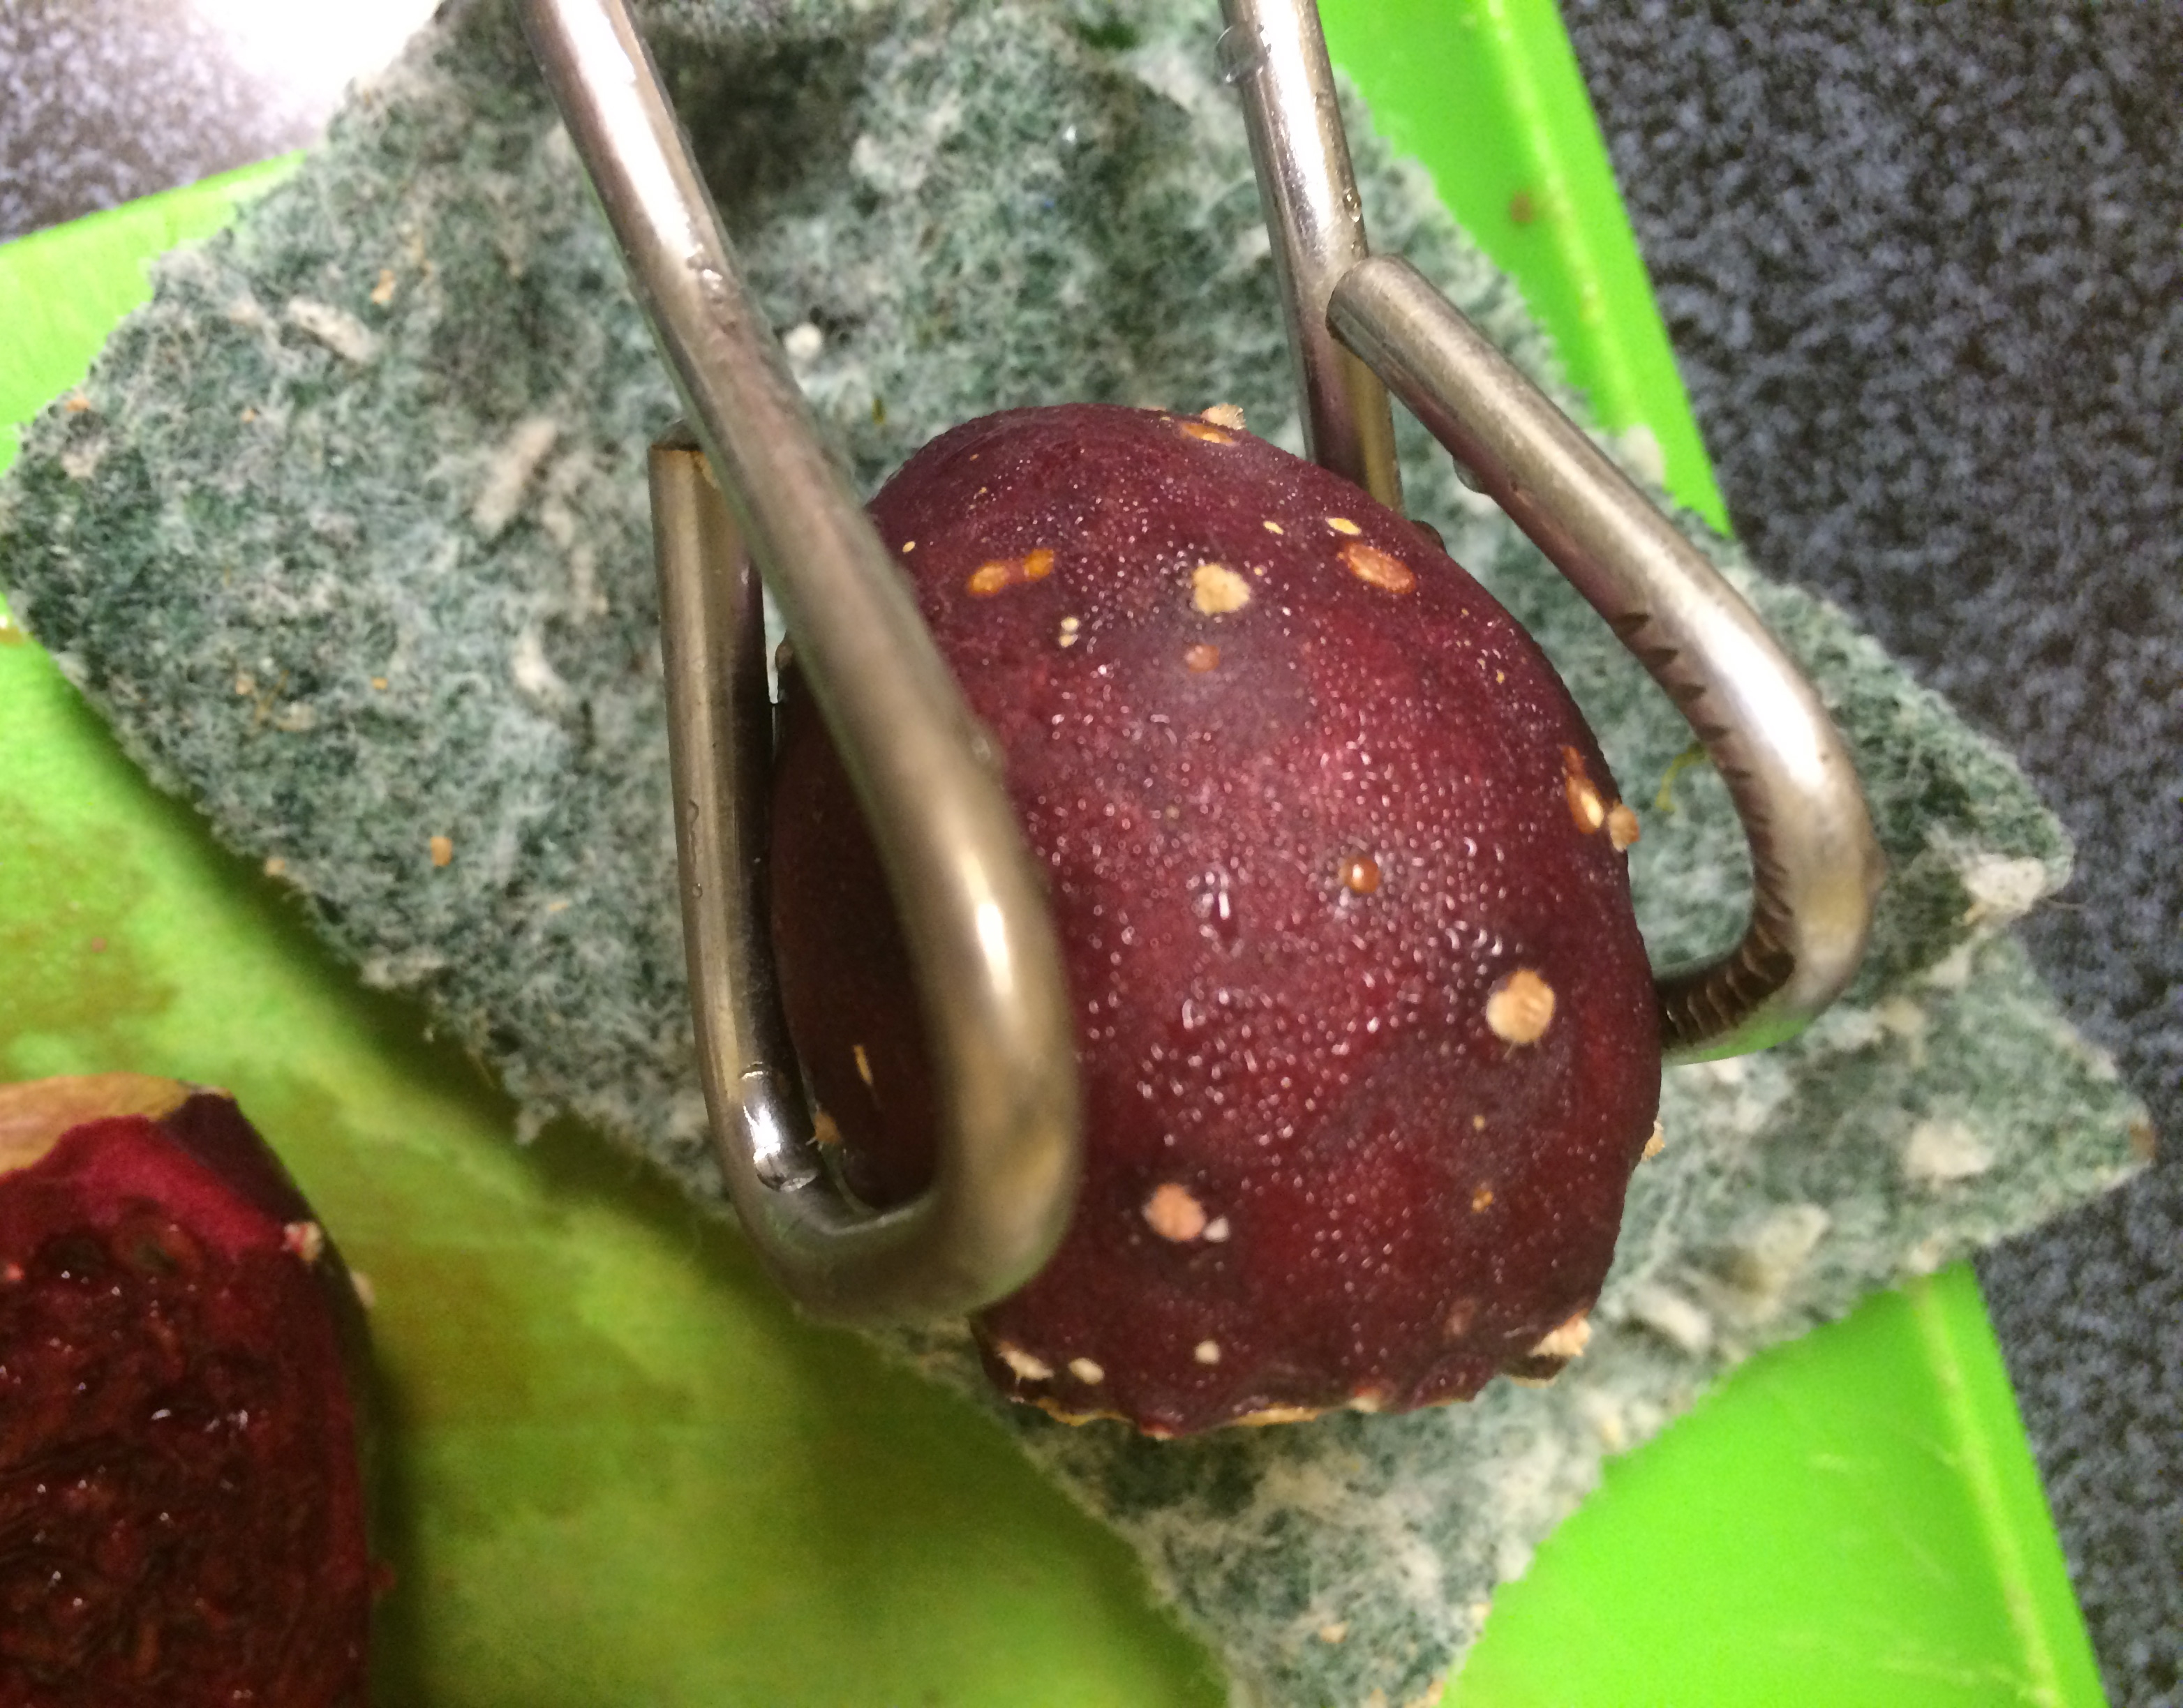
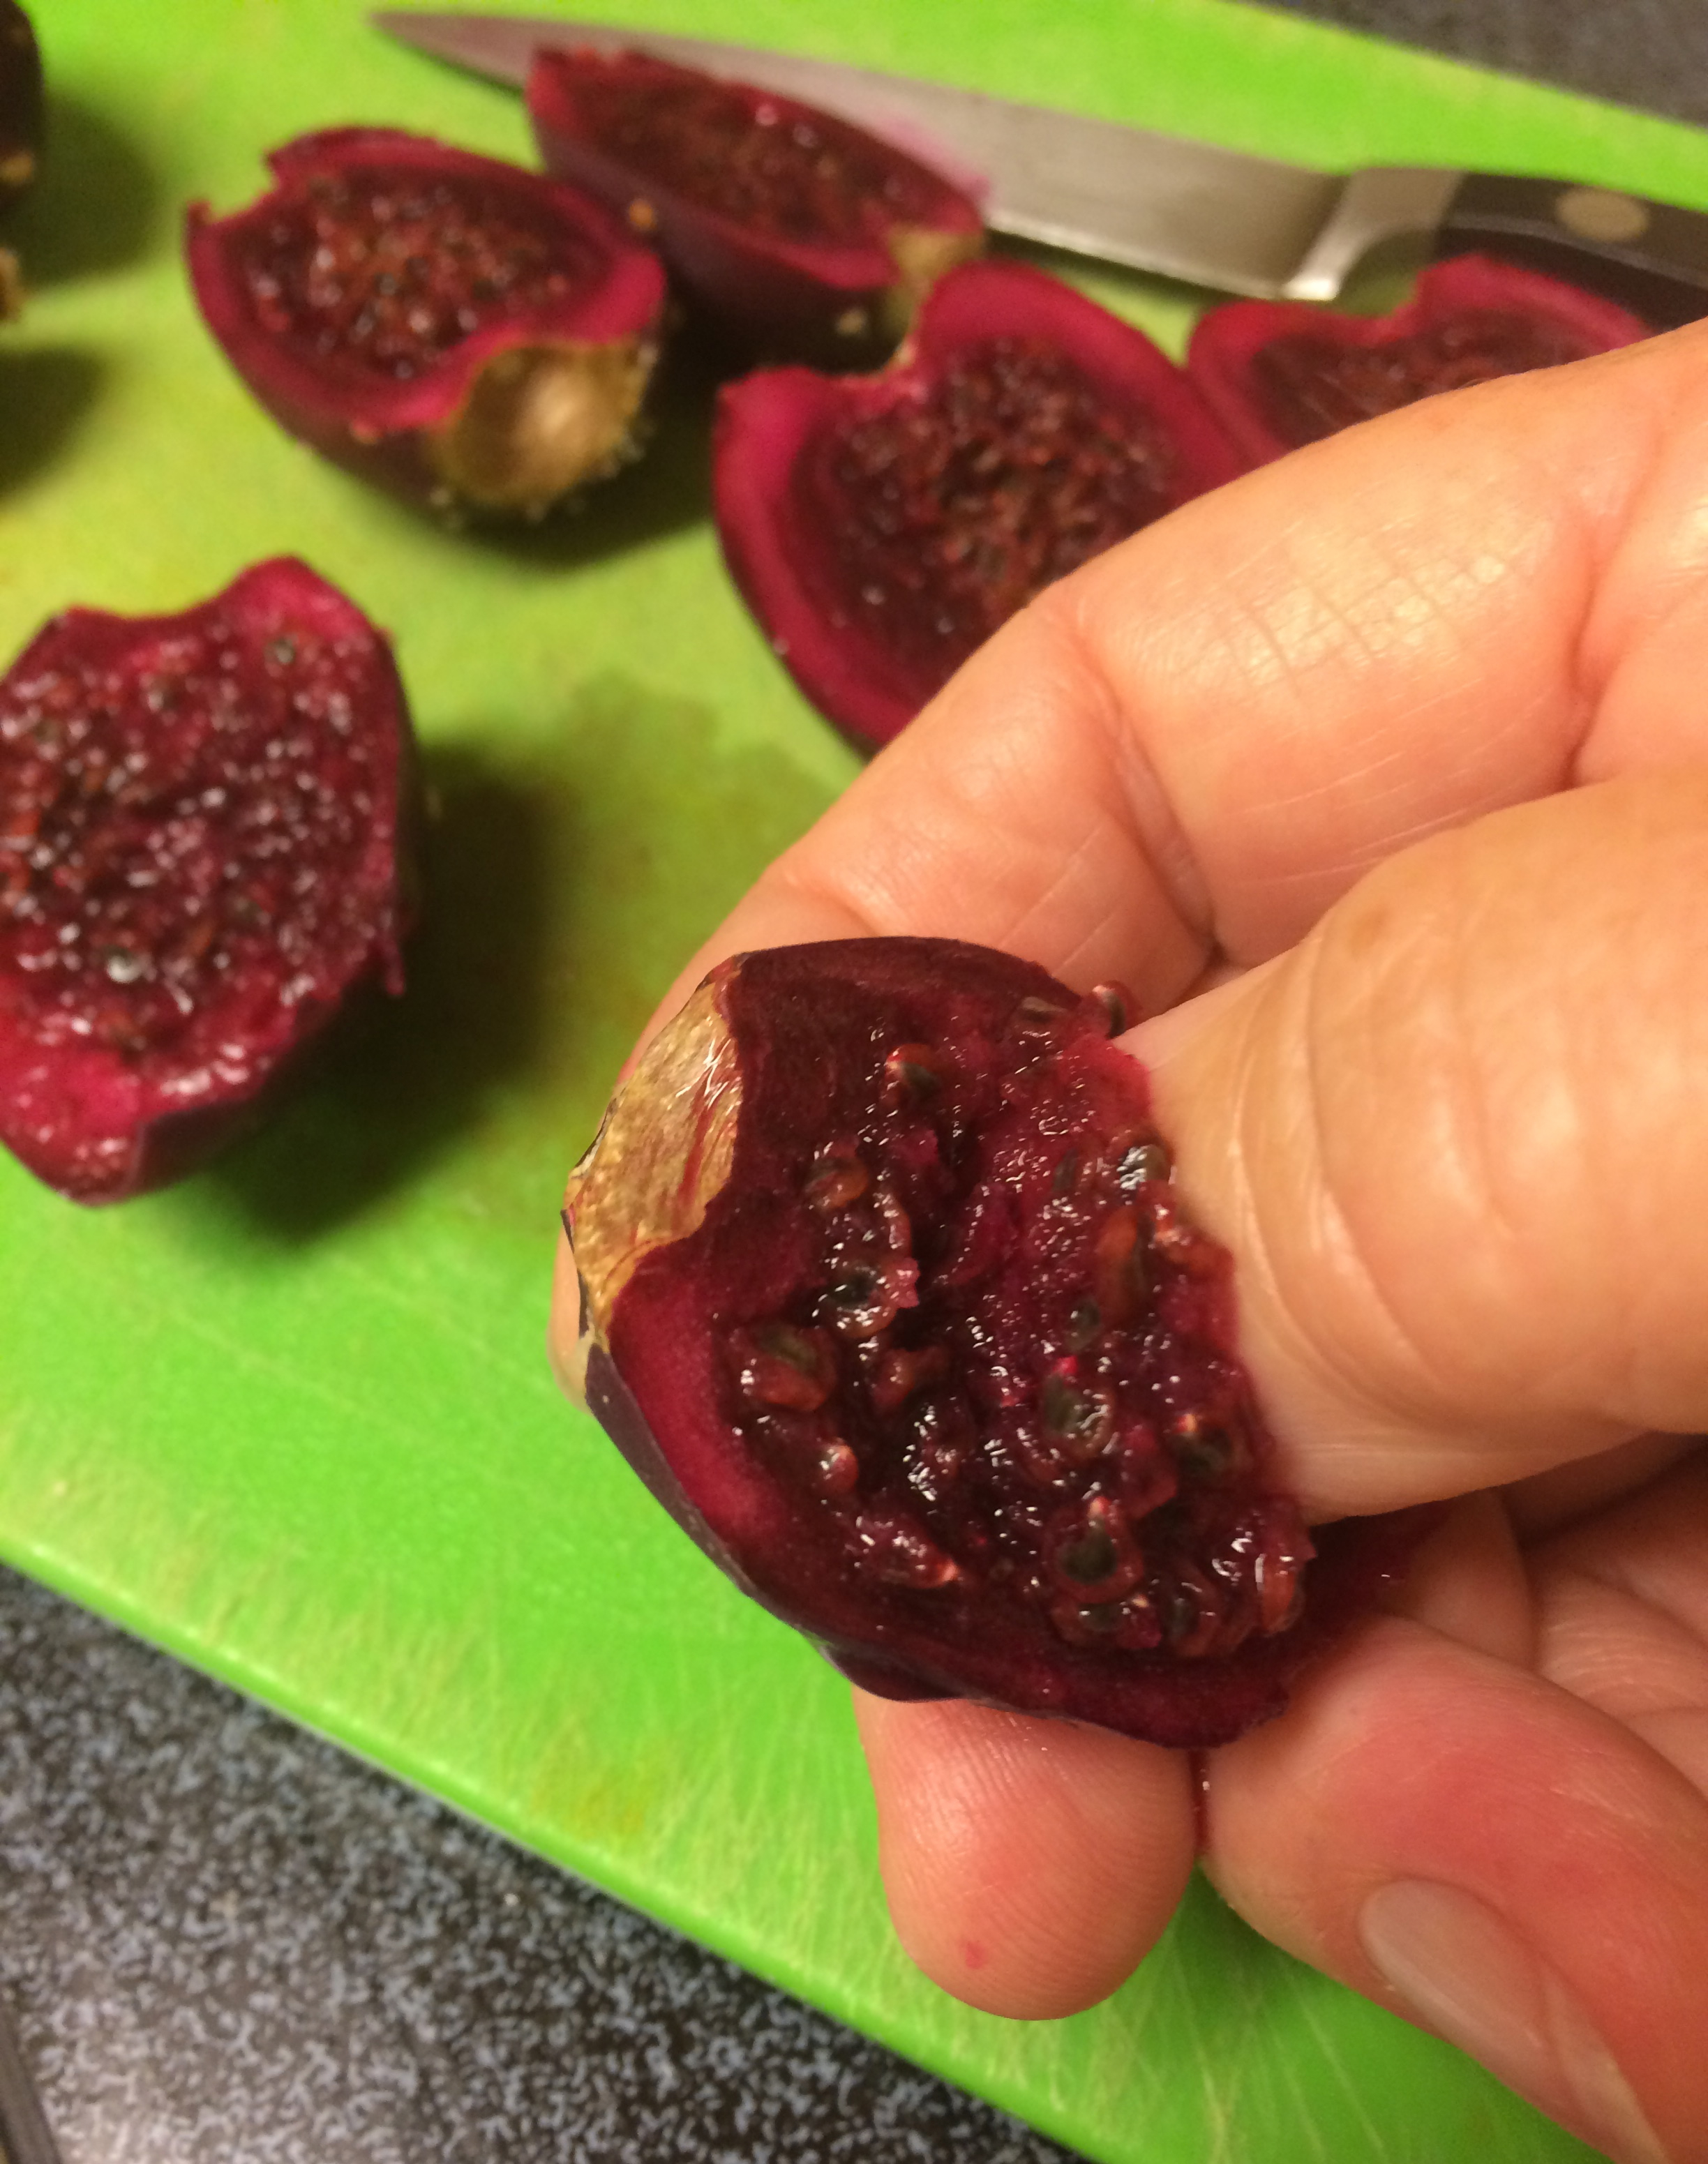
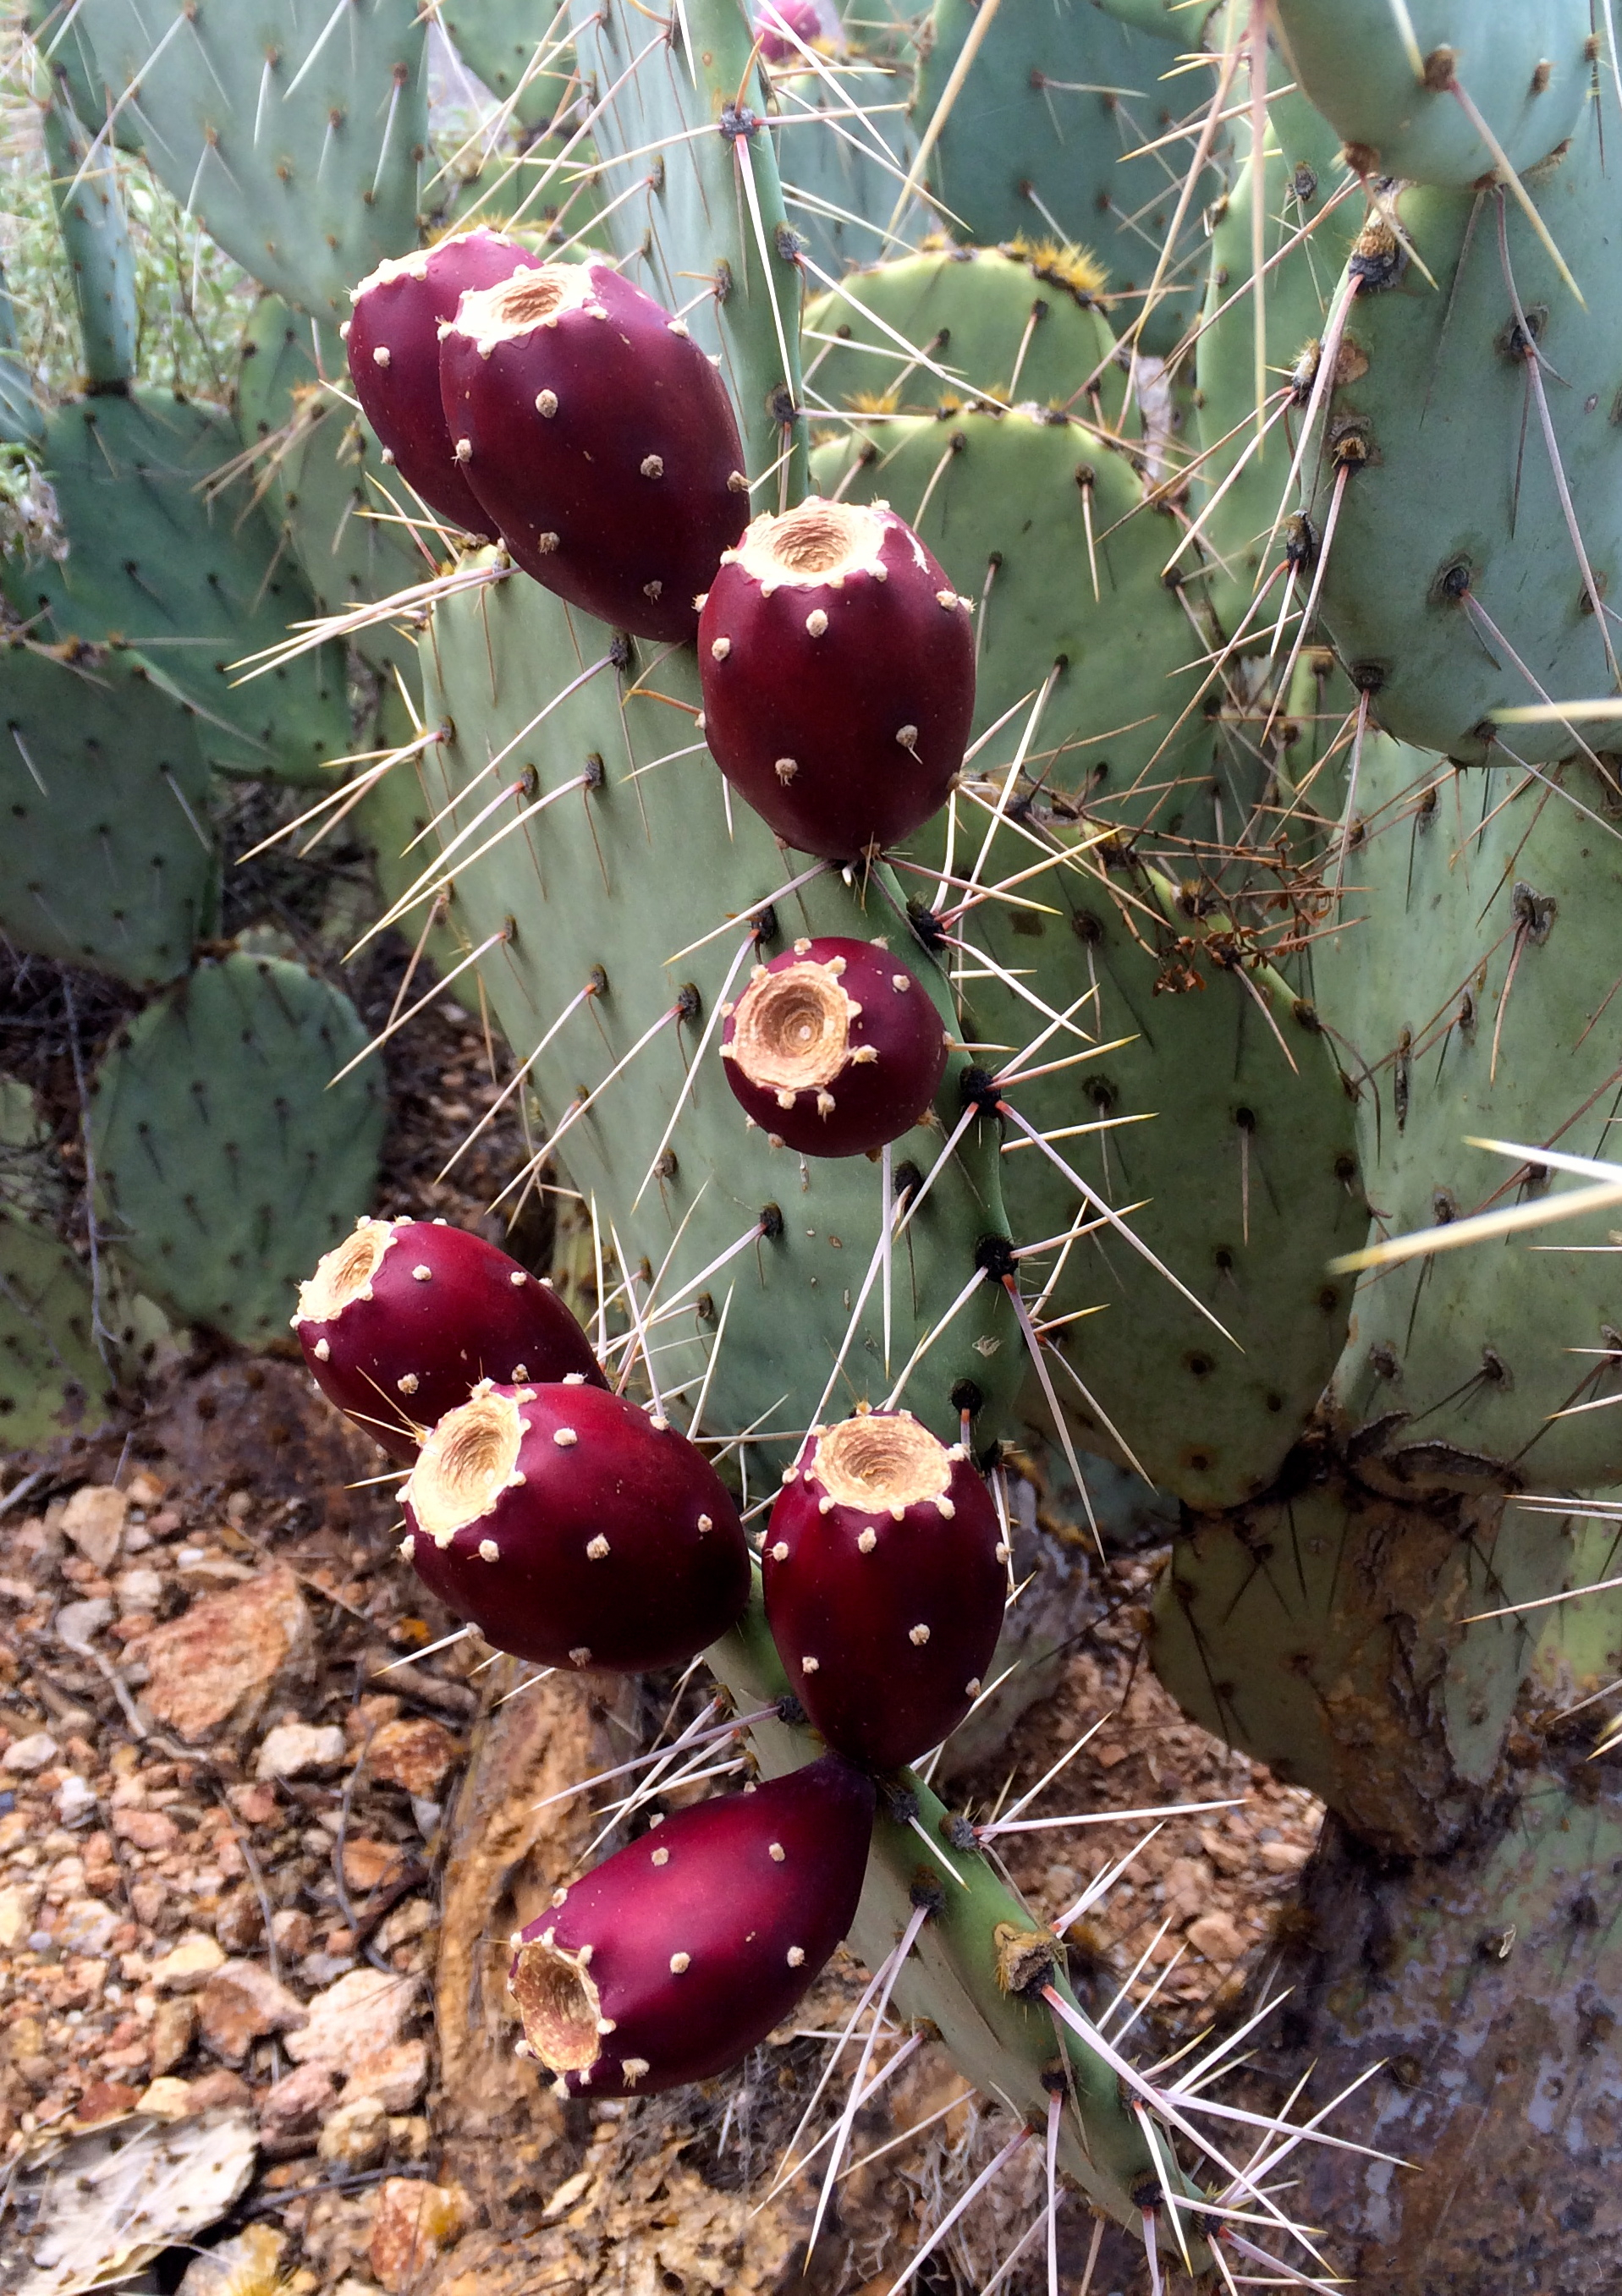
*** My secret to this “fruit marinade” is the smokey flavor of local Whiskey del Bac! Using spirits results in a fabulous liqueur “biproduct” to enjoy later. But, remember the words to that song “Oh we never eat fruitcake because it has rum, and one little bite turns a man to a bum……..” For the tea- totaler, any fruit juices will work for re-hydrating the dried fruit chunks: try apple cider, prickly pear, pomegranate juice, cranberry. Then save the liquid after decanting as it will have delicious new flavors added.
Day 2 –Preparing Dough, Proofing, Baking Election Bread
Ingredients:
1 cup unsalted butter
¾ cup unrefined organic sugar
2 eggs
1/3 cup whole-milk yogurt
¼ cup sorghum molasses, agave nectar, or honey
Your Pre-ferment –yeast mixture or sourdough mixture from Day 1
2 ¼ cups all-purpose or whole wheat pastry flour combination *
1-2 Tbsp mixed spice blend—your choice cinnamon, allspice, nutmeg, mace blend
¼ tsp ground coriander –optional
¼ tsp ground black pepper –optional
1-2 tsp salt
2 Tbsp sherry or another spirit- optional
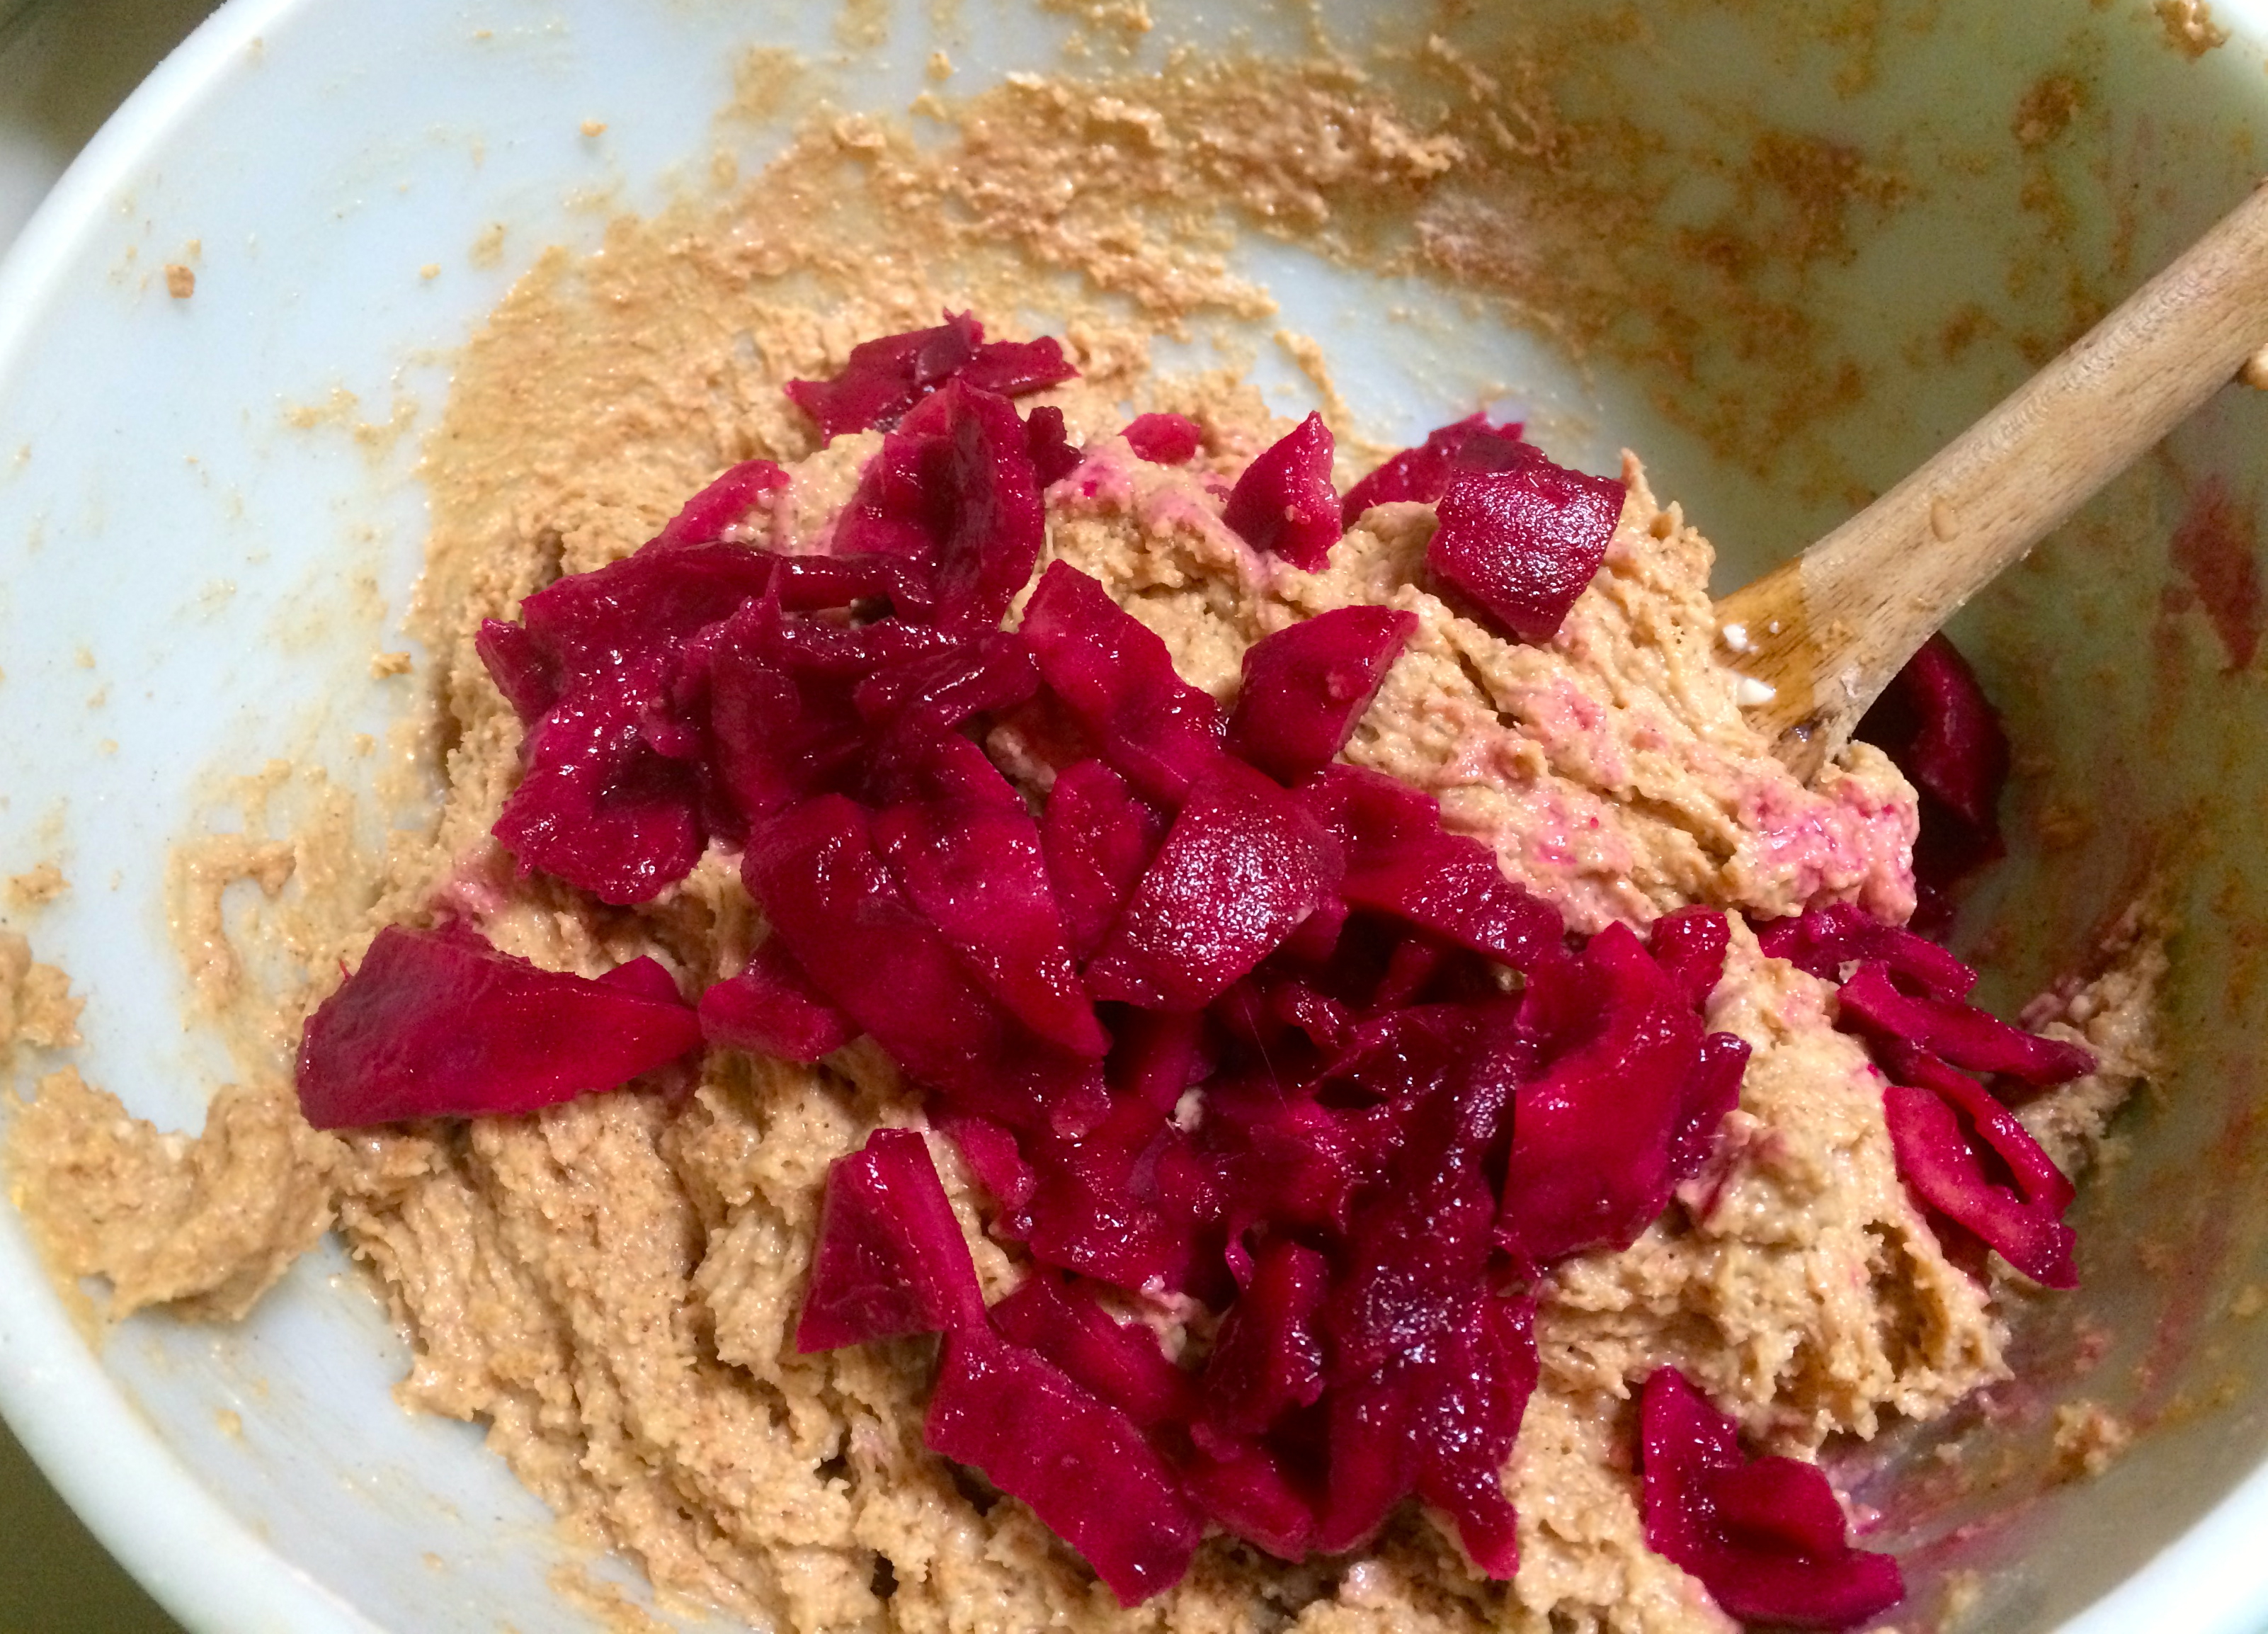
2 cups rehydrated local fruit from dried/preserved fruits, decanted
* Create your own combination of pastry flours. My Southwest pastry flour mix to total 2 ¼ cups is:
½ cup organic all-purpose flour
¼ cup mesquite pod milling dust
1 cup organic BKWFarms’ hard red wheat flour ½ cup organic heirloom BKWFarms’ White Sonora Wheat flour (heirloom flours available at NativeSeeds/SEARCH and http://www.flordemayoarts.com)
** My Election Bread fruit mix honors the Kino Heritage Fruit Tree Project. You can purchase heirloom fruit seasonally at Santa Cruz Farmers’ Market. For this recipe I used:
1/3 cup diced dry figs
1/3 cup diced dry apricots
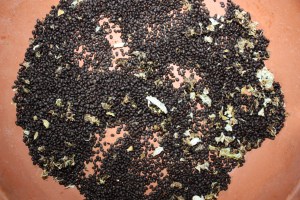
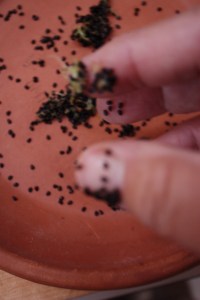
1/6 cup dry pomegranate “arils”
1/6 cup dry cranberries (a bow to East Coast food)
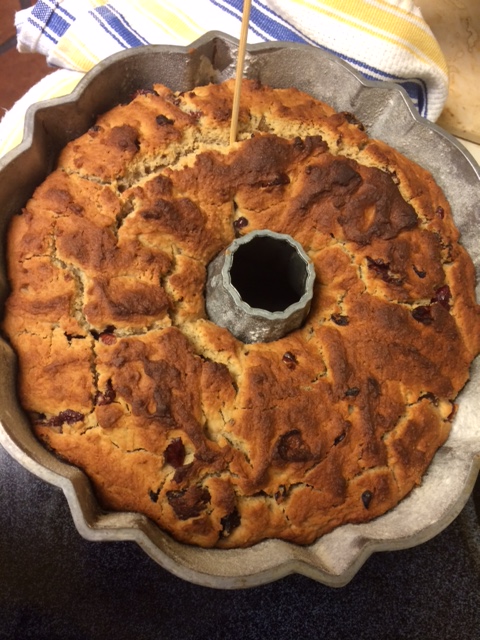
You can test to see if dough is done through by using a wooden kabob skewer or cake tester. Listen to hear if bubbles are still popping in the dough.
Day 2–Instructions for Election Day Bread Baking
a) Cream the butter well; add sugar, mixing until light and fluffy. Add the eggs one at a time with mixer (or spoon) on medium speed. Mix in the sorghum/honey and yogurt. If you have a dough hook mixer you can use it or good old elbow grease. Add the pre-ferment (starter or sponge) and mix slightly.
b) In a separate bowl, sift together all of the dry ingredients. Mix as you add dry ingredients into liquid ingredients, being careful not to over-mix.
c) Gently fold in the rehydrated fruit (then optional sherry).
d) Grease (with butter) and flour a bundt pan or round cake pan. Divide the dough evenly into the cake pan. Proof (i.e. let the dough rise) covered in a warm place for 2-4 hours, until the dough has risen by about ⅓ of its volume.
e) Preheat oven to 375F. Bake at 375° F (190° C) for 10 minutes. Reduce oven temperature to 350° F (177° C) and continue baking for about 25-35 minutes, or until a tester comes out clean. Let cake cool completely before cutting and eating. Enjoy this sweet bread either plain or topped with a simple glaze.
If you are new to yeast bread baking, it would be fun to connect with a friend to chop fruit or get hands gooey together, or to have one person read directions while the other mixes. We always do it as a family and it’s so much more fun to add humor and gossip to the mix–or even a little political emoting.
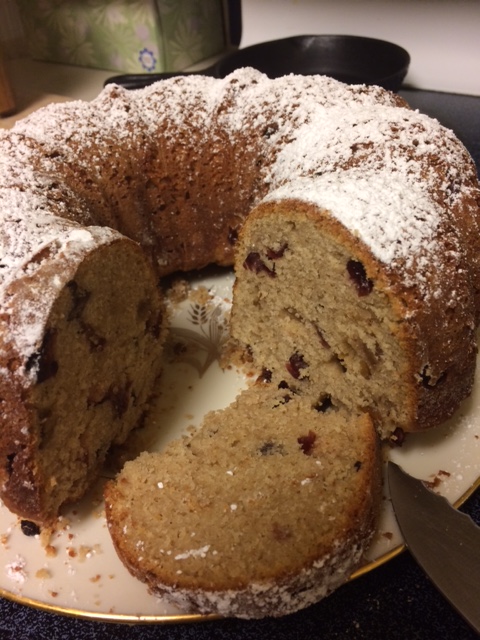
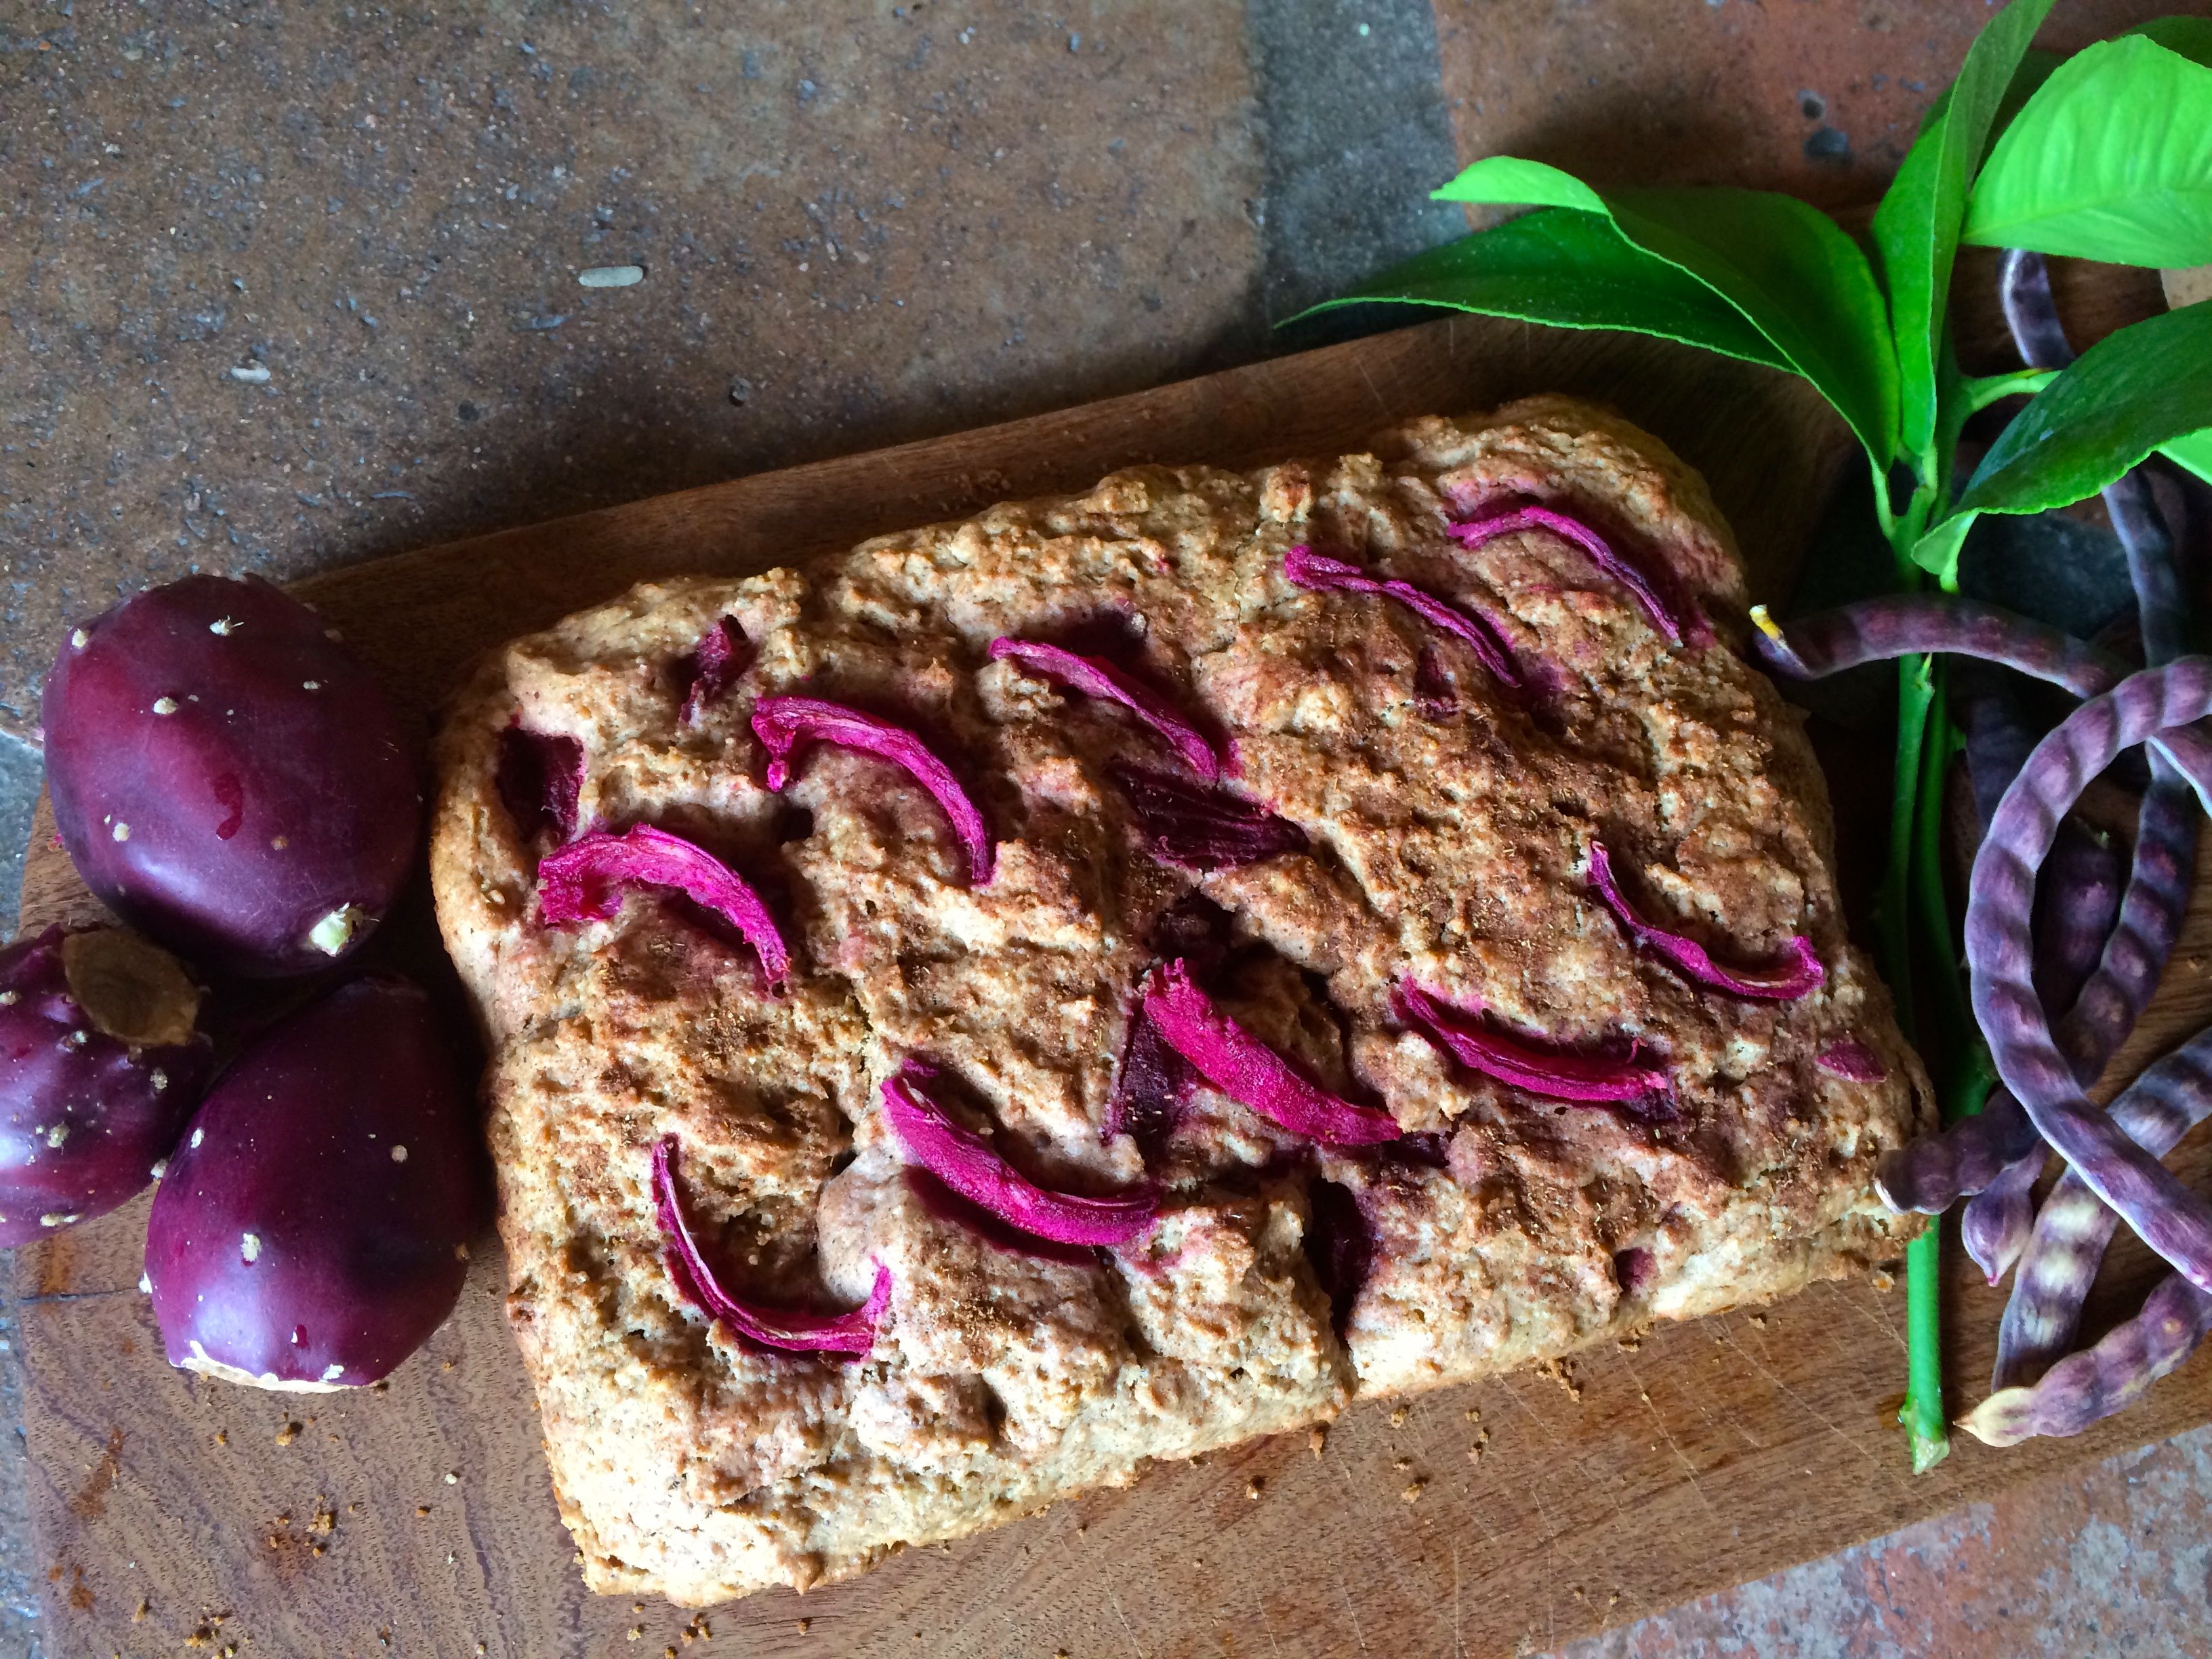
Sonoran Desert style Election Bread with local grains and local fruits–Ahhhh, the aromas and rich history of Baja Arizona in a single slice!
During the coming holidays, you could try this easy bread for a great party treat, for breakfast, or for a colorful dessert topped with whipped cream or ice cream.
And feel free to play with the recipe, adding your own tastes, honoring your own family’s food culture and history and your own sense of place!
Buen provecho from Tia Marta!


 Linda here, just off the plane from a great family roots trip with my father. Hearty and strong at 87 yeas of age, we tromped though grave sites and Historical Society’s records to uncover what we could. We talked with older relatives, read through old letters, were guided by local historians. Much of the conversation happened around meal tables.
 She paired the apple sauce with home made Bacon Quiche.


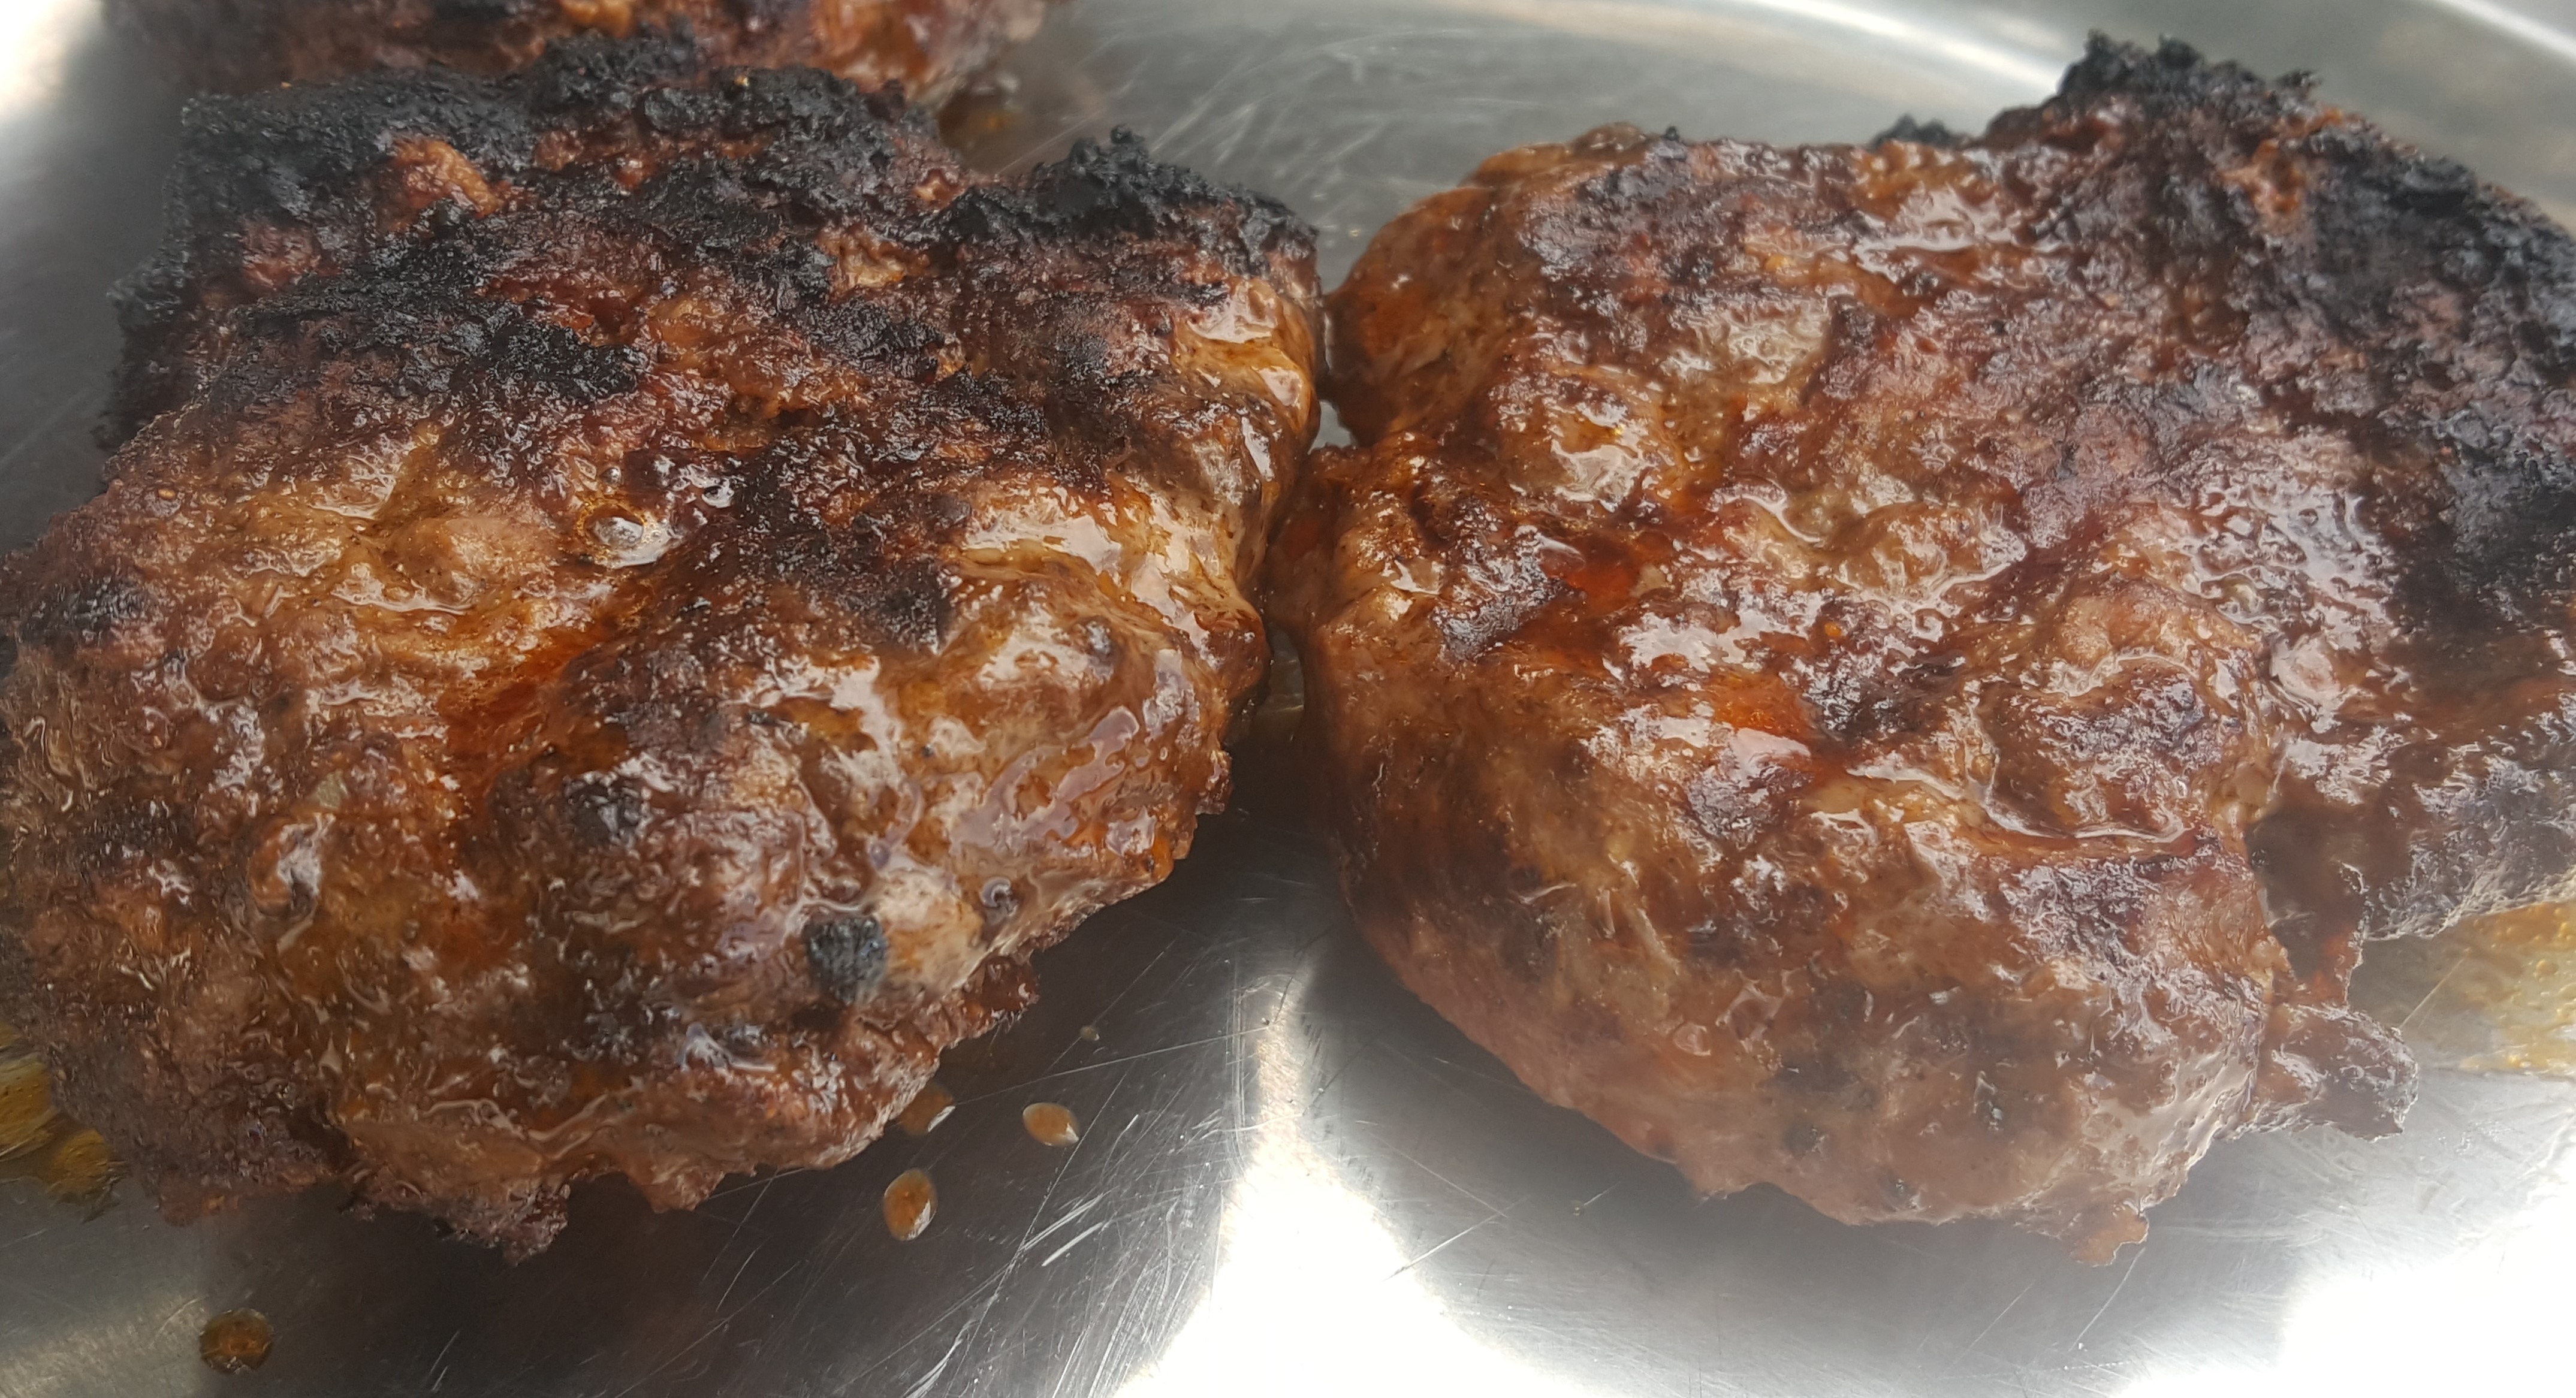
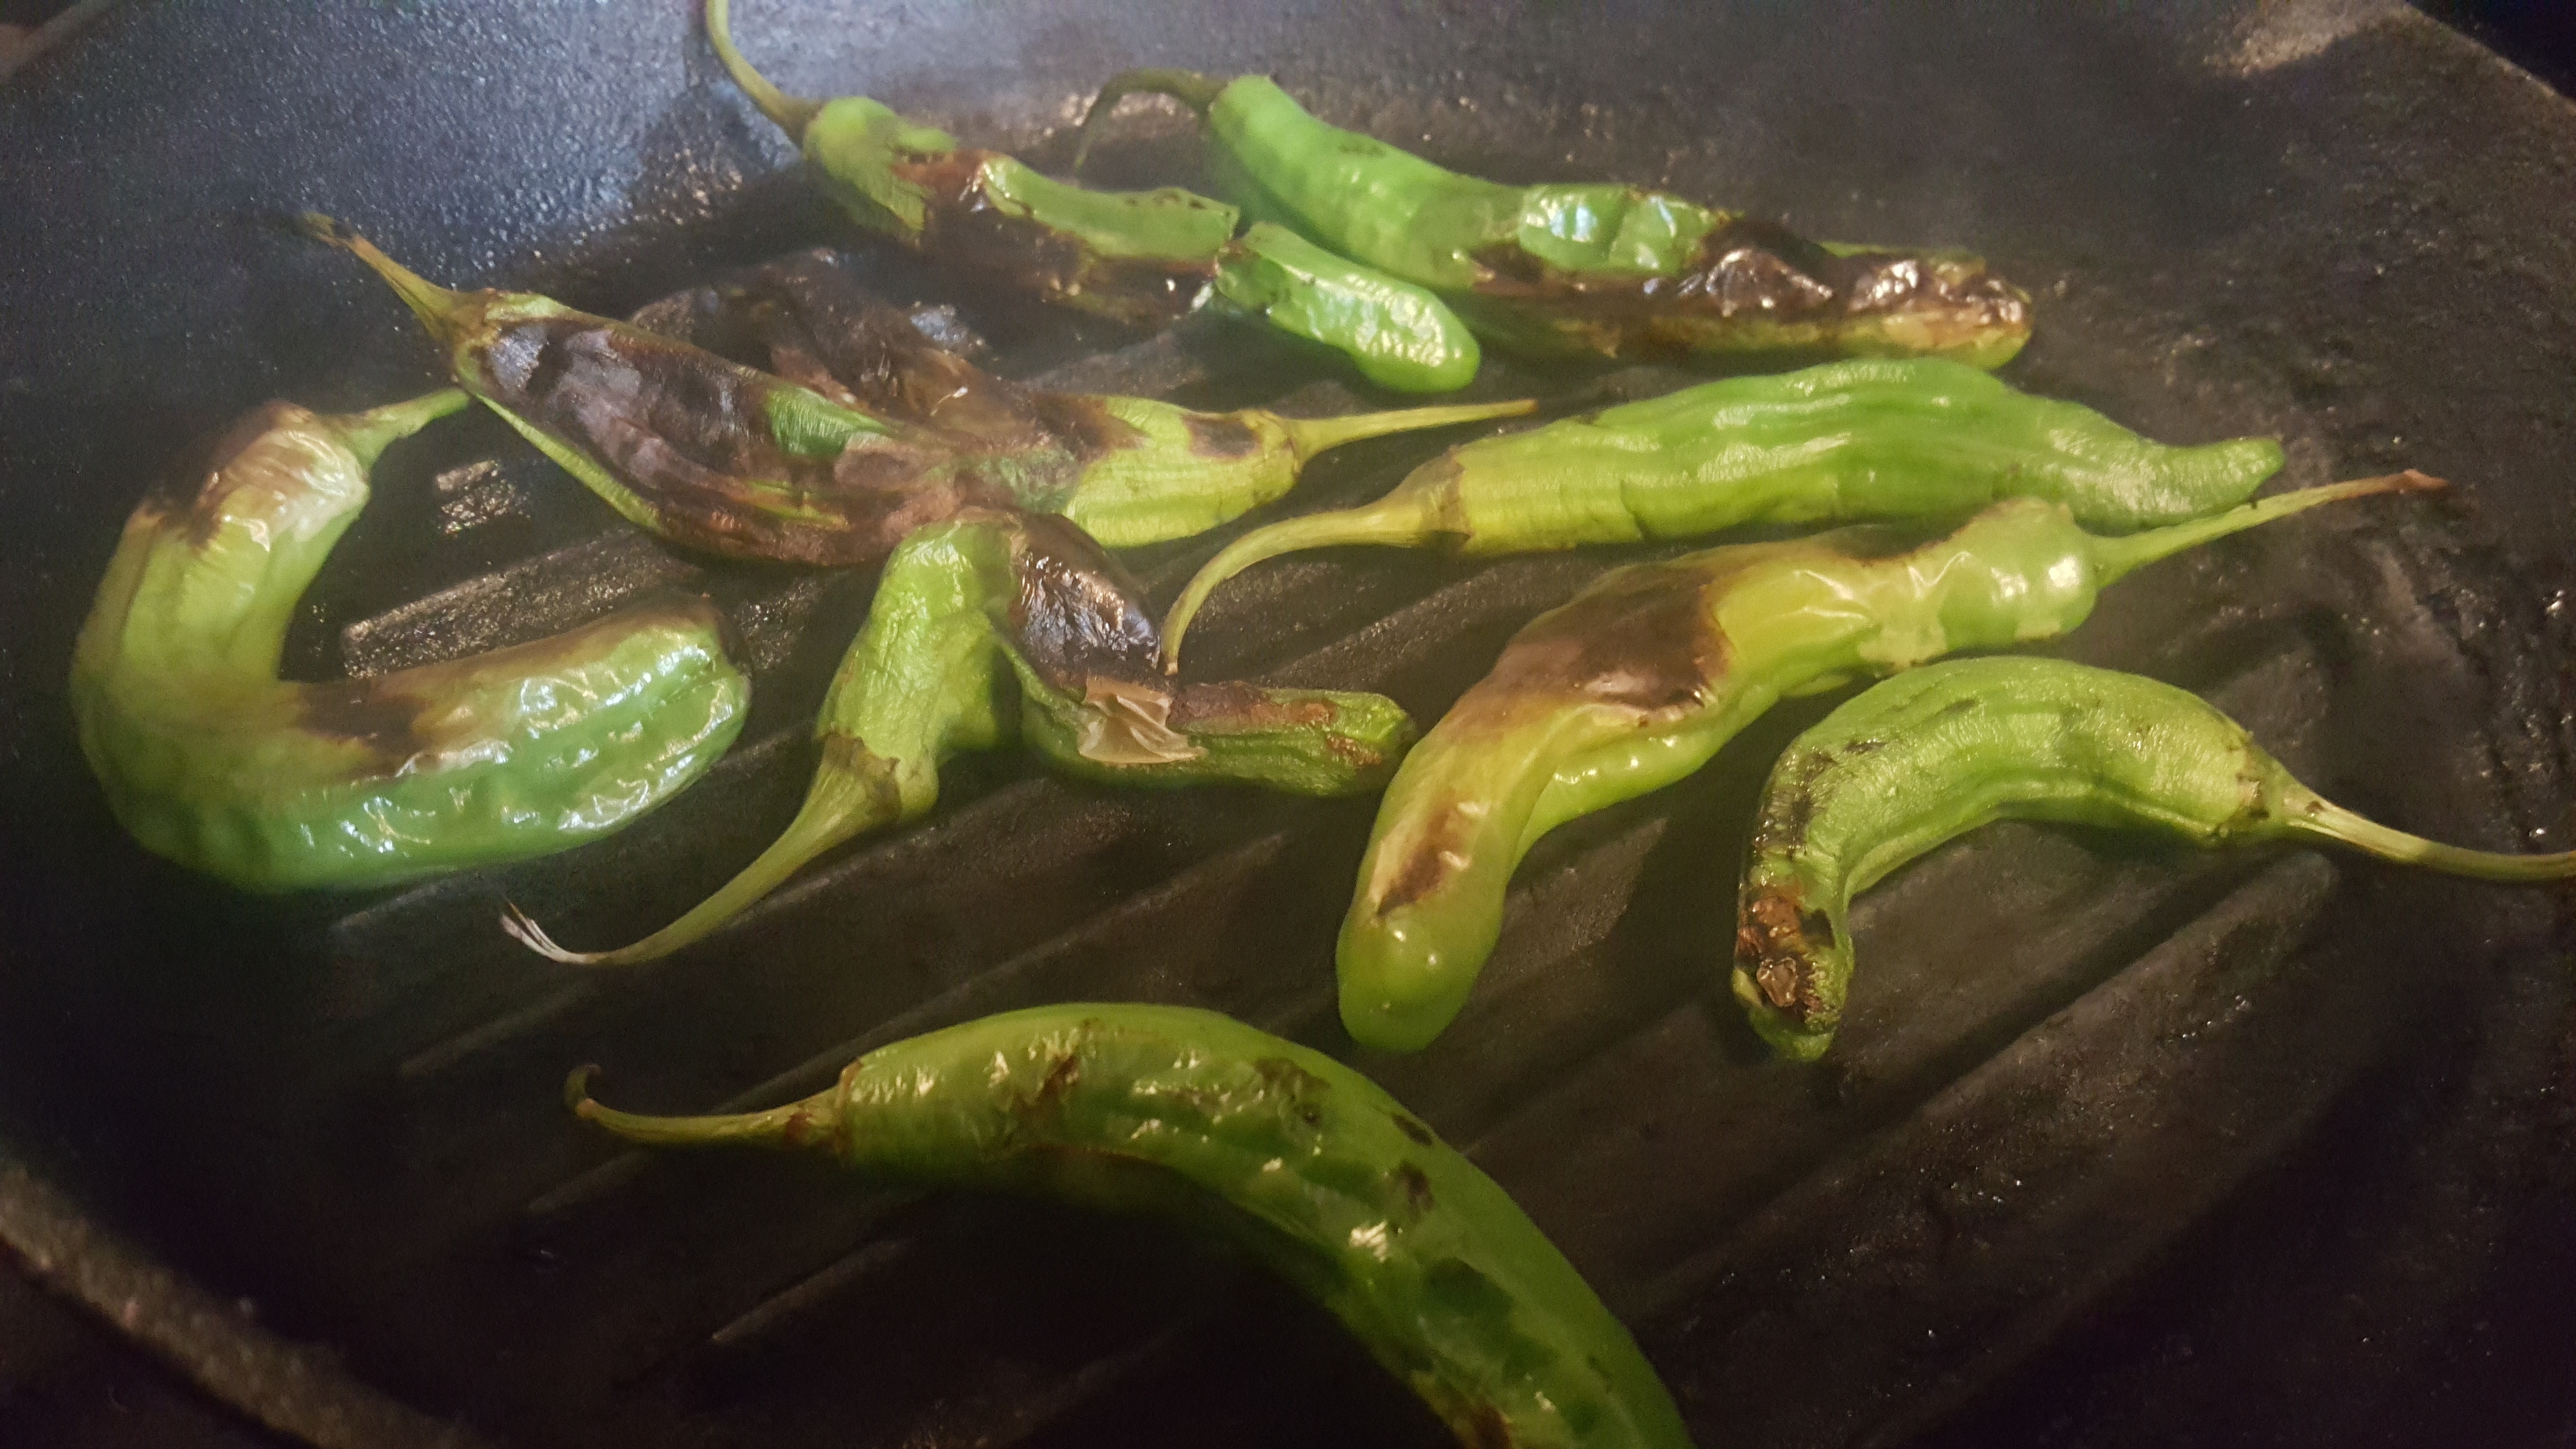
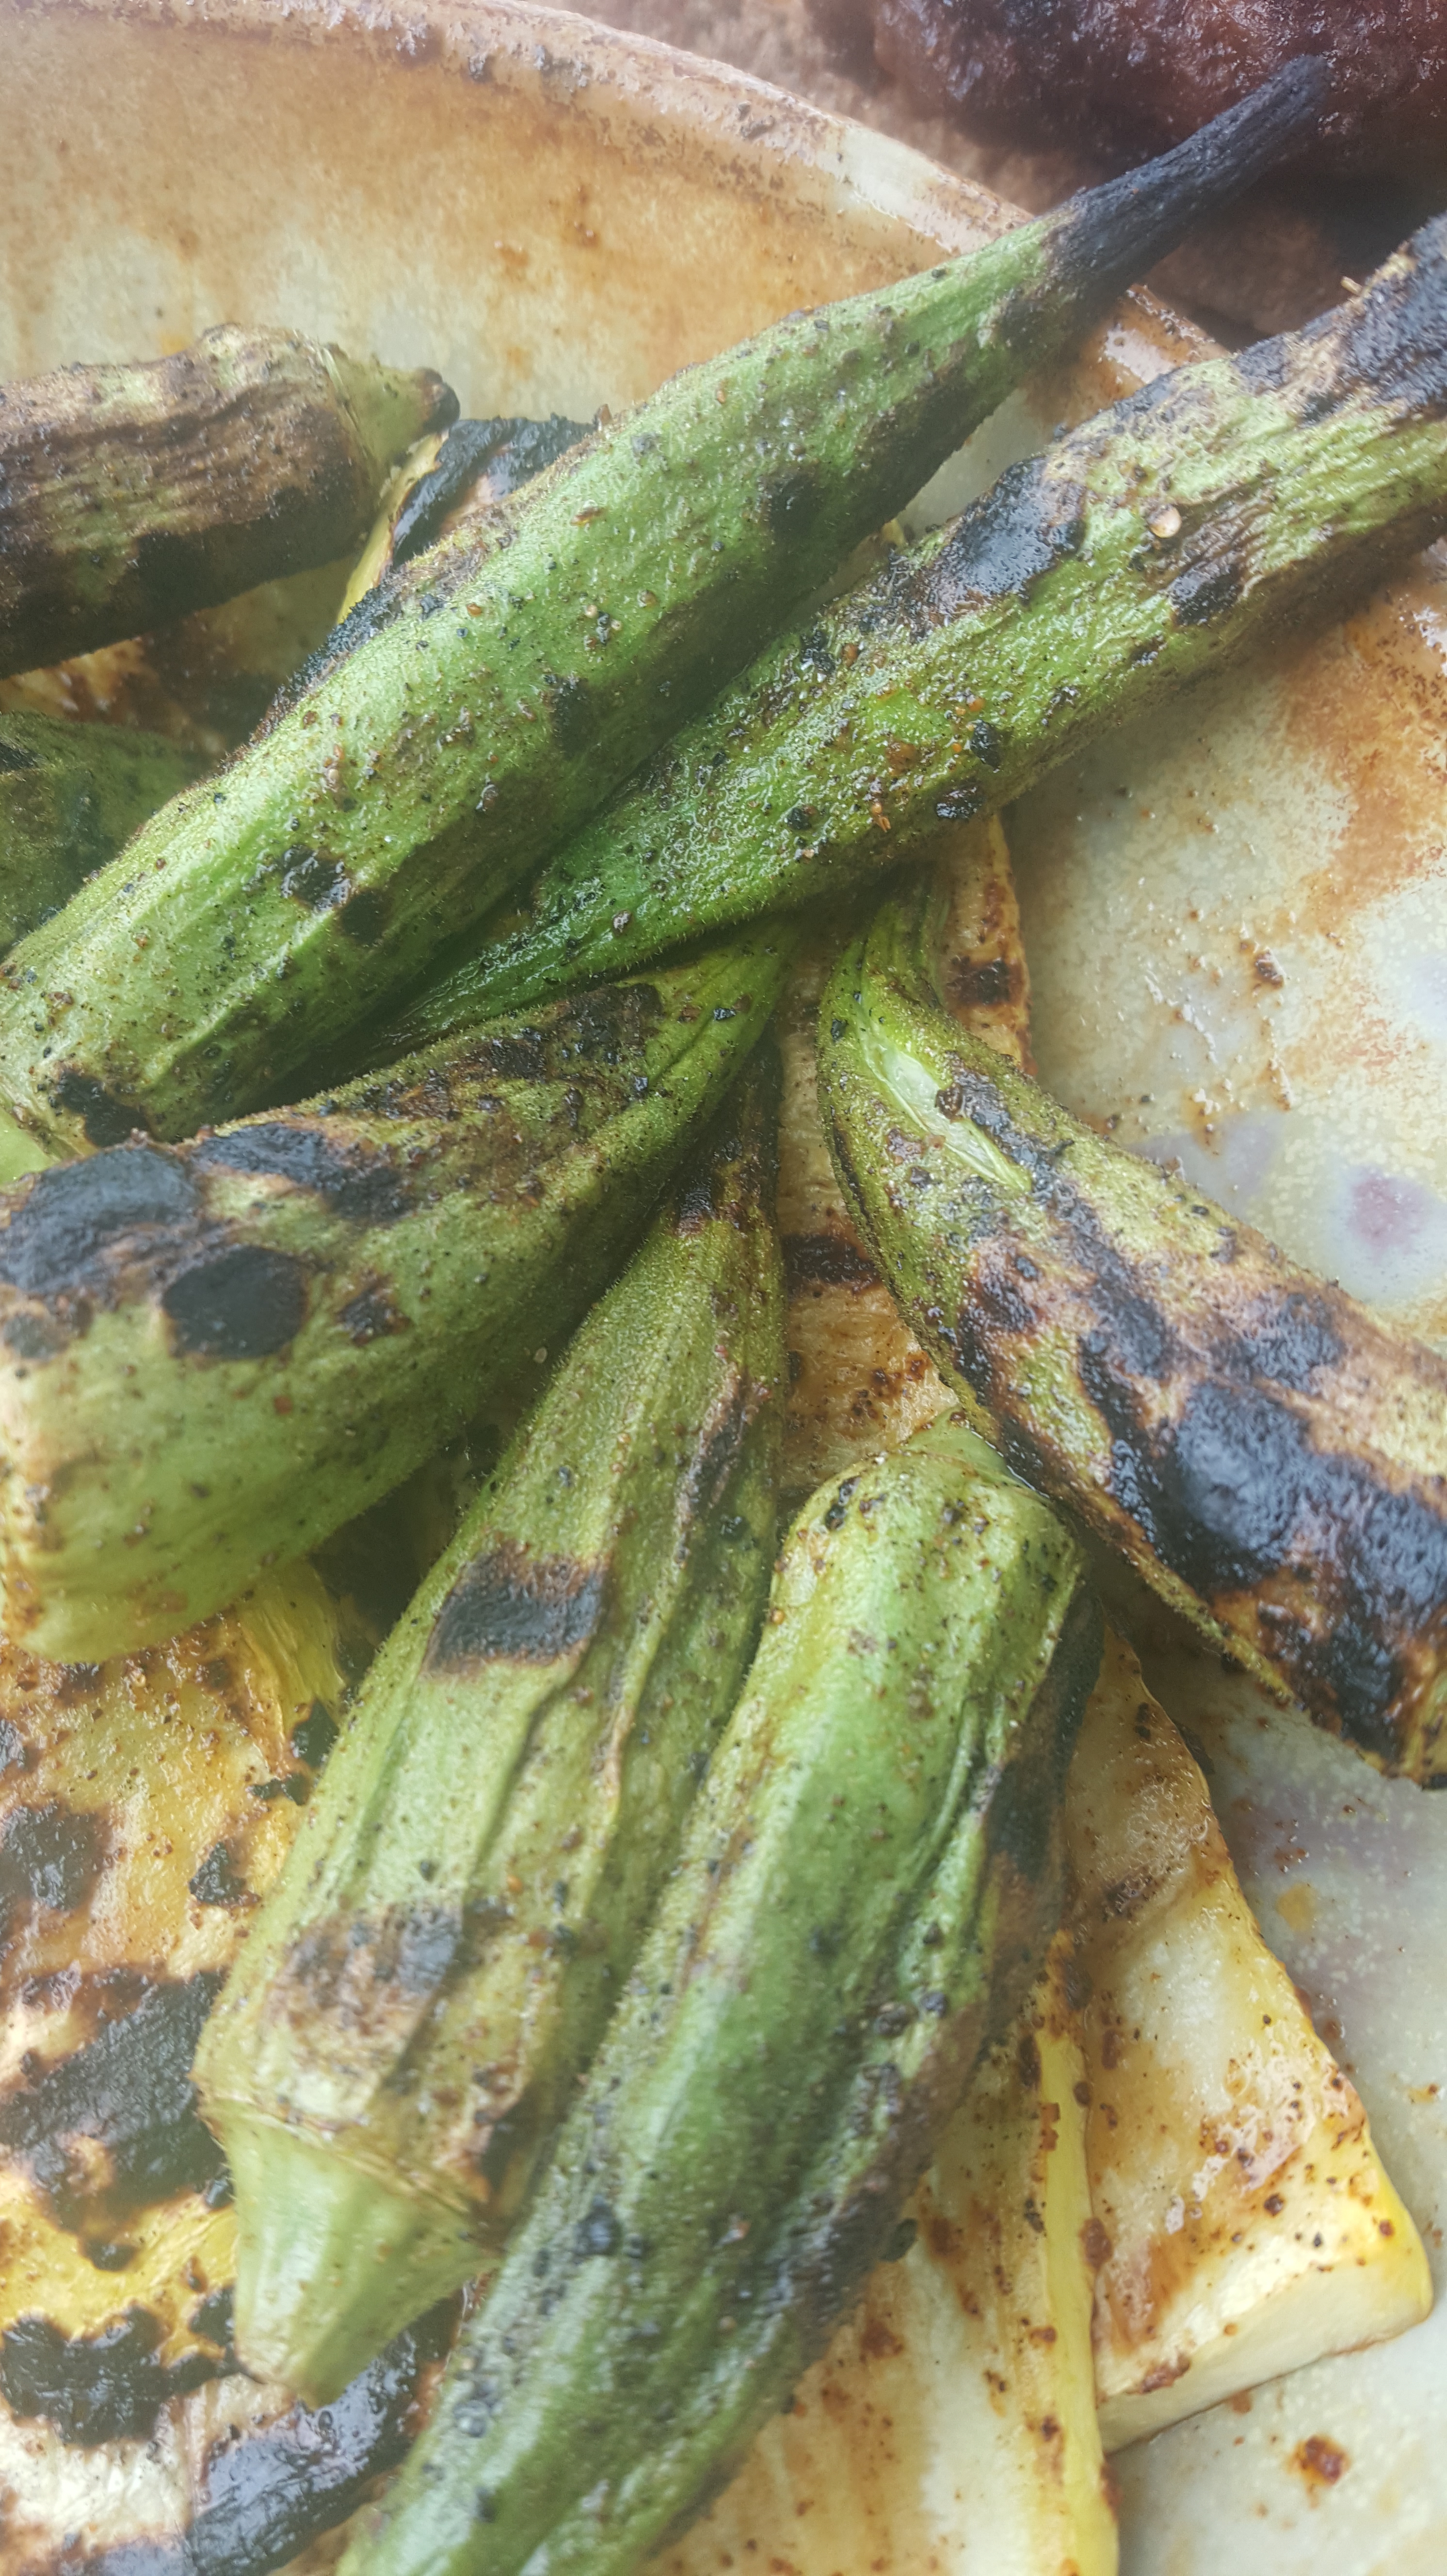
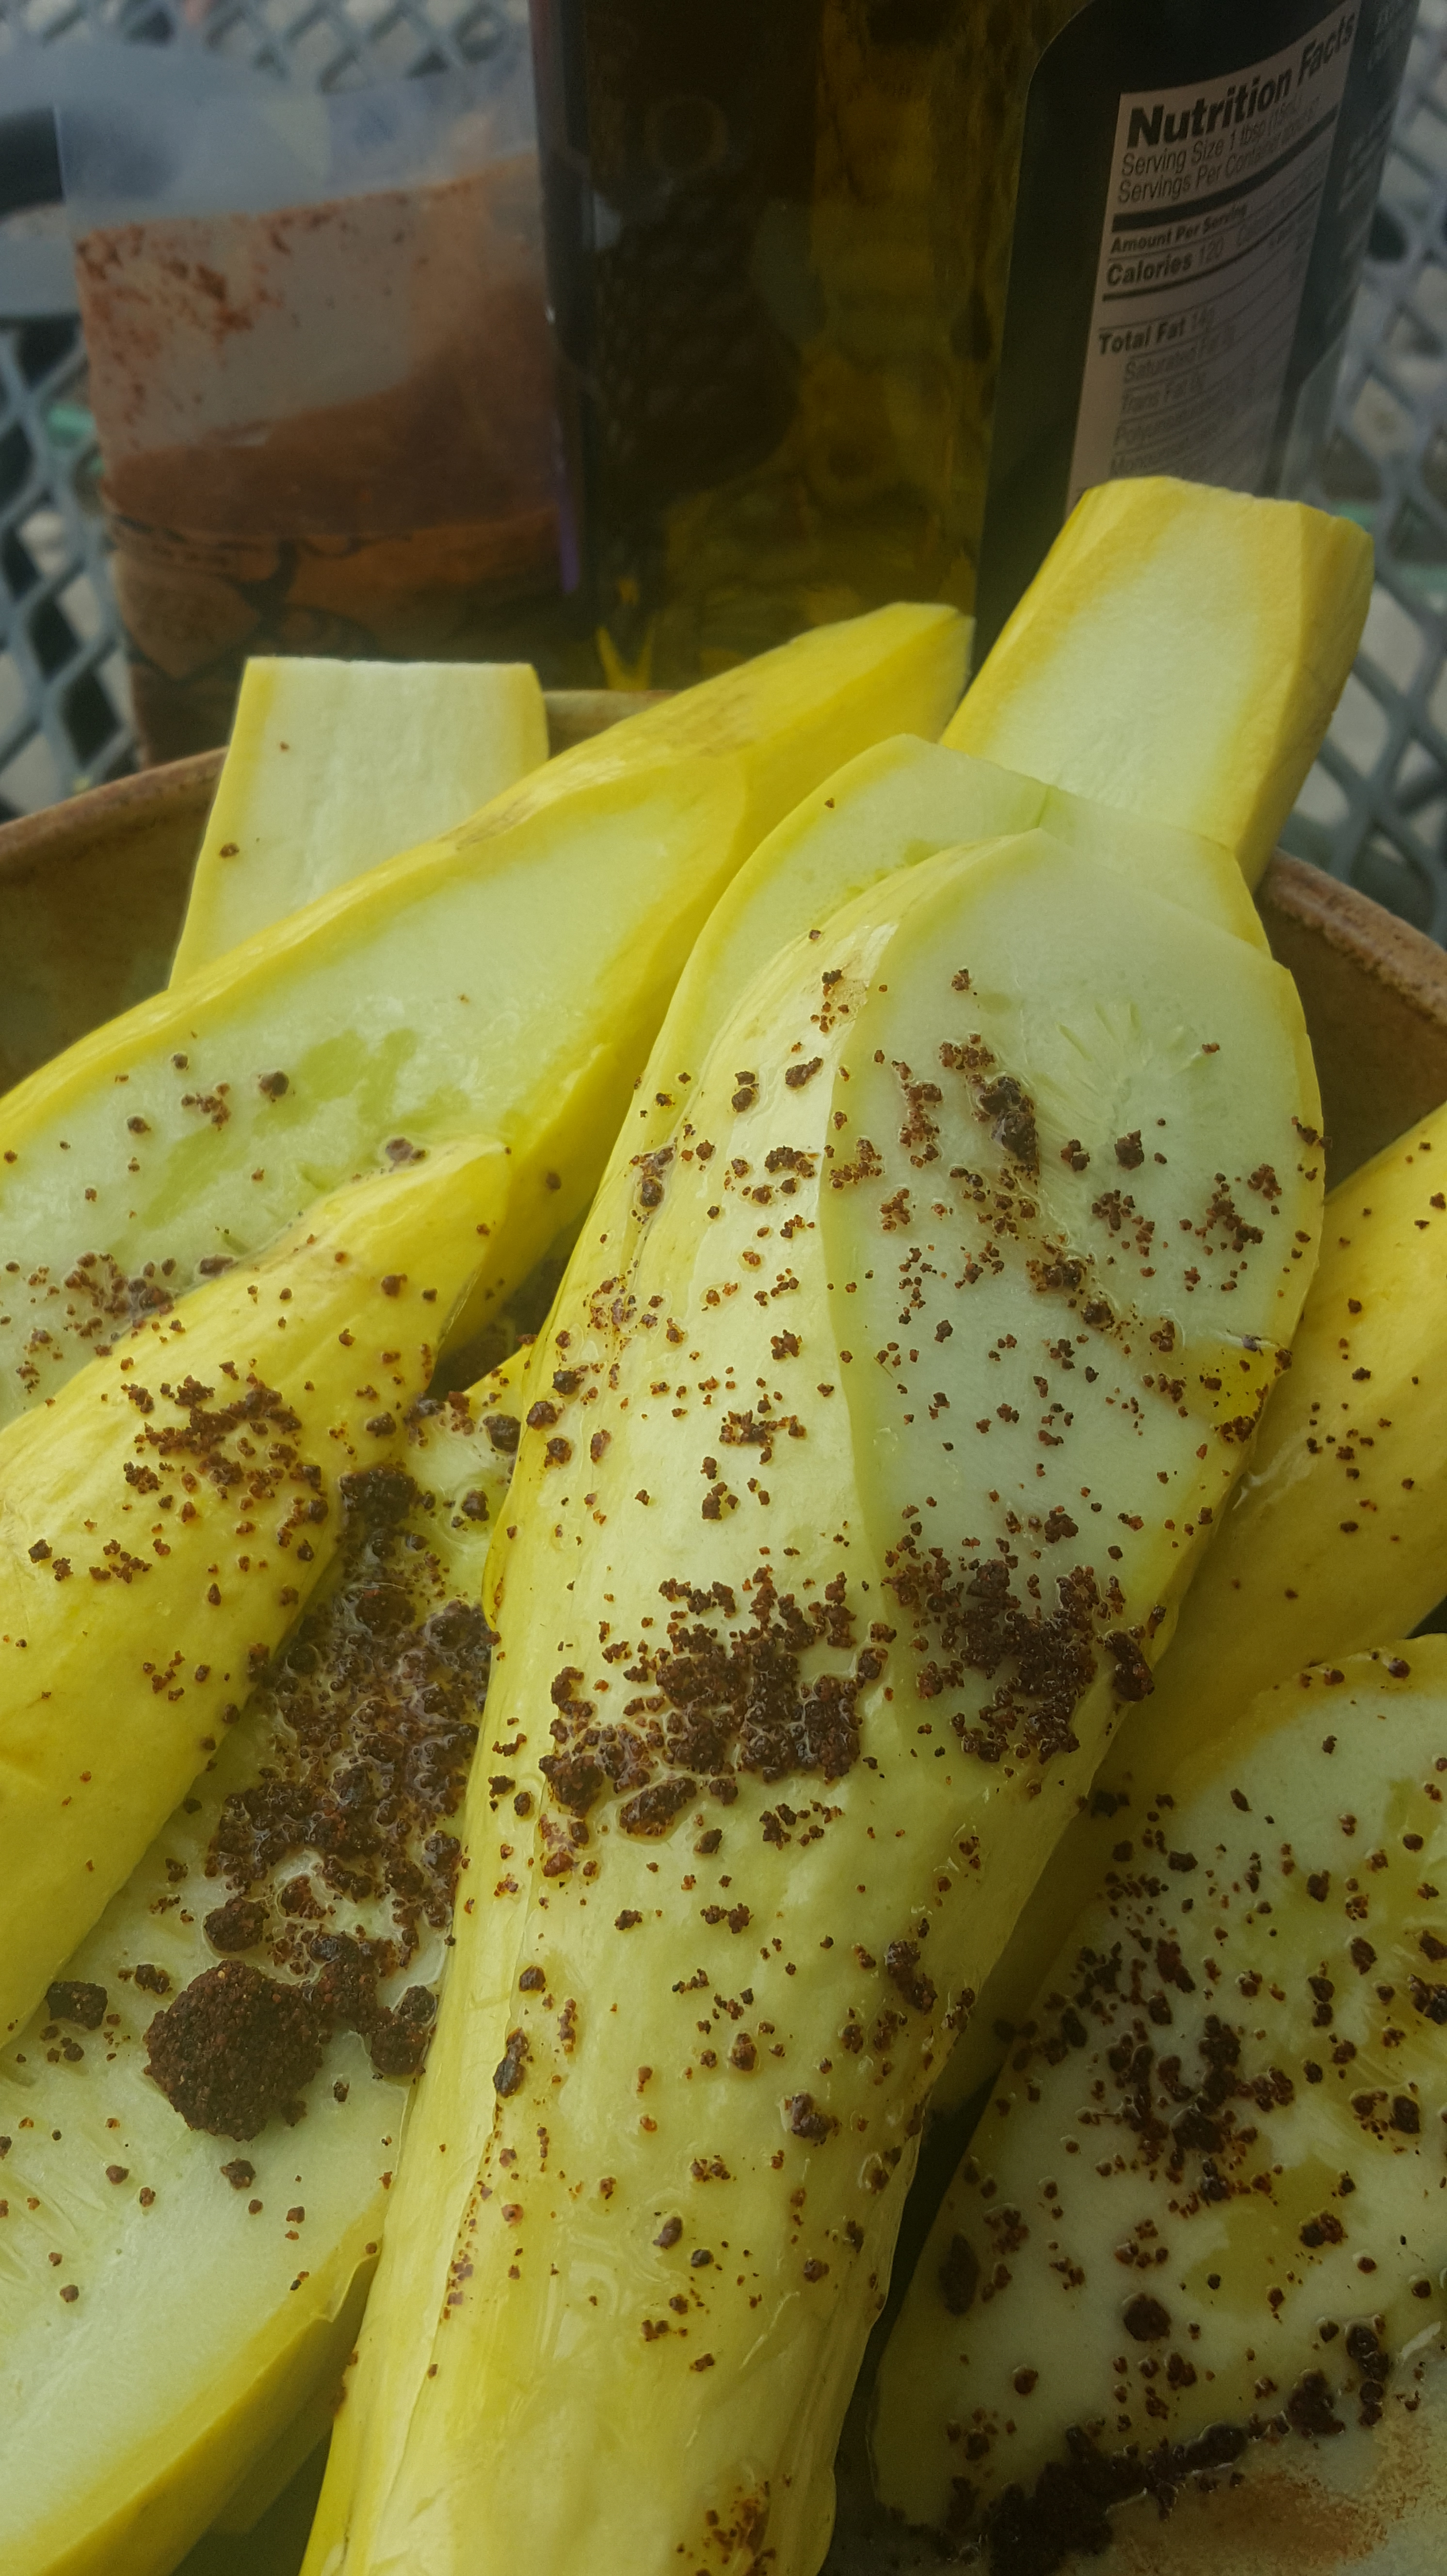
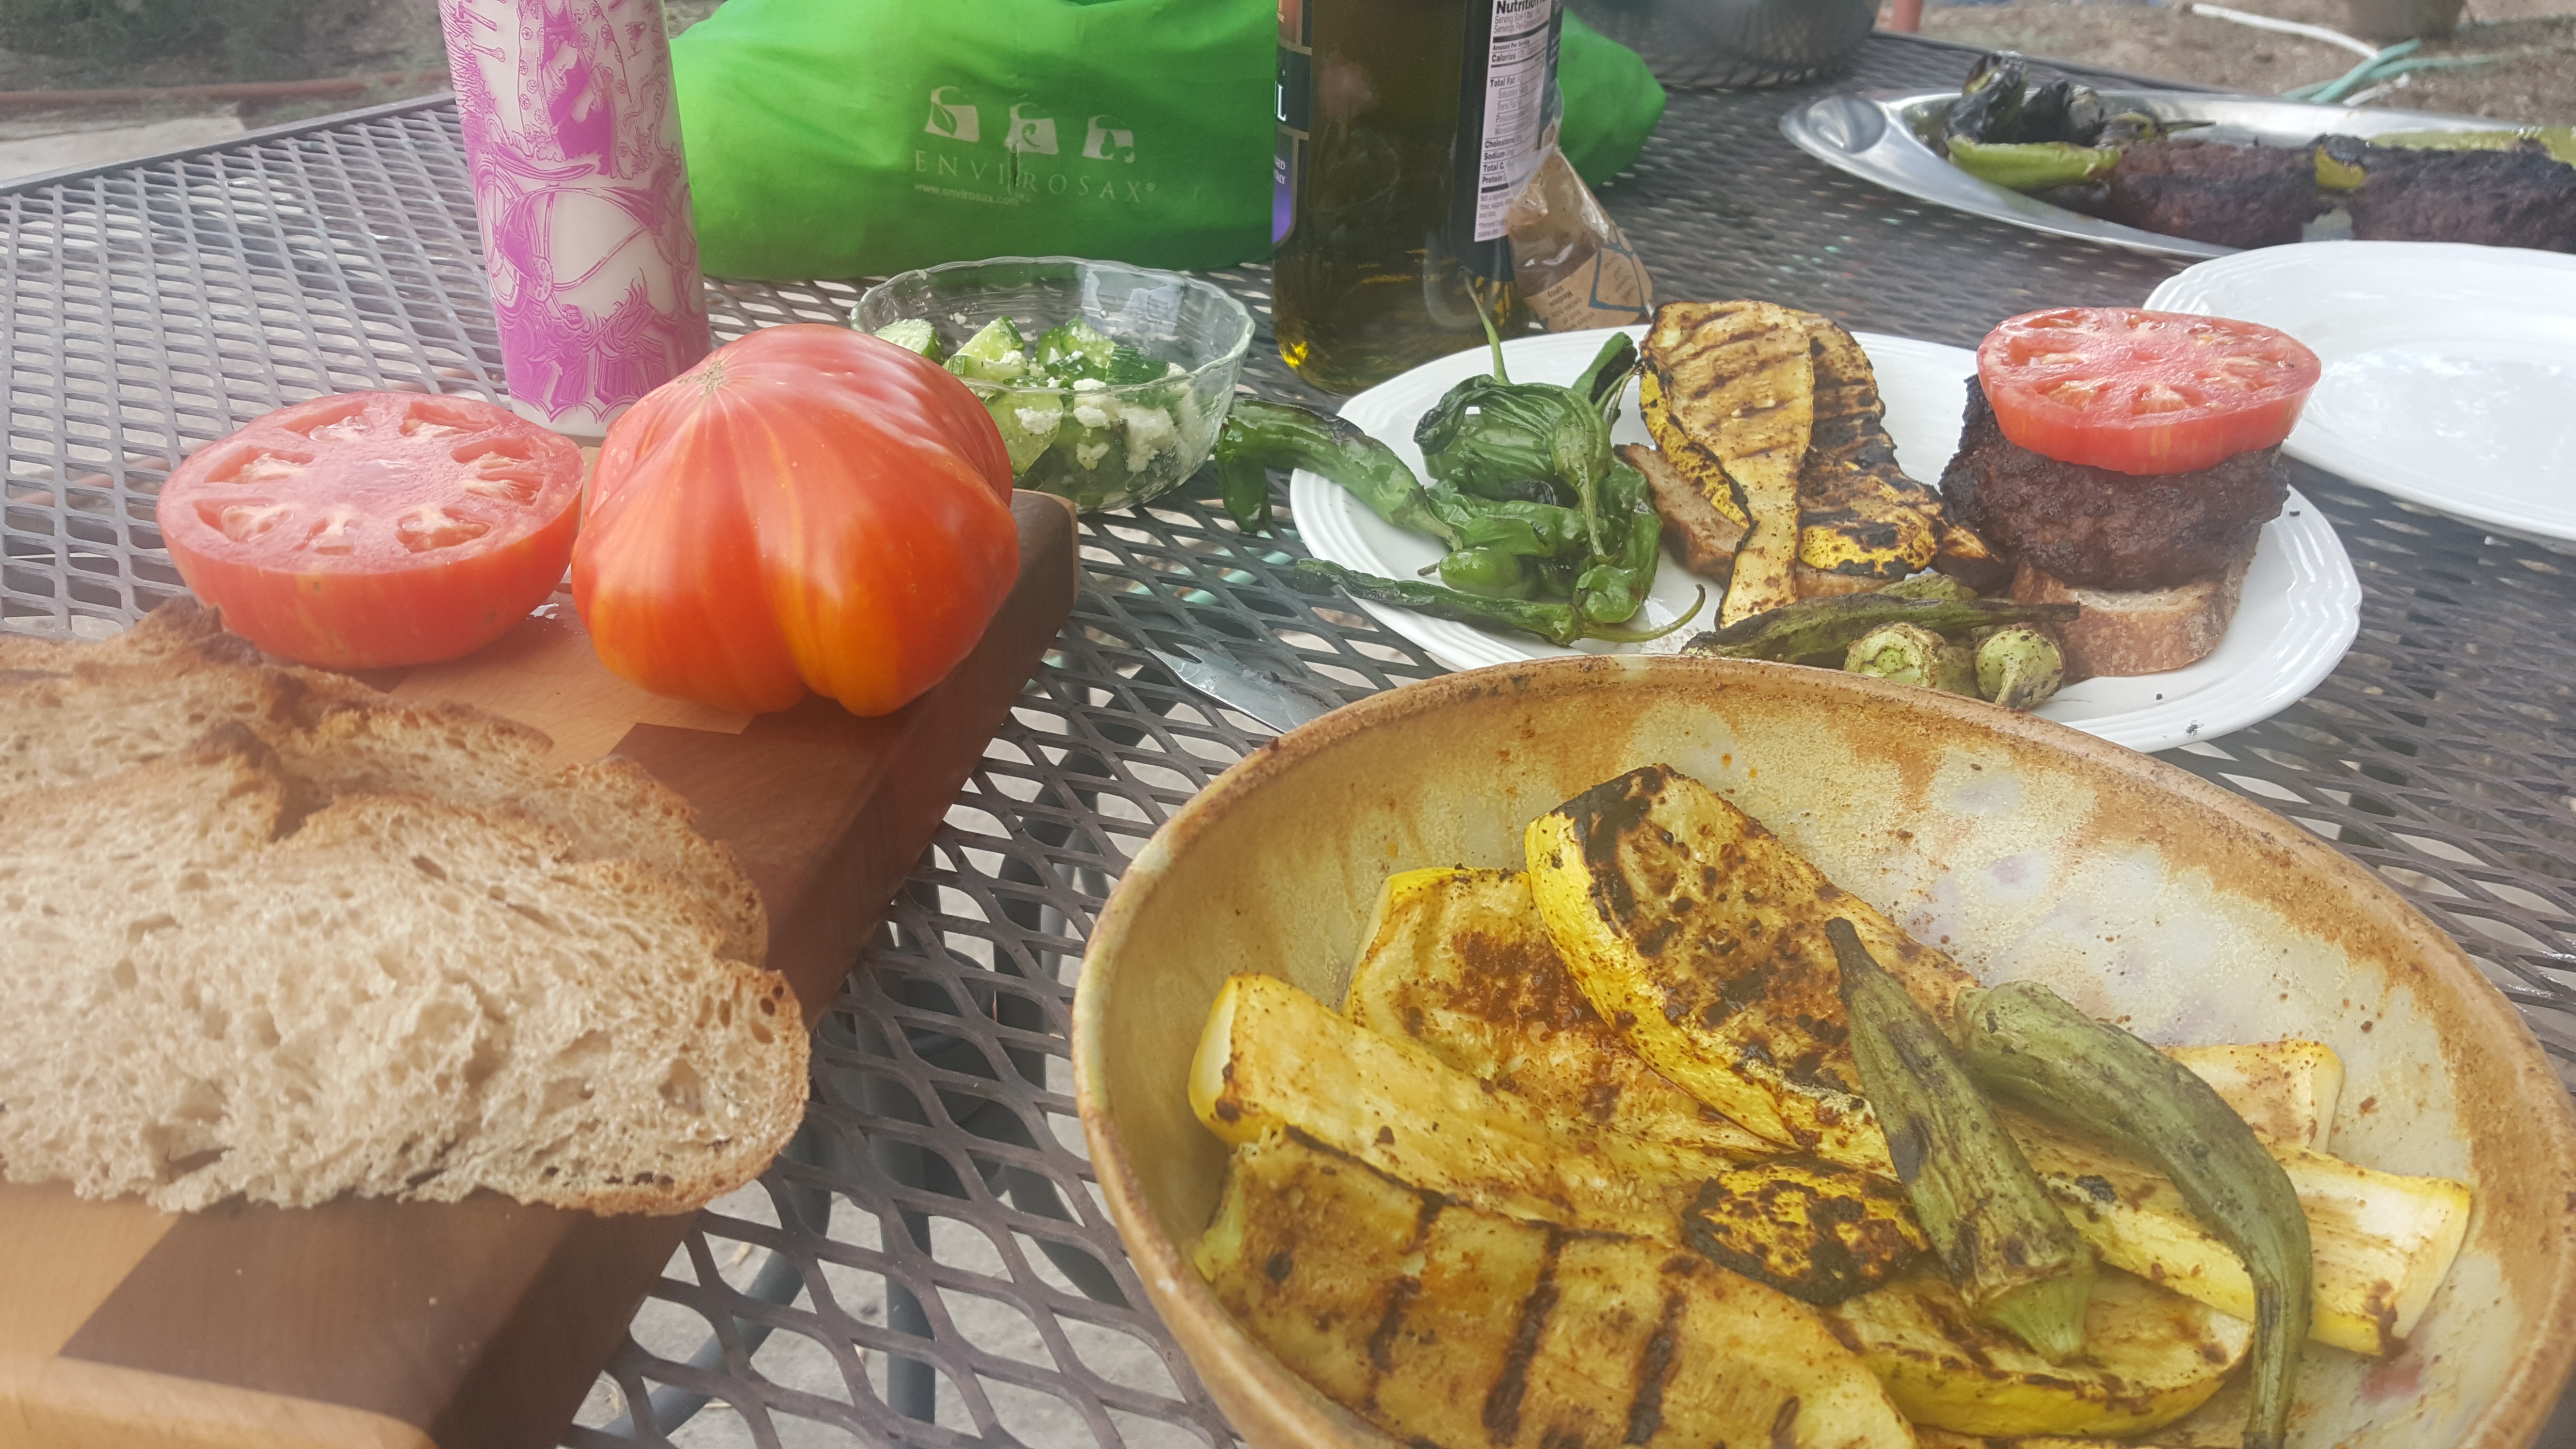
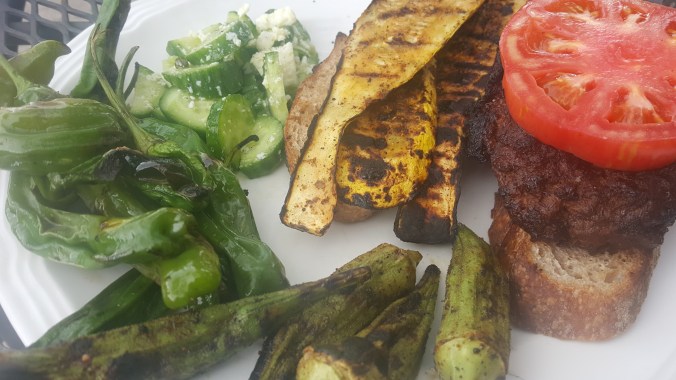 Amy here on a cloudy monsoon afternoon with a bounty of summer produce like long green chiles, Shishito peppers, okra, yellow squash and great tomatoes. It makes me want to grill and eat outside.