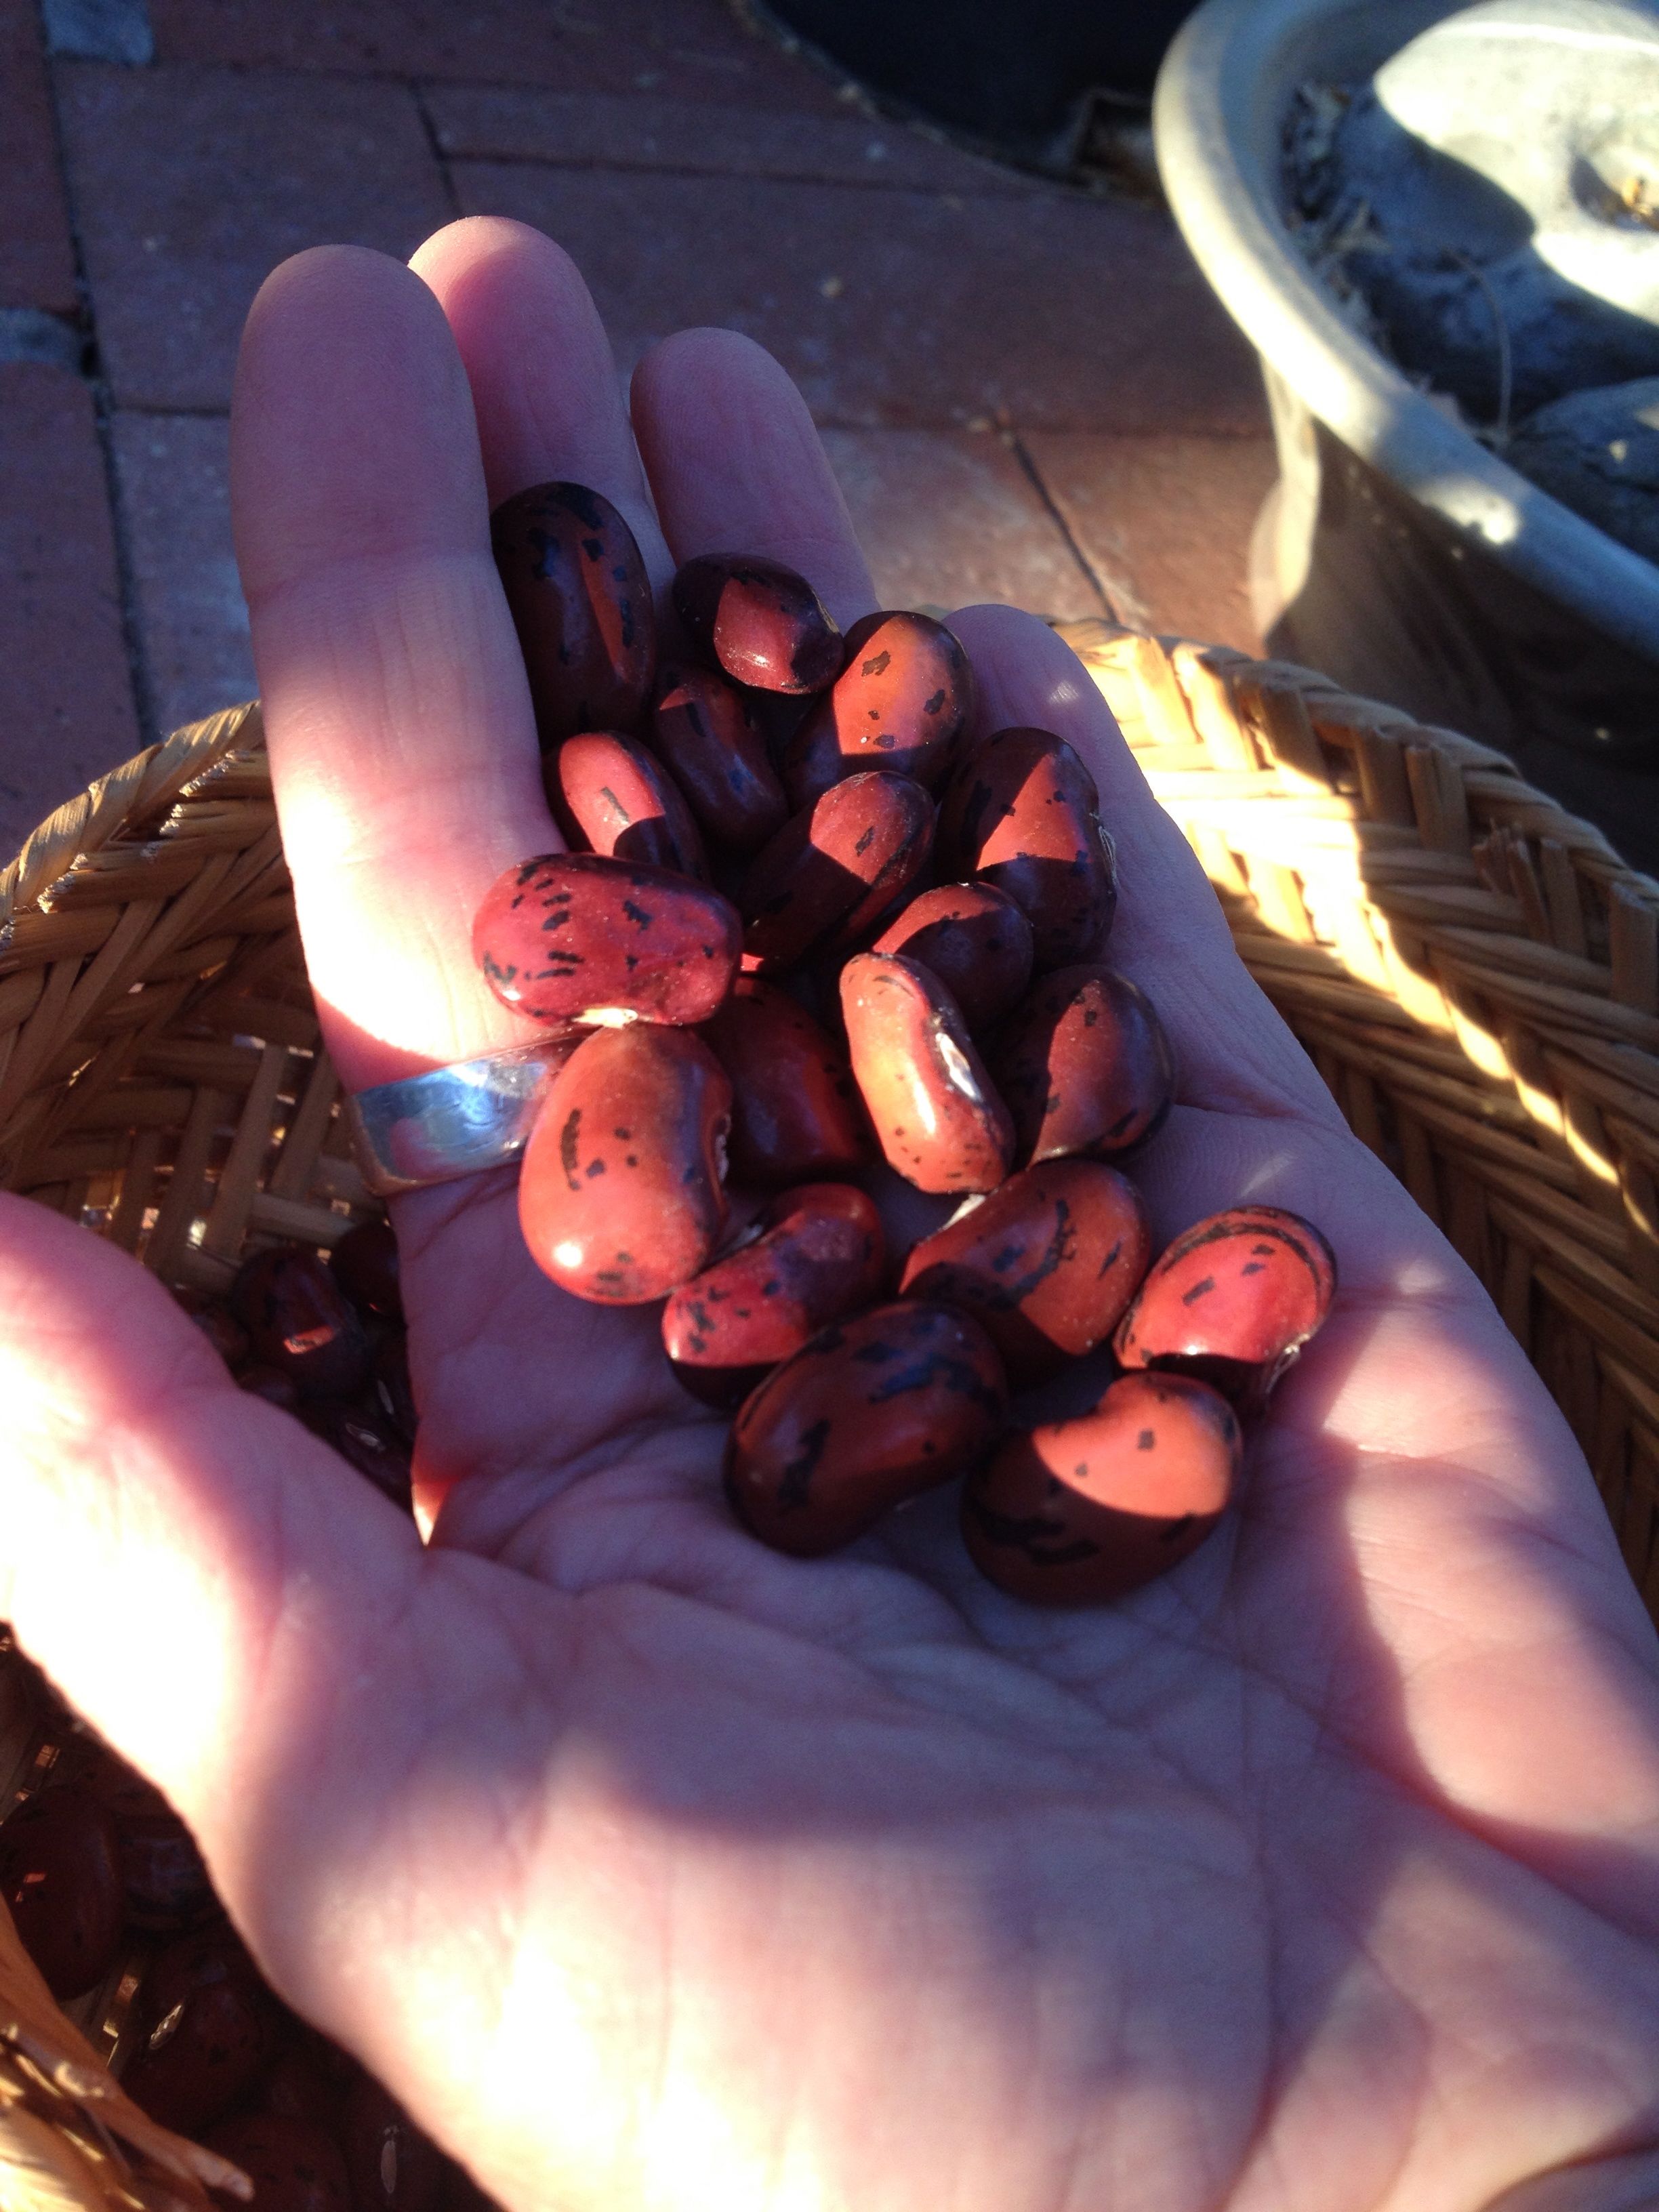
Scarlet runner beans grown by ace gardener T.S.Swain–good nutrition and beauty besides (MABurgess photo)
Tia Marta here this beautiful Easter week, singing the praises of seeds, with stories of rebirth to share! When I hold seeds in my hand, I am blown away by their significance. These little lightweight packages of starch and protein, exine skins and genetic chains, are weighty with potential for what they can do in the future, and truly weighty with messages from the past—genetic wisdom selected by the many forces of Nature through time, and in the case of agricultural seed, by caring humans—all encased in a holding pattern, a portal where time stretches. Seeds are life in abeyance. Each seed is a nexus, connecting the ways of the past with hopes for the future. To see life spring again from a seed is a miracle every time it happens—even for elders who have seen it happen a zillion times, and one worth sharing with children for their first.
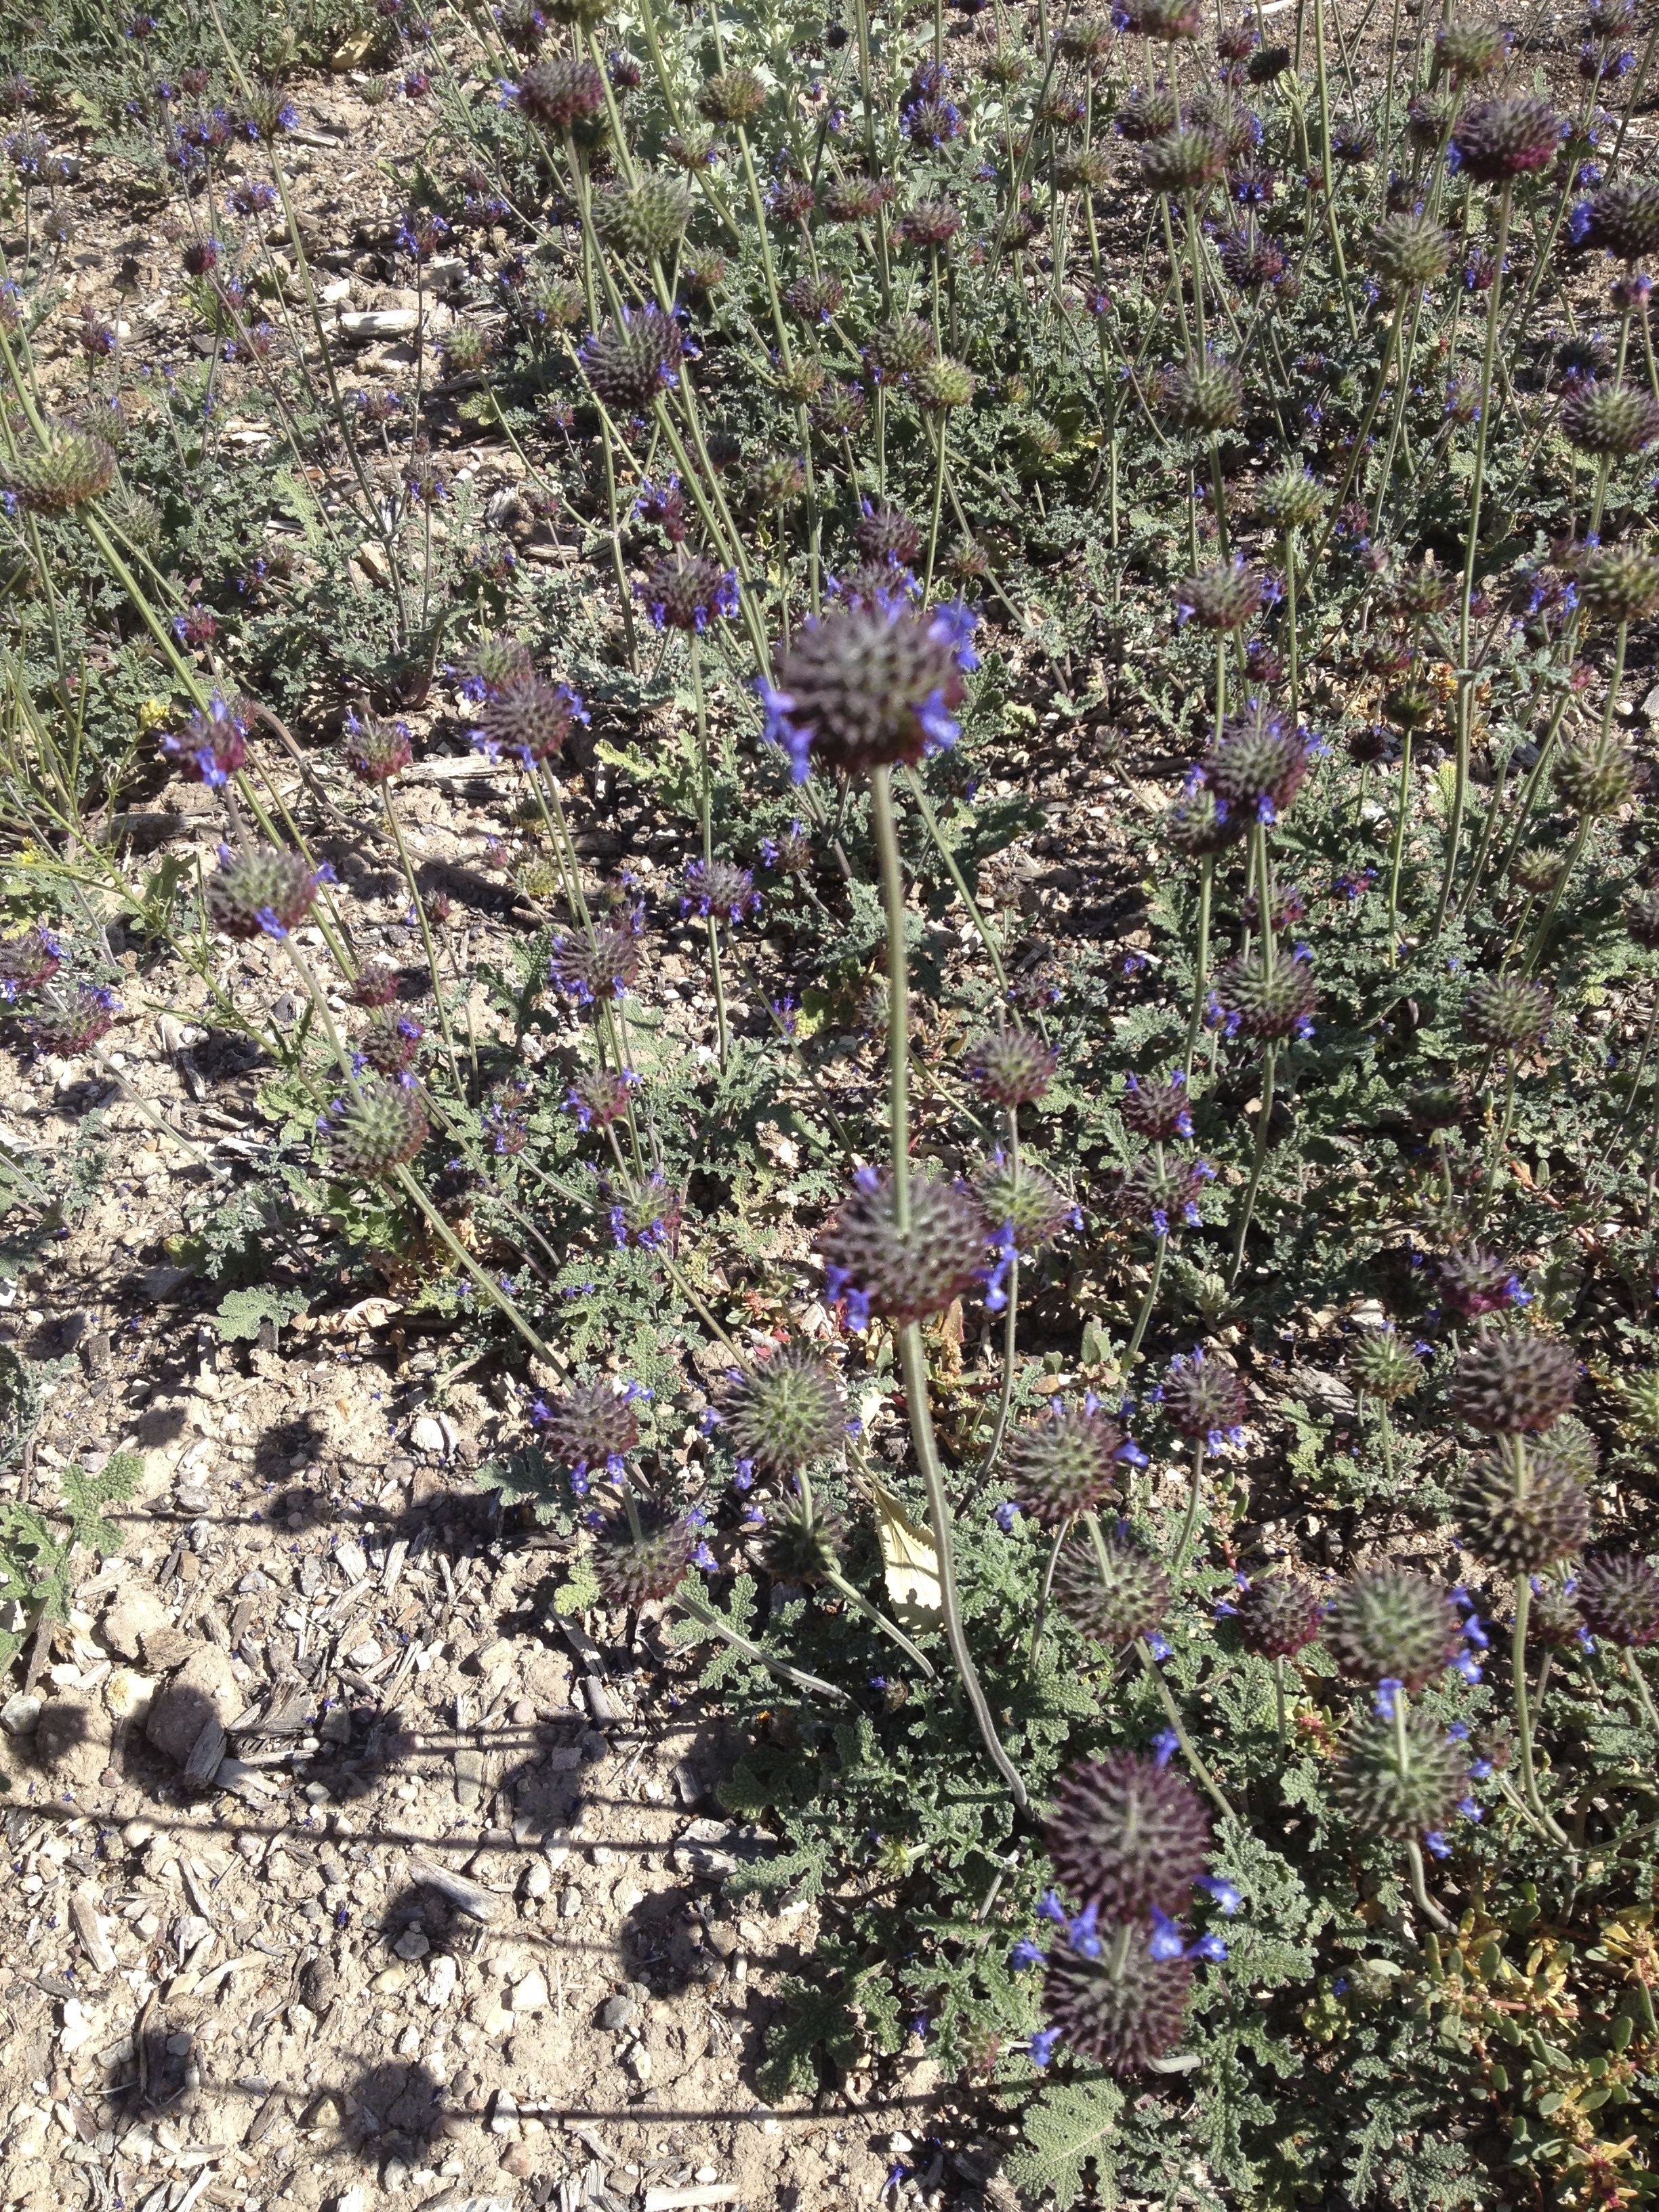
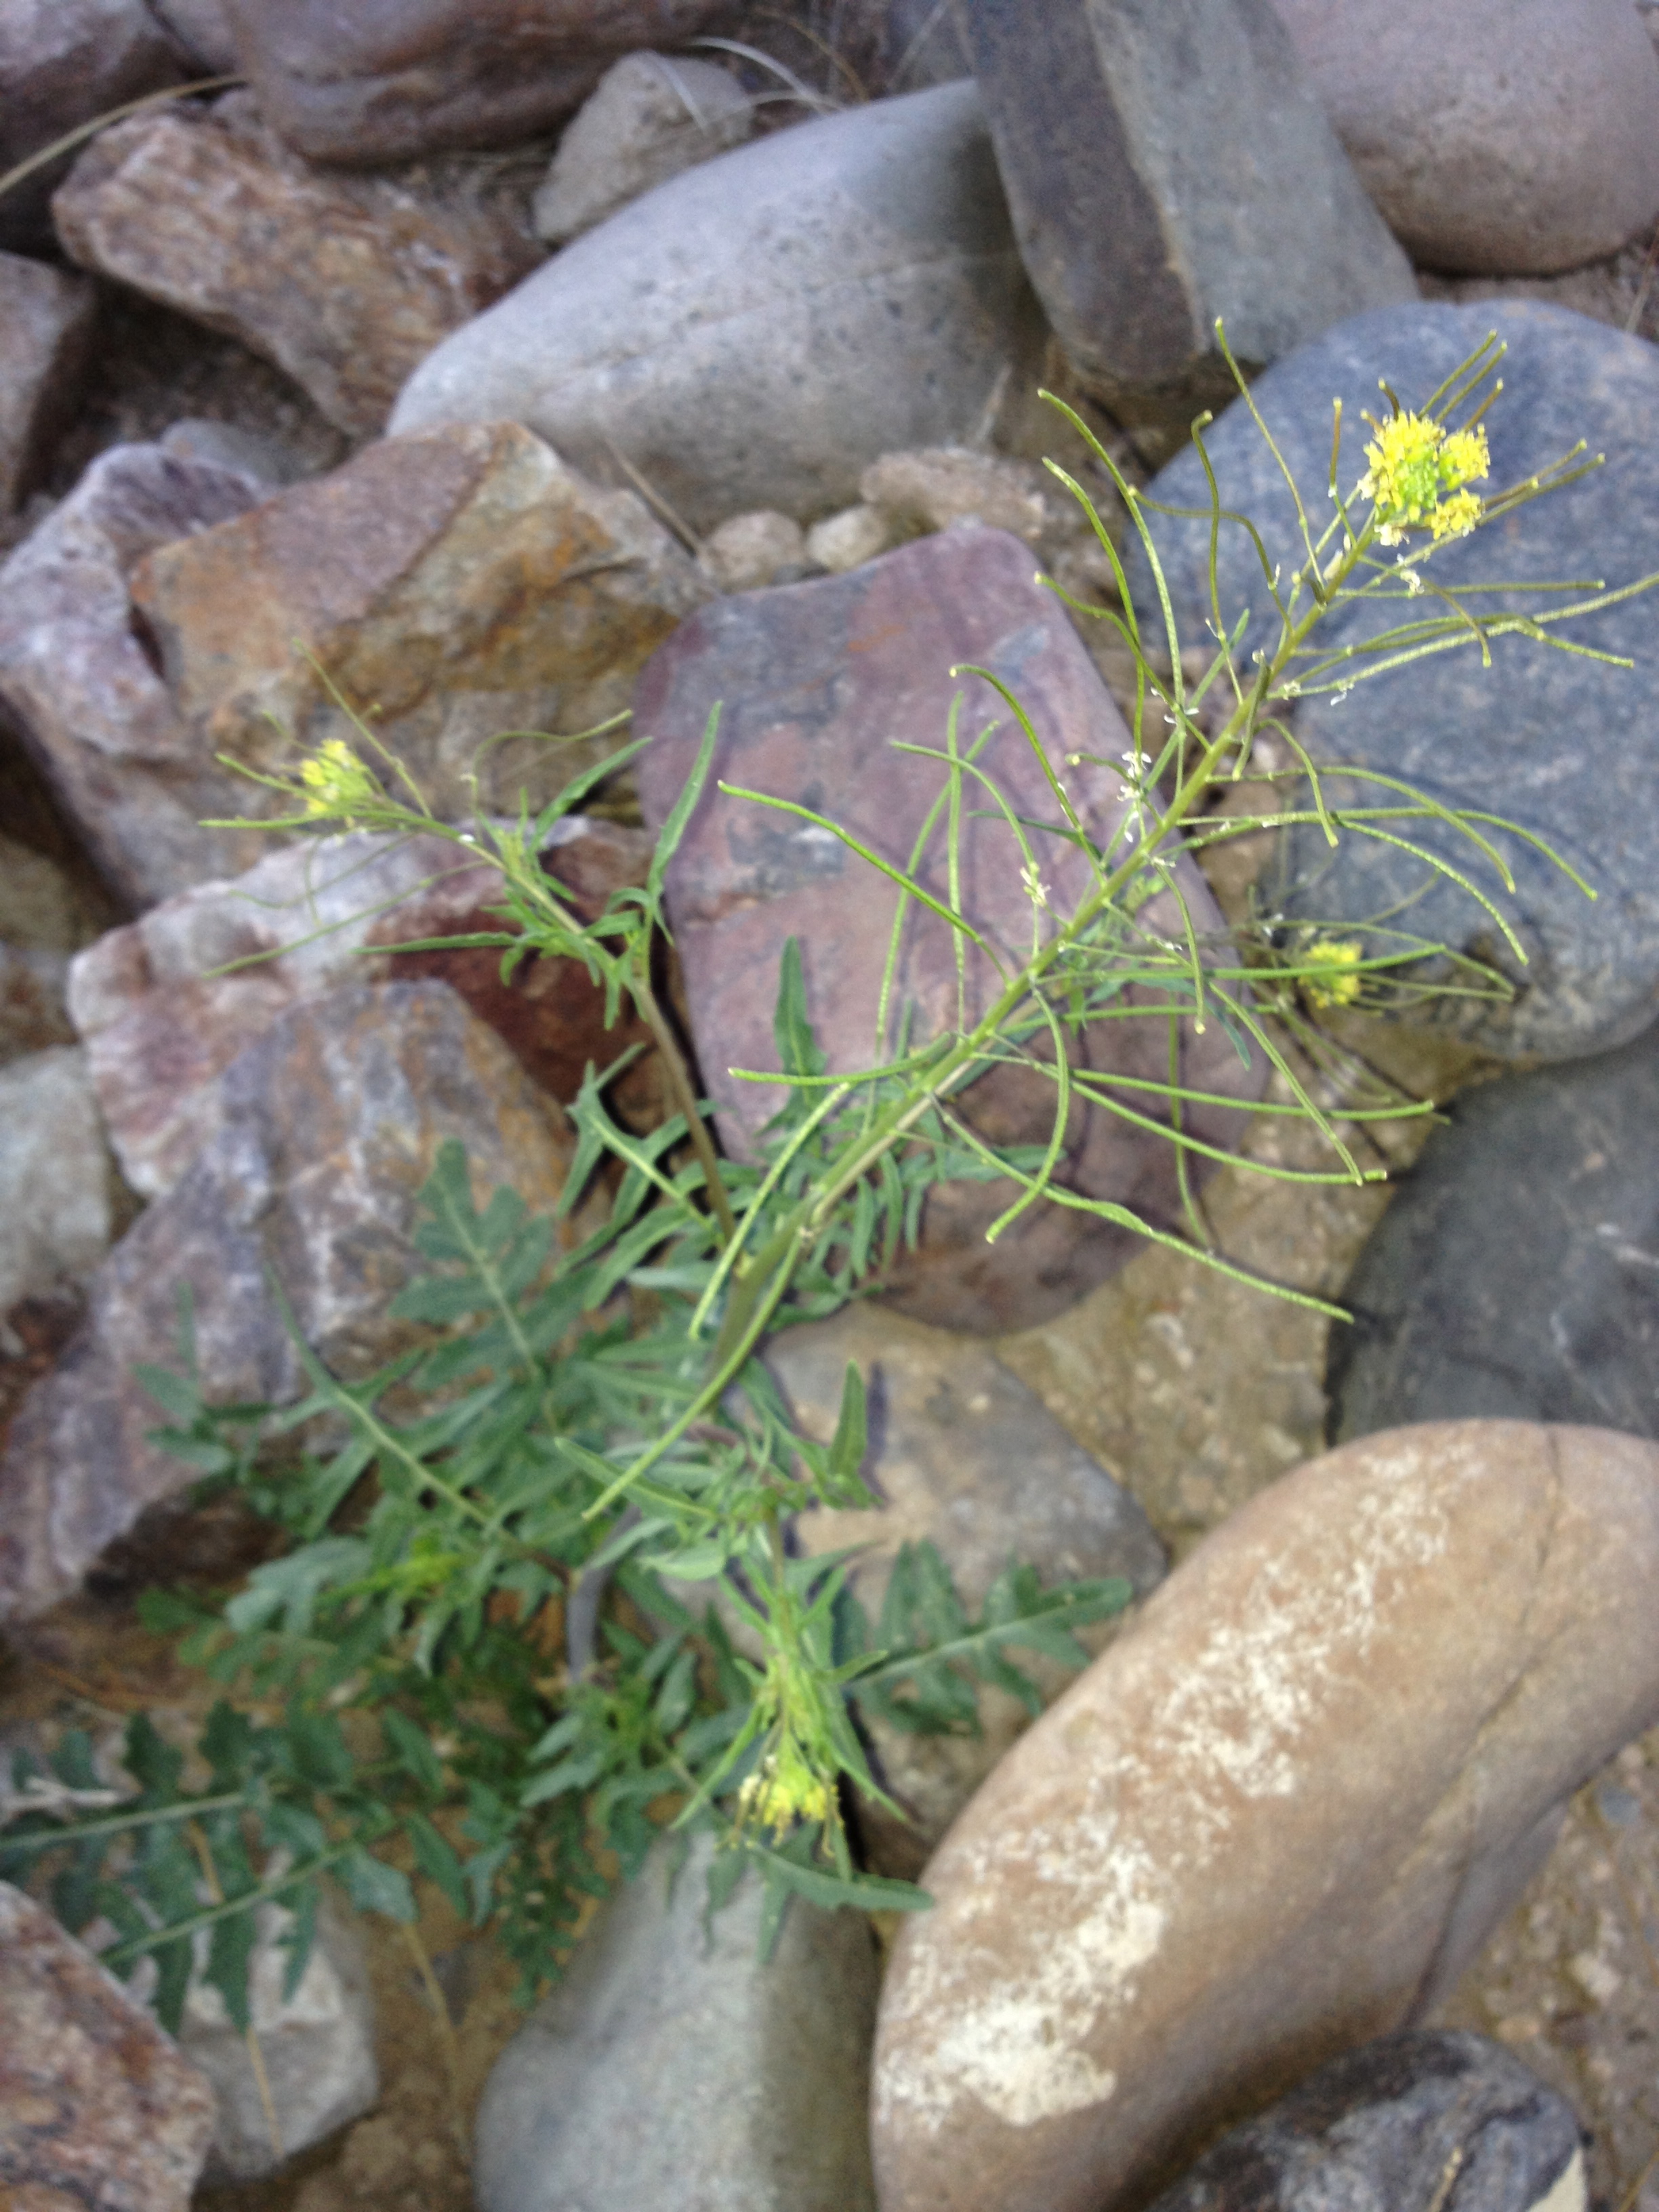
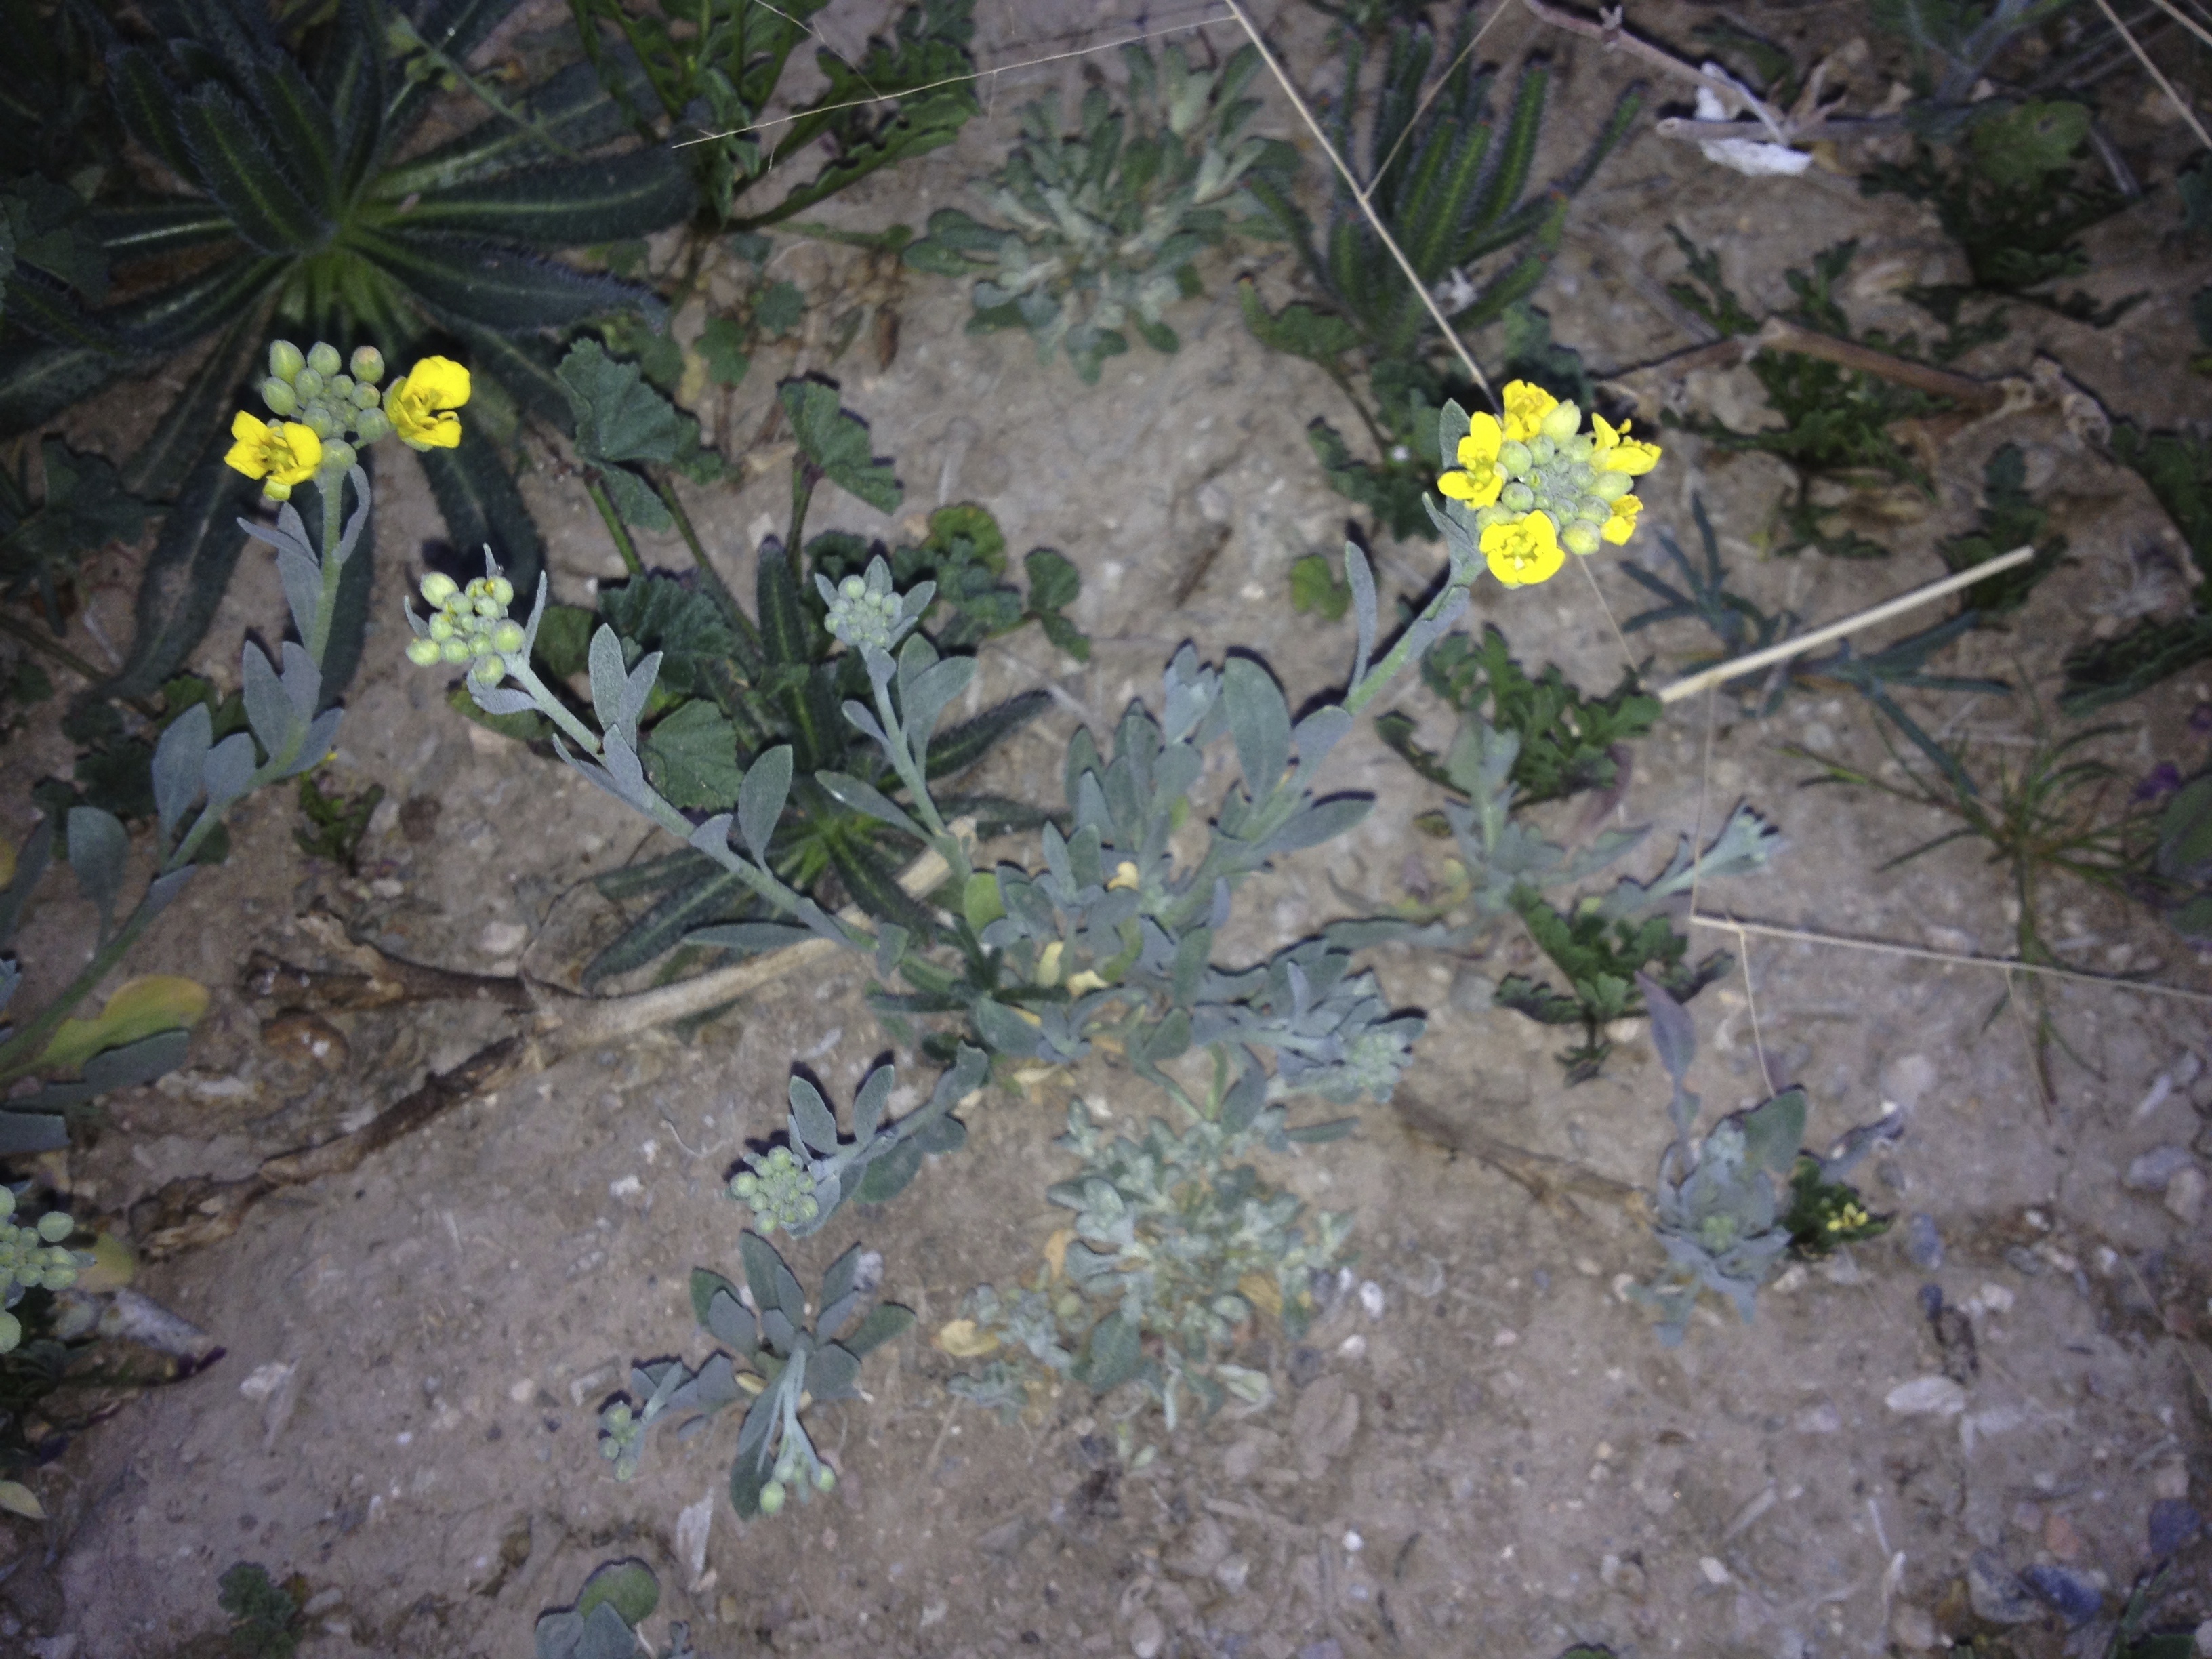
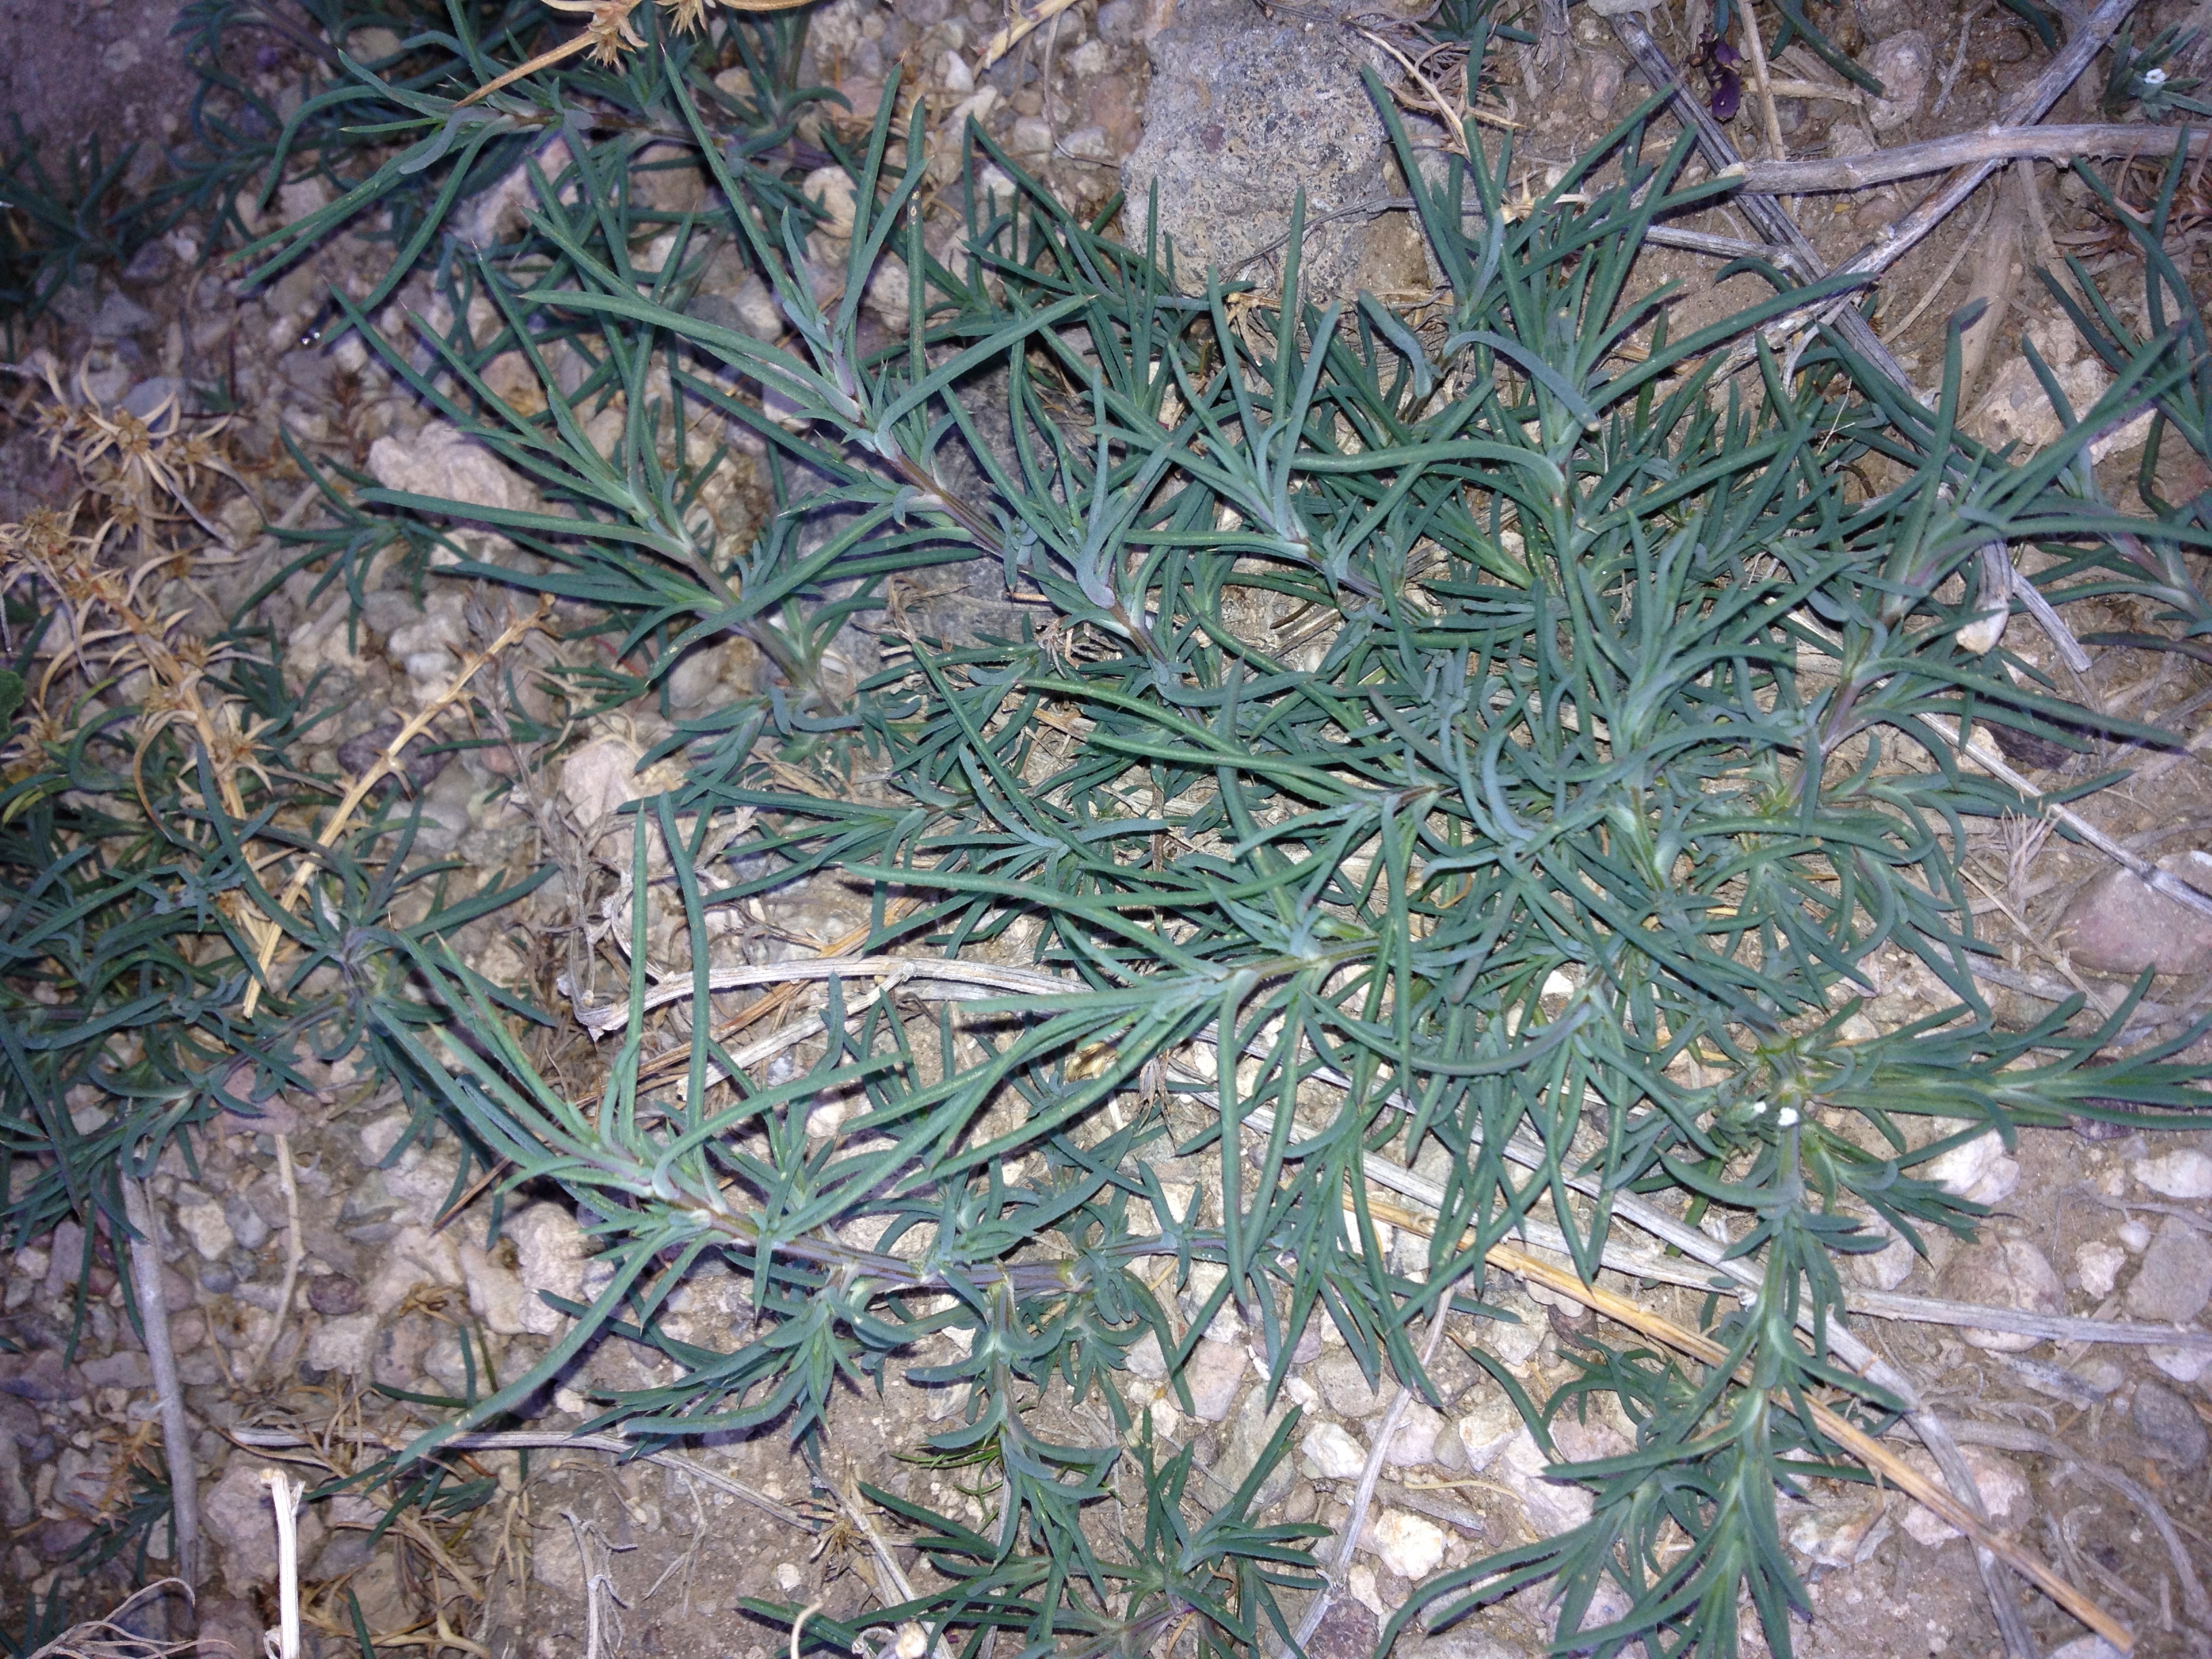
native chia (Salvia columbariae) in bloom at Mission Garden (MABurgess)
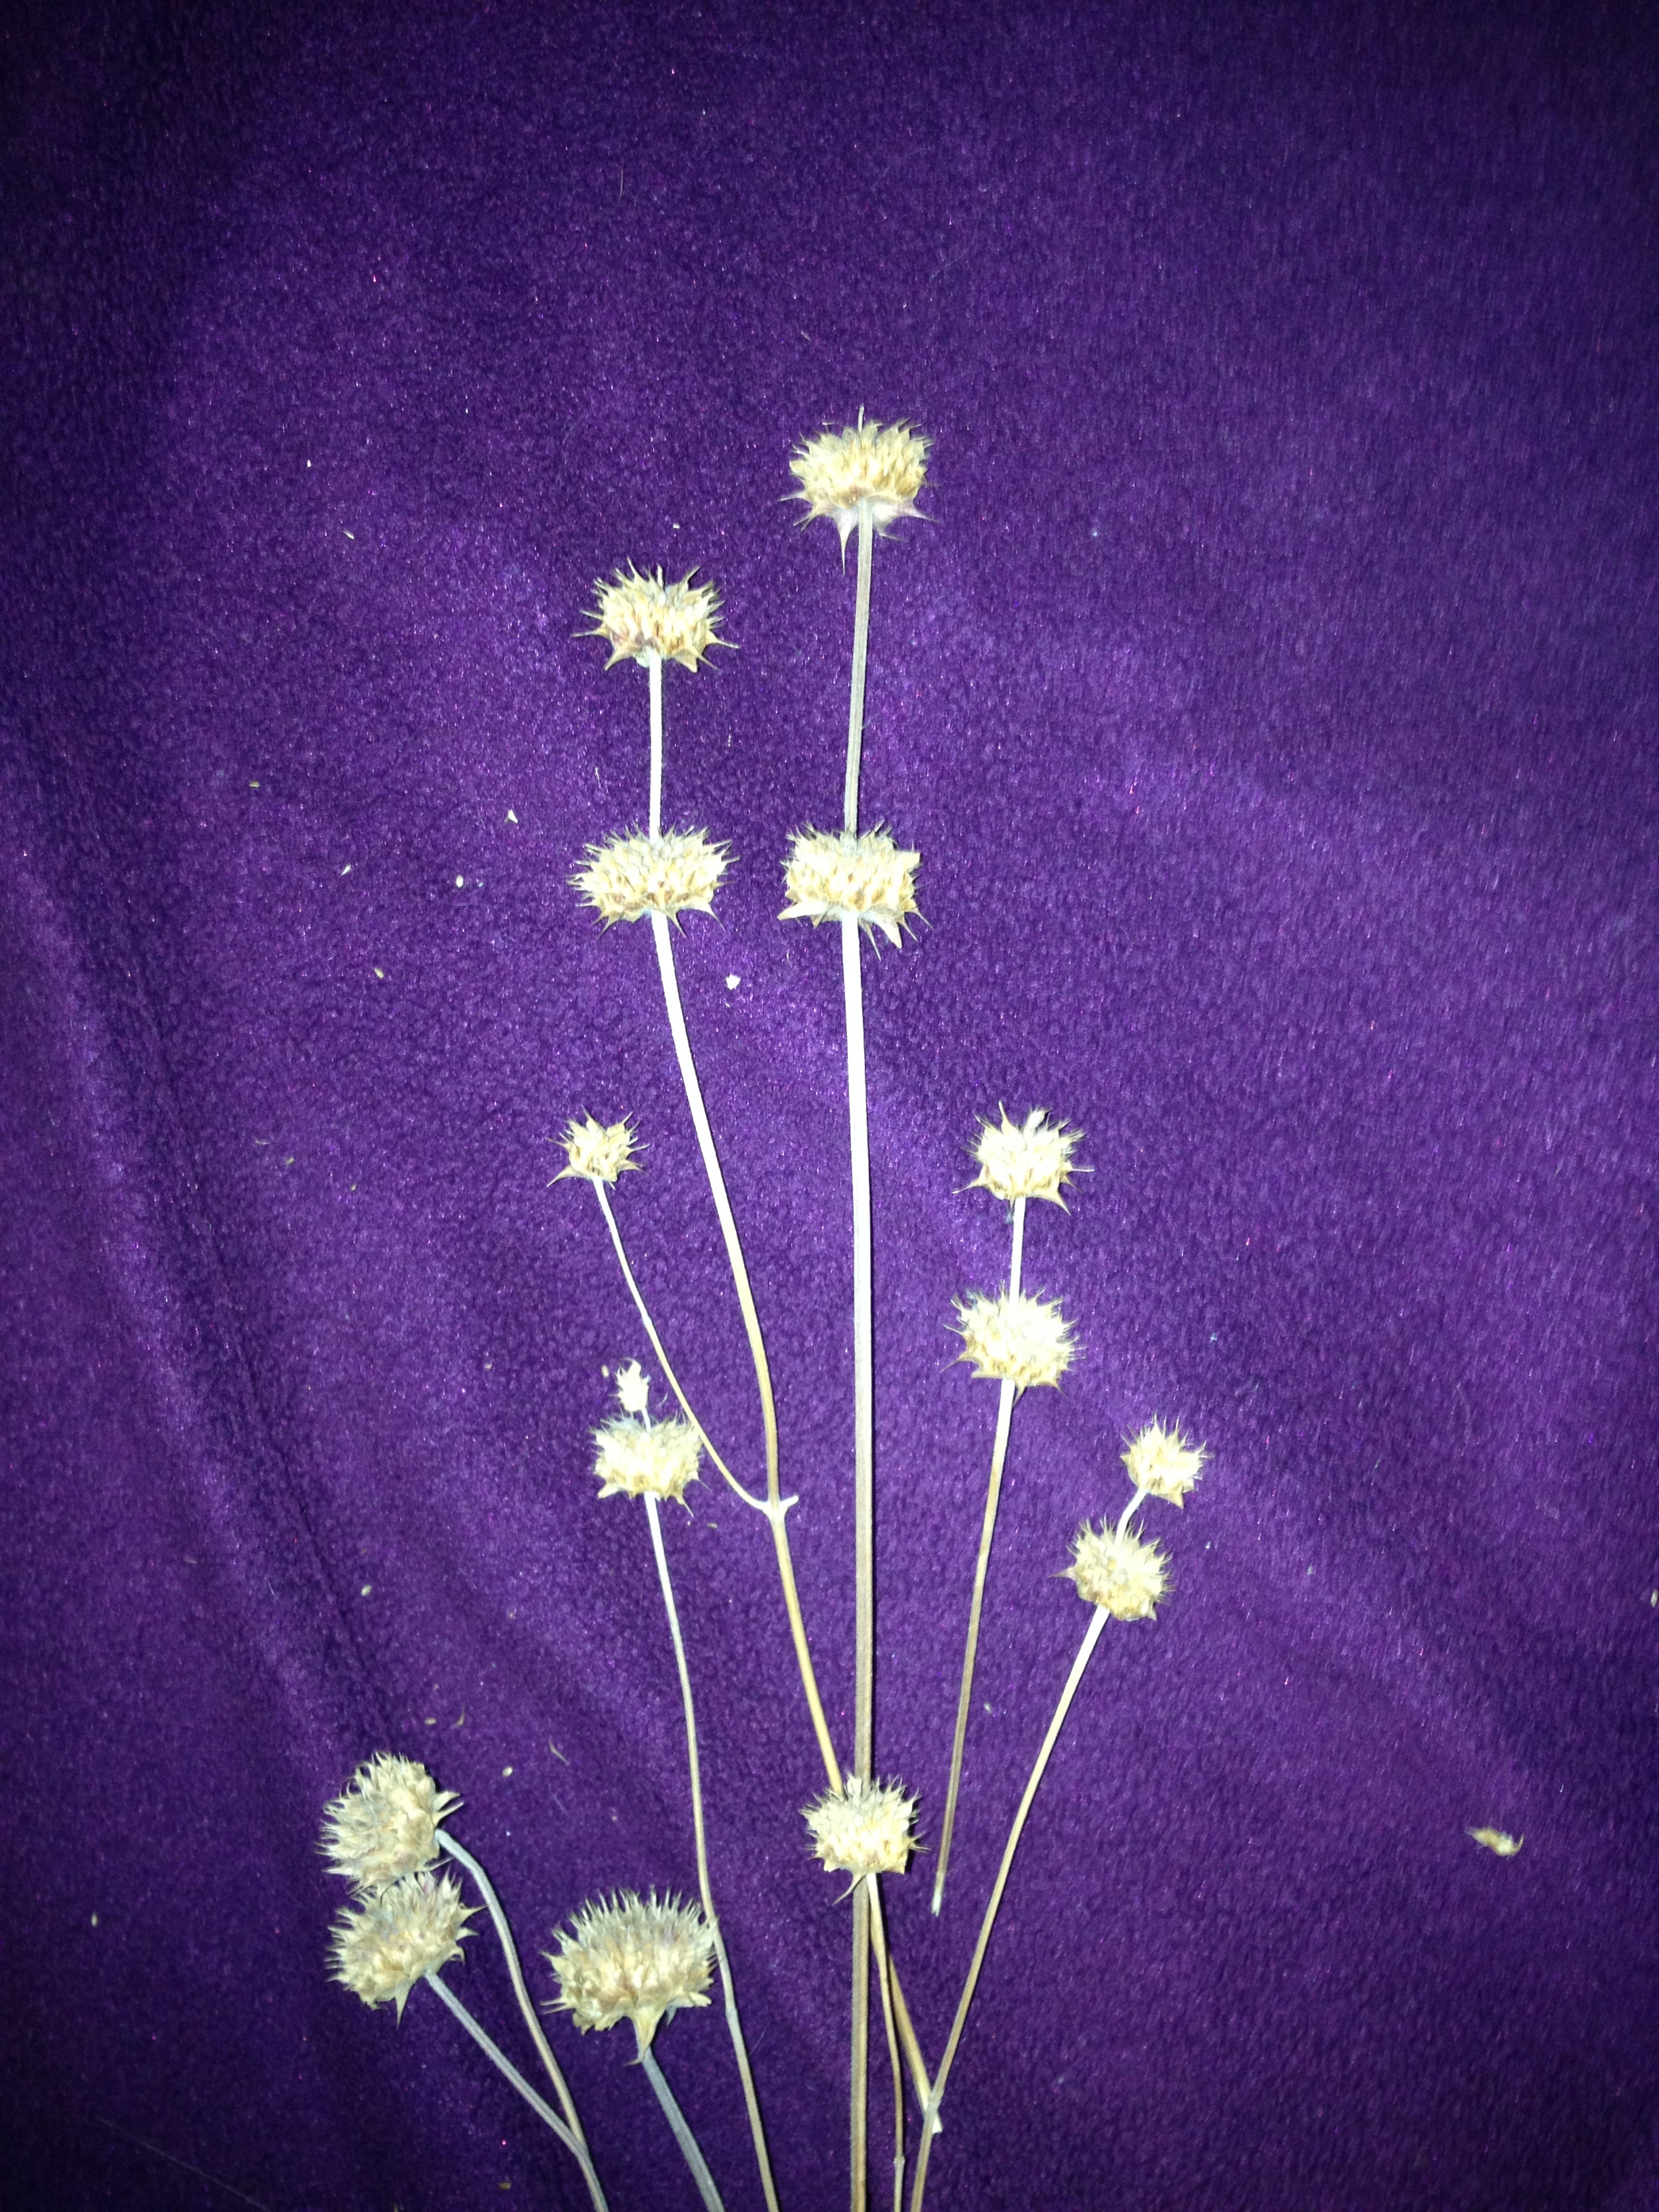
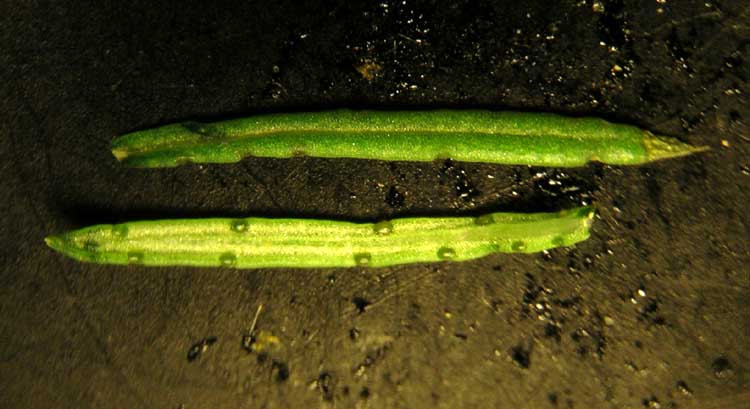
wild native chia seedheads (Salvia columbariae) ready to winnow (MABurgess photo)
All of life celebrates spring re-energizing time with Nature’s renewal, Easter’s message of life out of death. In the Sonoran Desert we are celebrating not only new growth but also nourishment with the spring harvest, the results of winter rains. Here, our winter ephemerals (a totally different suite of plants than our hot-weather annuals) are completing their blooming and pollination cycles, their seedheads bulging and ready to be scattered, shattered, caught by wind, coyote legs, or human socks, to be spread to the next possible patch of desert soil in prep for this fall’s rainy season (or for feeding furry or feathered desert dwellers.) Chia seedheads will soon be ready to gather and winnow for their superfood nutrition. Don’t forget to thank the plant (and all the forces which brought those chia seeds to fruition) as you chow down on its high omega-3 fatty acids and its blood-sugar-balancing complex carbs in your smoothie or chia fruit salad!
Heirloom barley in flower at Mission Garden (MABurgess photo)
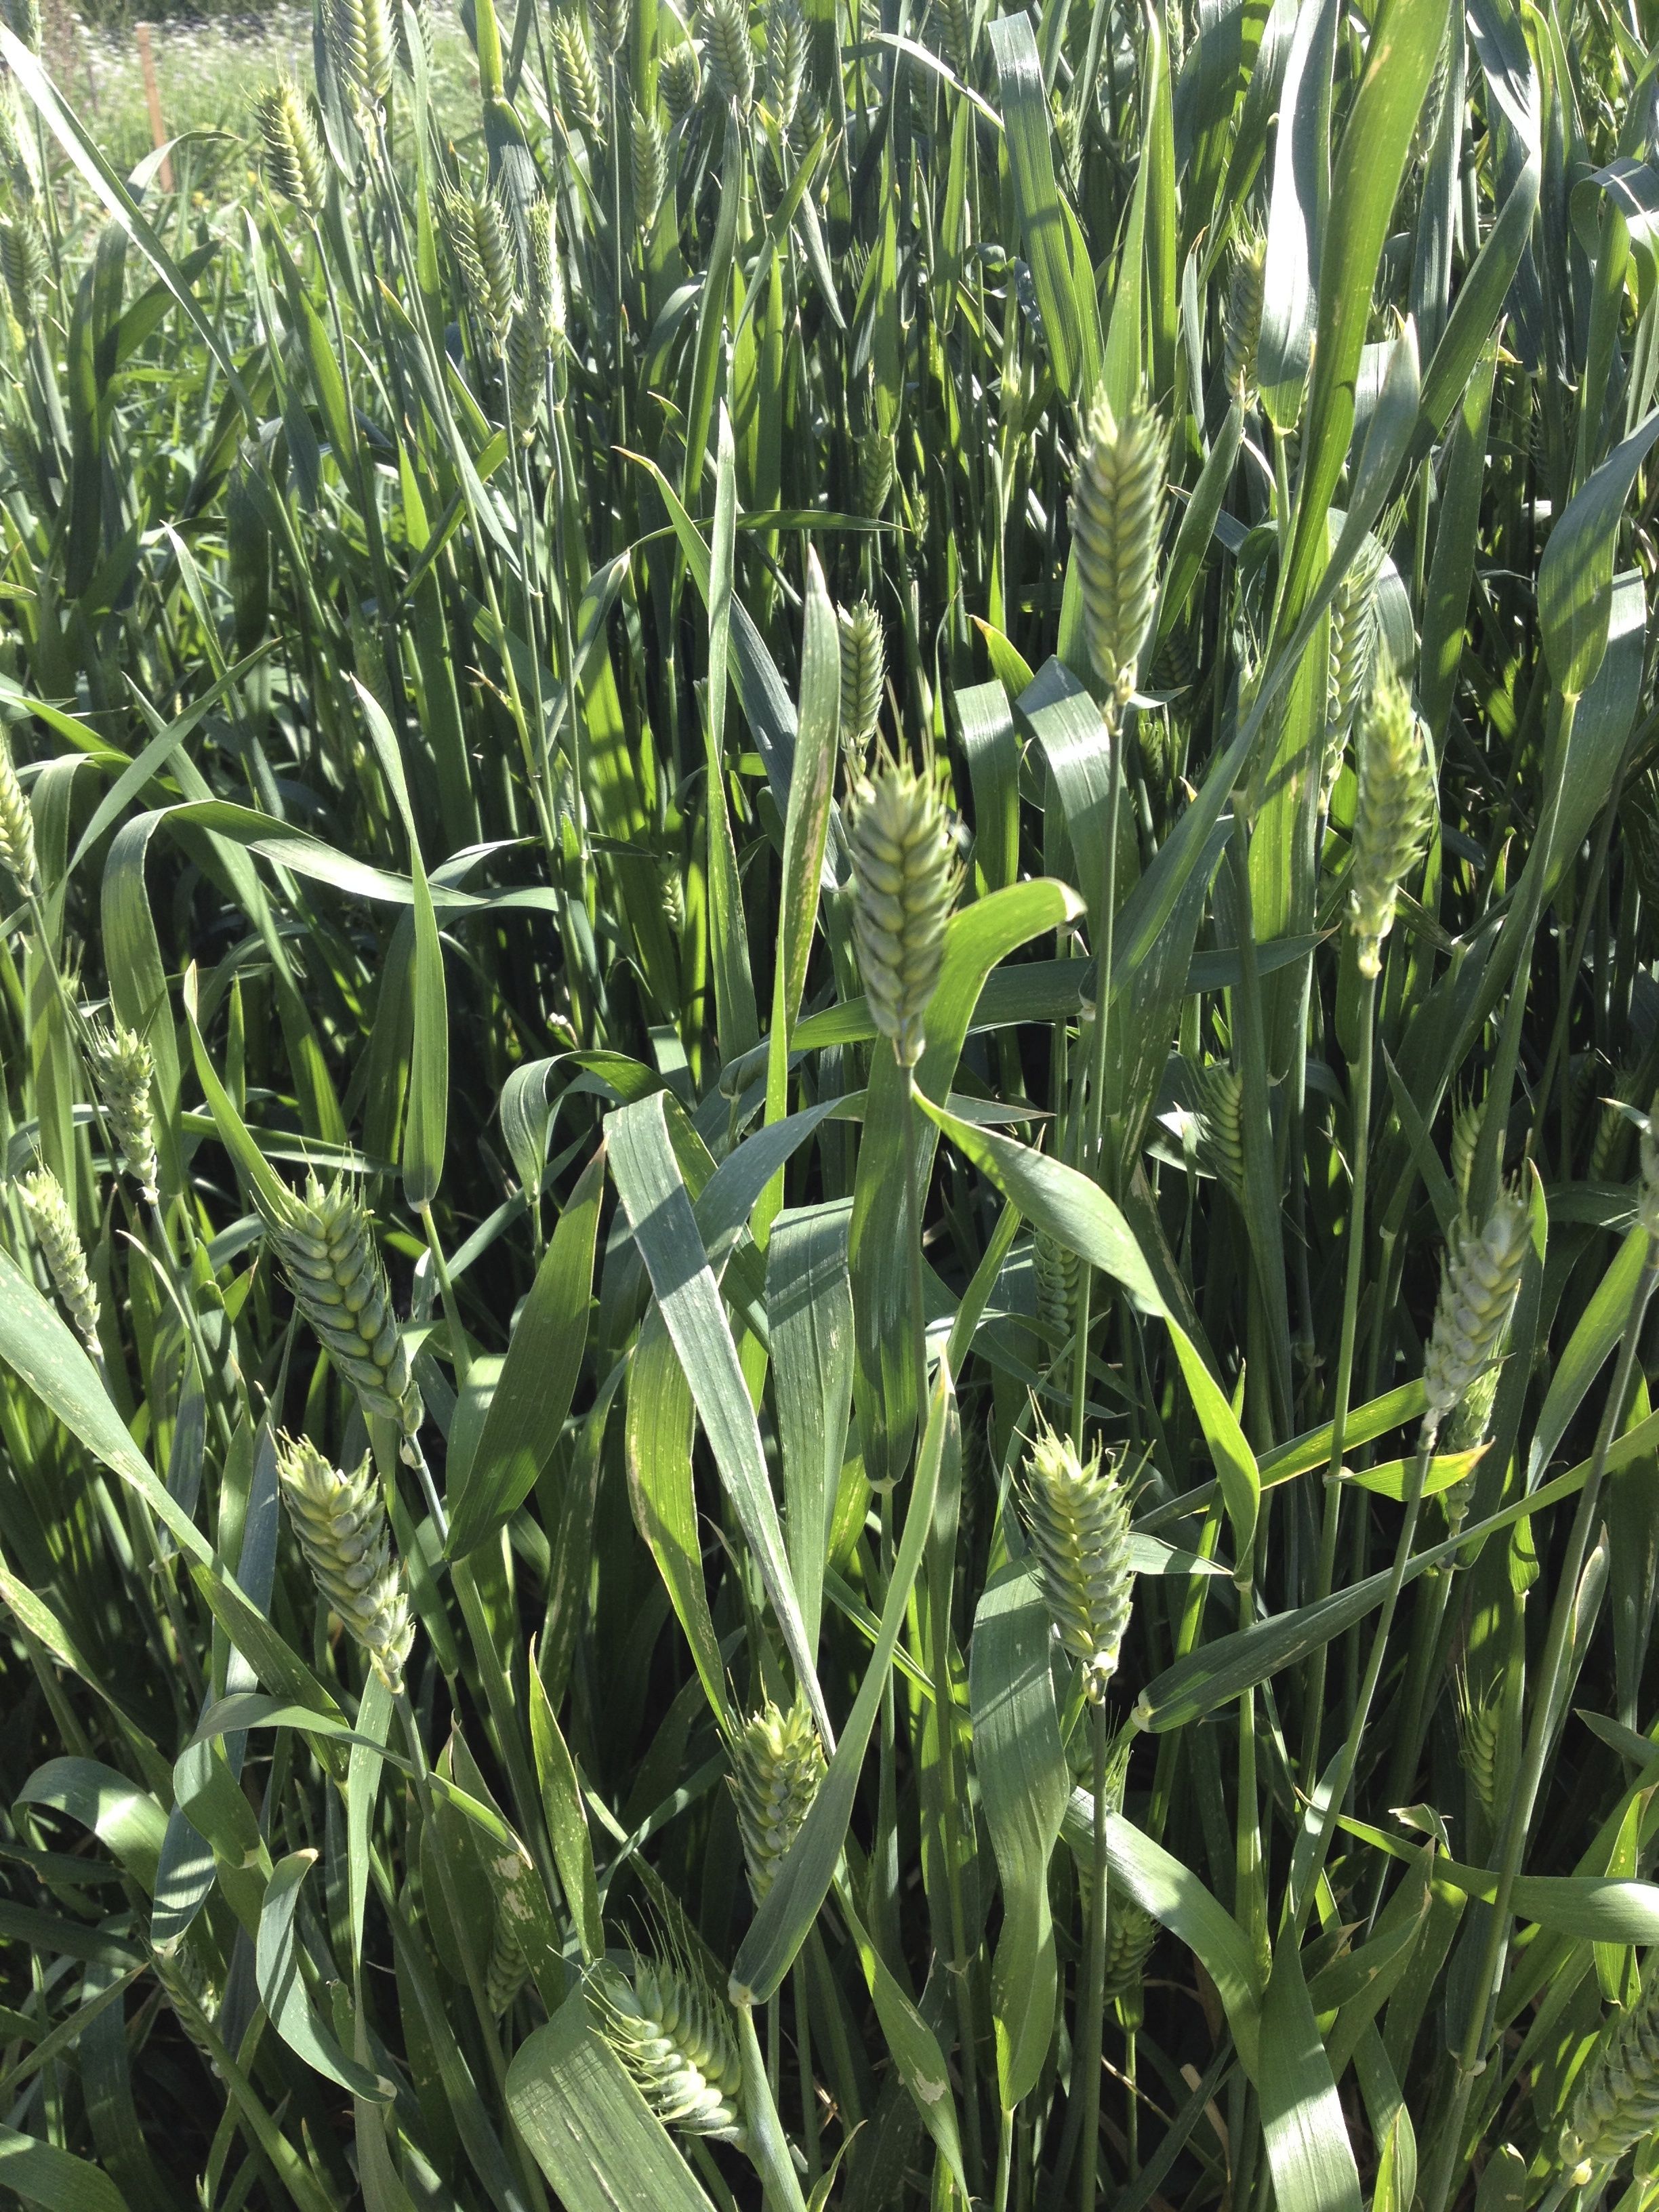
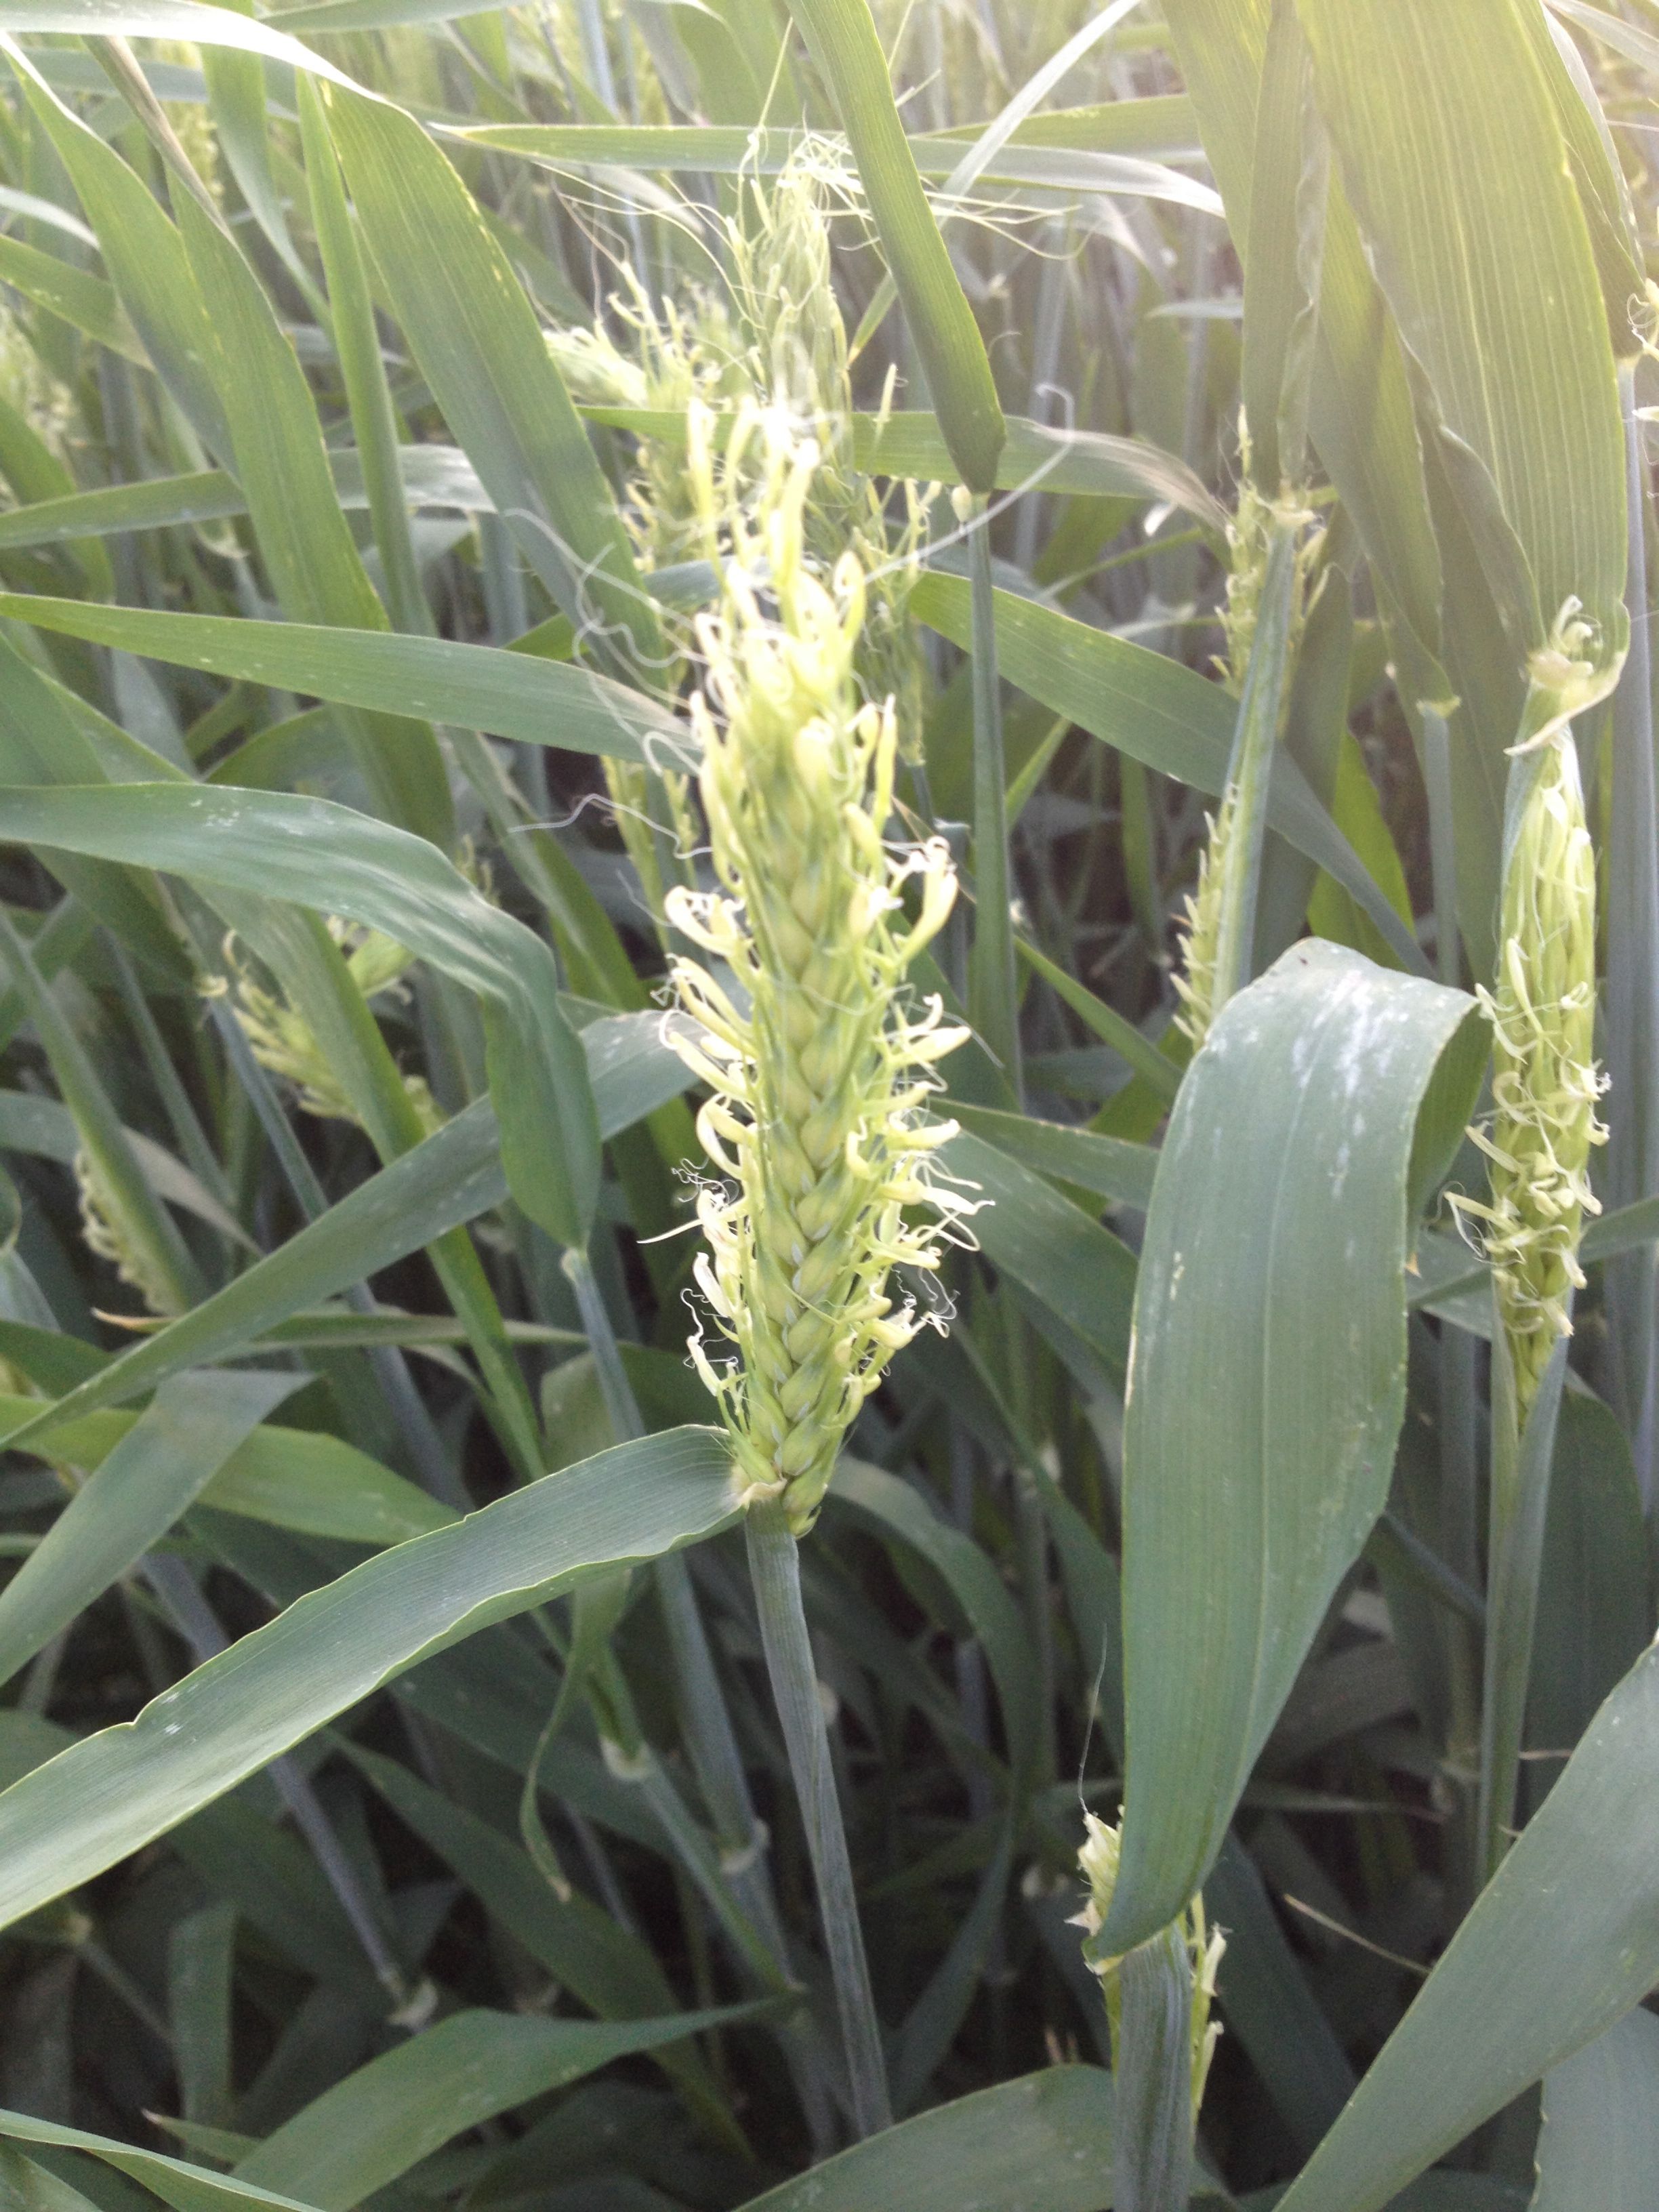
Heirloom White Sonoran Wheat seedheads filling out at Mission Garden (MABurgess photo)
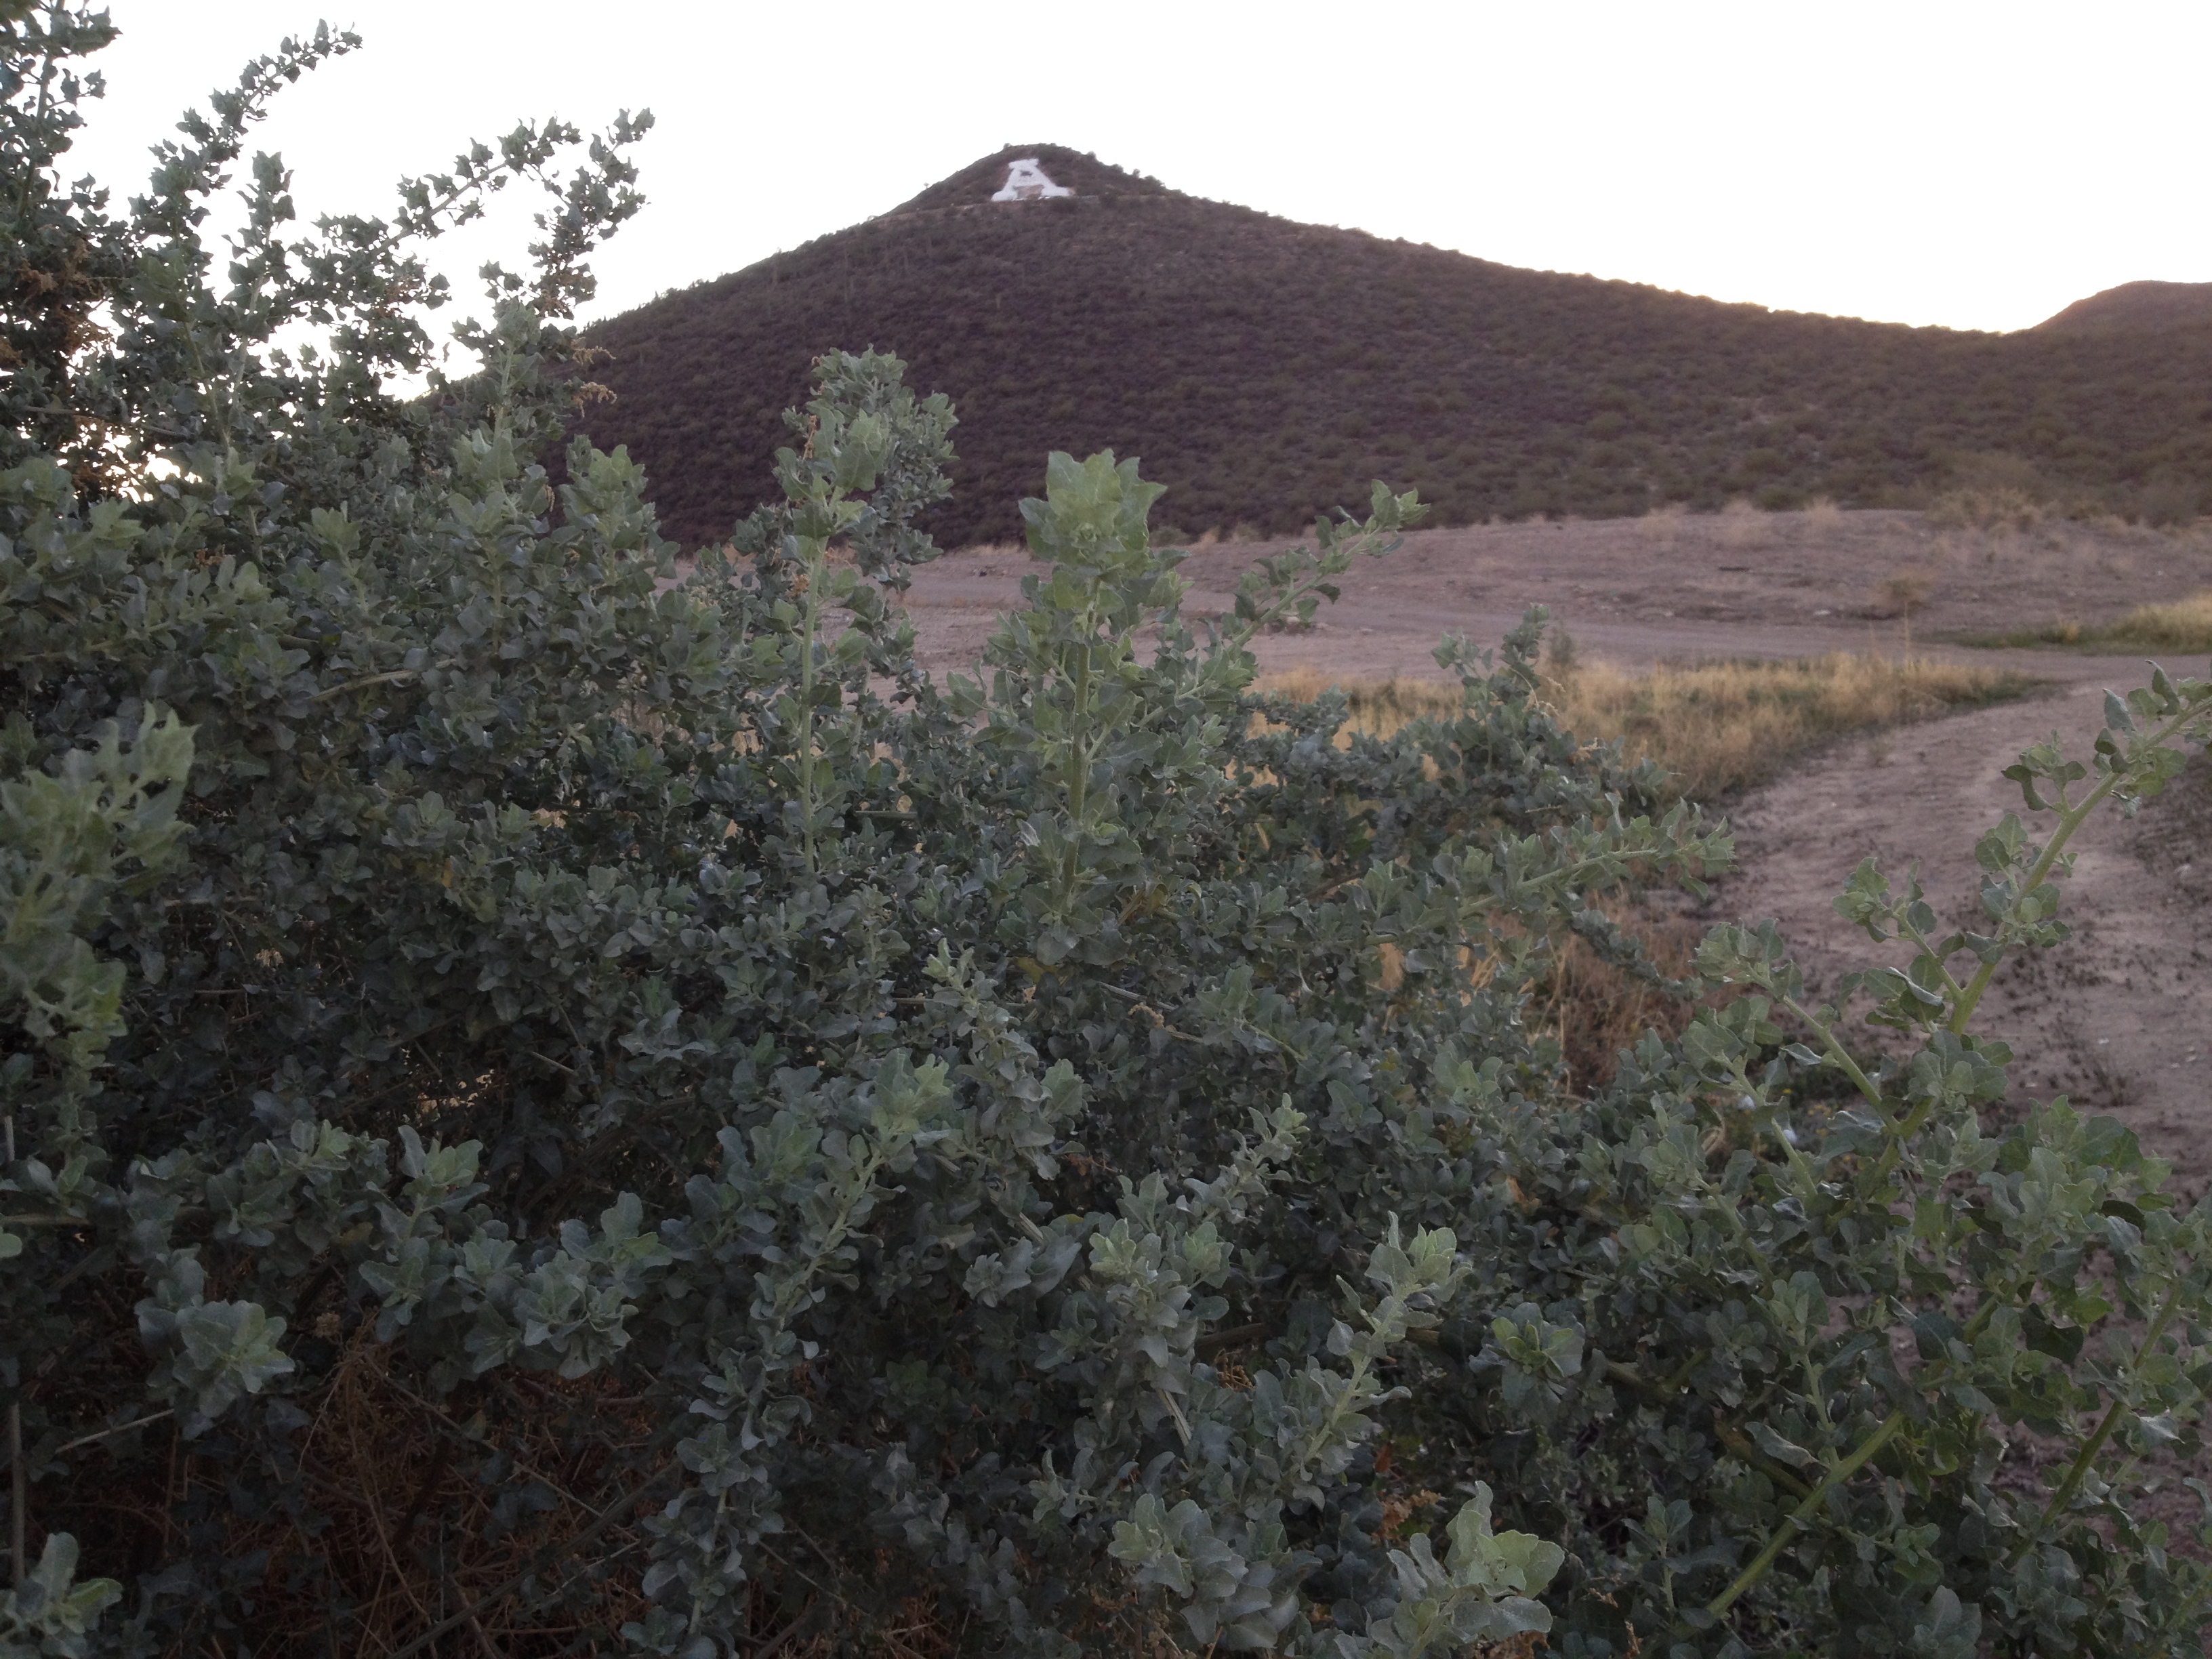
It is written that Passover (the roots of which began in a desert akin to our own with winter rainfall and grains grown as winter crops) cannot be celebrated until the barley is harvested. When Father Kino and other Padres brought Old World grains like wheat and barley to our corner of the Southwest, the same winter growing was observed. Now, at the Friends of Tucson’s Birthplace Mission Garden (at the foot of A-Mountain) direct descendants of those original heirloom grains are topping out where you can see them “in action” any Saturday for a tour (see http://www.tucsonsbirthplace.org).
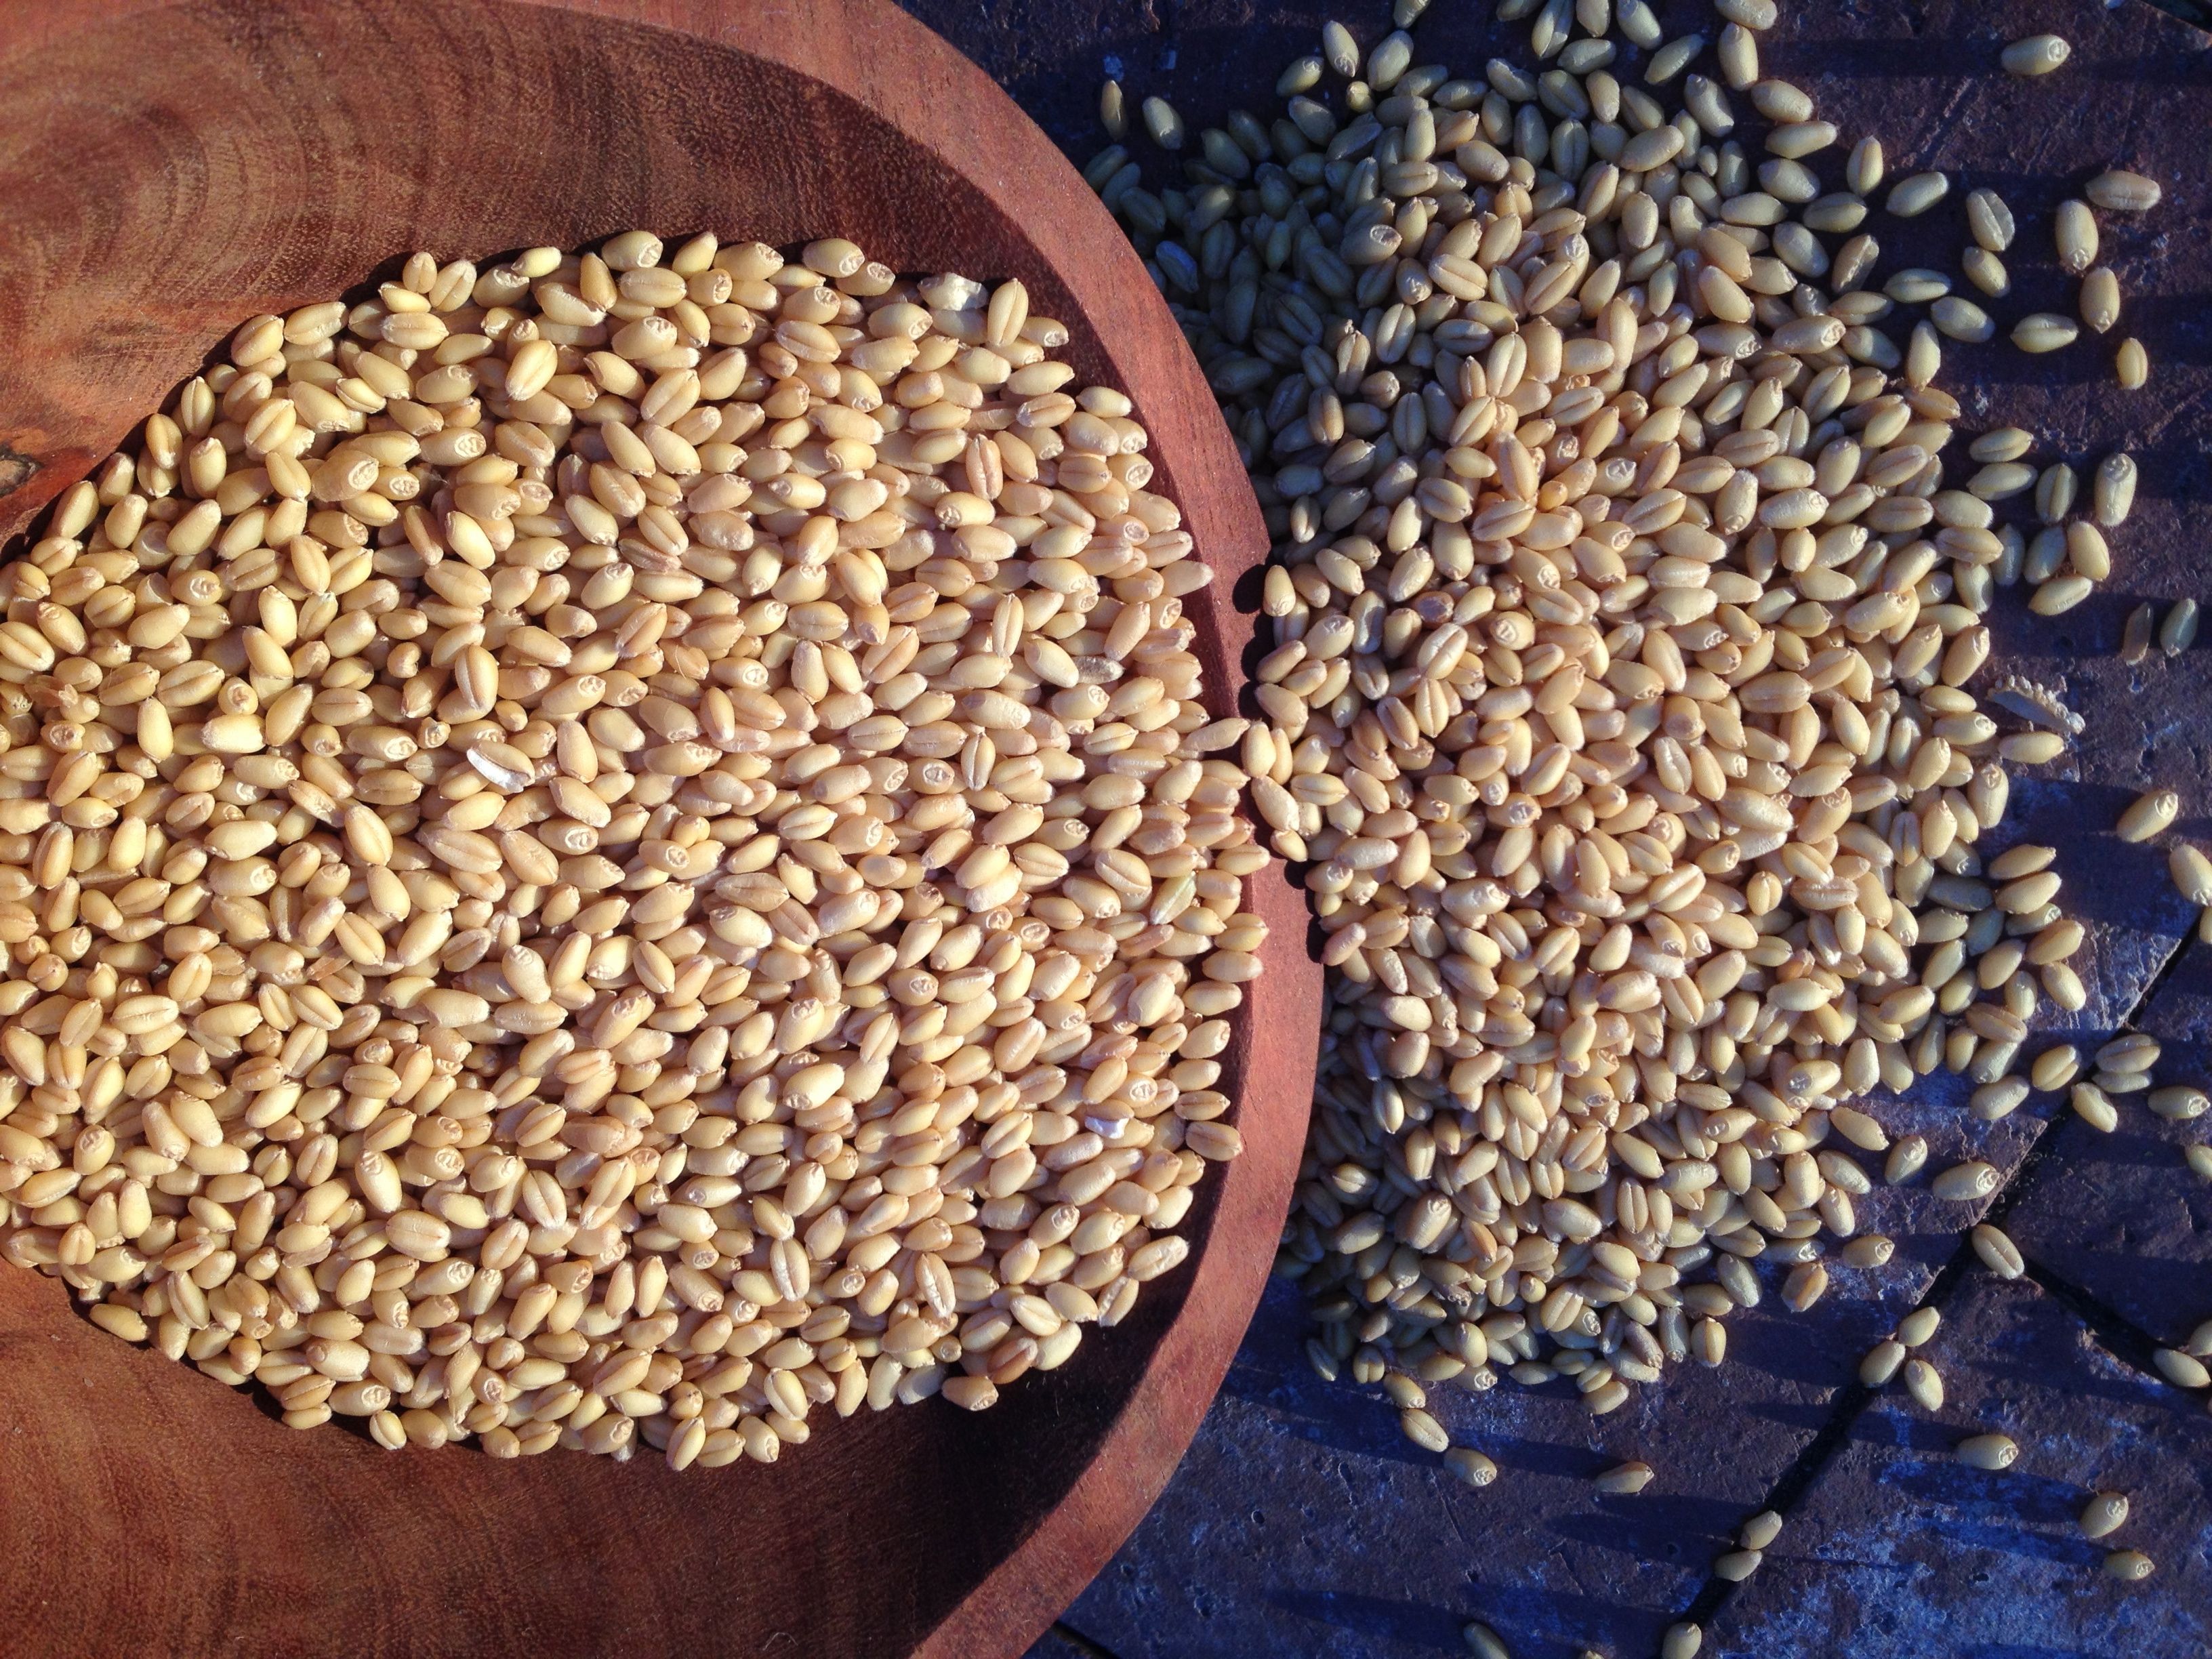
Heirloom White Sonoran Wheat berries, local, organic, traditional, from BKWFarms (MABurgess photo)
Scroll thru our savorthesouthwest posts to check out Tia Marta’s January blog for some enjoyable insights on the ancient White Sonoran Wheat and great recipe ideas, and a nutshell history –introduced by Kino, found again by Native Seeds/SEARCH, and now being grown with soil-enriching organic methods by the Wong Family in Marana.
Wheat is rich with symbolism as well as nutrition—full of life-giving energy, complex carbohydrates when the whole grain is eaten, and good protein. Irish farmers weave complex seedhead sculptures and hangings for good luck, representing protection, provender, and plenty. For traditional Italians especially, wheat symbolizes renewal and rebirth and has become an important Easter food.
Tucson Foodie-par-excellence Vanda Gerhardt located a most marvelous recipe for an Italian traditional Easter pie (judysculinaria.wordpress.com) made with wholesome wheat grain. She has served samples to delighted farmers market visitors at the Flor de Mayo booth at St Phillips Sunday market (www.heirloomfarmersmarkets.com). With her inspiration I have modified it for a totally local treat, made with our own Padre Kino White Sonoran Wheat berries from BKWFarms!
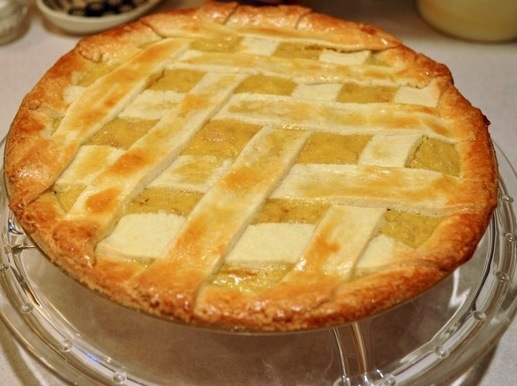
Luscious Easter Wheatberry pie, from judysculinaria.wordpress.com
Here’s my version of this yummy custard Pastiera di Grano dessert for you to enjoy with its Sonoran Desert name:
Heirloom Wheat Berry Pie—Postre de TrigoEntero–Pastel Pascual de la Pimeria Alta!
Ingredients for pre-cooking wheat berries:
1 cup whole grain heirloom White Sonoran Wheat Berries (available from NSS or Flor de Mayo)
5 cups drinking water
2-4 narrow strips lemon peel, orange or tangerine peel
Pinch salt optional
Instructions for cooking wheat:
Rinse white Sonoran Wheat berries to remove chaff. (Overnight soak optional.)
In saucepan, bring to boil, cover, reduce heat and simmer an hour, then check doneness. Berries are best when they are al dente but done through. Allow more simmer time if need be.
[After wheat berries are cooked you can use them for many different delicious recipes.]
Sweet Pie Crust (Pasta Frolla)
(You can make this and the filling while your wheat berries are simmering!)
Ingredients for pie crust:
1 2/3 cups White Sonoran Wheat pastry flour or 00 (available from NSS, HaydenFlourMills)
1/3 cup organic sugar, OR ¼ cup sugar and 1 T mesquite pod flour
1 tsp lemon or orange zest (optional)
½ cup butter chilled and diced
1 large egg lightly beaten
1 tsp vanilla
1/8 tsp salt (if unsalted butter)
Instructions for pie crust:
Combine flour, sugar, zest, and salt. Mix thoroughly (in food processor if available). Cut in butter until breadcrumb texture. Whisk in wet ingredients—egg and vanilla. If needed (as in dry climates) add 1-3 T of ice water and mix. Form mixture into a ball, wrap in plastic and chill at least an hour.
Ingredients for Pastry Cream Filling:
2 T organic sugar
1 T White Sonoran Wheat flour
½ cup milk
1 large egg
1 tsp vanilla
Pinch of salt
Instructions for Pastry Cream:
Sift sugar, flour, salt together into saucepan. Whisk in egg and milk. Mix well. Cook on low heat stirring constantly until it boils and thickens (approx. 3 minutes). Place in bowl and cover with plastic wrap directly on top of cream mixture eliminating all air bubbles, and set in frig to chill.
Ingredients for Ricotta Cheese Filling:
1 cup ricotta cheese
¼ cup organic sugar
2 large eggs
½ cup finely chopped orange or tangerine peel candied (optional)
1 tsp orange flower water or rose water
½ tsp cinnamon
Instructions for making Ricotta Filling:
Preheat oven to 350 degreesF
In mixing bowl beat ricotta until creamy. Mix in sugar and eggs. Fold in candied citrus peel, flower water, and cinnamon. Next fold in the refrigerated pastry cream and 1 cup of the cooked White Sonoran Wheat berries. Mixture should feel thick.
Final steps–Cooking Wheat berry Custard Pie:
Roll out 2/3 of the pastry dough and spread on floor of 9-inch pie dish. Pour in the cream/ricotta/wheatberry mixture. For creating lattice top on pie, roll out remaining 1/3 dough. Cut in strips about ½ inch wide and place atop pie filling.
For a glistening egg wash, whisk 1 egg and pinch of salt and brush the pastry lattice.
Bake 50-60 minutes or until top and crust edges are golden brown and the custard filling is firm in the middle. Test with cake tester or toothpick in pie center. Cook additional minutes until tester comes out clean. Remove from oven and cool on wire rack. Best chilled for a few hours before serving.
Buon Appotito –y buen provecho!
Note: you can find organic White Sonoran Wheat Berries at Native Seeds/SEARCH store or online http://www.nativeseeds.org, also at Flor de Mayo’s booth at Sunday St Phillips Farmers’ Market, Tucson, http://www.flordemayoarts.com or 520-907-9471. Orange blossom water is available at Mid-Eastern groceries.
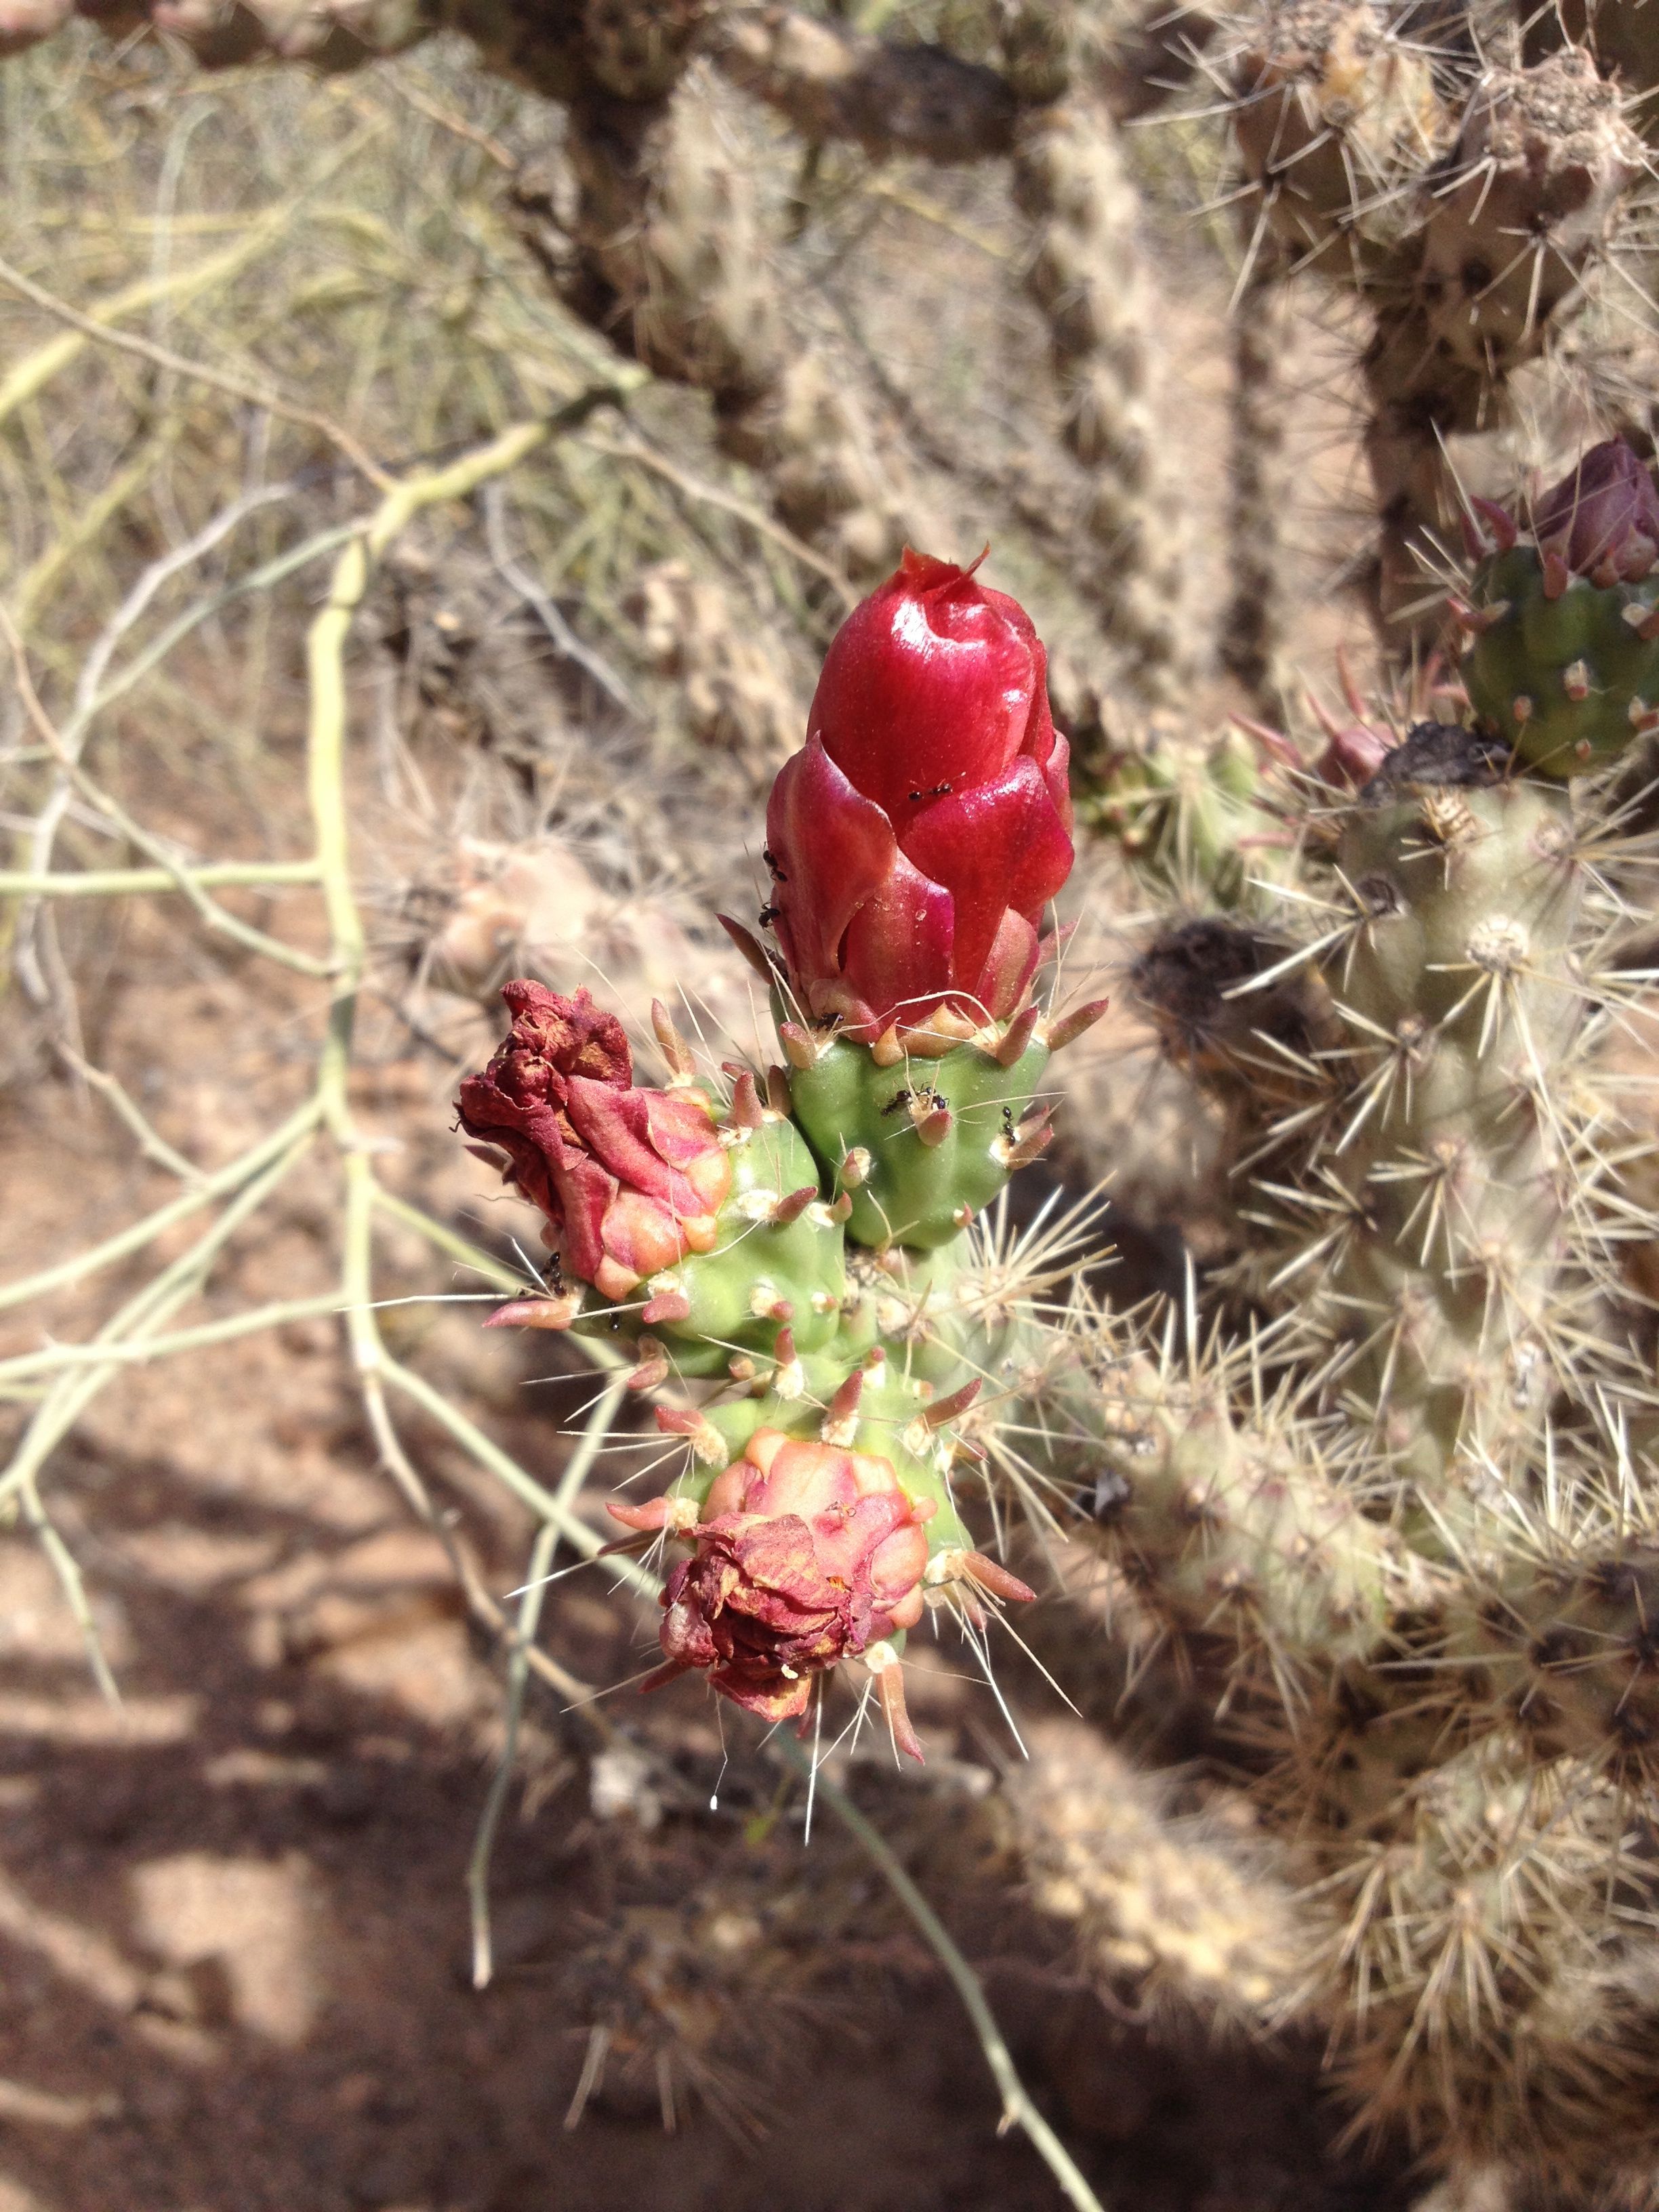
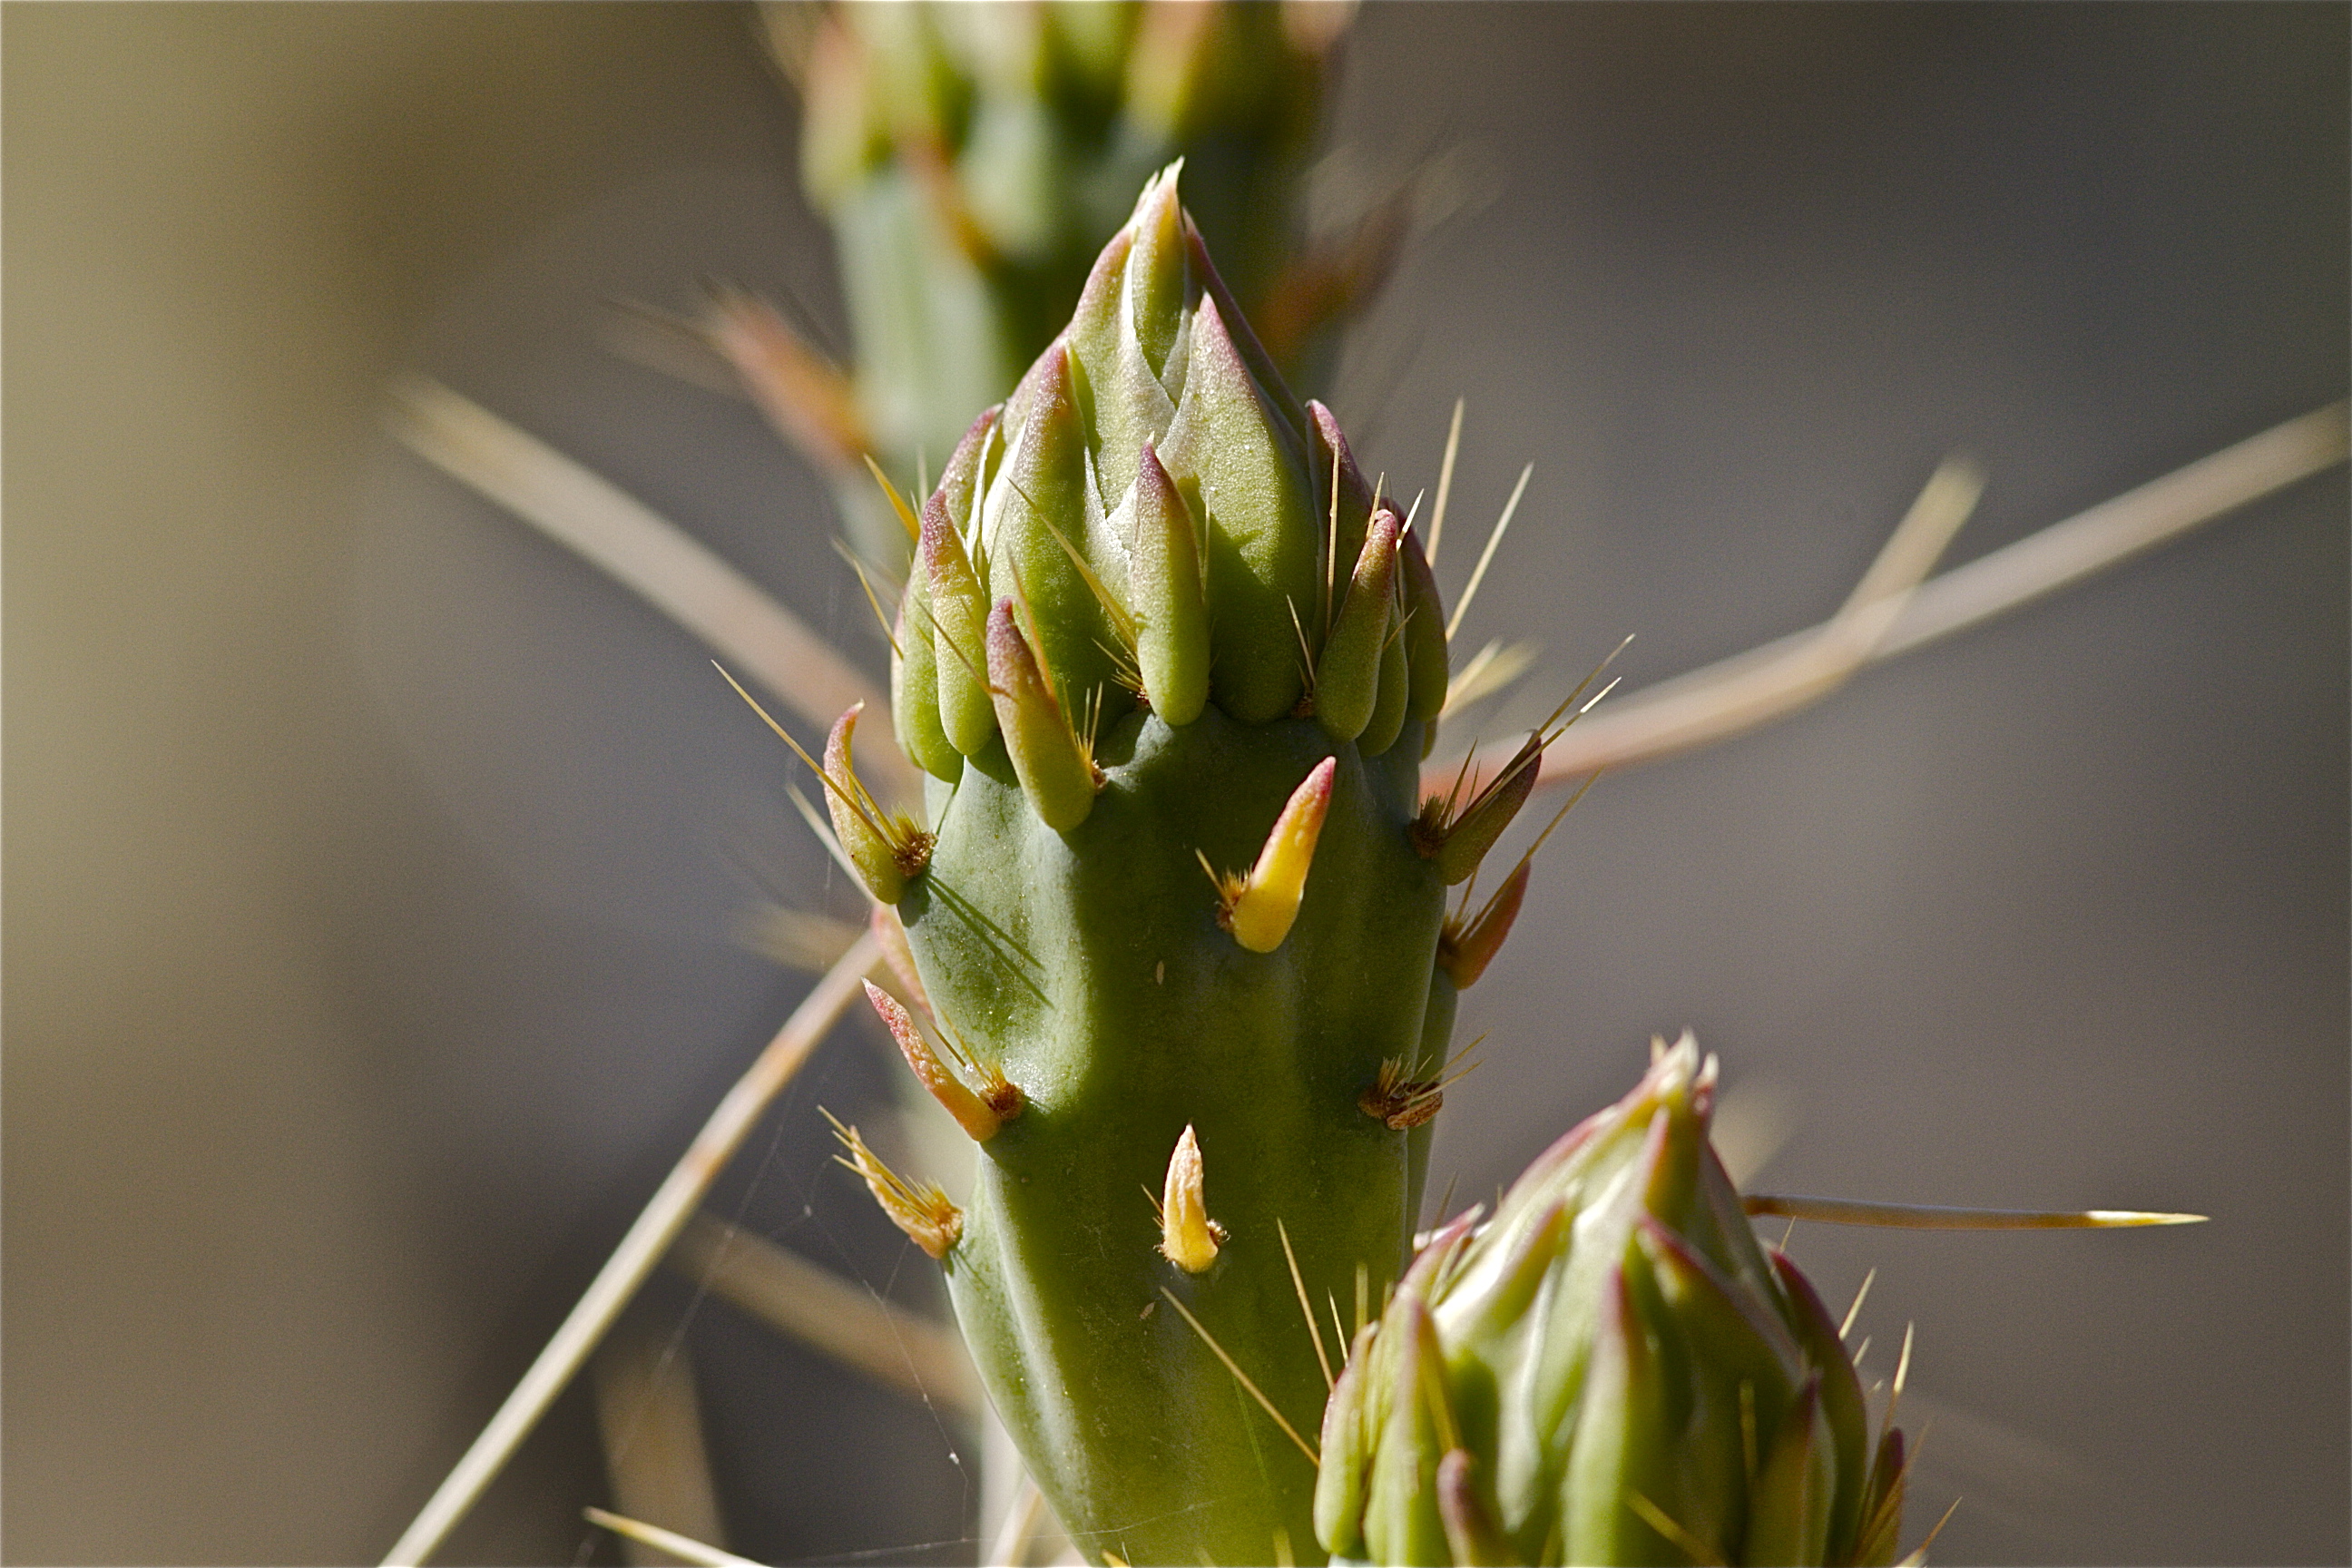
Staghorn cholla bud about to open, with ants enjoying extra-floral nectaries (MABurgess photo)
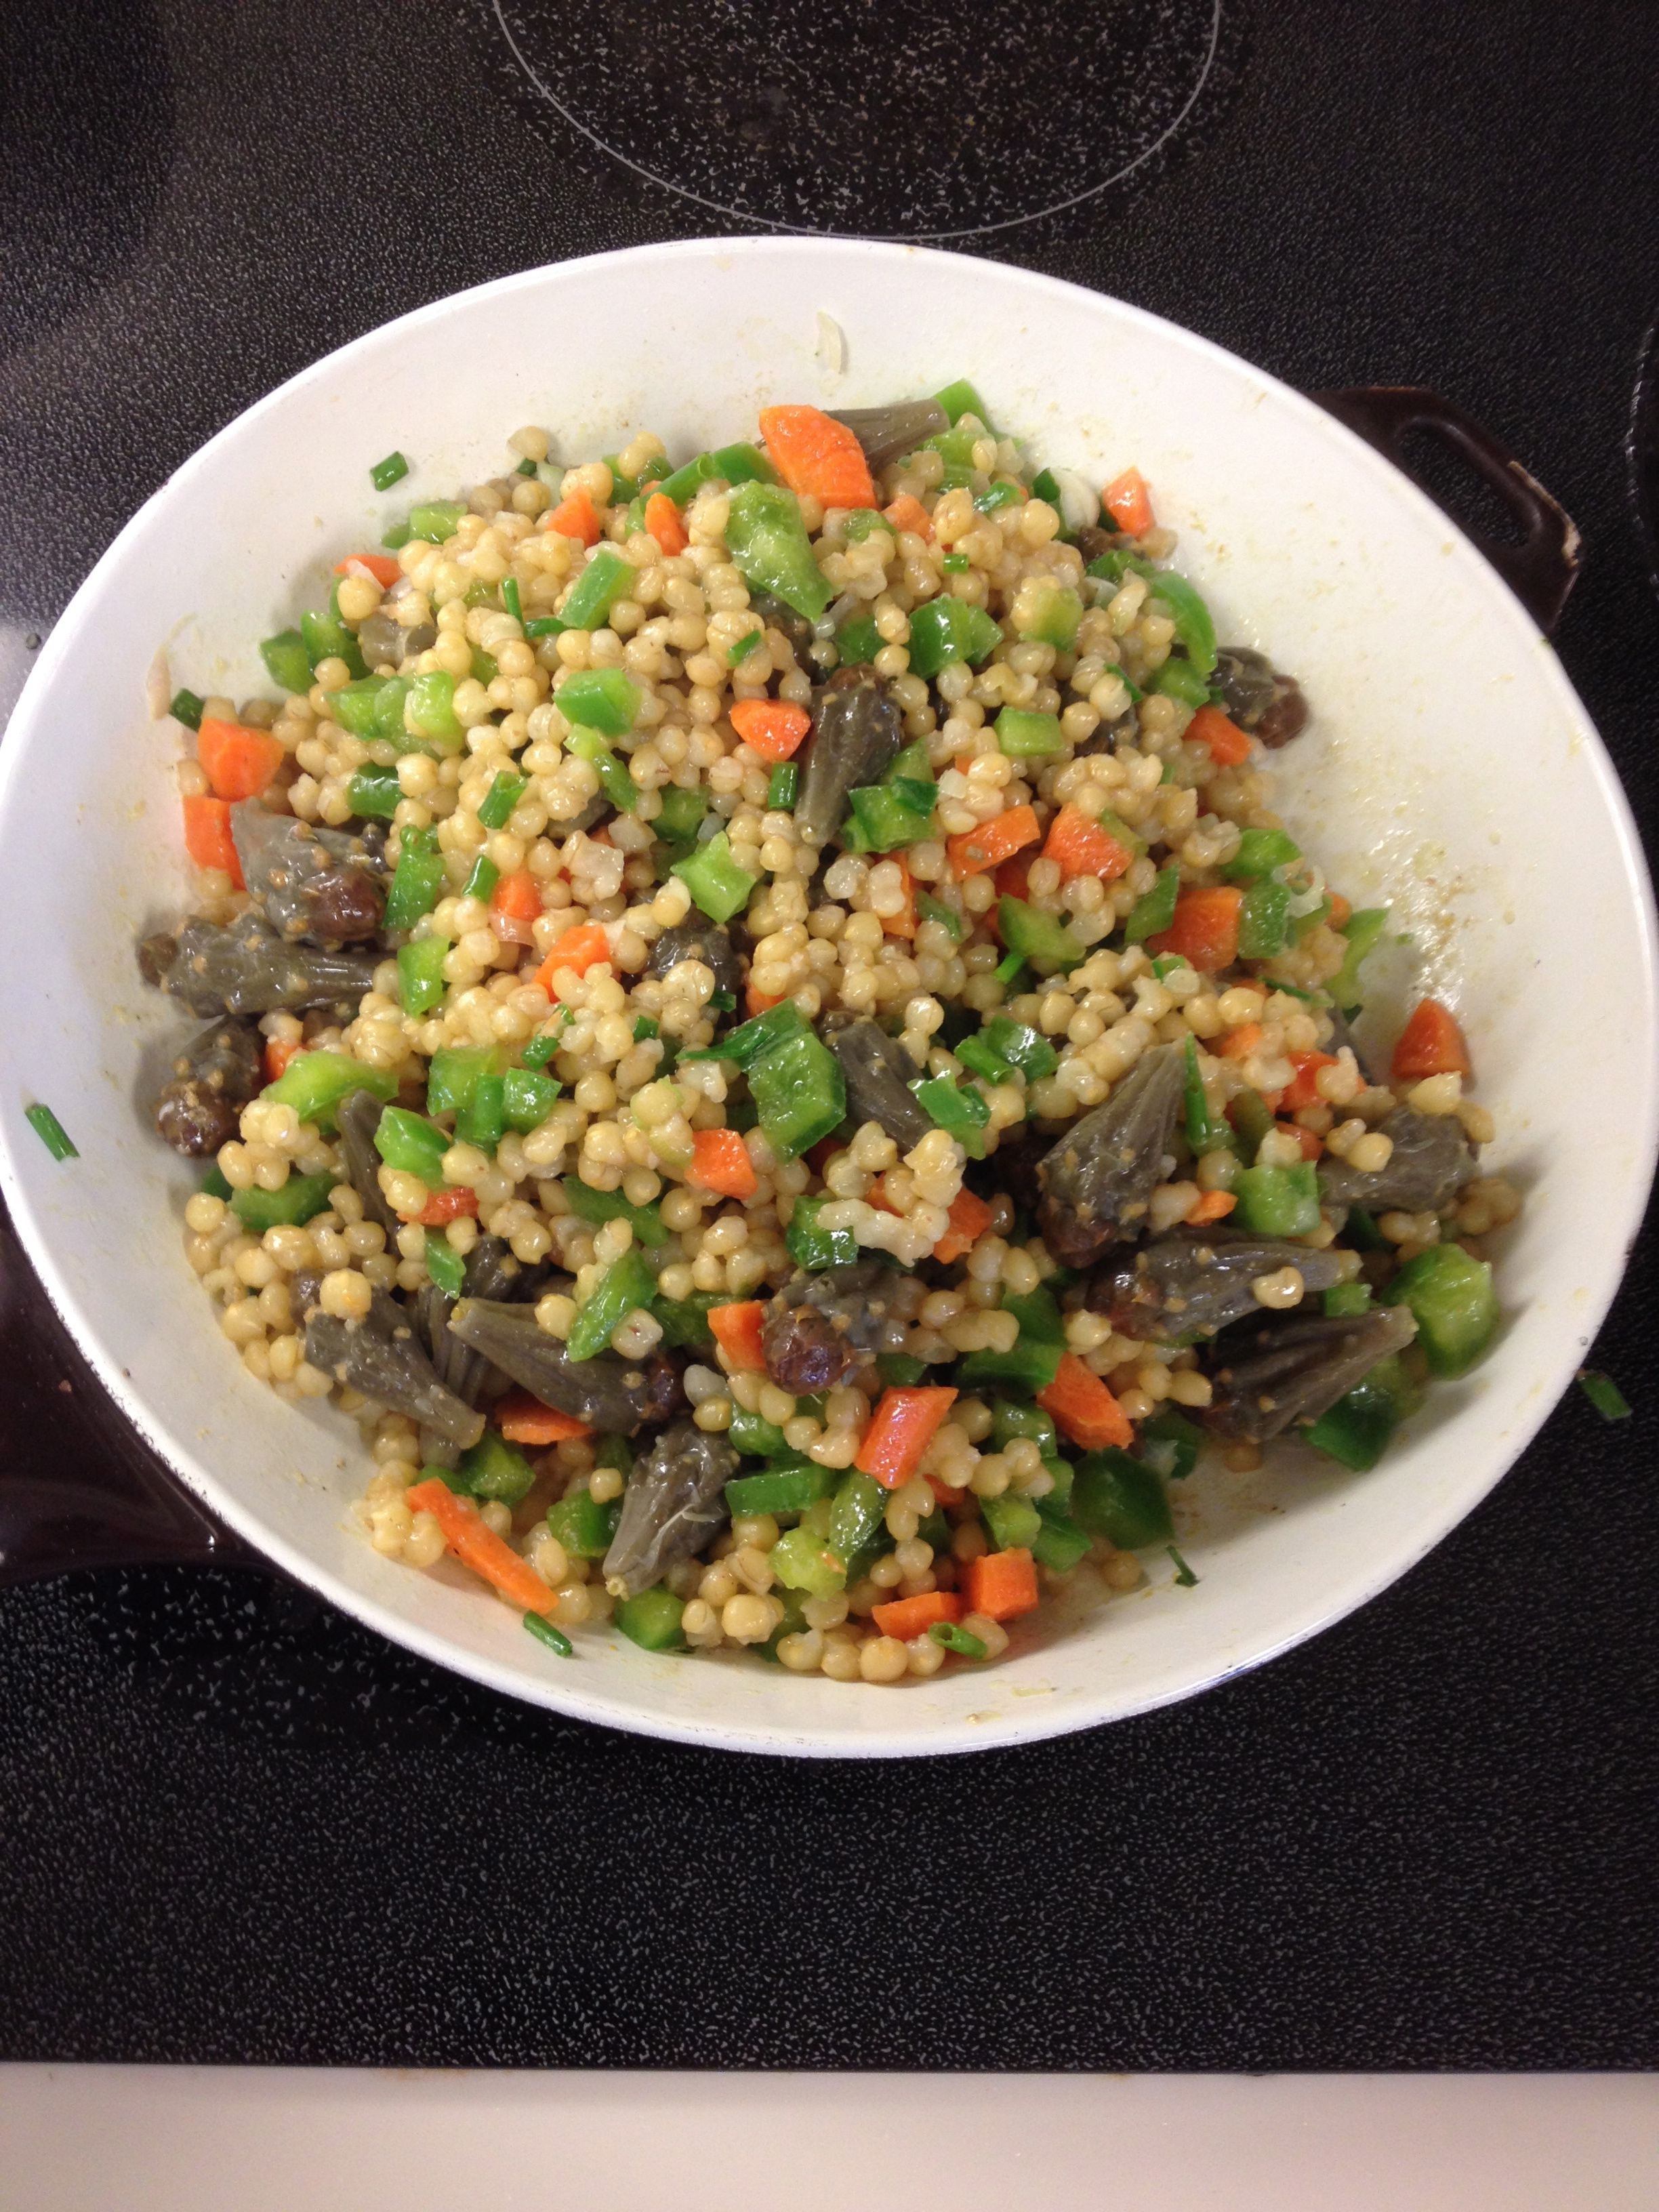
Wheatberry salad with cholla buds–an April delight (MABurgess photo)
With cholla bud season in full swing, it’s a great time to make a marinated wheatberry and cholla bud salad for a refreshingly cool hot-weather dish. Marinate cooked wheatberries in your favorite dressing, chop fresh veggies and add cooked cholla buds—and voila you have flavor, fun, and nutrition!
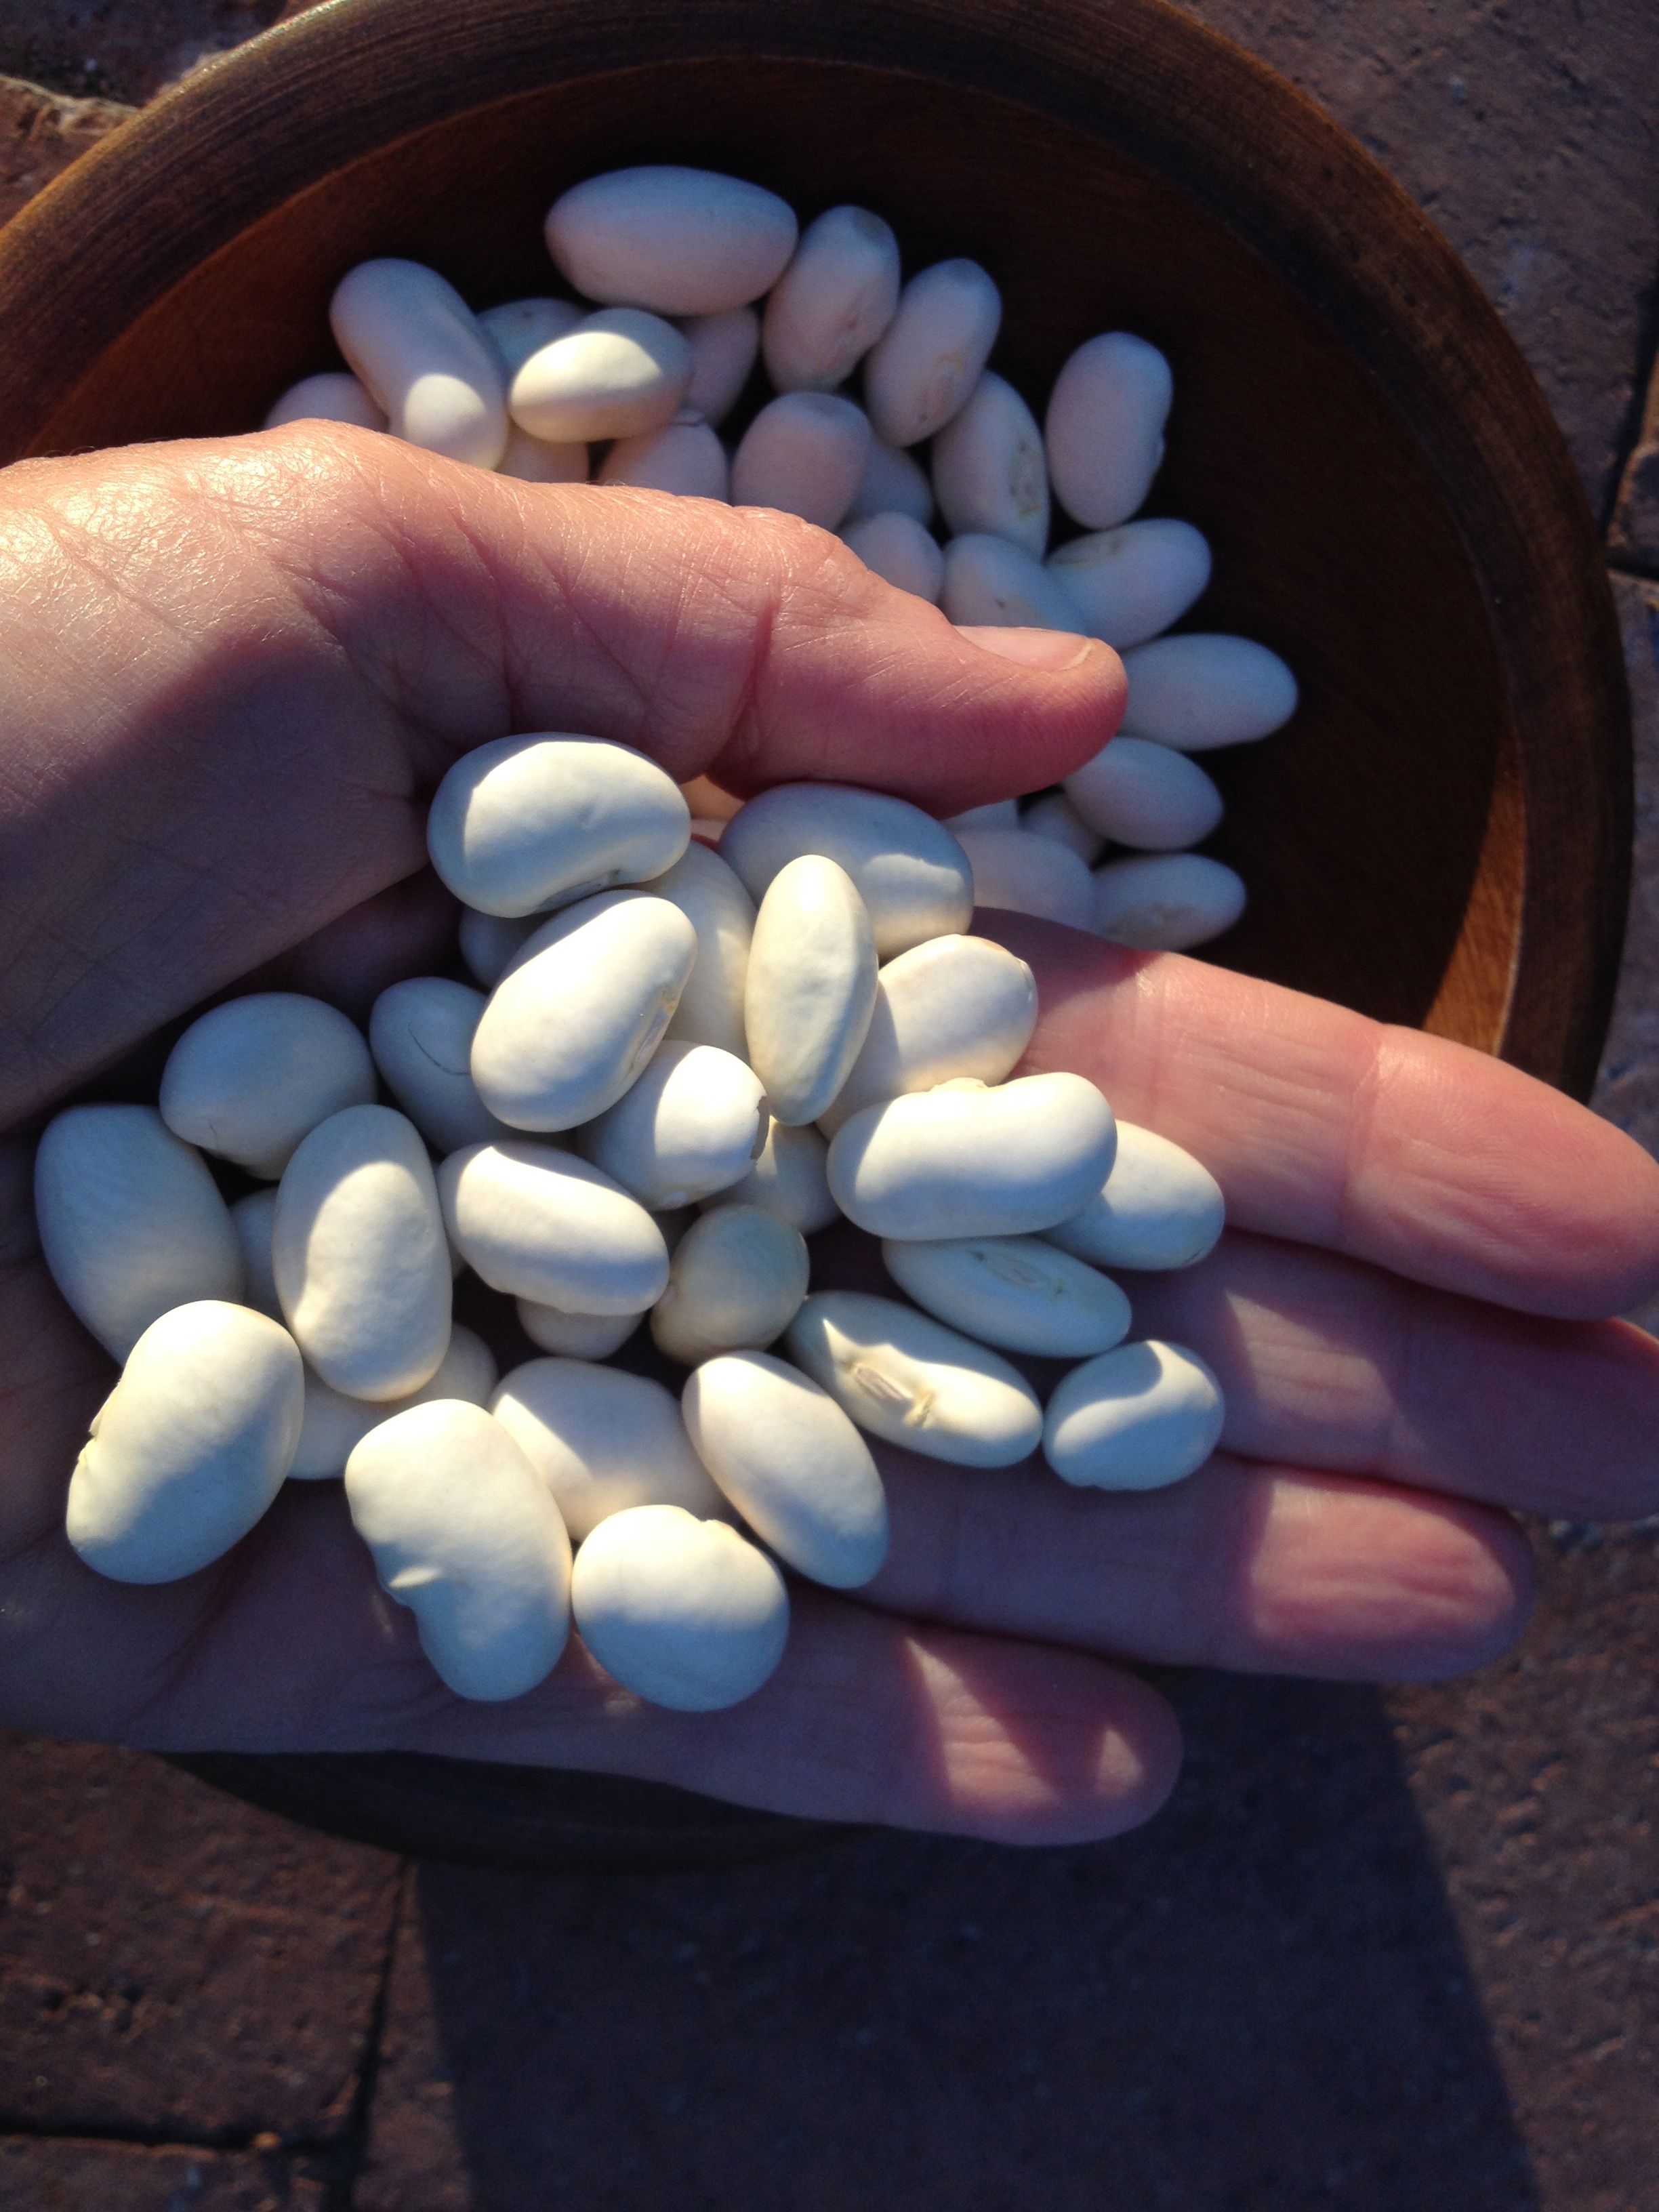
Giant Aztec white runner-beans, aka bordal and “mortgage lifter” (MABurgessphoto)
With the sap rising, and the gardening bug tugging at you, now is the perfect time to sew seeds of two very special long-season beans—the Tarahumara scarlet runner (see top of post) and the Aztec white runner (available at http://www.nativeseeds.org). (Note: white runners looking like small Easter eggs are also referred to as “bordal” and, similar to the tomato by the same name, “mortgage lifter.” If you can baby your young plants thru the heat and drought of May and June into monsoon growth, both of these beans will give you not only great food next fall but also glorious ornamental vines until then. Trellis them on the east side of your house or a wall for eastern light and protection from the blasting western sun. Hummingbirds will love you as they visit both the brilliant scarlet flowers and even the white flowers.
May your garden and your table be blessed with the fruits of the desert, bringing rebirth of good nutrition to the land and to our greater community of creatures and cultures!


