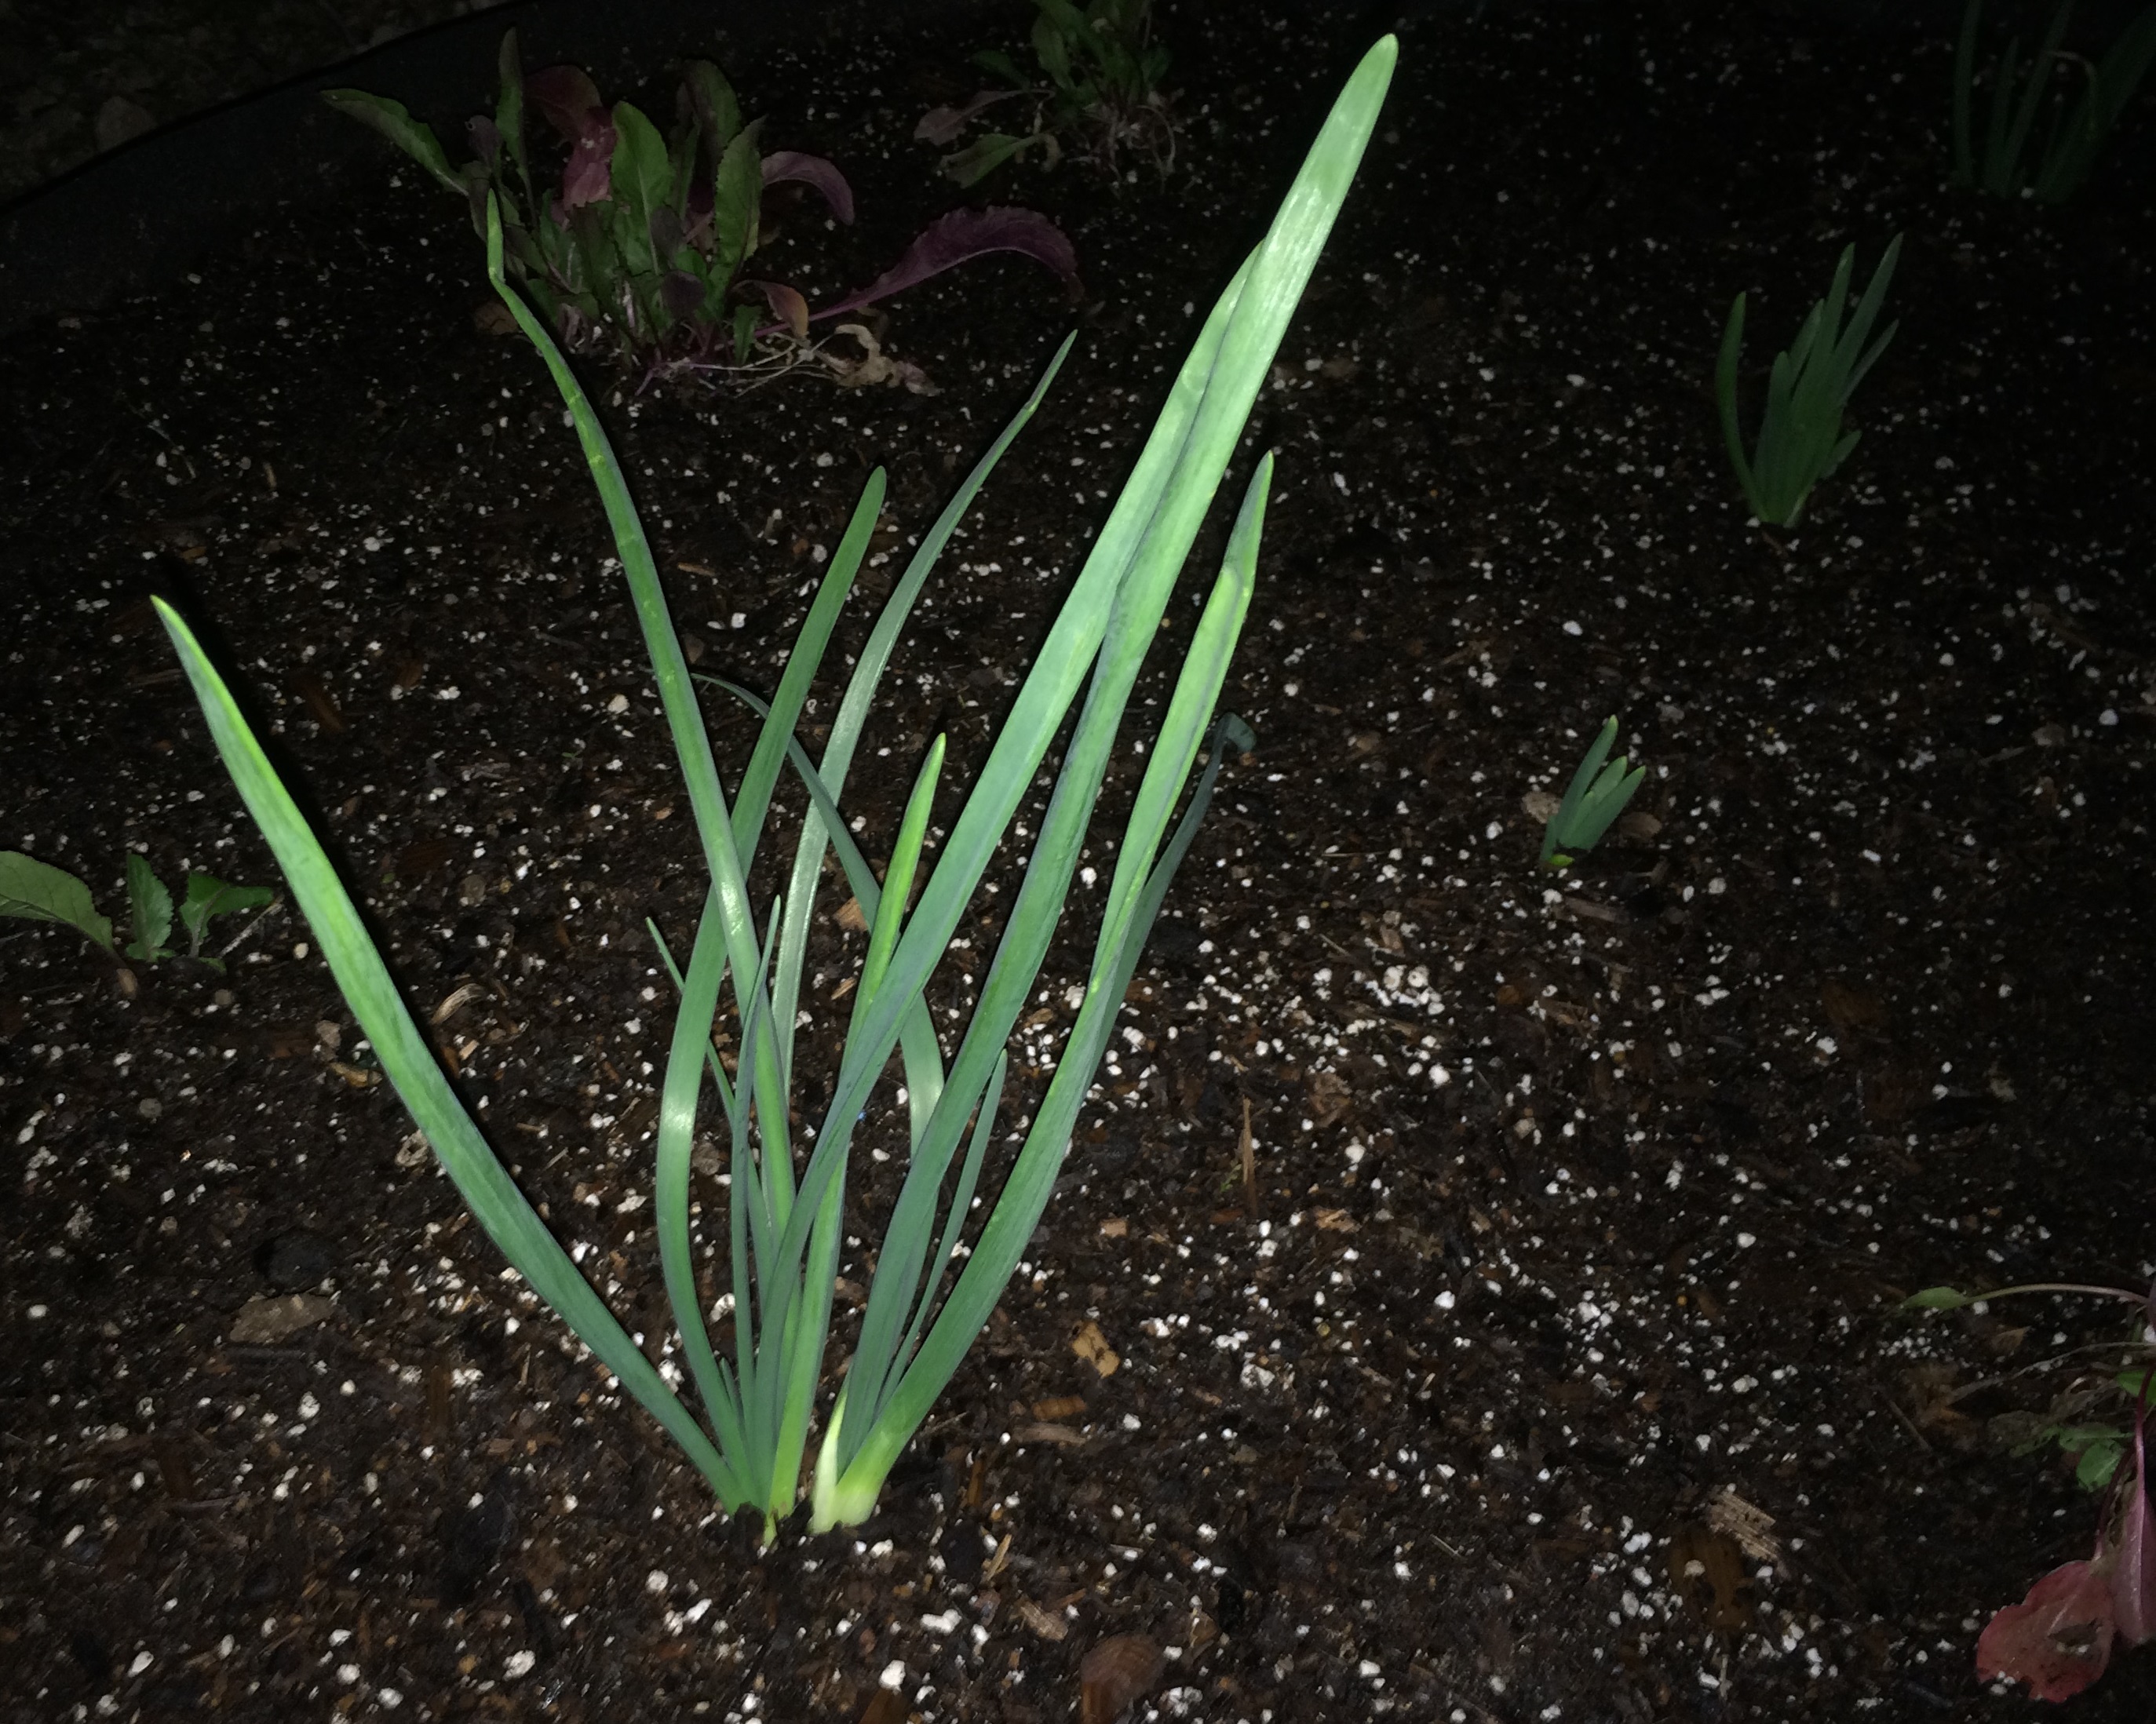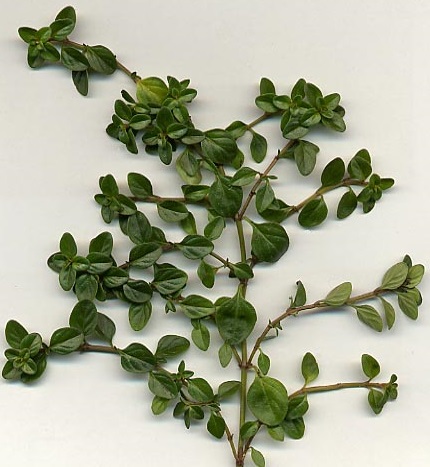
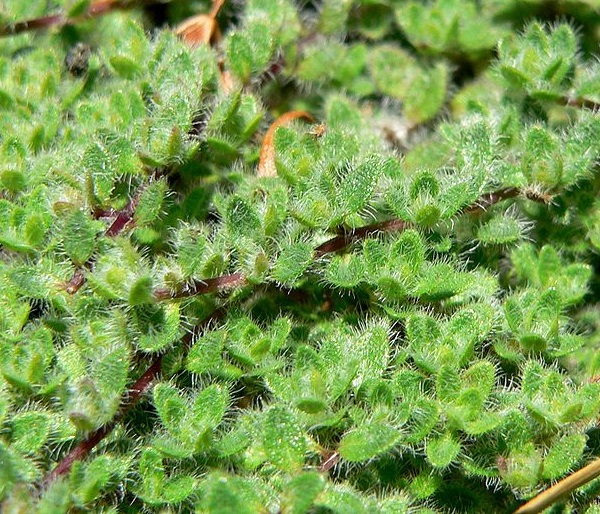
Common thyme (Thymus vulgaris) is best grown with a dappled noon-time shade in the summer in the southwest.
Special for Savor the Southwest February 2015
by Dr. Jacqueline A. Soule
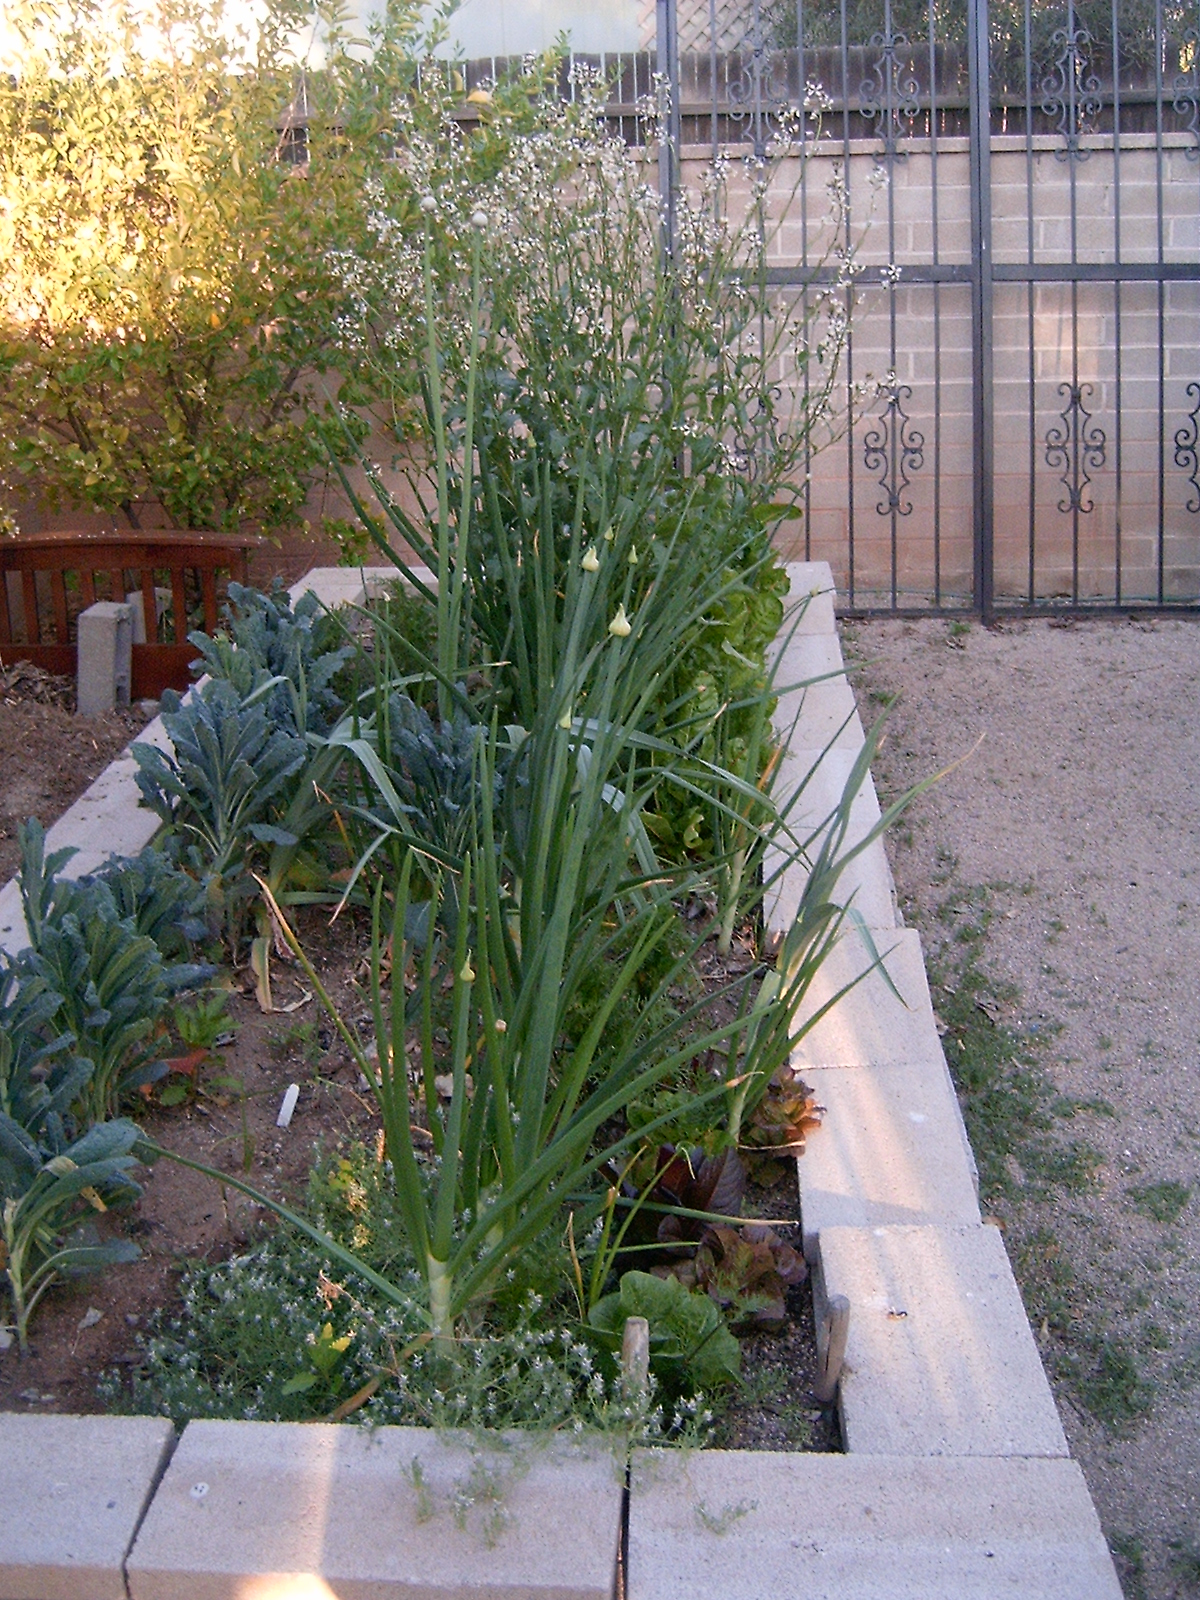
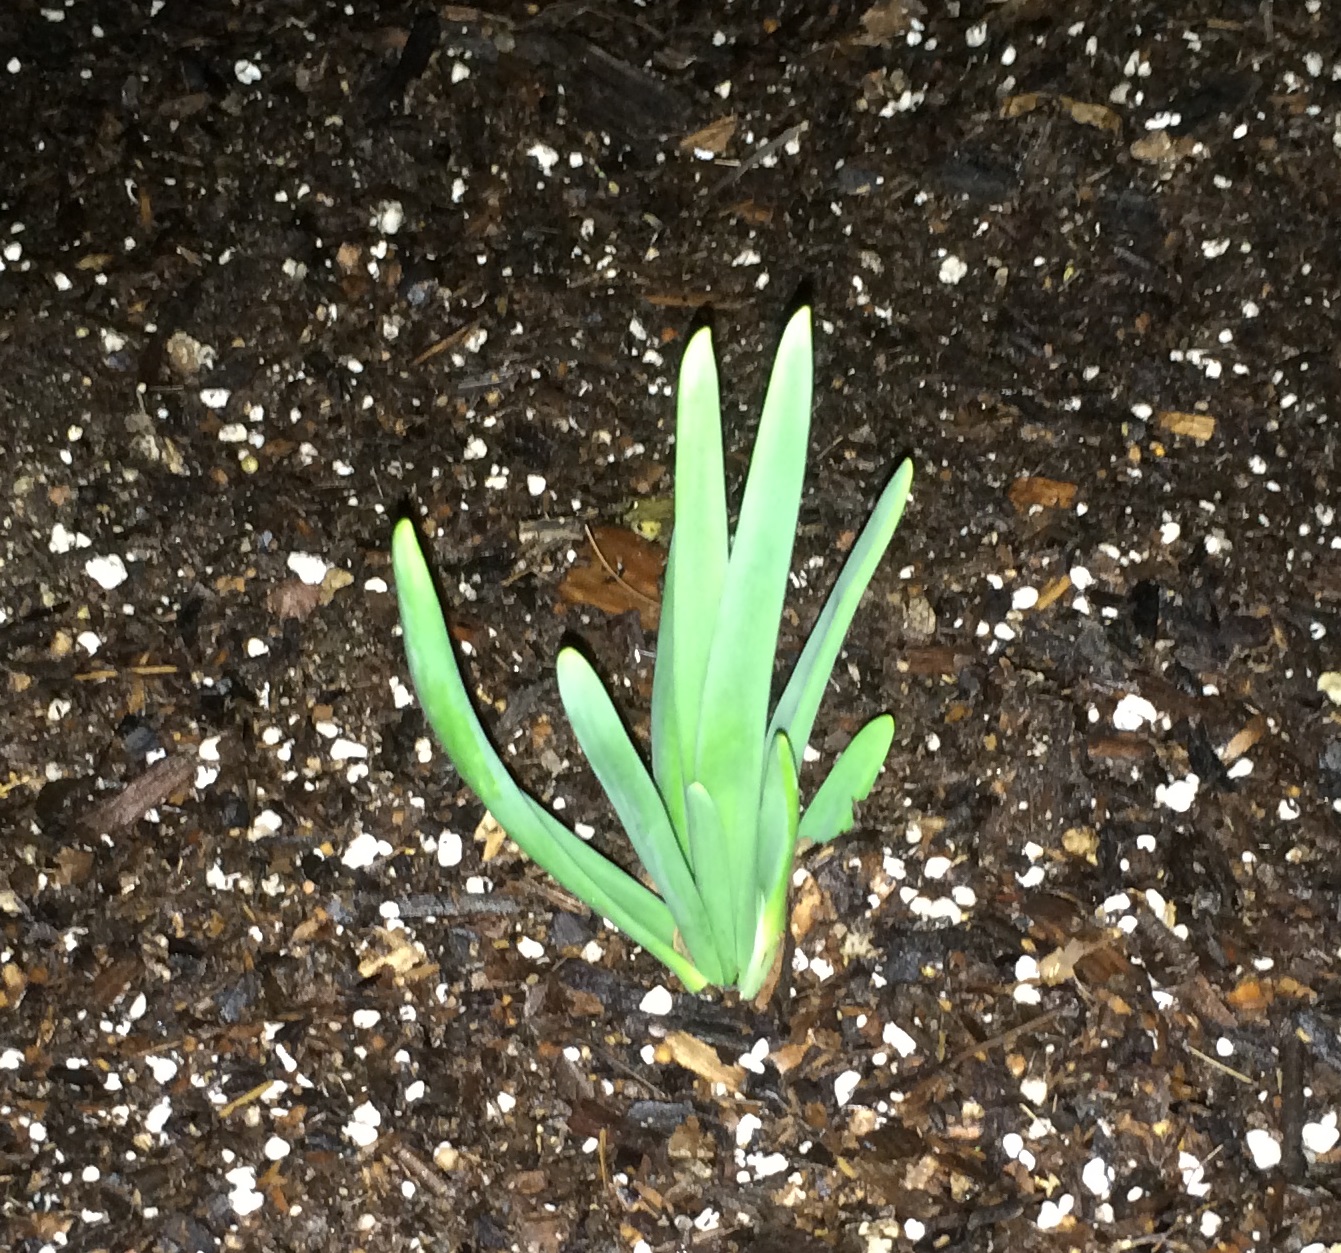
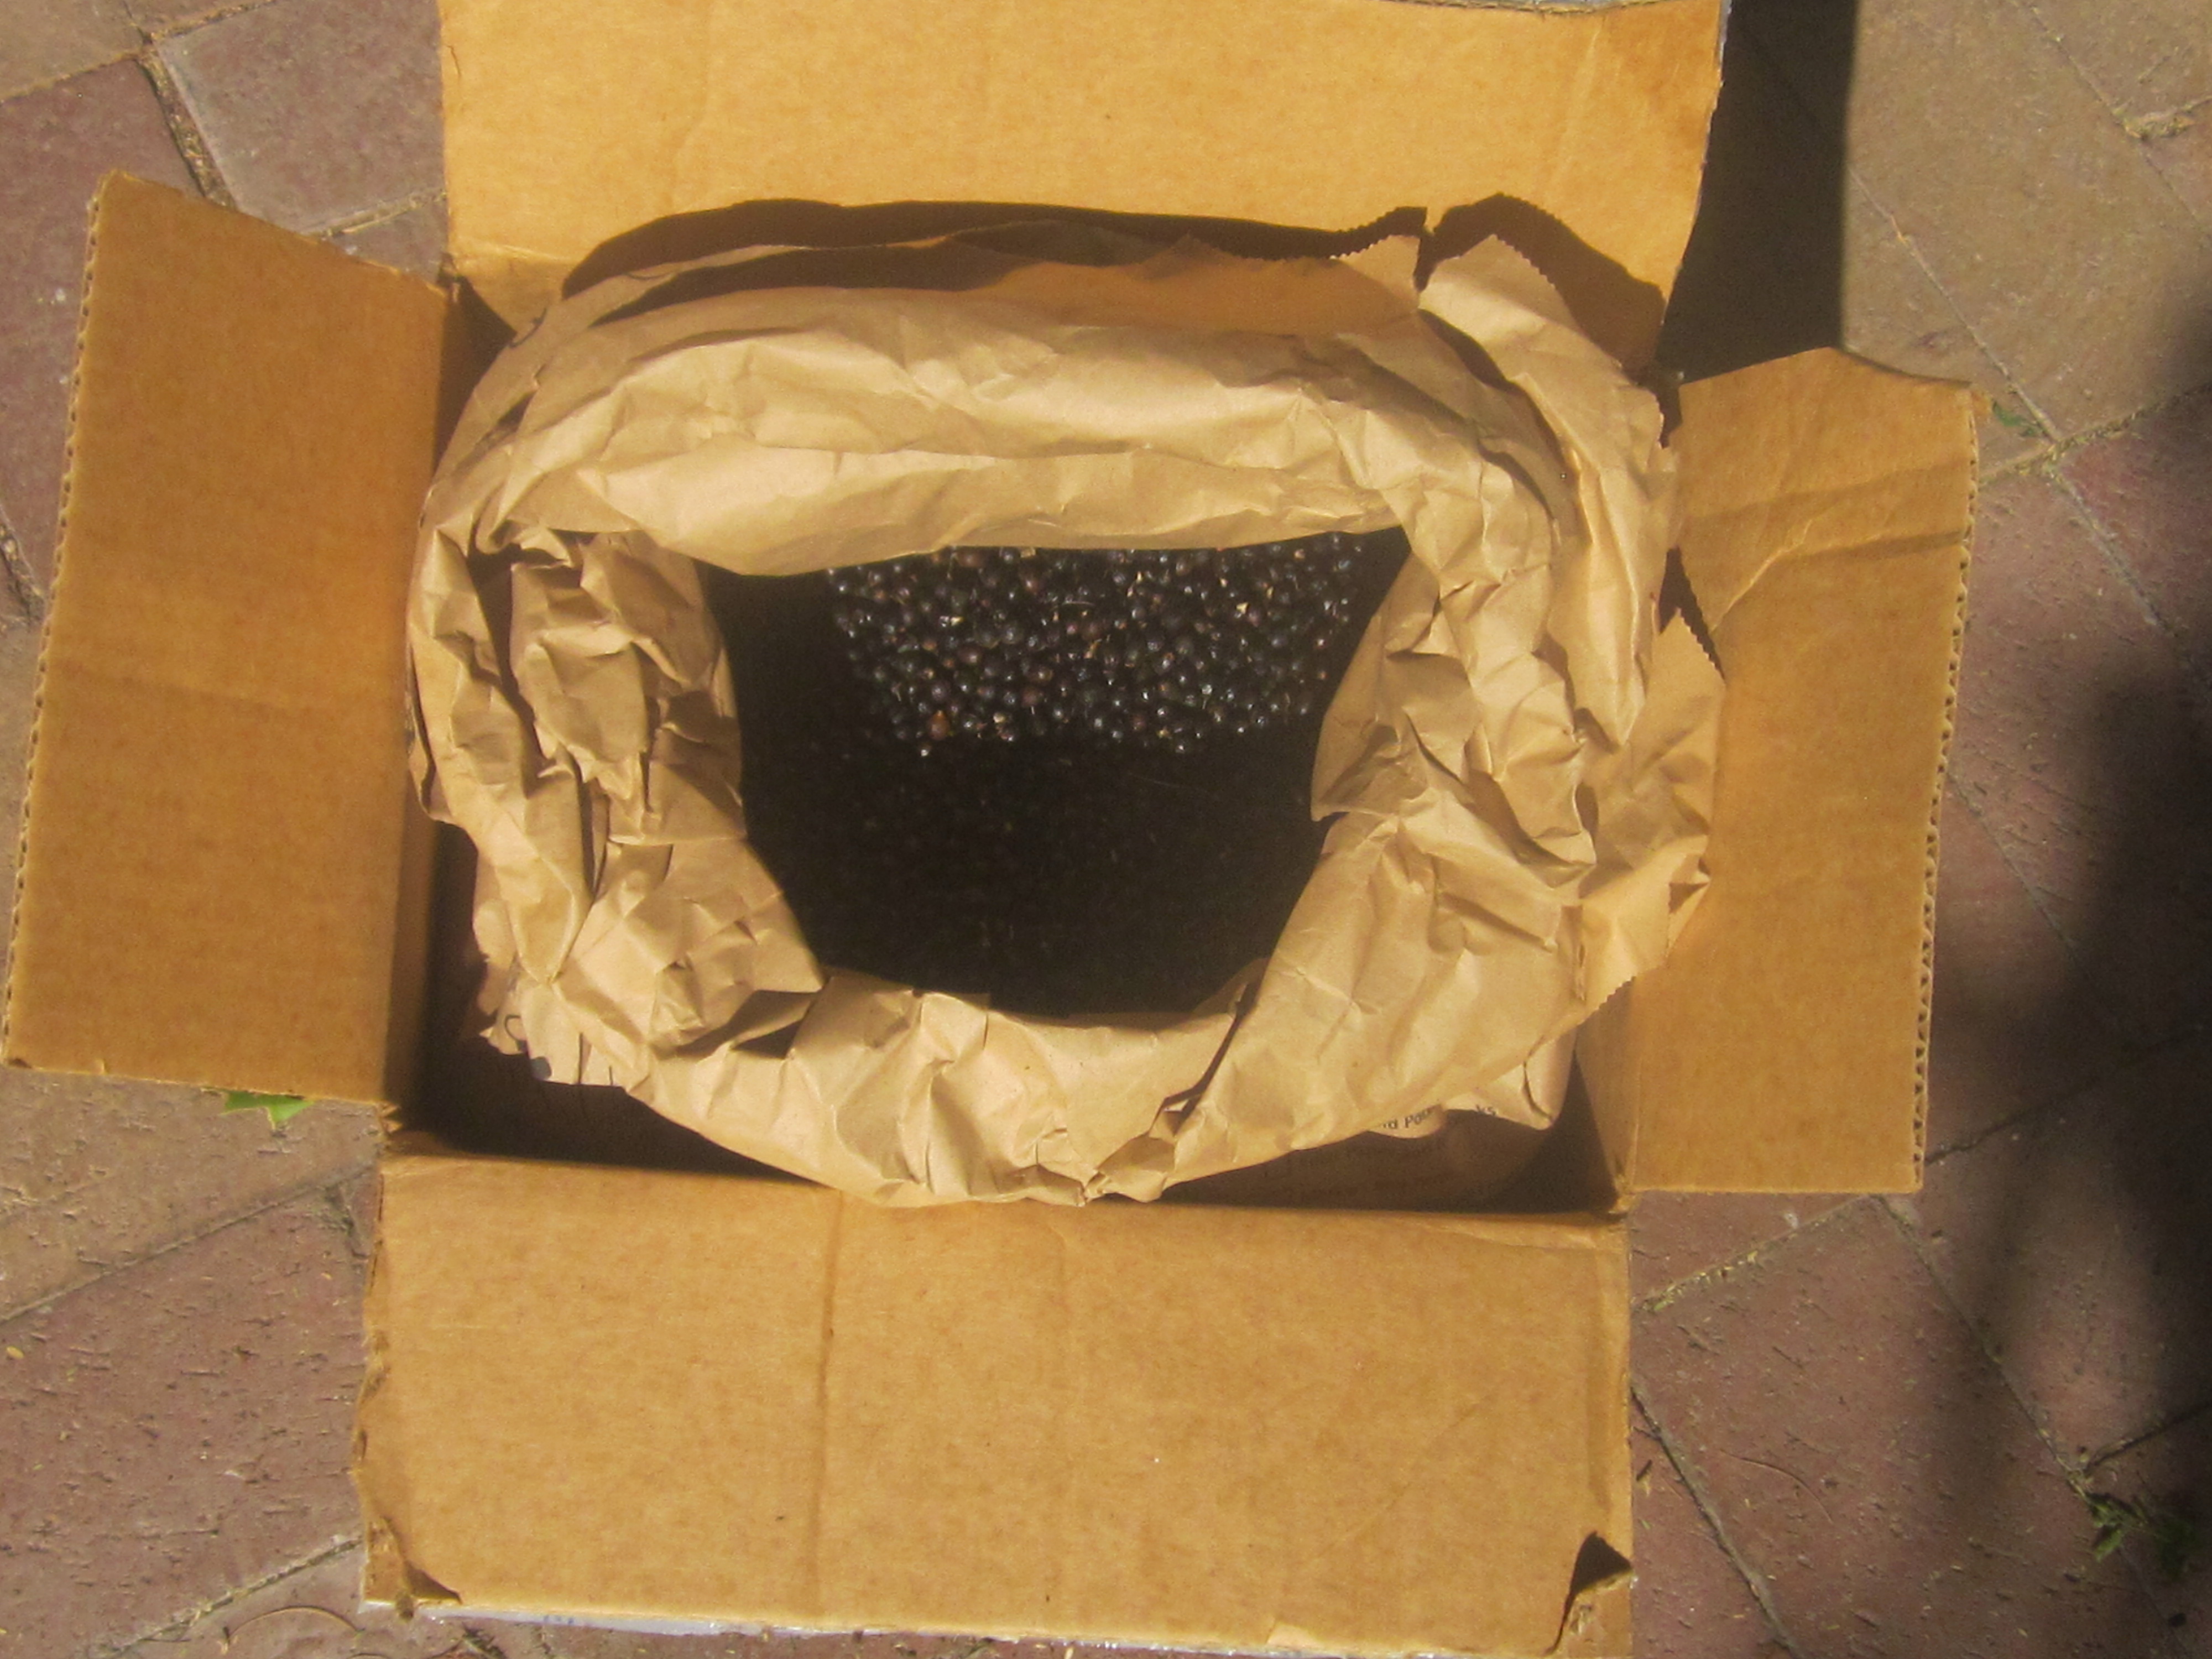
Spring is springing out in my garden – and the little thyme cutting I got from Savor Sister Muffin Burgess back in at our anniversary party in November is finally starting to take off. November was a terrible time to take cuttings of this warm climate herb – but the great thing about herbs is that humans have been mistreating them for 7000 years or so, and the weak ones have mostly died out.

There are many species of thyme, like this species in the Jerusalem Botanical Garden, used for the herb blend za’atar.
Thyme is a large and very popular genus, with over 350 species and countless cultivars grown around the world. Aside from looking lovely in the landscape, thyme is a strong herb used in cooking, and has some proven medicinal properties as well. It can also be grown indoors in bright, indirect light.
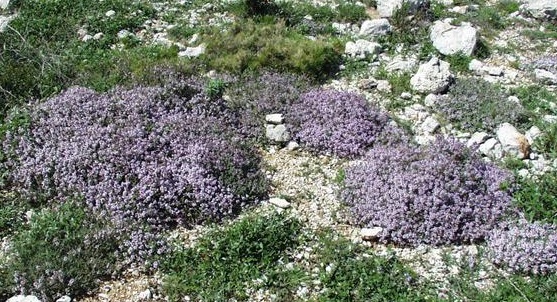
Many herbs that do in the Southwest are originally from a similar climate – like this Thymus vulgaris growing wild on the rocky hillsides of the Galilee.
This lovely, fragrant, tasty, and healthful herb in native to the rocky slopes of the mountains of the eastern Mediterranean region, in the area that is now mostly Greece. Since they are pre-adapted to low water conditions, most species of thyme can be grown here. I grow my thyme plants where they get roof run-off, thus I rarely need to water them; and yet they offer a lush look to my entryway with their glossy green leaves.
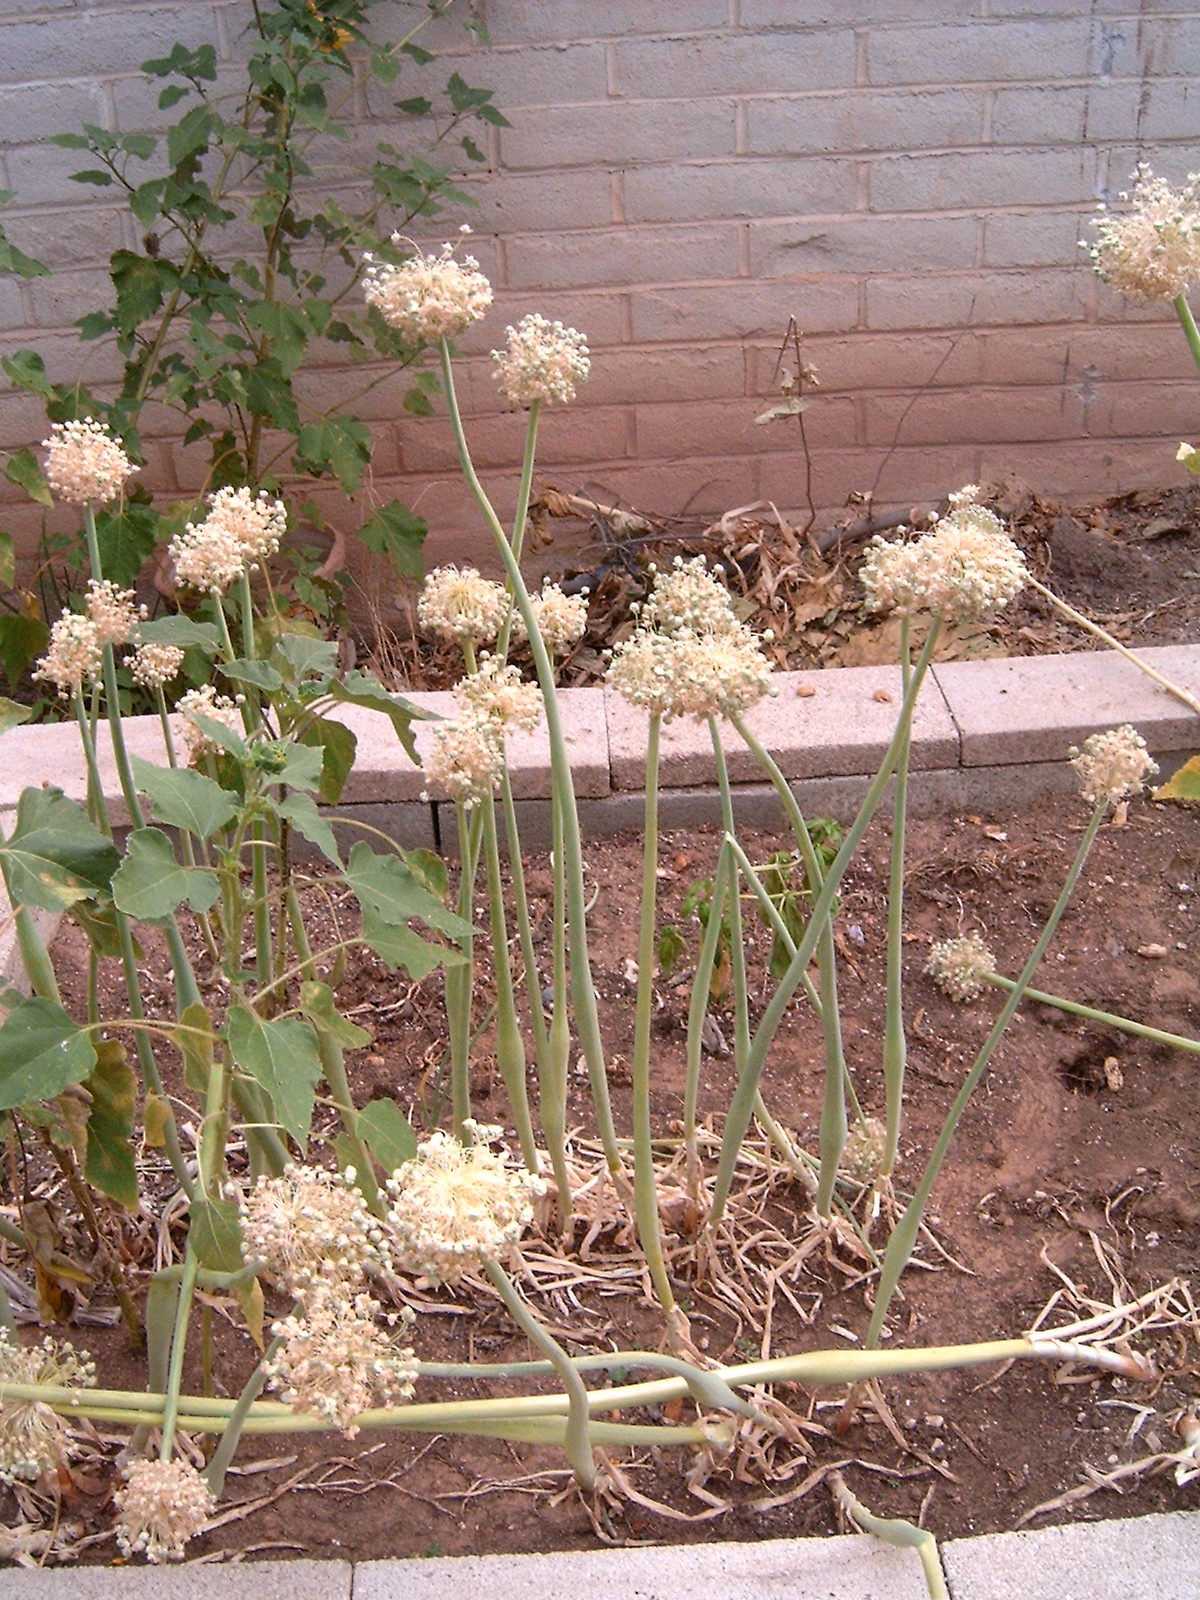
Not just tasty, thyme is also another pretty face in the garden! For peak flavor, it is best to harvest this (and most culinary herbs) just before they bloom.
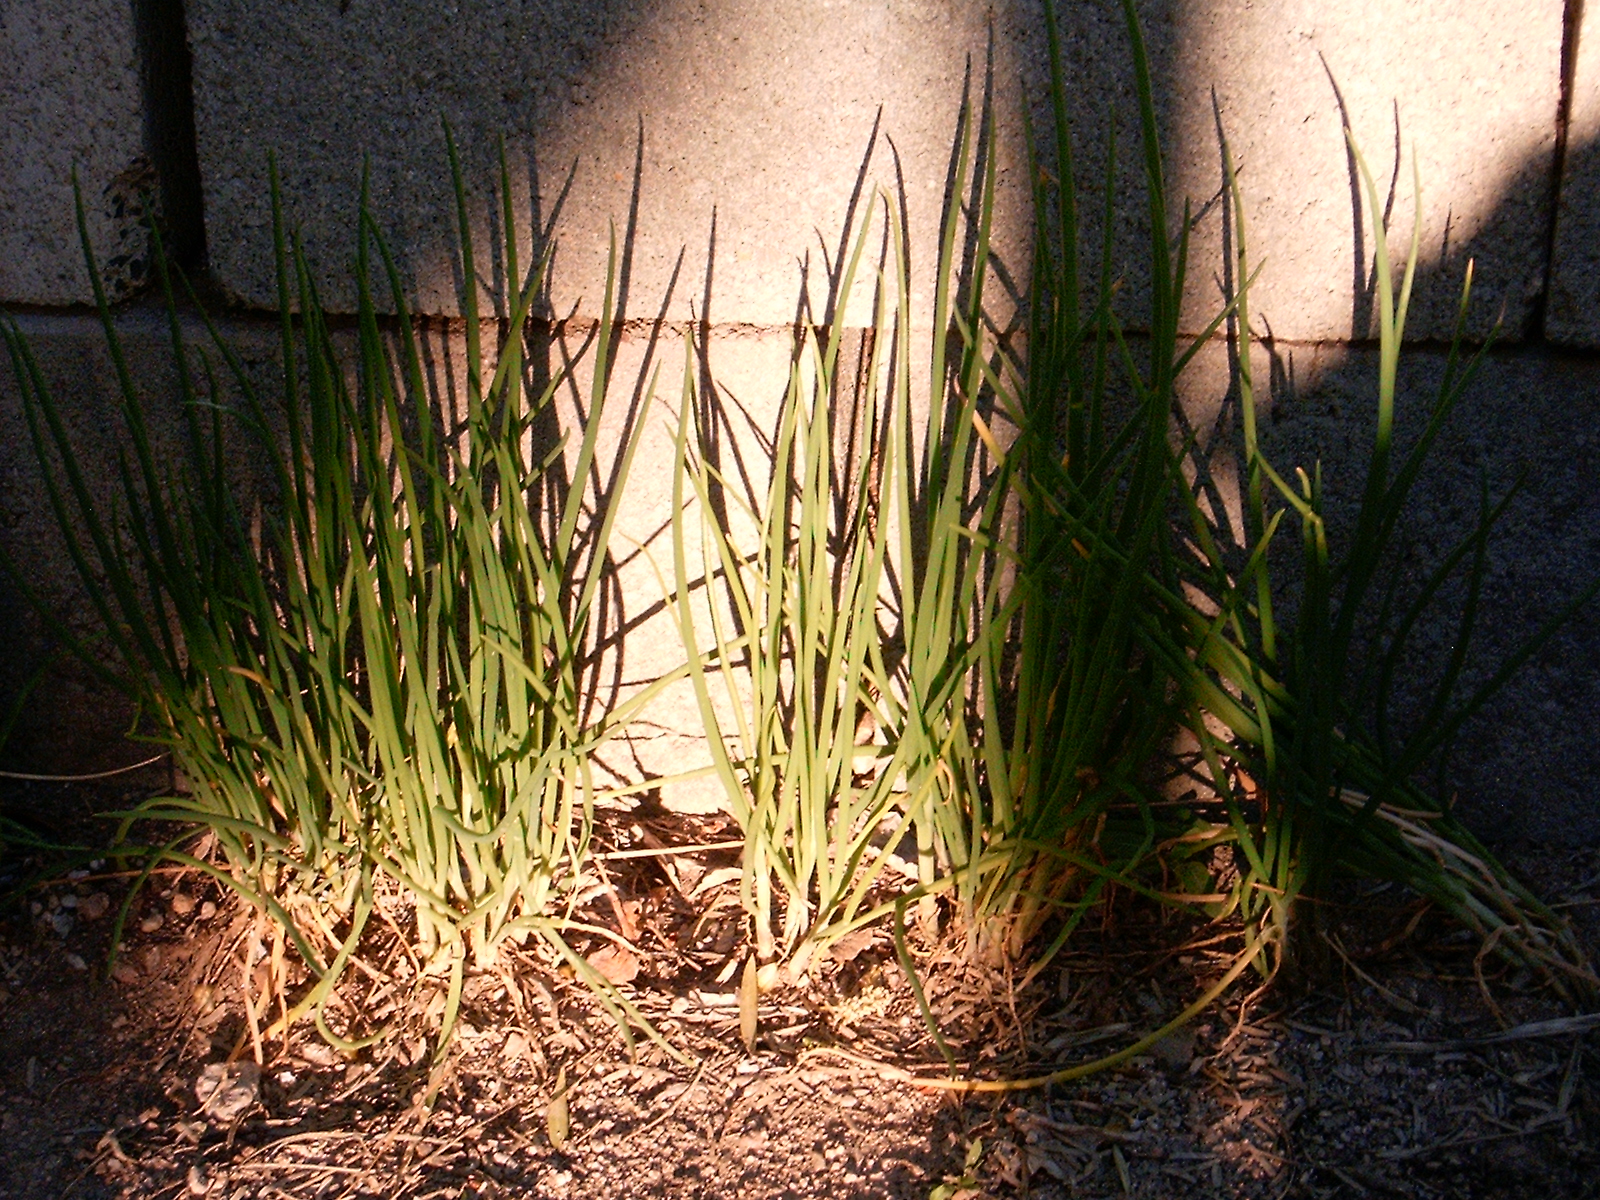
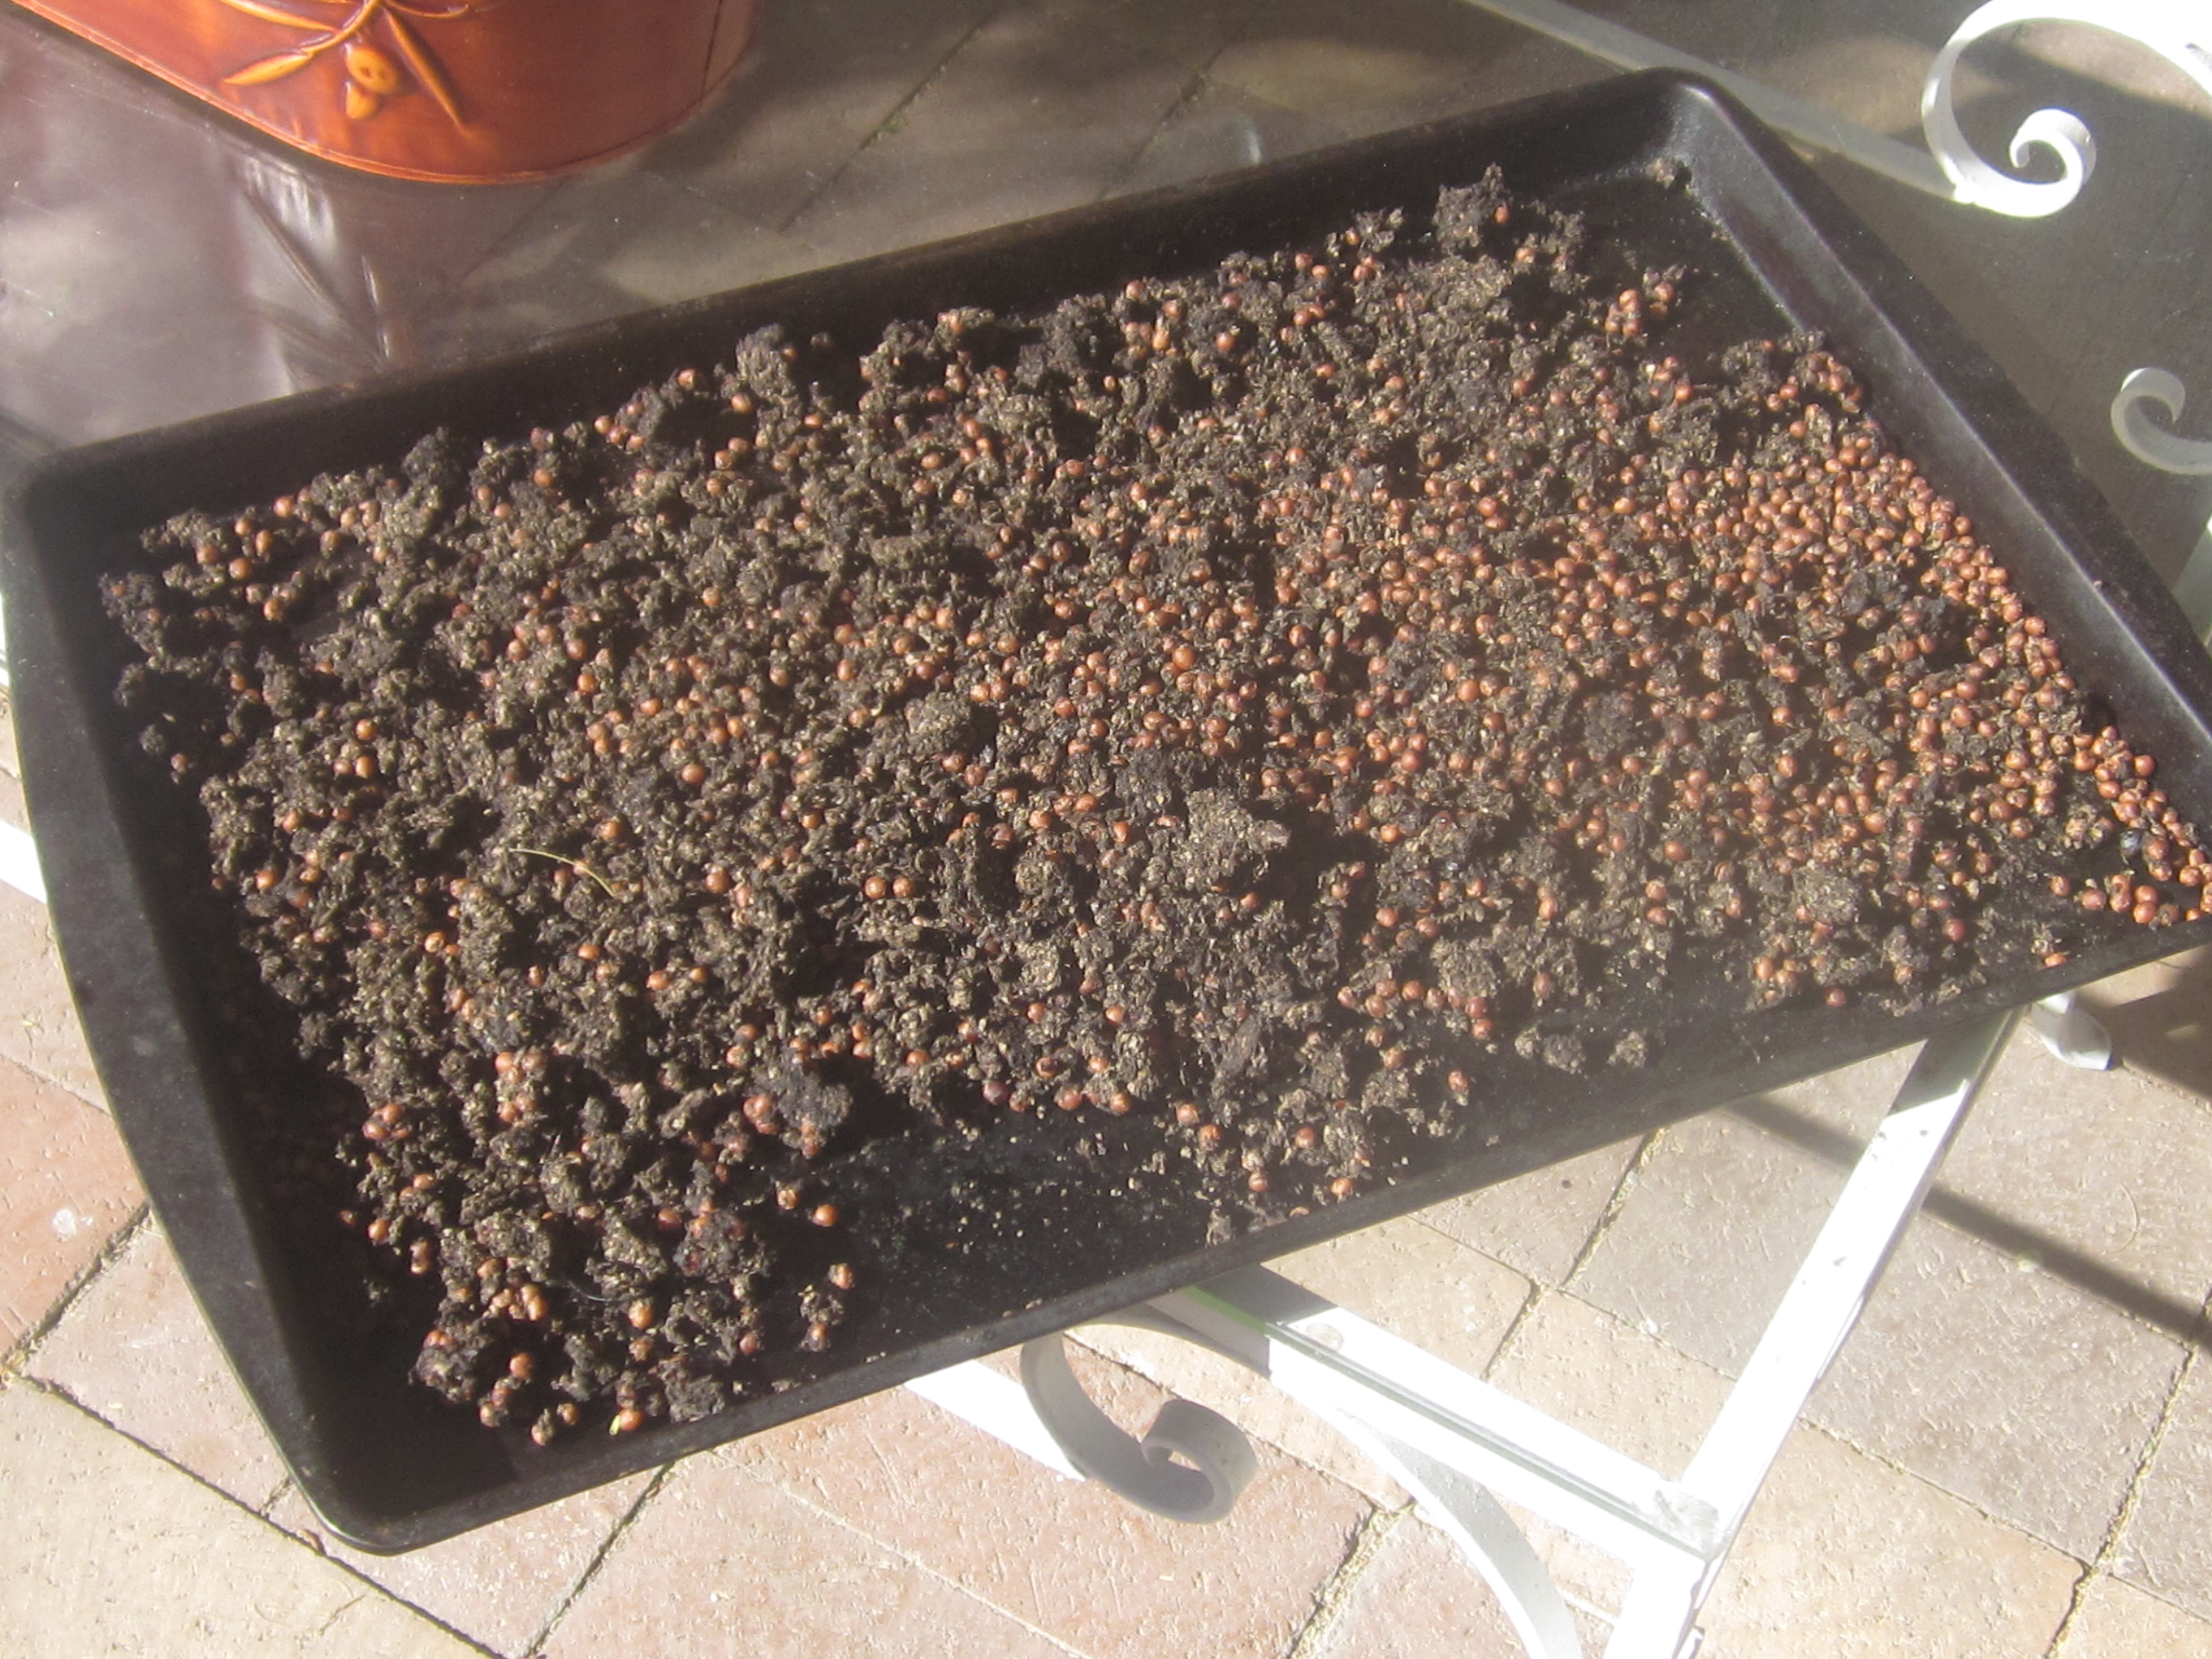
Make sure you grow your thyme in well-drained soil. You may have to add some sand to your soil. I killed several thyme plants until I had finally added enough sand to their bed.
There are many thymes to choose from, but here are the species most commonly found in the nursery.
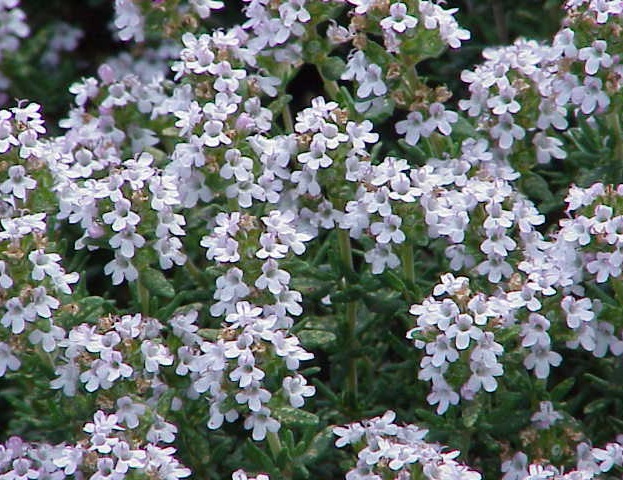
Common or culinary thyme (Thymus vulgaris) is a low woody plant barely reaching a foot tall. It quickly becomes leggy with bare wood showing so harvest and use or dry your thyme often. (You can give friends jars of your dried herbs as truly personal and unique gifts.)
Creeping thyme (Thymus praecox) makes an attractive and useful groundcover. It is culinary too! Harvest as needed.
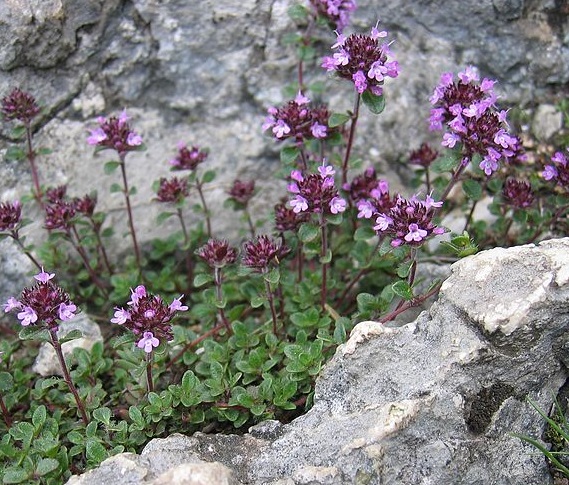
Creeping thyme, with tiny leaves and charming purple flowers, is perfect for a fairy garden.
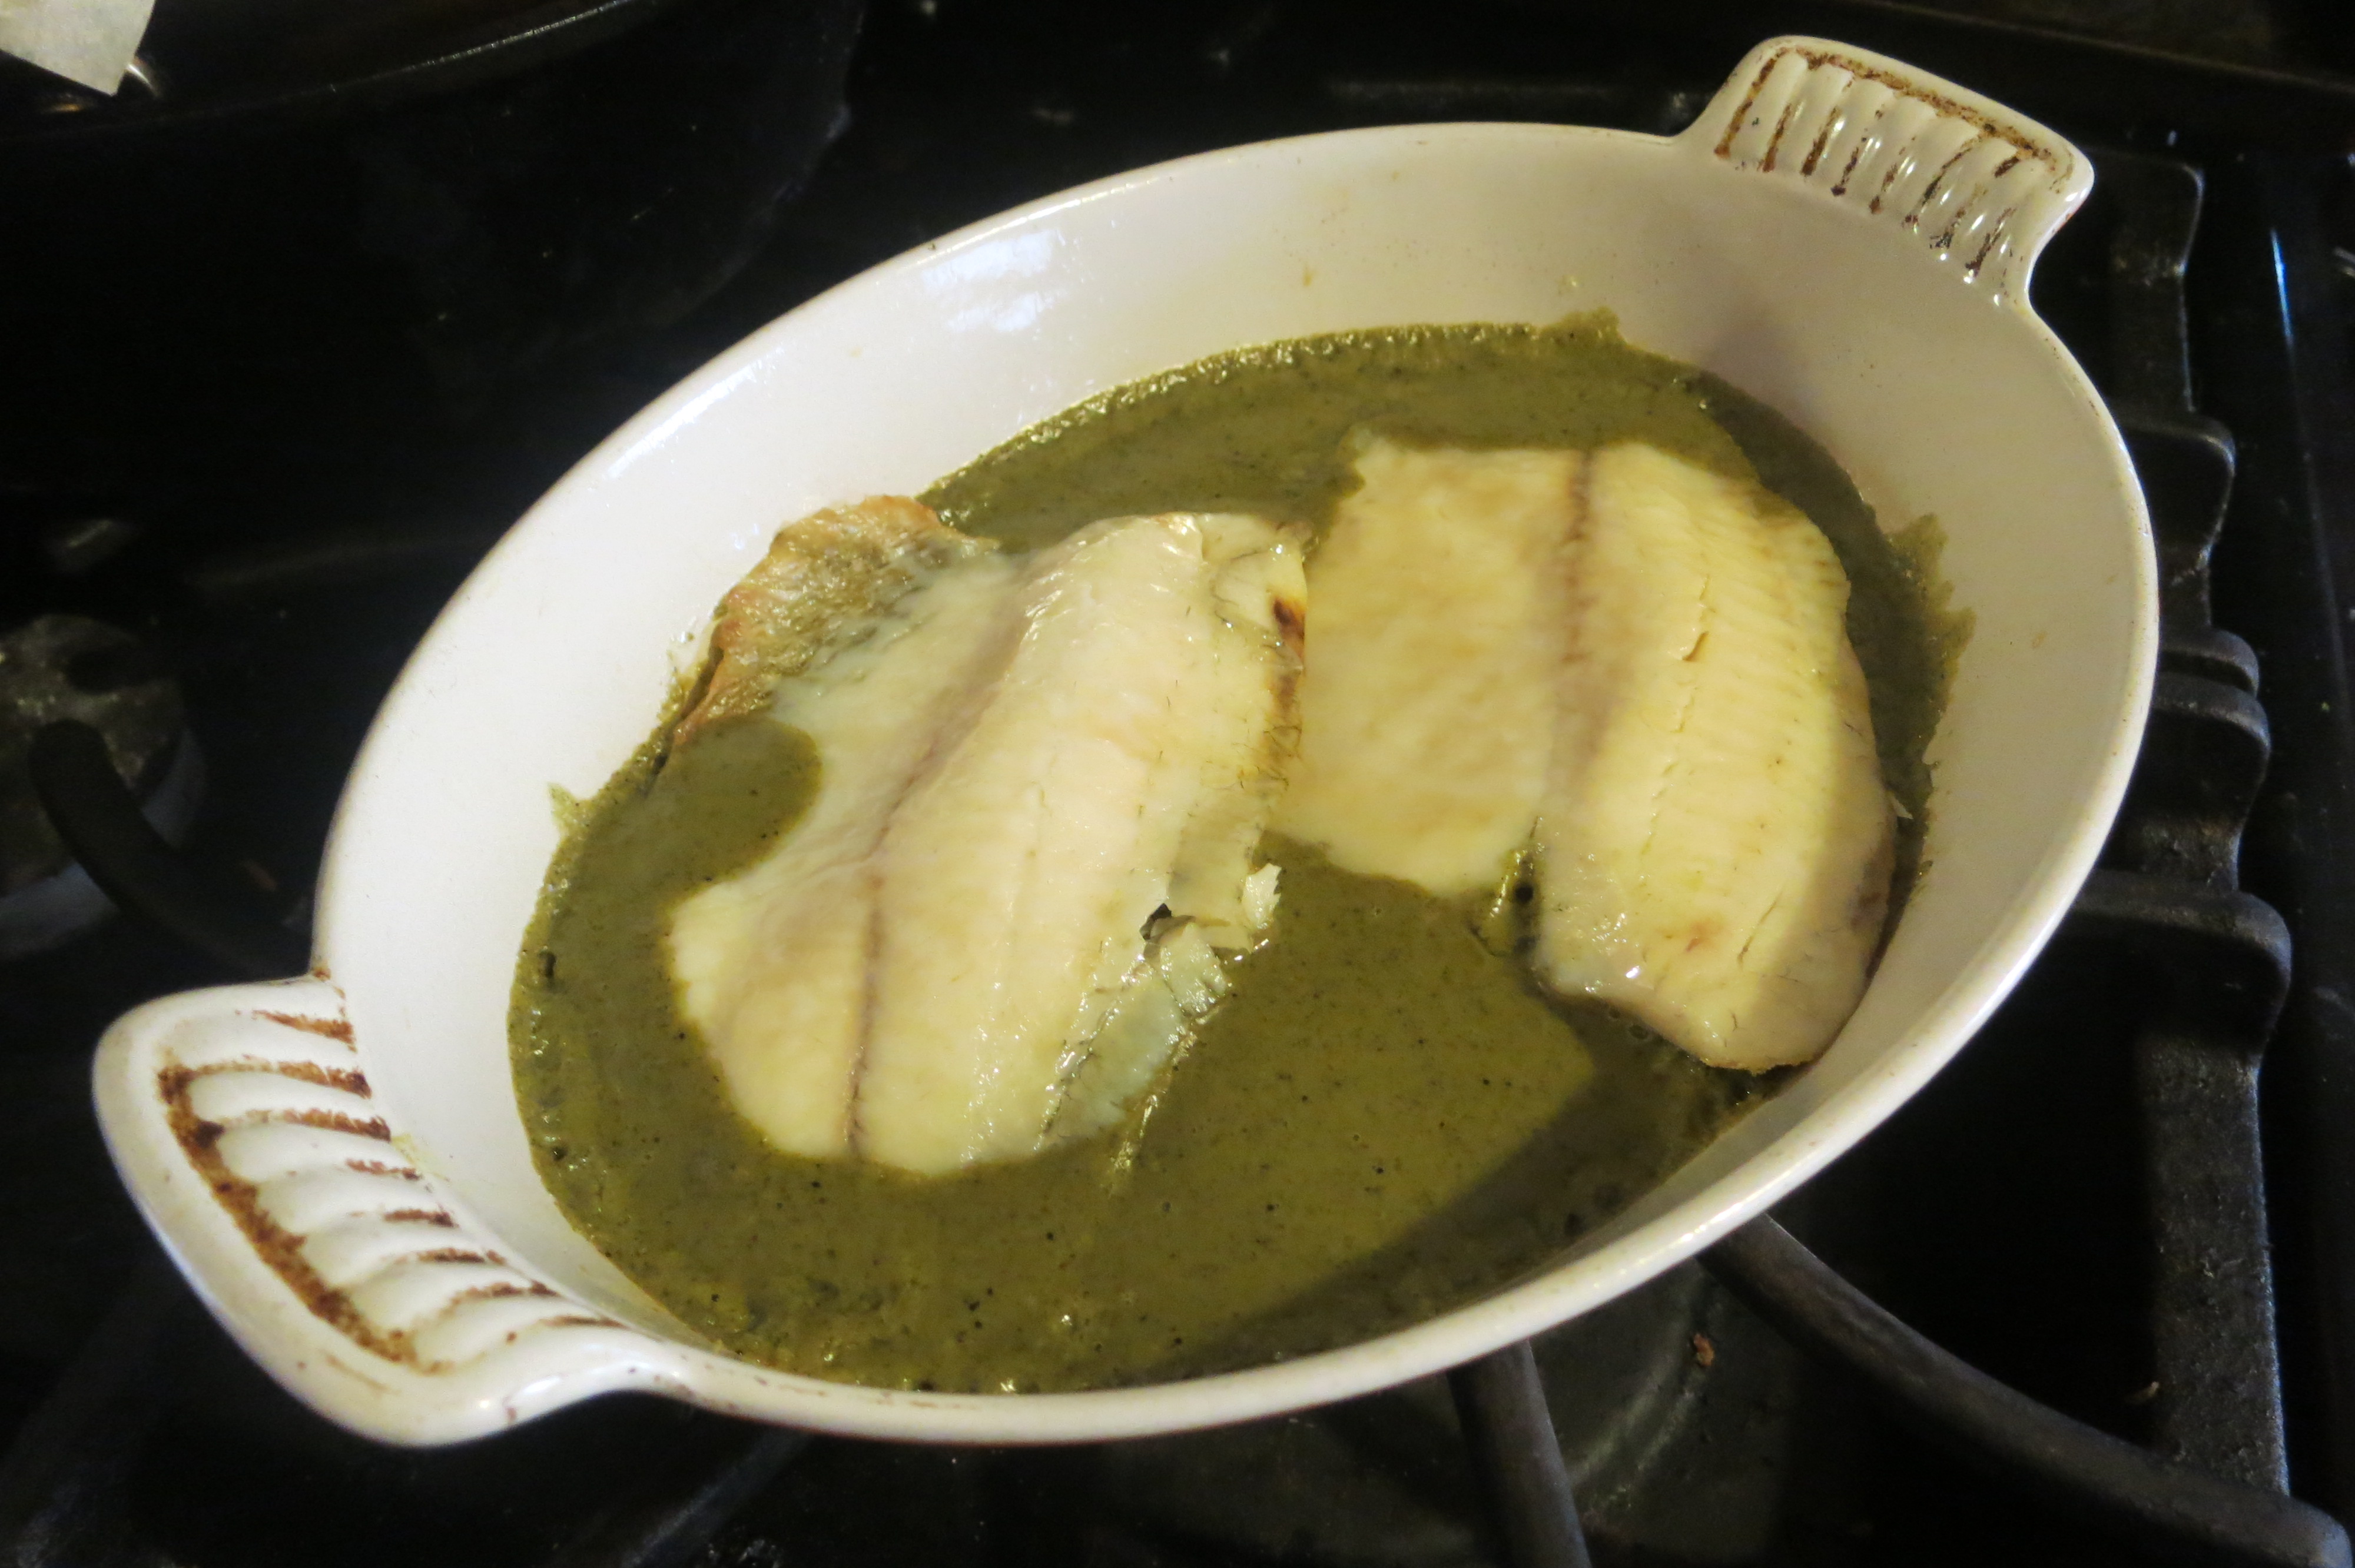
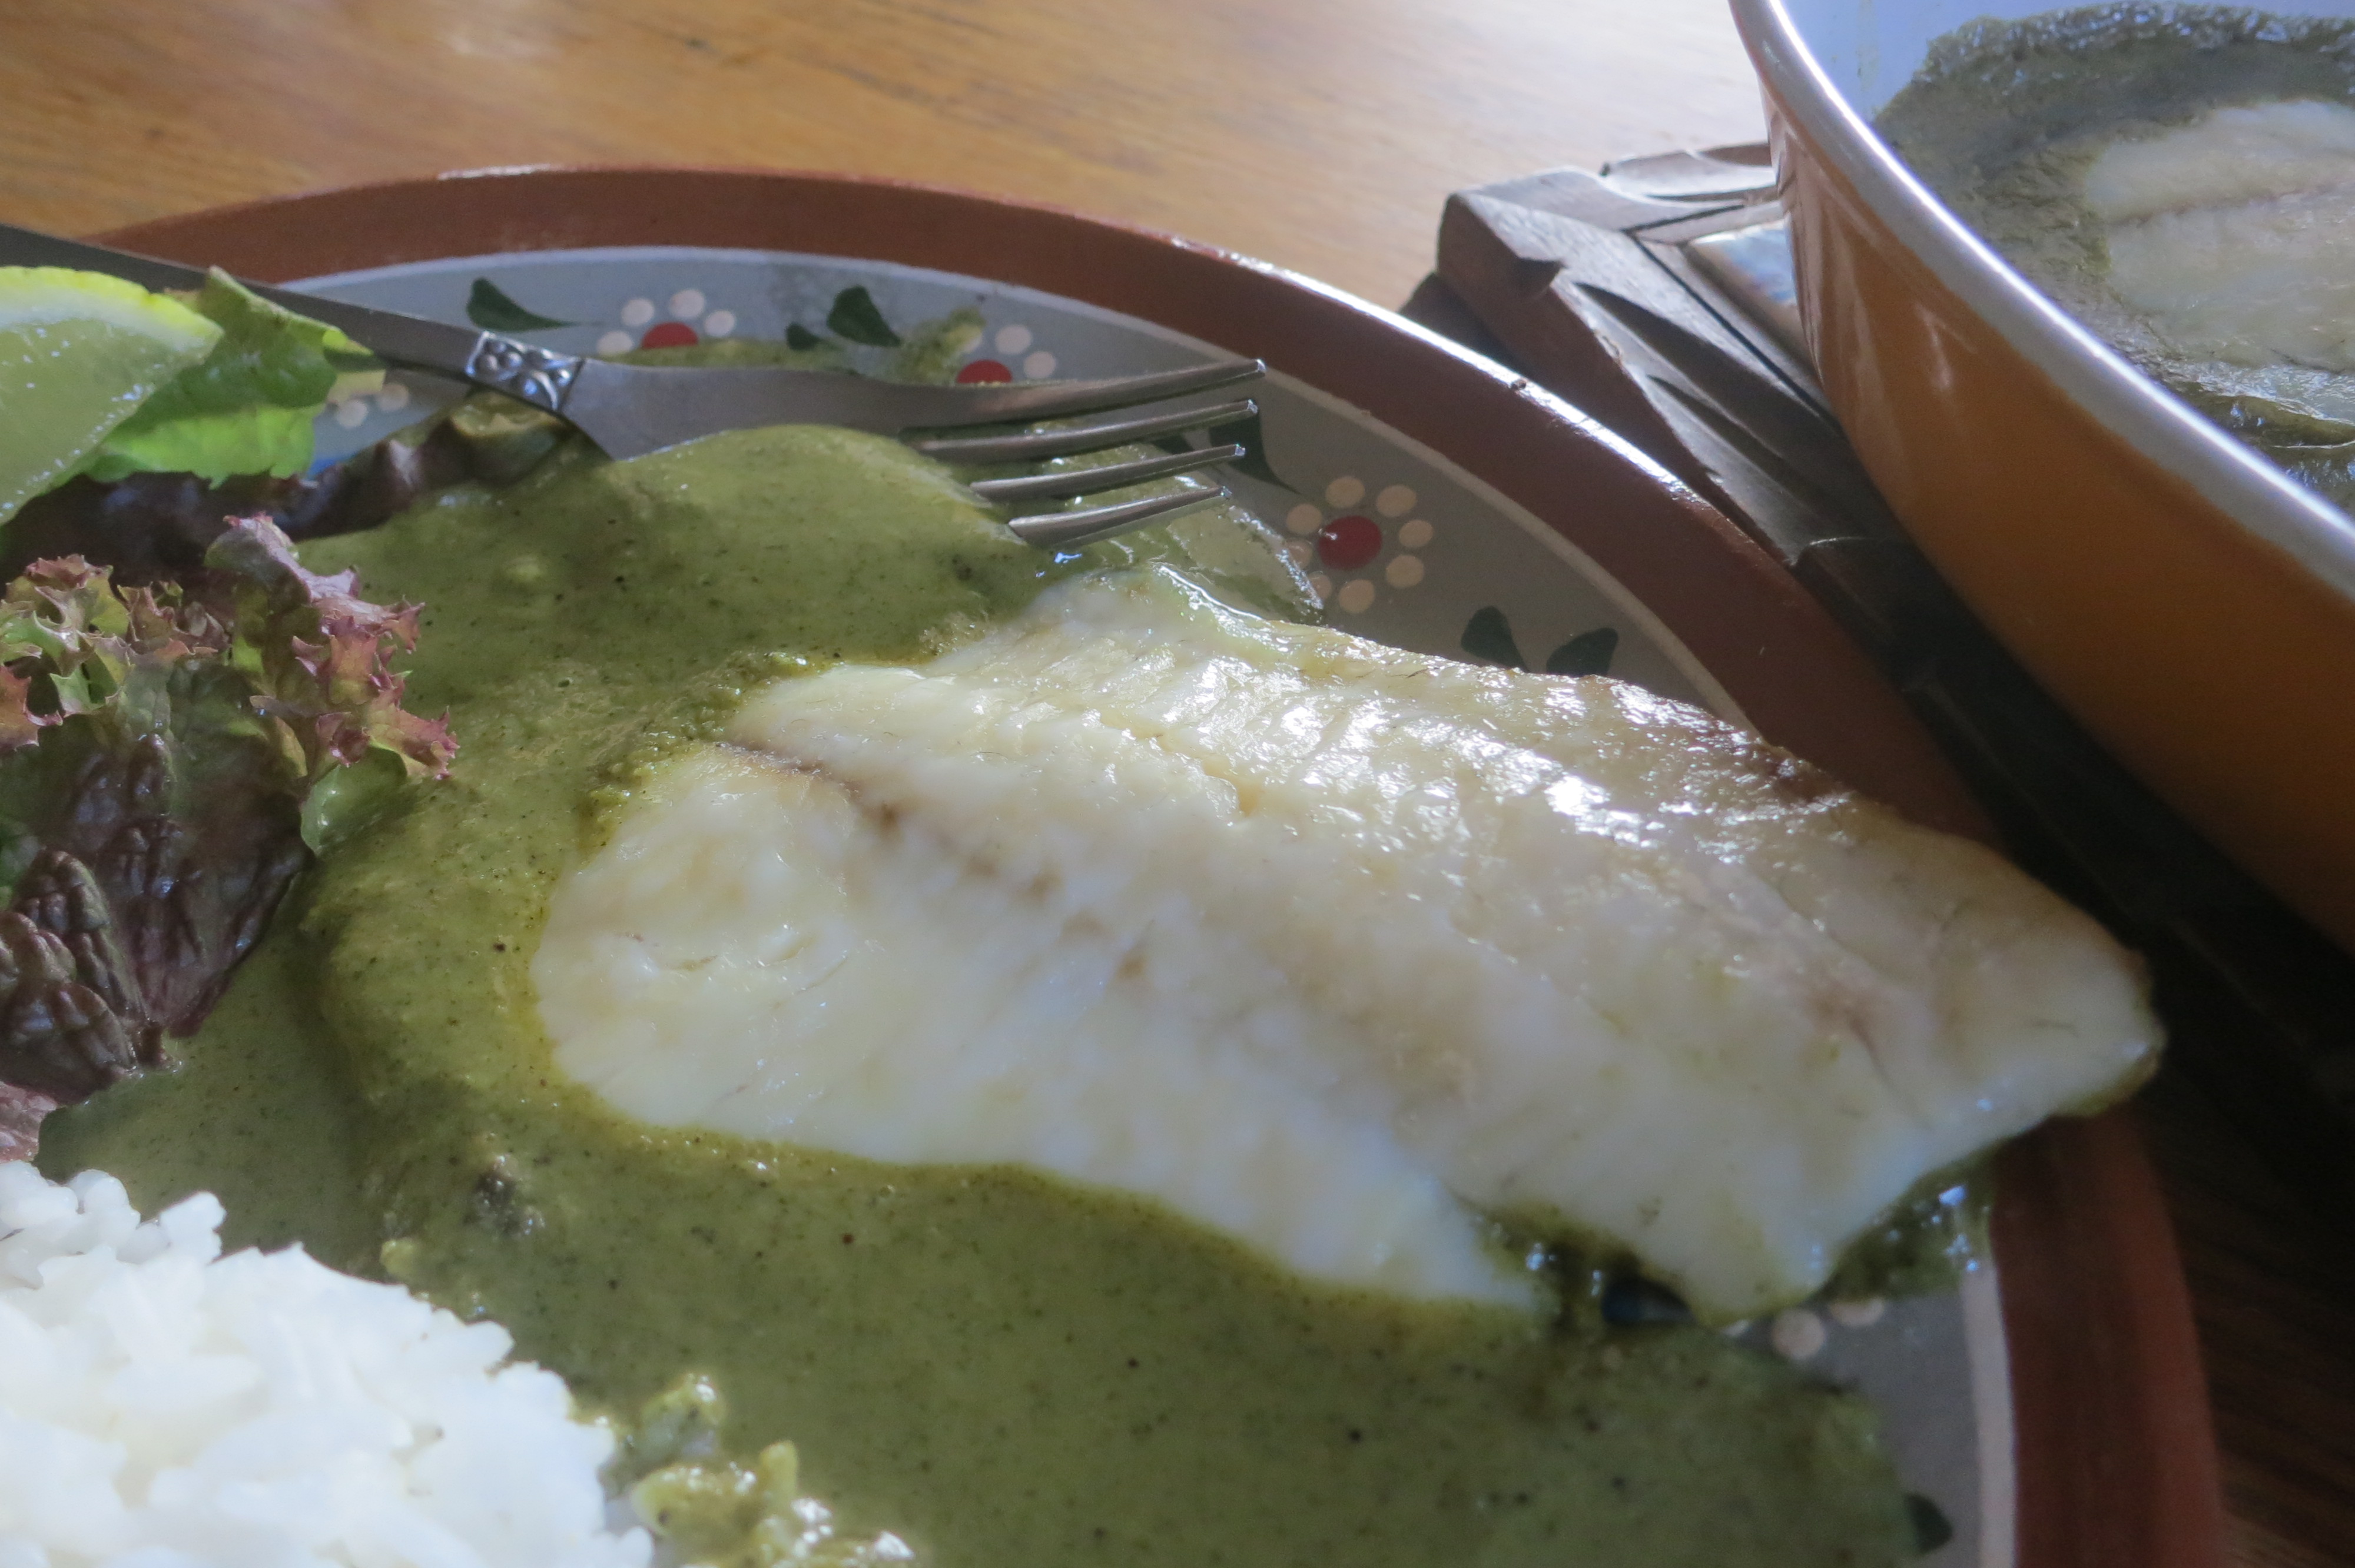
Lemon thyme (Thymus X citriodorus) is a delicious and fragrant low-growing variety with glossy green leaves, and goes wonderfully with fish dishes.
Lemon thyme is great for flavoring fish dishes – two flavors for the price of one!
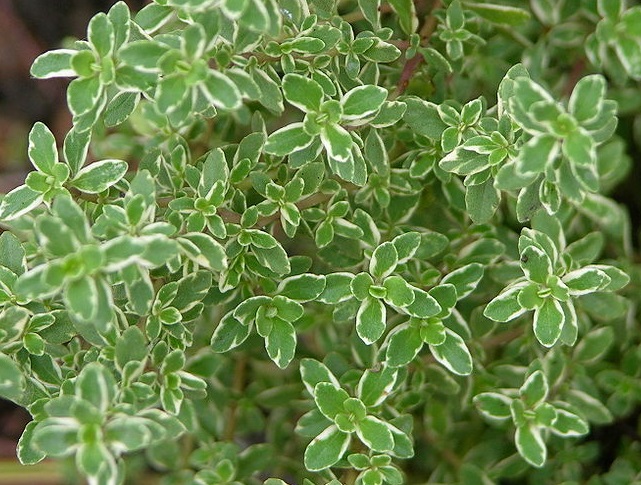
Equally fragrant and delicious is the golden lemon thyme (Thymus X citriodorus ‘Aureus’). With wonderfully variegated leaves, it looks good in the landscape.
Not generally used as culinary herbs, two popular species of creeping thyme are useful in the landscape. Mother-of-thyme (Thymus serpyllum) and woolly thyme (Thymus pseudolanginosis) both grow well between shady flagstones, and smell great when stepped on.
Add some fragrance to your landscape – plant this heat tolerant woolly thyme between the flagstones of your path.
Sprinkle thyme (either fresh or dried) in soups, salads, on meat dishes or use in herb breads. Use an ample number of sprigs in herbal vinegars and oils for an intense and refreshing flavor.
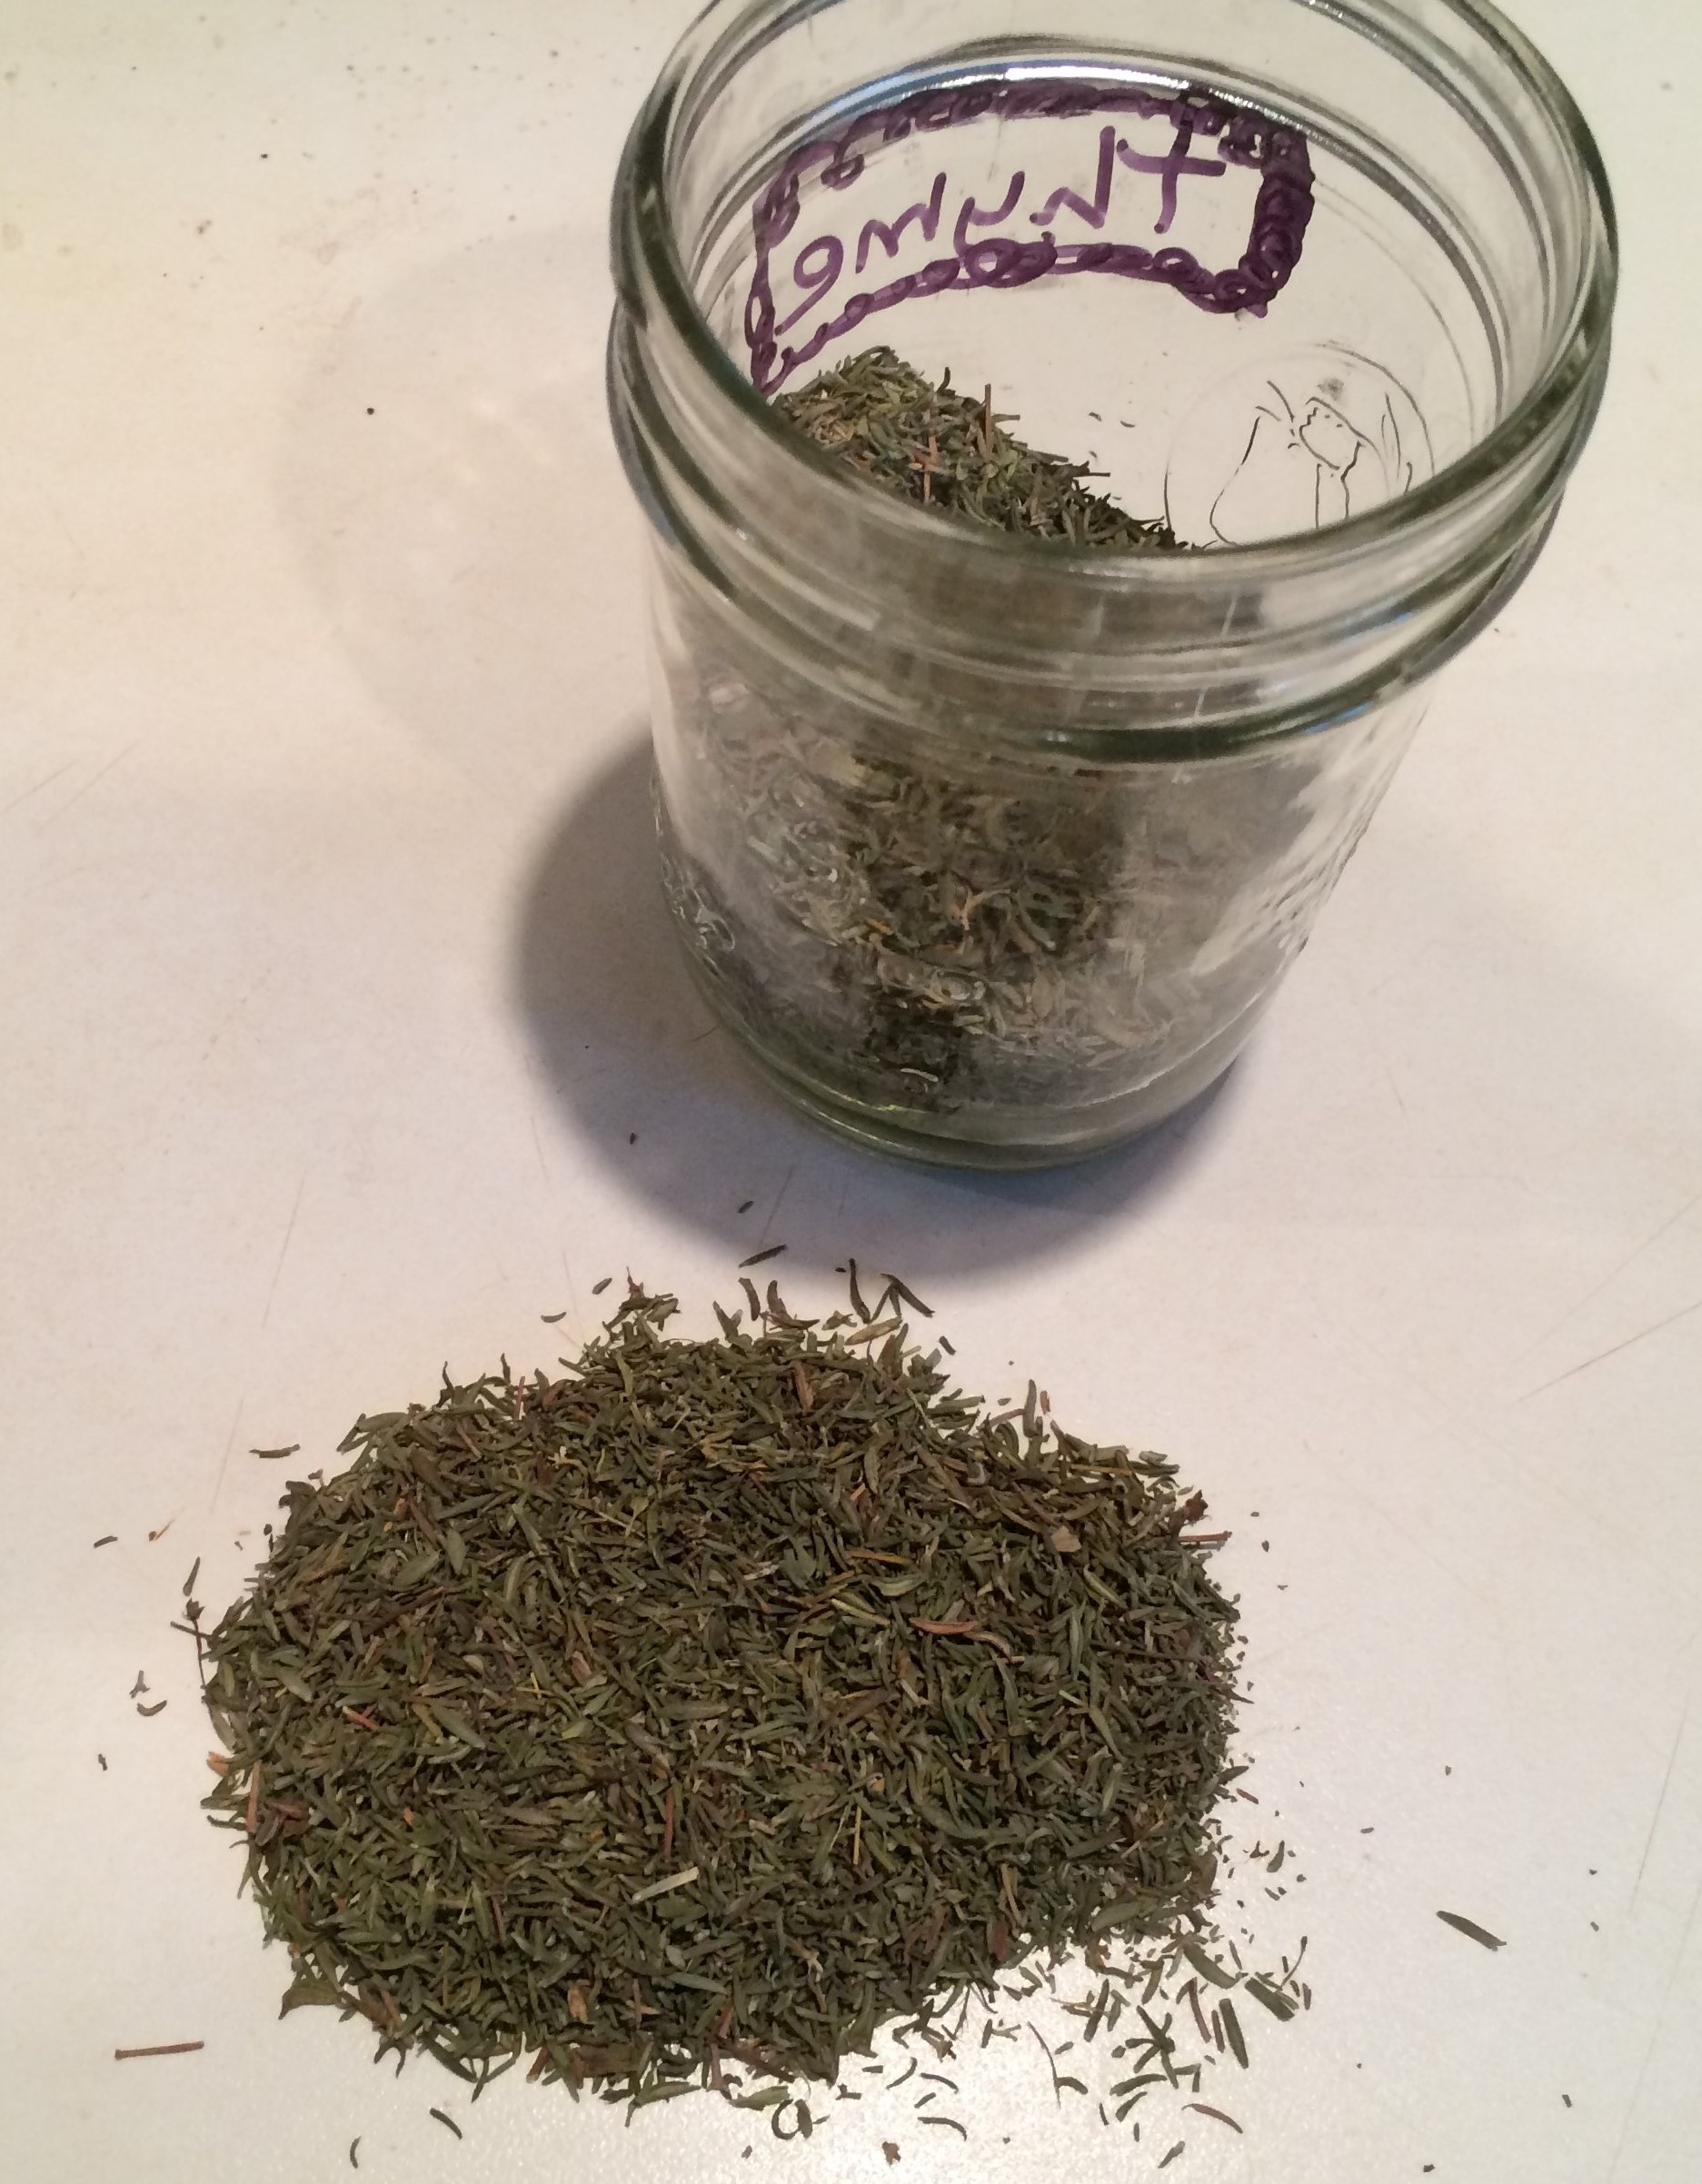
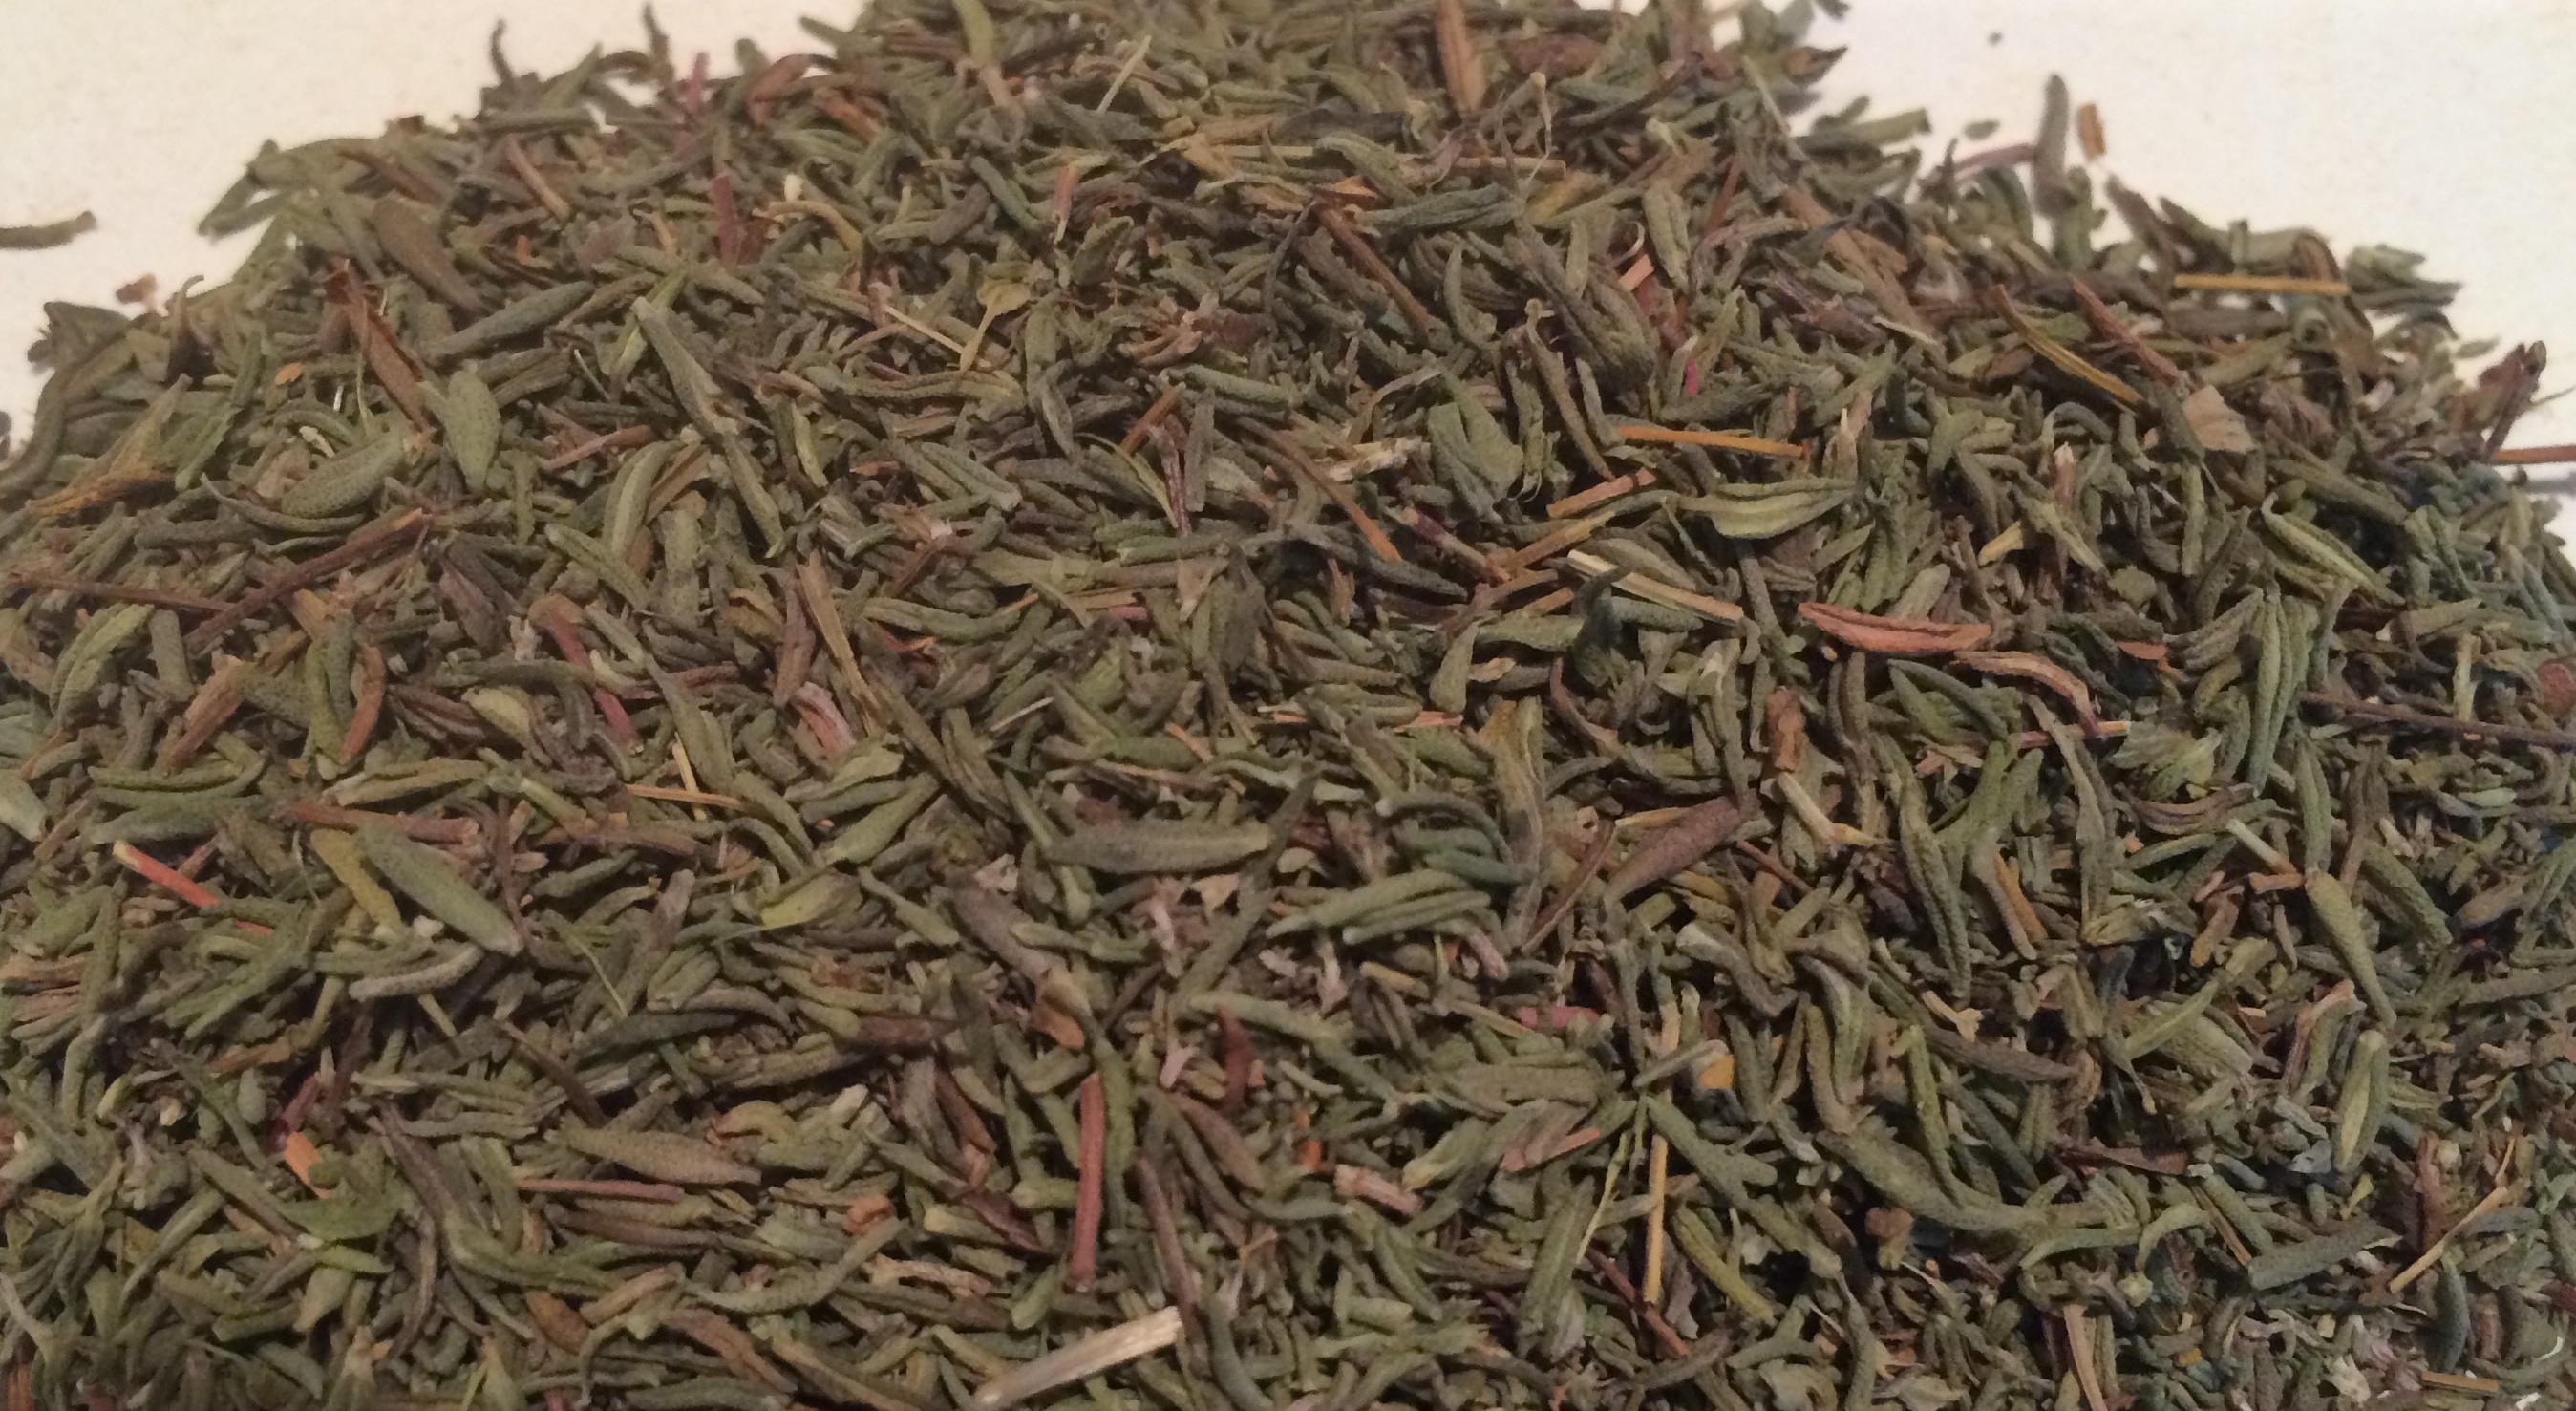
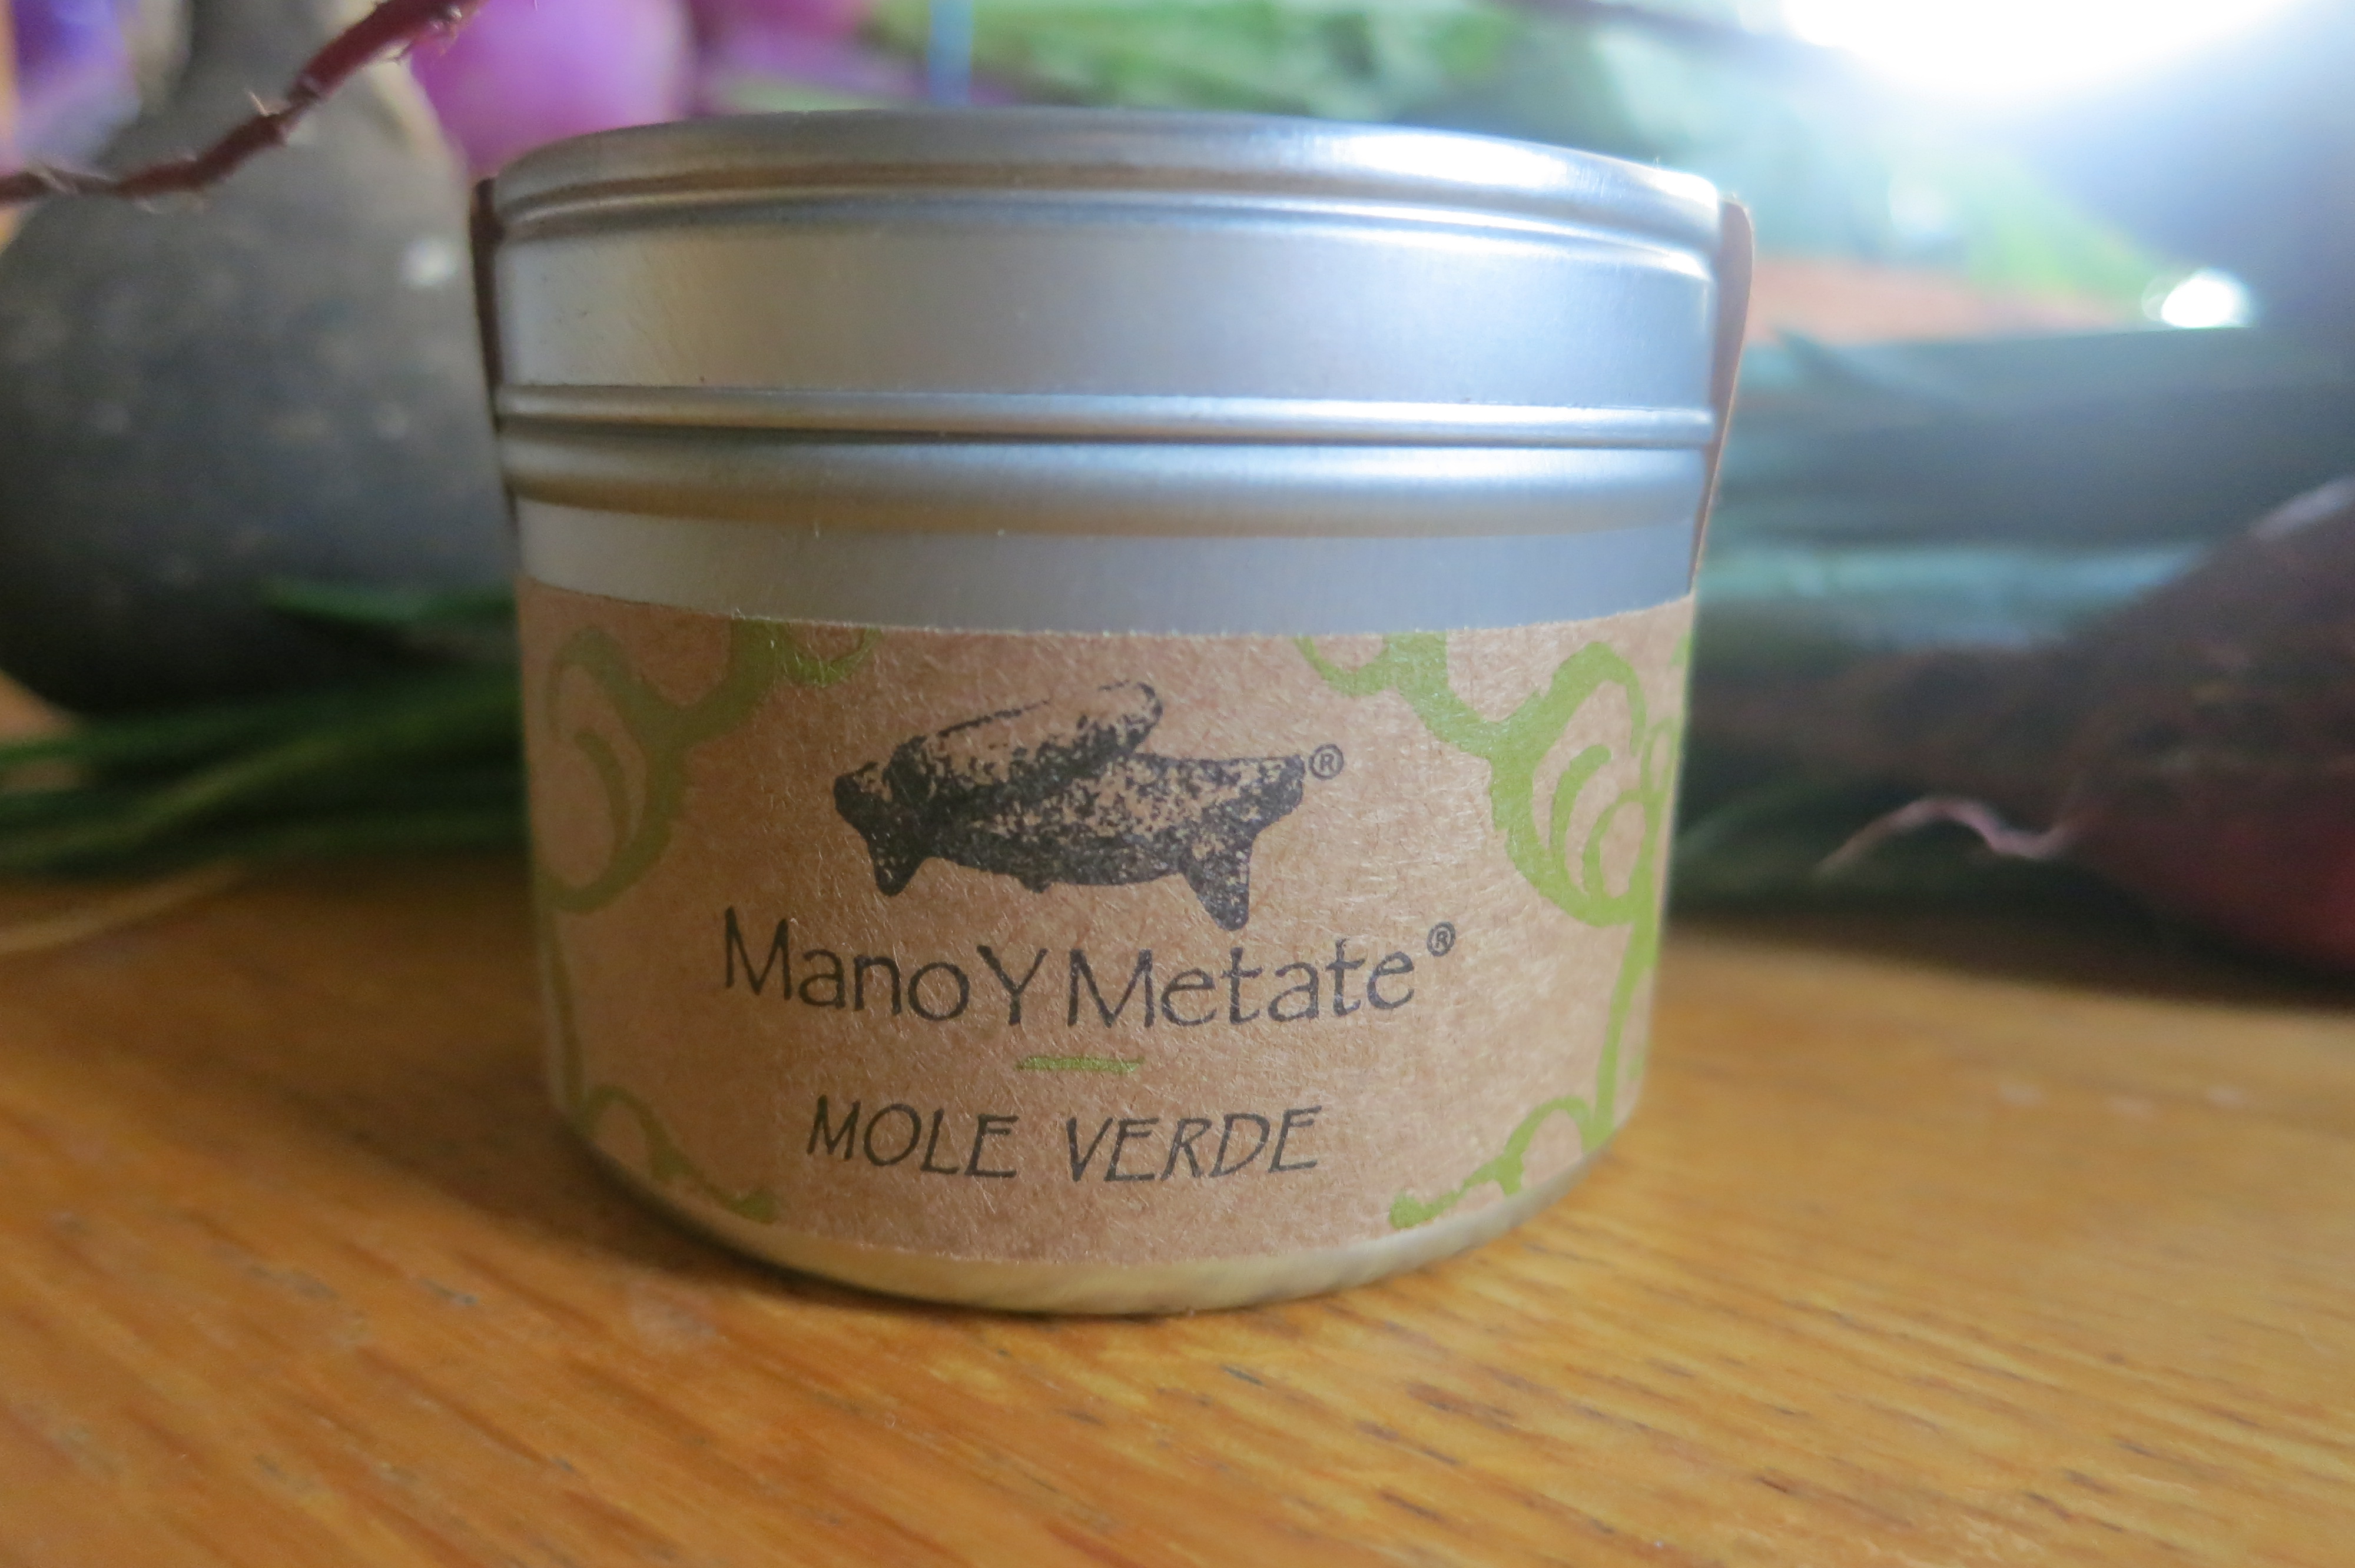
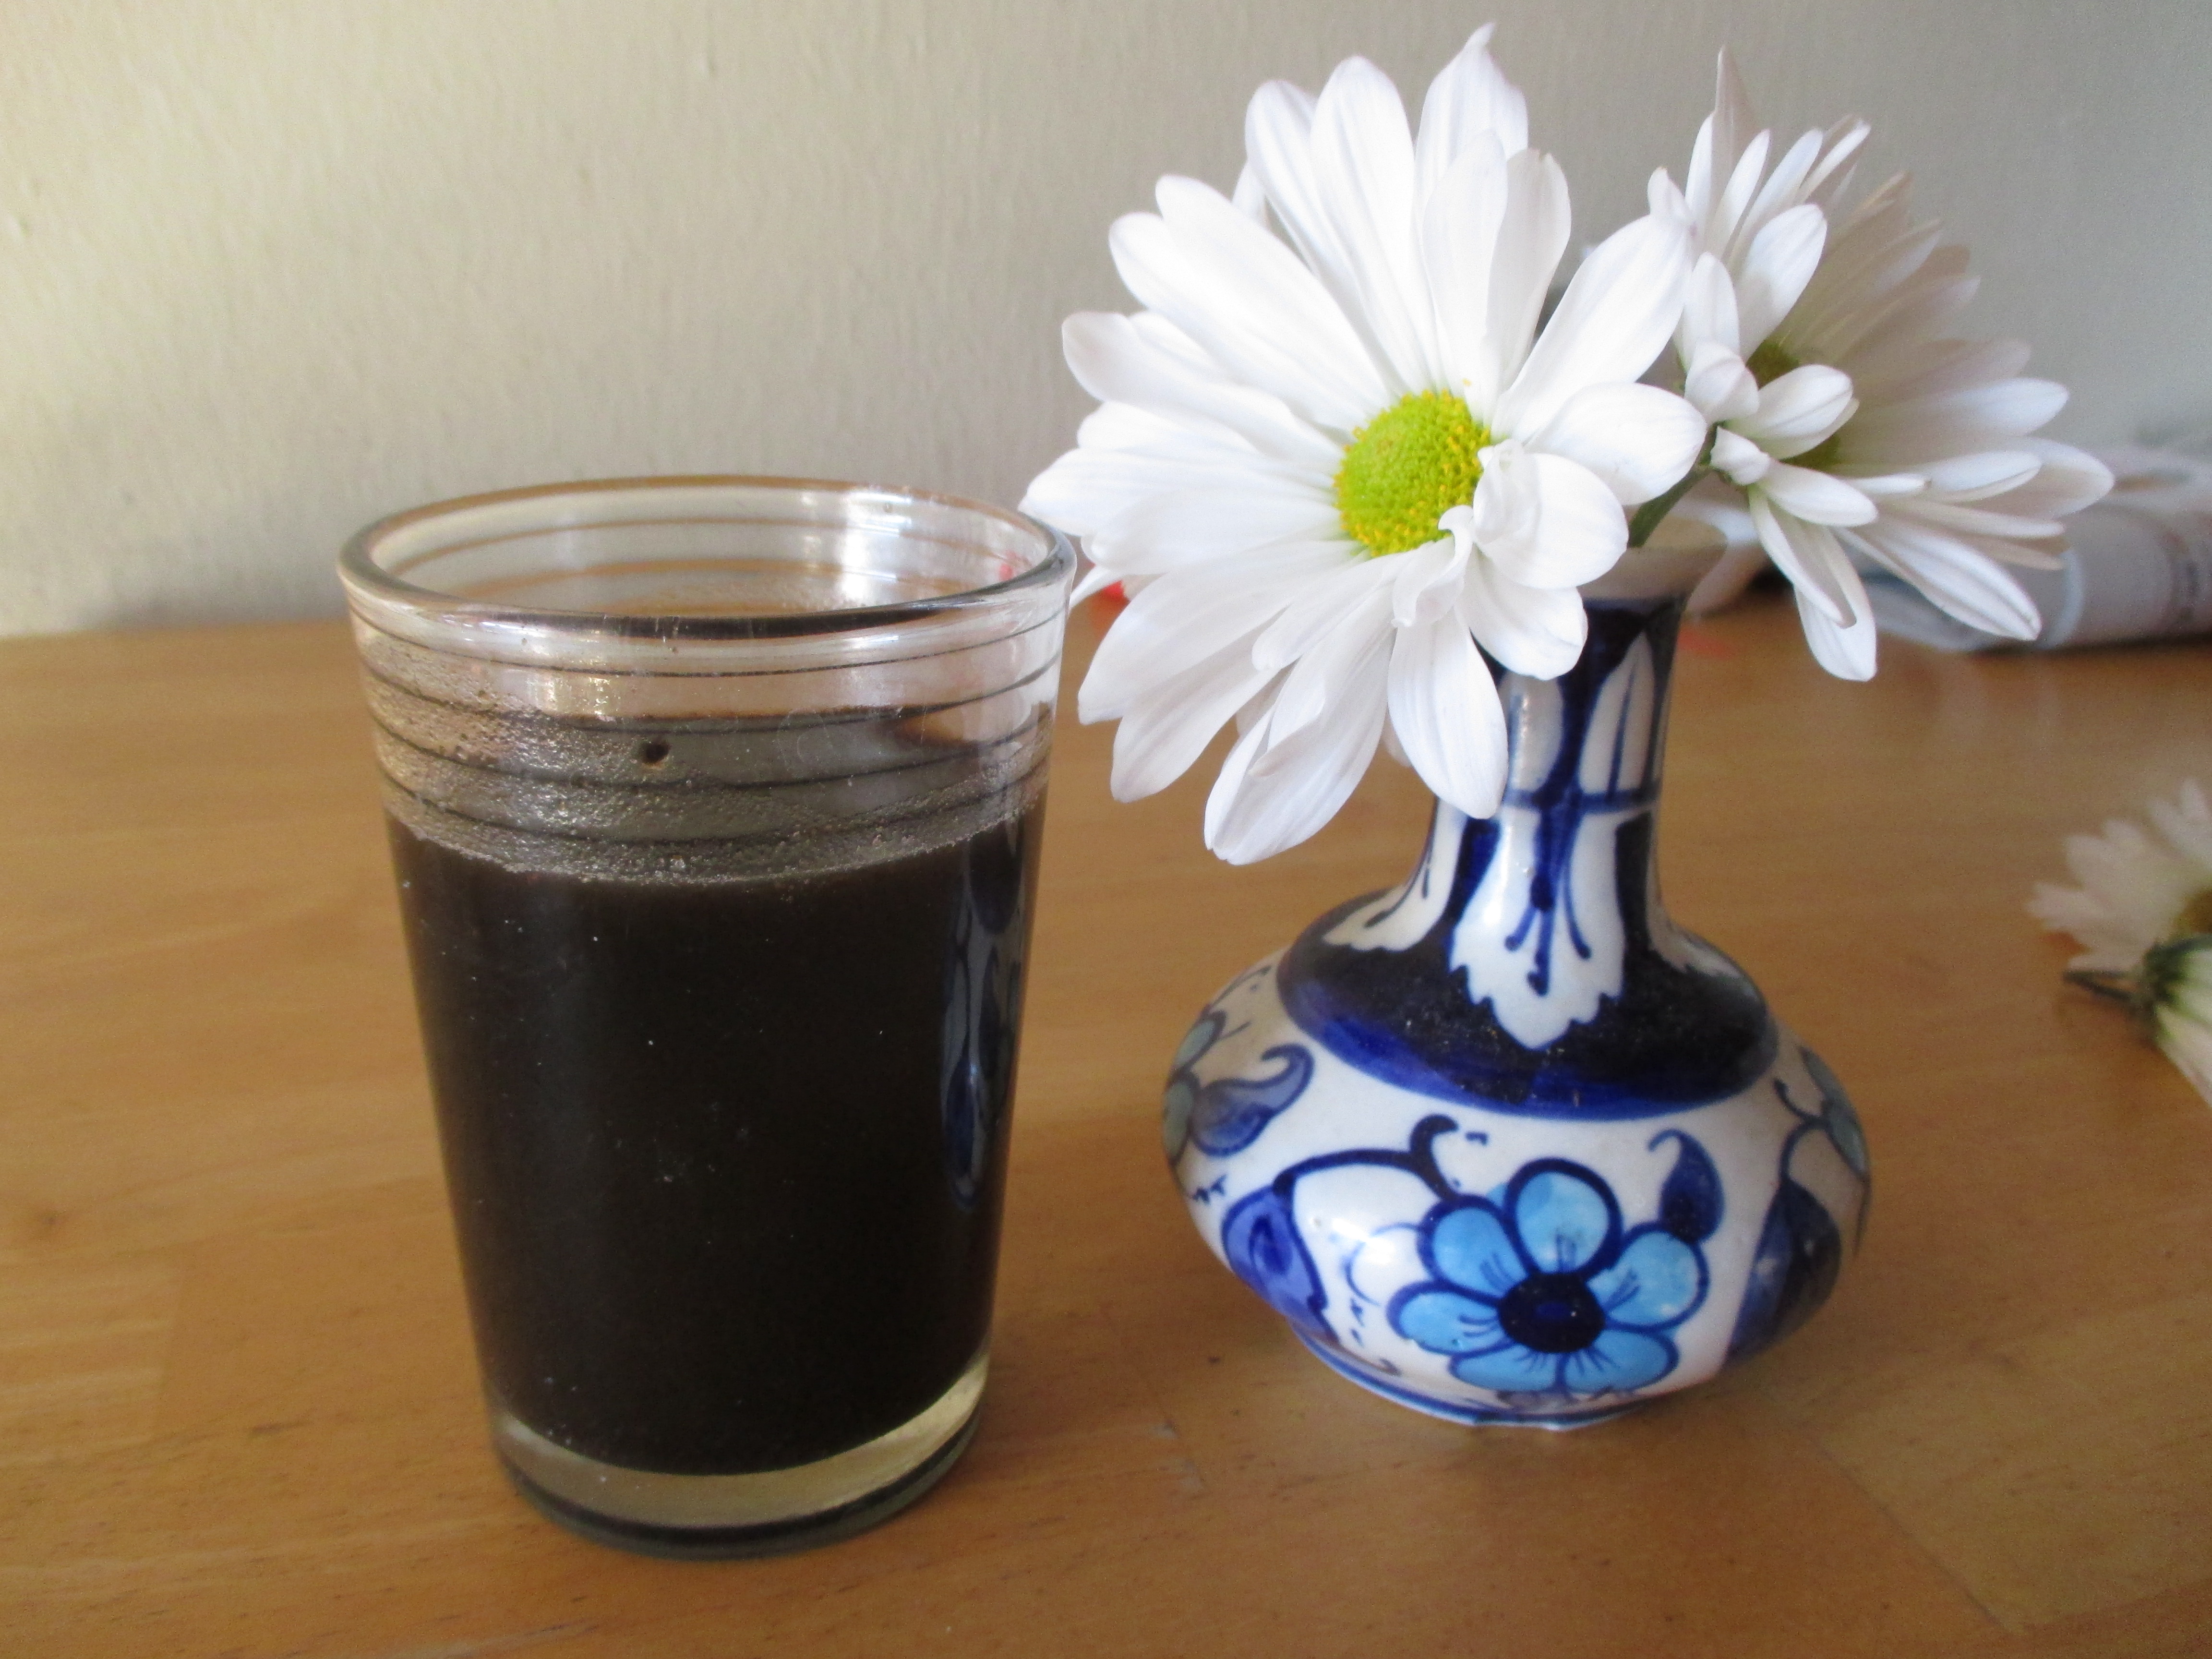
We use ample thyme in our cooking. This 8 ounce jar gets refilled several times a year.
For a quick meal at the end of a long day make Sopa de Farigola, or Thyme Soup, a dish popular in the Catalonia region of northeastern Spain, and thus part of our Sonoran heritage as well. Fresh eggs and day-old bread are topped with a boiling broth made from water, sprigs of thyme and some olive oil. Great for replacing electrolytes after a day working in the garden!
More about thyme in my books which I will be selling and signing at the Tucson Festival of Books March 14 & 15 this year – Southwest Fruit & Vegetable Gardening (Cool Springs Press 2014, $23), and Father Kino’s Herbs: Growing & Using Them Today (Tierra del Sol Press 2011, $15) also available at Tucson area bookstores, nurseries, botanical gardens, and state parks.
![]() © 2015, Jacqueline Soule. All rights reserved. I have received many requests to reprint my work. My policy is that you are free to use a very short excerpt which must give proper credit to the author, and must include a link back to the original post on our site. Please use the contact me if you have any questions.
© 2015, Jacqueline Soule. All rights reserved. I have received many requests to reprint my work. My policy is that you are free to use a very short excerpt which must give proper credit to the author, and must include a link back to the original post on our site. Please use the contact me if you have any questions.