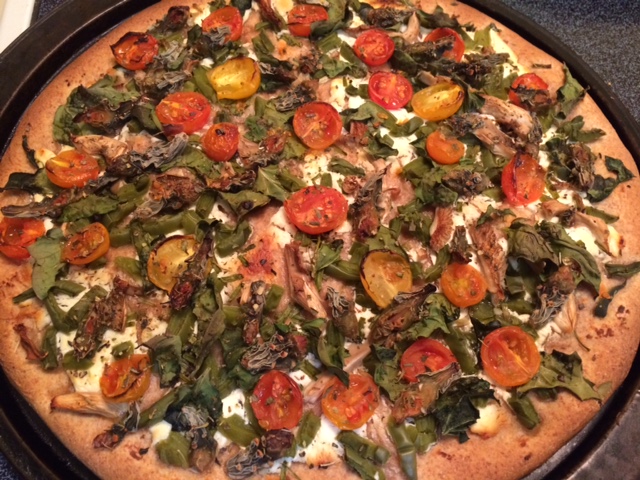
Totally local veggie pizza with cholla buds, nopalitos, acelgas, mushrooms, goat cheese and home-grown cherry tomatoes–ready to bake
If you love pizza–and I’m picky about good pizza–here are some ways to celebrate local foods, to eat super-healthily, get creative in the kitchen, AND have new excuses to eat pizza! Tia Marta here to share ideas for a delicious pizza party, incorporating the fabulous gifts that our local desert foods offer.
It will take a little fore-thought and assembly time (…like, all year harvesting at the right seasons for DIYers, or trips to the farmers market, NativeSeeds/SEARCH store, or San Xavier Farm Coop).
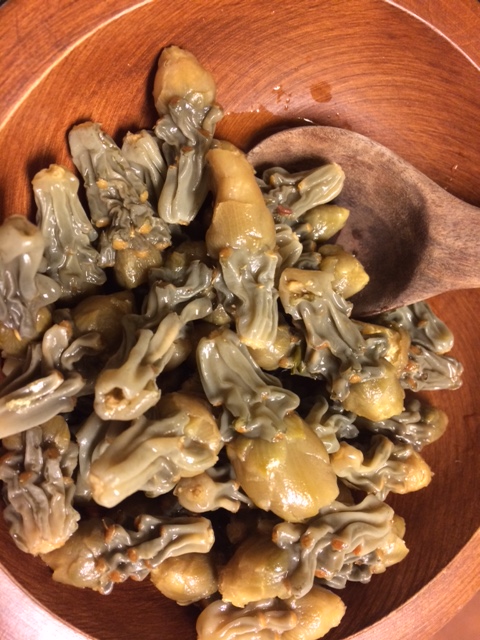
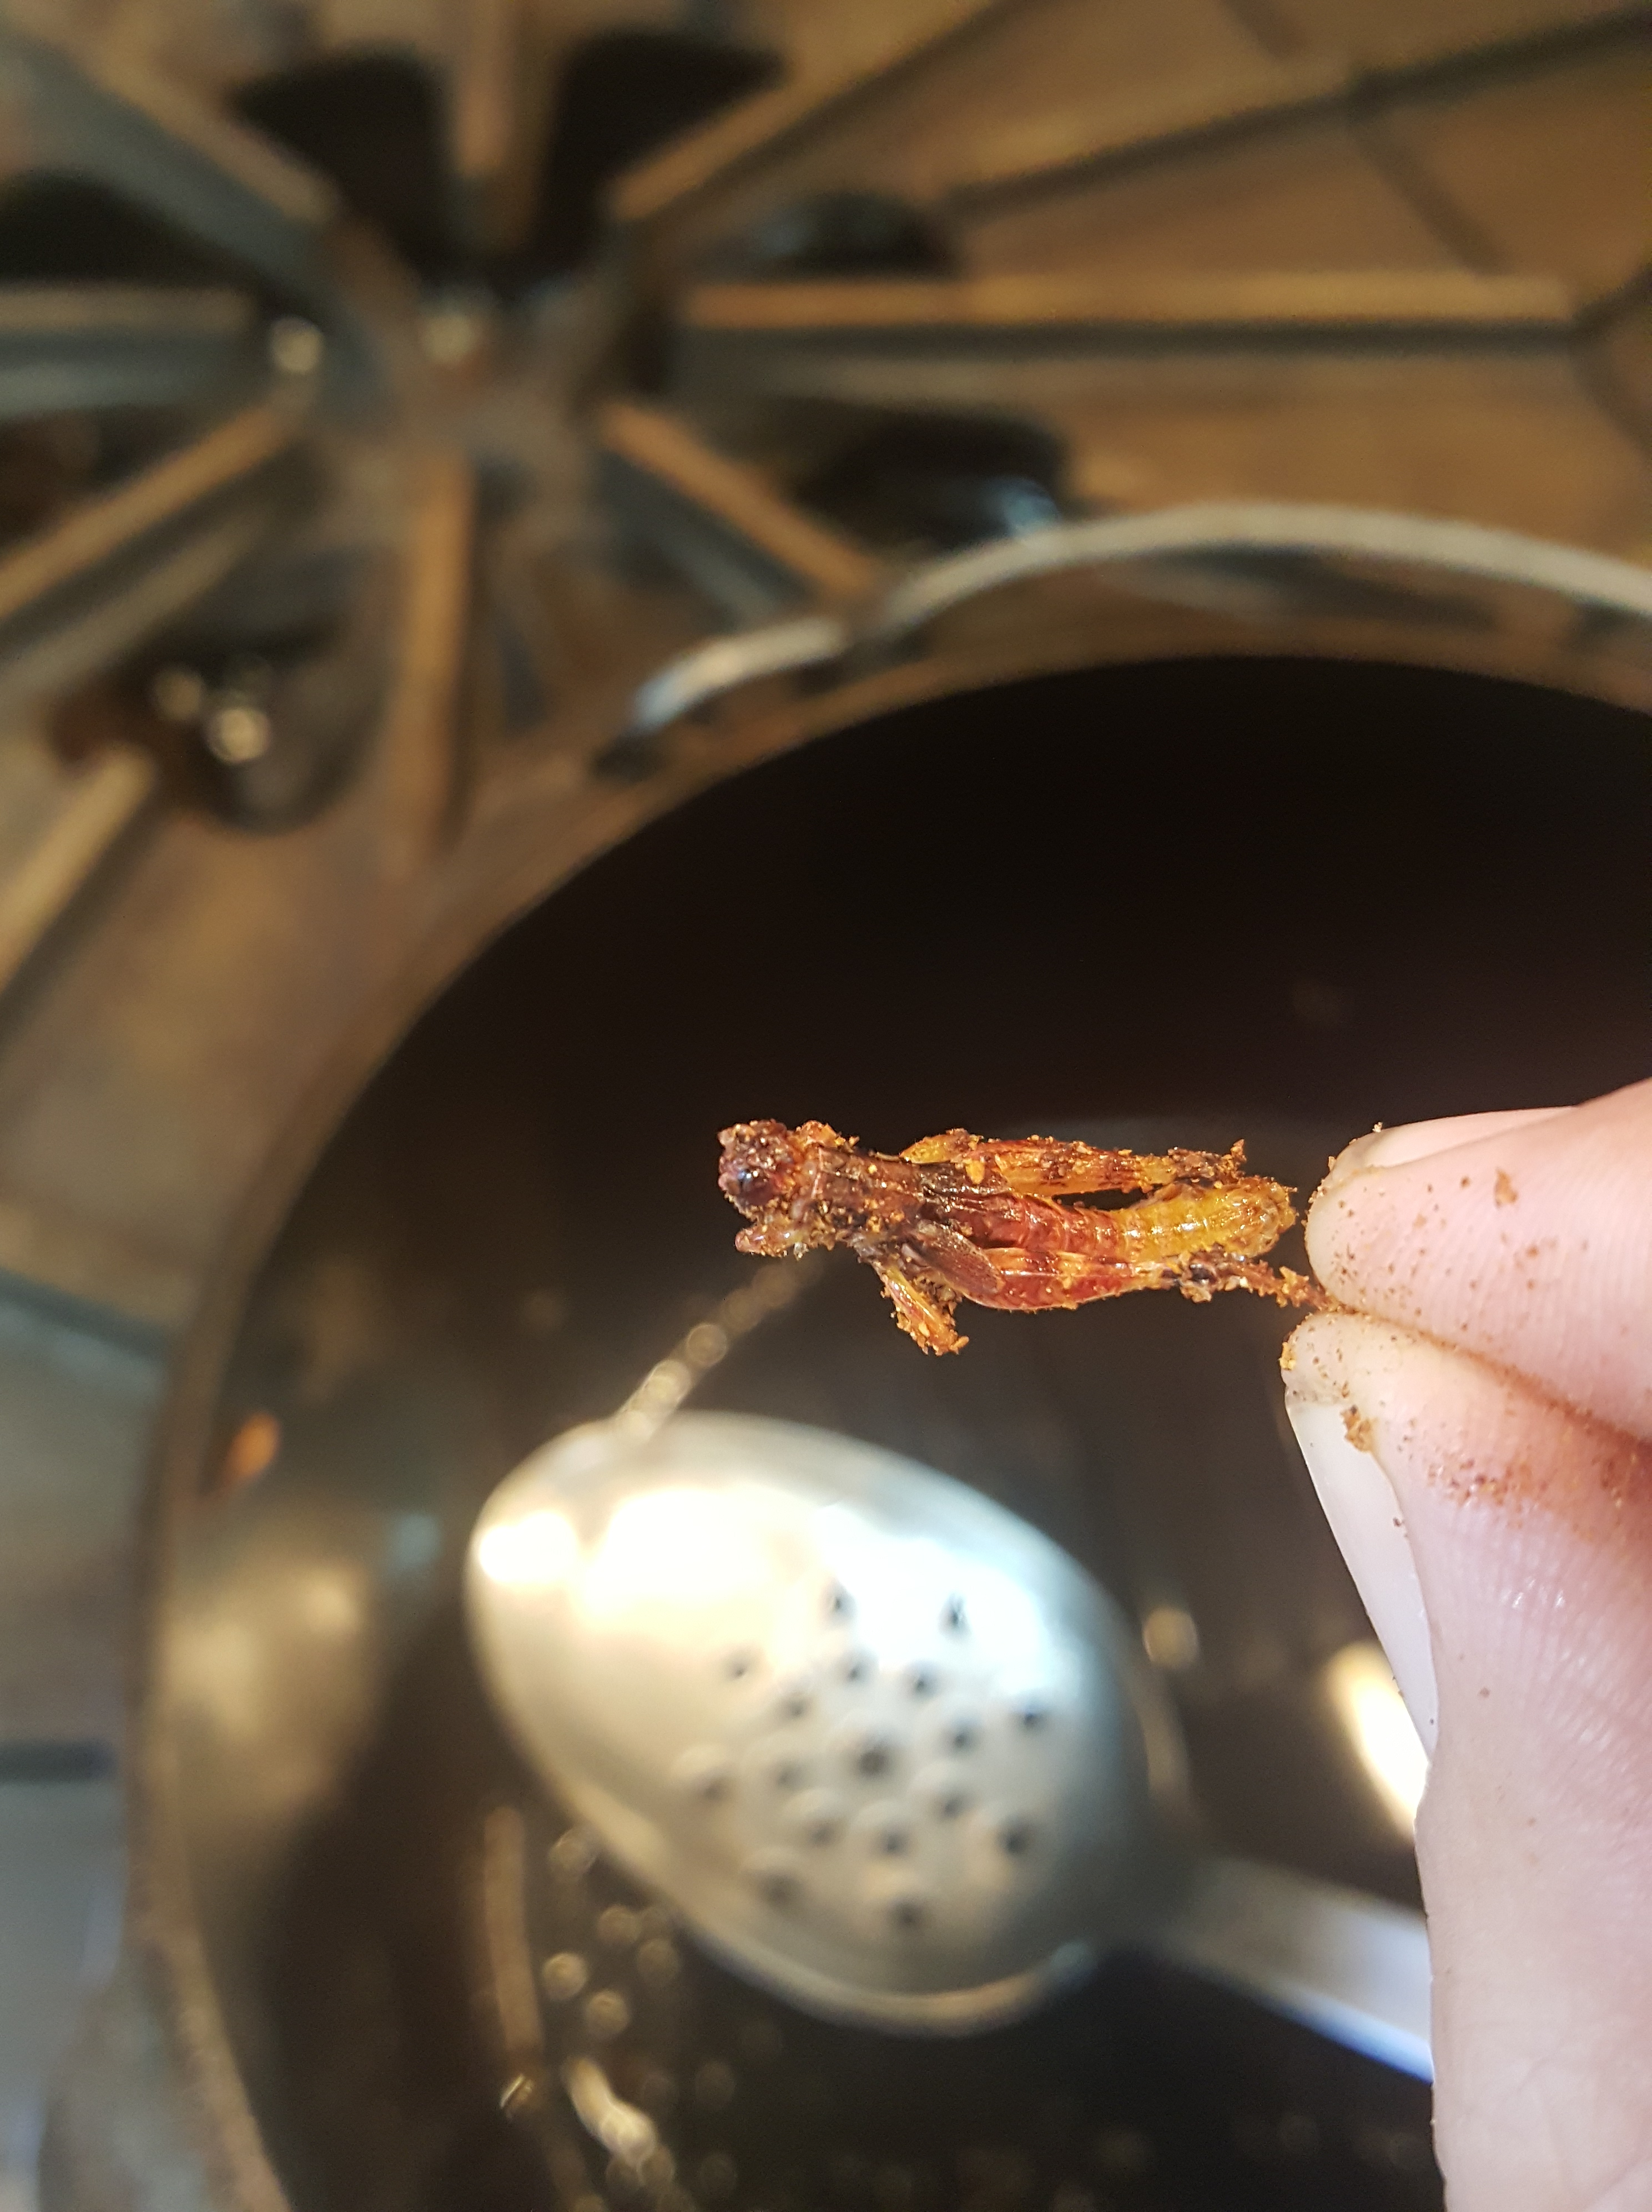
Locally-harvested buckhorn and staghorn cholla buds, reconstituted and ready to cut as toppings for pizza
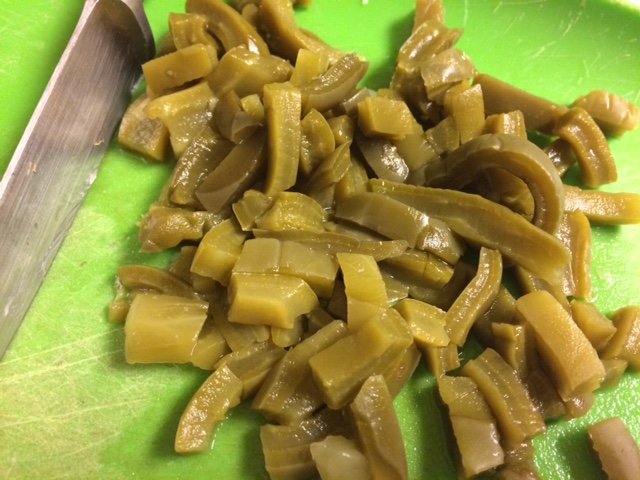
Pickled prickly pear cactus pads–better known as nopalitos in Spanish and nowi in Tohono O’odham
Cholla buds dried from last April’s harvest, soaked and simmered until soft through, make a tangy taste surprise– a super-nutritious calcium-packed pizza topping. In the photo, the larger buds are from Buckhorn cholla (Cylindropuntia acanthacarpa) and the smaller buds are from Staghorn (C. versicolor), both plentiful for harvesting in low desert. Dried cholla buds are available at San Xavier Coop Association’s farm outlet, at NativeSeeds/SEARCH store, and at http://www.flordemayoarts.com.
Another perfect topping is nopalitos, simmered or pickled and diced young pads of our ubiquitous prickly pears (Opuntia engelmannii, O.ficus-indica to name a couple). Collecting from the desert is a spring activity, but you can easily find whole or diced nopales anytime at Food City. The other cheater’s method is to find canned pickled cactus in the Mexican food section of any local grocery. Nopalitos are a taste thrill on a pizza, and you can enjoy their blood-sugar balancing benefits to boot.

Starting the dough sponge–with local, organic hard red wheat flour–ready to rise
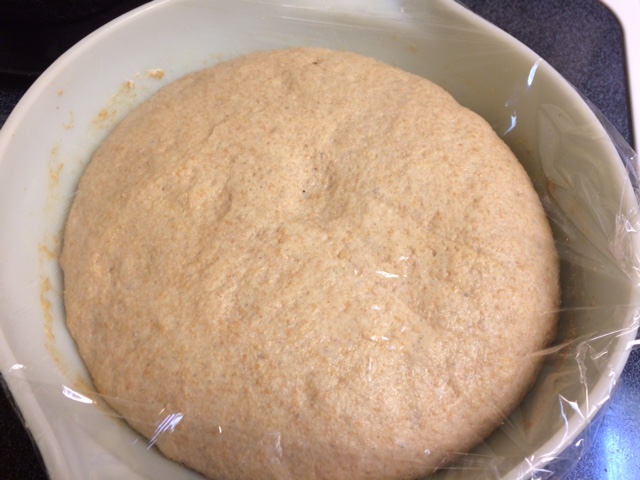
Risen pizza dough after a couple of hours–note the rich whole grain flour of local BKWFarms hard red wheat
As for making the crust, we have the perfect source of the freshest whole grain organic flours right here from BKWFarms’ fresh-milled heirloom white Sonora & hard red wheat.
My suggestions for a Baja Arizona Pizza Crust:
Ingredients:
3 ½ to 4 cups bread flour mix (consisting of 2- 2 1/2 cups organic hard red wheat flour from BKWFarms Marana, 1 cup pastry-milled organic heirloom white Sonora wheat flour also from BKWFarms, ½ cup organic all purpose flour from a good grocery)
2 tsp local raw honey (see Freddie the Singing Beekeeper at Sunday Rillito farmers market)
1-2 envelopes instant dry yeast (or your own sourdough starter)
2 tsp Utah ancient sea salt or commercial sea salt
1 ½ cups drinking water, heated in pyrex to between 105 degrees F and 115 degrees F
2 Tbsp organic olive oil for the dough
PLUS 2 tsp more olive oil for spreading on dough as it proofs

Pizza dough risen and kneaded then stretched and patted out on pizza pan ready for toppings
Directions for making Crust:
[Note–you can find several pizza dough recipes for bread mixers online. Just substitute the above ingredients.]
Heat water and pour into a large mixing bowl. Test for temperature then dissolve dry yeast. Add honey and sea salt and dissolve both. Add oil to wet mixture. Sift flours. Gradually mix flours into wet ingredients until a mass of dough is formed and begins to pull away from sides of bowl. Knead into a ball. Let stand covered in a warm place until ball of dough has at least doubled in size (approx 2 hours). Knead the ball again, divide into 2 equal parts, cover thinly with the additional olive oil, and roll out or hand-flatten the 2 dough balls out onto 2 oiled pizza pans. Pat dough to approximately 1/4″-3/8″ thickness to the edges of pan. At this point you are ready to add any number of good toppings. Here are ideas for a local veggie and a local meatie pizza.
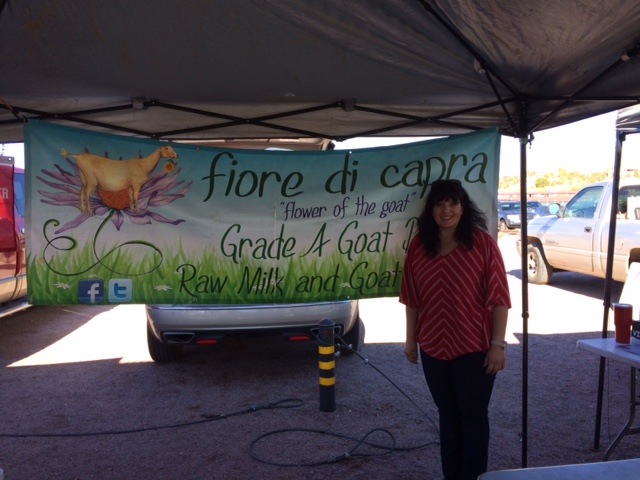
For the finest plain local carefully created goat cheese, find Fiore di Capra at Rillito Farmers Market, Sundays in Tucson
Baja Arizona Pizza Toppings
Ingredients for local Veggie Pizza toppings:
1/2 pt. spreadable goat cheese (I use Fiore di Capra’s plain)
local chard or acelgas (from Mission Garden) torn in pieces
local tomatoes, sliced
I’itoi’s Onions, chopped
heirloom garlic, minced
1/2 cup reconstituted cholla buds, sliced in half or quarters
1/2 cup diced nopalitos
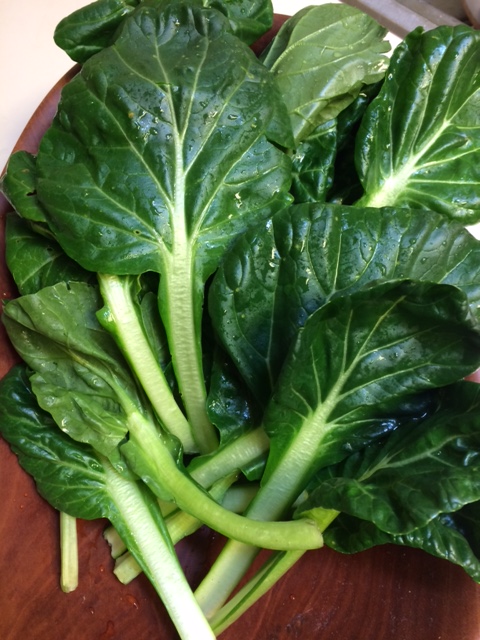
Fresh Chard (acelgas) from a refugee friend’s garden–a great substitute for spinach in a pizza!
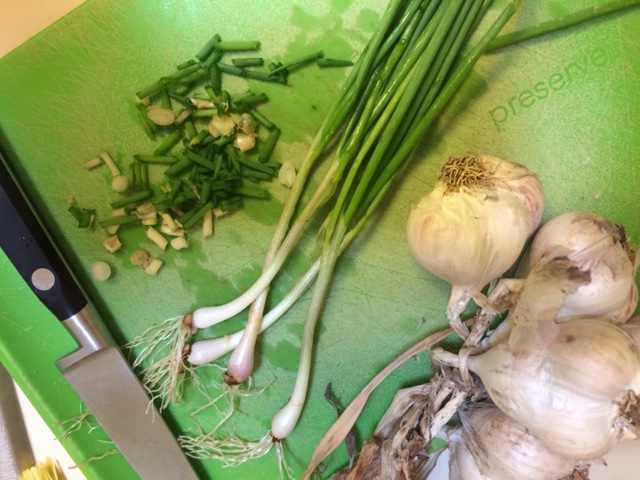
Native I’itoi’s Onions and local heirloom garlic from my garden for pizza topping
1/2 cup local oyster mushrooms, sliced
1/4-1/2 cup salsa, optional

Luscious oyster mushrooms from Maggie’s Farm (Rillito Farmers Market) to cut in strips for pizza
[You probably by now have some ideas of your own to add!]
Ingredients for Meatie Baja Arizona Pizza toppings:
1/2 pt goat cheese
1/2 lb local chorizo sausage, loosely fried
or, 1/2 lb local grass-fed beef hamburger, loosely fried and spiced with I’itoi onions, garlic, salt
1/2 cup tomato&pepper salsa of choice (mild, chilpotle, etc)
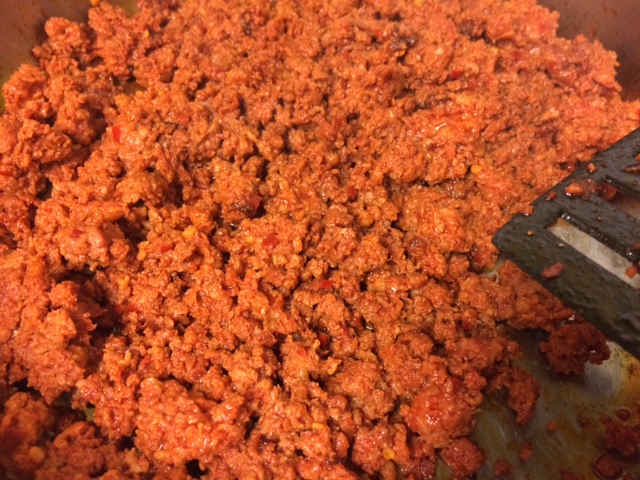
Fresh local pork chorizo to render before putting it on the pizza dough
Directions for Toppings:
Layer your toppings artfully, beginning by spreading the goat cheese evenly over the patted-out crust dough. For a local Veggie Pizza, scatter minced garlic and chopped I’itoi’s onions evenly atop the goat cheese layer. Place torn leaves of fresh acelgas over the onion/garlic layer. Add sliced tomatoes, sliced mushrooms, sliced cholla buds, diced nopalitos. Top with optional salsa. For a Cholla&Chorizo Meatie Pizza, do a similar layering beginning with goat cheese spread over the crust dough, then scattered I’itoi’s onions and garlic, then a full layer of cooked chorizo, and topped by lots of sliced cholla buds. Adding salsa over all is optional for making a juicier pizza.
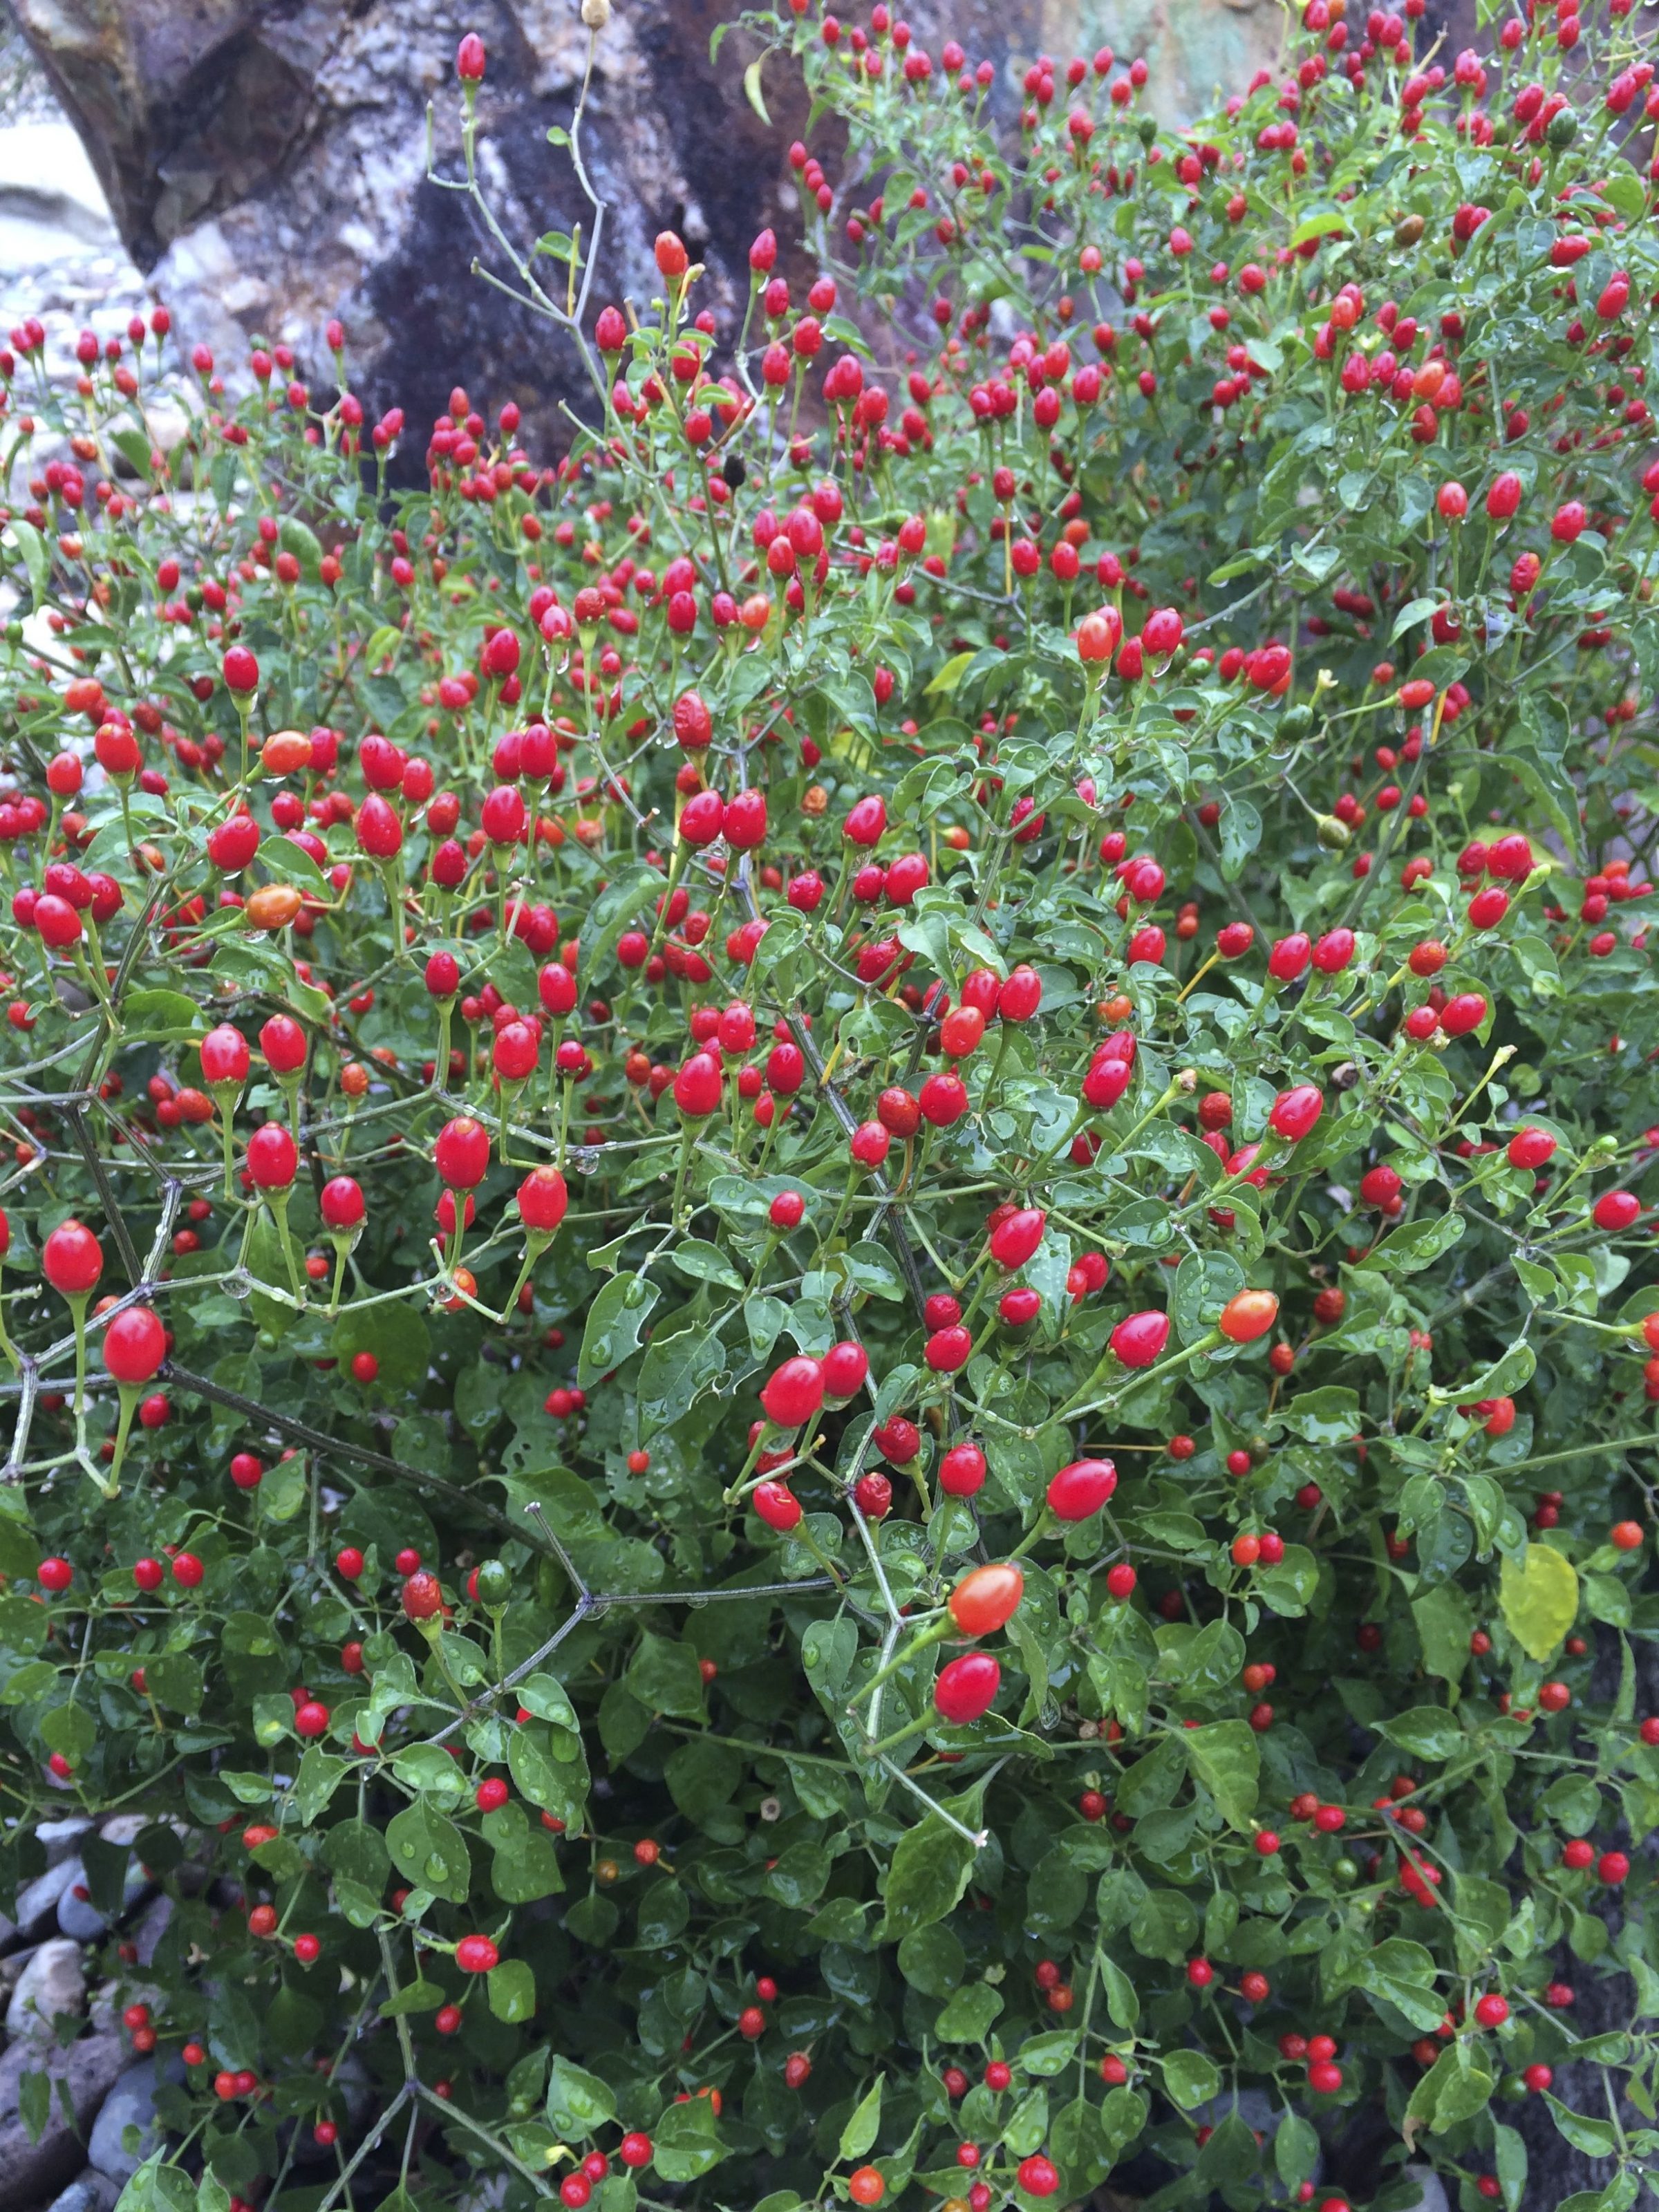
Preheat oven to high 425 degrees F. Bake both pizzas 20-24 minutes or until the crust begins to turn more golden. You won’t believe the flavor of the crust alone on this local pizza–and the delicious toppings grown right here in Baja Arizona are better than “icing on the cake”! You can add more spice and zing by crushing our native wild chiltepin peppers on your pizza–but be forewarned–they might blow your socks off.

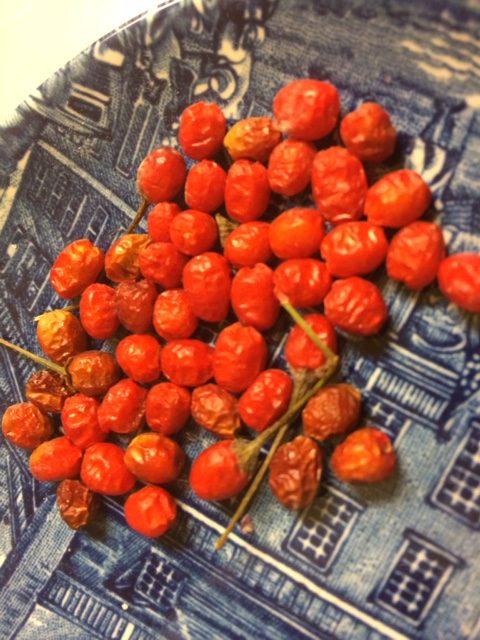
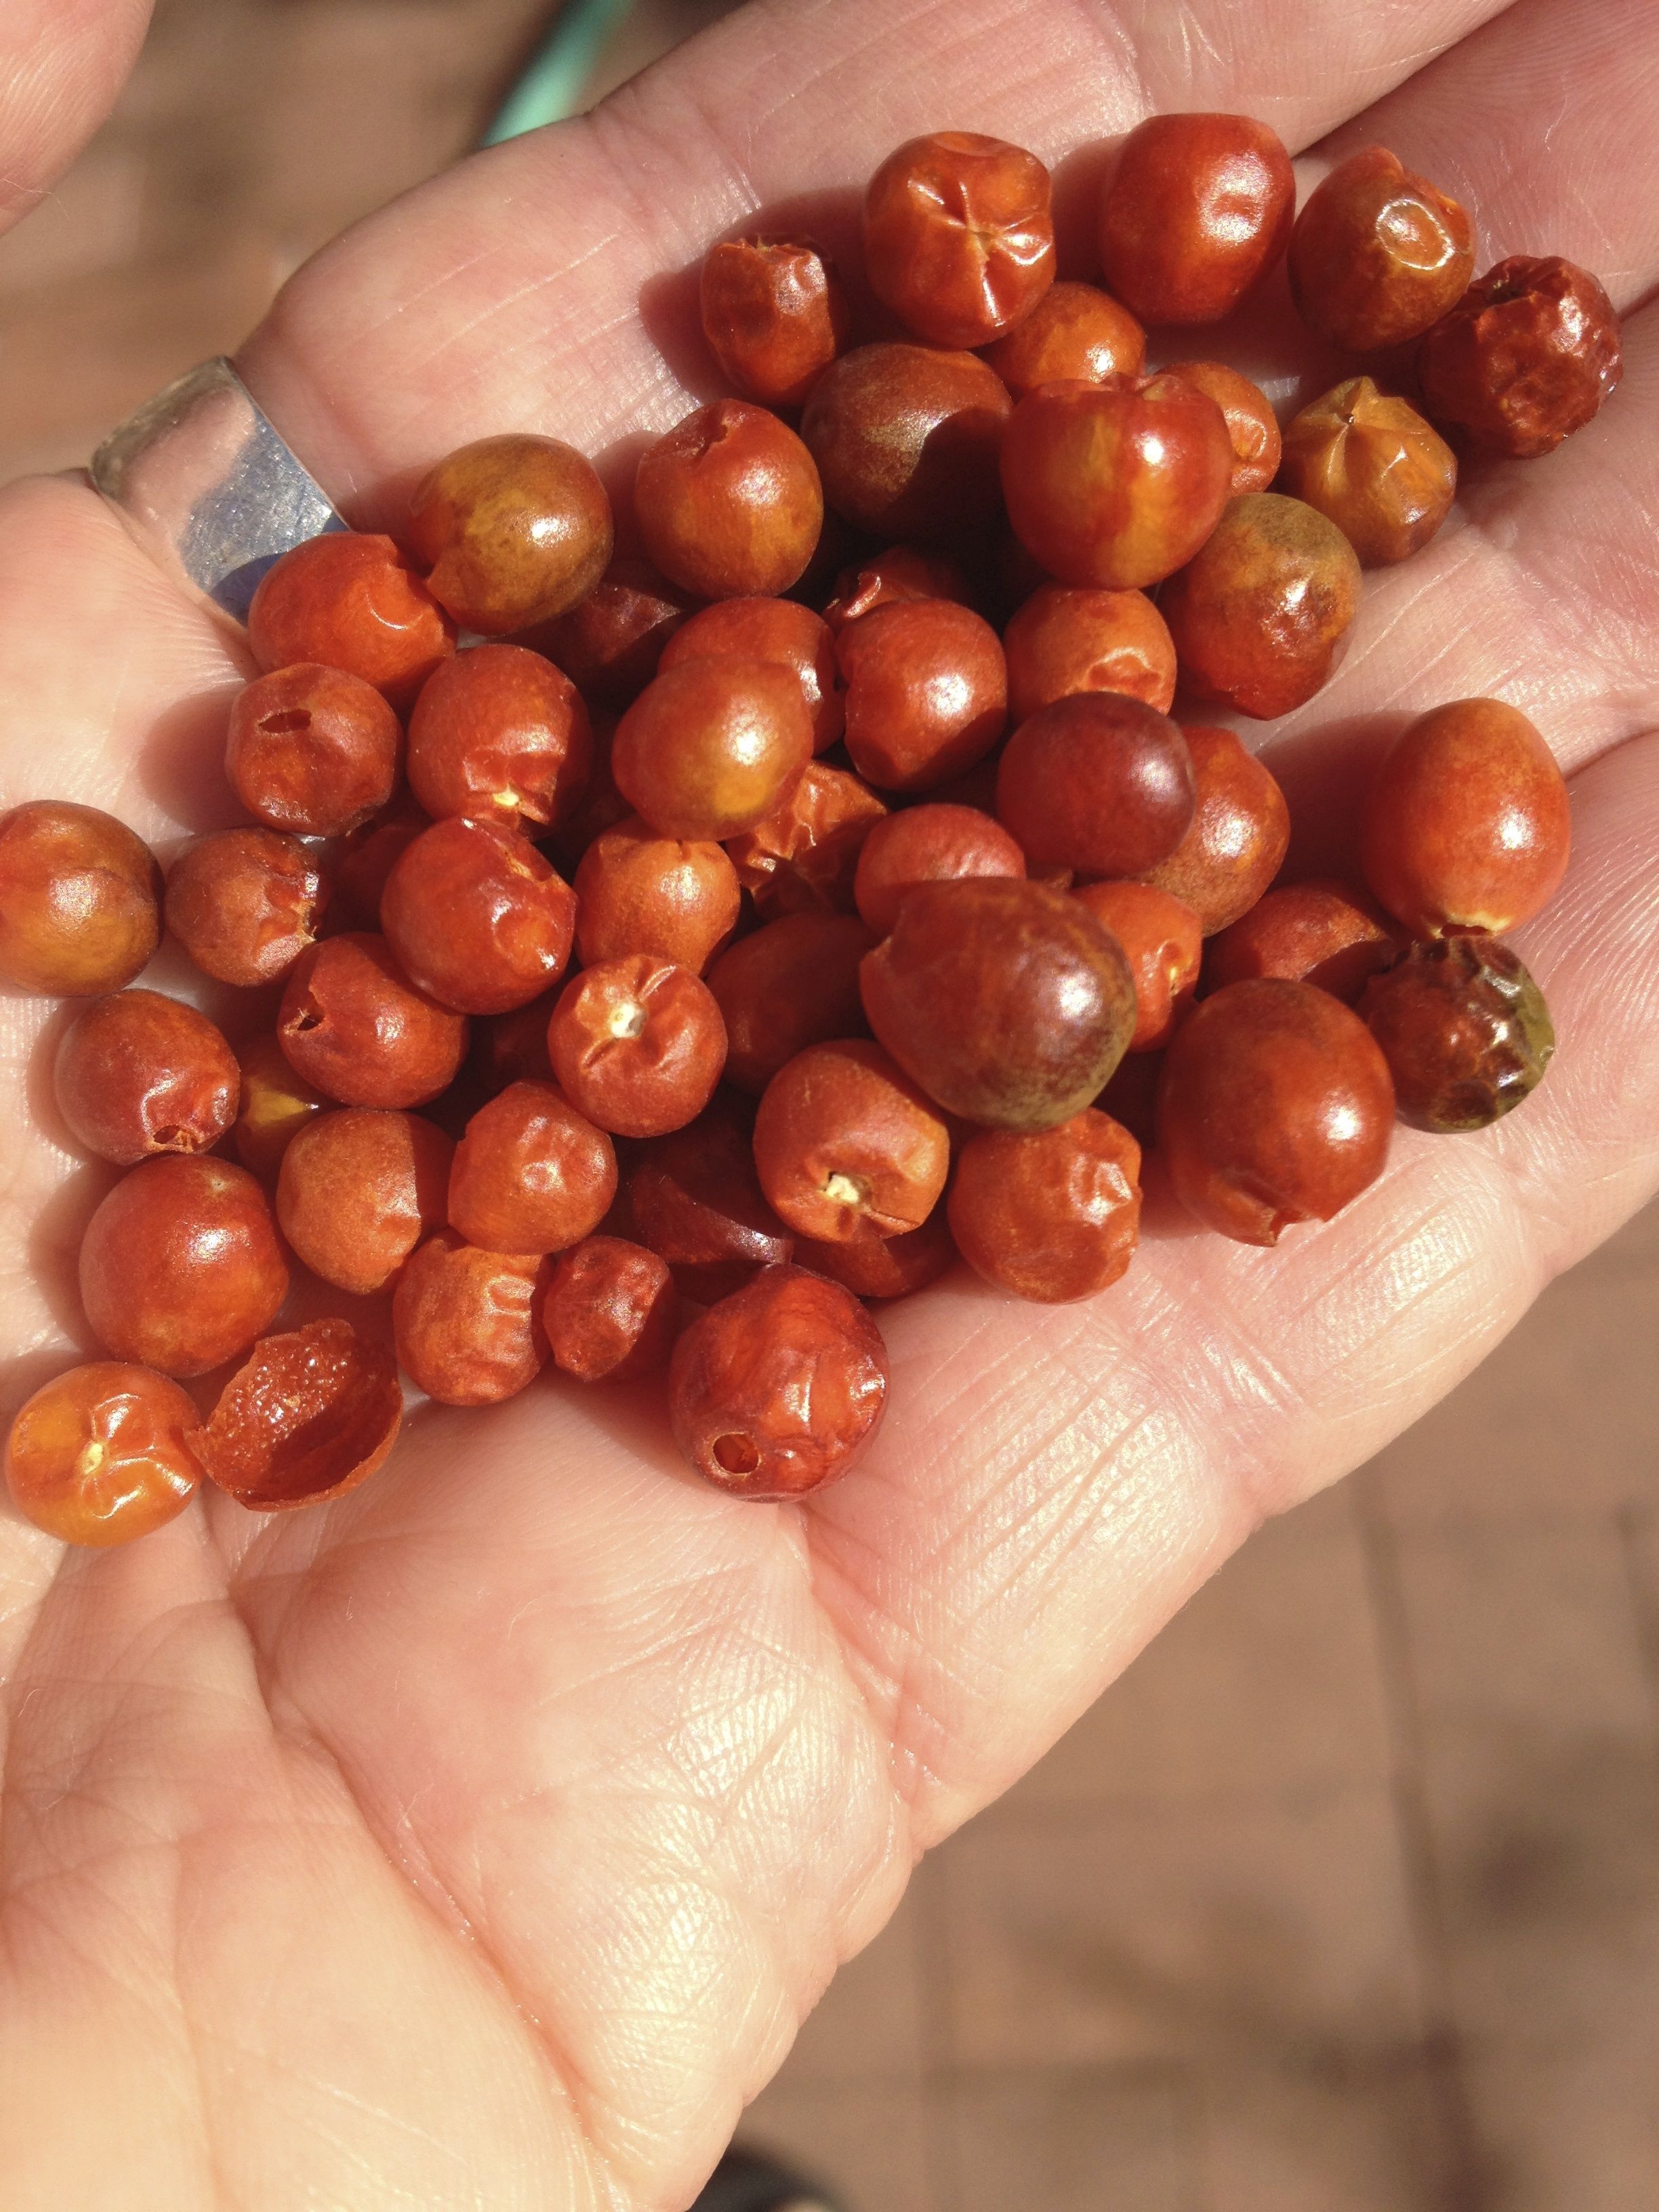
Home-grown chiltepin peppers from my garden, dried, crushed and ready to spice up a local pizza–Look out for a wave of picante heat even with a small pinch!
Here’s wishing you a great local pizza party!
How could you top this Baja Arizona Pizza?!!! Our locally grown and wild desert-harvested ingredients can’t be beat by any other veggie pizza!

What a great combination–wild-harvested cholla buds, local chorizo, Fiore di Capra goat cheese, and truly flavorful organic wheat flour crust!
Buen provecho from Tia Marta! See you when you visit http://www.flordemayoarts.com.