Elder Native Plant Medicine: Make Your Own Elderberry Syrup

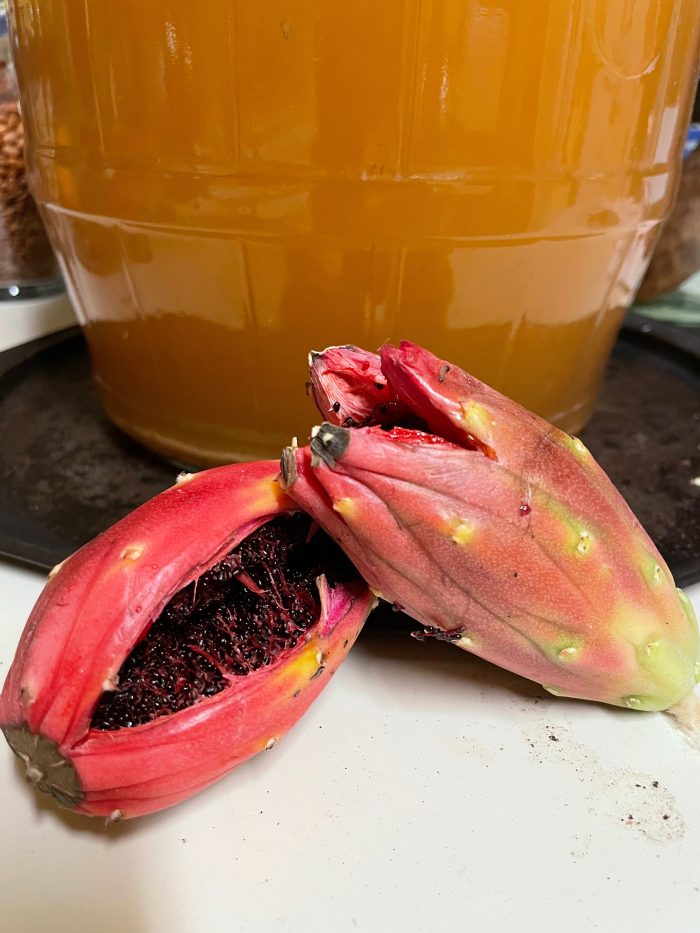
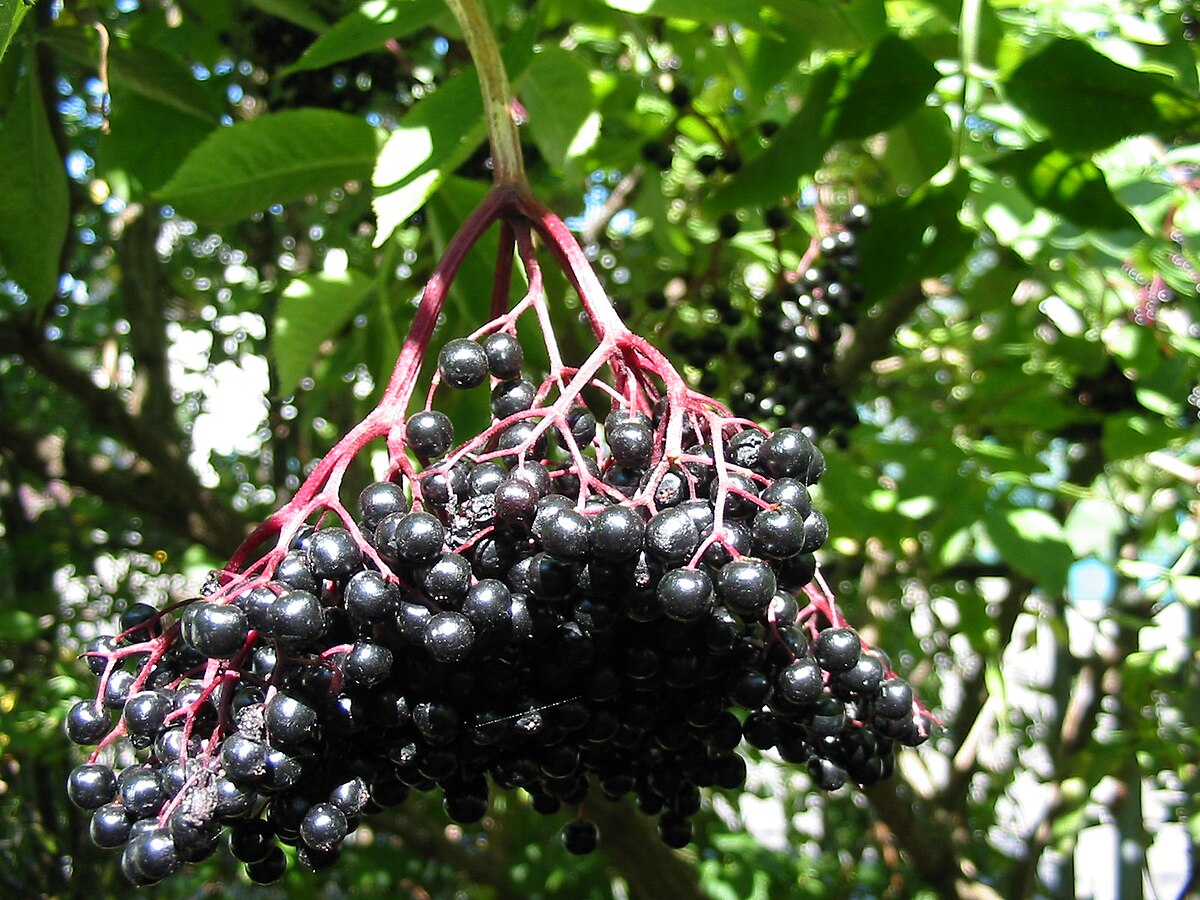
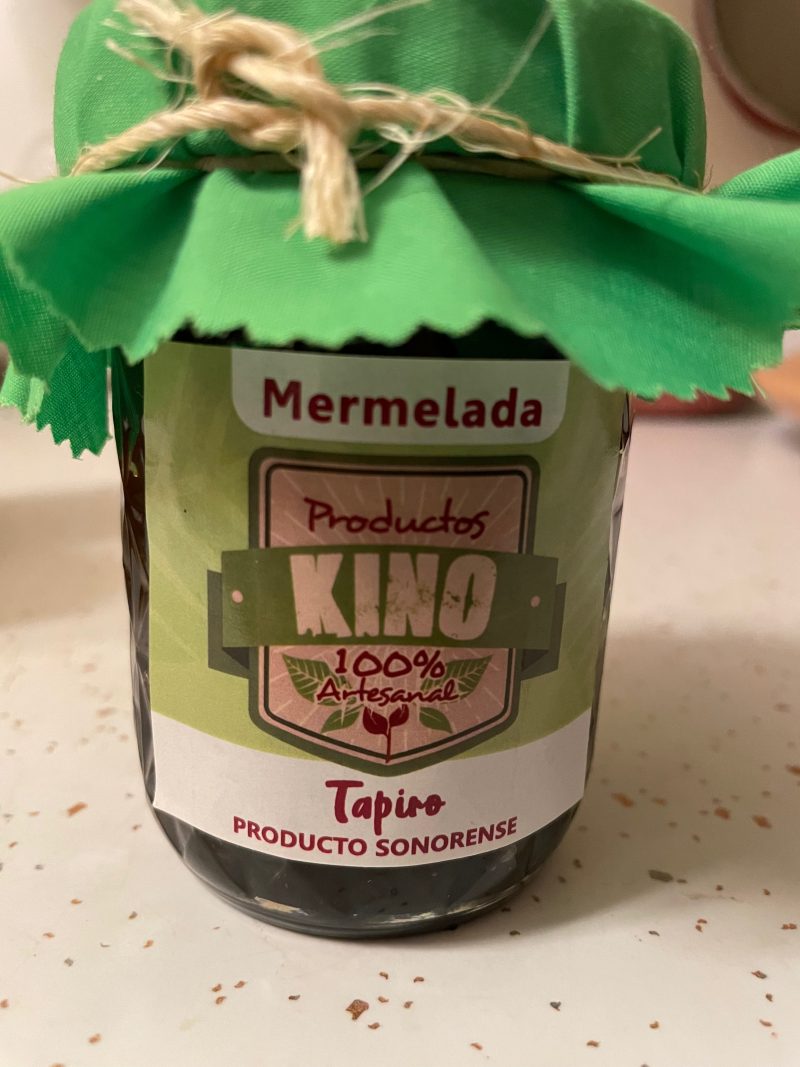
Elderberry (Sambucus nigra, synonymous with Sambucus mexicana) or tapiro in Spanish is a beautiful shrub that grows wild in many riparian places in the low desert of Arizona and Sonora, Mexico, or at higher elevations such as the sky islands of the Sonoran Desert and borderlands, in Europe, and beyond. In traditional/natural medicine, it has long been prized for its strong antioxidant qualities and is excellent for treating colds, coughs, and the flu. You can read many scientific studies like this Randomized Study on Influenza (Zakay-Rones Z, 2004) or Treatment of Upper Respiratory Symptoms (Hawkins, 2019) that have confirmed these benefits. The berries are not safe to eat raw or uncooked–but when cooked (at least 15 minutes to vaporize the harmful compounds), elderberry’s flavor is totally safe and naturally sweet.

Elderberry marmalade purchased in Magdalena, Sonora

Sister Emily here to share a popular immune-boosting syrup recipe made from this wonderful plant. I’ve harvested tapiro or elderberry from Tubac near the Santa Cruz River, on Mt. Lemmon in the Santa Catalina Islands, and near washes in the east side of Tucson. Also in Catalonia in Spain!

Dr. Wendy Hodgson’s excellent book “Food Plants of the Sonoran Desert” (pictured) describes the traditional uses of elderberry by the O’odham, Pima, Cahuilla, and Yavapai (Hodgson, 2001). Her research found that native people of the Sonoran Desert have always used elderberry fruits for food, medicine, and wine, and in some cases the flowers, too.

My Bulgarian musician friend says they prize the woody stems of elderberry for their long straight stems prized for making wood instruments.

Elderberry Syrup Recipe

I recommend keeping this delicious syrup medicine around all the time, or especially when the seasons change (to ward off colds and the flu).
Makes about 1 cup of finished syrup. (Ingredients can all be doubled for larger batches.)

Ingredients

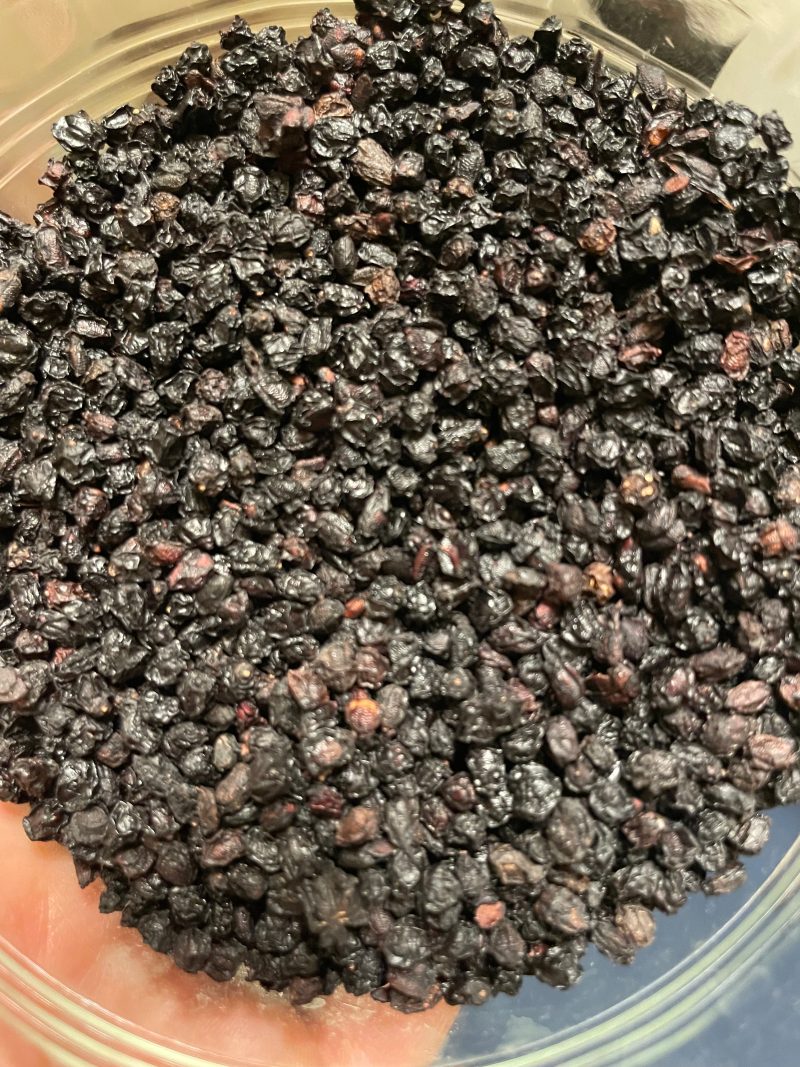
  • 1 cup dried organic elderberries OR 2 cups fresh wild-harvested* elderberries, destemmed and rinsed.
  • 2 cups filtered water
  • 1/2 – 1 cup raw, local honey**, depending on amount of liquid. Meet your local beekeeper at a farmer’s market!

Optional Ingredients:

  • Herbs: 1/2-1 tsp. organic dried ground ginger, 1 stick of cinnamon, and/or a few cloves.
  • Brandy or vodka- some people add 1/2 cup of either of these alcohols to further preserve the syrup and increase shelf life

*For foragers, always use caution to ensure you have properly identified the elderberry plant (Sambucus nigra or Sambucus mexicana), which is relatively easy.
**Do not feed infants honey.

Instructions:

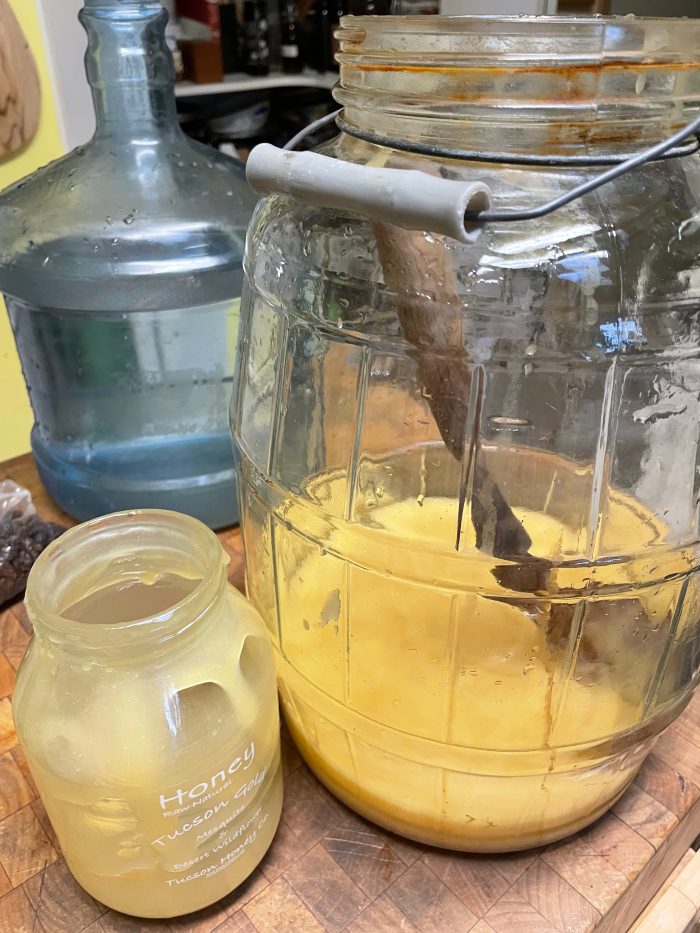
  1. Combine elderberries (and optional herbs) with cold water in pot and bring to a gentle boil.
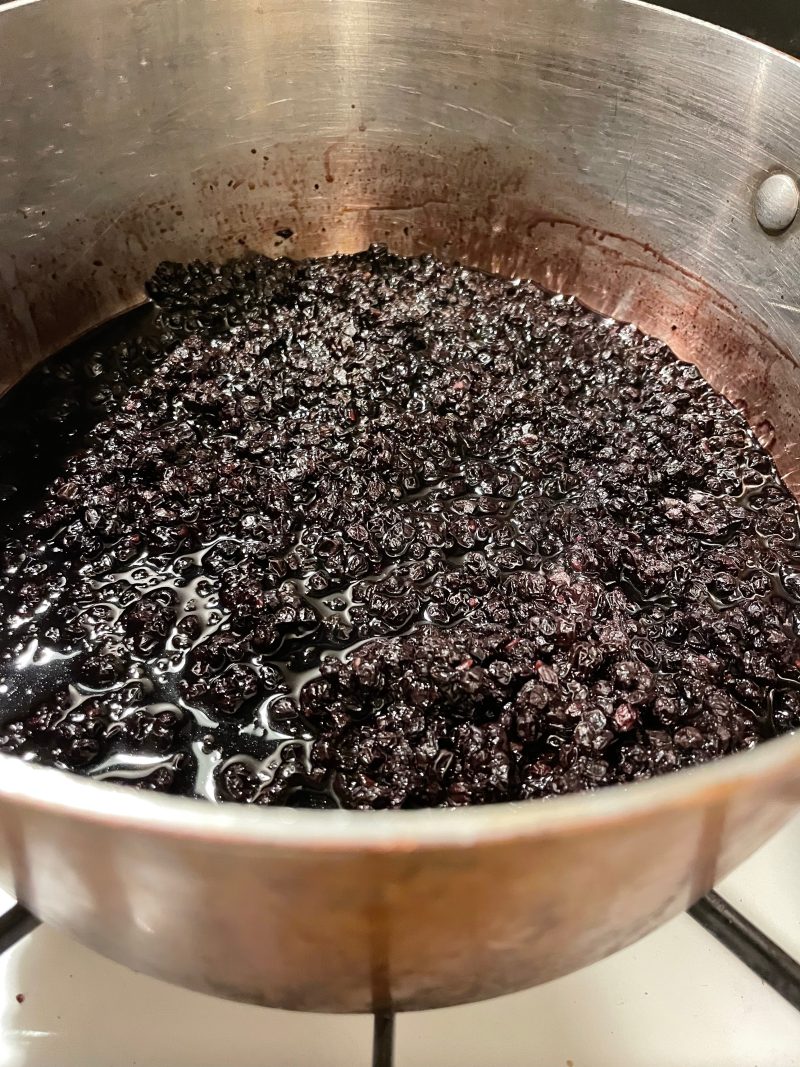
  2. Reduce heat and allow to simmer 30 minutes.
  3. Turn off heat and allow to slowly cool and steep for at least half an hour.
  4. Strain to obtain the elderberry liquid into a measuring cup. To capture the most liquid, you can also use cheesecloth or mesh cloth and squeeze out as much as possible of the cooled liquid.
    Note: Don’t pitch those power-berries! The strained elderberries can be used as a immune-boosting topping for yogurt or oatmeal!
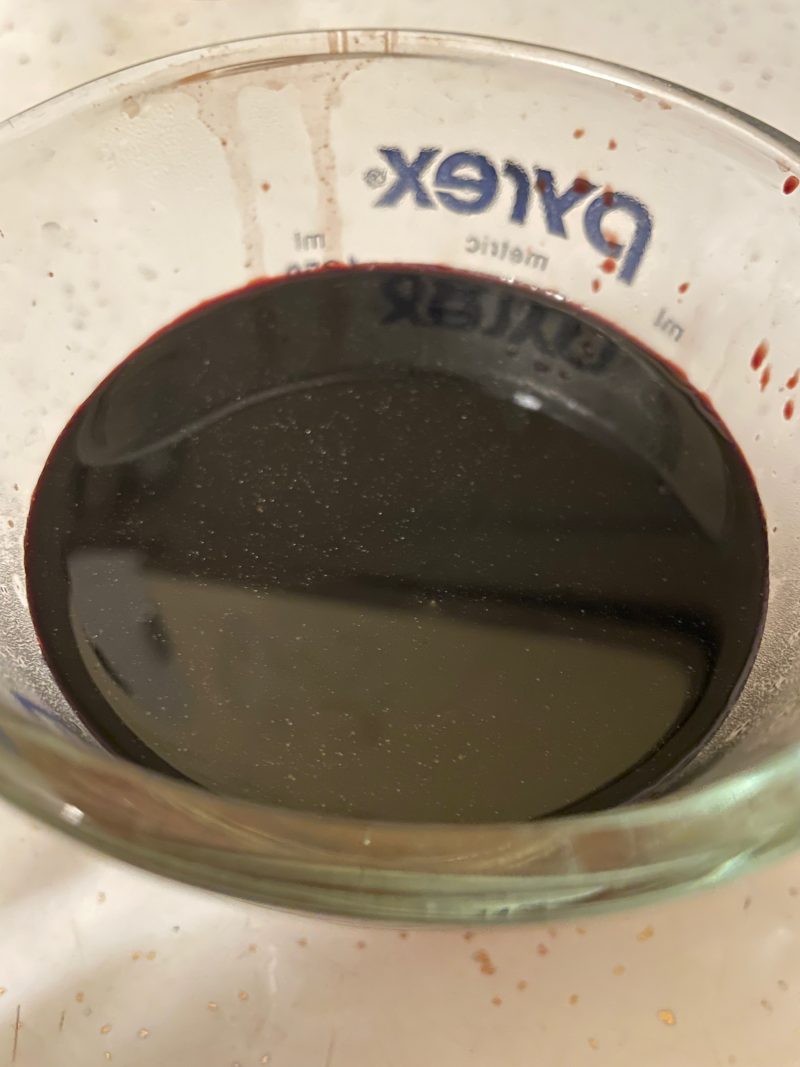
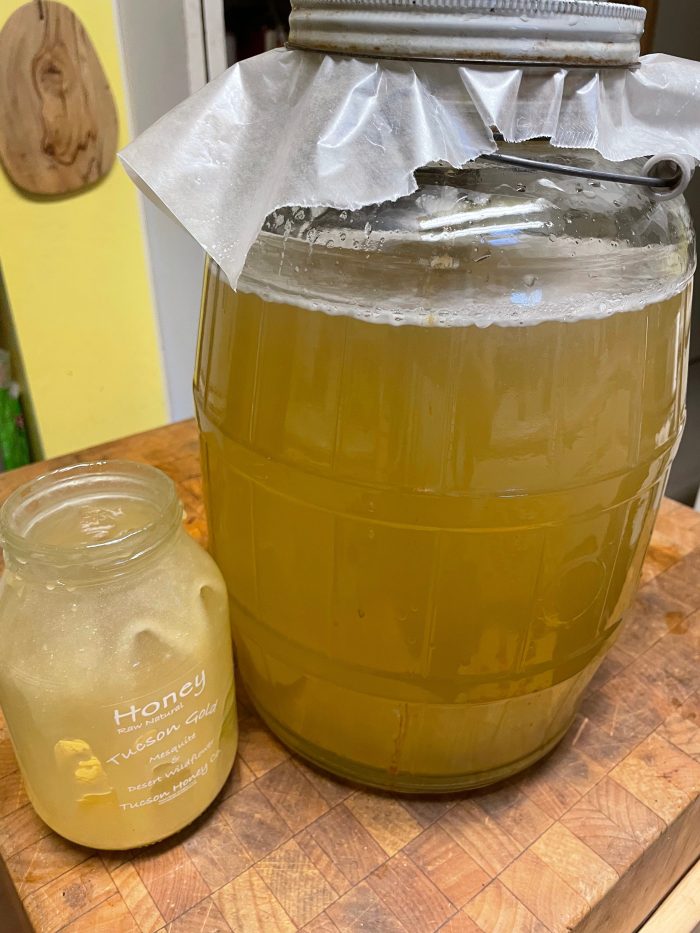
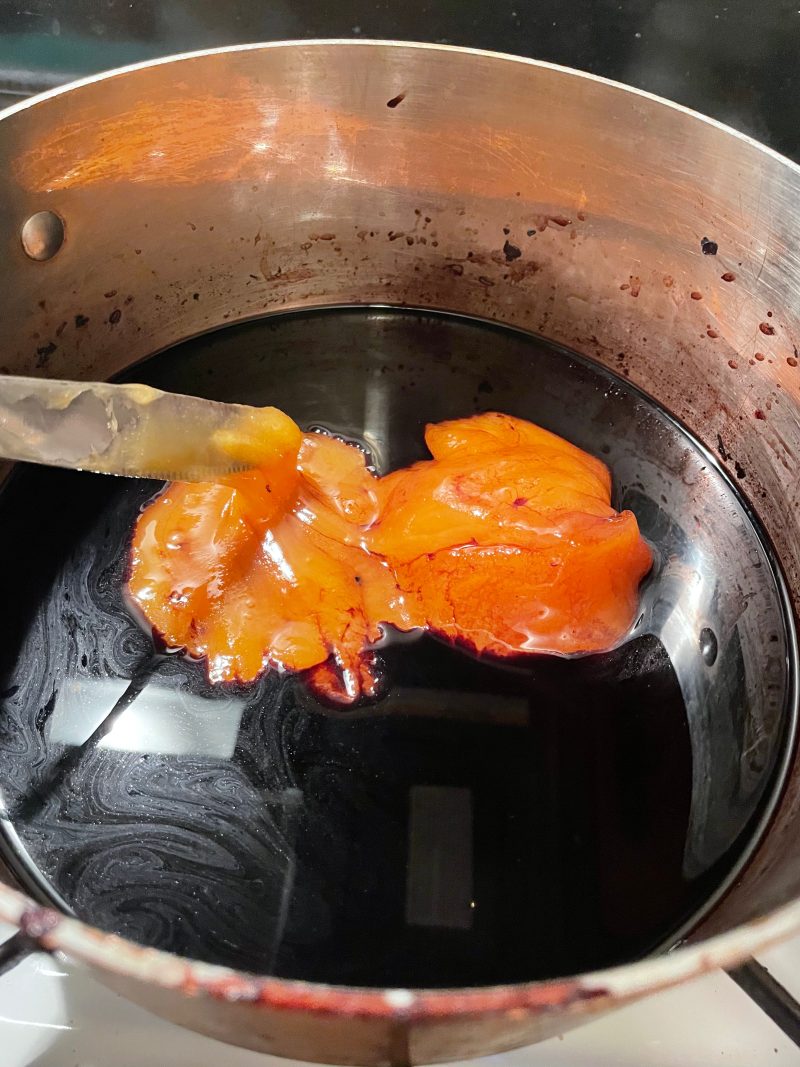
  5. Check the volume of the elderberry liquid. Check that you add honey in a ratio of half of this volume. (1 cup of elderberry liquid requires 0.5 cup of honey.) This will ensure that the syrup won’t spoil.
  6. Pour elderberry and honey back into the pot, and gently heat just enough to stir and incorporate the honey. (Heating honey too much will destroy valuable enzymes and beneficial antioxidants).
  7. Add optional brandy or vodka, if desired as an additional preservative.
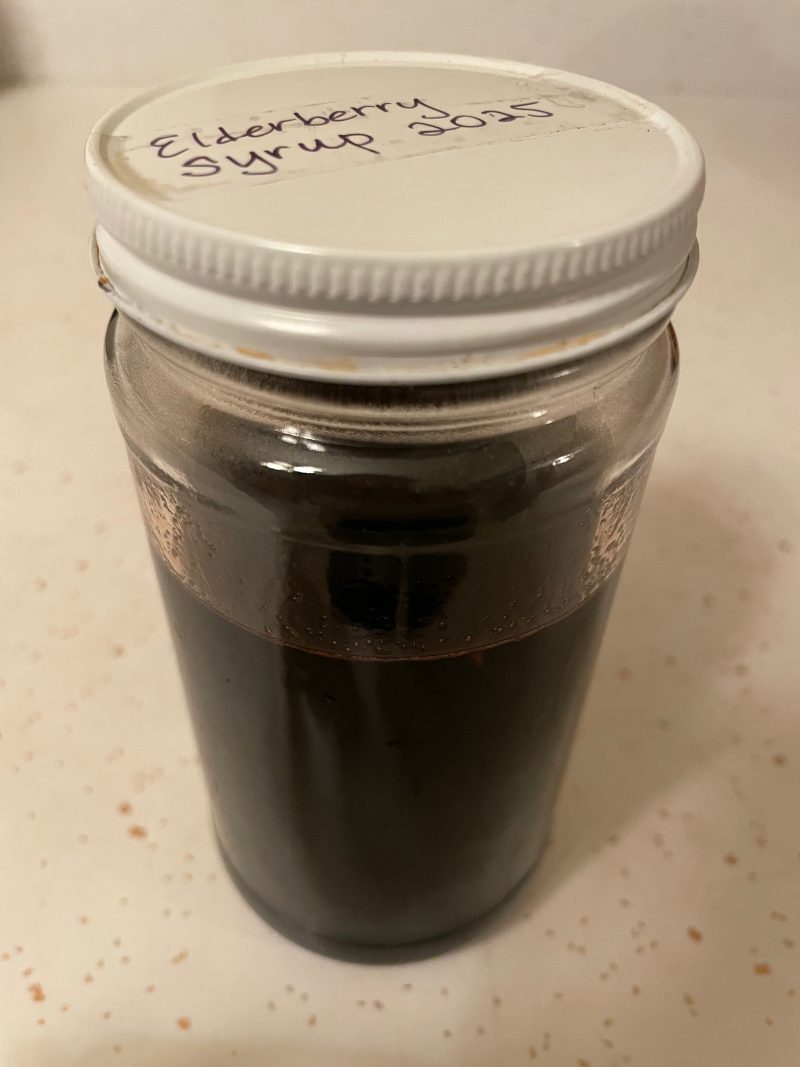
  8. Pour into a clean glass jar and store in the refrigerator.
  9. Take a tablespoon (or two!) when you are feeling a little low or a bug creeping in, or just for a pick-me-up boost to the immune system. It’s also just a sweet treat.

Storage and Use:

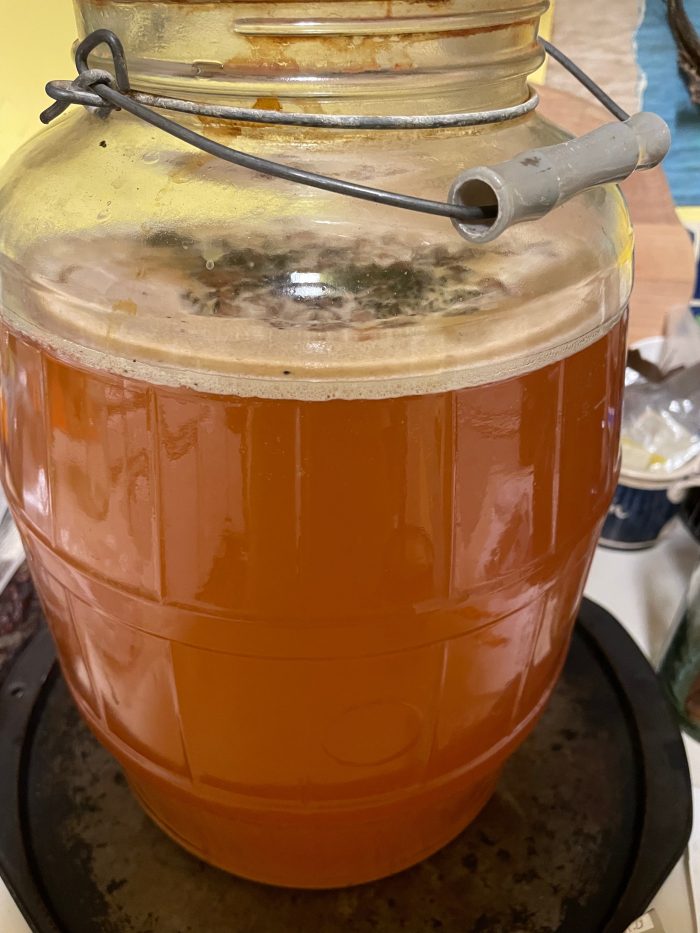
This powerful syrup will keep 2-3 months or longer if stored in the refrigerator. I have also found my syrup to be stable (mold-free) for even longer, and tastes just fine! The natural preservative of honey is the key.

Want to make the syrup even easier? It’s hard to beat this very convenient complete Elderberry Syrup Kit from Tucson Herb Store on 4th Avenue in Tucson. Click to see this excellent option for purchase and included recipe by Ms. Amanda Brown.

References

Hodgson, Wendy C. Food Plants of the Sonoran Desert. University of Arizona Press, 2001. JSTOR, https://doi.org/10.2307/j.ctv27jsm7t

Hawkins, Jessie, et al. “Black Elderberry (Sambucus Nigra) Supplementation Effectively Treats Upper Respiratory Symptoms: A Meta-Analysis of Randomized, Controlled Clinical Trials.” Complementary Therapies in Medicine, vol. 42, Feb. 2019, pp. 361–65. DOI.org (Crossref), https://doi.org/10.1016/j.ctim.2018.12.004.7/147323000403200205

Zakay-Rones Z, Thom E, Wollan T, Wadstein J. Randomized Study of the Efficacy and Safety of Oral Elderberry Extract in the Treatment of Influenza A and B Virus Infections. Journal of International Medical Research. 2004;32(2):132-140. doi:10.1177/147323000403200205

Gathering the Desert, and Gathering Around Honey Wine

Honey, the golden elixir of the bees, is famous for its impressive shelf stability, or resistance to spoiling. By its nature, it can remain edible for an extraordinarily long time. In grade school, I remember delighting in the fact that archaeologists found honey in King Tutankhamun’s 3,000 year old tomb. Cave paintings in Africa dated to thousands of years ago depict honey hunters who braved a defensive colony of bees (Hollmann 2015) to access the calorically valuable, medicinal, and tantalizing substance which could be consumed or stored long term. 

I love to think about the early honey harvesters of Africa and imagine the first time someone combined honey with water, and fermentation soon began–an exciting transformation took place! This is thanks to the action of microbes (as is commonly the case, at least with fermented foods). While humans crave the complex sweetness of honey, it turns out that honey is a favorite food of some microbes such as Saccharomyces cerevisiae, a species of yeast. The yeast consume the honey and convert it to alcohols and carbon dioxide. 

Honey wine, T’ej…sweet and warm like the solstice evening light.

It is thought that honey wine known as t’ej (say: “tedge”, with a soft d) originated in Ethiopia and Eritrea, and upwards of 5 million people consume t’ej on a daily basis (Belay n.d.). However honey wine variations are found in many parts of the world including Mexico and Poland (Katz 2012). You may know t’ej by its other name of mead, an alcoholic beverage made by fermenting honey with water. It is truly simple and fun to make t’ej at home by adding raw unpasteurized honey (which contains natural yeasts that kickstart fermentation) with pure water, but you can also add an endless variety of edible botanicals like herbs and fruit to create a unique or medicinal mead. While mead can be aged for months, you can drink it “young” after only a couple weeks of high-energy fermentation. What kinds of honey wine will you make to share with family and friends?

I was inspired to make t’ej for the first time by my friend Andrias Asnakew, a Tucsonan of Ethiopian descent who established Brillé Mead Company here in 2023. I was honored to share homemade t’ej with him and his welcoming friends who hosted us on Easter, clinking glasses as they described the traditional recipe. They taught me that East African t’ej is traditionally made with honey, water, and the leaves of gesho (Latin name Rhamnus prinoides, a plant native to southern and eastern Africa) which adds a distinct bitter flavor and wild yeast to start the brew (Belay, n.d.). I am grateful for the family’s hospitality and generosity, and to Andrias whose knowledge guided me through the process.

Friends gathering with traditional t’ej (Ethiopean honey wine).

Around the time I was pondering which ingredient to include in my first mead, I was marveling at the crowns of white trumpeting blossoms on the haan (Tohono O’odham name for the native saguaro cacti). I wondered what saguaro fruit honey wine would taste like? It seemed that using fresh red bahidaj saguaro fruit would be a perfect way to celebrate the solstice on June 20th, and to harken for rain on Dia de San Juan on June 24th. (For more on saguaro traditions, enjoy reading about the Tohono O’odham’s beloved bahidaj saguaro fruit from teacher Muffin, known as Sister Marta here at Savor the Southwest blog: Summer Solstice, and Sister Carolyn’s It’s Saguaro Season.). This mead would be fully Sonoran desert, made from local honey and saguaro fruit…

Bahidaj (Tohono O’odham for saguaro fruit), June 2025

I am glad to report that my first batch of honey wine/mead/t’ej was a happy success (recipe to follow) with very little cost and effort. The tasters gave feedback that the flavor is more dynamic than they expected, with real body and interest. There’s a bit of liveliness, but it’s not bubbly. Many folks commented on its balance: a little citrusy, and not too sweet; a light fruitiness, and warmth from the honey. There is a pleasant yeastiness like fresh bread, though it doesn’t taste strongly of alcohol. We all noted the way it gently, pleasantly nudges you toward relaxation (I estimate the percent alcohol of my brew 4.5-5% ABV). If you prefer a stronger t’ej, you can increase the amount of honey, or a lighter less alcoholic brew can be made using less honey. 

The recipe is so flexible and invites endless experimentation. The ratio of honey to water is anywhere from 1:4 (one part honey added to four parts water) to 1:16 (for a very light mead, or if you’re adding a lot of sweet fruit also). The variety of creative optional additions is endless: fresh or dried fruit (berries, native fruits encouraged), herbs (lemon balm, rose, mint) or spices (ginger, cardamom, cloves, or cinnamon). Take notes of your selection, process, and quantities. Andrias started experimenting with different flavors: strawberry, carkeda (hibiscus), habañero. It is a natural beverage; you know exactly what went into it when you make it yourself.

Recipe for Honey Wine (T’ej or Mead)

This recipe was adapted from Sandor Elix Katz’s excellent book, The Art of Fermentation, with inspiration and guidance from Ethiopian t’ej maker Andrias Asnakew (Tucson, Arizona). 

This recipe yields about 2+ gallons mead (can be scaled), potentially 4-5% alcohol, approximately (a hydrometer can measure this precisely if you wish)

1 quart local raw honey (32 ounces)– my personal favorite is Tucson Honey Company from Tucson local farmer’s markets.  
2 gallons+ pure, filtered water (~260 ounces) (if tap water is the only option, see below**) 
~1 cup raisins, optional but recommended to feed the yeast–added a little at a time.
Optional ½ teaspoon mead yeast (such as strain EC-1118. Check your local brew shop or find online).
Optional fresh or dried fruit (local and native fruits encouraged), herbs or spices. Experiment with quantity: a few cups of fresh fruit, or maybe around one cup if of dried herbs. For spices, try a handful or so and see how it goes. 

Ripe saguaro fruit

1. Clean a ~2.5 gallon fermentation vessel (ideally glass or stainless steel, but food grade plastic works). Wide mouth is best. 

2. Pour the honey into the vessel, and add about half the water. Stir stir stir till it dissolves, then add the rest of the water, leaving just a few inches at the top for bubbles and stirring. Cover with a cloth or loose lid, and place on a baking sheet to catch any drips. Add optional yeast, and optional fruit or herbs/spices.

Dissolve honey in pure water to start the fermentation process.

3. This is Day 0. Leave in a cool spot in the house where you’ll walk by frequently. I keep a long stirring spoon next to the vessel and stir it often, daily (at least two or three times+ daily). This introduces air for the yeast. Sandor Katz recommends we stir a few revolutions, then reverse the stir quickly to introduce air (biodynamic style!). Delight in the bubbles and give your greetings to the millions of hungry microbes hard at work! 

Full quantity of water mixed with honey. Ready to ferment!

4. After a few days of frequent stirring, you should start to see more and more bubbles when you stir. The yeast is waking up. This is Day 3. Add a palmful of raisins (a special ingredient by Andrias- he says it provides food to the yeast!) (This is the point when I harvested and added ripe fresh saguaro fruit, but it can be added at the beginning, too.)

Red saguaro fruit has been added to the bubbling brew.

5. Continue stirring multiple times per day. On Day 5 or 6, add another palmful of raisins, and again at Day 8-9. 

6. At about Day 10-12, the bubbles will begin to reduce in number and fervor. The yeast quickly consume and ferment most of the natural glucose in the honey, producing the alcohol and delicious brew. (The natural fructose takes longer to ferment and only does so if you age your mead for weeks and months.)

Frothy bubbles of active yeast activity!

7. Taste the mead. If it is too sweet for your liking, you can continue to stir and ferment a bit longer to “dry it out”. If you prefer more sweetness, Andras suggests you can “back sweeten” (add a bit of honey) to taste if desired, ideally a day prior to drinking it. 

8. Strain out any fruit, and serve at room temperature or chilled. Try both! The typical serving vessel for t’ej is a narrow-necked bottle called a berele.

The best way to enjoy your homemade honey wine is with friends, of course. I bet that you’ll pique curiosities about your brewing methods and newfound skill, and bring smiles to everyone’s face. Andrias thoughtfully shared that “you can tell from the smile that the food or drink is good”.

Honey Wine with Saguaro Fruit, Summer Solstice 2025

In Appreciation: 

Thank you to my teachers, including the bahidaj (saguaros), for their ongoing generosity and cultivation of our minds and hearts. 

Thanks to my new friends Andrias and incredible hosts Tilahun and his wife Kidist who are sharing their culture from Ethiopia with all of us in Tucson, Arizona.

Thanks to my mother Judith for kindly copy editing.

**To remove chlorine from the water simply draw the necessary amount of water and leave it out overnight. The chlorine will naturally evaporate from the open vessel. 


Bibliography

Belay, T. B. (n.d.). Call for access and benefit sharing of Rhamnus prinoides (Gesho). Ethiopian Biodiversity Institute, Genetic Resource Access and Benefit Sharing Directorate.

Jeremy C. Hollmann (2015): Bees, honey and brood: southern African hunter-gatherer rock paintings of bees and bees’ nests, uKhahlamba- Drakensberg, KwaZulu-Natal, South Africa, Azania: Archaeological Research in Africa, DOI: 10.1080/0067270X.2015.1079378

Katz, S. E., The Art of Fermentation: An In-depth Exploration of Essential Concepts and Processes from Around the World. Chelsea Green Publishing, 2012.

Rarámuri Corn Tesgüino: A Traditional Beverage of the Sierra Madre

A transporting 7 minute read…

Greetings from Tucson, it’s Savor Sister Emily here with my first official post! I am excited to be here, and am looking forward to hearing from you in the comments below.
I first encountered tesgüino (tes-WEEN-oh) while learning about the traditions of the Rarámuri people at Mission Garden’s Rancheria (Beterachi) exhibit in Tucson, Arizona. I only knew a bit about the Tarahumara people who have lived since time immemorial in the rugged and beautiful mountains of Chihuahua in northern Mexico, called the Sierra Tarahumara. I soon learned to call them by their tribe’s own name for themselves: Rarámuri, as opposed to “Tarahumara” which was introduced by the Spanish. Many people have heard of the Rarámuri tradition of running long distances, but perhaps fewer people are familiar with another unique aspect of their culture which is found in a beverage called tesgüino

Tesgüino is the Spanish name for a fermented corn beverage, primarily made from corn and water. The written observations of ethnographer John Kennedy in 1959 describe the important role that the beverage plays in the spiritual and ceremonial traditions of the Rarámuri people. It is also commonly enjoyed in social and community life. Known in the Rarámuri language as batàri and suguí, tesgüino is so integral to the culture that the average Rarámuri family might use 200 pounds of corn annually just for making tesgüino (Kennedy 634). 

Clay olla tesgüineras with star pattern.

At least 4,500 years ago, corn became a vital crop for indigenous peoples in the Southwest, including the Rarámuri who developed and care-take many different corn varieties. Similarly, here in the neighboring Sonoran Desert, the Tohono O’odham have cultivated a fast growing 60-day corn for thousands of years and it still thrives today. I wondered if the 60-day corn indigenous to Cuk Shon could be made into tesgüino

I reached out to my fermentation-obsessed researcher and friend Cesar Ojeda Linares in Mexico City who described to me the thick, distinctive beverage he tasted on his journeys and exploration in northern Mexico. He provided an excellent guide on how to make tesgüino according to what he learned in the community there. He found it similar to a type of atole, but thicker and with a stronger aroma. It is possible to find recipes for making tesgüino (including in Sandor Elix Katz’s book, The Art of Fermentation). Here is a fun short video on Vimeo of Señora Chenta from Alamos, Sonora making tesgüino using her traditional methods. Variations between recipes are part of the fun–diversity is where it’s at! But the basic recipe for this corn beverage always begins with dry corn kernels which are sprouted and grow roots, a simple process known as malting. This malting produces sweet sugars which can then be naturally fermented in water with the aid of healthful microbes. Natural yeasts and bacteria are present on the corn, in the air, or in a trusty heirloom tesguinera vessel, but wild plants can also be added to introduce the preferred microbes which catalyze the process. Brome grass seed (Bromus arizonicus) and sweet stevia (Stevia serrata) are among the plants that could be used to inoculate the brew, according to Fermentaciones tradicionales indígenas de México. After brewing for three to five days, the tesgüino is a mildly alcoholic, mildly sweet, refreshing and healthful beverage, best enjoyed when shared amongst family and friends.

sprouting blue corn
Roots emerge from kernels of blue corn after three days.


I made the beverage with O’odham 60-day corn in a clay olla following the directions below, and once again using Navajo Blue corn fermented in a ceramic salt glazed crock.

An important note on sugar. Sugar cane came to the America’s in the 15th century. Piloncillo (raw brown sugar cone) is thus not a truly “traditional” ingredient, but it has been common in the region for a long time. Including it certainly excites the hungry microbes, and the resulting beverage is not very sweet. In a traditional Rarámuri tesgüino, the tesguinera pot instead carries the inoculating microbes that kickstart the process (much like yogurt).

Recipe and Directions for Tesgüino
Makes about 3 gallons tesgüino

3 pounds dry heirloom corn, preferably dent or flour varieties, organic and non-GMO.
3 gallons water, ideally filtered and de-chlorinated, *see note. 
3-4 cones or bricks piloncillo (unrefined pure cane sugar from international markets)
1-3 sticks cinnamon 
0.5-1 teaspoon brewers yeast (ale yeast or similar- not baking yeast), optional but recommended.
Palmful organic sweet stevia leaves, optional but recommended. Ask local farmers/gardeners.

1. Place dry corn in a large glass or plastic container (6+ quart size) such as a Cambro

When corn seeds grow substantial roots, it is ready for grinding.

2. Cover with water and allow to soak overnight. 

3. The next day, strain off the water, then cover opening with a breathable cloth or mesh lid and lay on its side, just like when sprouting seeds for eating. Store in a well lit, warm spot, avoiding direct sun. 

4. Rinse and drain the corn in its container at least 2 times a day–more often is better, especially in warmer conditions.

5. After a couple days, the corn will grow a little radical (root) and first shoot. This is very exciting! In three or four days, when nearly all the corn’s roots are about ½–1 inch long, it’s ready to grind. 

60-day corn ground in a molino, in preparation for cooking and fermentation.

6. Pass the sprouted corn through a hand mill molino grinder on a coarse setting, so it resembles very coarse grits, or about the texture of cooked quinoa. If you don’t own a molino, pulse small batches in a food processor.

7. Place the ground corn in a large pot, ideally large enough to hold three (3) gallons of water and the corn together. Otherwise, you’ll need to work in two smaller batches (half the mixture at a time). Add the cinnamon, and gently boil the corn in water for 1-1.5 hours to extract its natural sweetness and flavor. Stir occasionally to prevent burning. After the time has passed, add the piloncillo sugar and simmer to dissolve.

Ground corn boiling in water with piloncillo

8. Cool the mixture and carefully strain to keep all the liquid in a 3+ gallon non-reactive fermentation vessel, *see note. The strained liquid will be thick and smooth in texture. Cover lightly with a tea towel, cloth napkin, or cheesecloth. (Compost the strained corn at this point, or feed to chickens.)

9. Once the liquid is completely cool (or the next day), add ½ to 1 teaspoon dry ale yeast, and fresh stevia leaves. Stir to dissolve. Keep covered with cloth. 

Tesgüino fermenting, with the natural yeast visible on the surface (harmless).

10. Each day, wash your hands and visit your tesgüino, stirring well with a clean spoon. You will find increasing effervescence. Delight in the unique texture, aroma, and color. 

11. On the fourth day, it should be ready to drink. Strain if desired to remove stevia leaves (if using). It’s time to taste and enjoy! Try both chilled and at room temperature to your liking. 

Invite many friends to partake in the celebration, and raise a glass of appreciation to our Rarámuri neighbors who created this beautiful beverage. 

Please write in the comments below about your experiences with fermenting corn, travel in Rarámuri lands, and tesgüino!

-Savor Sister Emily Rockey

Clay Olla with Tohono O’odham 60-day corn,
and tesgiüino corn beverage

*Notes: 

Water- Tap water can contain chlorine which can be counterproductive to fermentation (chlorine kills good beneficial microbes). Dechlorinating is easy: simply draw the water in a vessel and allow it to sit open at room temperature for a few hours. The chlorine naturally evaporates. Or boil water for 20 minutes and let it cool. Water is now ready to use for fermentation. 

Vessels- This can be glass, ceramic, a clay olla, stainless steel, or food-safe plastic. Natural materials like clay will impart an earthy flavor on the tesgüino, while glass or ceramic does not. 

Storage- Although it is best to enjoy all the tesgüino amongst friends at once, it is possible to refrigerate the drink for several days, or even freeze with good results.